
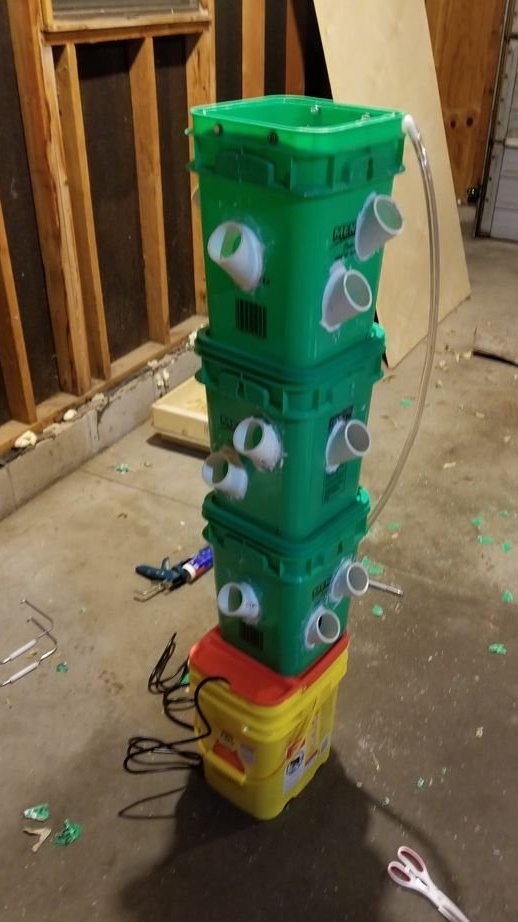
This is a step-by-step guide on how to build your own hydroponic tower. It is important to note that this hydroponic system works similarly to a drip system. This homemade simple and complex at the same time. The choice of tool can vary greatly, as there are several methods to achieve the same results.
The hydroponic tower works like this: water flows from the upper drainage holes, through the holes where the plants are located, and continues to flow down the system until it reaches the reservoir.
Most, if not all, materials can be bought at your local hardware store. The exceptions are rockwool and a hydroponic basket in which plants grow, as well as the nutrients that plants need.
Step 1: Materials
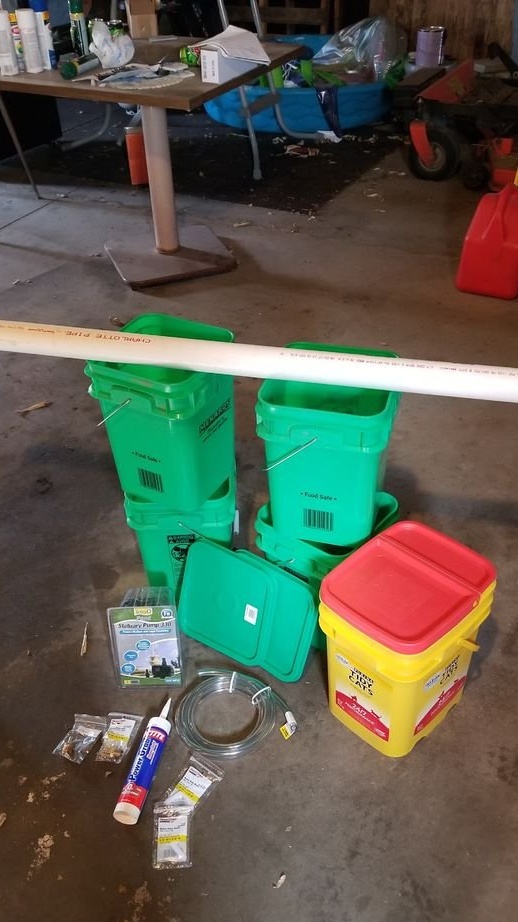
For the 3 tall towers that are described here, you will need the following:
- 15 liter square buckets (you need one bucket more than the height of the tower that you intend to build) 4pcs;
- 15 liter square covers for the bucket (depending on your preferences and your build option, you can use two covers less than the height of the tower) 2pcs;
- Bucket for cat toilets with a lid 1 pc;
- PVC pipe with a diameter of 50 mm. and a length of 1.5 meters;
- 1 tube of construction adhesive / sealant;
- a tube with a diameter of 9 mm. and 3m long .;
- elbow for hose 9 mm. 2 pcs.;
- adapter for hose 9 x 12 mm. ;
- a submersible pump of the appropriate size (varies depending on size and preference). For this homemade master chose an adjustable pump at 1250l. / Hour;
- Bolts and nuts (or any other mounting device for fastening two buckets);
Step 2: Tools
- a miter box for cutting PVC pipes;
- Drill for making holes for cutouts on buckets;
- Different sizes of drills;
- Dremel (with the corresponding cutting bit) to create cutouts on buckets;
- Scissors or other cutting device;
- if you use bolts, then the corresponding keys for tightening them;
- roulette;
- mounting gun;
- marker;
- table saw;
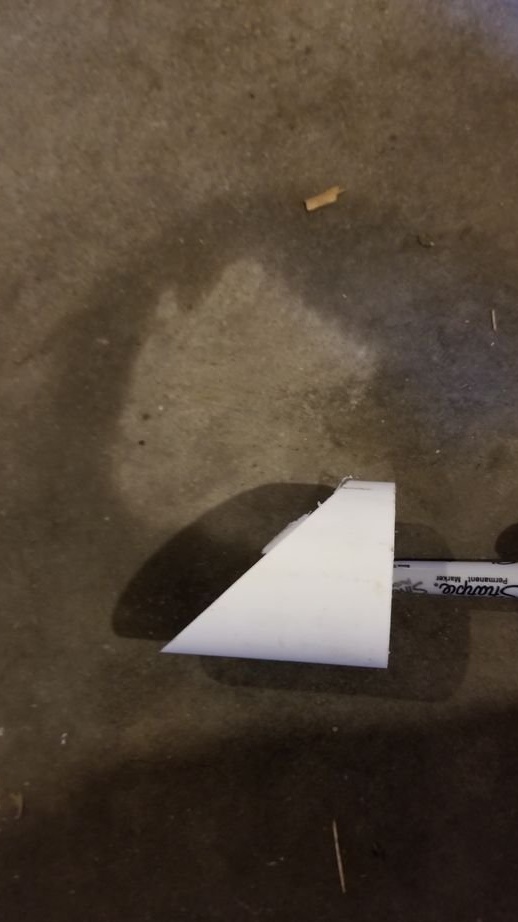
Step 3: Cutting PVC Pipe
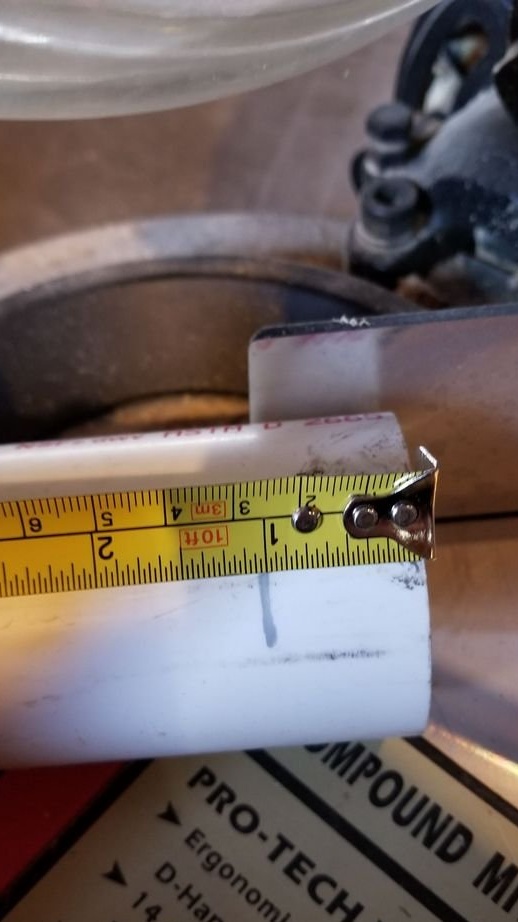
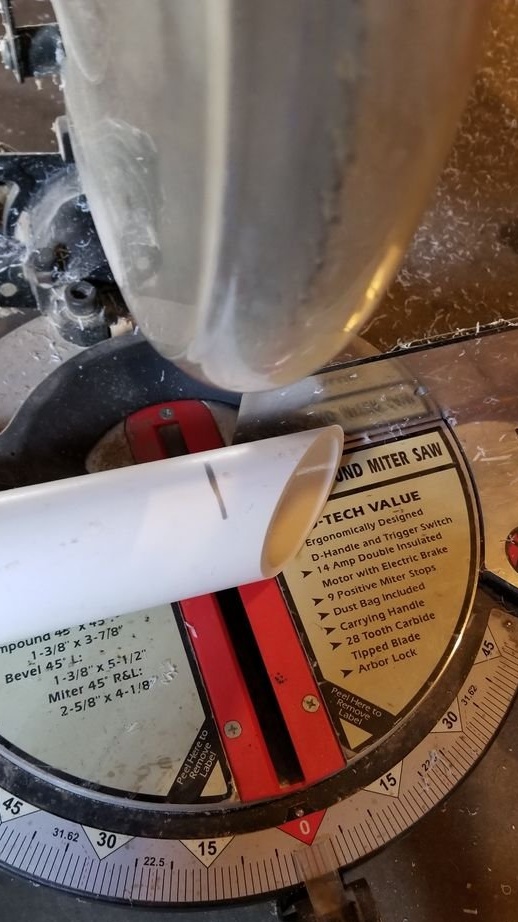
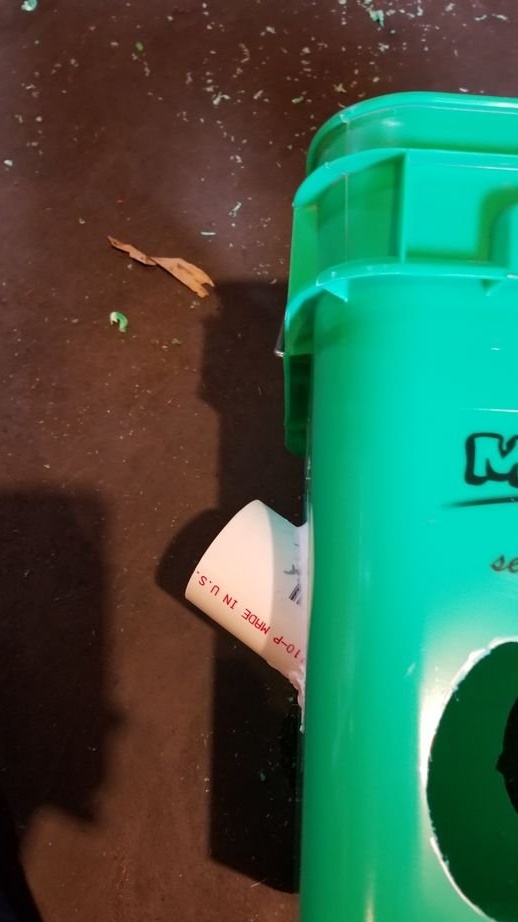
The cut pipe will become the liner of the basket on the sides of the bucket. The master of this homemade product uses six inserts per bucket, but you can use as much as you want, but prepare enough pipes.
The PVC pipe must be cut at an angle of 45 degrees to properly attach it to the bucket.
Step 4: Construction reservoirs
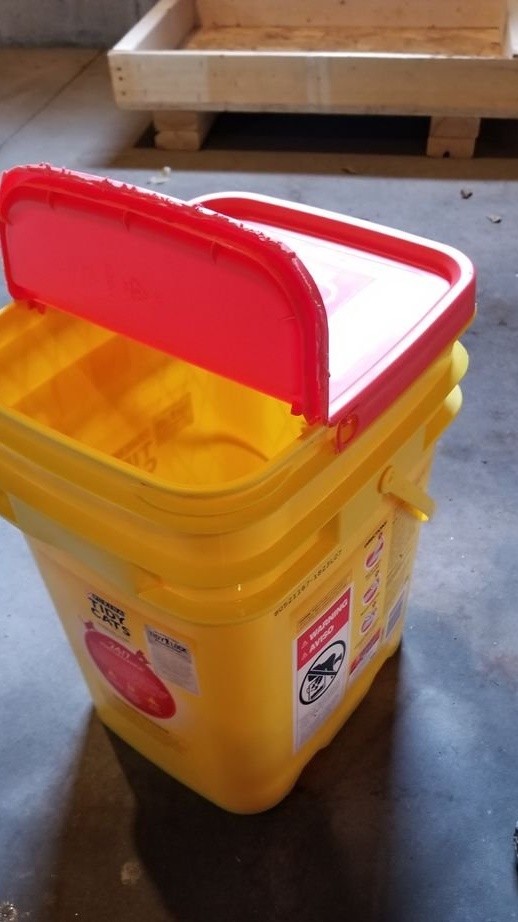
The tank will be made of another type of container that provides access to the pump and has the ability to replenish the tank. The tower that the master is building will use a cat-filled bucket. If you are using a garbage bin, it is best to start with a bucket that has not yet been opened, because you will need to trim the edges of the shorter side, since the buckets will be located on the larger part that you usually open.
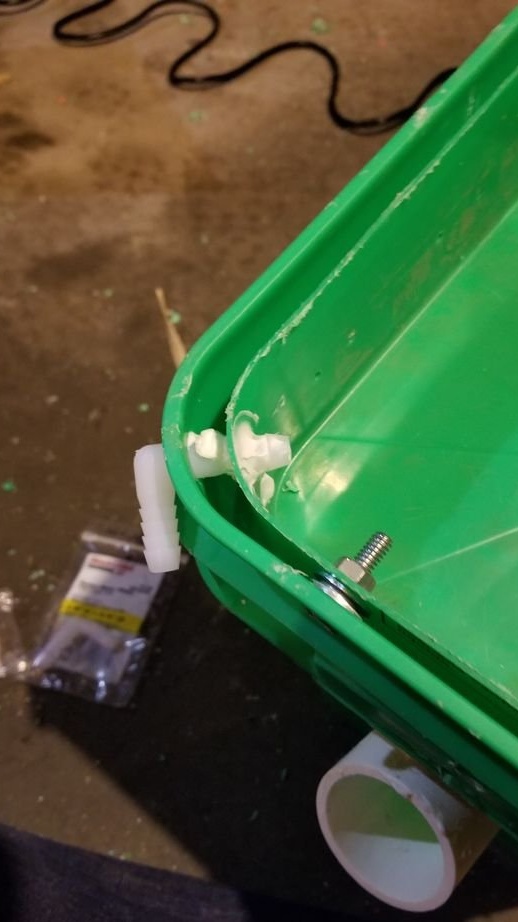
If you already have an open bucket, you only need to screw the bolt to the longer lid.
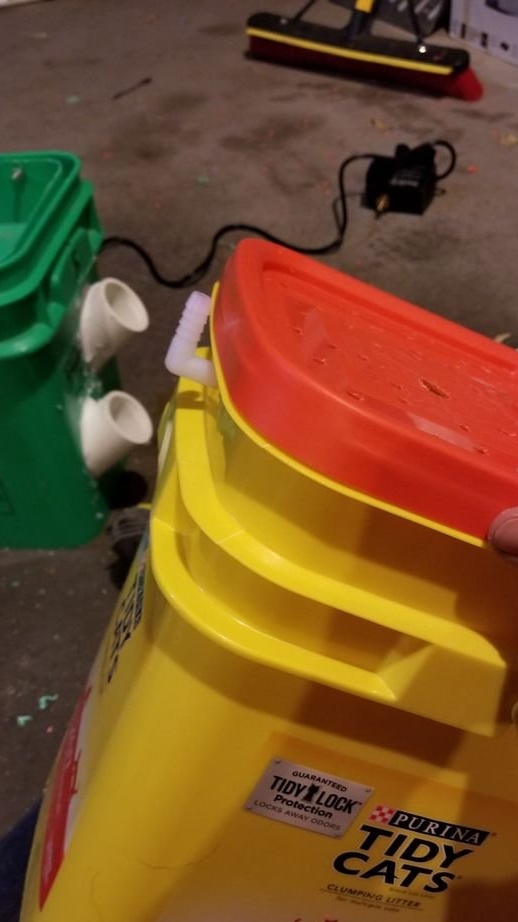
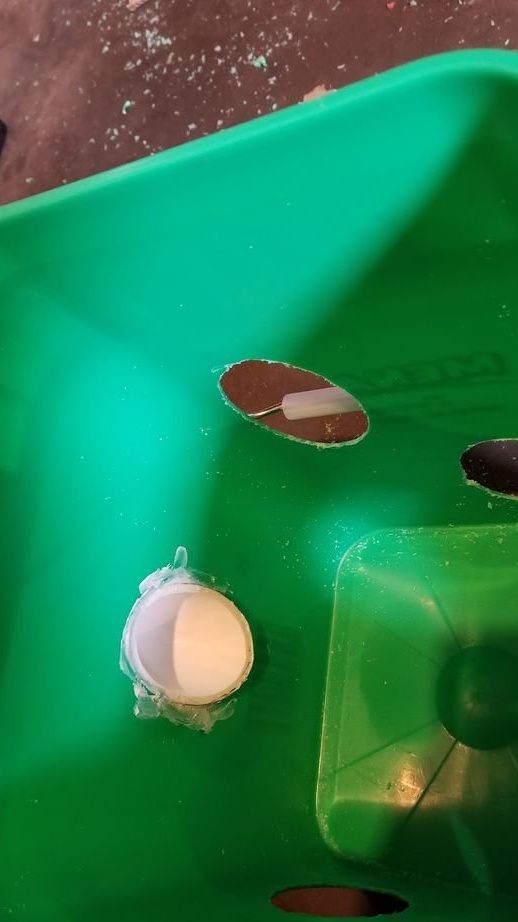
After that, you need to attach the elbow for the hose to the back of the bucket with a ruff at the end.
Select a drill bit the same size as the elbow for a snug fit.
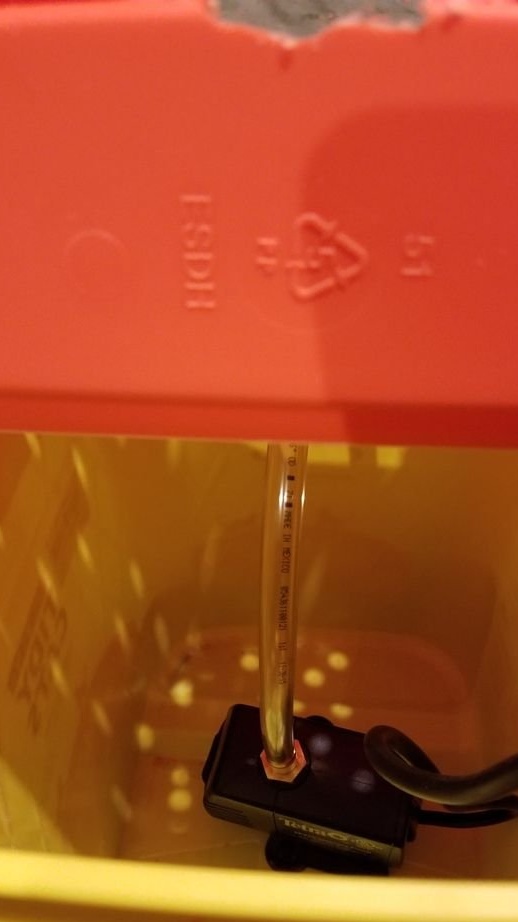
After attaching the elbow, you need to place the pump inside the tank and make sure you put on the 9 X 12 mm adapter before installing the pump.
Take a tube with a diameter of 9 mm and mark the distance between the part of the elbow inside the tank and the notch on the pump and cut the tube to the desired length. To facilitate operation, you can remove the pump.
Step 5: Trimming Buckets
Before you cut the buckets, be sure to set aside one of the buckets for later.
In any bucket that you select as the top section, do not install the pipes in the top 8 cm.
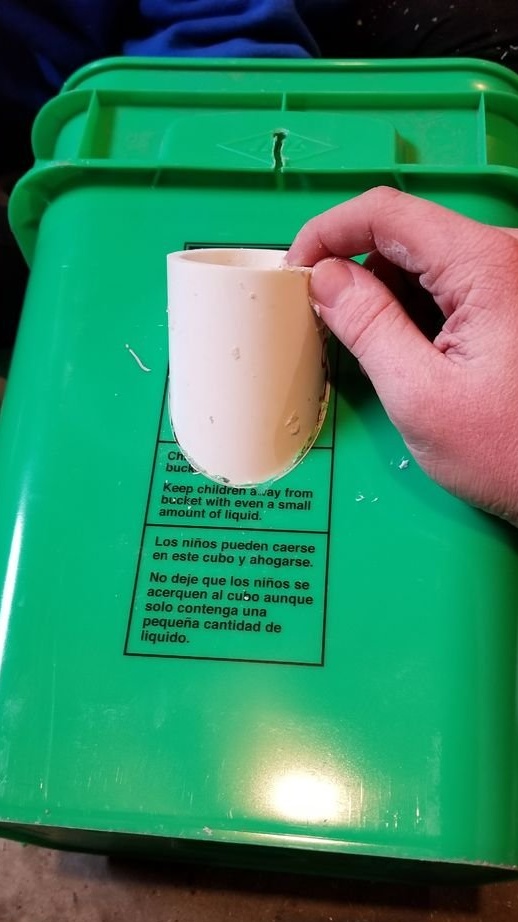
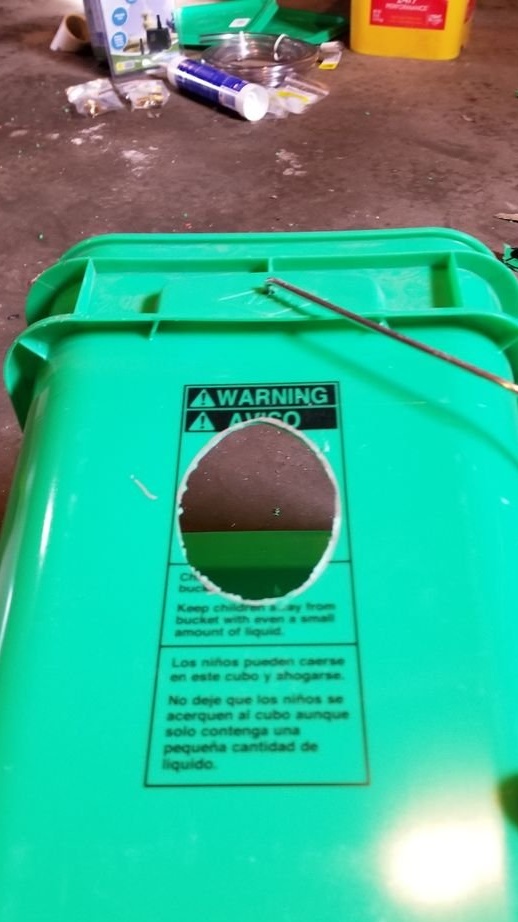
Then decide where to place the basket liners. Then place the basket approximately in the center and circle the outer surface of the PVC pipe.
Then cut the hole by drilling the initial hole. Cutting can be finished with a jigsaw or dremel.
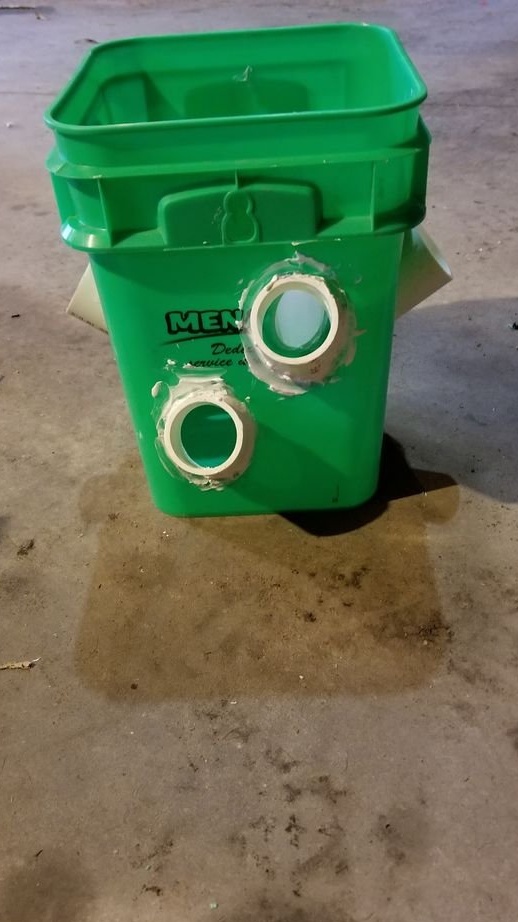
At this point, you should have six oval holes in your bucket.
If your square buckets have handles and you do not need them, then remove them right now.
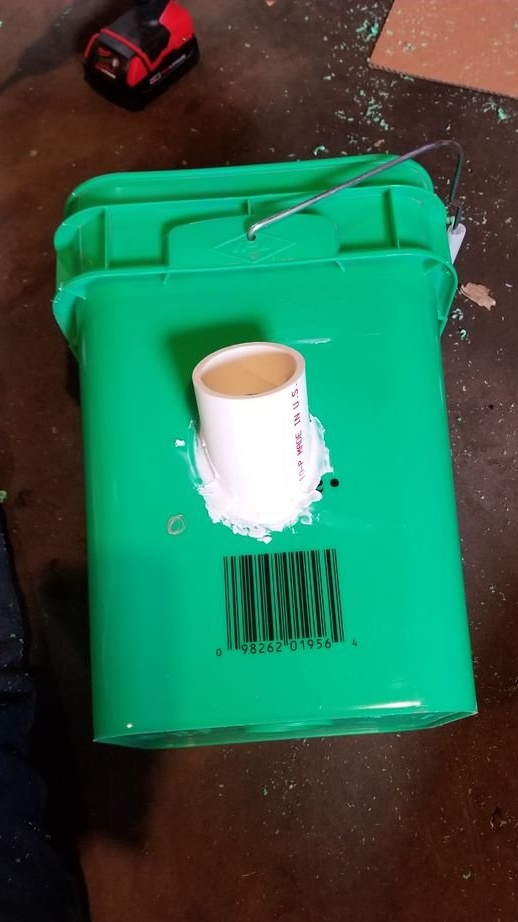
Use glue / sealant to attach the pipes to the buckets.
Step 6: Creating the Upper Reservoir

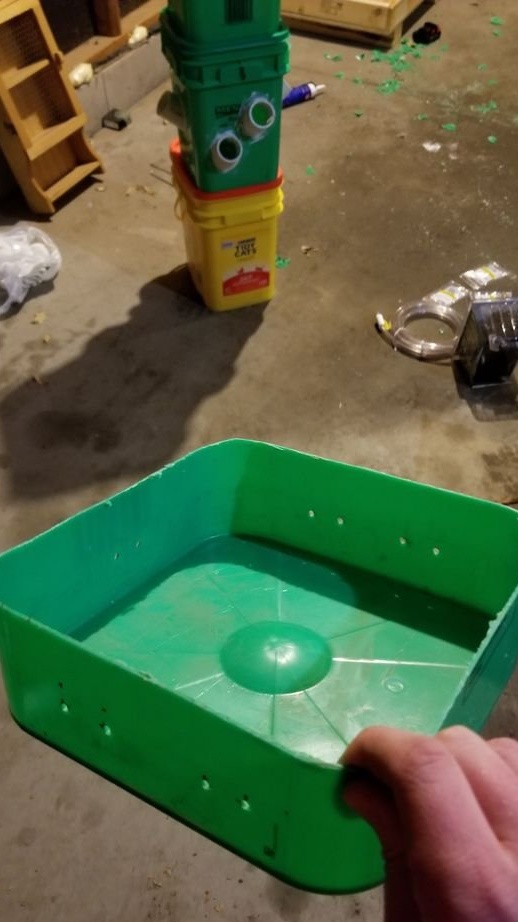
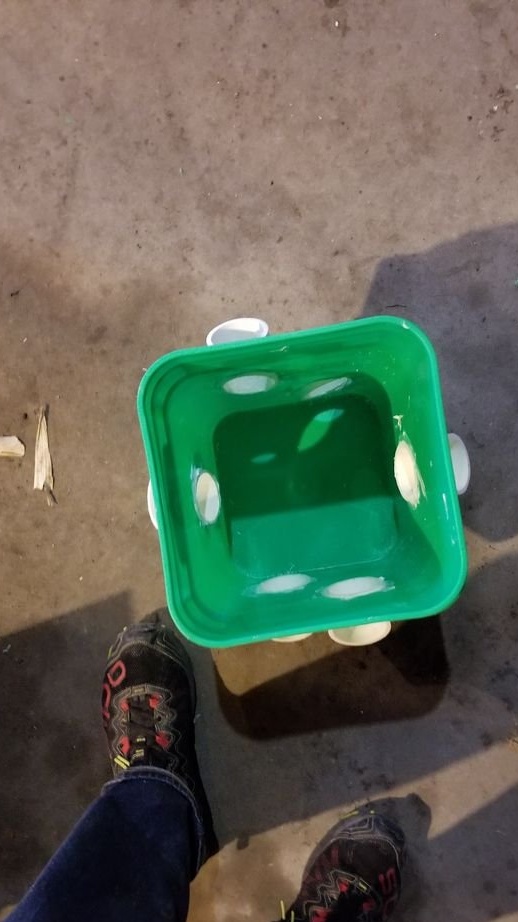
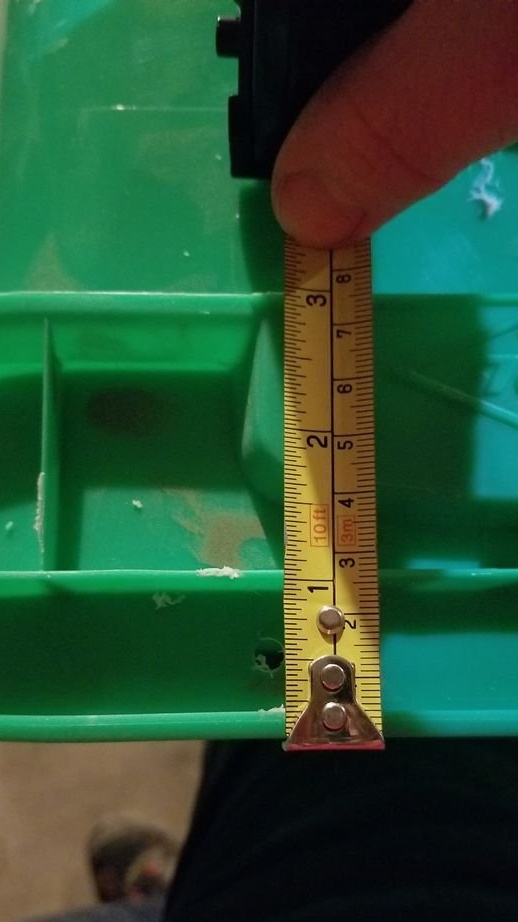
This step is relatively simple. The remaining bucket is used as the top tank. To make a tank, it is necessary to measure 8 cm from the bottom of the bucket and make a mark. After that cut off the bottom of the bucket, the top will not be used.
To do this, it is best to use a table saw, as it has a ruler on it, and it will cut the bucket beautifully and directly.
The tank has sufficient depth. If several holes are too high, then it is possible to adjust them to the desired height.
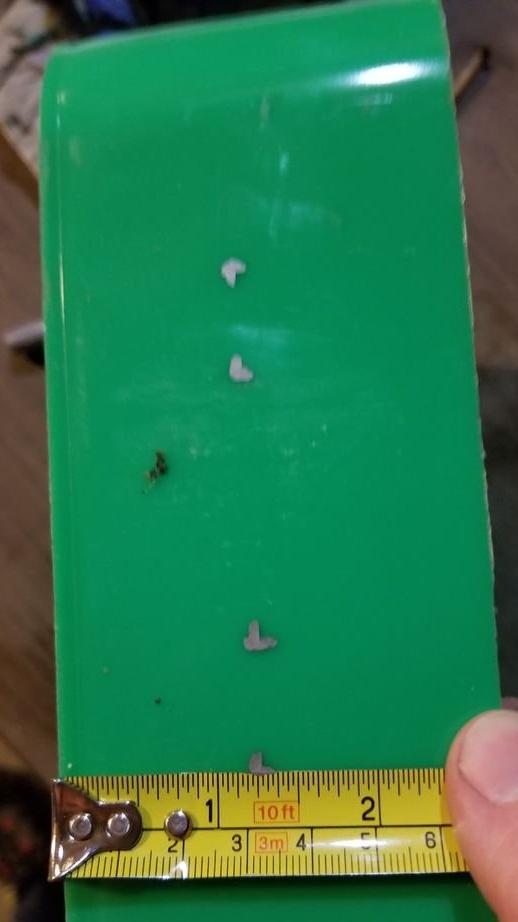
After that, find the seam where the top and bottom of the buckets connect and mark where the holes should be located.
Holes should be marked about 1/3 of the way from the inner hole of the PVC pipe. The easiest way to make these marks is by lifting the upper tank next to the corresponding side of the bucket in which you place it. After that, drill holes corresponding to the desired flow size.
Step 7: Add Drainage to Buckets
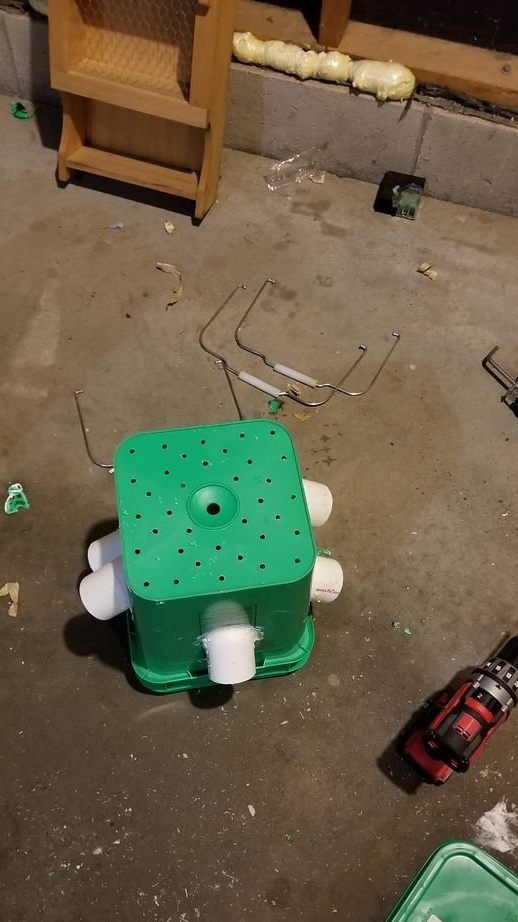
For this hydroponic farm to really function, water must flow from top to bottom. If you do not add drainage, then all the liquid will be pumped up and eventually flow out of the cutouts into the PVC. Therefore, drainage is necessary.
To drill drainage holes, the drill must choose a larger diameter than the holes in the bottom. The master used a 15 mm drill.
Step 8: Attaching the Tank to the Upper Bucket
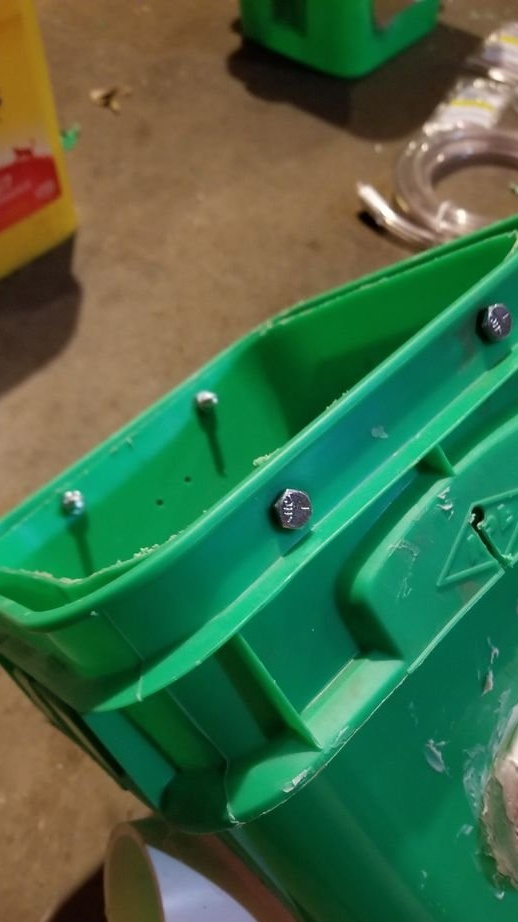
If you decide to use screws for fasteners, keep the top tank in line with the side you start on and connect the two buckets, but be sure to stop shortly after the screw passes through the top tank. Then screw on the other side until you fasten both buckets. Then slowly tighten all the screws until the tank is almost flush. If it was flush, the holes drilled to pass through the pipe would not work properly.
If you decide to use bolts, first select a drill of the same size as the bolt.Then hold the top tank in line with the holes and drill both buckets. Then repeat the procedure for the other side before adding bolts. Then insert the bolt through the outer bucket. For the gap between the tanks, several washers must be used to create space. Lastly, install the top tank and nut. Tighten the first two bolts, and then repeat the procedure for the other side.
Step 9: Add tributary to the upper reservoir
Select the angle of the tank to drill a hole for the knee and mark the location.
After installation, fill all voids with glue.
Step 10: Water Way Down
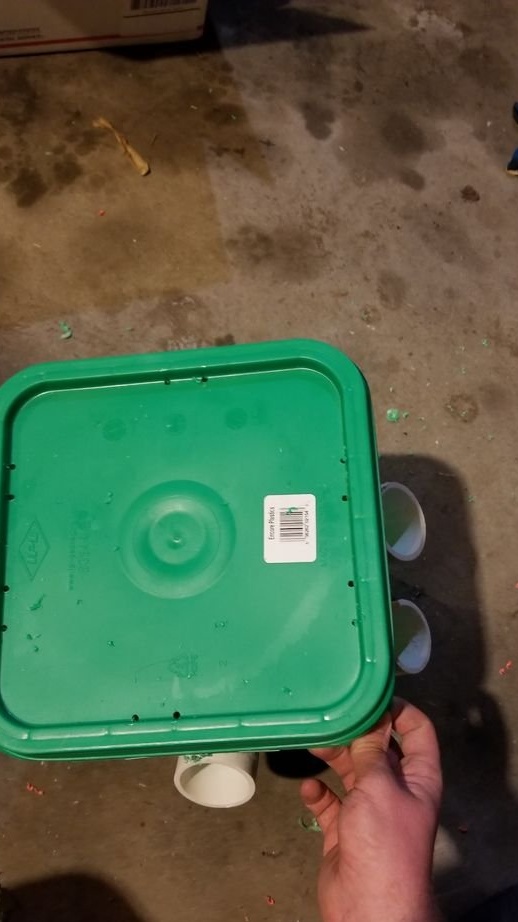
Attach the covers to the remaining buckets and drill holes in the same way and the same size as those used in the tank on the drain tower from top to bottom.
It is important to remember that water should easily pass from top to bottom, otherwise there will be a waterfall.
Step 11: Optional Step
When assembling the tower, you can fasten all the buckets together with bolts / screws so that it does not fall apart on impact. Alternatively, stone or other heavy material can be added to hold buckets.
Step 12: Build
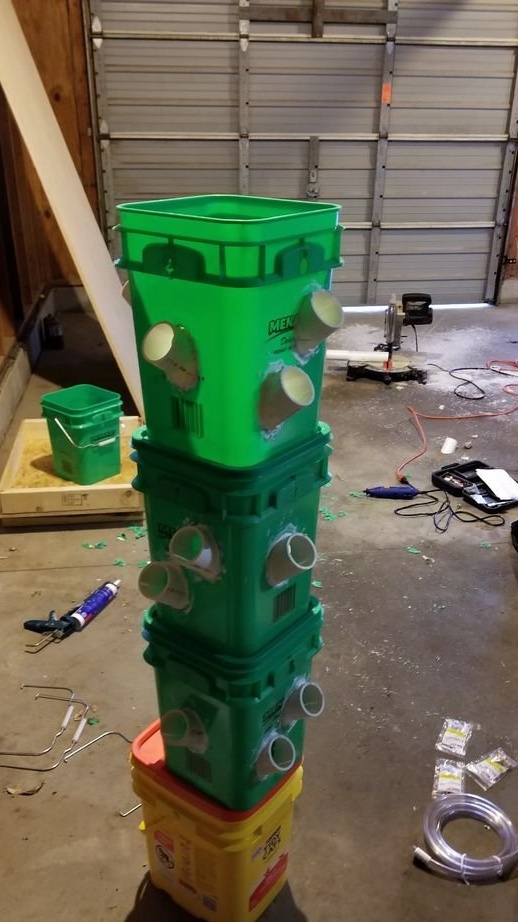
First place the lowest bucket on top of the drain holes on the tank.
Then stack the buckets on top of each other. You can orient them at your discretion, as this only changes the appearance of the tower and does not change the functionality, provided that the covers are installed correctly.
When placing the top bucket, make sure that the elbow of the upper reservoir is on the same side as the elbow exiting the reservoir.
After assembling the tower, measure the required length of 9 mm. X tubes. Then attach the tube to the two elbows.
Step 13: Testing and Operation
Testing
Partially fill the tank with water and bleed the pump until the water reaches the top, then finish filling the tank. Then start the pump for a few minutes, and while it is working, check for leaks and other problems on the tower.
If everything is going well, then you should have a working hydroponic tower.
After successful testing, drain the water.
Exploitation
Sprout your plants in advance before placing them in the tower, as this system does not germinate plants from seeds.
Use pH testers and regulators to adjust the pH of the water to a level suitable for the plants you grow.
Be sure to use a timer to operate the pump, as the system must be turned on every 15 minutes throughout the day.