Ukulele is translated into Russian as a jumping flea. This musical instrument, similar to a small guitar, was born on Madeira Island. Then it gained popularity in the Hawaiian Islands and from there it spread throughout the world. Therefore, the ukulele is also called the ukulele. The small size of the instrument, the perky sound and the ease of basic development are the “advantages” of ukulele, which attract both skilled musicians and beginners.
So the Master decided to master the game on the ukulele, but, unlike many others, he decided to make the instrument on his own.
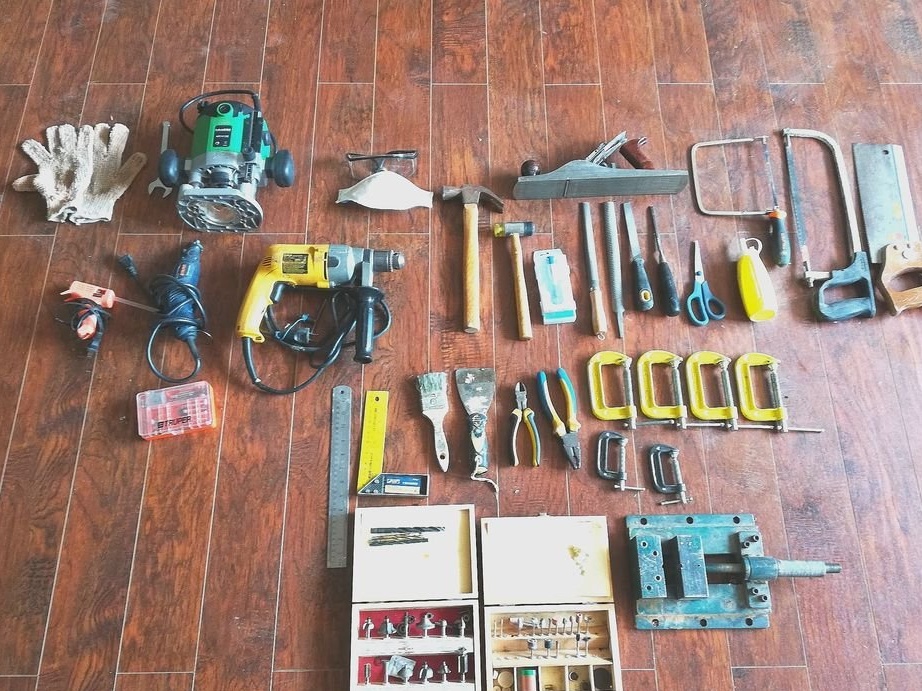
Tools and materials:
-Drill;
Milling cutter;
-Engraver;
-Glue gun;
-Hammer;
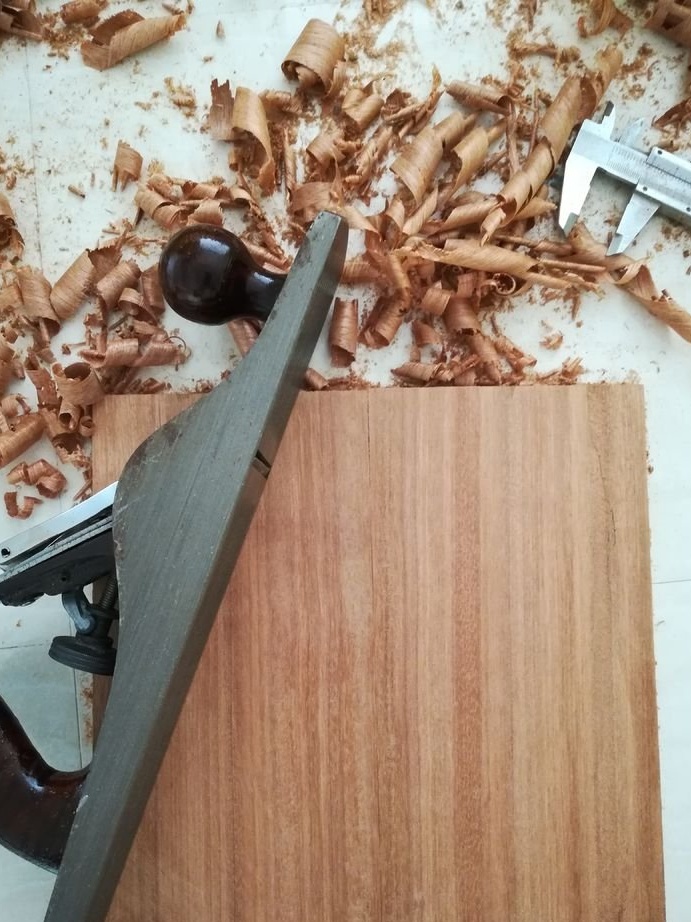
-Plane;
- Chisels;
-Scissors;
-Glue;
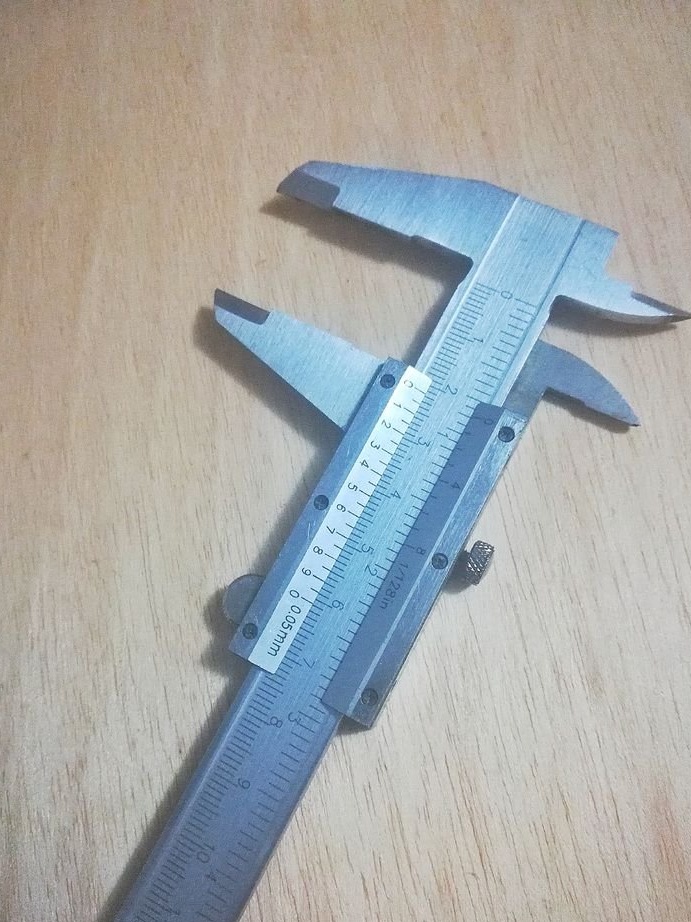
-Calipers;
-Hacksaw;
- Hacksaw for metal;
-Rule;
-Nippers;
-Pliers;
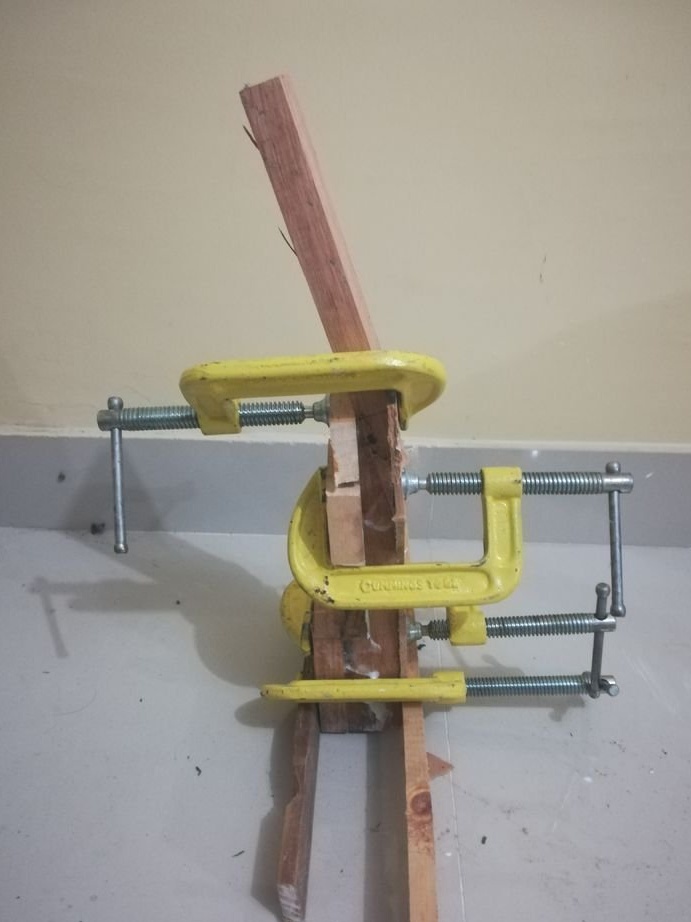
- Clamps;
-Vise;
- Board 700x200x15 mm;
- Board 500x70x20 mm;
- Plywood 600x300x4 mm;
- Laminated MDF 70x1000 mm - 2 pcs;
- Whetstones 10x10 mm;
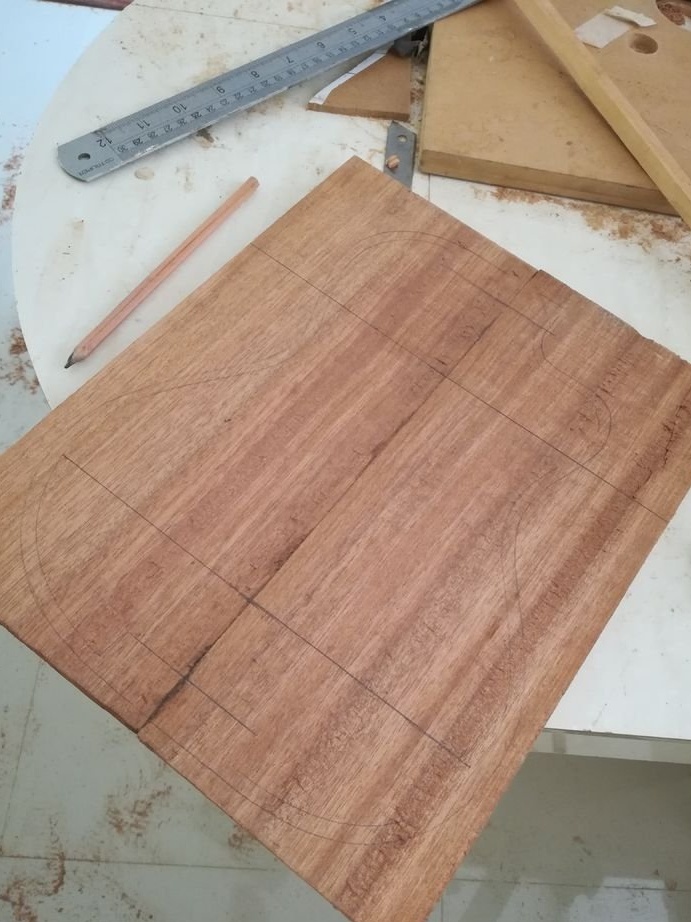
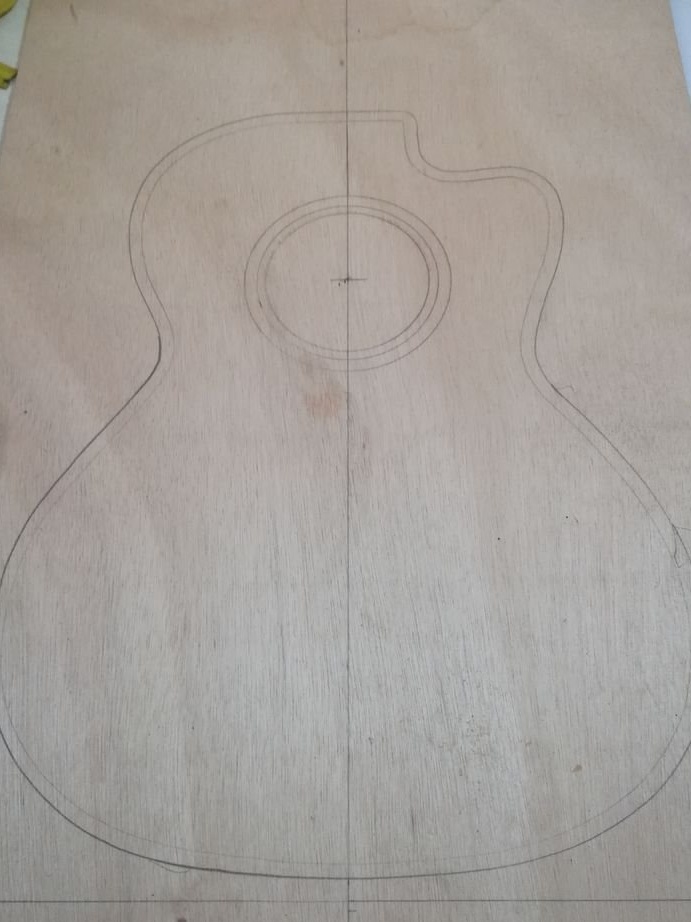
Step One: Top Deck
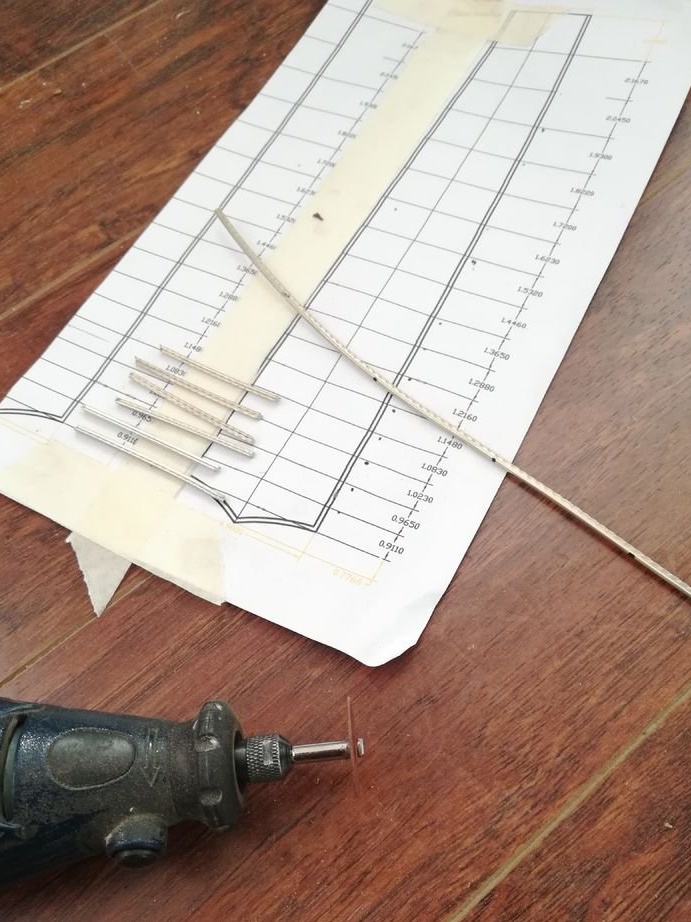
Cuts out a paper template. Pattern cuts the upper deck. Templates can be downloaded below.
Ukelele A0.pdf
Ukelele bridge A4.pdf
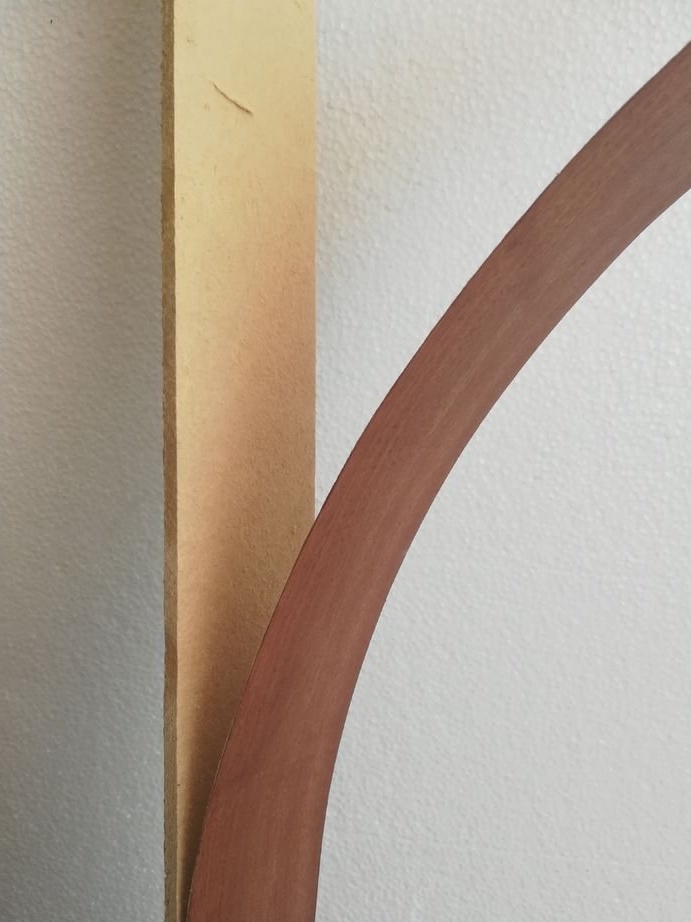
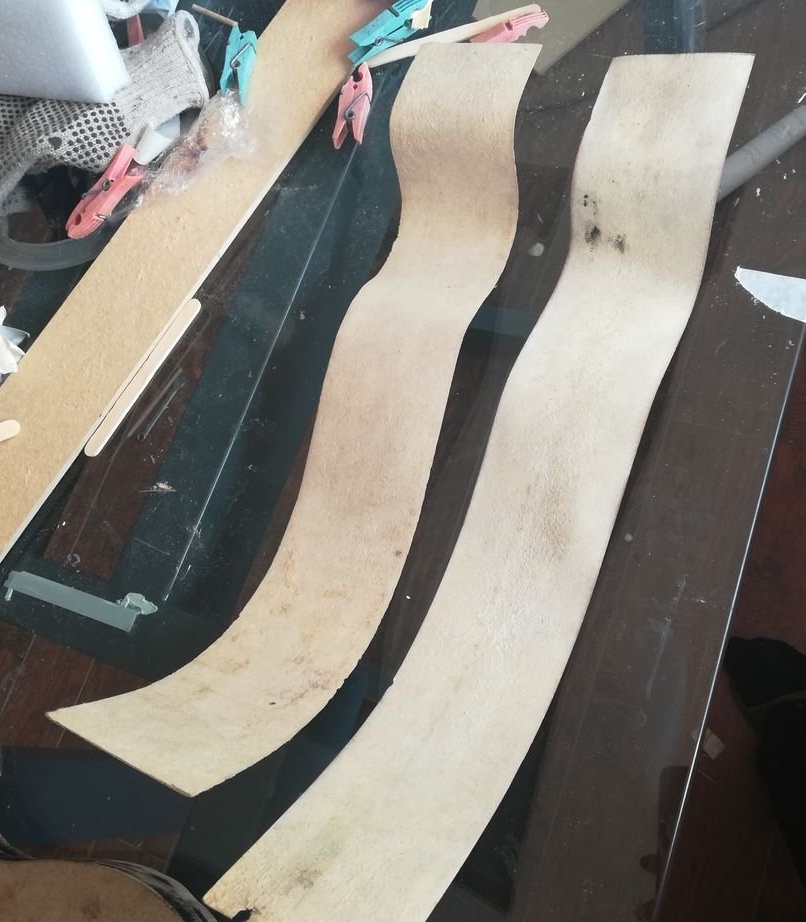
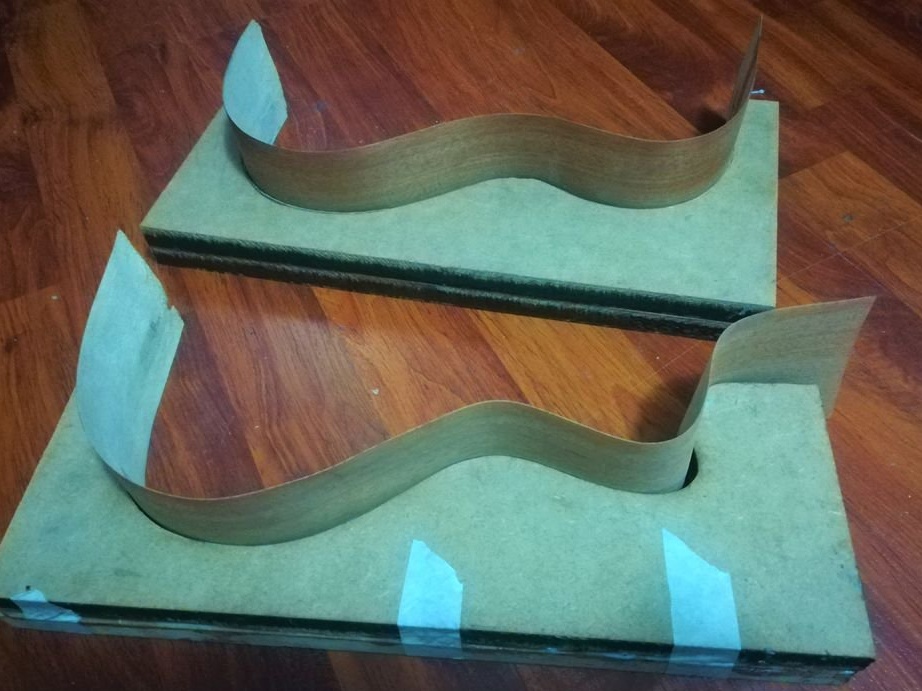
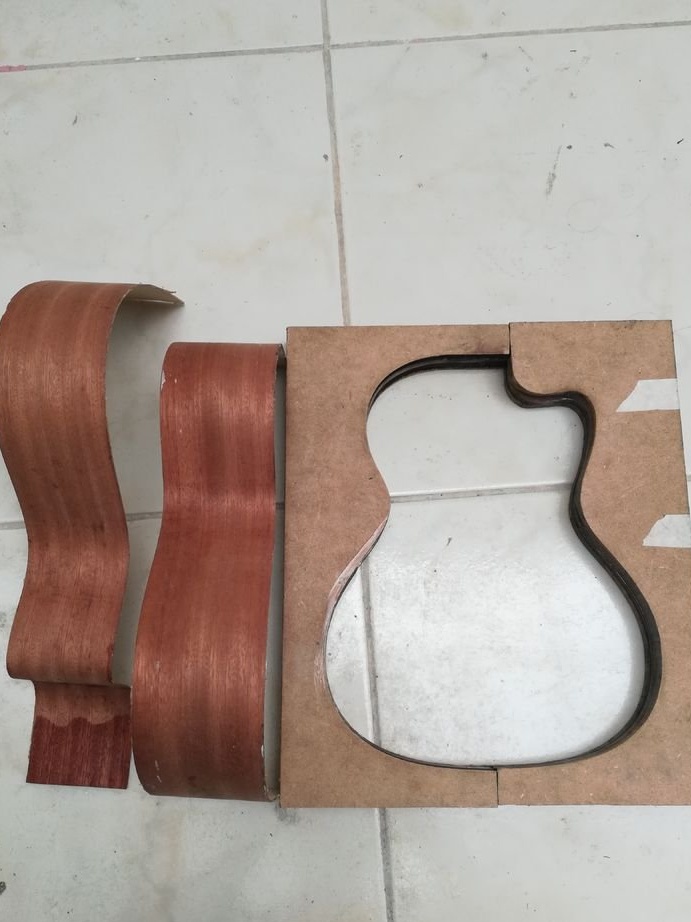
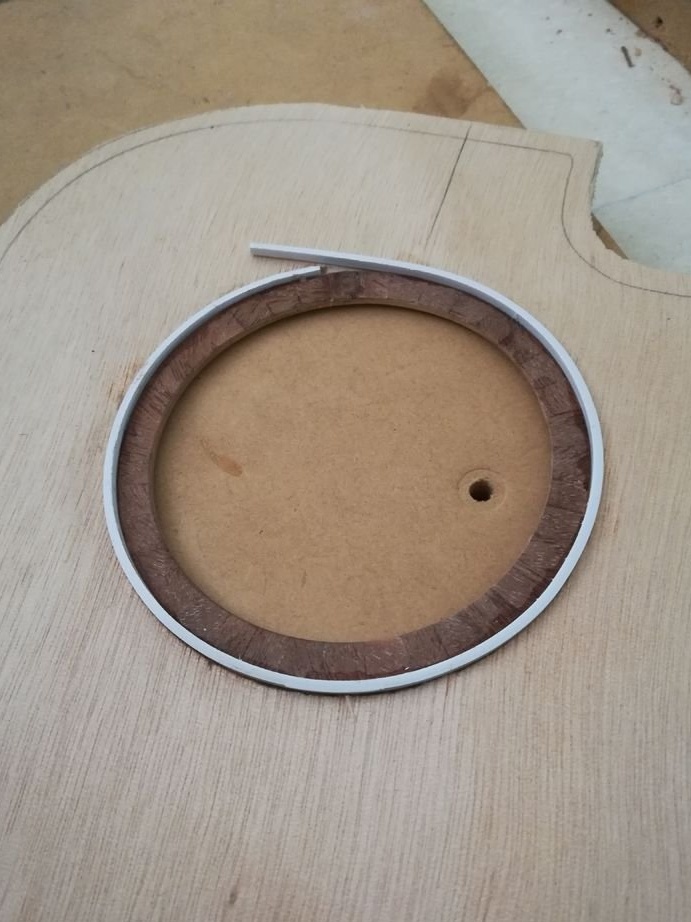
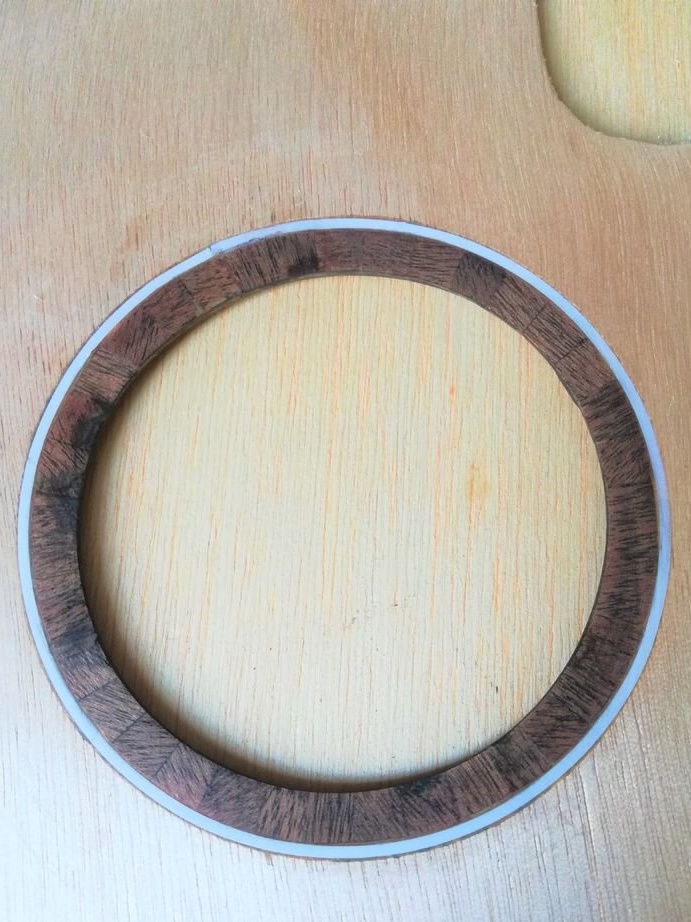
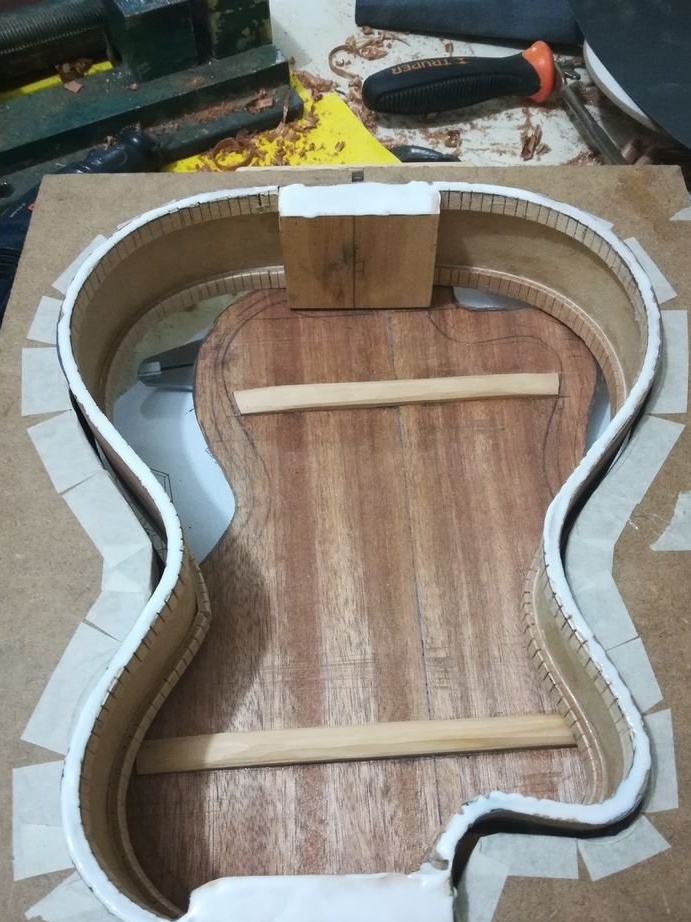
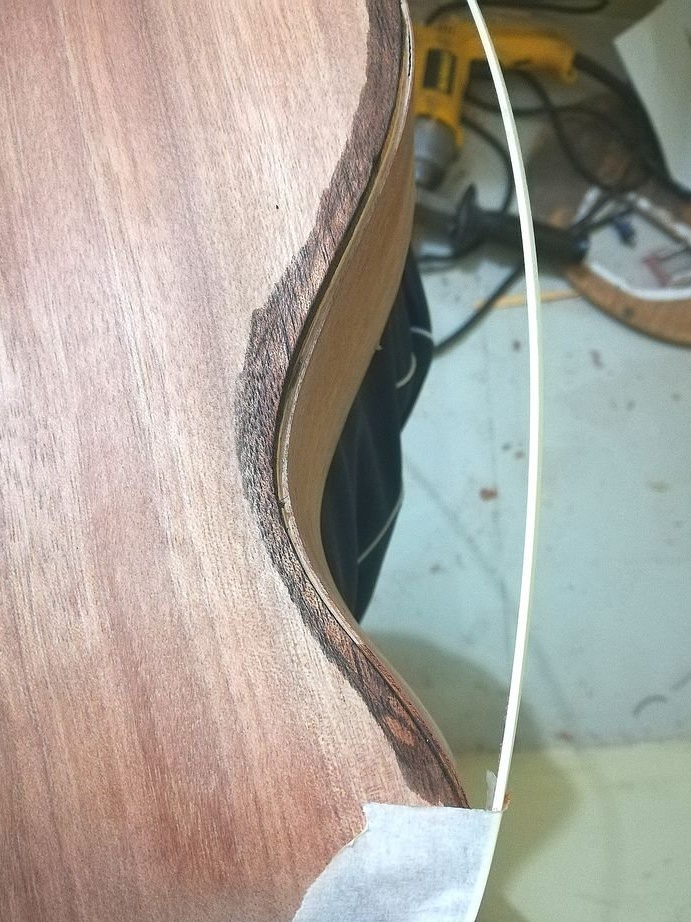
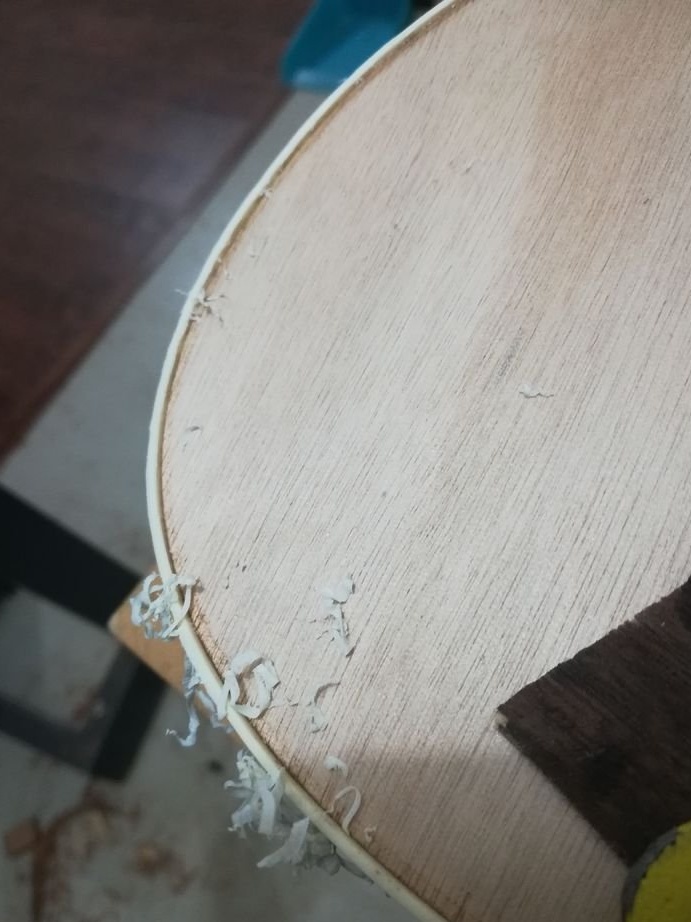
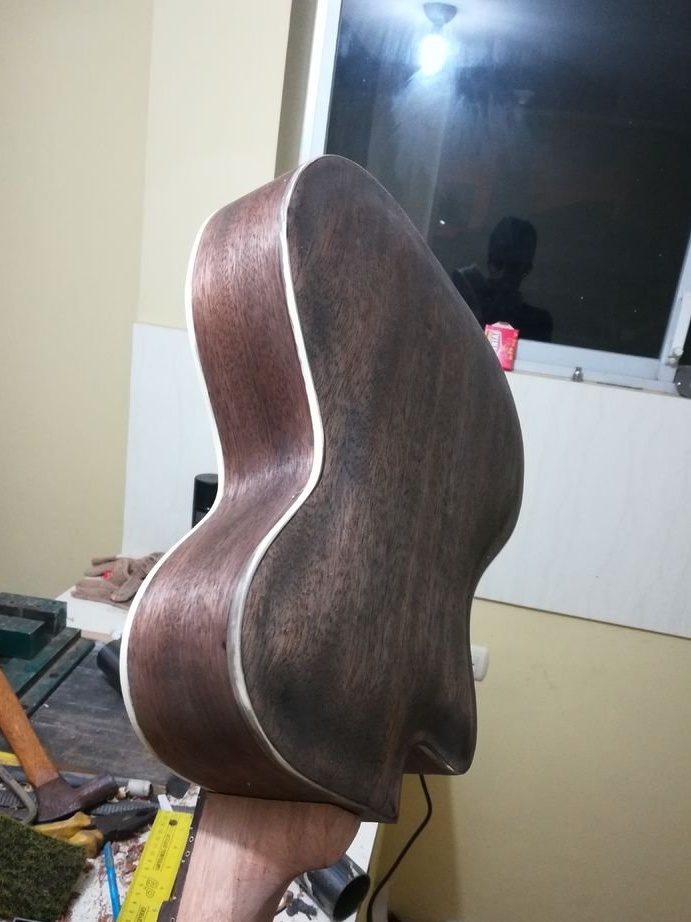
Step Two: The Shell
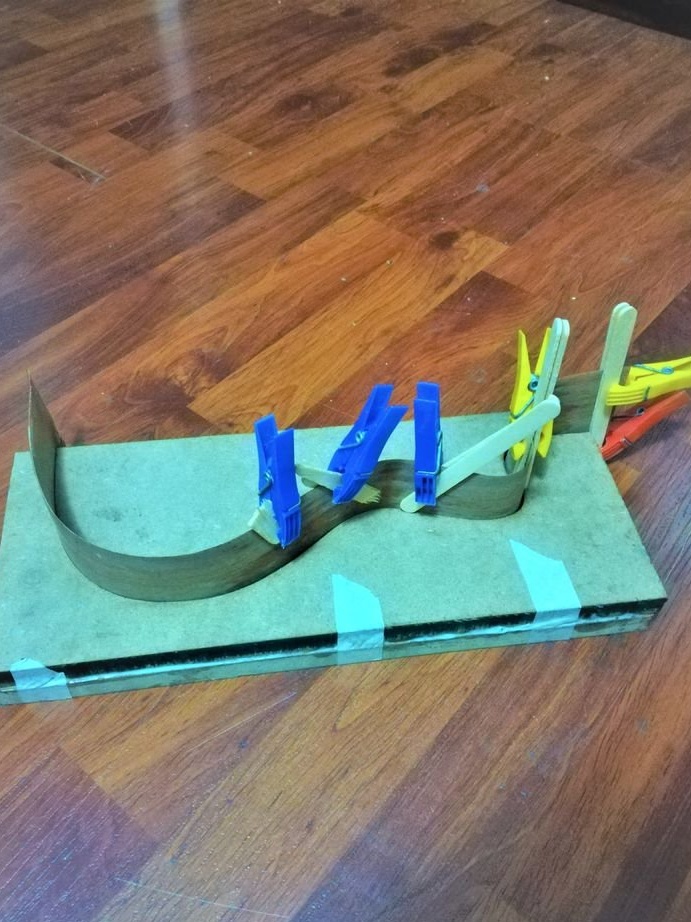
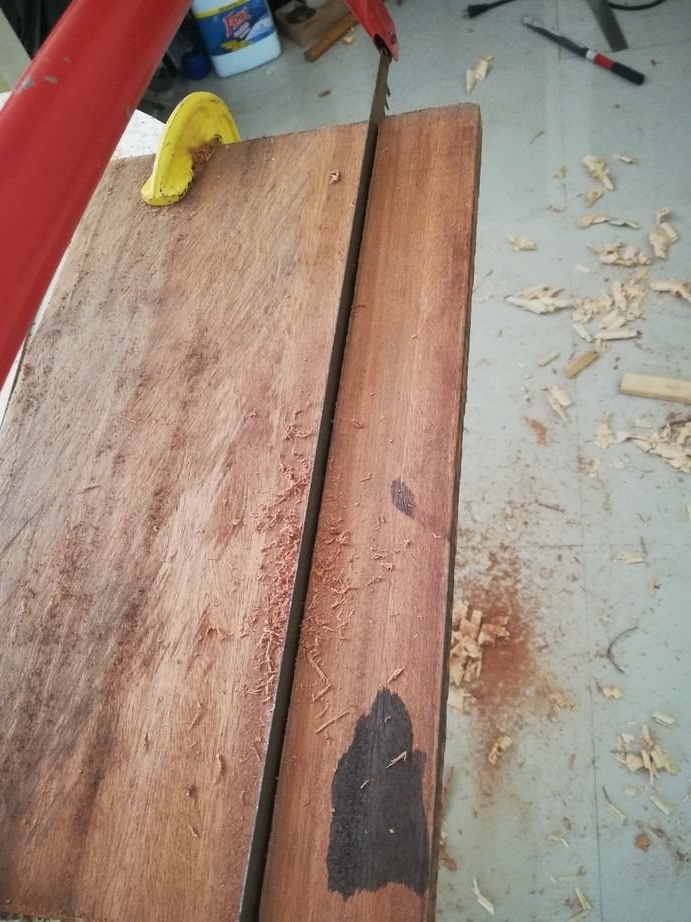
Cuts two stripes for shells from MDF. Now it needs to be bent, given the desired shape. There are many different methods for giving a tree complex shapes. The master soaks the MDF with water and bends using a hot pipe.
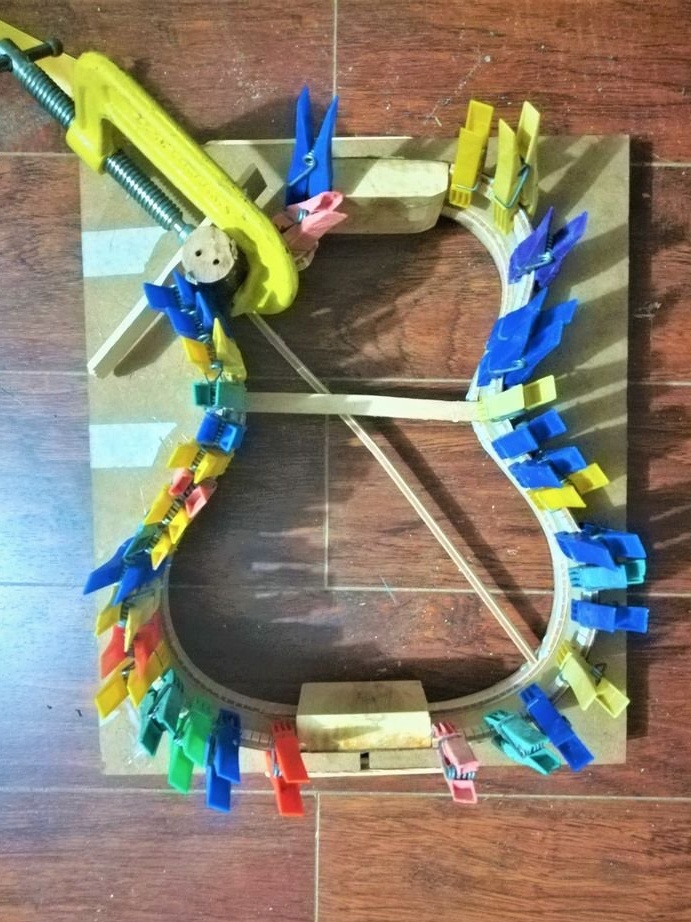
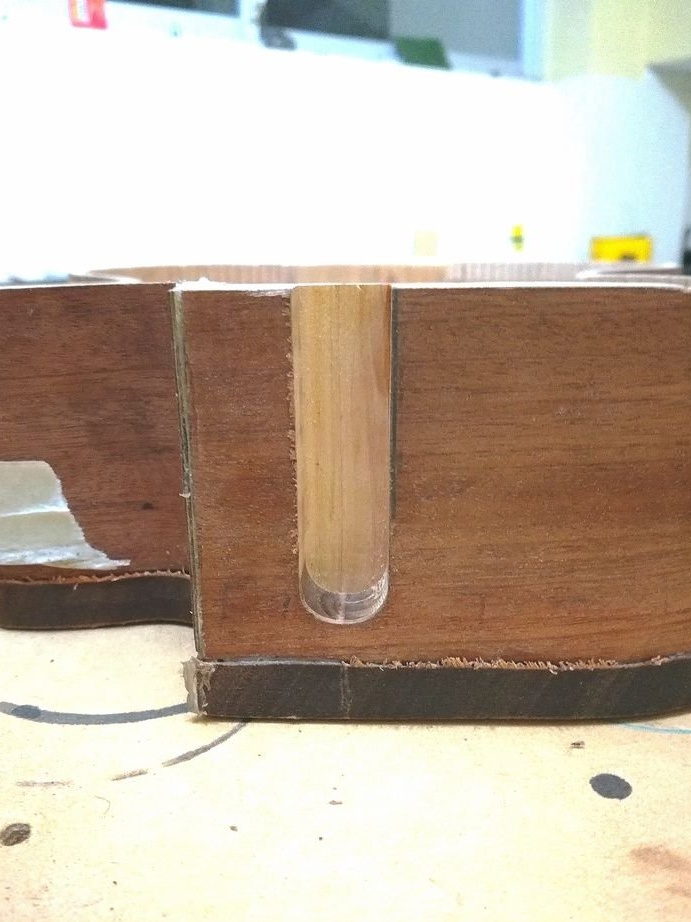
Further, the master glues two halves of the shell and glues two strips along the entire inner diameter, above and below. The strips have cuts along the entire length and are intended to give rigidity to the structure.
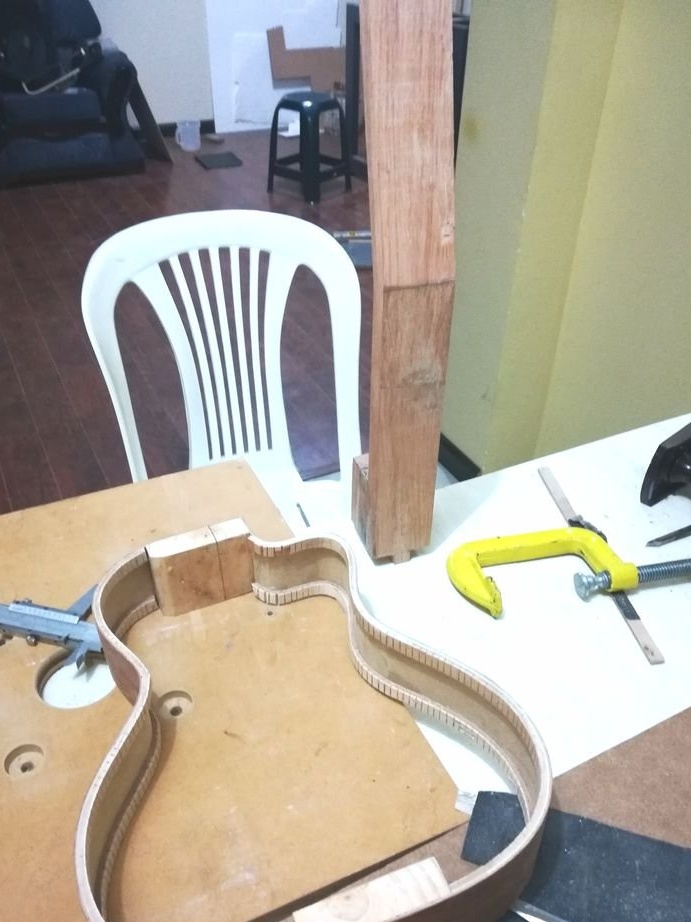
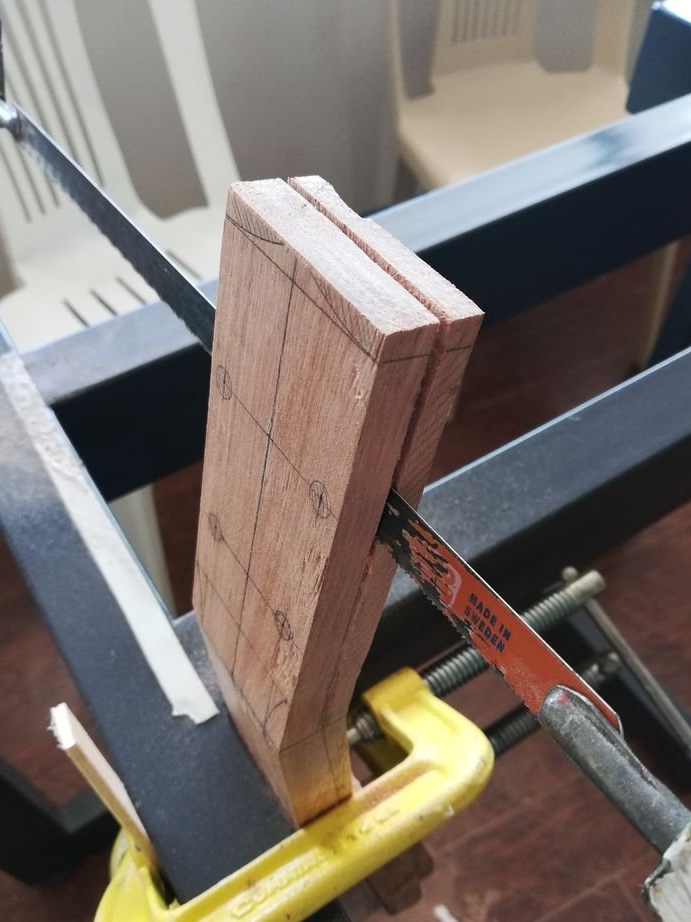
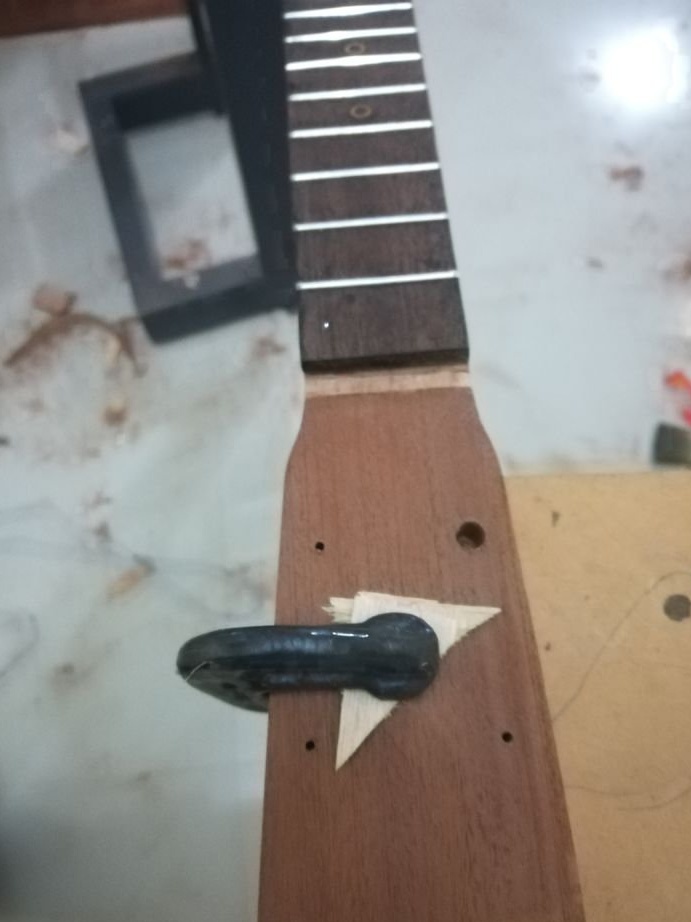
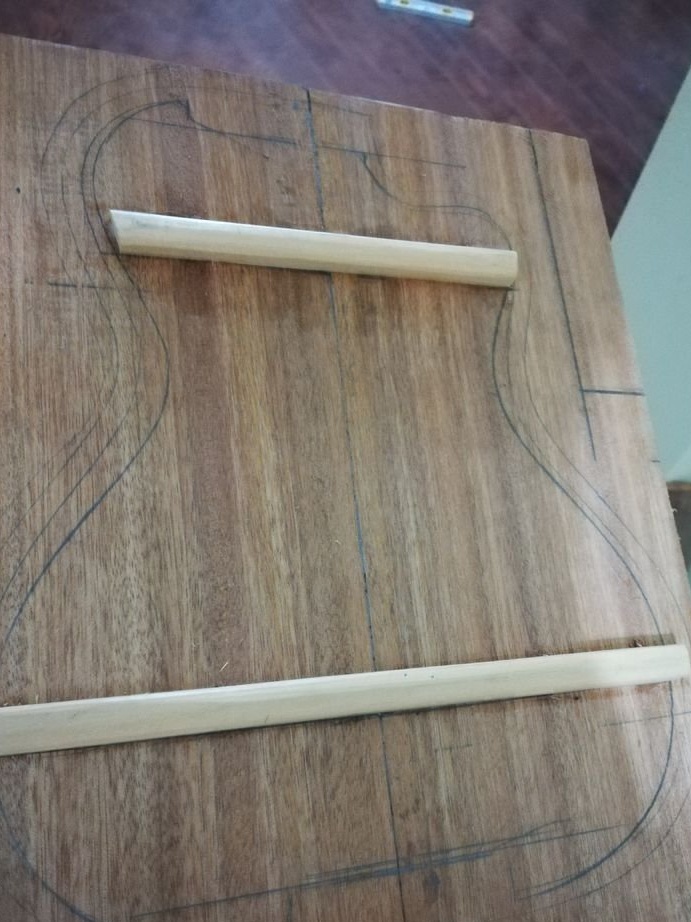
Step Three: Vulture
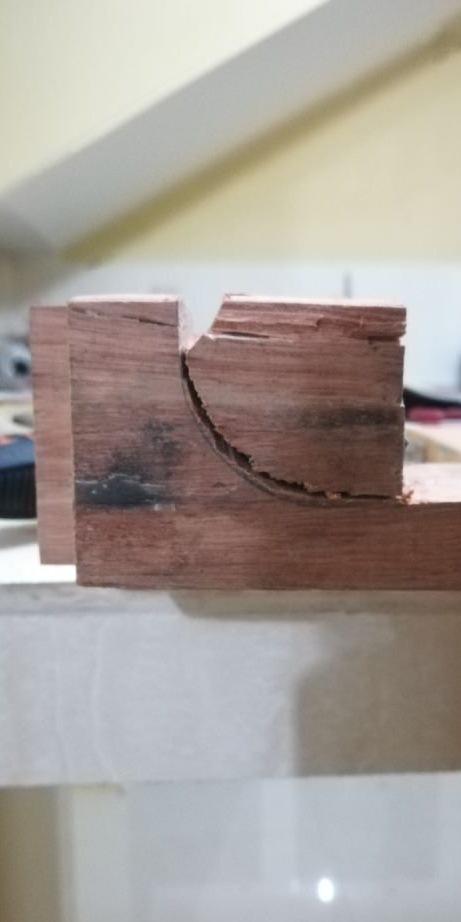
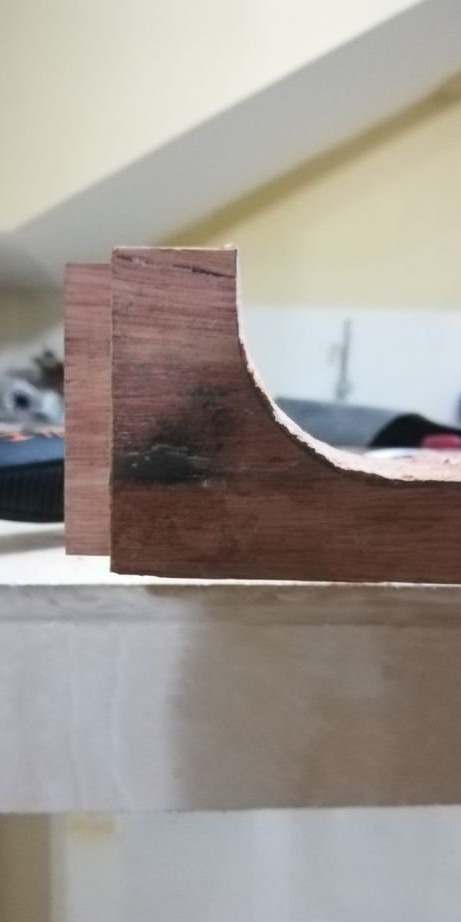
Then the master glues two boards cut according to the pattern. This will be the head of the neck and neck. The boards are glued at an angle of 15º relative to each other.
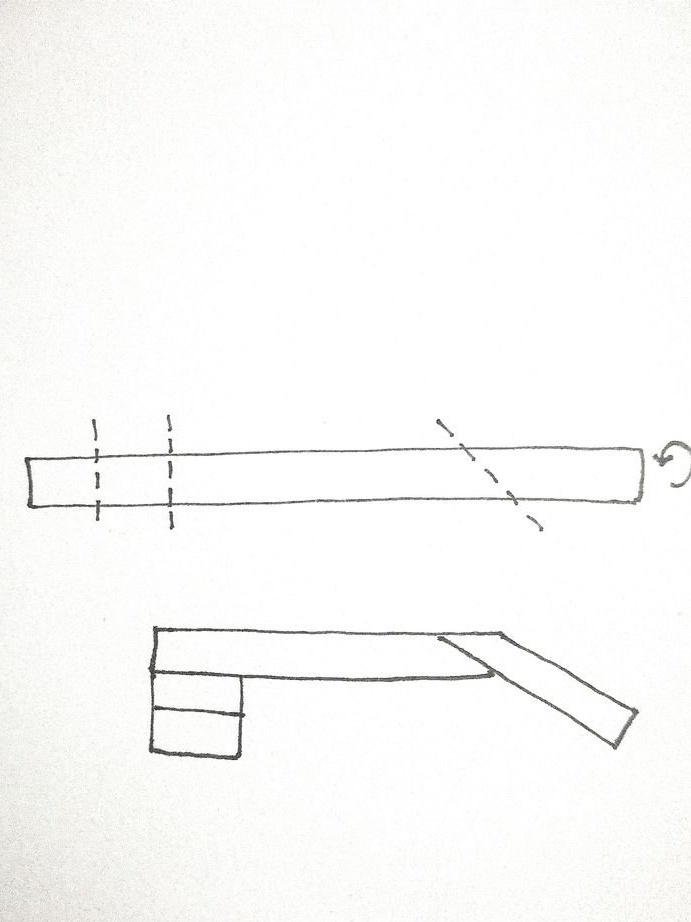
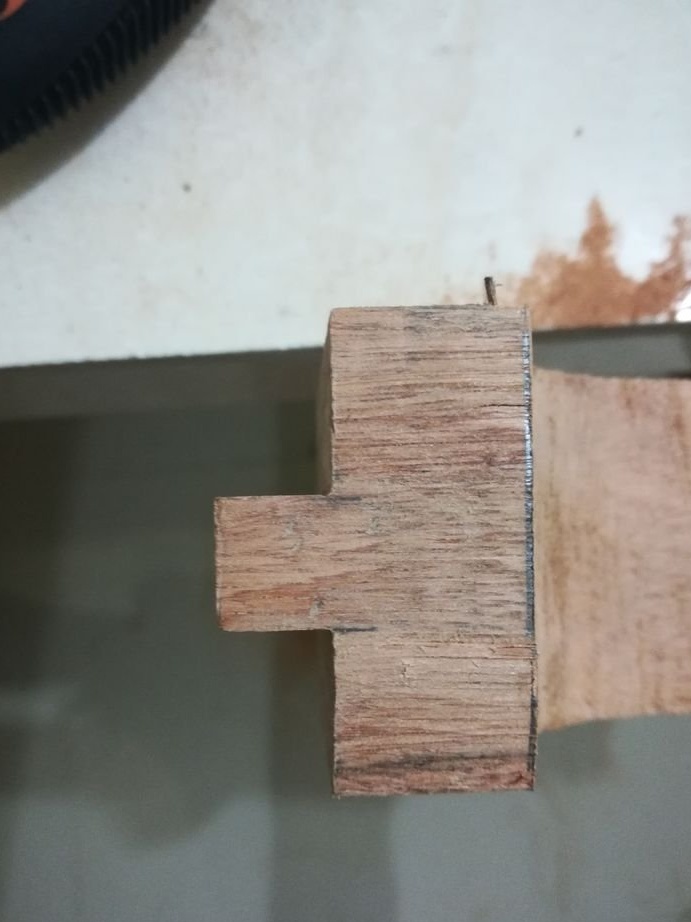
After gluing the neck begins to process it. Cut the heel, process the head of the neck.
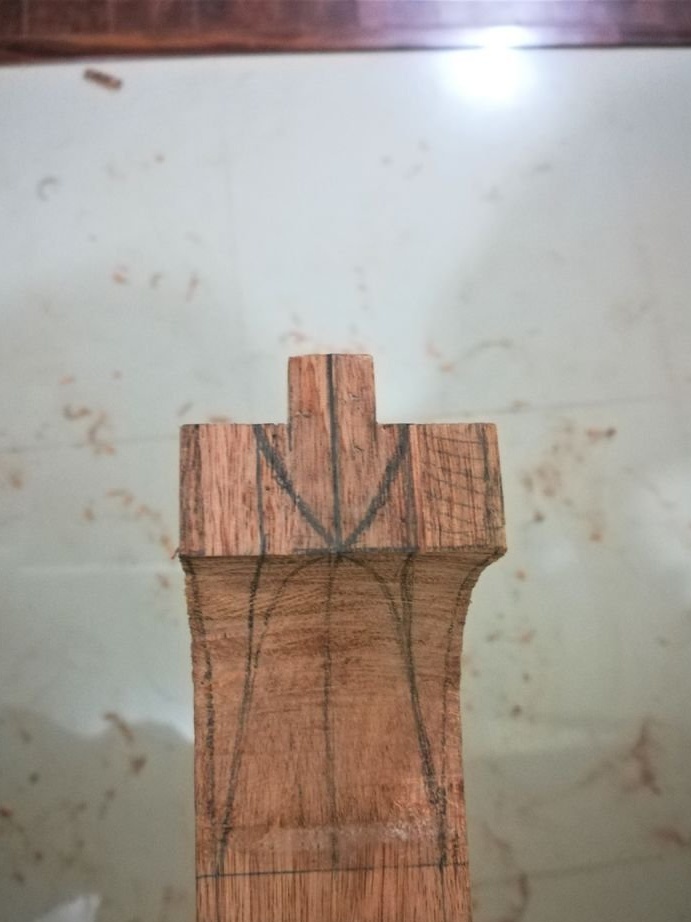
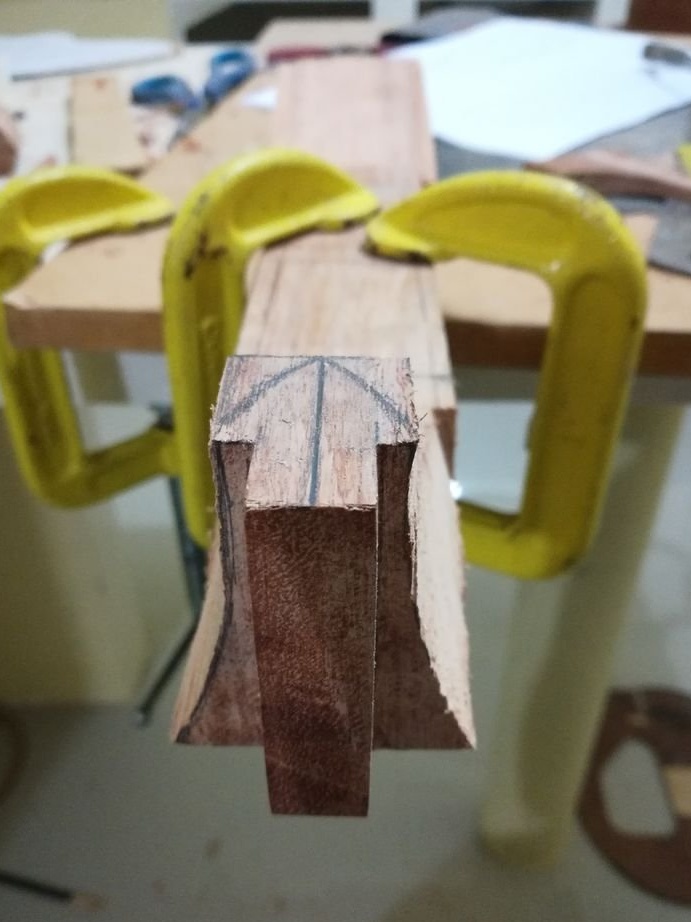
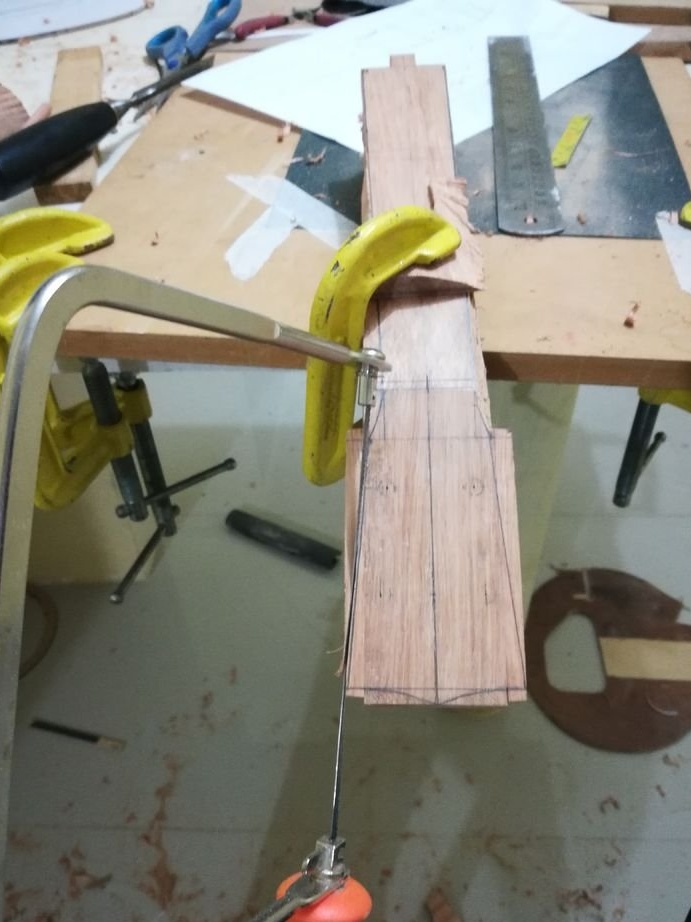
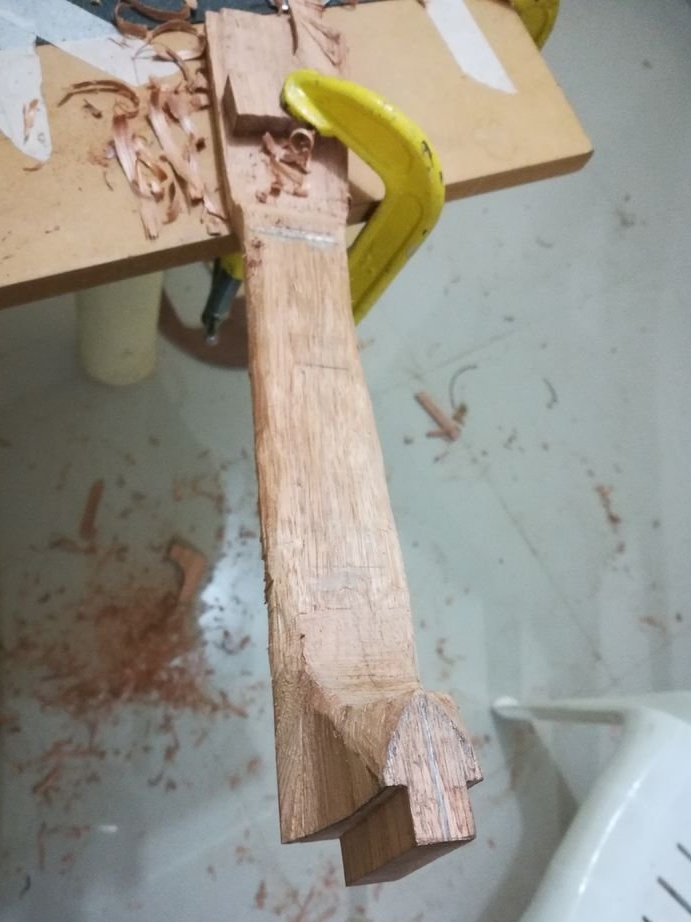
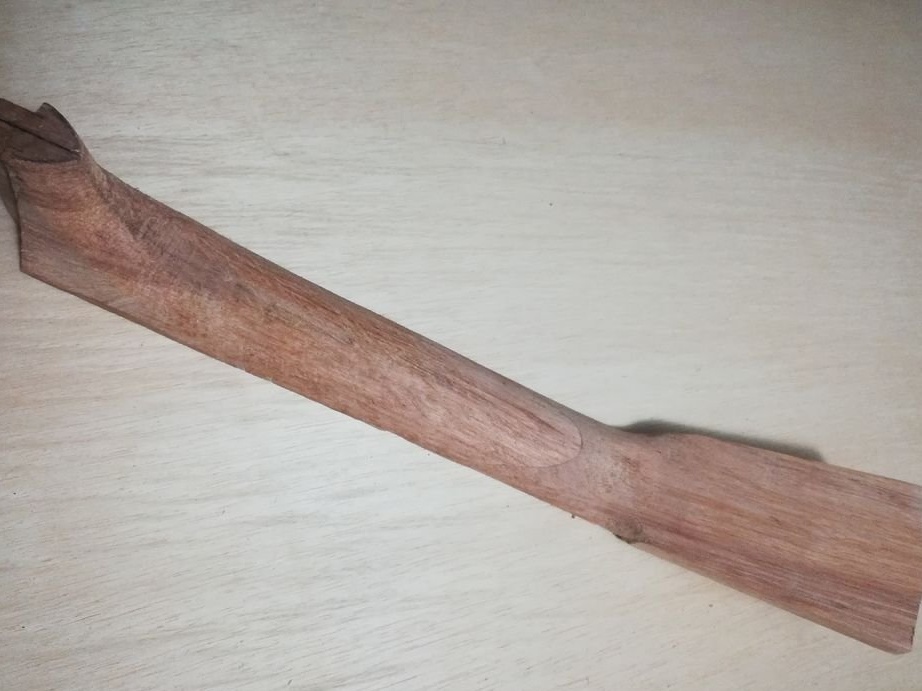
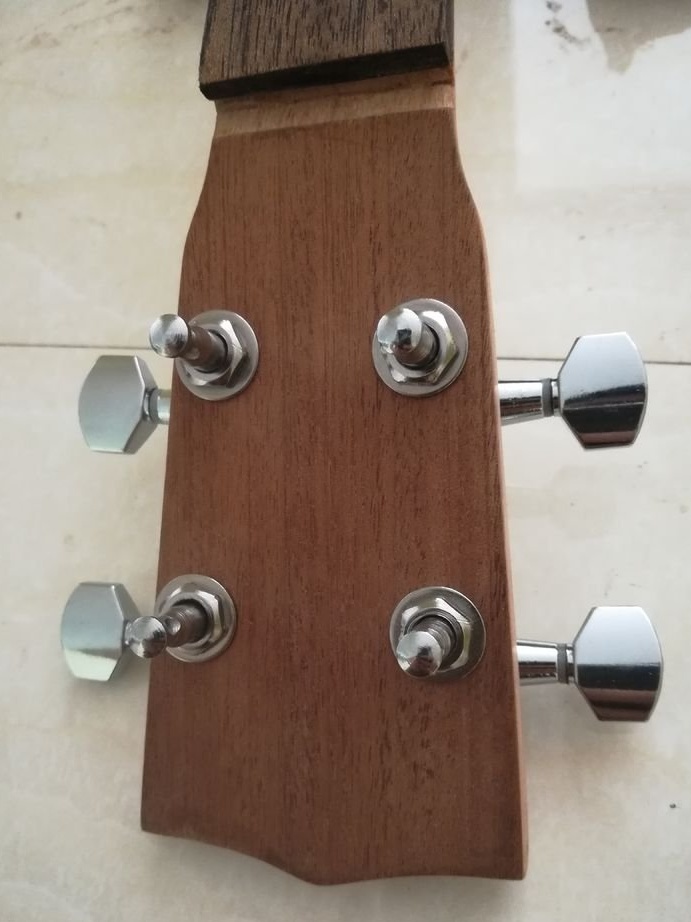
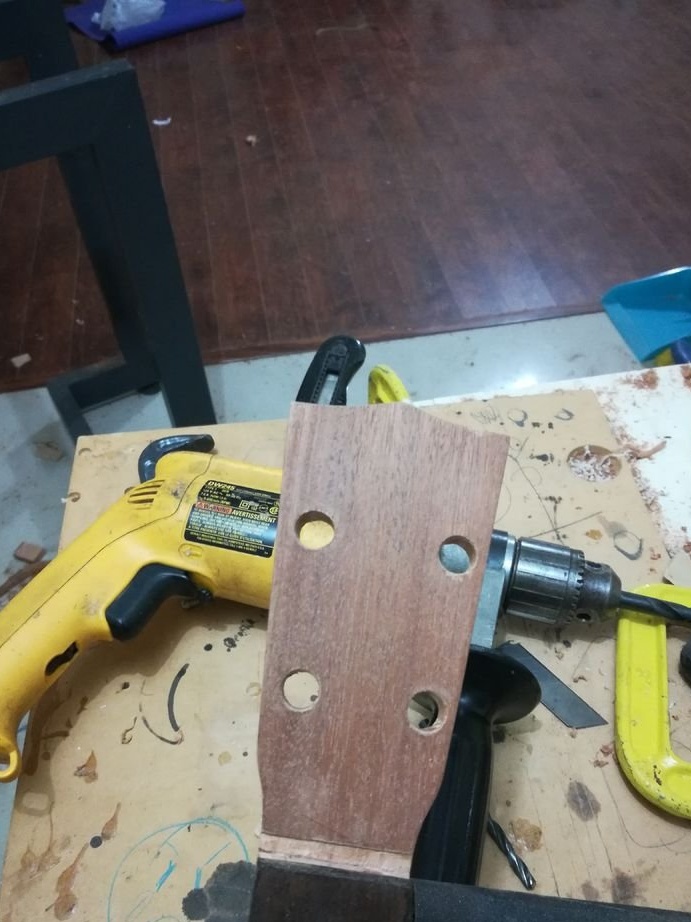
Drills holes for pegs.
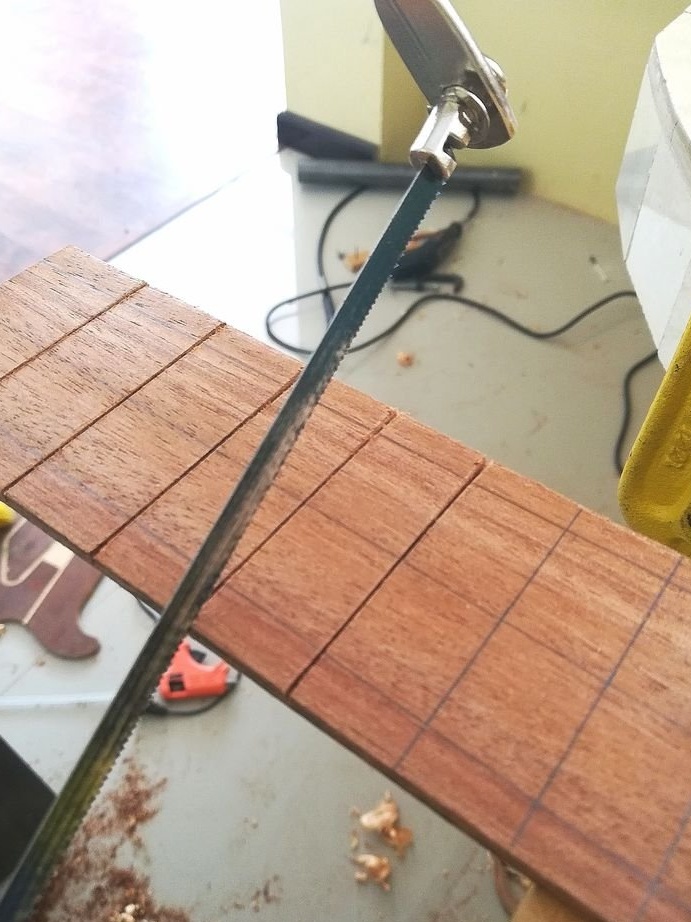
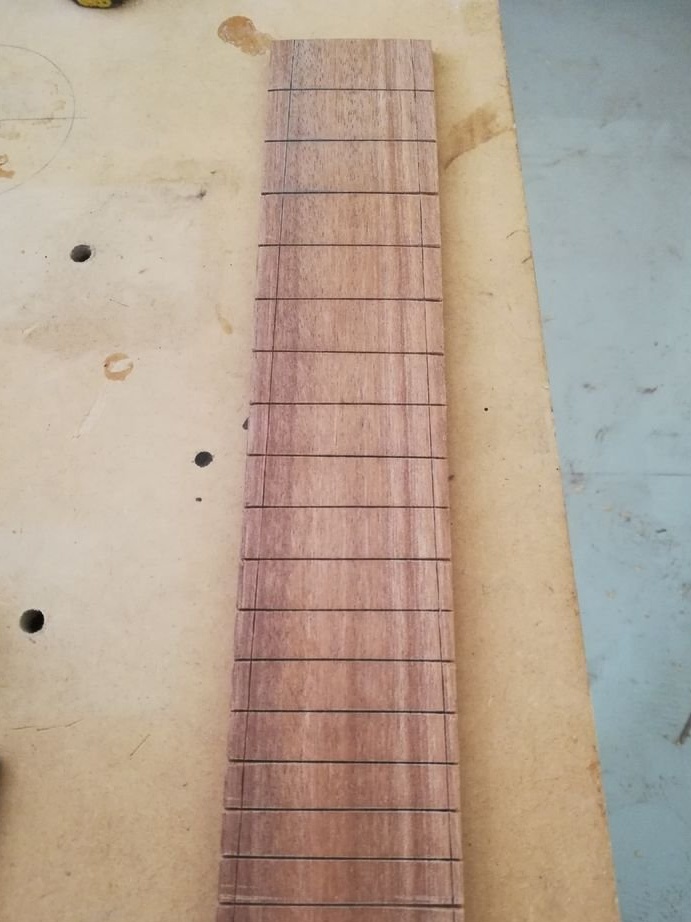
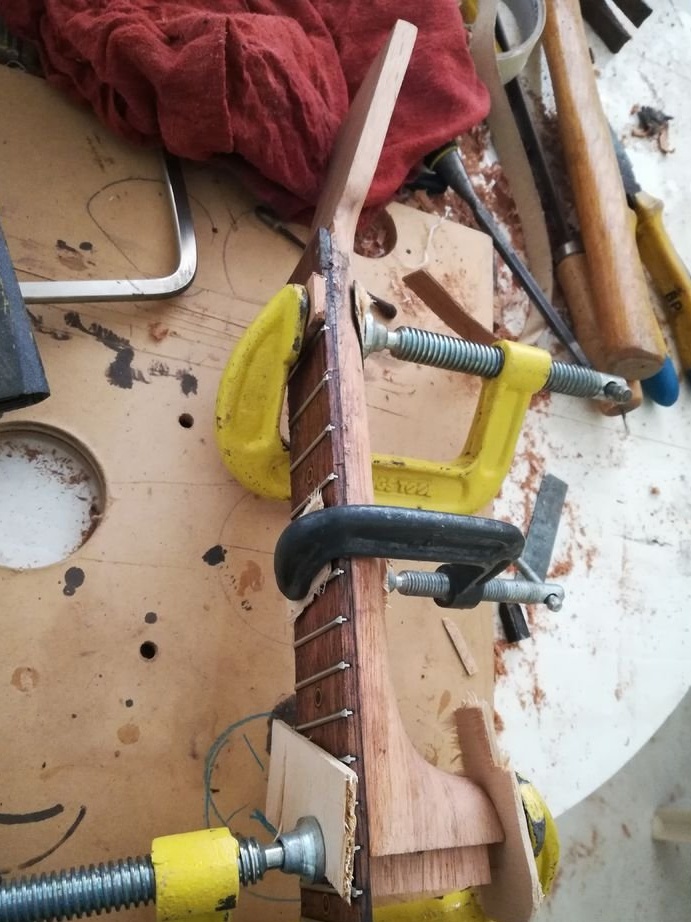
Step Four: Fingerboard
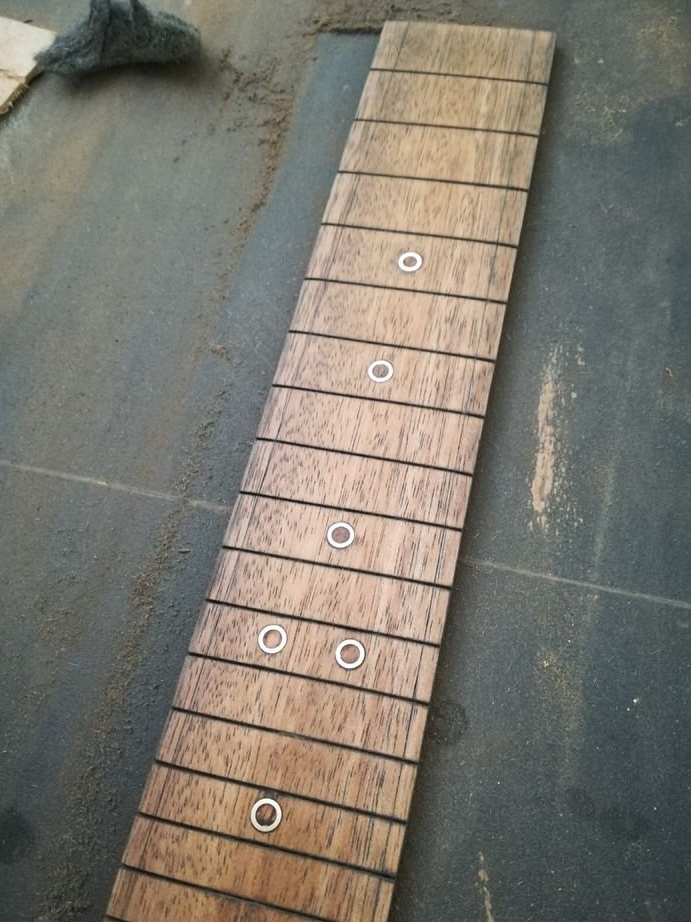
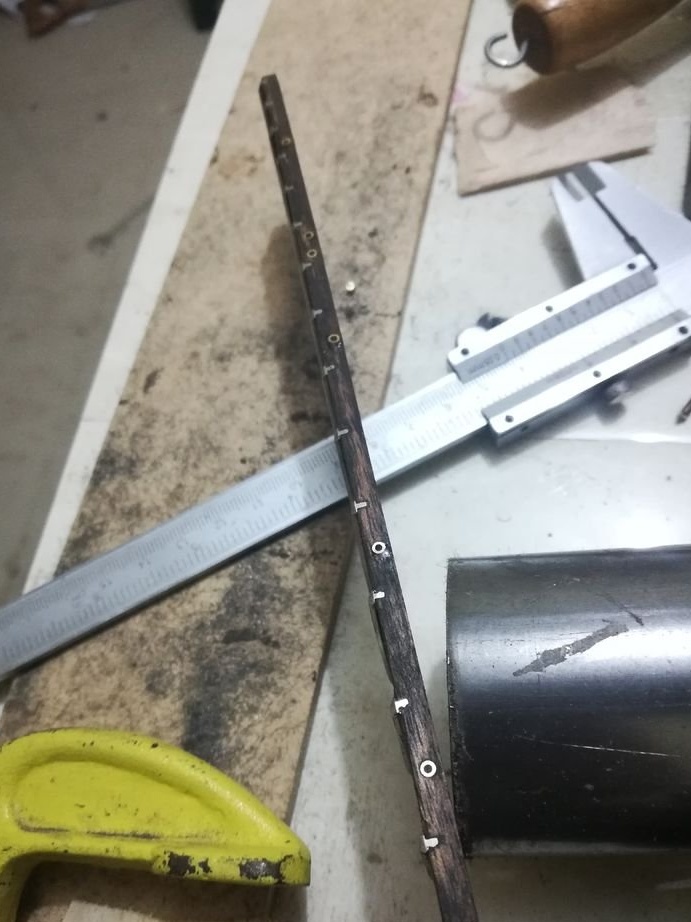
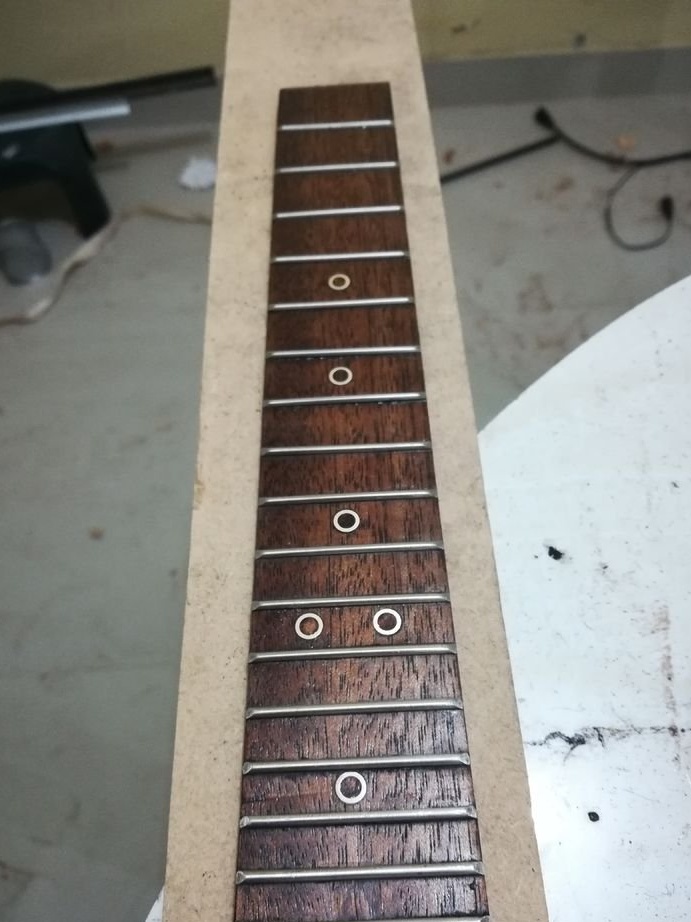
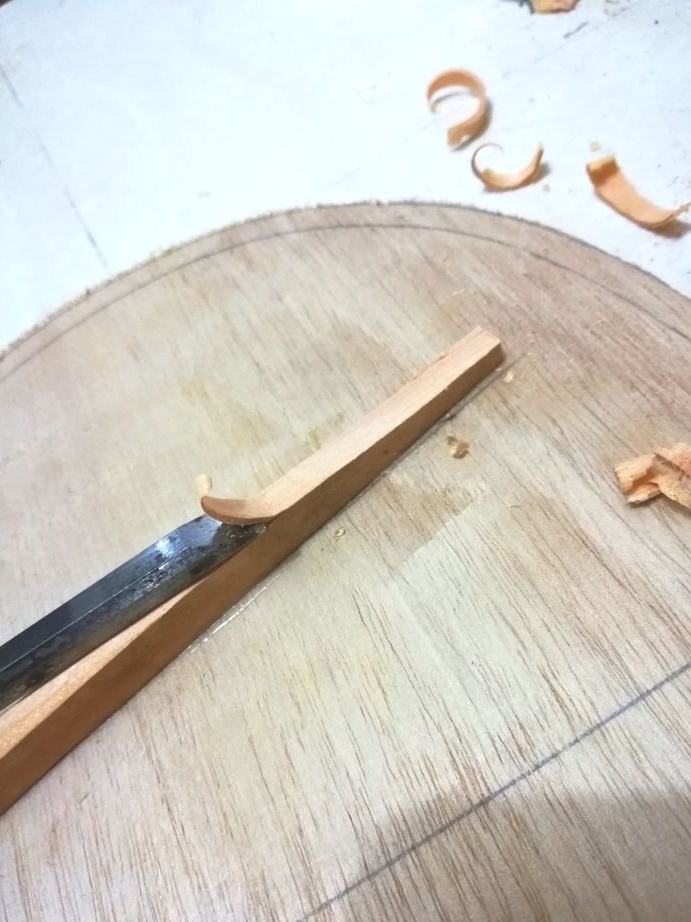
From the board cuts the pad. Lining thickness 4 mm. Marks the positions of frets. Makes cuts for sills.
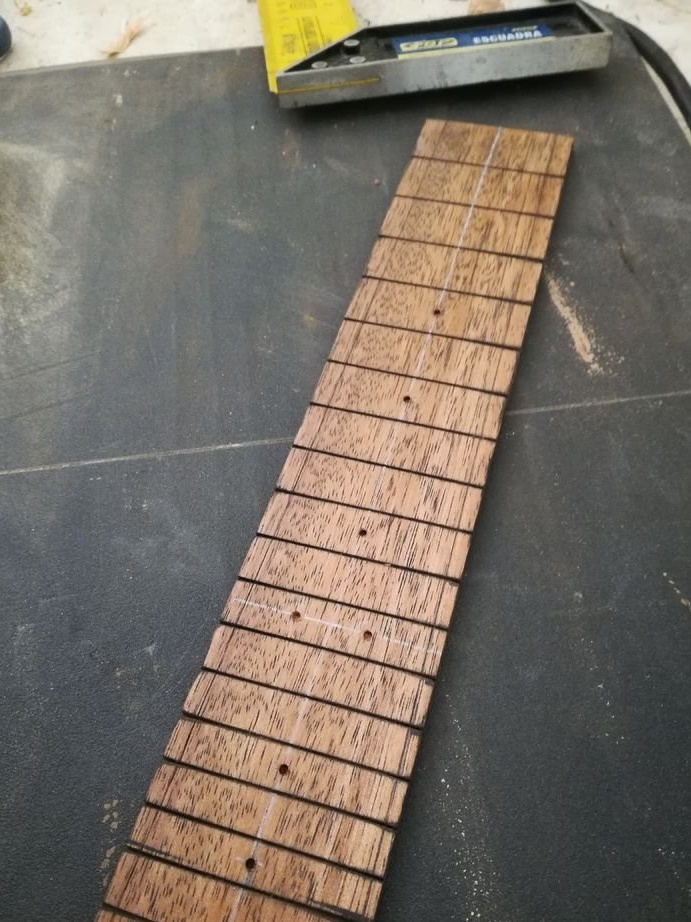
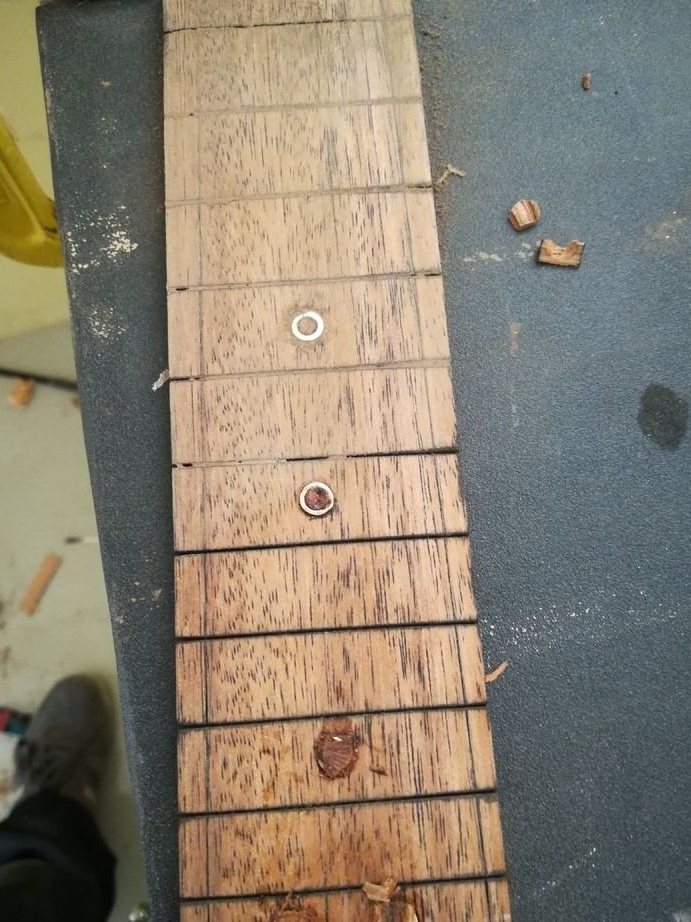
Next sets the fret markers. Markers master made from the nipple of the bicycle chamber. Sawed off and stuck on the fingerboard. The location of the markers on the ukulele is slightly different than on the guitar.Here they need to be set to 3, 5, 7, 10, 12, 15 frets.
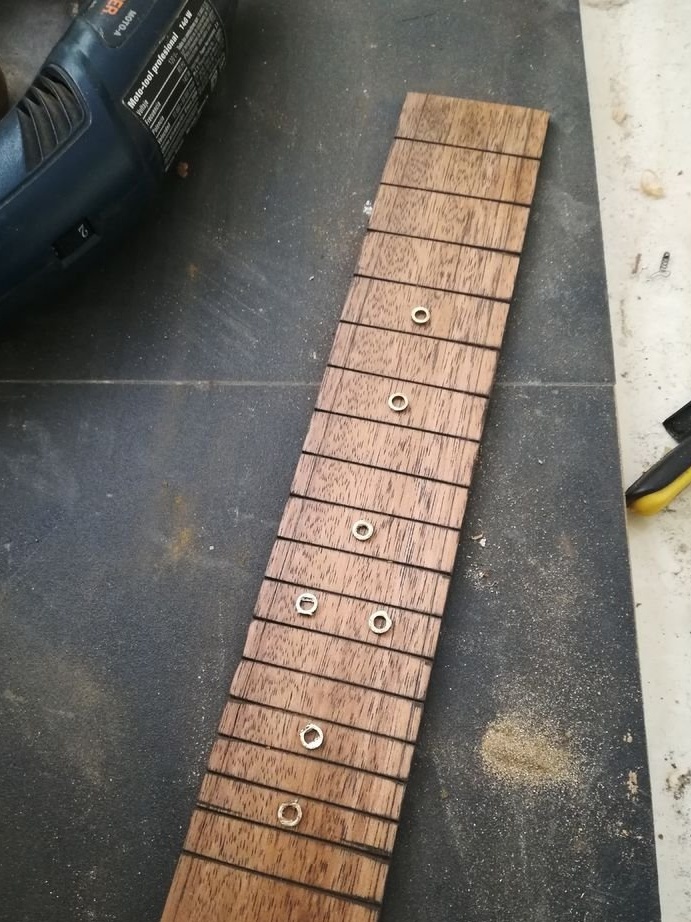
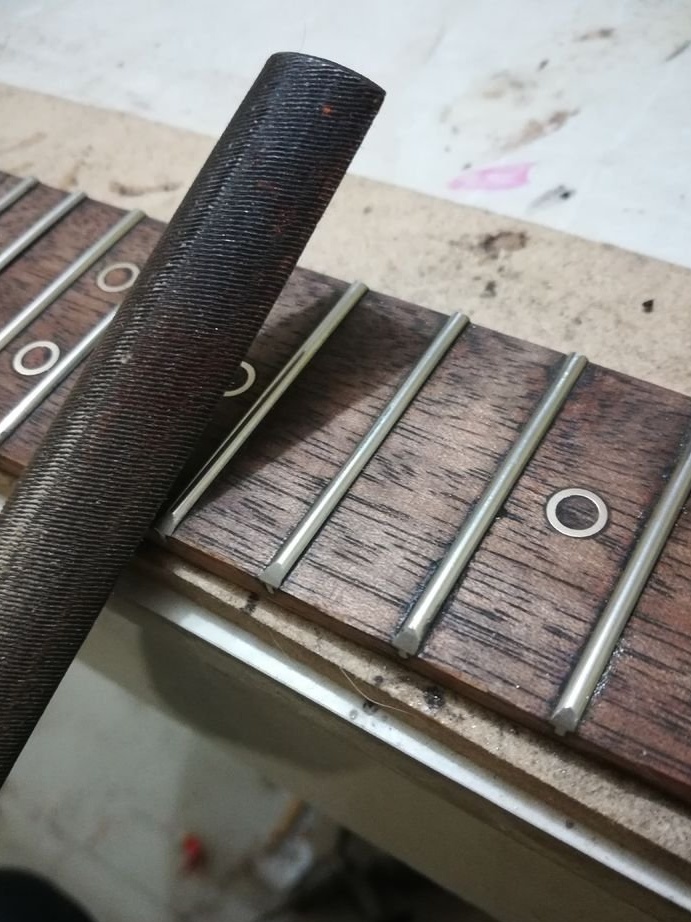
Set frets.
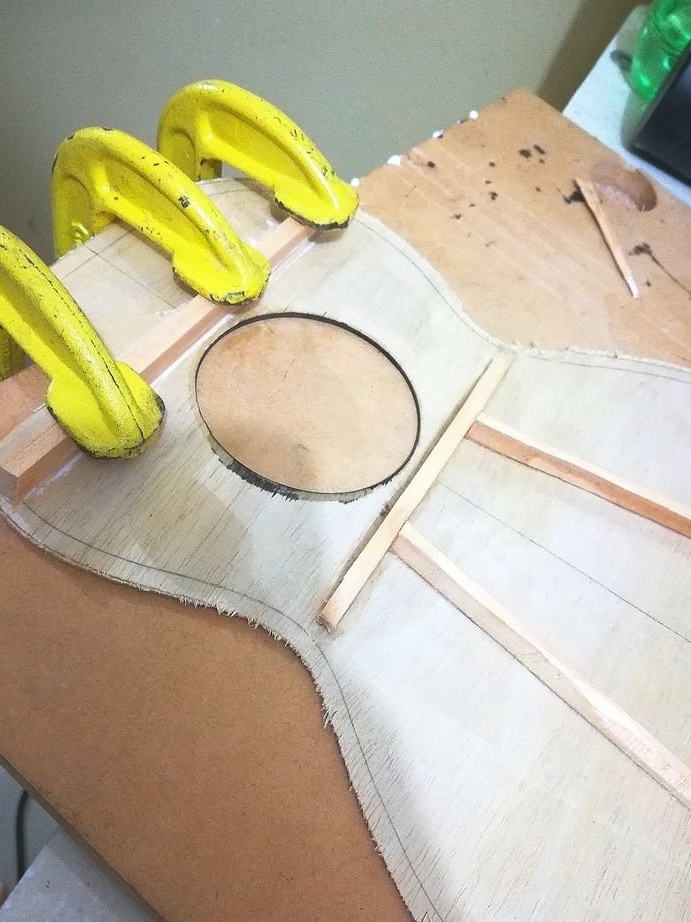
Step Five: Lower Deck
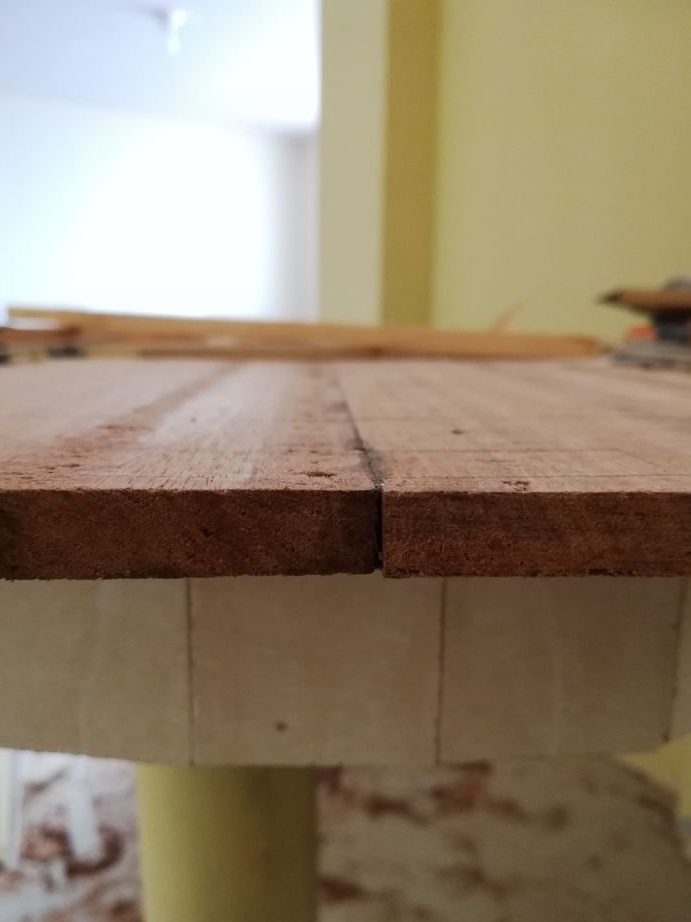
The master made the lower deck out of the board. Glued two boards. Cursed her to 10 mm.
Pasted on the deck reiki.
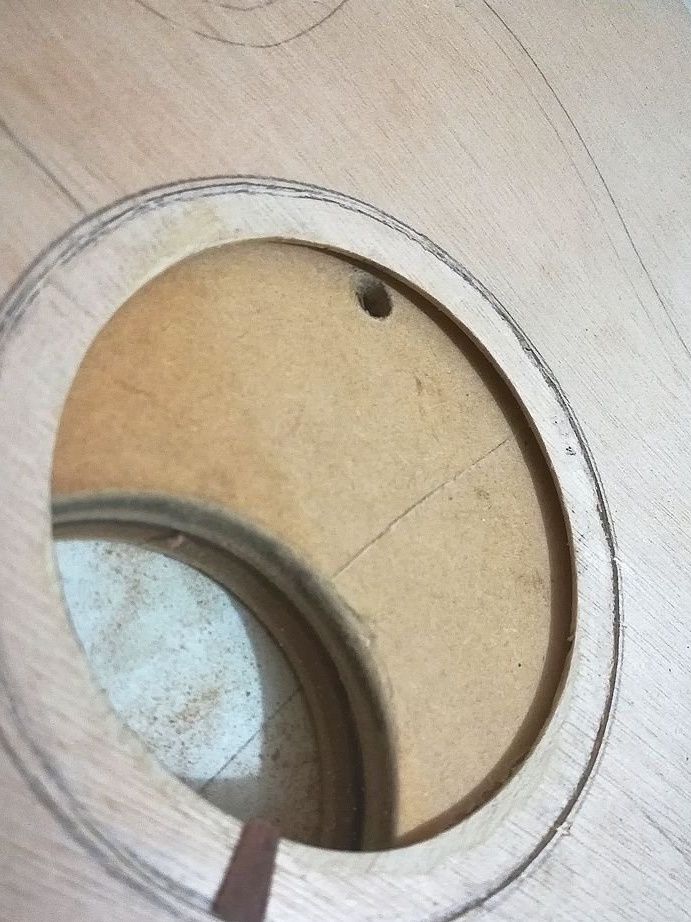
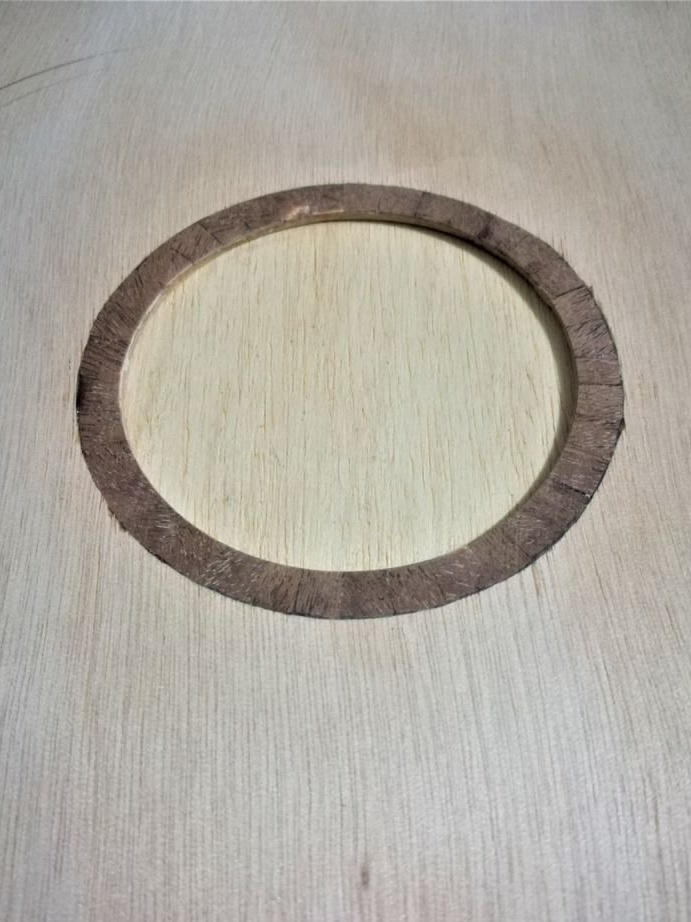
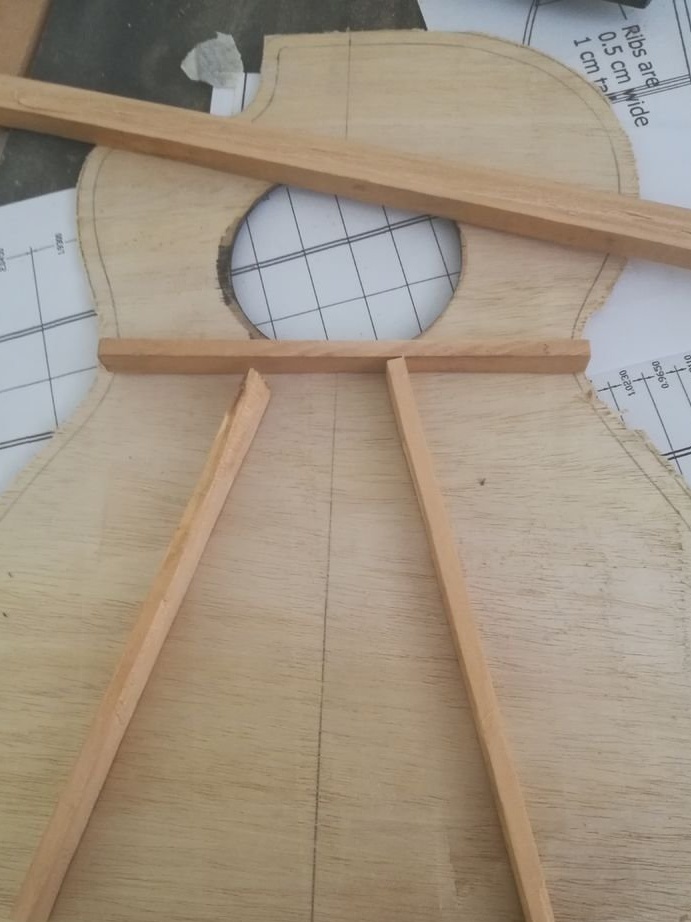
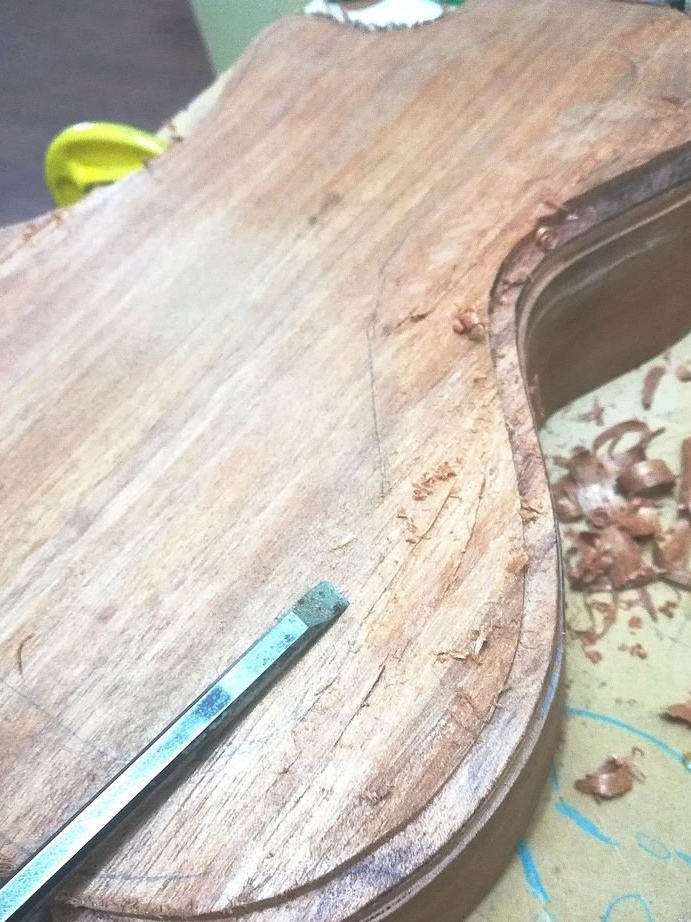
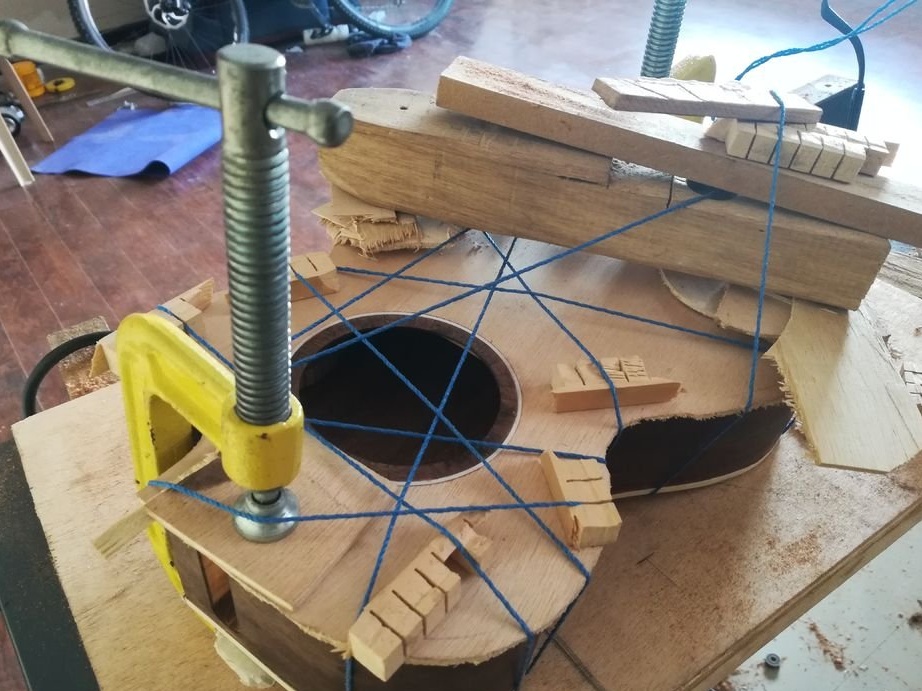
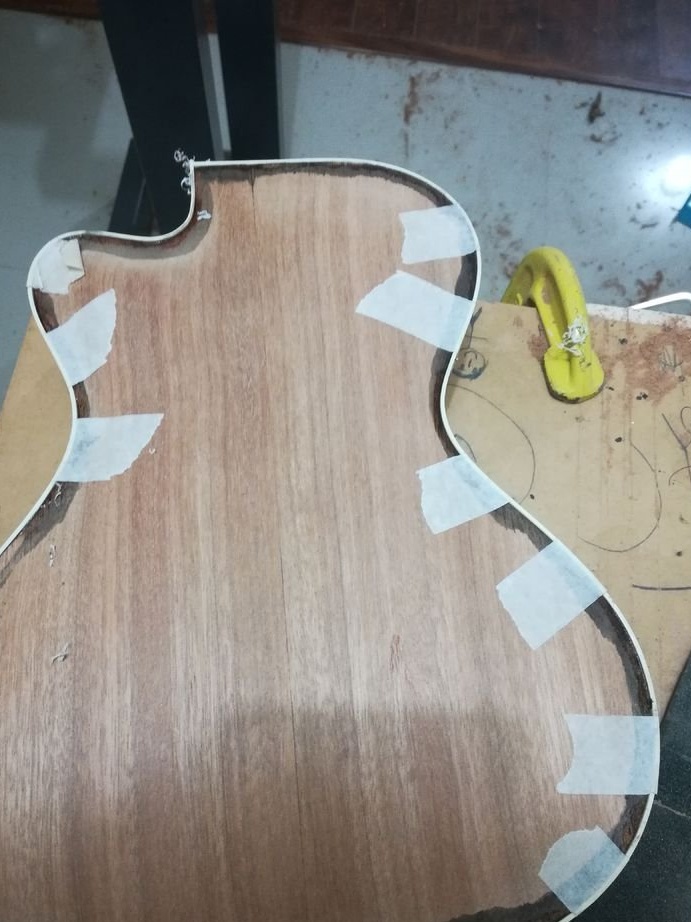
Step Six: Top Deck
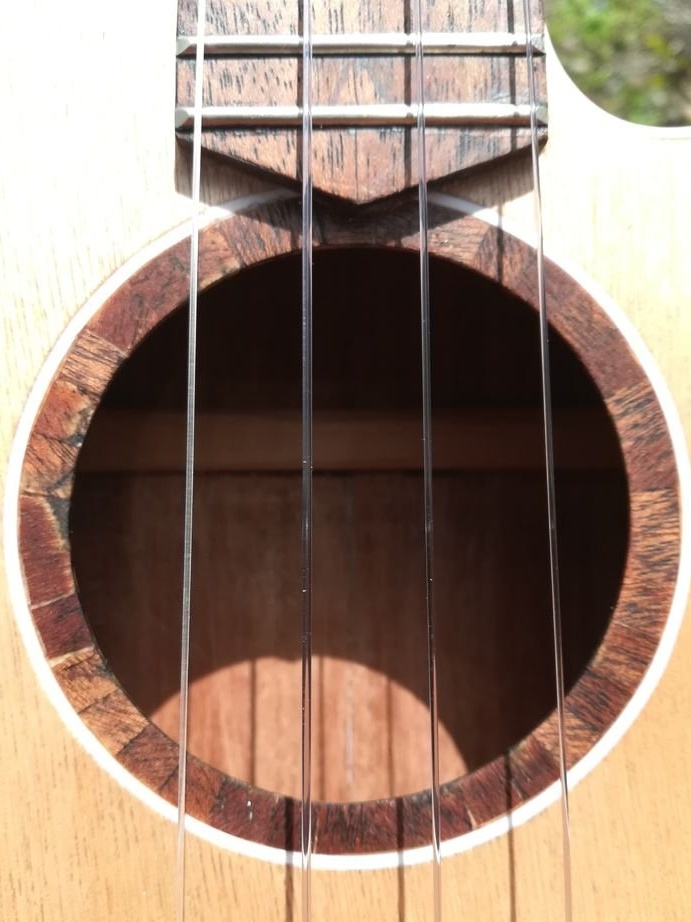
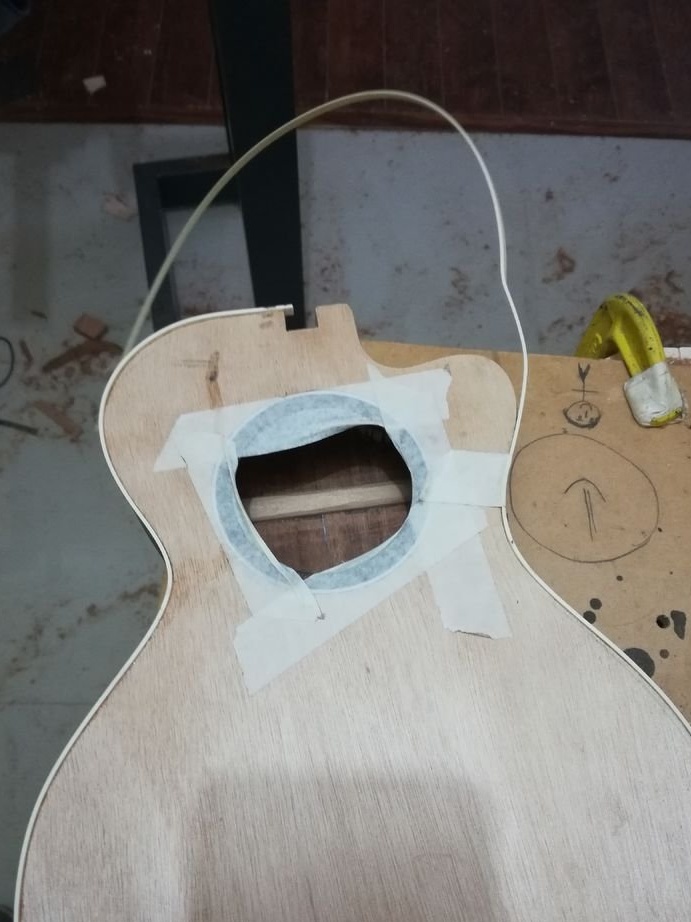
Marks and cuts a resonating hole on a deck. Glues to the inside of the deck of the rail.
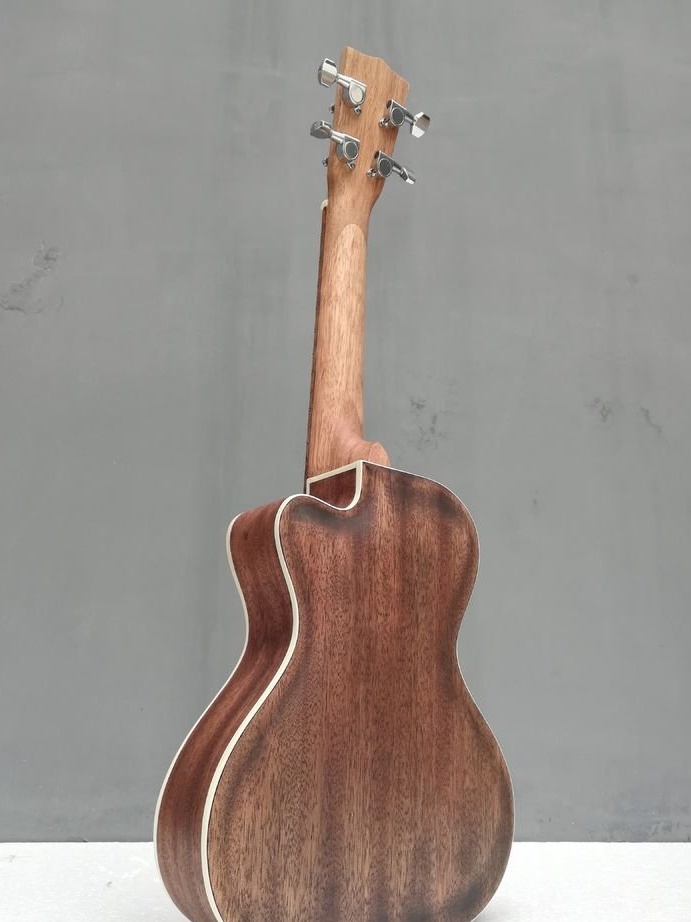
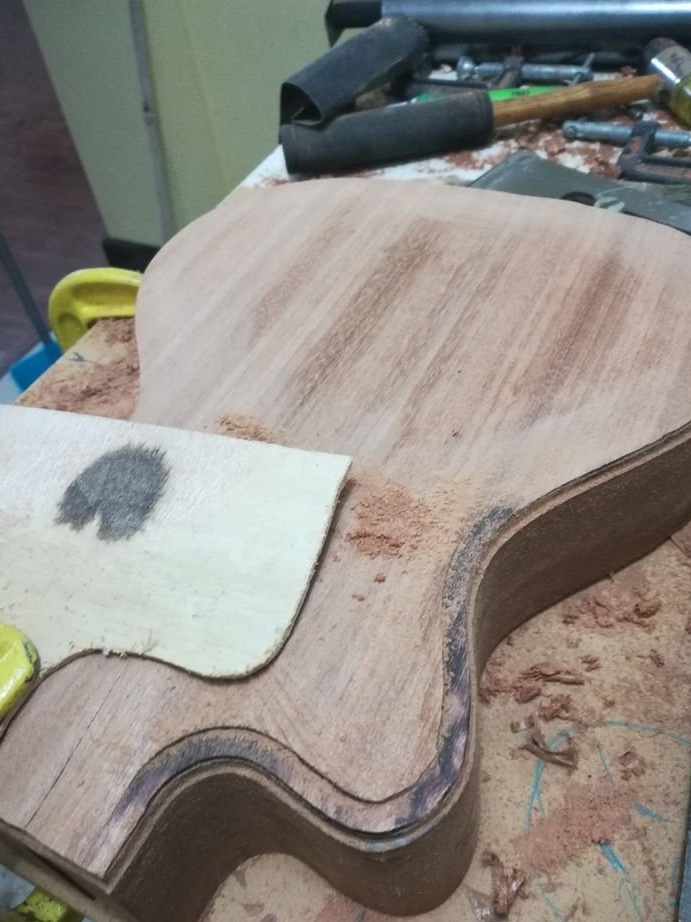
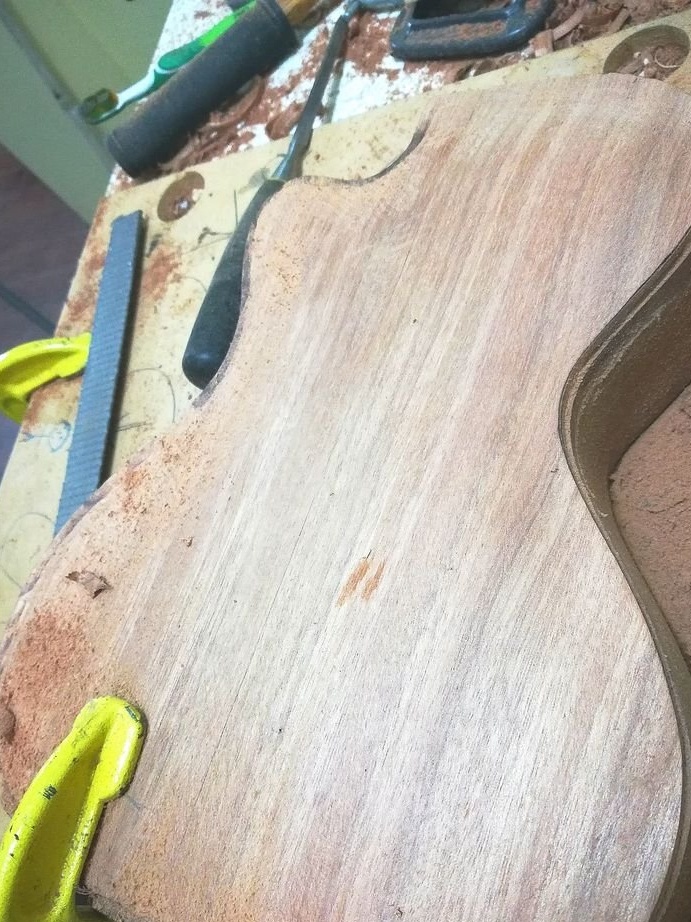
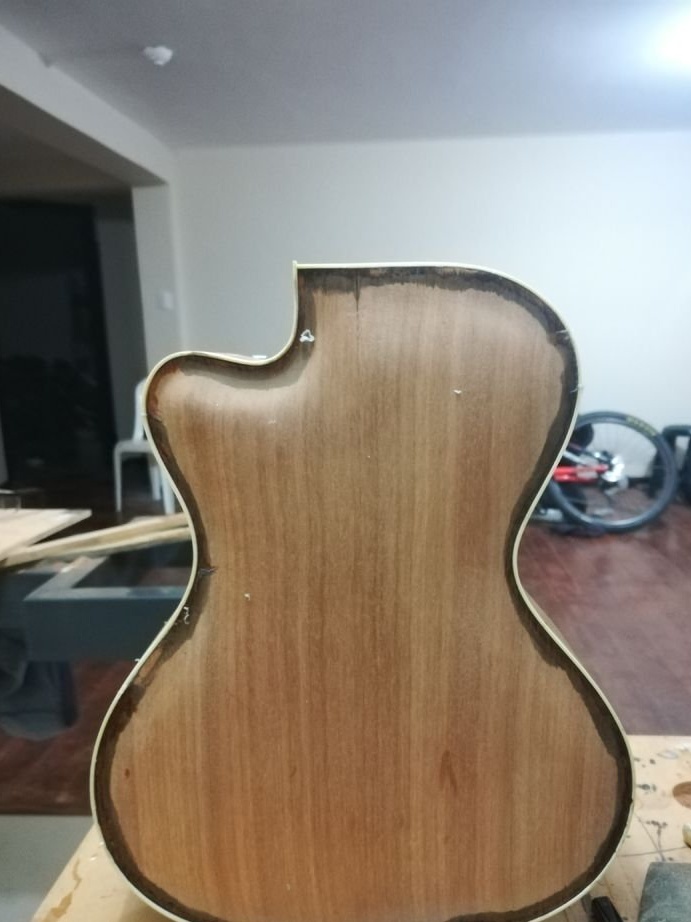
Seventh step: ukulele assembly
Now you can start collecting ukulele. Glues the trim to the bottom deck. Milling cutter removes part of the wood along the edge. Grinds.
Glues the top deck.

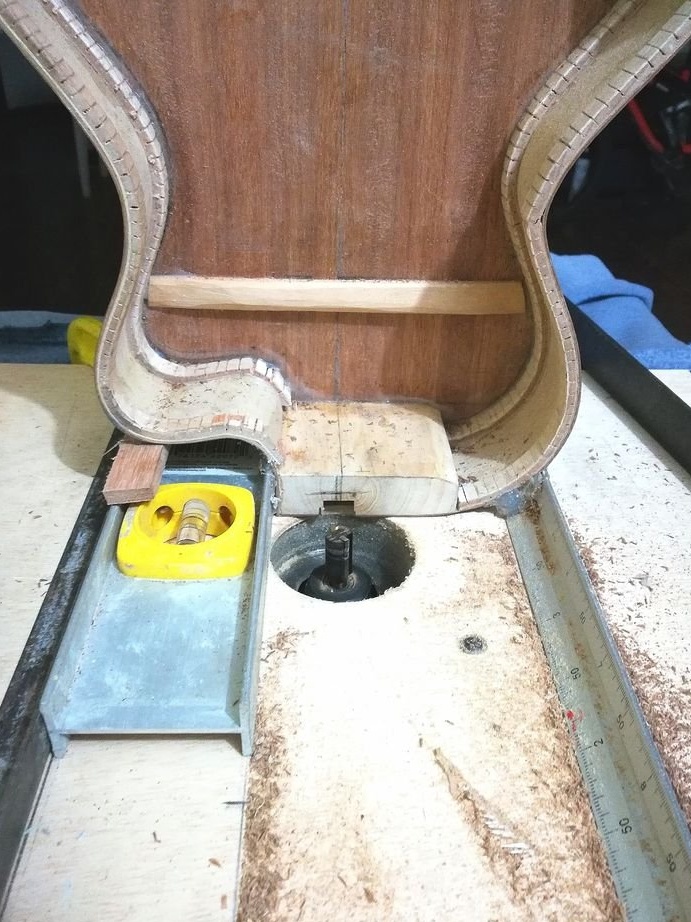
Cut a groove for attaching the heel of the neck.
Glues the fingerboard.

Glues cambric.
Glues the bar to the body.
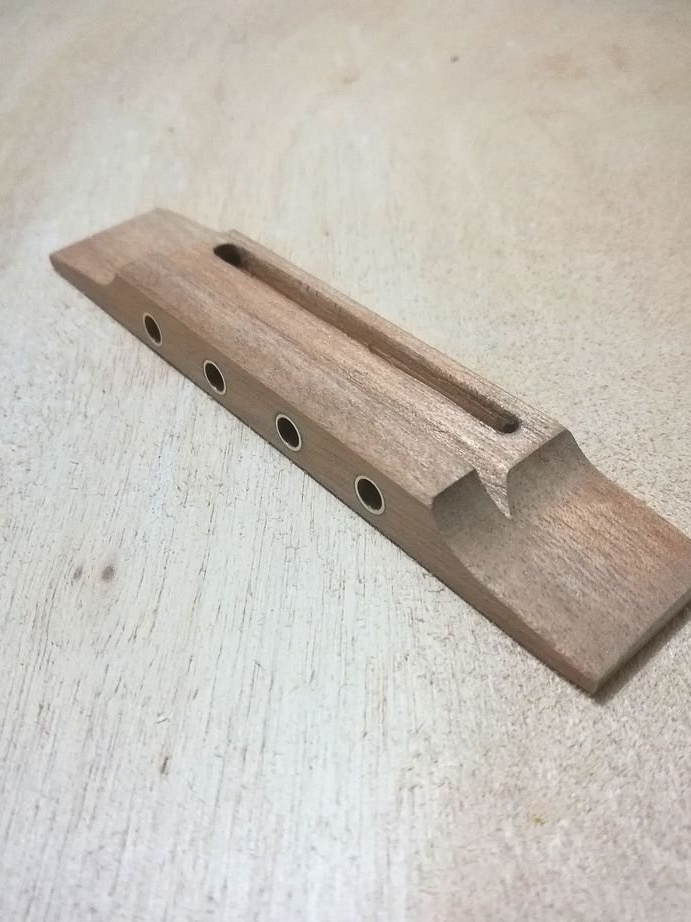
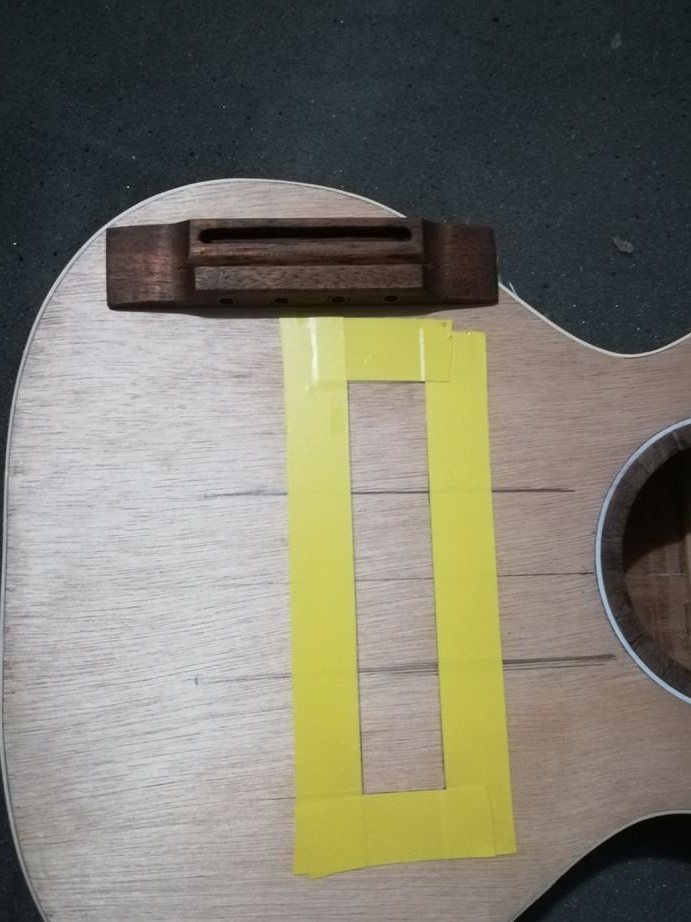
Step Eight: The Nut
Makes and glues the lower sill.
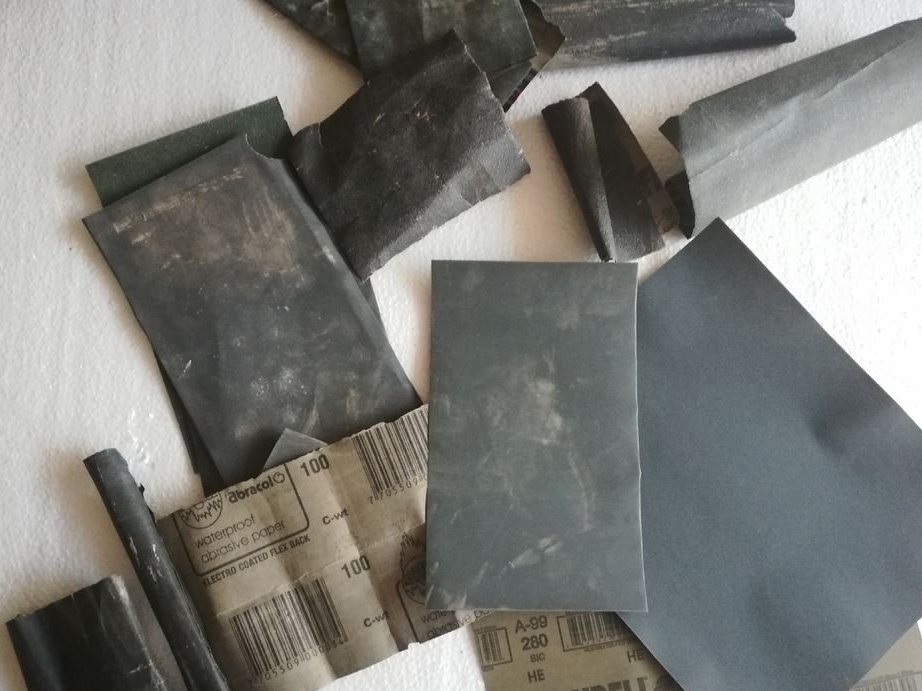
Step Nine: Sanding and Coating
Grinds ukulele with sandpaper. Covers stain. After drying, the stain covers the guitar with a mixture of beeswax and linseed oil in 1: 2 proportions.

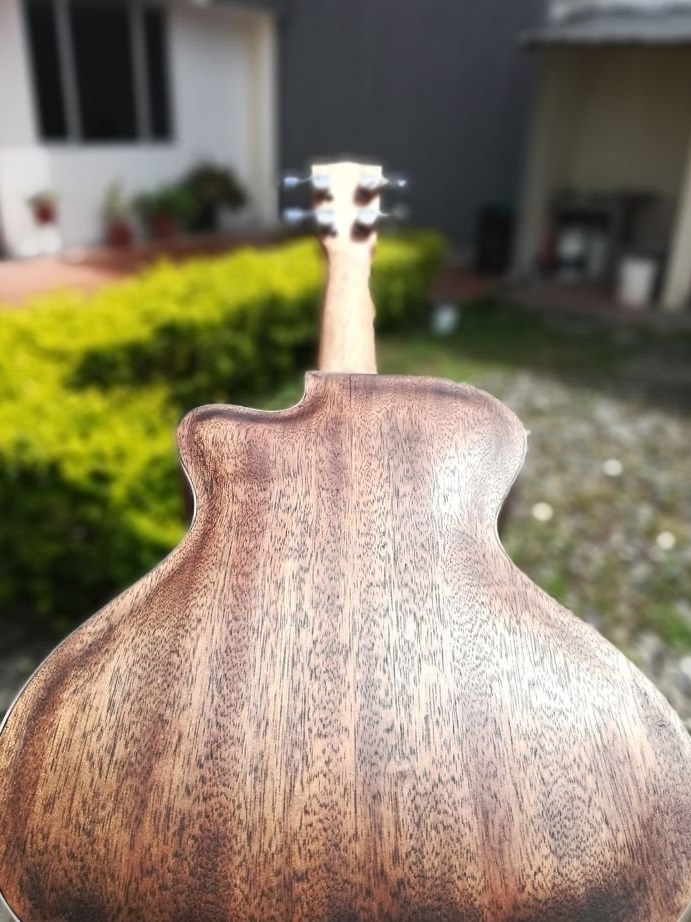
Now it remains to install the spikes and strings, and the ukulele is ready.