


Many have heard or seen the clever ears of "necomimi". Such ears react to the mood of the owner and, depending on it, react. The principle of operation of such a device is based on the decoding of human brain activity. Such a device costs about 6000 tr.
The wizard decided to make a similar device. True, such cat ears are controlled using a button, but their price is an order of magnitude lower. By the way, ears can be not only cat's, but any, how much your imagination is enough.
Let's watch a video with an example of the operation of such a device.
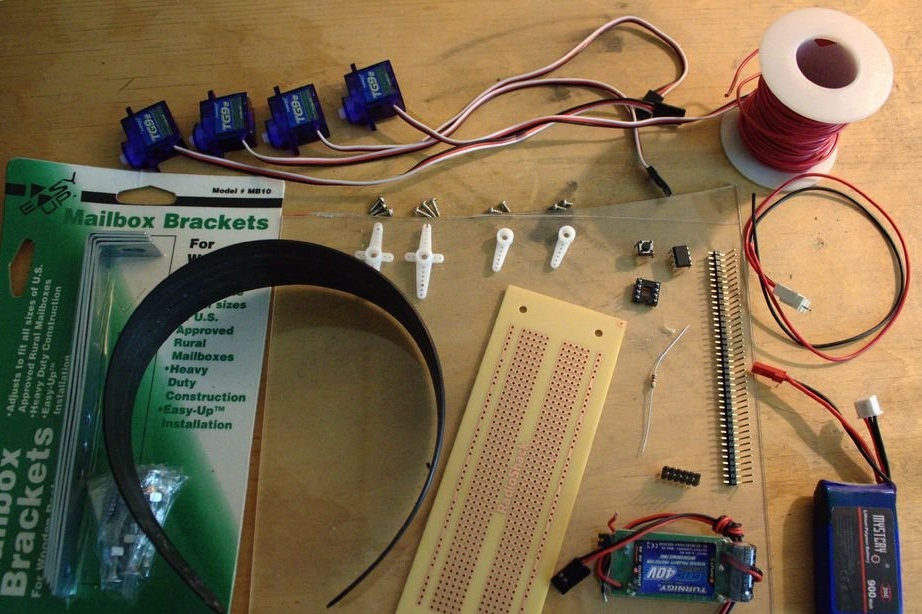
To make such animated ears, the master needed the following
Tools and materials:
-Glue gun;
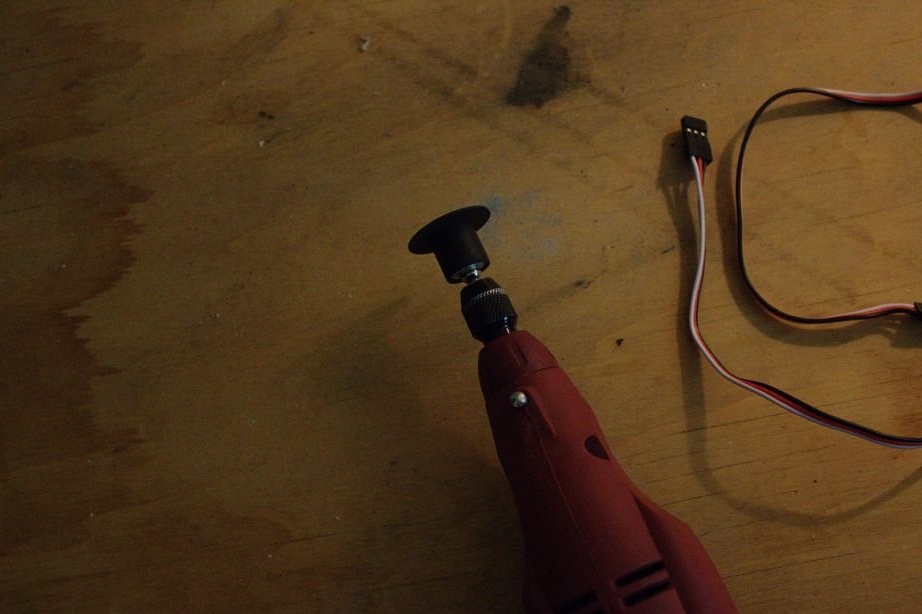
-Dremel;
-A screwdriver;
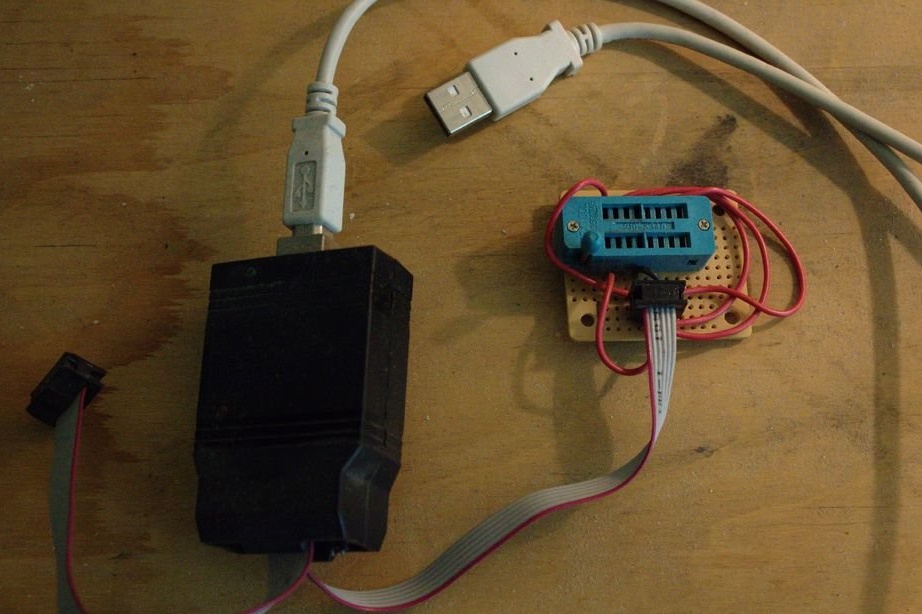
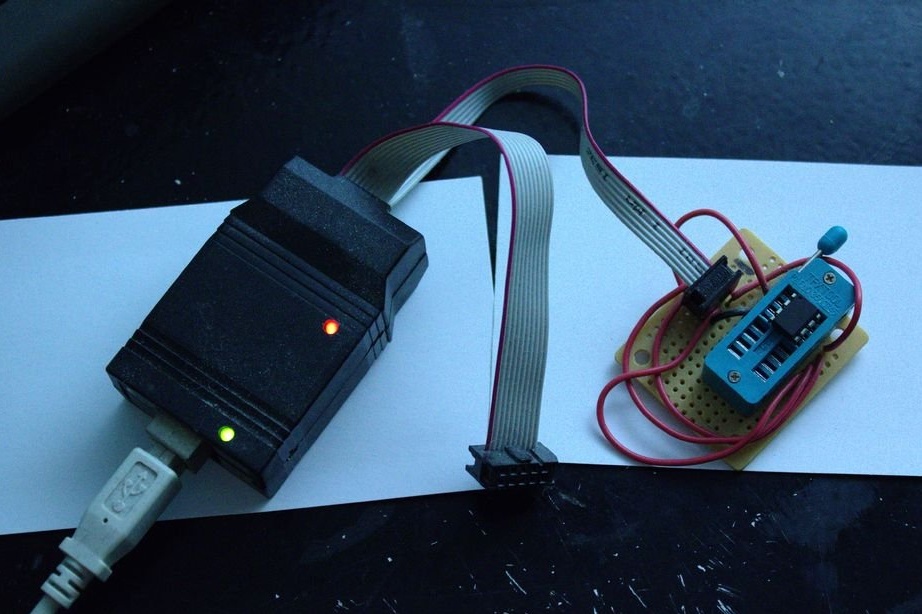
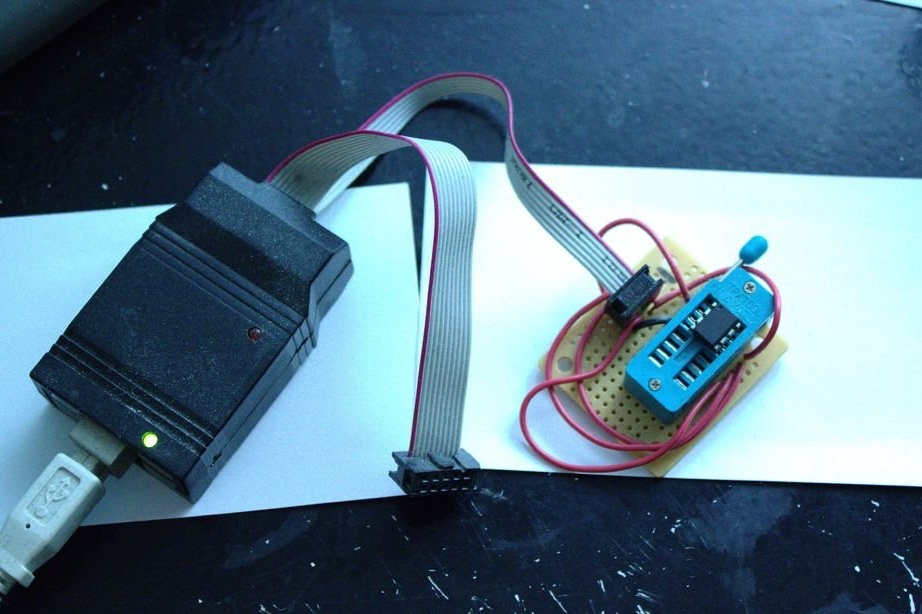
-USB-programmer for AVR;
-Nippers;
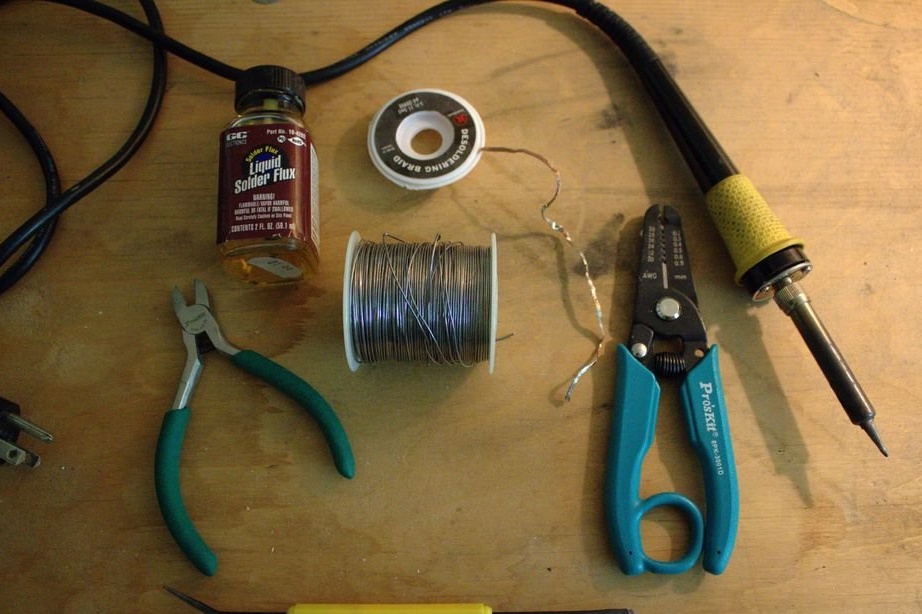
-Soldering accessories;
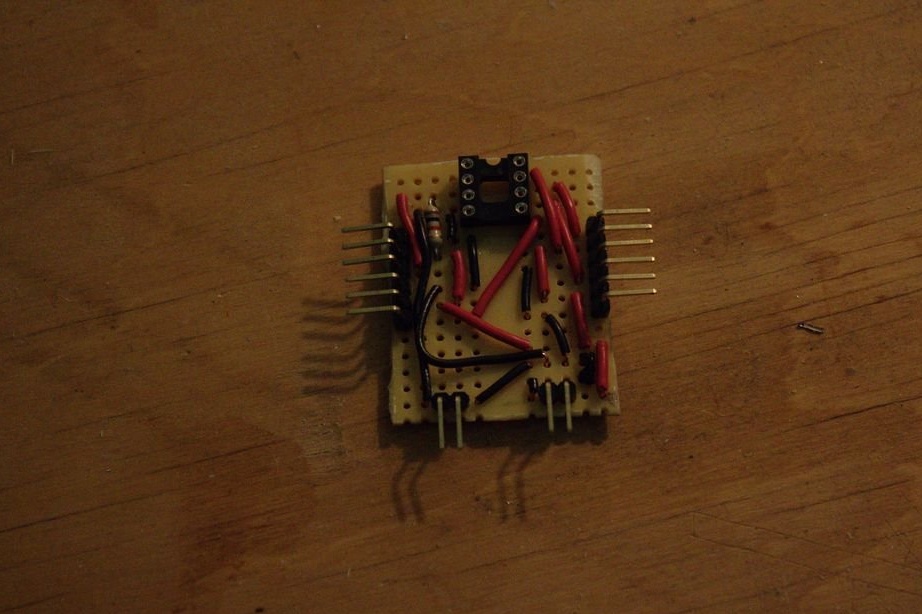
Microcontroller ATTiny13;
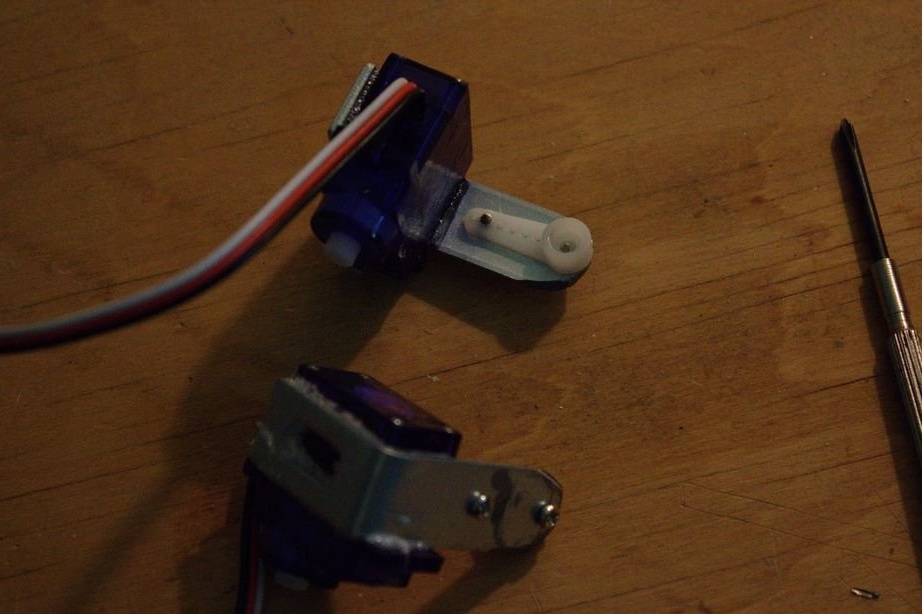
- Servo-4 pcs.;
-Wire;
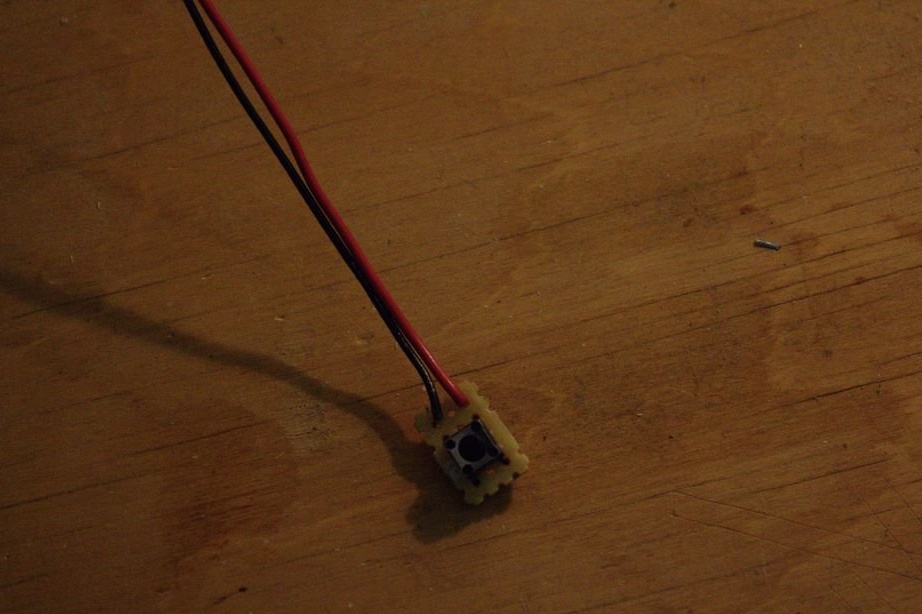
-Buttons;
- Resistor 1 kOhm;
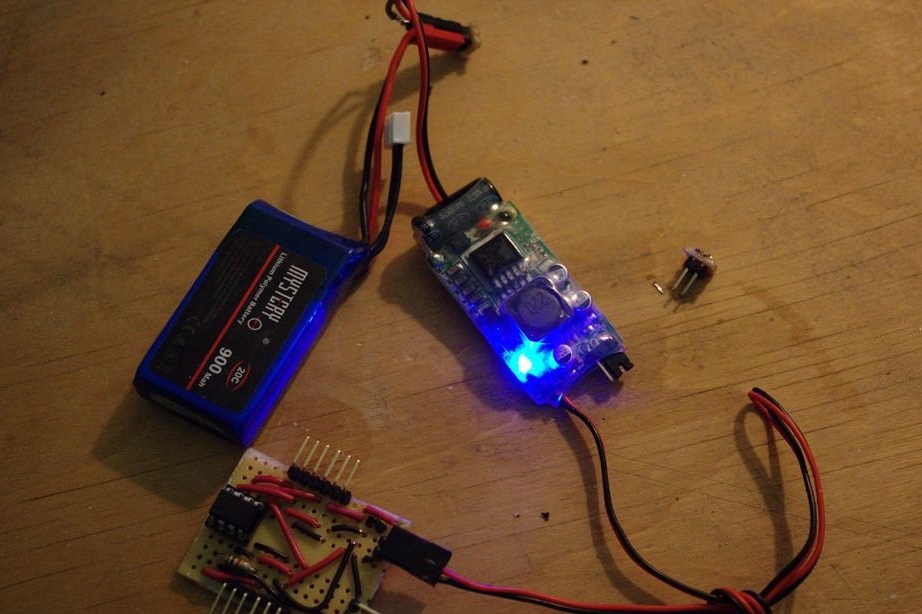
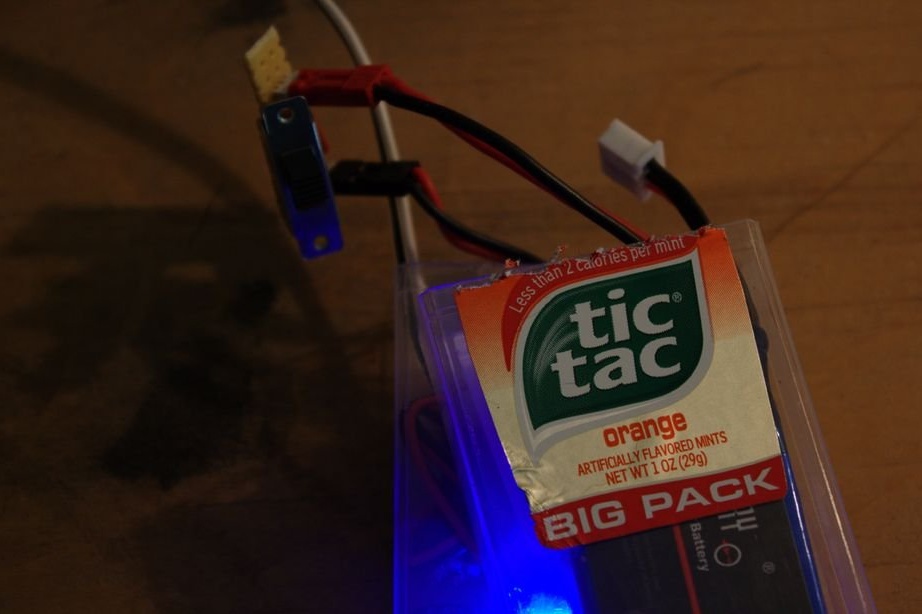
-Lithium polymer battery 800 mAh;
-Power Supply;
-Plastic bezel;
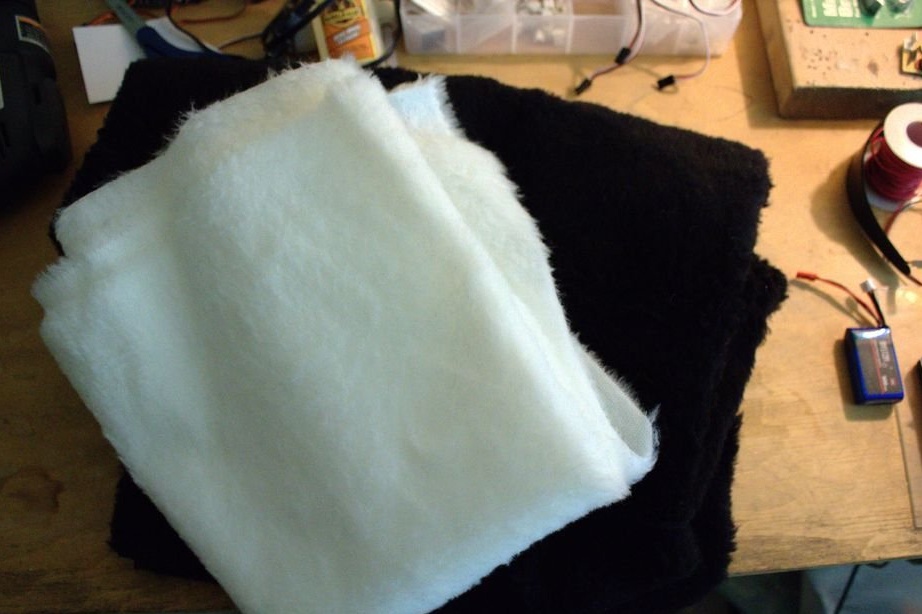
-Fur is black ,, white;
-Acrylic;
-Glue;
-Sewing machine;
-Insulating tape;
-Sandpaper;
-Paper;
-Scissors;
-Thread;


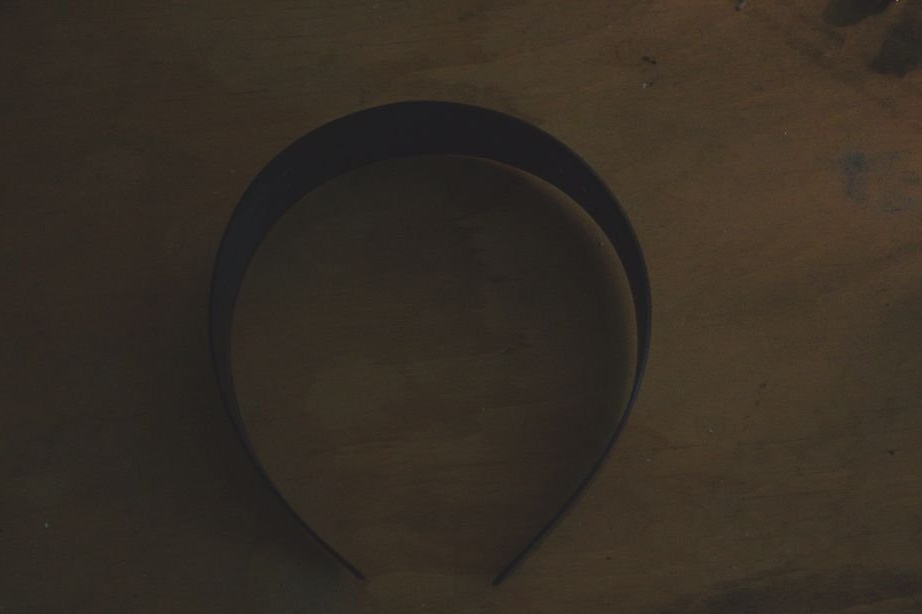
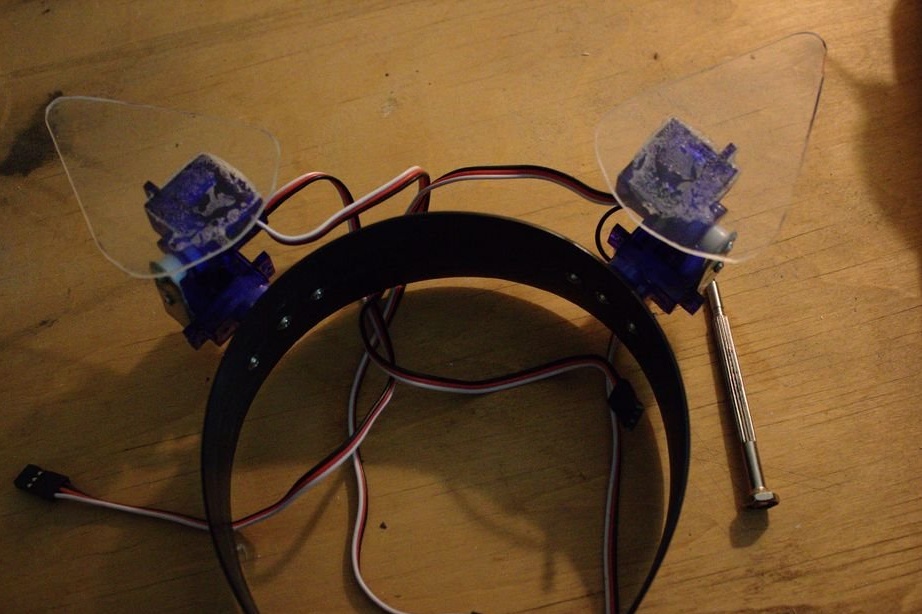
Step One: Bezel
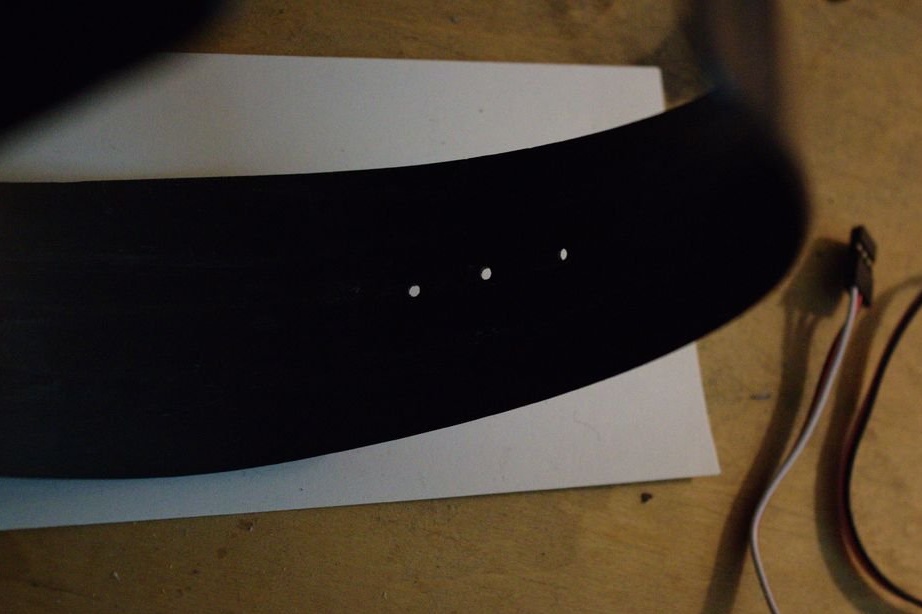
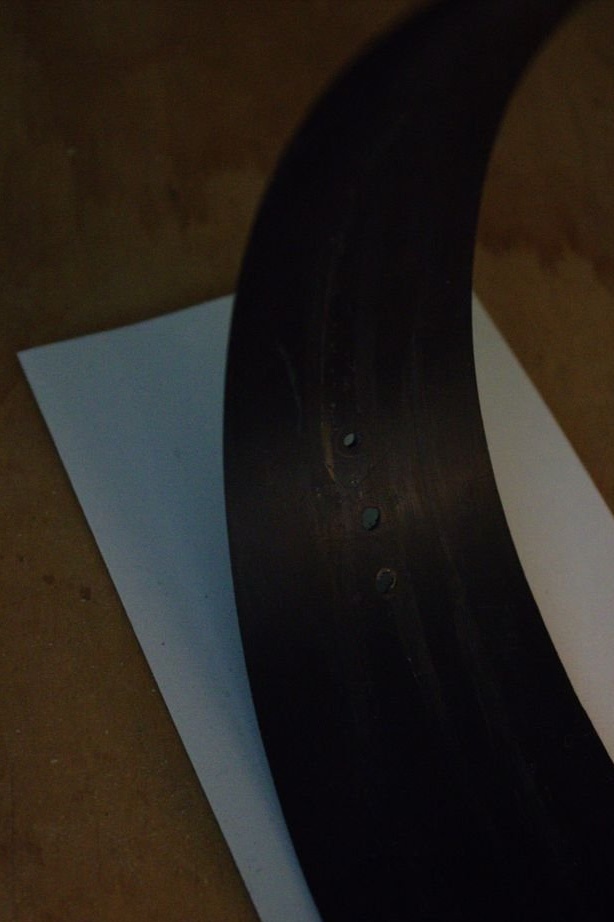
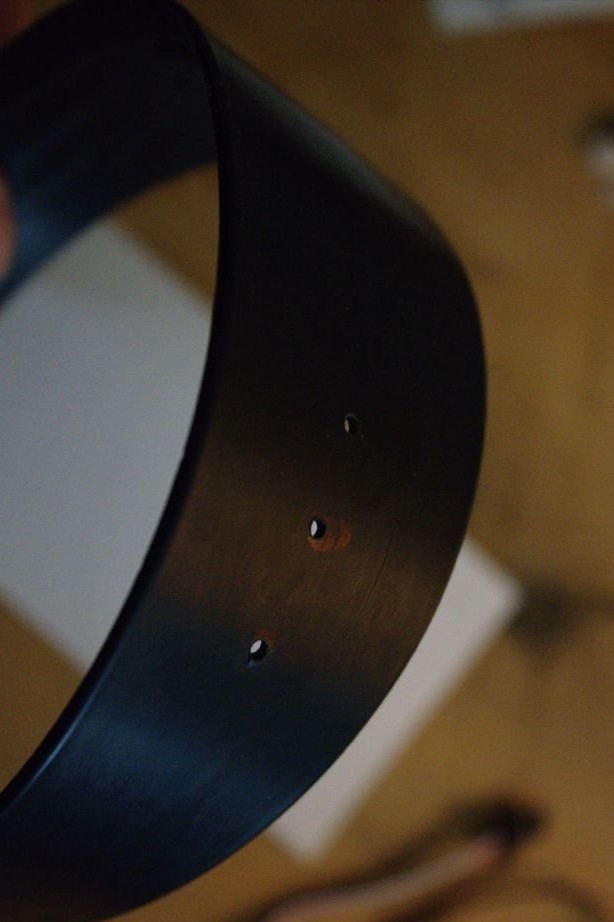
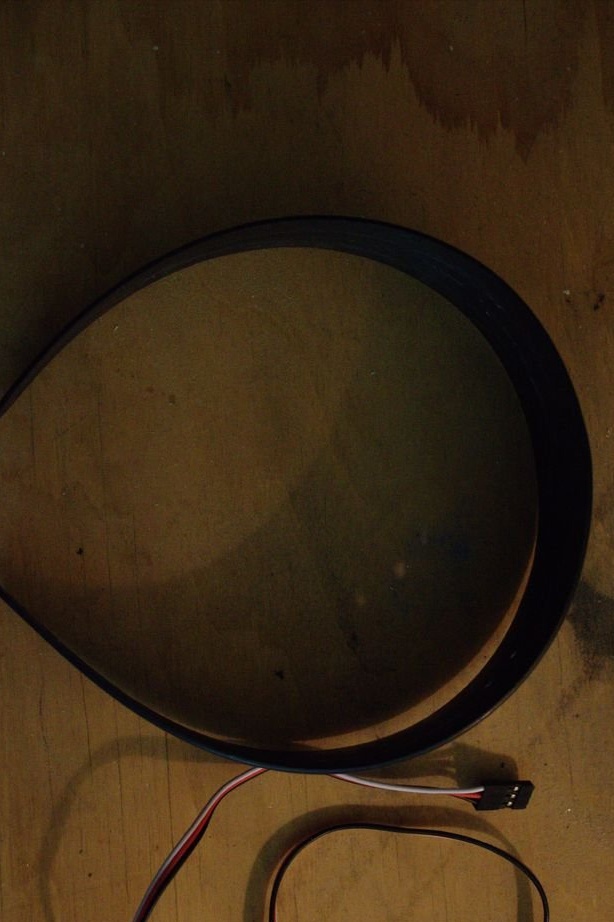
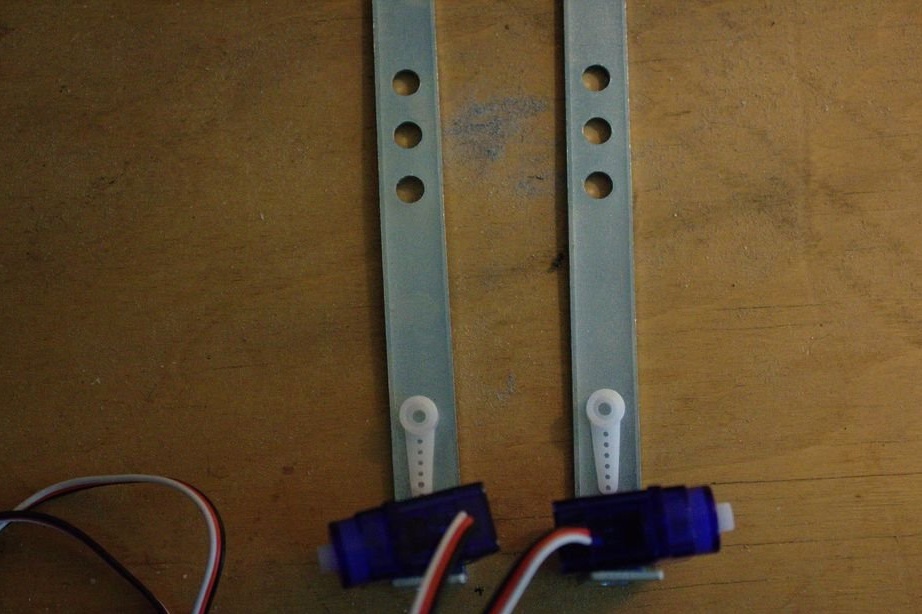
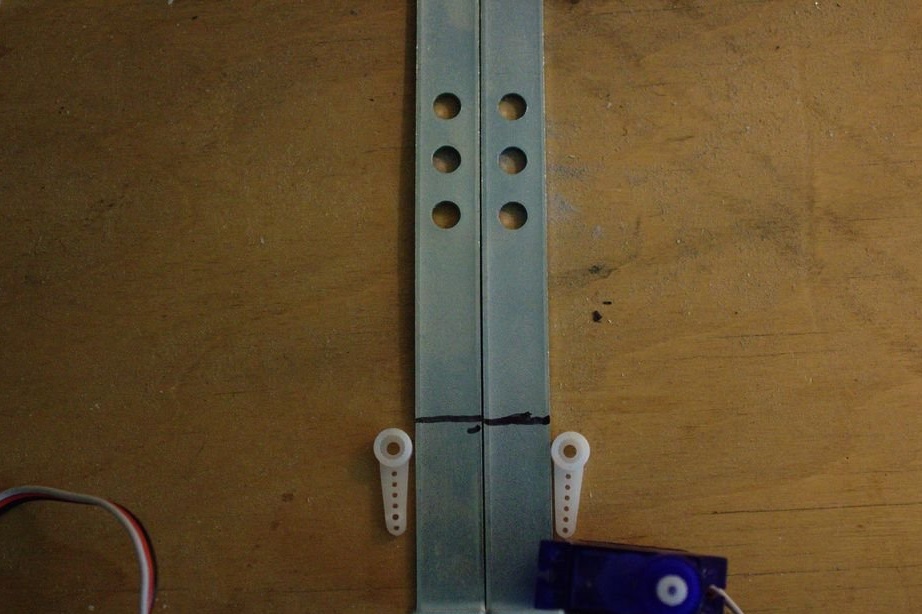
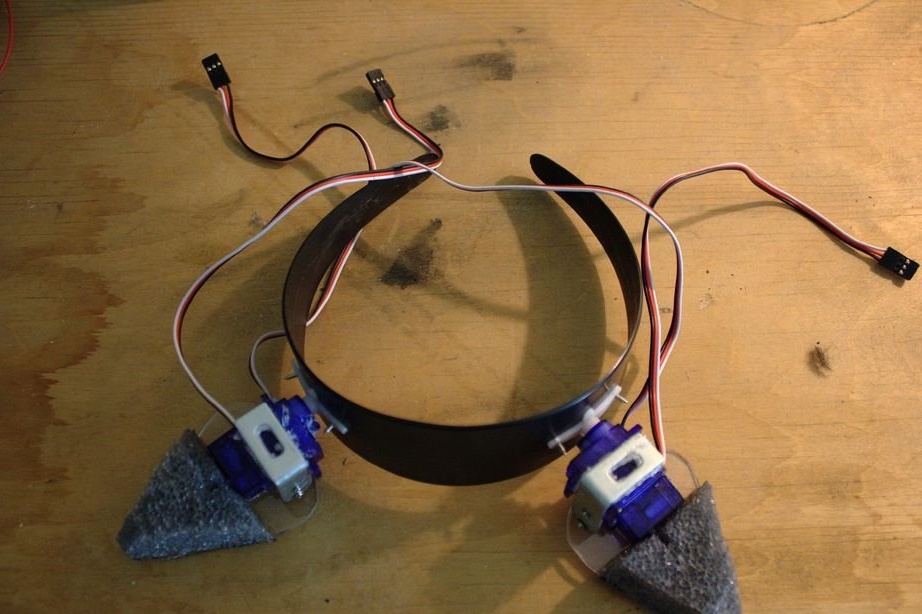
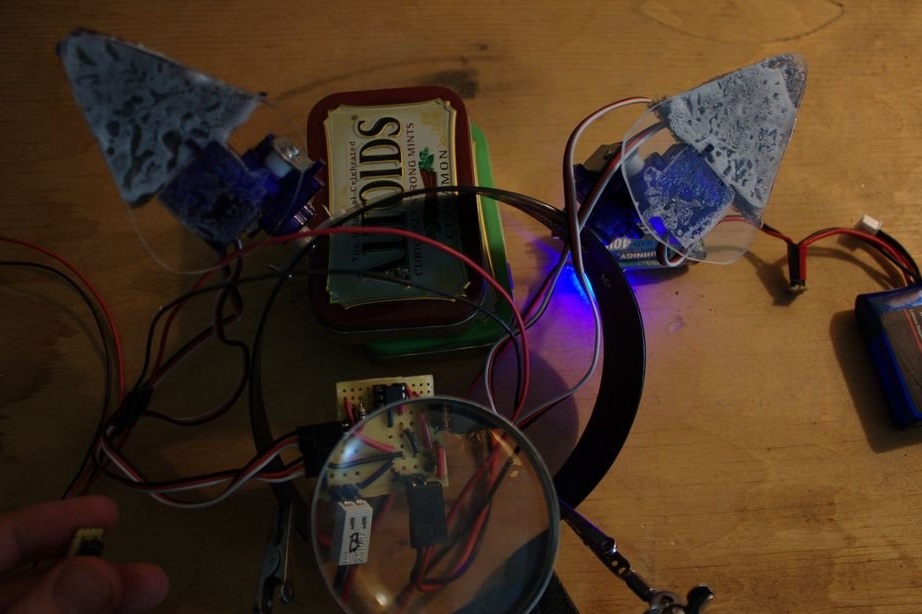
For the base, the master took the hair band. The bezel should be stiff enough. First, the wizard marks the installation locations of the servos. There are only four servos. Two are responsible for moving left / right and are attached directly to the rim, two are responsible for moving up / down and are attached to the first servos. The first servos are mounted to the rim using the mounting plate with the axis down, i.e. the servo will move, not the axis. The master installs a mounting plate on the servo drive and marks three holes on each side on the rim.
Next, you need to fix the servo to make sure that its body does not catch the rim during rotation.
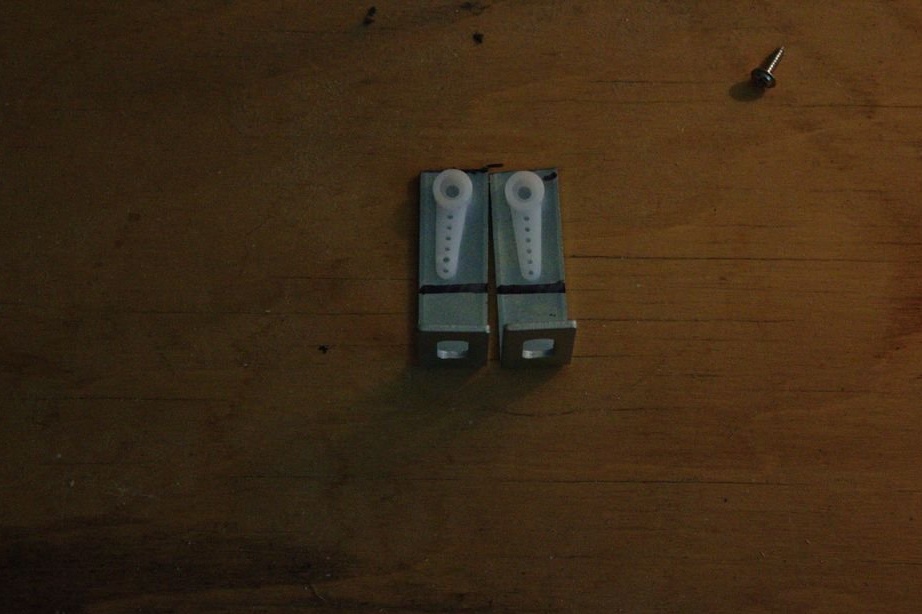
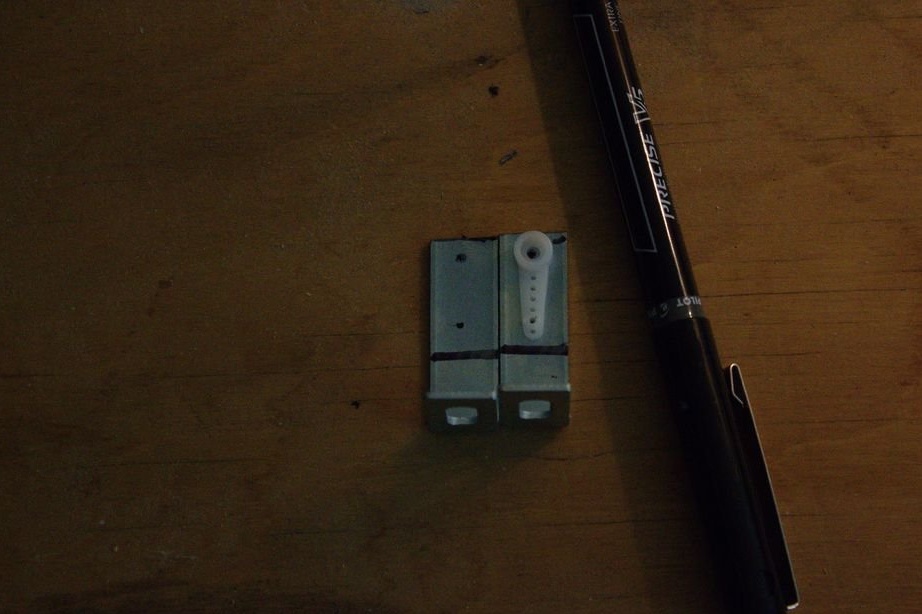
Step Two: Mount
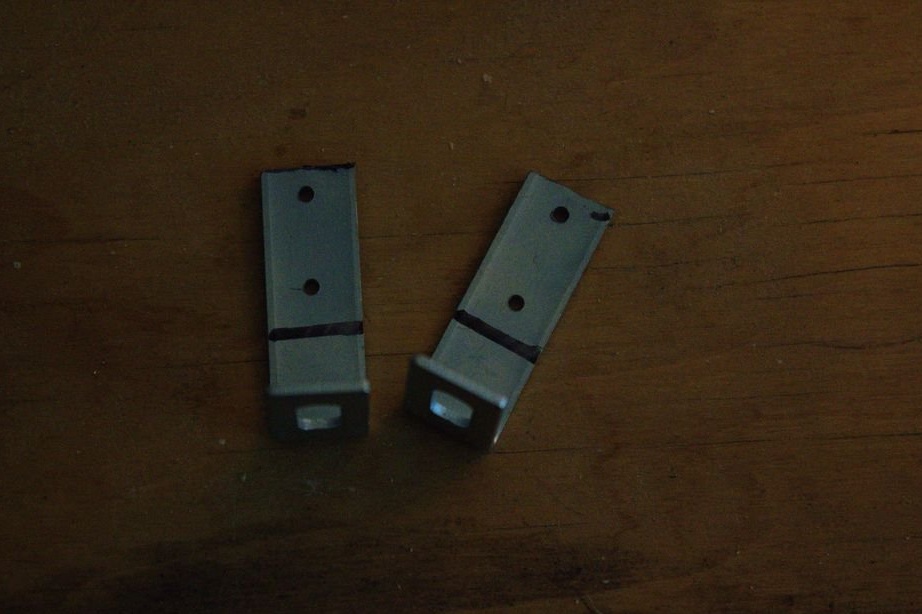
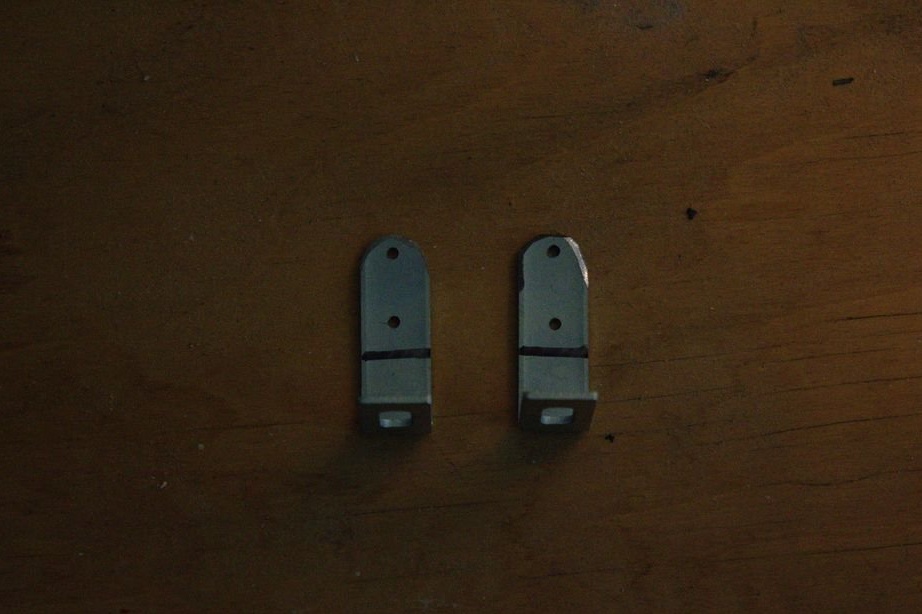
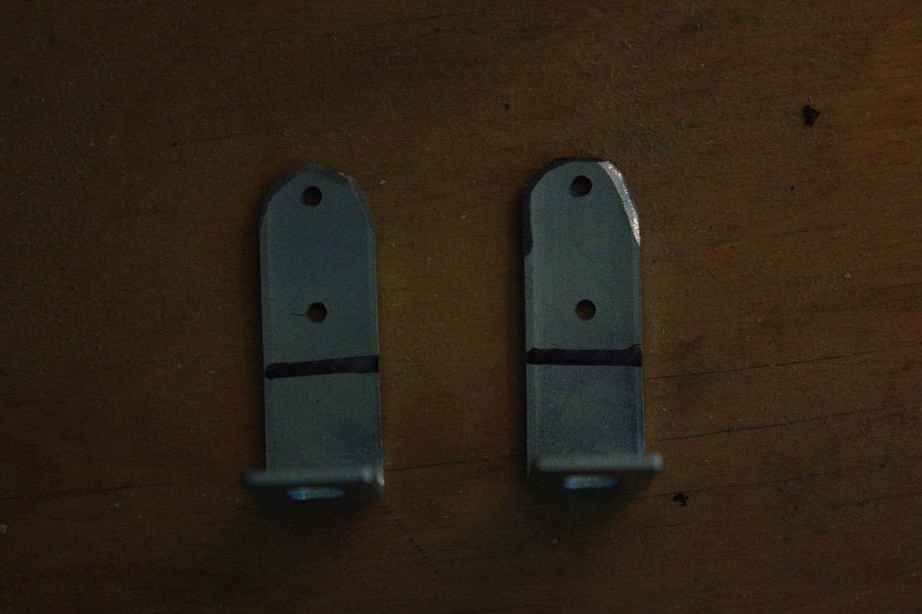
Now you need to make a mount for the second servos. His master makes from the mounting bracket. Marks and cuts the desired length. Drill holes. Glues the corner to the drive.
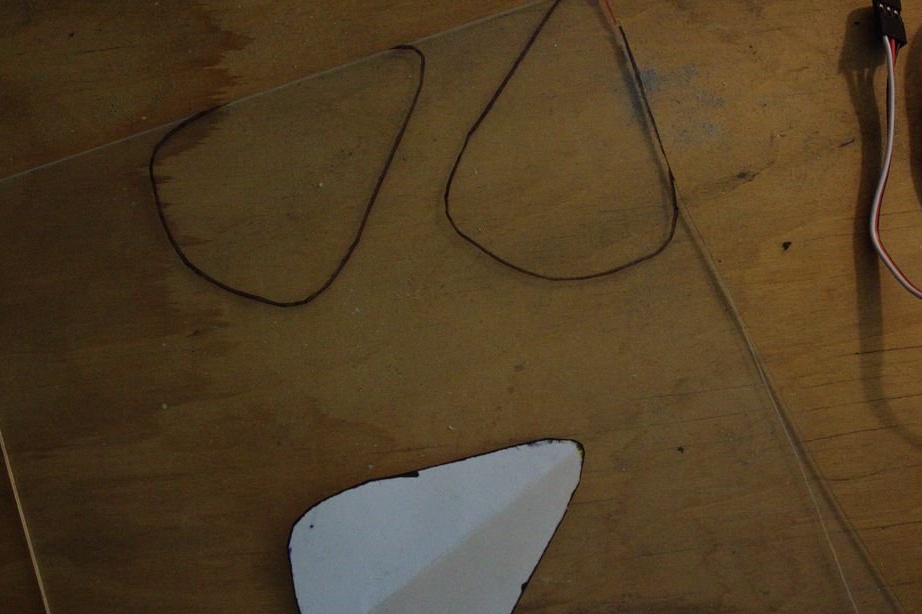
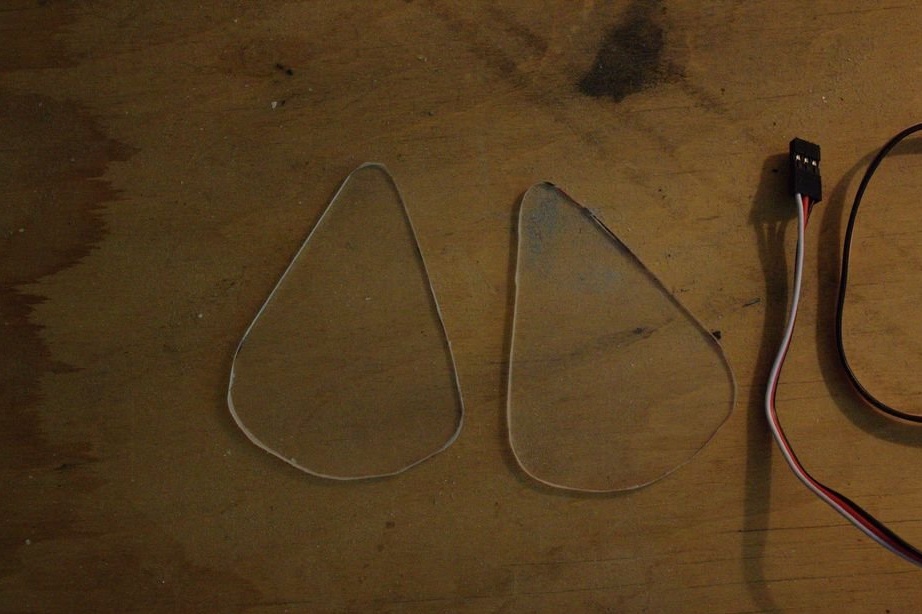
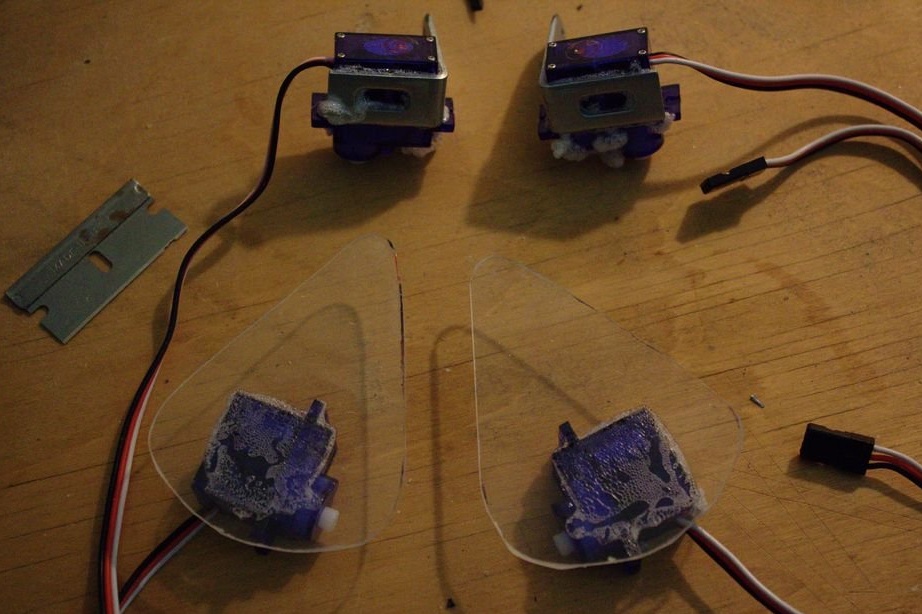
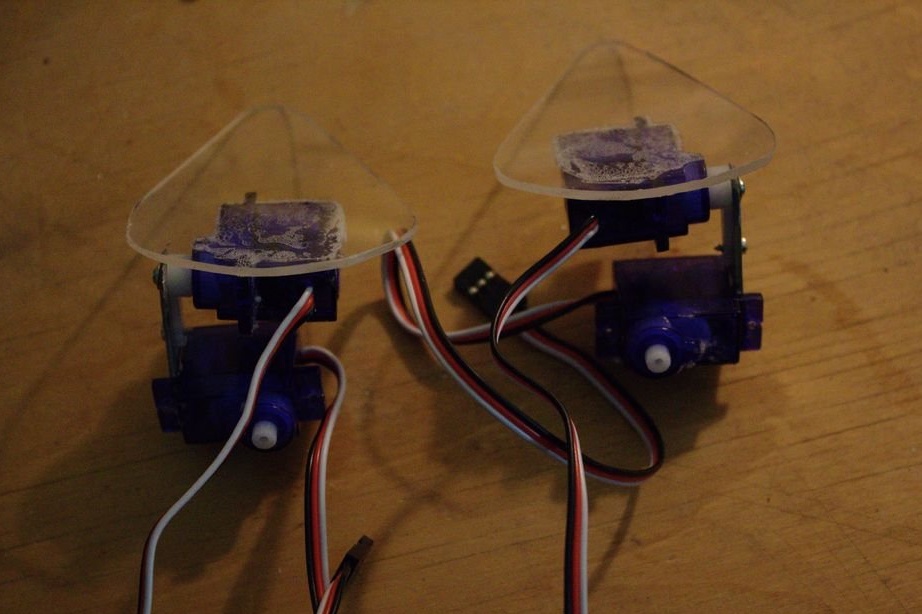
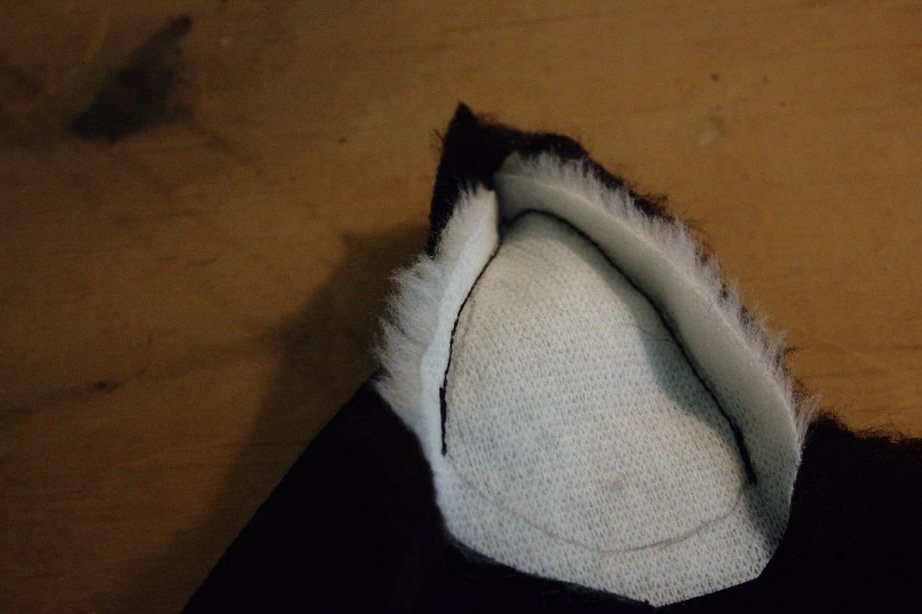
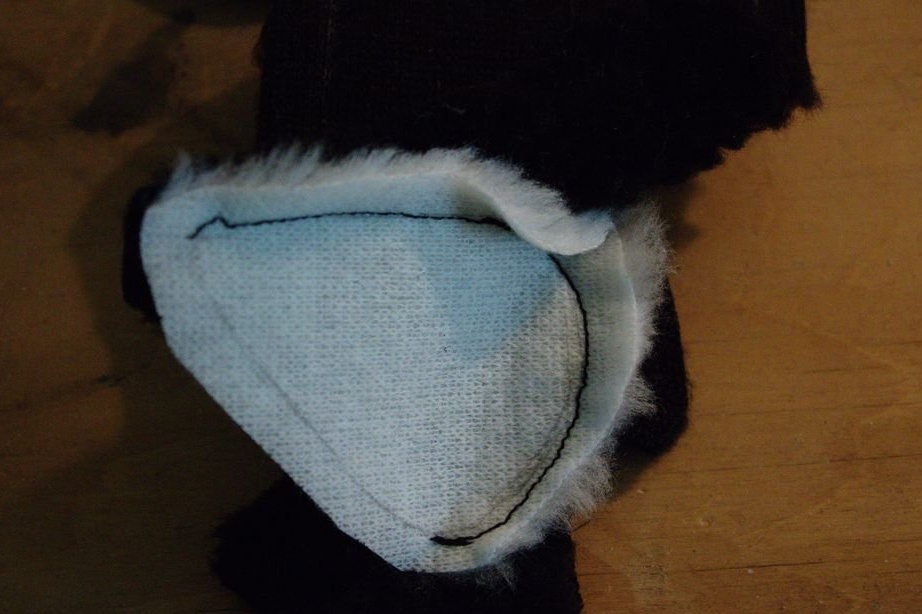
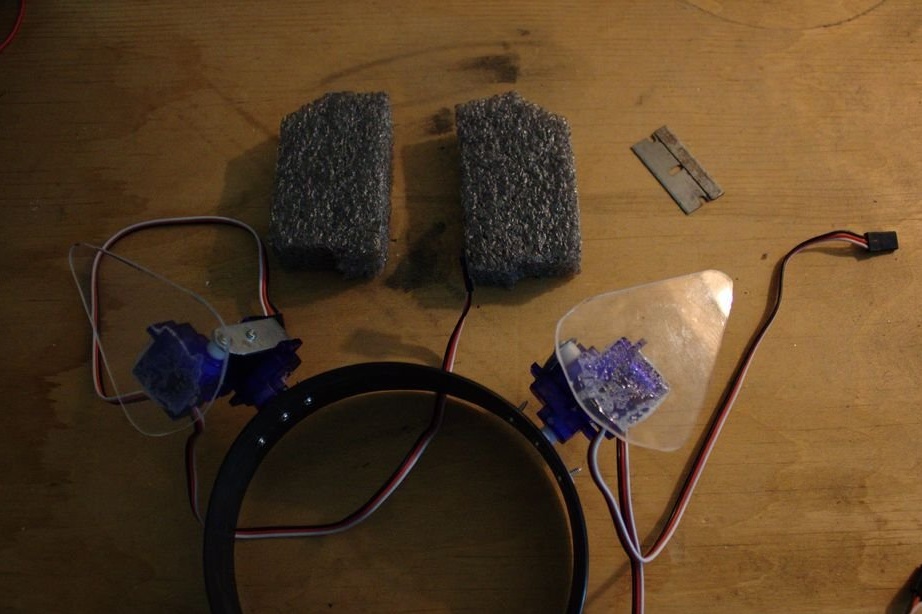
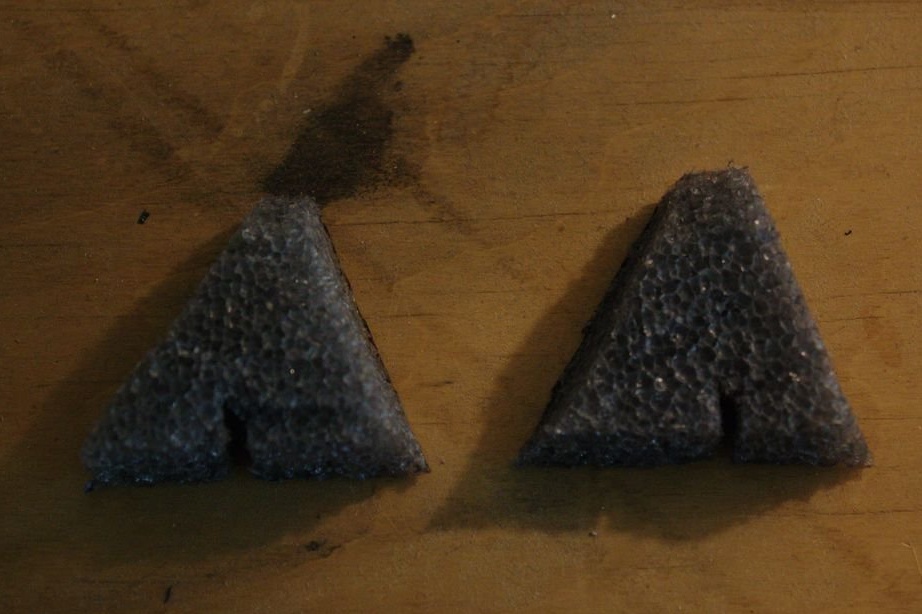
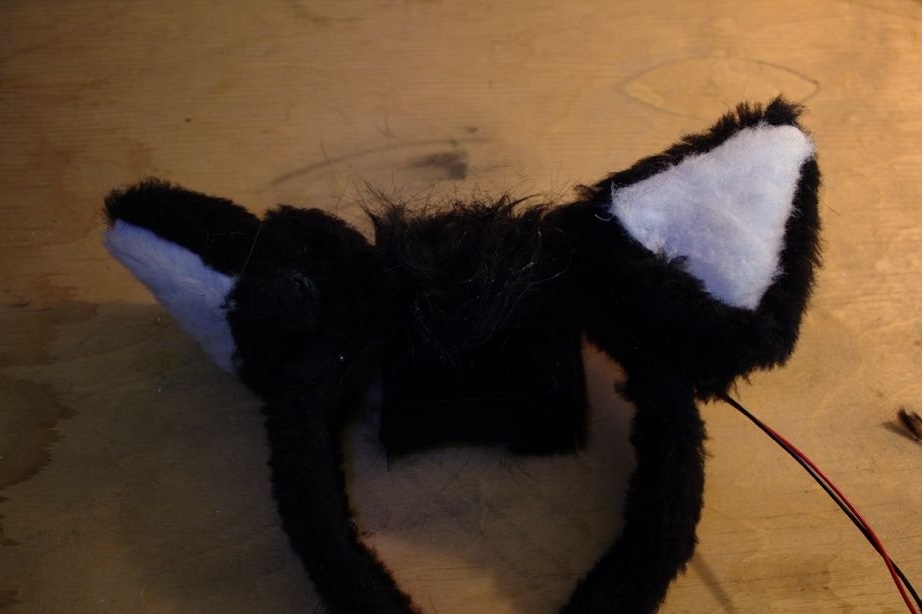
Step Three: Ears Base
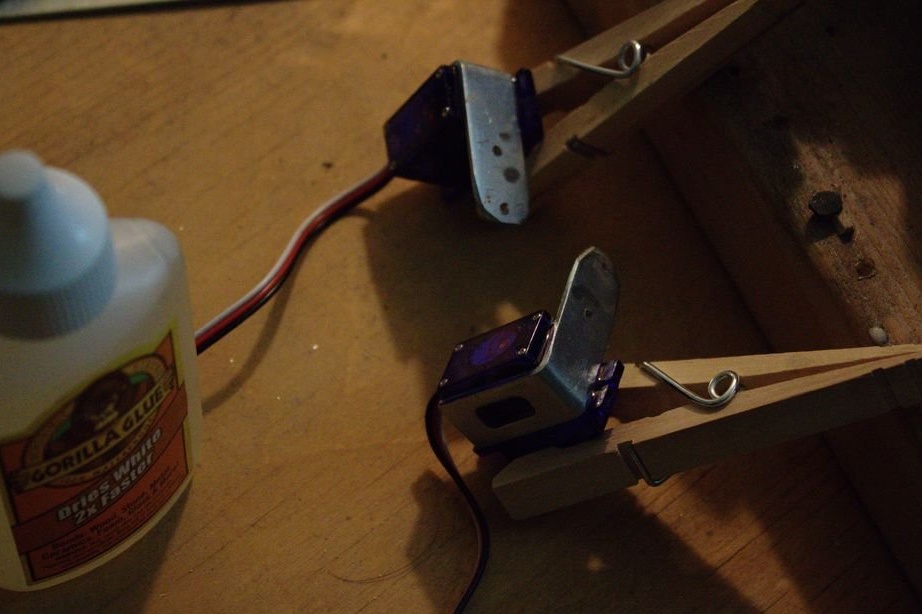
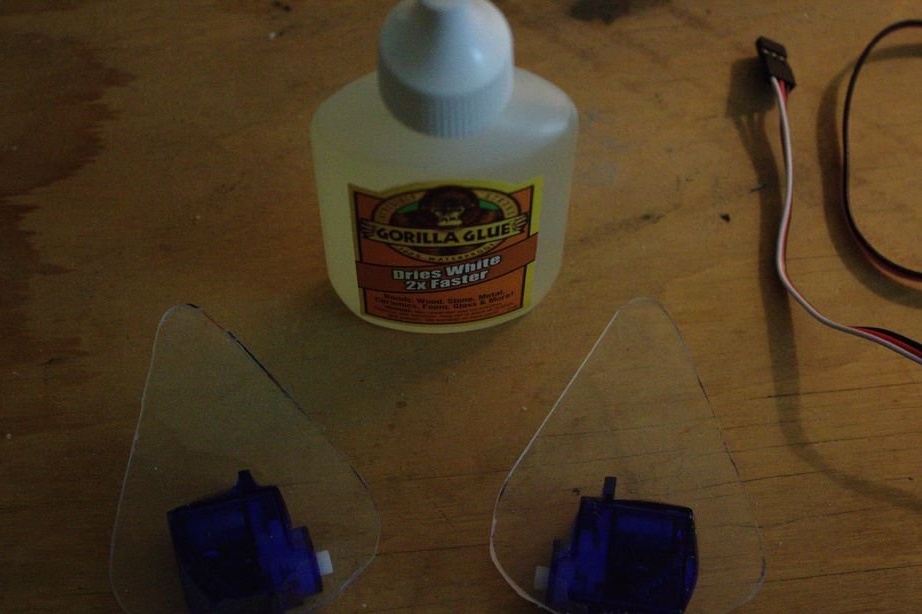
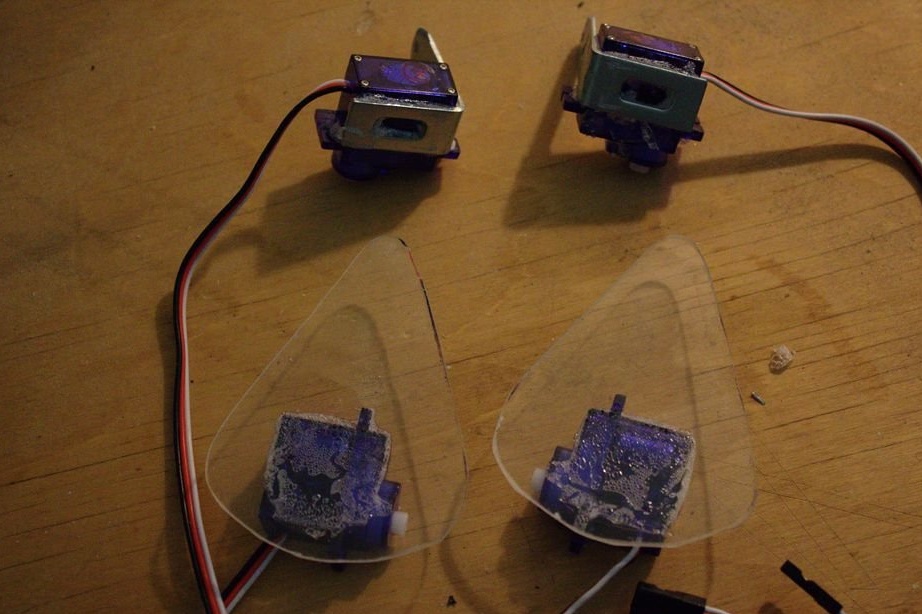
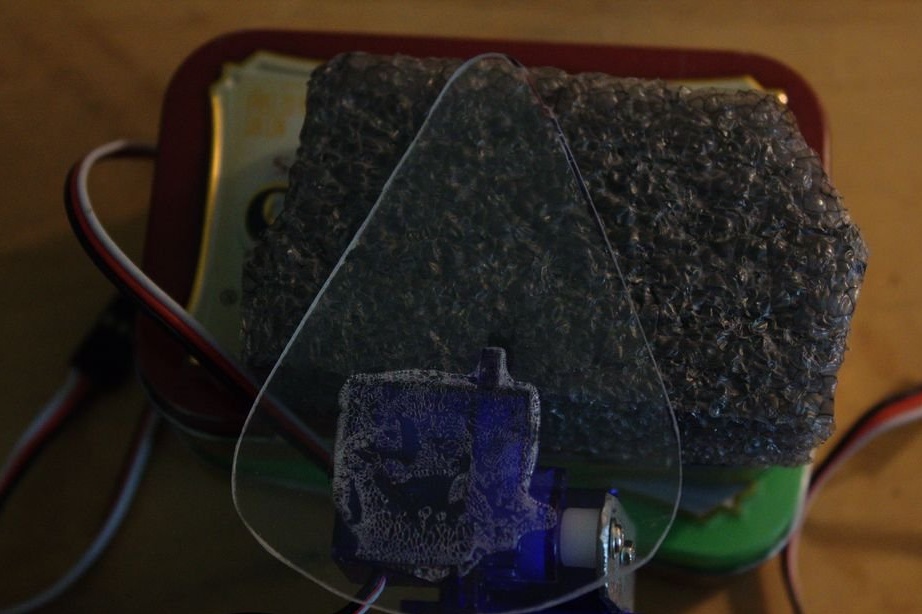
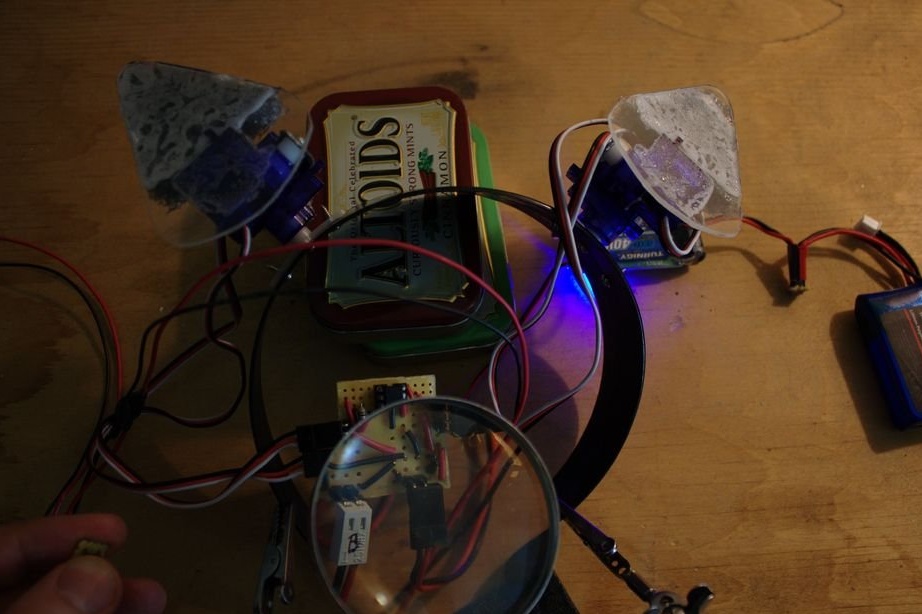
Cuts out a paper template. According to the pattern, it cuts out the base of the ears from acrylic.Glues the base to the second servo (up / down). When performing this operation, you must make sure that the bases will not touch other parts of the device and only then stick them.
Step Four: Installation
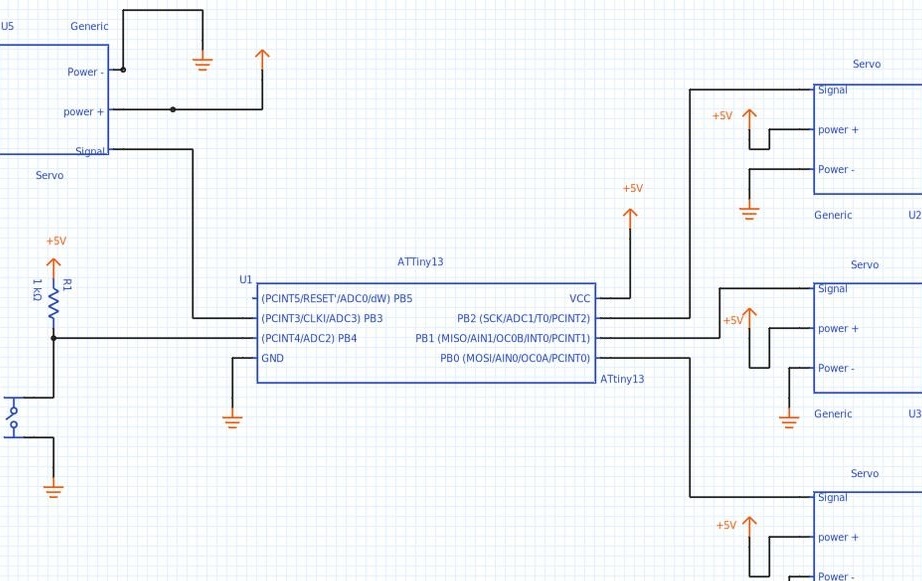
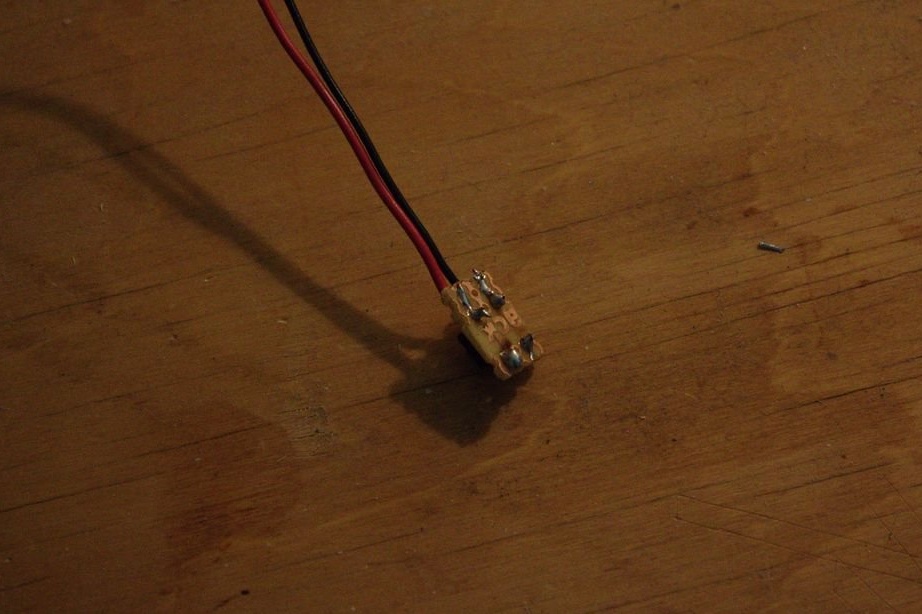
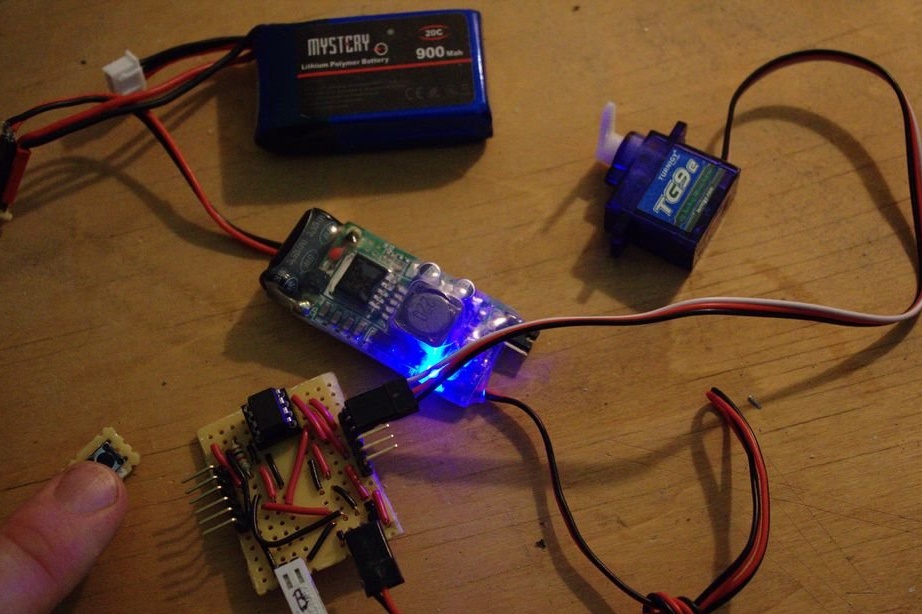
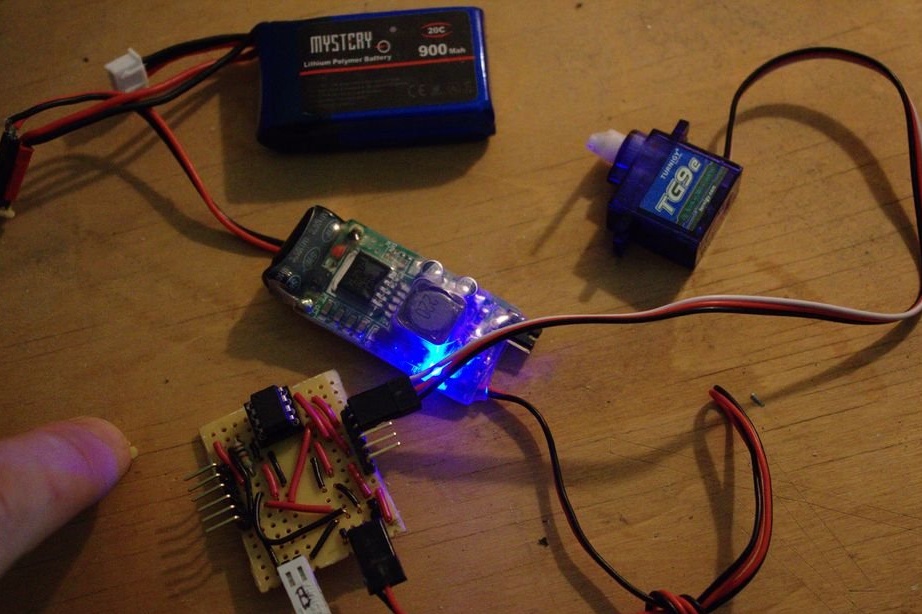
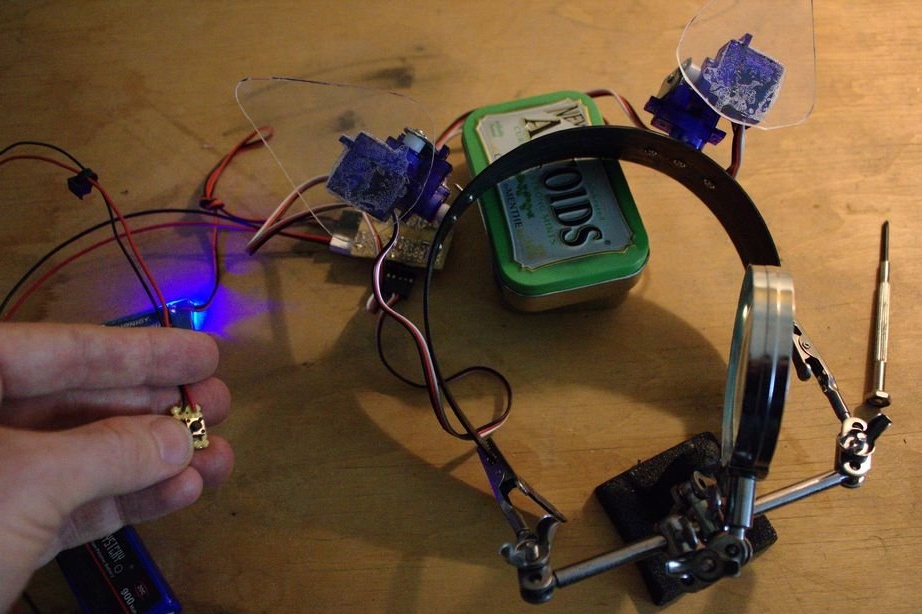
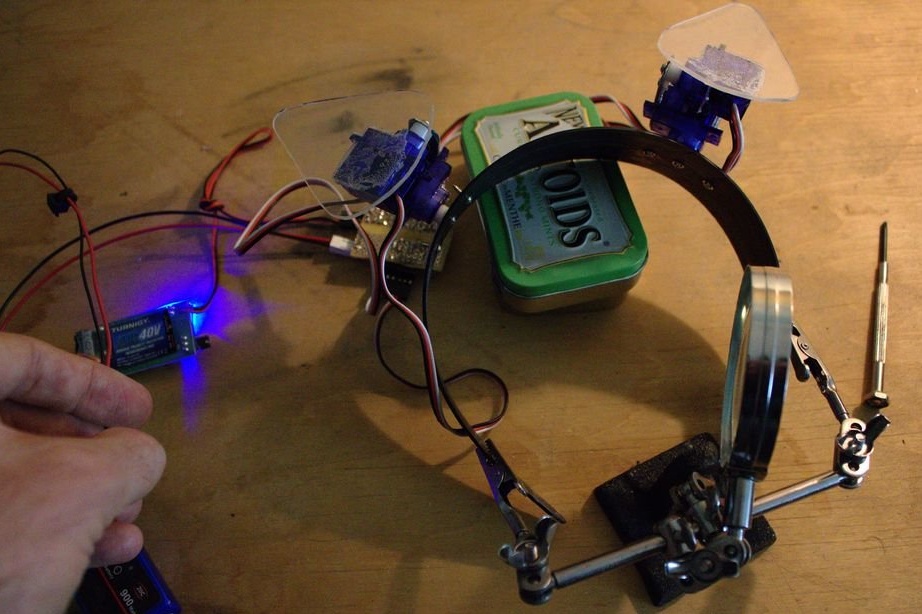
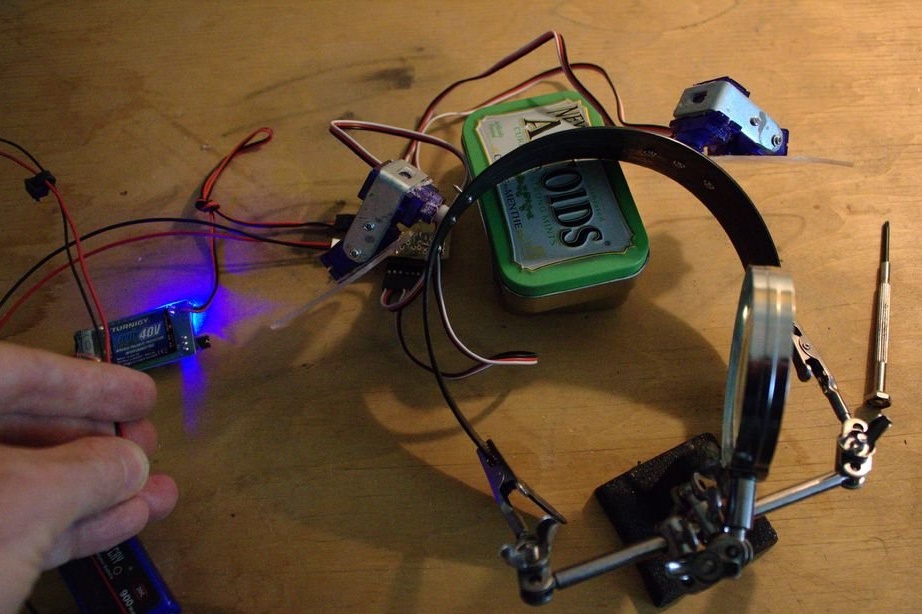
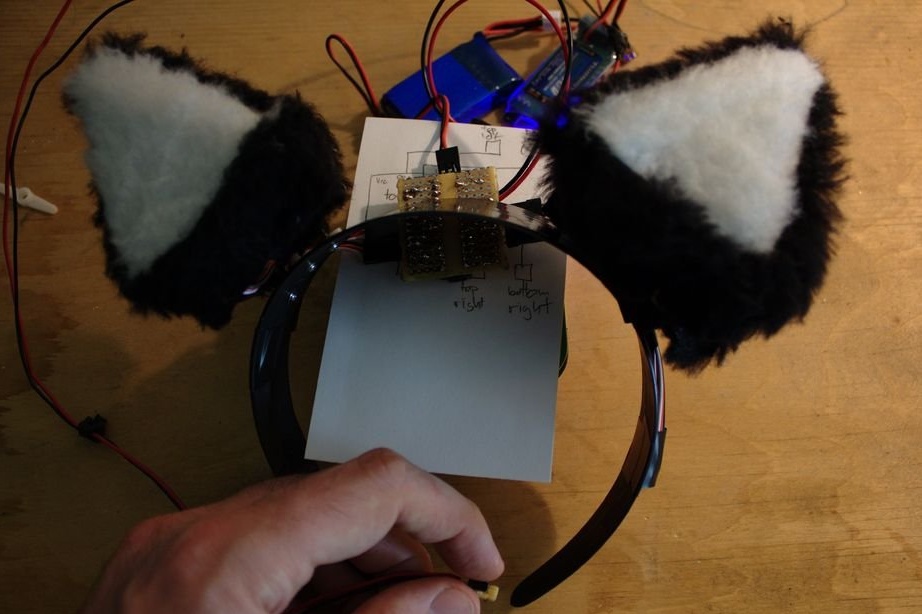
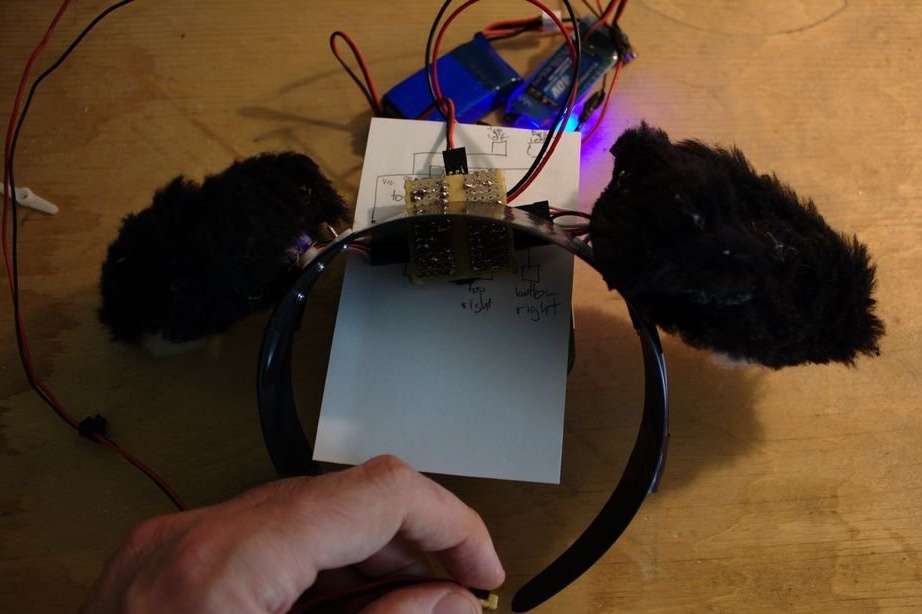
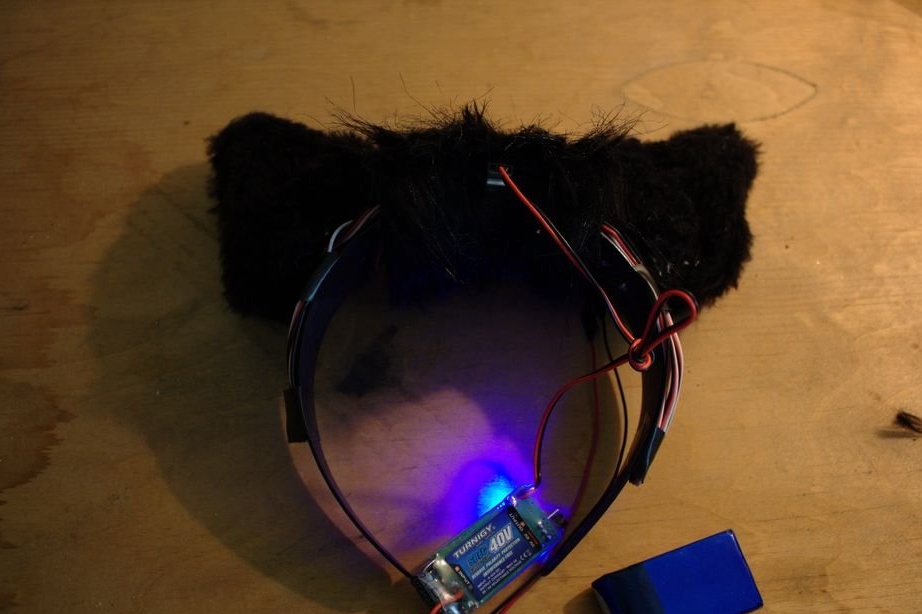
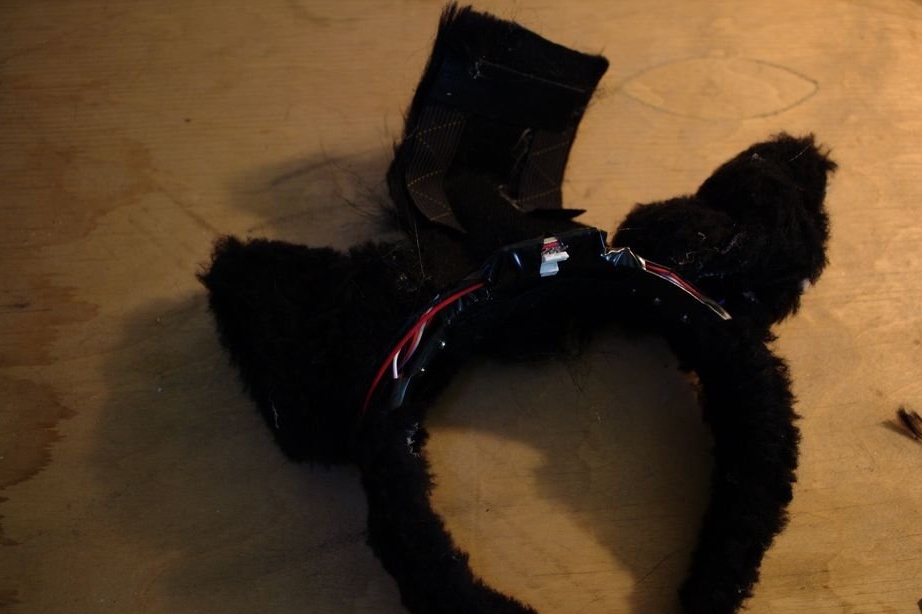
Performs installation according to the scheme. The microcontroller mounts on a breadboard. It also mounts connectors for peripheral devices, six on each side for servos, two for a remote button and two for power. The microswitch mounts on a separate breadboard. The button will be remote and the wire should be long.
Step Five: Programming
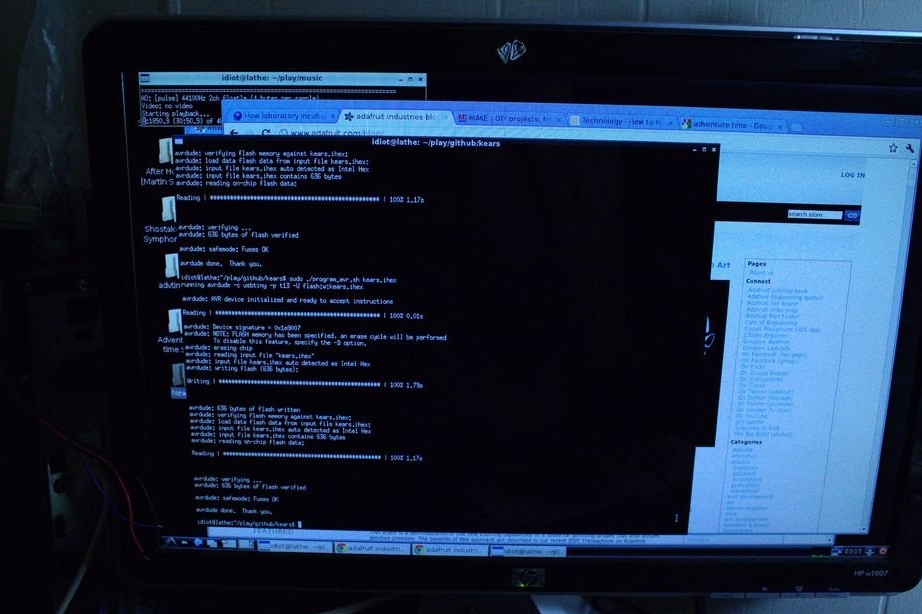
Now you can program the microcontroller. The code is available at this link. https://github.com/abetusk/kears/blob/release/kears.ihex .
After downloading the code, you need to connect the servo drive, battery and check the operation of the device. With a servo, you need to check all the commands by connecting it alternately to the connectors. Each press of the button should power a servo.

Step Six: Install Servo Drives
Now you need to install the servos on the rim. Secures the second servos. It is important to set the servos to their initial position. Then you need to connect the servos to the board. All servos have three wires: black or brown for grounding, red for power (~ 4.8-6 V), yellow, orange, or white signal wire (3-5 V). Connecting the servos to the microcontroller involves the following scheme:
Pin 5 (PB0) - Lower Right Servo
pin 2 (PB3) - upper right
pin 6 (PB1) - lower left
pin 7 (PB2) - upper left
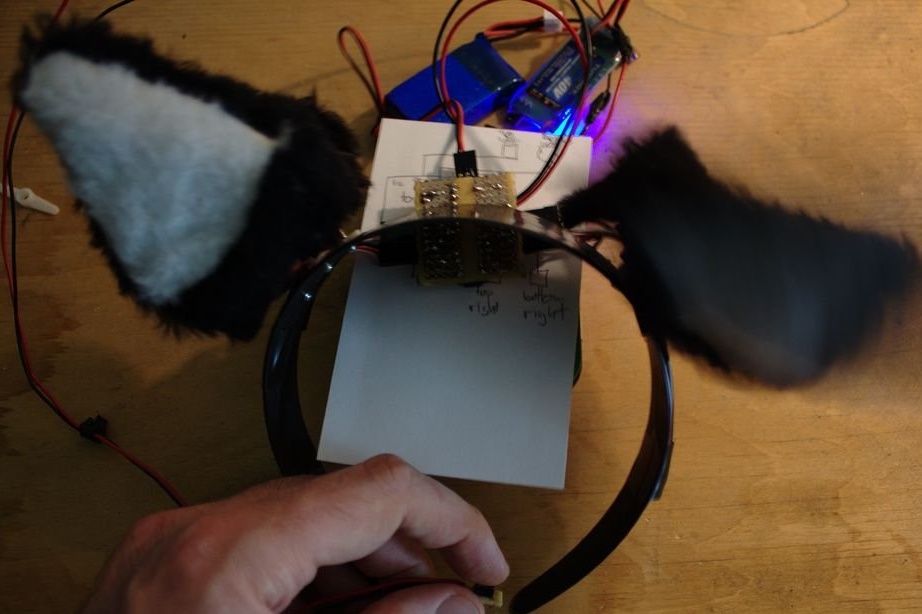
After everything is connected, you need to turn on the power of the circuit by connecting the battery to the regulator, and the regulator to the circuit. While the circuit is on, each of the servos will be positioned so that they are in the desired starting position. The base servos should be facing forward, and the top servos should have acrylic (base) in the same plane as the face.
After everything has been set and connected it is necessary, it will perform each of the given movements to make sure that they can move with a full range of motion, without hitting anything.
Pressing the button is as follows: press and hold, double press and hold the button, triple press. Each of these actions gives a command for a specific movement.

Seventh step: case
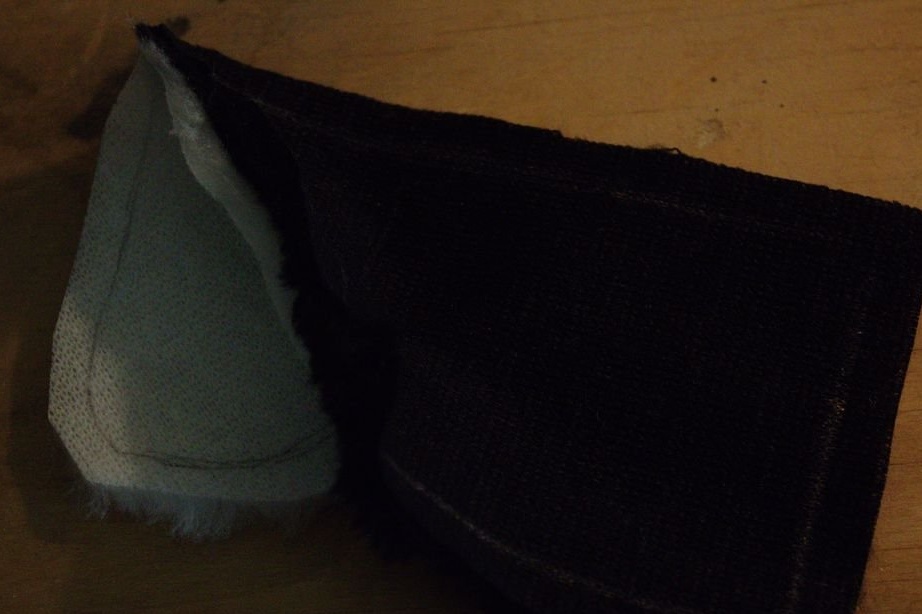
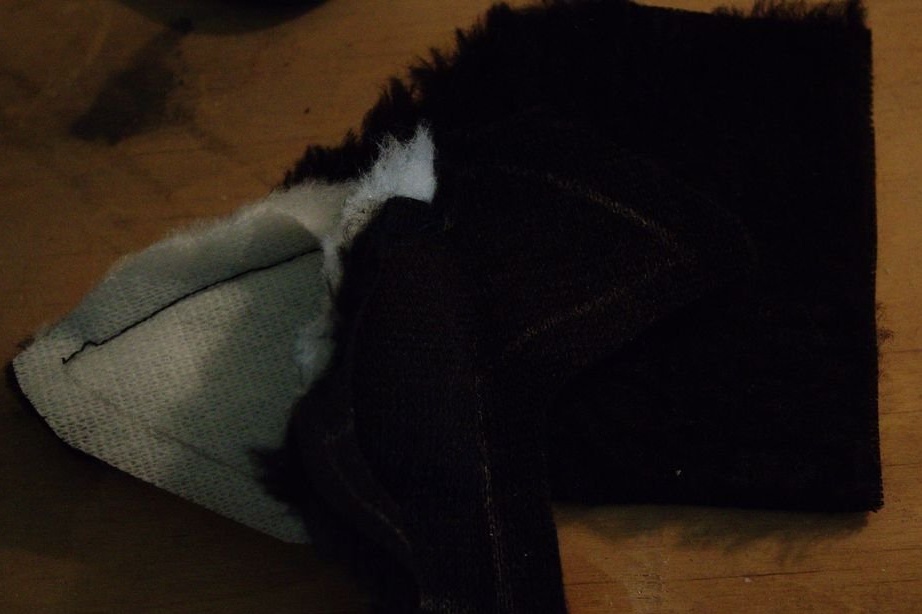
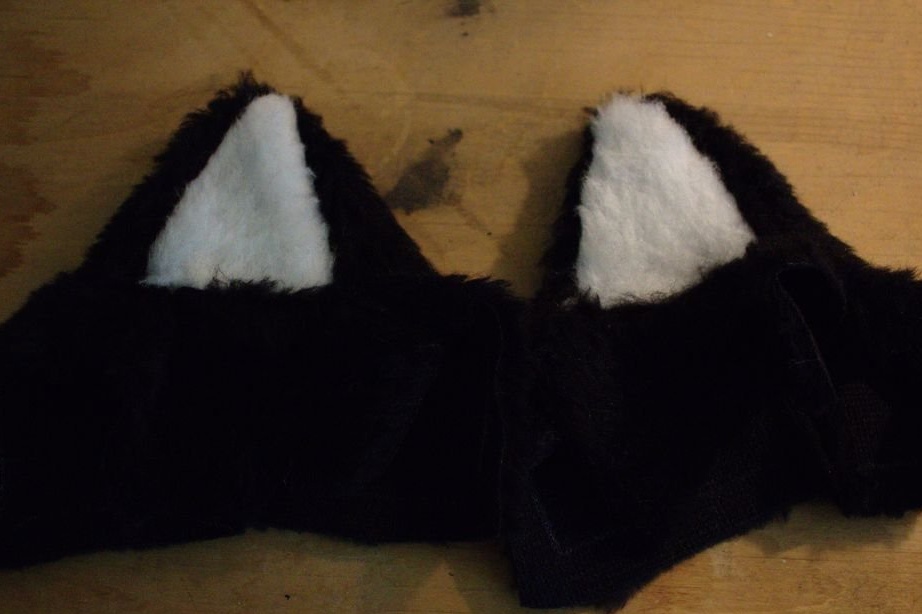
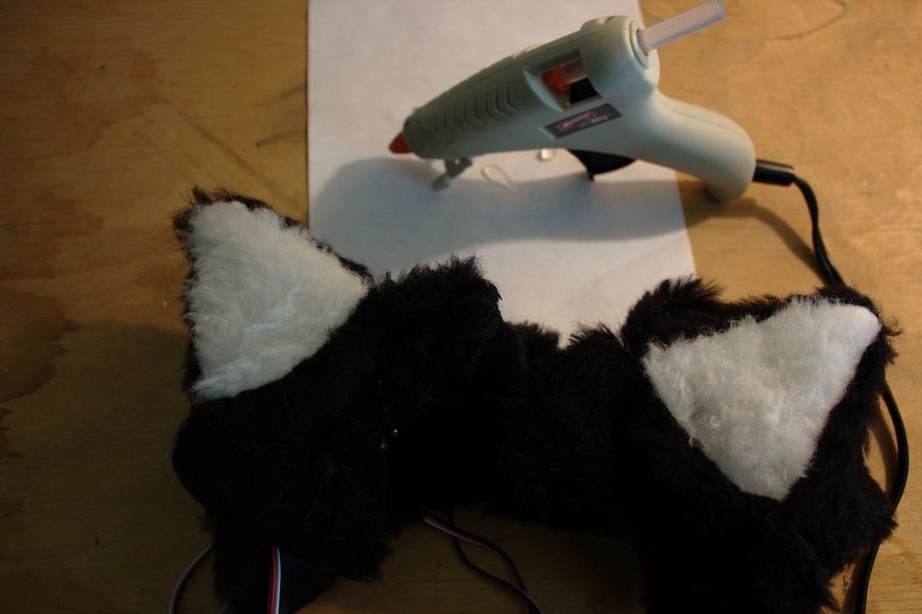
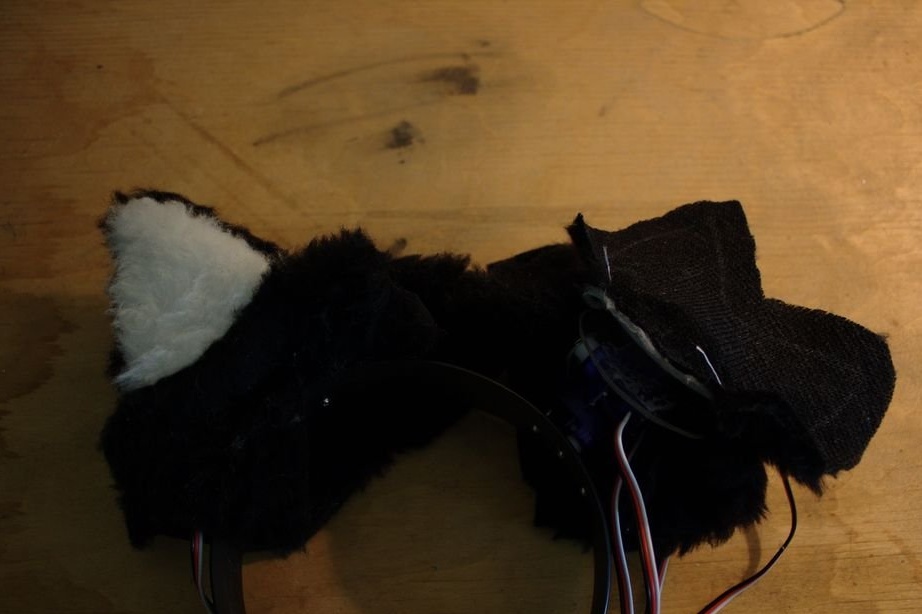
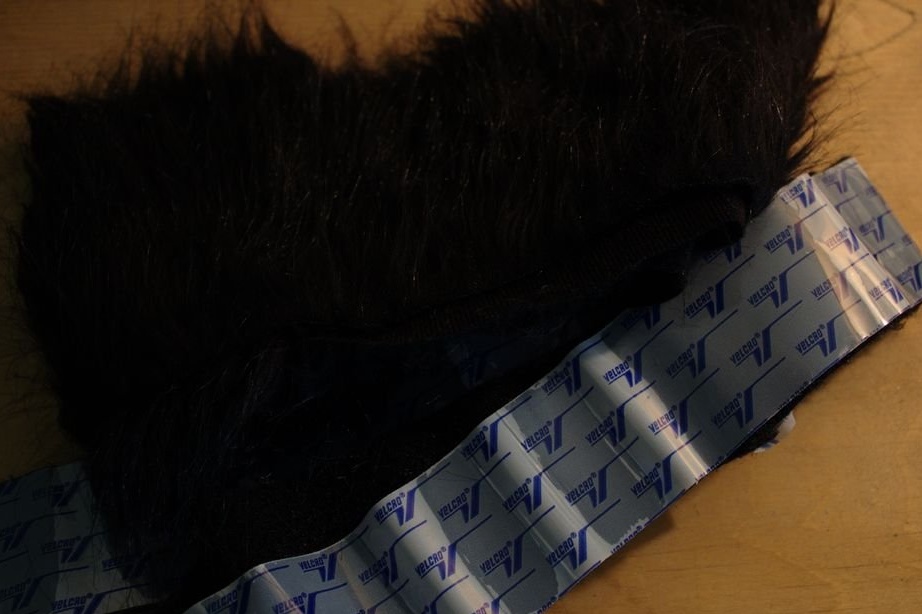
Now you can sheathe ears with fur, giving them the likeness of a cat.

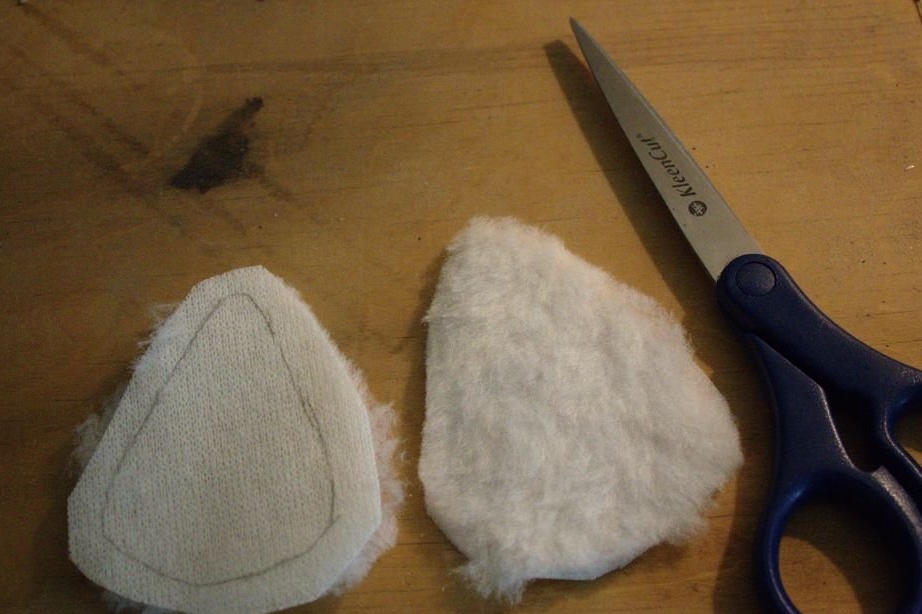


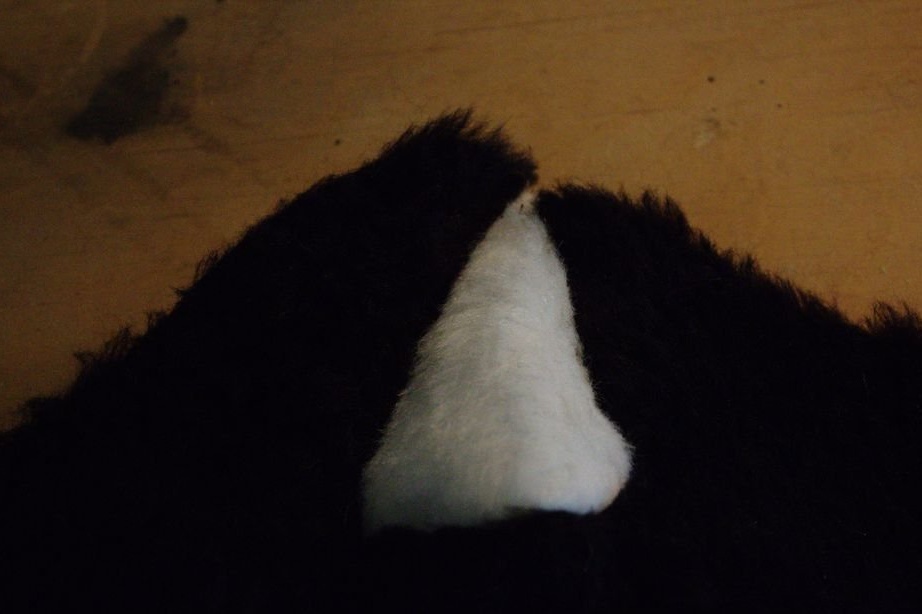

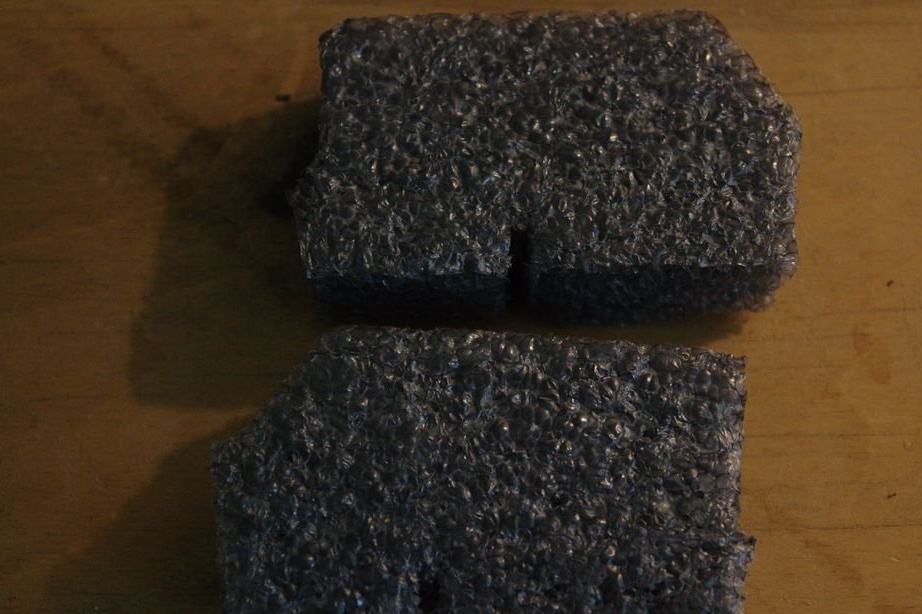
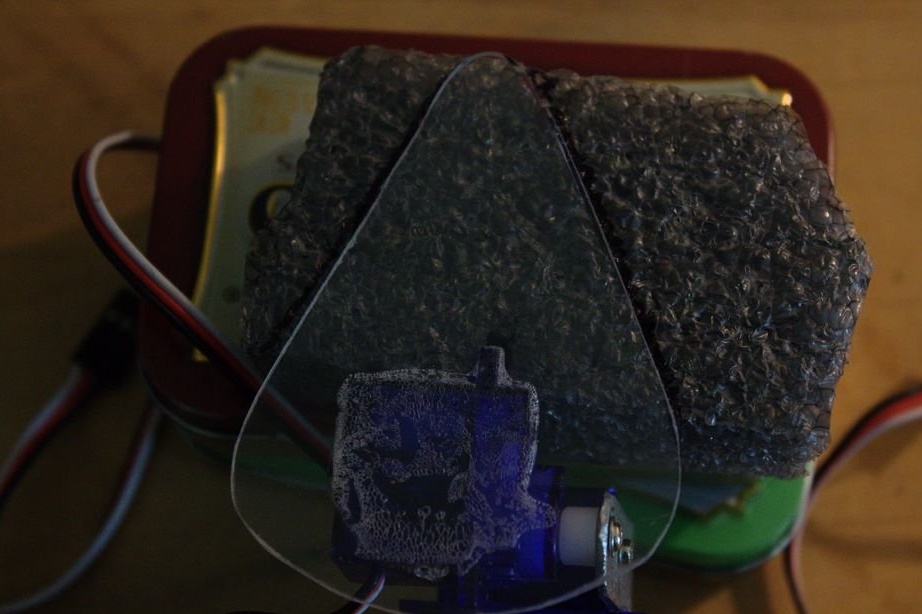
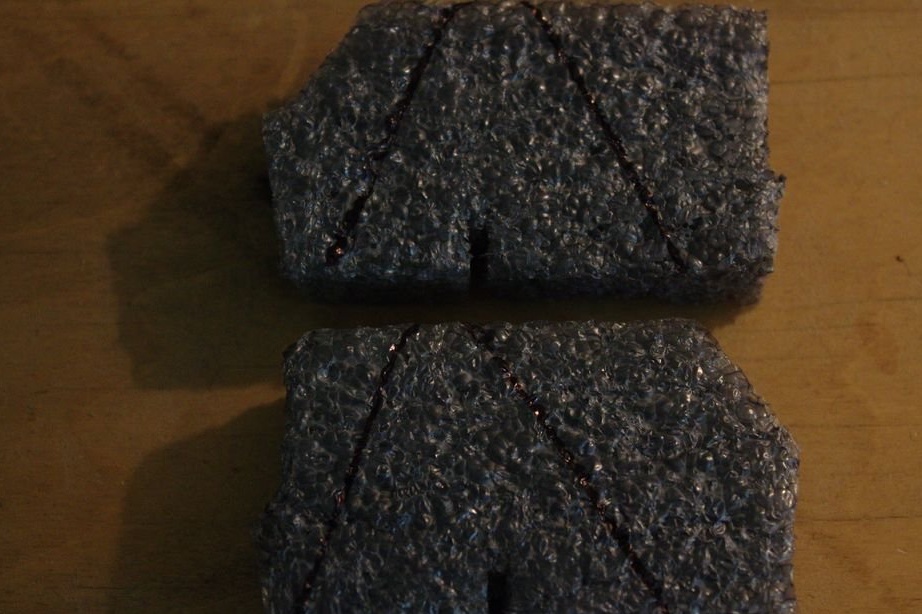
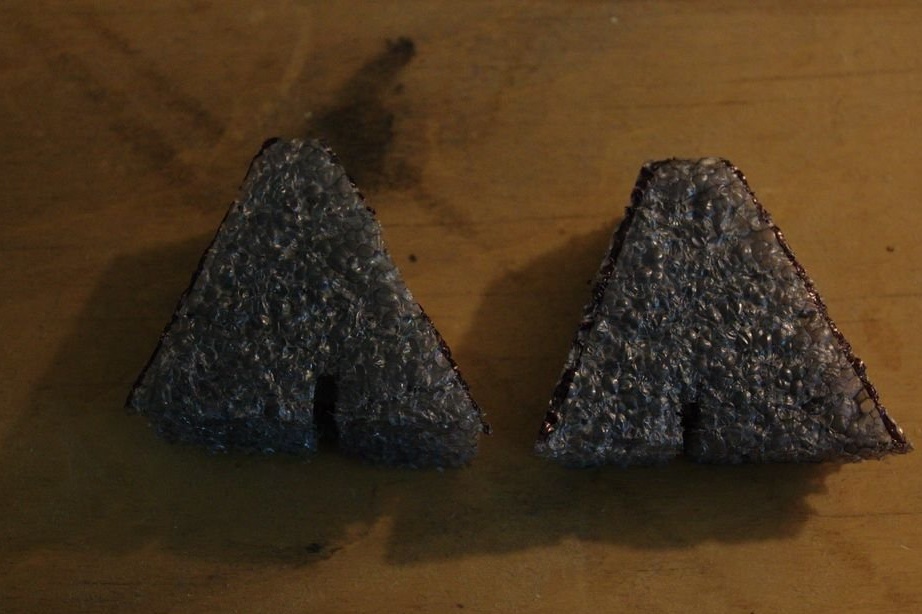
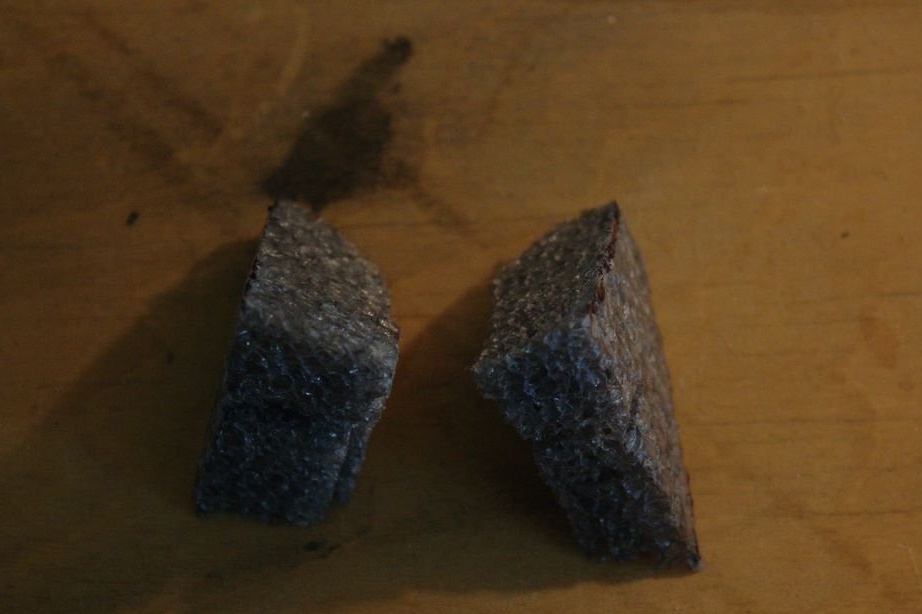
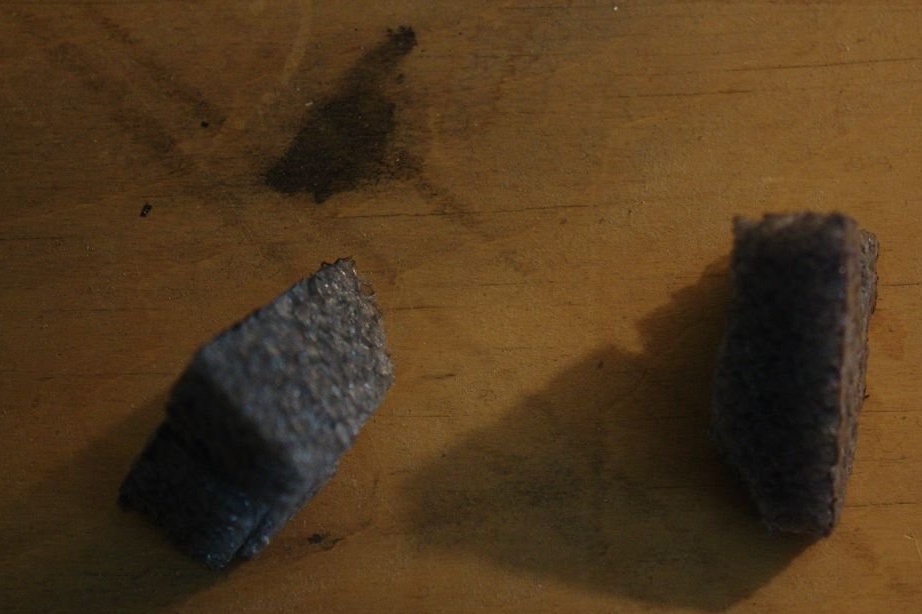
For volume, the master glues pieces of foam to the base. This step may not be taken, but this way the ears look prettier.
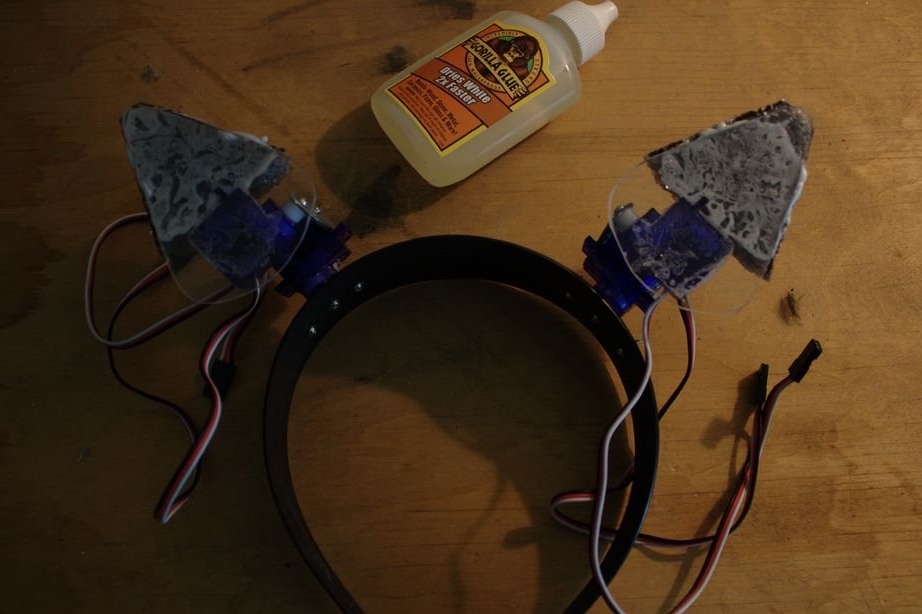
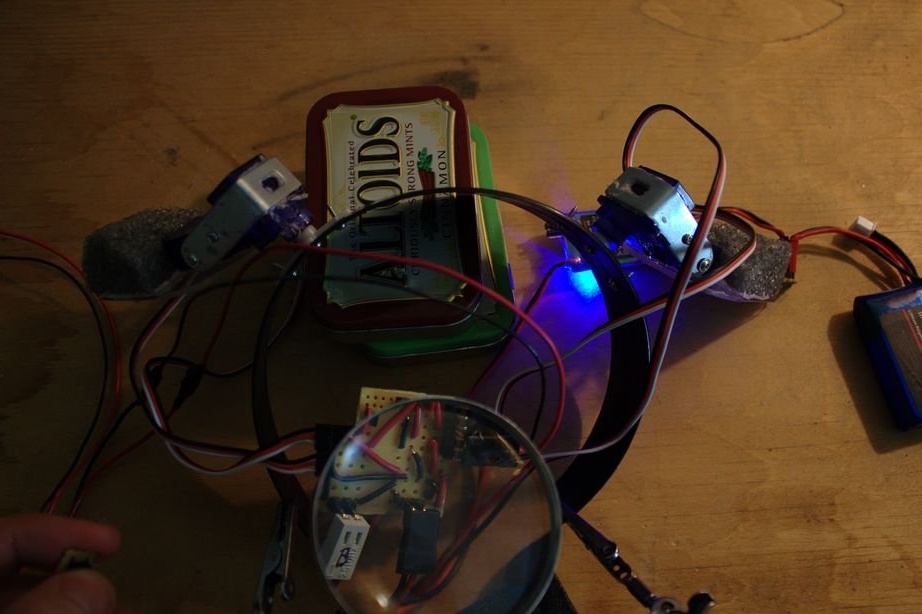
Now you need to make sure again that the servos in all planes move without touching and you can fix the cover. The master glues a fur cover using hot melt adhesive. When gluing, you need to correctly calculate the gluing points. The fabric should not sag, but also should not prevent the servos from moving. Excess tissue needs to be trimmed.
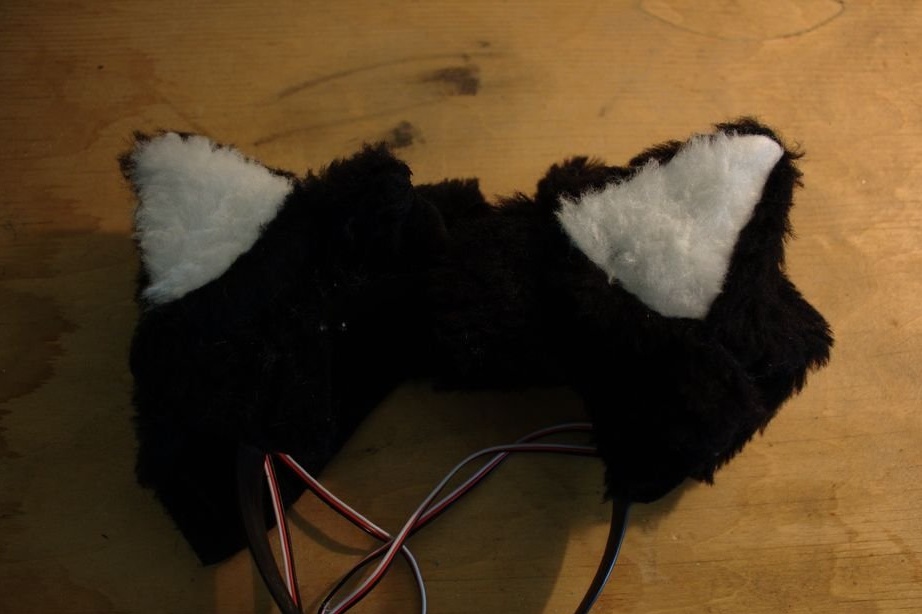


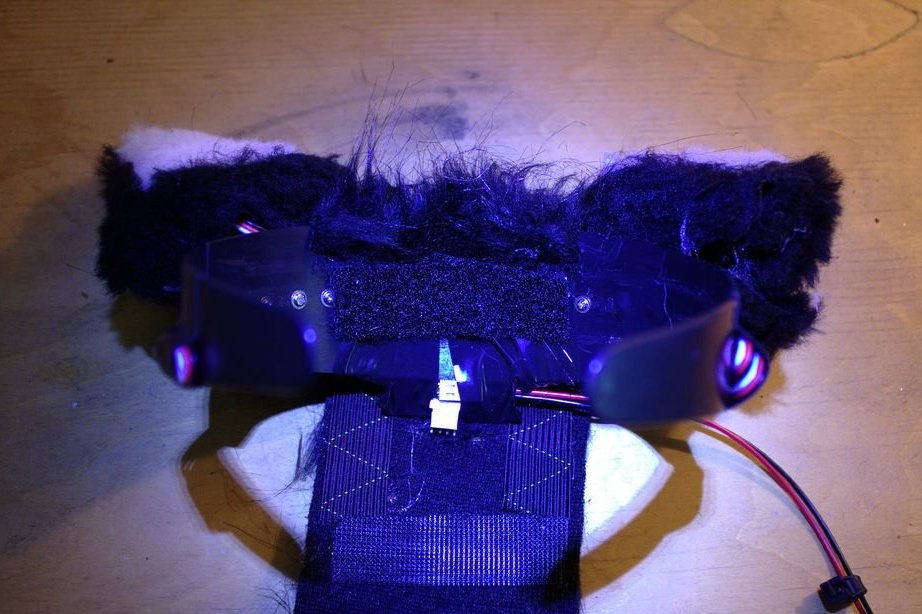
Step Eight: Final Assembly
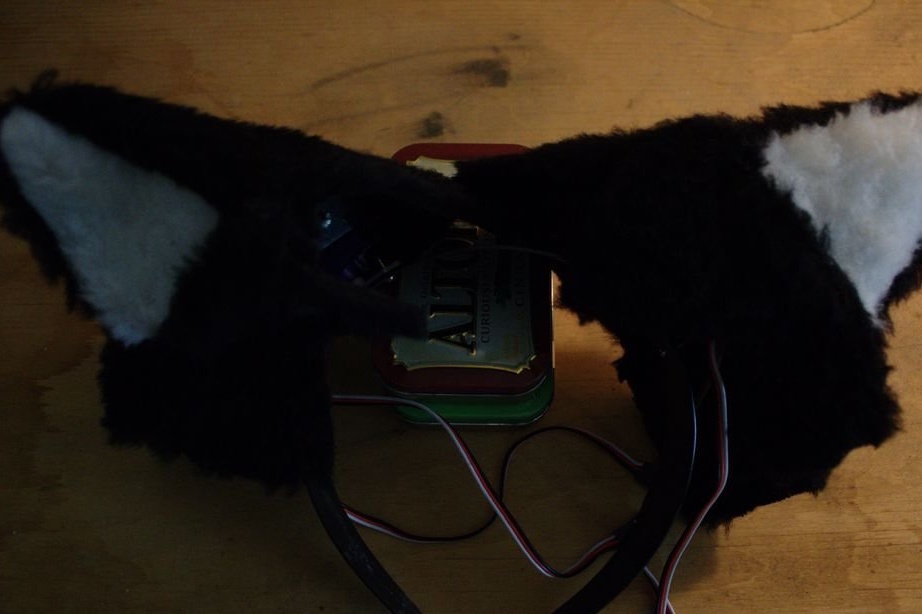
Now it's time to complete the product. The master sheats the rim with fur. The battery and regulator are secured in a plastic container, and then in a pocket behind the rim.

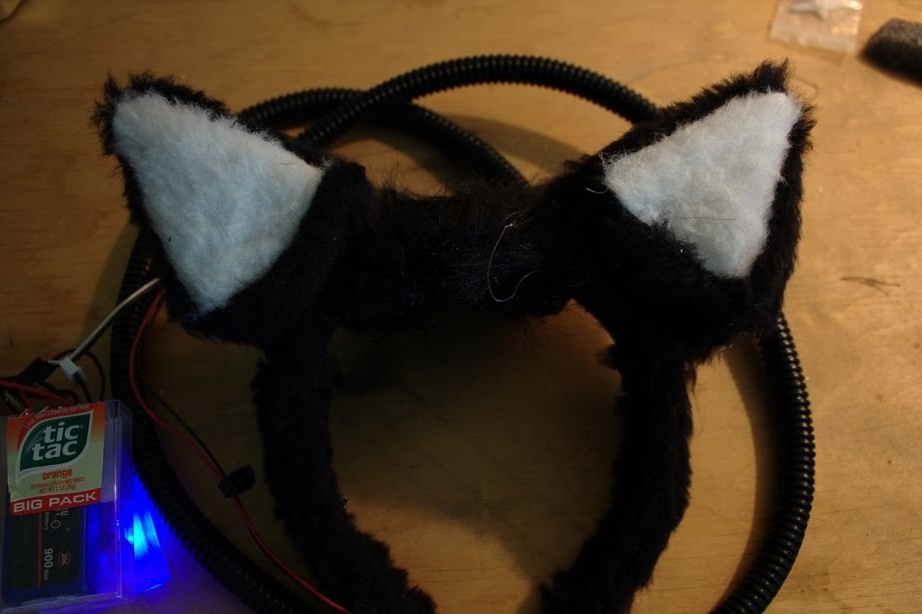
All is ready. Below you can see a couple more examples of the device.