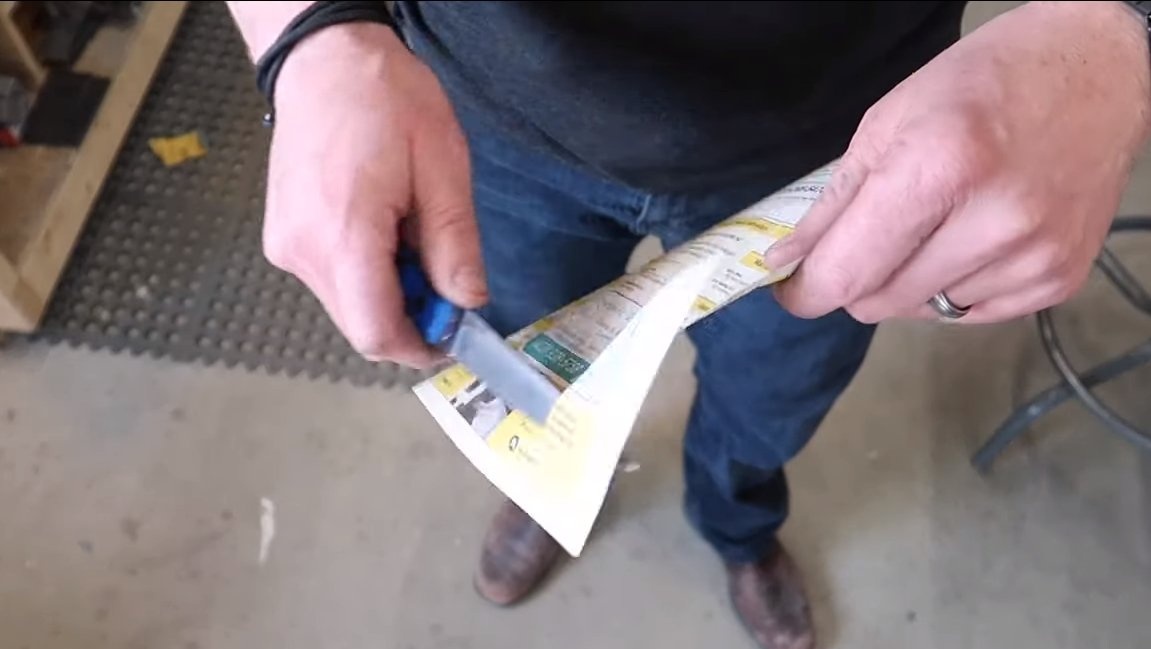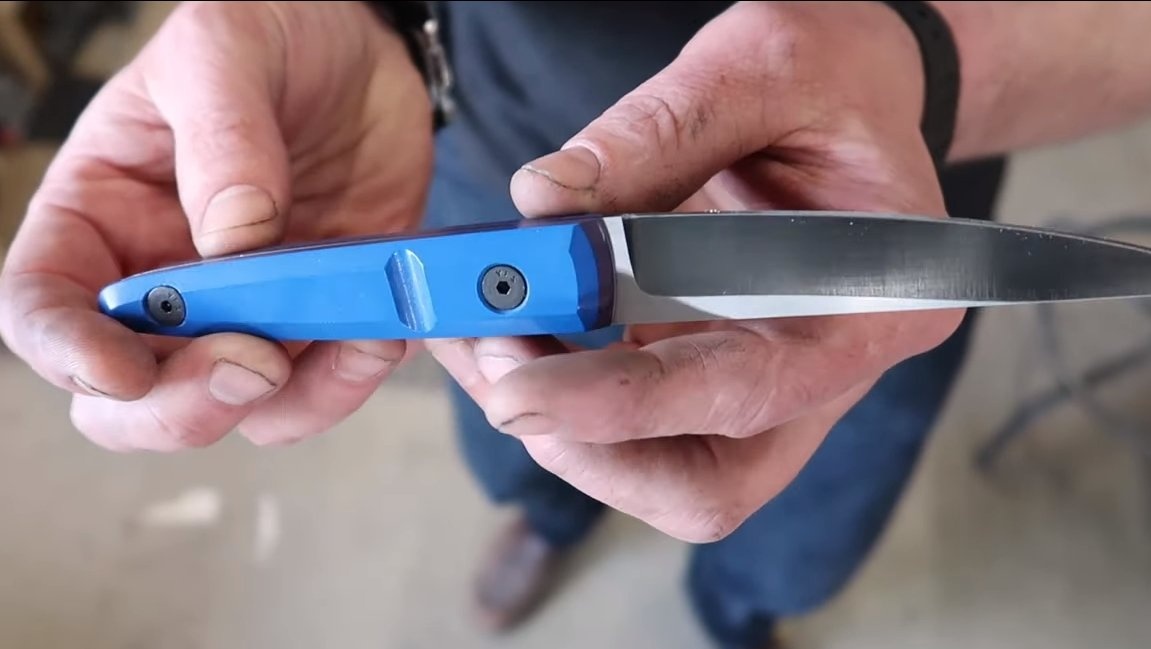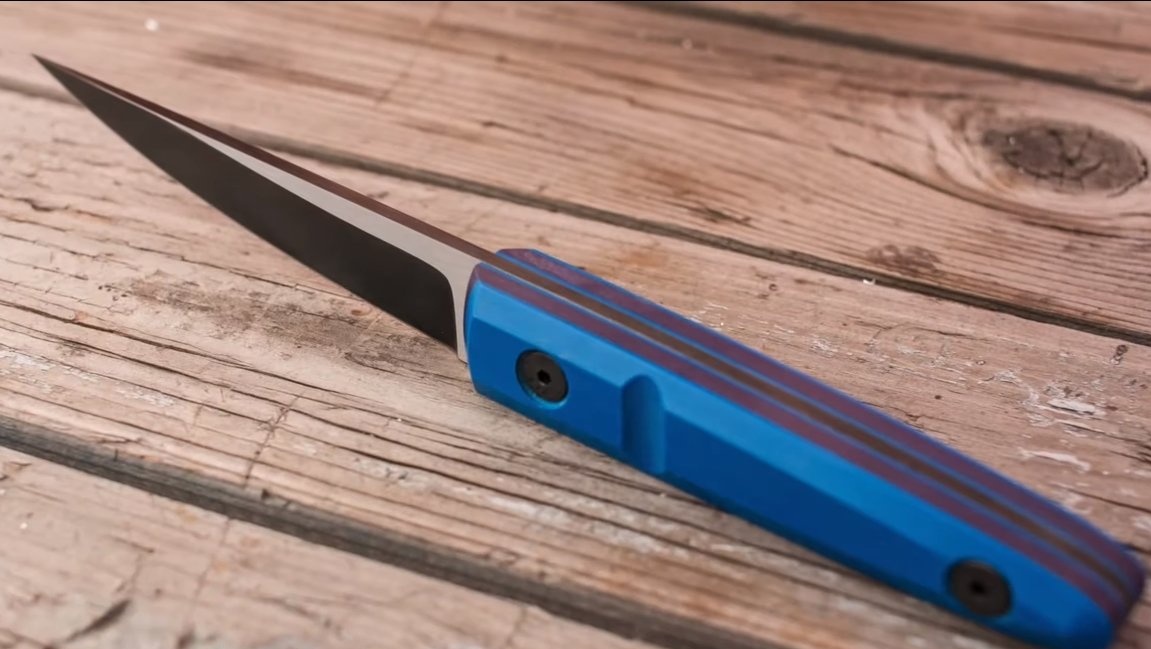
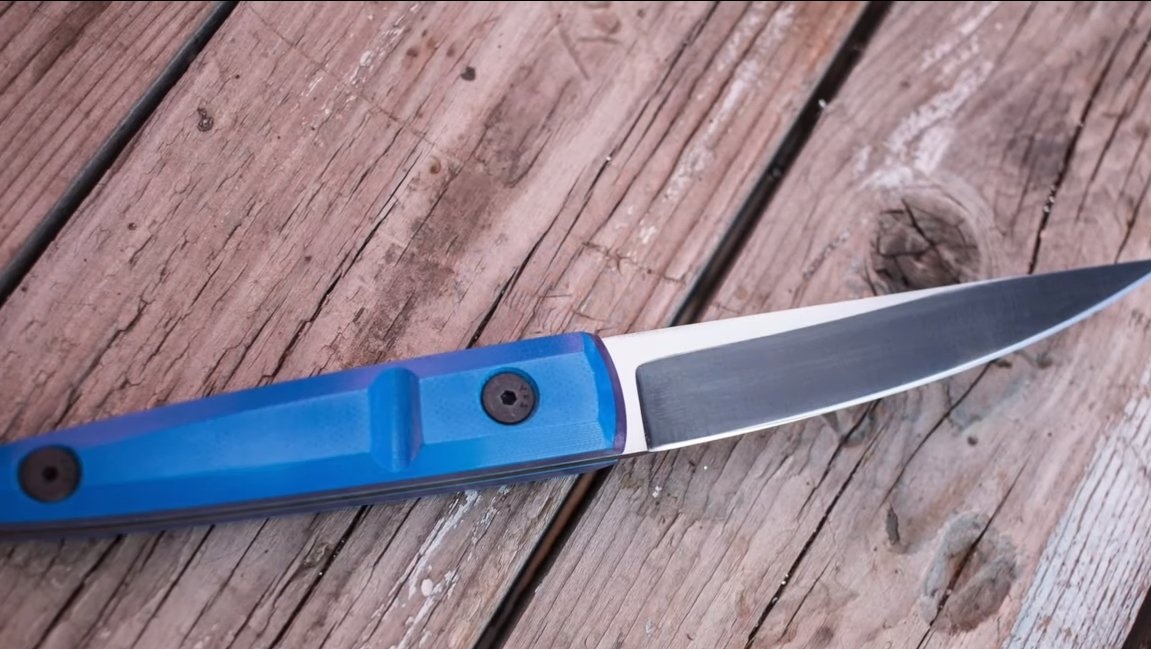
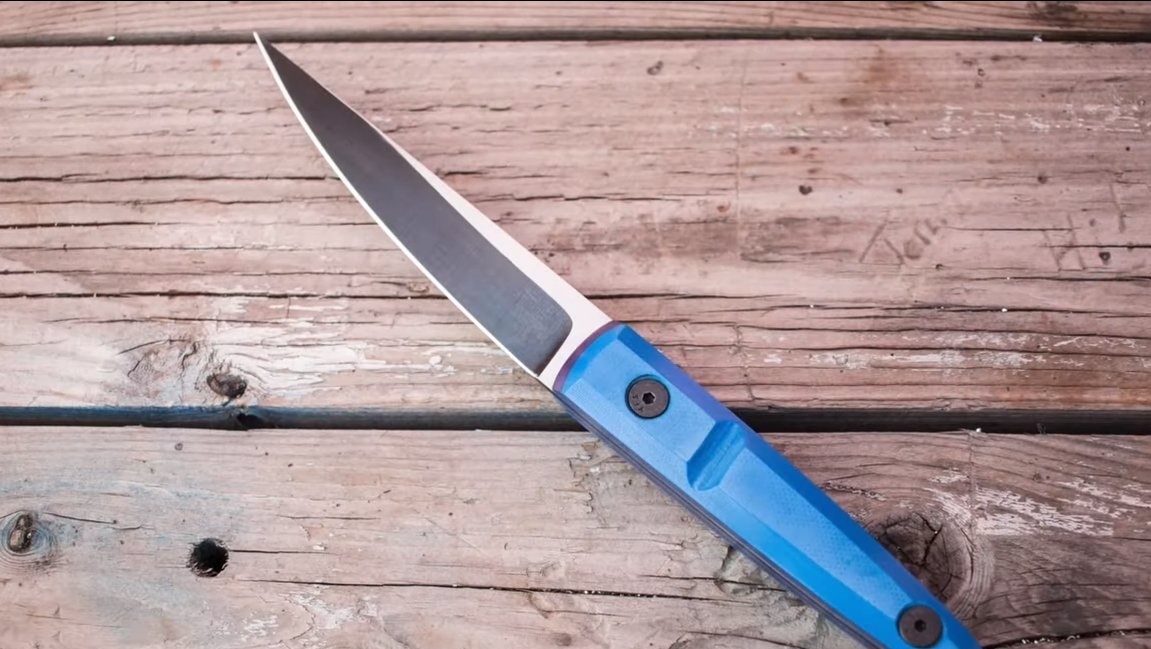
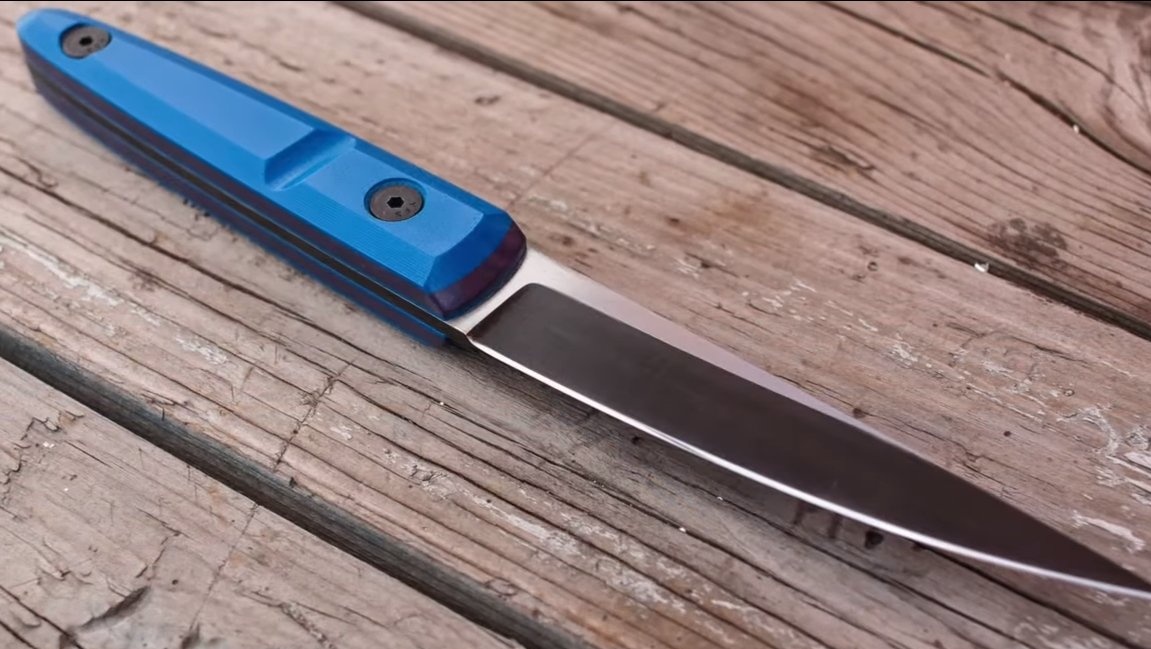
Hello fans to craft, today we will consider how to make a small knife without forging. The author called his knife “Sliver”, since the blade here is quite narrow and thin. Such a blade will be wonderfully cut, they can thinly cut vegetables, bread and other products. The knife handle is made of G10 material, in terms of quality it can be compared with textolite, only the G10 looks much better. Such a handle is strong, it is not afraid of water, and thanks to the fastening in the form of screws, the lining can be easily replaced. As for the blade, it is made of steel 0-1, such steel is easily tempered in oil and perfectly keeps sharpening. The author sharpened his knife to a razor state; he easily cuts thin paper to a canopy. If you are interested in the project, I propose to study it in more detail!
Materials and tools used by the author:
Material List:
- steel 0-1 or similar;
- (color to your taste);
- epoxy adhesive;
- .
Tool List:
- belt sander;
- milling machine;
- drilling machine;
- tape cutting saw;
- hardening oven and oven;
- clamps;
- vise;
- polishing machine;
- reagent for steel pickling;
- grinding stones;
- marker, paint in spray can;
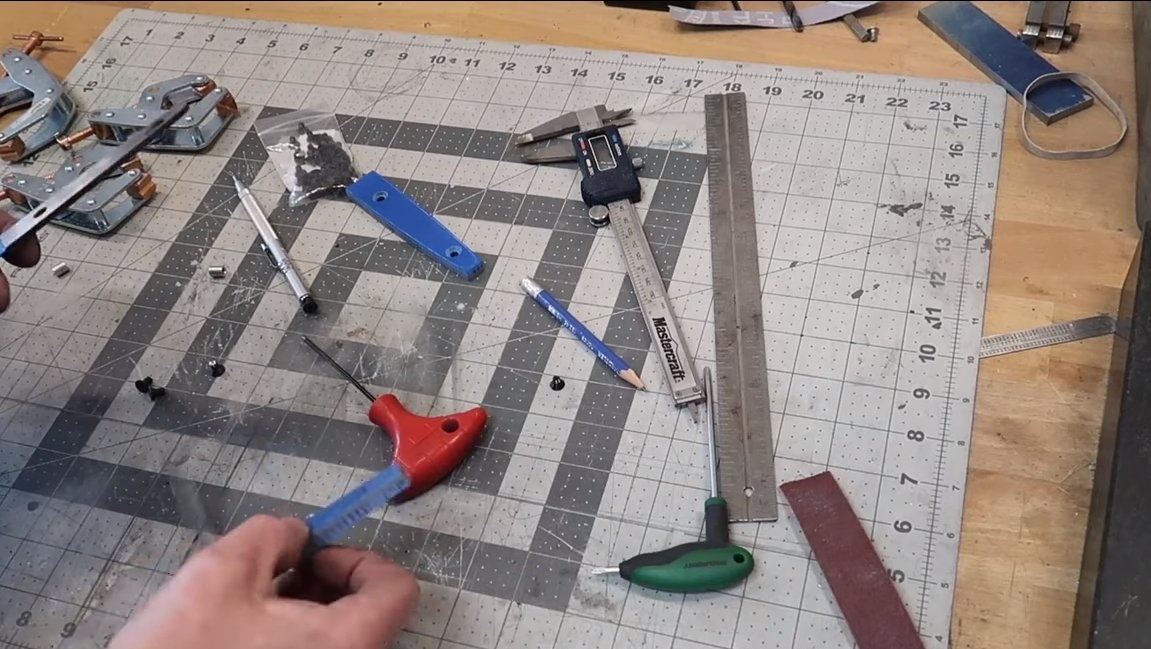
- vernier caliper, tape measure, etc.
The process of making a knife:
Step one. Primary profile
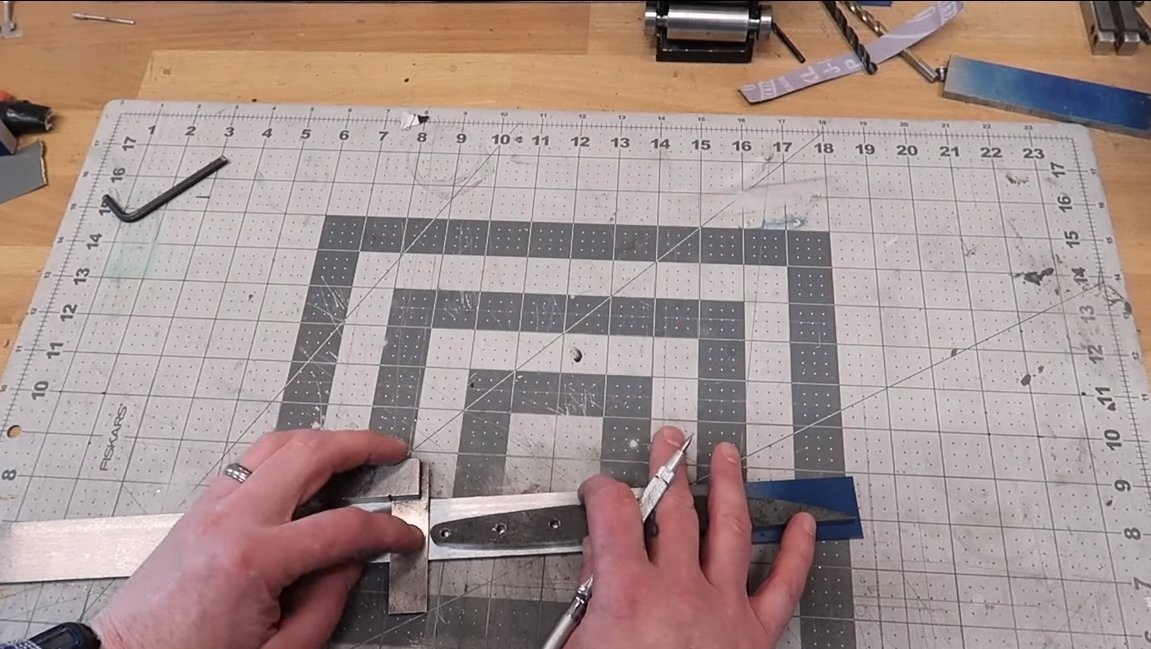
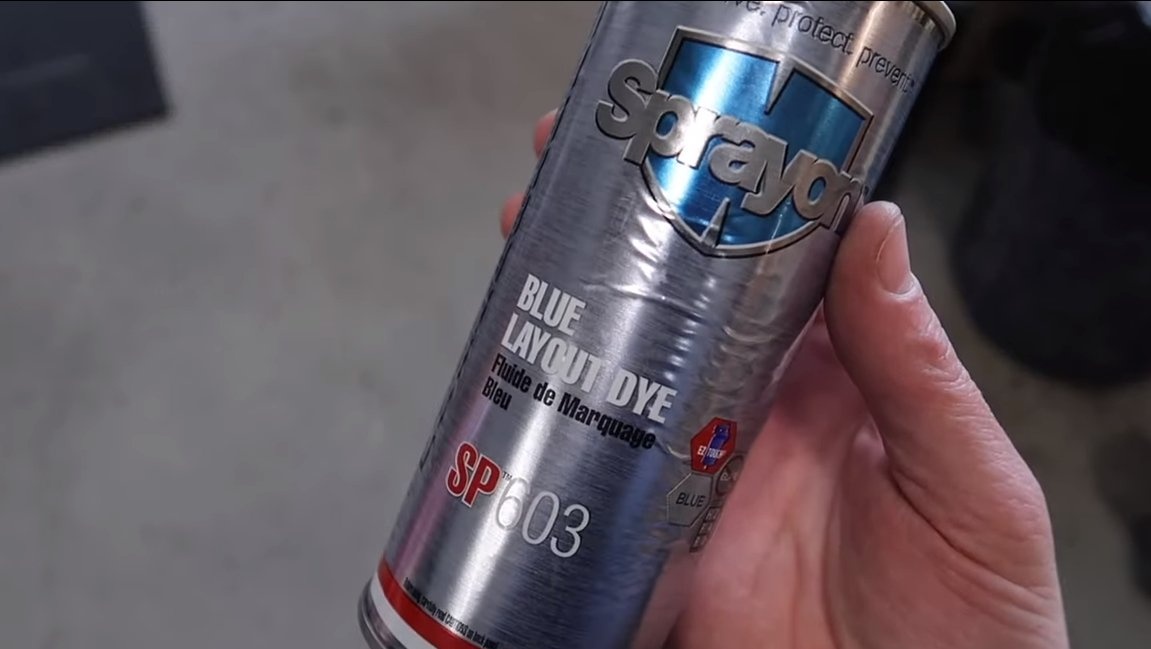
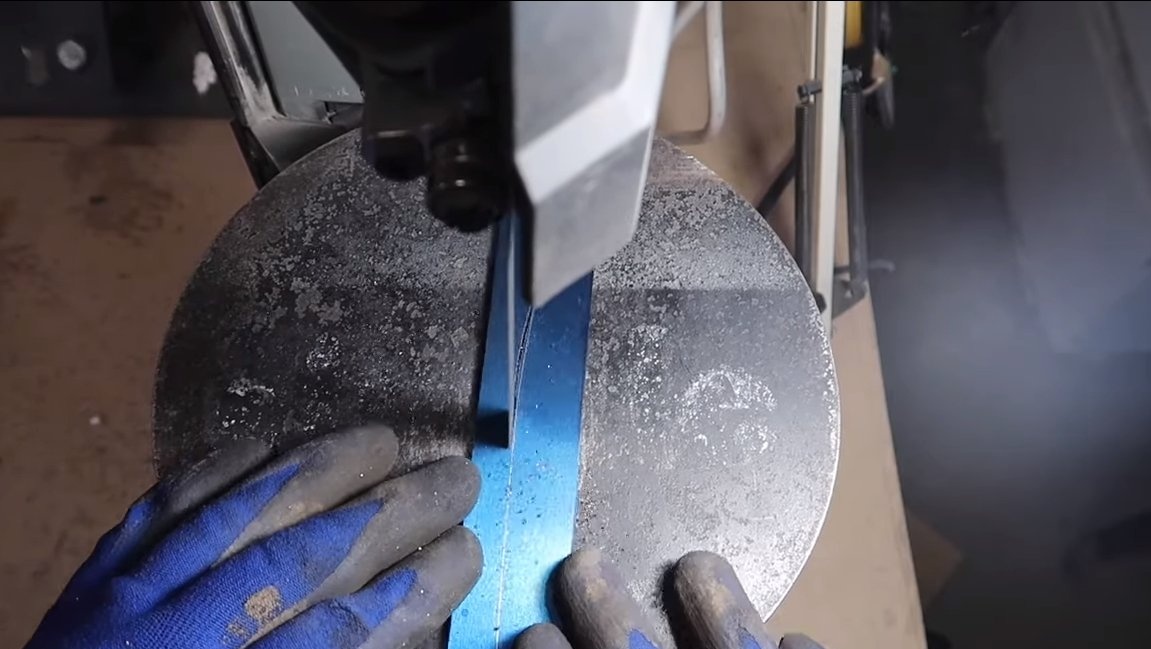
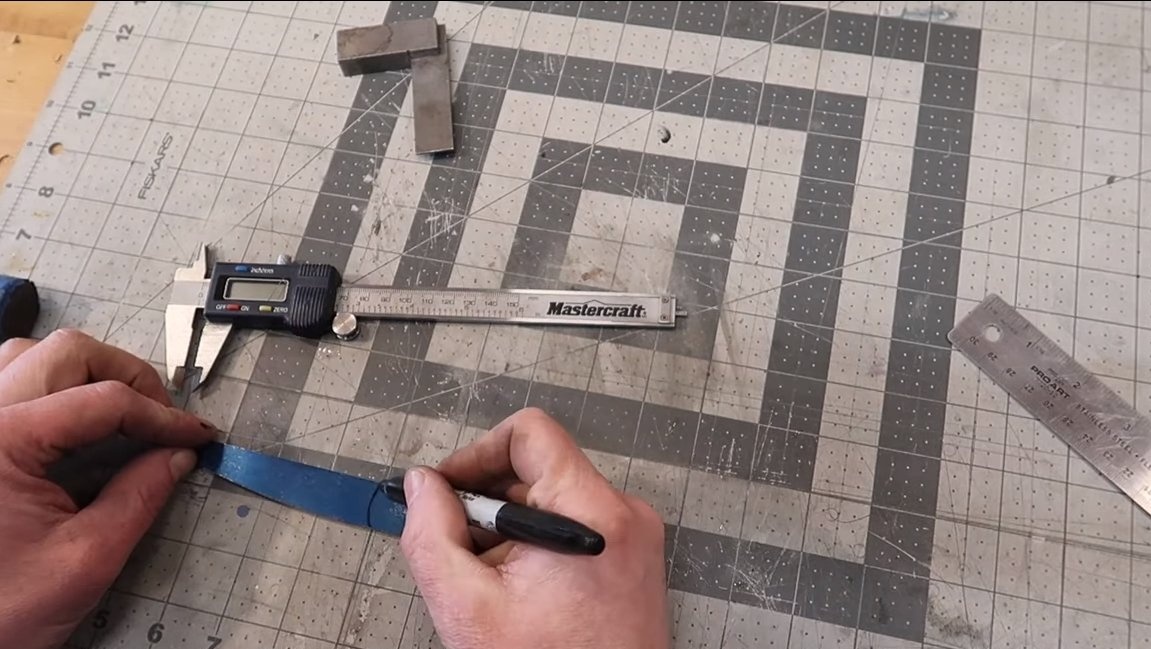
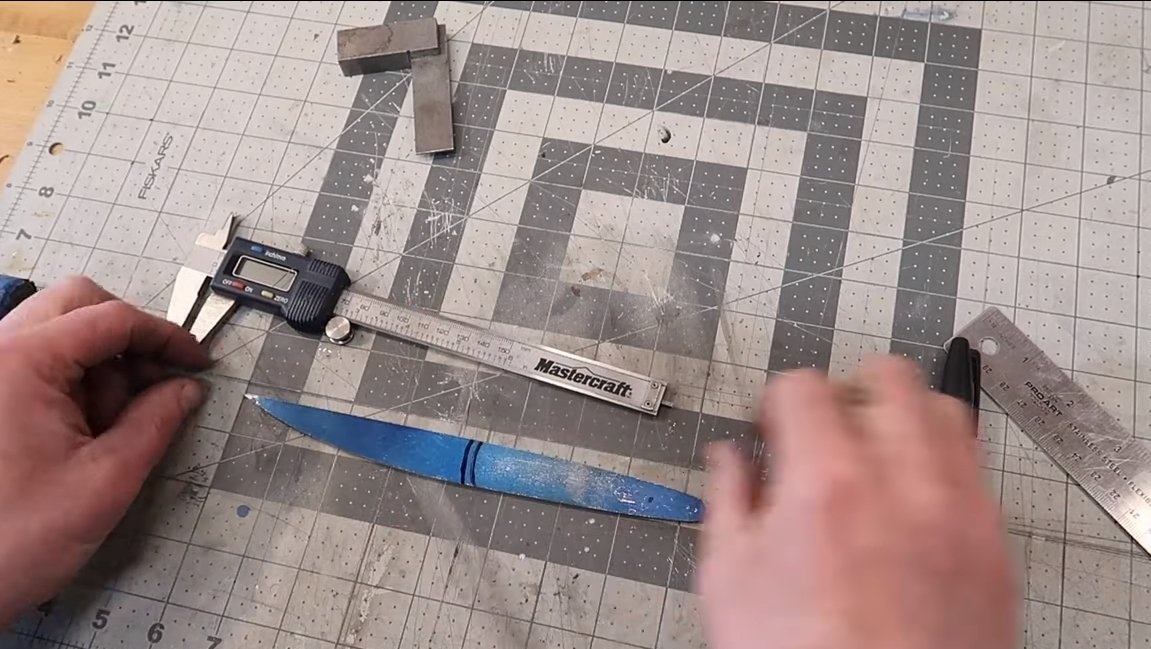
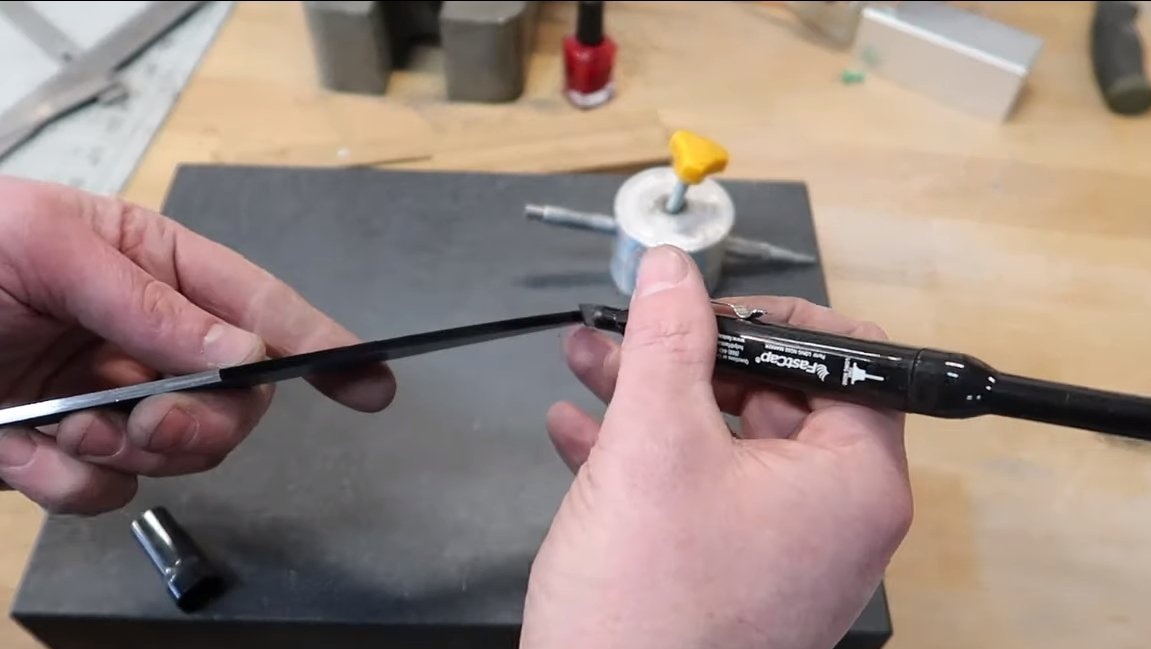
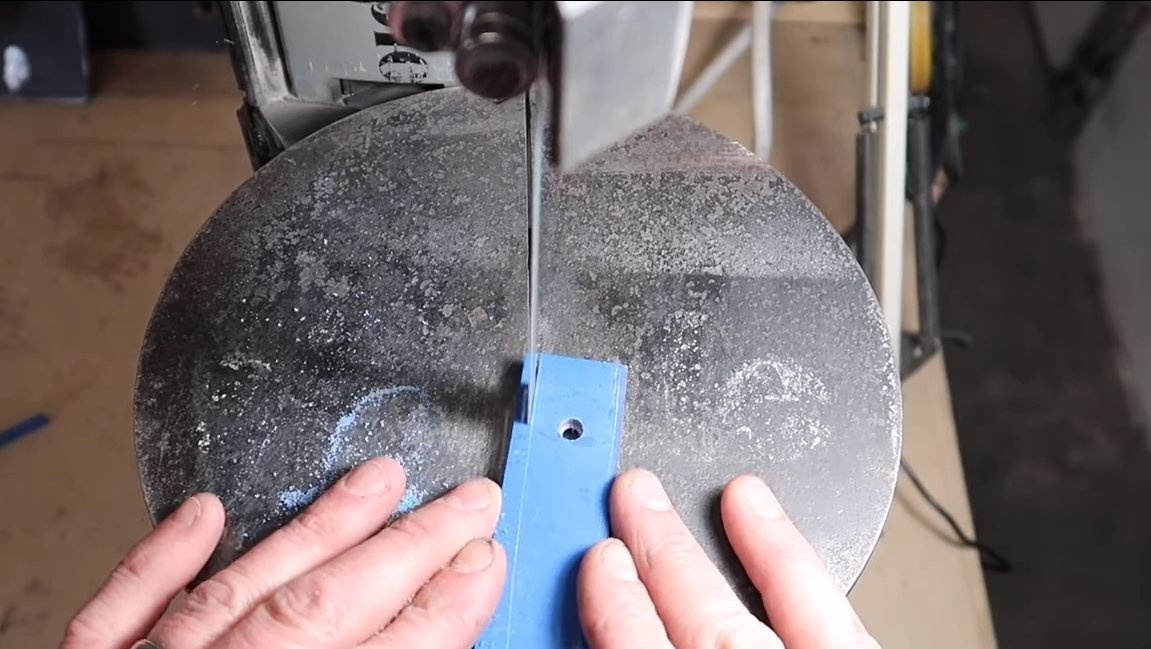
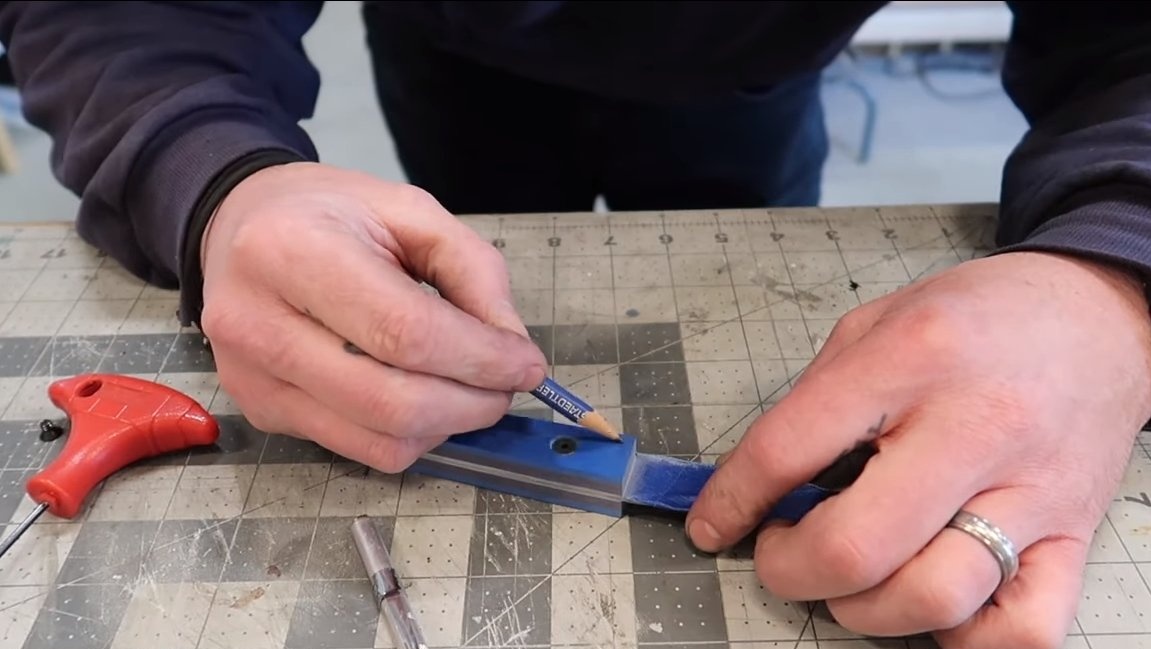
To begin with, we take our blank from steel 0-1 and cut it to the desired length, depending on the length of the blade. Next, paint the workpiece with spray paint, such a coating will draw on steel and the line will be clearly visible. Well, then we transfer the knife template with a sharp object to the workpiece.
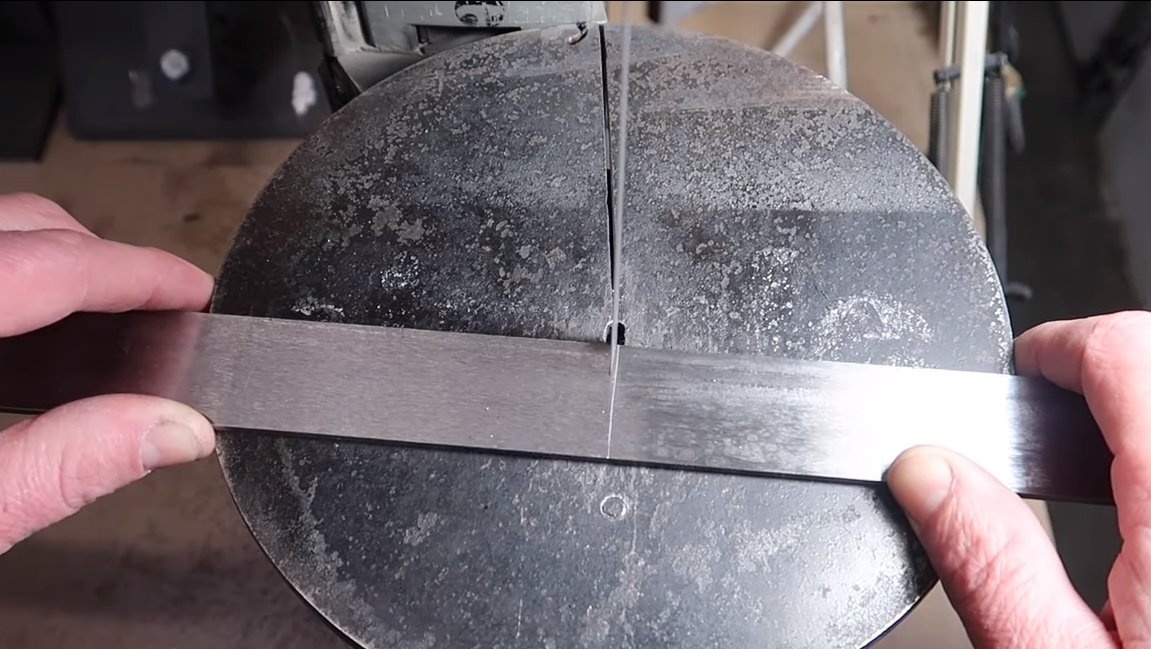
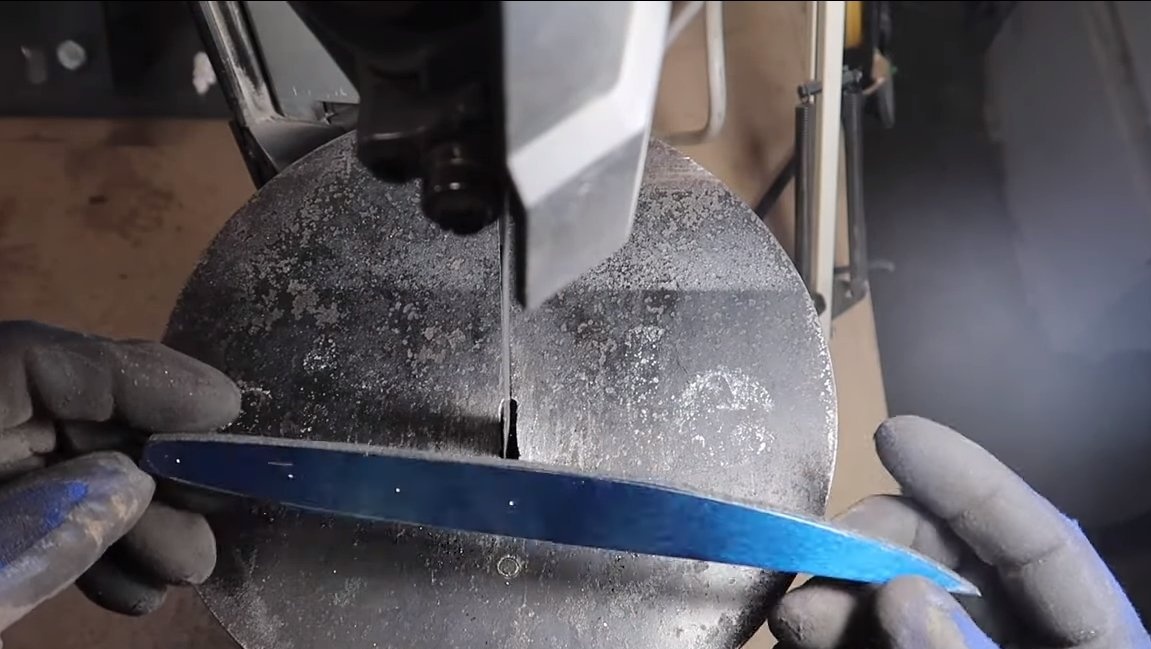
Now the primary profile can be cut, for cutting the author uses a tape cutting machine. Such a machine cuts without overheating, sparks and a lot of noise. As a result, we get an almost ready blade profile.


Step Two Grinding
After cutting, the profile must be finalized by grinding. For ease of work, we turn to the help of a belt sander. In principle, there are not so many grinding jobs here, so you can even handle a metal file.
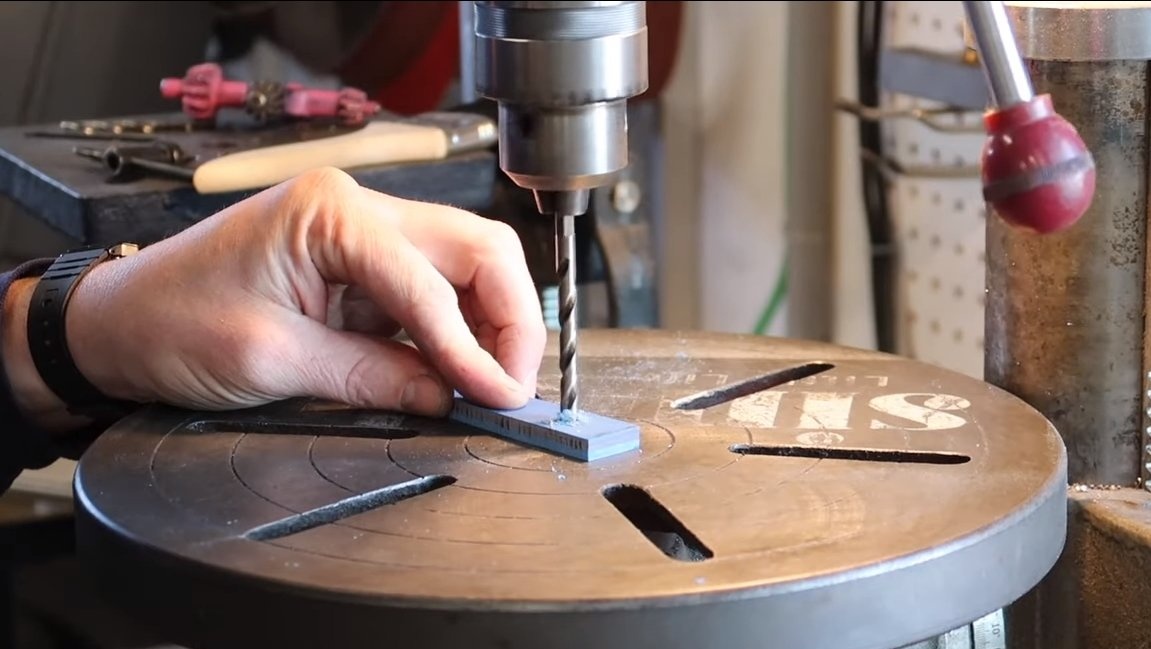
Step Three Holes
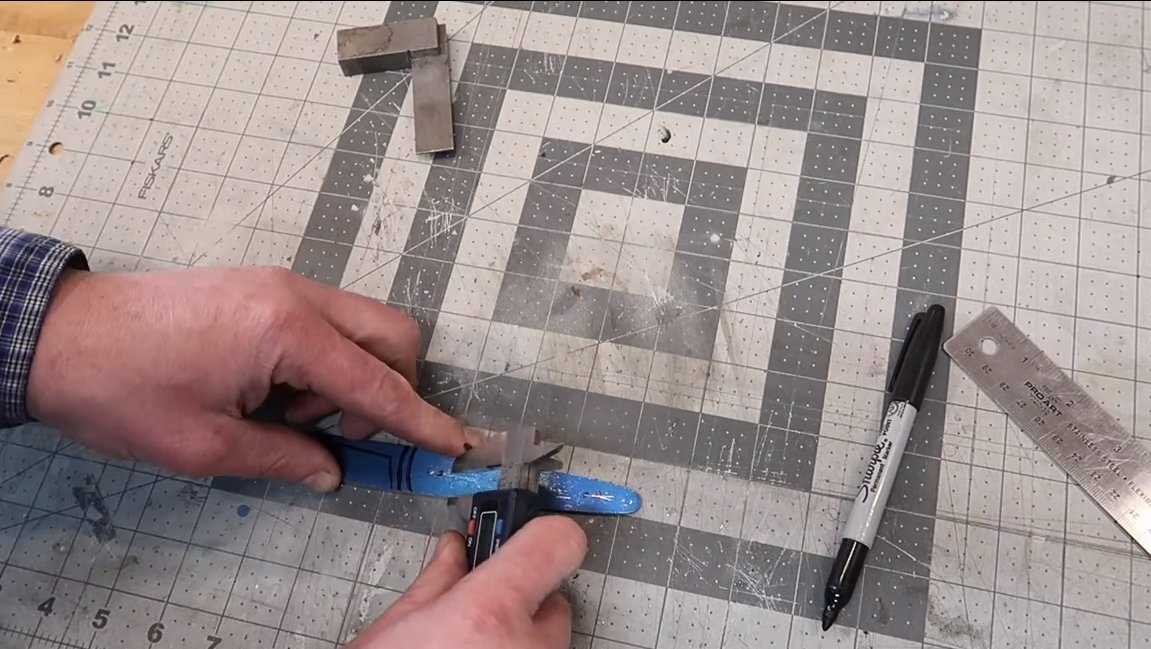
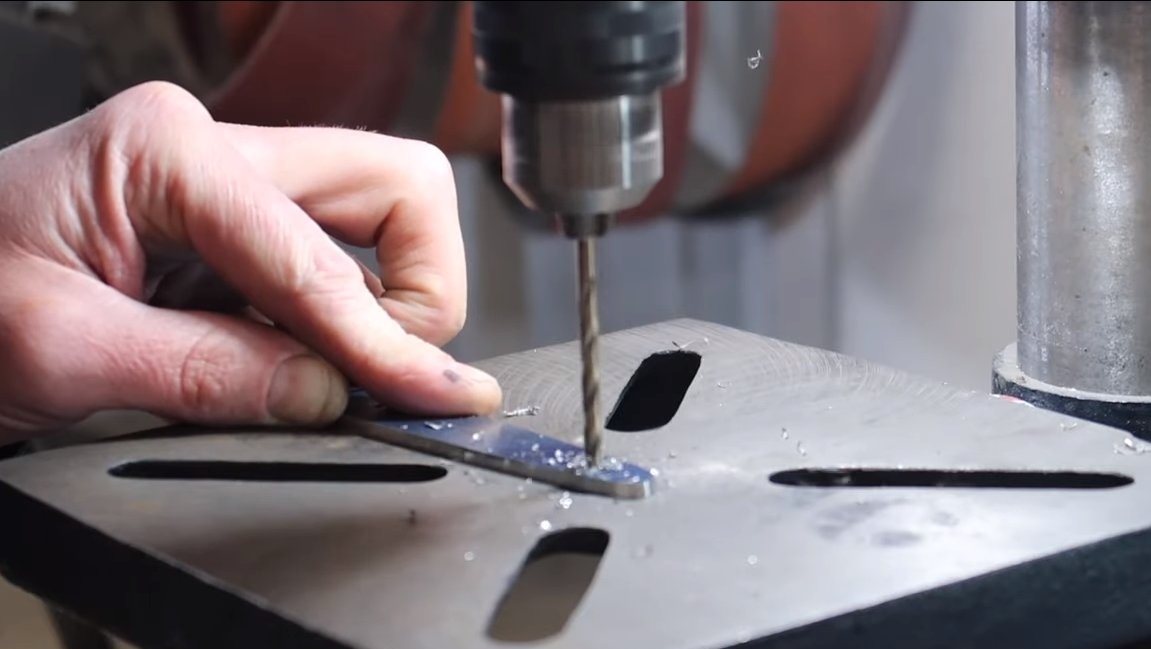
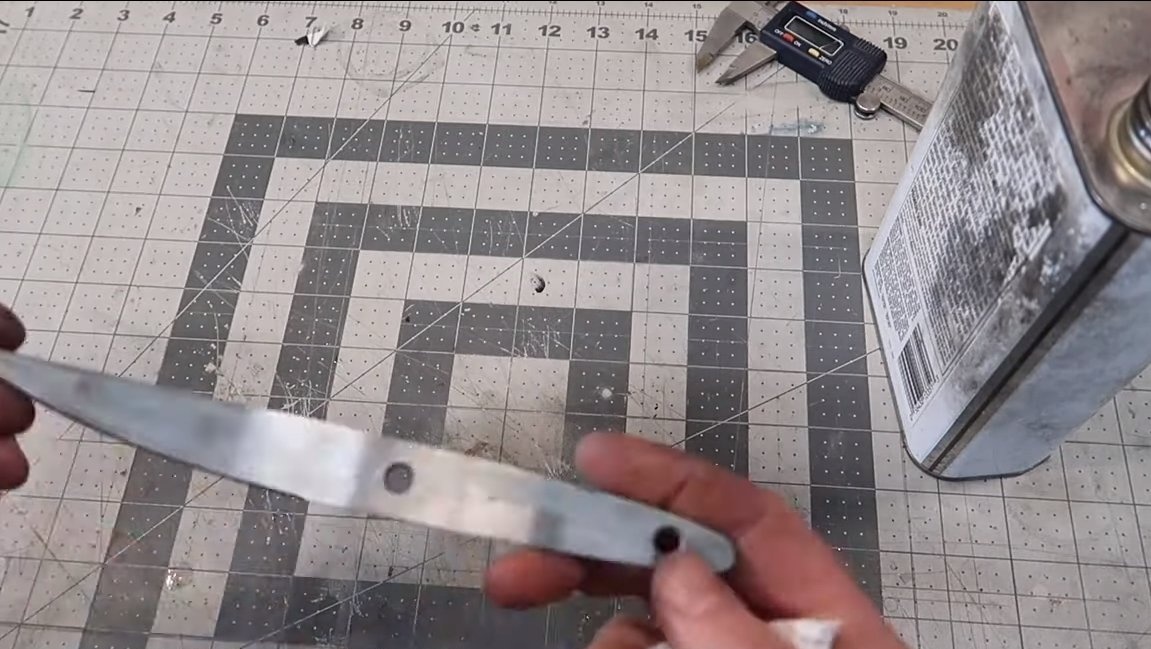
On the blade, we mark out where and what the bevels will be, and also mark the places for the holes. We drill holes on the drilling machine. It is important that the holes are of the same diameter as the nuts that go into them, or slightly larger. Thanks to this there will be no backlash, and the pads will be fixed securely.
Step Four Primary bevels
Before hardening, we make primary bevels on the blade, so that later there will be less grinding work. Prior to quenching, the metal cannot be made too thin, otherwise it may become deformed or overheat. Optimally, according to many masters, for hardening, steel should not be thinner than 2 mm.
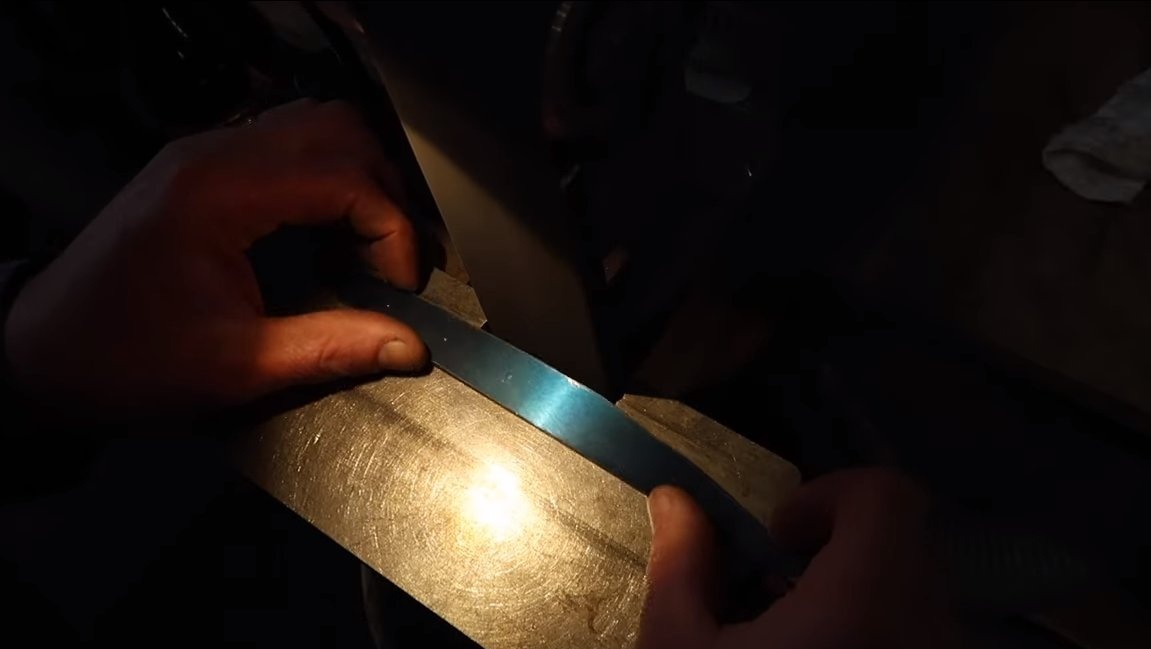
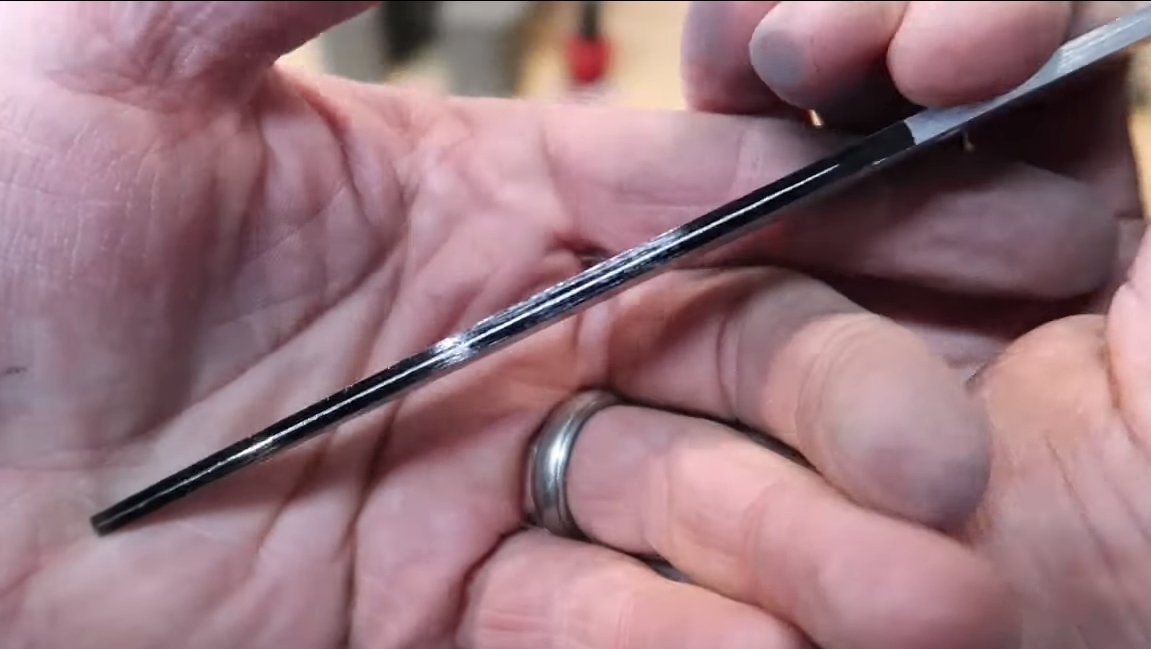
To draw symmetrical bevels, paint the future blade with a marker and draw a line along the blade in the center. The author forms primary bevels, holding the blade in his hands.
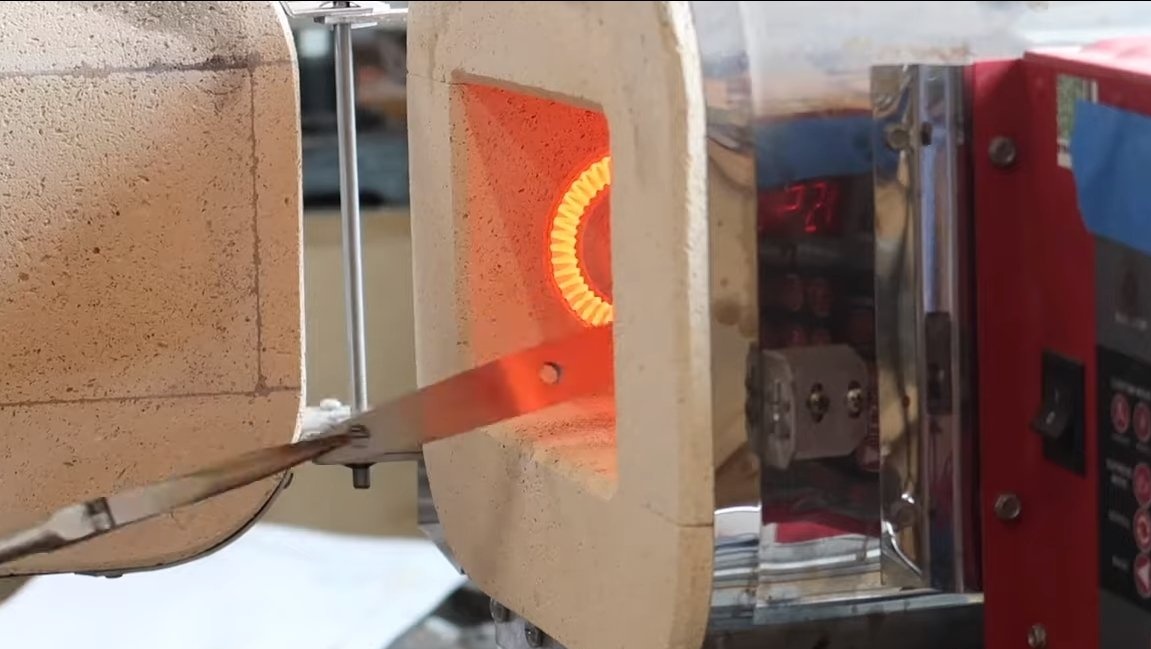
Step Five Heat treatment
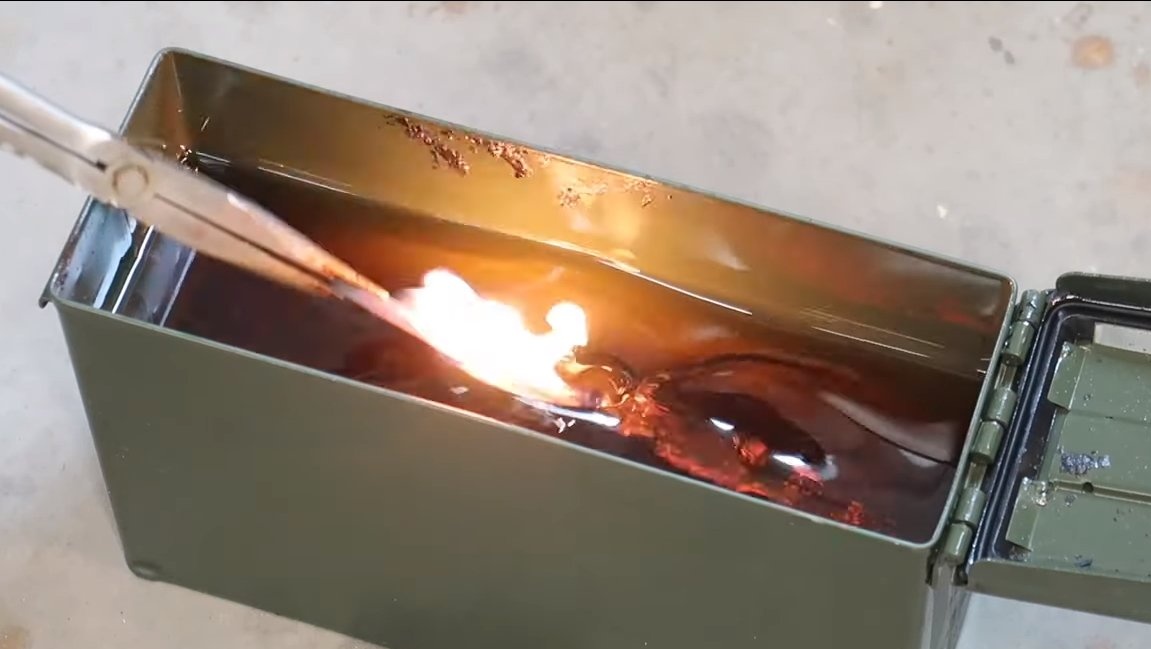
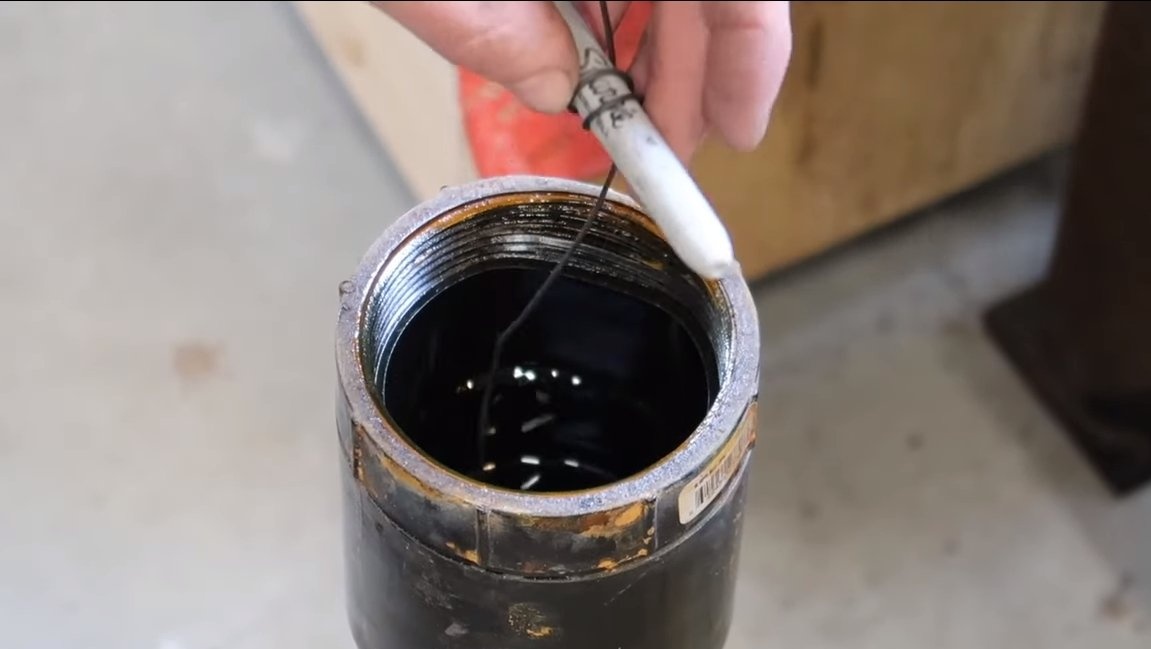
Next, we proceed to hardening the blade, here we need a furnace capable of developing a temperature of about 800 degrees Celsius. We heat the blade to a bright red glow and lower it into oil, steel 0-1 hardens without problems. After hardening, we check the steel, whether everything turned out, hardened steel should not be taken with a file. If the scratches remain, try again, this time we heat the steel to an even brighter glow.
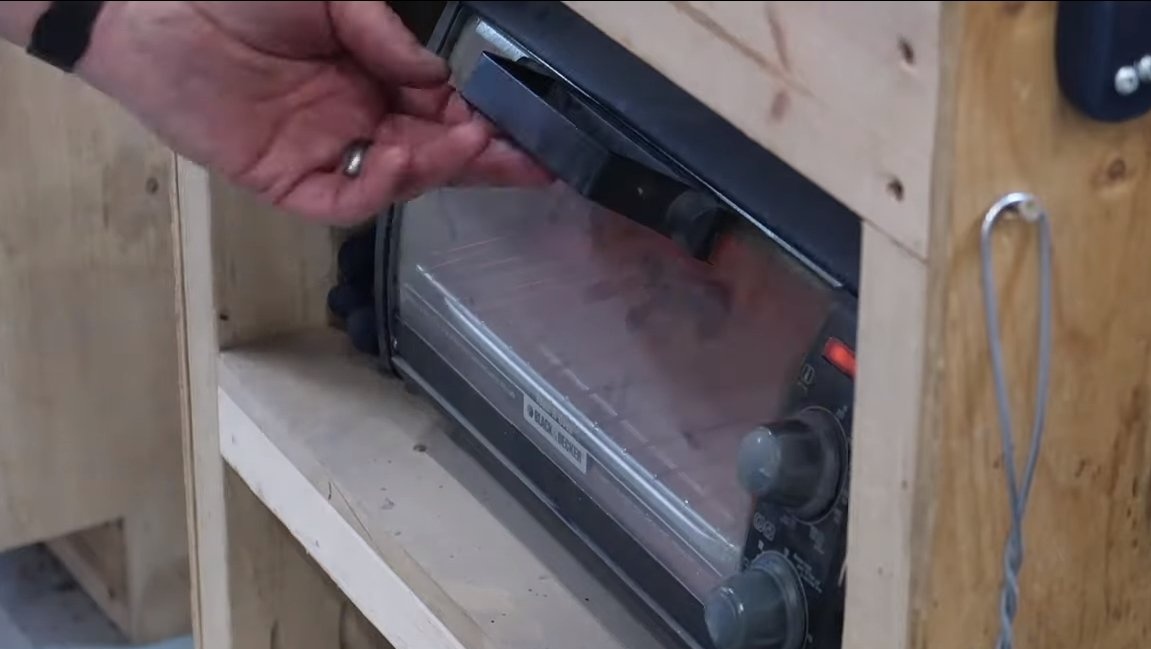
After hardening, we definitely make steel tempering, otherwise the blade will be brittle and may break just when it falls onto a hard surface. Vacation is carried out in a domestic oven, the temperature and time are determined depending on the size of the blade and its thickness. With proper tempering, the metal will have to turn a straw color. Such a blade will spring, and the blade will be hard enough to hold the sharpening for a long time.
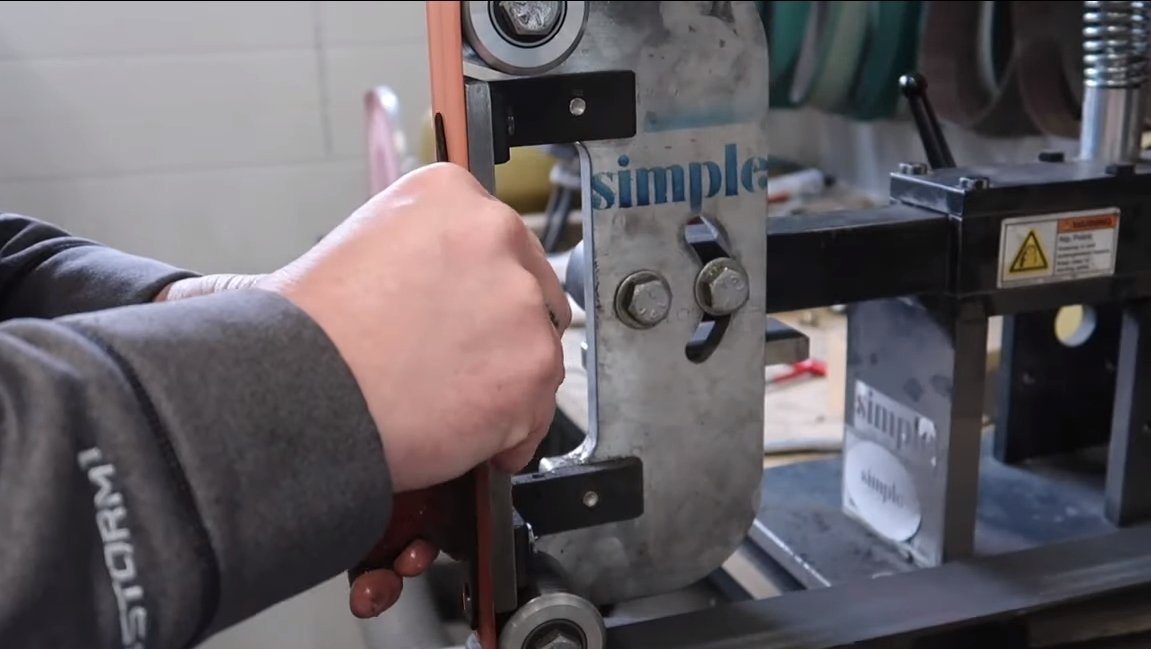
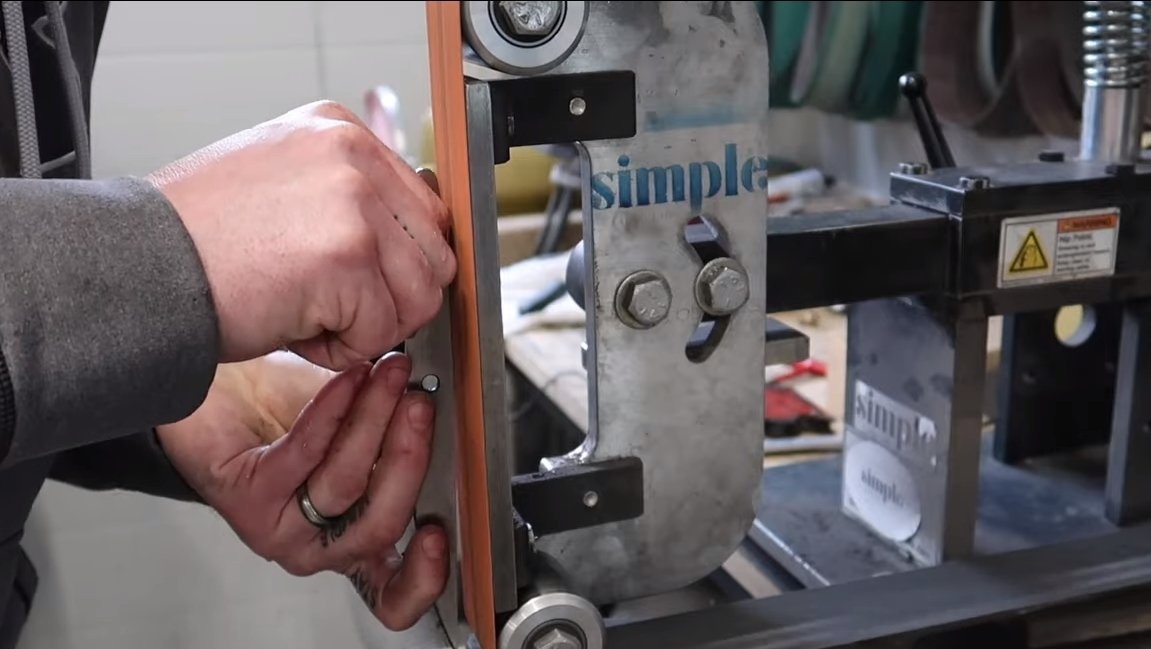
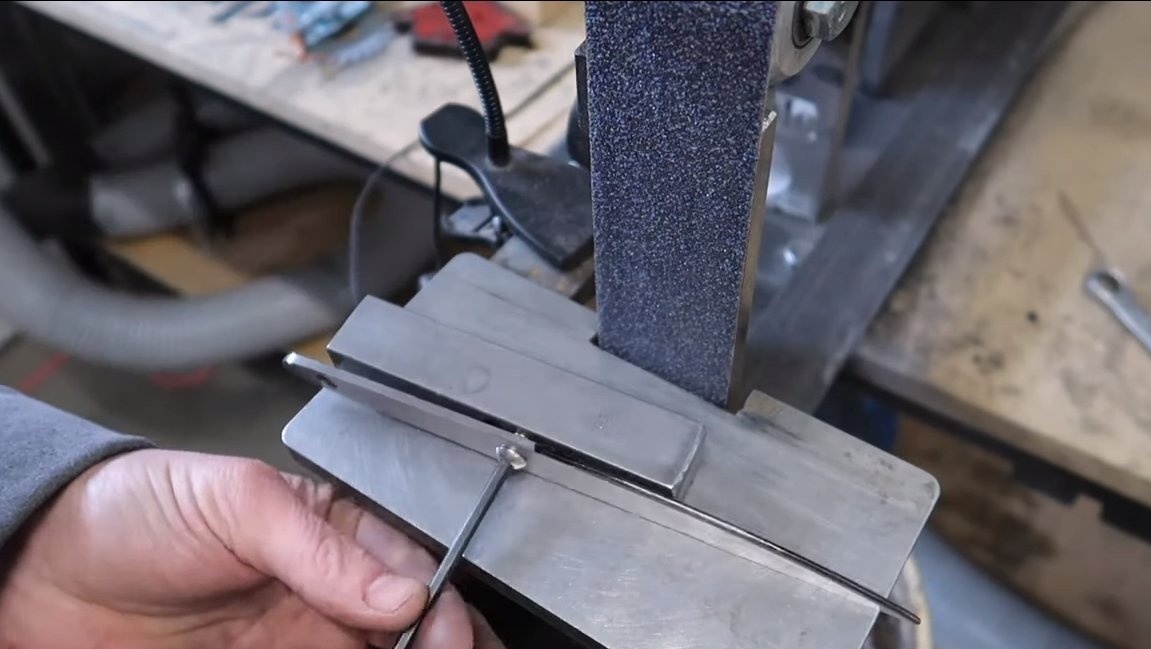
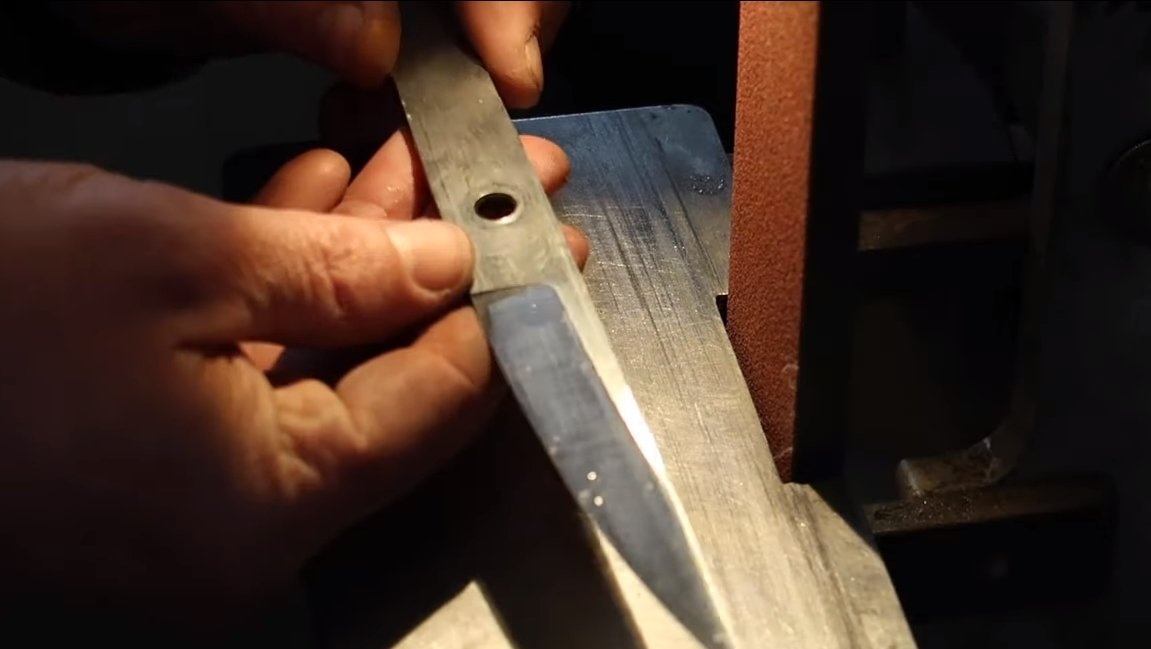
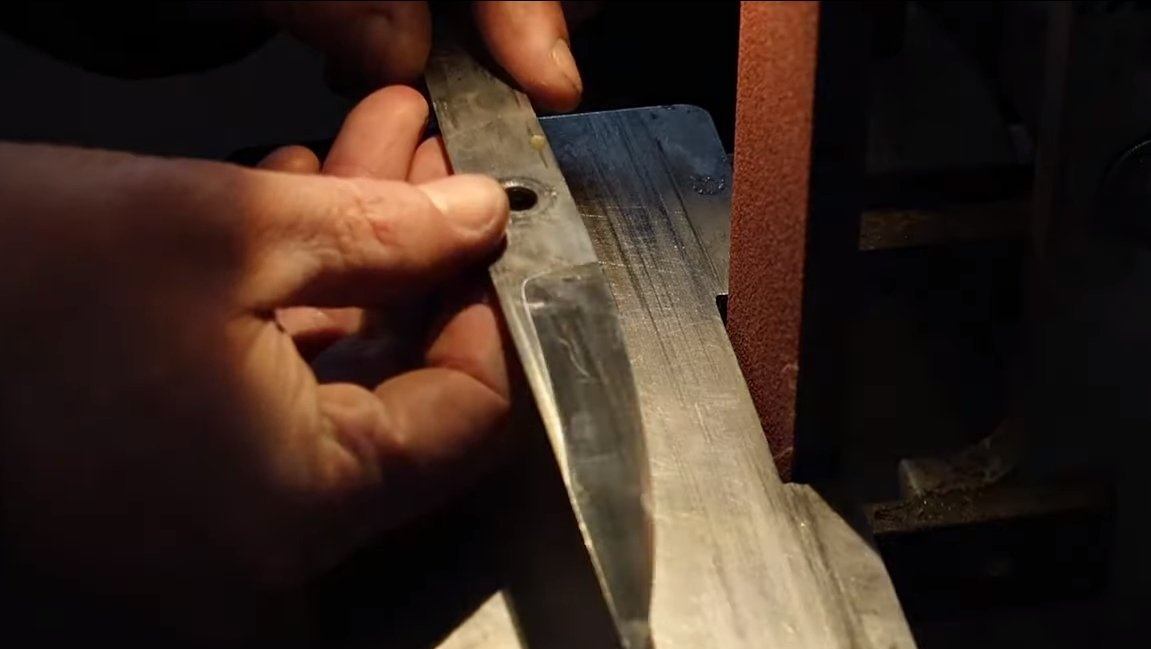
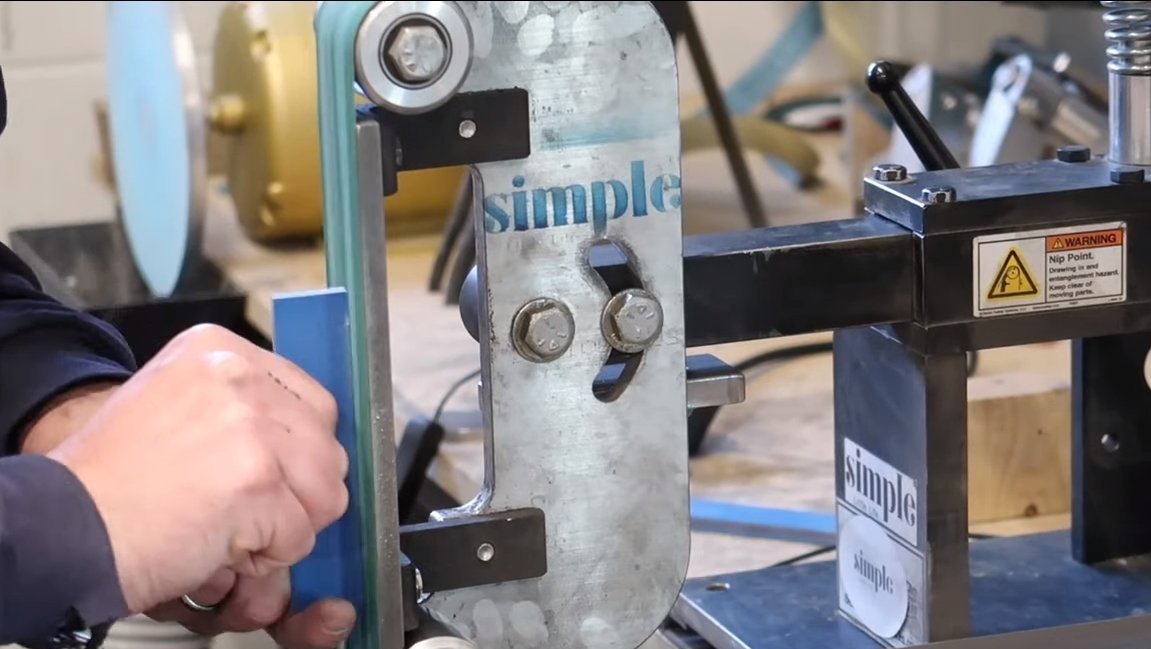
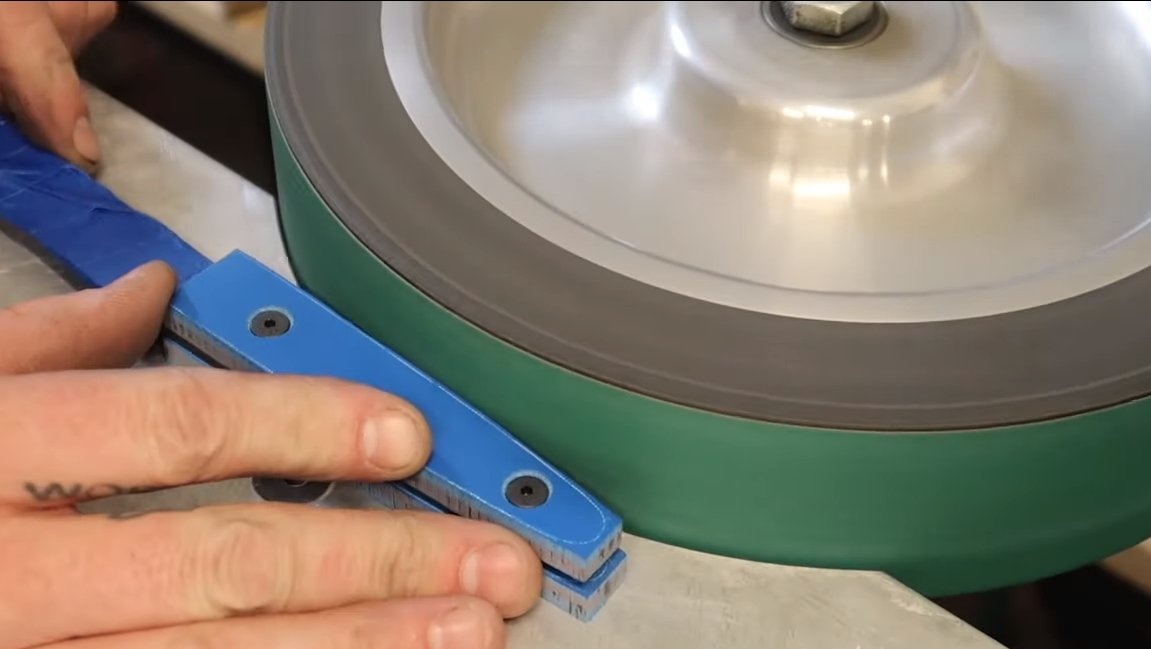
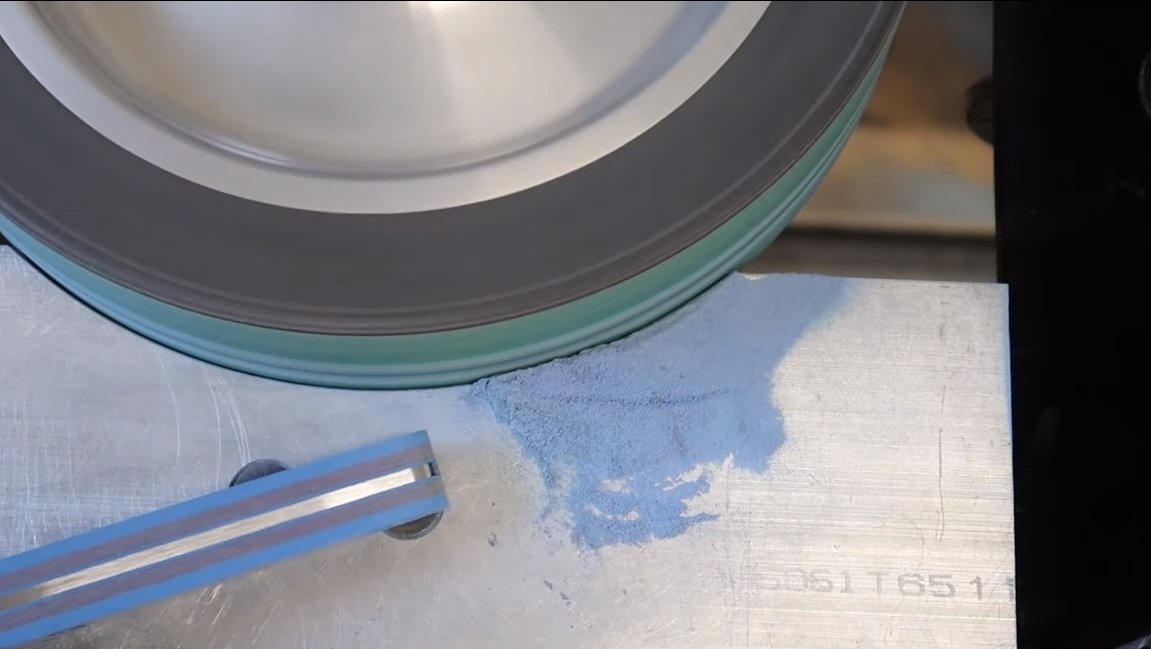
Step Six Final grinding
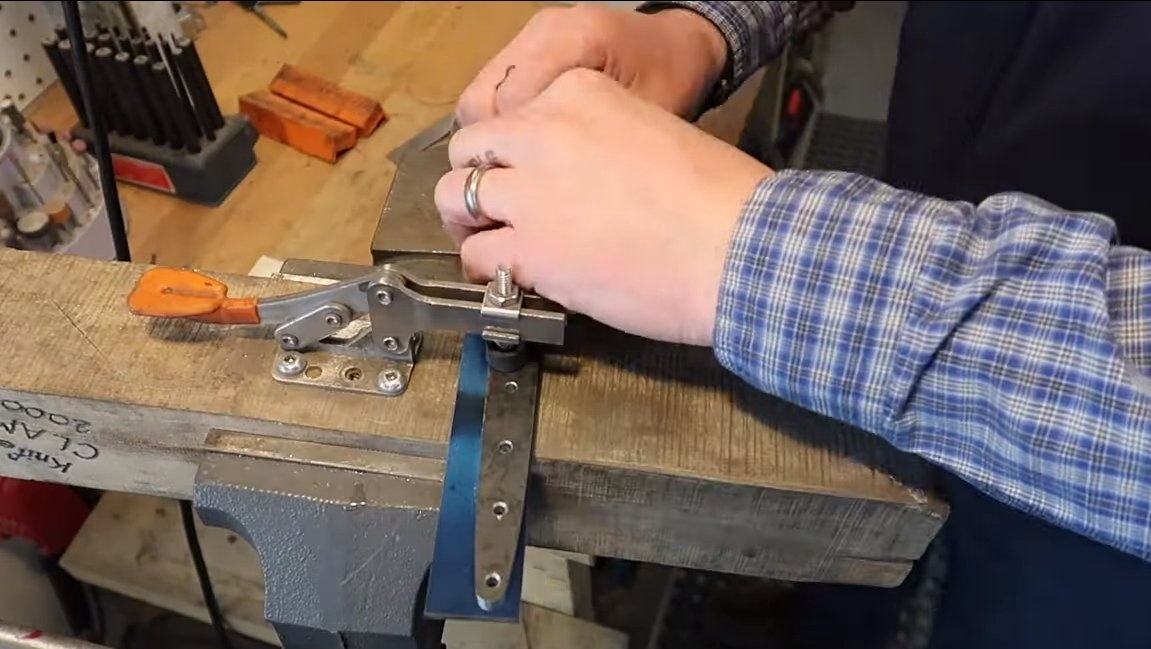
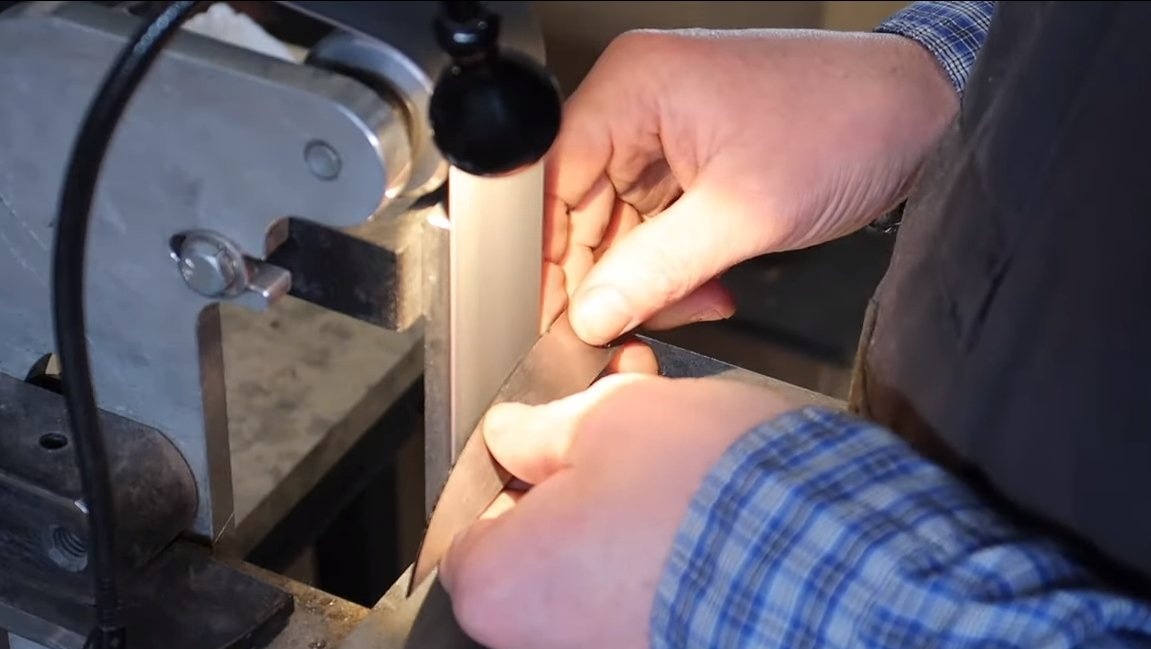
After hardening, you can bring the final bevels. To solve the problem, the author screws the blade to a special holder in the form of a bar. We carry out work on a belt sander. When working, you need to ensure that the blade does not overheat, otherwise the steel will have to be tempered anew. From time to time we dip the blade in water for cooling.
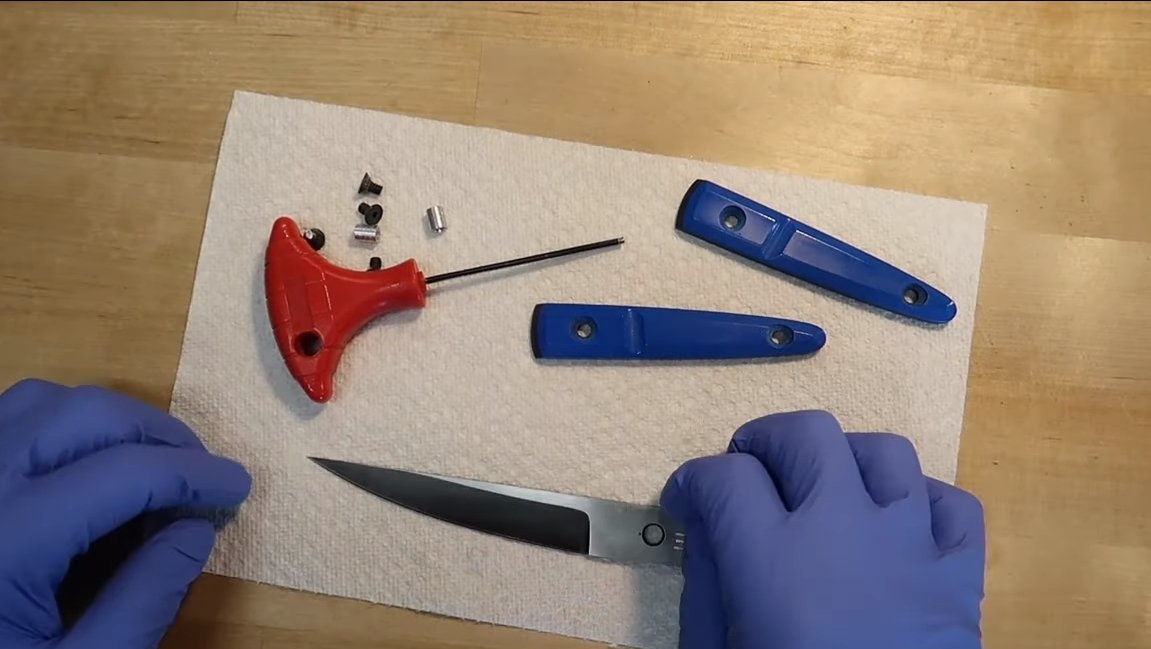
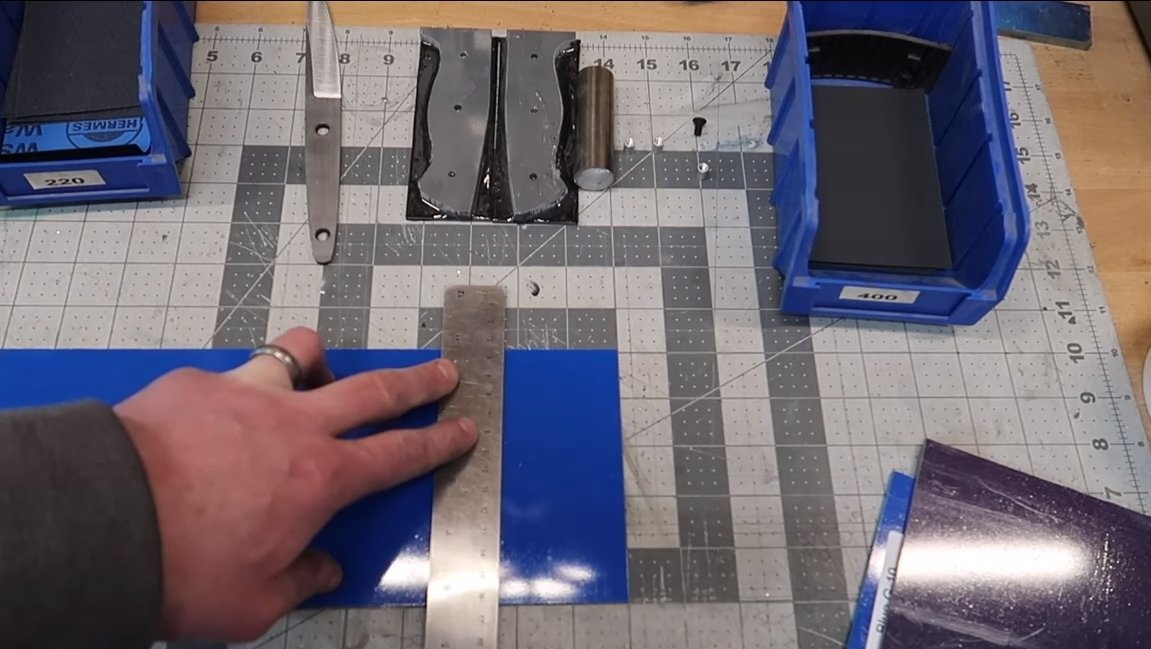
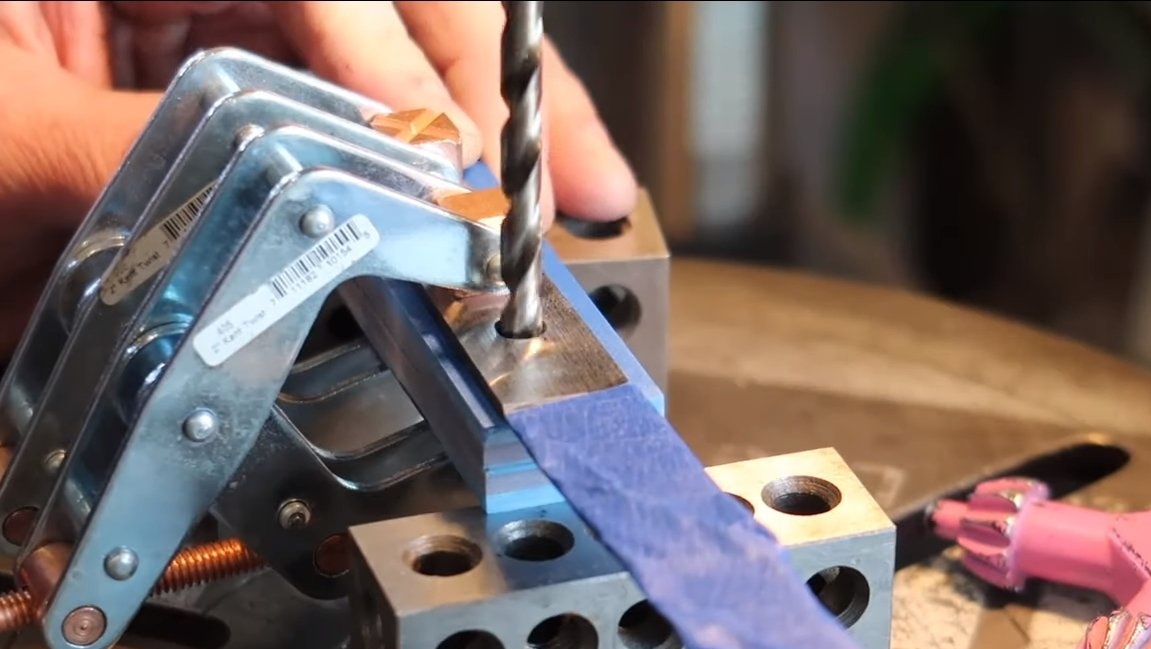
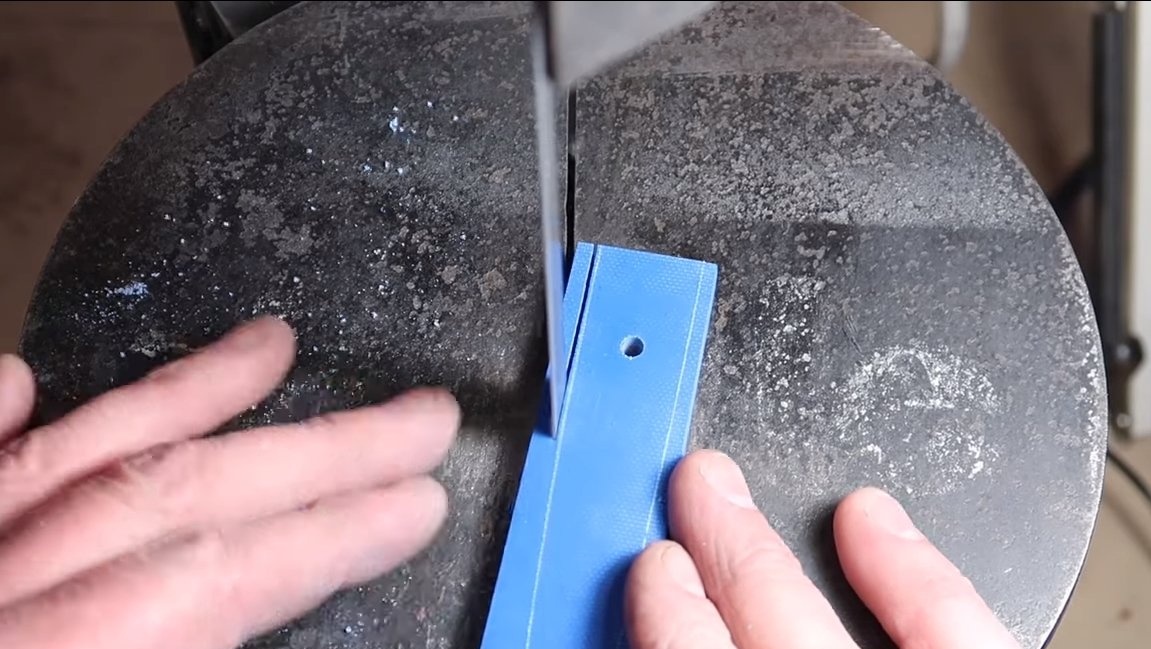
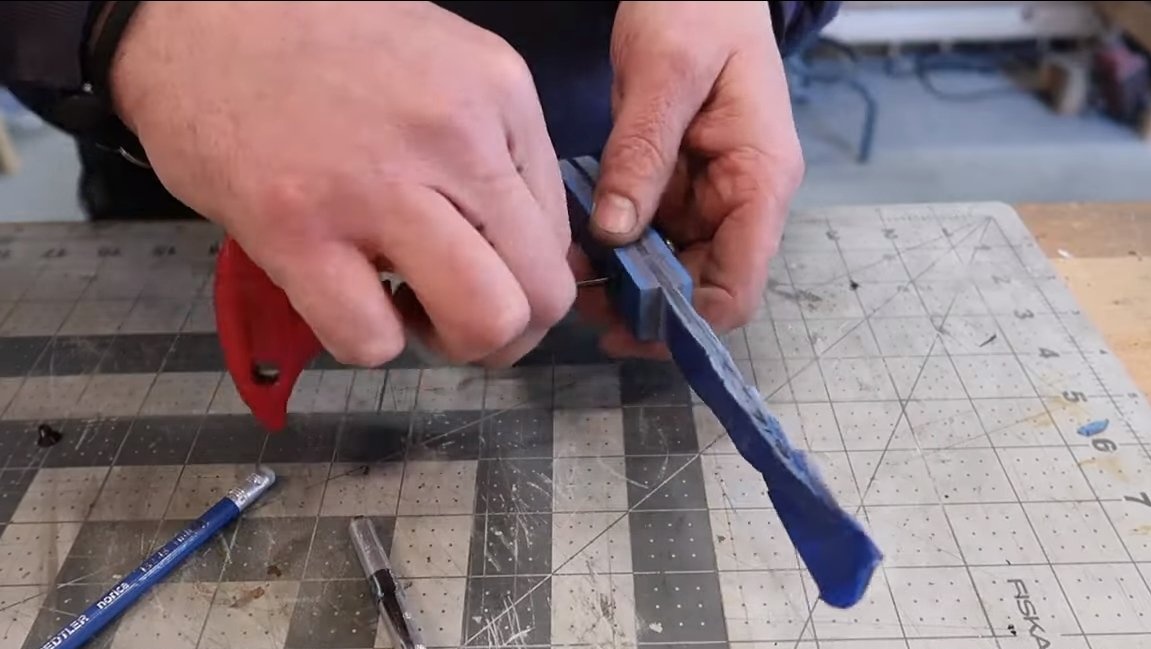
Seventh step. Lining
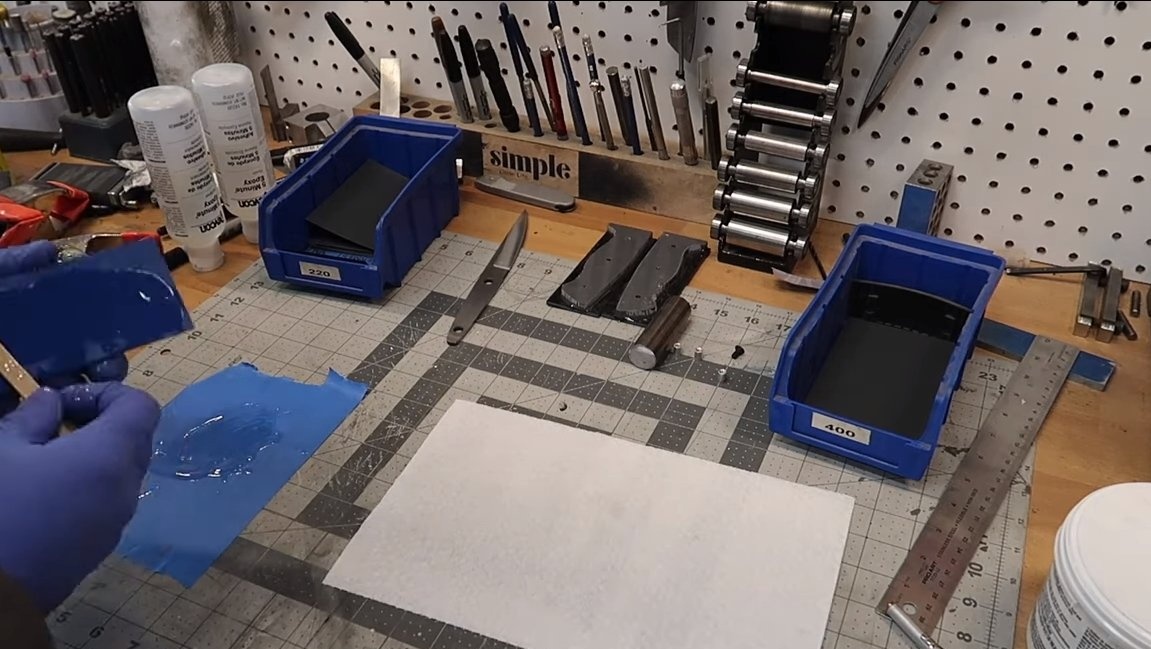
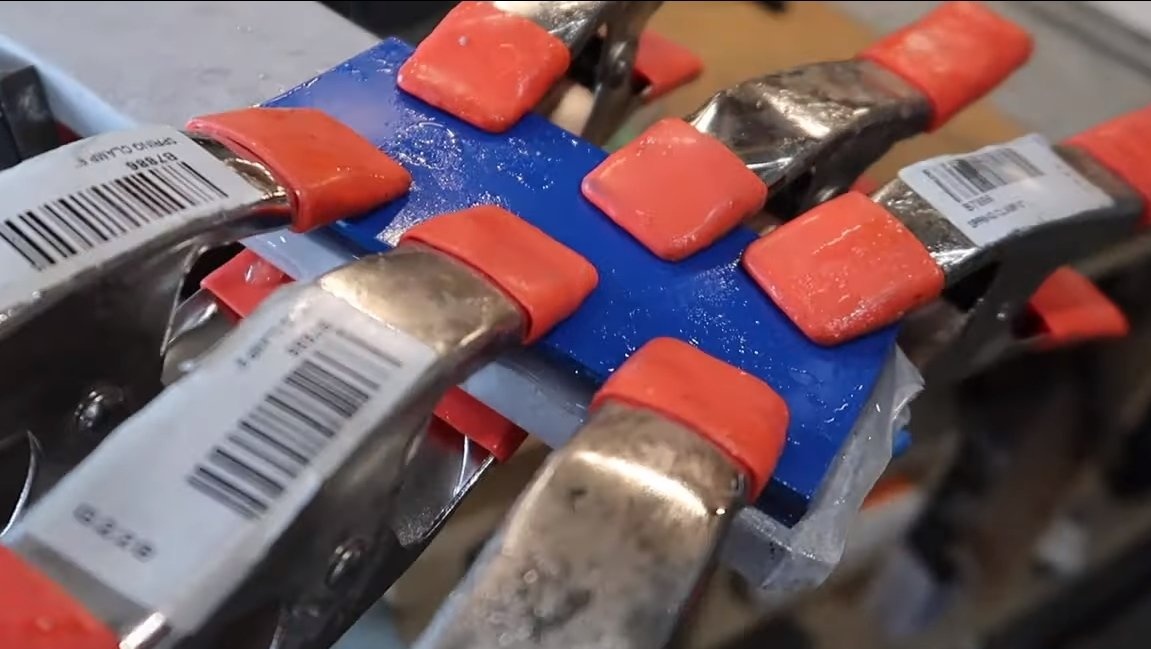
We make pads for the handle, here we need the material G10, the author uses sheets of different colors. We need to glue the material to obtain the desired thickness of the pads. For bonding we use epoxy glue.
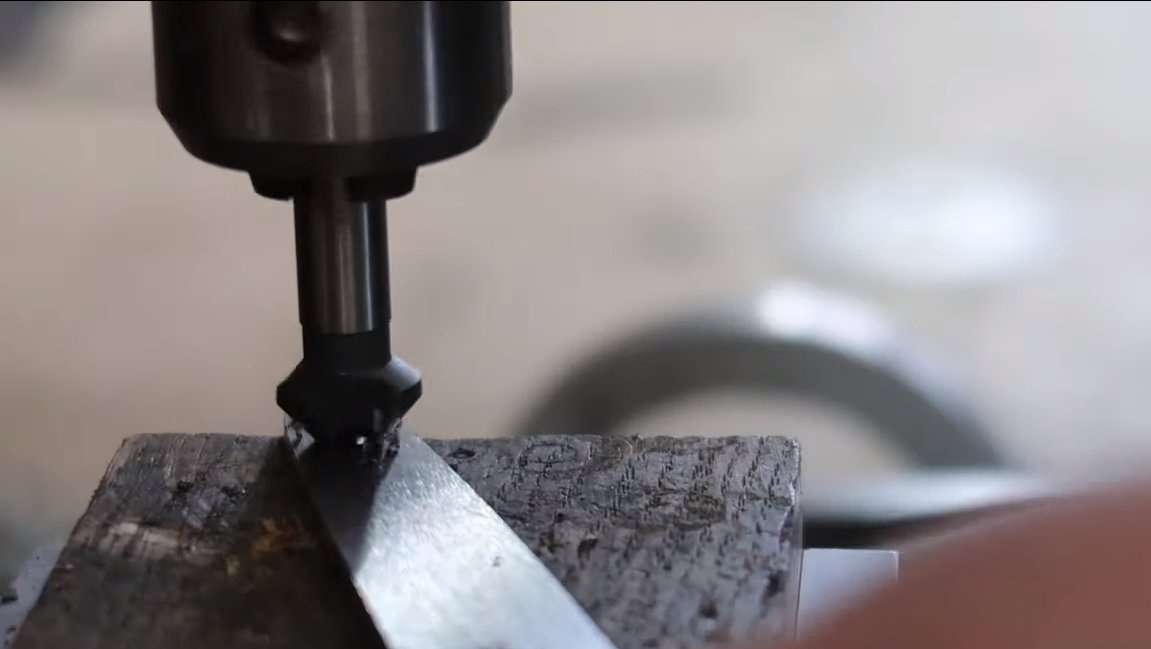
When the glue dries, apply the knife handle to the workpieces, circle and cut the pads, they should be slightly larger in size than the handle. We also make sure to drill holes, make holes for the screws so that their hats do not protrude above the surface of the handle.
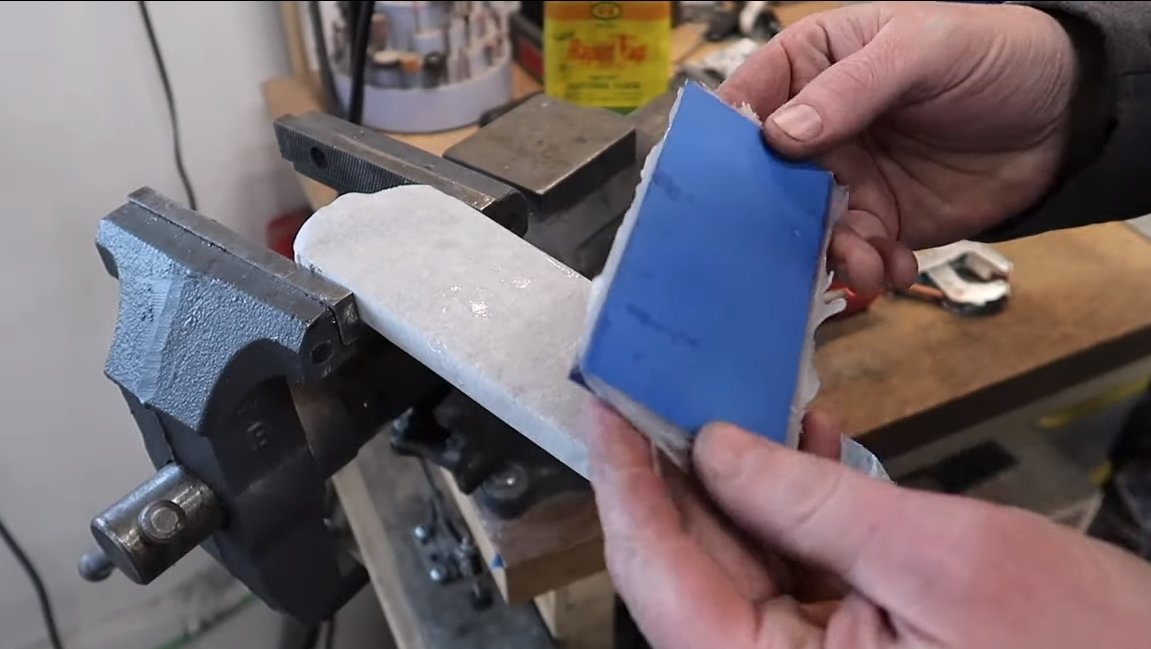
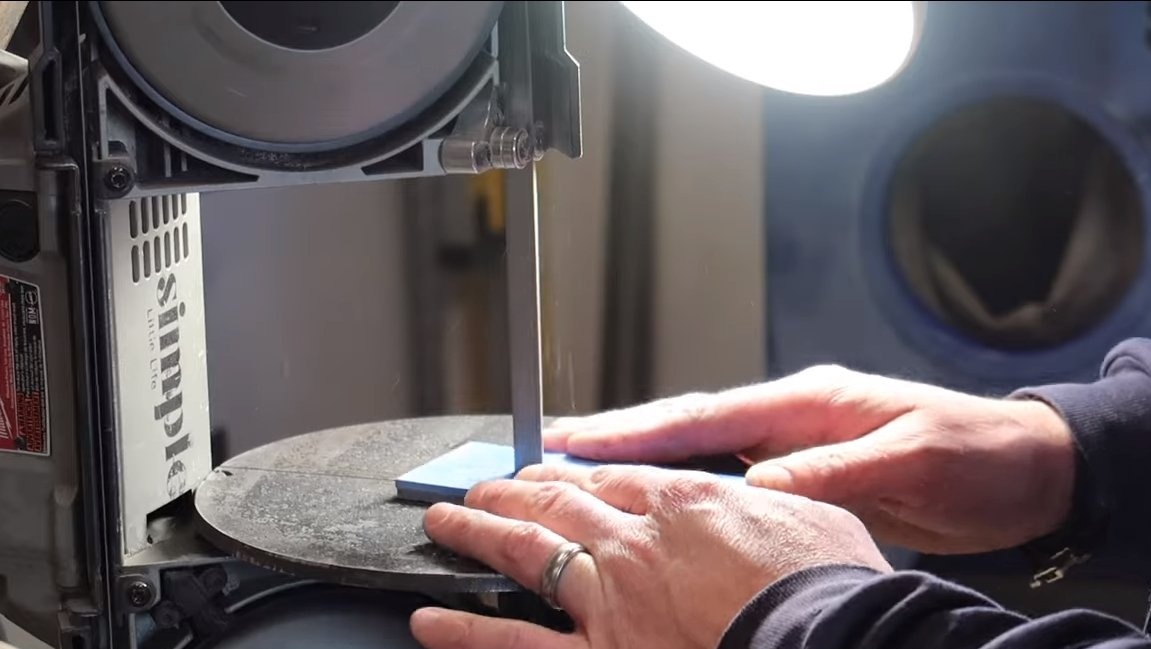
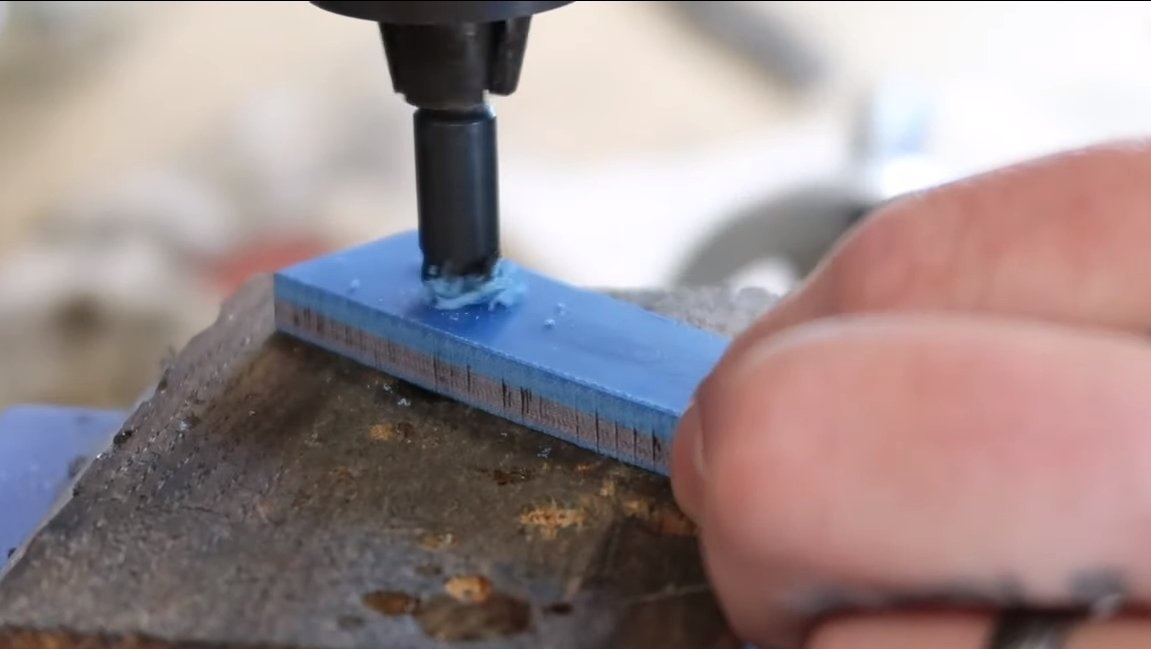
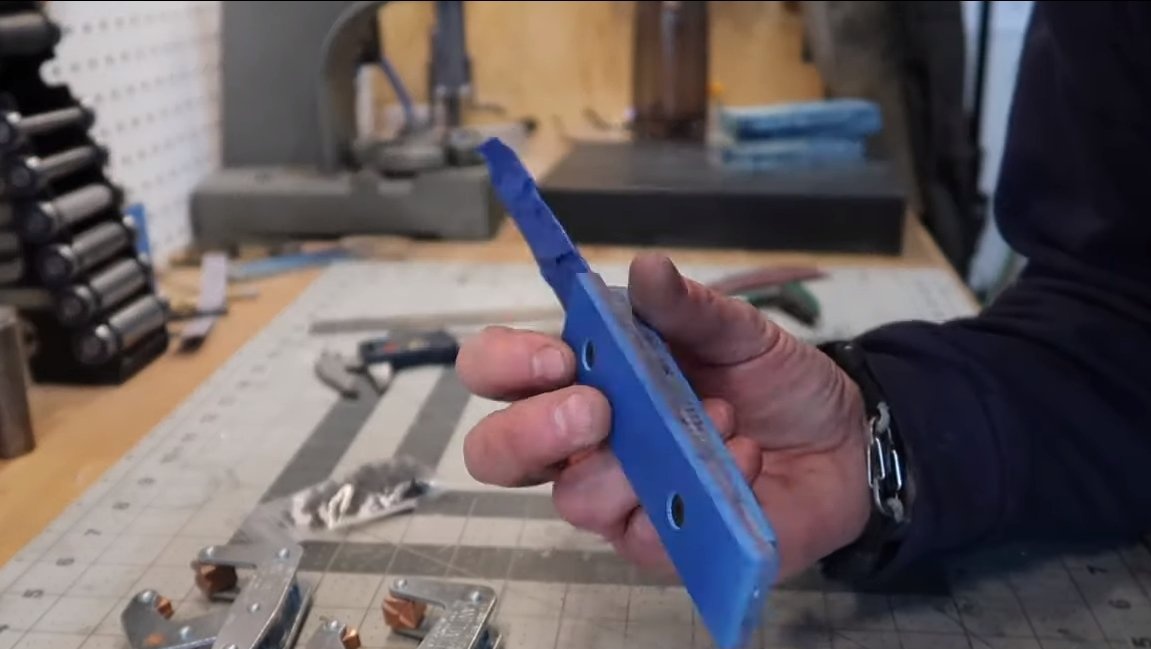
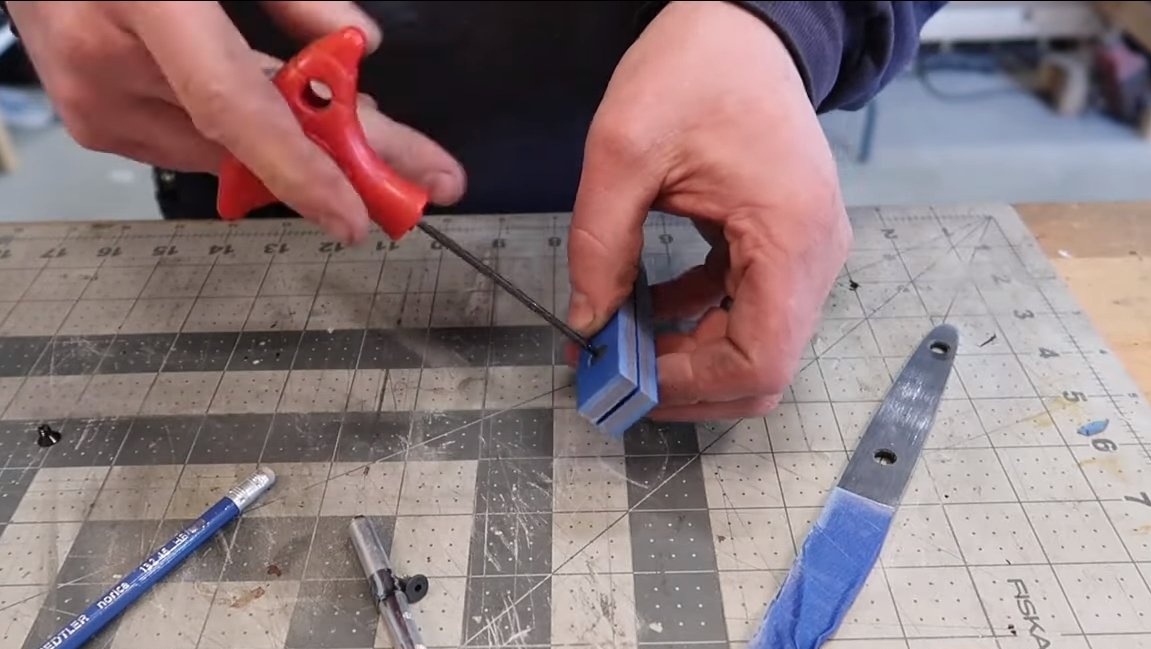
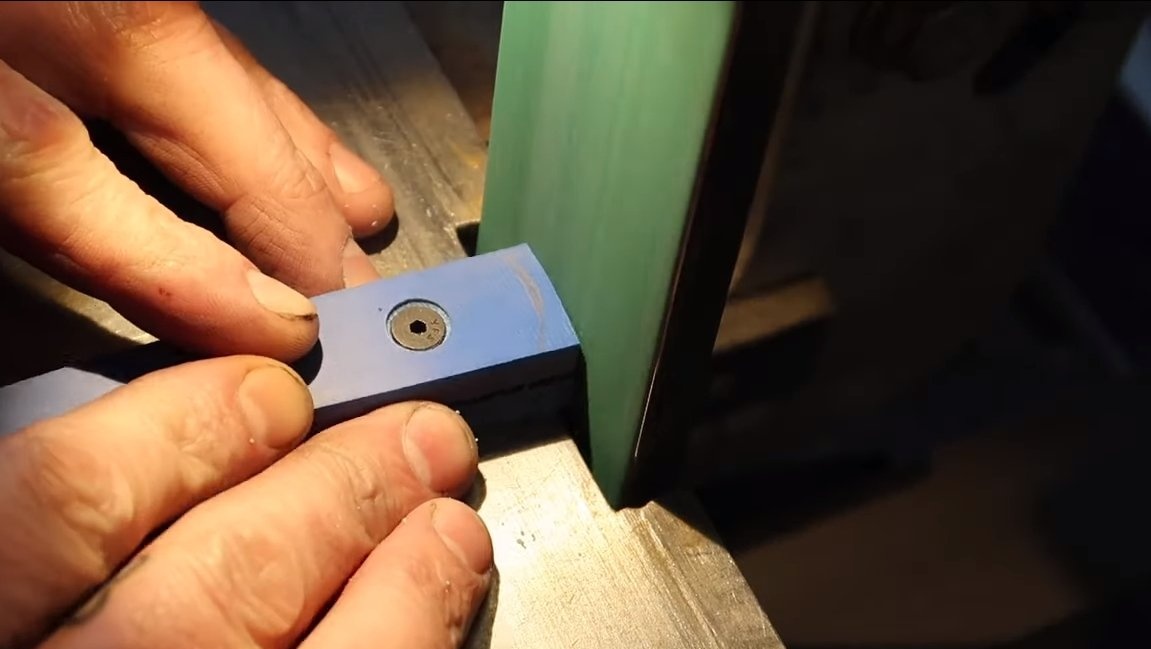
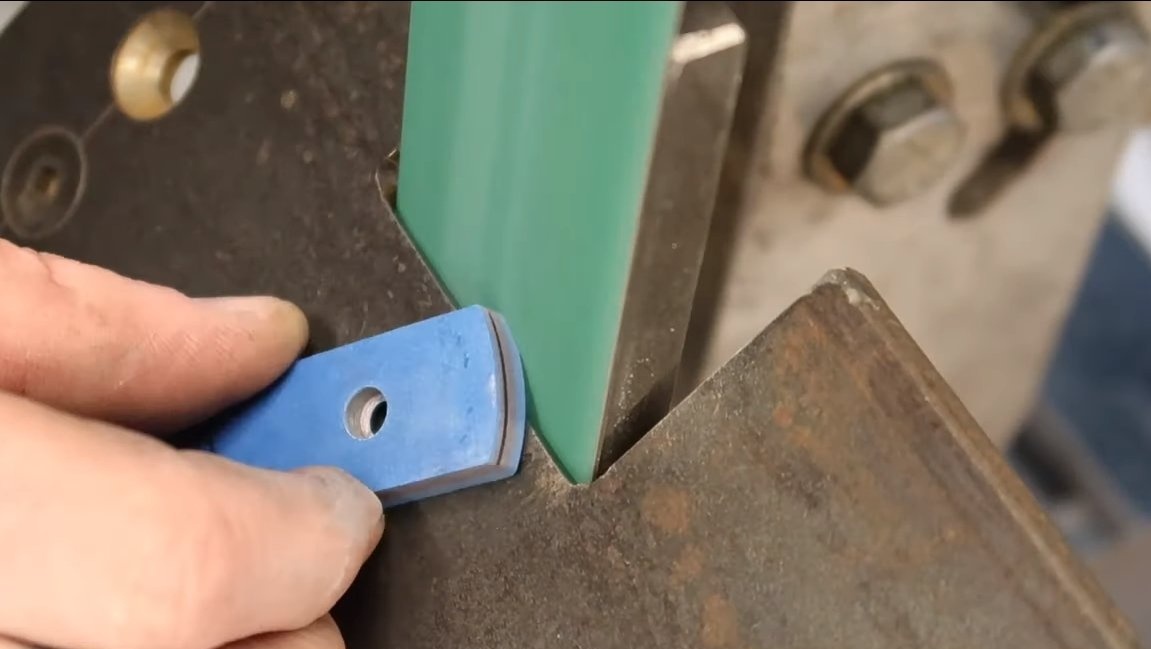
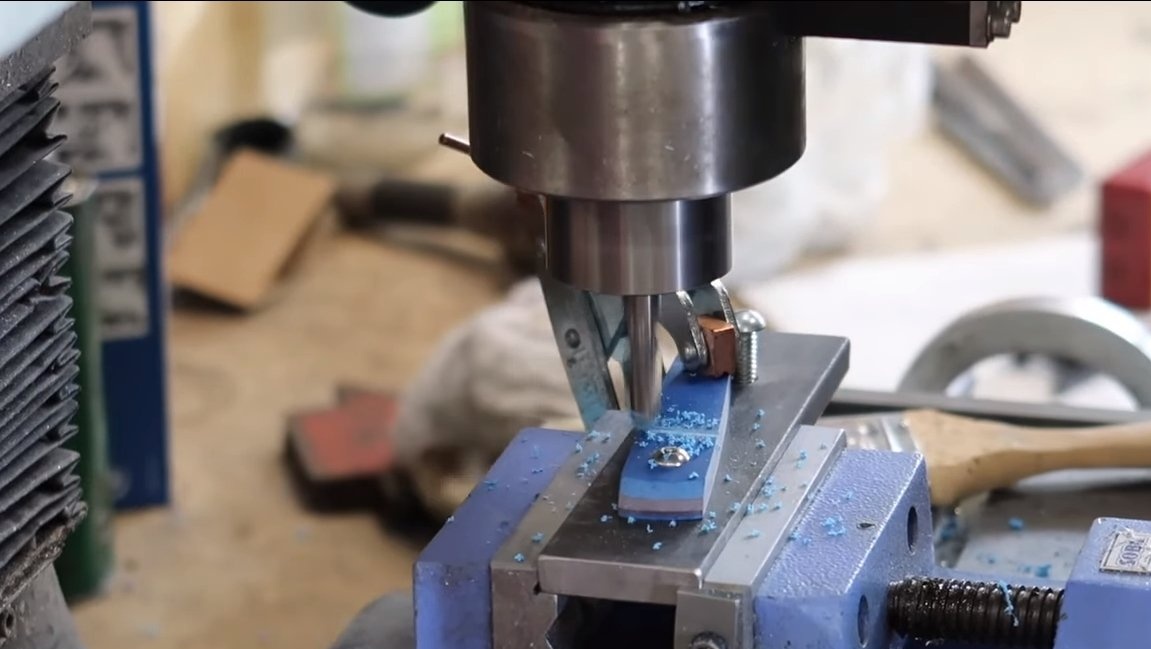

Next, install the pads on the handle and grind everything together. As a result, we get two overlays of ideal size. The author also has a groove on the handle, it can be machined with a mill, a drill or even a file. At the final stage, the author polishes the pads on a polishing machine. Now the linings look amazing, such material does not need to be impregnated.
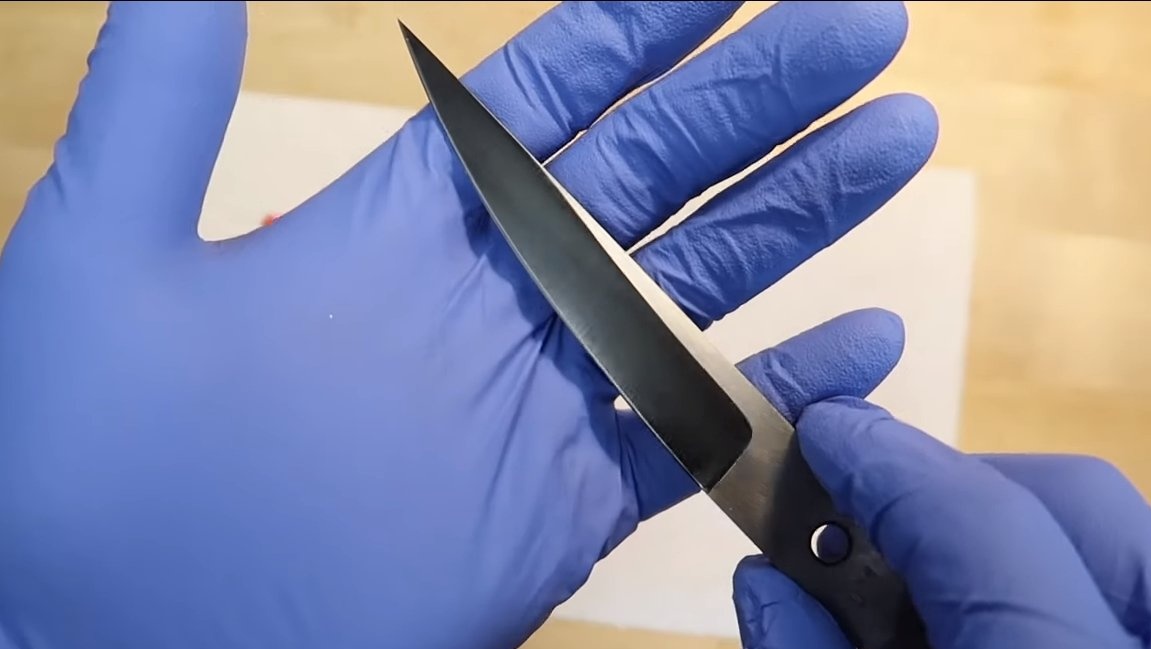
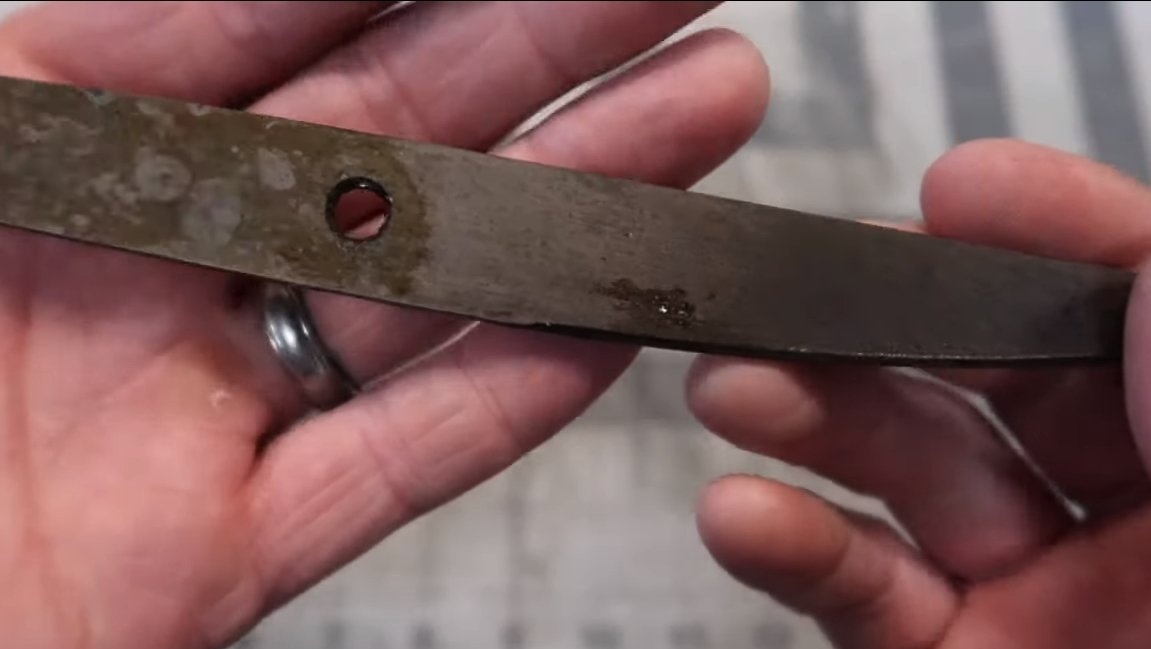
Step Eight. Etching
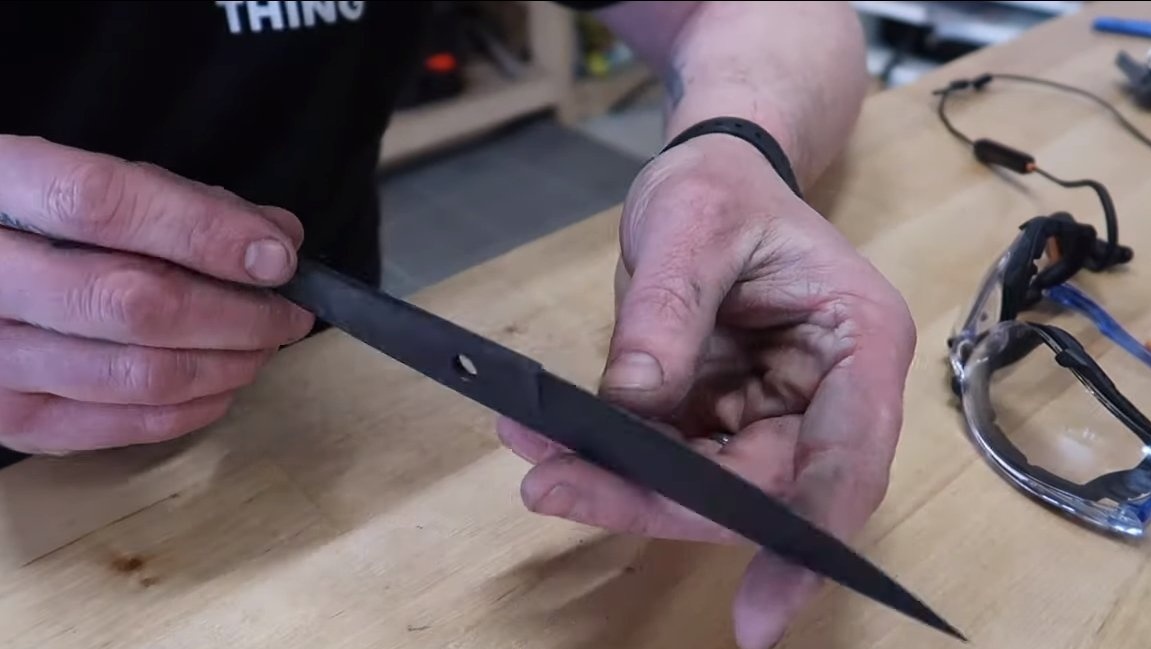
As conceived by the author, the bevels of the blade are dark in color, and the butt is shiny. To get the desired patina, we need an etching reagent, we degrease the blade well and lower it into the reagent. After some time, the steel will turn black, now it can be removed. My blade is in soda, and then under running water.
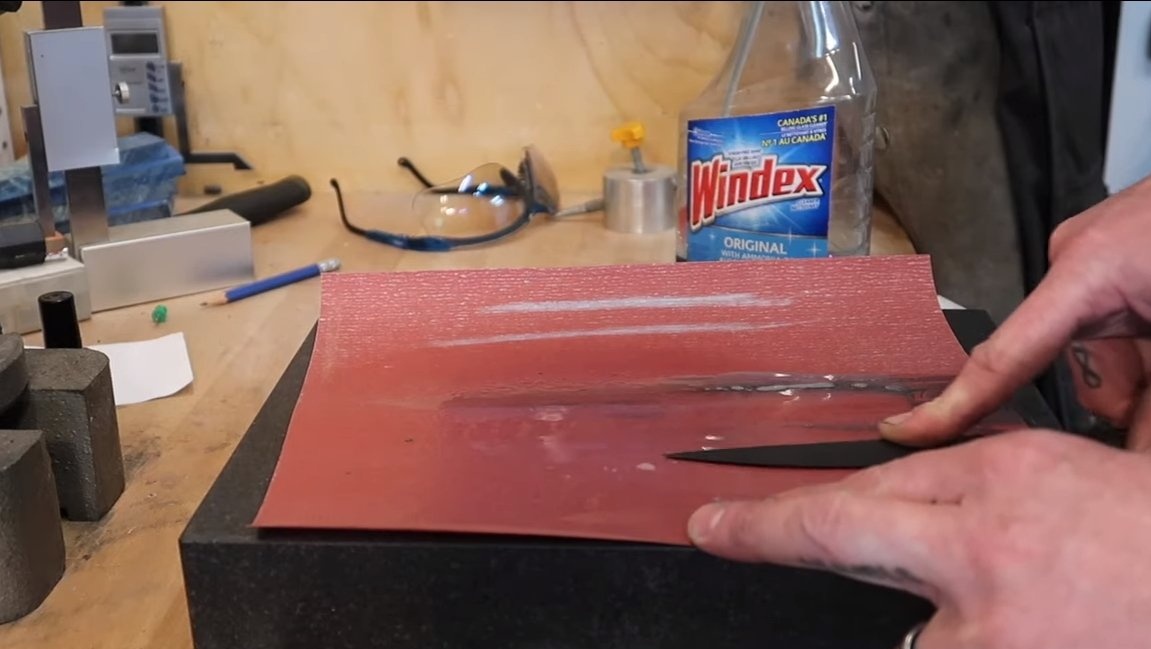
Next, we need small sandpaper, moisten it with water and grind the blade well, focusing on the butt. As a result, we achieve the desired result.
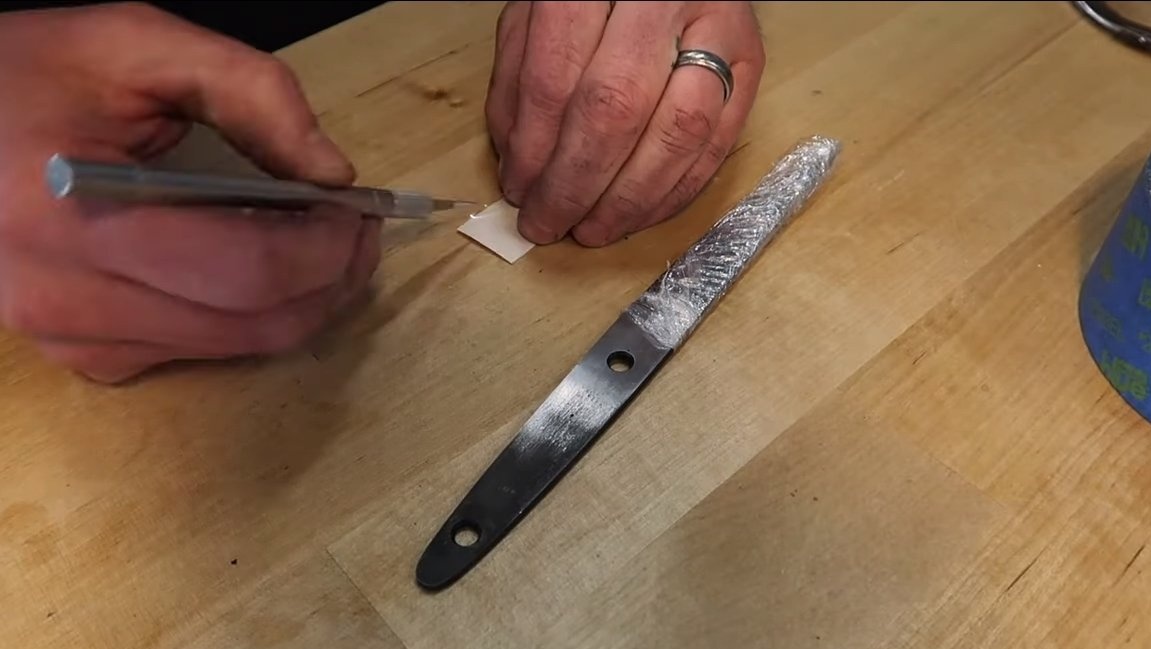
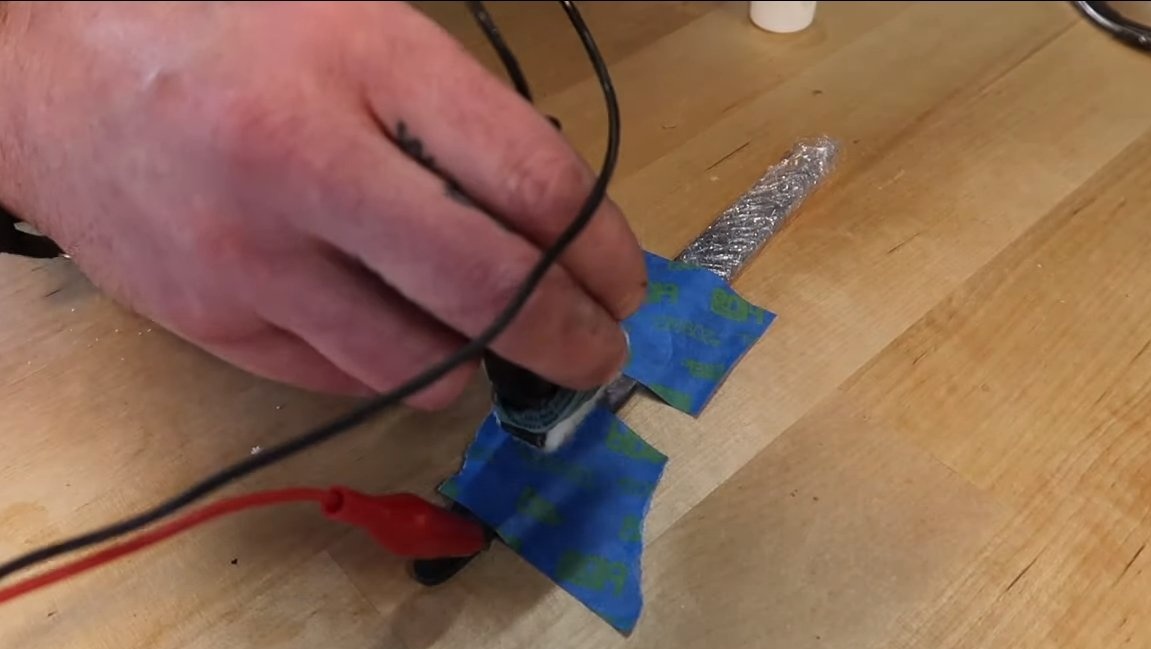
Step Nine. Picture
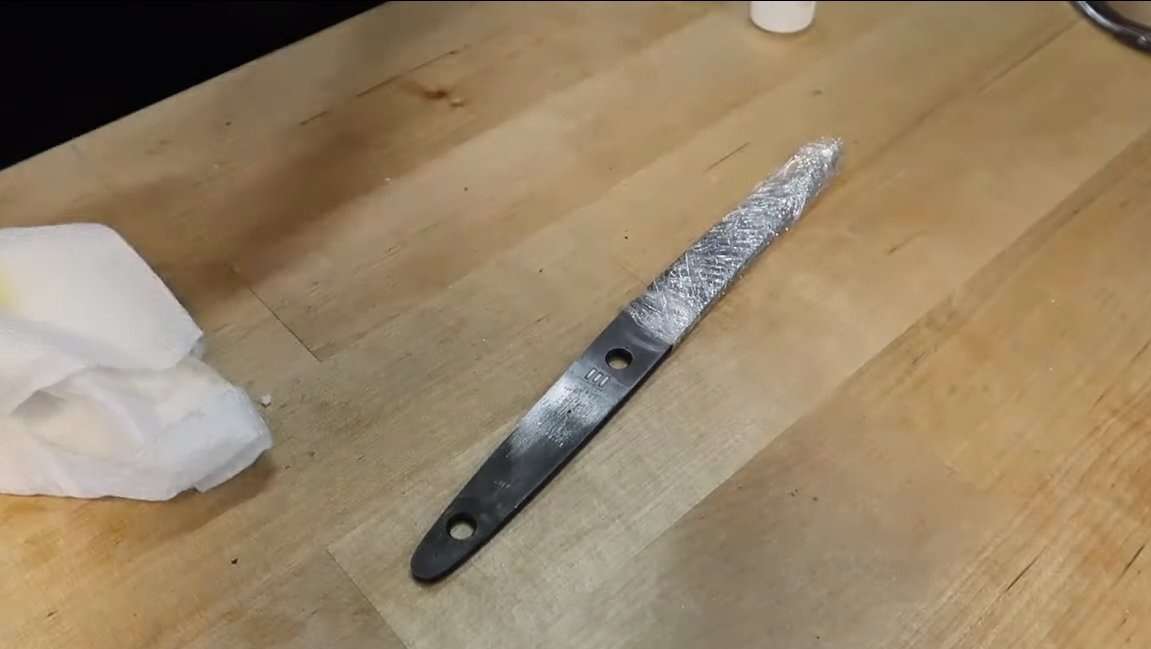
If desired, a drawing or stamp can be applied to the blade. The author does this by using electricity.
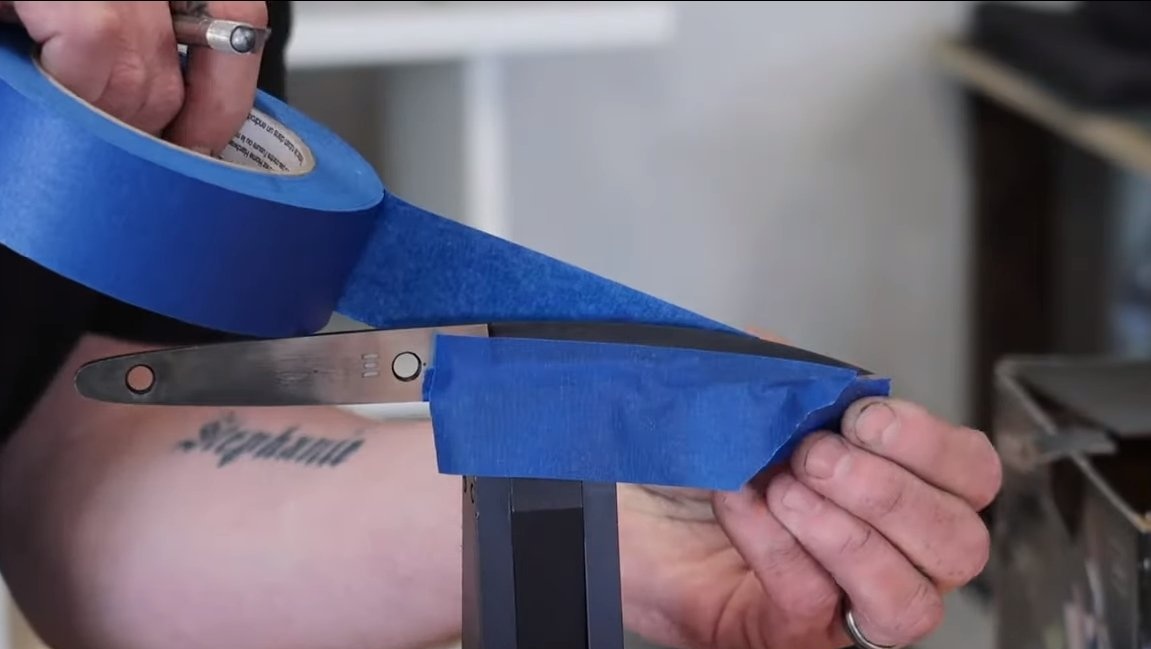
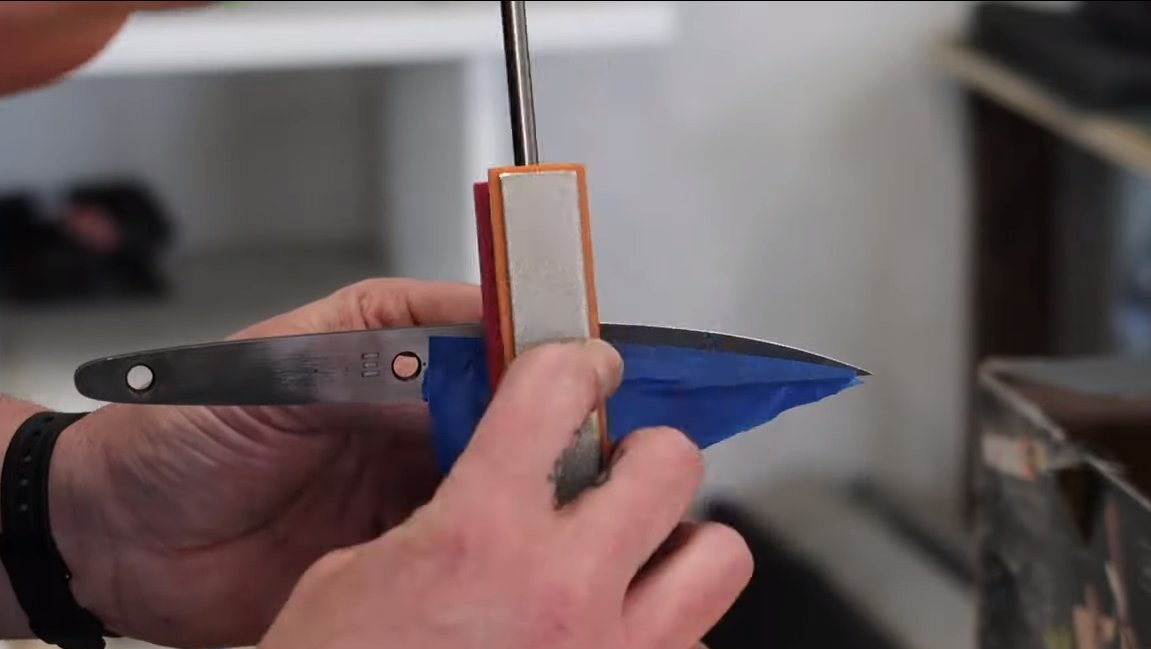
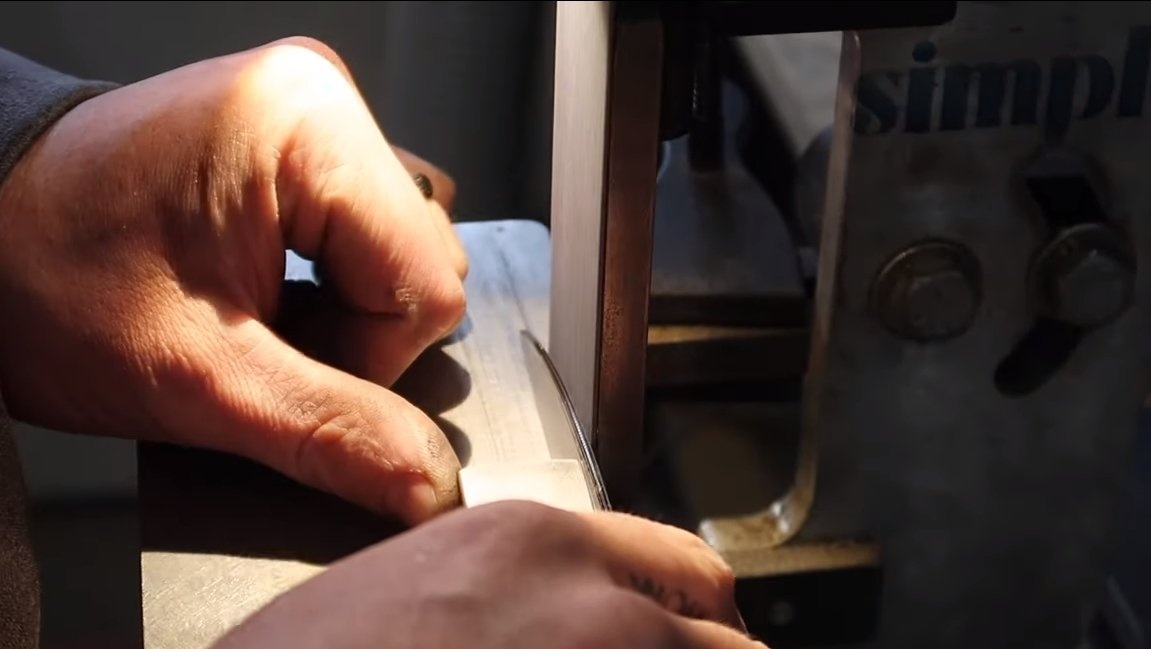
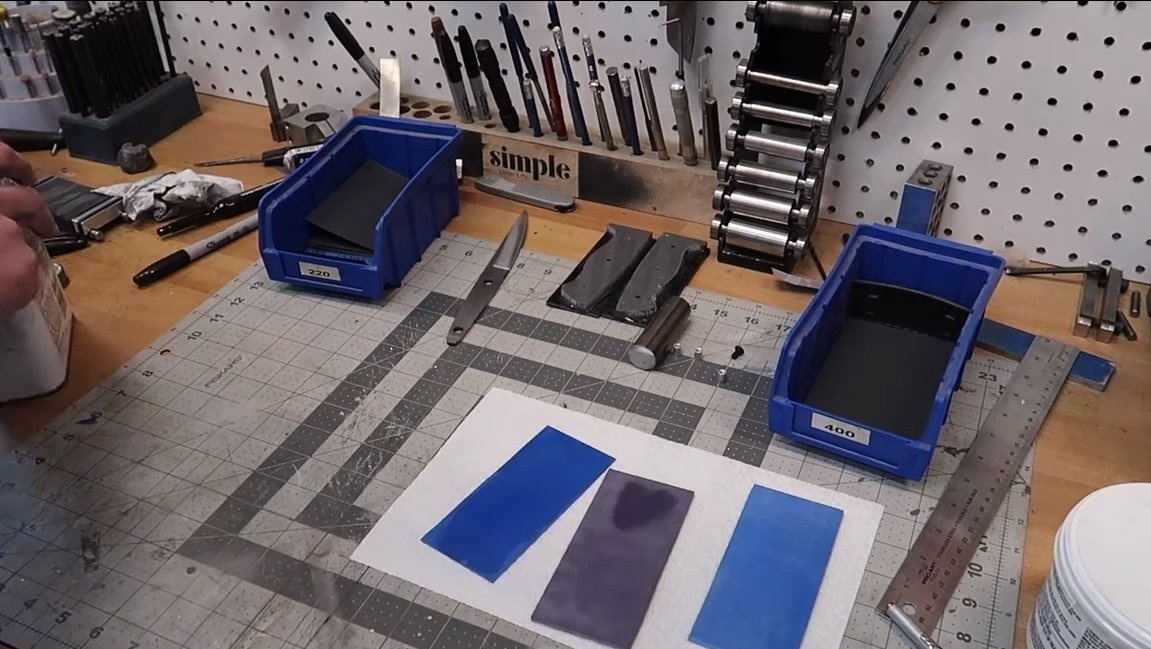
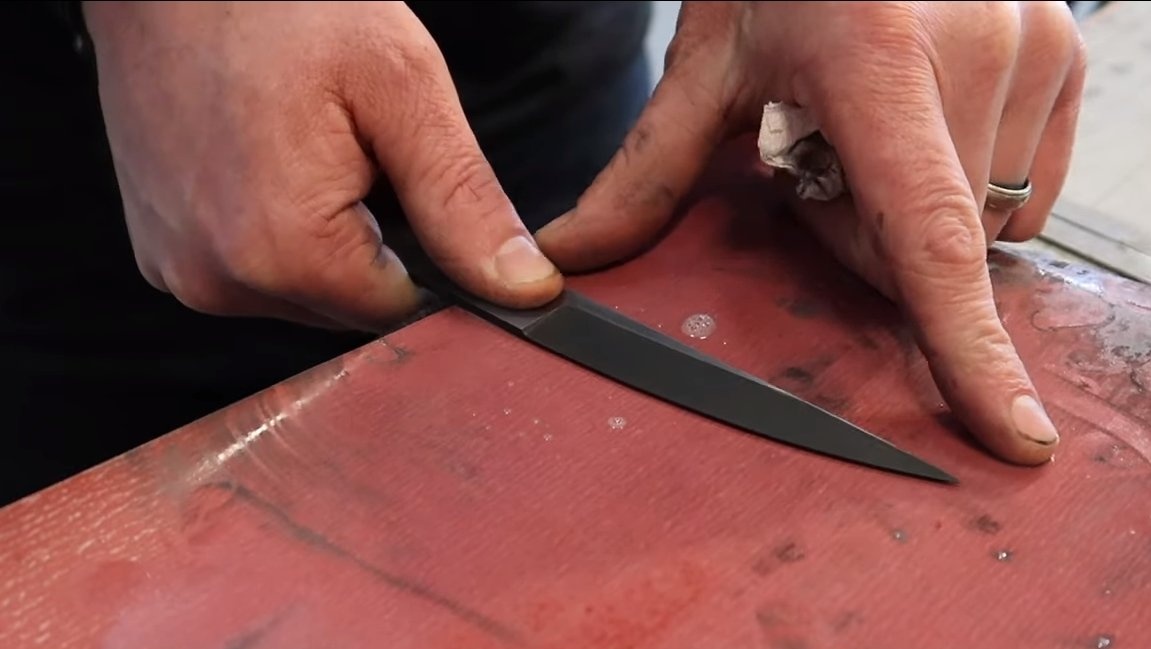
Step Ten Sharpening and assembly
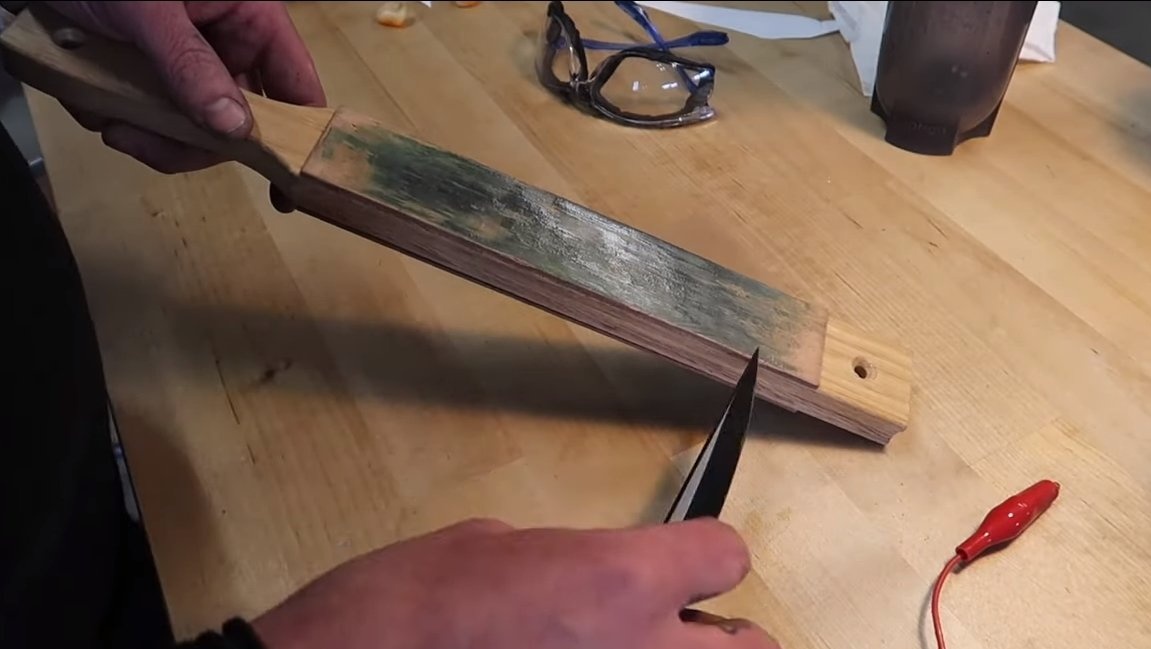
At the end, the blade will remain sharpened. In order not to scratch the product, the author seals the knife with adhesive tape. For sharpening we use grinding stones. Final sharpening can be done with polishing paste. As a result, the knife is so sharp that it can be shaved.
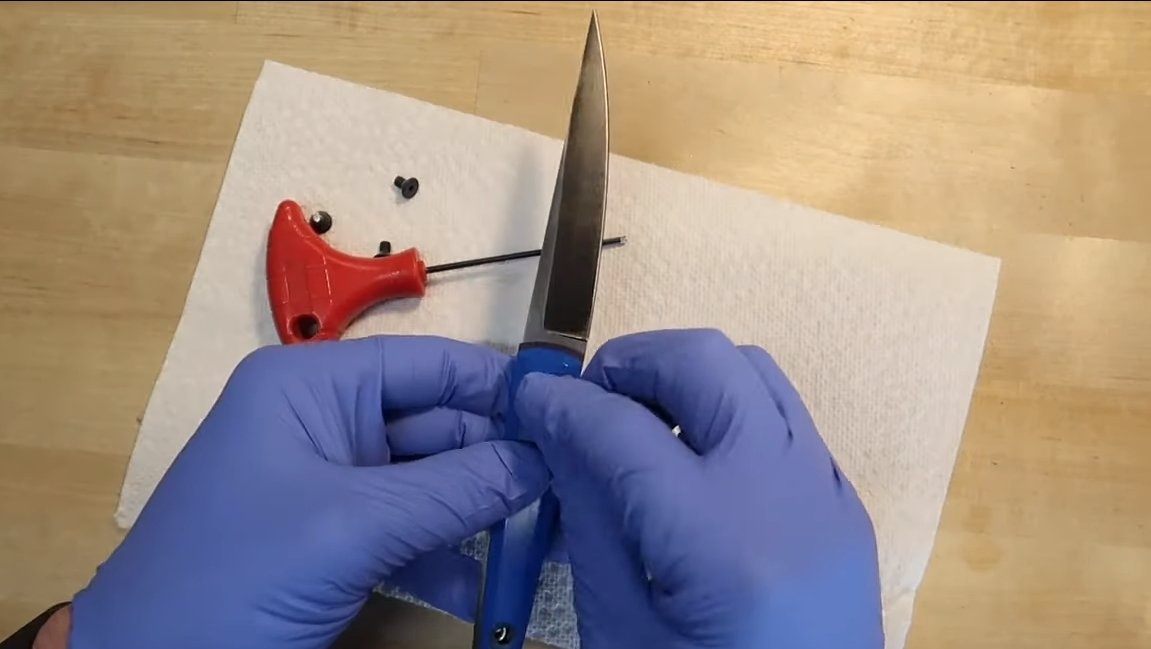
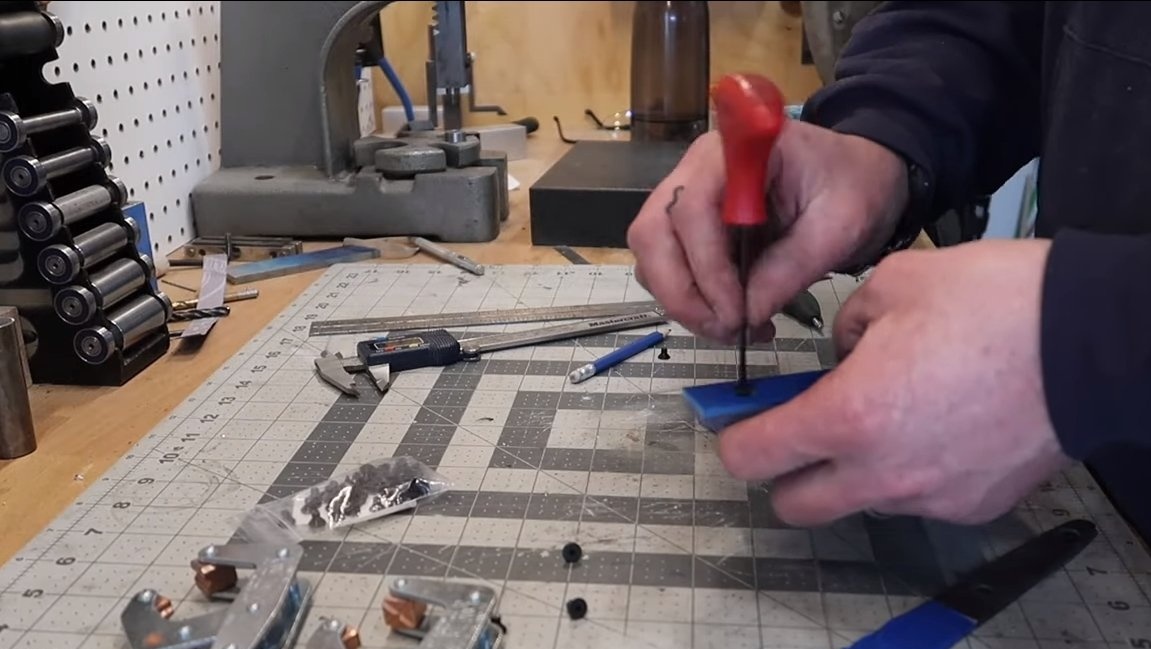
That's all, now homemade It remains to assemble, for this you need to screw the pads with screws. The knife turned out to be quite convenient and very sharp. I hope you enjoyed the project and found useful thoughts for yourself. Good luck and creative inspiration, if you decide to repeat this. Do not forget to share your ideas and homemade things with us!