Hello everyone, I propose to consider homemadethat your children will appreciate. It's about an electric train. On such a homemade product you can spend whole excursions with children. Going homemade is quite simple, as a "muscle" is used. The machine is able to pull the weight of the driver (adult uncle), as well as three children, as well as its own weight (trains). Of course, for such a homemade product it should be as powerful as possible. For homemade work, it is not necessary to disassemble the gyro scooter, it will remain unchanged. In the assembly, homemade is simple and requires not so many materials. If you are interested in the project, I propose to study it in more detail!
Materials and tools used by the author:
Material List:
- ;
- wheels for carts and axles;
- profile pipes;
- bolts and nuts;
- fixing corners;
- round pipes;
- iron plates;
- plywood;
- MDF, foam rubber, leatherette (for seats);
- paint.
Tool List:
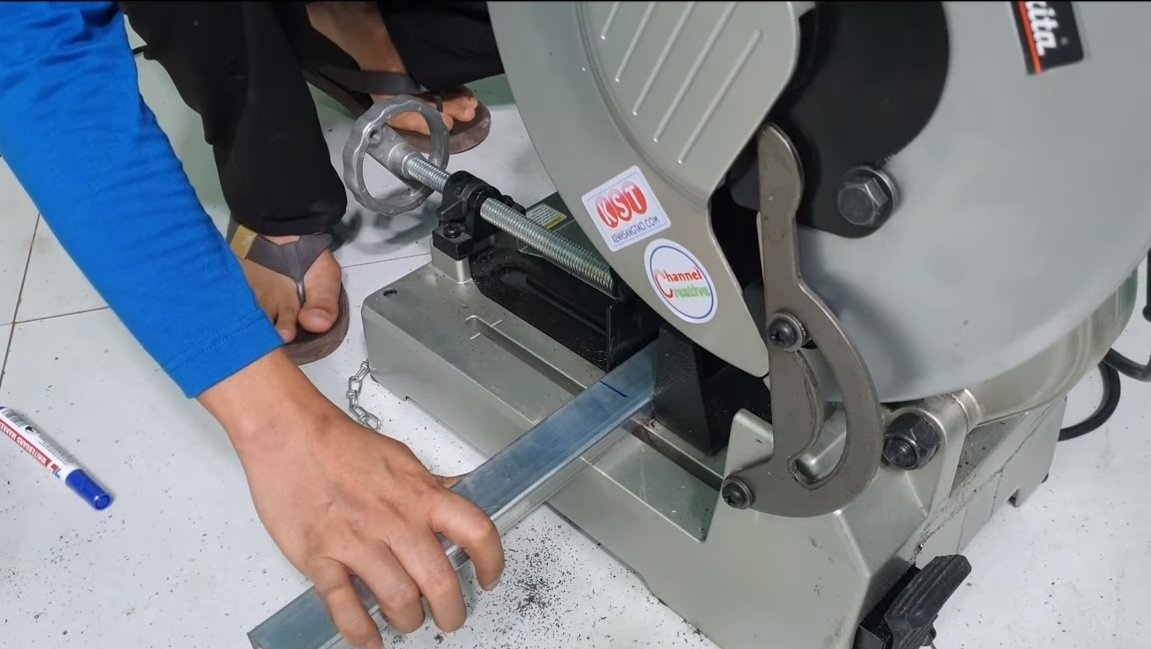
- grinder;
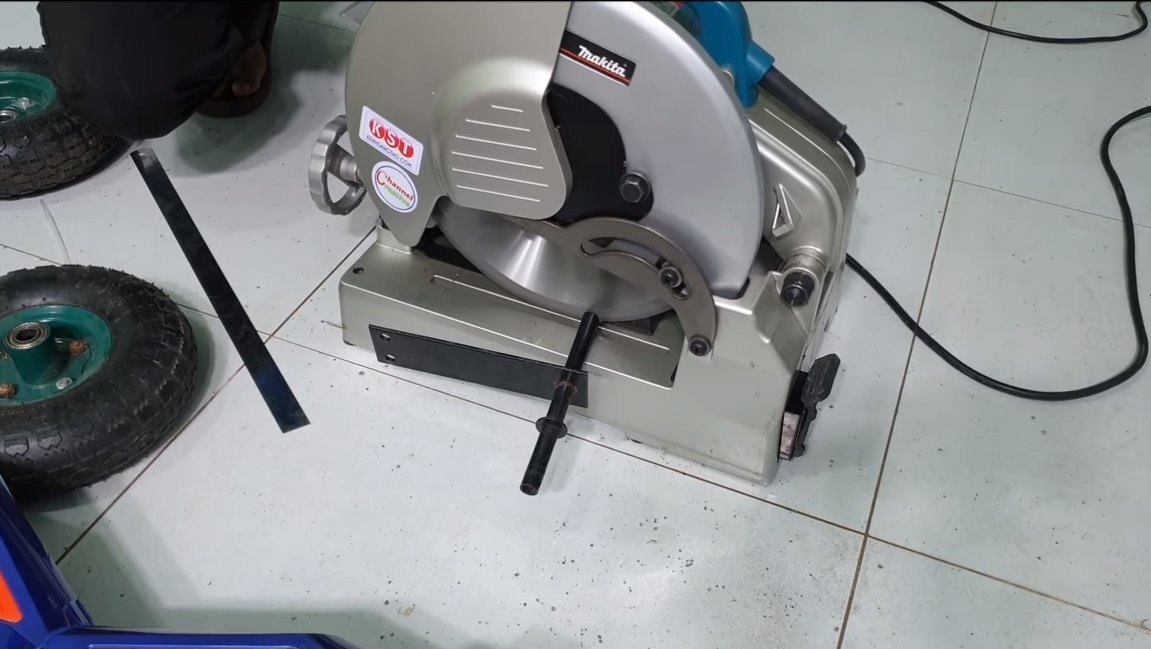
- Circular Saw;
- welding machine;
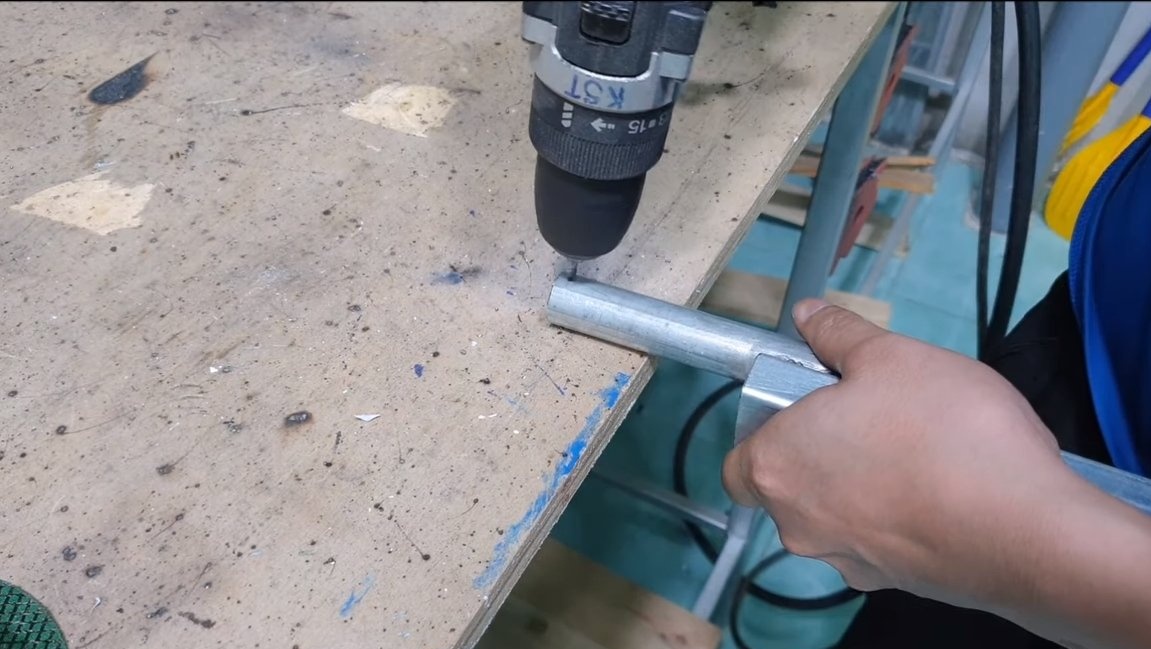
- drill;
- wrenches, screwdrivers;
- Miter saw;
- tape measure, marker.
Homemade manufacturing process:
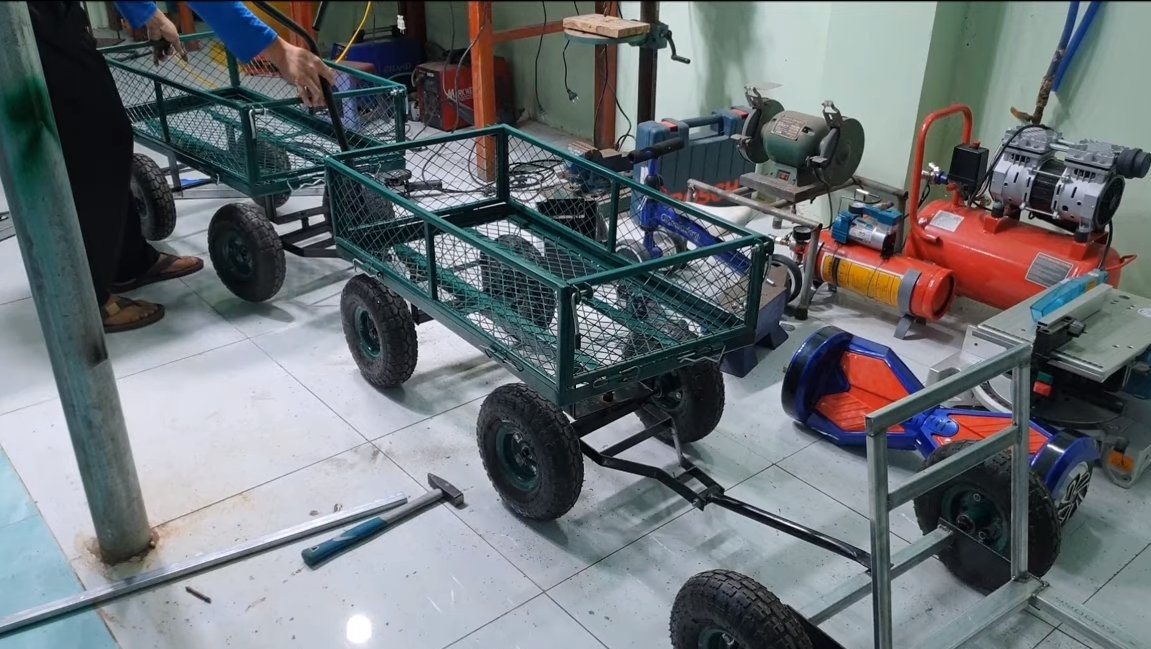
Step one. Rear (head carriage)
In the manufacturing process, the author collects only the head of the car, to which the cars are already clinging. The author’s cars were already ready, initially it was carts or something like that.
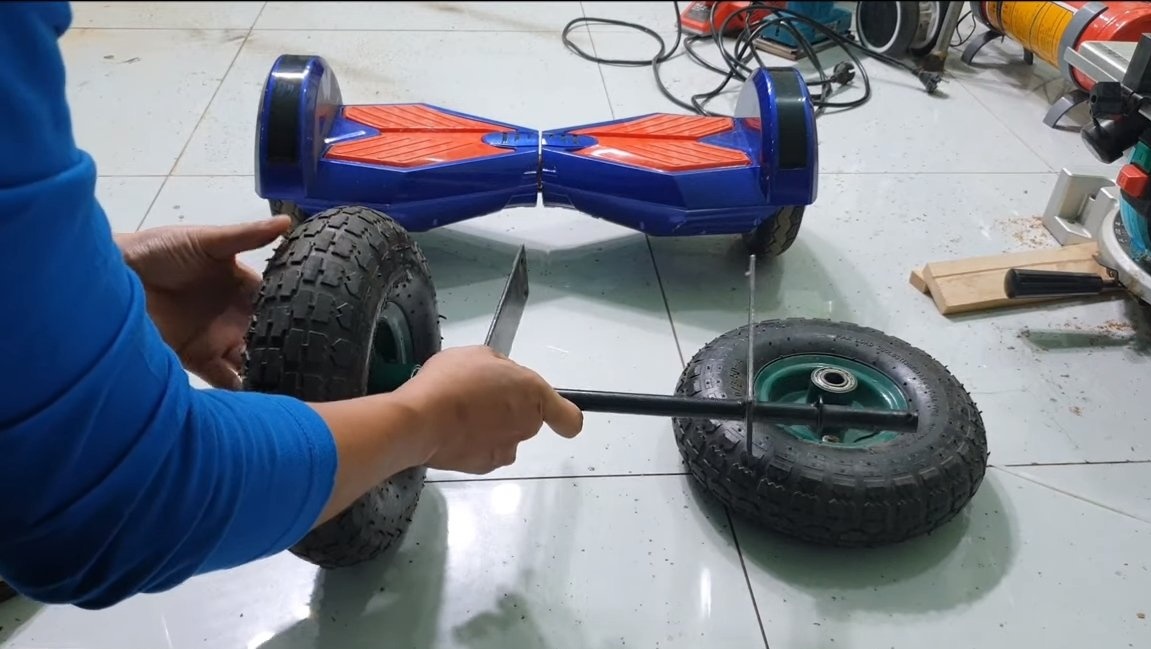
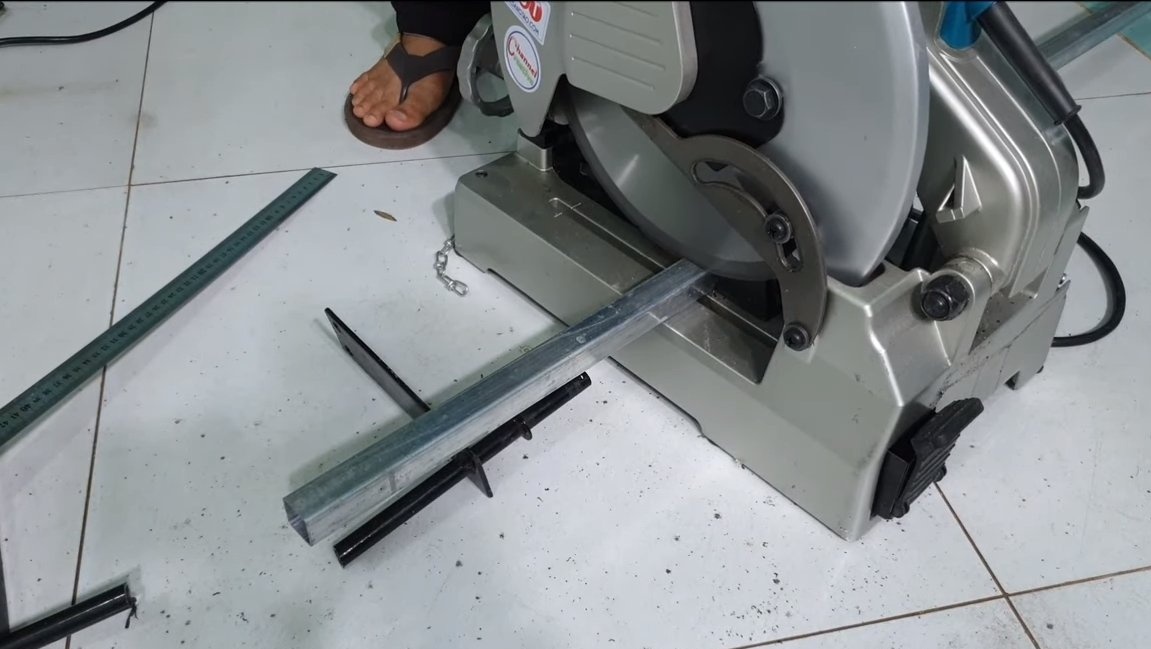
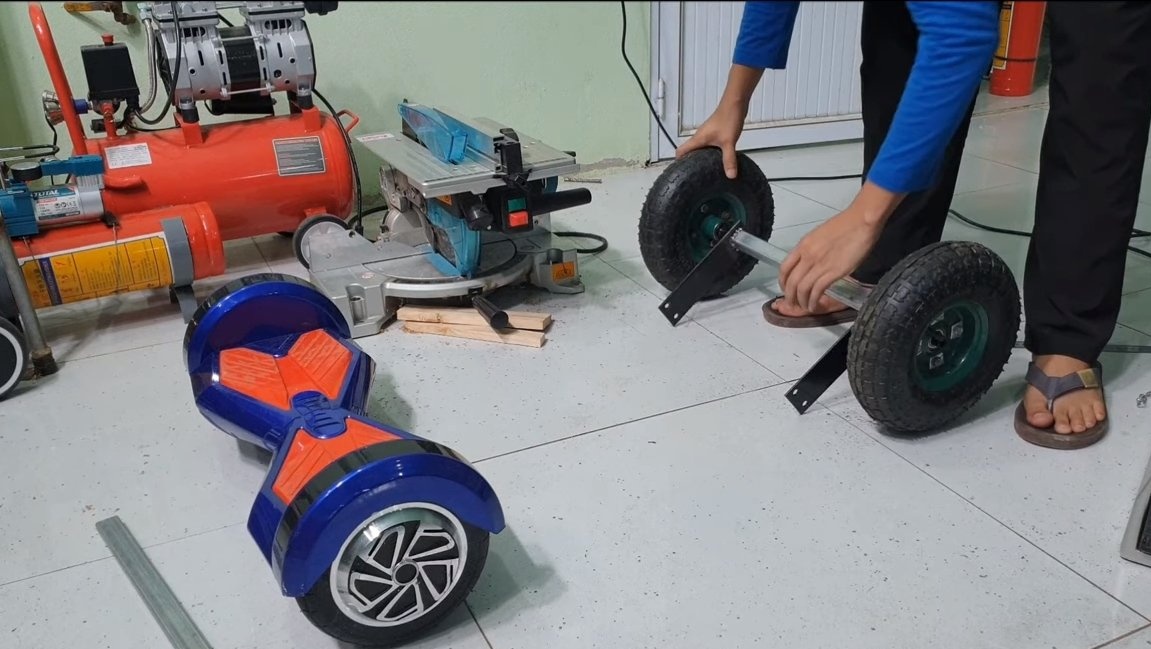
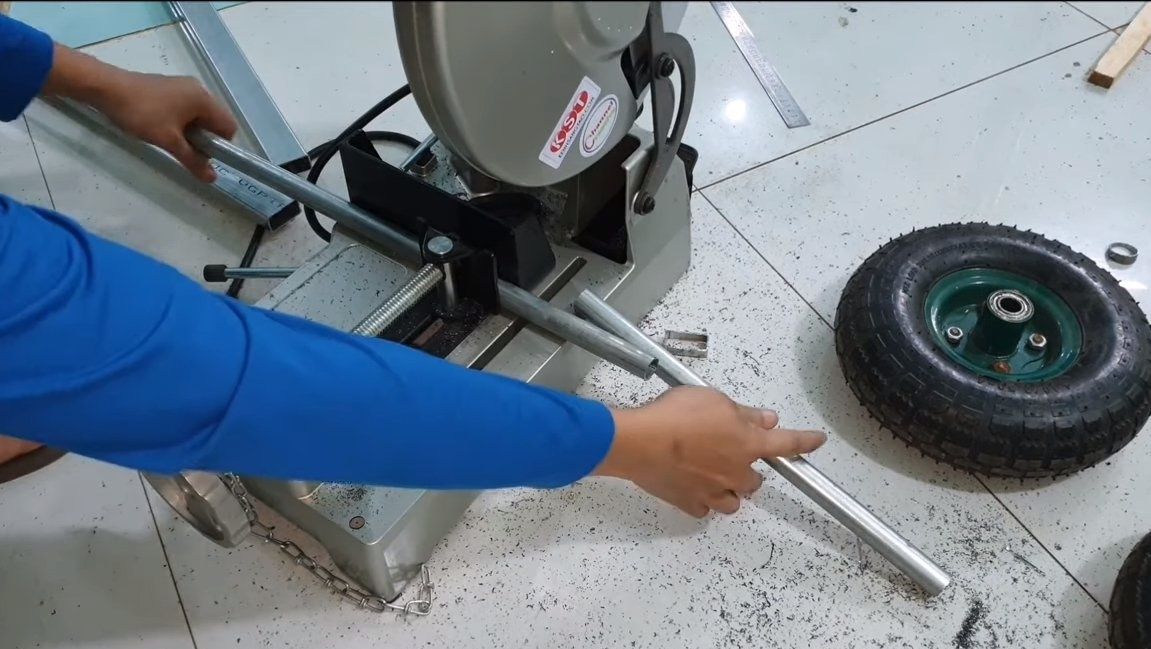
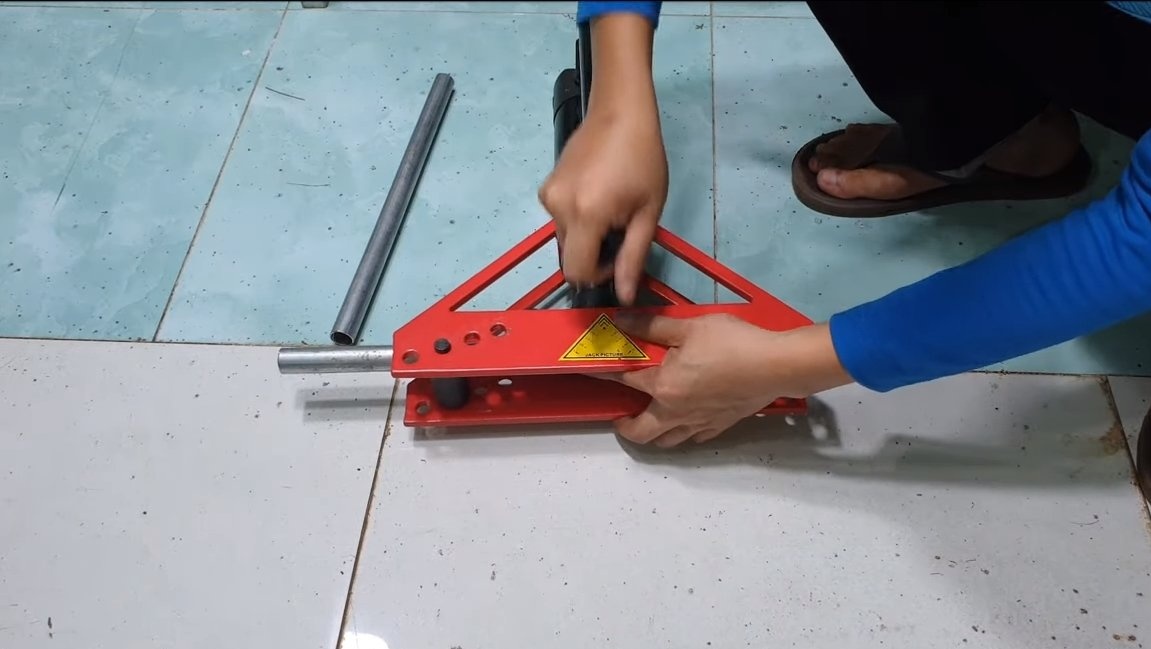
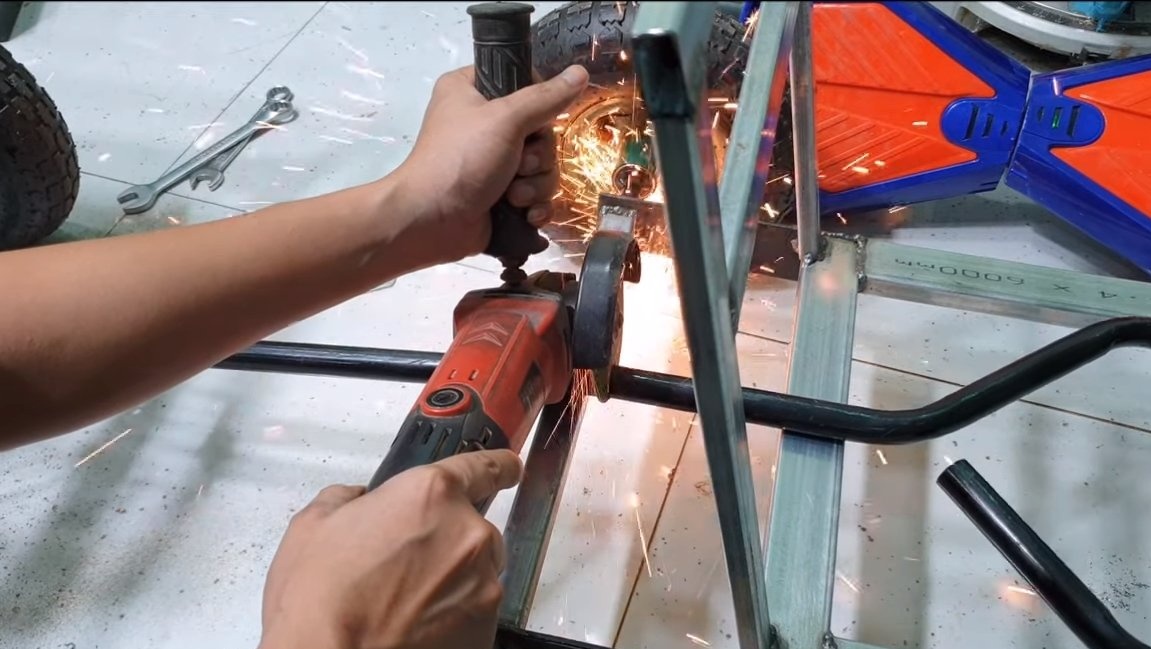
We make the rear axle of the head carriage, for this we need two wheels for garden carts and an axis for them. We need to expand the rear axle, for this we cut it in half, and then weld a piece of the profile pipe of the desired length.
Step Two the front of
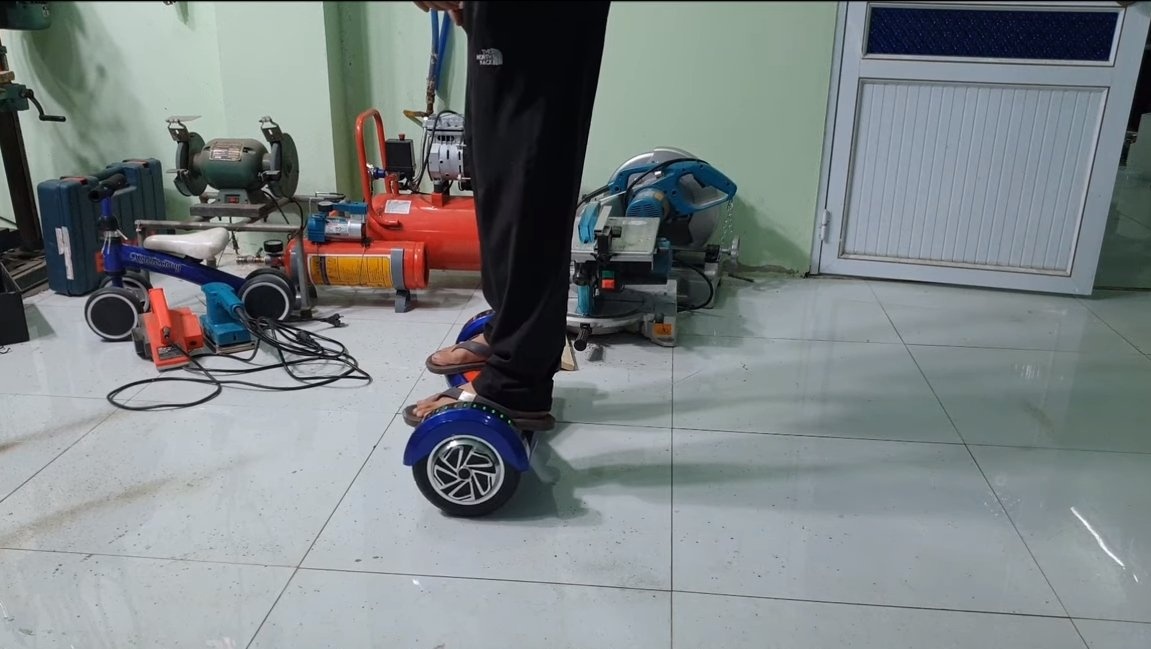
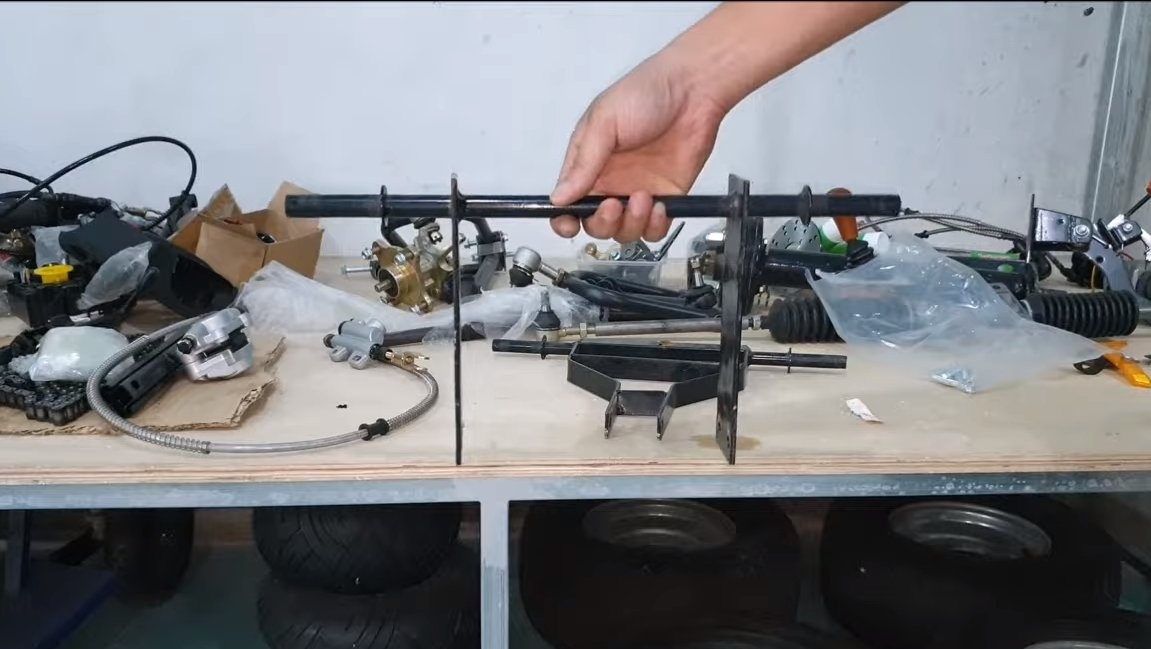
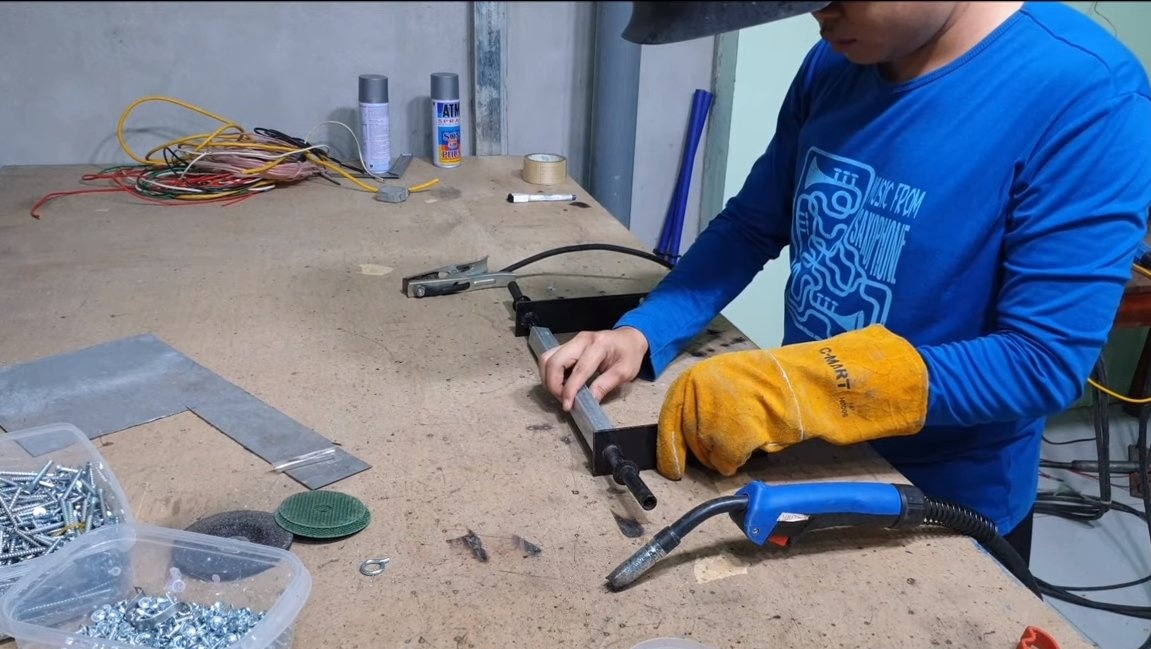
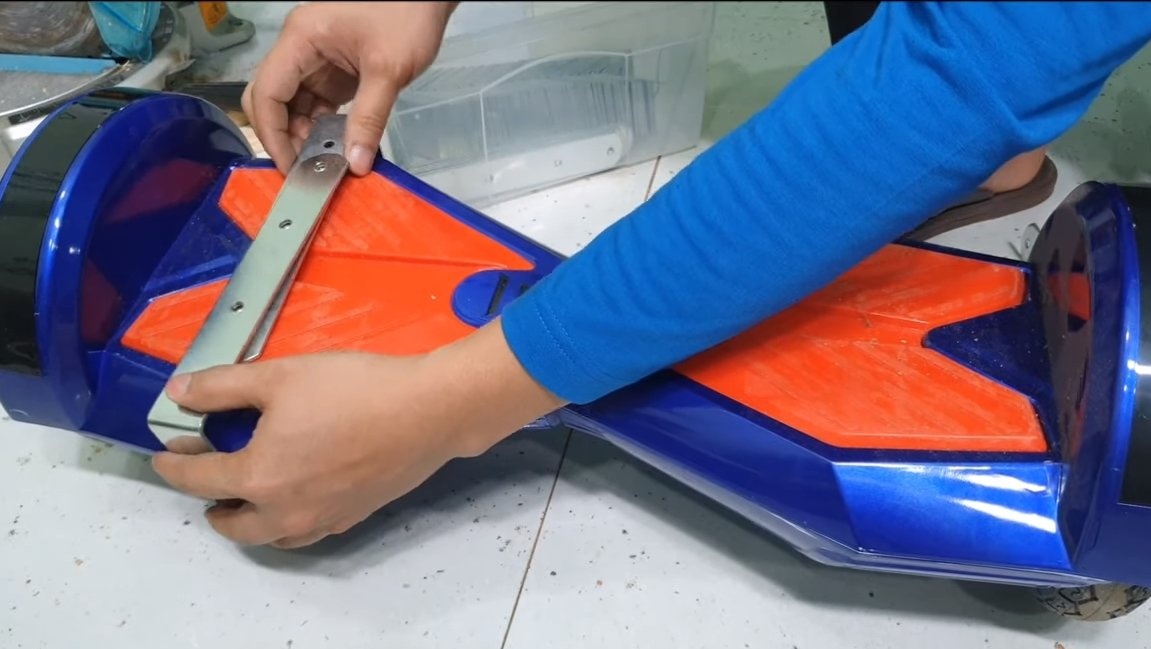
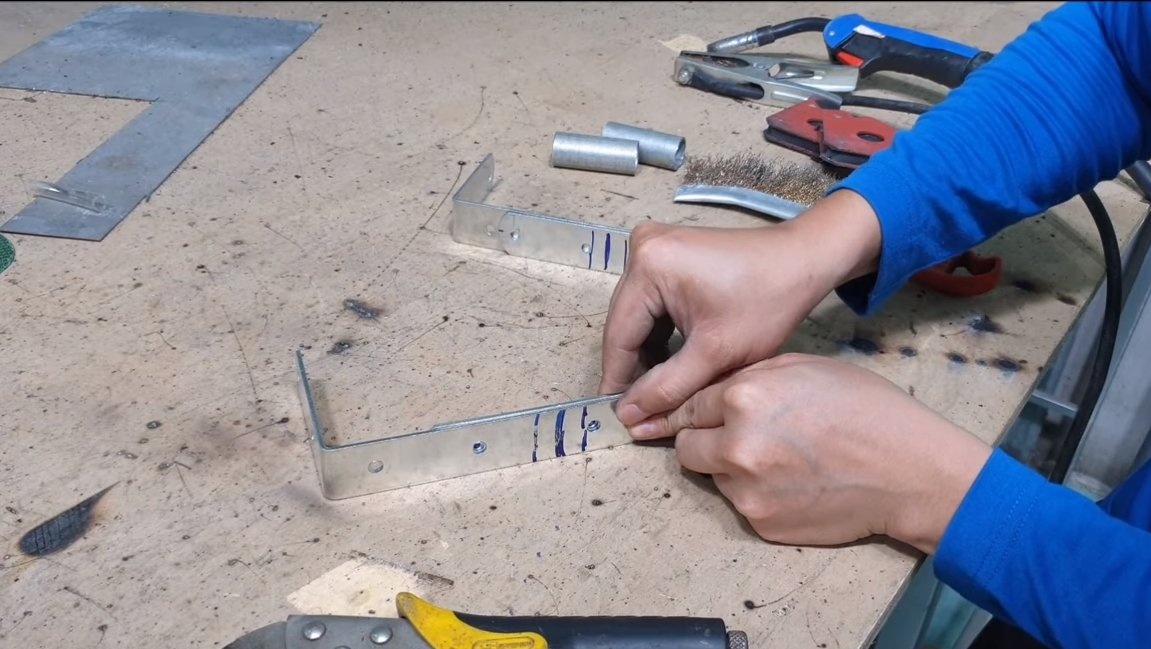
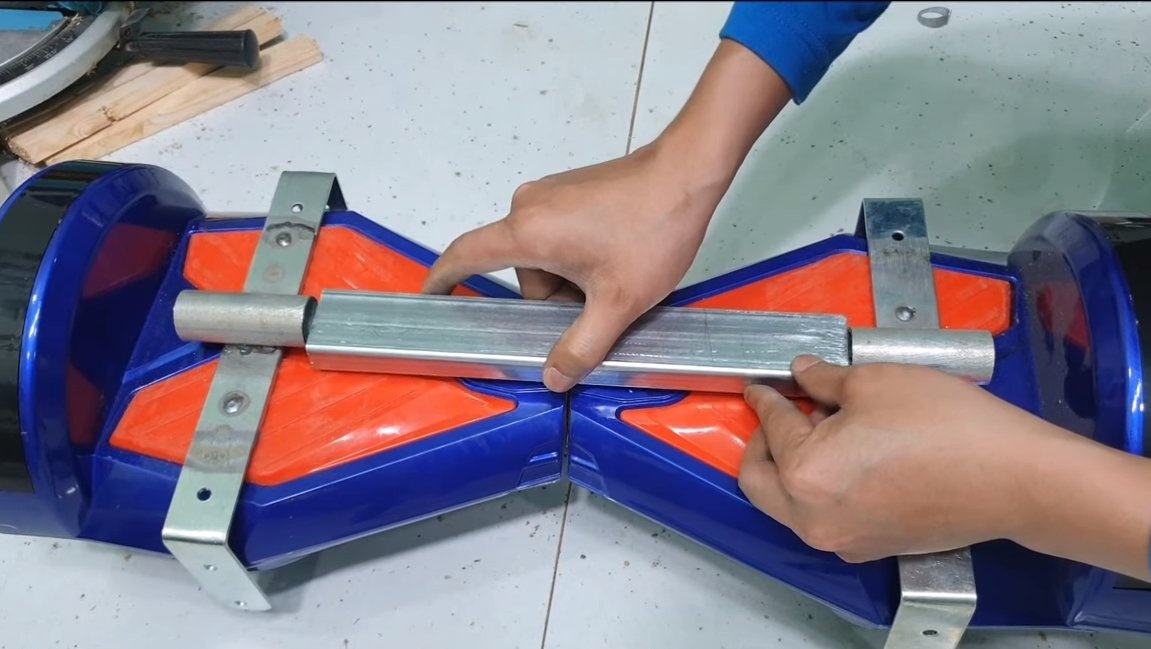
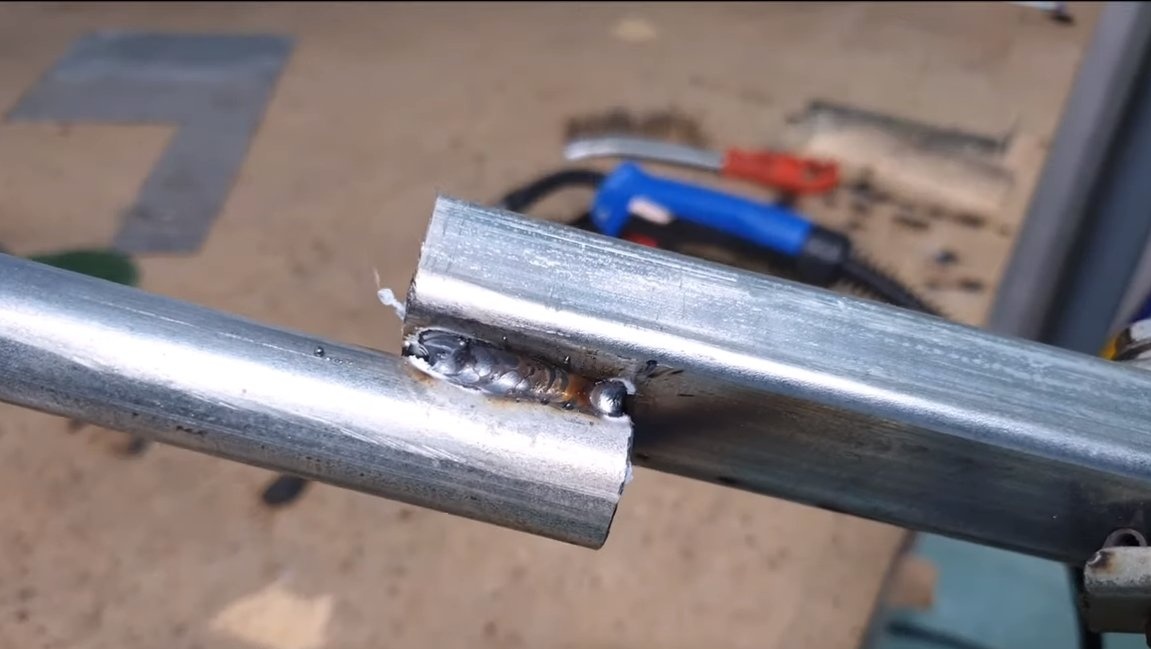
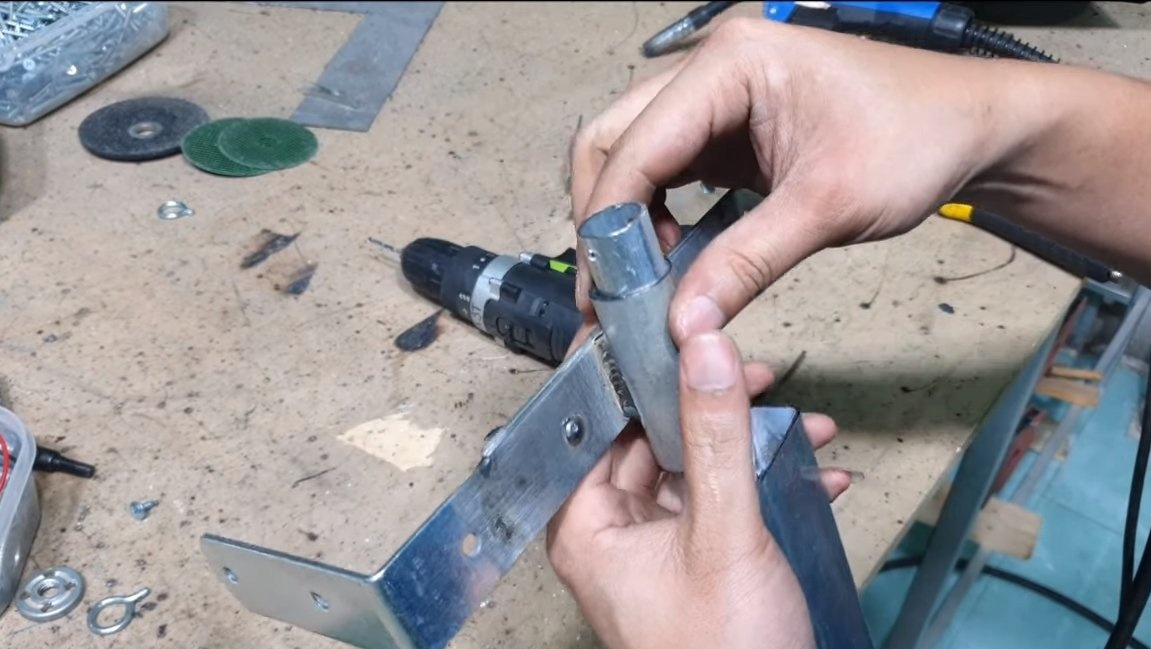
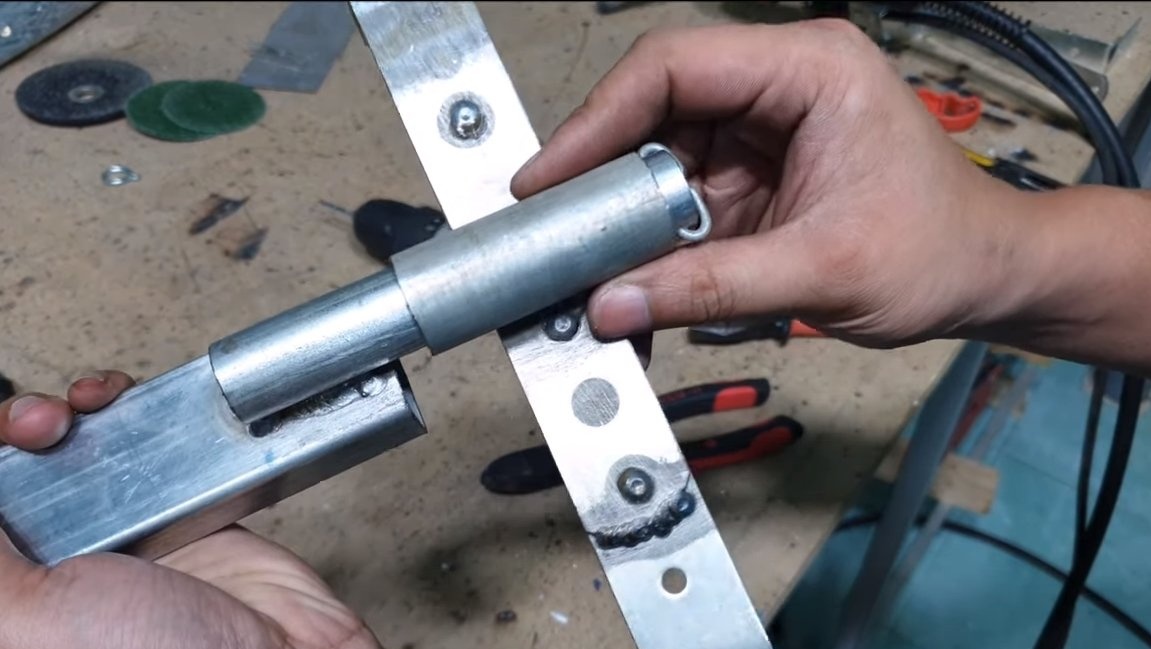
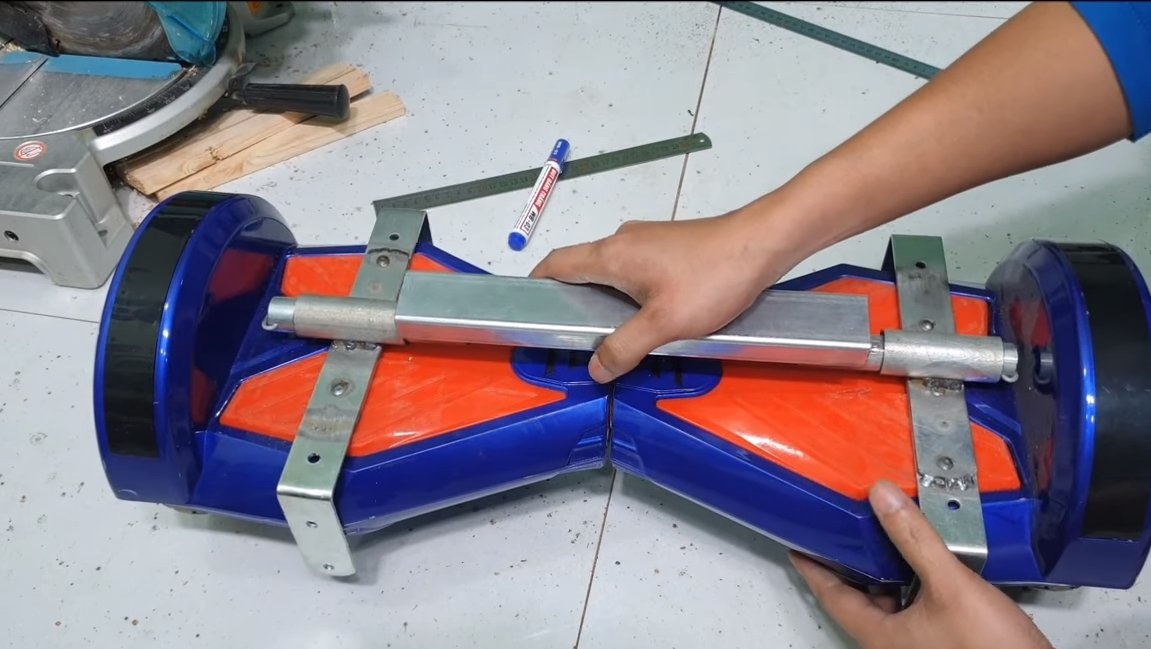
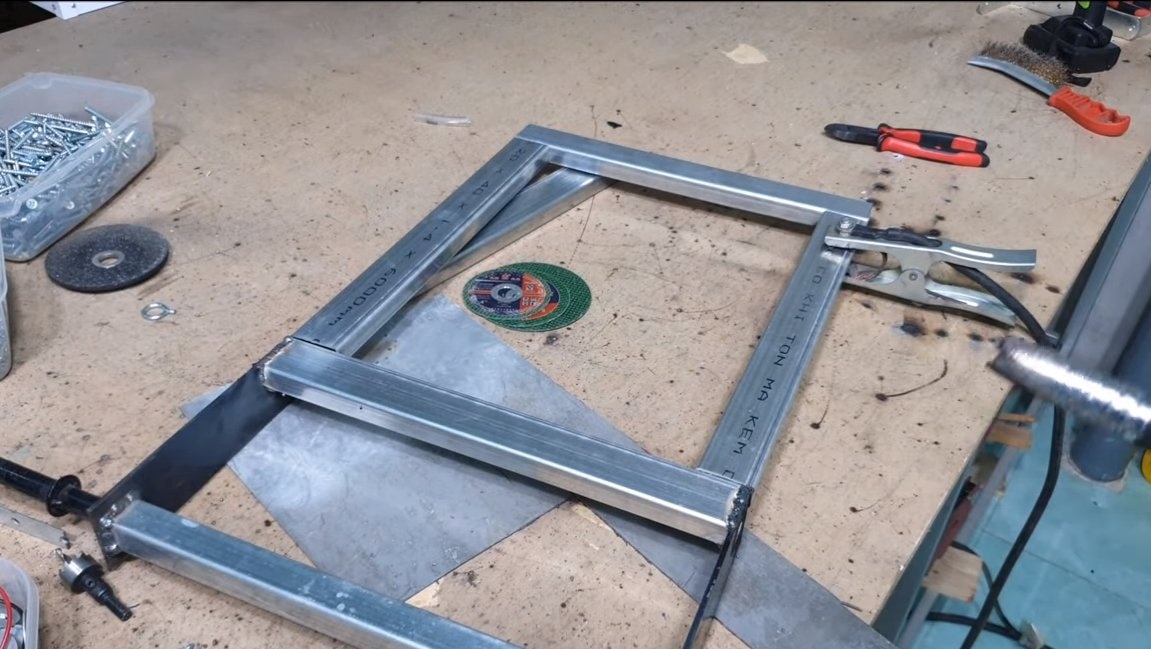
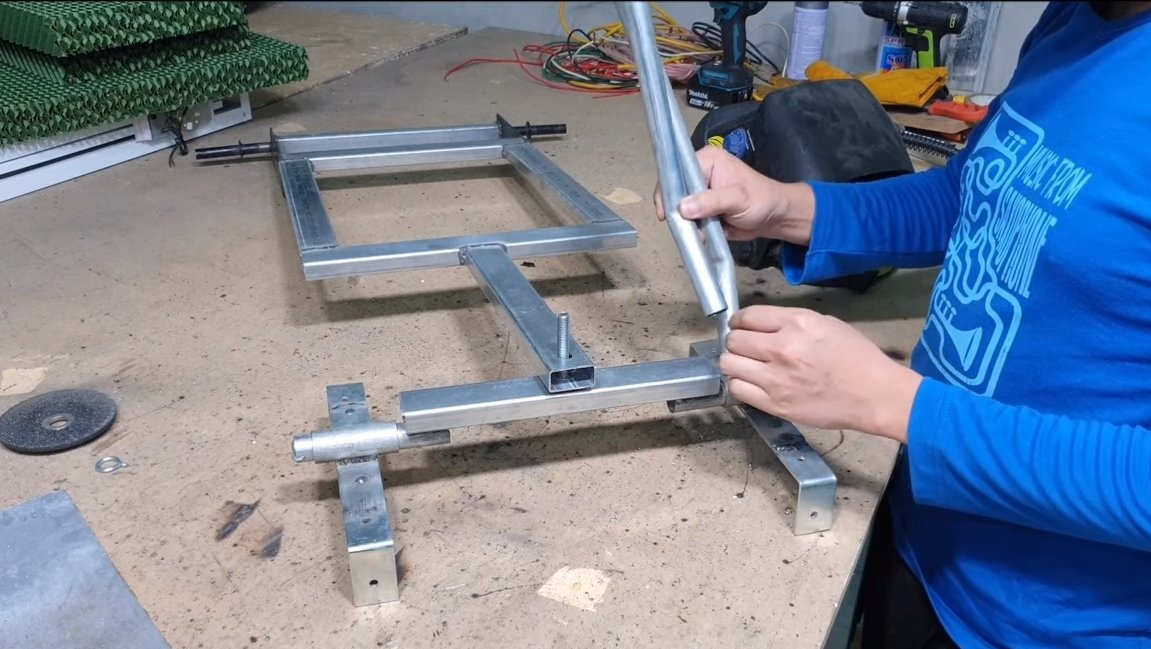
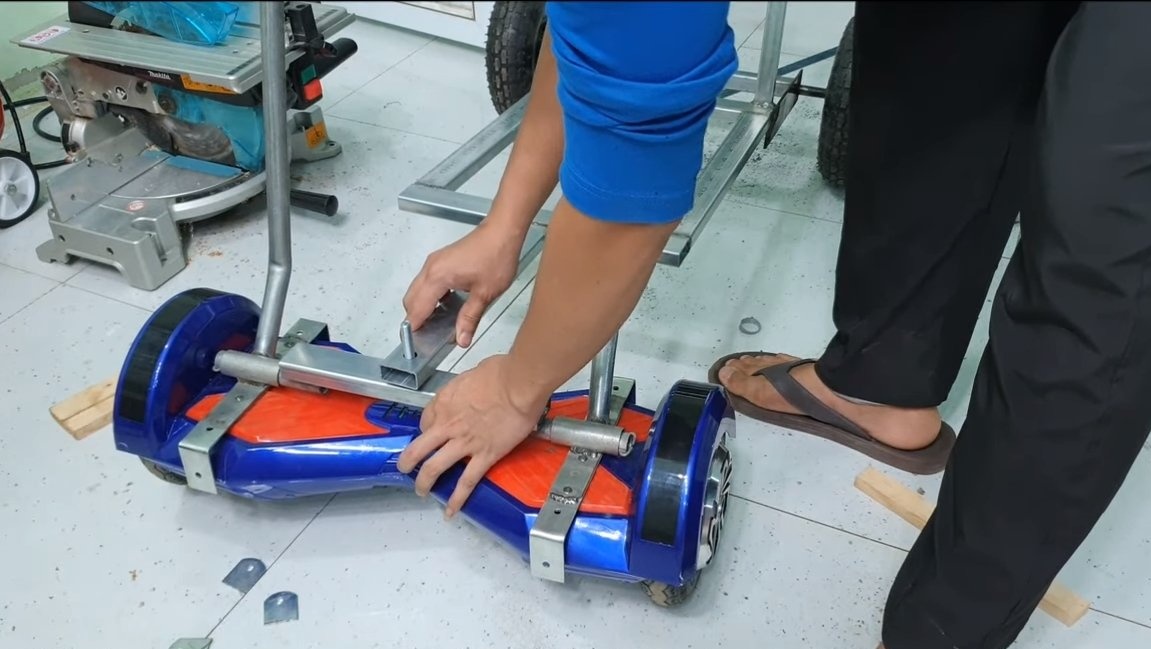
The front of the frame will be mounted on a hoverboard. The design of the frame is such that it replaces the legs. It is thanks to this frame that we will control the head carriage. To start, we weld two brackets with which the frame will cling to the gyro scooter. For such purposes, the author has welded the mounting corners in the form of the letter "P". We weld pieces of round pipes to these fasteners, these will be hinges.
As an axis, you can use a piece of a round pipe of smaller diameter or an iron axis.We weld a piece of a profile pipe to the axis


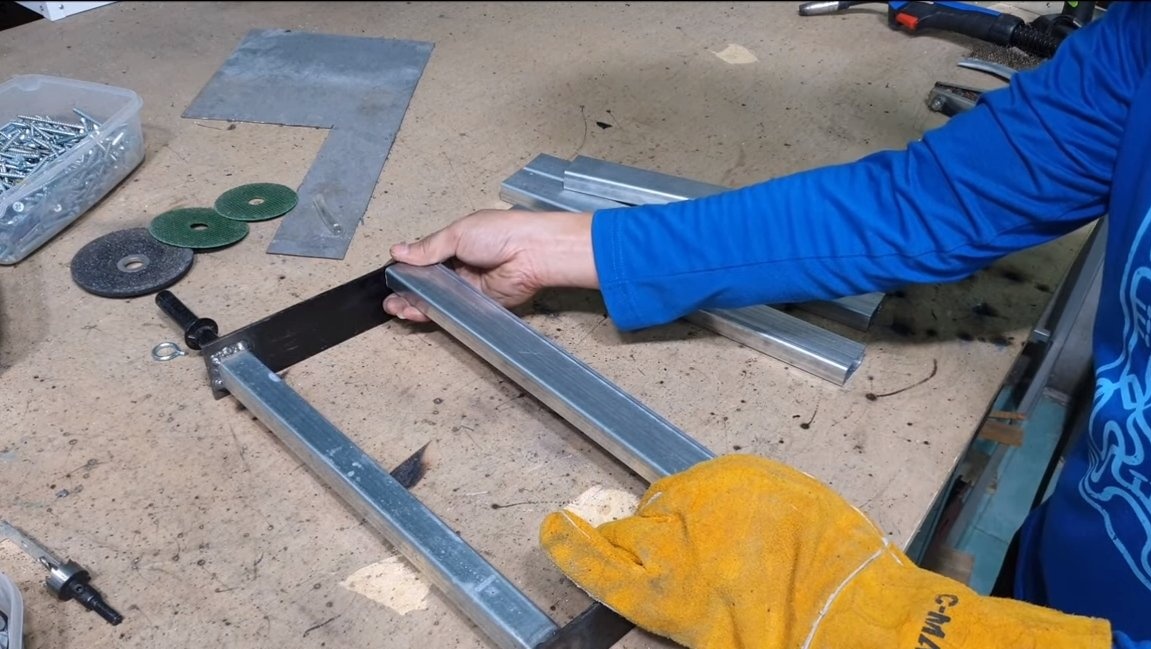
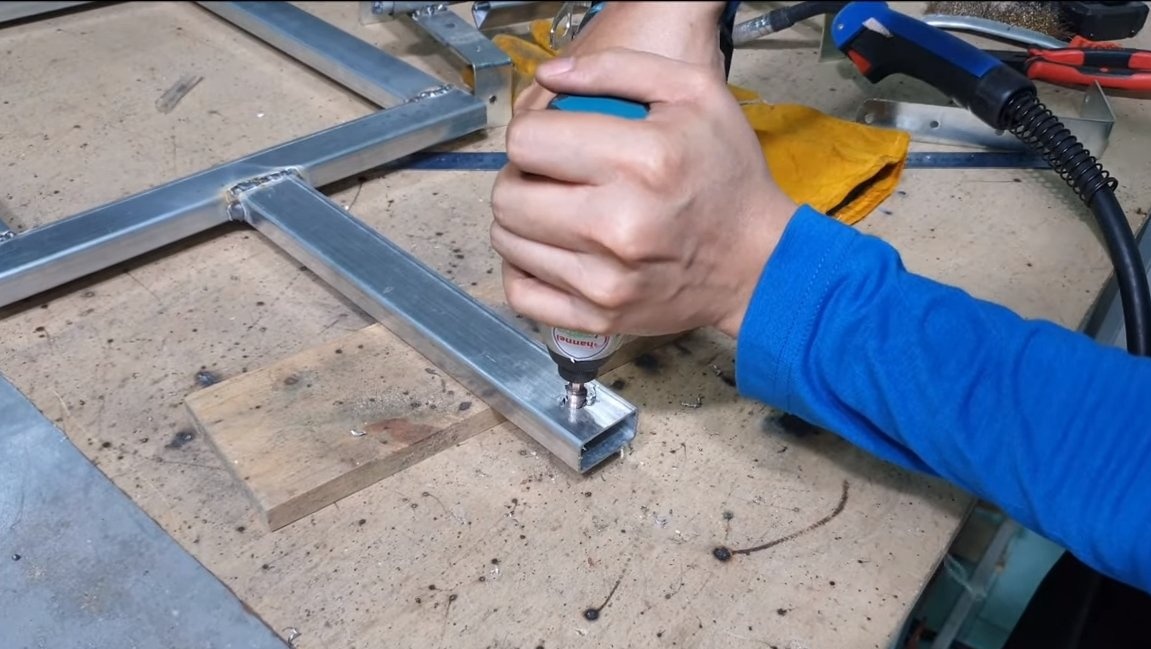
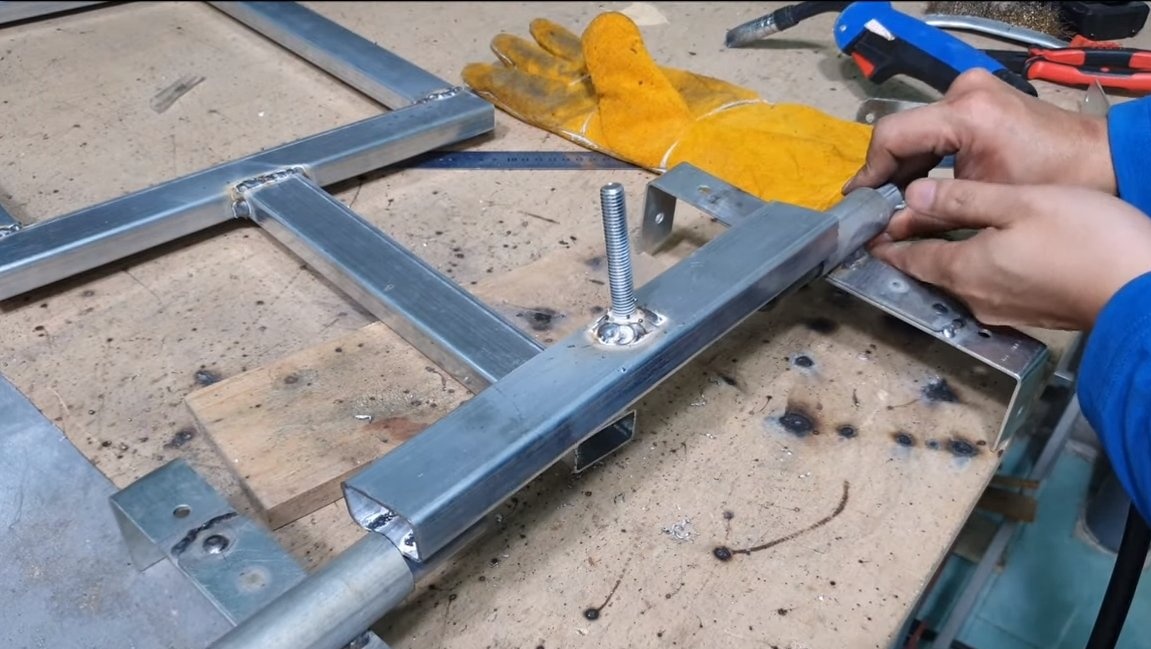
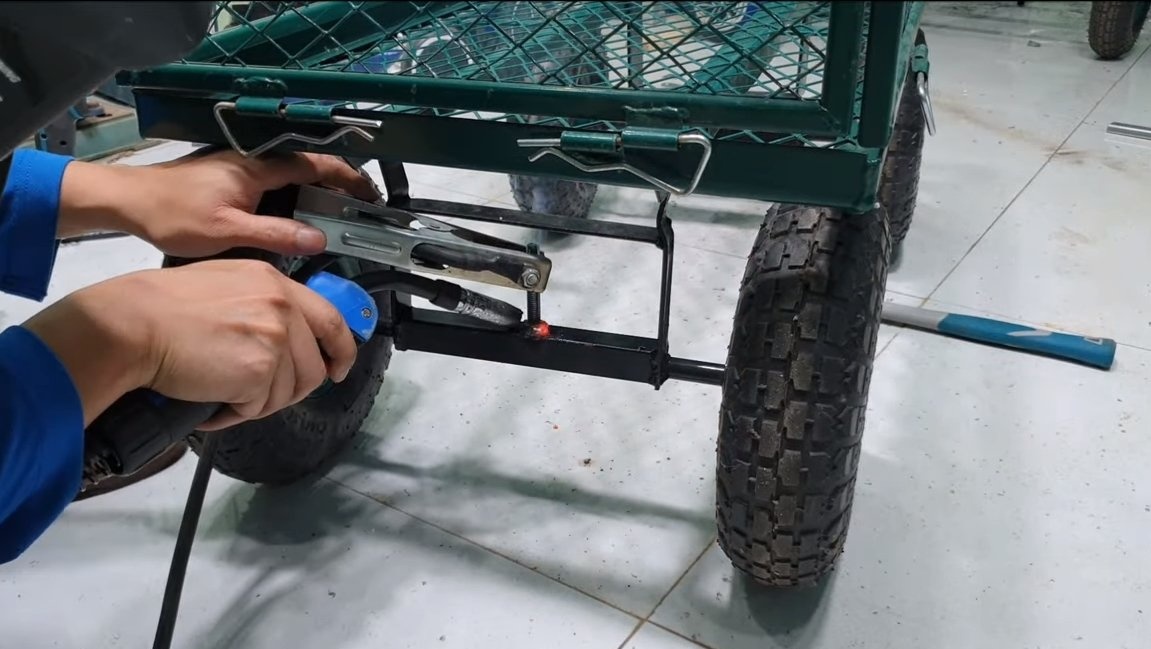
Step Three Frame assembly
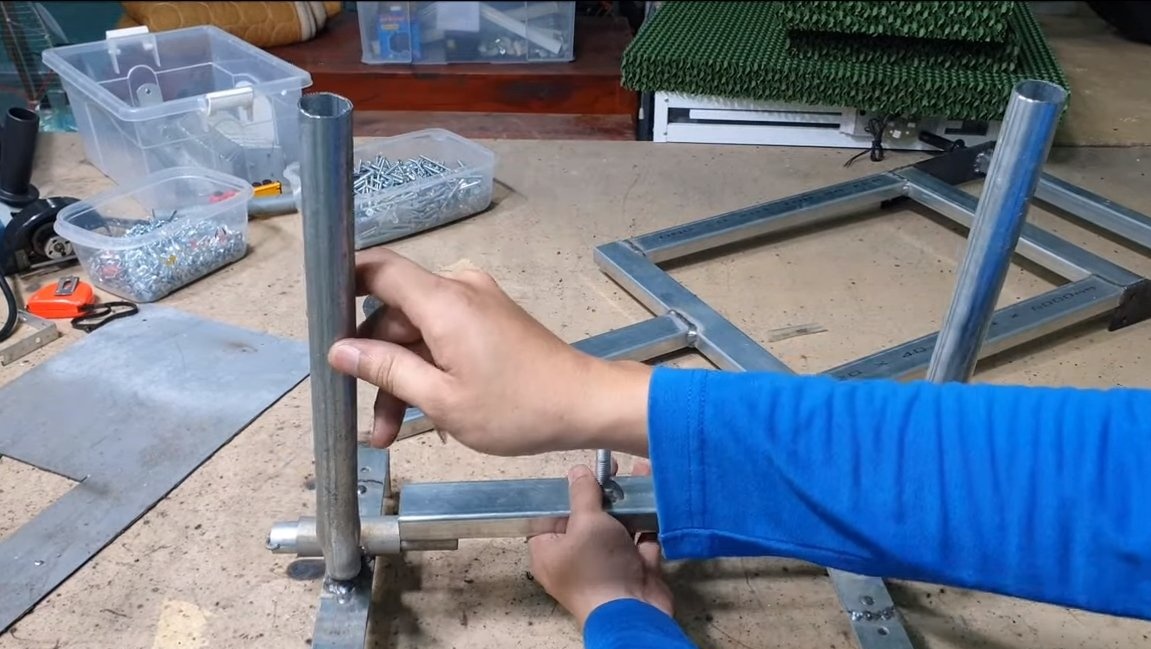
Next, it remains to weld the middle part of the frame, which will combine the rear and front part. As for the rear axle, we simply weld it to the frame made of profile pipes. As for the front axle, it is pivotally attached to the main frame through the drawbar. As a hinge, we weld a bolt to the front axle, and drill a hole in the drawbar.
Step Four Wheel and back
We make a steering wheel for the car, for this we need two pieces of a round pipe, we bend them so that convenient levers turn out. We weld these levers to the brackets that hold the hoverboard. As a result, our car will be controlled by levers.
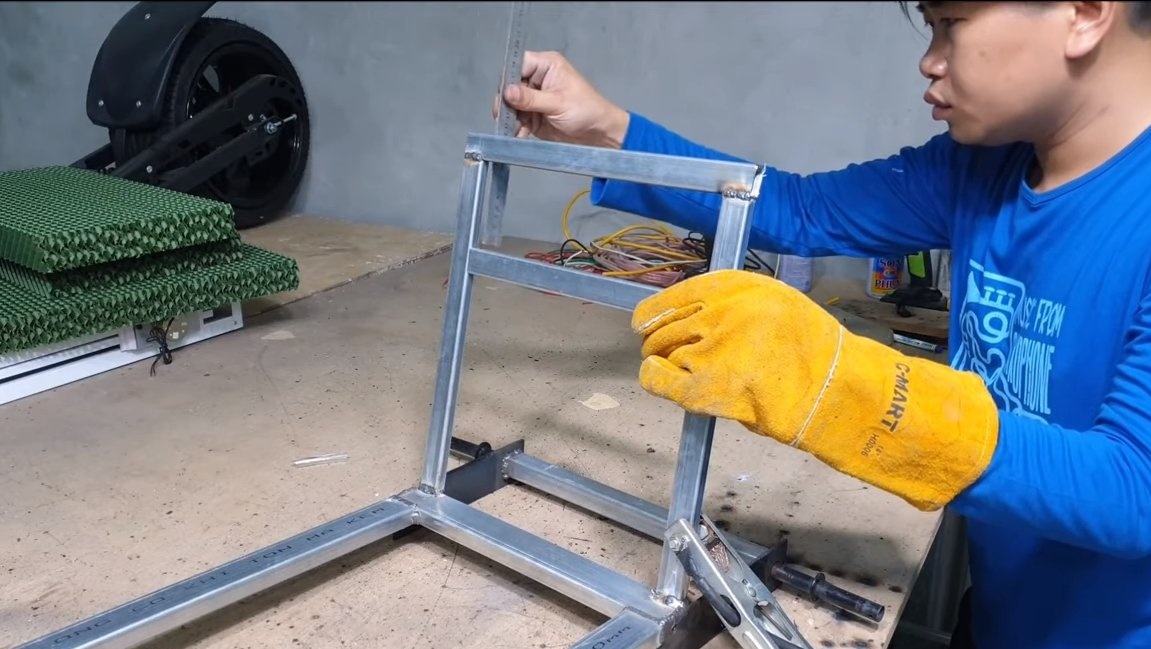
Also, for homemade work, you need to make the back so that there is something to support your back when riding. We make a back from profile pipes at a convenient angle.

Step Five Carriages
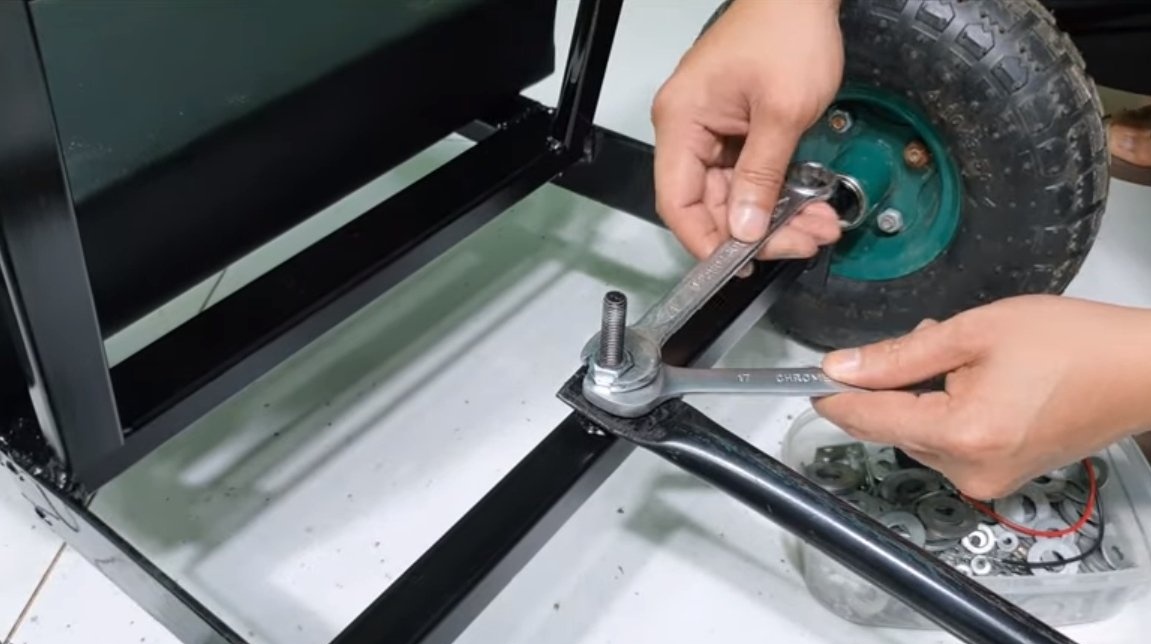
Two carriages are attached to the head train; it will not be difficult to make them out of metal rolling. The front axle of each trailer is equipped with an articulated drawbar and is also capable of turning. We make hinges and connect the cars to the main structure. As a hinge we use a bolt with nuts and washers, and in the drawbar we drill a hole.
Of course, such cars are not very convenient and safe for children, but if you drive slowly, nothing bad will happen.

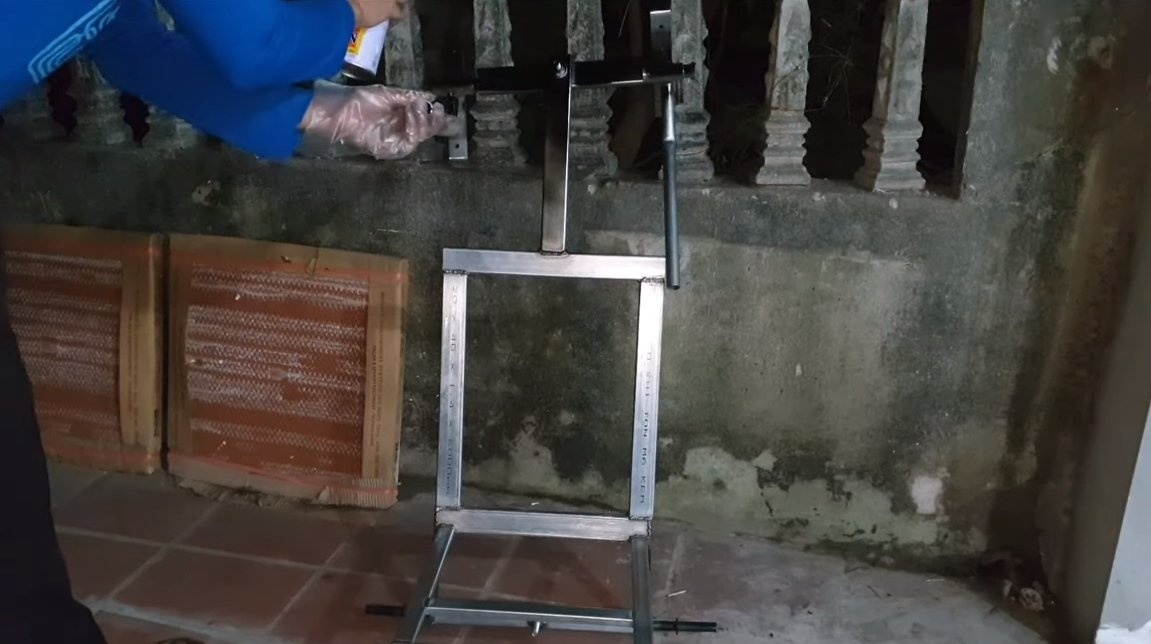
Step Six Painting
All iron parts must be painted with metal paint. Otherwise, the whole thing will rust, and will look ugly.
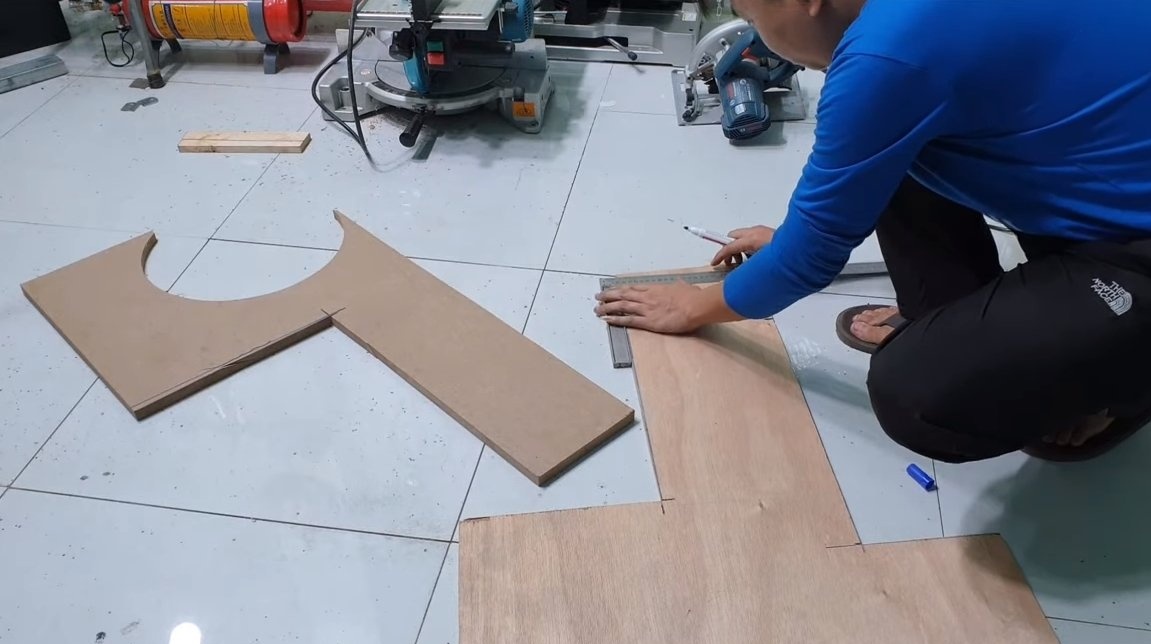
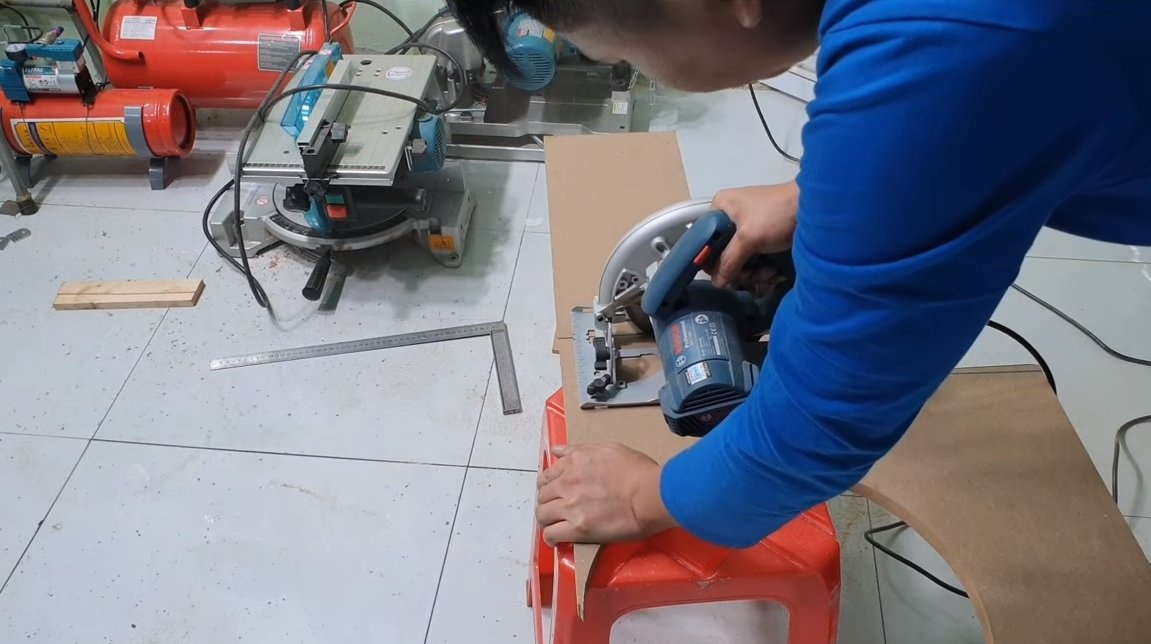
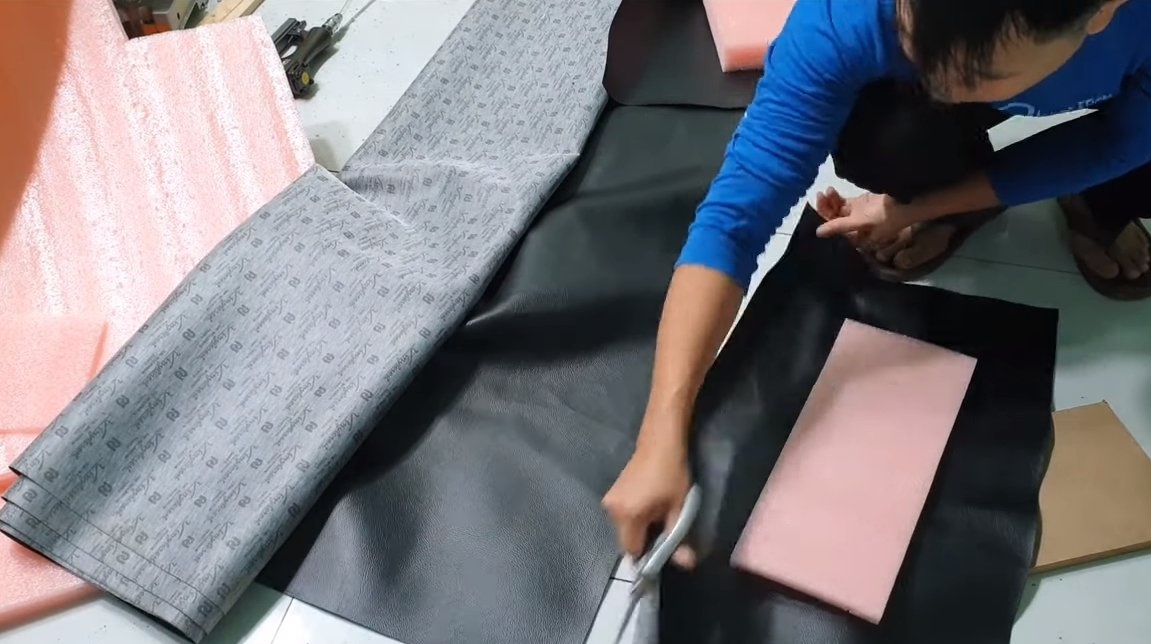
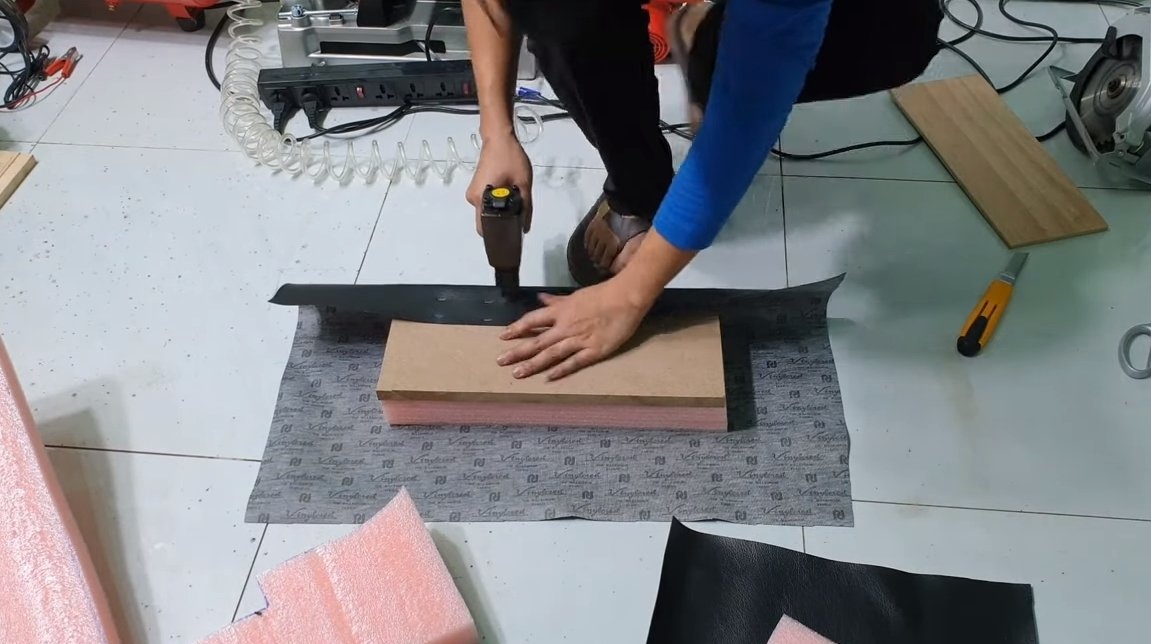
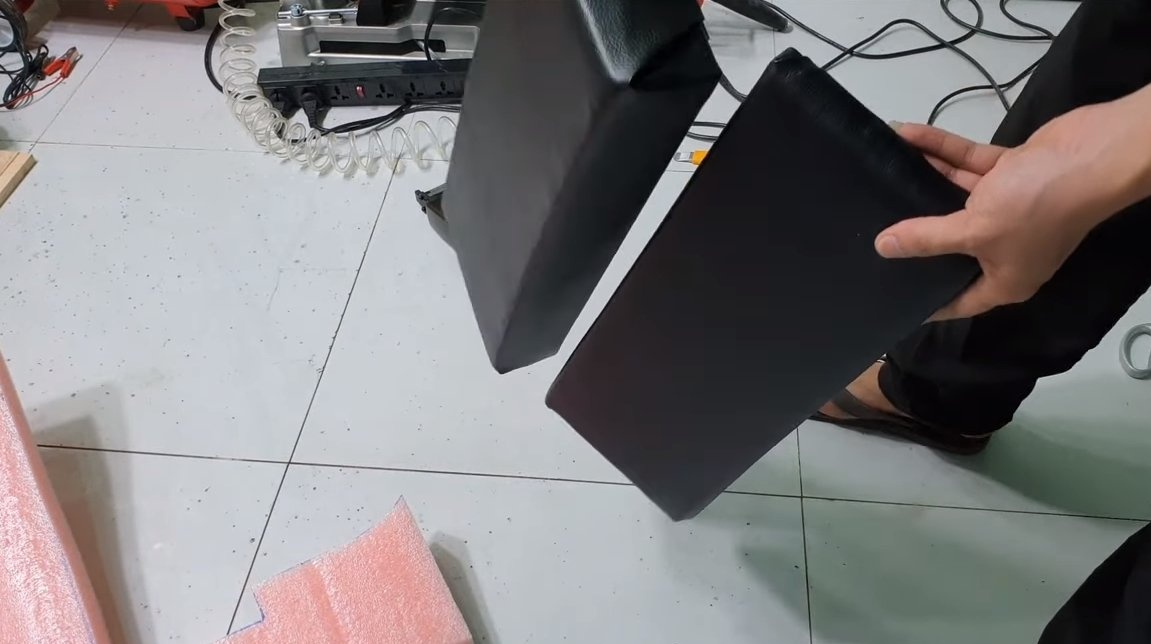
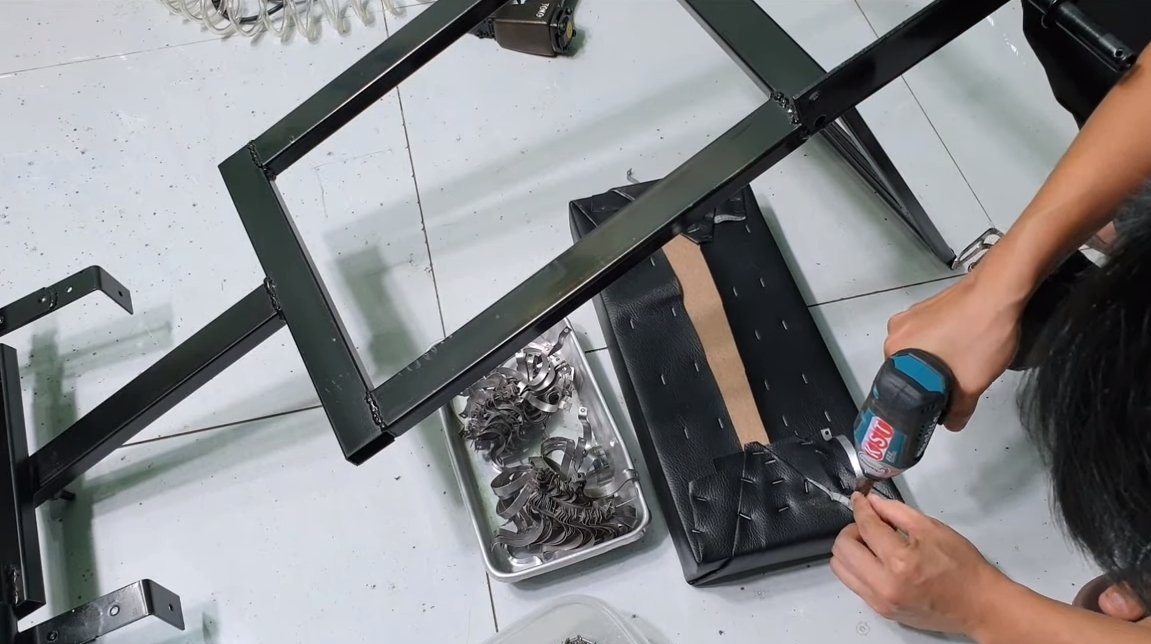
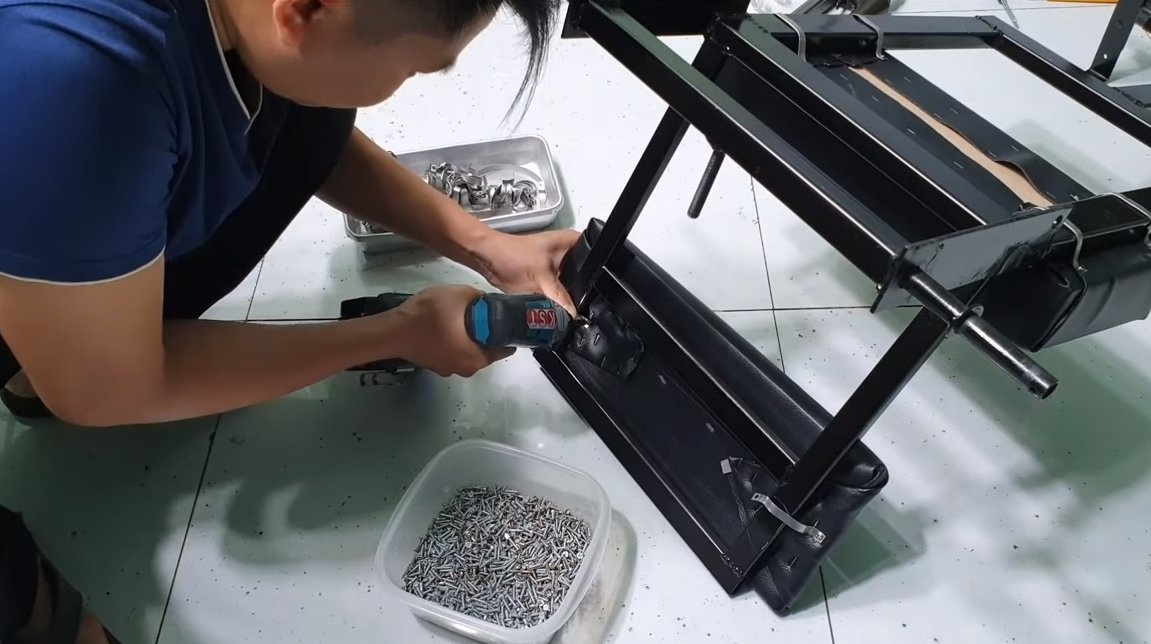
Seventh step. Seat
We make a seat for the head carriage, here we need MDF, foam rubber and leatherette. Everything is quickly and simply assembled by a stapler. You also need to make the back in a similar way. We fix the brackets to the parts and install the seat with backrest on the machine. Of course, it would be nice to make seats for children.
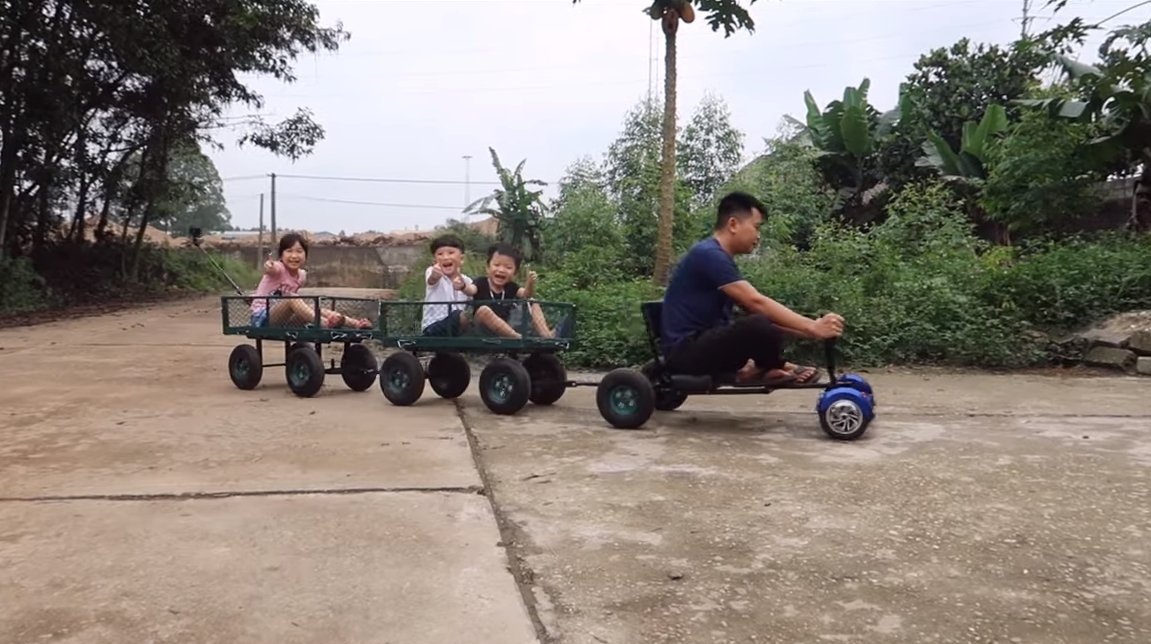
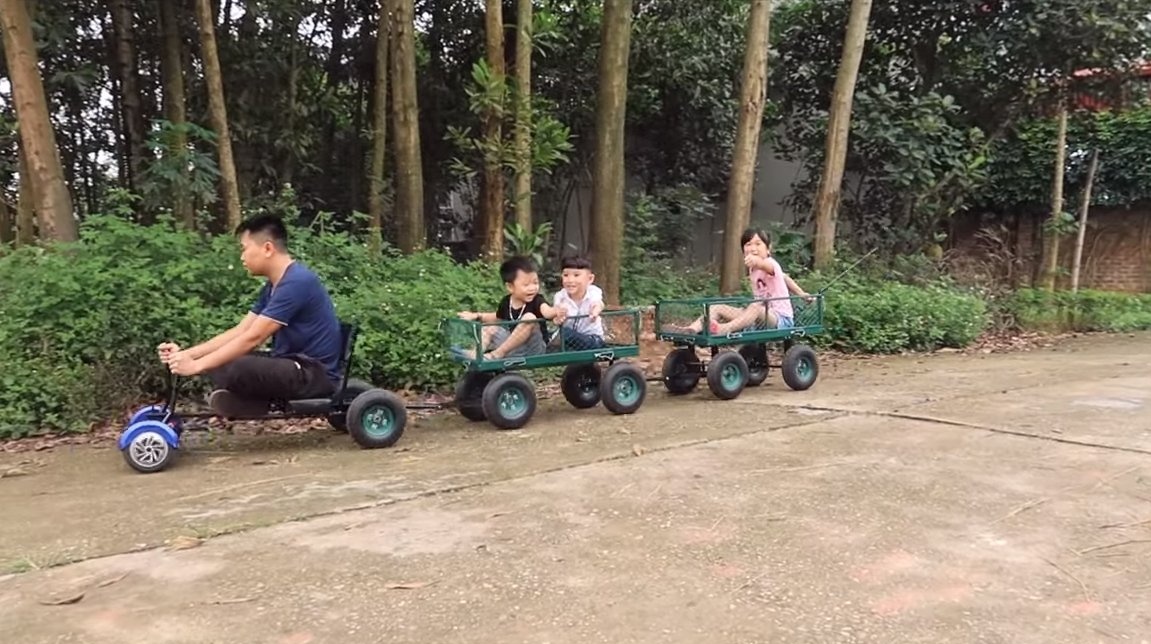
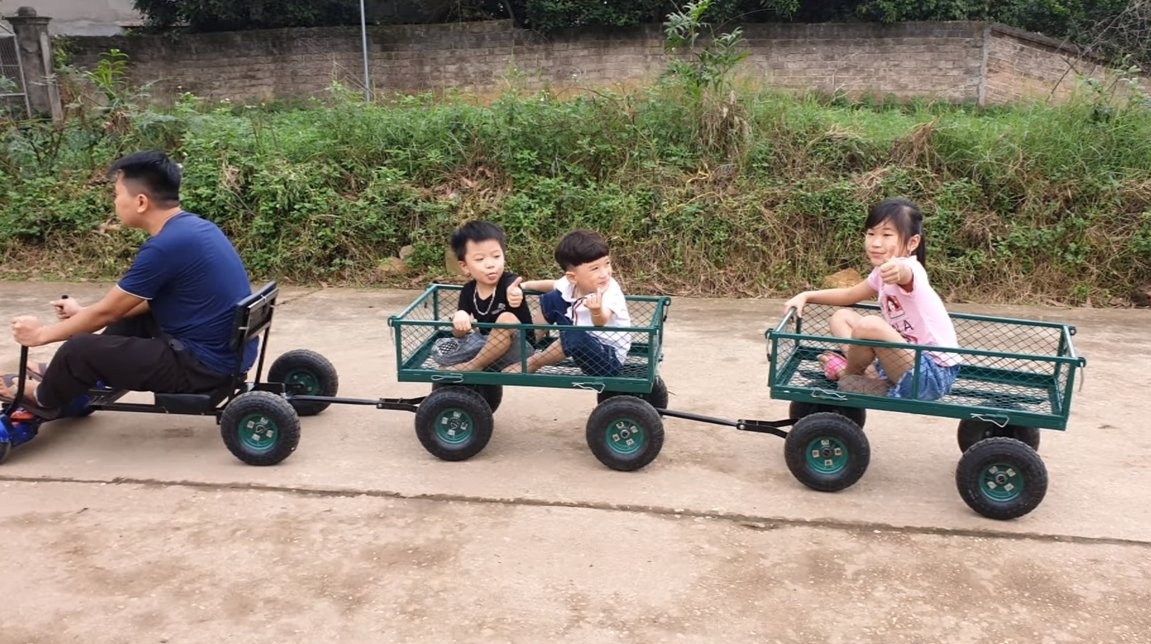
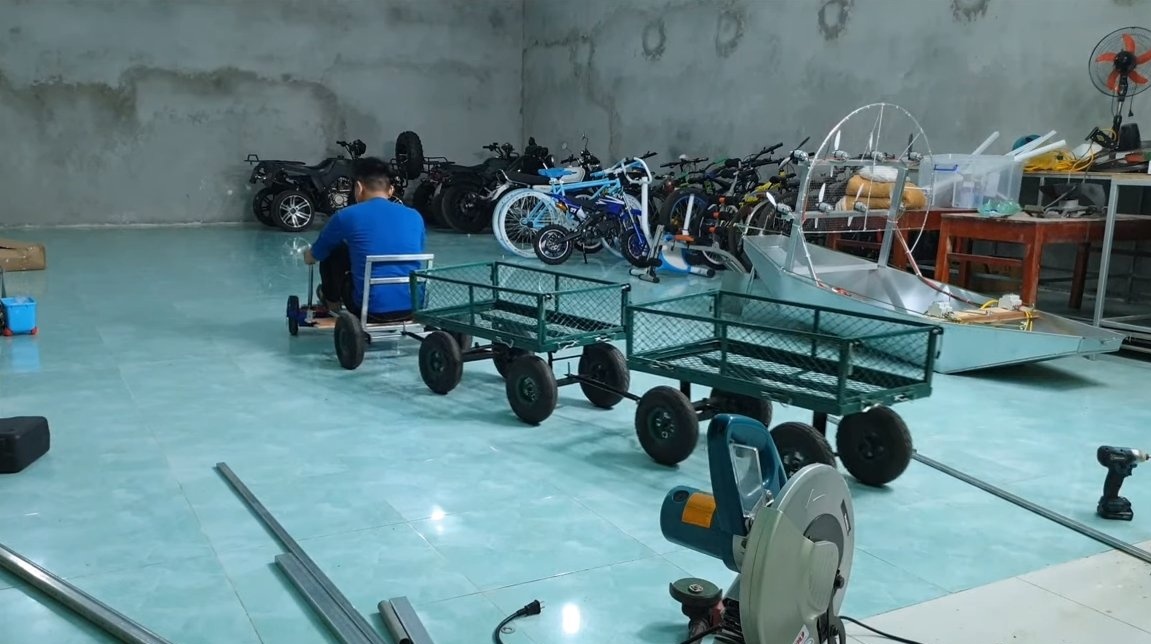
Step Eight. Test
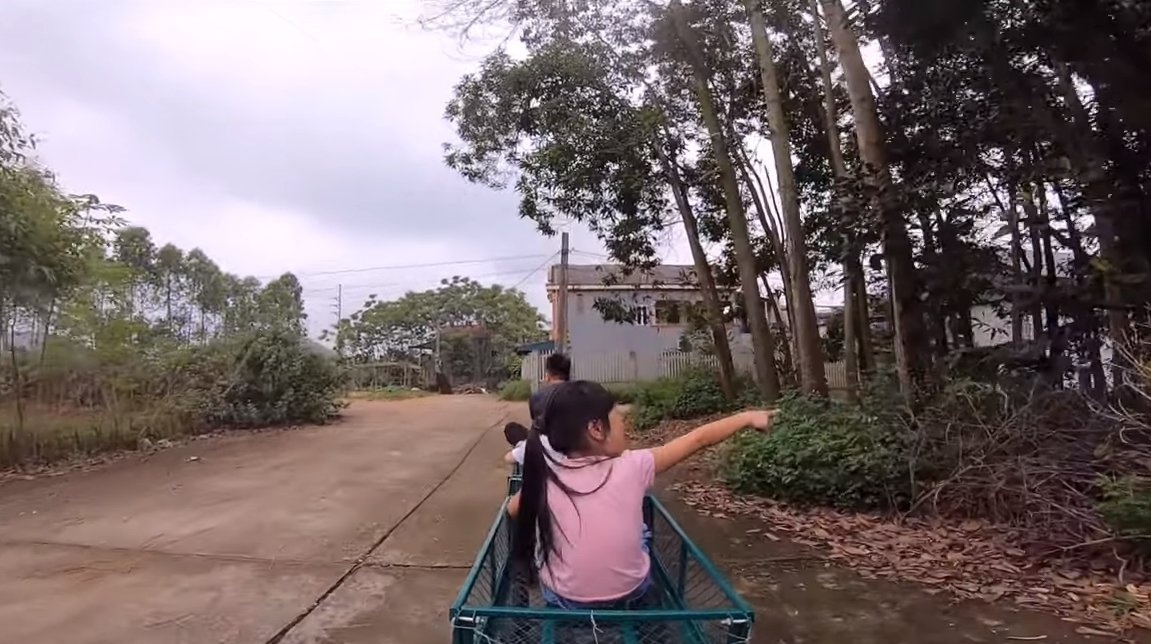
The homemade product is ready, proceed to the tests. Three children sit in the cars, and the author sits on the head carriage. The car moves off without difficulty and rides perfectly. Children are delighted and everyone is happy. In such trailers you can also transport various materials, things and so on.
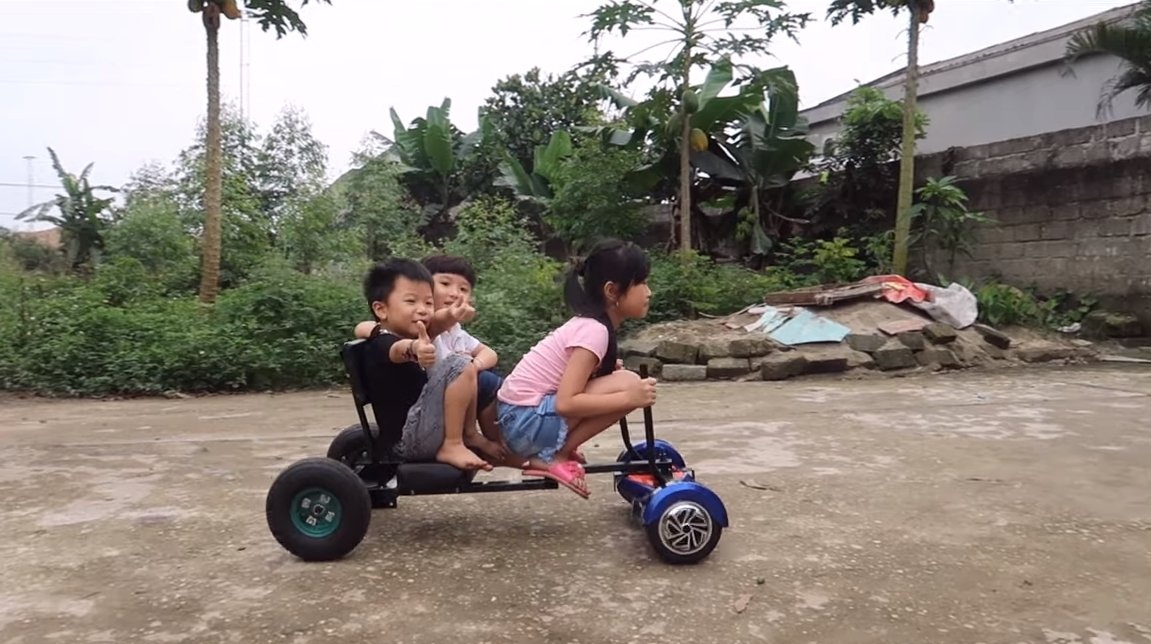
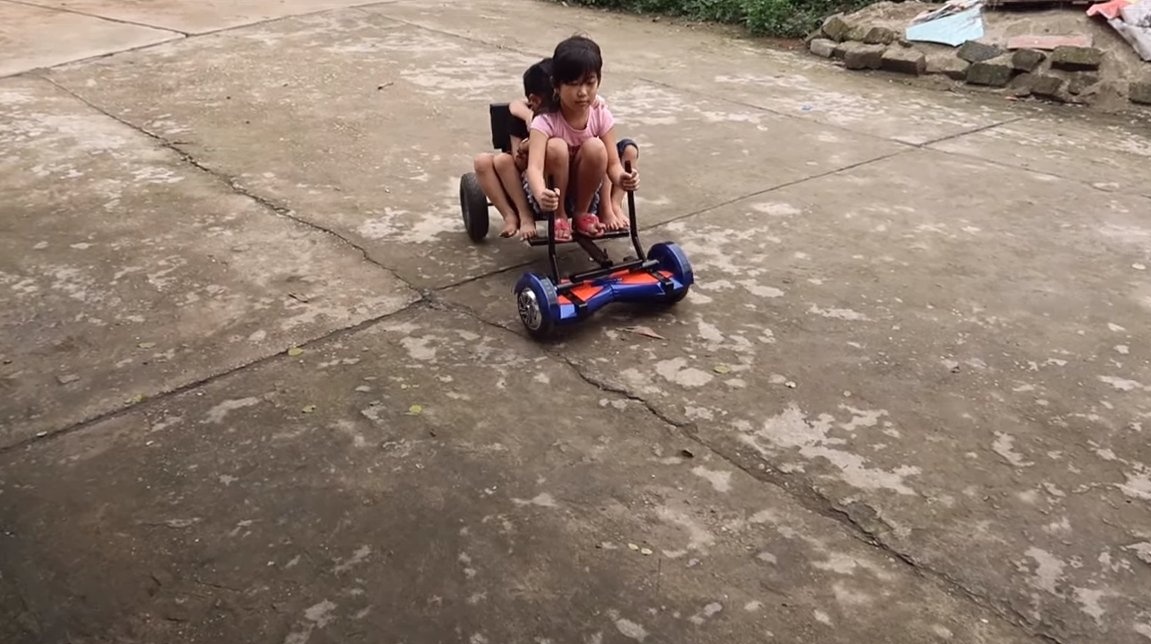
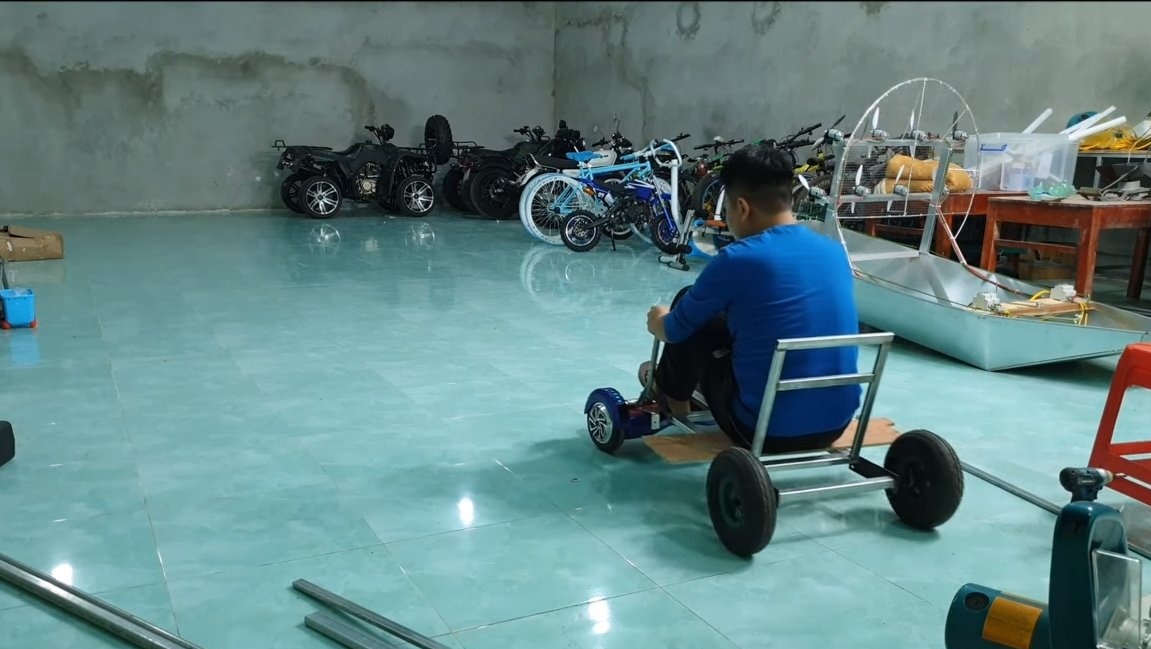
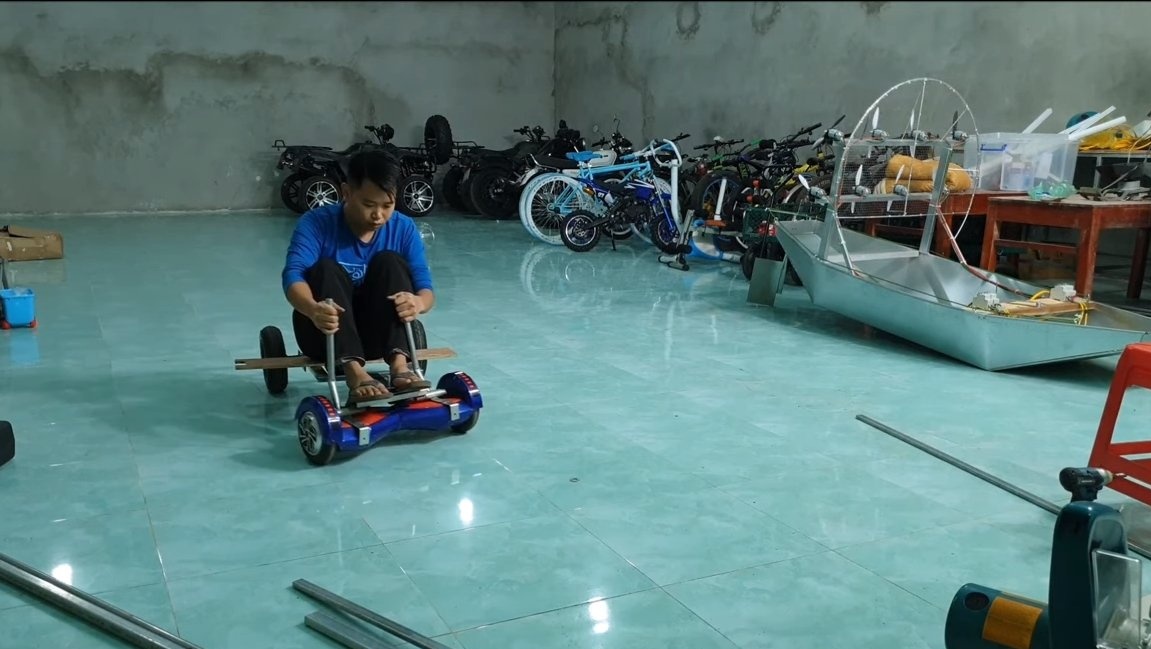
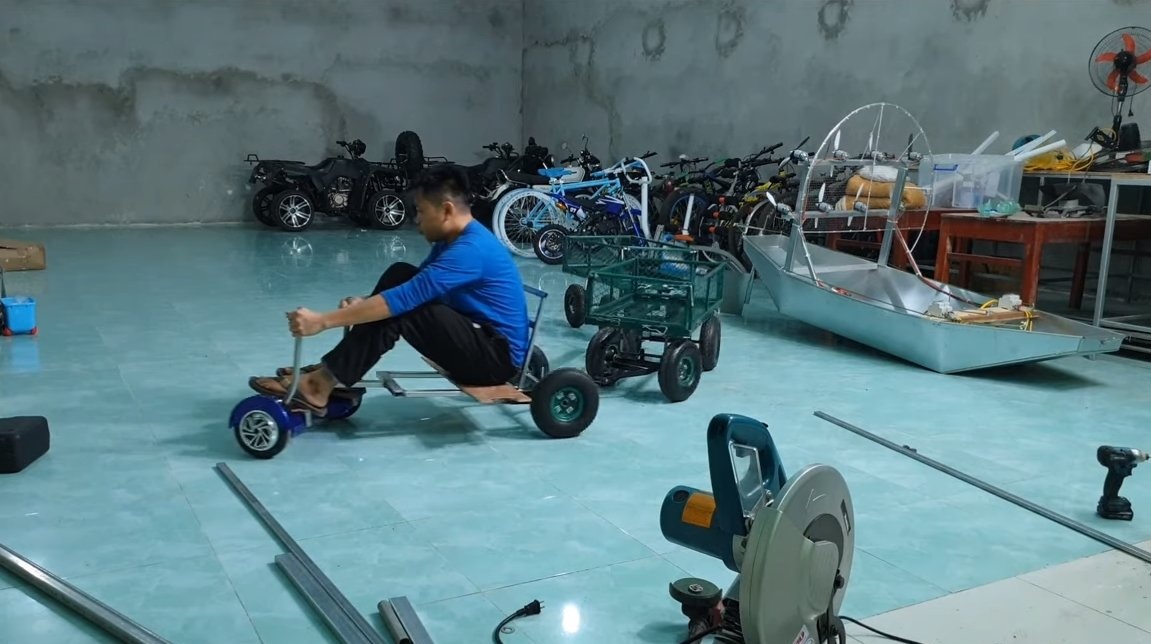
If desired, the head trailer can be disconnected, and ride on a makeshift as on an electric card. The machine can easily accommodate up to three small children. The project was successfully completed on this, I hope you liked the homemade work, and you found interesting thoughts for yourself. Good luck and creative inspiration, if you decide to repeat this. Do not forget to share your ideas and homemade things with us!