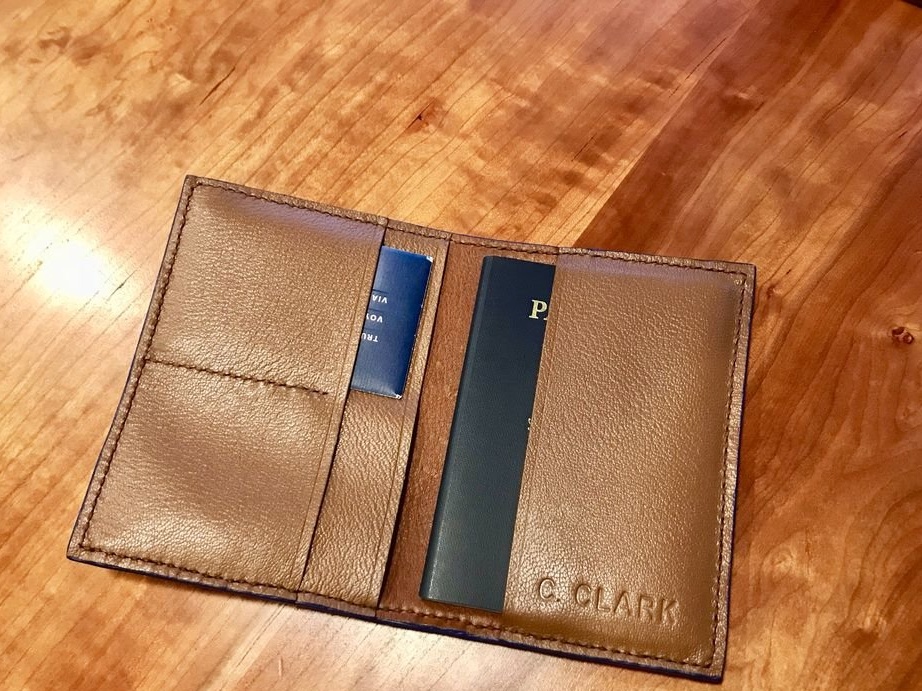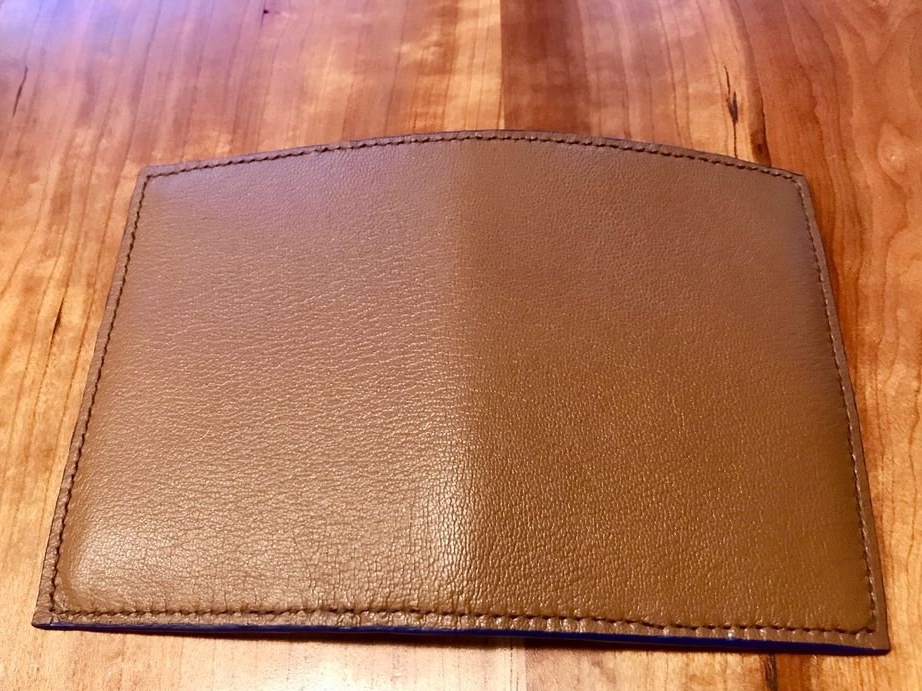
This simple but elegant accessory will add convenience and elegance while traveling!
Step 1: Materials and Tools
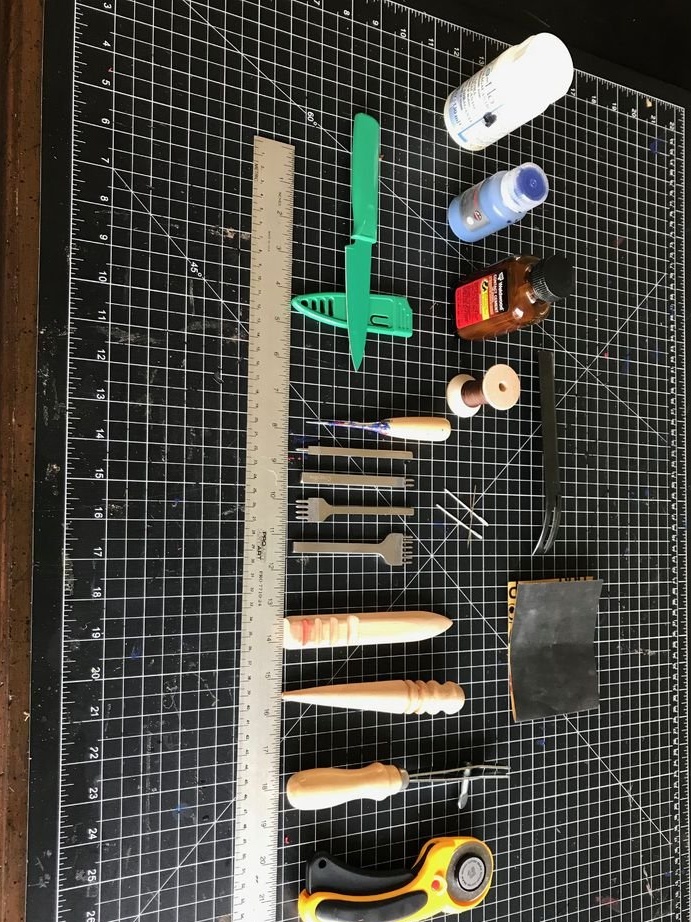
This homemade can be performed with a rather limited and inexpensive range of tools and materials.
Instruments:
- Ruler (metal is preferable, as knives do not spoil it);
- Rotary cutter;
- Knife;
- awl;
- Needles for sewing;
- Tools for polishing;
- Needles for the skin (matte tip);
- Tool for edging;
- skin;
- Die cuts;
- hammer;
Materials:
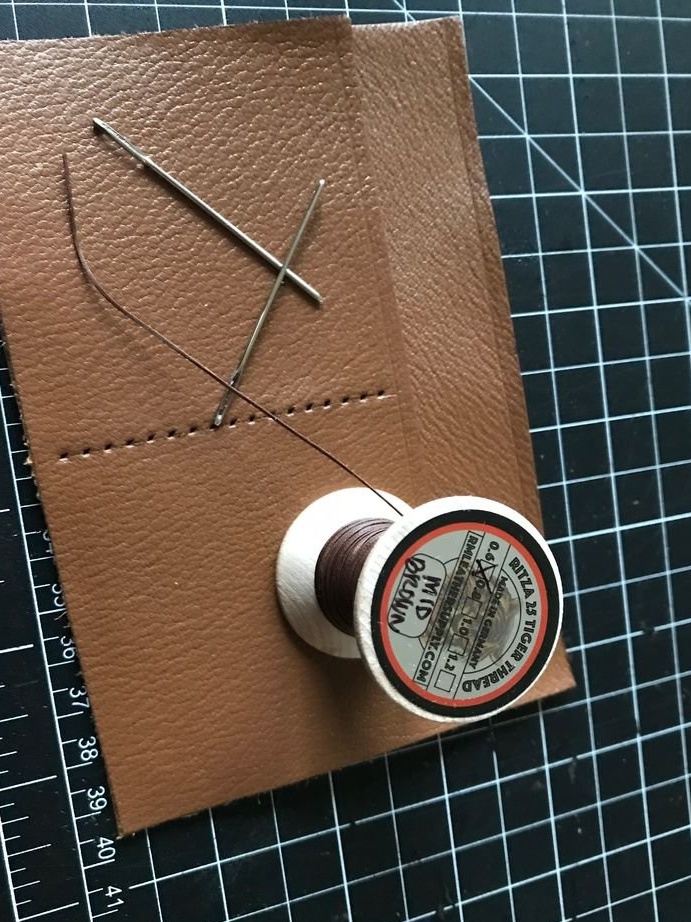
- Paint for edging Vernis (dark blue);
- Ritz tiger thread (0.6 mm - medium brown);
- Contact adhesive;
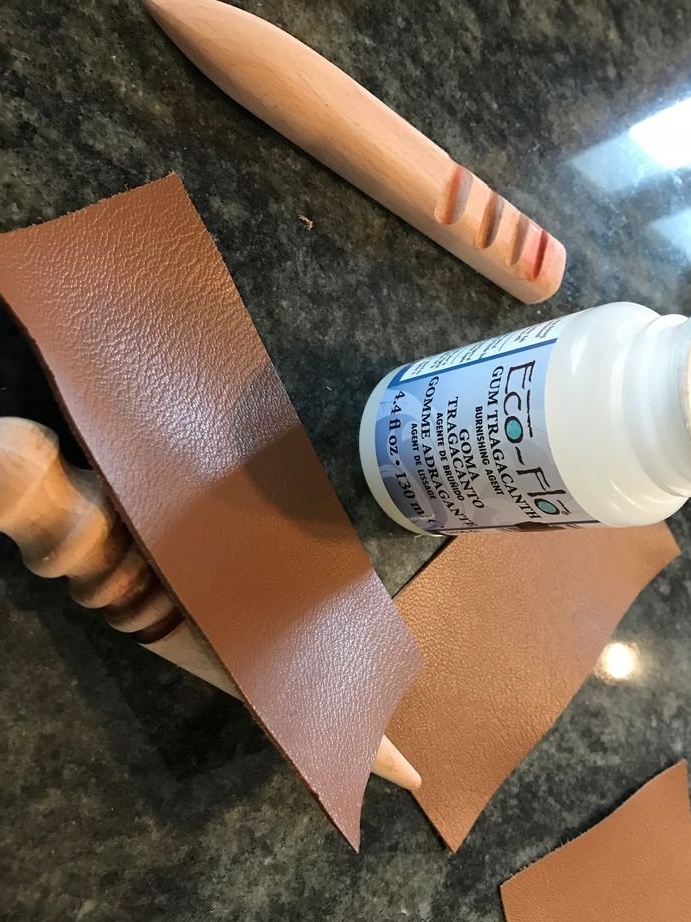
- tragacanth;
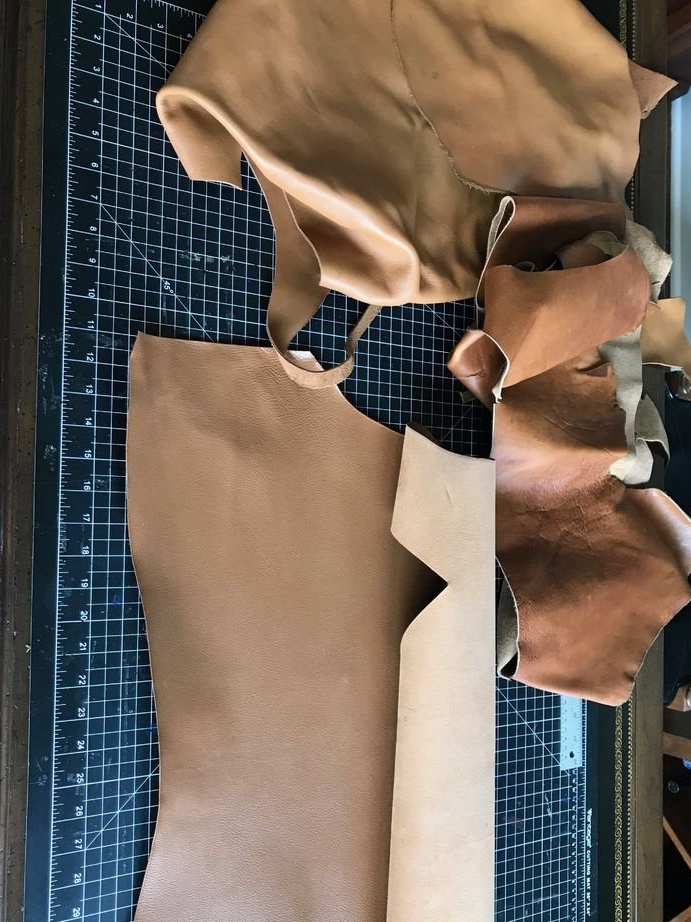
- Genuine Leather;
The master used caramel goat skin weighing 70 g.
Medium brown cowhide was also used.
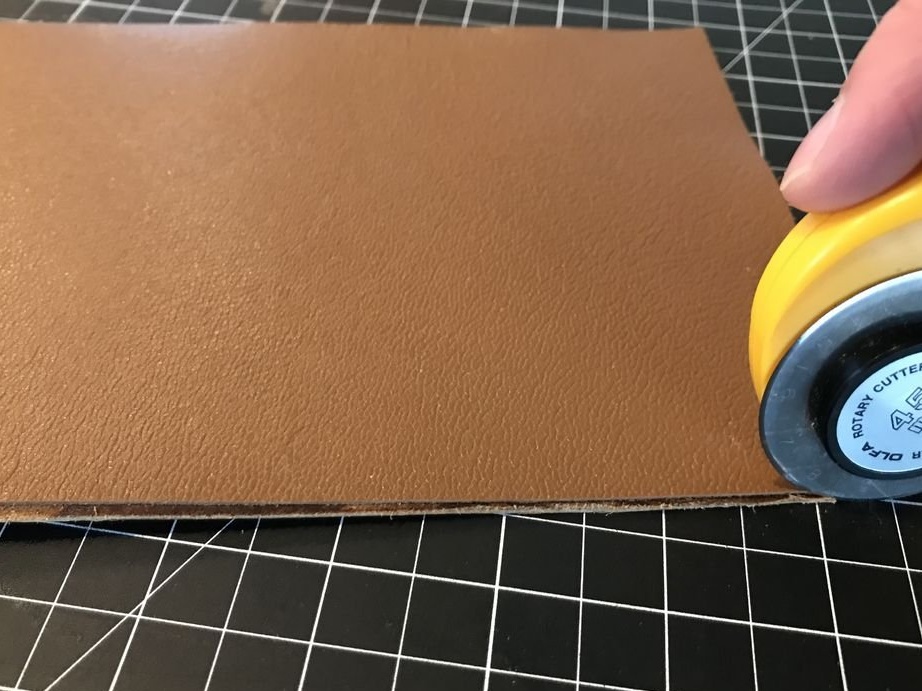
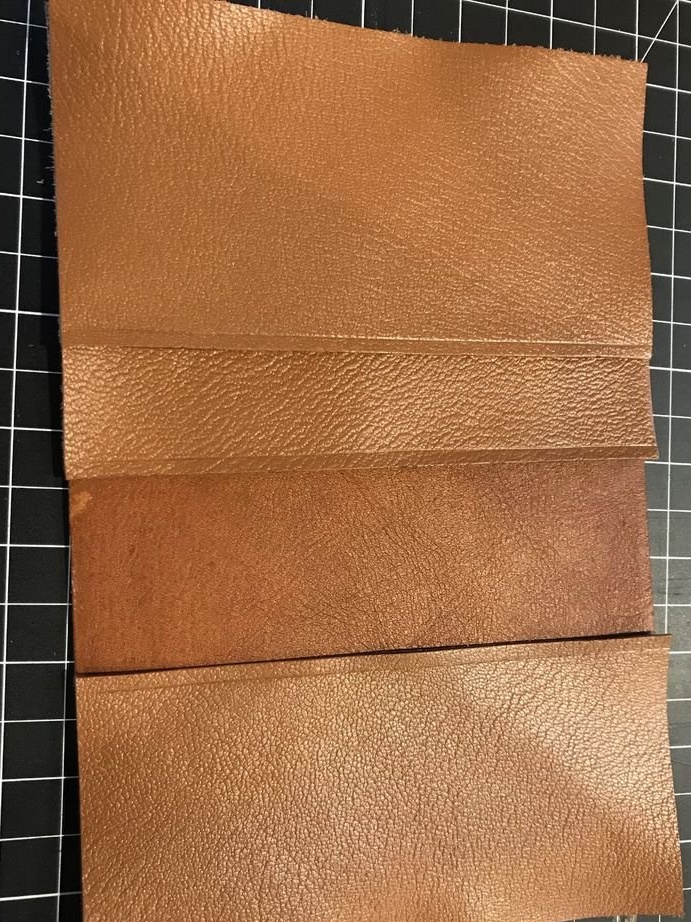
Step 2: Cutting Material
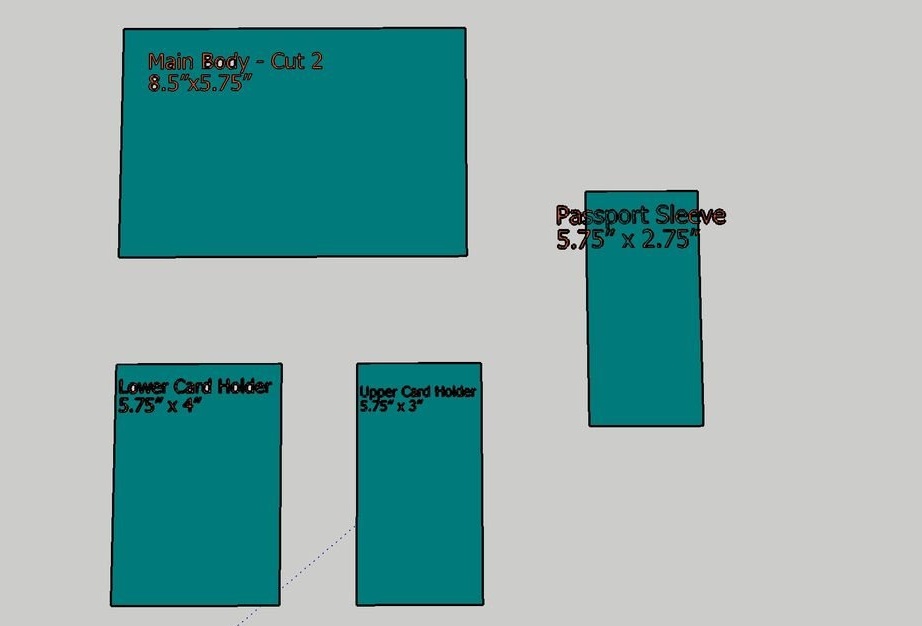
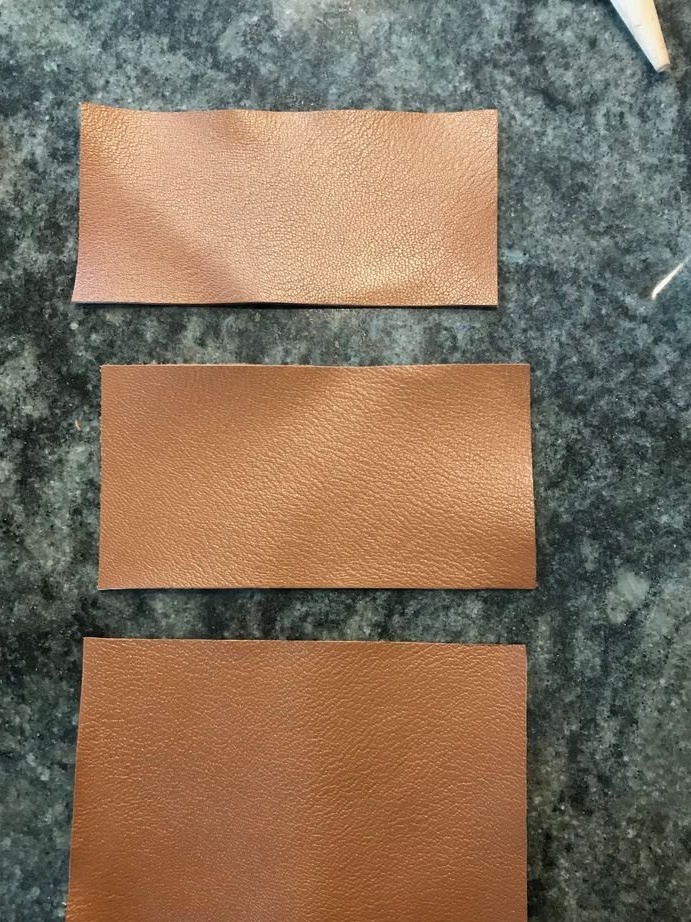
Pieces are cut from the skins according to the pattern shown in the picture. It is useful to print out the patterns of each piece and attach them to the skin during cutting to ensure accurate cuts. When cutting pieces larger than a few centimeters, it is best to use a rotating cutter with a long ruler as a guide. Making small, precise cuts, the master prefers to use a small knife and cut by hand. Do not forget to cut the two largest parts, as one of them will serve as the outer part, and the other will align the inside of the wallet.
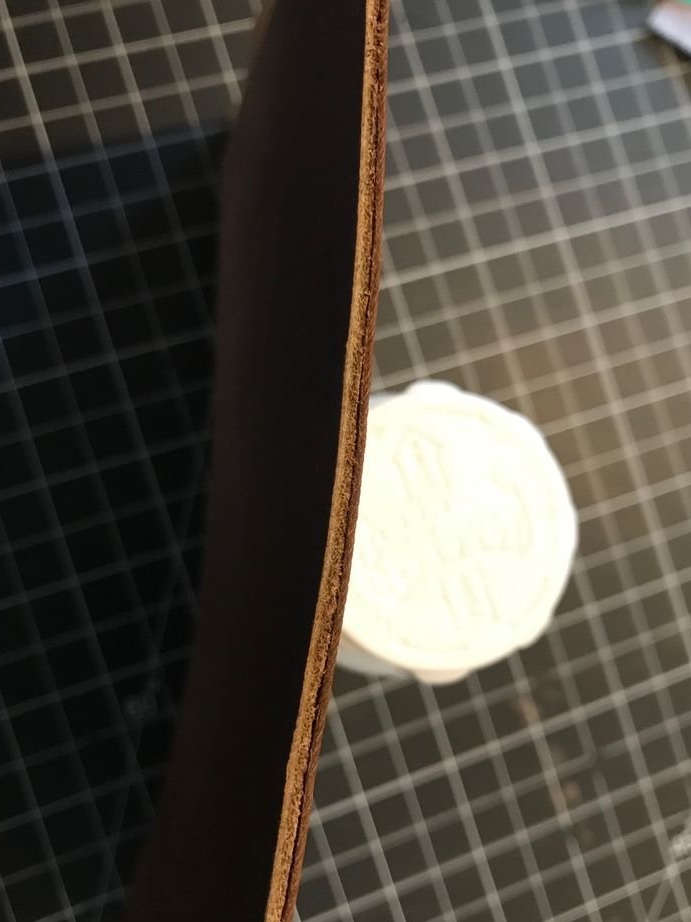
Step 3: Scraping and Bonding
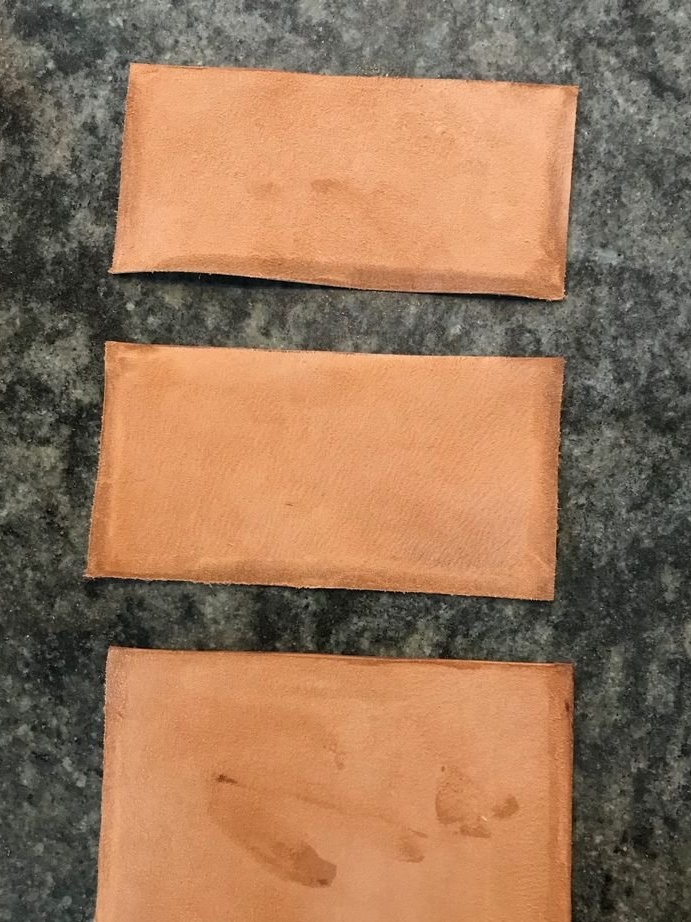
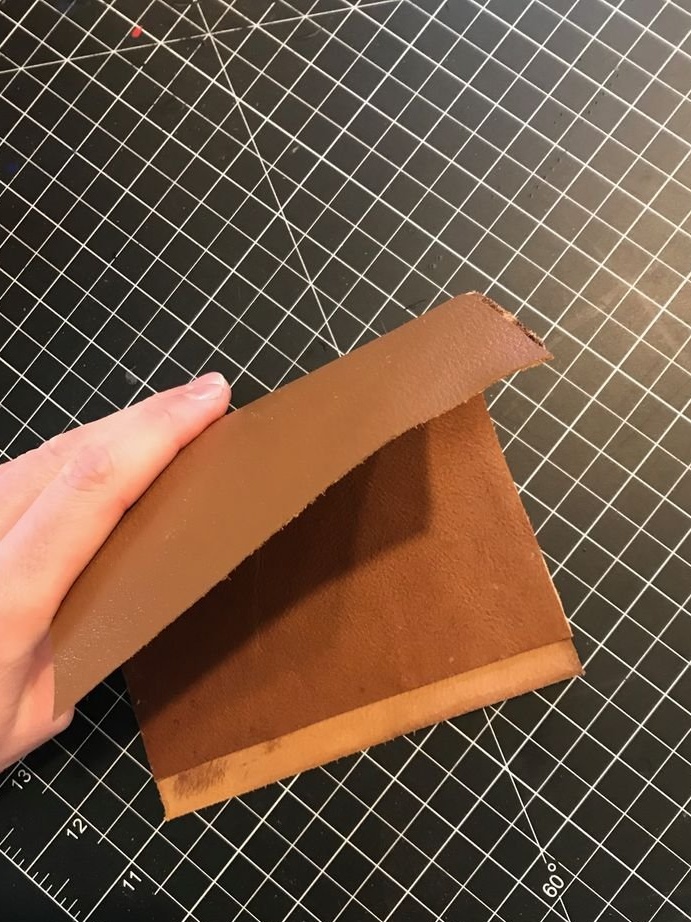
Use a trimming blade to trim the edges of each part. This will reduce the bulkiness of the cover when all the parts are connected. Working with thin skin can be difficult, so the master recommends that you first try working with it on test samples before moving on to a real project. Just hold the skin knife firmly and hold the skin in place with your other hand. The end of the knife (on the opposite side of your hand) should be facing outward from your figure and “hang” about 1.5 cm. Press firmly on the knife and pull it along the edge of the skin in small movements to ensure uniform cutting.
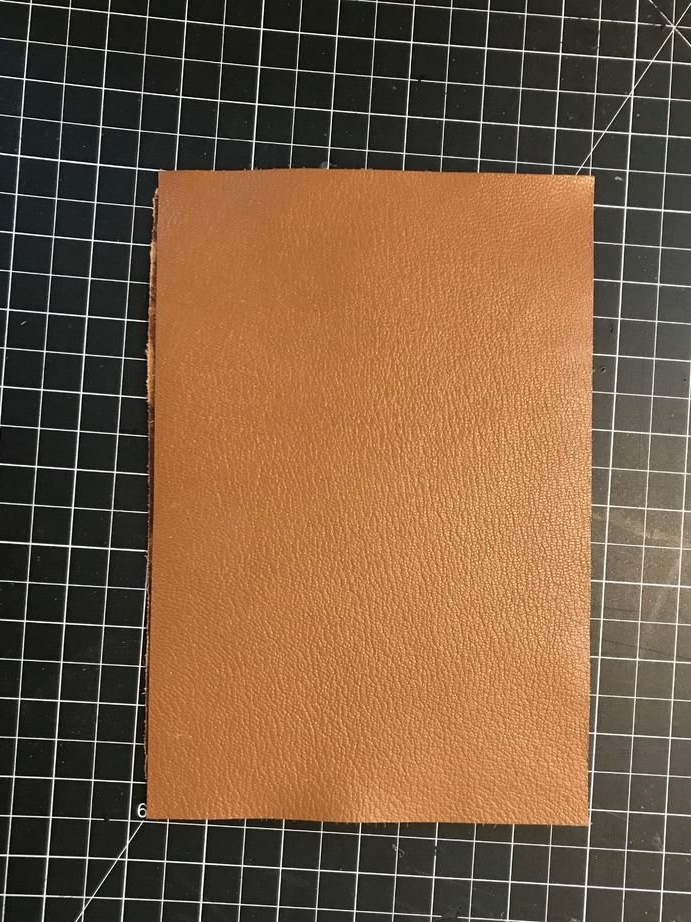
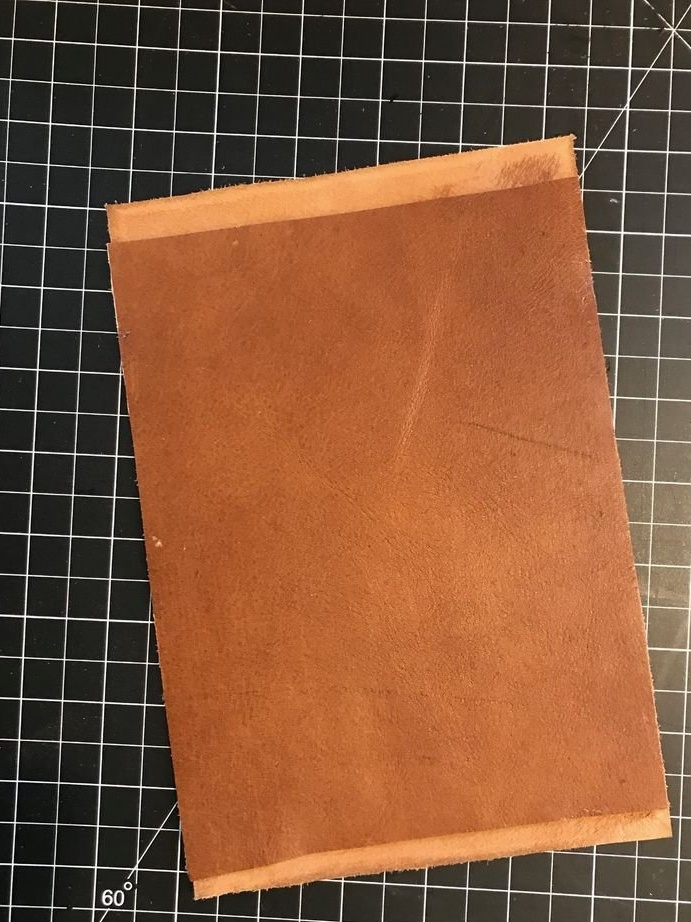
After the necessary parts are cut out, take both parts of the main cover (2 large pieces of leather) and apply contact adhesive to the back of one of them. As soon as you cover the entire back of one part with a thin layer of contact adhesive, put another piece of skin on it.Then put both parts under the press of several books so that they are evenly glued. As a result, you will have a single piece of leather, the backs of which are glued to each other, and the finished faces are turned outward.
Note: it may be convenient for you to trim the inside of the lining a little shorter than the outside before gluing them together. This will reduce the thickness at the short edges of the cover. The master usually cuts off about three centimeters from the inside so that the outside is about one and a half centimeters longer on both sides.
Step 4: Trimming, Detailing, and Edging
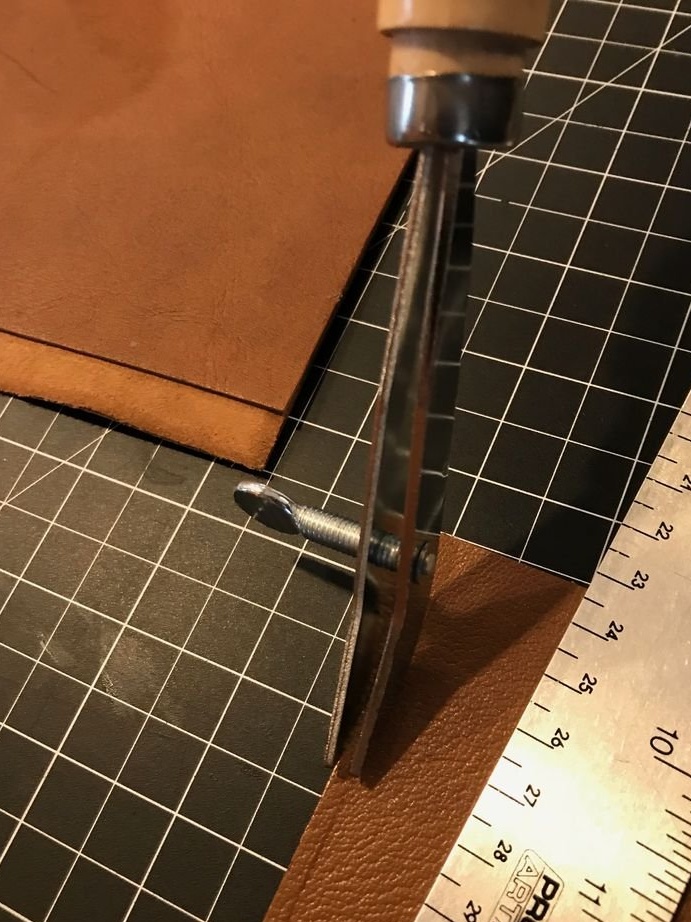
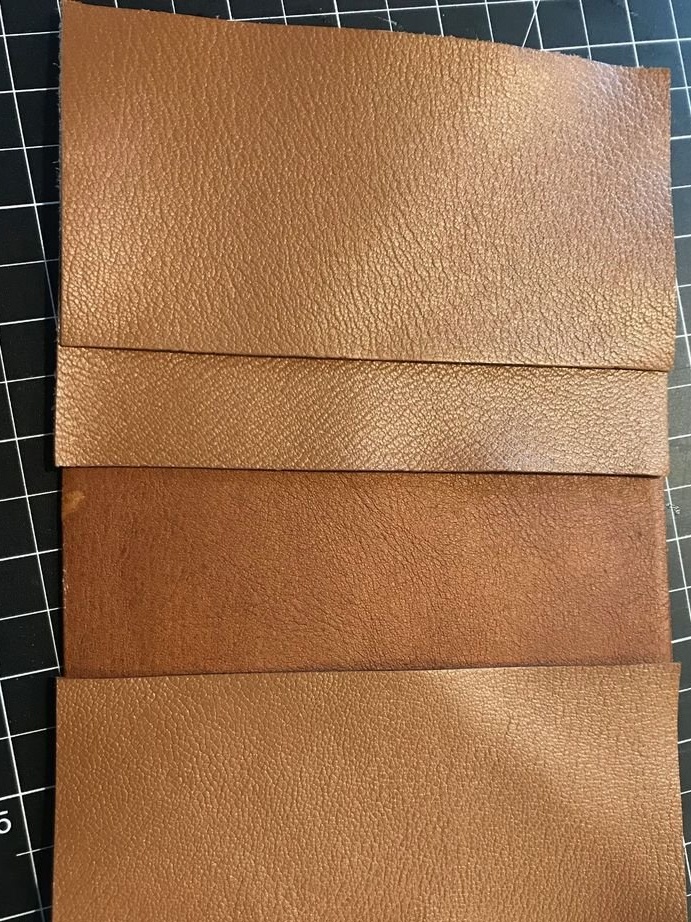
Trim excess pieces of skin that do not completely match the two halves that you have glued together.
Fold the edges to form a clear line along the inside edge of each inside pocket. The master usually bends at a distance of about three millimeters from the edge. A hem that will not be sewn will receive a good fold. This is a completely optional step, but it adds a good level of detail.
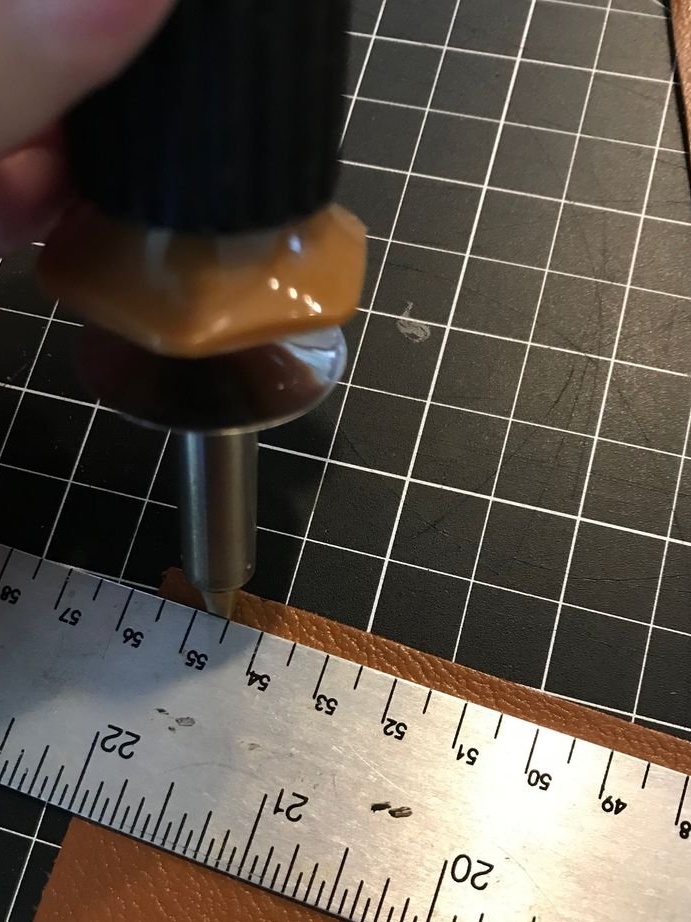
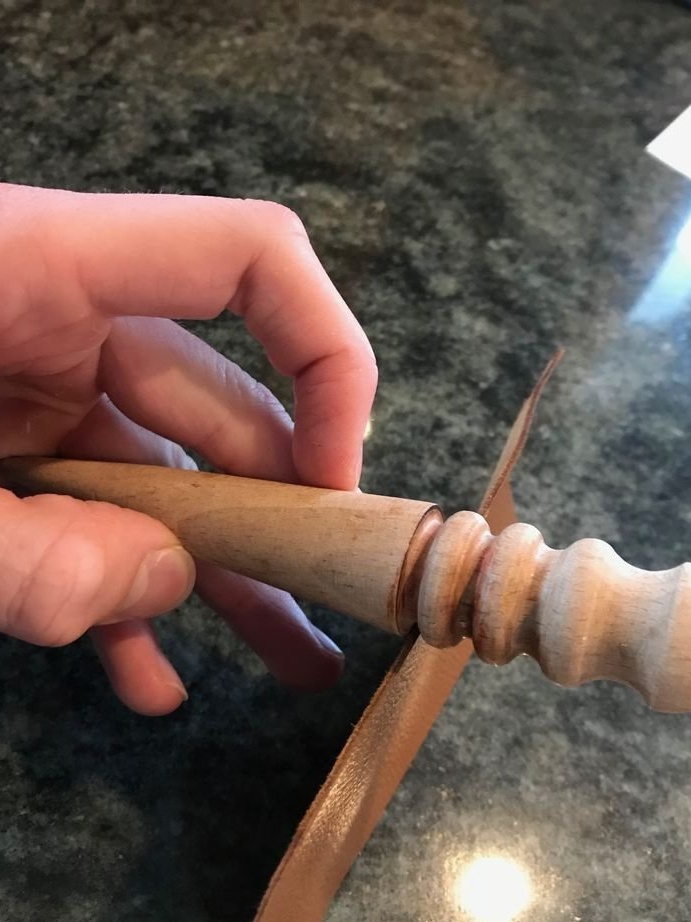
After processing the edges, apply a thin layer of tragacanth. Take the polishing tool and apply light pressure by quickly running the polisher along the edge. The goal of this step is to warm up the tragacanth to seal the edge.
If you do not want to polish the edges, you can apply paint. Paint on the edges is applied in a thin layer with an awl. Sand each coat and reapply the paint until you get a smooth coat without bulges and grooves.
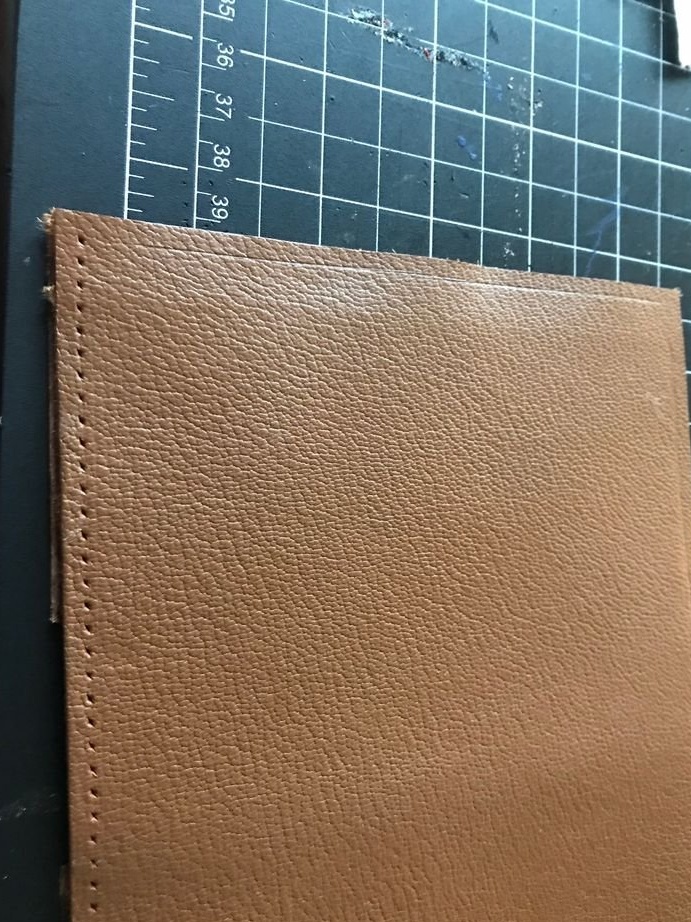
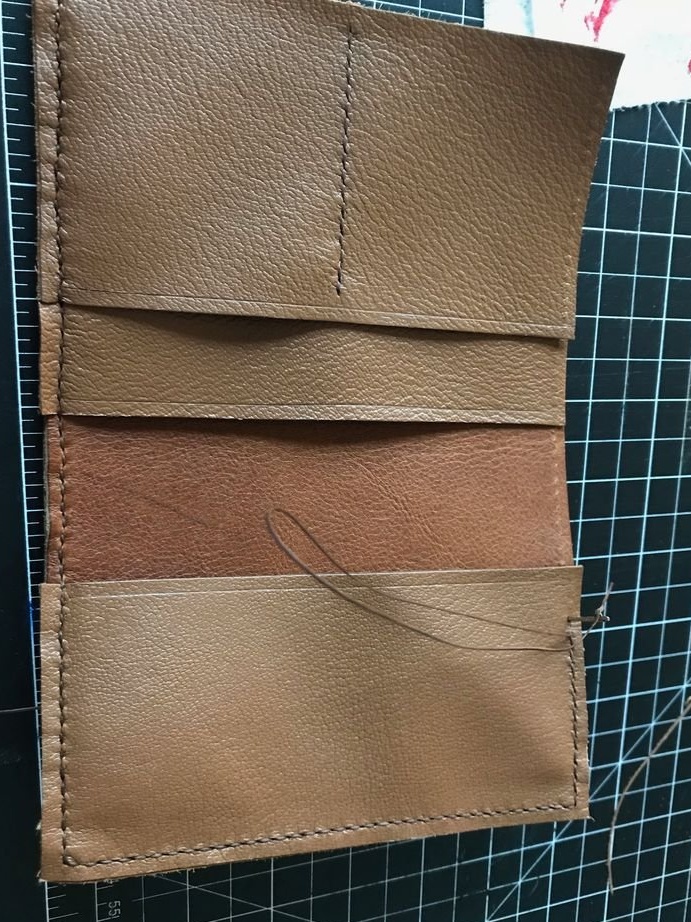
Step 5: Making the card compartment and securing it

After the edges are trimmed and trimmed, you can start stitching the inside pocket - a card holder.
Mark the line halfway through the upper card slot, leaving approximately 3 mm at each end.
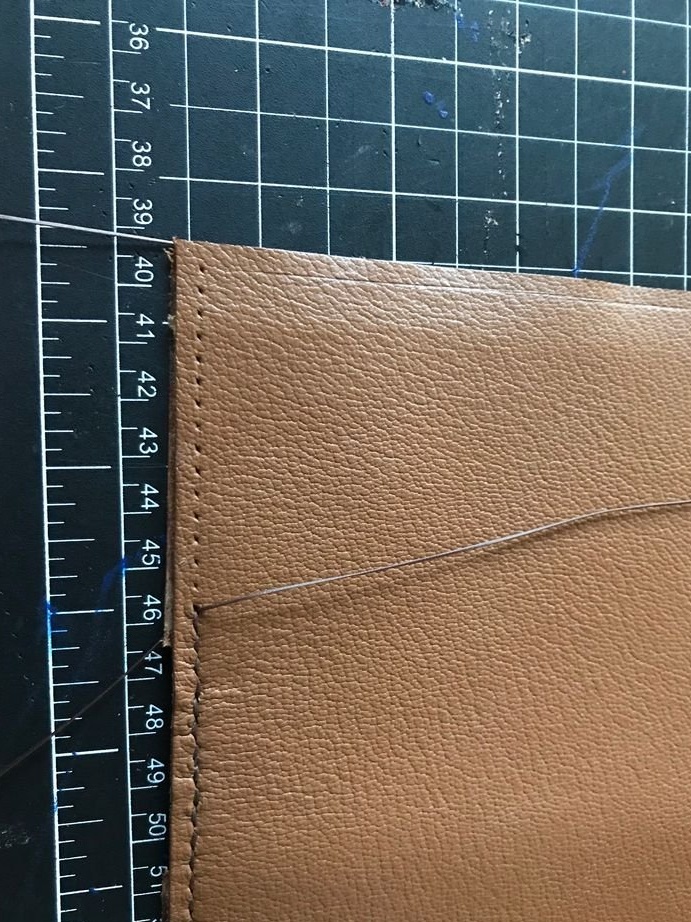
Place the top of the card compartment on top of the bottom of the cover, making sure that the 3 edges are flush with each other.
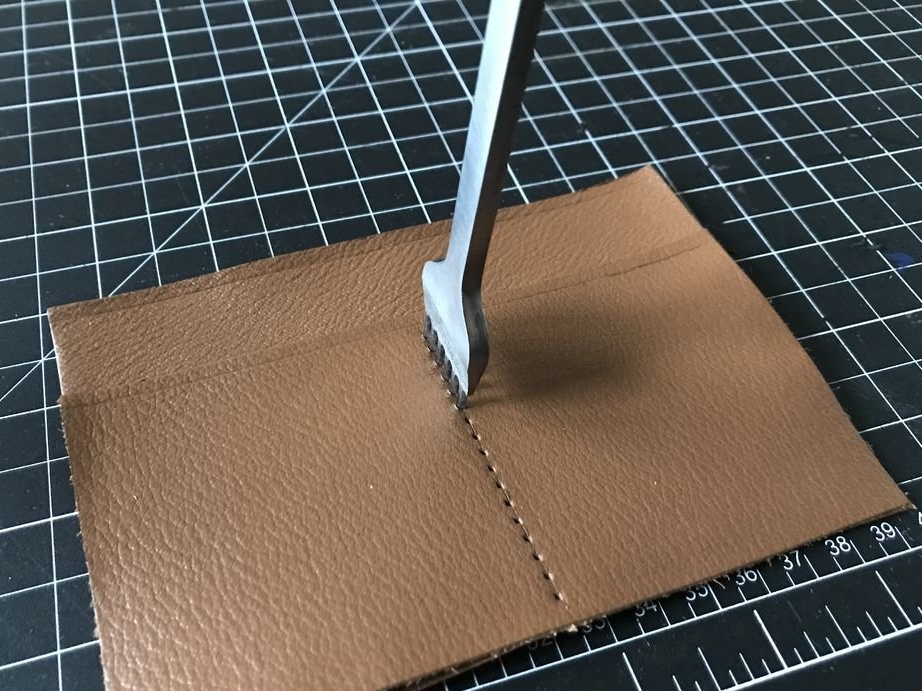
Take an iron comb / chisel in one hand and a hammer in the other.
Place the comb on the mark you made along the center of the skin and double check that the two parts are correctly aligned with each other.
Hit the comb with a hammer a couple of times with enough force.
Go to the end of the mark.
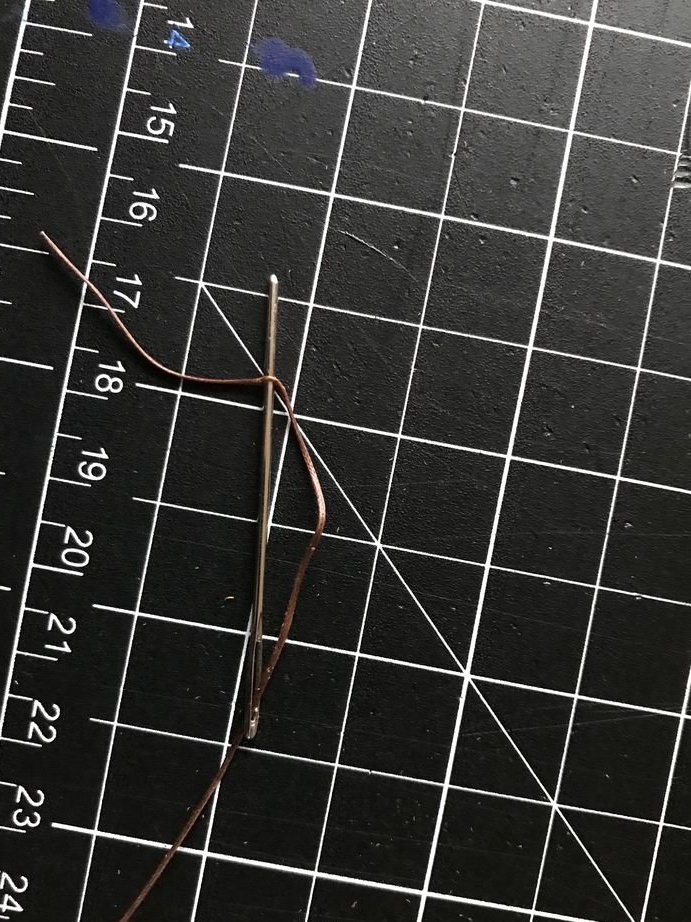
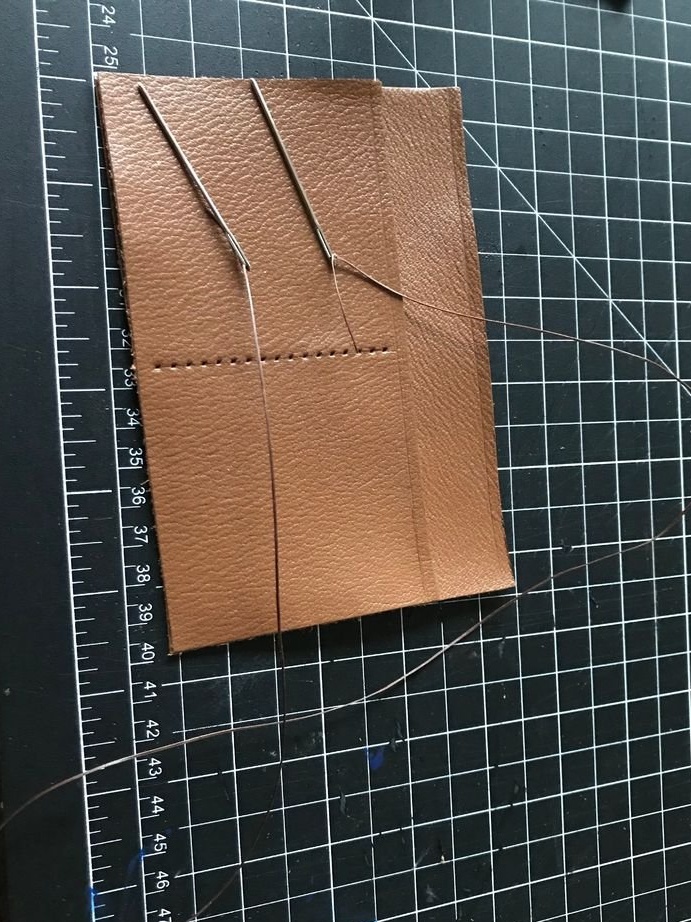
Once all of your suture openings are finished, take two needles and about 45 cm of thread.
Pass the thread through the eye of one needle, and then pierce the needle through the middle of the thread at a distance of about 5 cm from the end.
Pull the thread back to the eye of the needle, and you just created a knot, repeat this process with the other end of the thread and with the other needle.
This video explains this process in more detail:
[media = https: //youtu.be/Y0EL7K2NhYs? t = 1128]
Insert one needle through the inner end of the line of holes.
Stapling must begin from the inside and move to the outer edge so that the knot is at the outer edge, not at the inside.
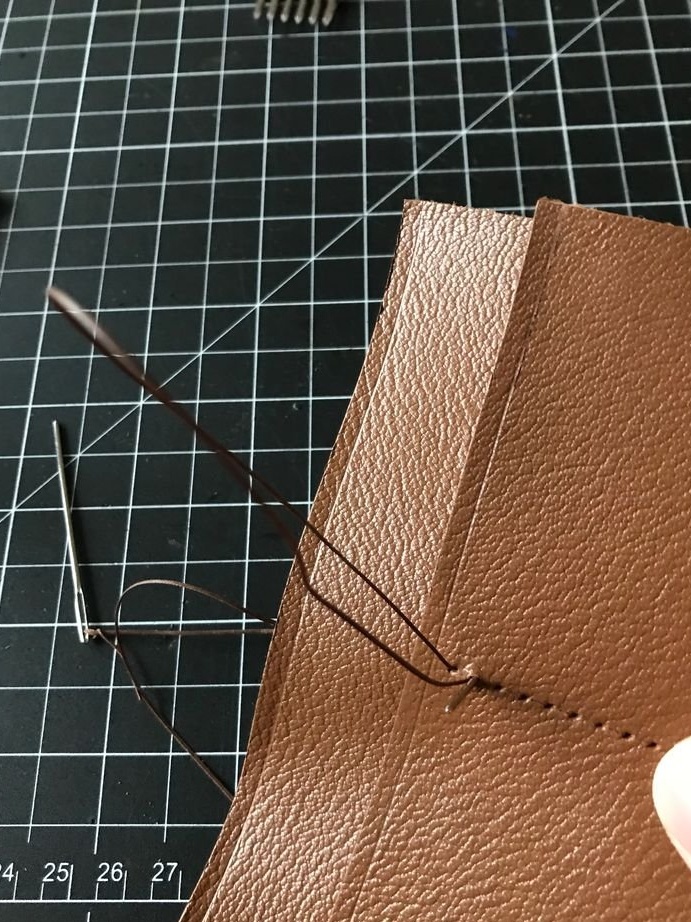
Pull the thread so that each side has an even thread length.
Pass one needle through the next hole and extend it a few centimeters, and then pierce the same hole with the other needle so that the needles are on both sides.
Repeat this process until you reach the end.
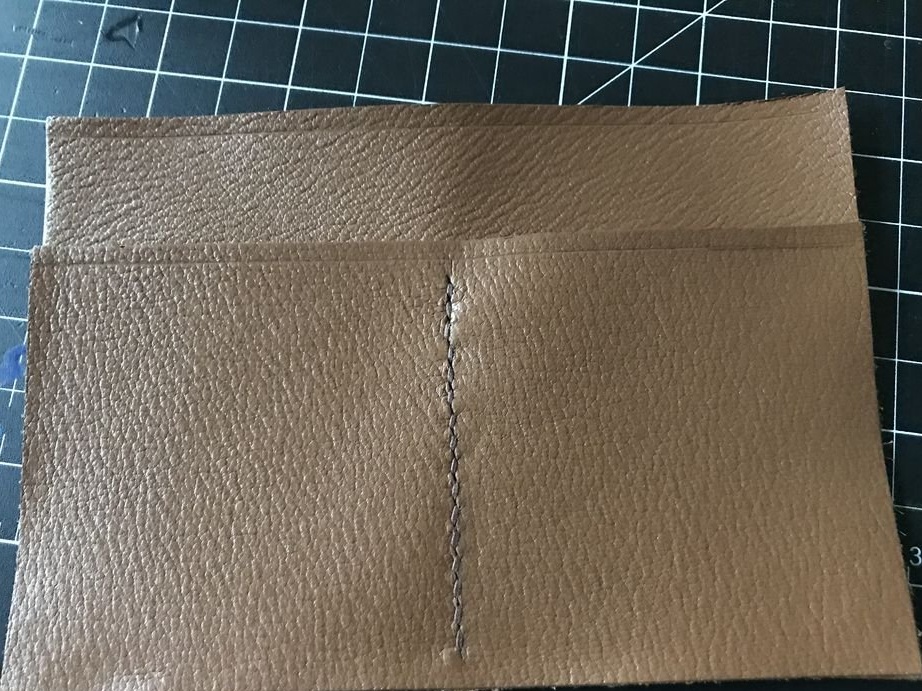
When you finish the line of stitches, pierce each needle with only one layer of leather and tie 2-3 knots.
You will receive a knot between the upper card pocket and the lower leather backing, which will not be visible after finishing work.
Step 6: Pre-Build
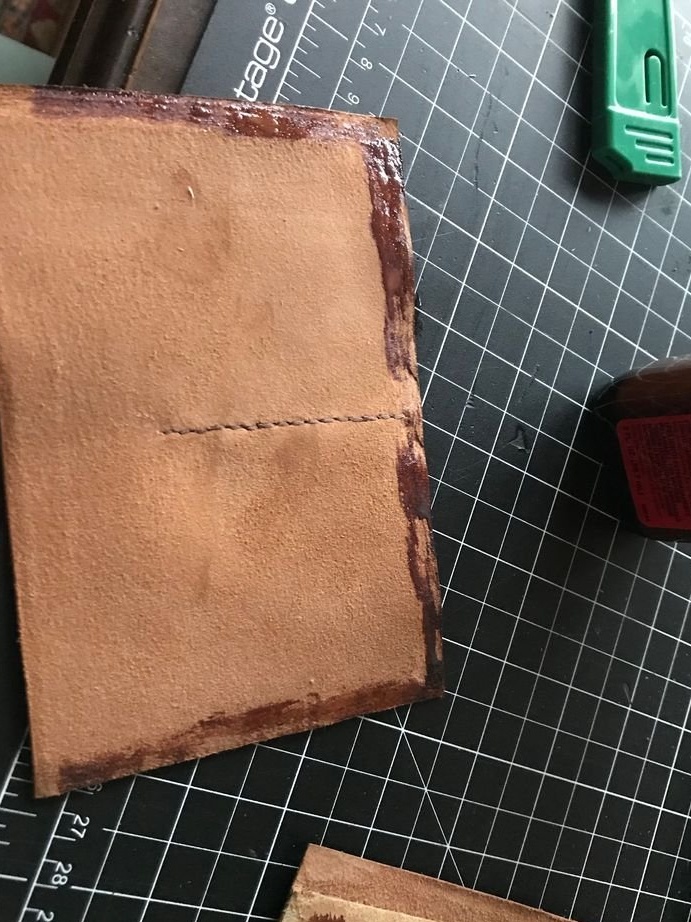
Make a small adhesive strip along the outer edges of the passport pocket and card compartment you just sewn.
Press each piece to the skin that has been laminated before.
Now you can stitch the outer edges.
Step 7: Punching holes along the outer edges
Use the tool to mark the line at a distance of about three millimeters from the outer edge at each outer edge.
These lines will serve as guides for the holes in the seams.
Use a hammer and comb / chisel to punch holes along the lines. Make sure that the iron comb passes through each piece of skin, as 3-4 layers of skin will have to be pierced.
Step 8: Stitching the Edges
Use the binding method you used when stapling card compartments to staple the edges.
When you measure the thread along the length of the edges, cut a little more than 3 times so that the threads are enough to flash the product around the perimeter.
When you have finished the last stitch, tie the threads so that the knot is between pieces of leather so that you do not see it.
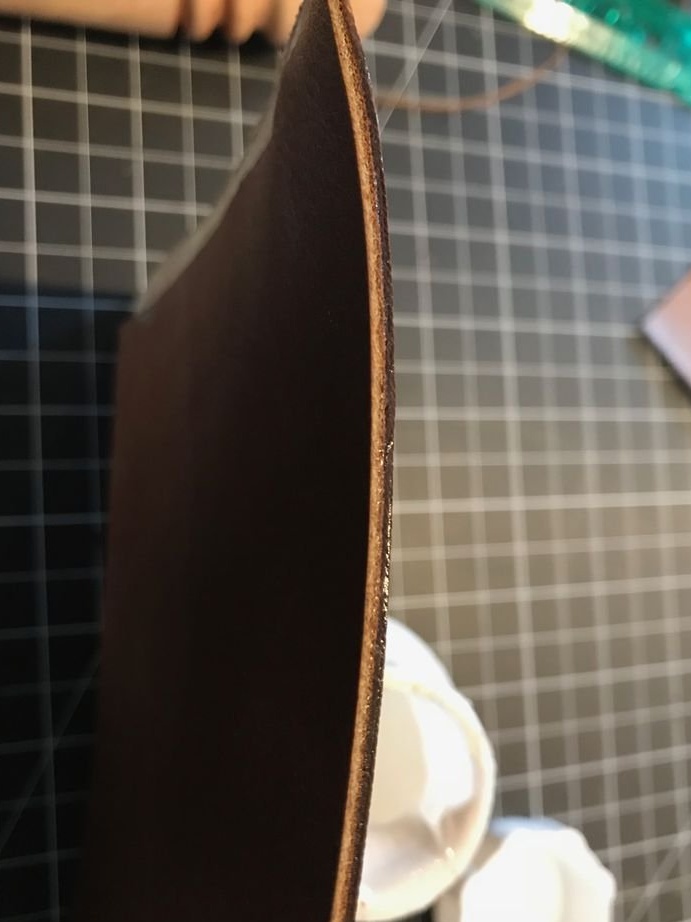
Step 9: Edge Edging

Sand the outer edges with 400 grit sandpaper to make sure the edges are level.
Dip the awl in the paint so that a small drop of paint forms at the end. It is not advisable that there is too much paint on the awl, otherwise it will start to flow and may stain the skin.
Allow the paint (paint to paint the edges of the skin) to drain from the end of the awl. As soon as it touches the edge to be painted, smooth it so that a thin layer is obtained. Repeat until you paint over the entire edge.
Work with only one edge at a time.
As soon as it dries (4-6 hours), sand it lightly and paint another thin coat. Repeat this process until the edge receives an even layer of paint without any bulges or indentations.