Good day to all.
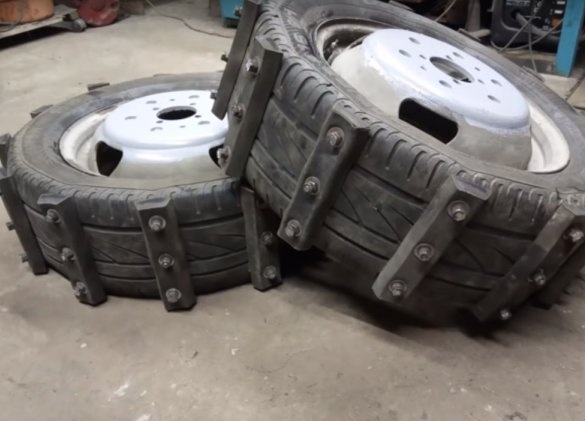
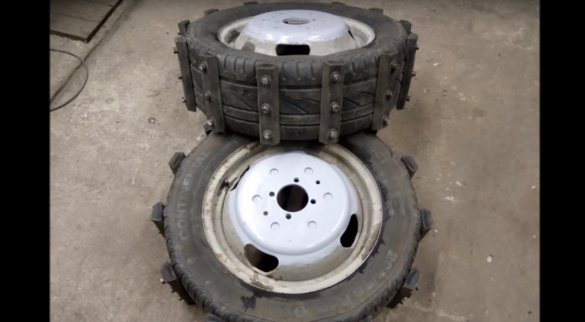
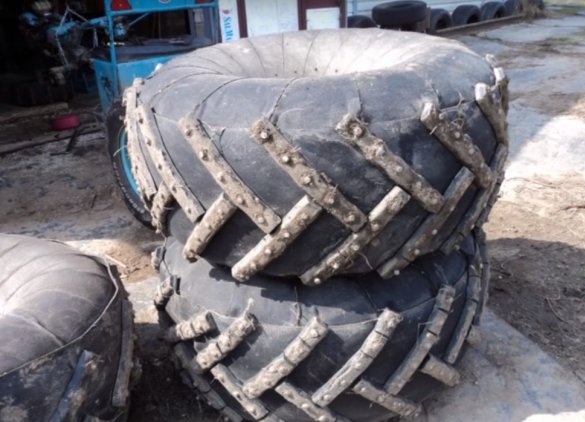
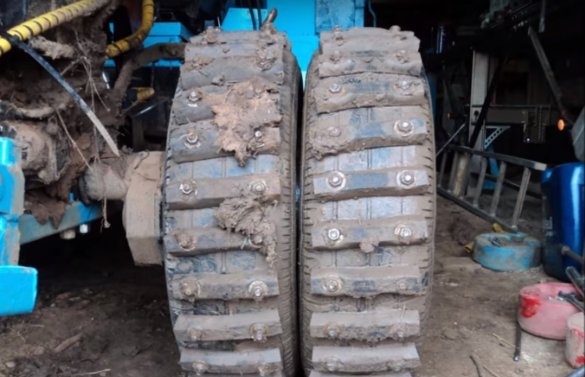
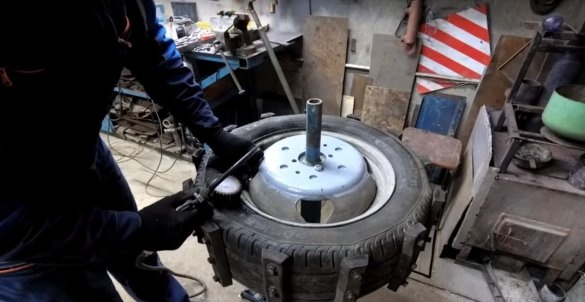
Today, the author from the YouTube channel "Pavlov Vladimir" will tell you in detail how he made an excellent tread on wheels do it yourself. All wheels for his equipment, the author made on this principle. This homemade increases maneuverability and traction ability of equipment.
According to the author, wheels with such a tread have proven themselves on the good side, for example on a walk-behind tractor, such wheels have been in operation for more than 10 years.
The master used for his homemade work.
MATERIALS:
Sheet metal, thickness 10 mm
Wheel rim Gazelle R16
Tire (not from freight auto)
Furniture bolts M8 length - 40 mm and 50 mm.
M8 washers of two types
M8 nuts
V-belt.
INSTRUMENTS:
Marker
Ruler
Old pieces of fiberboard. (For making patterns)
Electric jigsaw
Angle grinder with a cutting wheel for metal
Spanners
Vise
Electric drill
Drill bit 10 mm
Countersink
Electrodes and welding machine.
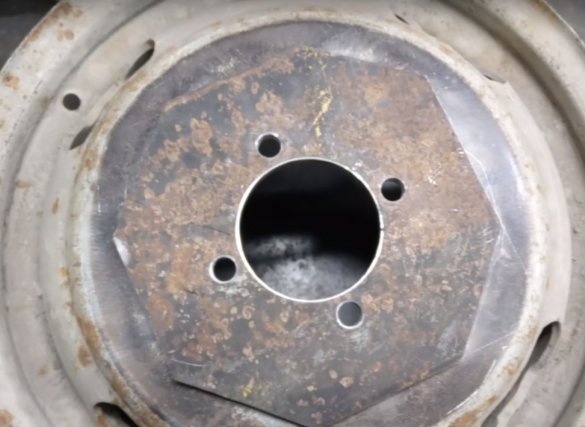
And so let's go! First of all, the author made a template for making the inside of the rim.
So that it covers all the holes on the disc.
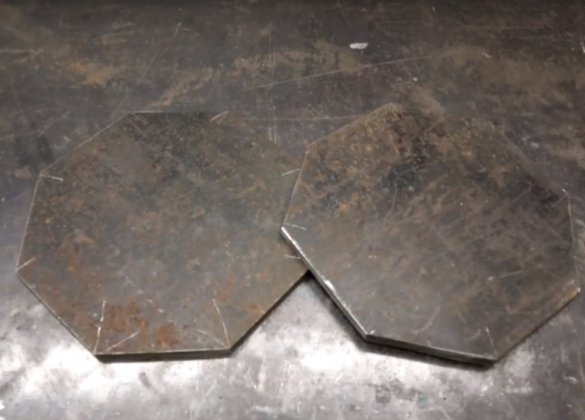
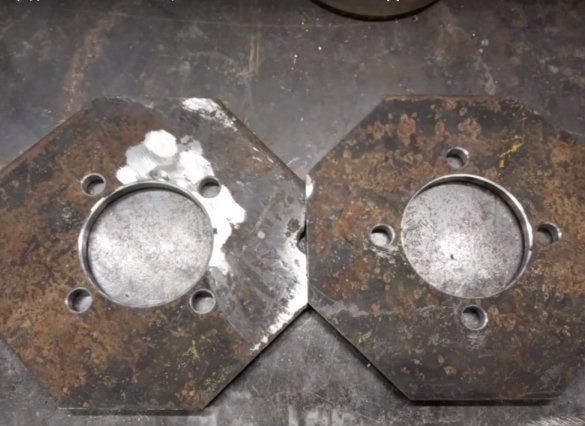
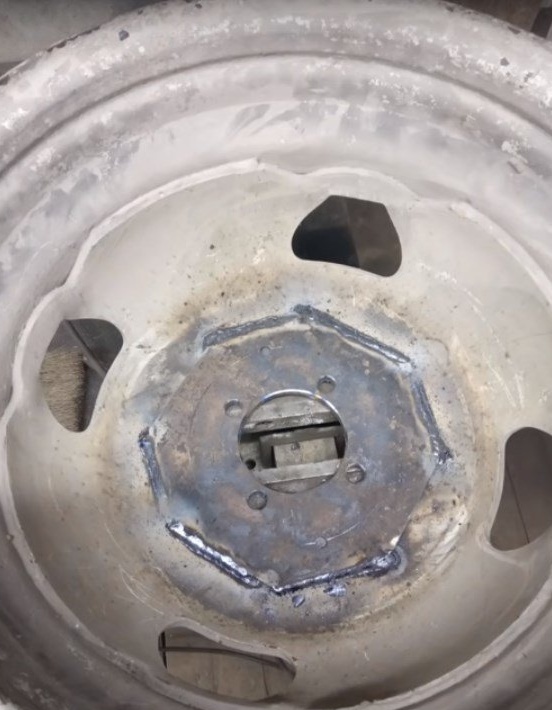
After the template, a flange was machined from sheet metal.
With a bolt pattern of 10 to 4.
And two more holes for securing cargo.
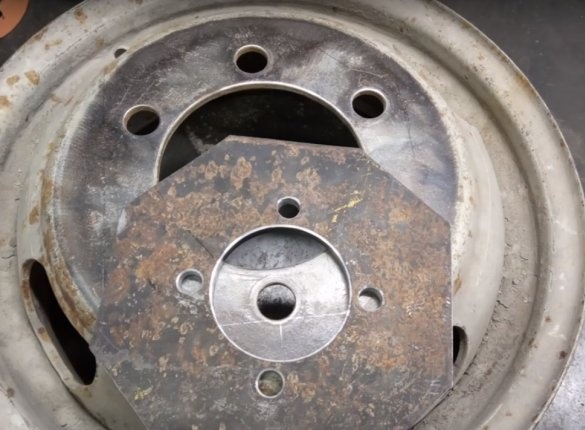
Then the finished flange, the master cooked into the disc.
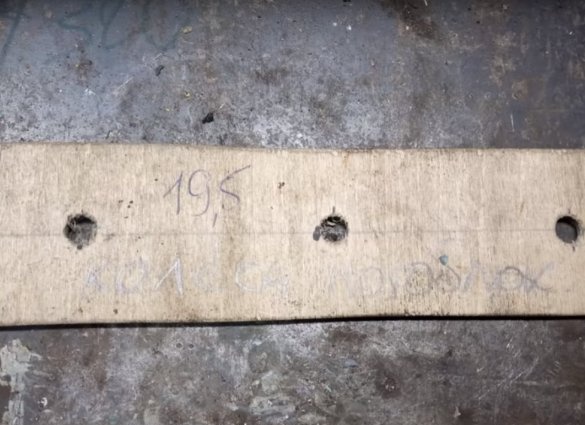
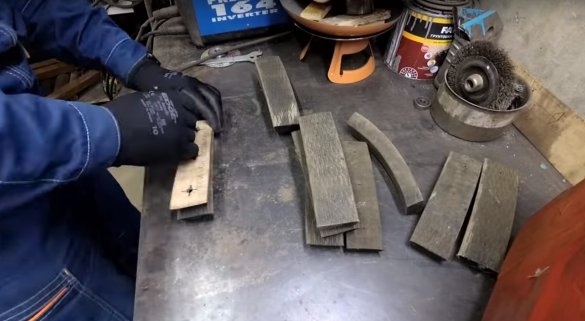
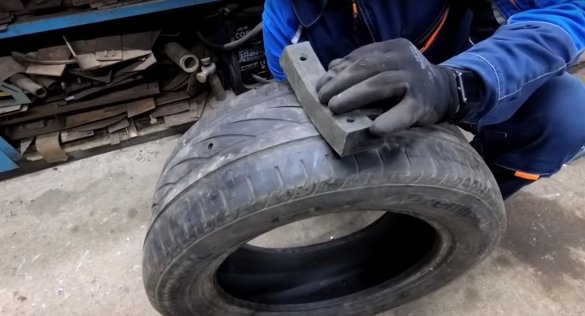
Then he made another template. For marking the belt and the holes in it for bolts.
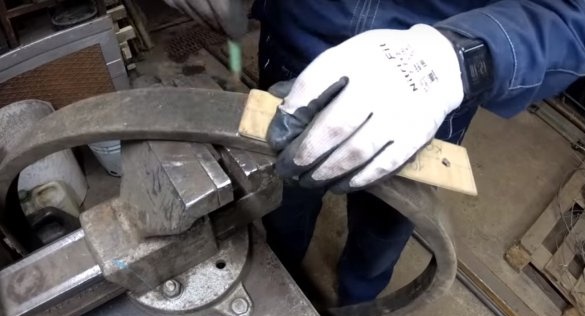
Then marks the belt according to the template.
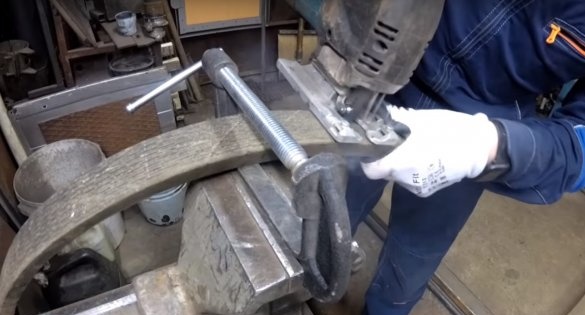
And cuts it into segments.
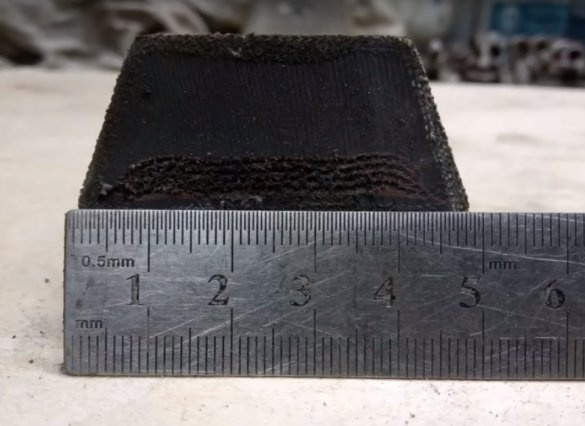
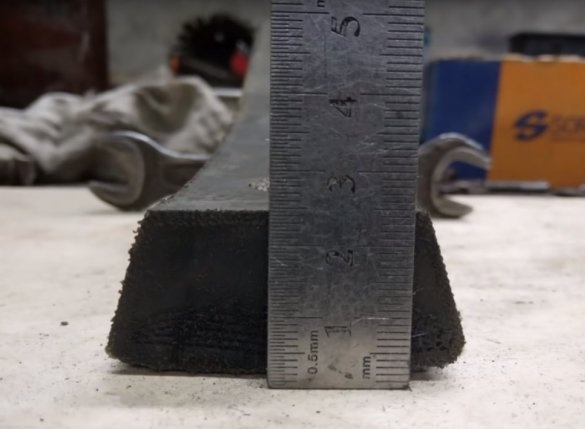
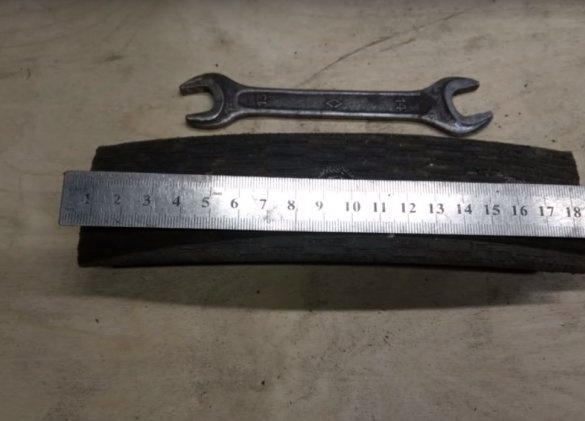
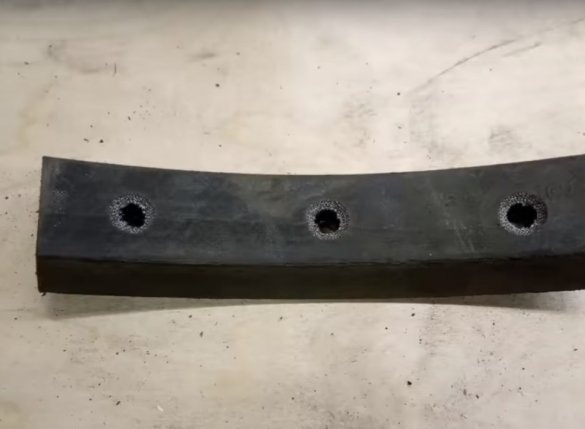
Belt Dimensions:
Width - 50 mm.
Height - 25 mm.
Length - 190 mm.
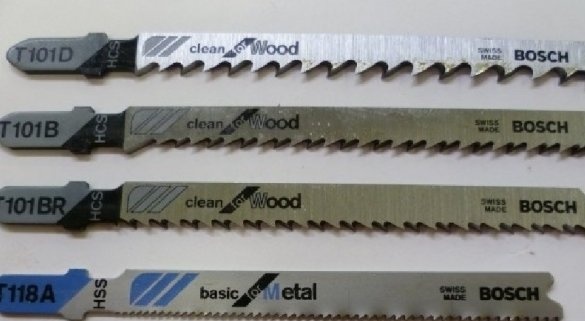
Advice from the author: it is better to cut with an electric jigsaw. There are special files for rubber, they get a clean and even cut, but a lot of smoke.
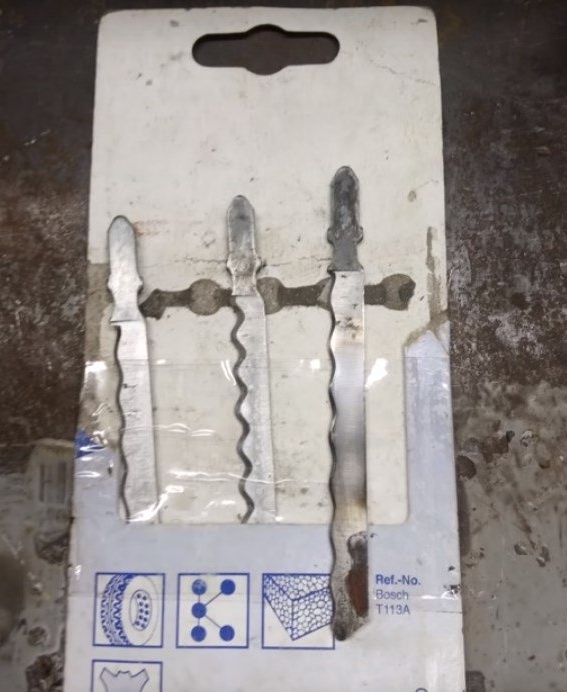
You can also use a wood file, there are a lot of rubber sawdust from it and a strong vibration on your hands.
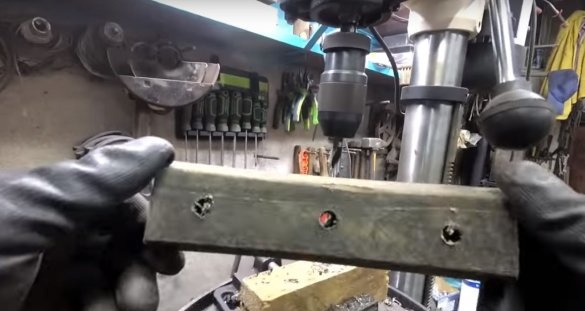
Then he made markings for the holes.
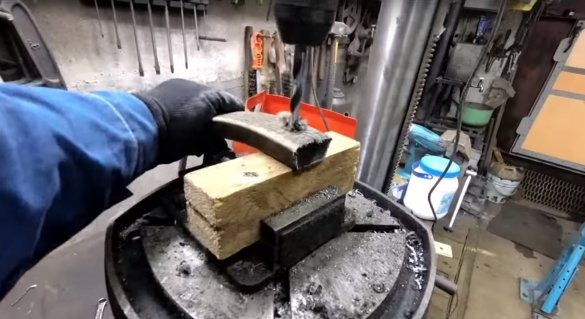
After he made holes with a drill on a tree with a diameter of 10 mm.
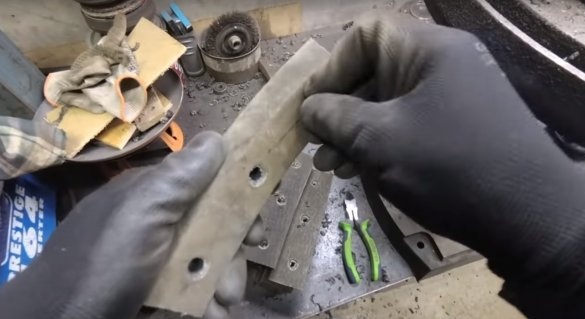
After drilling, the author on both sides removed burrs (which appeared from drilling) with a vertical drill.
Then I cleaned each hole from the rubber residues, so that in the future they did not complicate the assembly.
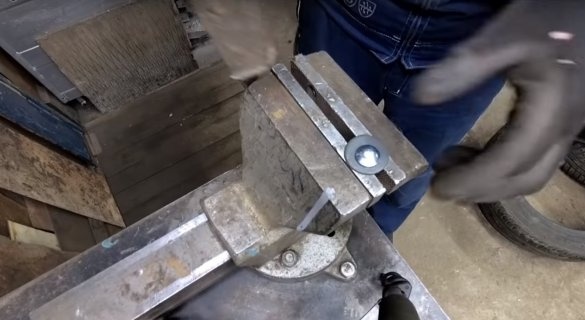
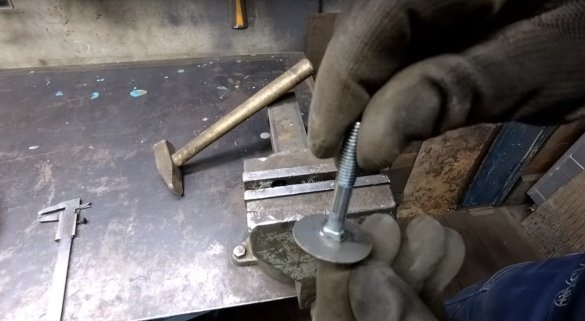
Further, the author made a notch under the mustache or square in the washers, depending on the bolt. Under the mustache is easier to do, but with a square it turns out more reliable.
The washers have an external diameter of 30 mm, this is necessary so that the bolt does not tear out of the tire, and also, for a larger area of the bolt support, in order to avoid turning the bolt itself while tightening the nuts.Since the washers are made by stamping, one of its sides is rounded, and the other with burrs, so as not to damage the camera, the master will install the washers with burrs to the tire during assembly, and, according to the author, this will improve adhesion to the tire. Bolts in the central holes need 40 mm, and in the side holes 45 mm or even better 50 mm. As the author says, you can trim the excess, but if they are short, you have to sweat a lot to install the nuts on them during assembly.
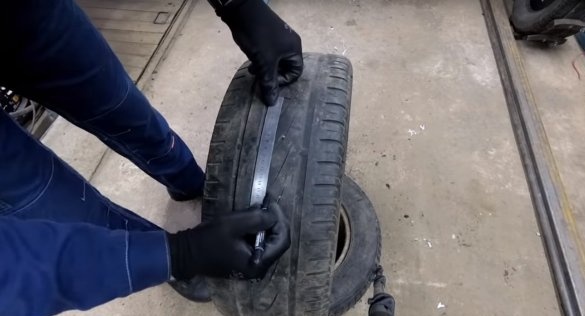
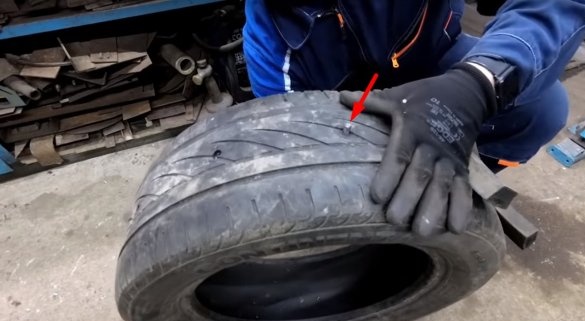
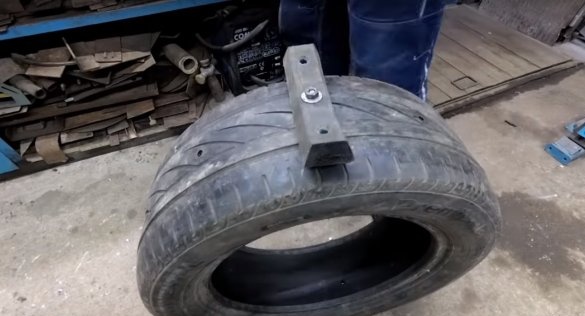
Next, the wizard will make markings on the tire. The author did the calculation of the markup as follows: the author’s tire with dimensions of 205 by 55, its circumference, is 1960 mm. In order for the walk-behind tractor (for which the author makes this rubber) not to jump on hard ground, the distance between the belts should not exceed the “contact spot”. Empirically, having calculated this distance, it turned out 100 mm plus a belt width of 50 mm, so it turns out, between the central holes the distance is 150 mm. He divides the circumference by 150 mm and gets 13 marks equally spaced from each other.
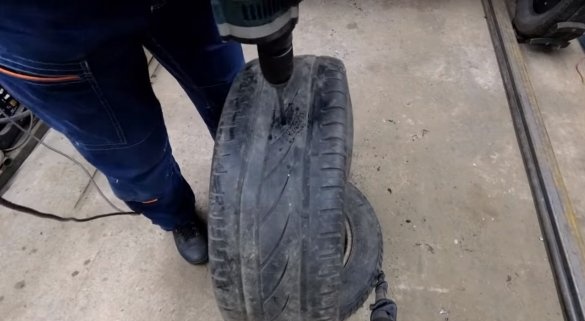
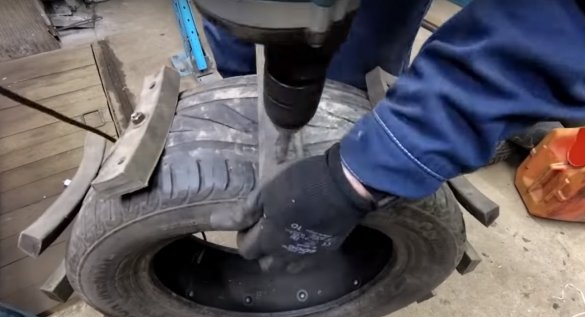
After marking with a 10 mm drill, it makes central holes. Why a drill on 10 mm, but not on 8 mm? You may ask. Everything is very simple, a larger drill diameter is needed for easier installation of bolts, since the drill does not drill the court, which in turn makes the installation very difficult.
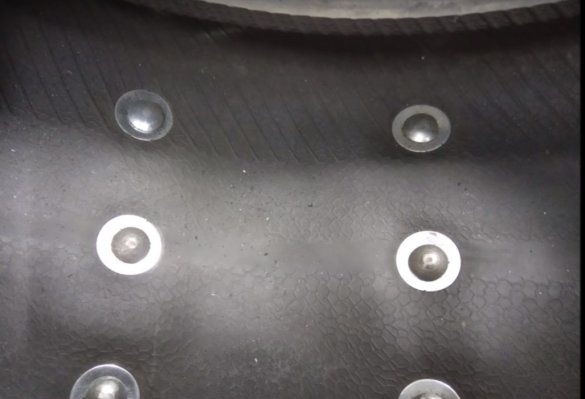
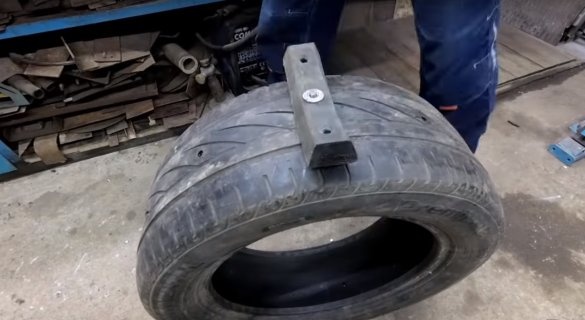
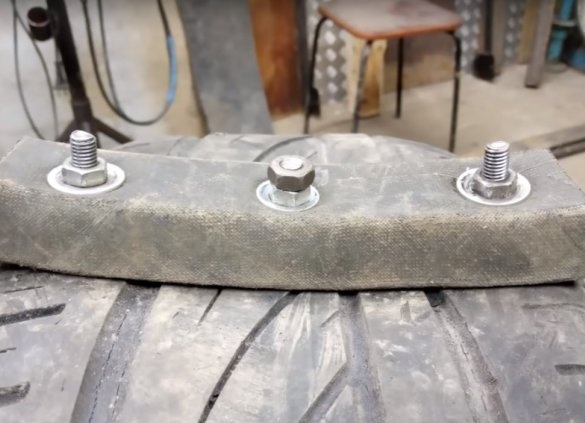
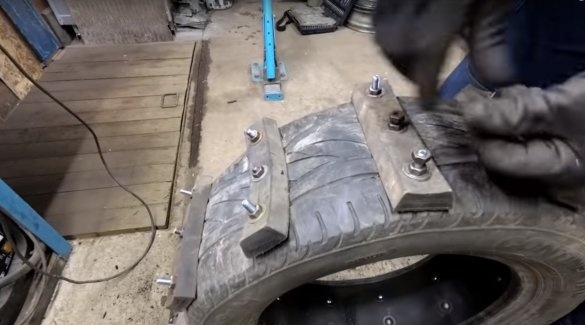
Next, install bolts 40 mm long, with large washers.
After the segment from the belt.
Then a washer with a diameter of 24 mm.
And fixes this “sandwich” with a nut.
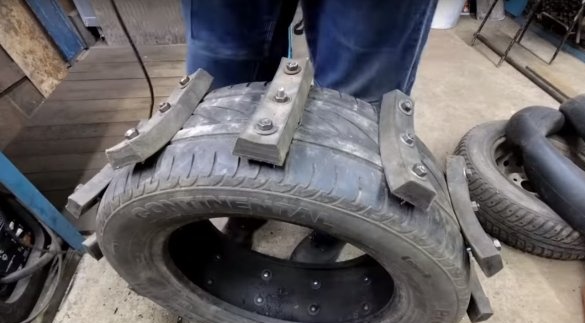
Having fixed the belts, the author makes side holes, first on one side, then installs M 8 bolts whose length is 50 mm, and nuts on, and then does the same on the other side.
After tightened all the nuts to the stop and installed an additional second nut on each bolt.
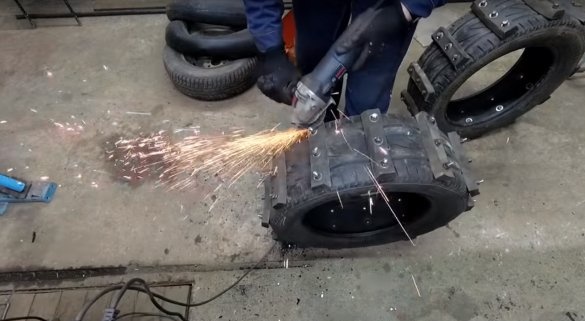
Such spikes turned out, for better grip in the winter.
The extra thread was removed by the author using angle grinder.
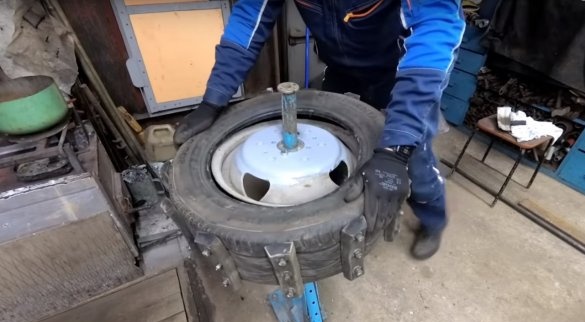
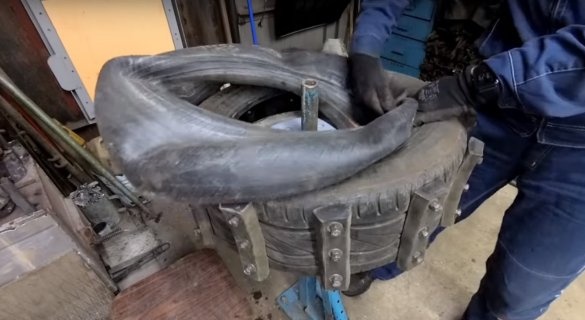
Now the final stage. Assembly and inflation of the wheel.
Test.
The author, many thanks for such a useful homemade.
And that’s all for me. Thank you all and see you soon!

