
There are so many different varieties of knives in the world that even trying to count them is a daunting task.
In this article, YouTube author of the Making HUERTAS Stuff channel tells you about a simple way to make a traditional Japanese universal craft knife. It is used by shoemakers, joiners, and many other craftsmen.
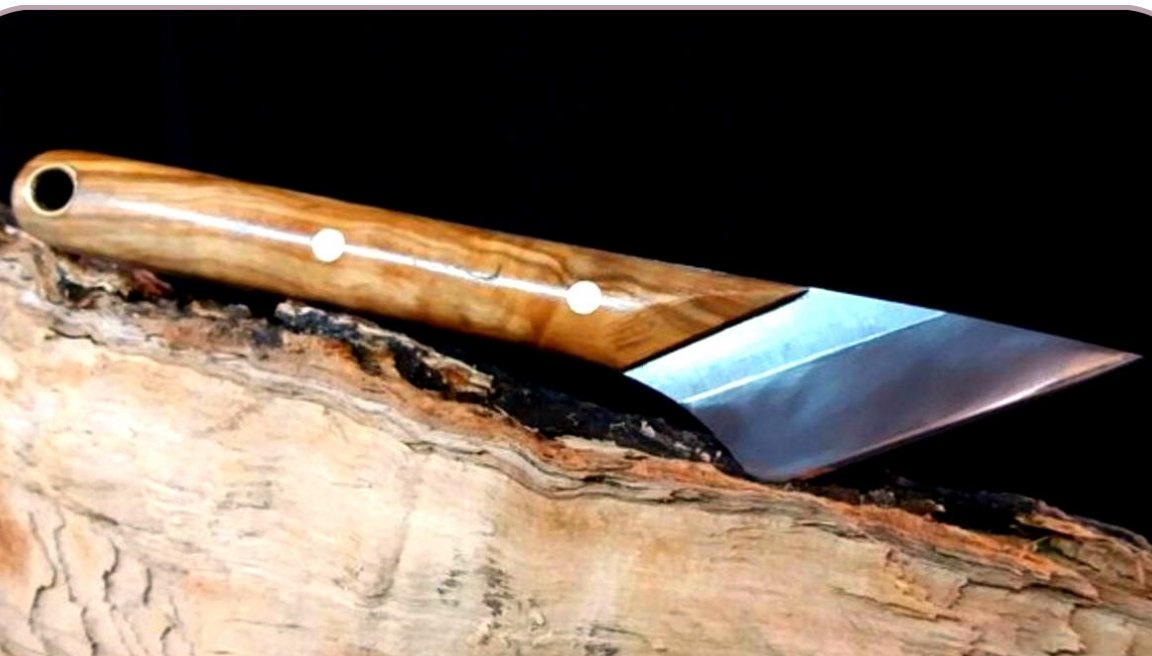
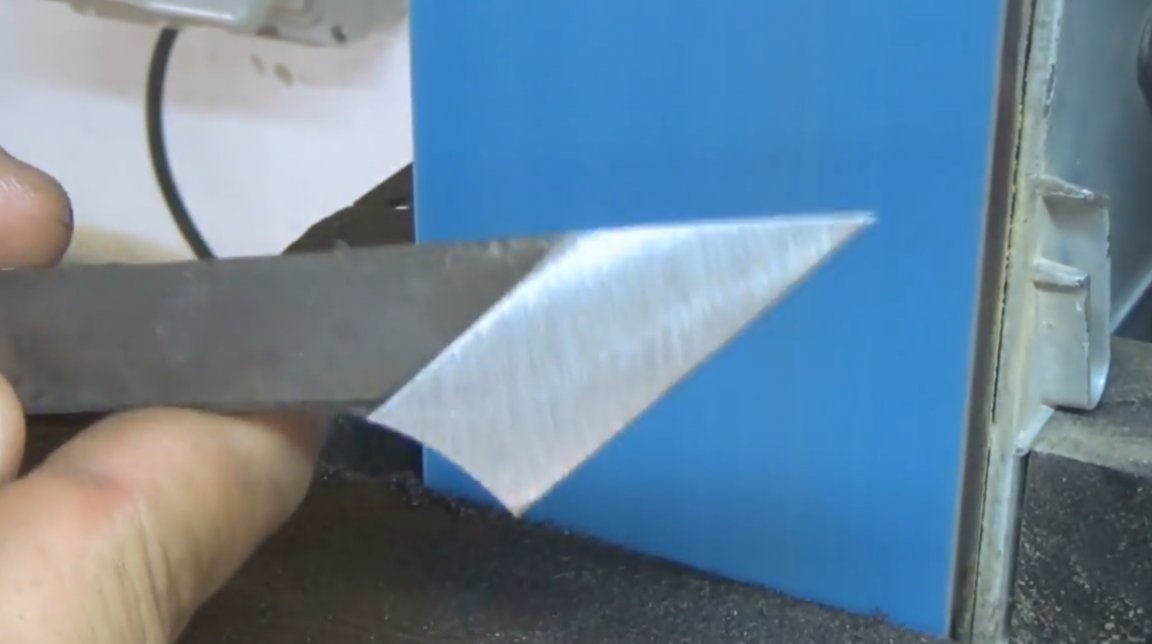
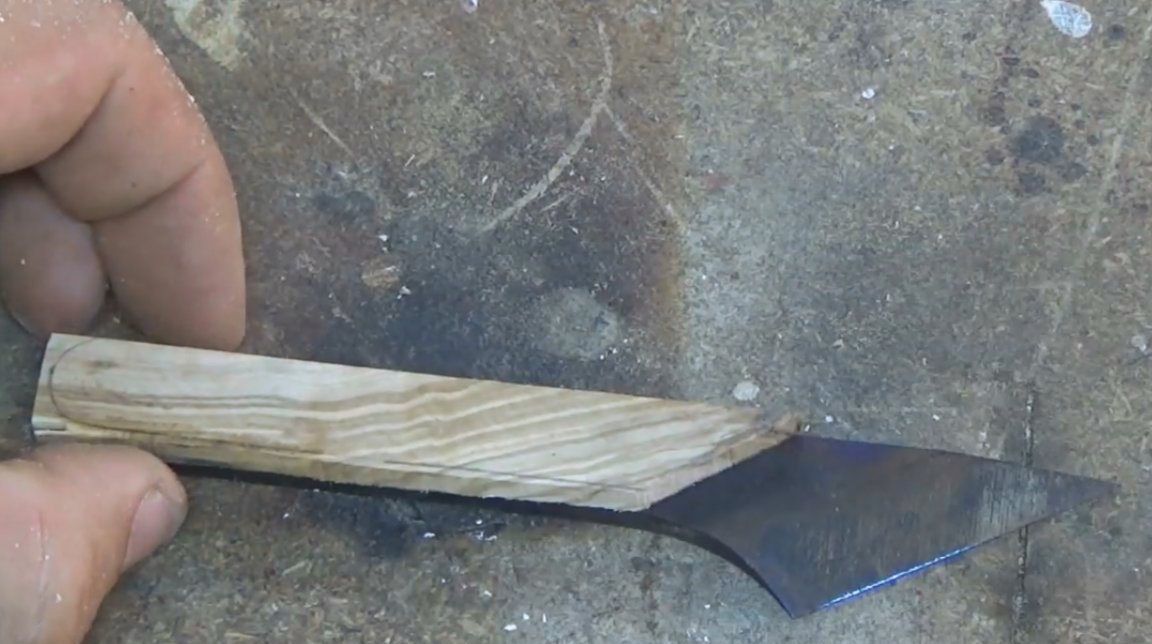
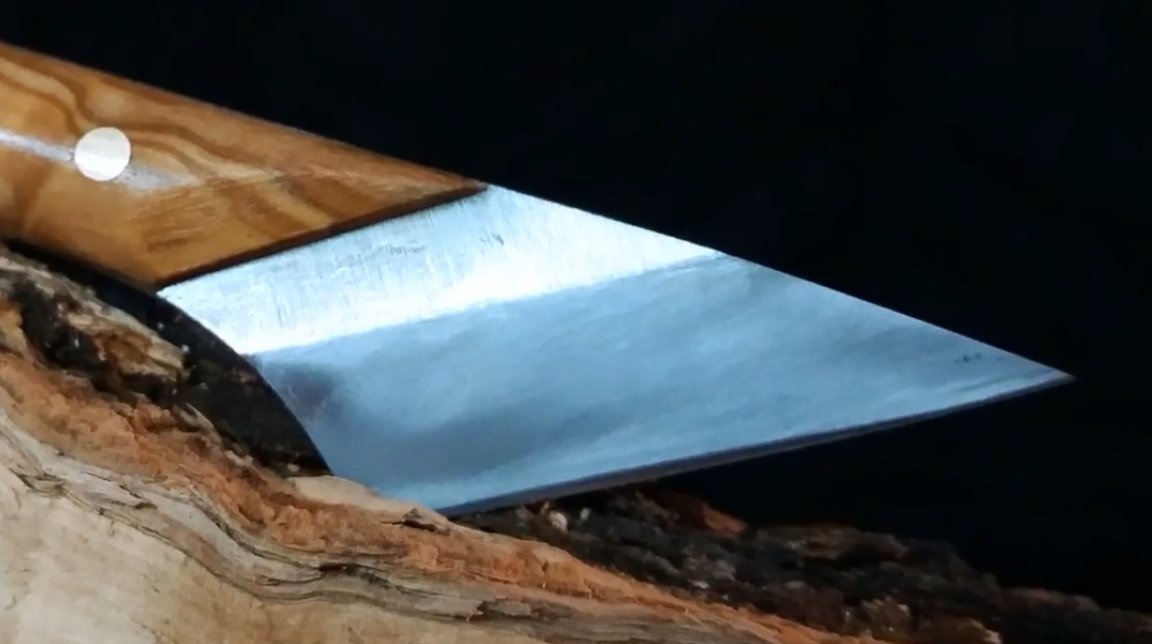
This knife is similar to the Russian jamb knife, it is a boot knife. Its cutting edge is located on an oblique face, and has a one-way descent.
Materials
- Sheet steel 1095
- Olive wood plank
- Brass tube, bar
- Two-component epoxy resin
- Sandpaper
- Double-sided tape
- .
Instruments, used by the author.
-
-
- Drilling machine
- Belt sander
-
-
- Gas horn, oven
-
- Vise, pliers, tape measure, rulers, square.
Manufacturing process.
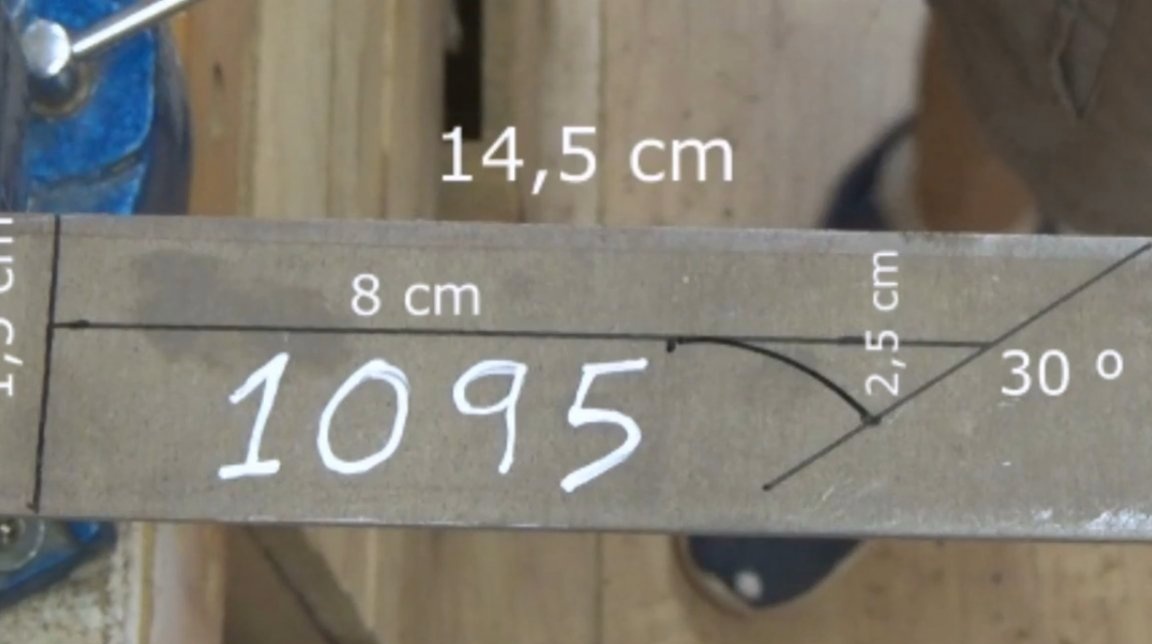
The master chose 1095 steel as the starting material for the blade. This is a very simple high-carbon steel, it does not have special hardness and resistance of the cutting edge. But this steel copes with its tasks, the more it is very easy to edit.
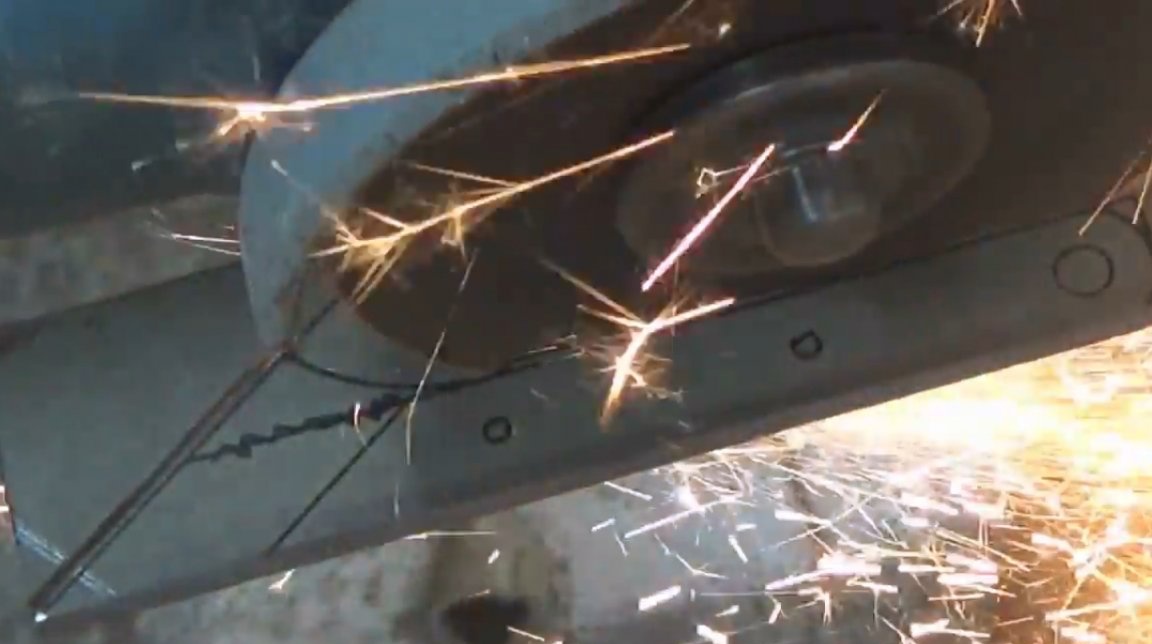
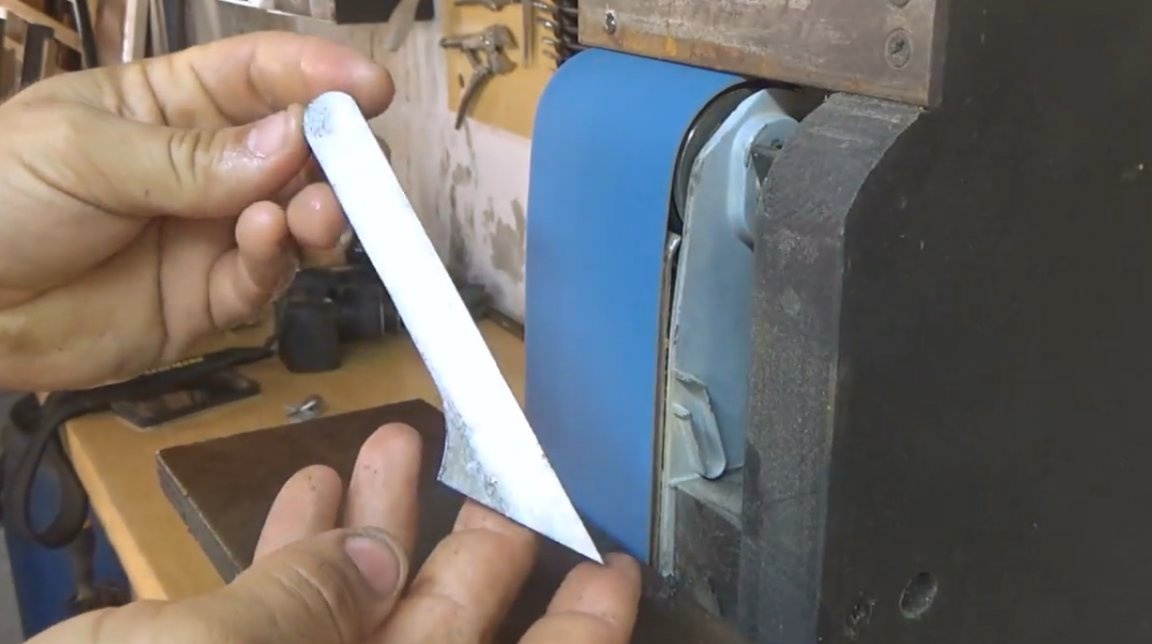
So, the author marks the steel strip, and cuts the blank for the blade with a grinder.
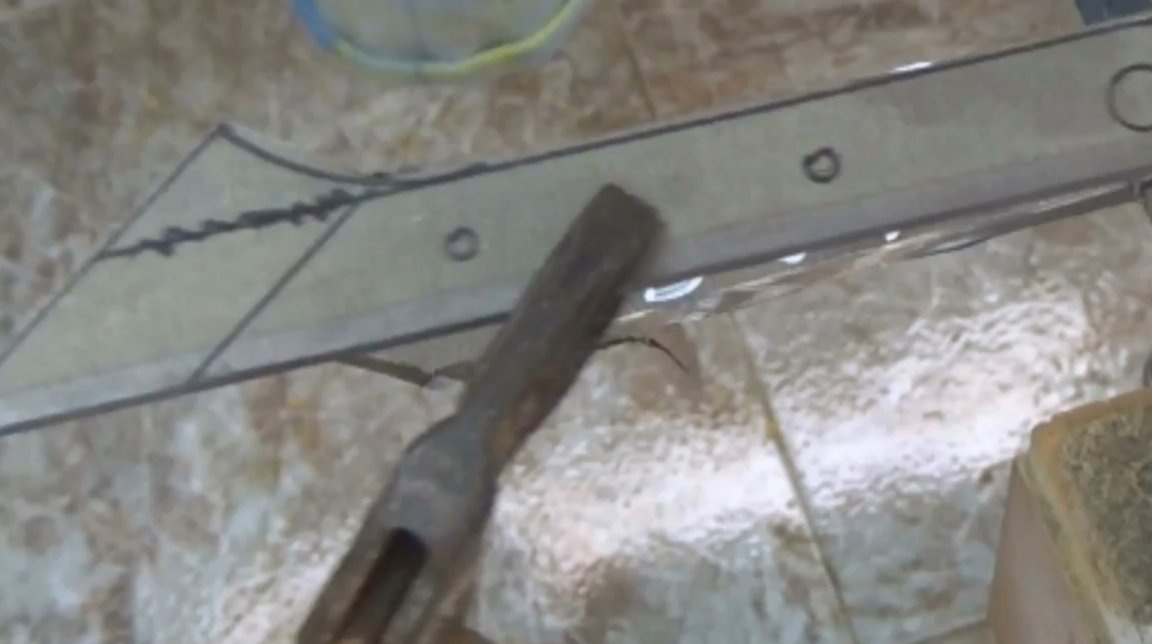
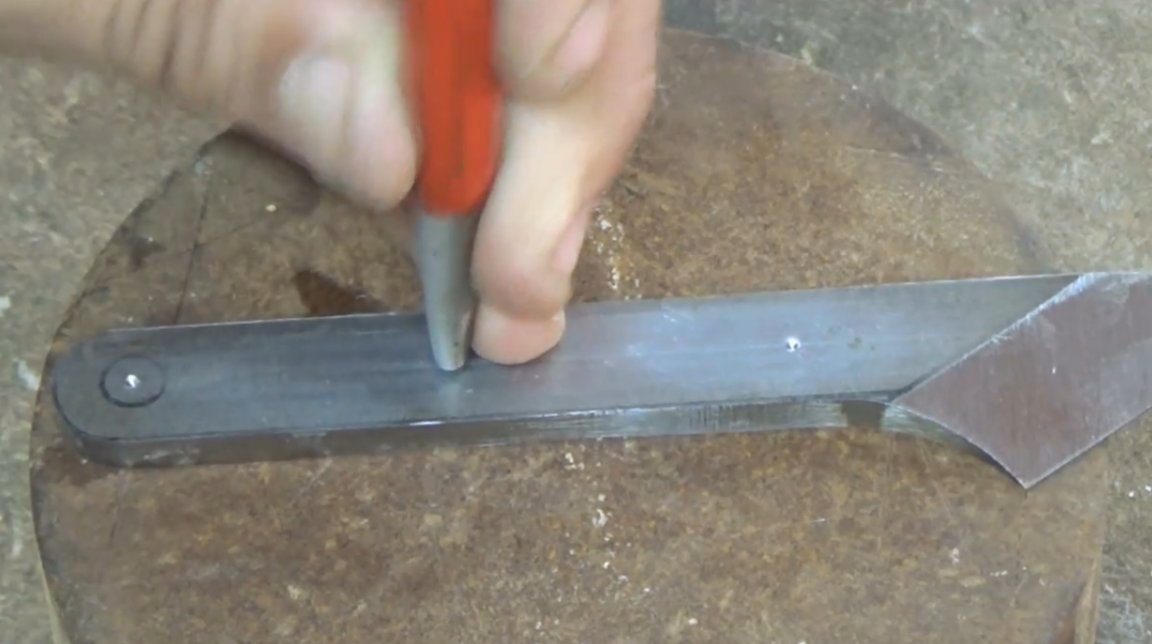
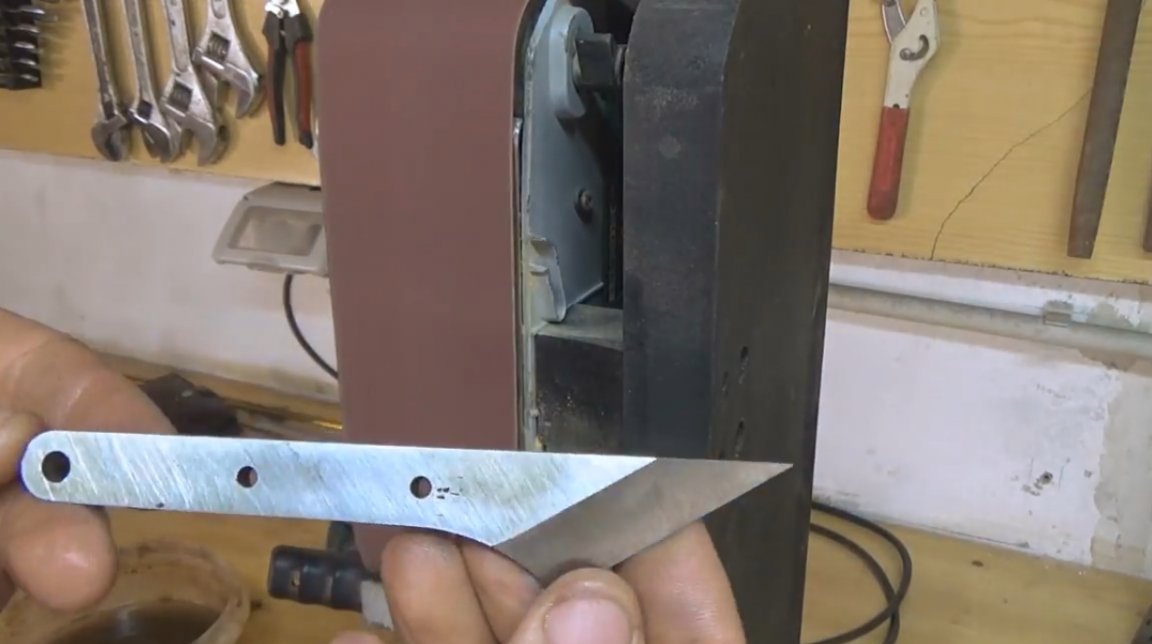
Then rounds the shank, polishes the edges and planes.
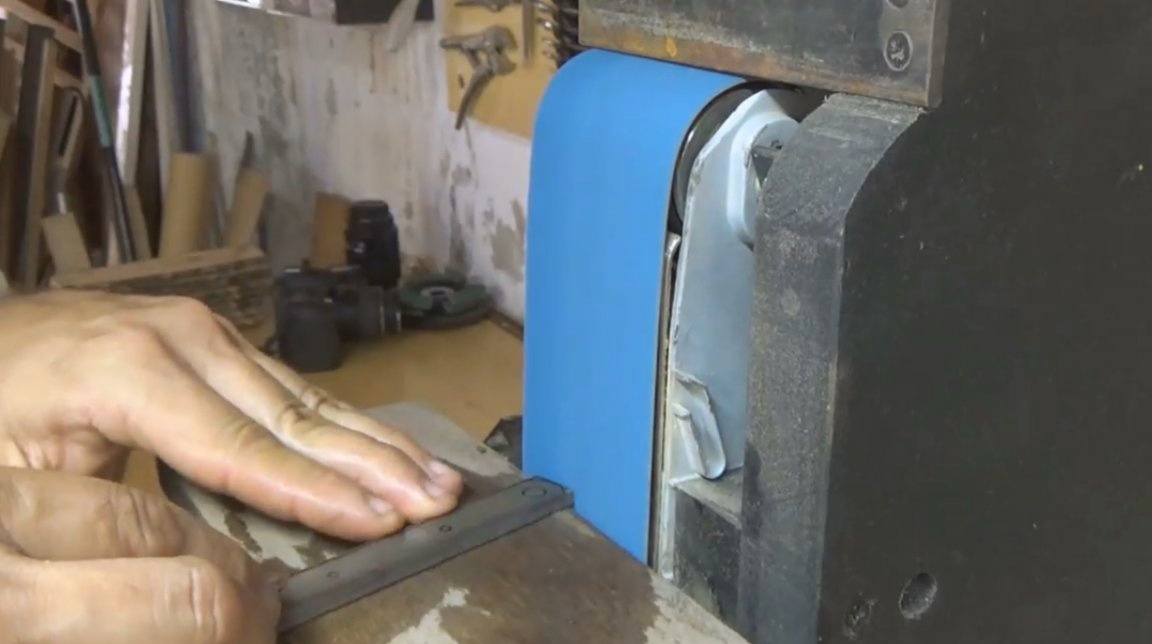
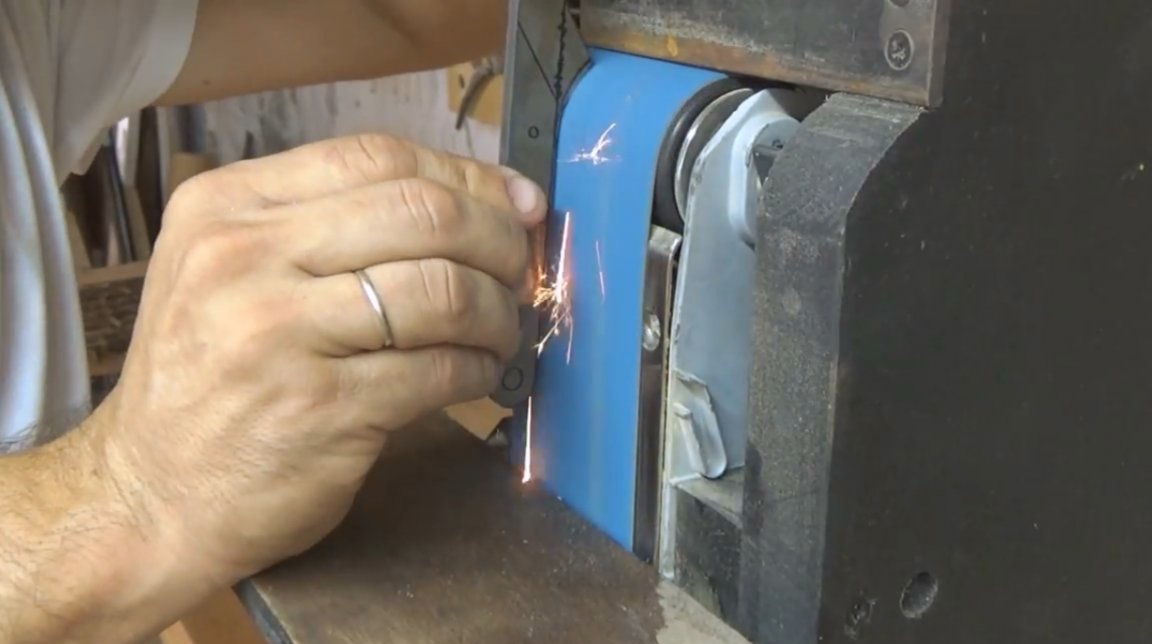
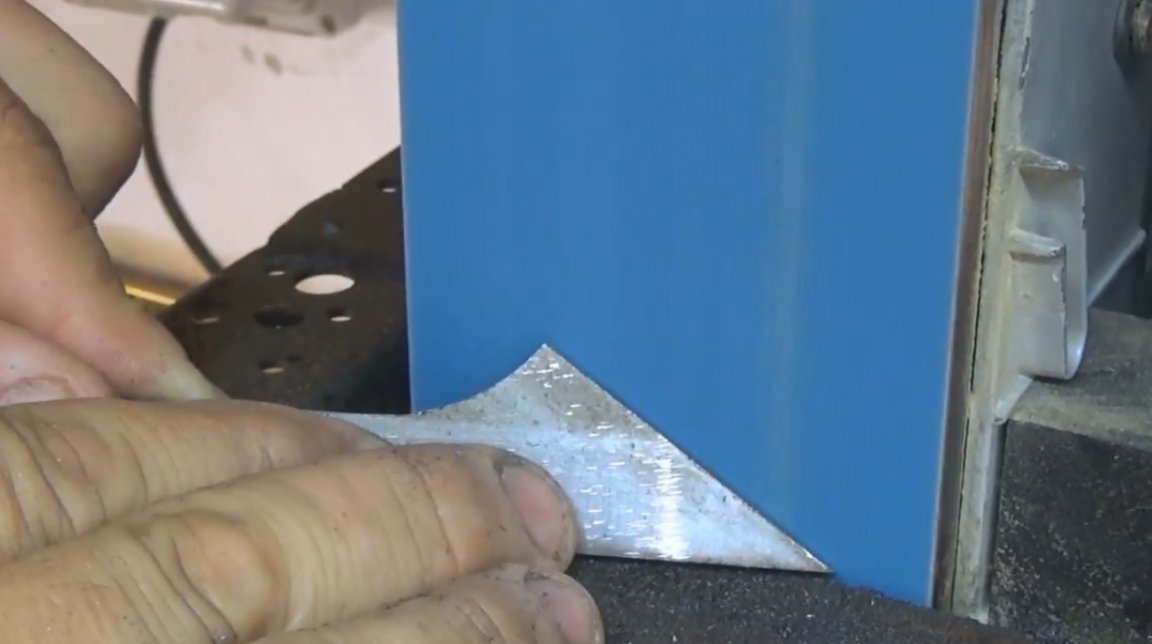
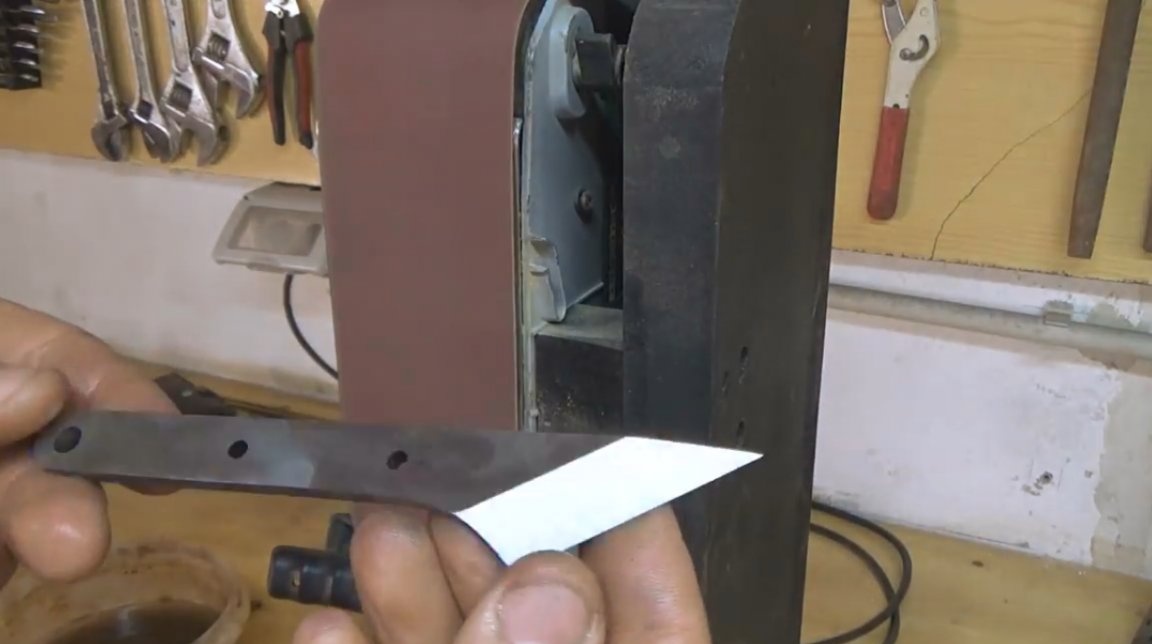
Now makes a one-way descent.
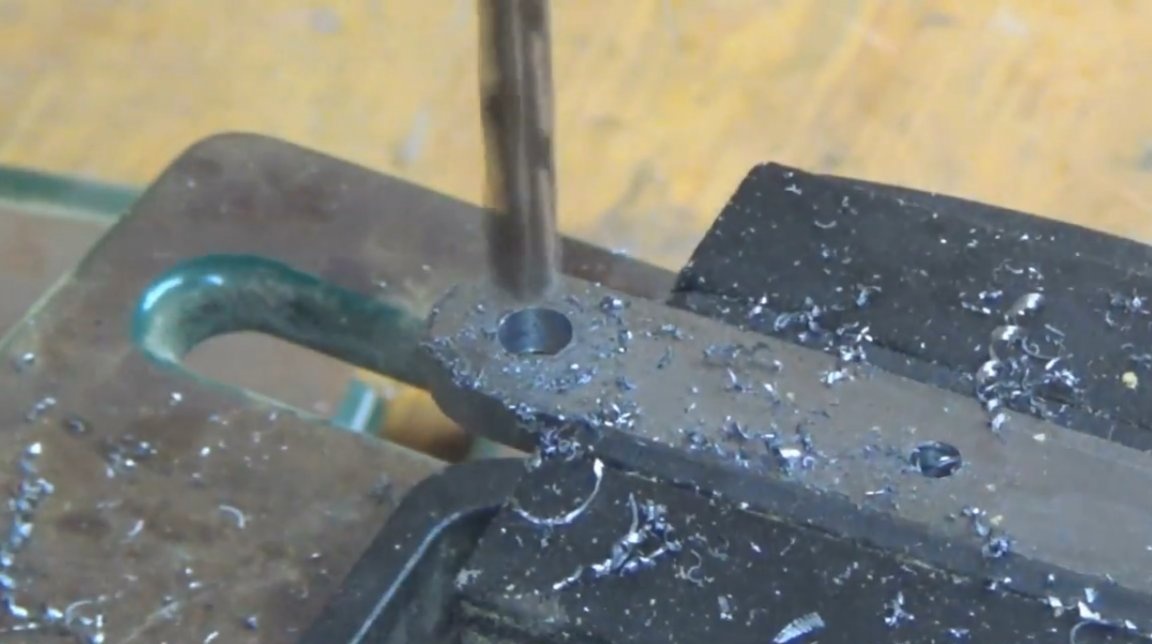
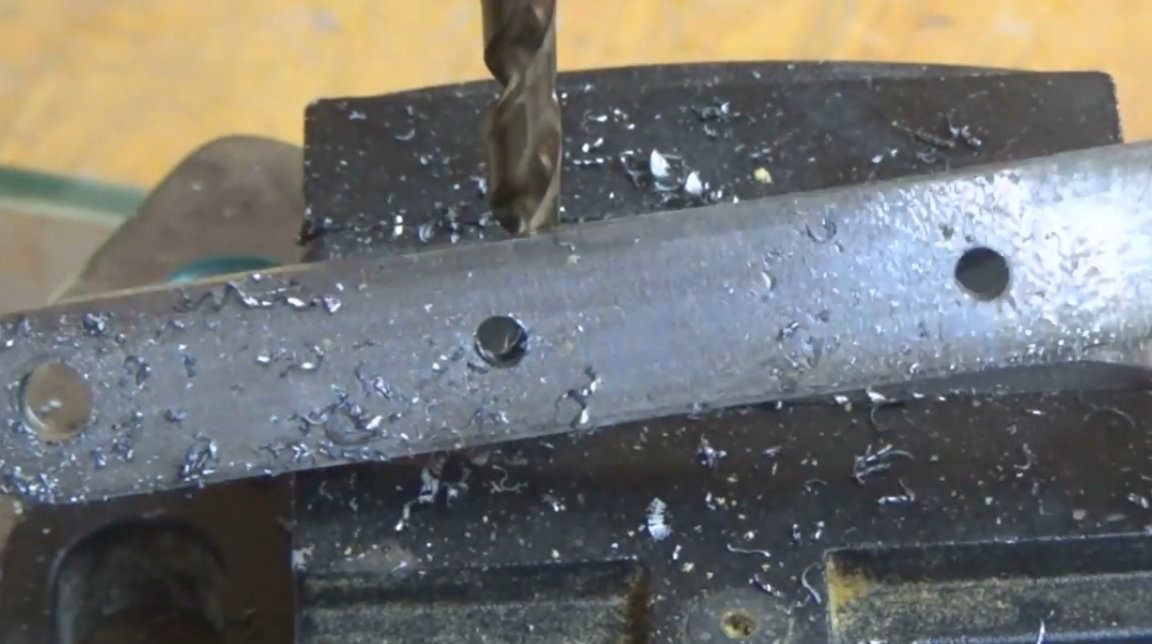
Kernit, and drills holes for pins and shank.
The following is a standard oil-cooled quenching procedure. Having heated a blade in a furnace, he lowers it into a container with oil. In this case, the blade of the blade must constantly mix the oil, for faster cooling.

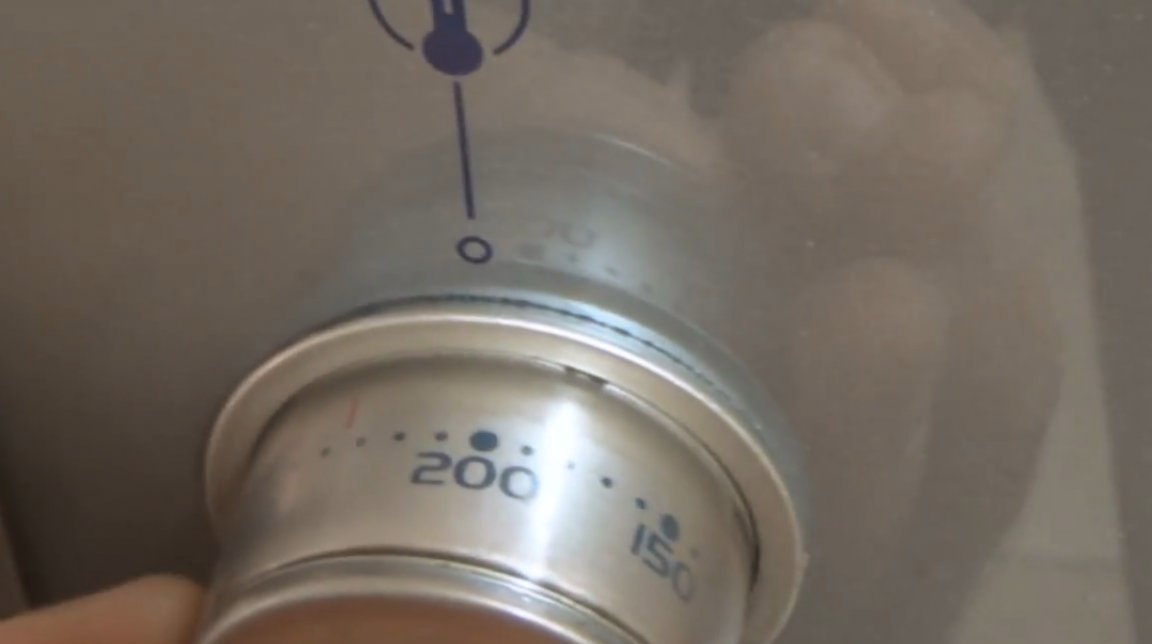
Now follows the procedure for tempering steel. To do this, the blade is placed in an oven heated to 200 ° C for two hours. After the time has passed, the oven should cool to room temperature on its own.

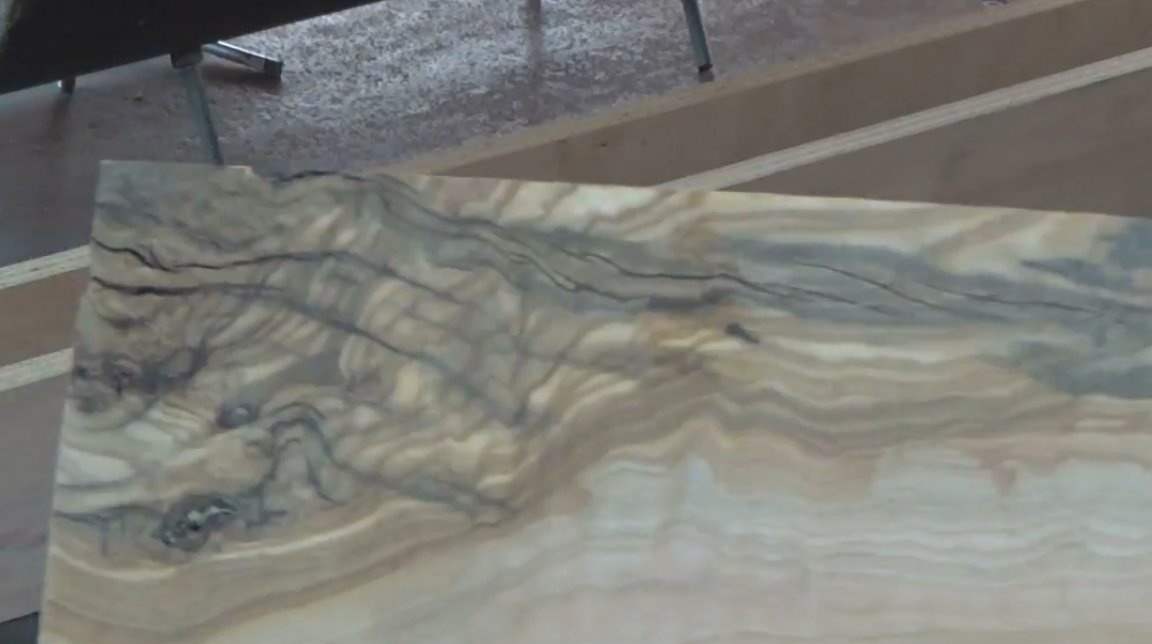
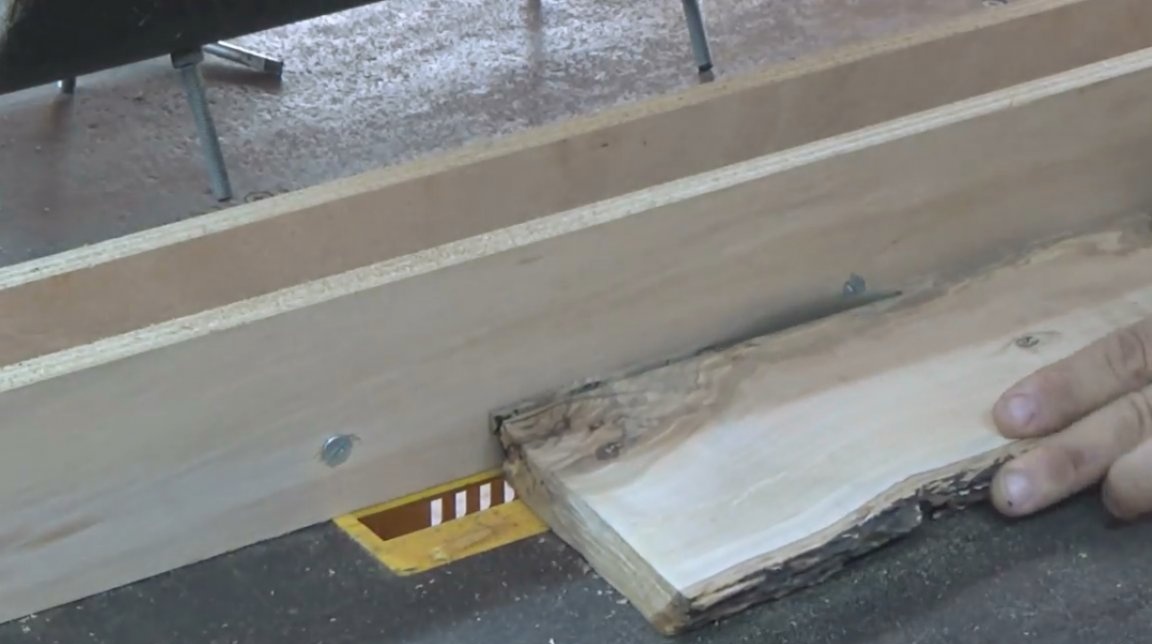
While the workpiece was cooling, the master did not lose time, and took up the handle of the knife. As a material for the handle, he chose an olive tree.I cut the board into plates, and gave them the necessary shape.
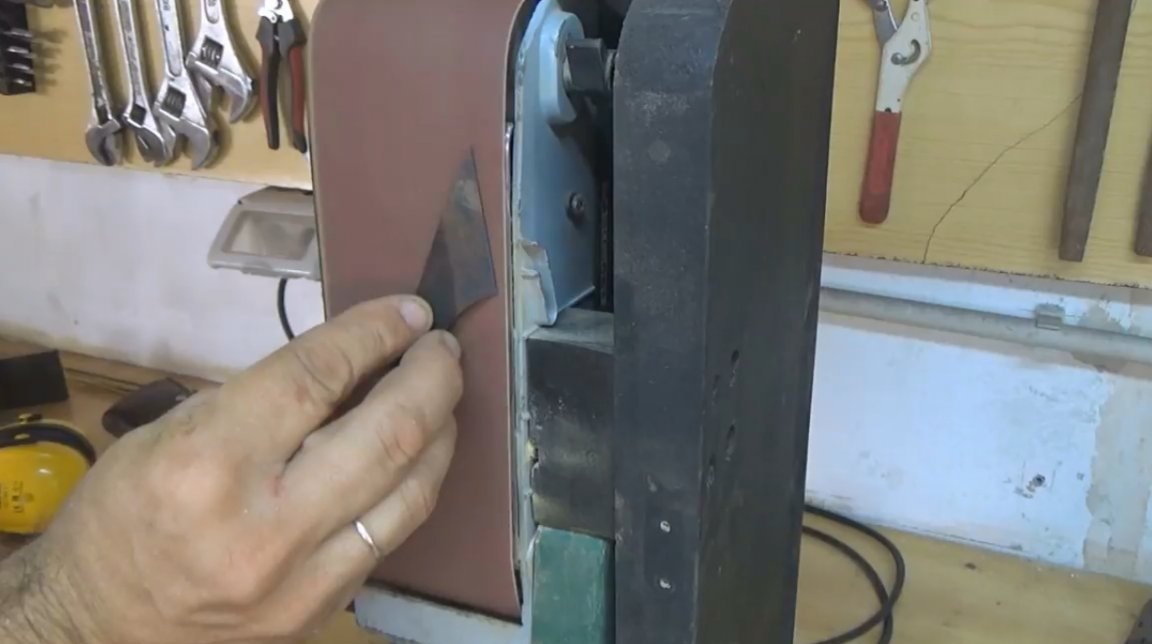
After the blade has cooled, it is necessary to remove the scale from it.
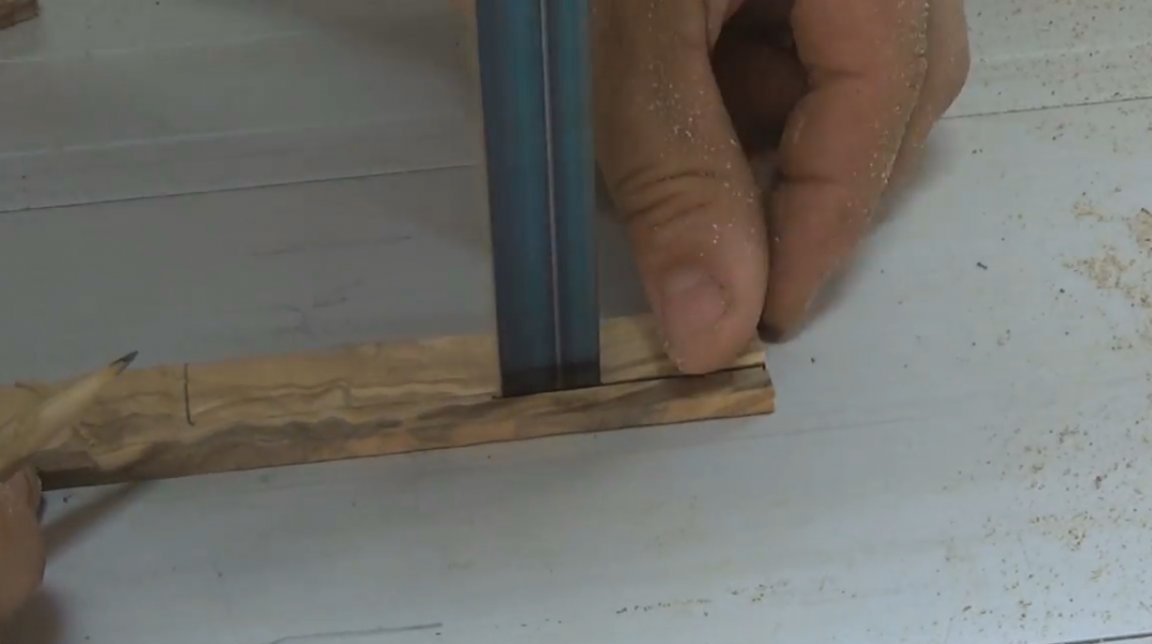
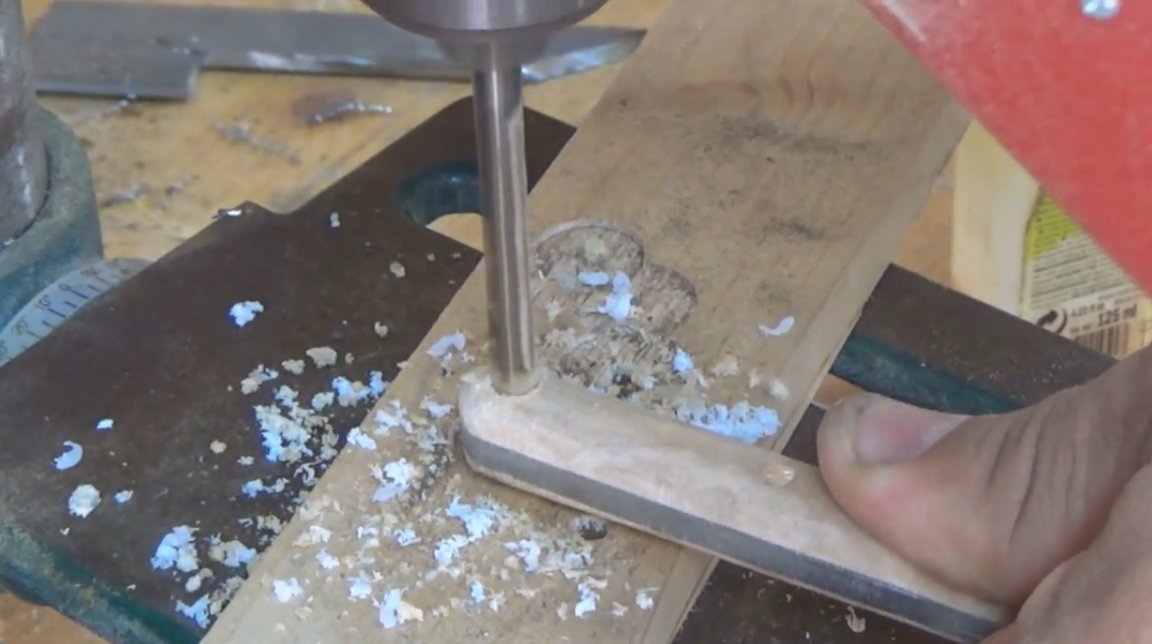
To accurately drill the required holes in the handle, the master fastened the workpieces together using double-sided tape.

Drills holes in the workpieces.
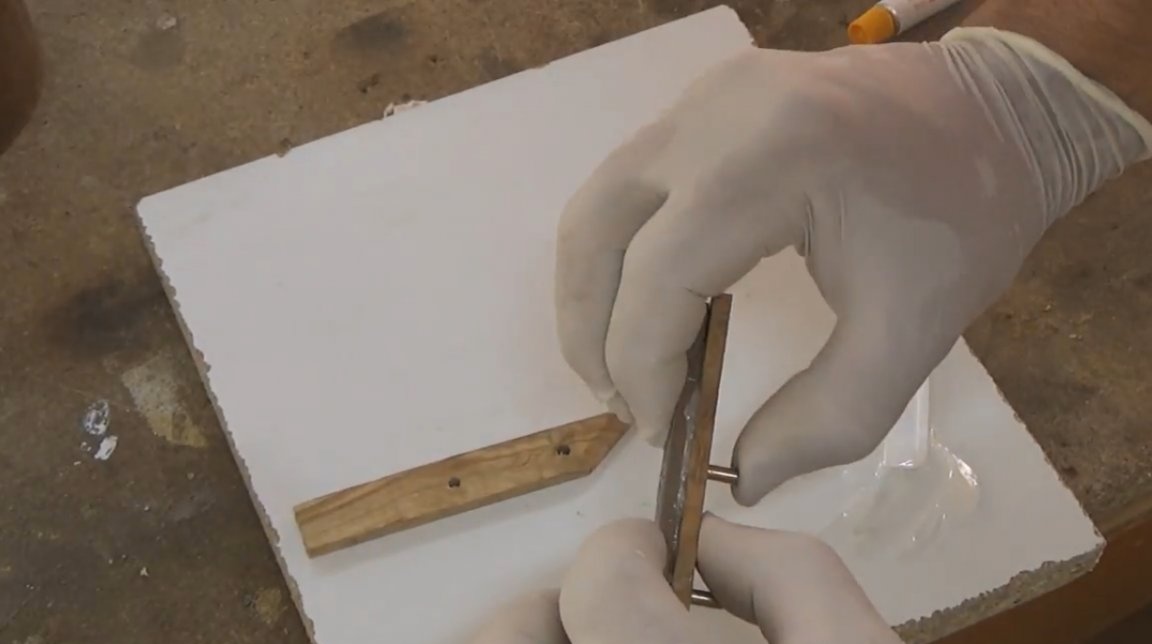
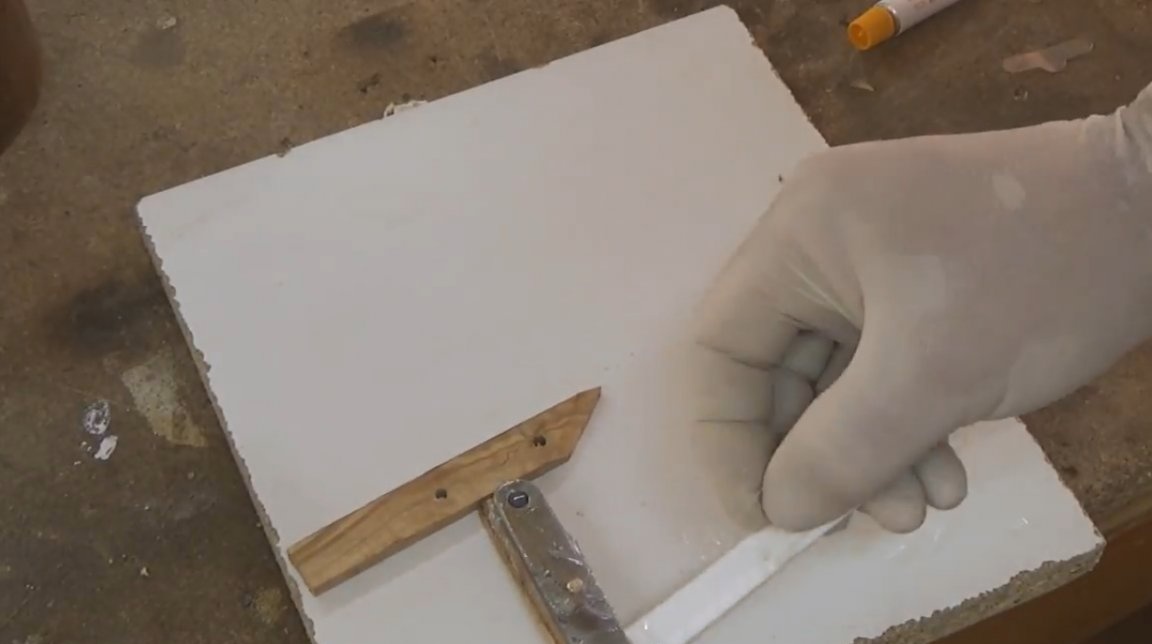
Now the master mixes the components of the epoxy resin, applies it to both the handle and the blade. He protects the blade with masking tape. Installs pins and clamps in clamps.

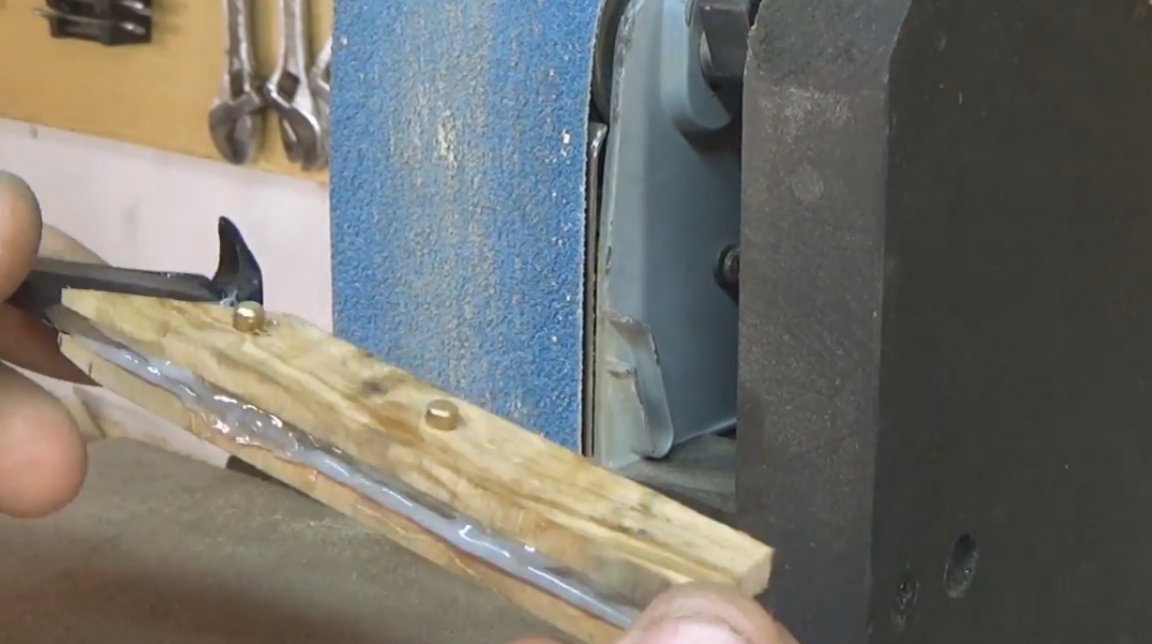
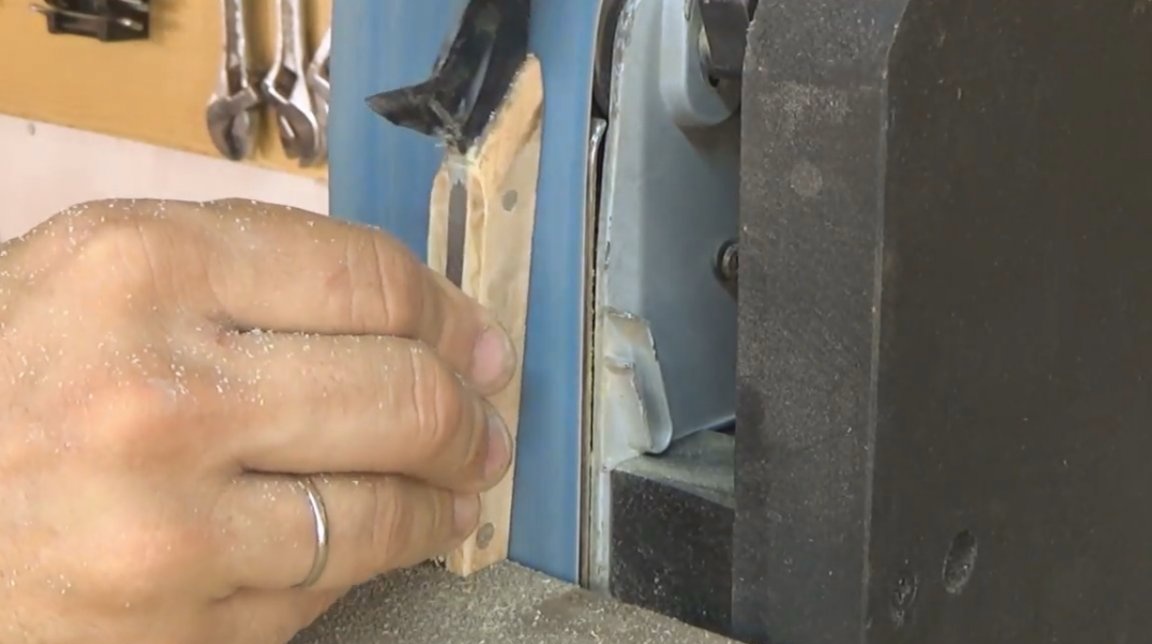
After polymerization of the resin, the author gives the handle an ergonomic shape.
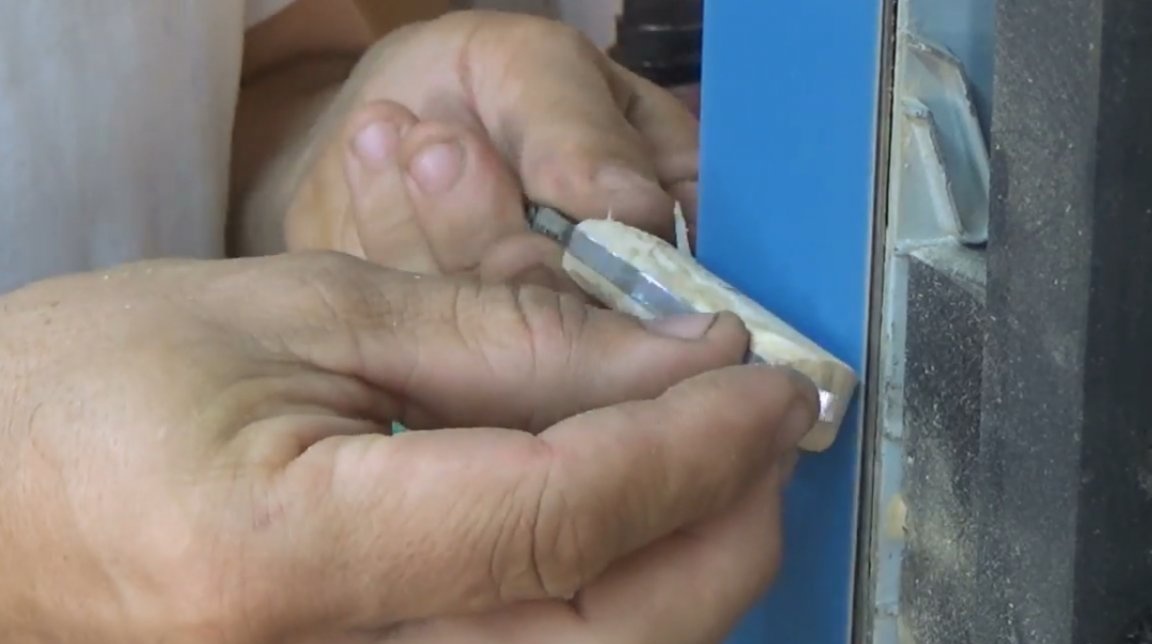
The handle is almost ready, you need to remove excess resin from the hole in the shank.

Then the master countersinks the hole on both sides.
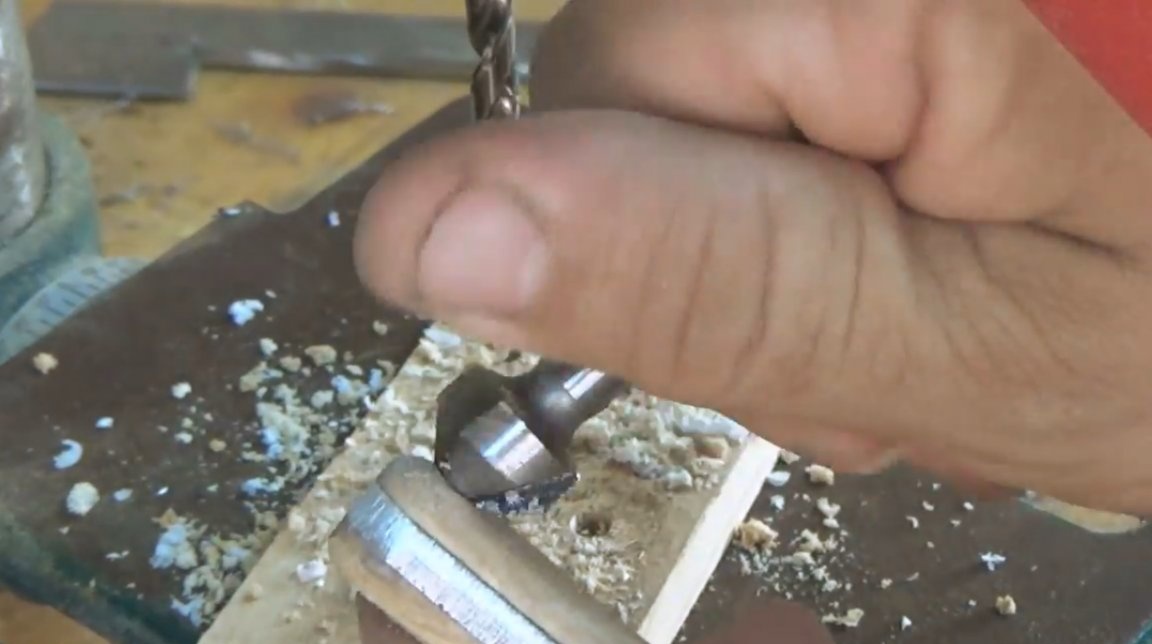
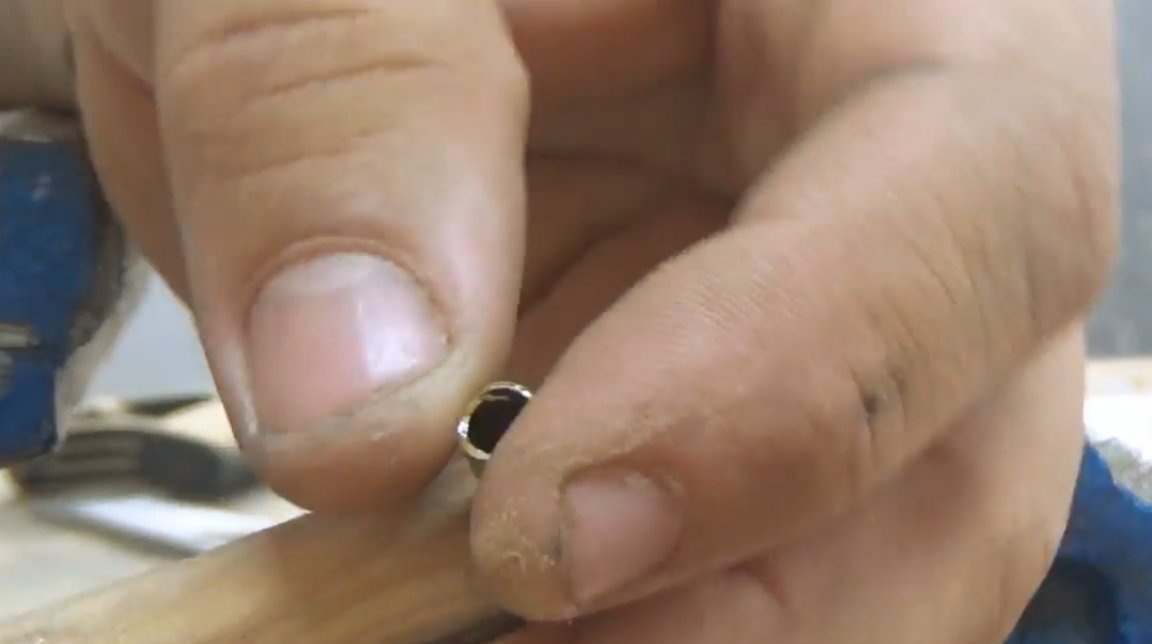
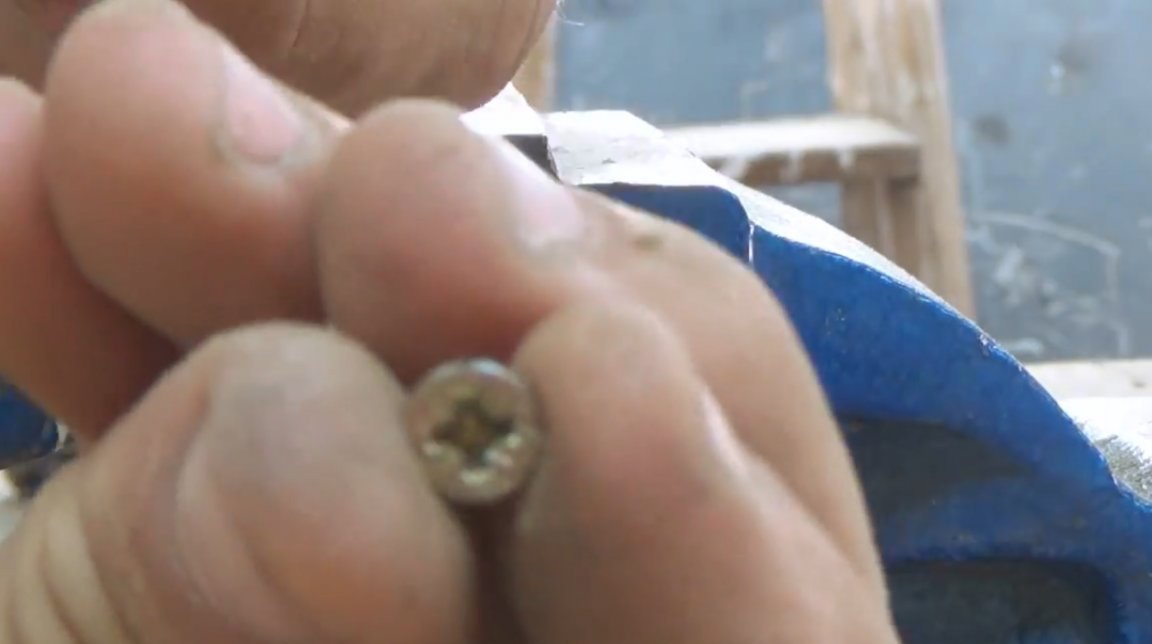
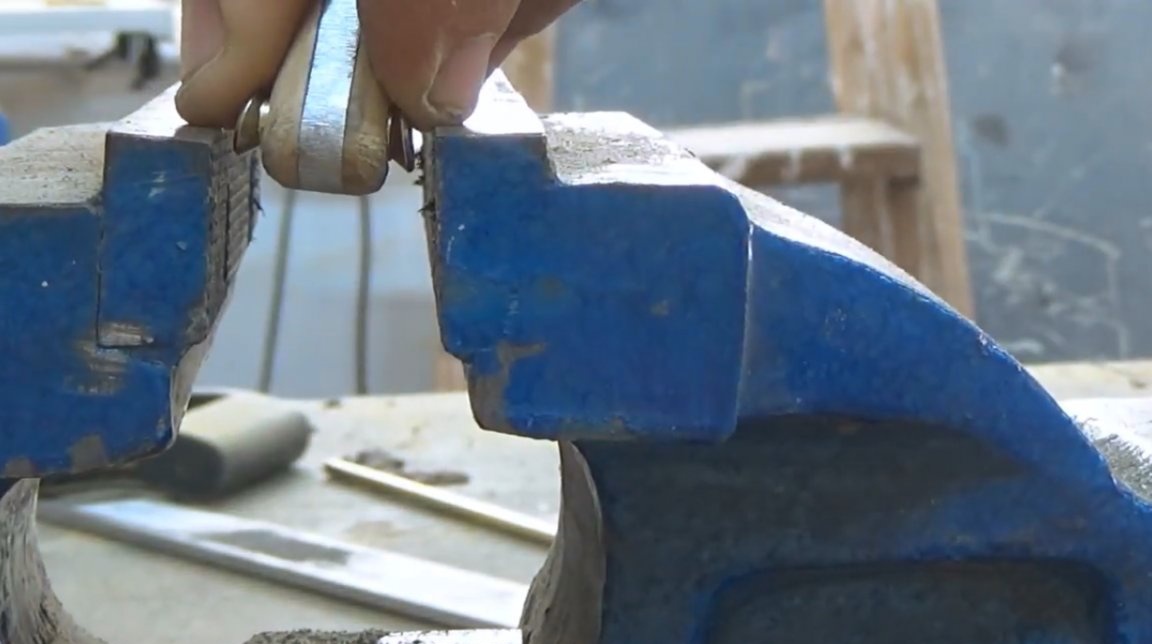
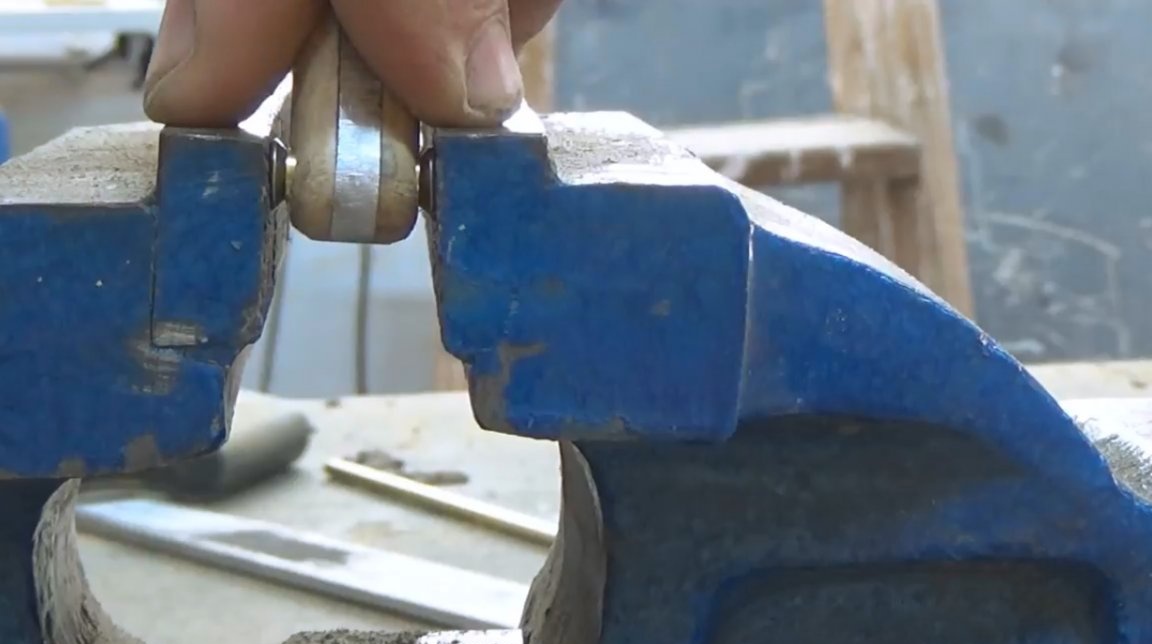
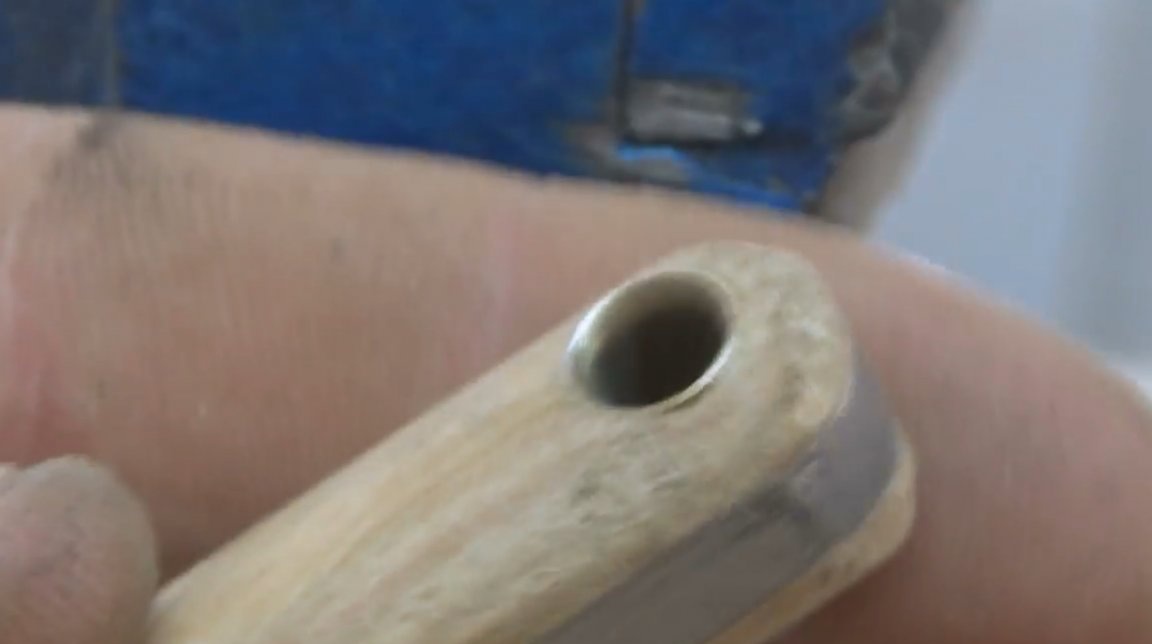
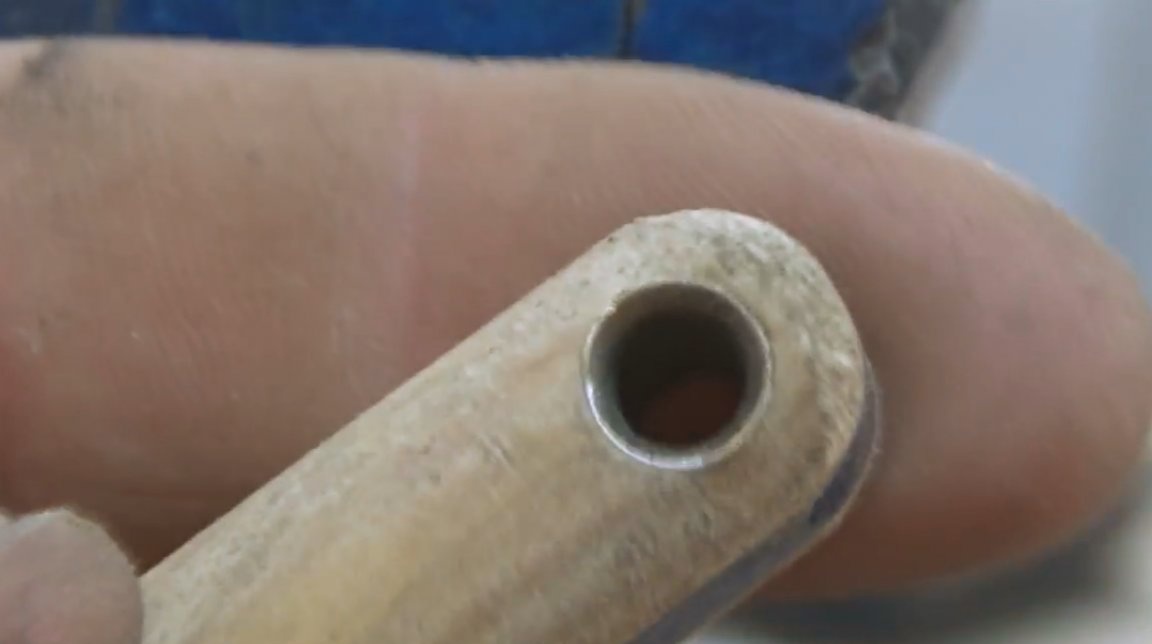
Inserts a brass tube into it. And now - attention! The master applies a very tricky trick! With the help of caps from two screws, he flares the edges of the sleeve, clamping in a vice.
That’s such a charm - you’ll hang it on a carnation, or let a rope pass.
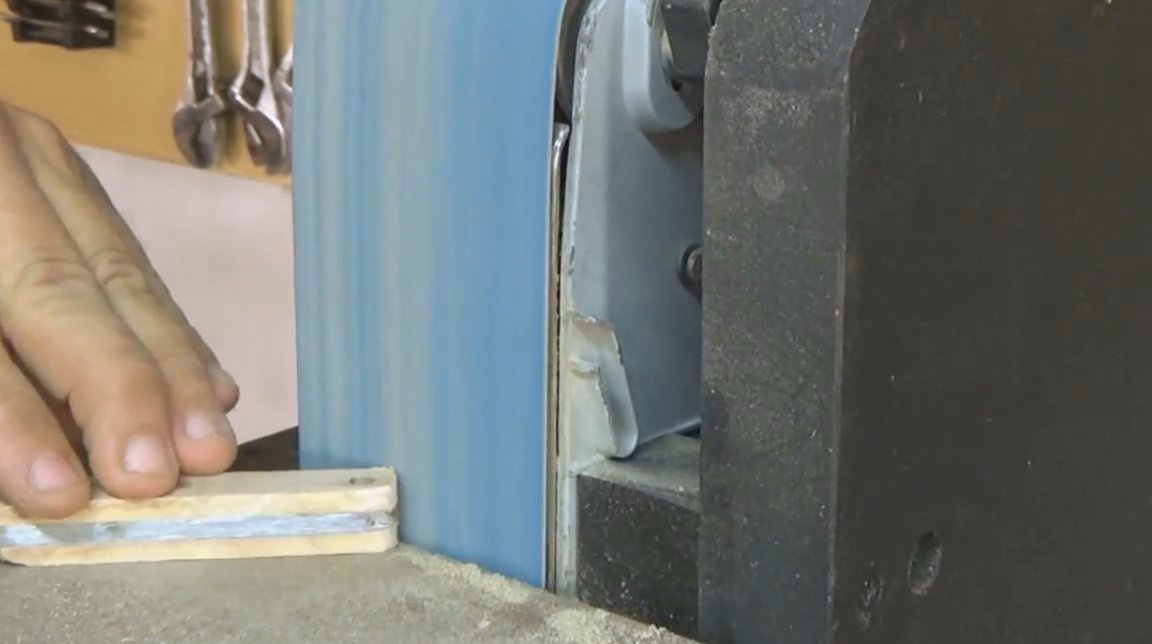
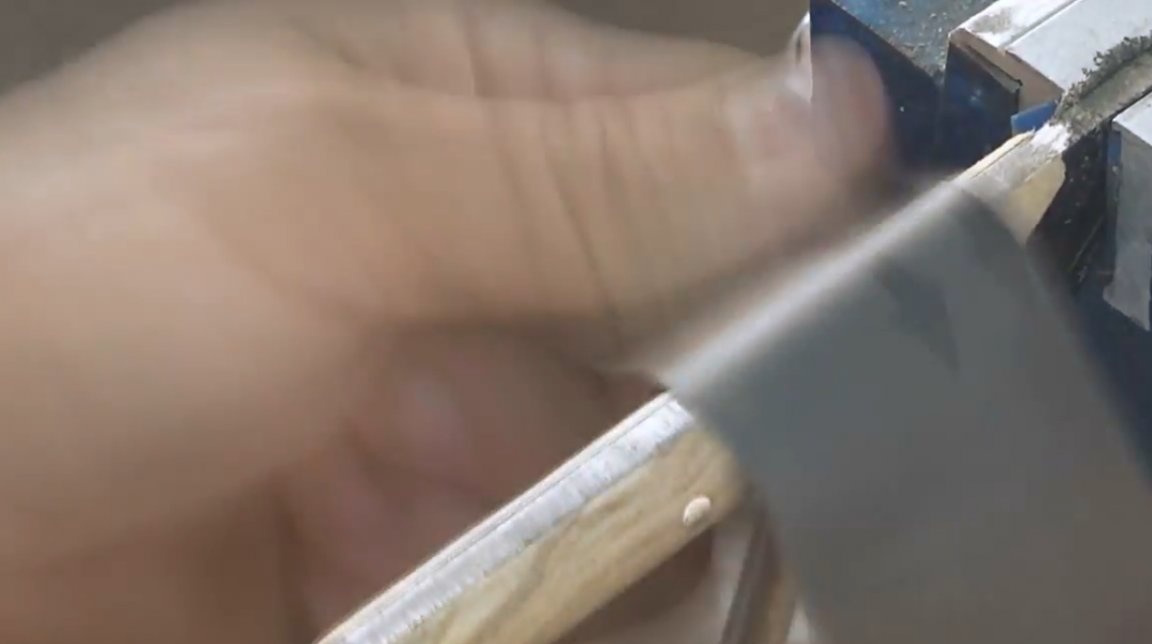
Finishing the handle with sandpaper and impregnating with linseed oil.
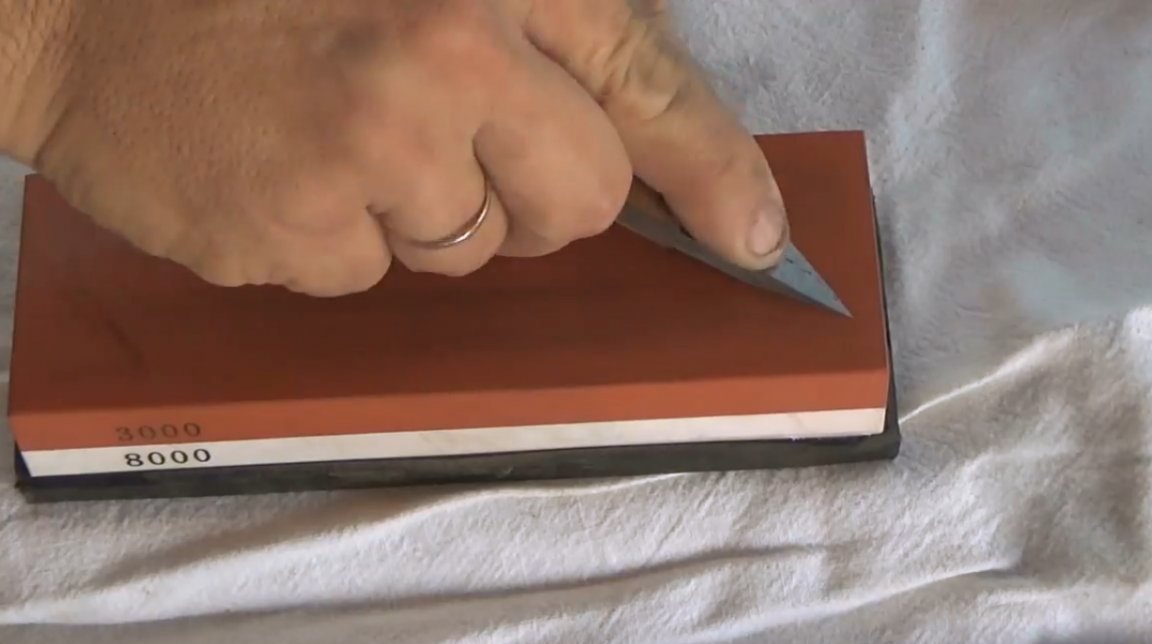
And the final sharpening is 3000, and then 8000 grit.

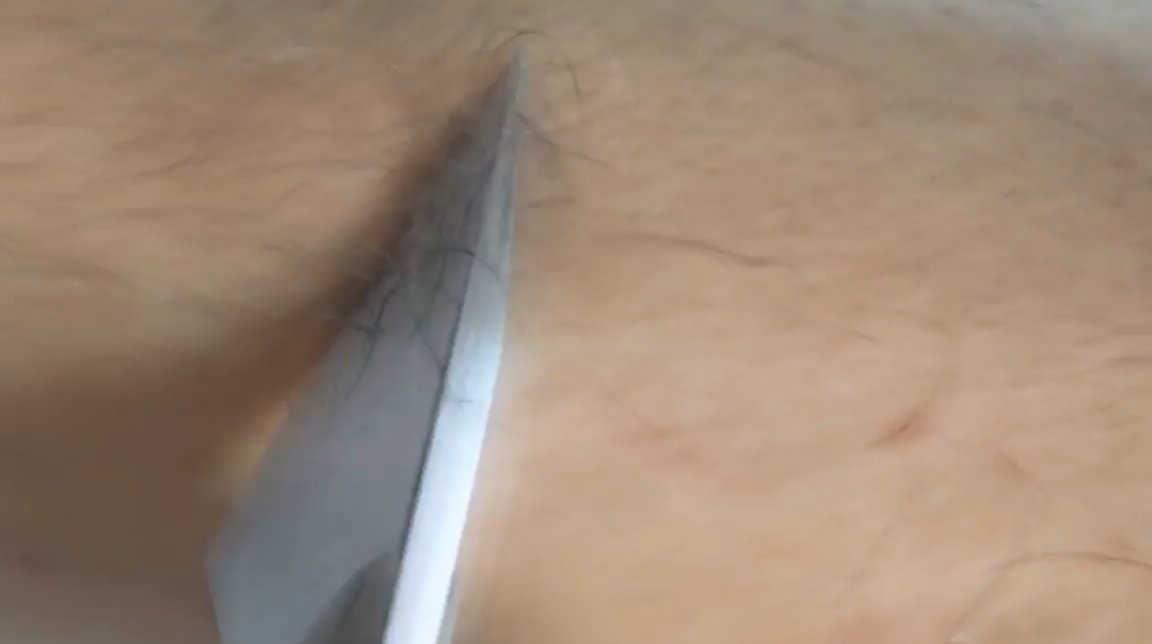
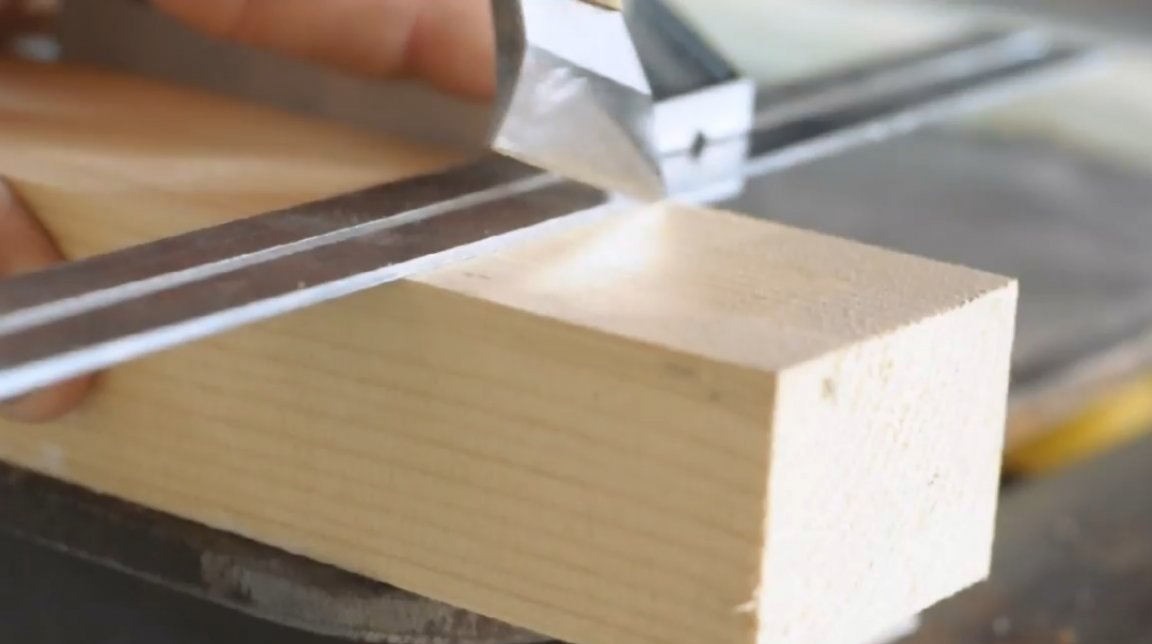
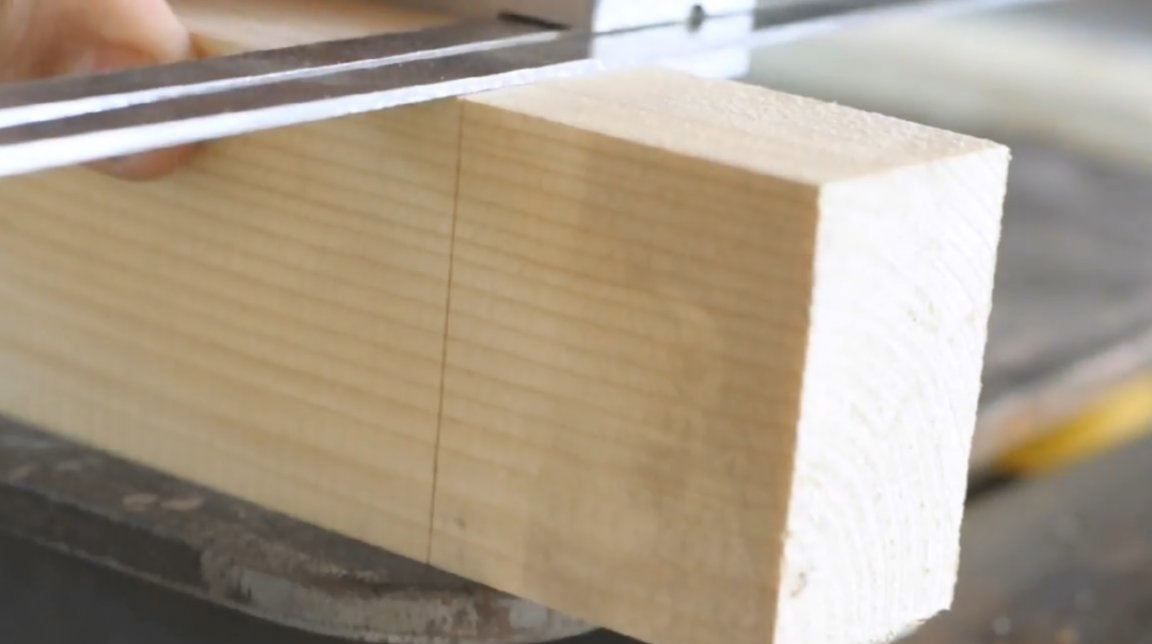
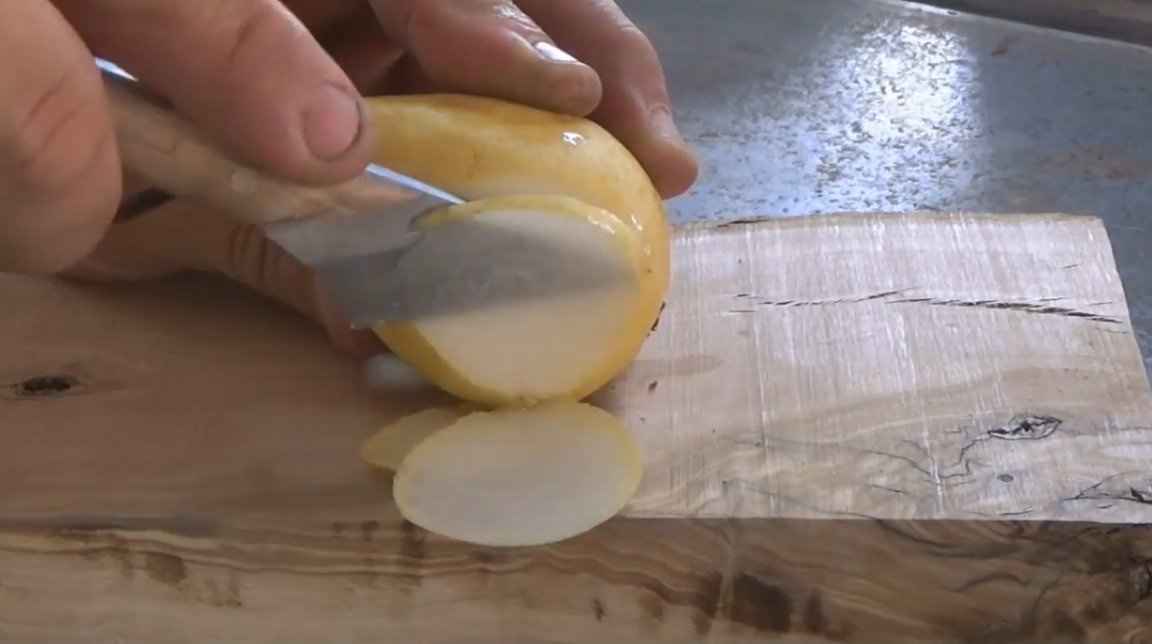
So the time has come for testing. Hair shaves absolutely calmly. Yes, and as a marking tool, the knife is very accurate. The knife cuts even a soft pear into very thin slices.
Thanks to the author for a simple but useful knife for various types of work!
All good mood, good luck, and interesting ideas!