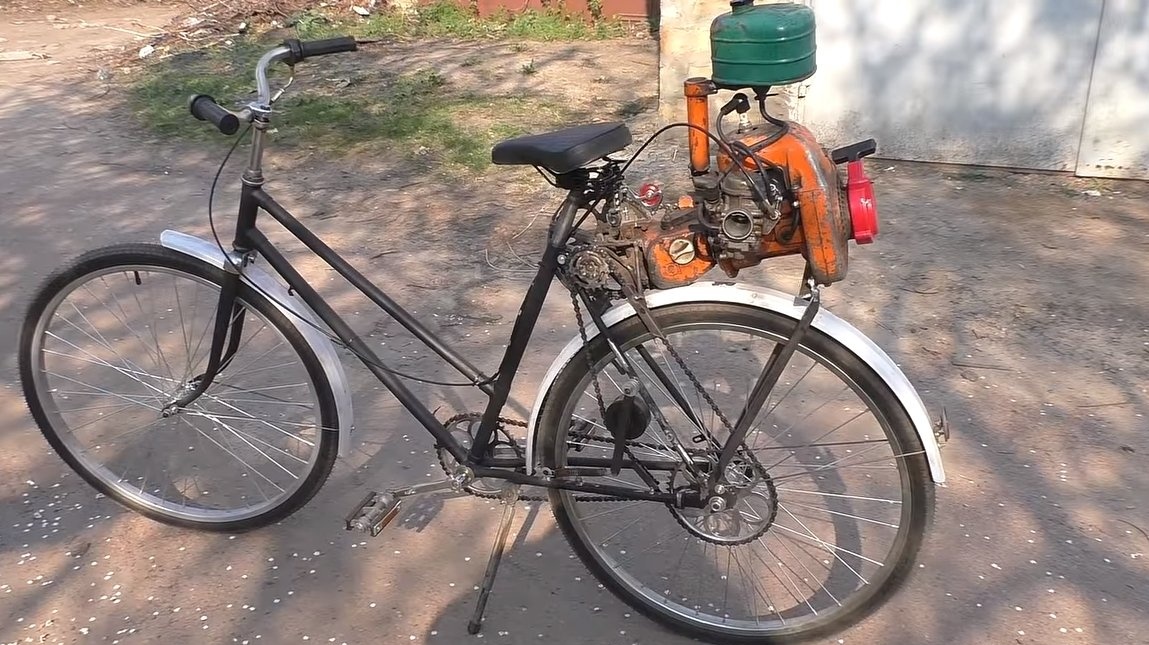
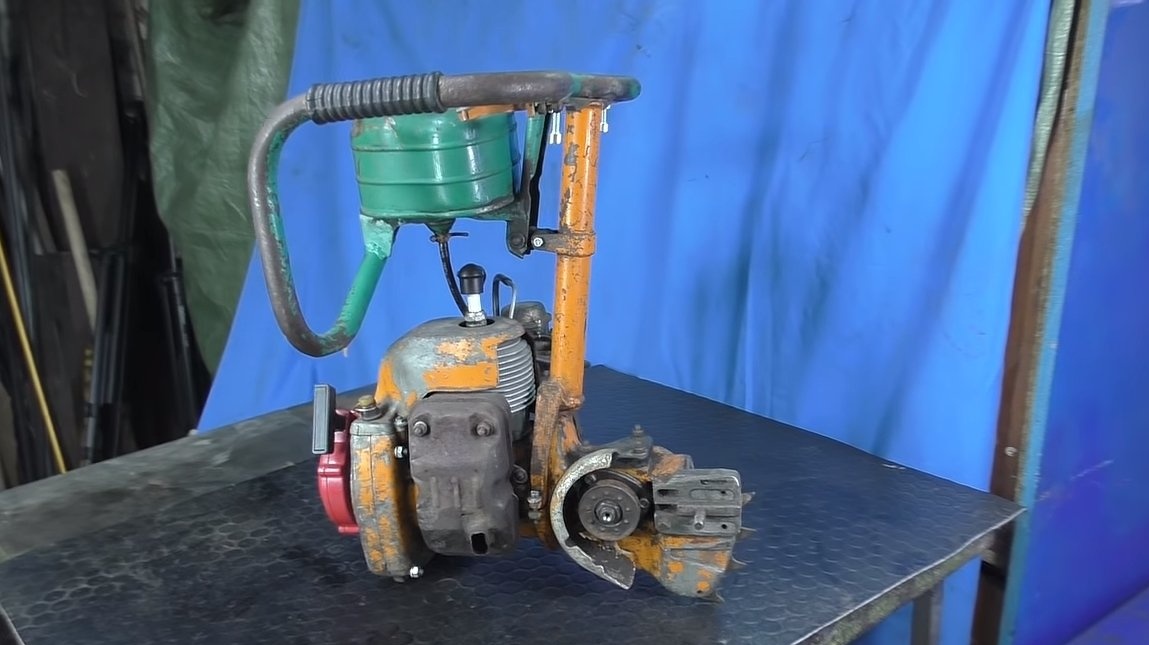
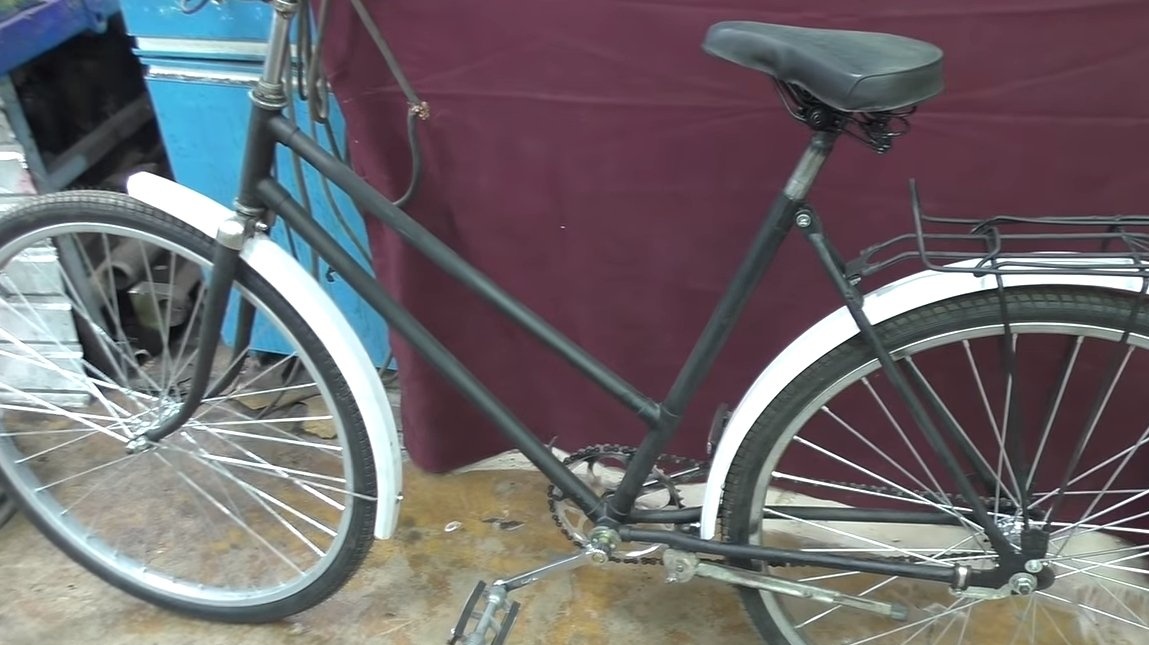
Hello to fans of craftsmanship, today we will consider how to connect a chainsaw to a bicycle, as a result of which we get a moped. The author used a chainsaw rather old, but powerful, this is the notorious Ural chainsaw. Bike the author redid, made a safe frame, and also replaced the wheel spokes with more durable, reinforced ones. Homemade the assembly is quite simple, we need to make a bicycle gear from bicycle parts and install everything on a bicycle. According to the author, the homemade pulls perfectly, with regard to maximum speed, this remains unknown. If you are interested in the project, I propose to study it in more detail!
Materials and tools used by the author:
Material List:
- Ural chainsaw;
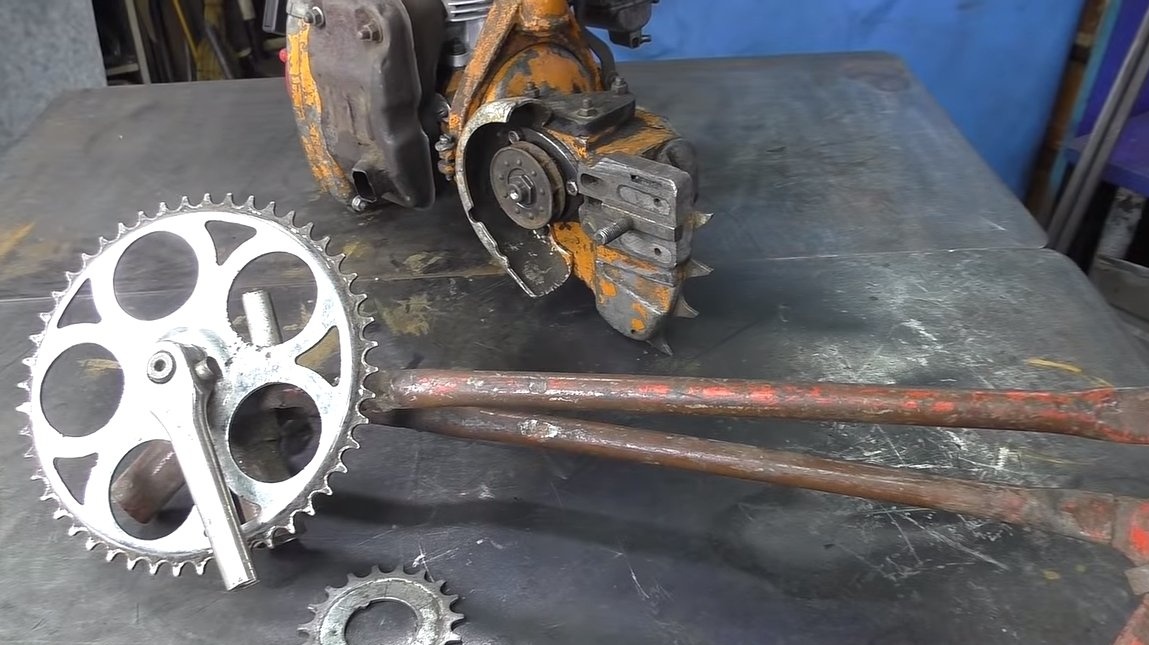
- two driven and one driving asterisk from the bicycle;
- carriage with axle and connecting rods;
- bicycle chain;
- throttle handle and cable;
- chain tensioners for a bicycle;
- pulley, spring (for tensioner);
- profile pipes;
- iron plates.
Tool List:
- ;
- ;
- vise;
- drill.
Homemade manufacturing process:
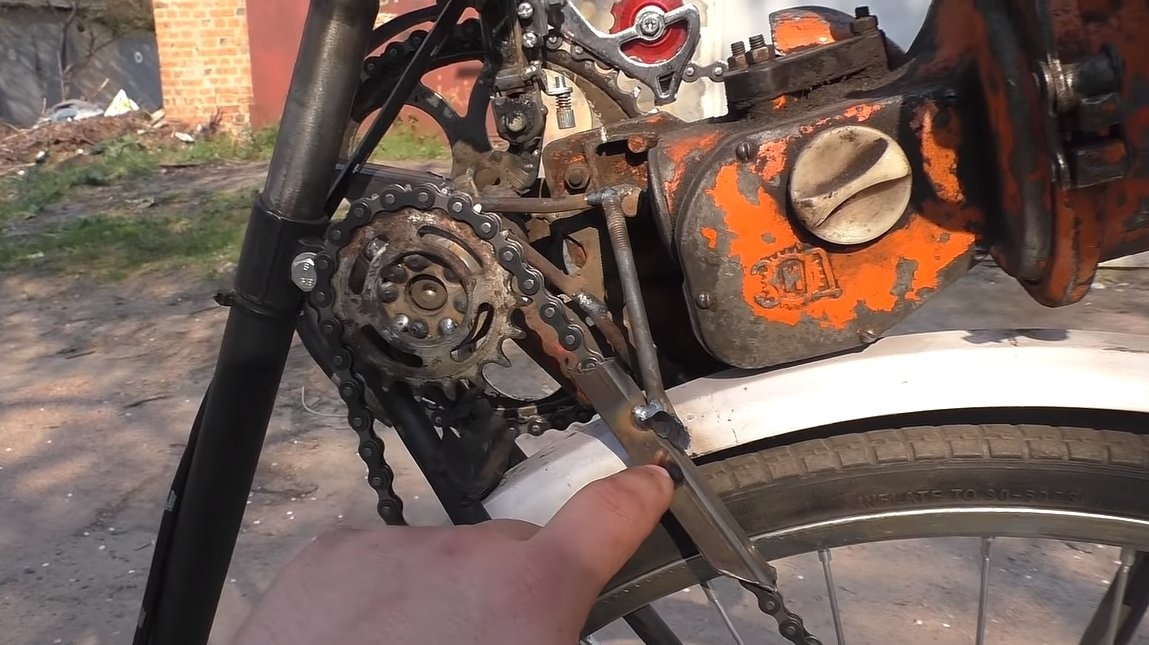
Step one. Gearbox
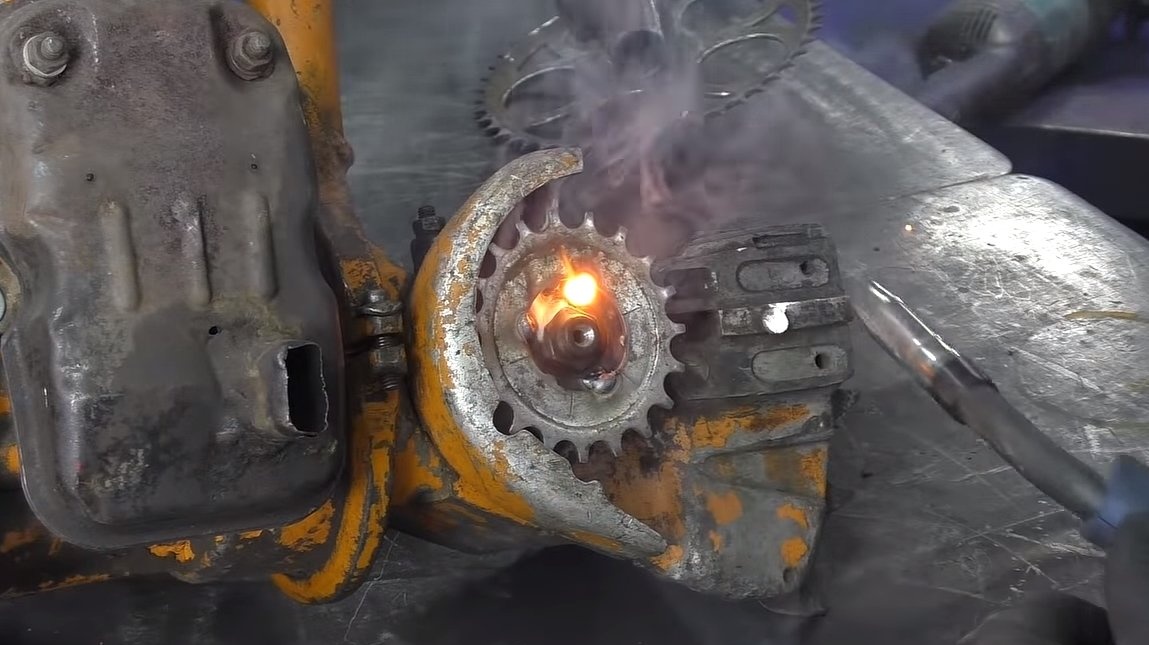
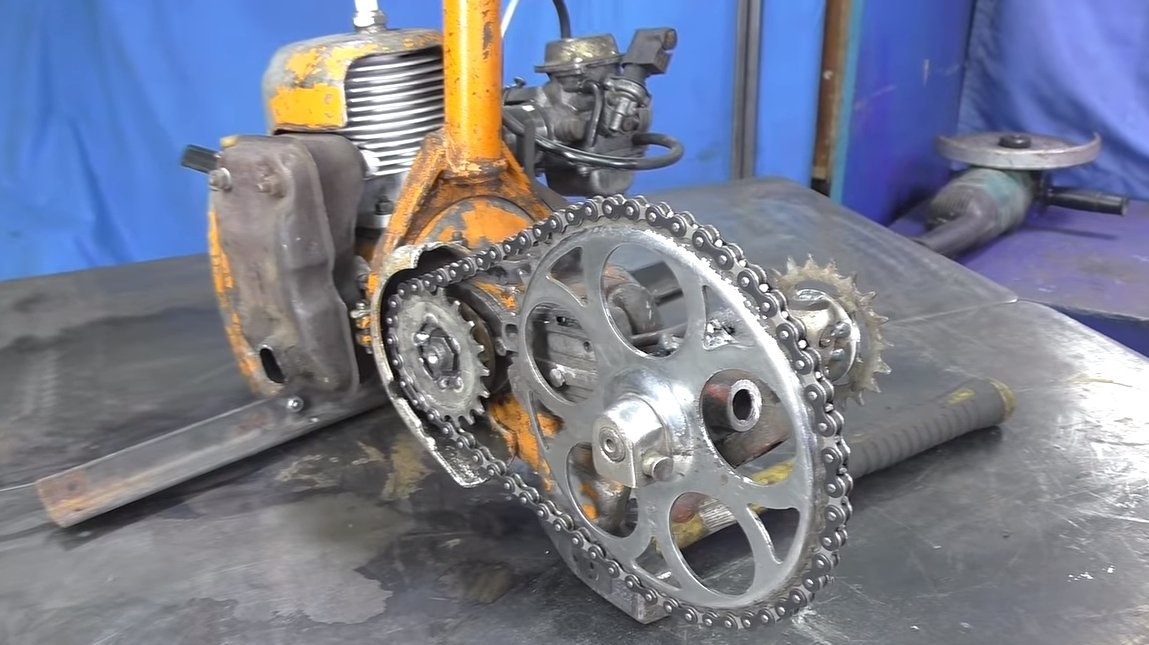
The working shaft of the chainsaw engine develops enormous revolutions, but we do not need them, we need to turn them into lower revolutions with high torque. We assemble the gearbox from the bicycle carriage, cut off the excess parts of the frame, and also cut the connecting rods. Next, we need a small asterisk from the rear wheel, it needs to be welded to that part of the axis where there is no asterisk. That's all, after that the gearbox will be ready.
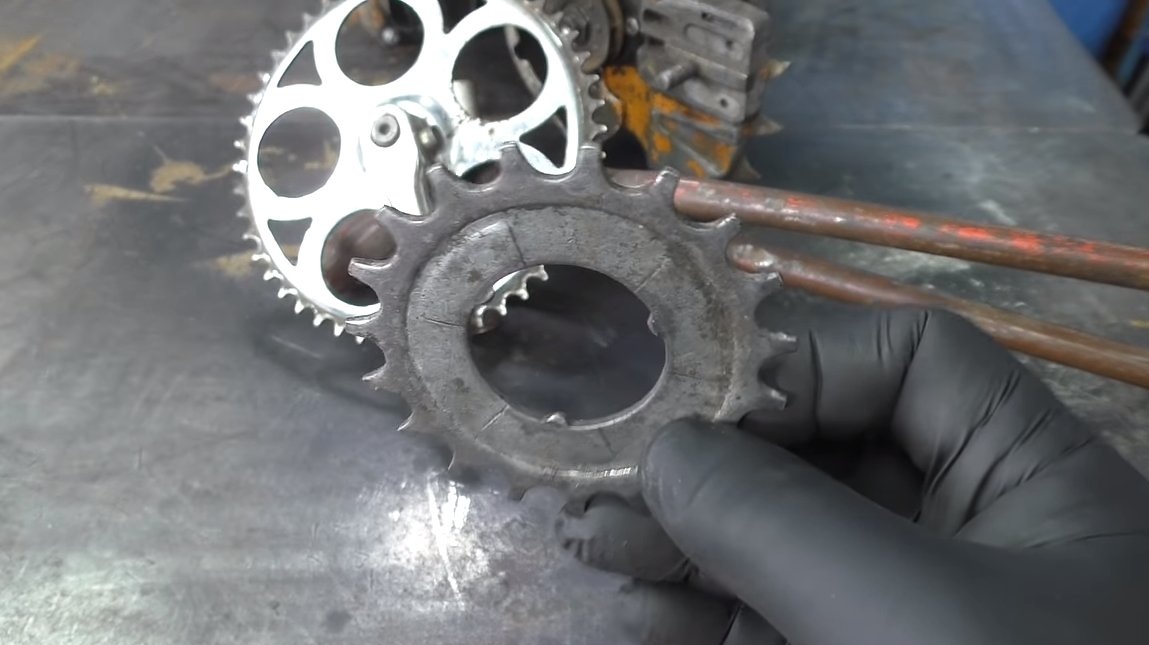
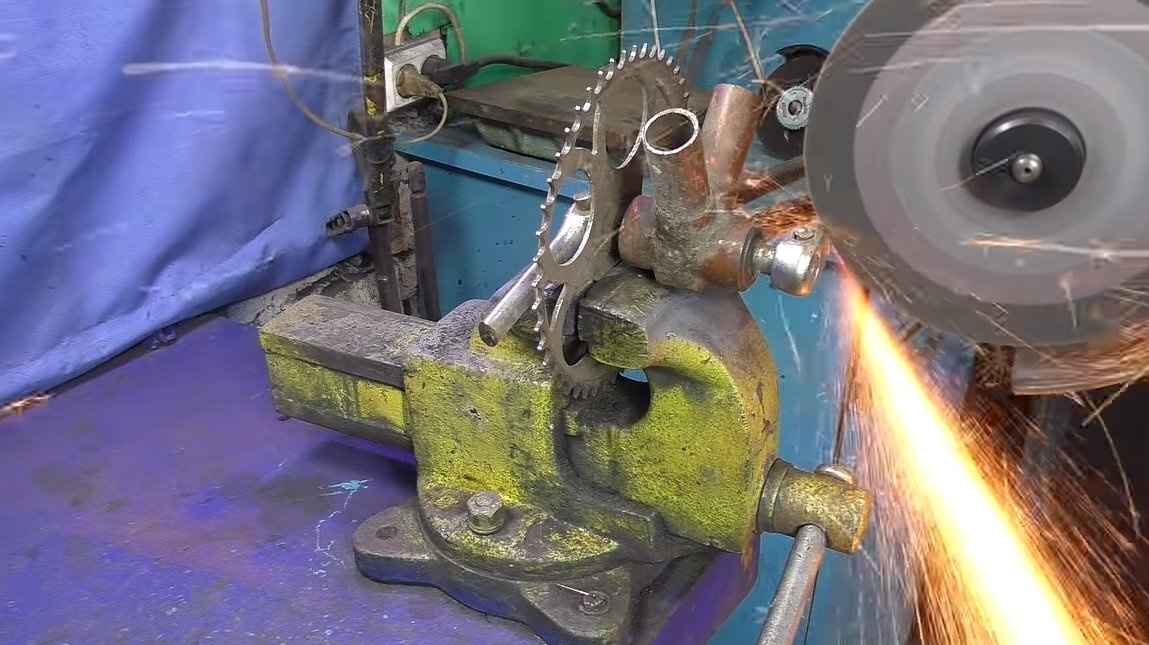
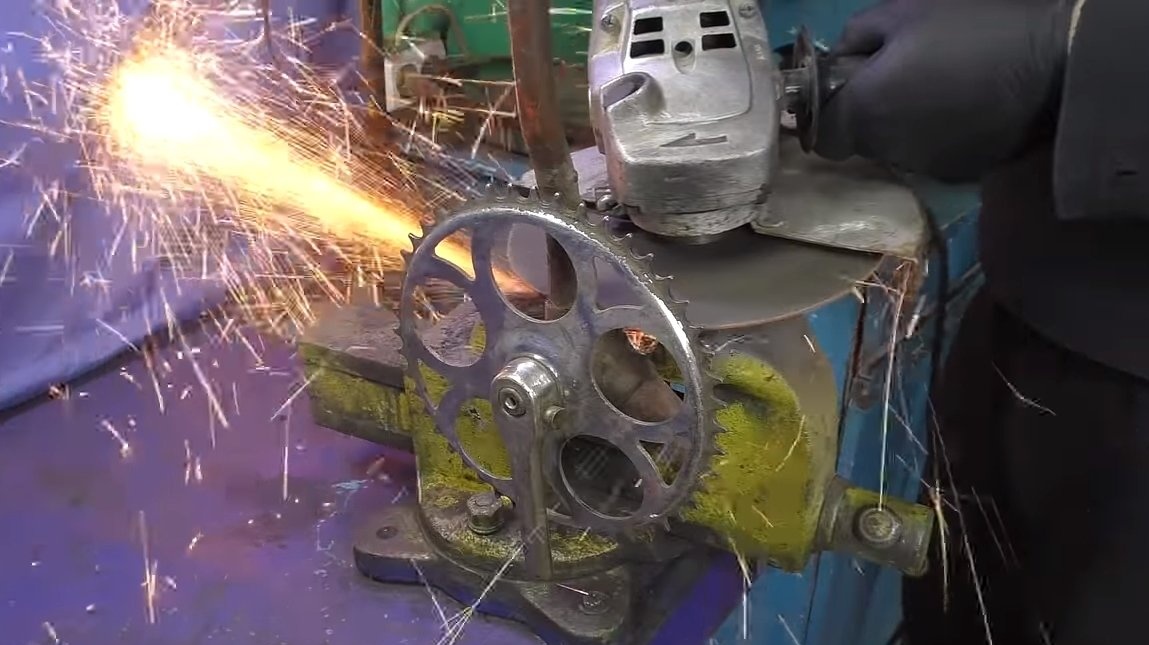
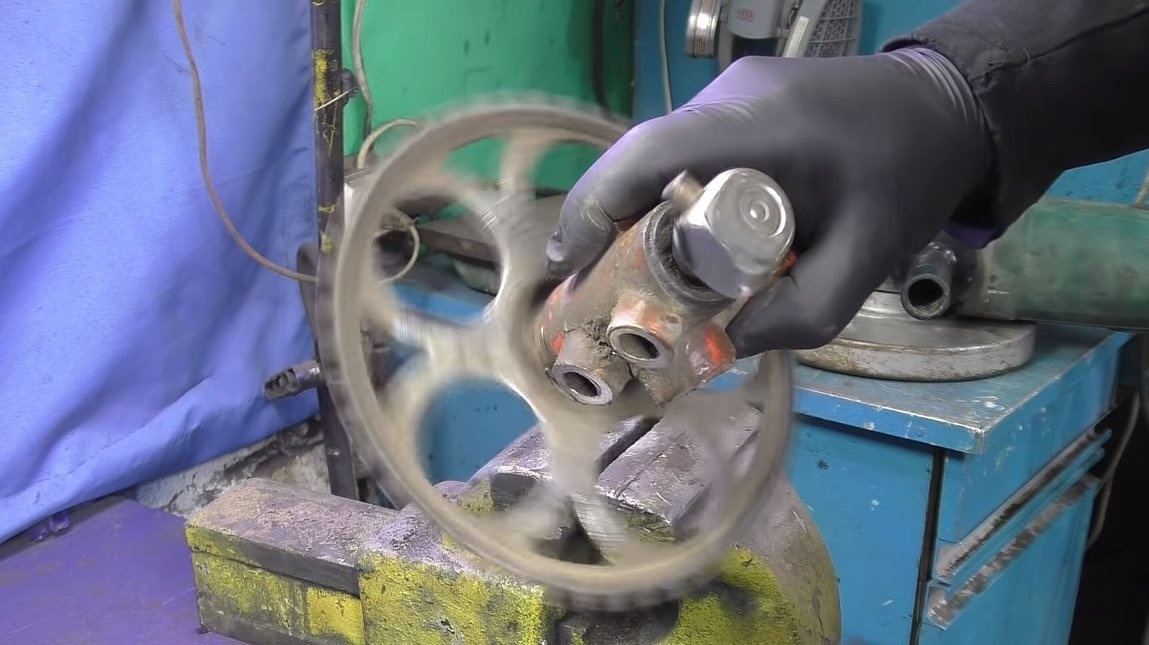

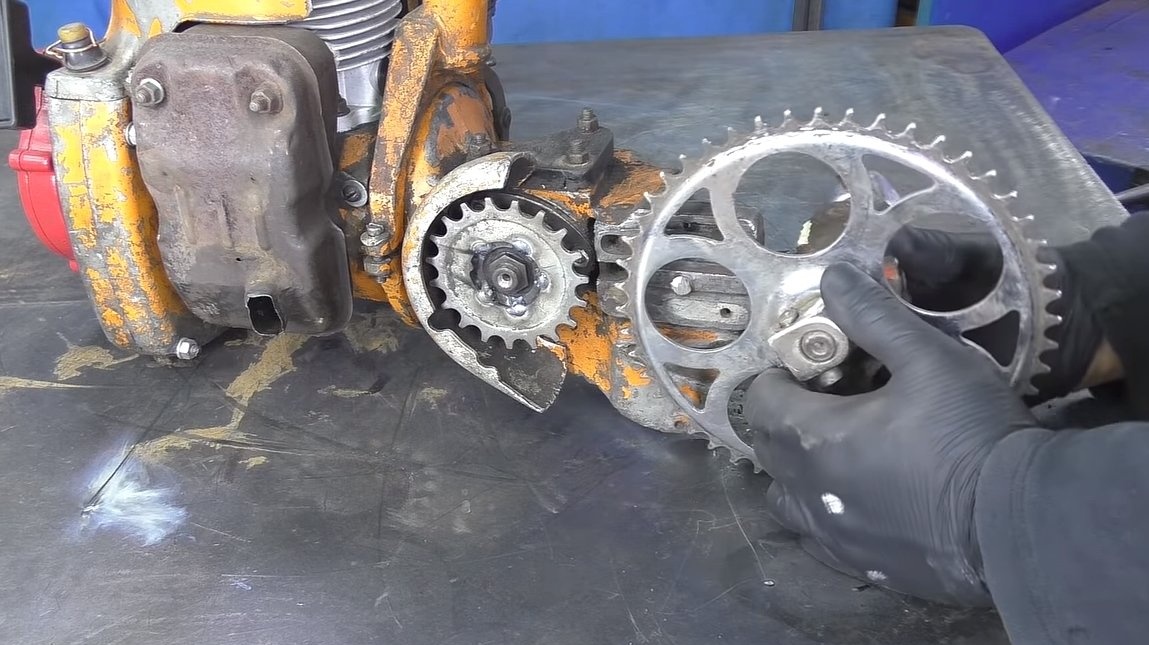
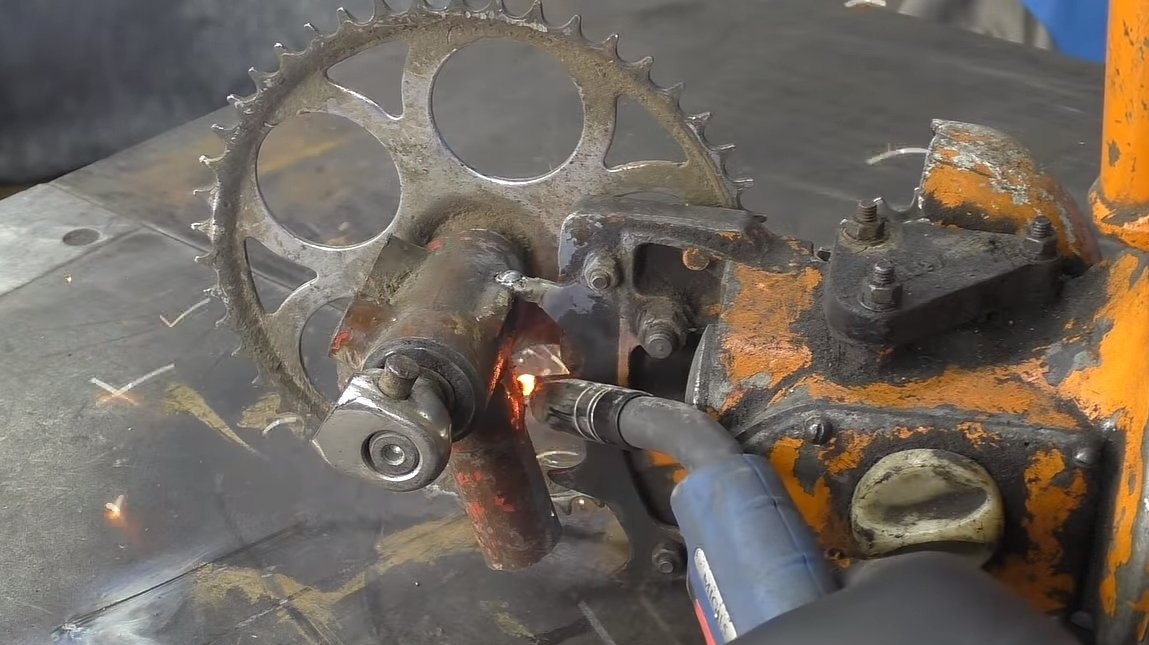
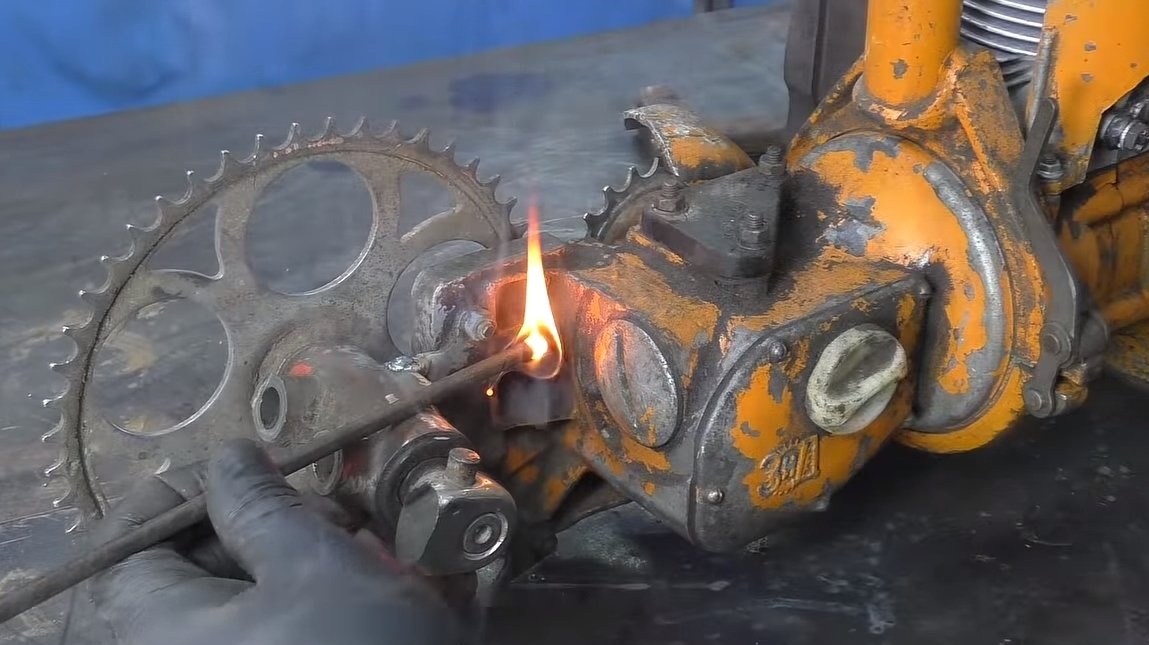

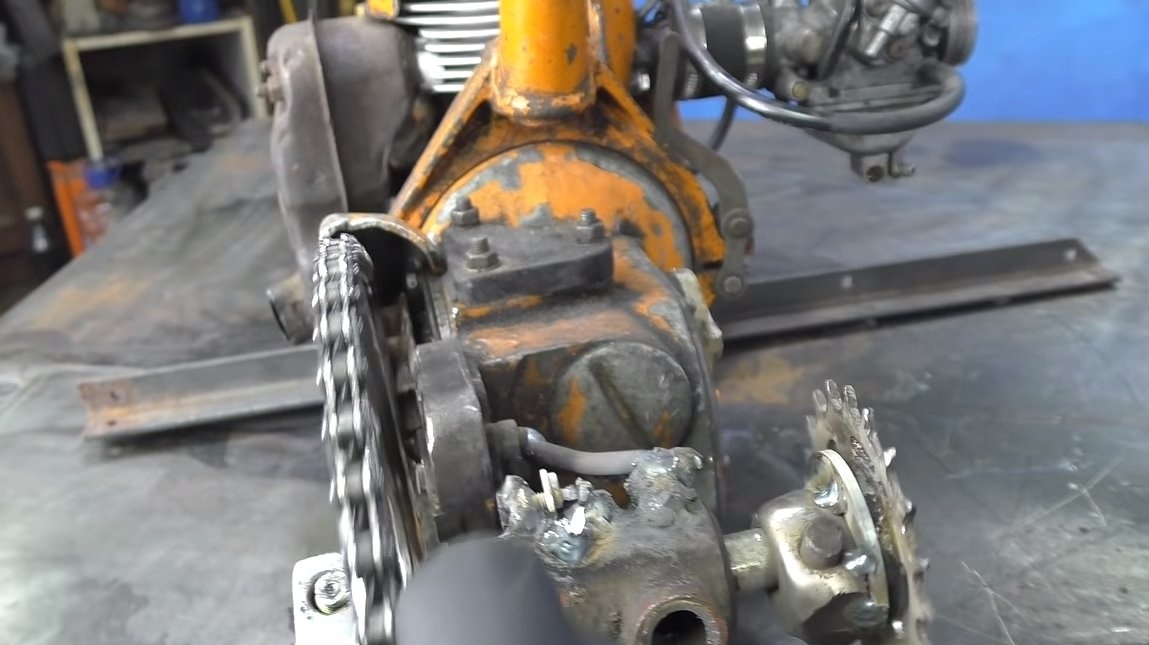
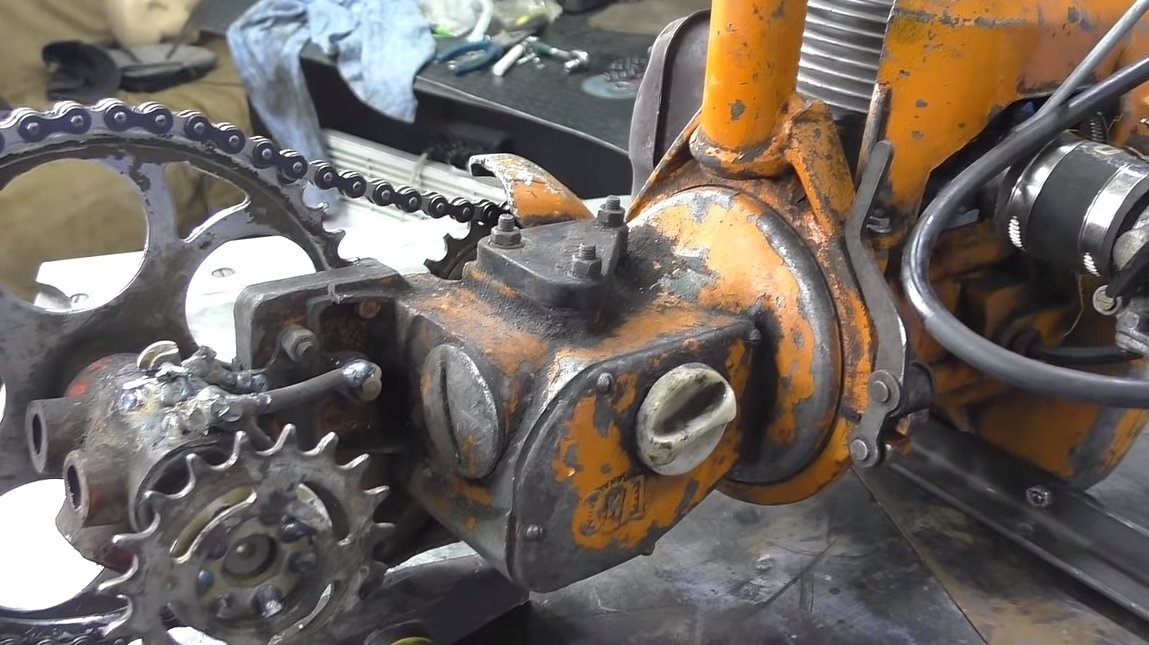
To connect the saw to the gearbox, you need another small bicycle sprocket, it needs to be welded to the chainsaw sprocket. We fix the reducer to the chainsaw body, weld it to the thorn saw spikes, and additionally strengthen everything with iron rods or other parts. We install a chain on the gearbox, start, check whether the chain flies. If the sprockets are welded too crooked, the chain will most likely fly off.
Later, the author will install the chain tensioner gearbox, used a machine from a multi-speed bike.
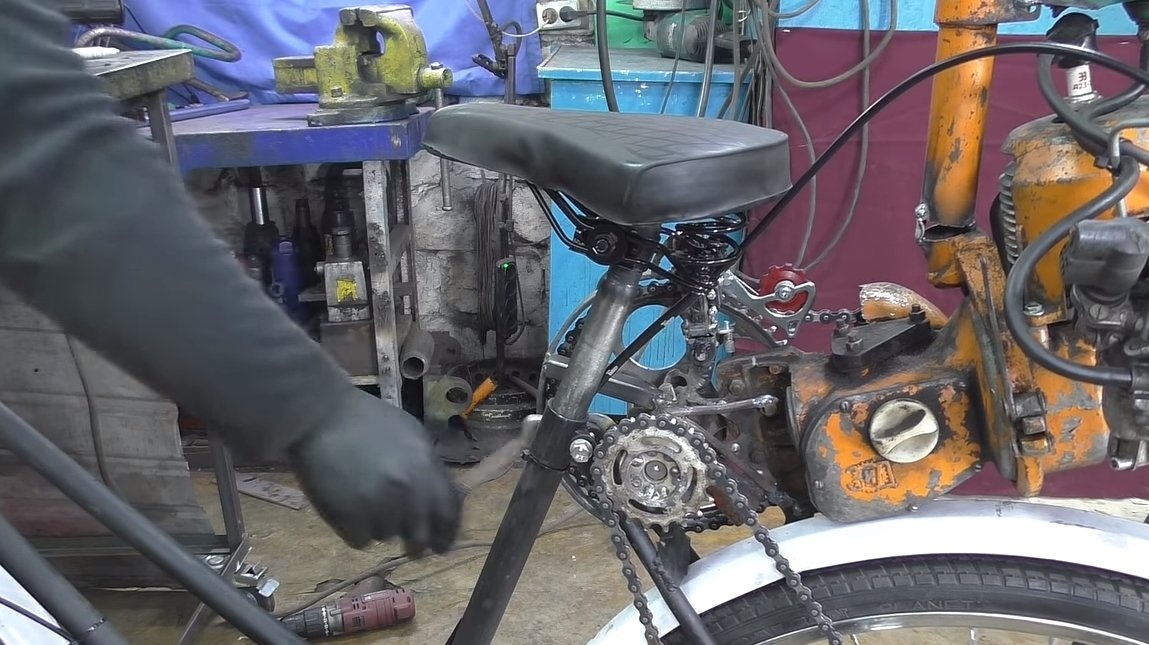
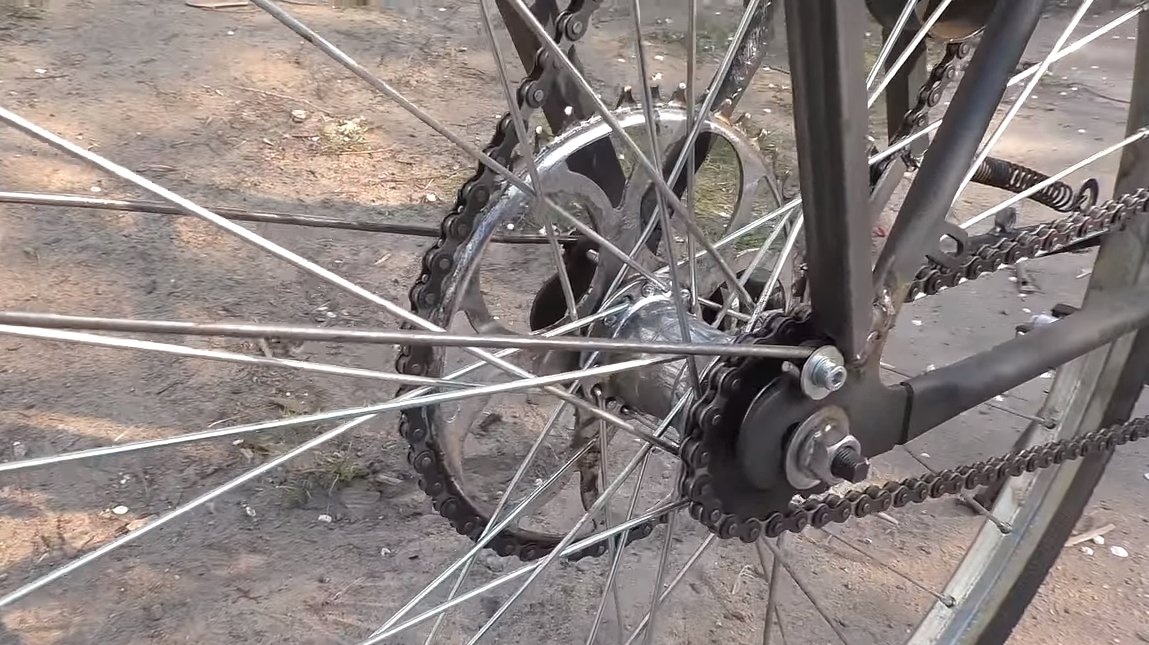
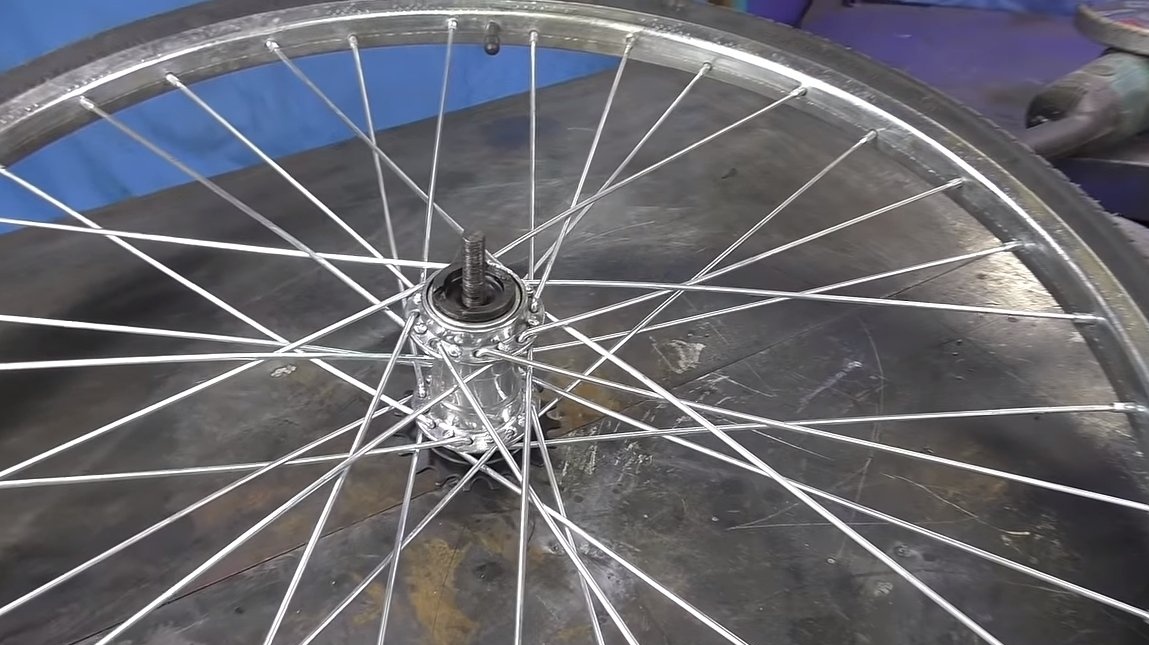
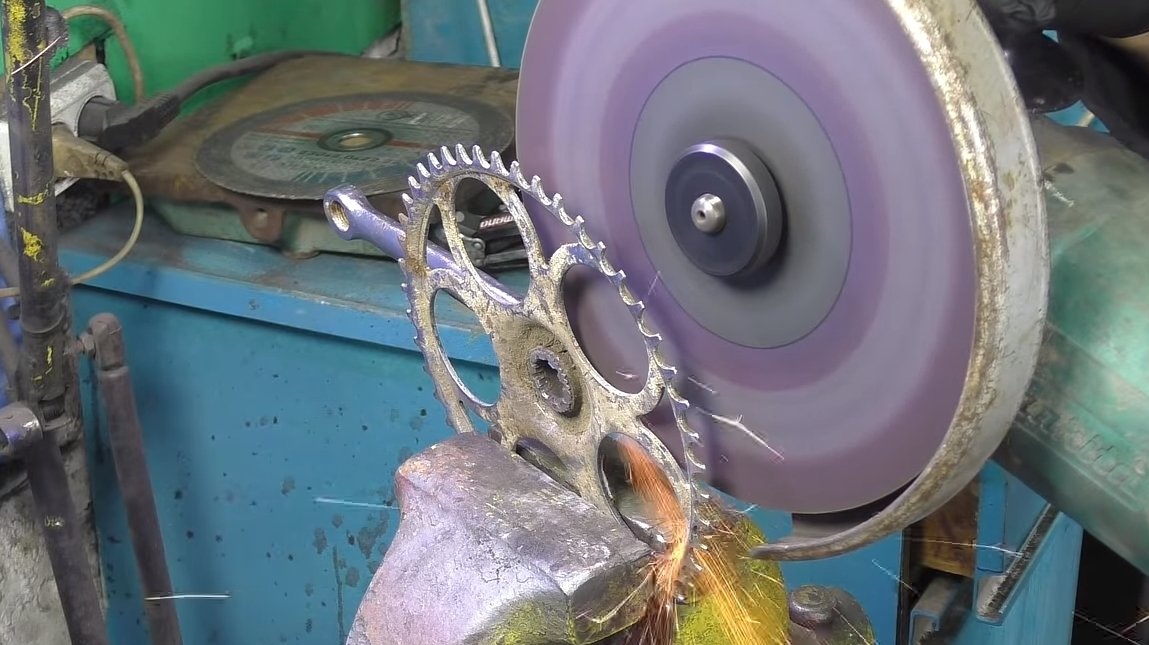
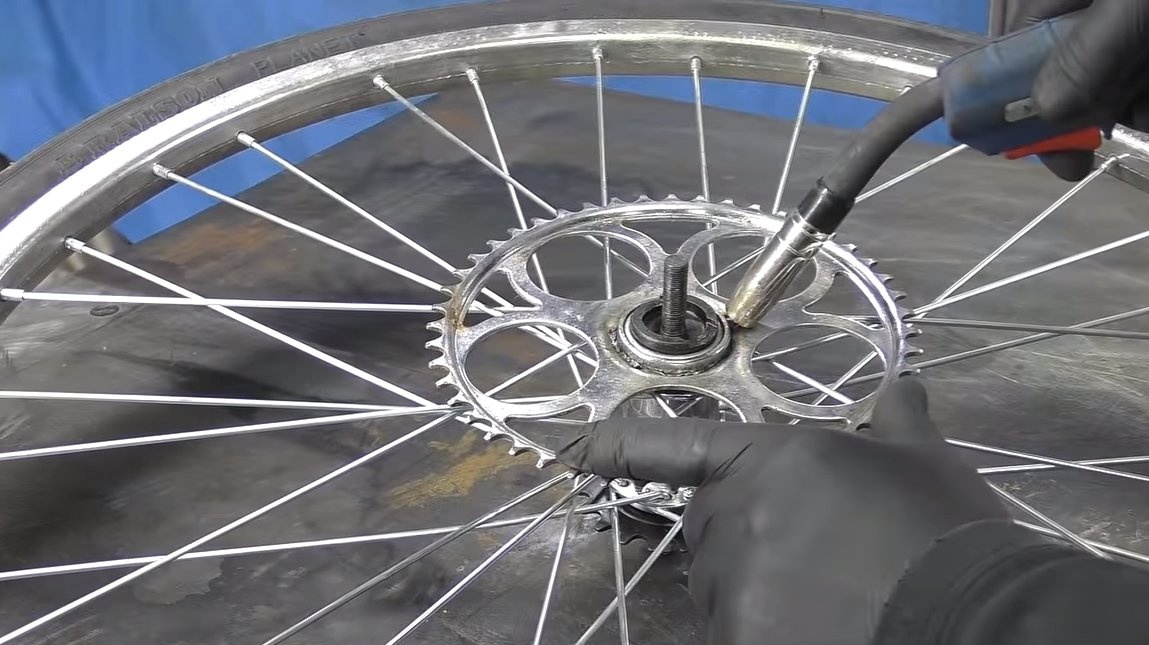
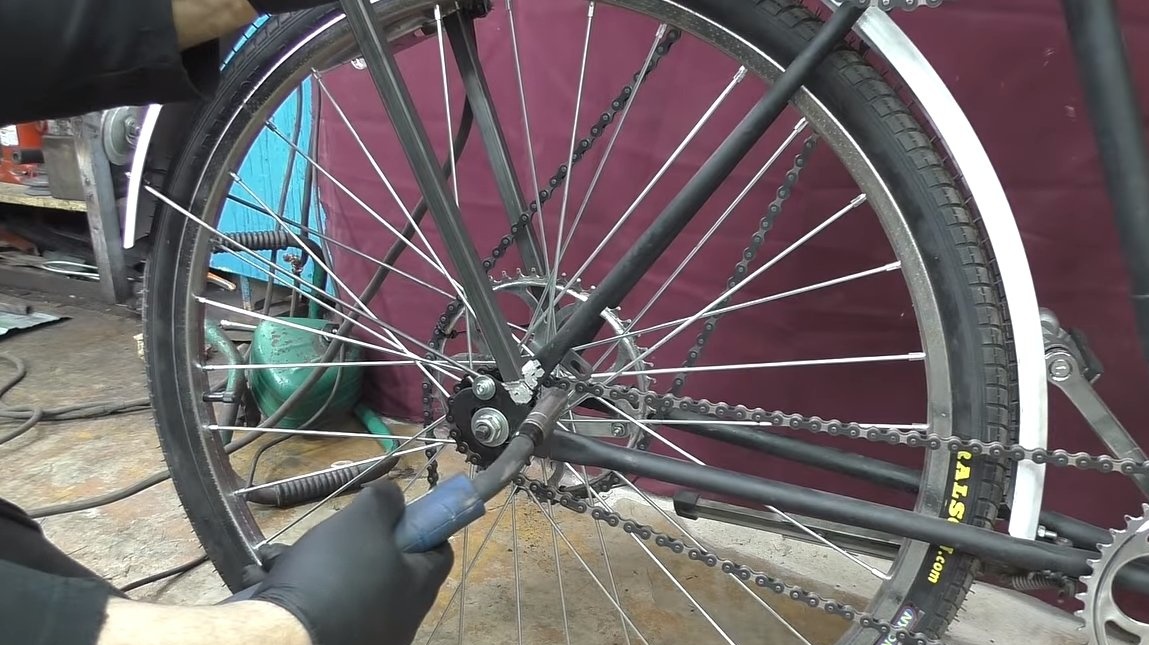
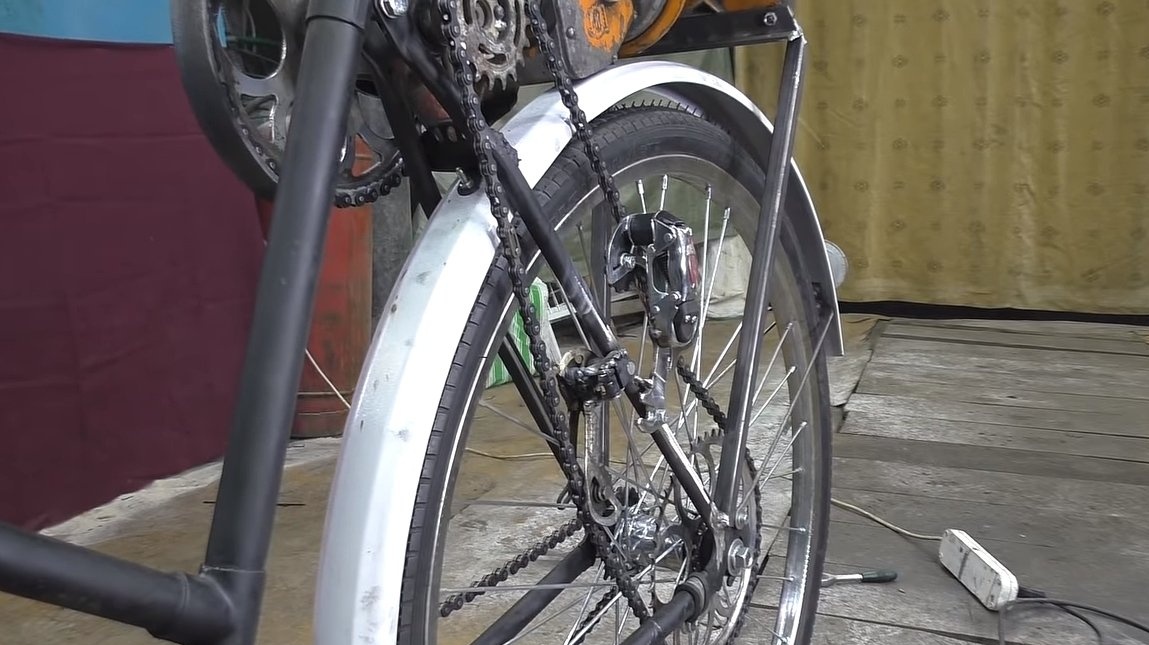
Step Two Driven asterisk
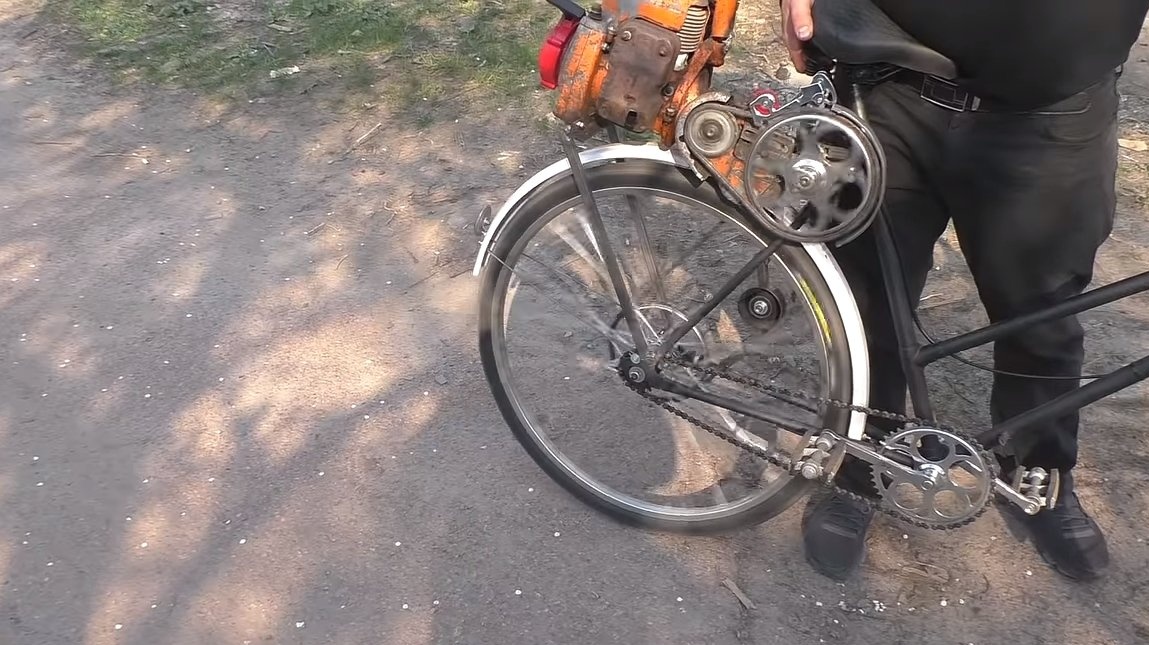
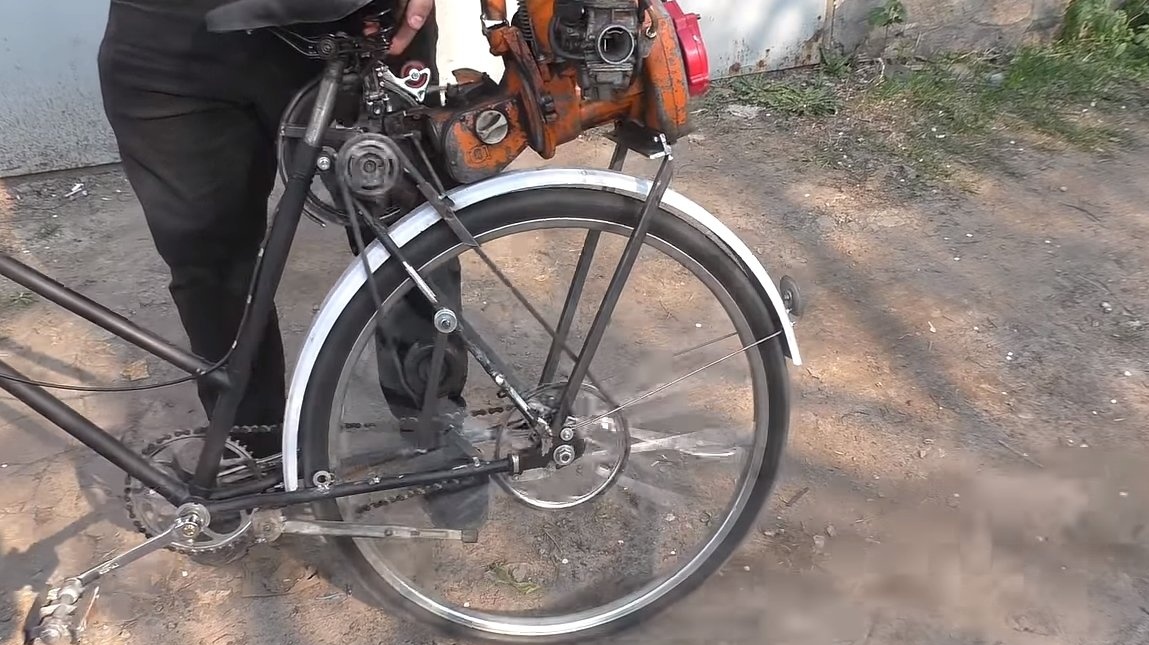
We will need a large diameter driven sprocket to get great torque. The leading asterisk from the bicycle will approach, we cut off the connecting rod from it. The author welds this star to that part of the wheel where the foot brake lever is attached. As a result, our bike’s construction almost does not change; you can ride it both in the pedal mode and with the help of the engine. And if the motor power is not enough, you can always help with your feet.
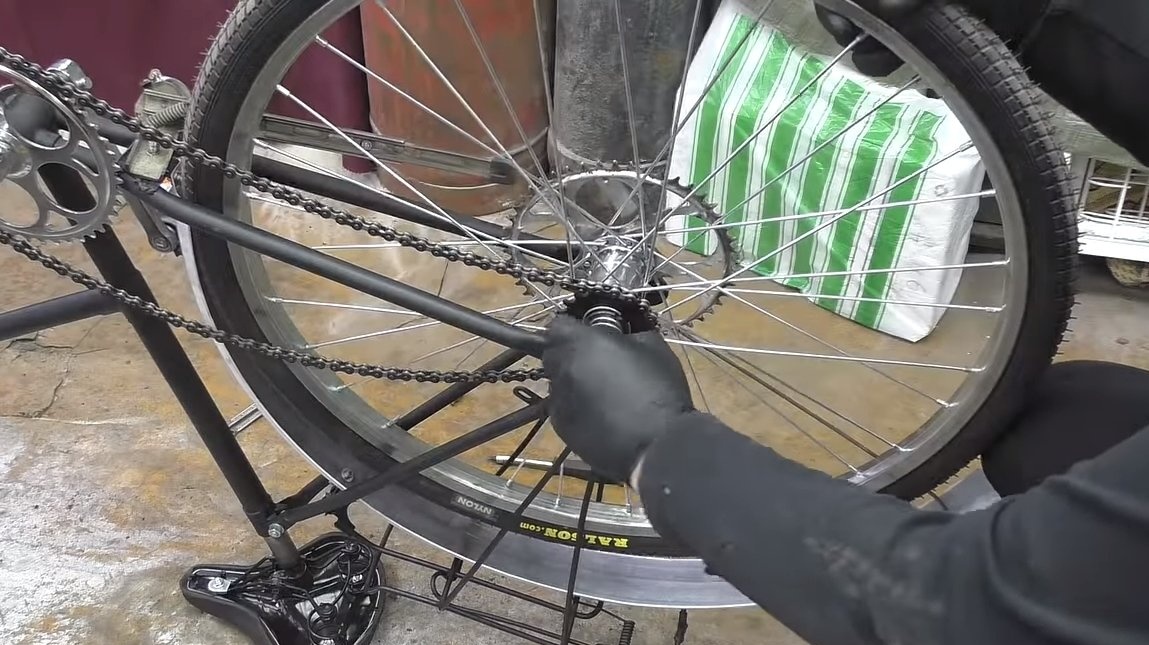
Step Three Engine installation
We proceed to install the engine, and we will install it on the rear trunk. Of course, one trunk can not cope with the set loads, so we additionally strengthen the design with profile pipes.
We install on a bicycle a chain that connects the gasoline engine and the rear wheel. Here the author had a problem, since the stars are welded crookedly, the chain constantly flies, and the chain turned out to be long. To solve the problem, the author made two dampers in the form of pieces of a profile pipe. And a chain tensioner was made of a pulley from a generator, a profile pipe and a spring. After that, the chain stopped flying.
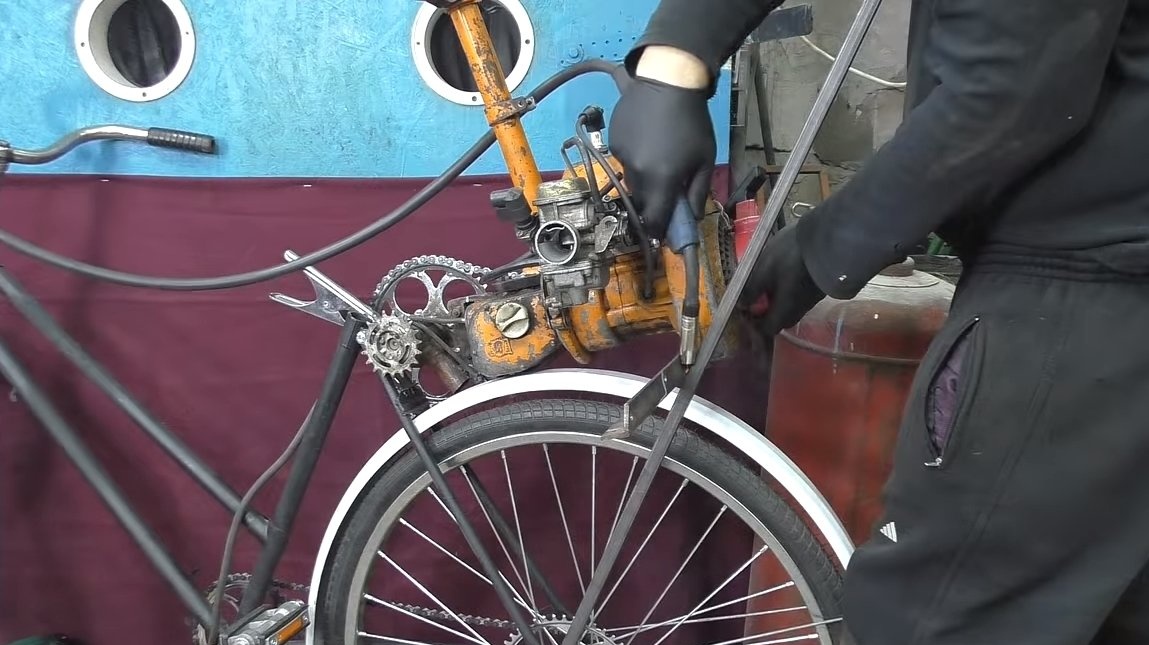
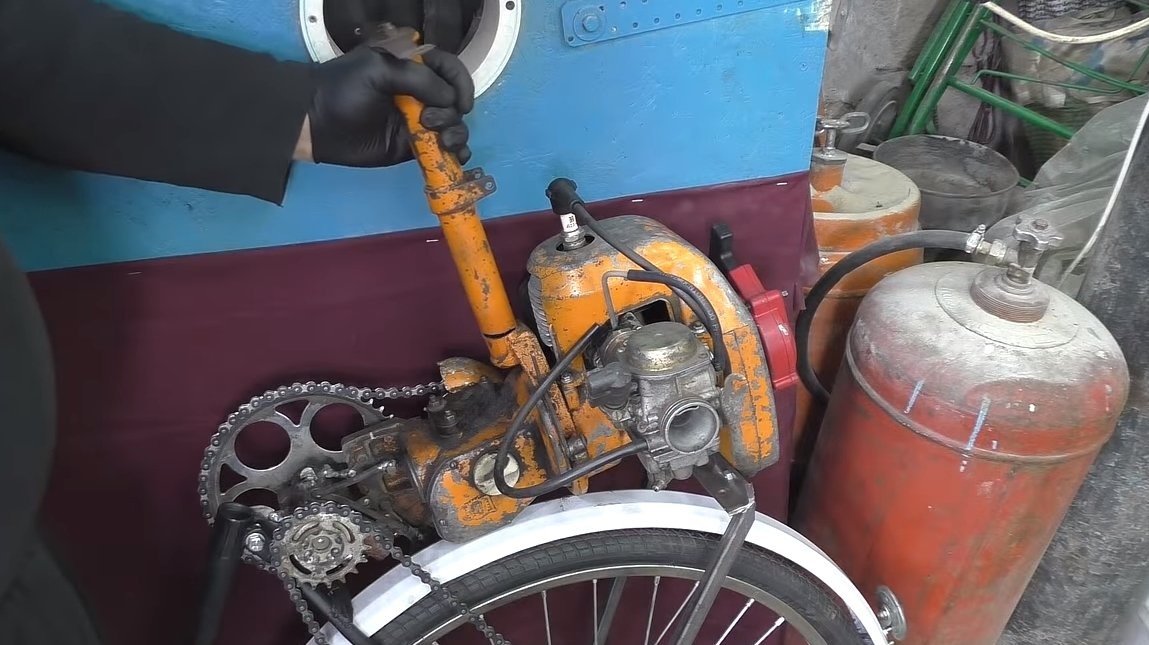
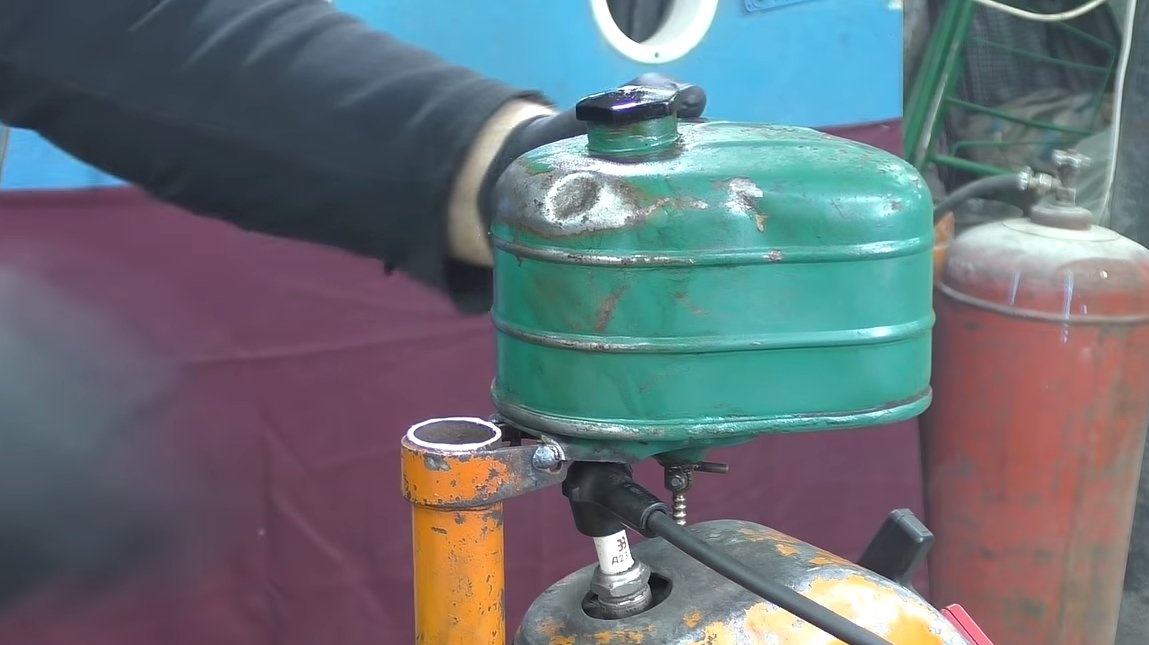
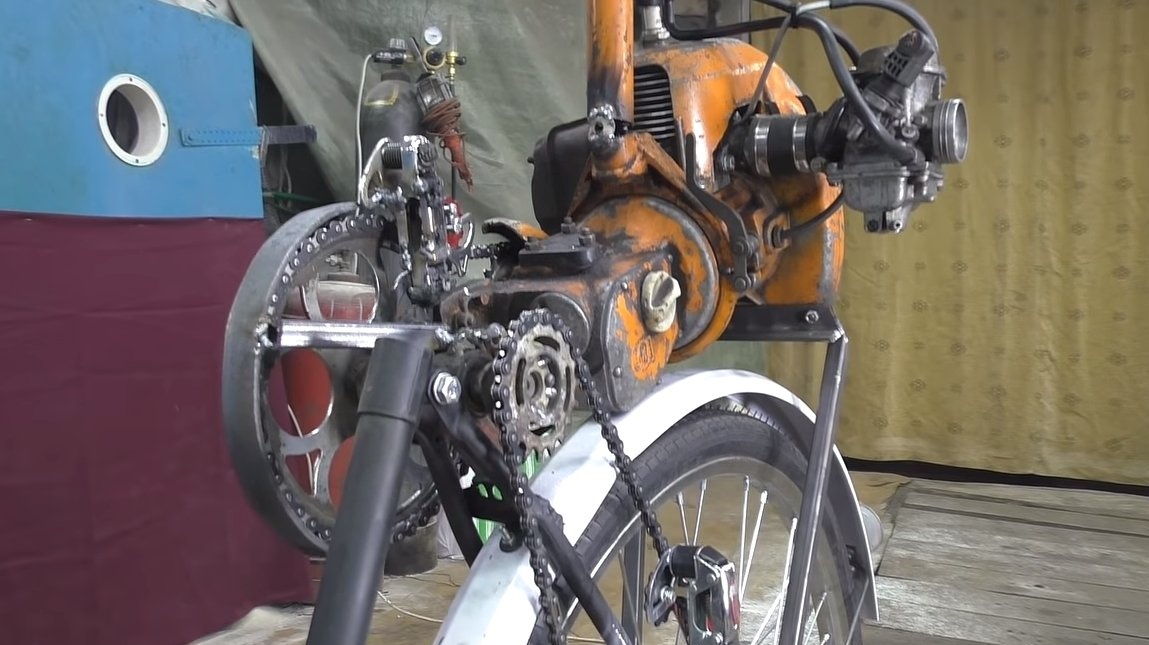
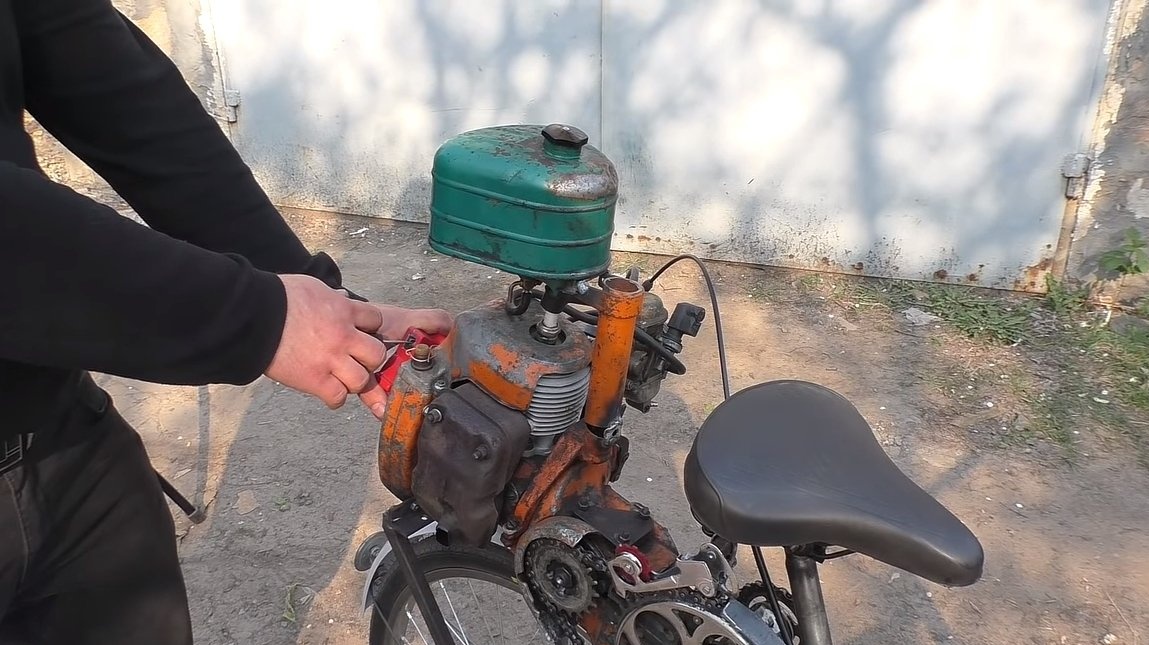
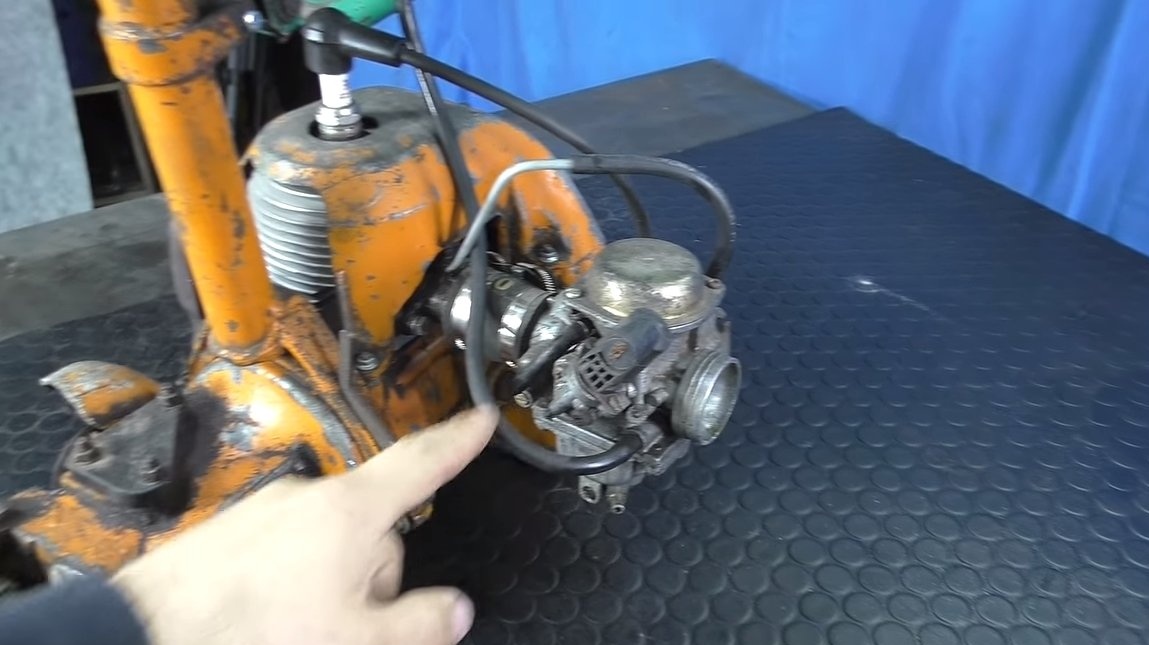
The author’s engine is modernized, a carburetor from a scooter is installed on it. Thanks to such a carburetor, the engine starts easier and runs faster. At the end of the engine installation, you will need to install the gas tank in a convenient location.
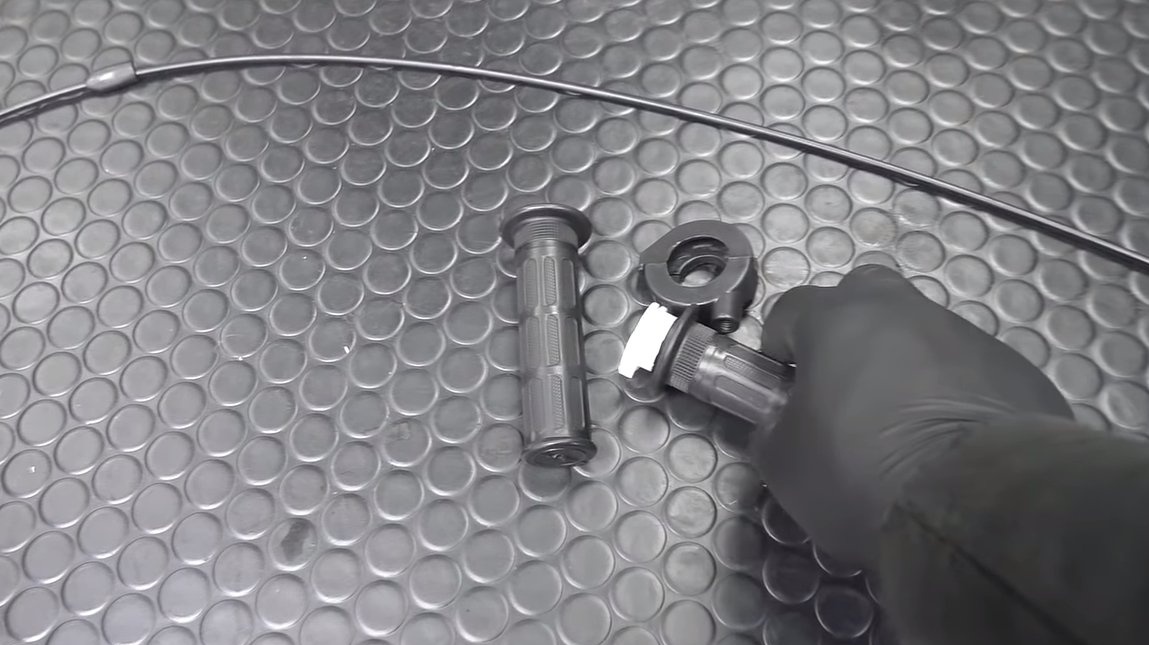
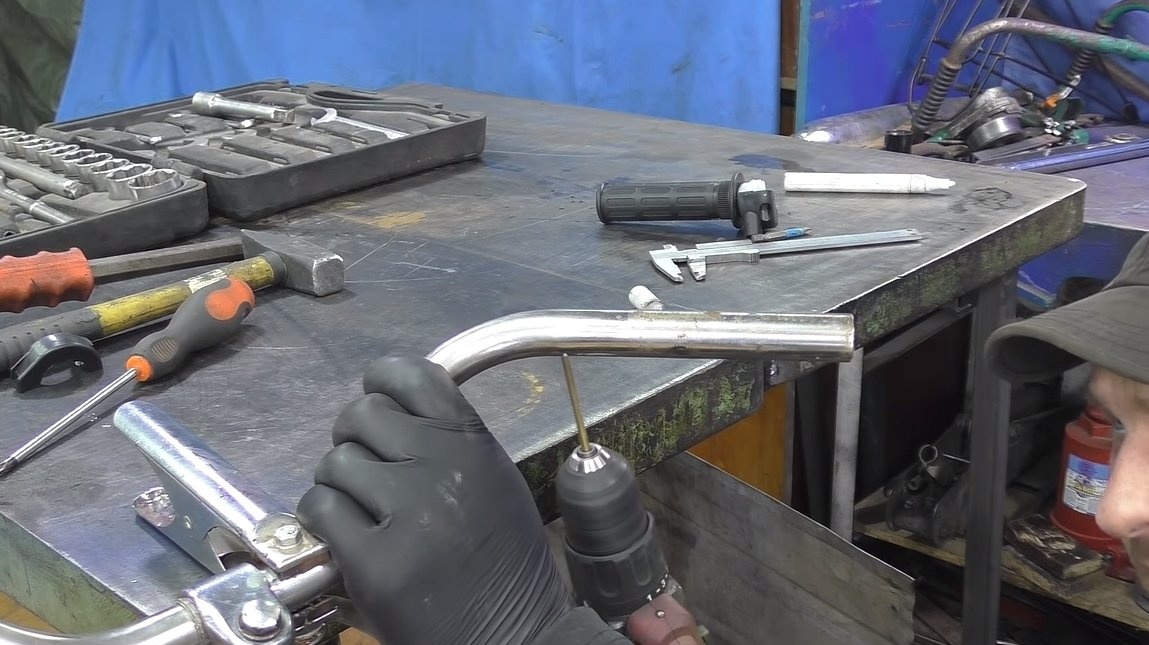
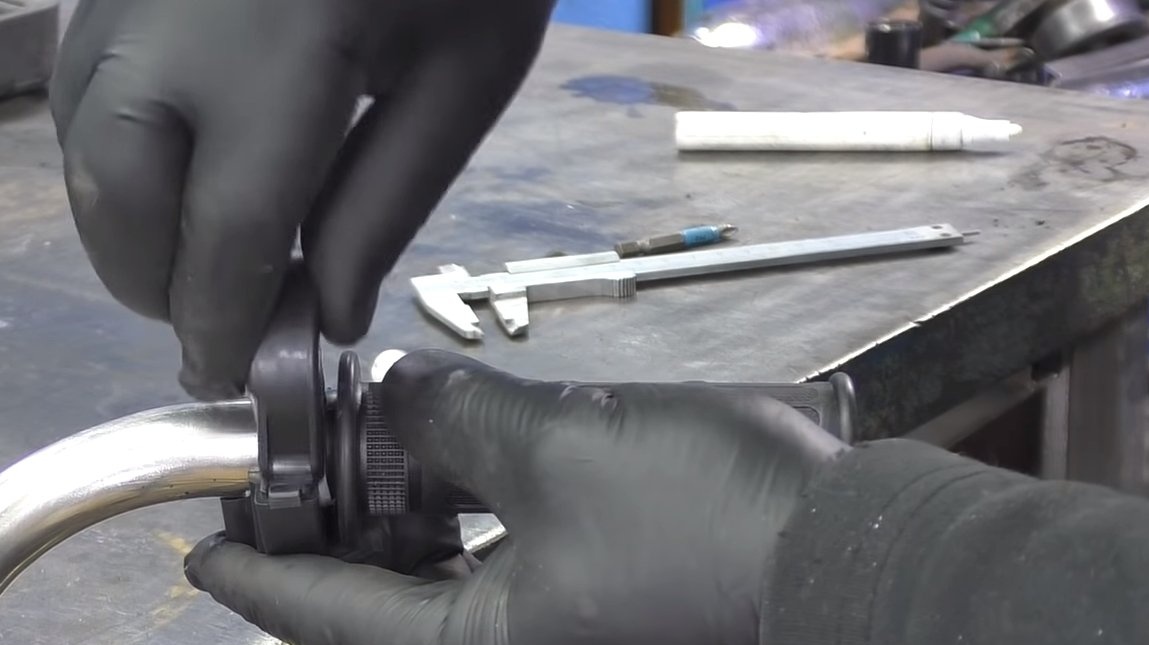
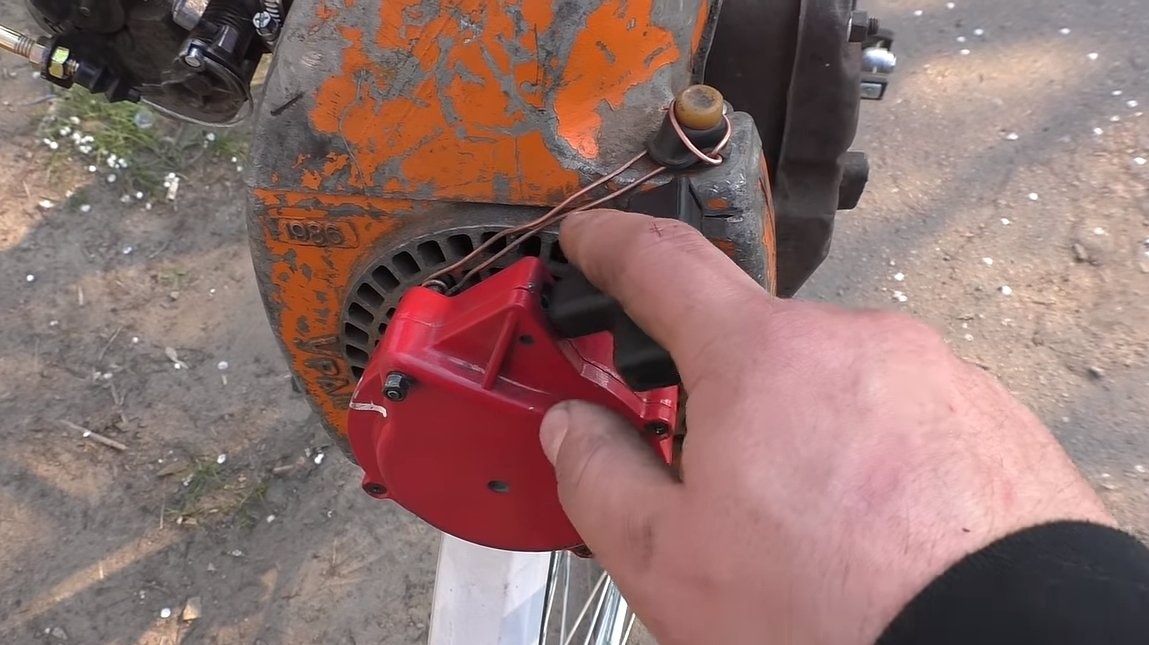
Step Four Throttle grip
We install a throttle handle on the steering wheel, this can be bought at a store that sells spare parts for motorcycles. We draw the cable through the frame and connect it to the carburetor throttle. After that, the homemade product is ready, you can experience it.
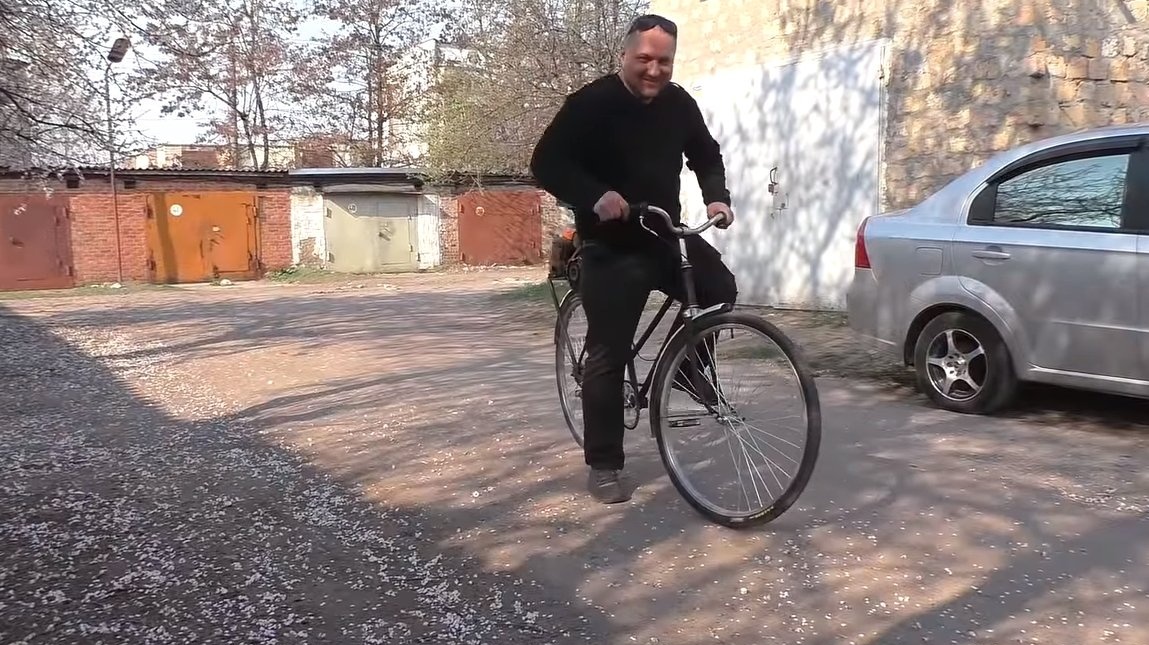
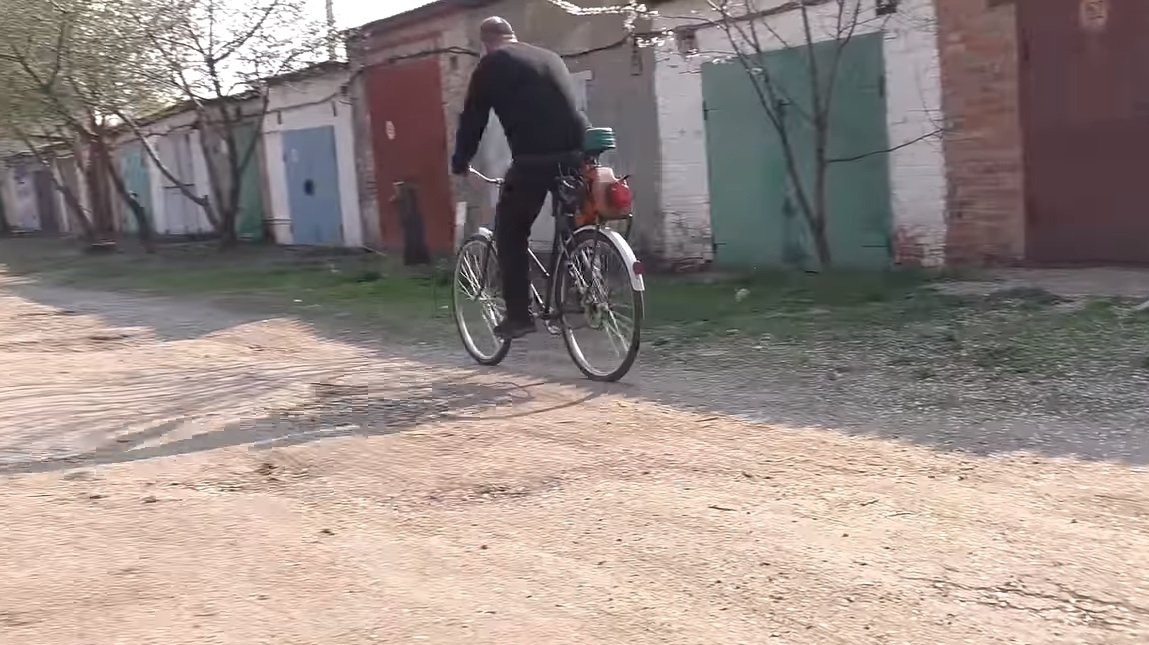
The author tests the bike on himself, the author helps to get under way with pedals, but in general the moped accelerates well. The only thing that remains unclear is how the author plans to slow down, because instead of the brake lever, we now have a driven moped sprocket. On a moped, you must definitely install hand brakes.
The homemade product is ready for this, I hope you liked the project, and you found useful thoughts for yourself. Good luck and creative inspiration, if you decide to repeat this. Do not forget to share your ideas and homemade things with us!