I welcome fans to craft, today we will consider how to make a simple air conditioning from cardboard. Homemade designed so that you can get a cool breeze in hot weather. Homemade is not able to cool the room, since there is not enough power here, and there is no heat removal to the street. In fact, we have a fan with an air cooling function. If you place such a homemade product near the workplace, you can create quite comfortable working conditions for yourself, and even if it is a street. The homemade work from electricity, it uses only two Peltier elements, if desired, more elements can be supplied to increase power. If you are interested in homemade work, I propose to study the project in more detail!
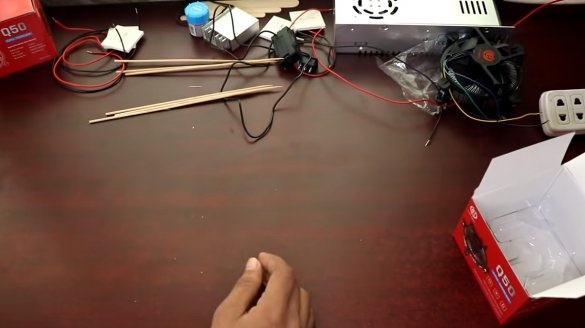
Materials and tools used by the author:
Material List:
- ;
- two coolers from the computer;
- 4 fans from the computer;
- two aluminum radiators;
- switch;
- a small digital thermometer;
- cardboard;
- plastic ties;
- toothpicks;
- ice cream sticks;
- wires.
Tool List:
- stationery knife;
- scissors;
- drill;
- soldering iron;
- glue gun.
The process of manufacturing an air conditioner:
Step one. the front of
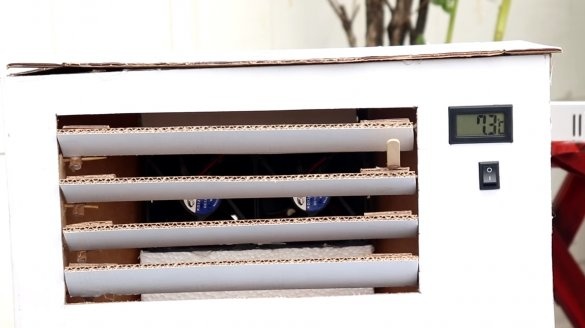
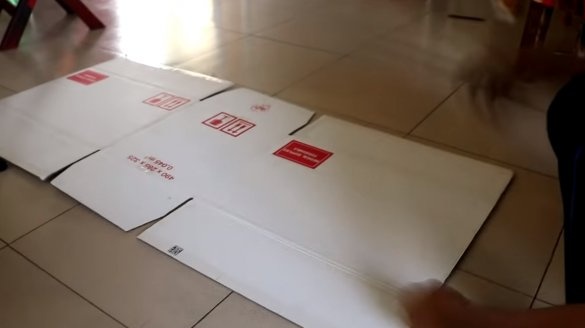
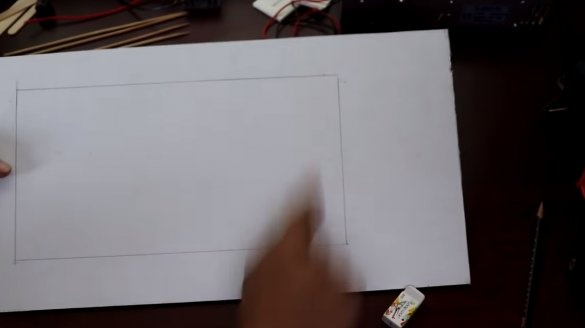
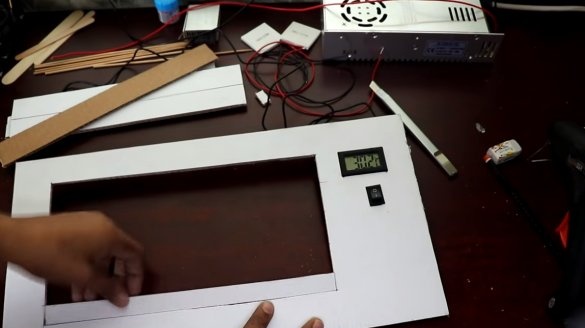
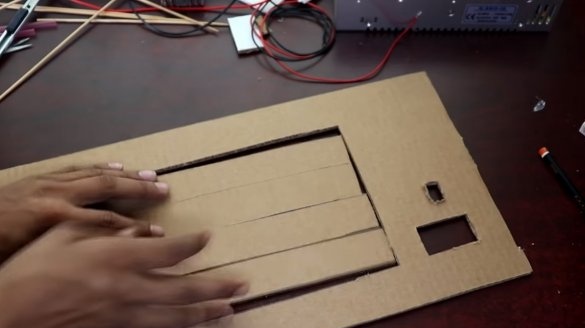
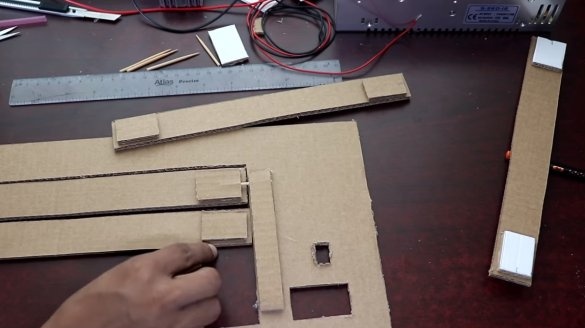
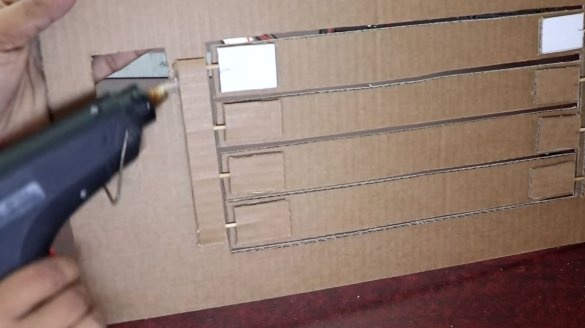
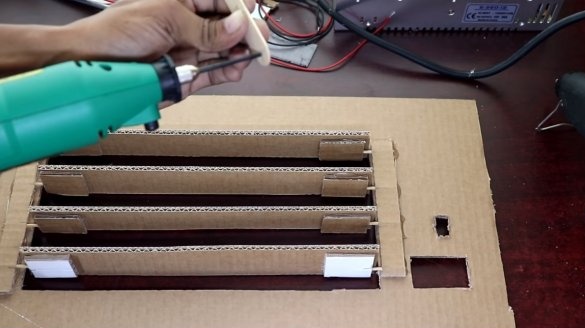
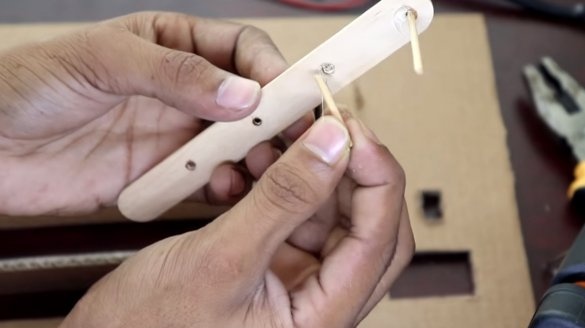
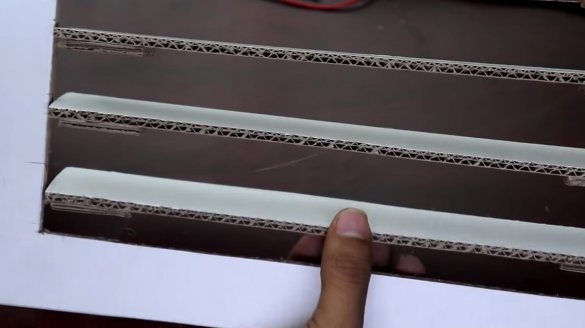
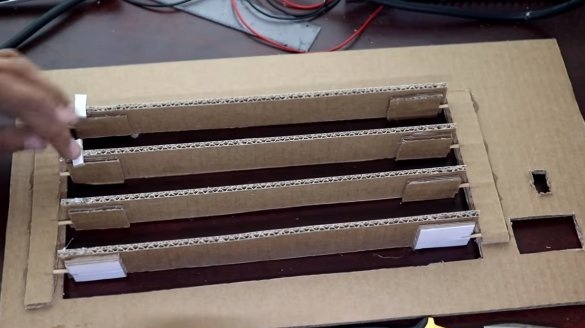
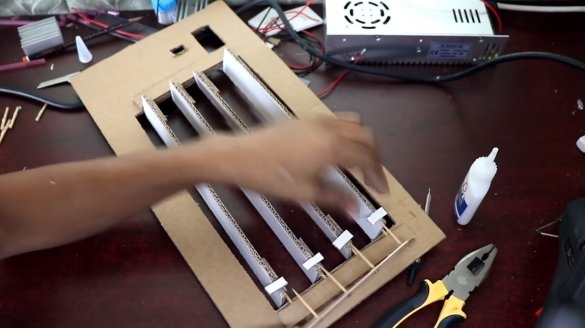
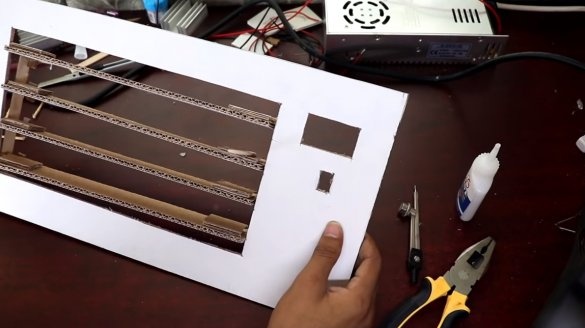
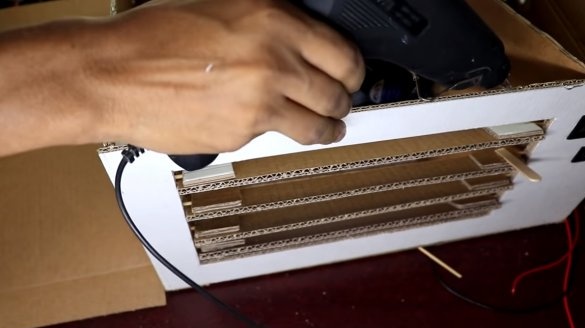
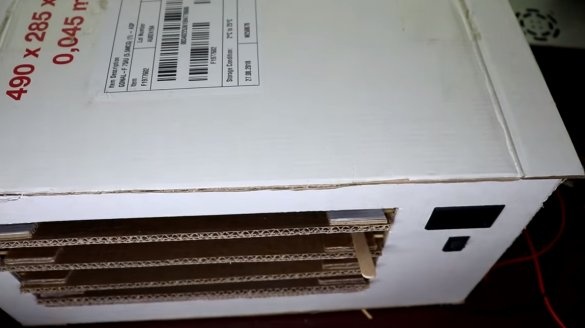
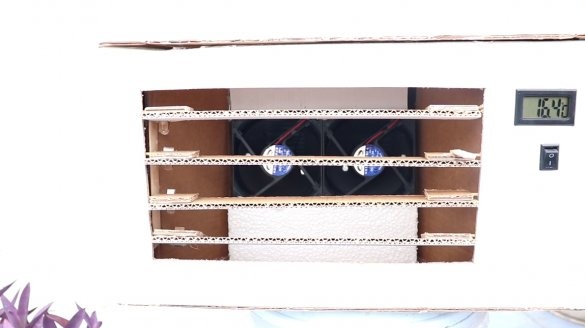
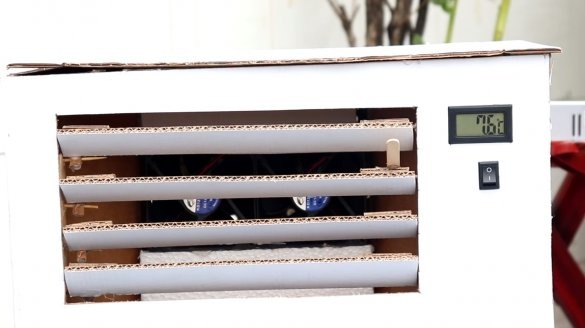
We will start manufacturing the air conditioner from the front, here is the switch, thermometer, as well as blinds that can direct cold air to where you need. First, cut a rectangle from a cardboard box, cut holes in it for a switch and a thermometer display. In the center we cut out the window where the blinds will be located. For the manufacture of blinds, we cut cardboard into strips, the parts are hinged, and toothpicks are used as hinge axes. The author glues the necessary details with hot glue.
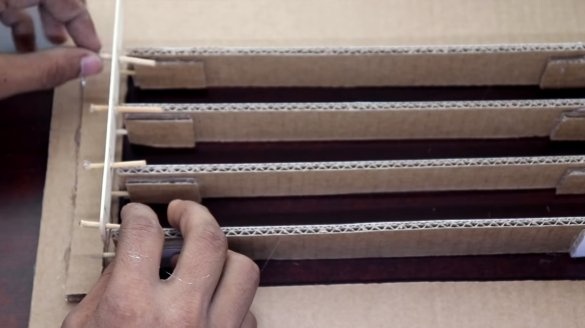
All elements of the blinds are interconnected using an ice cream stick, as a result, they all rotate synchronously. At the end, glue the ice cream stick to the blinds with hot glue, which will serve as a handle.
Step Two Housing
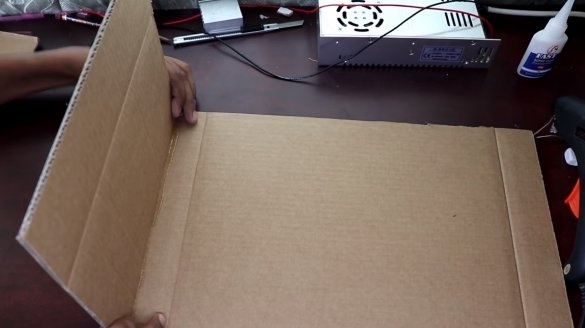
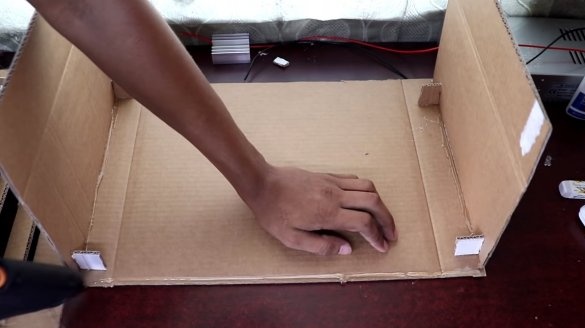
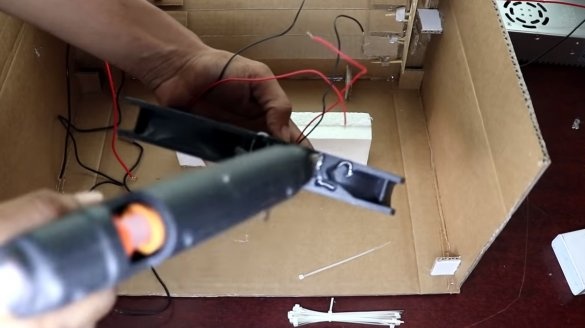
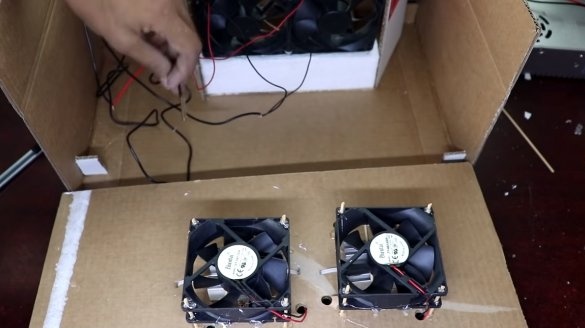
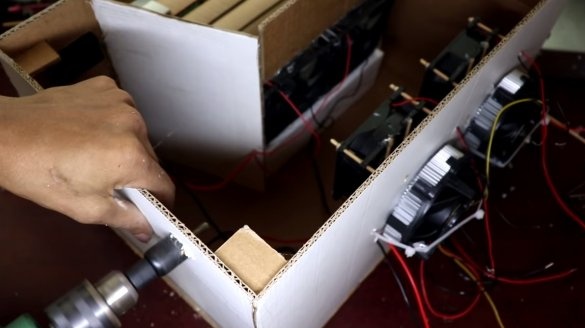
We assemble the body, we first need to make the side walls and the bottom. We cut the cardboard and glue it with hot glue, we also install the front part, which we made earlier. To increase the stiffness, you can glue into the corners of the spacers from pieces of cardboard. In the middle of the case there is a suction sleeve; two fans are installed in it, which work to blow air from the air conditioner. The sleeve is assembled from cardboard and hot glue. Styrofoam can be used to raise the fans to the desired height.
Step Three Back wall
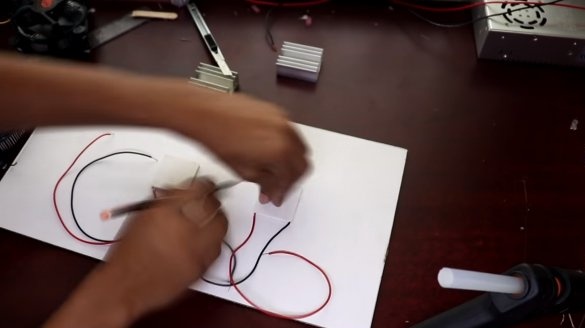
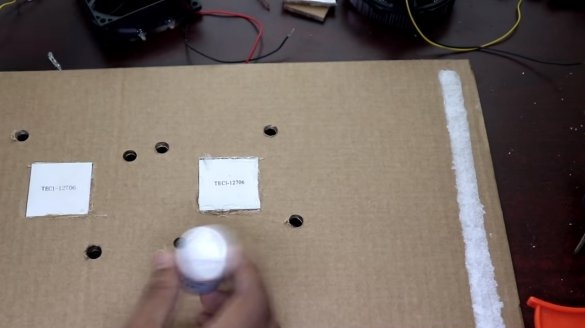
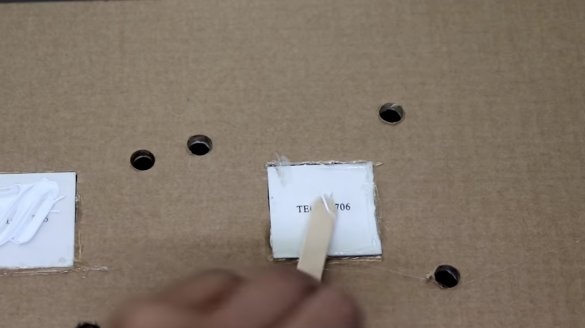
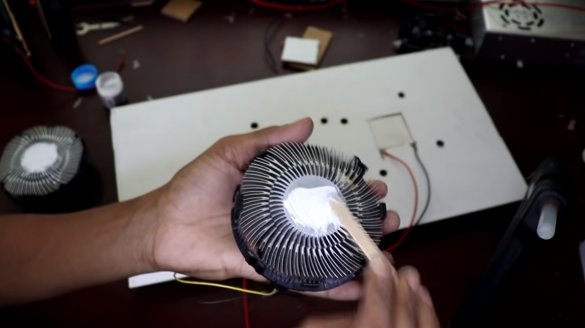
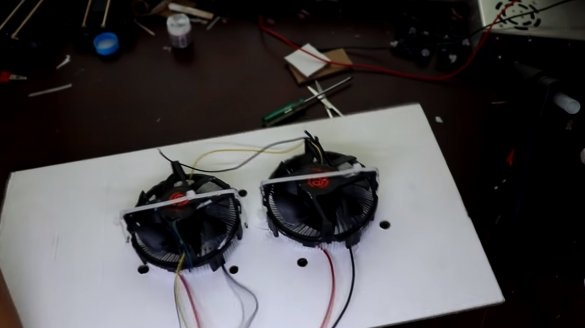
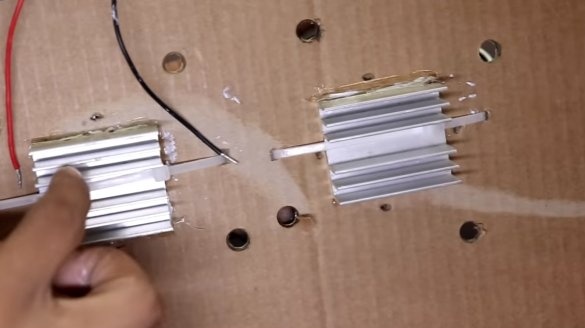
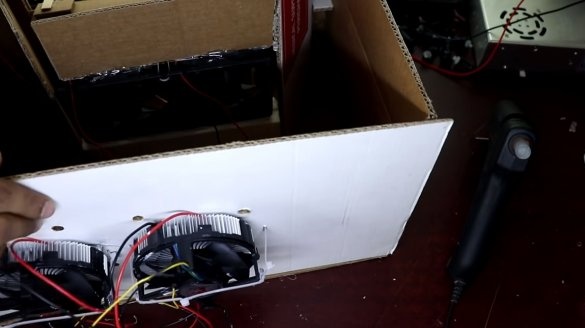
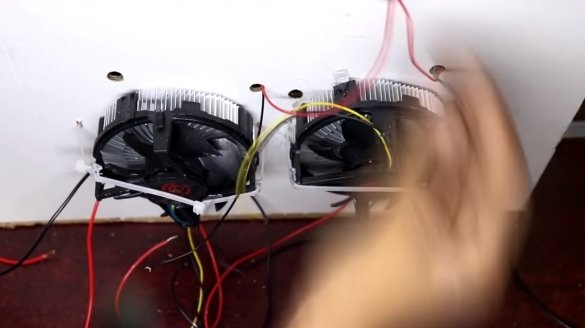
We cut the back wall out of cardboard, and also cut out the places and install Peltier elements. The author temporarily fixes them with hot glue. The cold part of the elements should be located inside the air conditioner, and the hot outside. From the hot side, from the outside, install coolers from the computer, they will cool the hot side. Inside we install aluminum radiators and put fans over them. All radiators must be installed on thermal grease to ensure the best heat transfer. The author fastens coolers and internal radiators with plastic ties. And the internal fans are mounted on toothpicks and hot glue.
Step Four Body assembly
We well glue all the walls of the case, the design must be airtight. In the rear part opposite the radiators, you need to drill holes, air will be sucked in through them, which will then be cooled and exit the air conditioner. We glue the lid well and after that our homemade product is ready.
During operation, the cold side temperature of the Pelt elements is 6 ° C. But since the power is small, the source of cold is small in size, the machine cools the air only a few degrees. However, this is enough to achieve the necessary comfort.
If you think up in a car how to arrange containers with ice bottles, the car will work much more efficiently, but we have the principle of working on electricity.
On this project is over, I hope you liked the homemade. Good luck and creative inspiration, if you decide to repeat this. Do not forget to share your ideas and homemade things with us!

