

In this article I would like to talk about how you can make an educational traffic light for kindergarten from the available materials. The version of this traffic light is simple, you do not need knowledge of electronics and robotics, but such a traffic light will definitely be able to teach children how to cross the road correctly.
To make it we need:
Materials:
- thin plywood (cutting boards)
- picket or thin boards
- a shaft from a garden tool
- whatman
- PVA glue
- wood varnish
- acrylic paints or gouache
- stain (potassium permanganate solution)
Instruments:
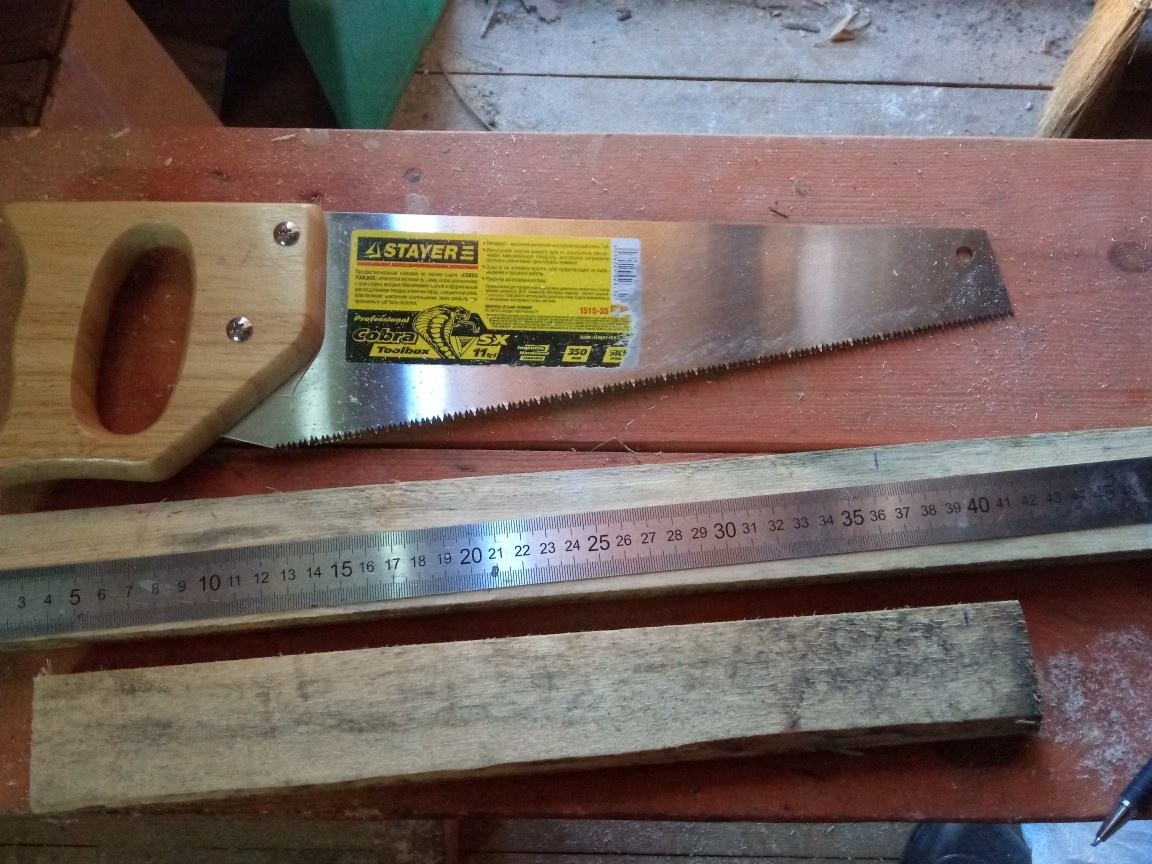
- hacksaw
- jigsaw
- sandpaper (possibly a grinder with a grinding disc)
- scissors
- screwdriver or drill
- pen and ordinary drills
- brushes
- pencil
- square
- ruler
- compass
- cutter
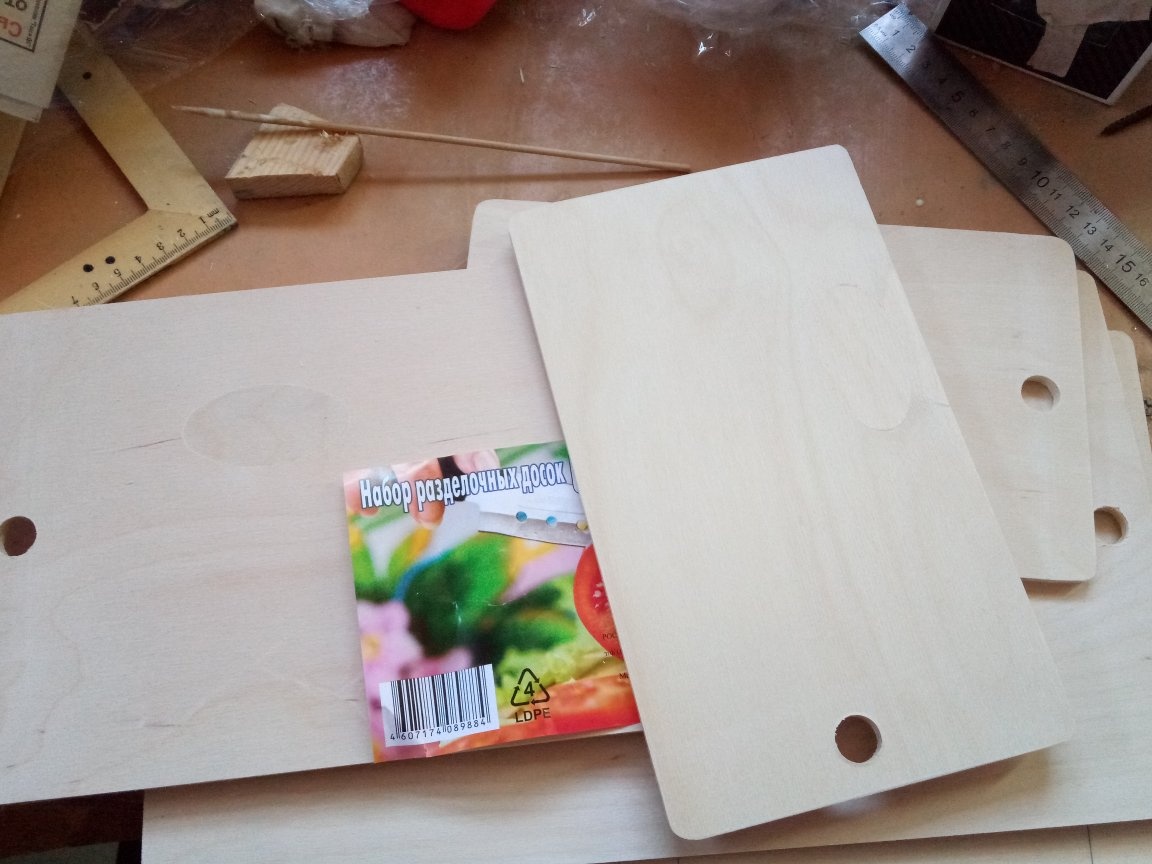
Step 1. We select the material.
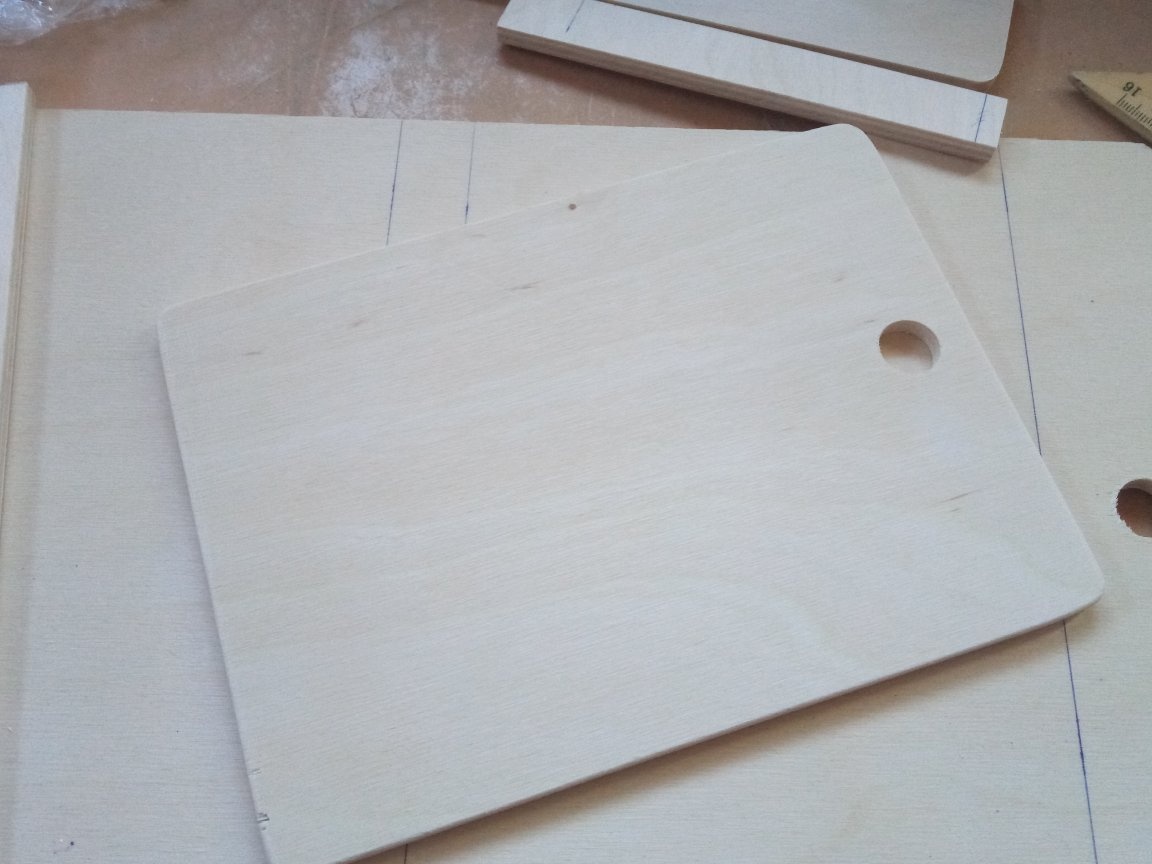
As a source of plywood, I chose the usual cutting boards from the store’s product of the same name. Of course, if there is a large piece of thin plywood, it will do.
To make the base, a picket fence or not very thick and not wide boards are well suited.
As a rack, I decided to use a regular stick from the old country curtains, but any shaft from garden tools will do well.

We also need a small piece of whatman paper to slightly thicken the intermediate layer in the future traffic light. It will also come in handy during the painting phase.
Step 2. Making a traffic light.
It’s worth mentioning right away: the dimensions and height can be different (depending on the material), because in this case I will completely miss this point.
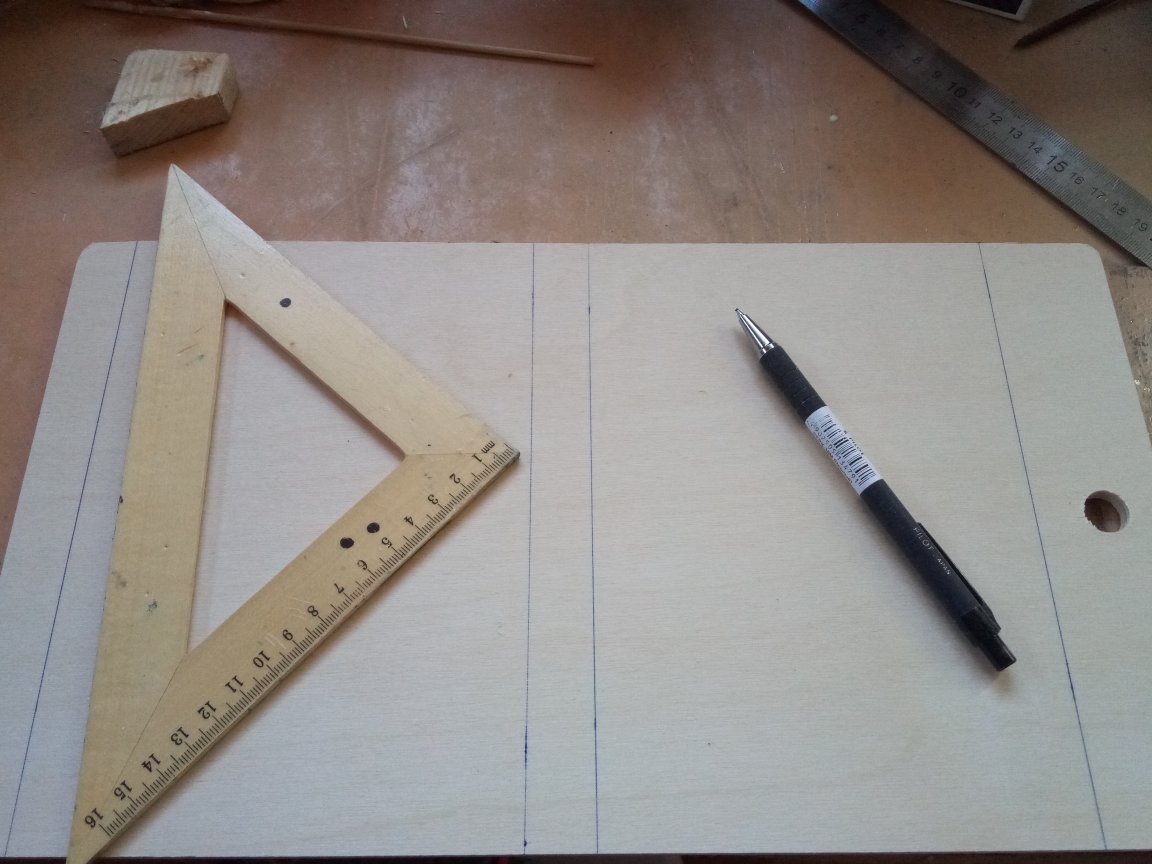
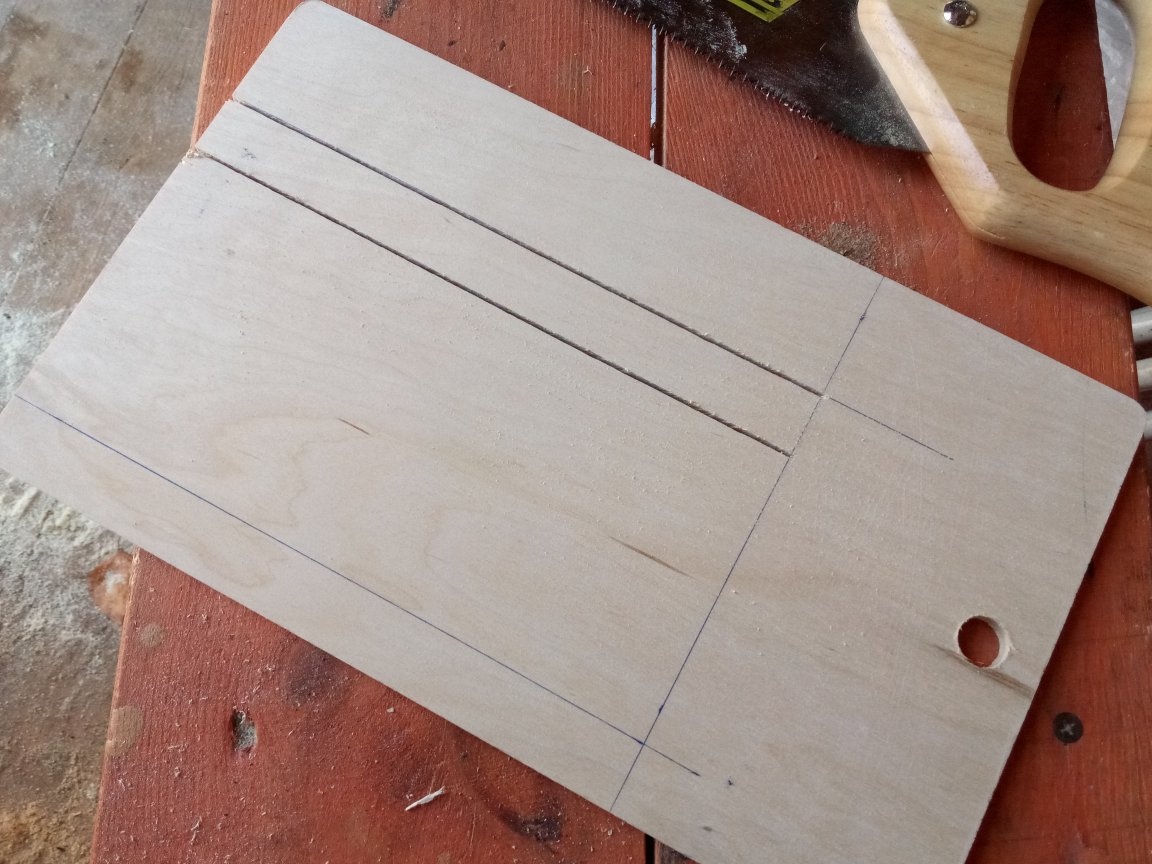
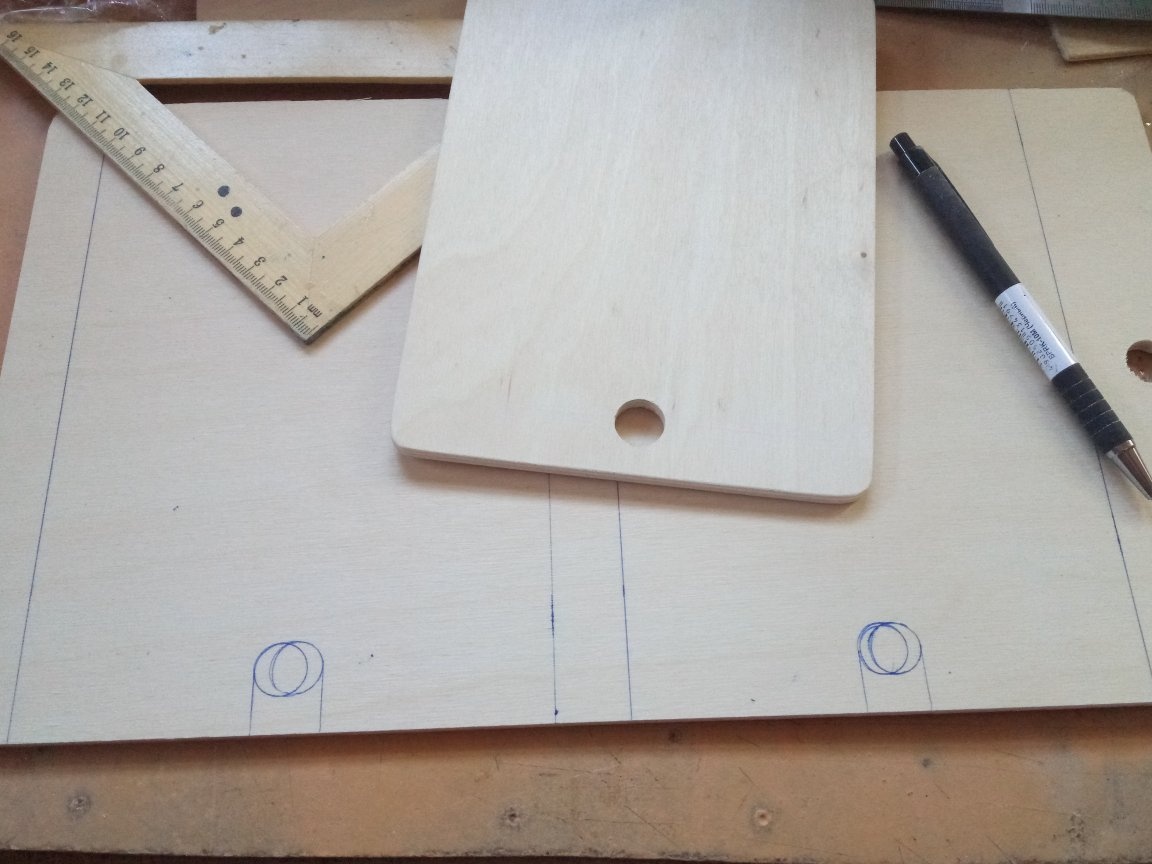
In my case, the largest board from a set of cutting boards was taken as a basis, on which the lines where intermediate plywood parts would be glued were marked with lines.
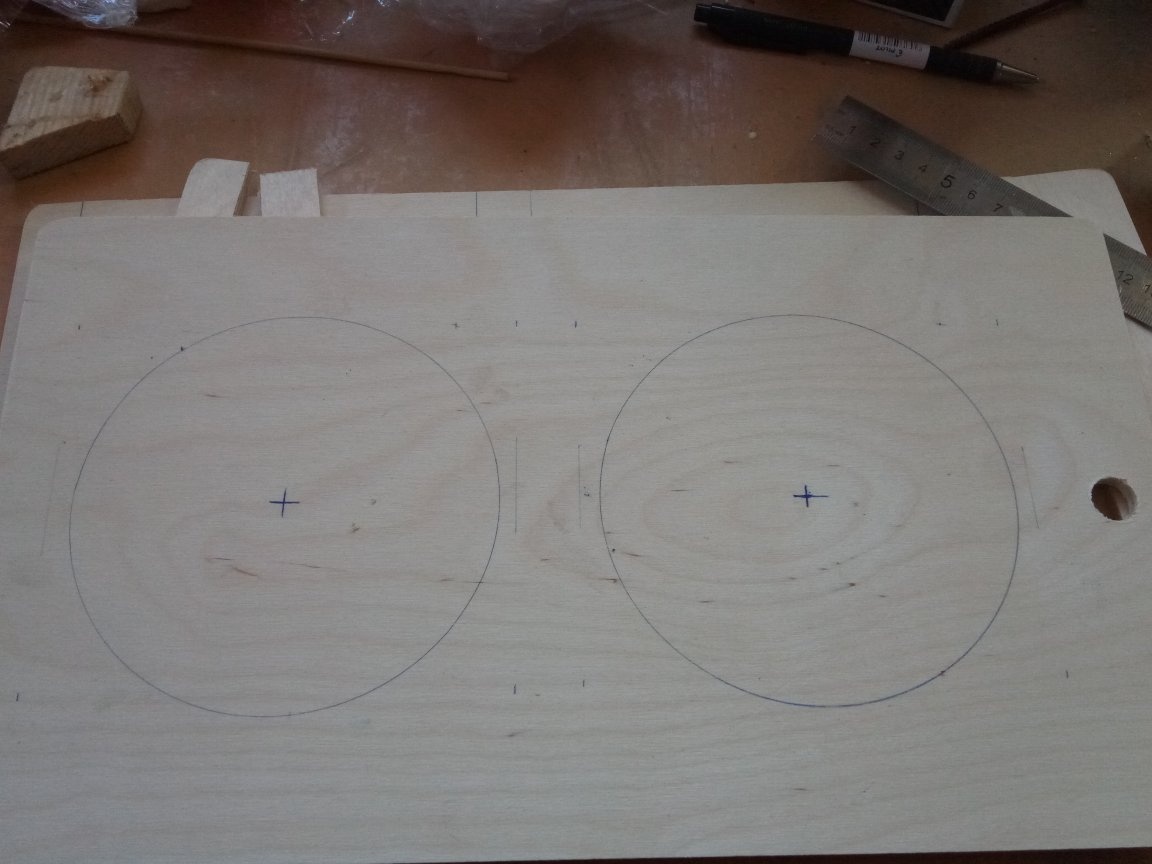
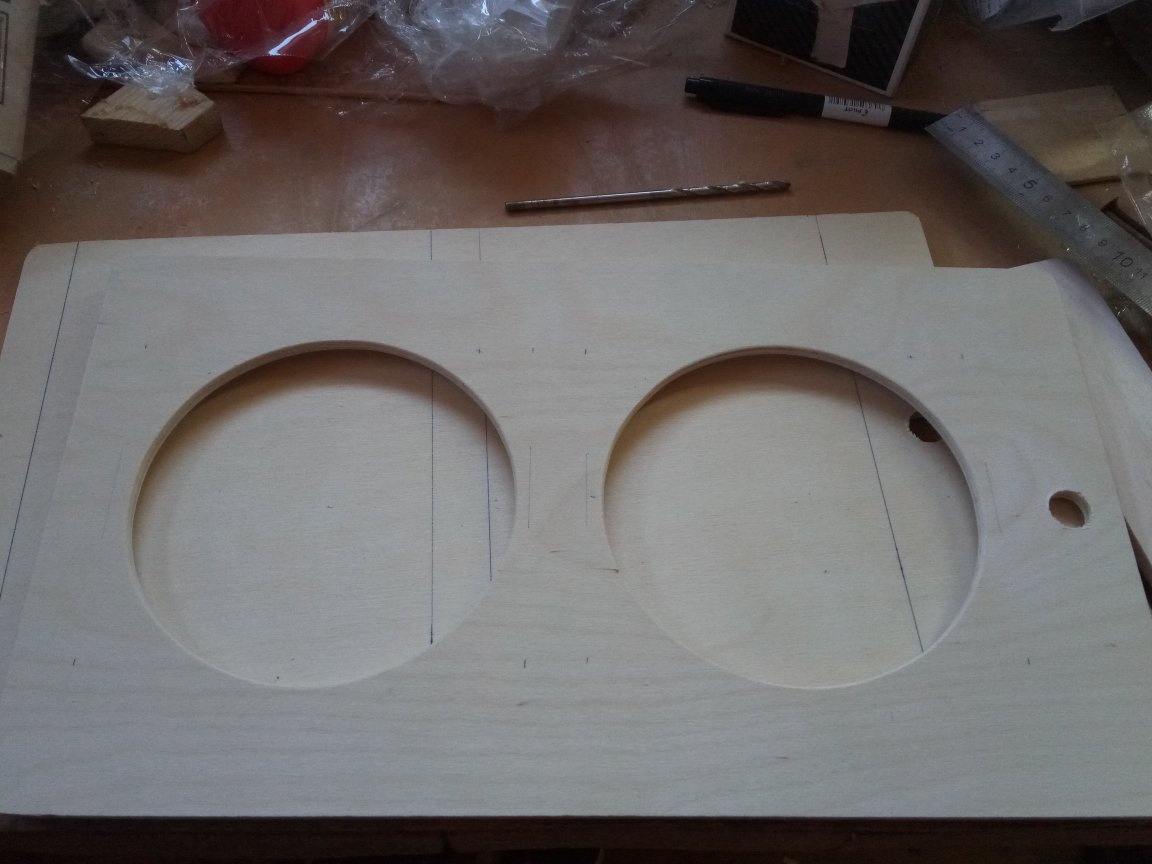
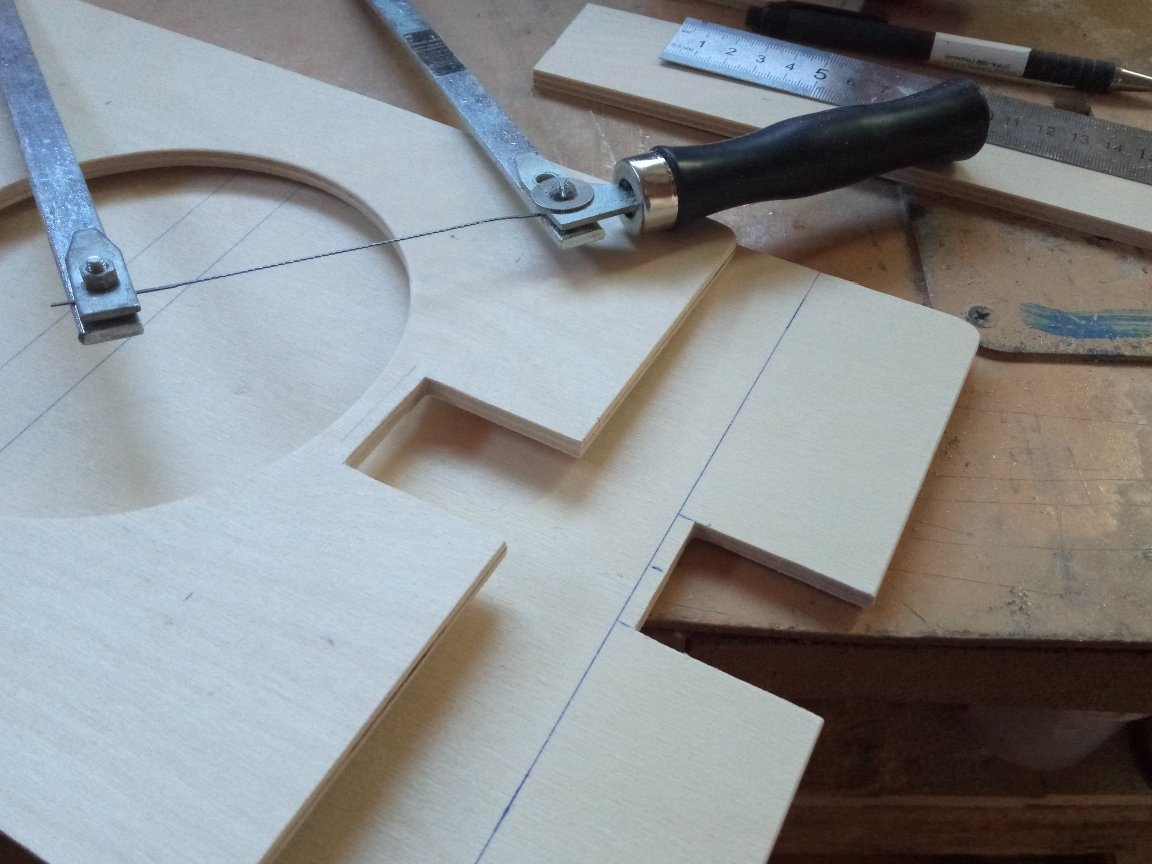
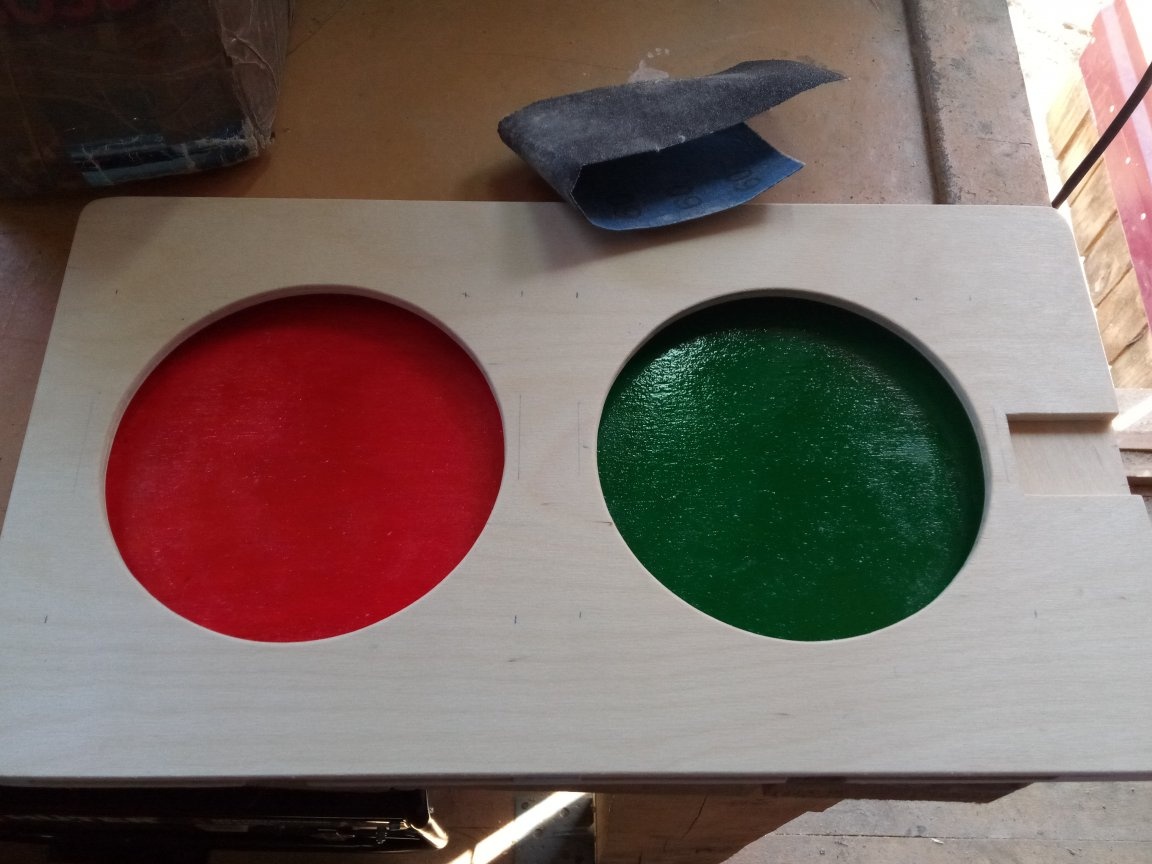
From the second such cutting board we make the front part of the traffic light. To do this, we draw on it with the help of a compass the places of the "lights" of the future traffic light.
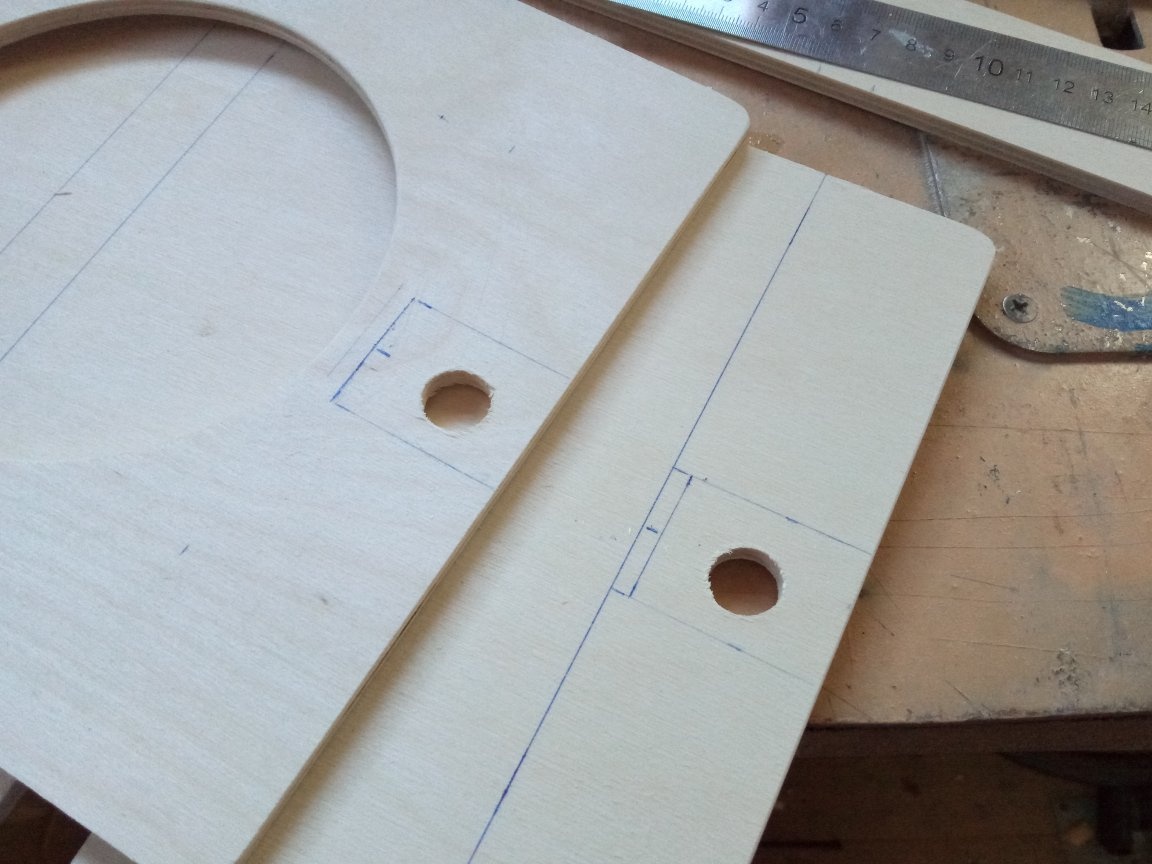
Using a drill and a jigsaw, we cut out the windows of the "lights" of the traffic light.
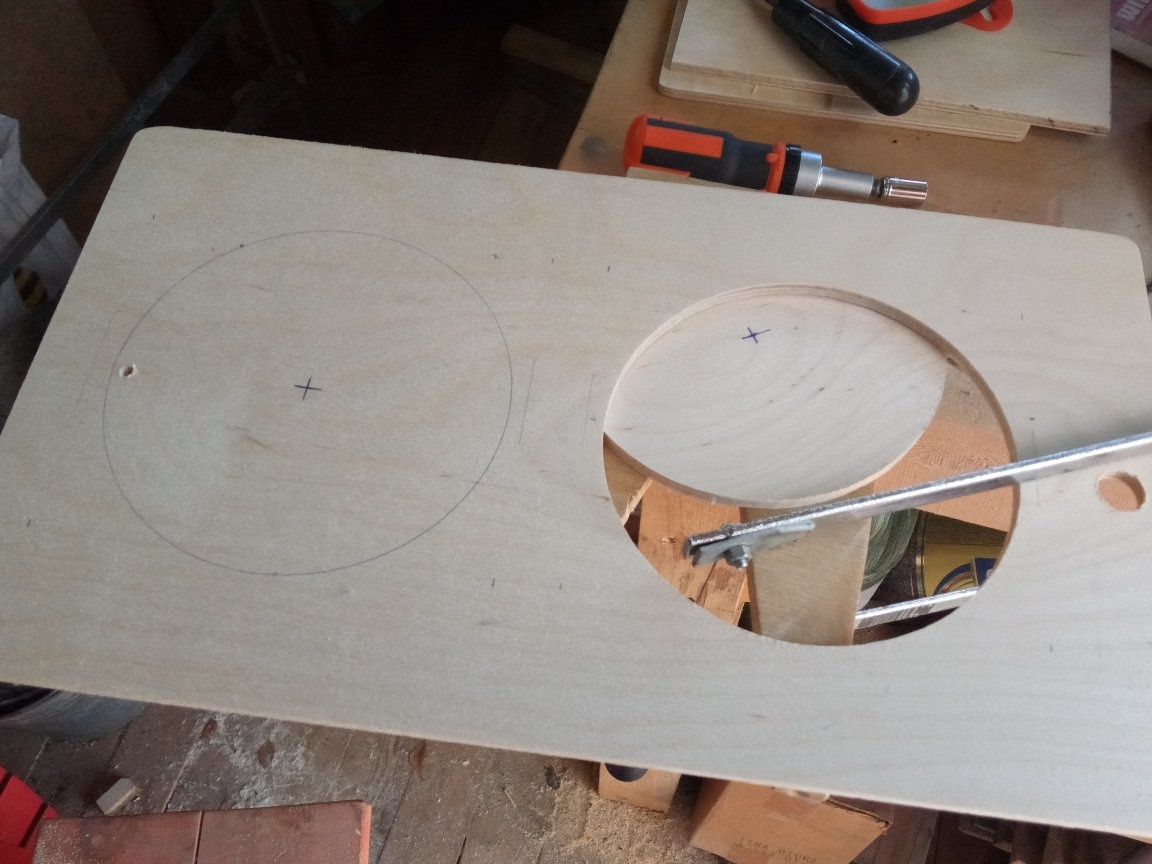
Then we sanded all the edges of the front part and the inner edges of the “lights”.
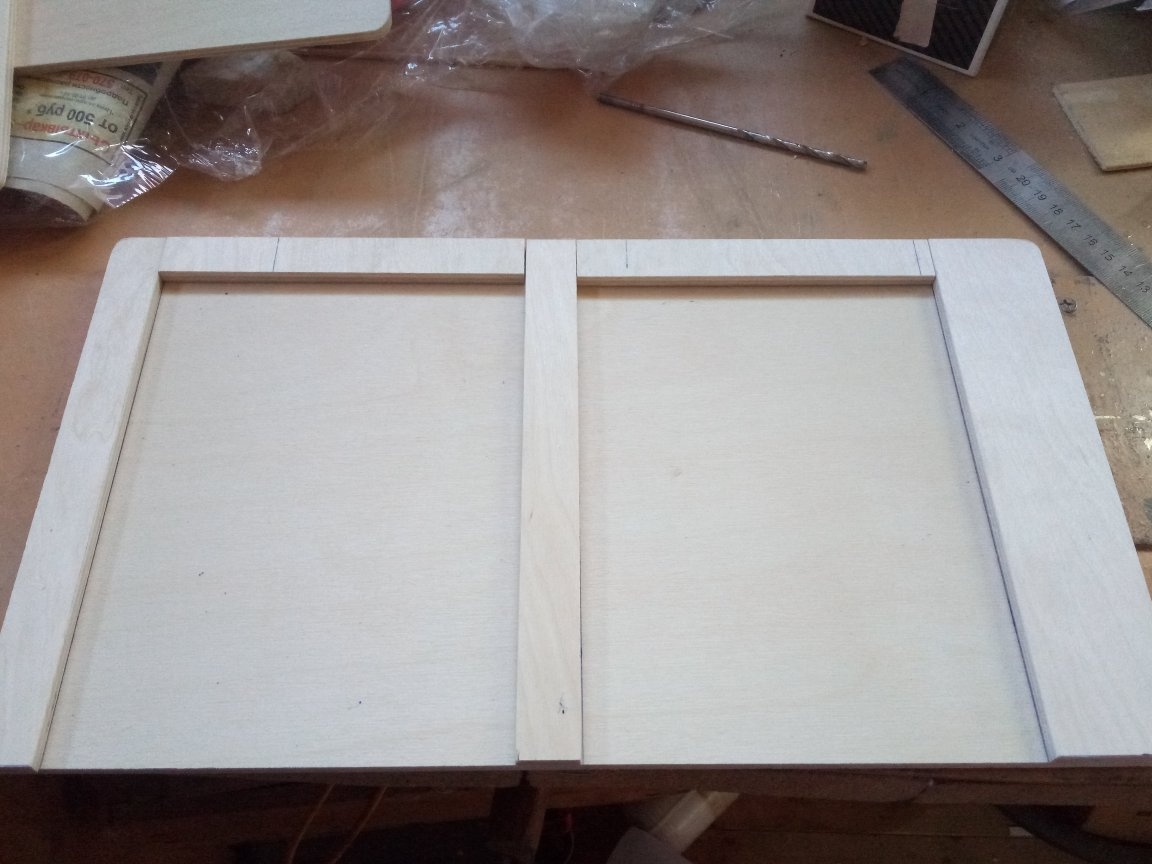
From the scraps or an extra piece of plywood, we cut out the internal parts of the traffic light.
And try them on the basis.
For the future “curtain” the smallest plywood board from the set came in handy.
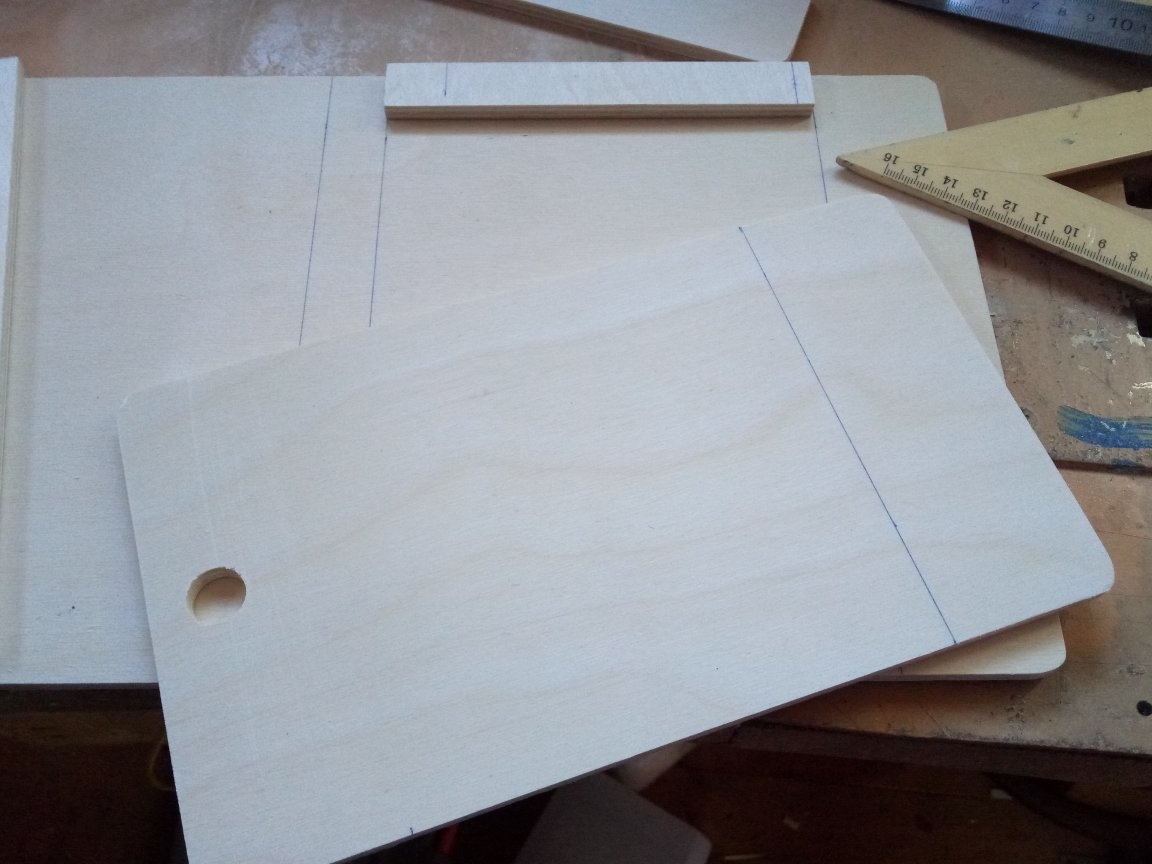
We cut it and sand the edges.
We mark holes at the base of the traffic light so that in the future you can easily remove the “curtain” with one finger. Since the hole in the small board was not made very accurately at the factory, the hole in the base had to be slightly expanded.
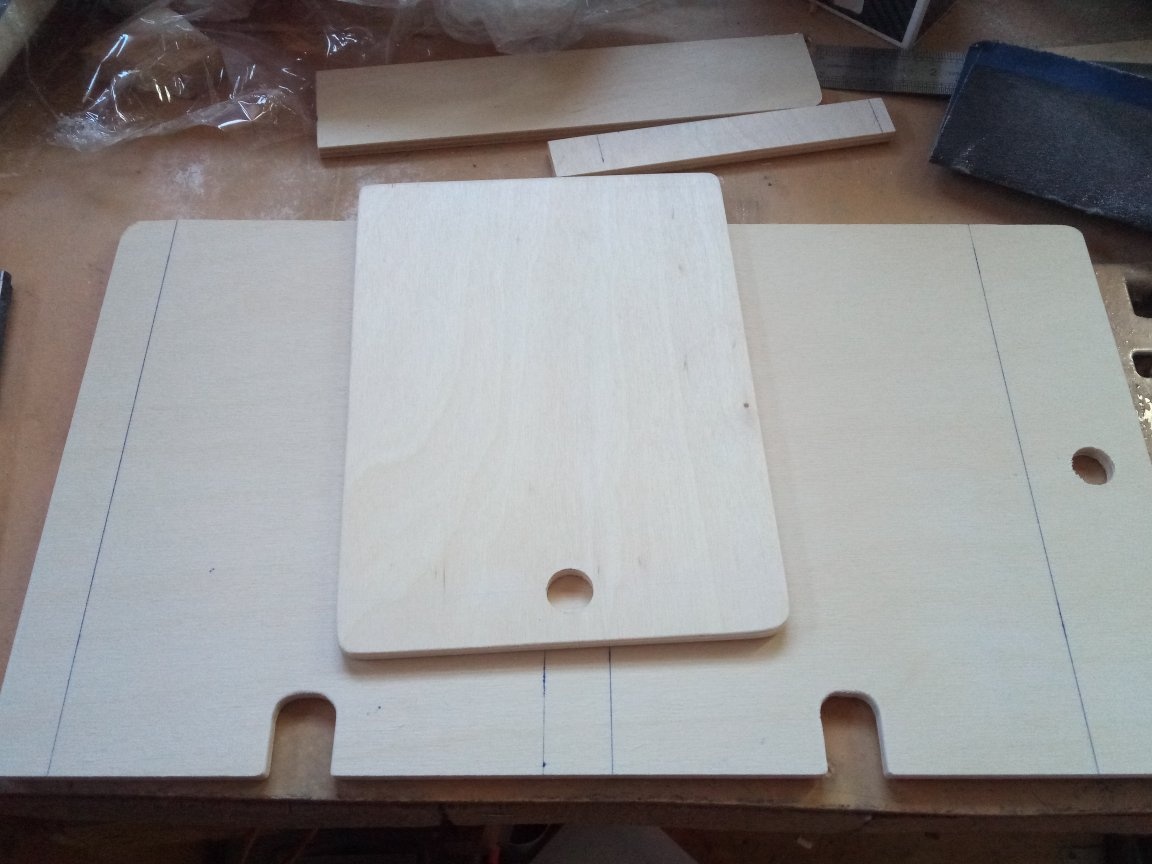
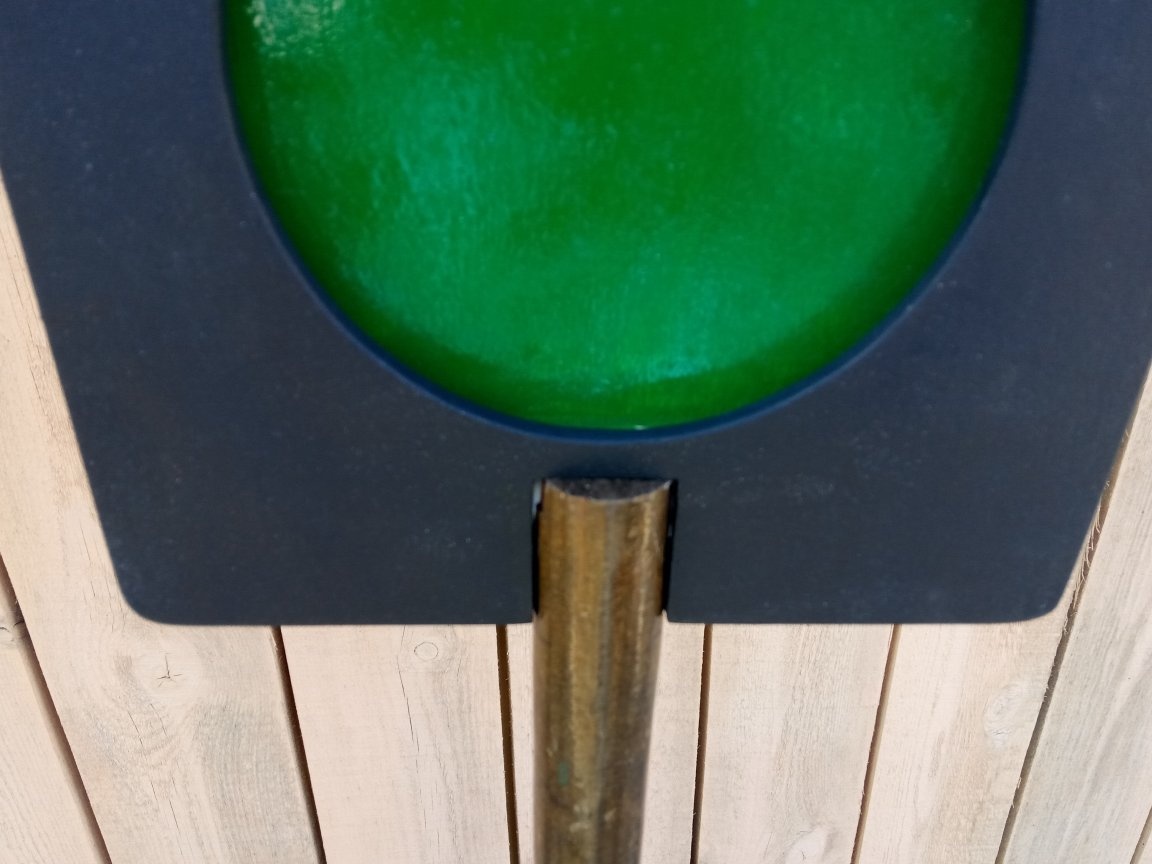
The whole traffic light will be mounted on a pole in a sawed-out groove; accordingly, grooves for a rack must be cut in the base and in the front of the traffic light in advance.
Step 2. Production of a cross and a rack.
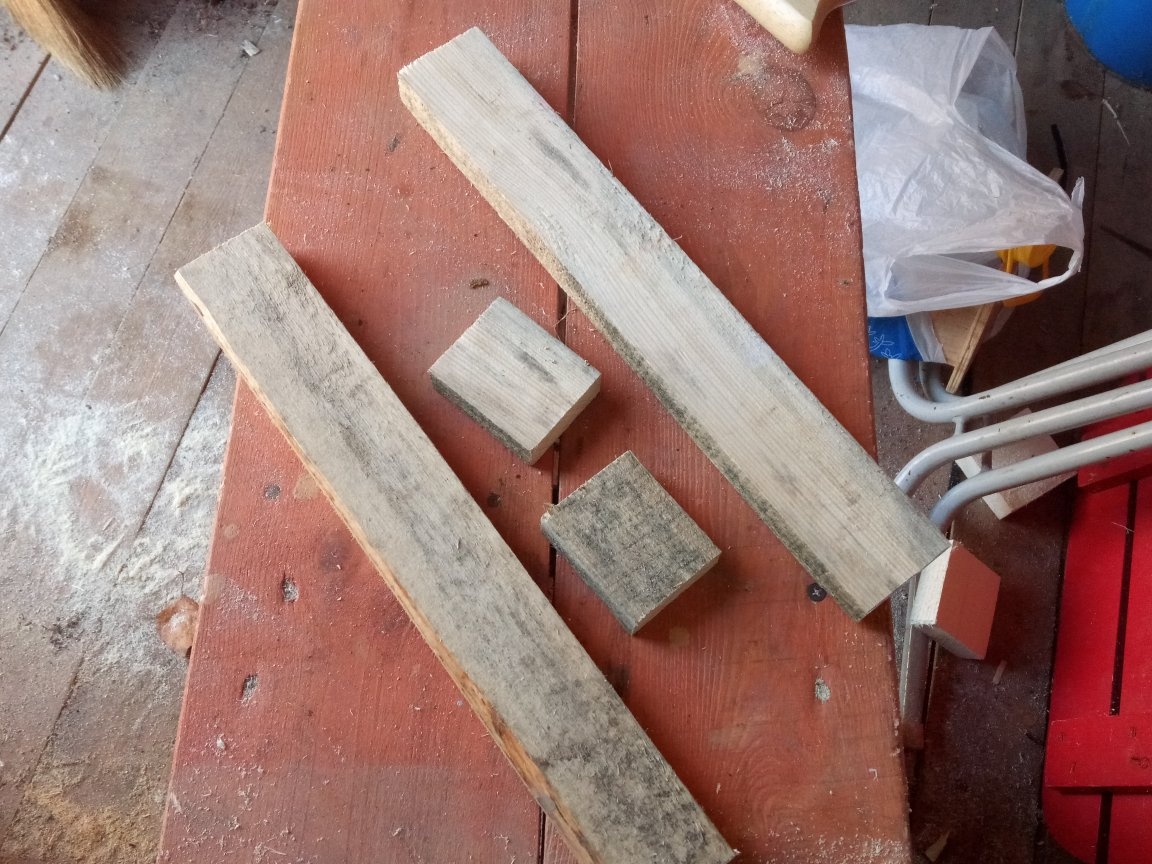
We cut out two long and two short blanks from the boards.
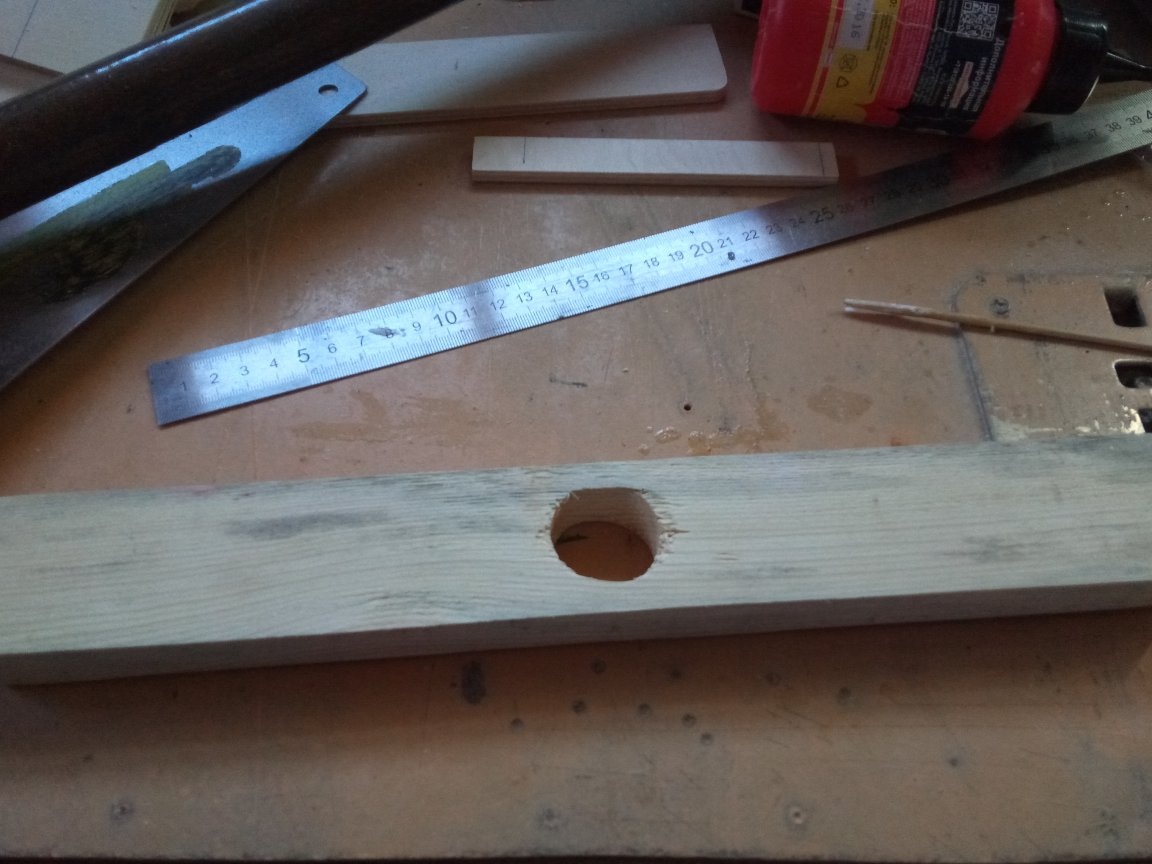
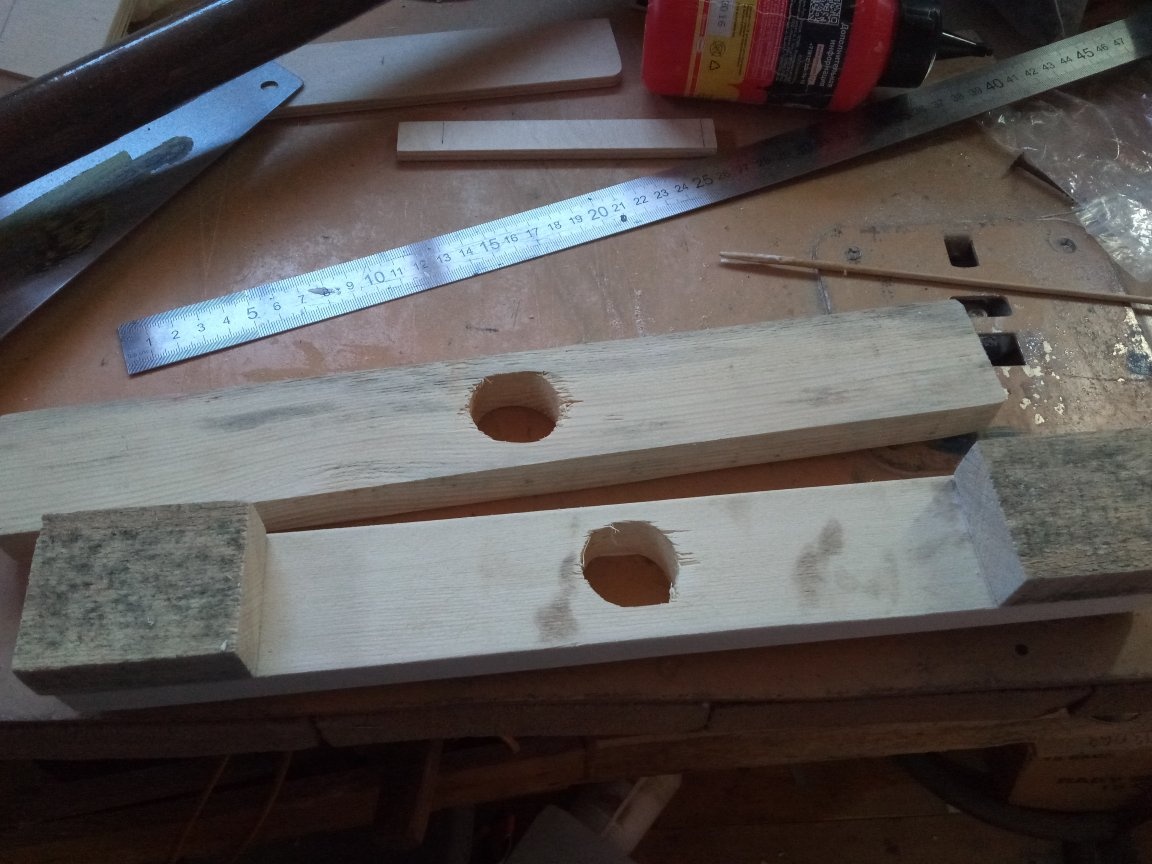
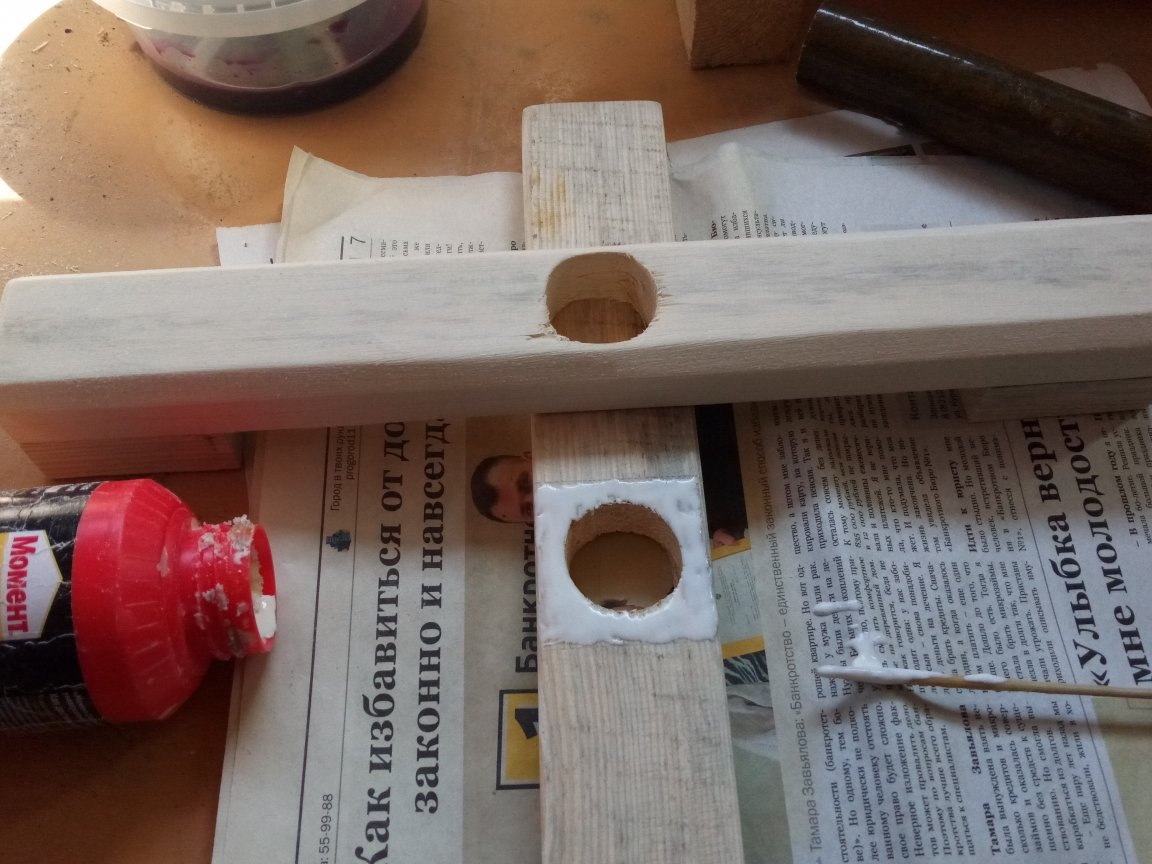
Using a feather drill we make holes in the center in long workpieces, we select the diameter of the hole for the rack.
We grind the workpieces a little and glue the short parts to one of them with PVA glue.
After the glue dries, we process the details of the crosspiece with an emery cloth or grinder.

We make a hacksaw on a tree in a rack of a cut under the traffic light base.
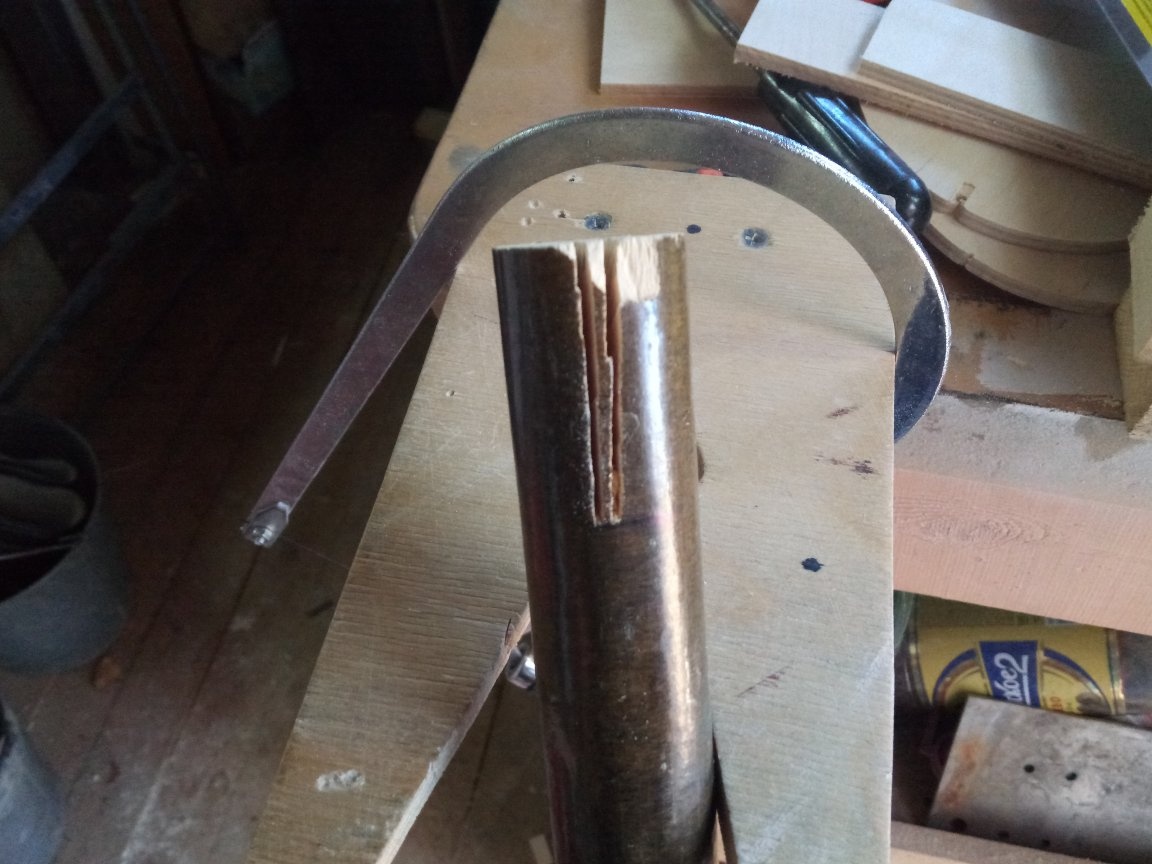
And we remove the excess from the cut with a jigsaw or the same hacksaw.

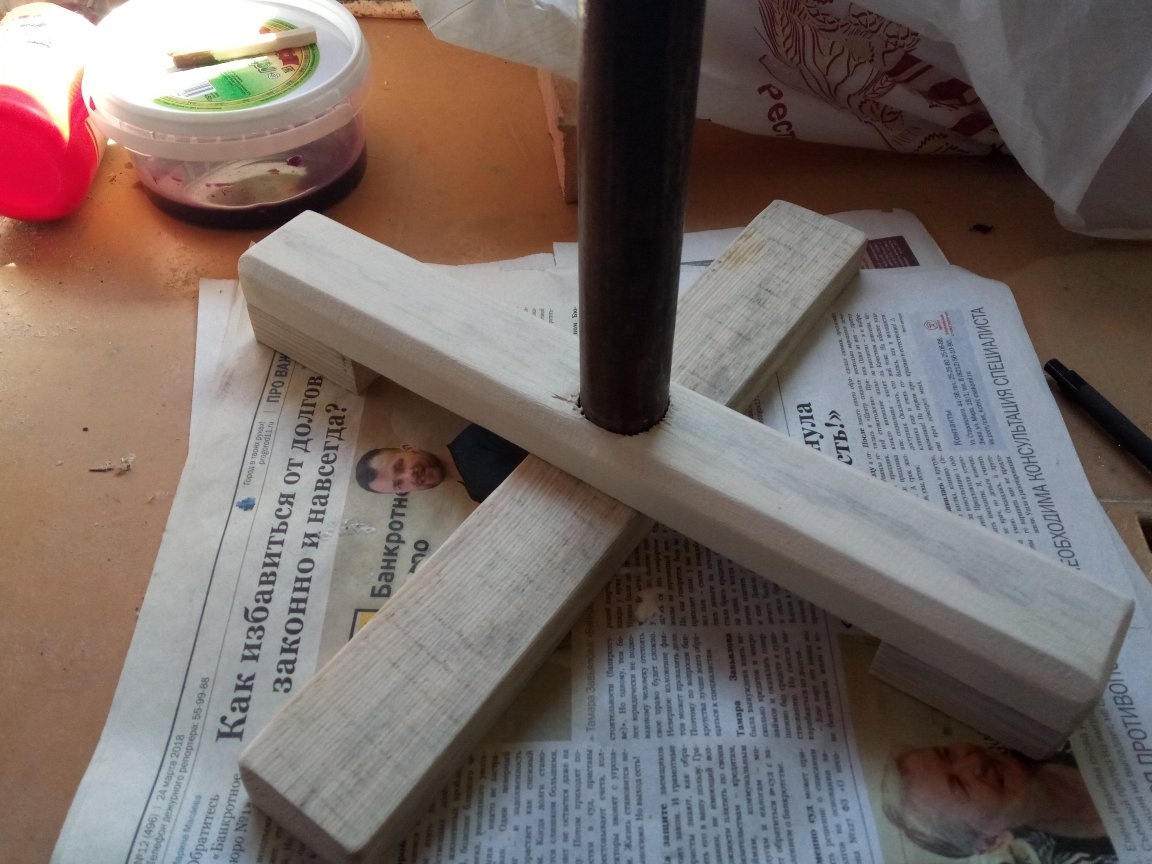
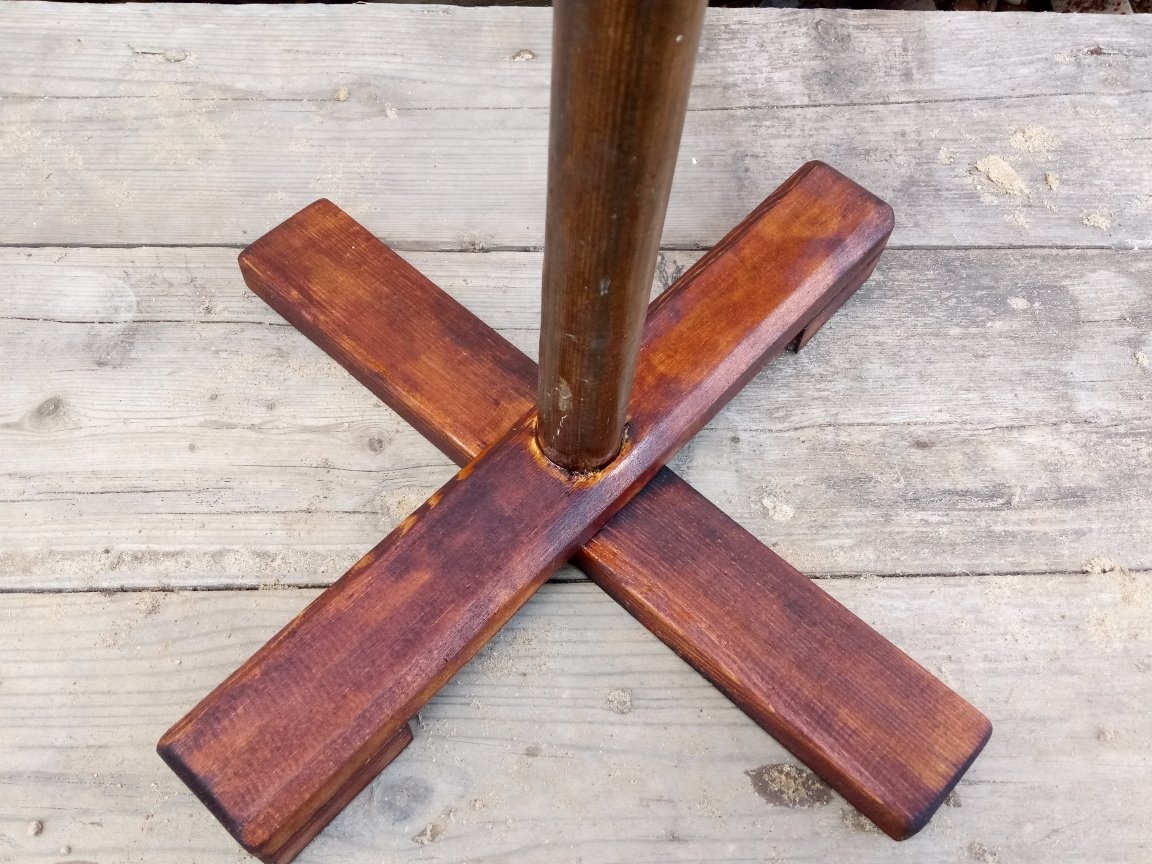
We glue the details of the crosspiece together with PVA glue, combining the holes.
Then we paste into the crosspiece the stand of the future traffic light.
Step 3. The first paintwork.
To make it more convenient, paintwork was decided to be carried out in two stages: first, paint the internal parts of the traffic light and ruin, and then glue all the parts together and paint the exterior completely.
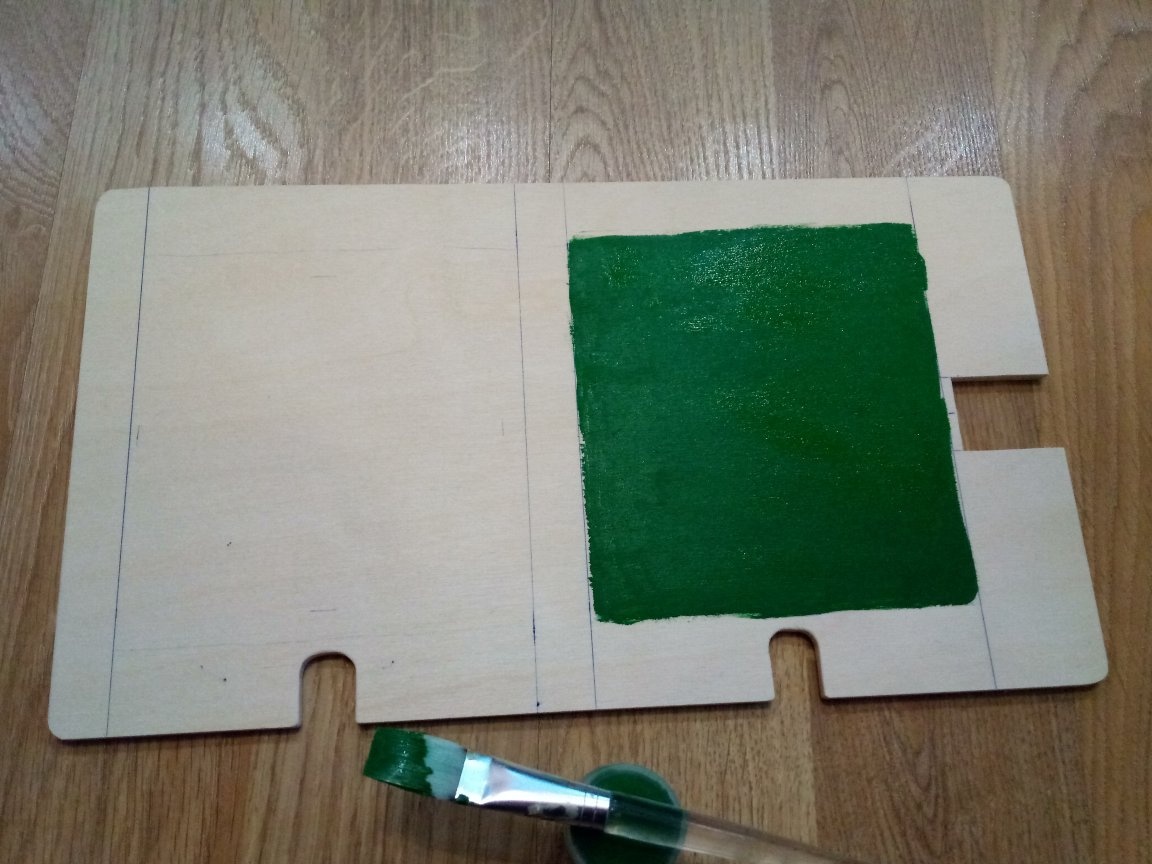
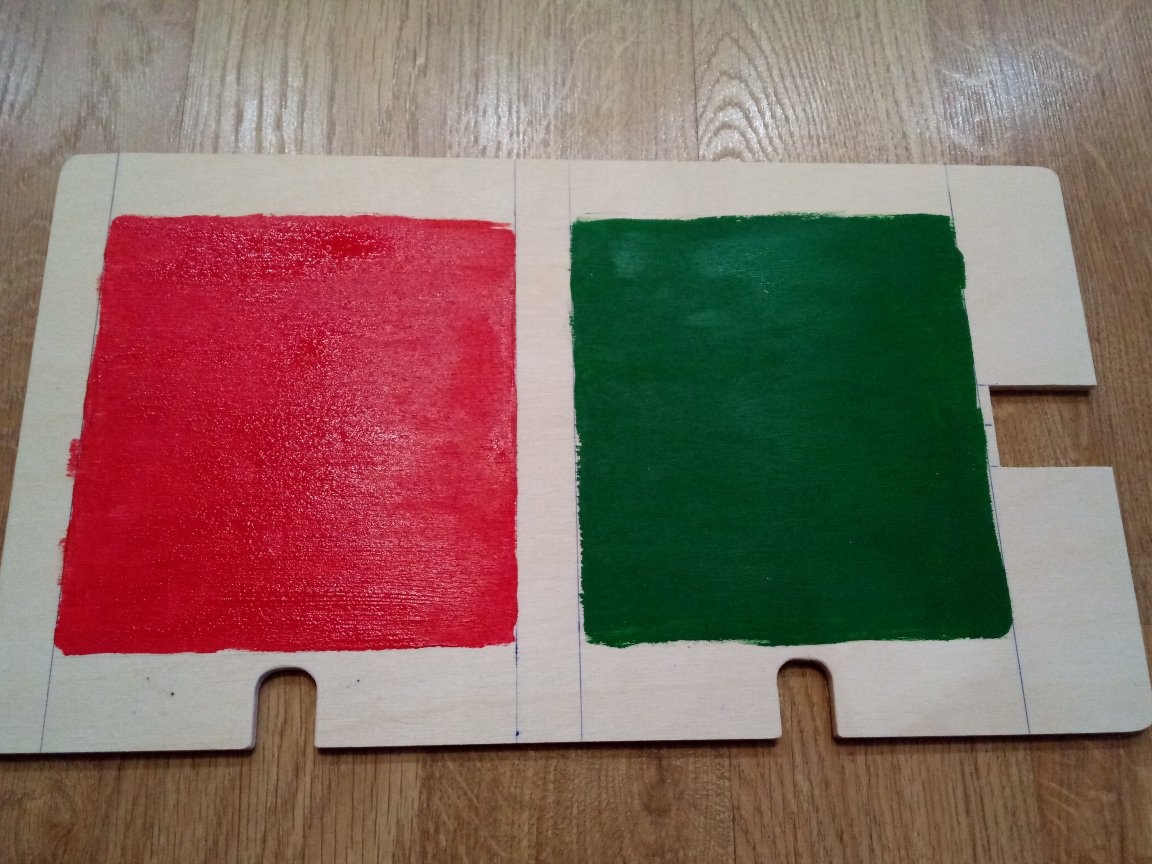
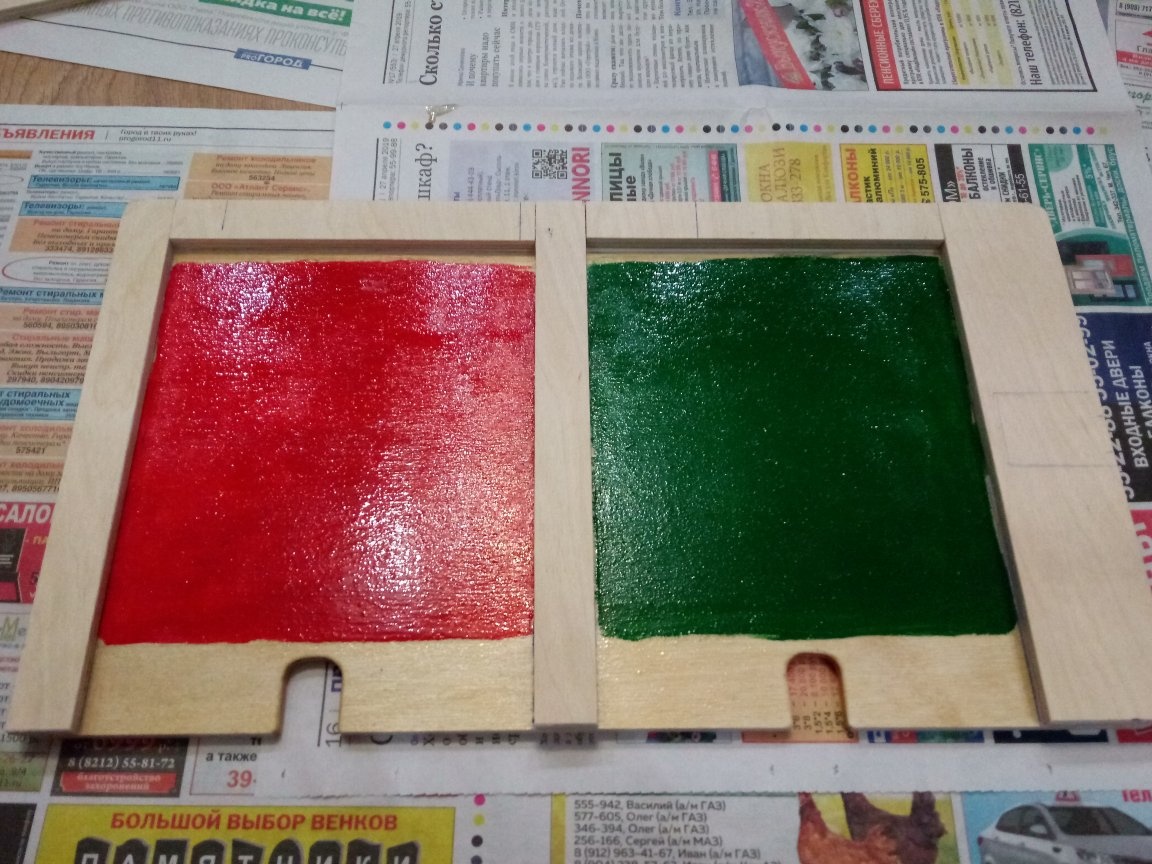
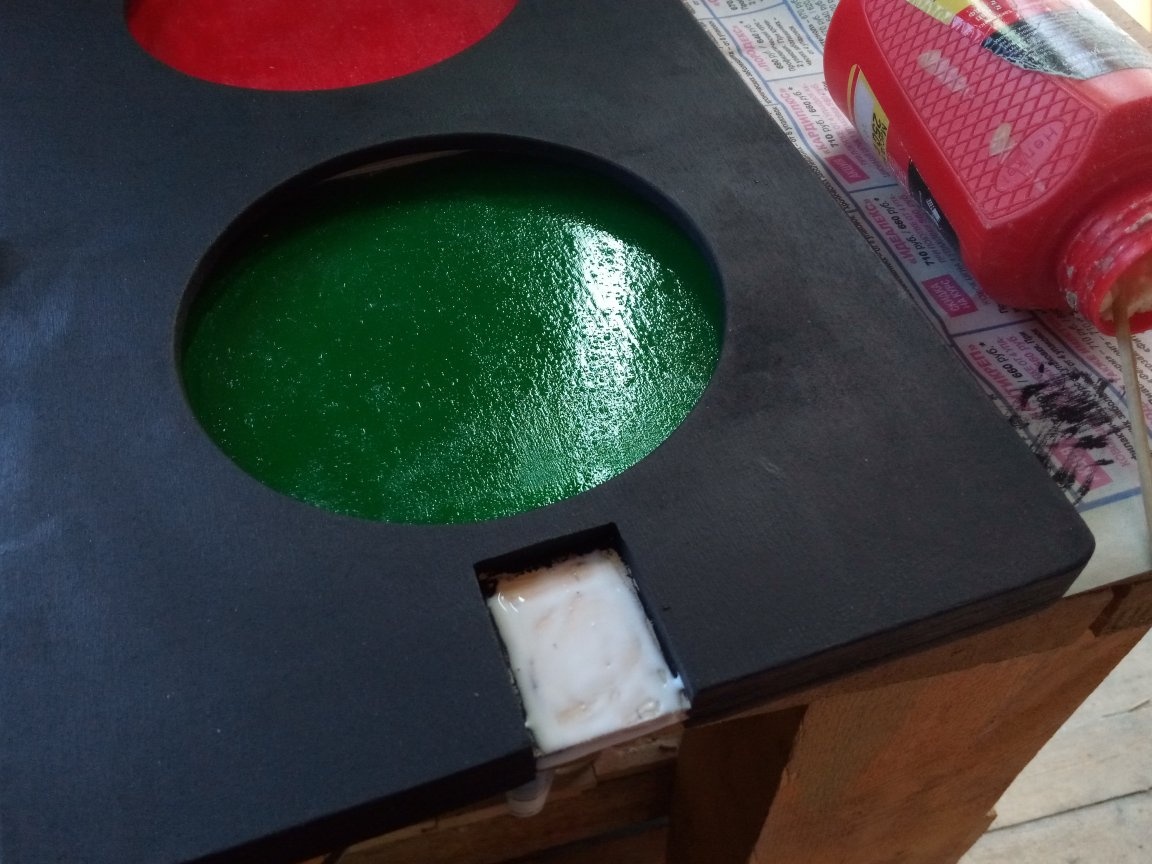
So, for starters, paint the rectangle at the bottom at the base of the future traffic light with green paint.
Then paint over the rectangle at the top of the base with red paint.
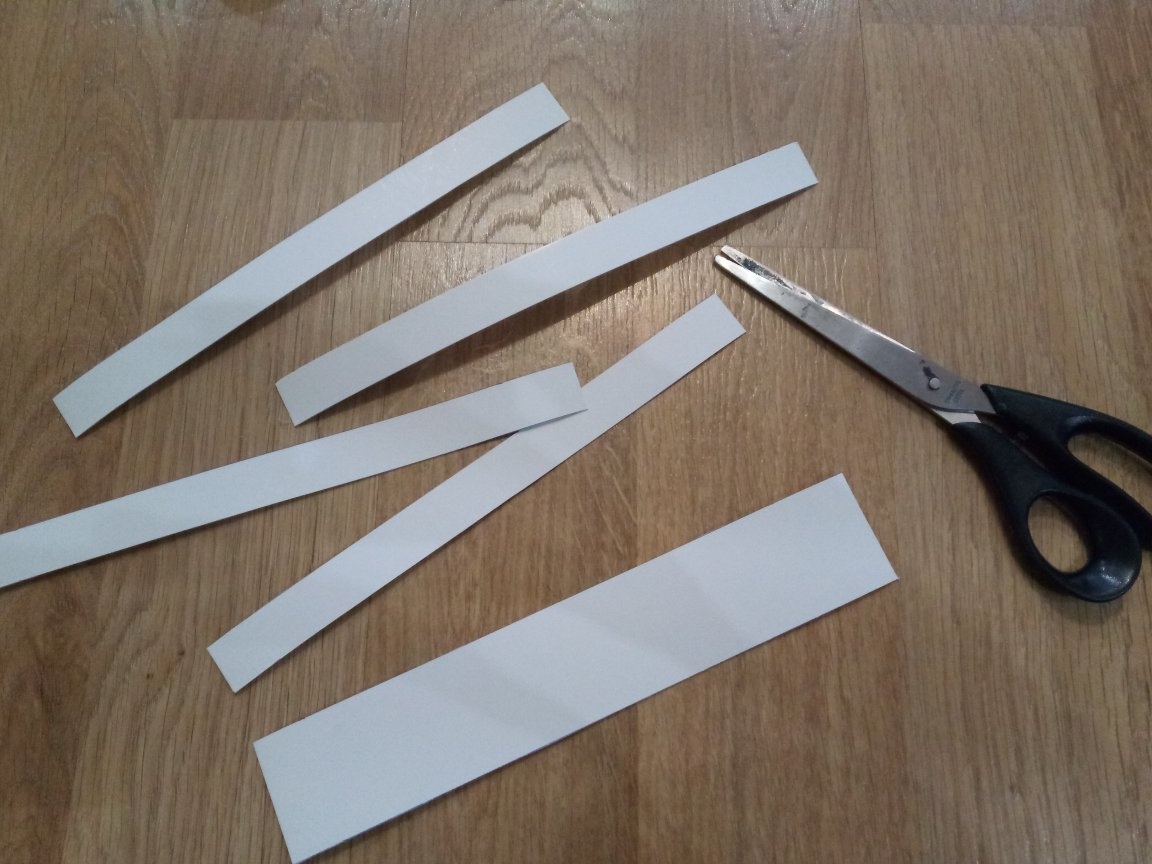
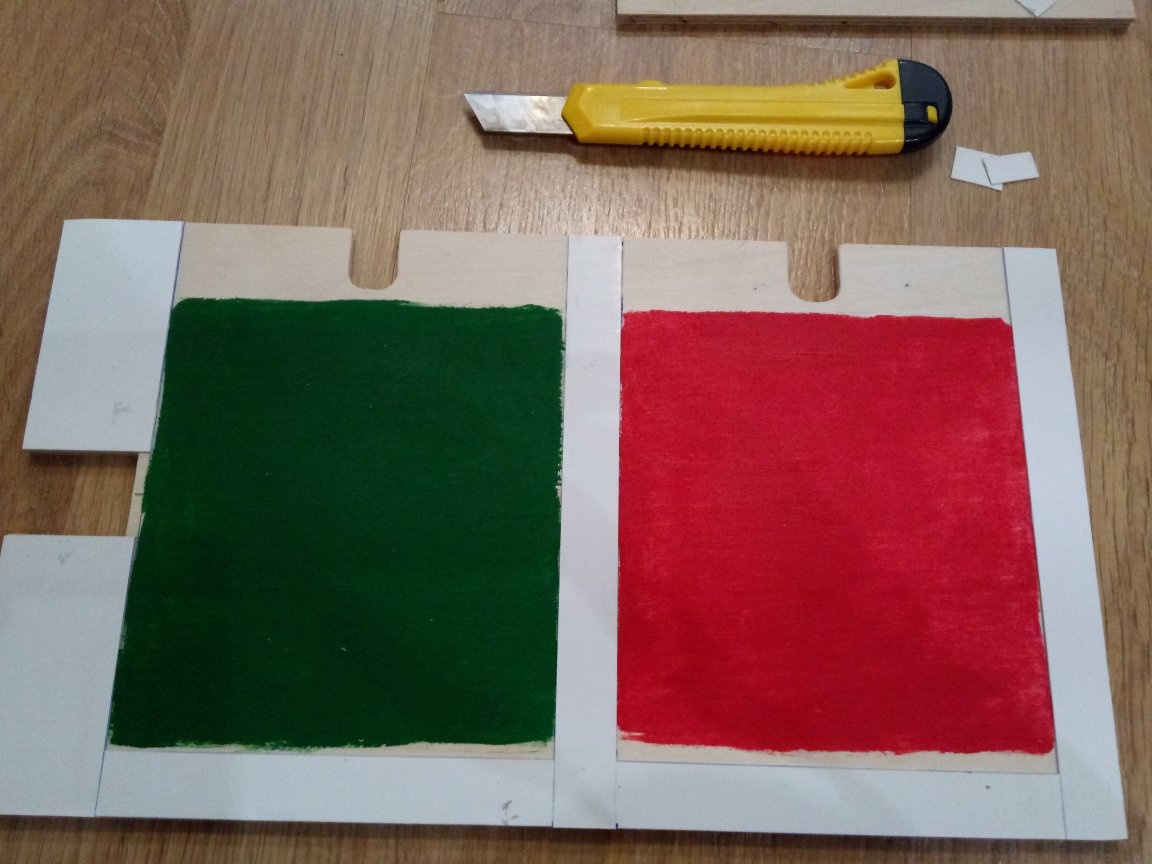
From the Whatman paper, cut the strips of the desired width and glue them to the base.
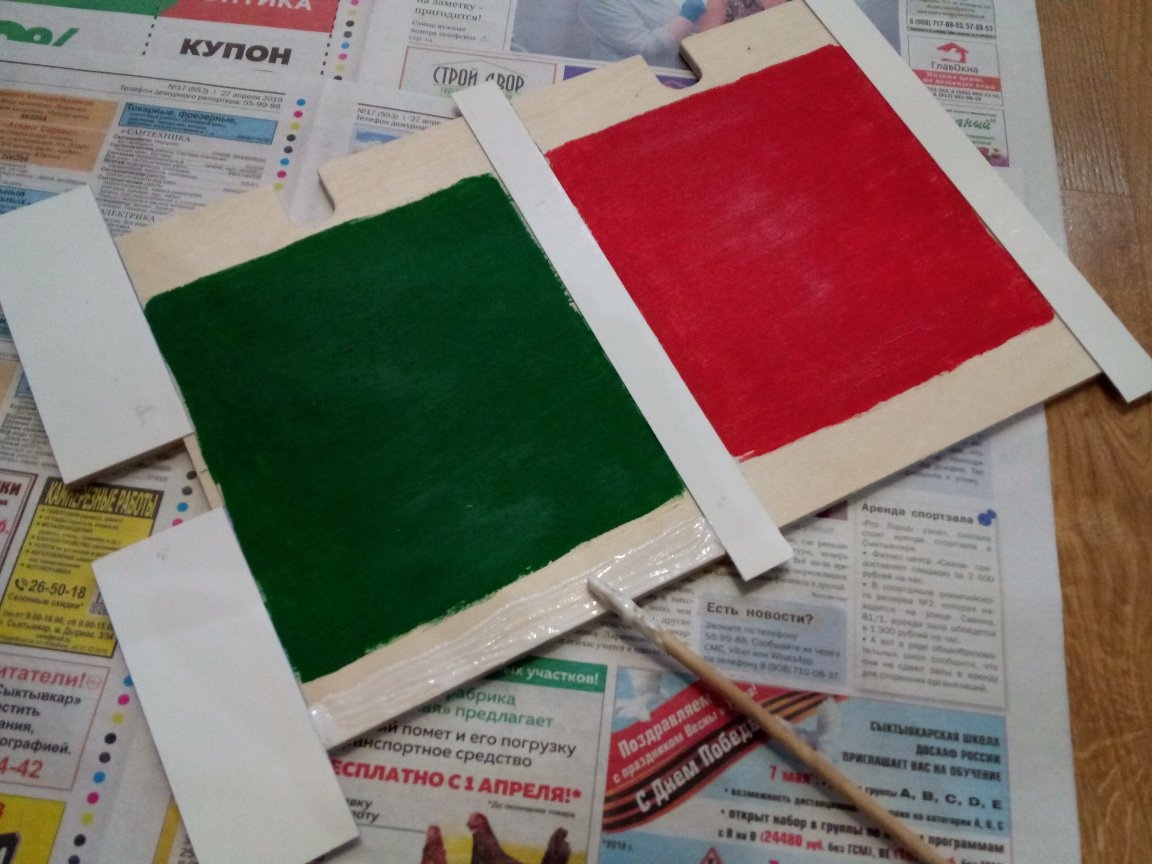
After the glue dries, cut the excess paper on the edge with a cutter.
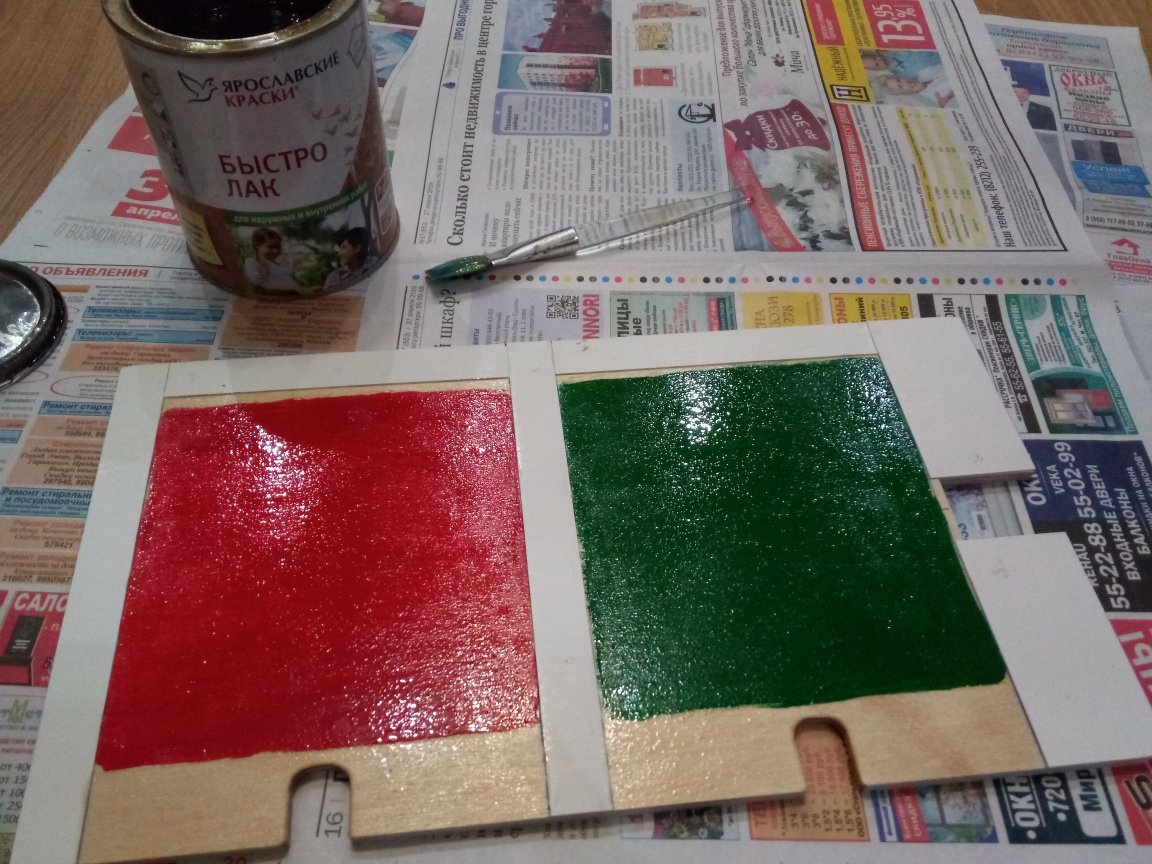
We cover the filled rectangles with transparent varnish and leave to dry.
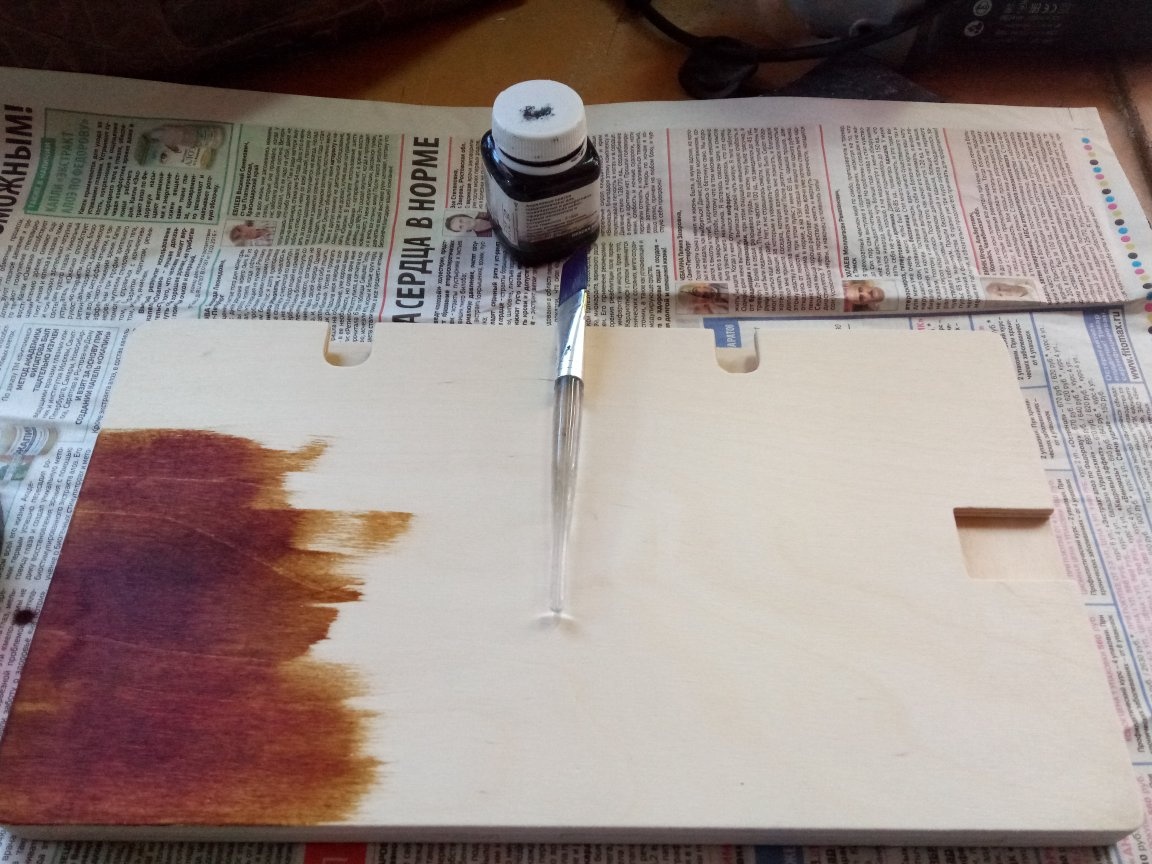
Stain (or a solution of potassium permanganate) cover the cross and (if necessary) the entire rack.
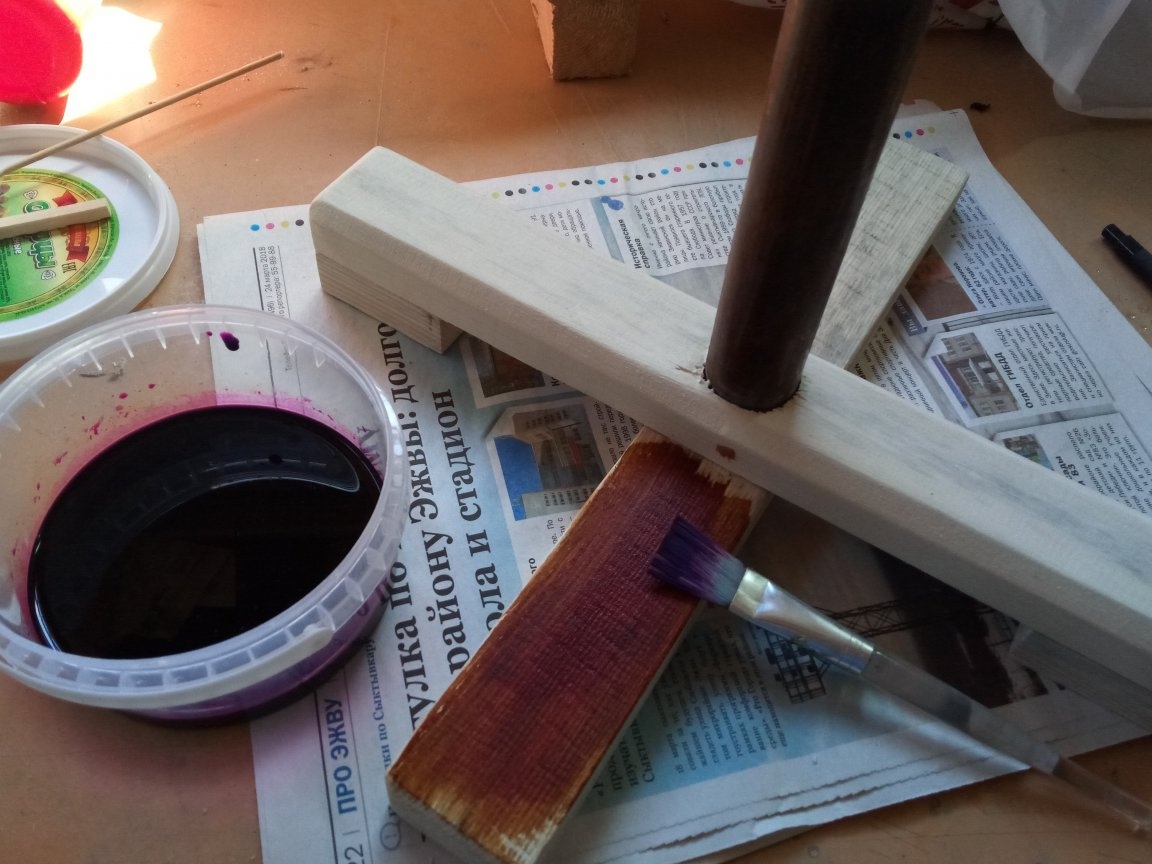
Also stain cover the back of the base of the traffic light.
Step 4. Assembly and painting.
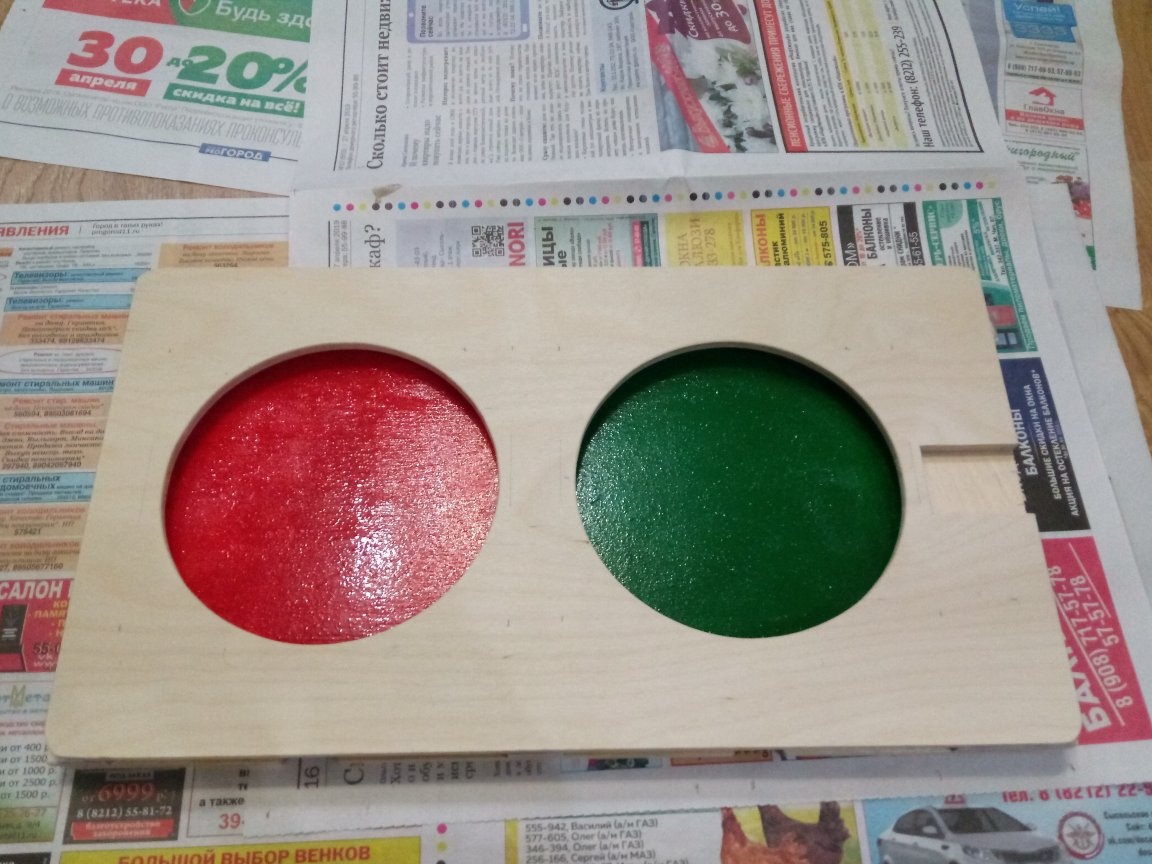
Glue plywood strips to the base.
As soon as the glue sets, we glue the front part of the traffic light and put everything under the press (from books, for example).
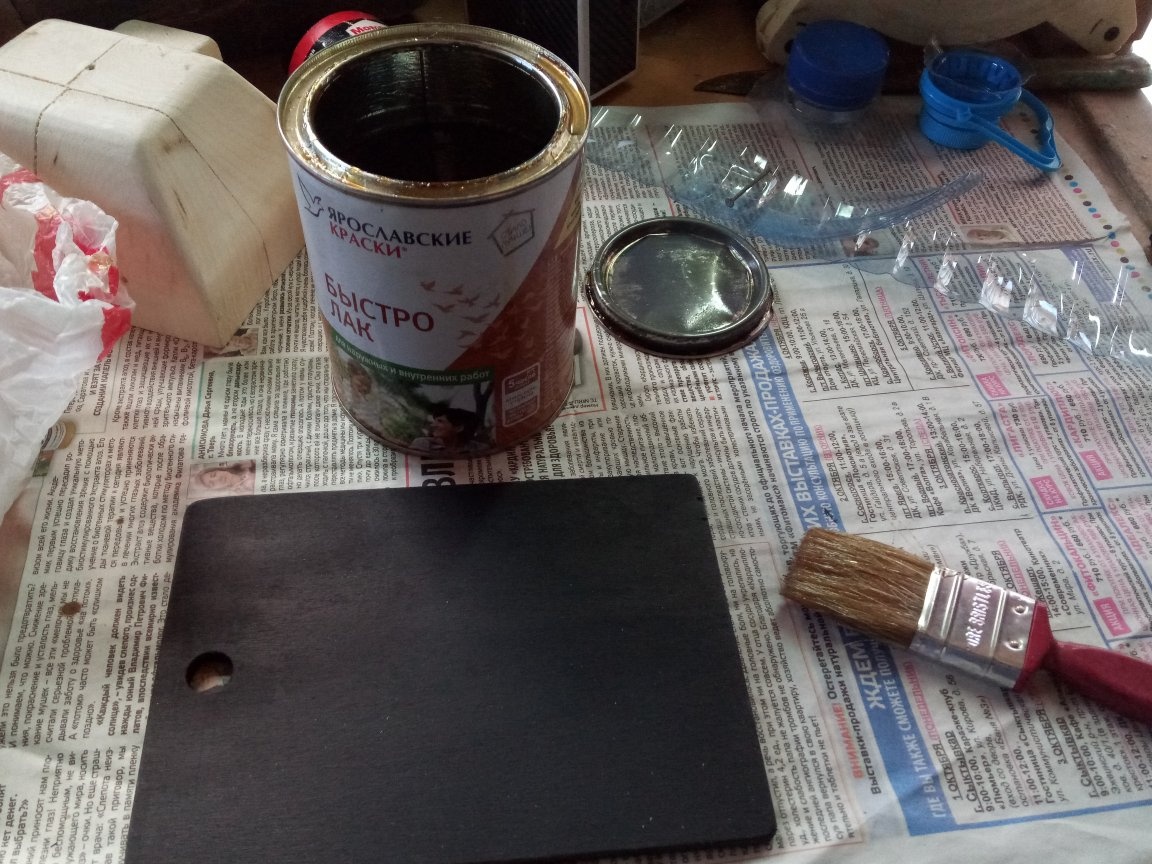
While the glue dries, paint the “curtain” black.

When the glue is completely dry, we process the edges and corners of the traffic light with sandpaper, rounding off the edges and corners.
For a neat painting of a traffic light from a piece of whatman along the width of the “curtain”, we cut out a rectangle to cover them with the internal parts.
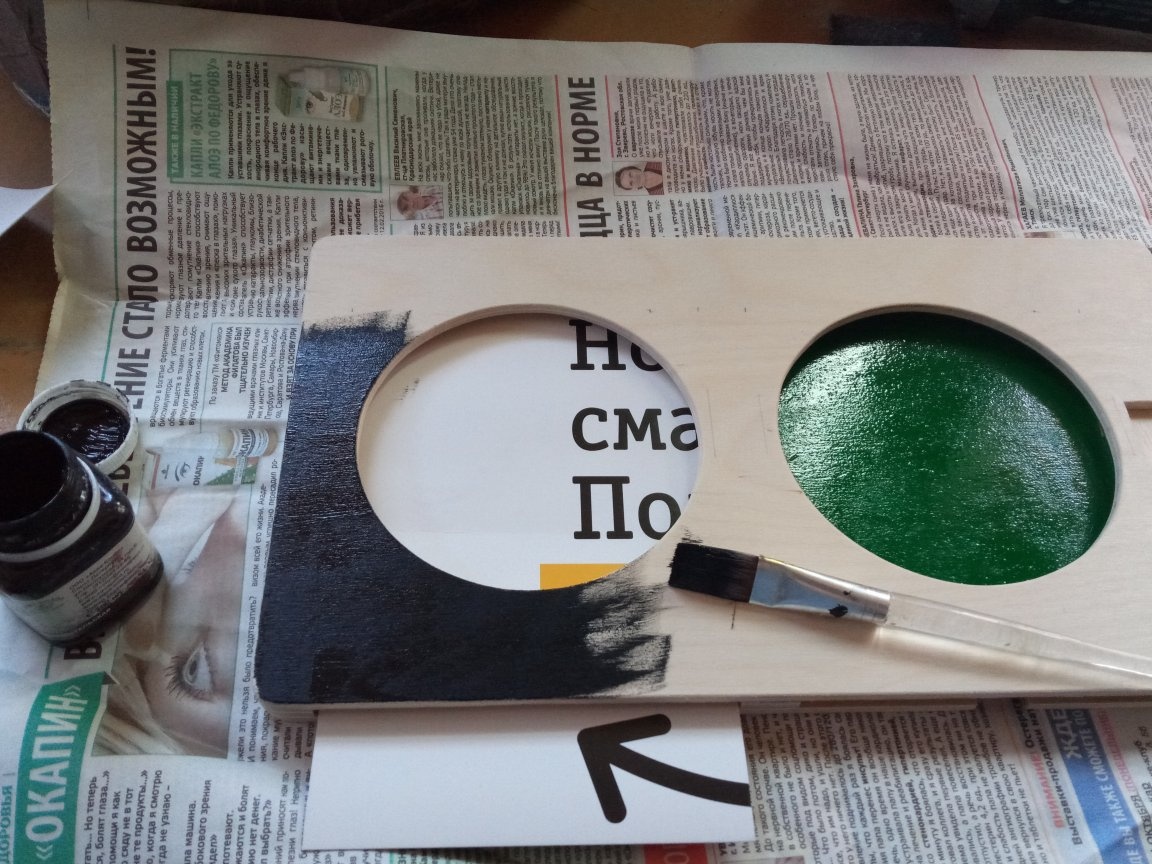
And paint the traffic light black.
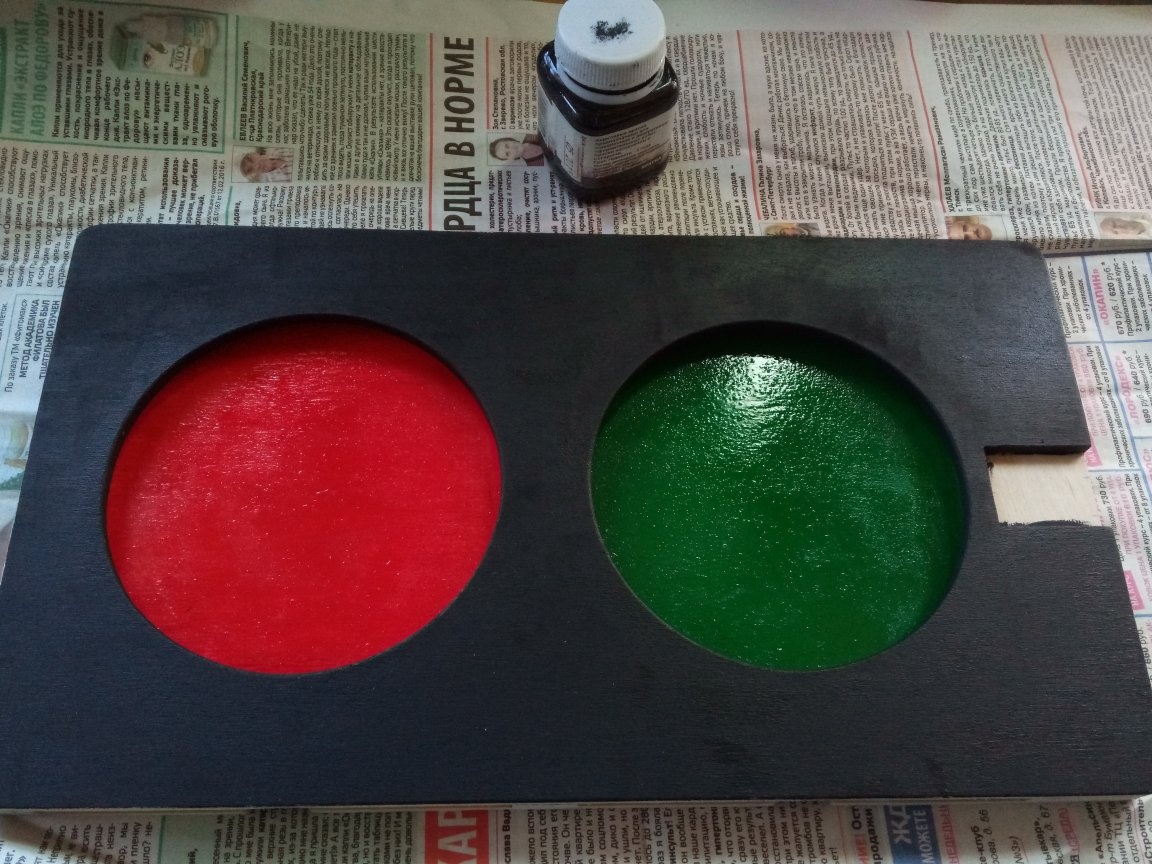
After the paint dries, it remains only to collect everything into one whole. To do this, we glue with PVA glue the grooves at the base of the traffic light.
And glue the traffic light into the rack.
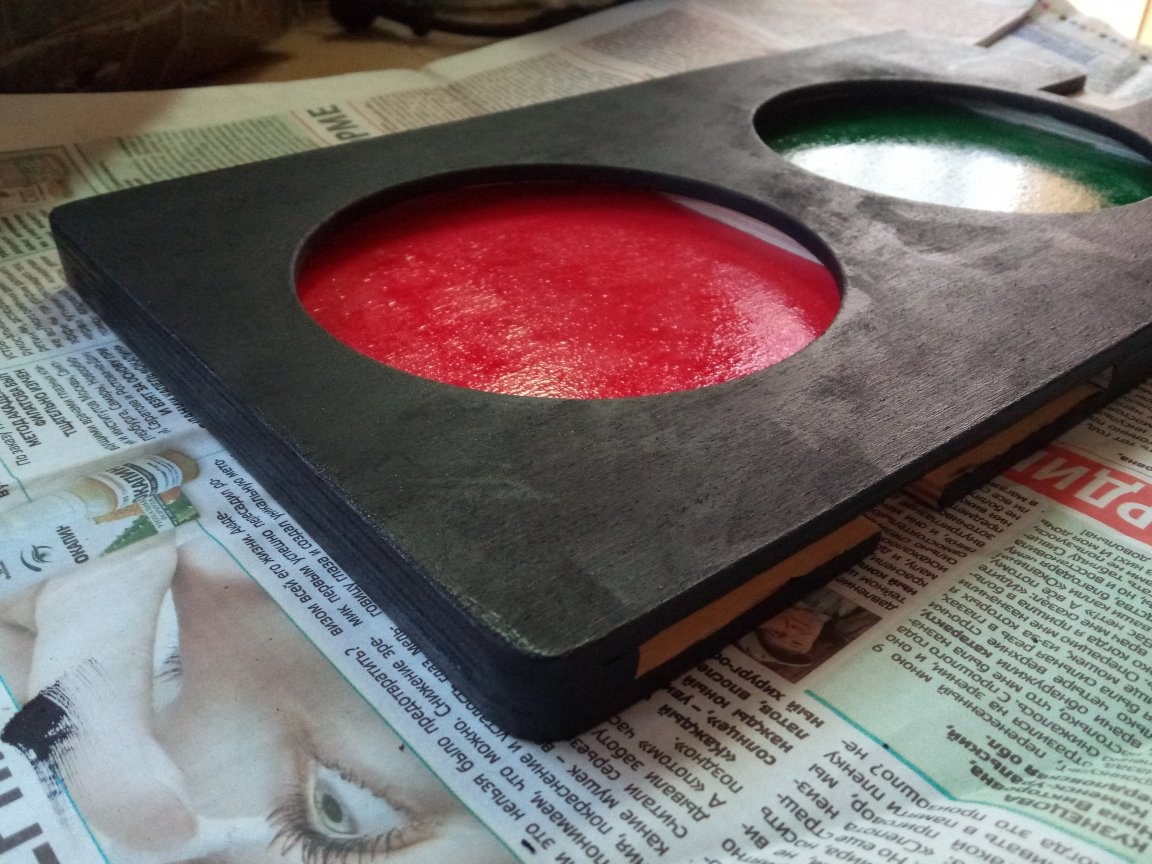
5. Final paintwork.
First, varnish the “curtain” on both sides and hang it to dry.
Then varnish the crosspiece (if necessary, the rack itself, too).
With the help of the same rectangles from whatman, we varnish the entire traffic light and leave to dry.
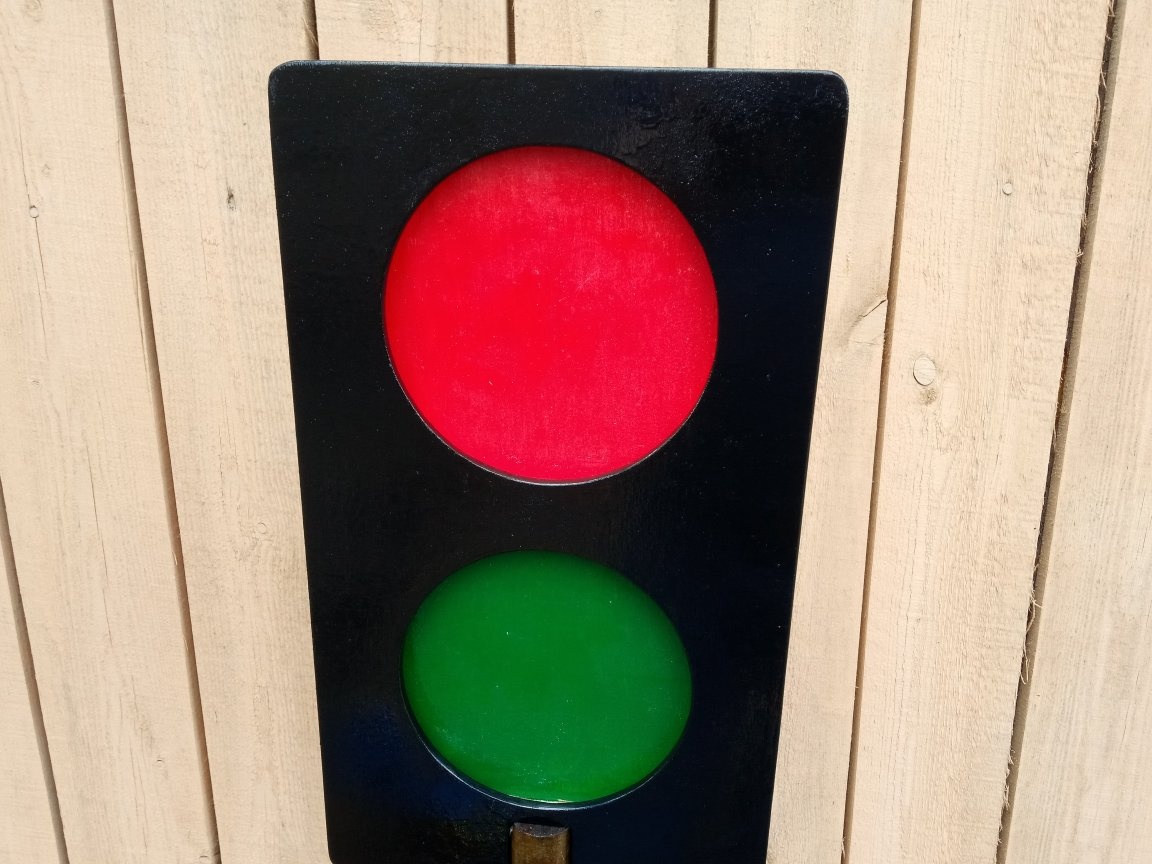
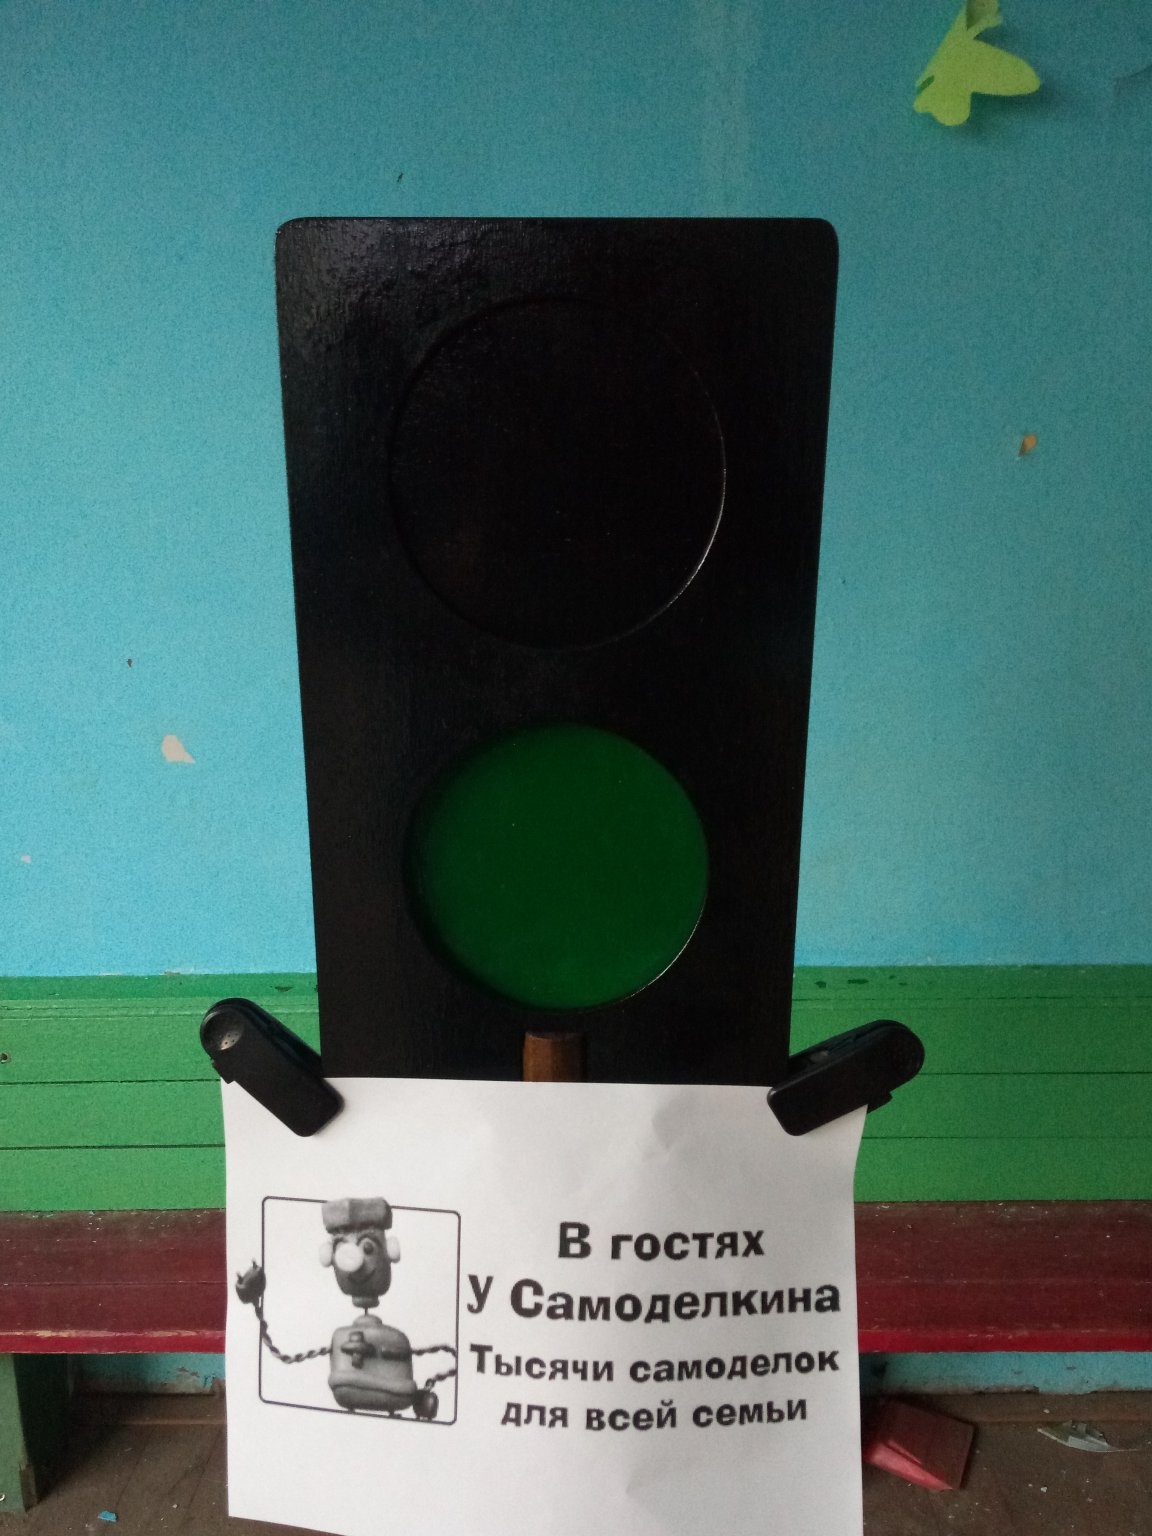
After the varnish has completely dried, we insert the “curtain” in any of the grooves and ... The traffic light is ready!
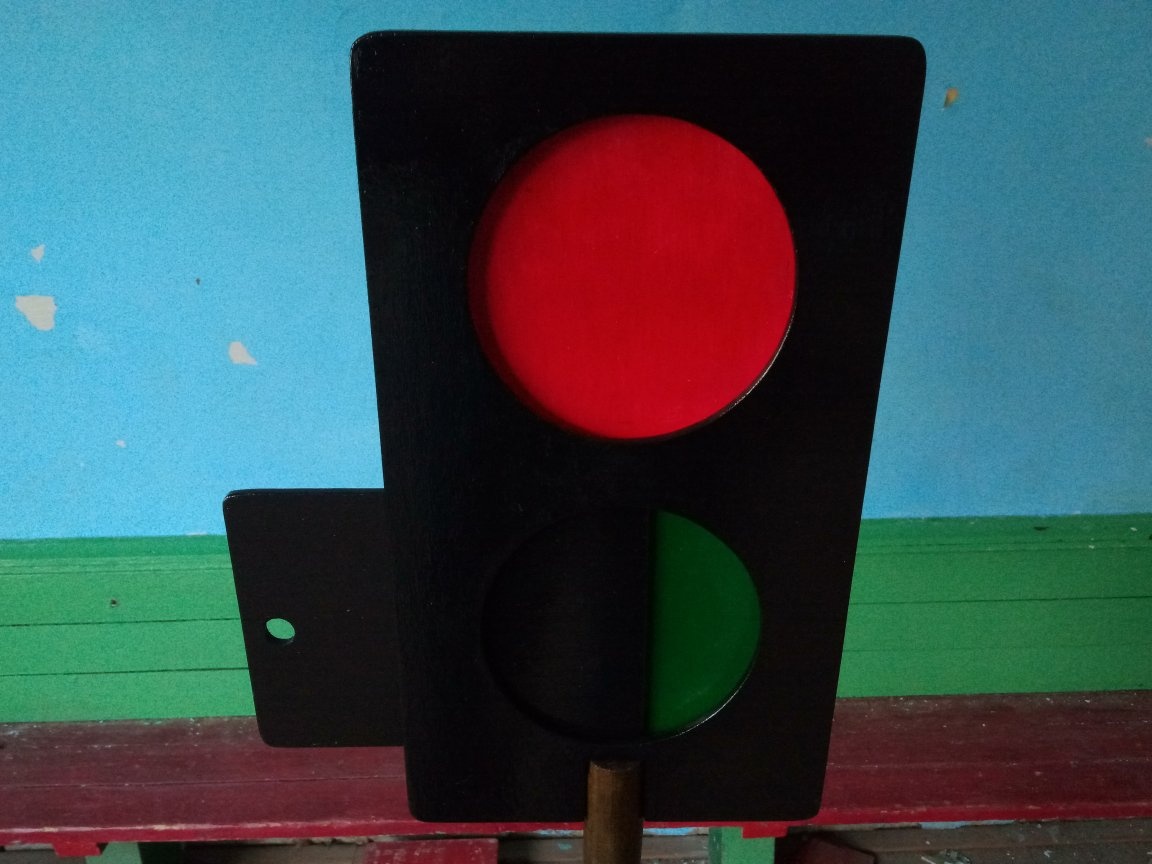
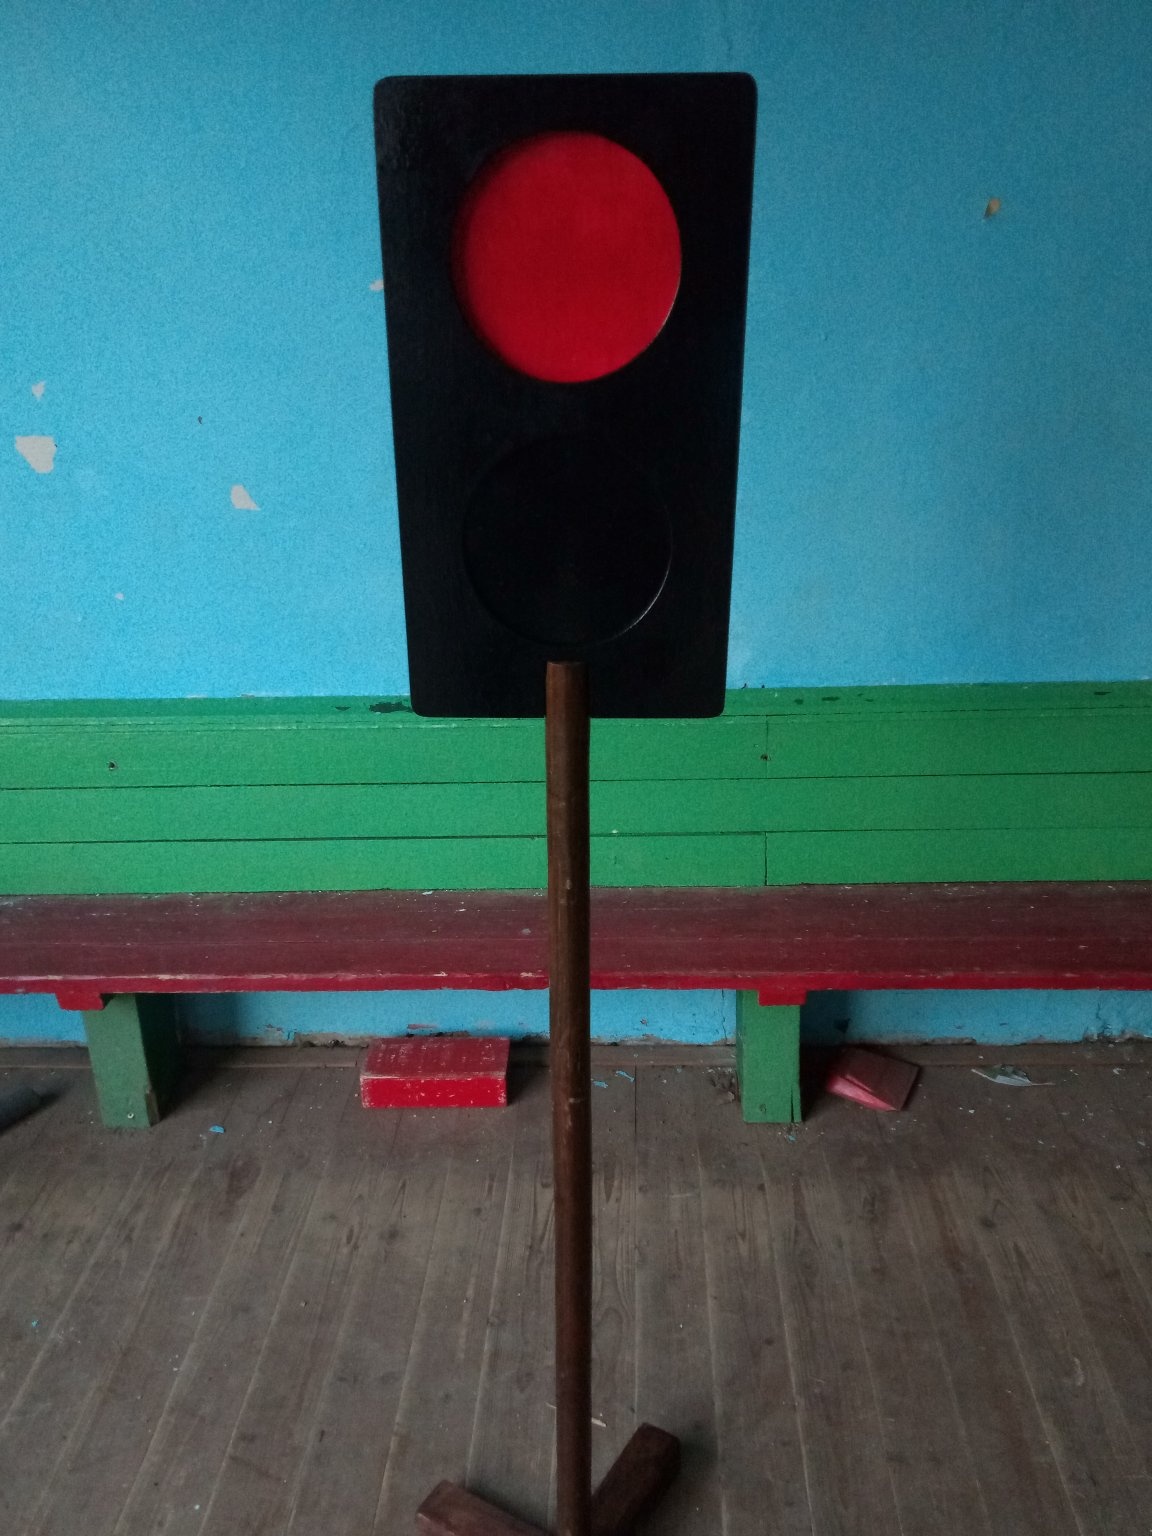
The principle of work, I think, is understandable: with a “curtain” we close the color that is “not lit” and we explain to the children what to do when the desired color is “lit”.