
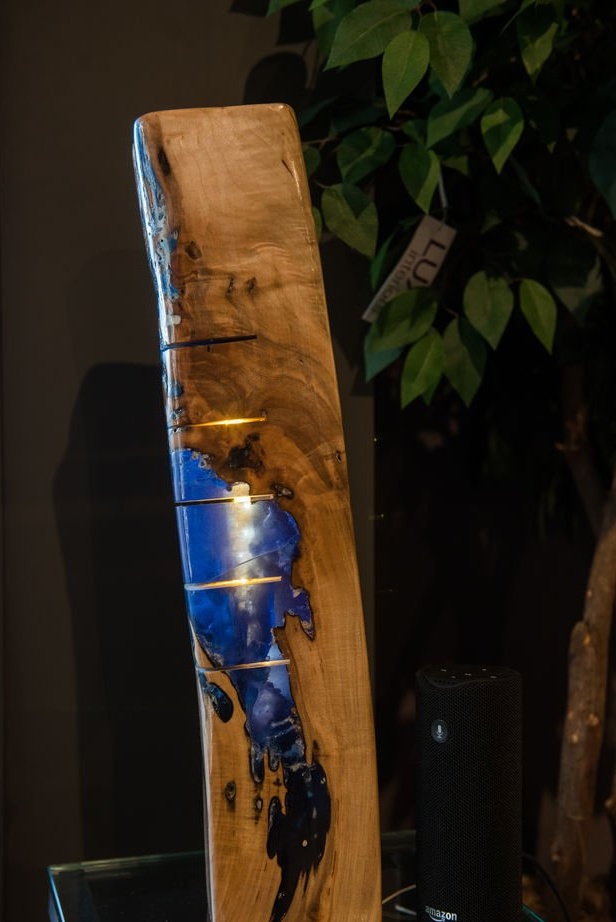
Master of this homemade I came across a mysterious and forgotten piece of maple, found during the felling of this tree. He had been picking up an interesting log for a long time to use it for the manufacture of his first LED lamp made of wood and epoxy. And this turned out to be exactly the same tree.
Tool:
- band-saw;
- hand drill;
- drill with a diameter of 15 mm .;
- nap;
- clamps;
- angle grinder;
- belt sander;
- Miter saw;
- sandpaper;
- glue gun;
Materials:
- maple log;
- LED Strip Light;
- color epoxy;
- protective film;
- masking tape;
- varnish;
Step 1: Design
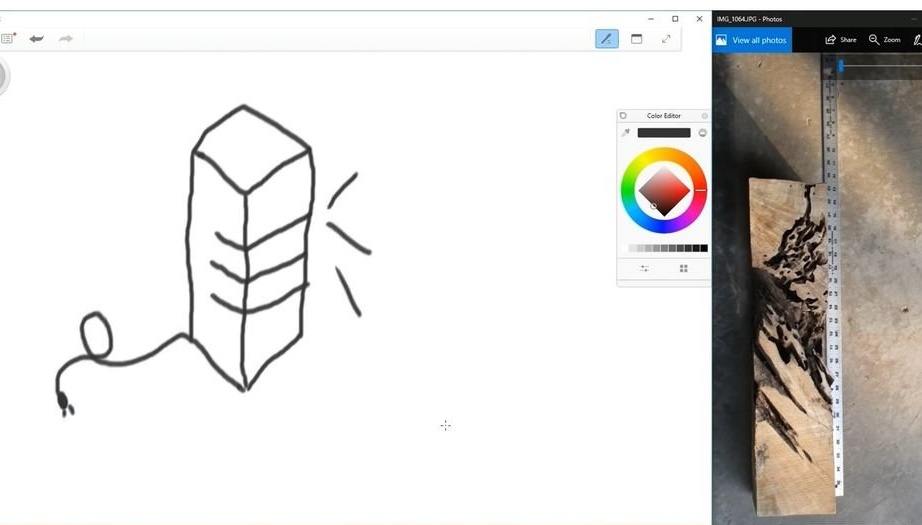
In addition to the fact that the master knew that he wanted to fill the wood with resin and put LED light into it, he had no idea what the design of this lamp would be. He spent some time exploring Pinterest and YouTube, just looked at other wood and epoxy LED lights to figure out which style he likes best. He then made a few sketches on his computer to get a general idea of what he was aiming for. He was going to install the lighting inside the hole, which was in the log. As planned, there should have been an LED strip going up. In order to dissipate heat from the LEDs and increase the amount of light, it was planned to make slots on the finished part.
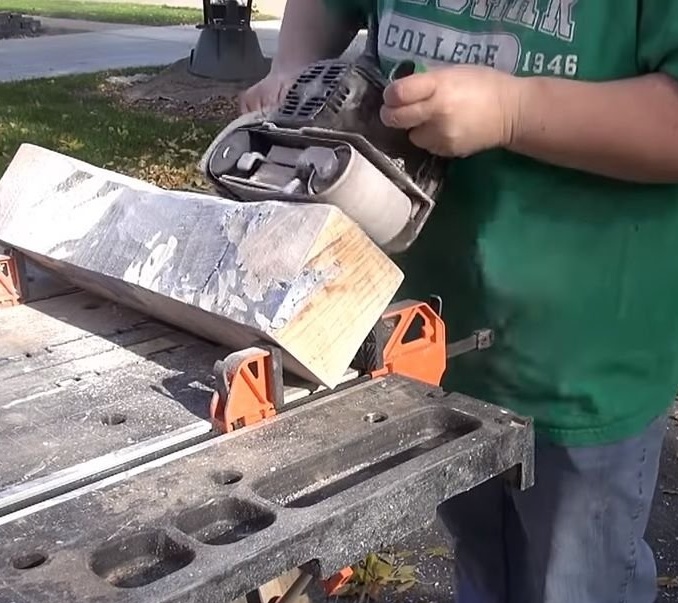
Step 2: Preparing the Wood
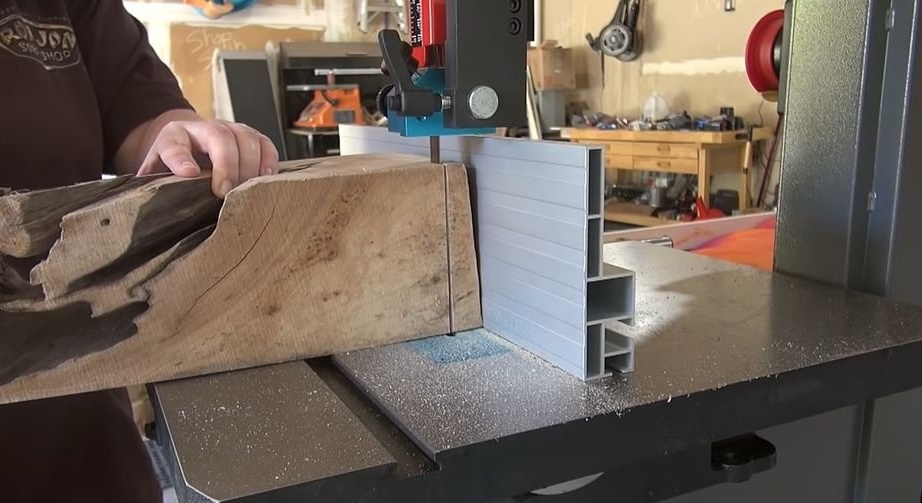
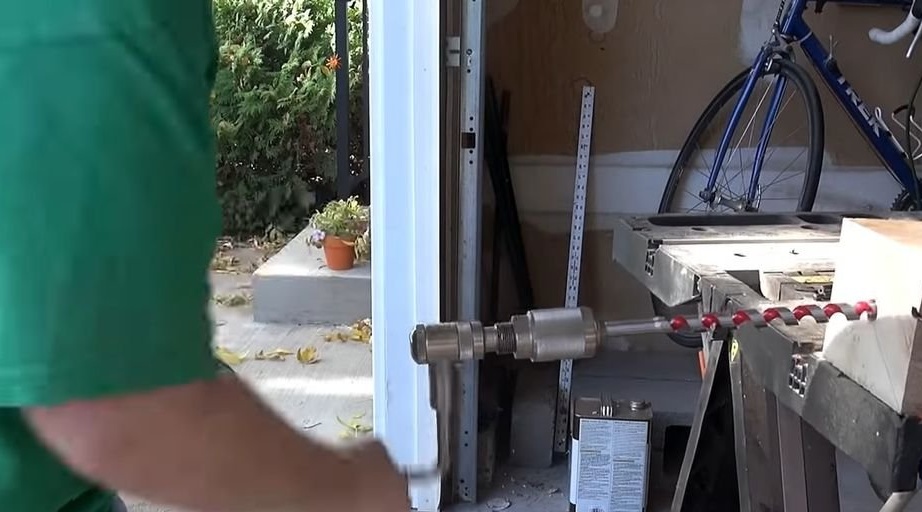
The maple log was not trimmed and could not stand exactly upright. Therefore, the first step to the preparatory work was cutting one end of the log, with a flat band saw. Next, the master drilled a hole for the LED strip. He used a drill with a diameter of 15 mm to make a hole large enough to accommodate the tube and light output. Since he wanted the tube and lighting to pass through most of the product, he had to use a long drill, which was not included in the cordless chuck, as well as the wire drill. Therefore, the master had to use a hand drill to do the job. After the hole was drilled, he used his Dremel hand tool to completely remove decomposed and loose pieces of wood inside the maple log, before pouring the resin.
Step 3: Preparing to pour resin
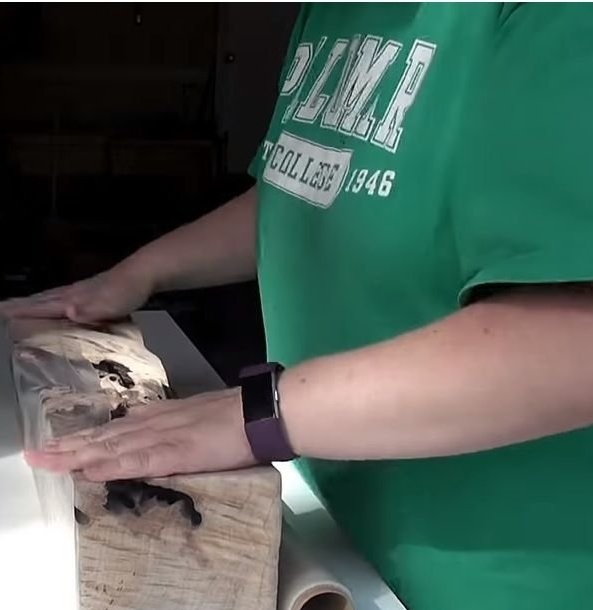
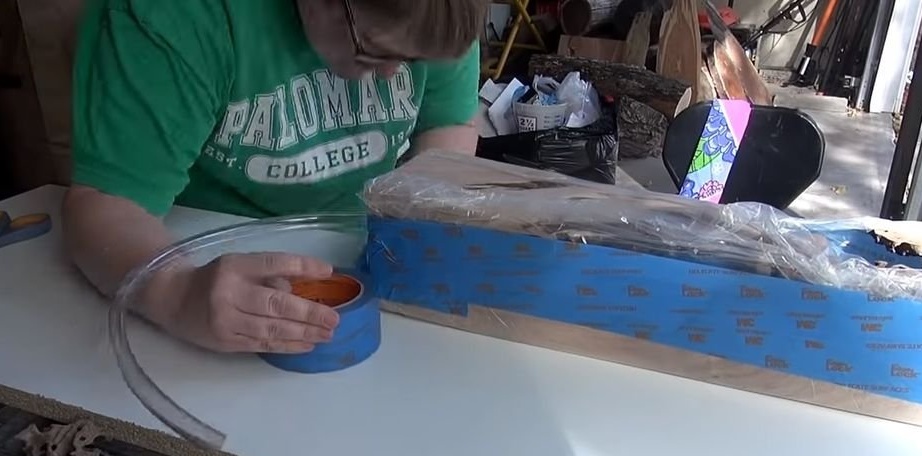
The master wanted the product not to be square, but to look more natural. Due to the choice of this design, there was no question of creating a form with melamine. The master decided to try using a protective film for carpets, which is sold in large rolls. He reinforced this film with a blue painting tape to prevent the sides from bending when the log was completely filled with resin.
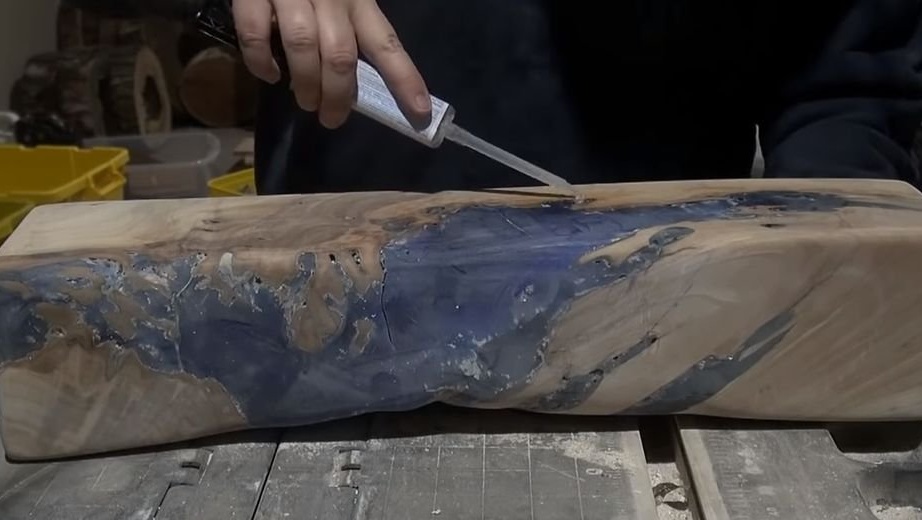
Step 4: Pouring Epoxy
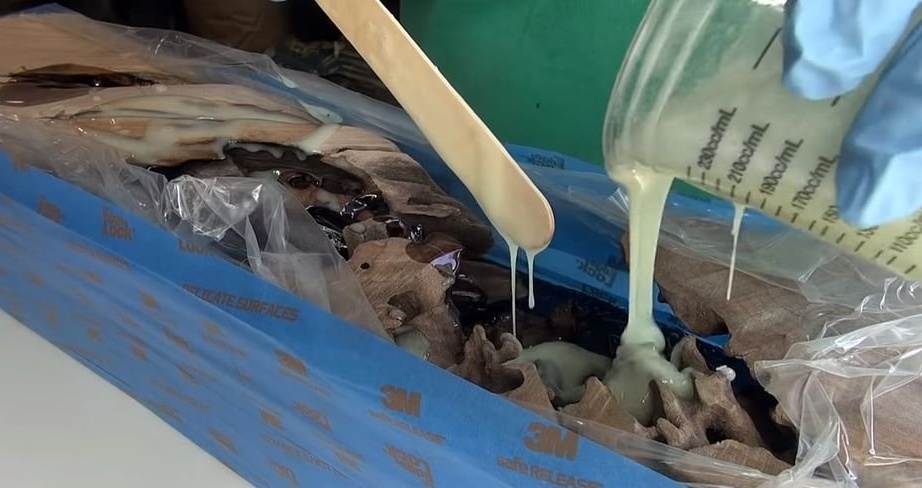
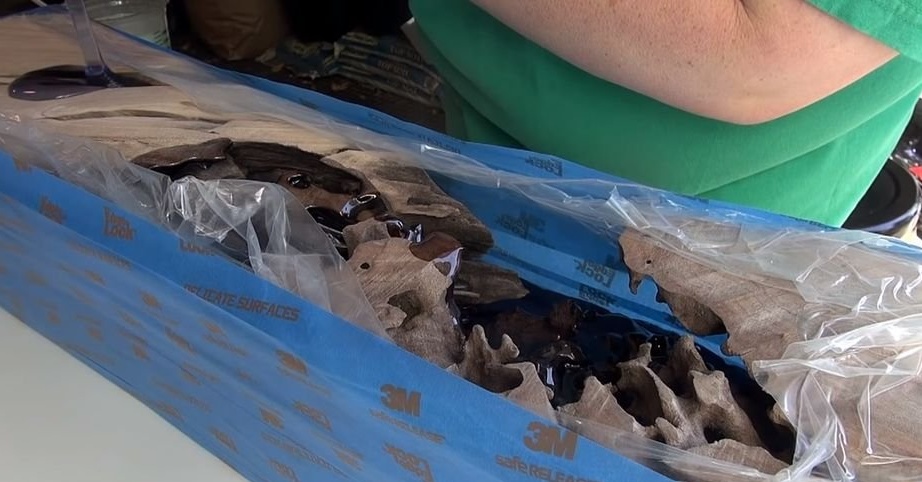
The master chose a predominantly blue resin with a small amount of blue - green glow in a dark resin. He wanted the glow in the dark resin to be distributed throughout the blue in different places. So a little blue was poured, then dark, then even more blue, and so on and so forth.
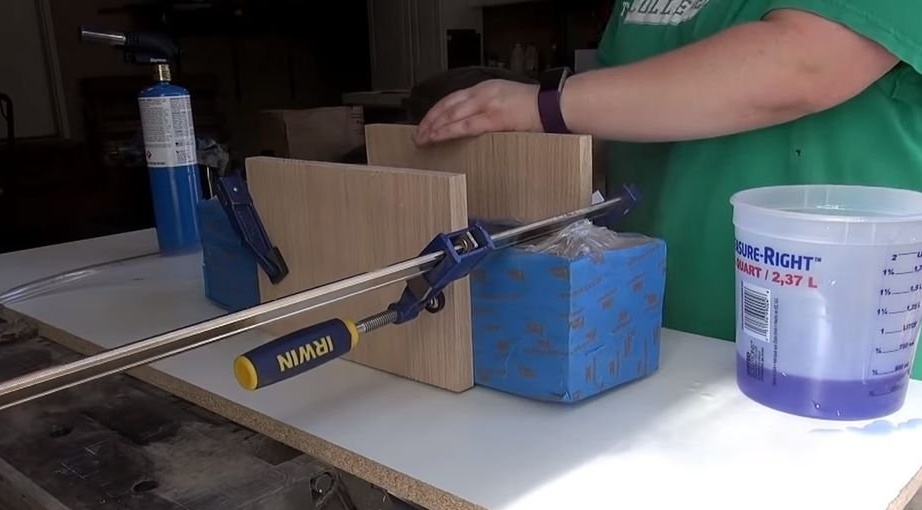
Unfortunately, in the end, all the glow in the dark tar sank to the bottom and concentrated in one place. In addition, when he poured water, it became clear that the film would not be strong enough to hold the resin without smudges. Therefore, orienting himself, he quickly grabbed the pieces of wood and, using clamps, placed them along the middle part. This place had the least support.
Step 5: fix the epoxy bubble
The resin that the foreman used for this project was not intended to be poured into the thickness onto which it was poured. Initially, he thought that it would still be normal to continue pouring this resin, because so many different cavities in the log had already been filled. However, he was wrong! Since the resin layer was very thick, it overheated and created a huge bubble, as well as several internal cracks. Consider this an important lesson.
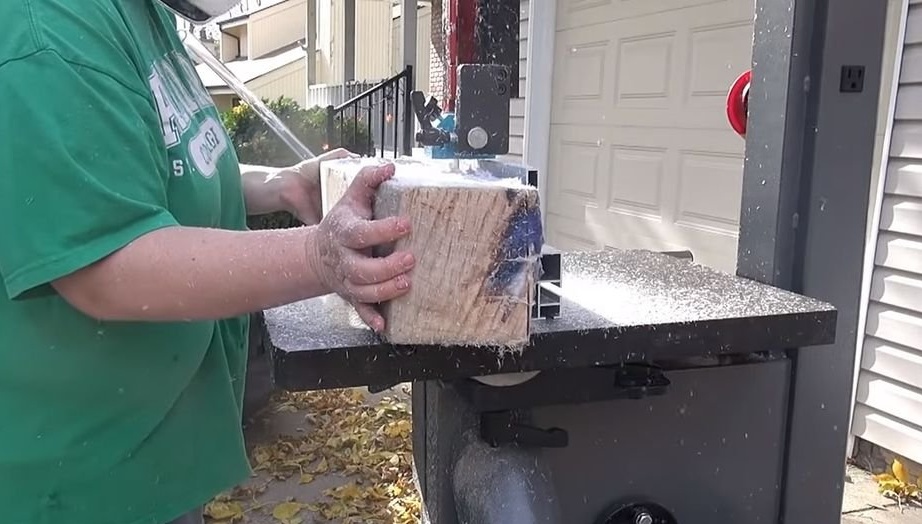
The idea of grinding the entire bubble seemed the most unattractive. After thinking a little, he decided to shave off a layer of bubbles with a band saw. Using a band saw instead of sanding definitely saved a lot of time.
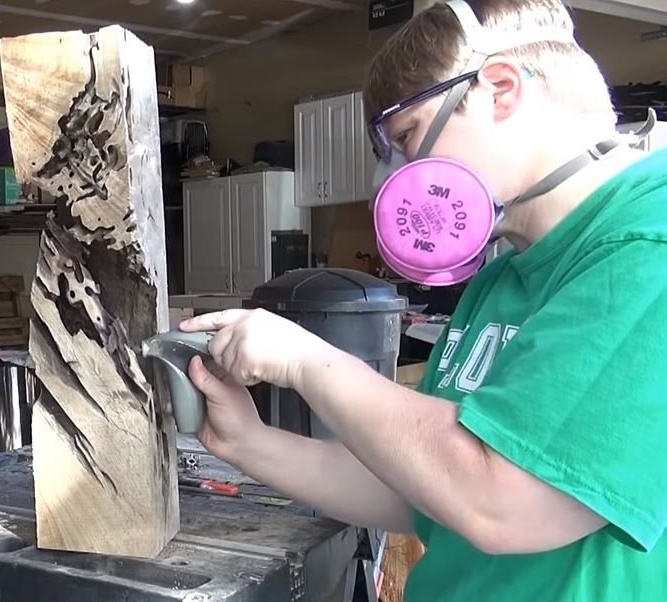
Step 6: Final formation, grinding and correction of the resin fill
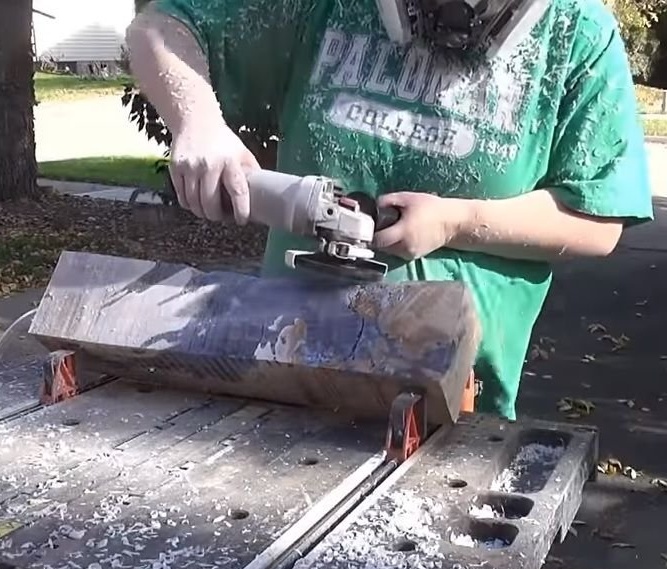
As soon as the bubbles were cut, the master used an angle grinder with a nozzle for the turbo-plane and a belt grinder to create a more natural edge and surface. Using a band saw left the piece square and flat on all four sides, and he wanted the piece to be more organic. After the final form was achieved, it was sanded with 180 grit sandpaper. At this point, cracks in the resin that formed from overheating during curing became very obvious.
Although it was not possible to completely erase the cracks, their further growth was suspended, they stabilized. Further cracking stopped, the resin did not loosen and did not fall out. The master used an epoxy resin with fast solidification of two components. She had a 5 minute setting time and a 24 hour full cure time.
Step 7: Solve Lighting Problems

The master turned on the LED strip to see how well it shines through the tinted resin, and found that it does not shine through as much as he had hoped. To solve this problem, as well as to deal with possible problems of heat dissipation, he decided to cut several slots in the light element. He used a miter saw to cut grooves that would be equal to the width of the saw blade. The master made a cut through the channel, which was prepared for the LED strip.
Step 8: Install Lighting
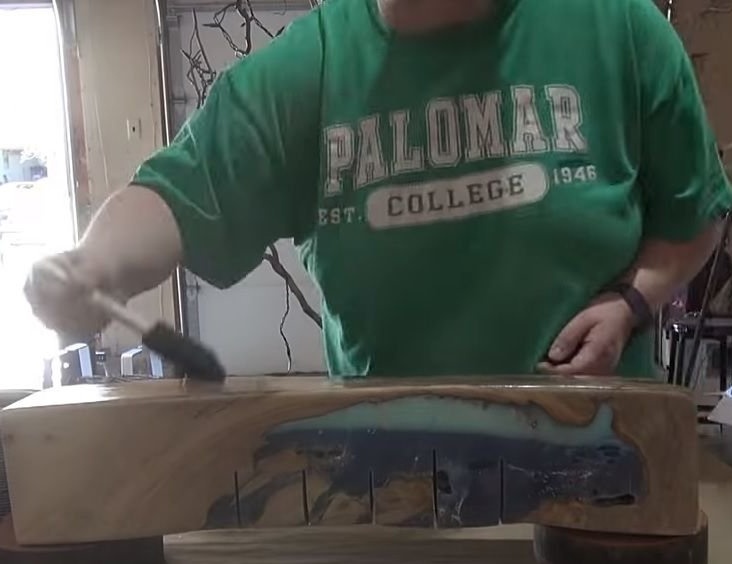

After the cracks were cut out, the master polished them inside with 600 grit sandpaper. Then he went through the finished epoxy with a brush with varnish. He used a disposable foam brush.
As soon as the lacquer finish was dry, he inserted the LED strip. To keep the LED strip inside the channel, he applied a little hot glue.This step allows you to quite easily change the LEDs when they burn out.
More information about this lamp made of epoxy resin and wood can be found by watching the video below: