
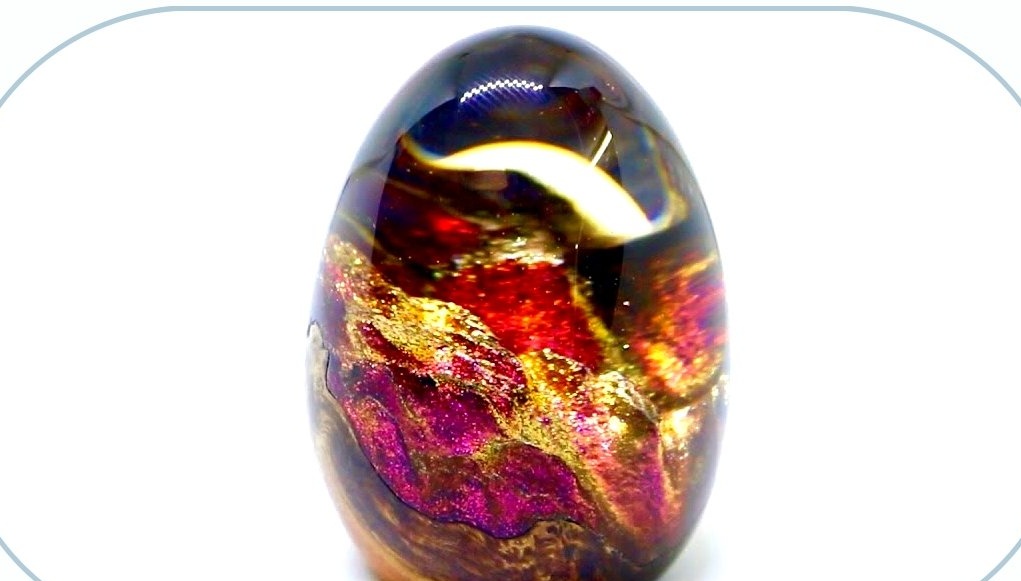
In this article, Ben, author of Ben's Worx YouTube channel, will give you detailed instructions on how to make a dragon egg based on epoxy without turning. Using the same technology, other round shapes can also be made.
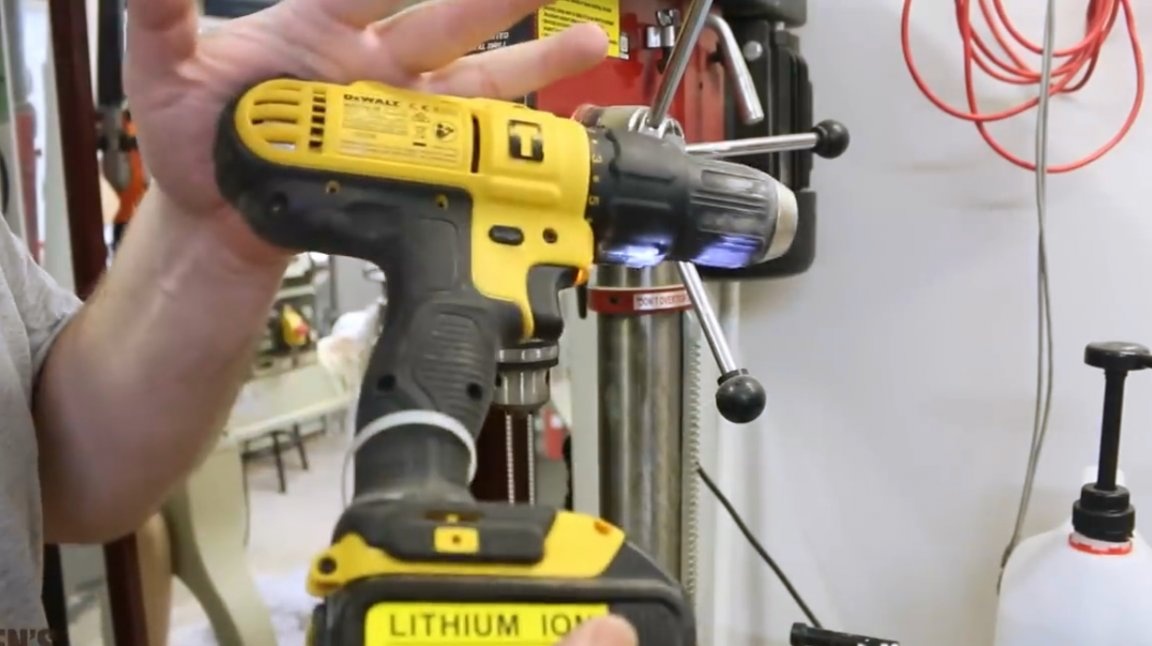
The following tools will be used in the project: a disk grinder (you can also use a belt grinder, holding it previously in a vice with the tape up, or an orbital grinder), and a drilling machine (if one is not available, you can completely get by with a drill or screwdriver). To facilitate working with a screwdriver, its button can be locked in the pressed state with a plastic screed.

Materials
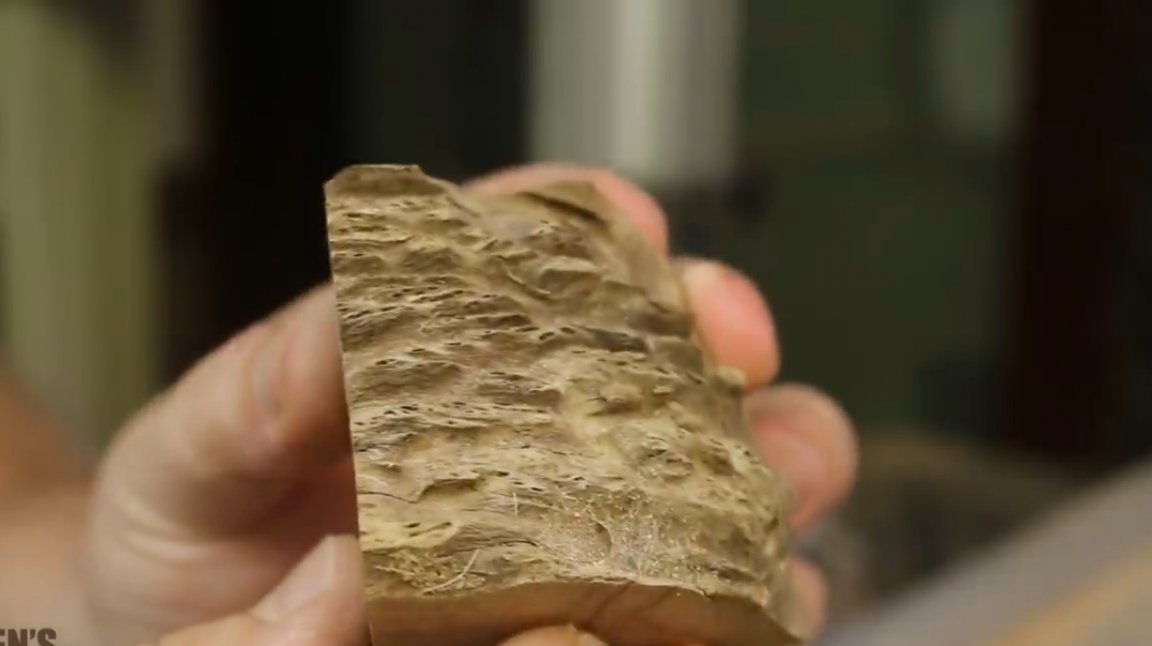
- Birch cap
- Two-component epoxy resin
- Plastic cup
-
-
- Wooden round timber
- Black acrylic paint
- Set of sandpaper
- .
Instruments, used by the author.
- Orbital sander and machine
- Drilling machine
- respirator
-
-
- metal brush
- Pressure chamber
- Grinding machine with polishing nozzle
-
-
- Belt sander
- Joiner's knife, core
Manufacturing process.
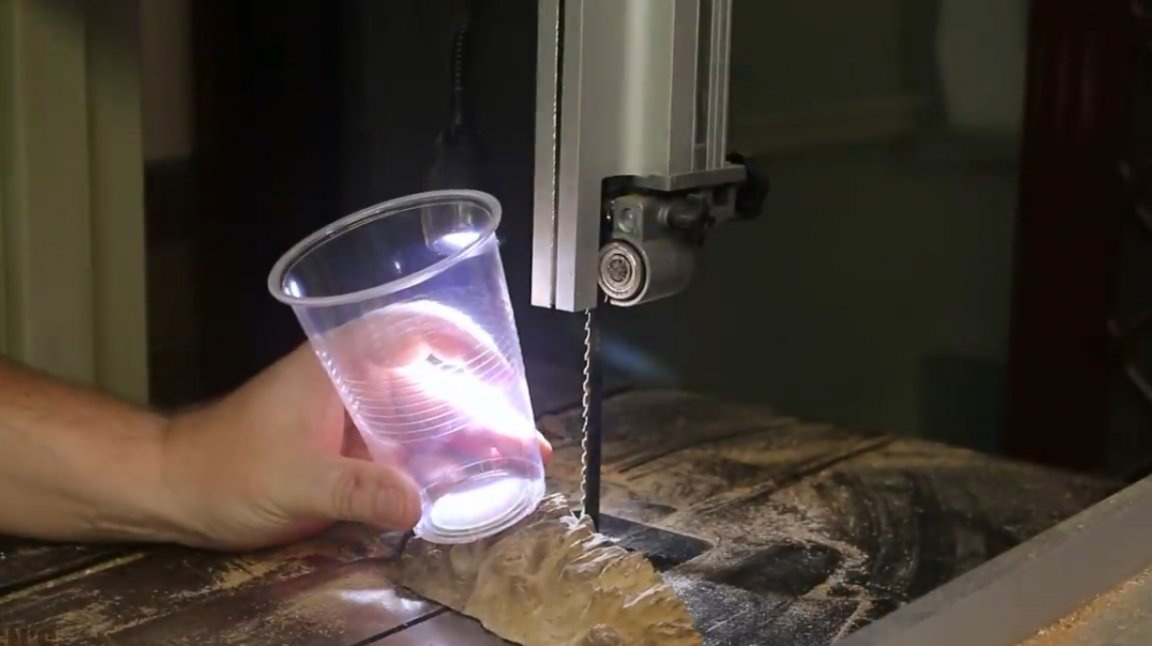
The first thing the author will start with is an egg-shaped casting based on epoxy resin. A plastic cup is quite suitable for this.
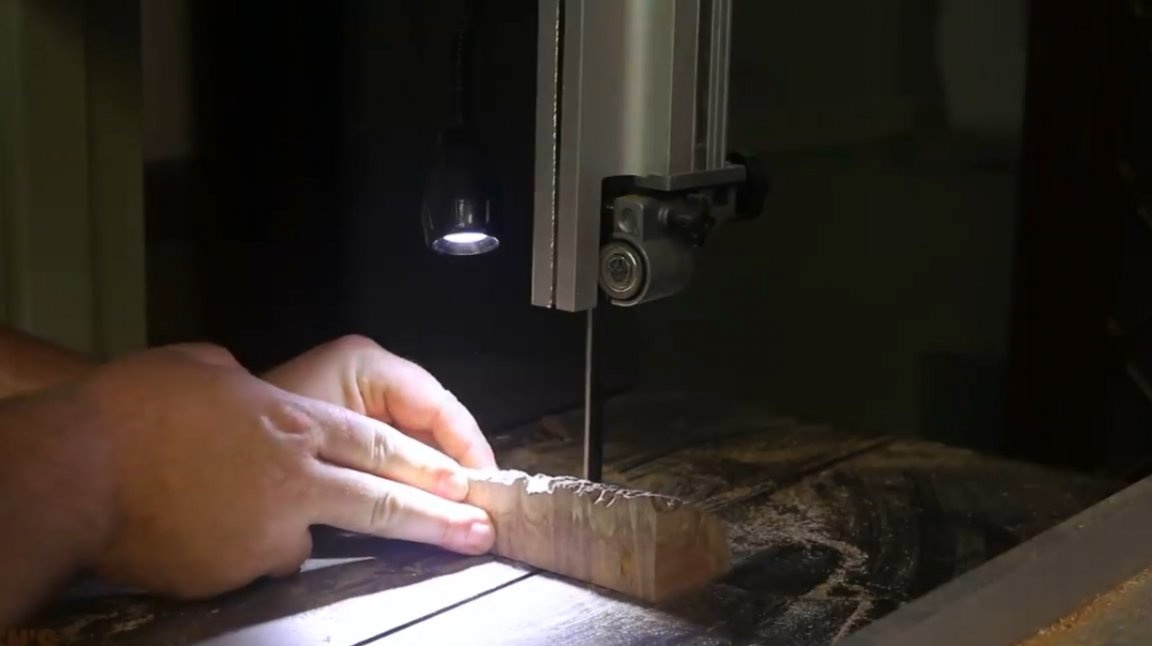
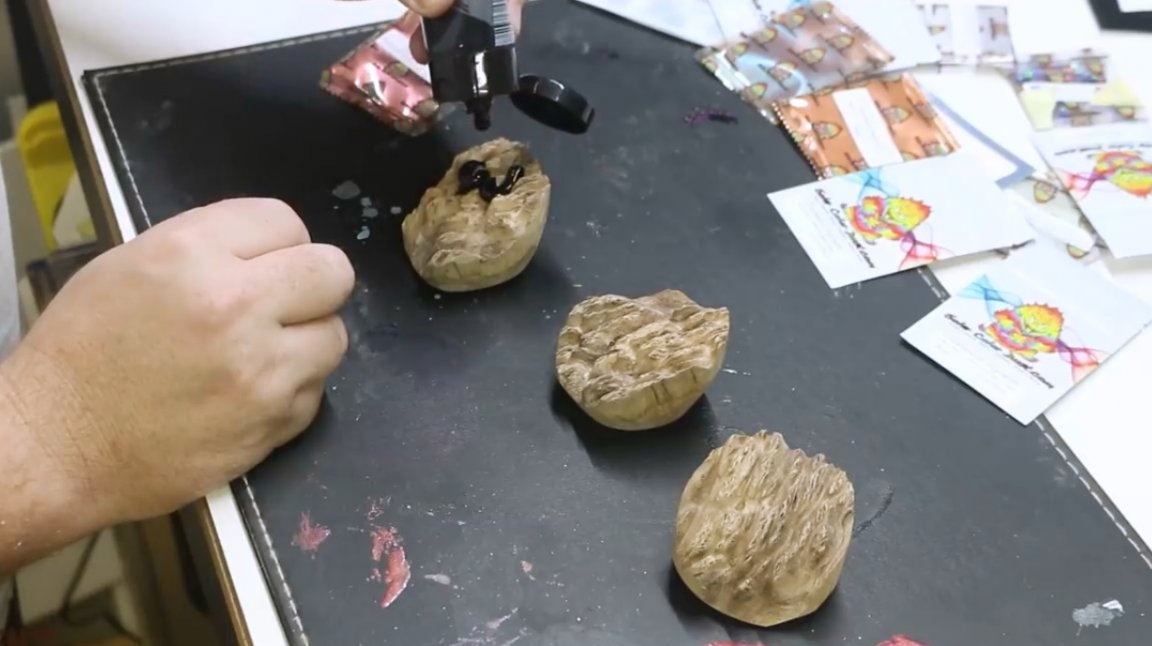
The master applies it to a piece of birch burl, and marks the outline with a dotted line. Next, a band saw is used, but an ordinary hacksaw will cope with this simple task.
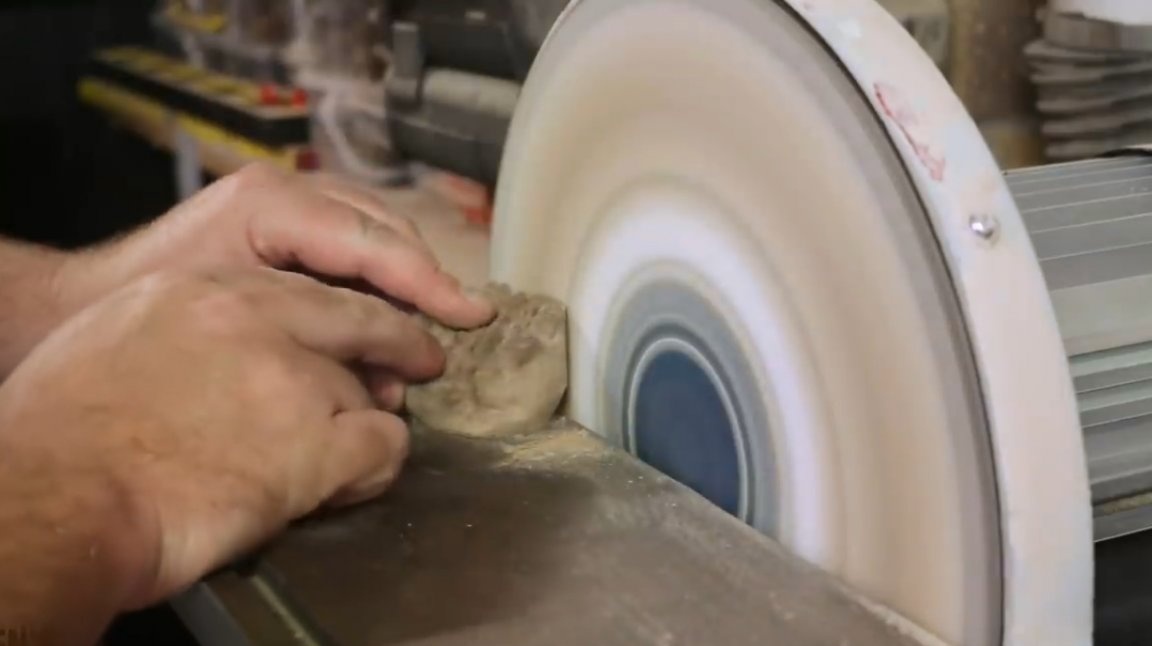
Then the workpiece is processed on a grinding machine until it fits quite accurately into the bottom of the cup.

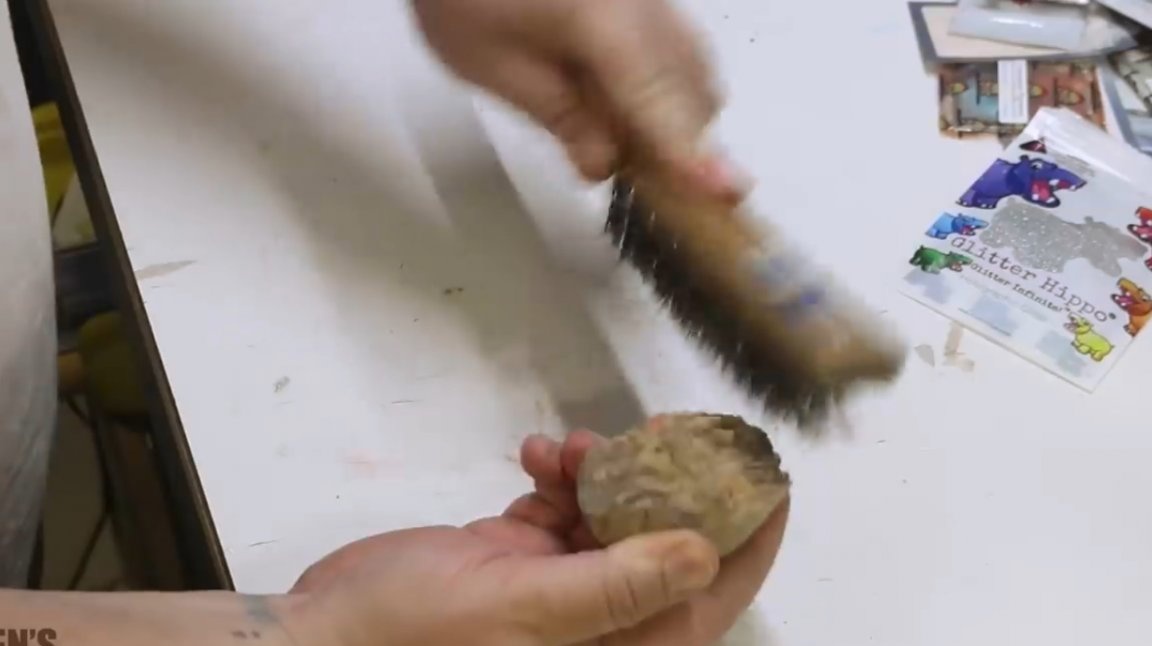
With a metal brush, the author removes dust and small chips from the product.
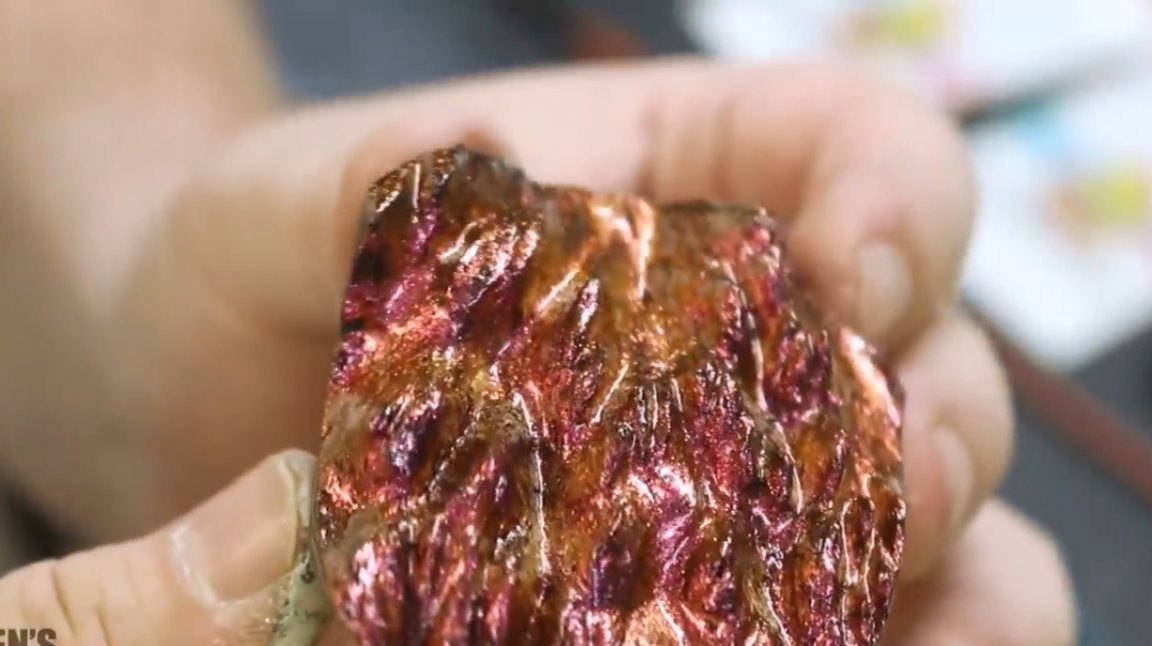
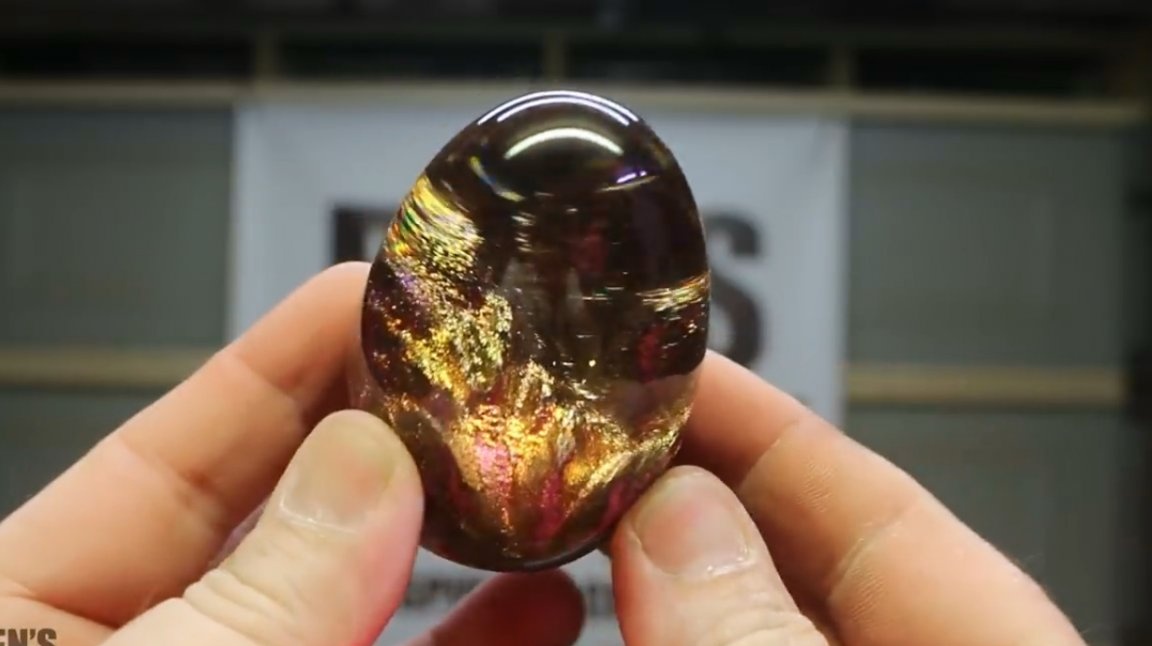
He will cover the cap brilliant. This paint shimmers in four different colors.
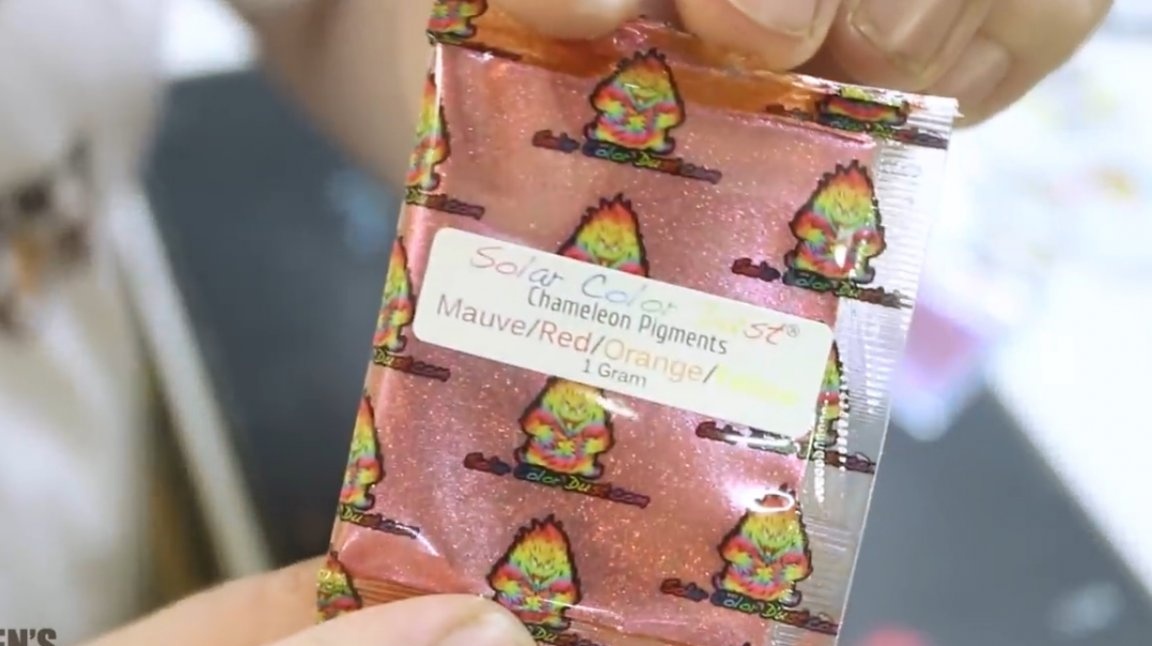
To get the best result, it is recommended to apply the pigment on a dark base.
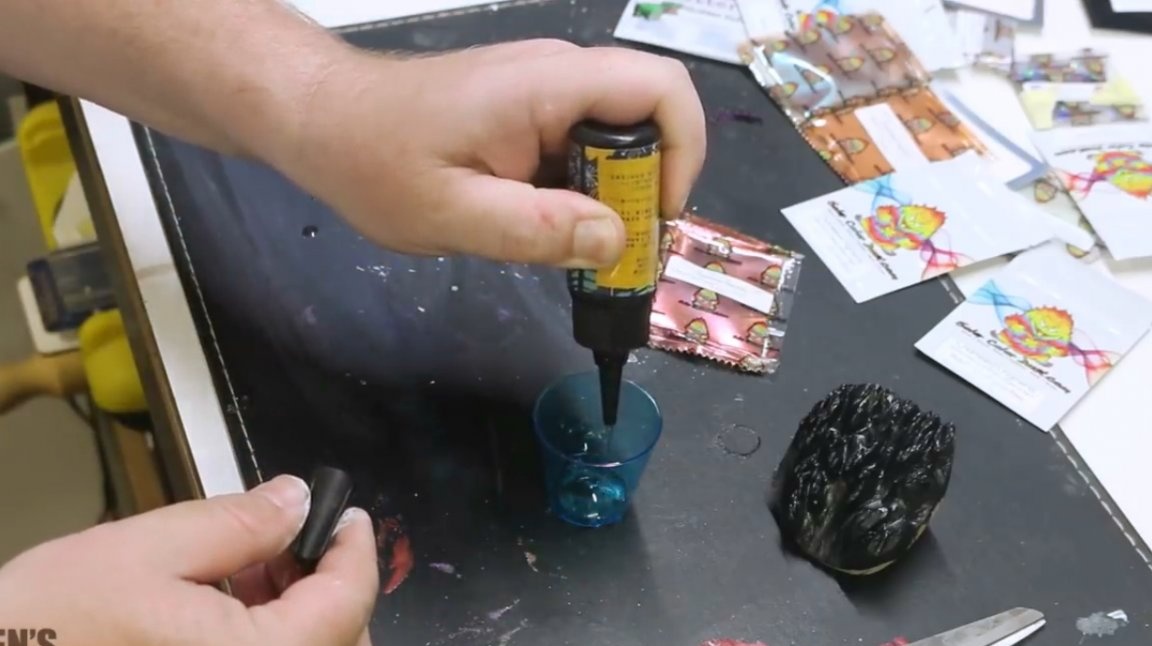
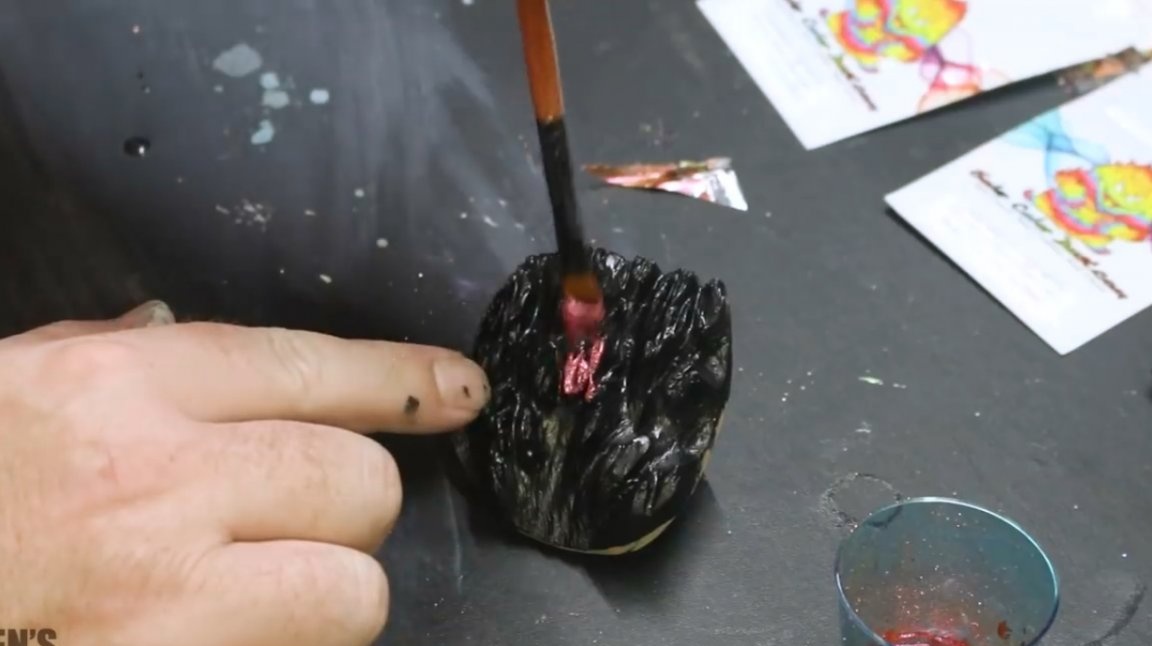
So, the author covers the cap with black acrylic paint.

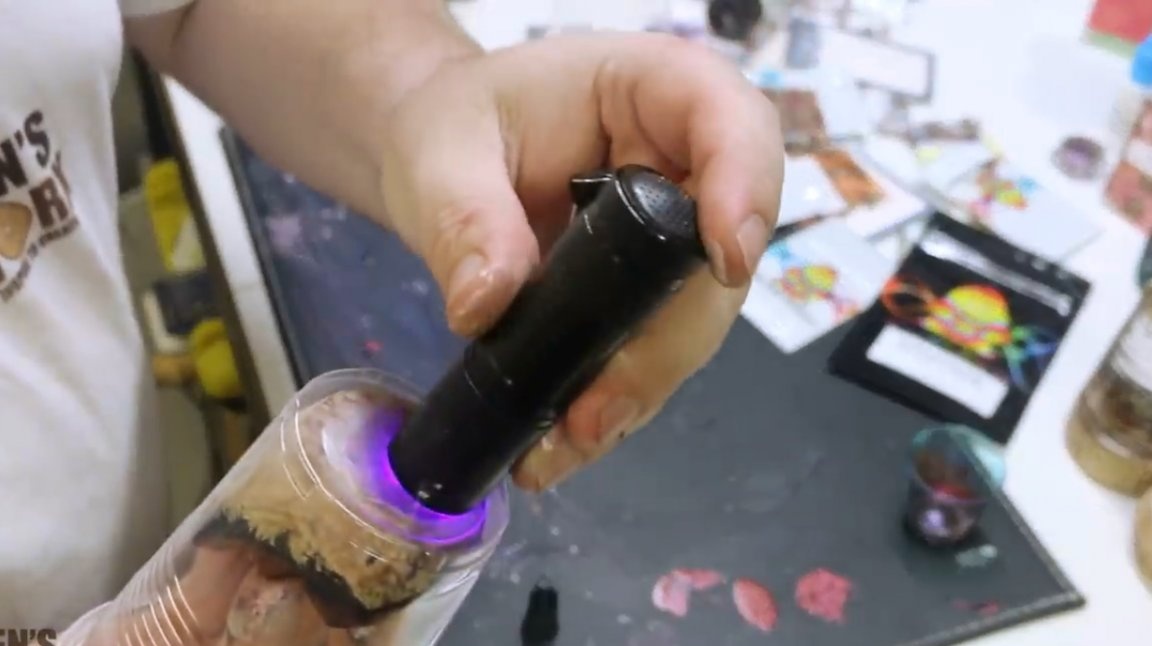
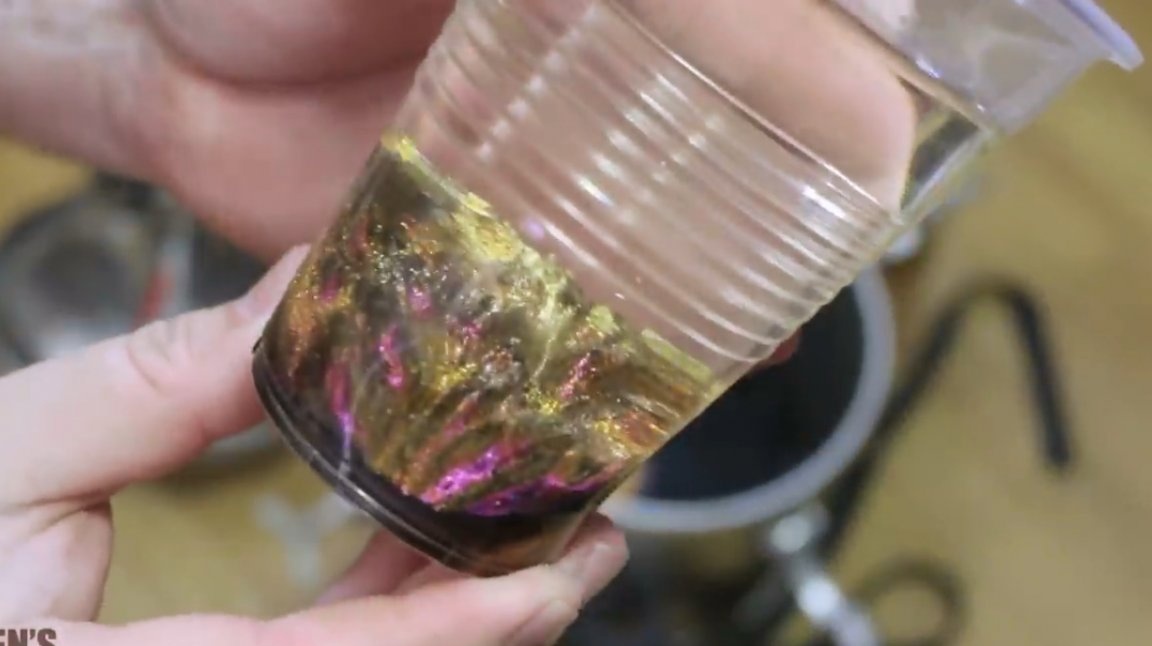
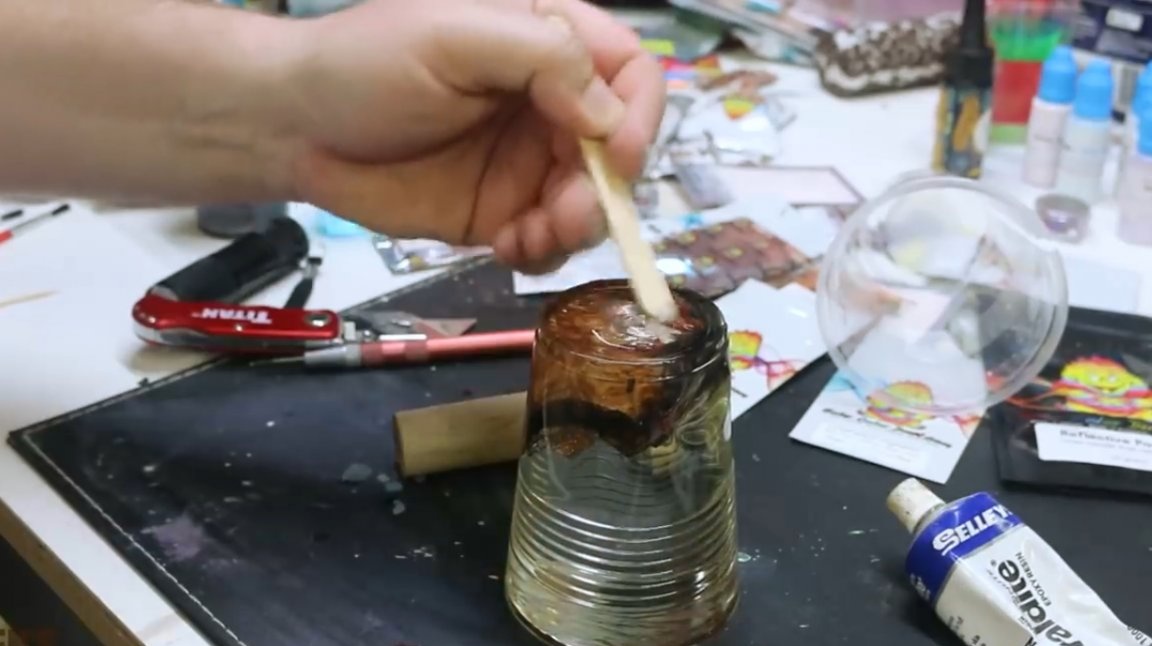
Then, in a separate container, he squeezes out a little UV glue, and mixes it with pigment. Moreover, the more pigment, the better the result. The mixture is applied to the tree with a painting brush. You can see how beautifully the color shimmers from crimson to copper.
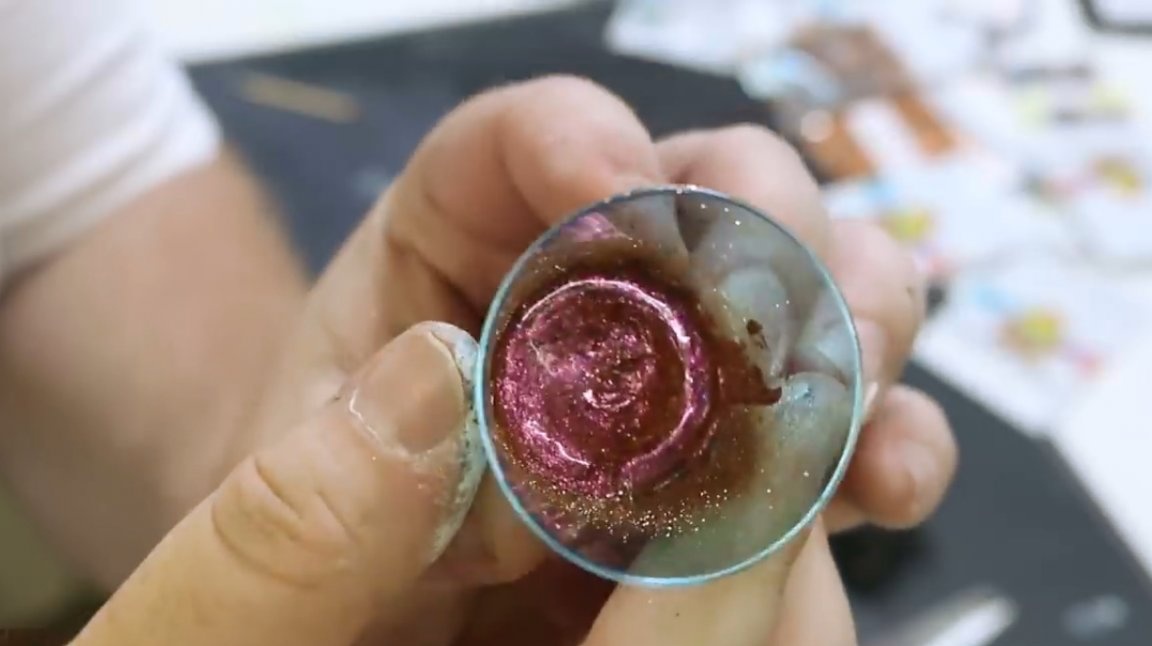
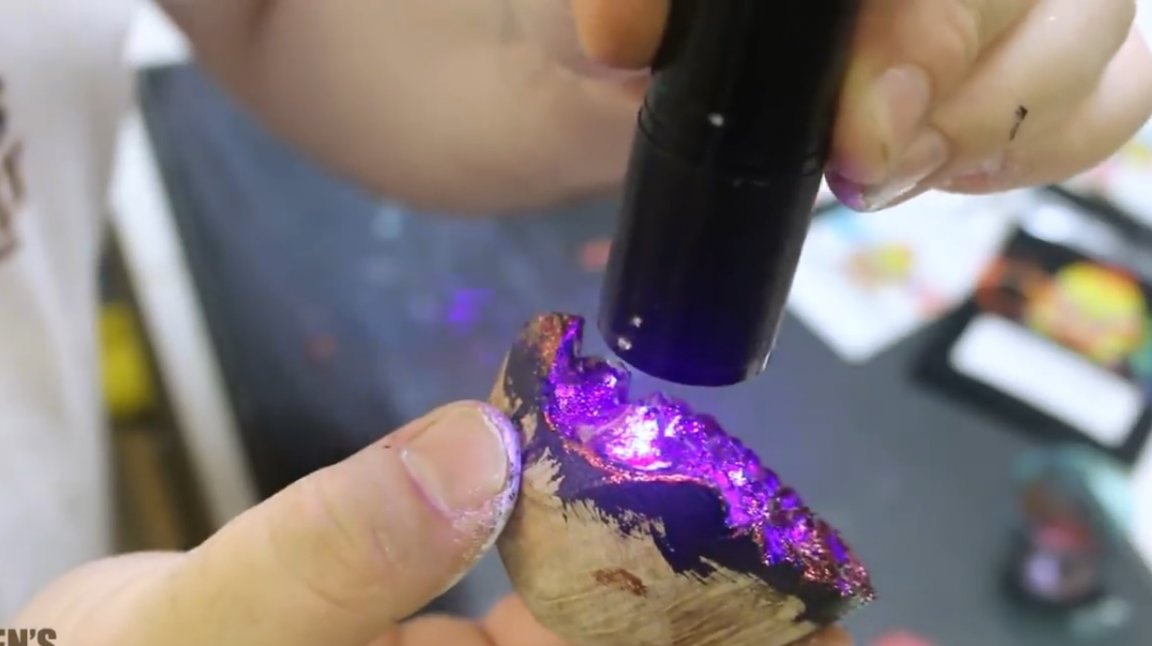
To crystallize the polymer, it is necessary to irradiate it with ultraviolet for about 5 minutes.You can use this. If this is not available, you can simply leave the cap in the sun for 15 minutes. After a few minutes, the glue hardens and does not stick.

Next, the master glues a wooden blank to the bottom of the glass so that it does not come up.
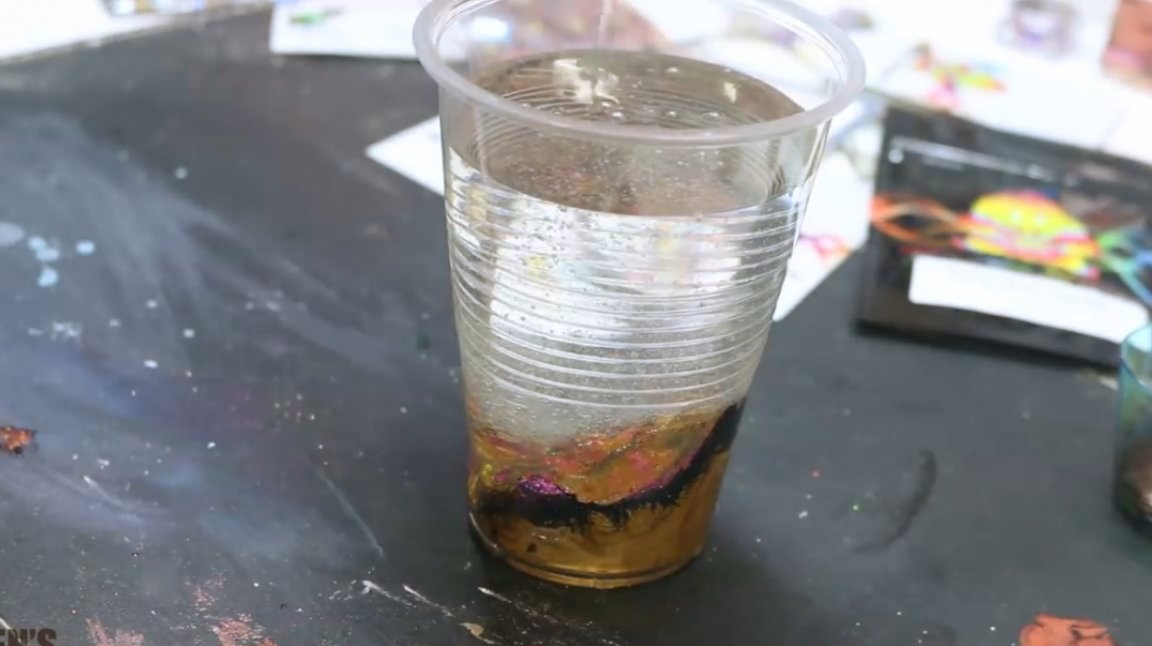
For this project, the master will use a slow setting epoxy resin from Just Resin. It is mixed in proportion to the hardener 3: 1. It is important, the author emphasizes, that when kneading, raise the liquid from the bottom and stir for at least 5 minutes. And it is best to mix in one glass, then pour into another, and mix again. Pour the resin into the container should be a uniform stream, slowly, so as not to provoke the formation of bubbles.

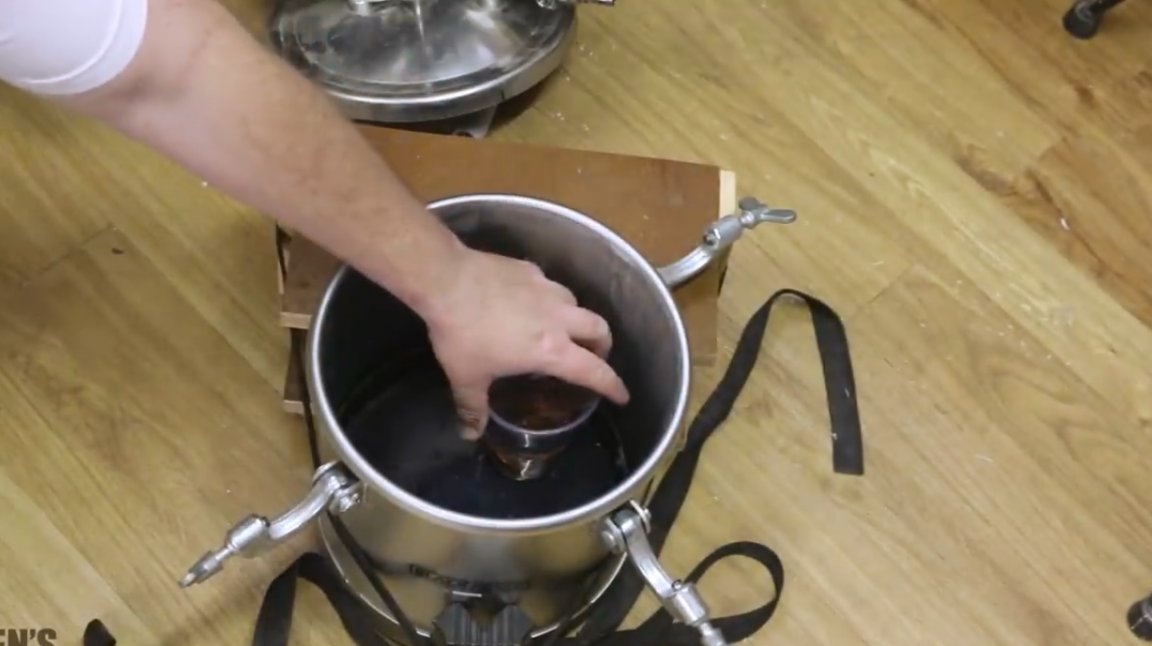
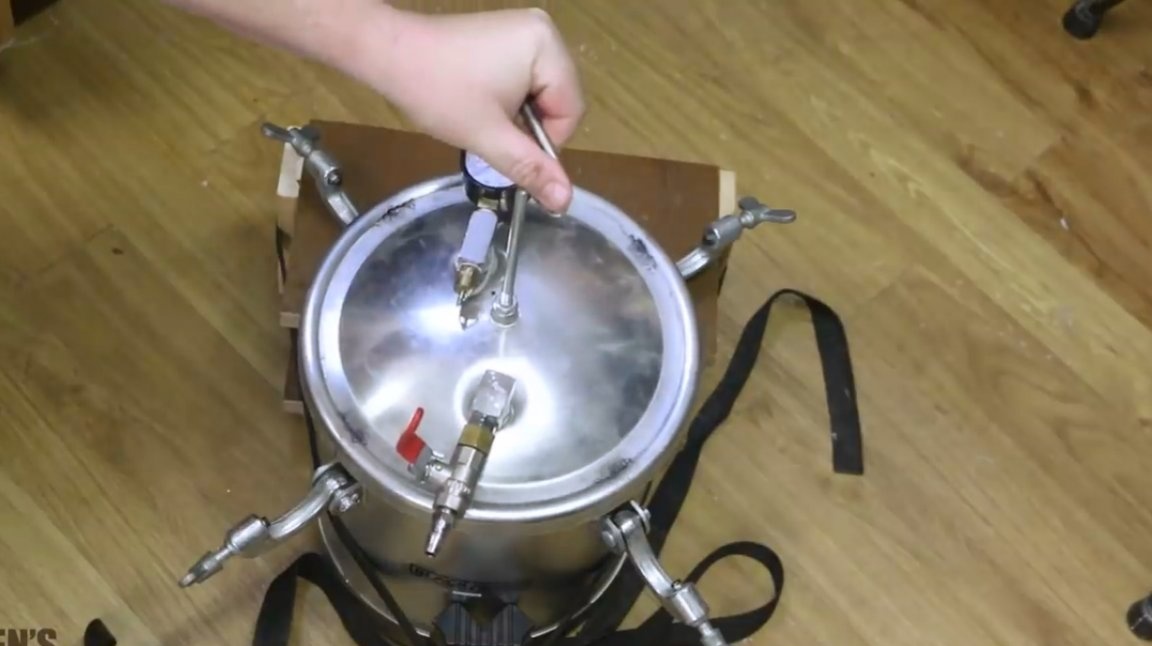
The author intends to use a portable pressure chamber to eliminate the emerging bubbles.
But even if you don’t have a pressure chamber, the resin will harden anyway and only a few small bubbles will remain. A cup is in a pressure chamber at a pressure of 3 atmospheres for four hours.
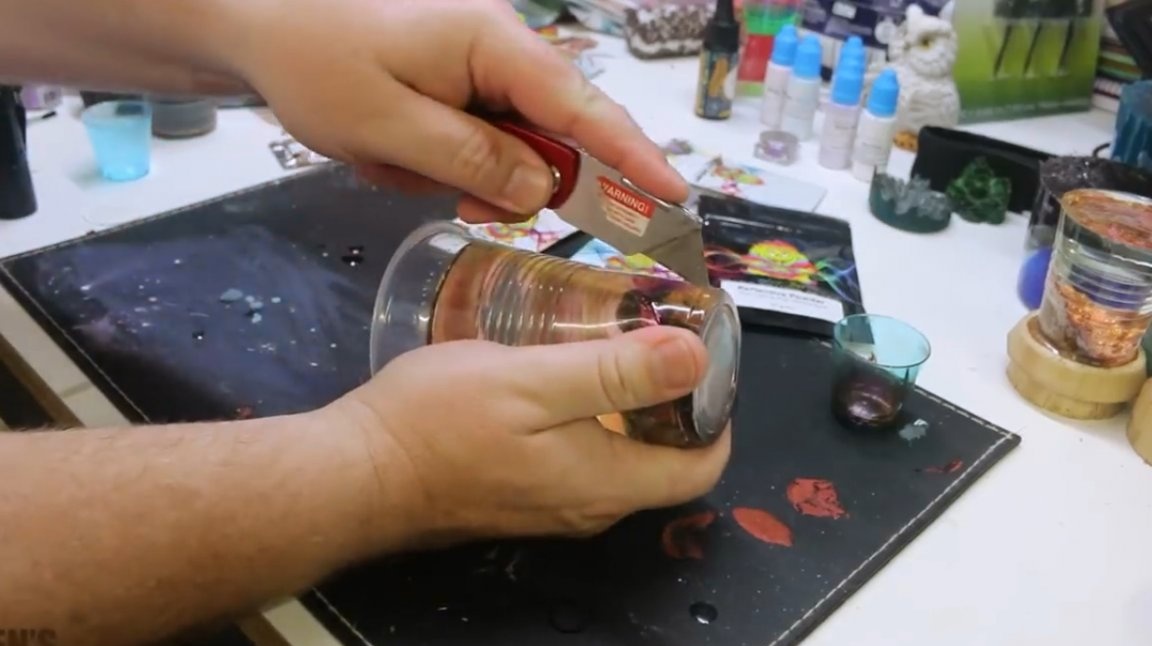
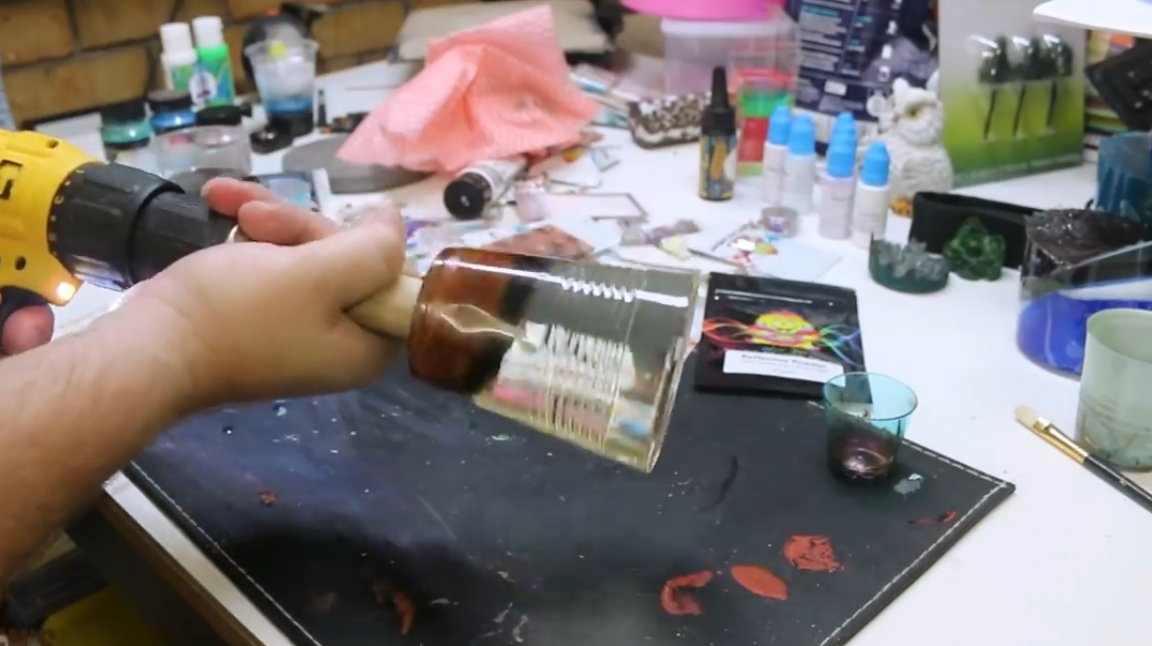
Now the author carefully removes the plastic from the mold.
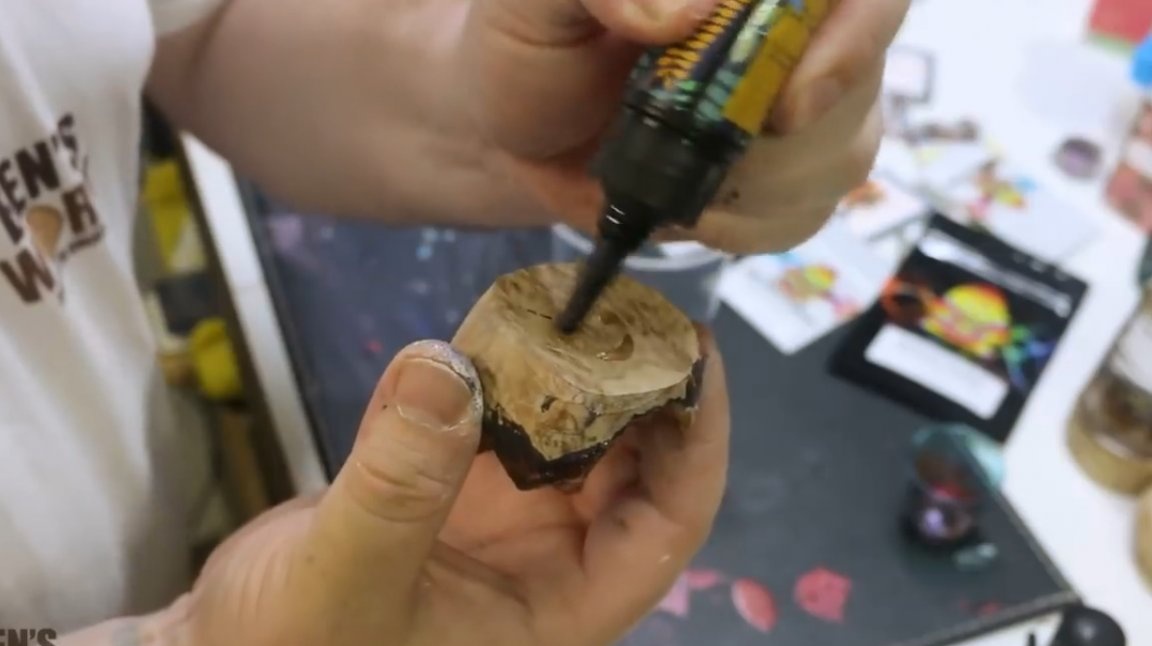
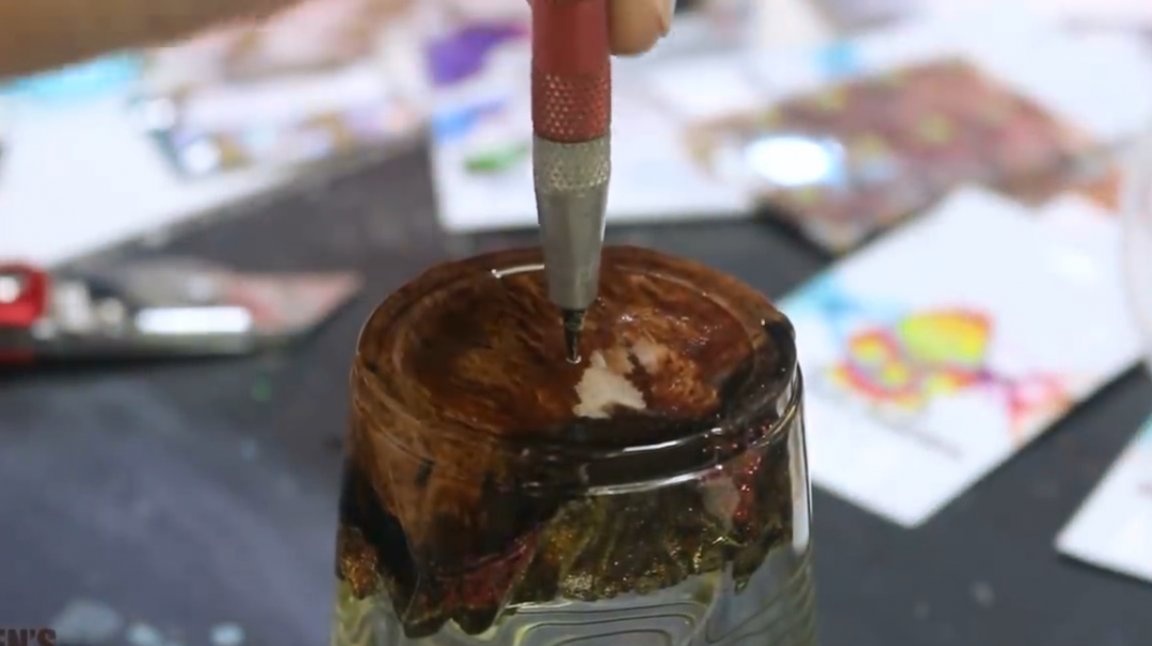
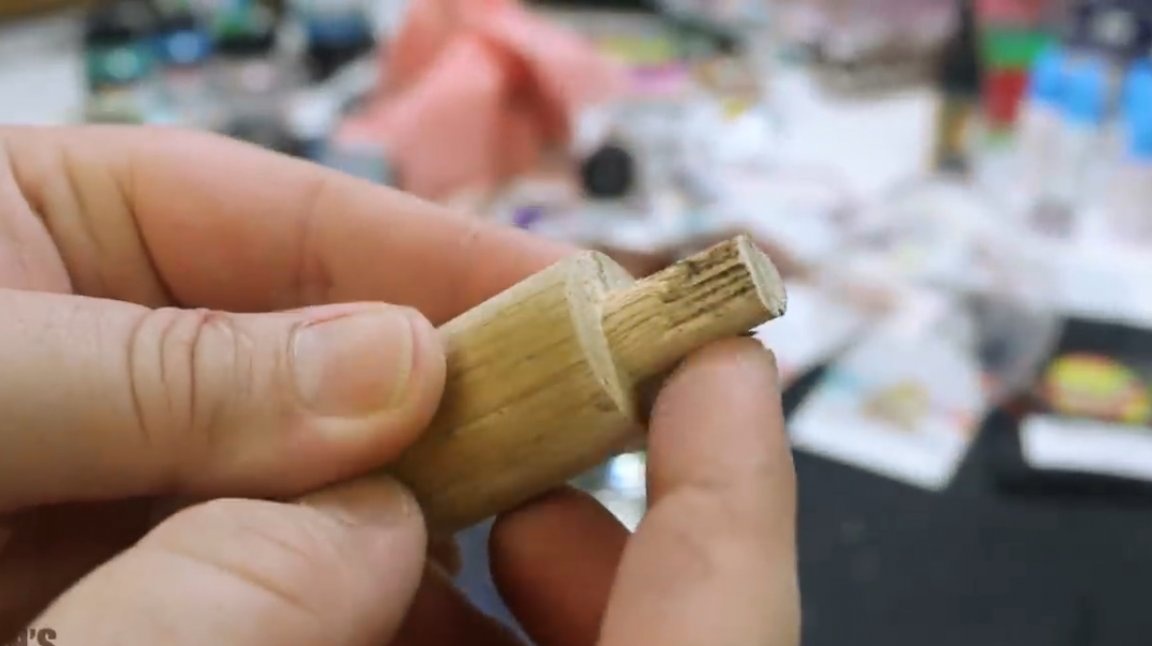
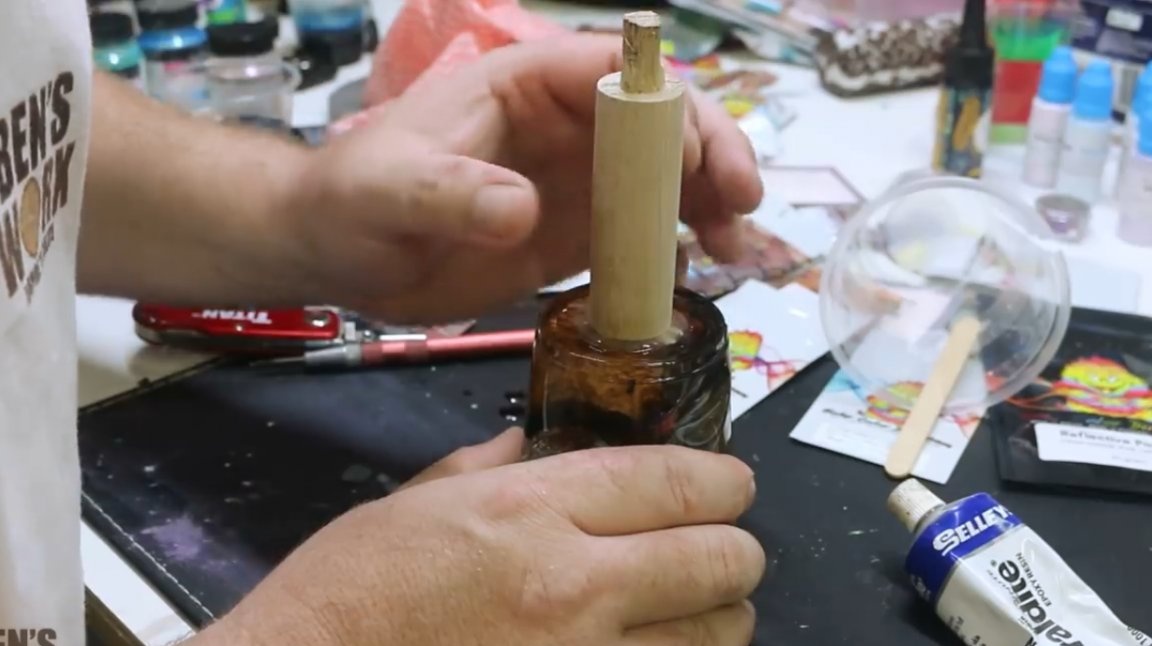
He marks the center, a shaft will stick to this place. The shaft will be served by a piece of round timber, trimmed at the end so that it can enter the drill chuck.
The author glues the shaft to the workpiece using a five-minute epoxy resin (quick setting), trying to position it as accurately as possible in the center. Since a sufficiently large effort will be exerted on the workpiece, the author leaves it to freeze overnight.
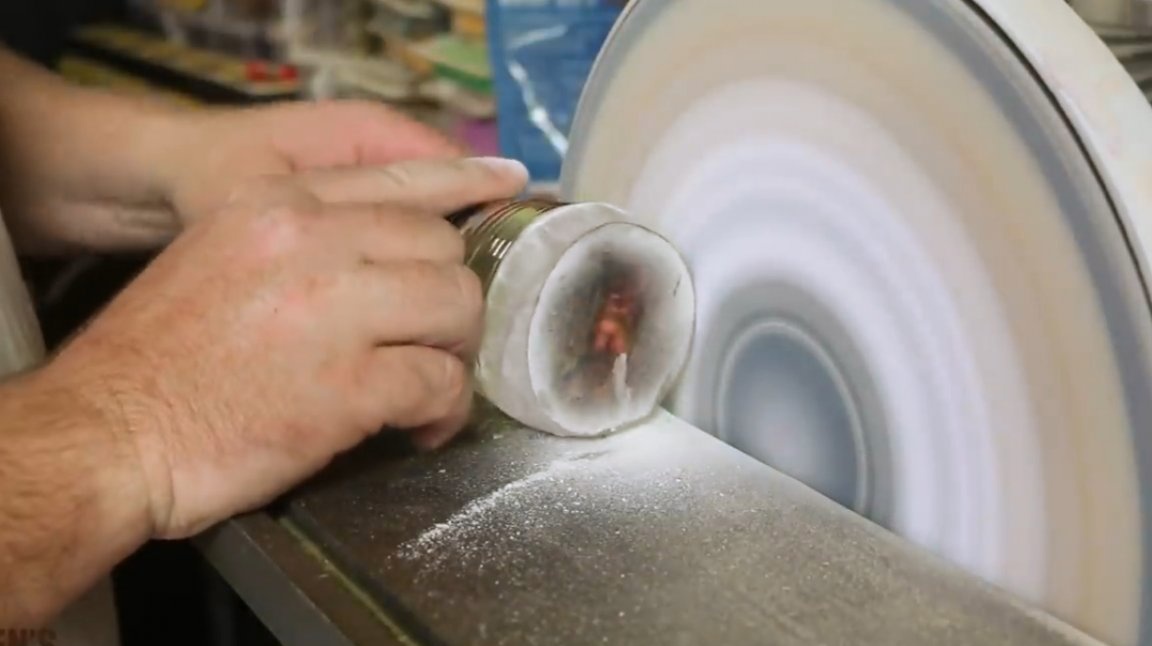
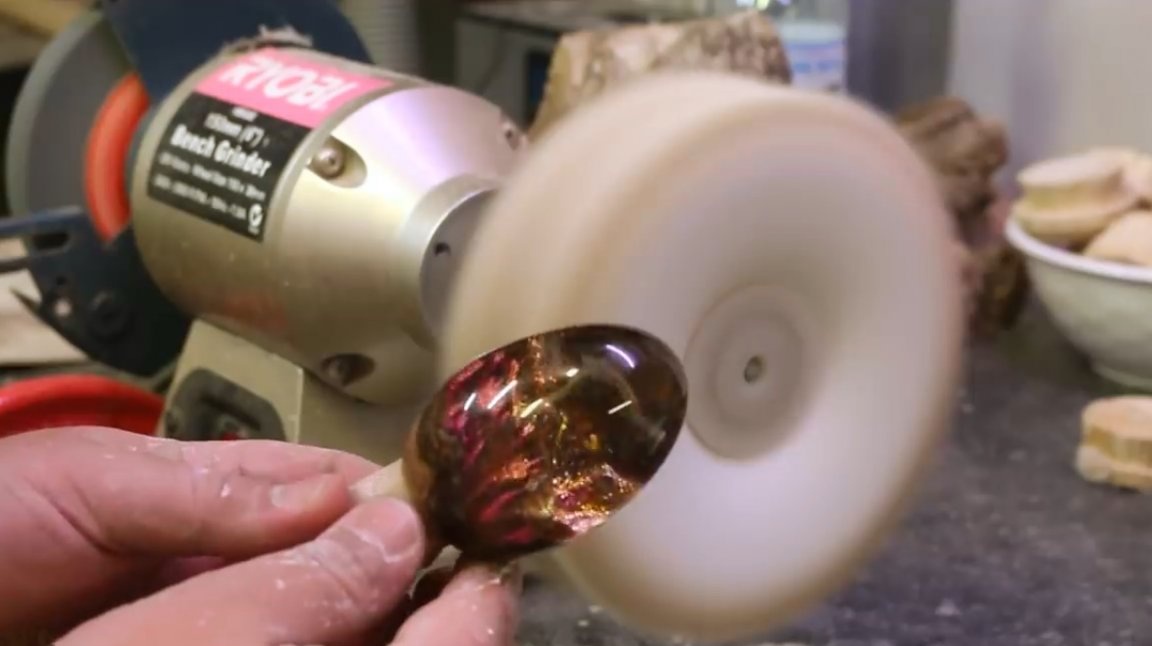
The original plan of the author was to try to rotate and grind the product with a screwdriver, but this did not work. The workpiece swung violently and vibrated during rotation.
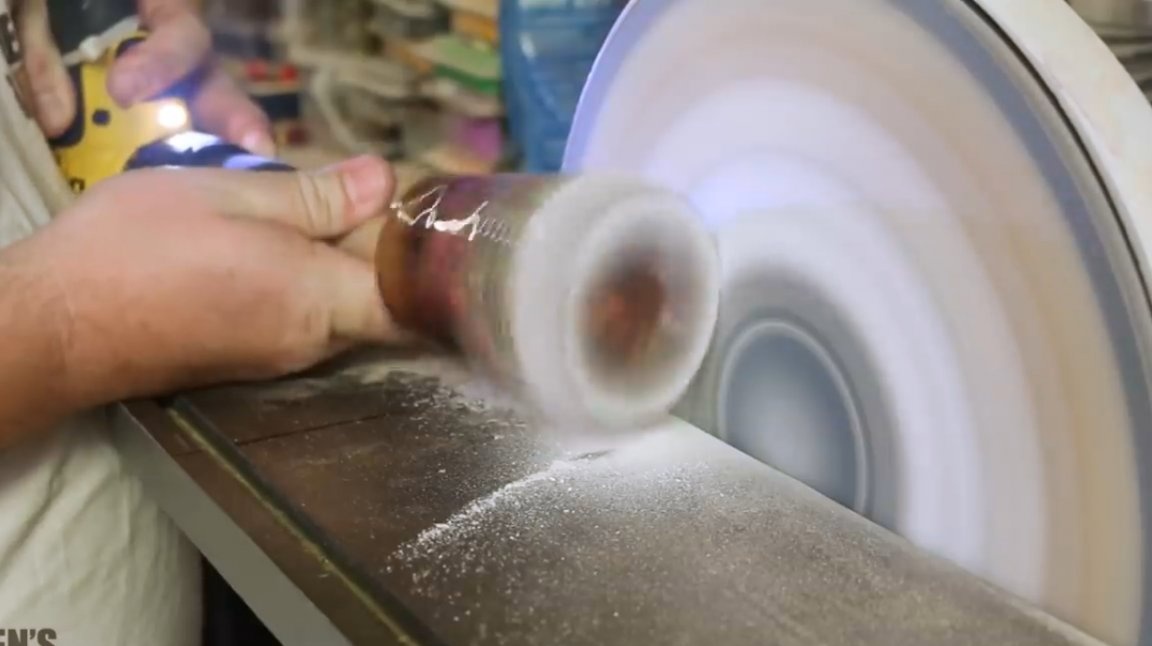
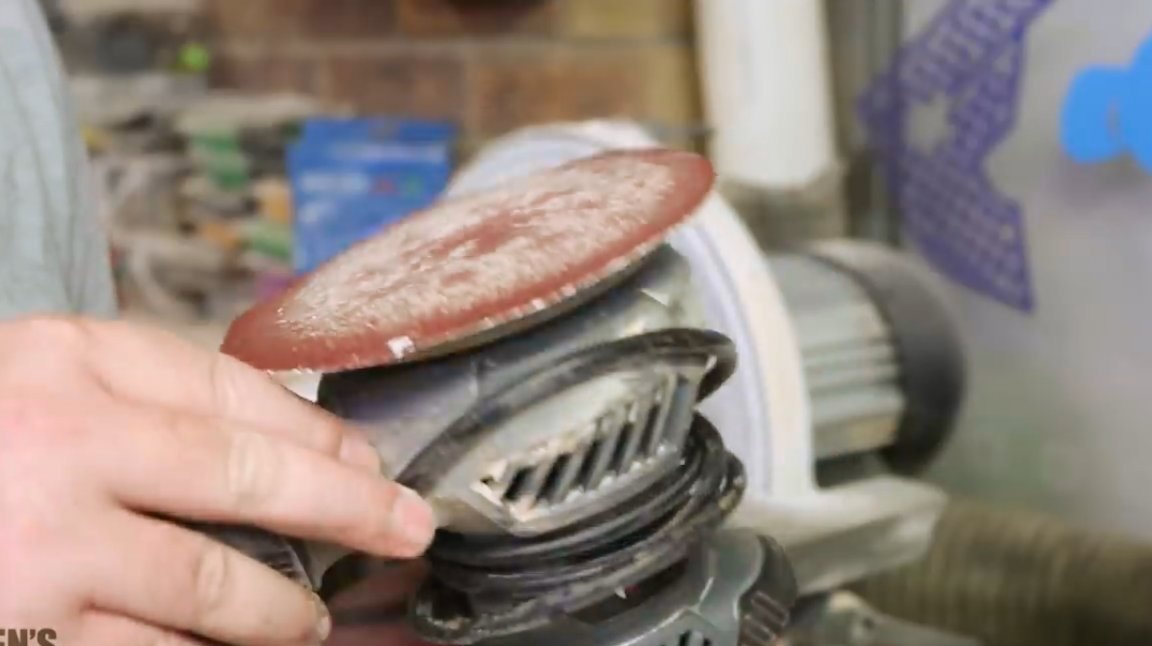
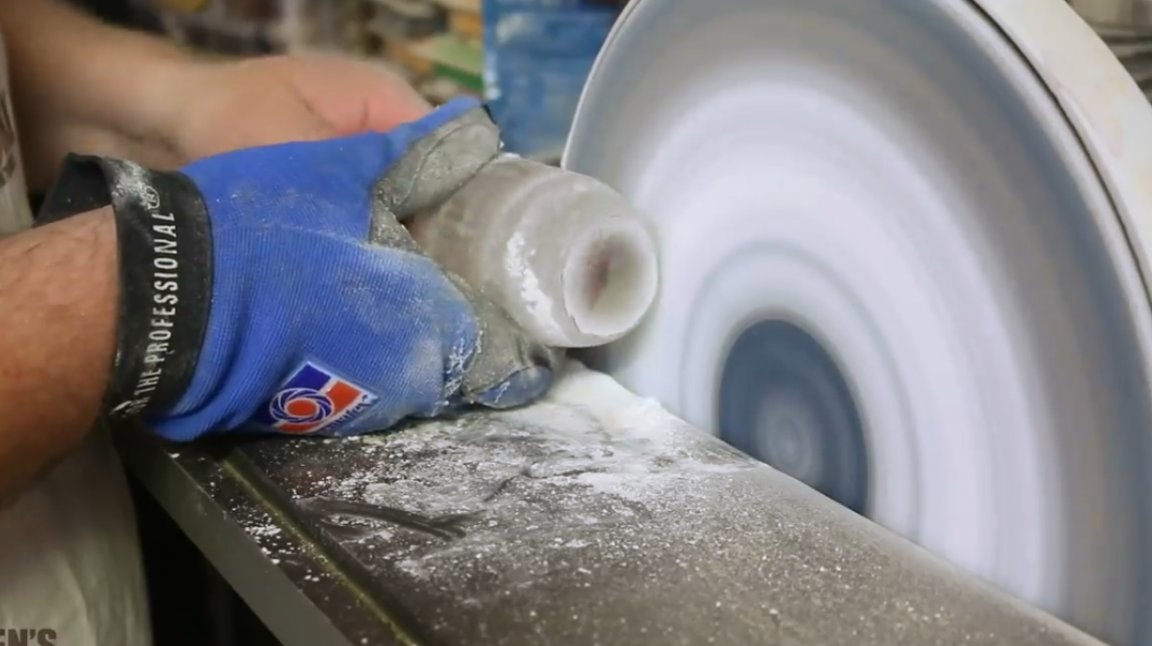
Then the master tried to grind manually. Surprisingly, things went much better.
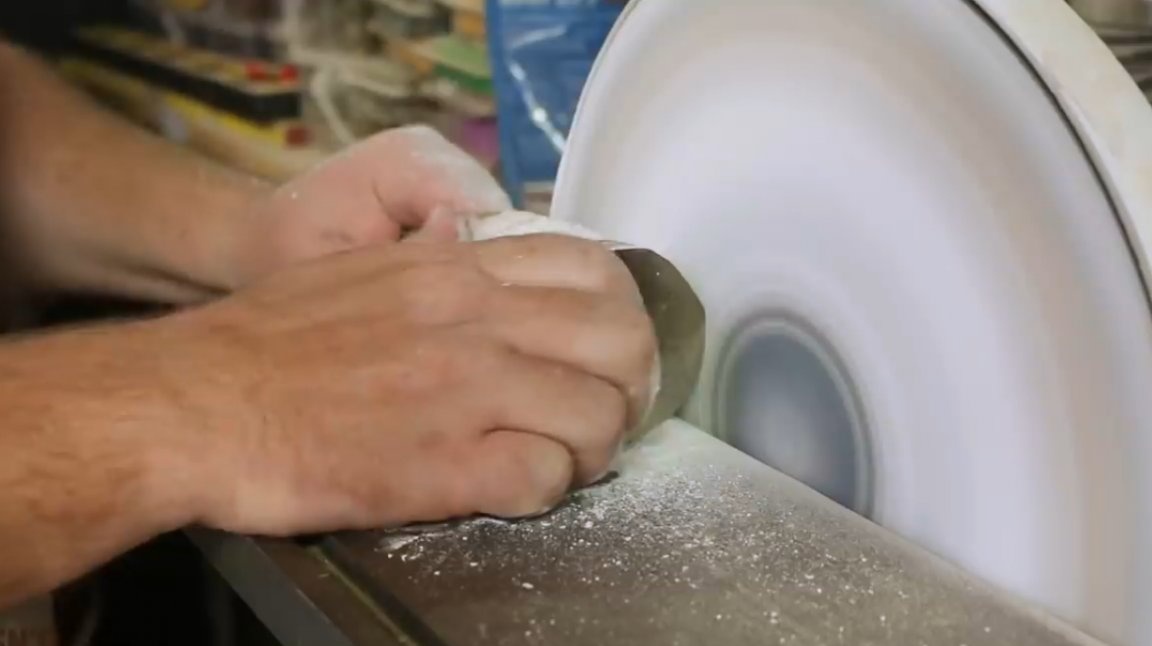
In the process of processing, it was necessary to clean the disk several times from the fine dust clogged into it from epoxy. By the way, you must work in a respirator and glasses. Epoxy dust builds up static electricity and sticks to everything in the workshop. It is also recommended to use a technical vacuum cleaner or hood.
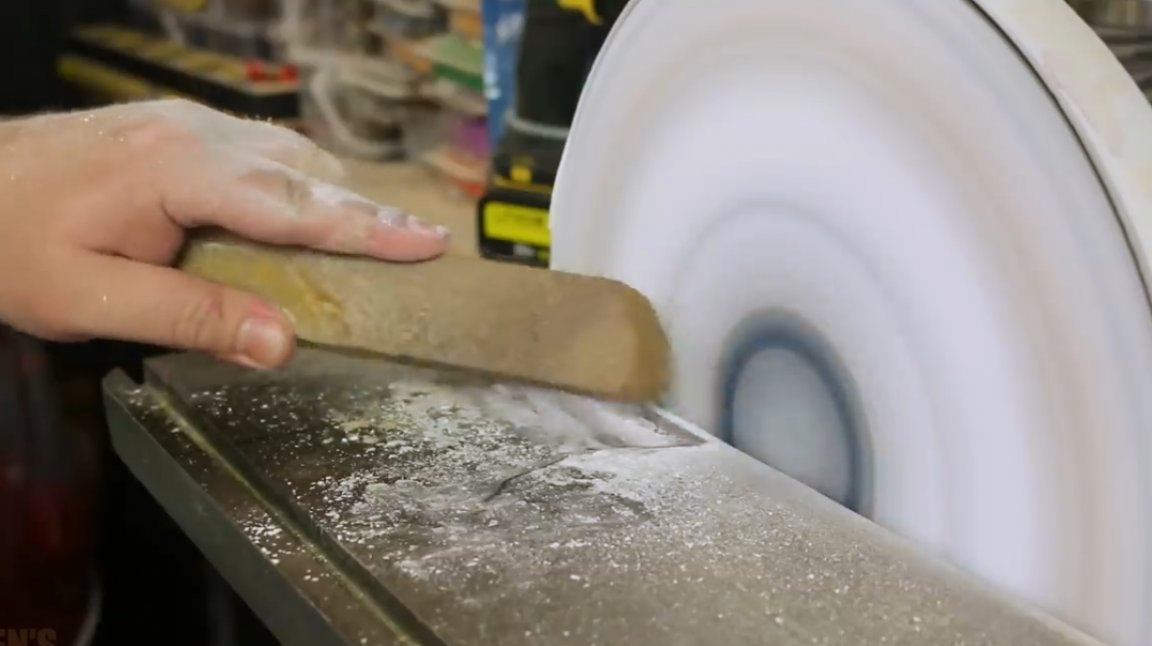
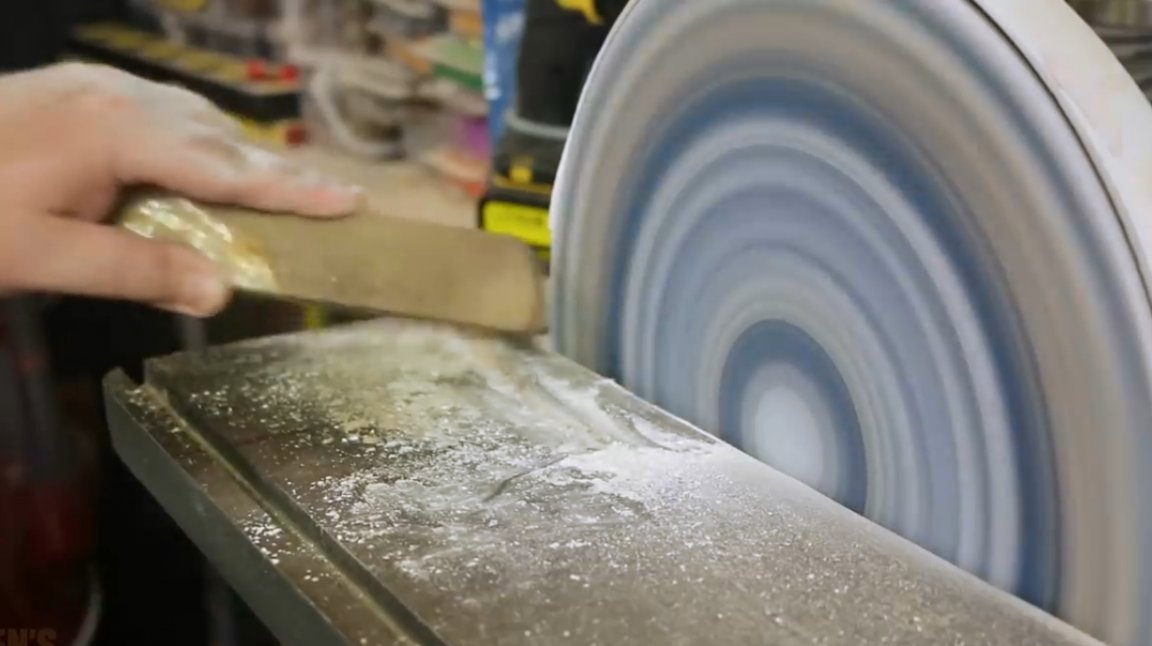
The author gradually, manually, gave the workpiece an egg shape.

Finally, he returned to the drill to make up for the large mounds.
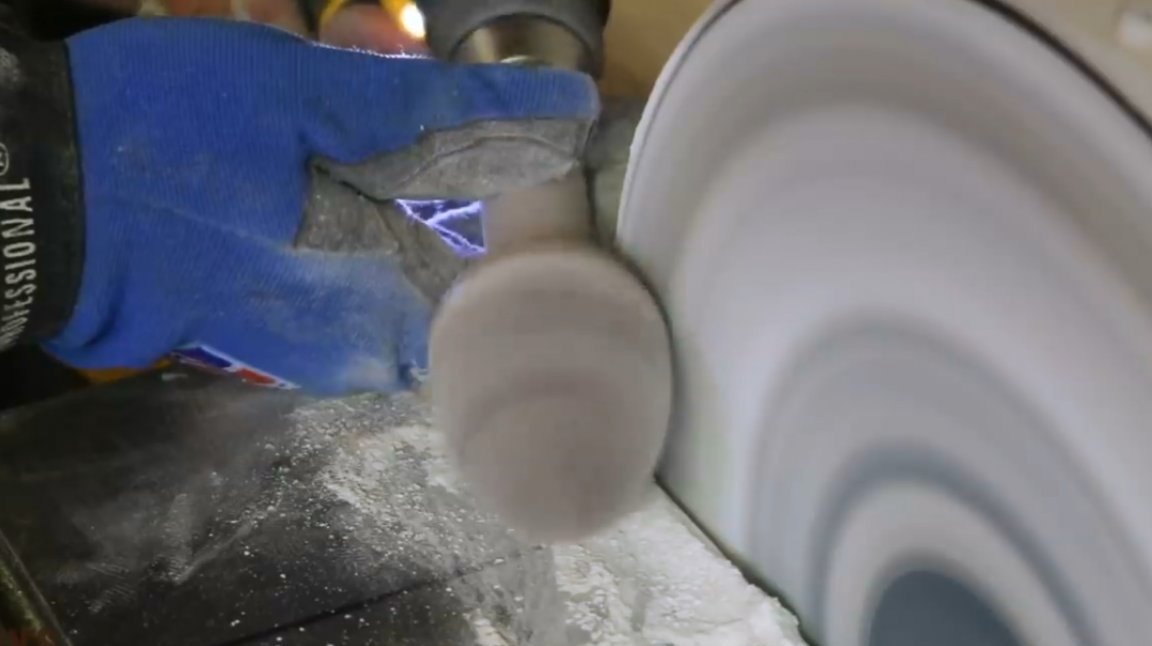
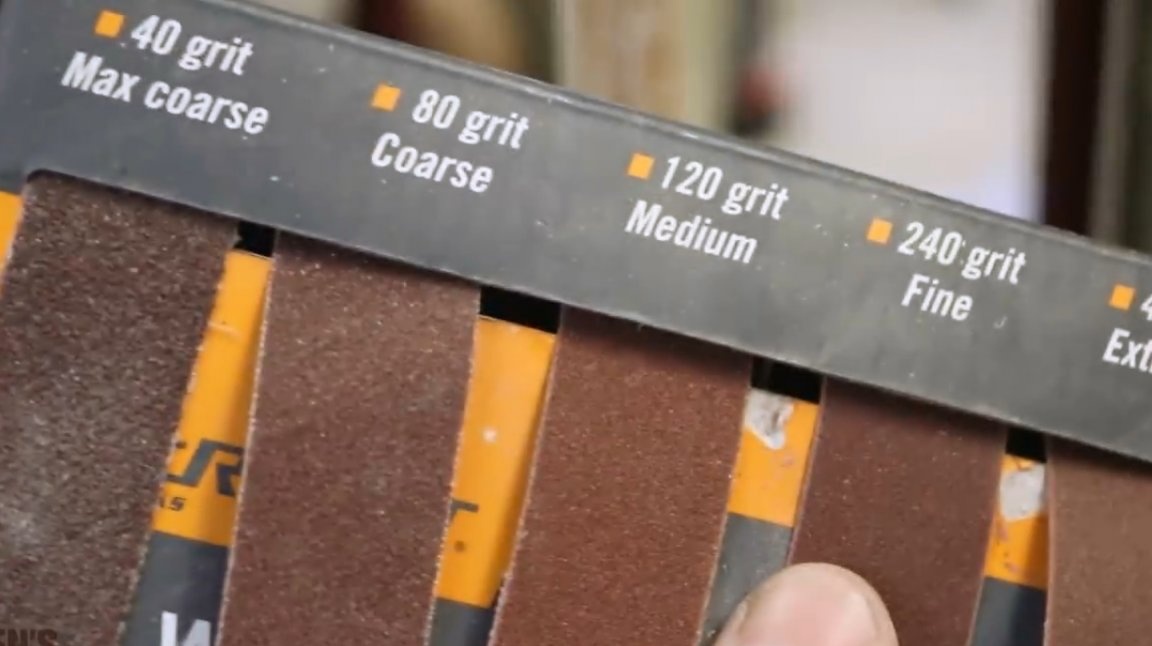
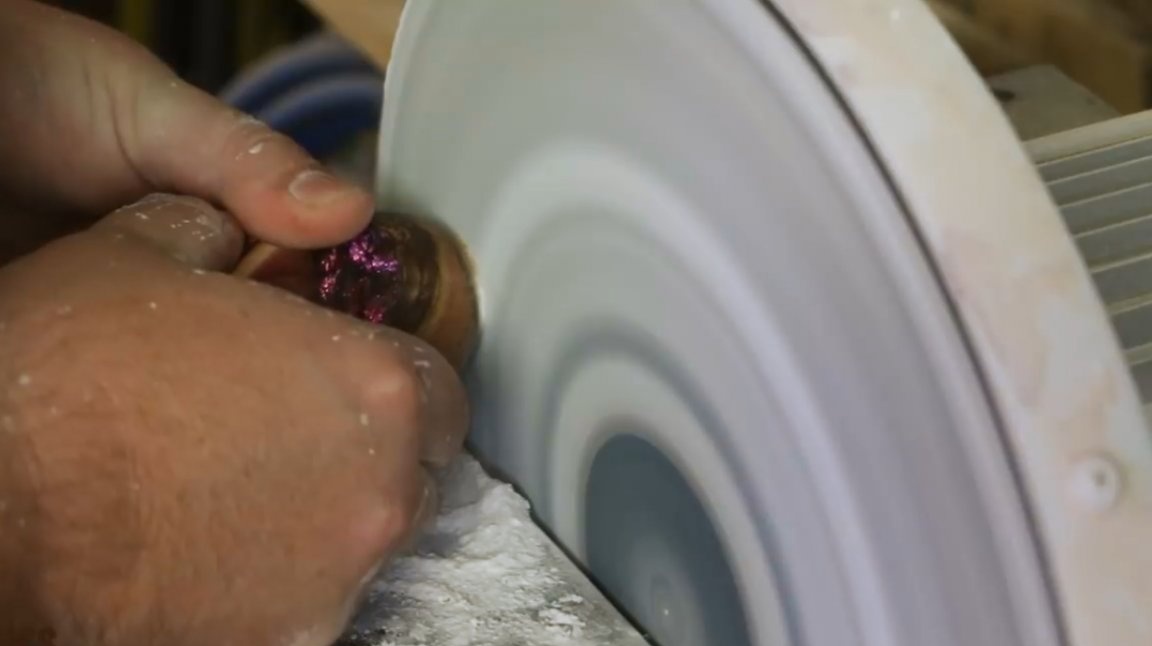
When he was satisfied with the form, he switched to a drilling machine to hone the form to perfect. And it starts from sanding paper with a grit of 40 grit and brings to the thinnest 360 grit.
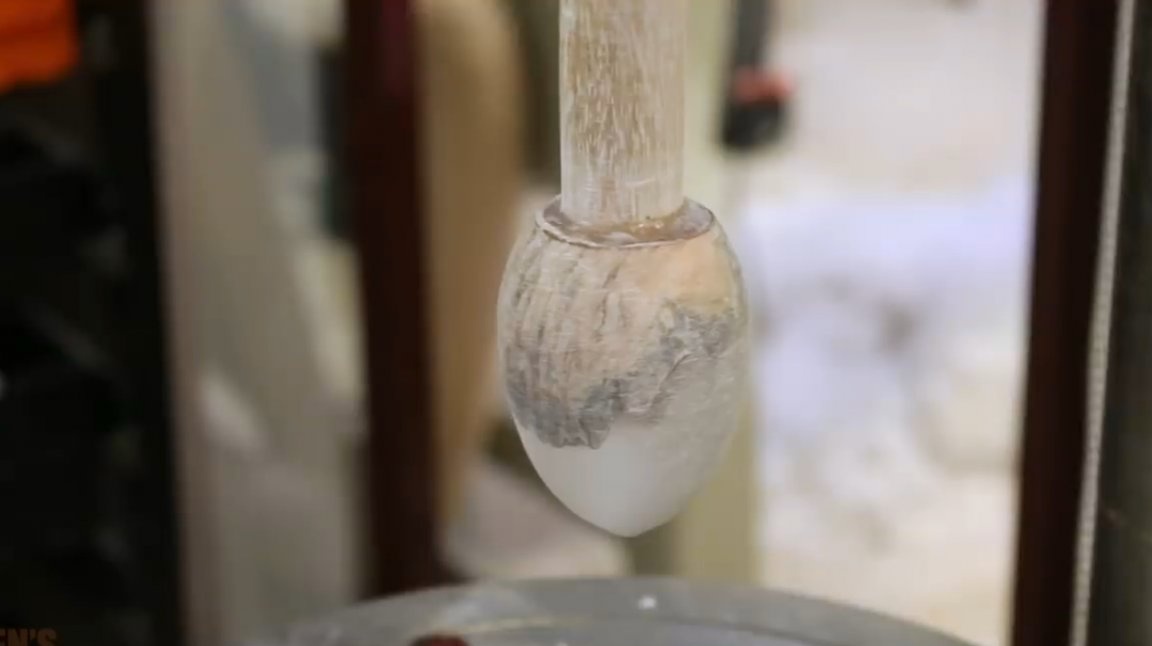
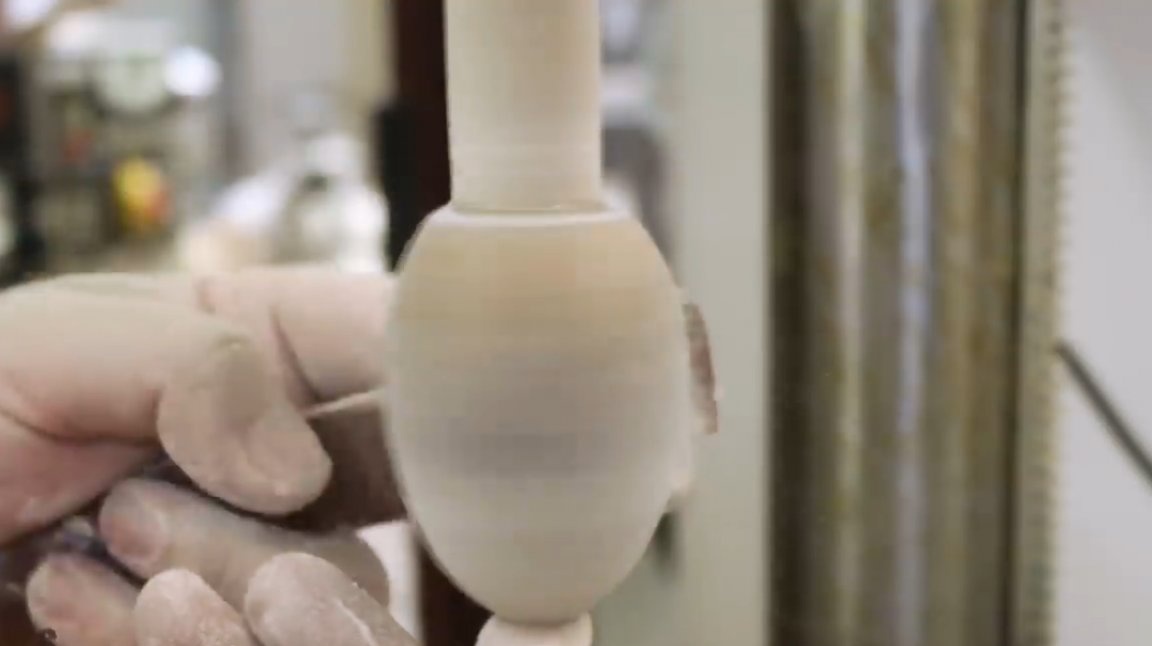

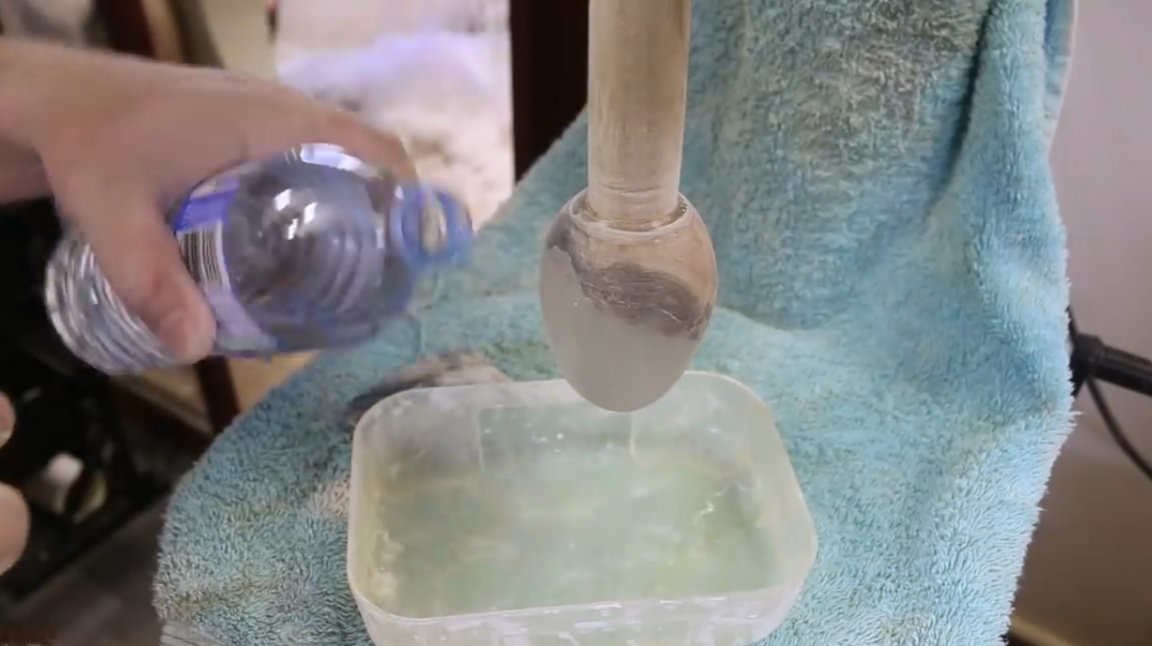
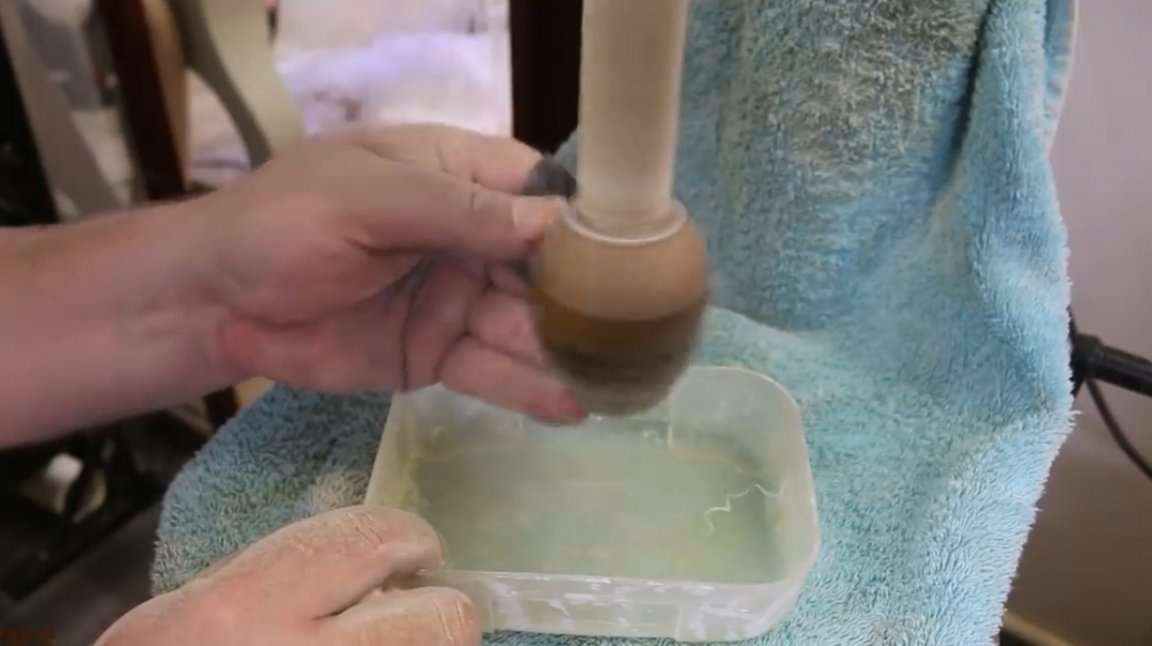
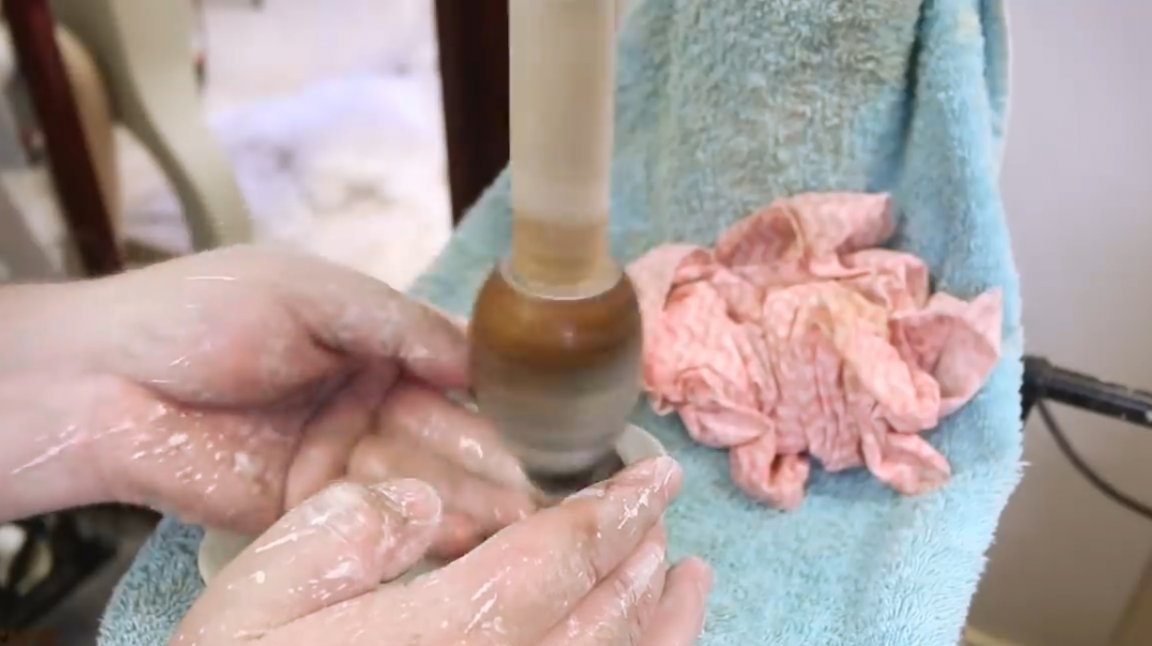
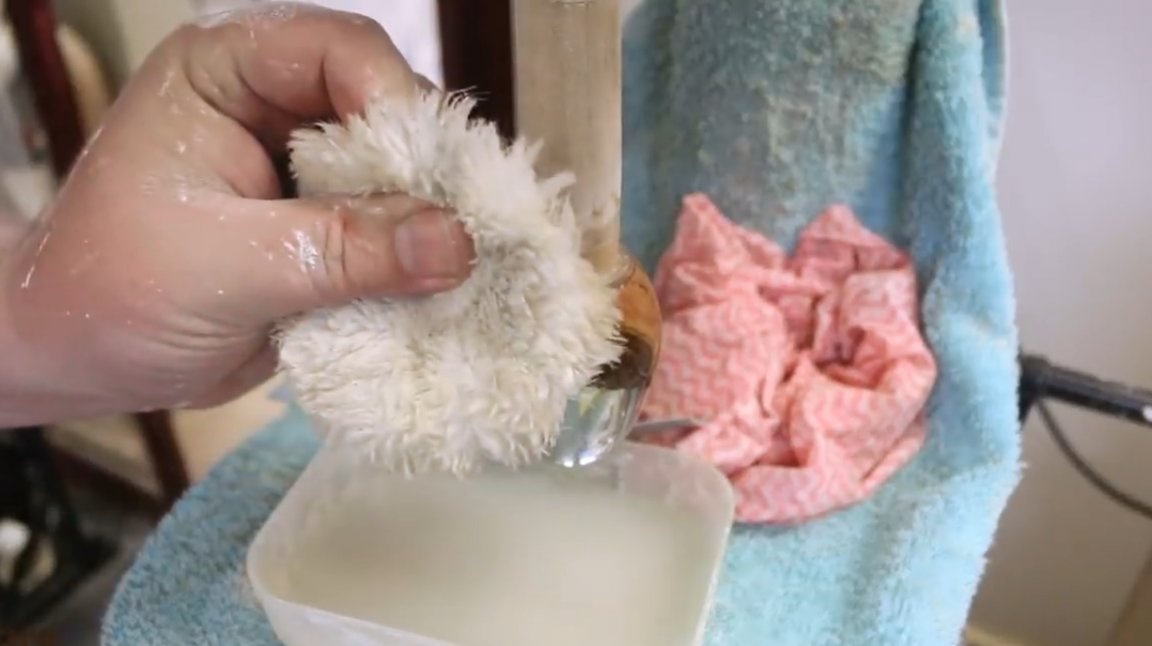
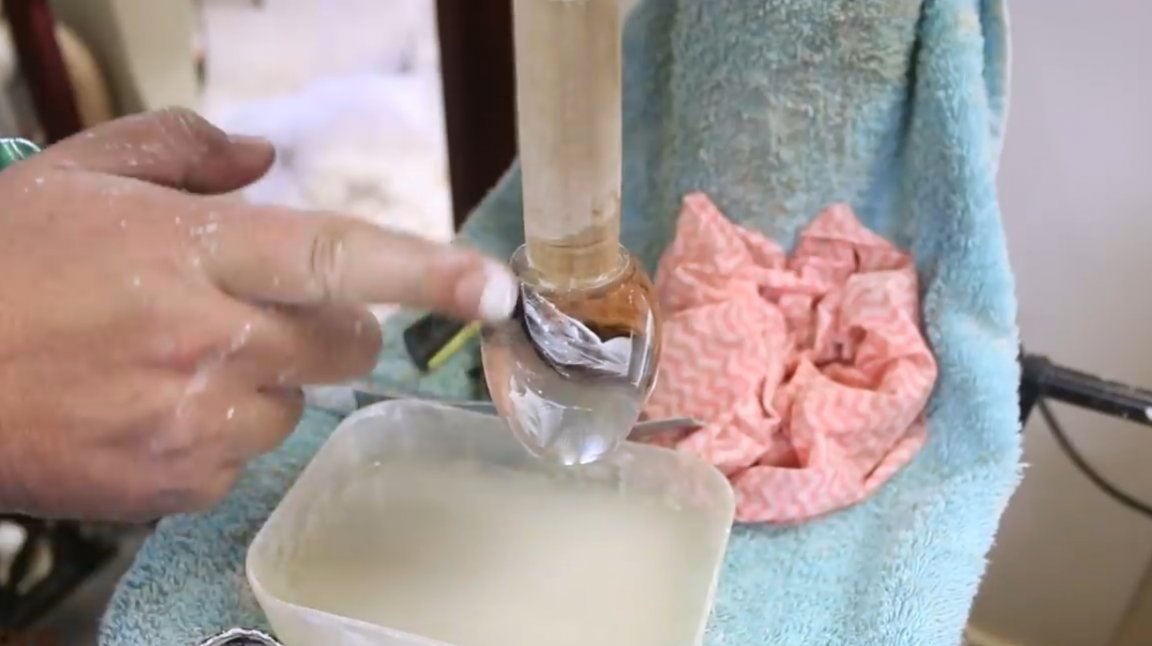
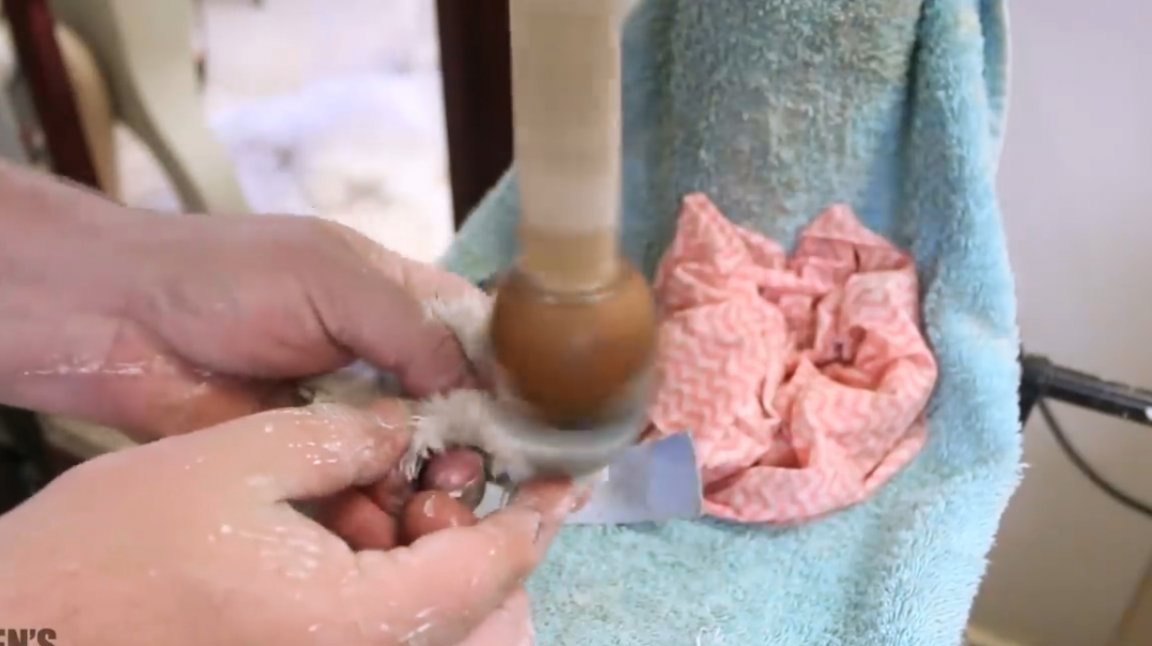
Next is sanding with sandpaper with the addition of water. First 400 grit, then successively 600, 800 and 1,200 grit. The drilling machine is covered with a towel so that water does not get into the mechanism. It is important to immerse the paper deeper in water so that it has time to clean. The author holds the blank from the bottom with his finger so that it does not swing much. An X / B napkin to wipe the egg should be at hand. It is also good to change water from time to time.
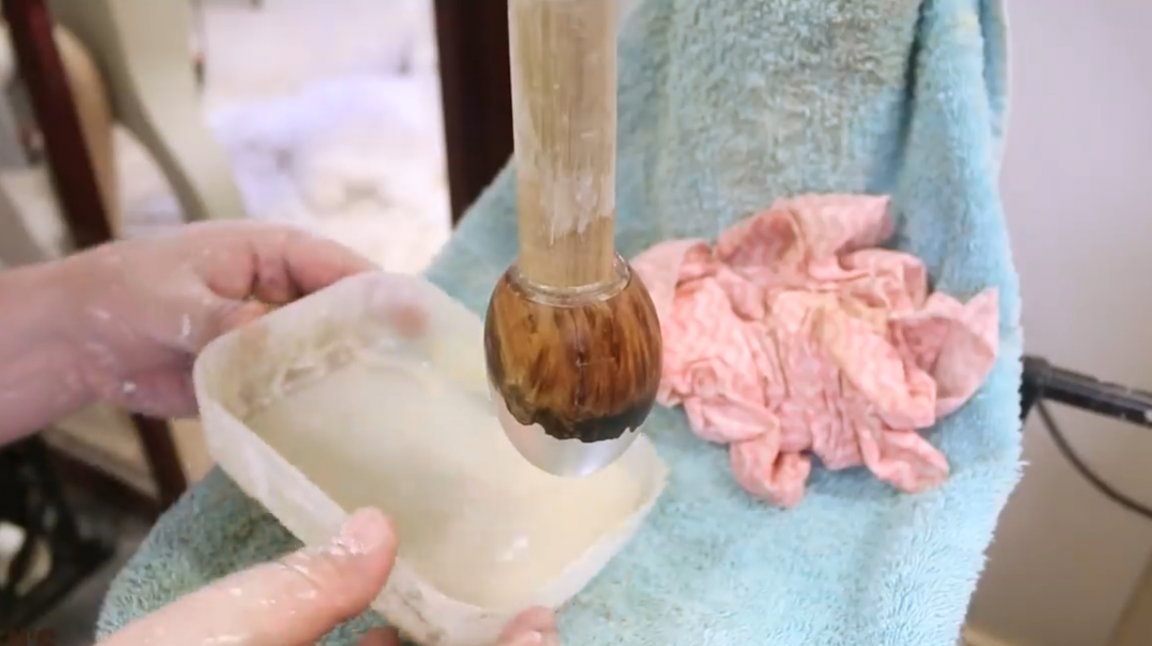
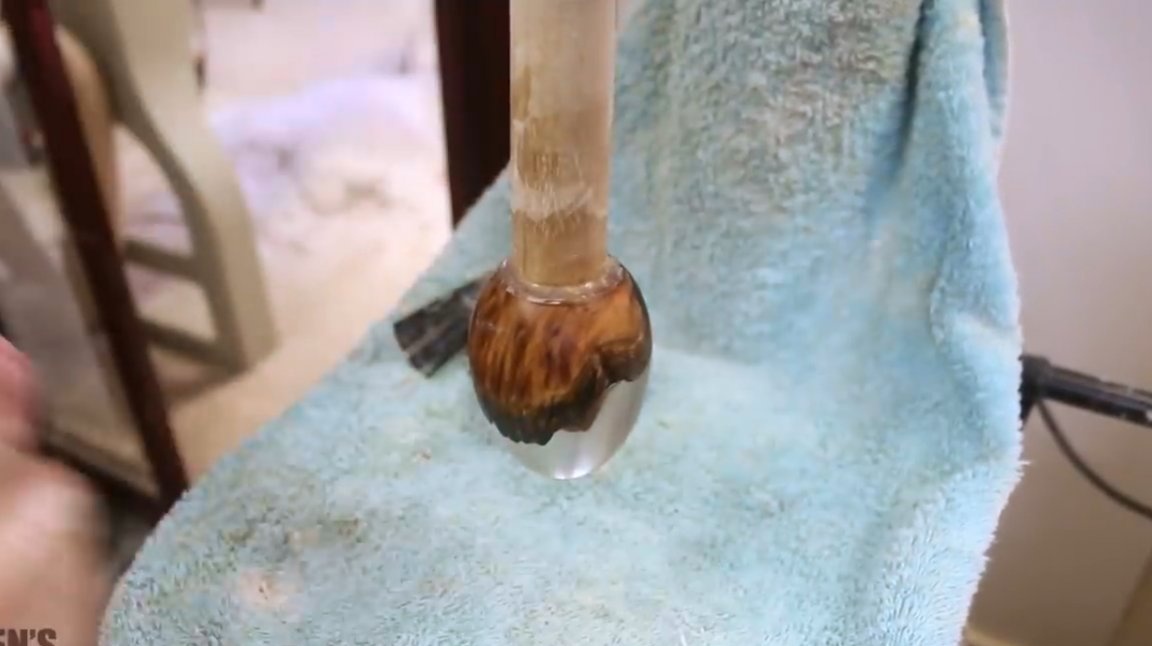
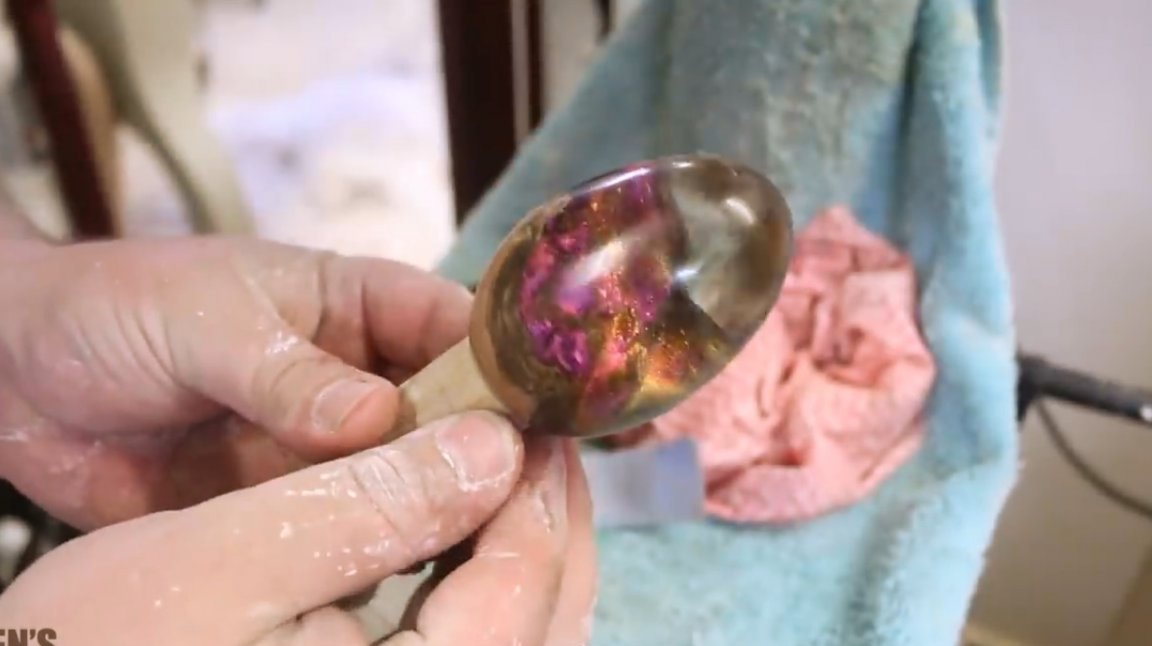
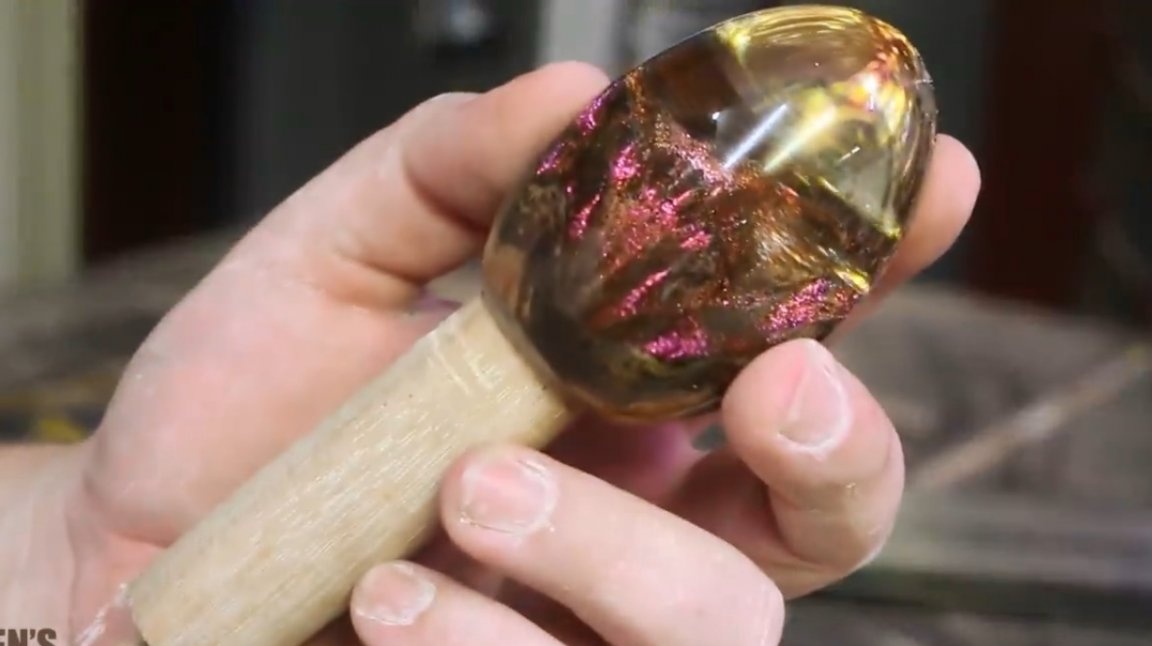
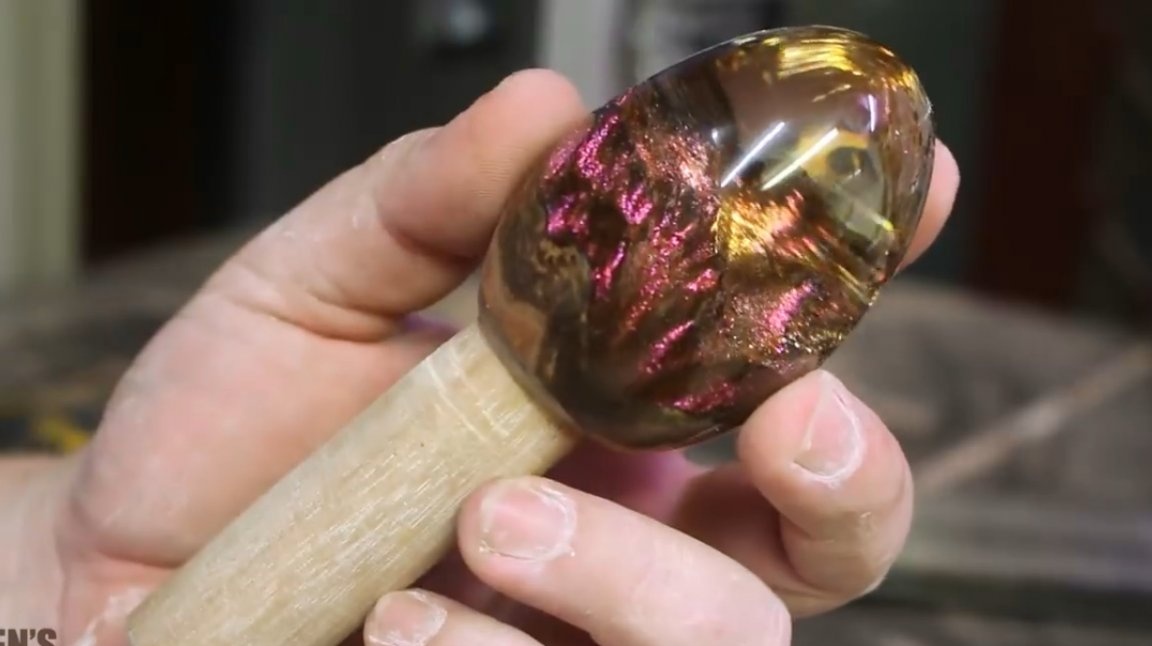
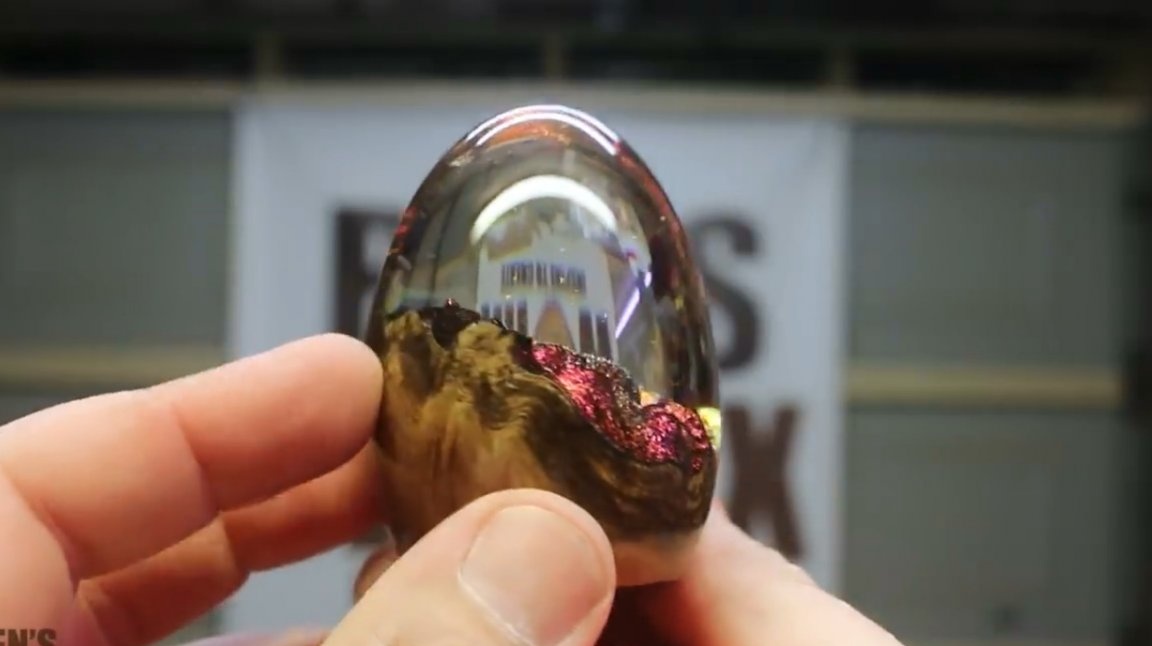
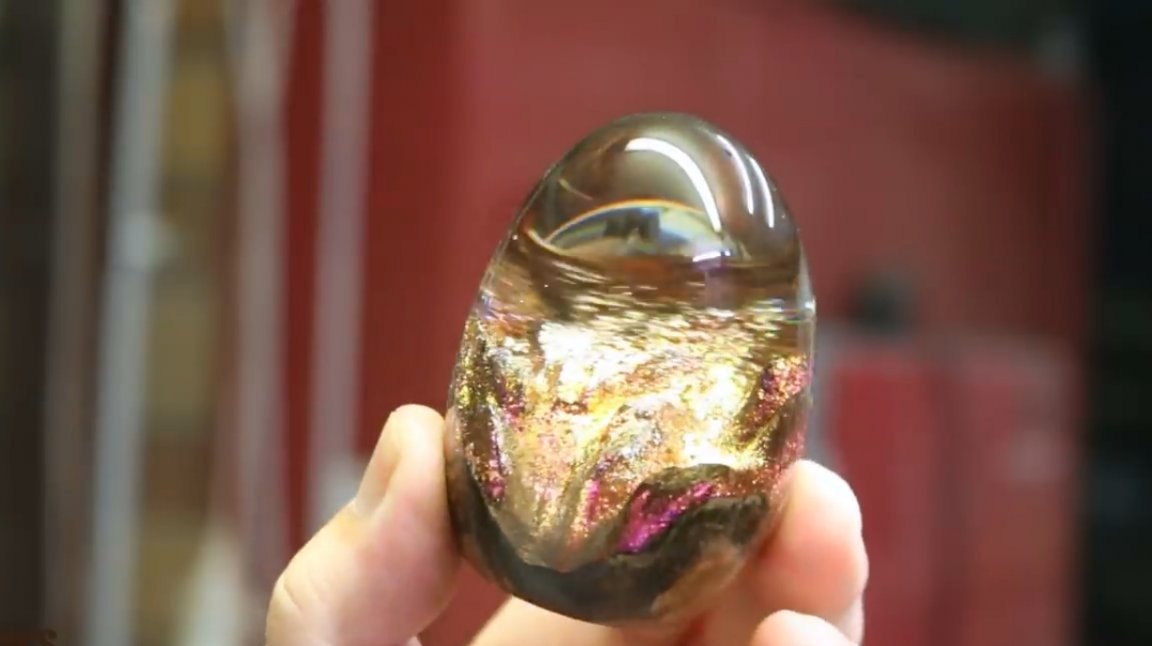
The egg took on a neat appearance. Now you can start polishing.
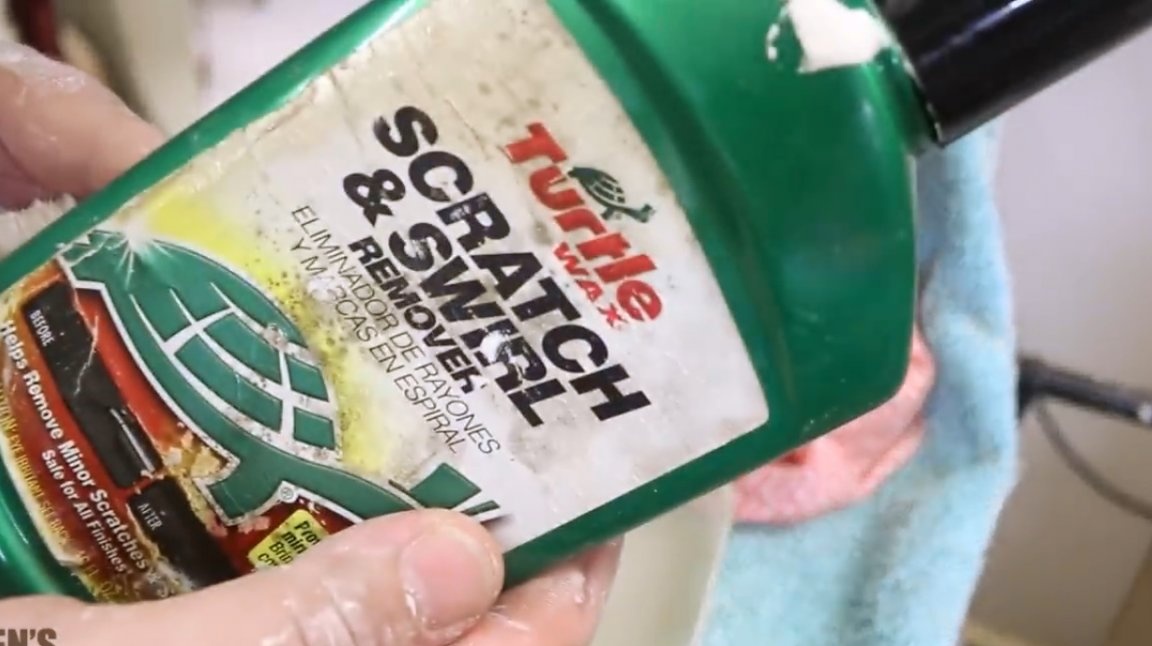
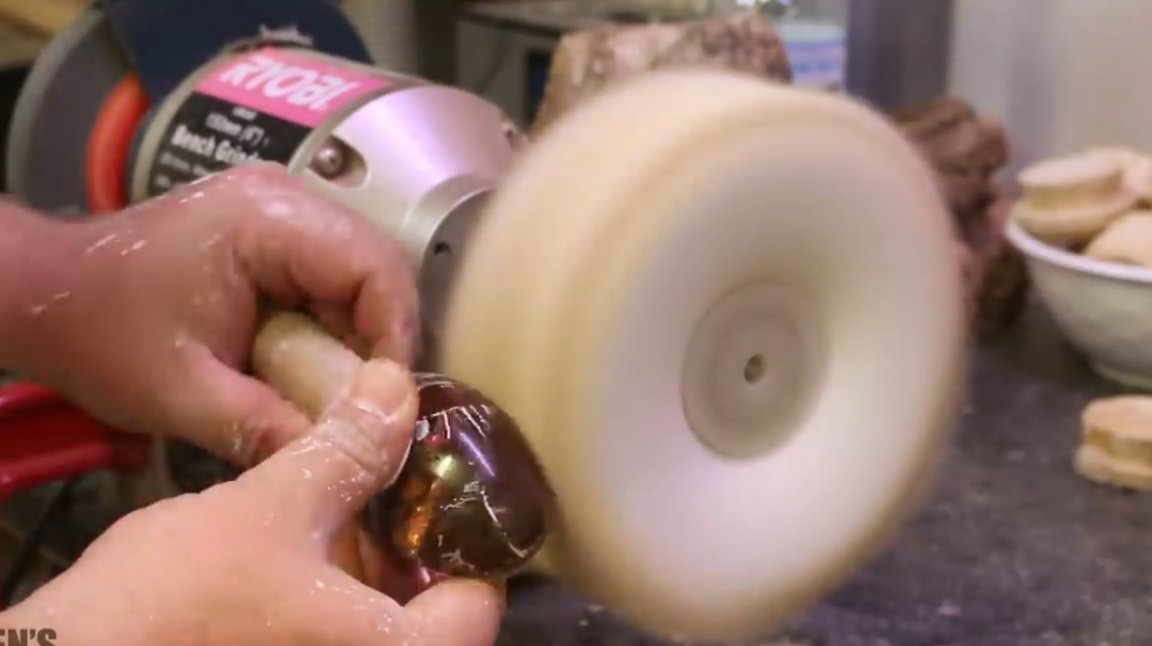
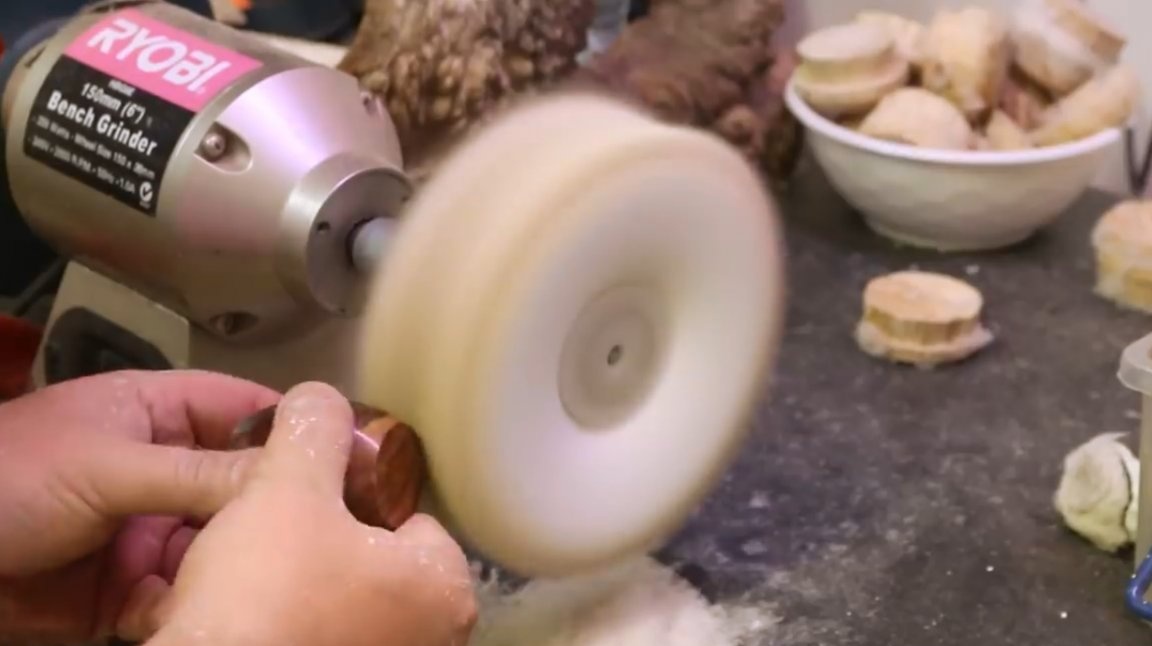
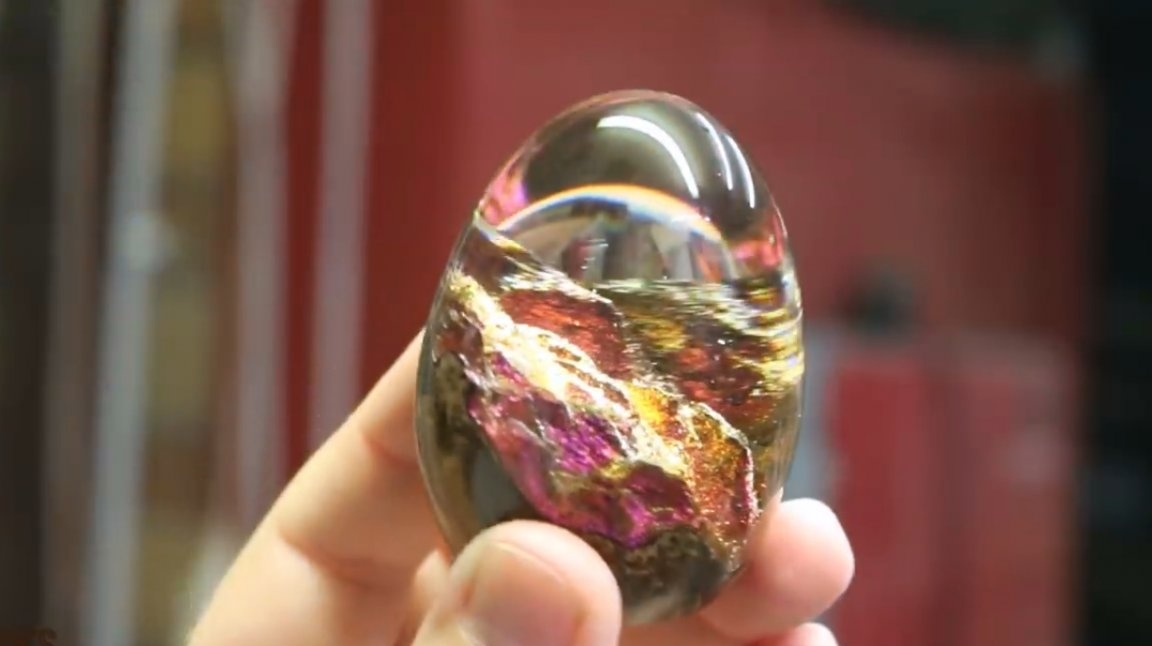
The author uses 5000 grit sanding paper and a polishing pad with an automotive scratch remover.
Fortunately, the author had a polishing disc, which he installed on a lathe.
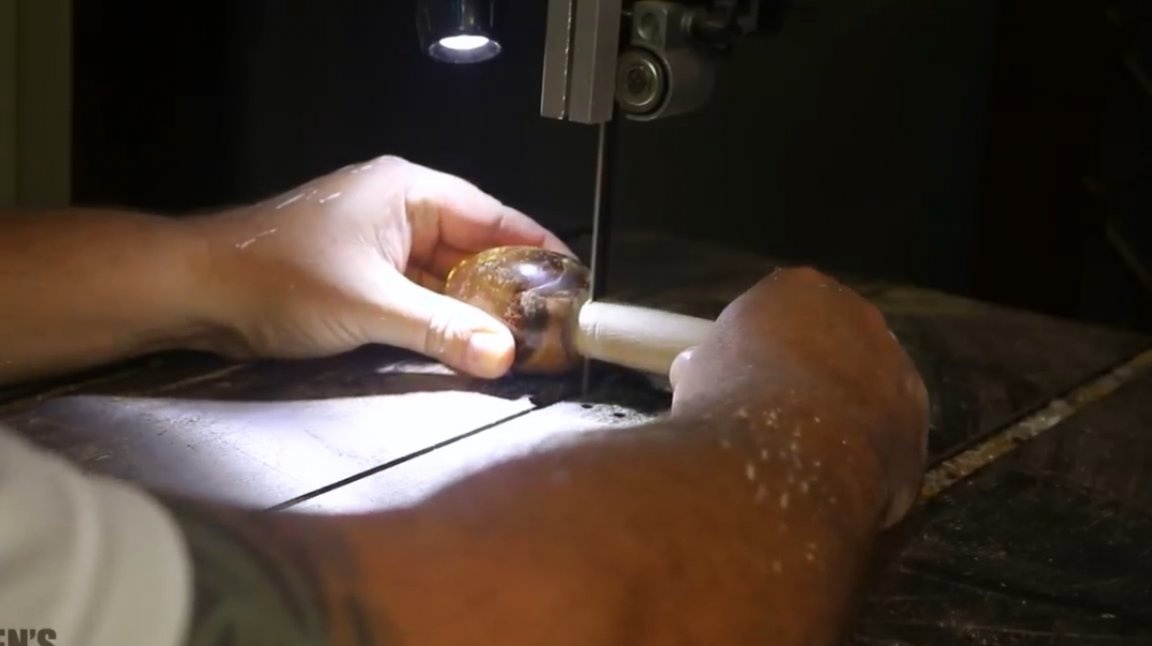
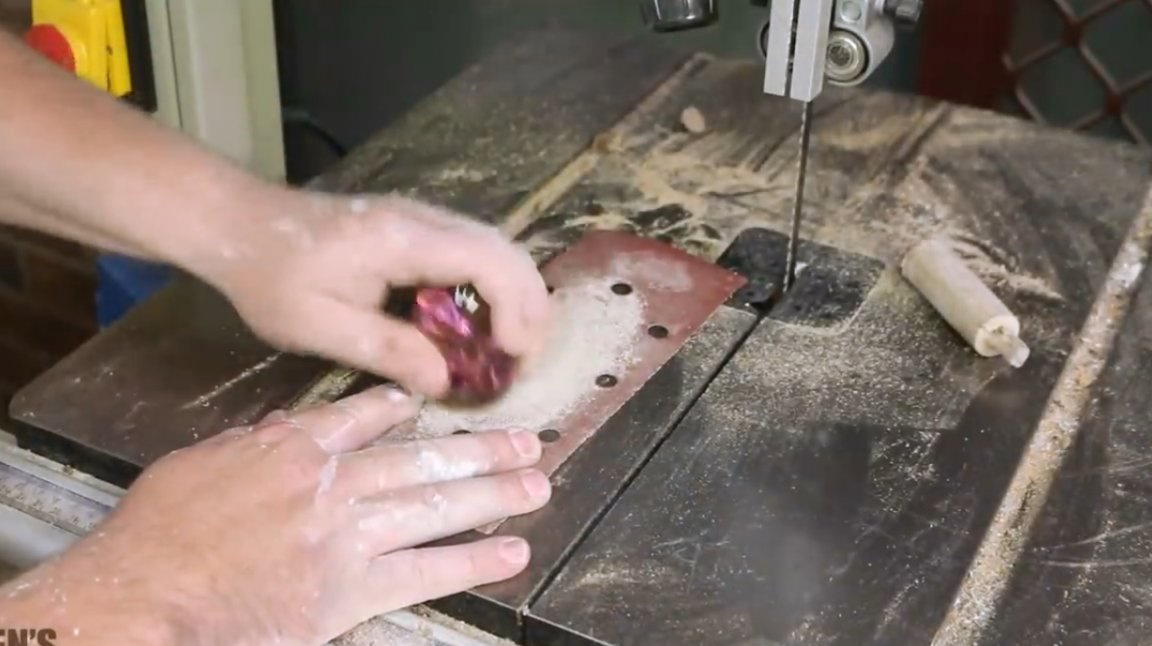
The last step is to cut the round timber and strip the base of the egg. The band saw will do just fine with this.

After grinding and polishing the base, it is varnished.
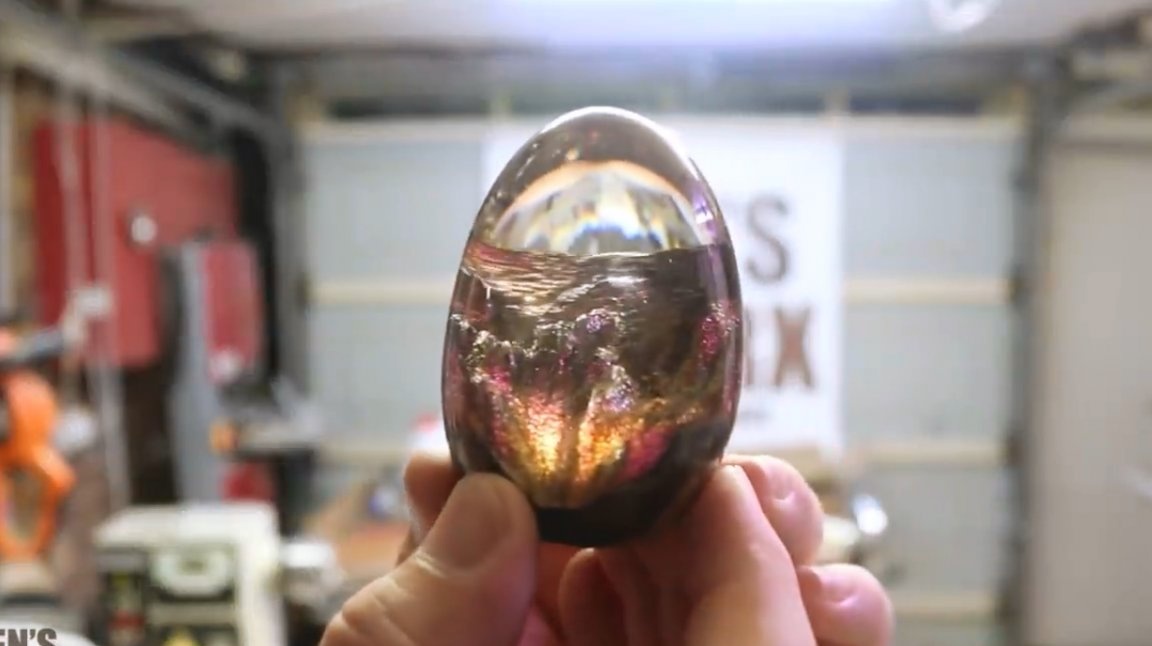
As a result, you see that it is not so difficult to grind the shape of an egg on a grinder and “finish” it on a drilling machine. The egg was not perfect (for this it was necessary to spend a little more time on processing), but still it turned out quite well, considering that this is manual work.

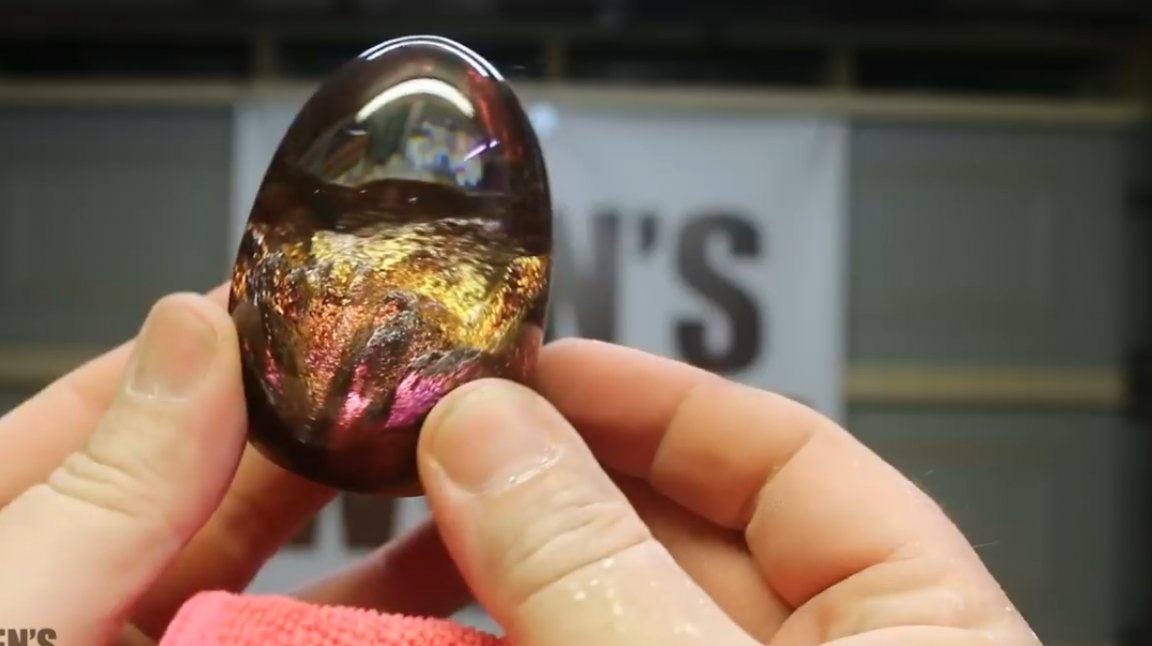
It is not a shame to give such a souvenir - it is unique, spectacular and made with a soul.
Thanks to the author for an interesting master class!
All good mood, good luck, and interesting ideas!