

Master of this homemade a big fan of the "iron man". He decided to implement this idea in his project. He decided to use two different materials for this homemade product. The amazing detail of this homemade product is that at night the whole structure comes to life and is amazing.
Step 1: Material Used
The following is a list of materials used to create this homemade product:
1. stainless steel pipe 25x50 mm;
2. stainless steel pipes 25x25 mm;
3. stainless steel pipe 38x38 mm;
4. wide and thick steel strip;
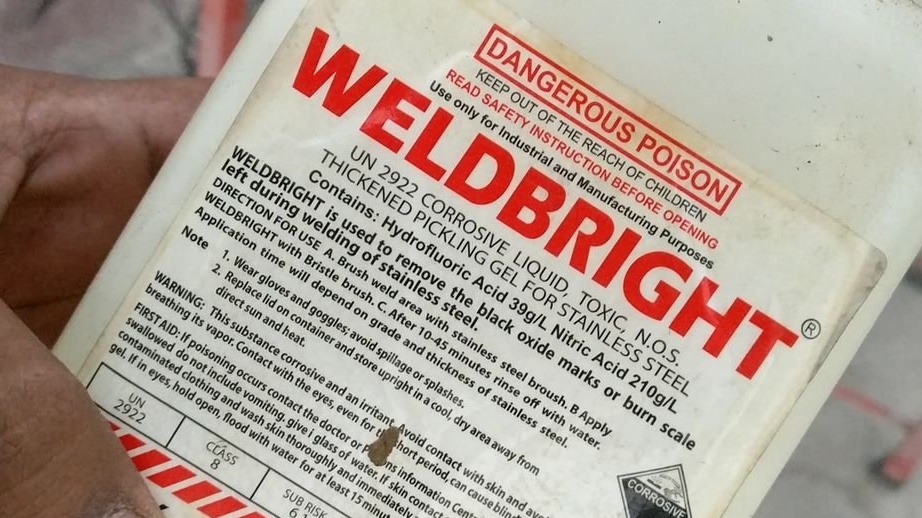
5. Etching fluid;
6. Epoxy resin;
7. Glowing powder in a dark pigment;
8. End cover made of wood;
9. Polishing compound;
Tools used:
1. Miter saw;
2. Angle grinder;
3. Clamps;
4. Grinding discs;
5. Polishing disc Scotch Brite;
6. Welding helmet;
7. Leather glove;
8. An apron;
9. Safety glasses;
10. welding machine;
11. Welding electrodes;
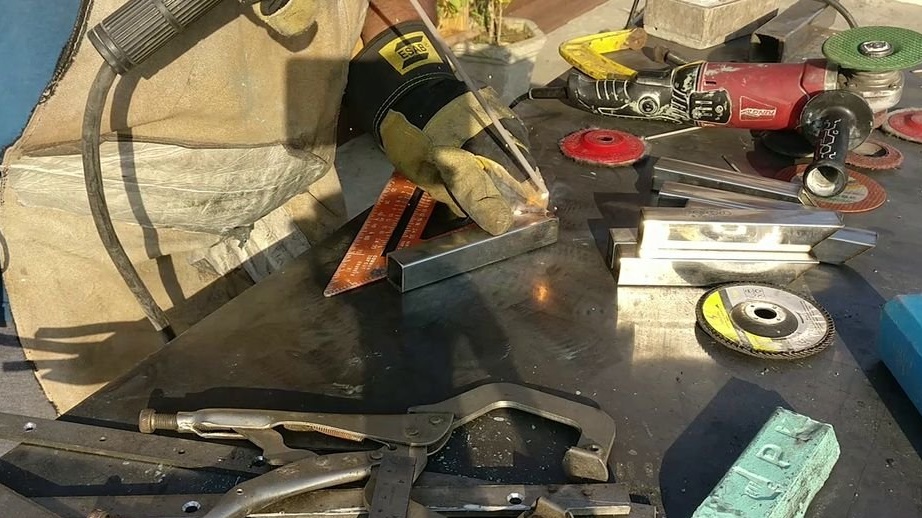
Step 2: Cutting Material
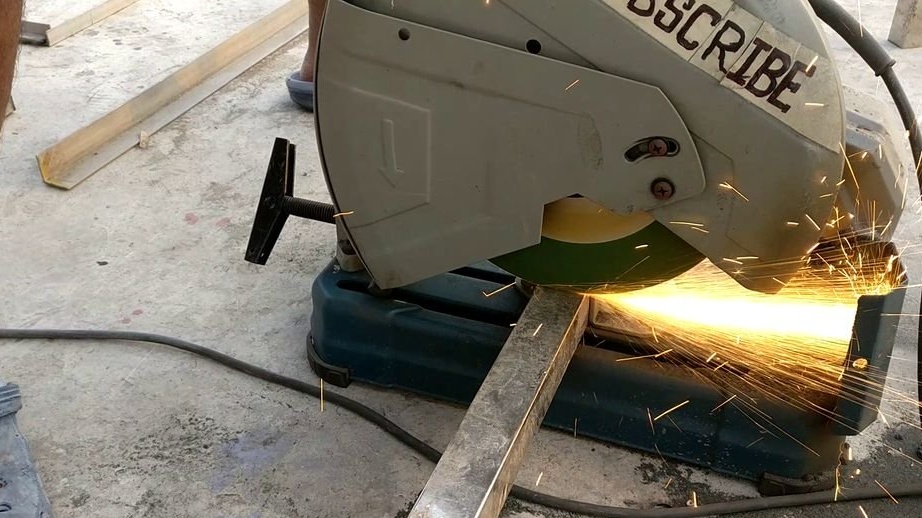

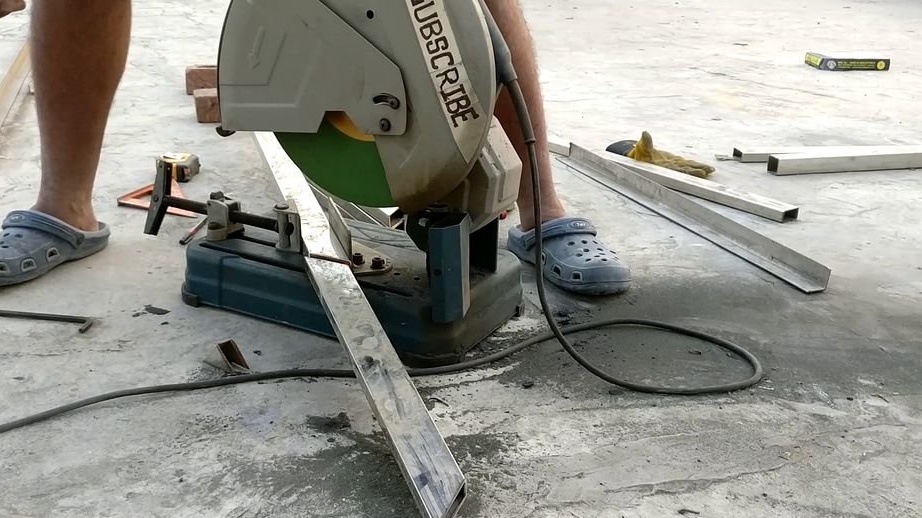

Cutting metal material is best on a miter saw. It always works much faster and more accurately than working with a conventional grinder. But not everyone has a miter saw, so at the desired length you need to make a mark, and then draw a line around the perimeter of all the material. This is necessary so that, when reaching the maximum cutting capacity of your disc, the reference line helps to make an even cut.
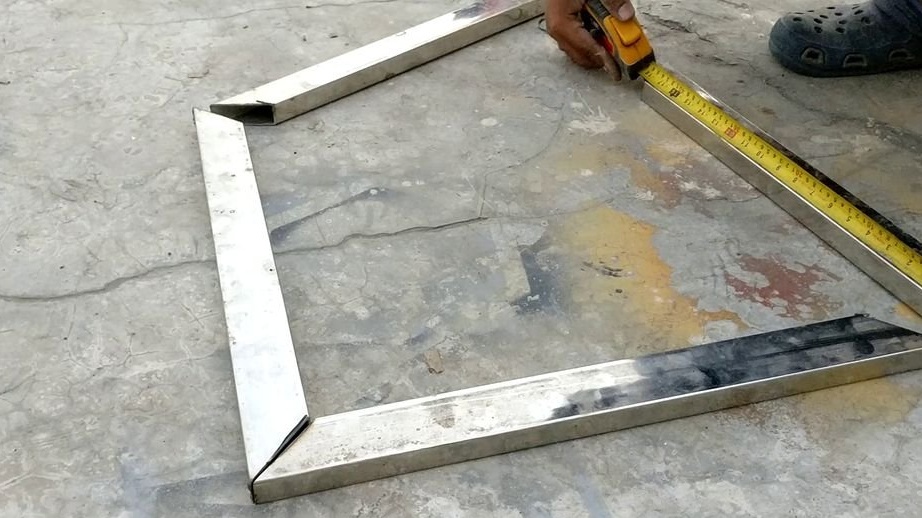
Step 3: Deburring
As soon as the cutting process is completed, it is necessary to clean the burrs. A slight drawback of the cutting wheel on the miter saw is that it always leaves sharp burrs. On the other hand, if you use a carbide disc, it cuts the material more gently. If you use welding with electrodes, then it is not advisable for you to chamfer at the edges, as this thins the surface of the material and leads to the appearance of blowing, which is extremely difficult to fix. If you use thick steel pipes made of mild steel, then a bevel is desirable.
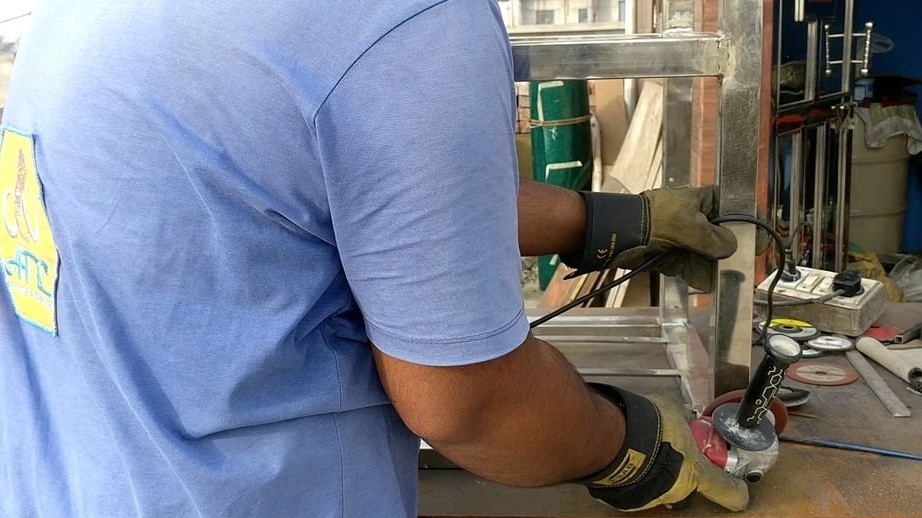
Step 4: Welding
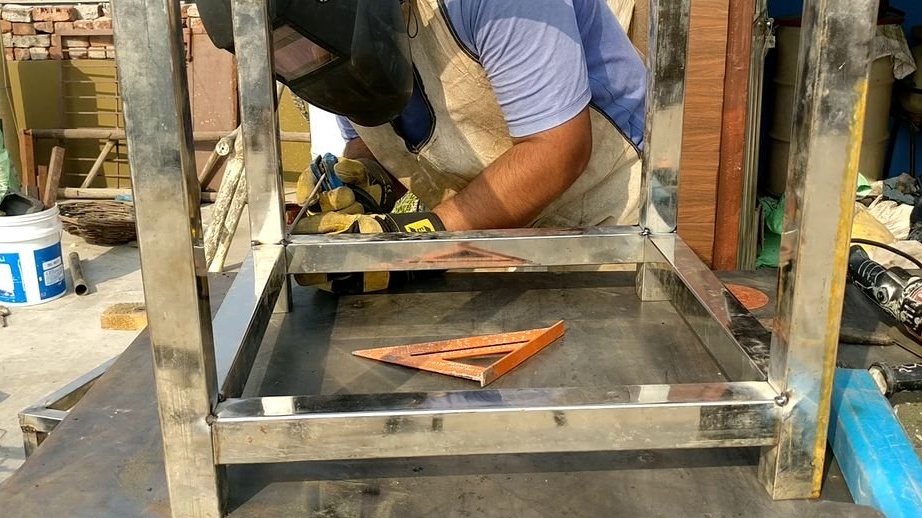
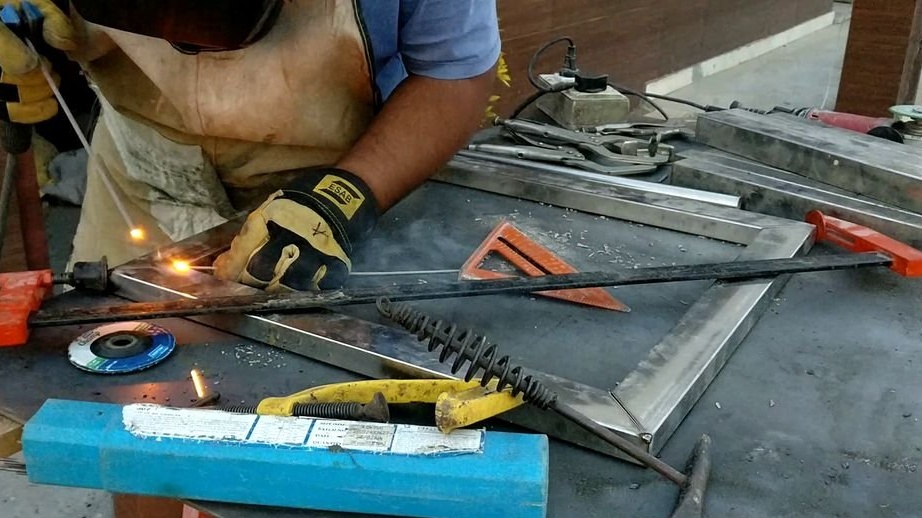

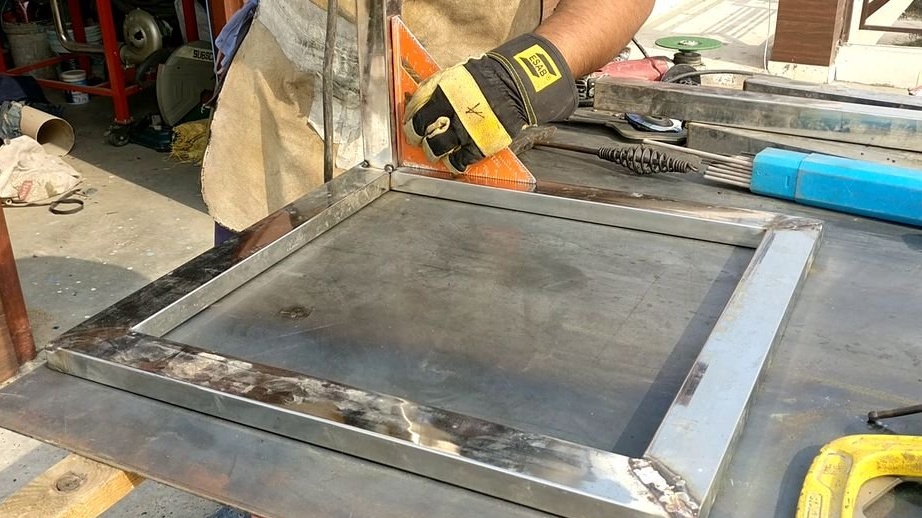
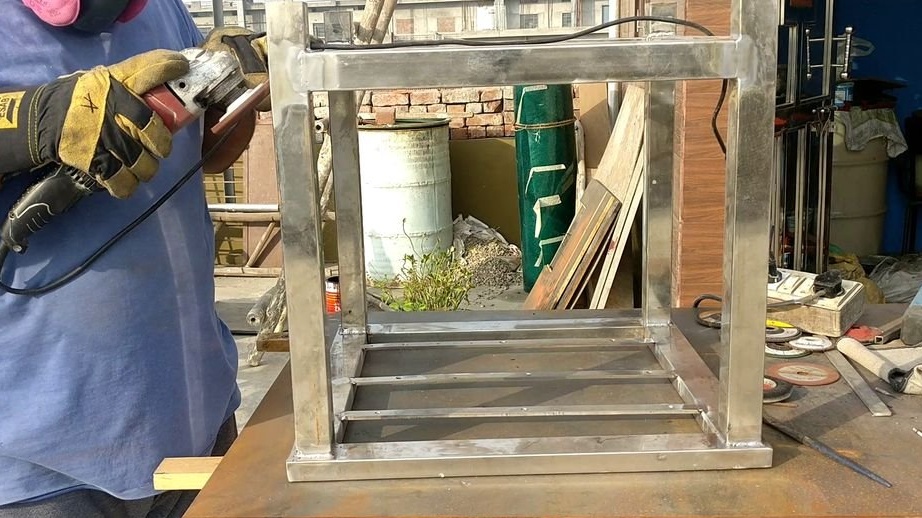
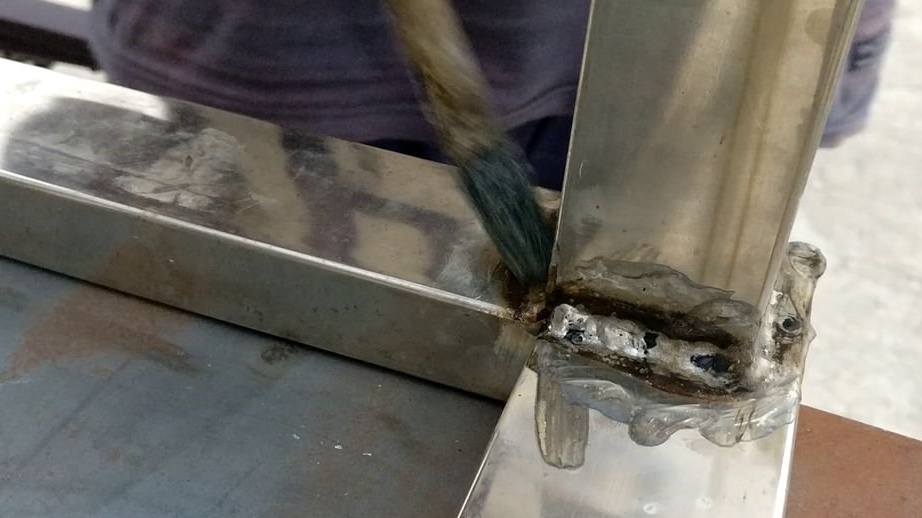
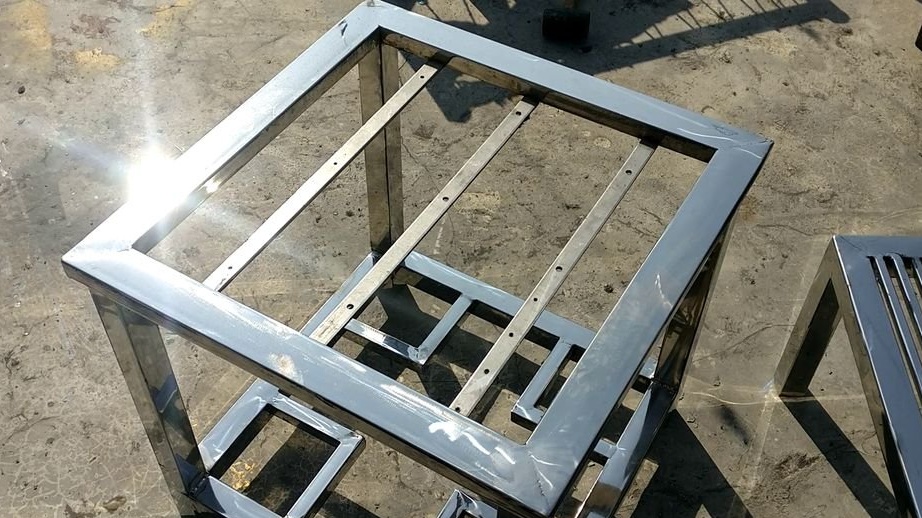
After cleaning the parts, it is time to start welding. Always make sure that you have a flat surface so that the end result is beautiful and flat. It remains to grab the material, and then completely weld. Welding begins with the upper frame, which is made of a pipe measuring 25x50mm. First, the master clamped the parts in a vise / clamp and grabbed them with welding. Then he double-checked the squareness of the details.It is always necessary to double-check, because due to sudden heating and cooling, the metal always changes the angle of contact. Therefore, be sure to check the rectangularity of the parts after each tack. After the frame is completely welded on tack welds are welded. Then it is necessary to break off the slag from the welds, because you need to weld the legs, and for this, the surface must be flat. Then the master sets the legs in place, first makes a tack, and then double-checks the corner. It is necessary to perfectly align and then make a tack on the remaining three sides. Repeat for the remaining legs. After that, the master welds the parts of the subframe, and then performs a full welding. For stainless steel welding, the master uses stitch welding techniques to avoid holes.
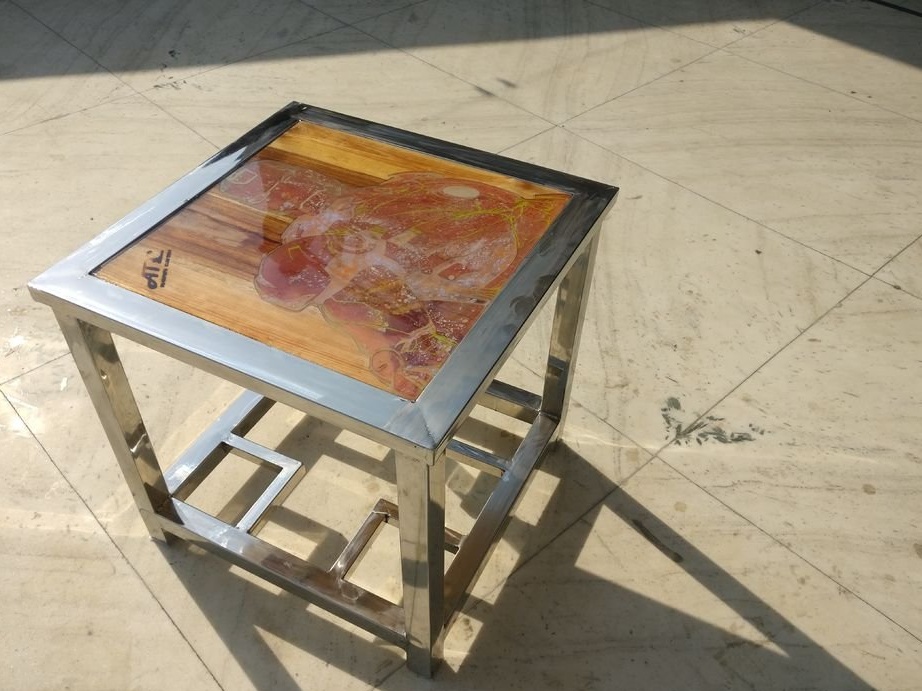
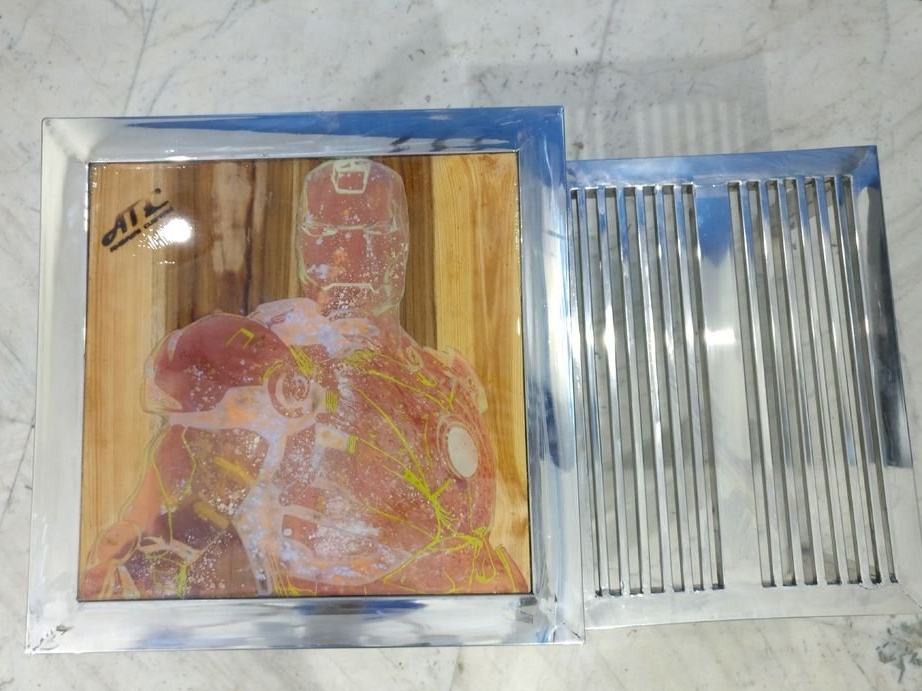
Step 5: Chair Seat

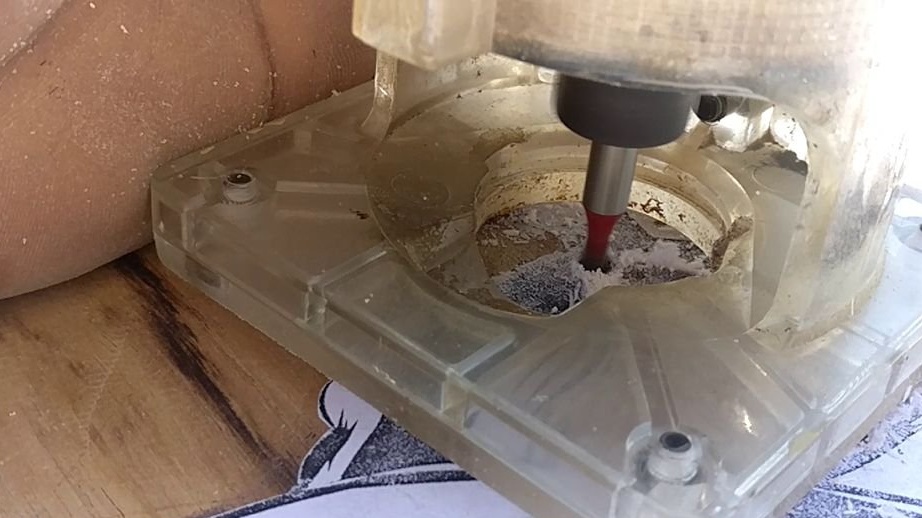
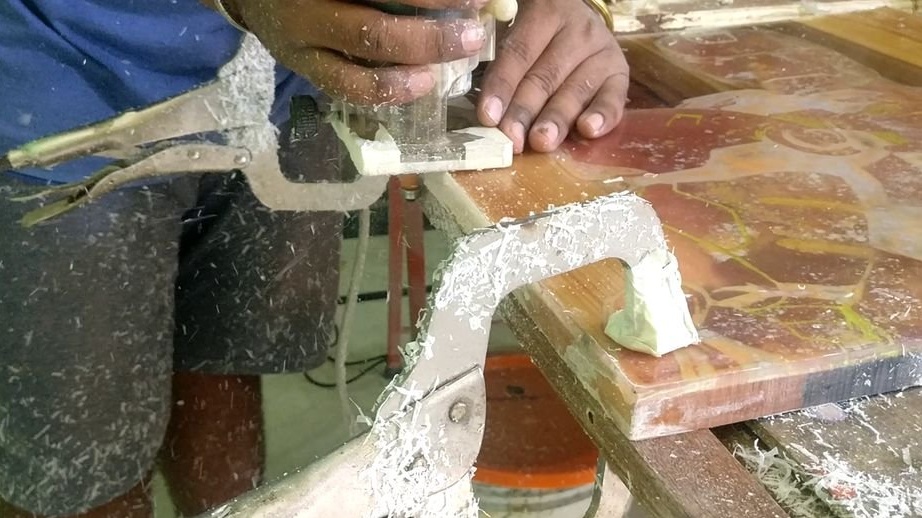
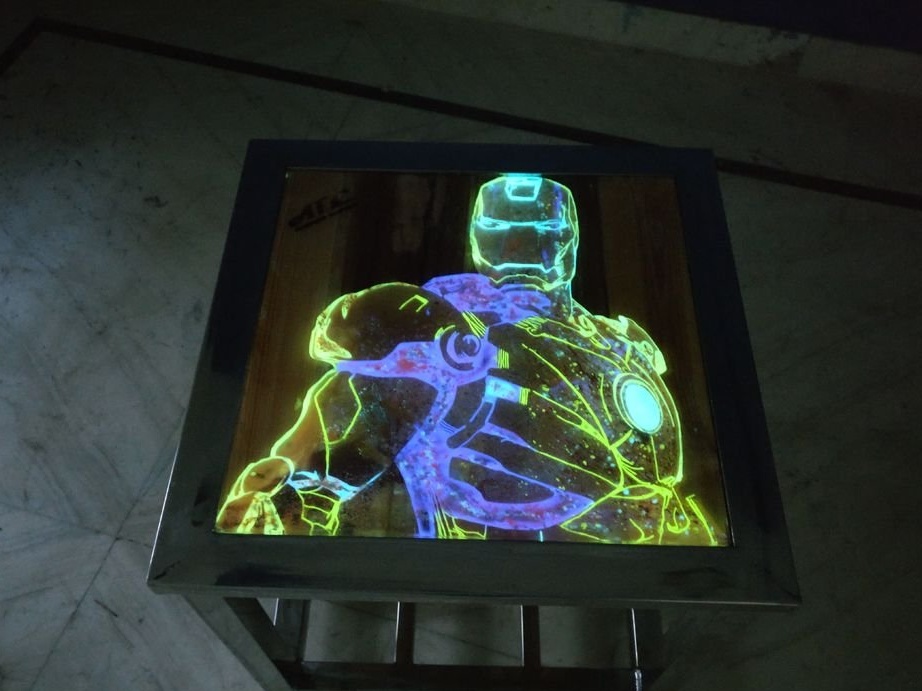
For this stool, the master decided to do something unique, and also wanted this chair to look amazing at night. Therefore, he decided to apply a glowing dark pigment powder. At first he wanted to use the CNC, but then he thought, why not do it using a handheld router?
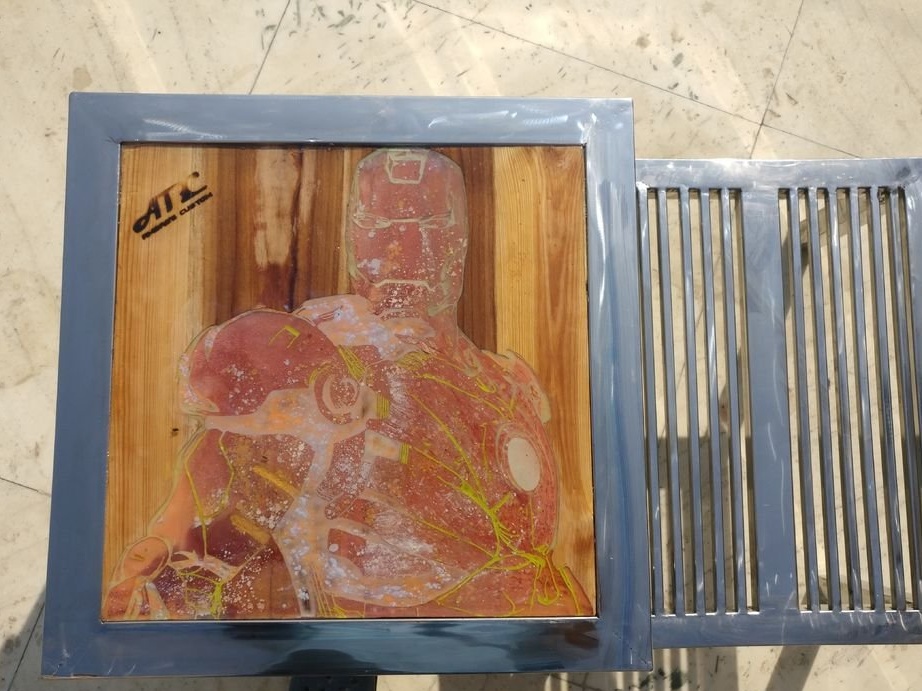
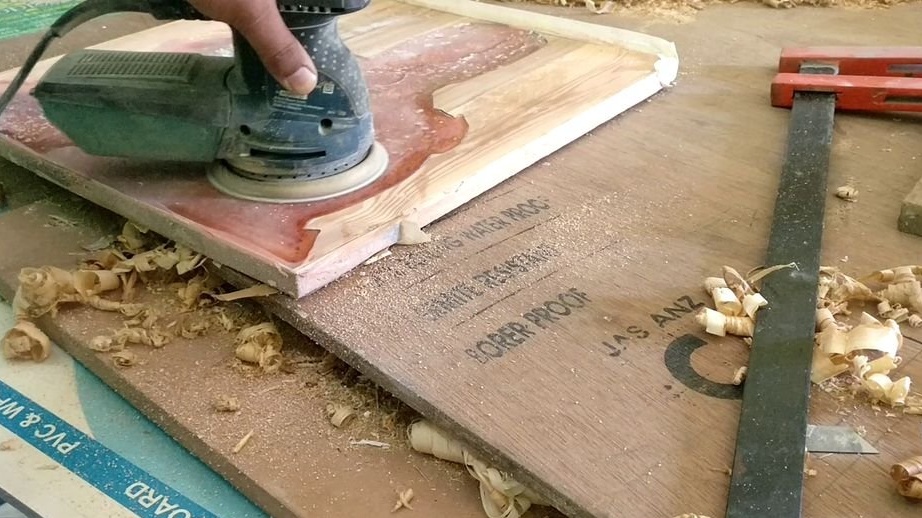
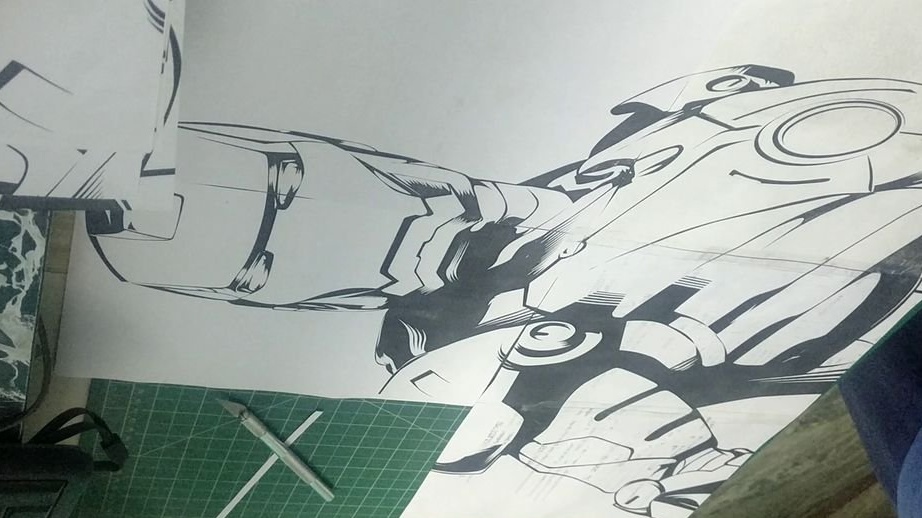
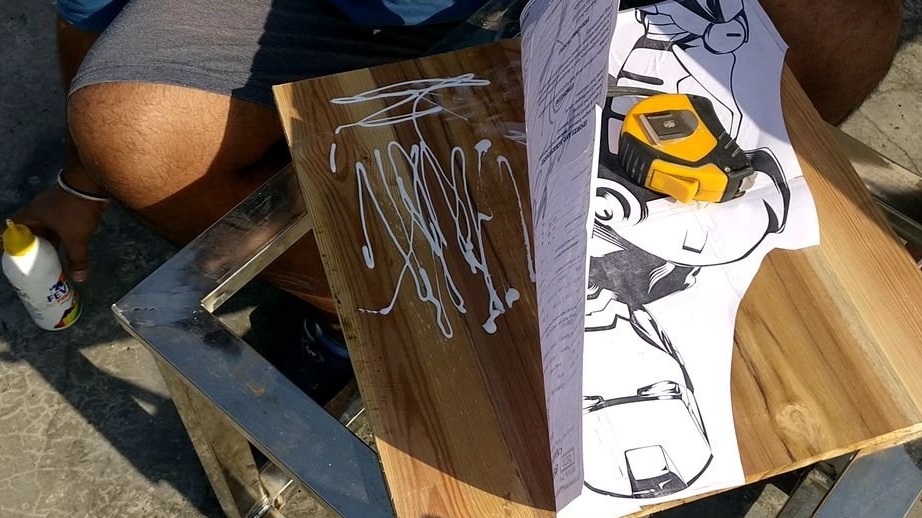
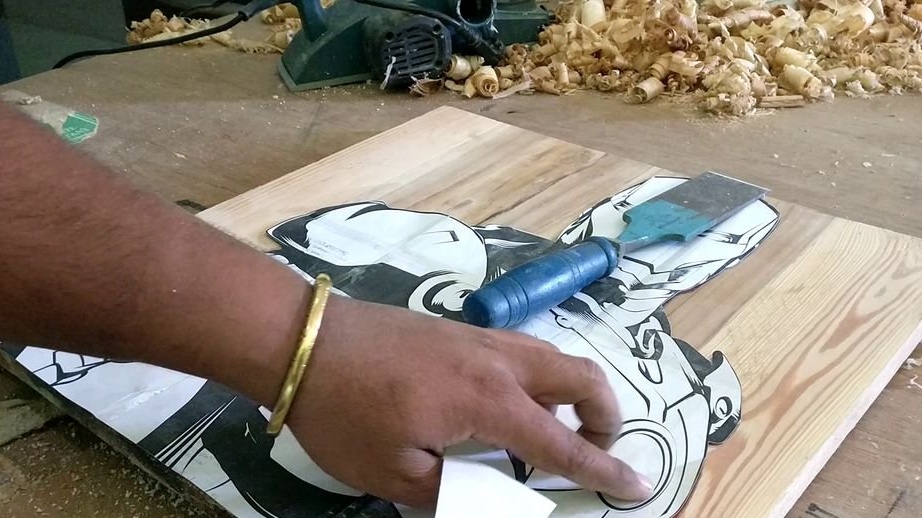
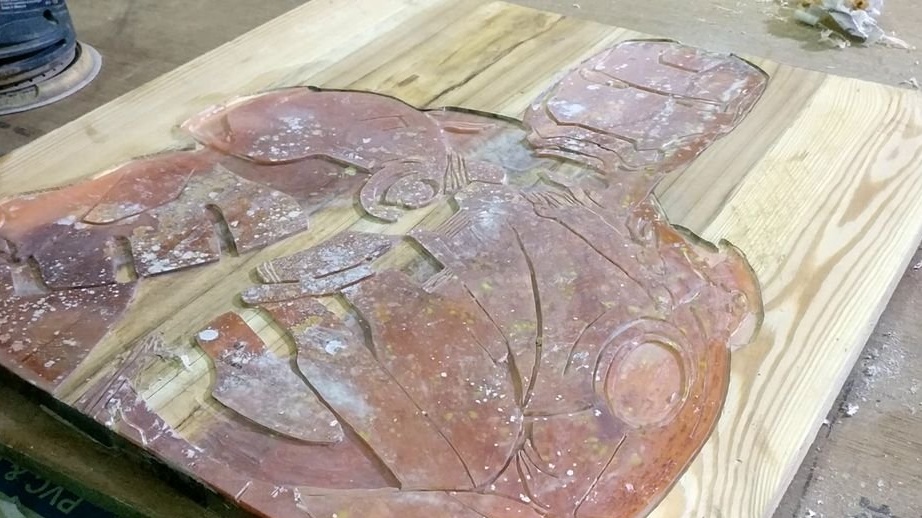
To begin with, he printed an “iron man” on a printer, and then stuck it on a wooden seat. The tree he used was already sized to fit.
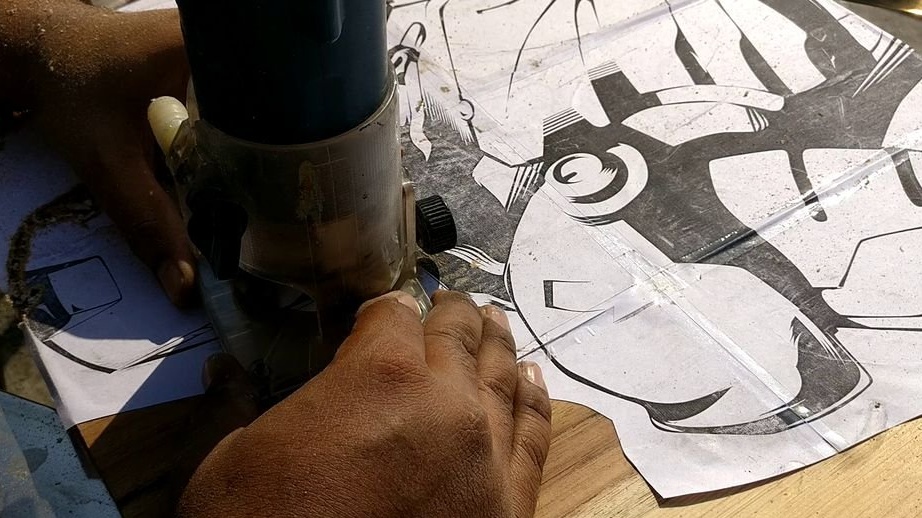
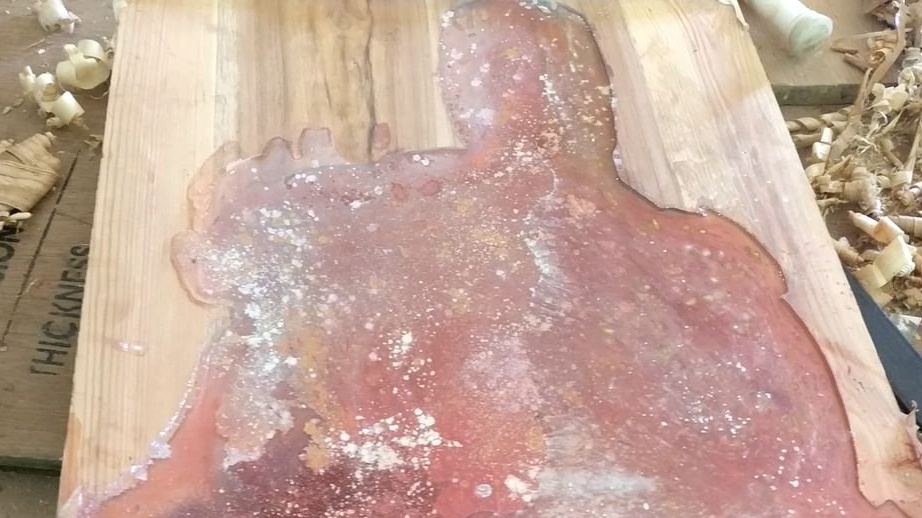
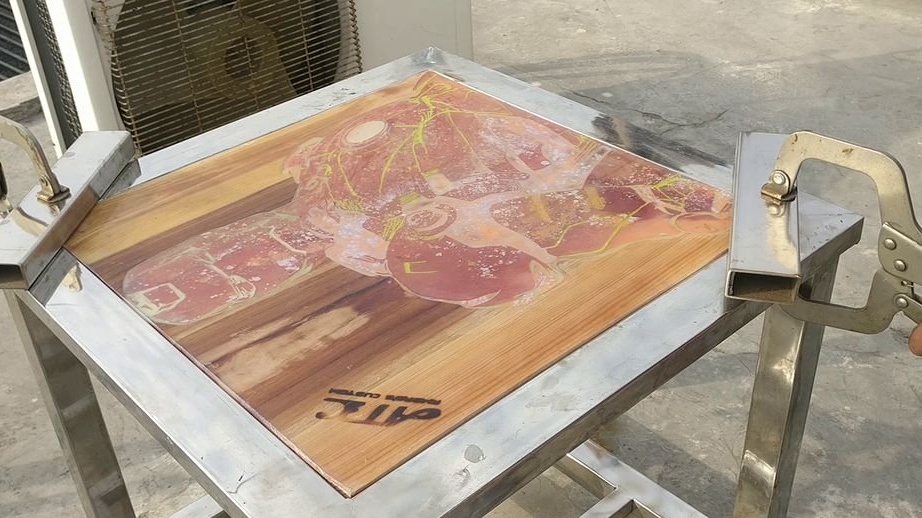
Then he cut out this pattern and stuck it to the tree. Then he cut out the material from the mold. Having finished working with the form, he poured it with resin, which has a slight glow, thanks to the dark pigment powder. The master decided to sprinkle the powder randomly on the resin as soon as it gets a thick consistency so that the colors do not settle to the bottom. After curing the resin, it became clear that it was necessary to cut out some details so that the figure could be easily understood.
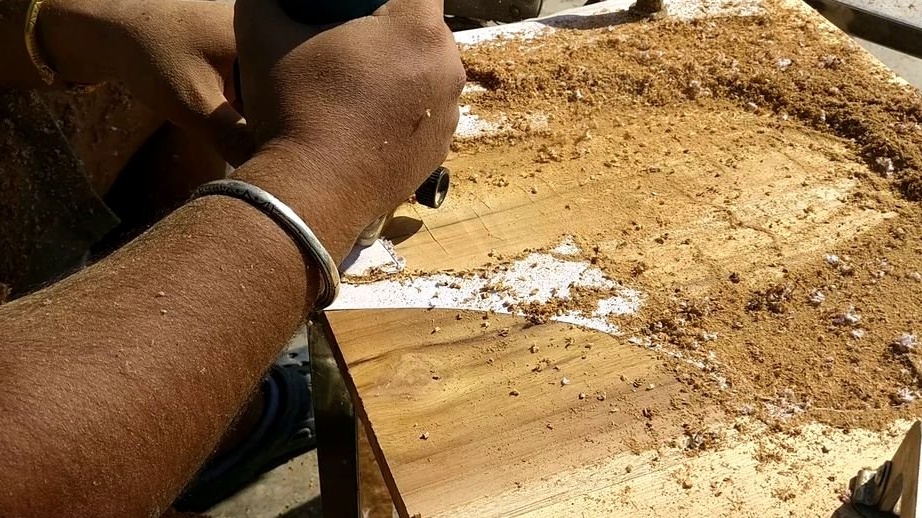
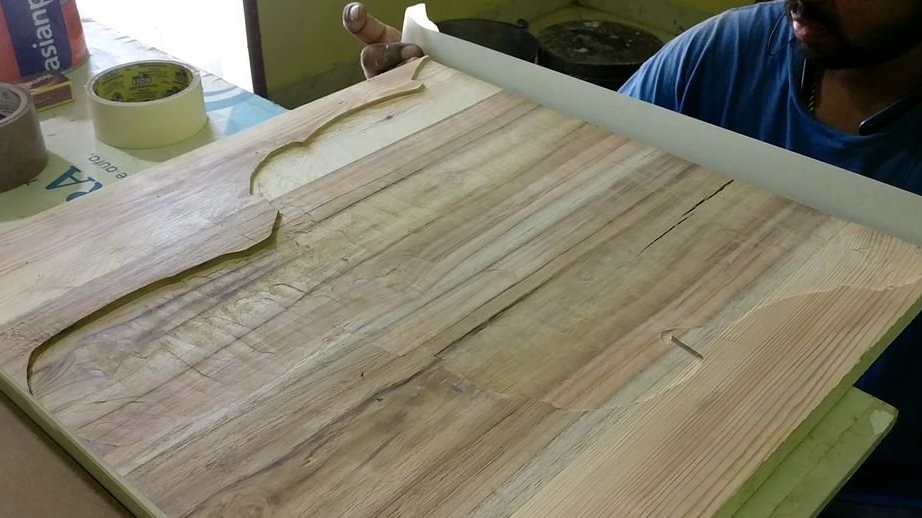
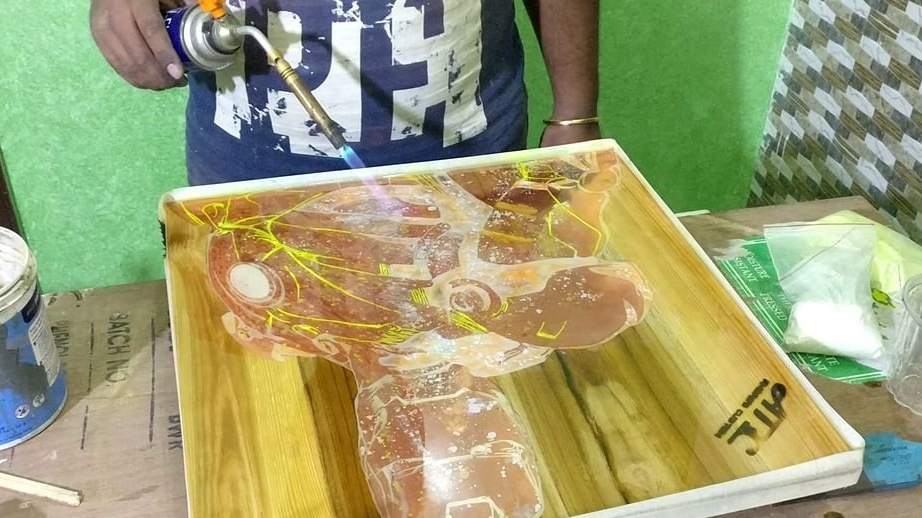
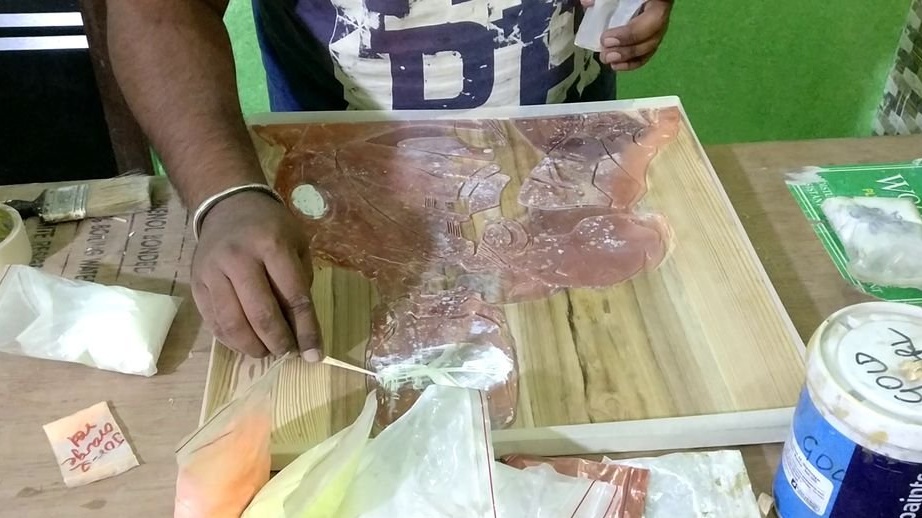
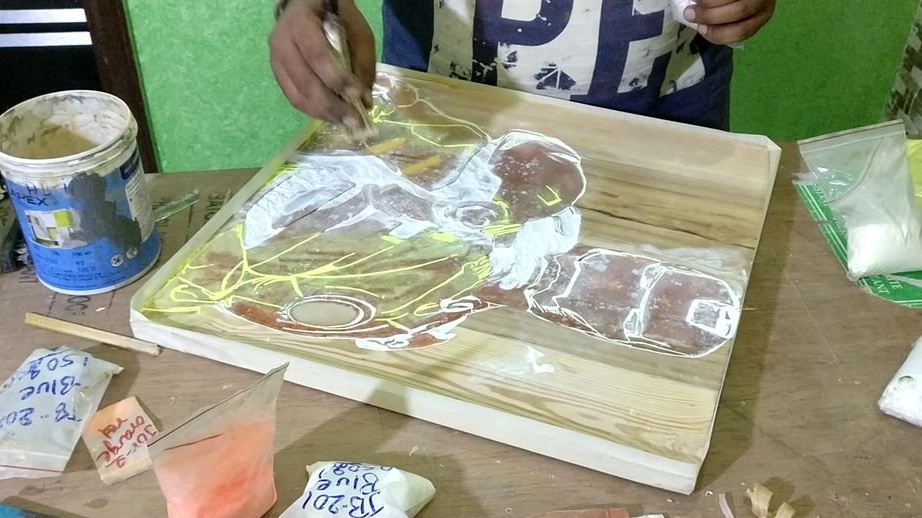
Then the master polished the entire surface, making it smooth. Then I pasted a template on it. Then, without rushing, he cut out the border region and filled it with different colors of pigment powder. Again he poured the resin so that it covered the entire surface and the powder, which is in the cut sections. As soon as the resin hardened, he straightened the edges with a guide and a cutter.
Step 6: Welding the base for the chair
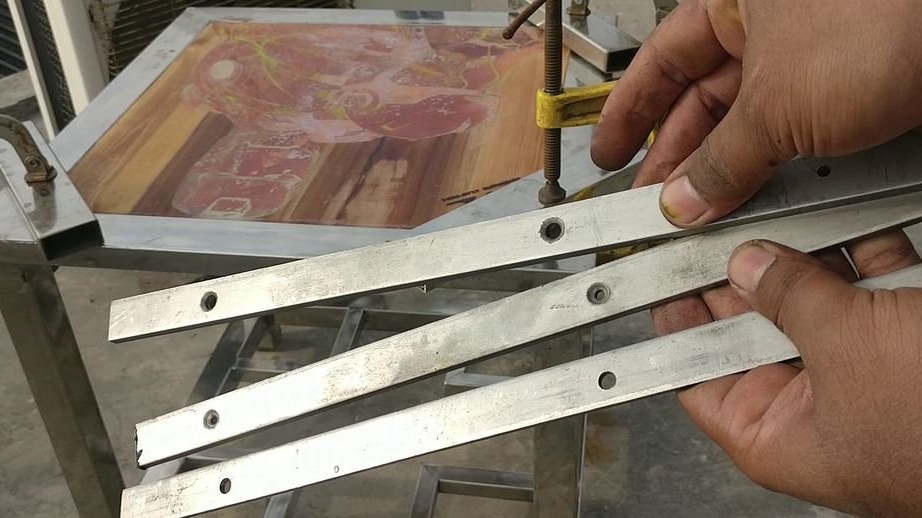
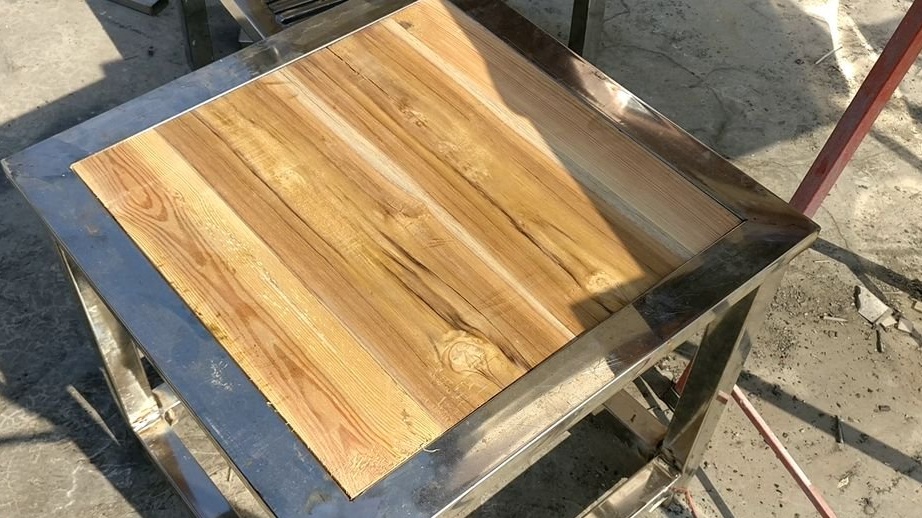
To give greater strength at the top of the chair, the master decided to weld several strips under the wooden seat. The master secured the seat inside the upper part of the chair with clamps and leveled it. Then, from below, he placed metal strips and welded them to the main chair. Holes are drilled inside the strips so that the seat can be locked from the bottom with a few screws.
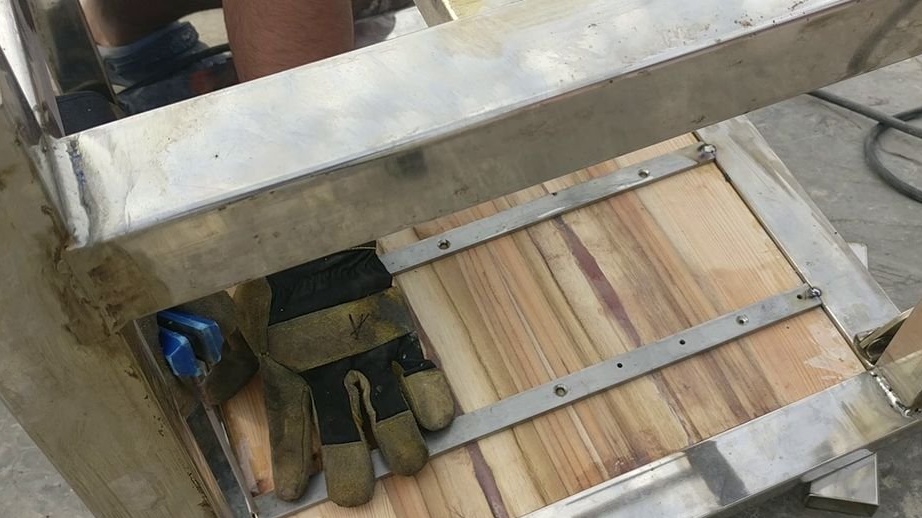
Step 7: Scenery

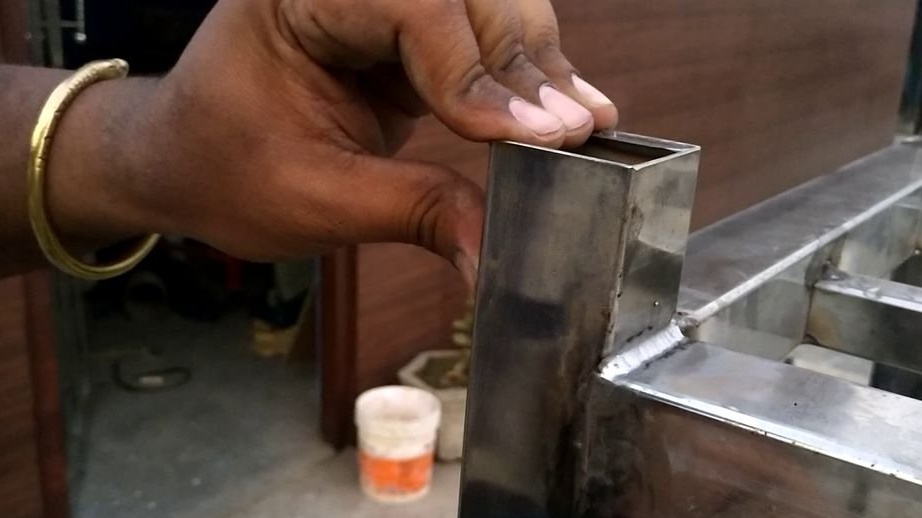
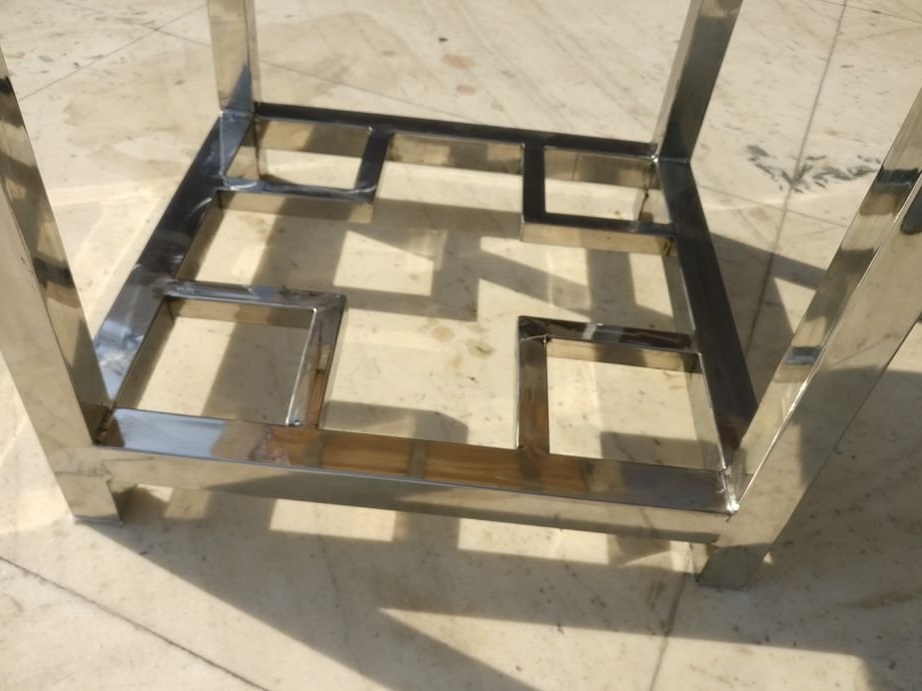
It seemed to the master that the bottom of the chair was empty, so he cut out L-shaped shapes from a square shaped tube, 25x25 mm in size, and then welded them in each corner of the main frame.
Step 8: Cleaning
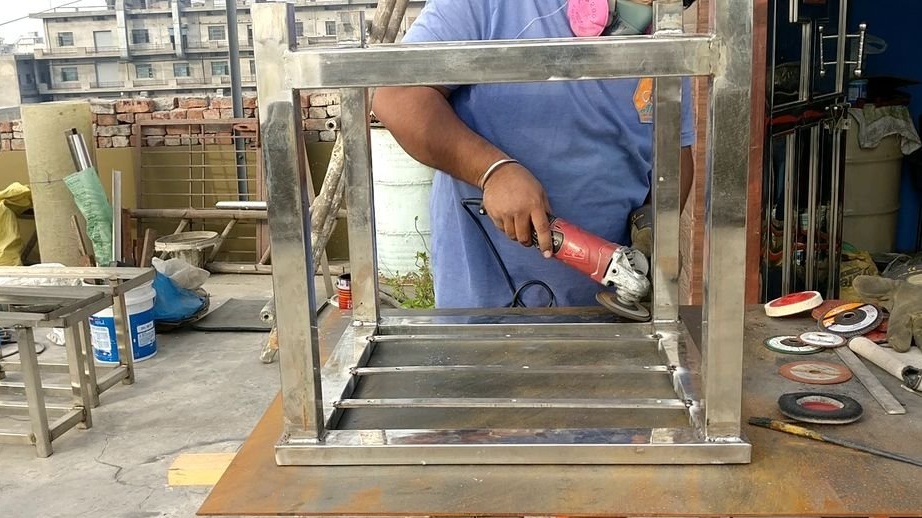
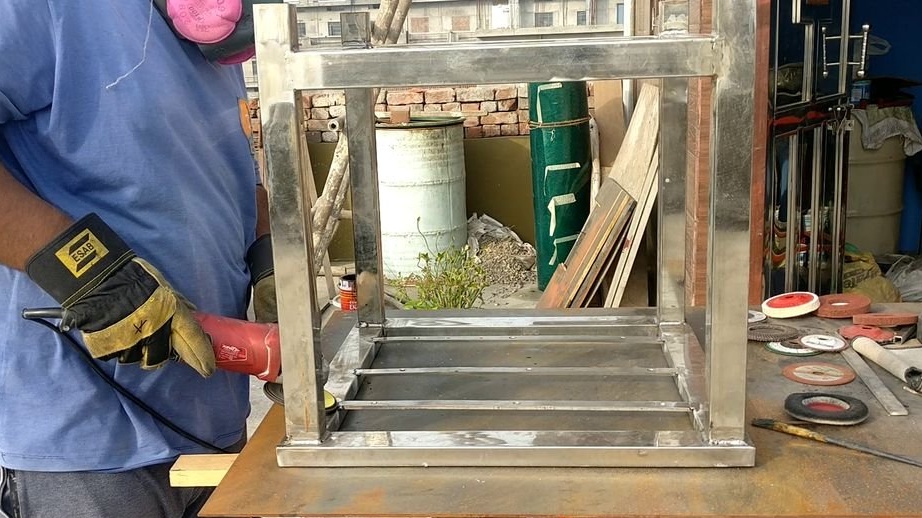
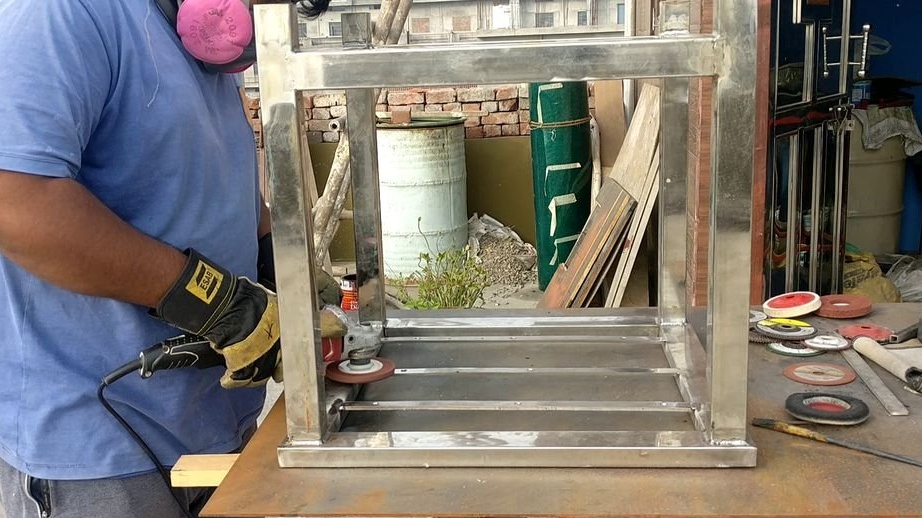
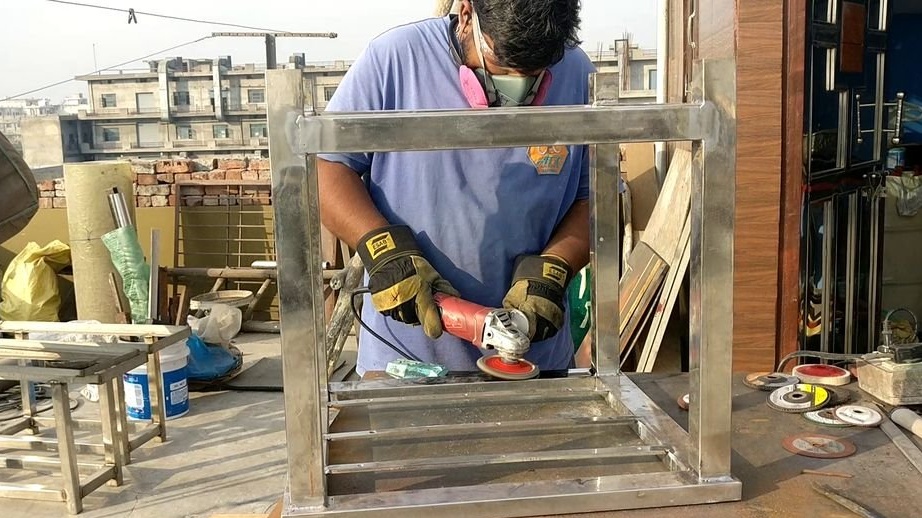
As soon as the main form of the product is completed, you should start stripping. The master began stripping metal with a disk with a grain size of 30 units. Usually they say that it is not necessary to use coarse grain when working with stainless steel, but if you are careful enough, you can remove the metal beads at a much greater speed, simply by using the curvature of the disk to bring down large droplets on the welded surface. After that, you need to go to the grinding disk with a grain size of 120 units. Then the master finishes polishing with a Scotch Brite polishing disc.
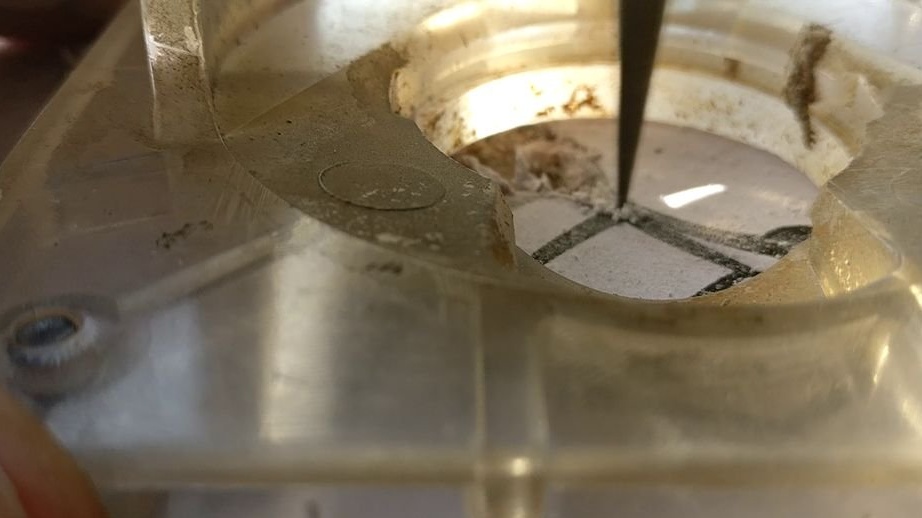
In the corners, the master decided not to grind, and to remove the blackening, use etching liquid. It perfectly removes oxidation and burn marks around welds. This solution saves a lot of time. The liquid simply needs to be applied to the surface and then wiped off with a rag.
Step 9: Final Work
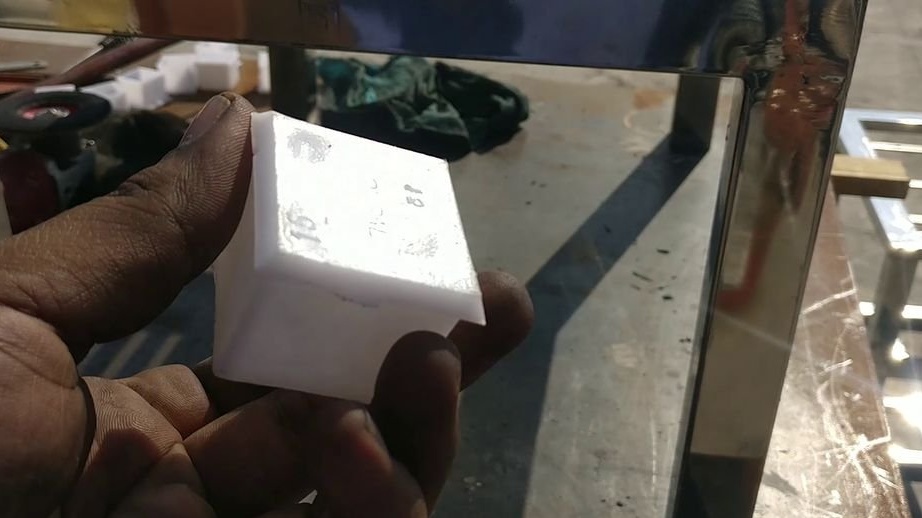

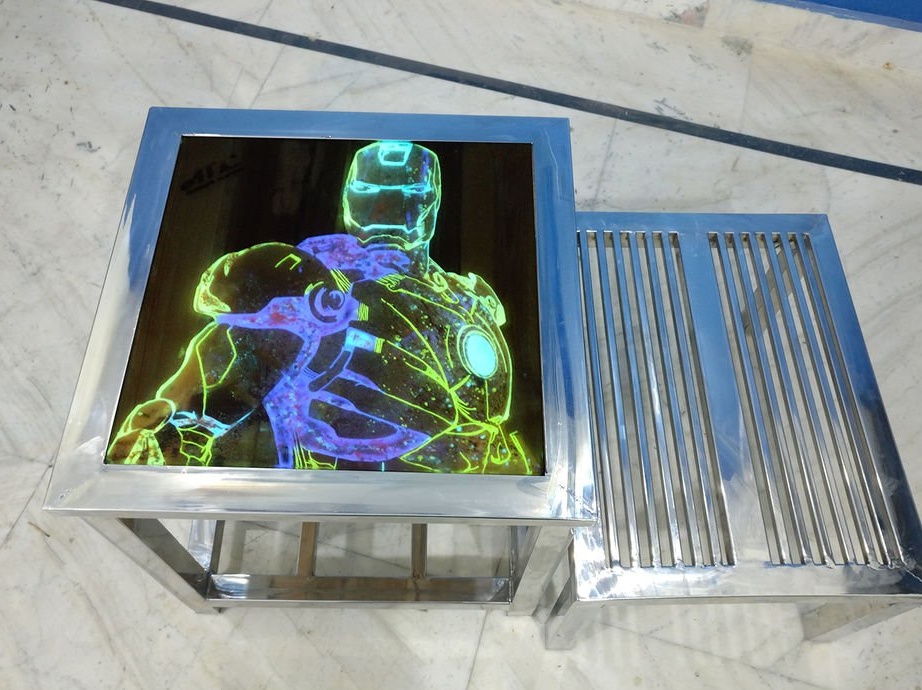
The last thing to do is install the end caps so as not to damage the floor. Then admire the work when the lights are off.
You can also watch a video with this homemade product: