
Tools are sometimes magnetized, this can be both useful and undesirable depending on the type of tool and the actual work for which you want to use it. For example, there are times when the presence of a magnetized screwdriver is useful in order to hold the screw when you need to tighten it in an uncomfortable place. But if you do not need to do this, then excessive magnetism can be a drawback, because a magnetic field will magnetize any iron chips, nails and screws that are nearby, nearby. Drills - this is exactly the tool that is not desirable to magnetize, as they will be covered with chips during drilling of ferrous metals.
However, a means of magnetizing and demagnetizing tools and other objects, such as calipers, would be a useful addition to the workshop. To magnetize the instrument, we only need to expose it to a strong unidirectional magnetic field, and to demagnetize, we expose the object to an alternating magnetic field.
Independent demagnetization tools mainly use mains supply in one form or another to obtain an alternating magnetic field. For many years, the author of this homemade used a modified transformer to magnetize and demagnetize instruments. It worked well in every mode. The author feeds him with alternating current for demagnetization and direct current for creating a magnetized tool.
Step 1: Materials and Tools
As in most manufacturers' projects, the important thing is not so much the design detail as the idea. The project can be reproduced in various ways depending on the materials and tools available for a particular manufacturer, so the master used the following tools, relative to available ones.
Materials:
- A segment of an aluminum blank;
- Plastic rod with a diameter of 50 mm, length 13 mm .;
- Four rare-earth magnetic buttons for a demagnetizing device, with a diameter of 12 mm .;
- Two longer (25 mm) bar magnets or a stack of magnets for buttons, for a magnetizing device. As shown above;
- A tube of super glue;
Instruments:
- Lathe with turning and boring tools;
- Milling machine with end mill 12 mm for recesses of magnets;
Step 2: demagnetizing device
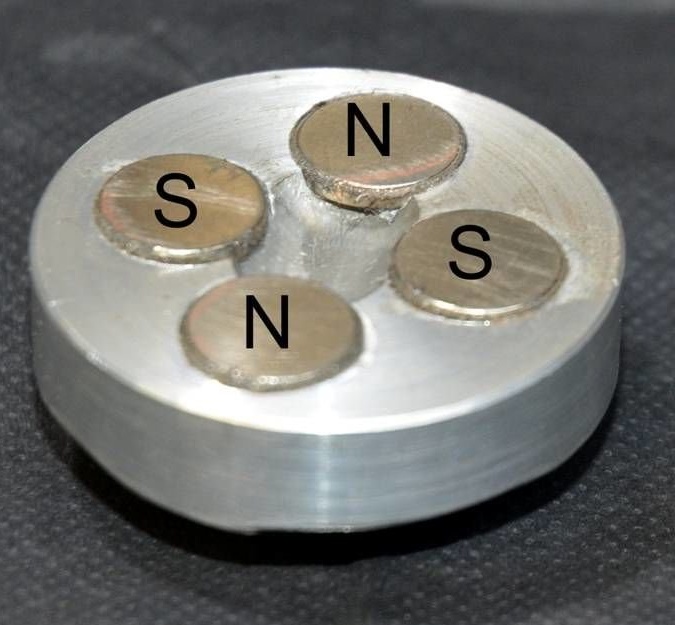
The principle underlying this system is to create a device that magnetizes an instrument from an alternating magnetic field. This is achieved by rotating adjacent magnets of opposite polarity.
You can use any even number of magnets, the master chose four. Using more magnets would require a larger diameter design to fit them.
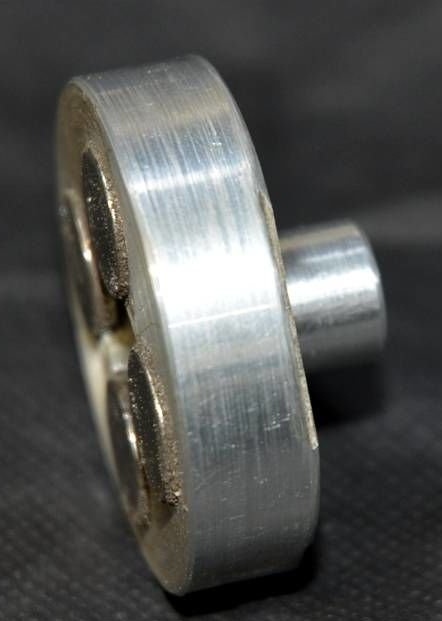
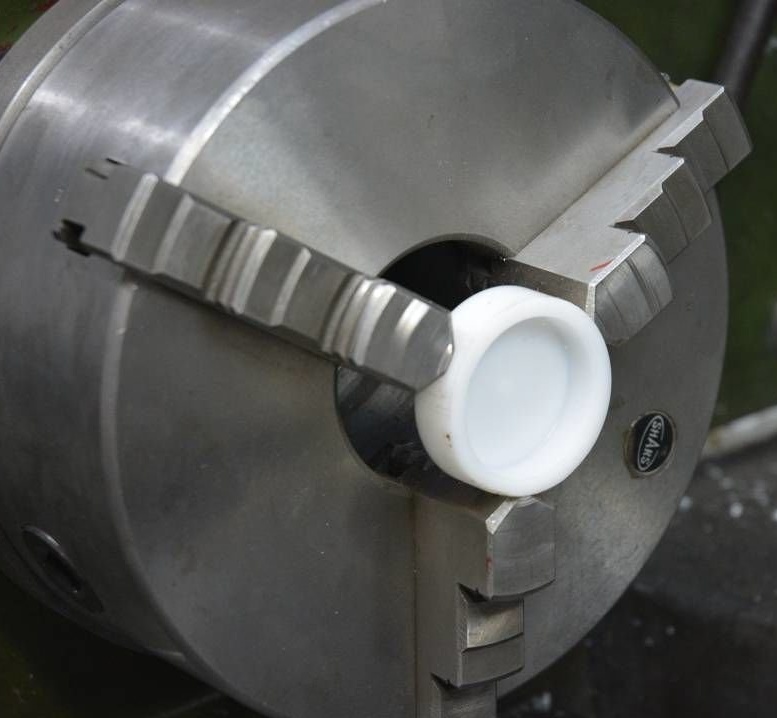
It did not take much time to make 4 recesses for magnets in an aluminum blank. The other side of the blank was machined to a diameter of 13 mm. To insert into the drill chuck to tighten the device. The dimensions of the disc section had a diameter of 41 mm and a thickness of 11 mm. These dimensions were dictated by the available piece of aluminum and are not critical. This is shown in the photos above, with glued magnets.
Step 3: Plastic Cover
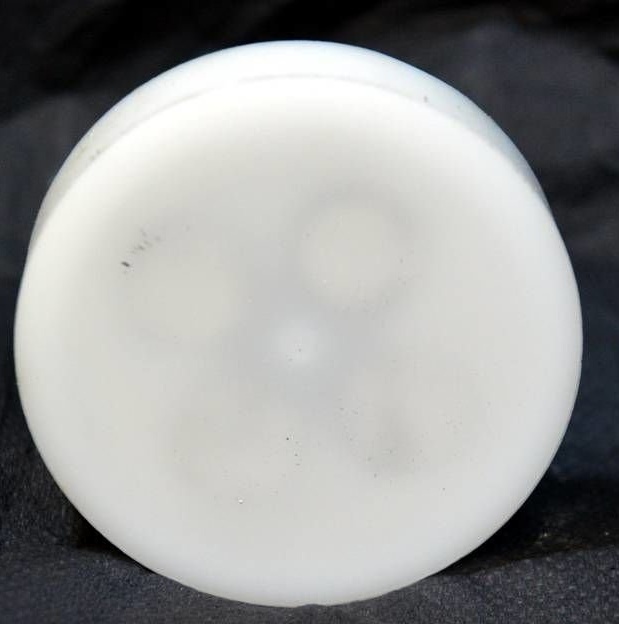
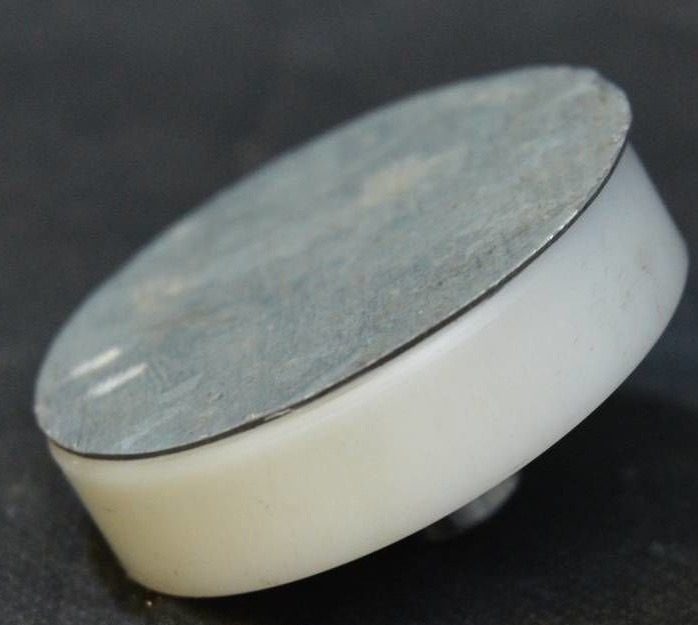
A quick test confirmed that this device is viable and working well. However, since the magnets were very strong, this rudely affected any demagnetized instrument. The master was also a little worried that strong magnets would tear iron shavings, nails, screws, etc. from the surrounding area, which would be difficult to remove properly. To fix the situation, the master made a cover from a 50 mm plastic rod, which he glued on top of the magnets. The thickness of the front part turned out to be slightly more than 1 mm. It turned out that a 3 mm gap between the magnets and the tool affects the work quite well. Therefore 1 mm. will not cause problems with increased resistance. The lid is also a protective function in preventing magnets from popping out of the case.
Magnets are visible through a 1 mm thick face.
Step 4: A sudden check of the magnets with the cover on

As it turned out, the wisdom of covering magnets for cleaning reasons became apparent very quickly. A few seconds after installing the cover, the master dropped the blank with magnets and she rolled under the lathe and began to look like the picture shows.
It would be very difficult to clean open magnets, and with the lid installed, this job is a simple routine.
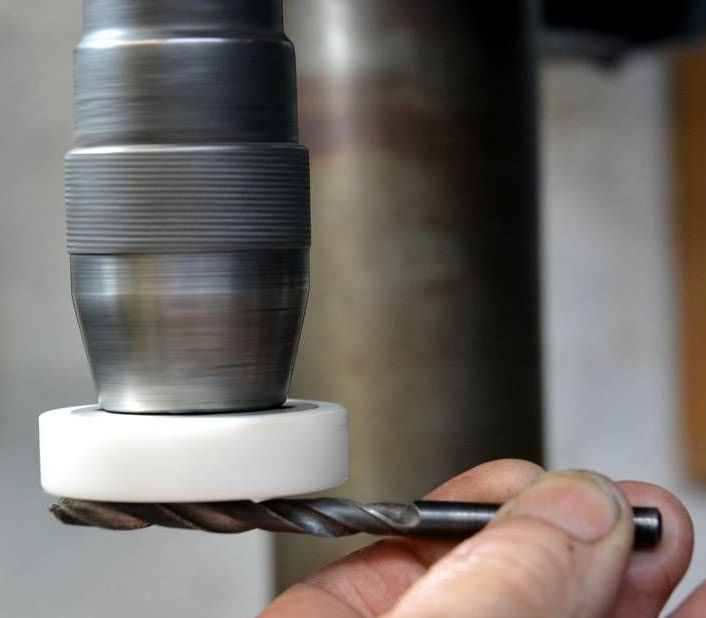
Step 5: Using the demagnetizing device
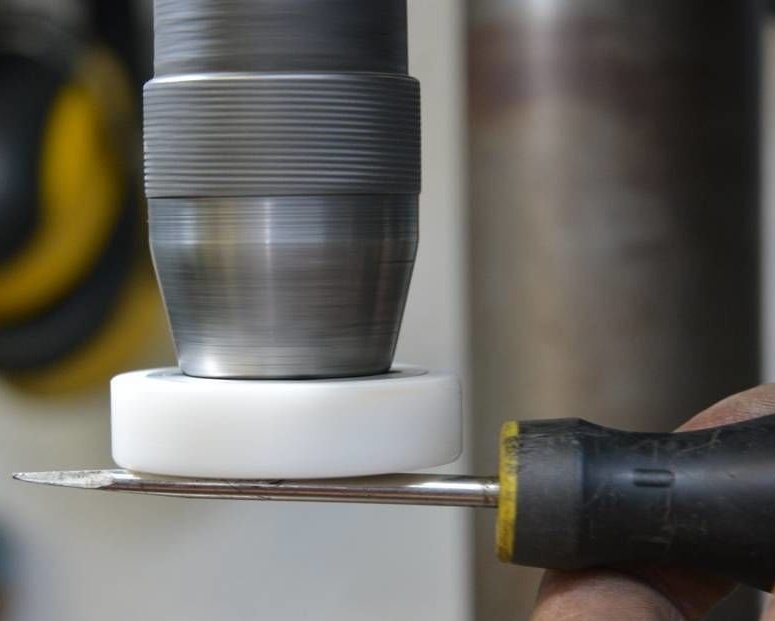
It is very simple.
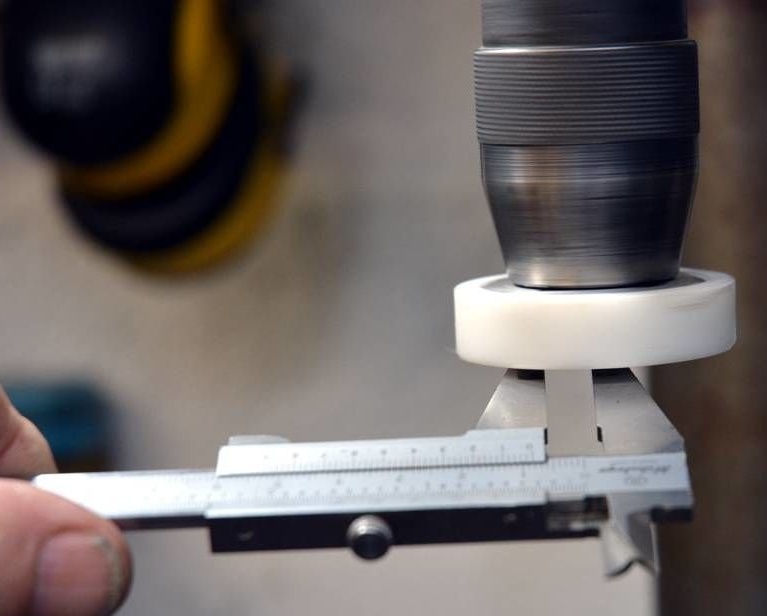
The wizard installs the device in the drill chuck, although this may be all that rotates. A milling or turning machine is equally suitable. When rotating the device, the main thing is to strongly hold the instrument, which should be demagnetized, on the working surface for several seconds, and then slowly this instrument should be removed from the magnets. After that, it will be demagnetized.
Photos show that a screwdriver and a pair of calipers are demagnetized. The caliper became magnetized when testing these magnets.
Step 6: Magnetizer
It is sometimes useful to magnetize tools such as screwdrivers to hold screws and other equipment in hard to reach places. The master usually supplies his transformer demagnetizer with direct current.
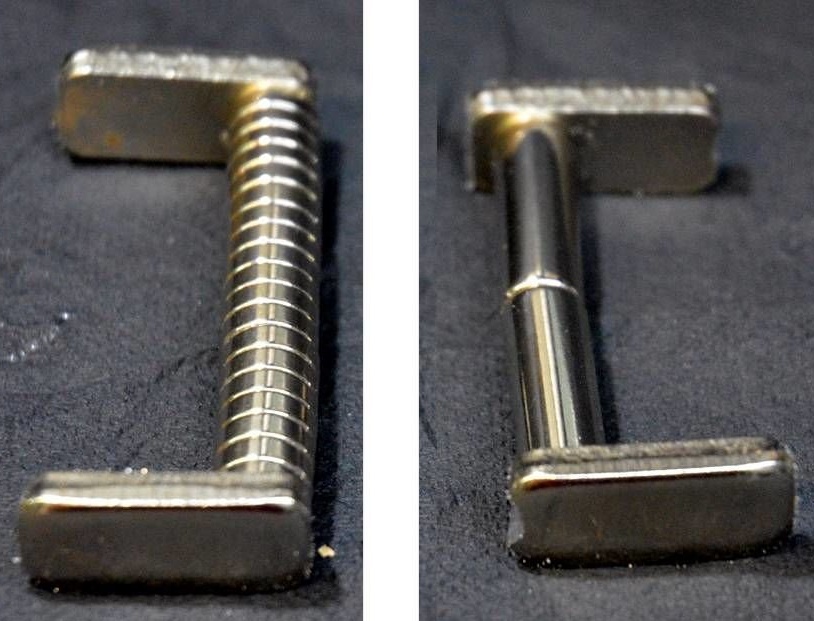
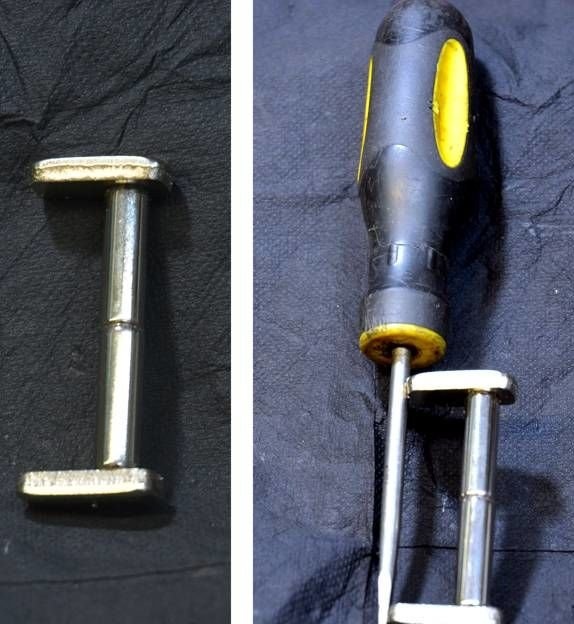
In accordance with the idea of using the device “without power” for demagnetization, the master decided that it would be nice to make the magnetizer in the same way. It turned out that it was incredibly easy.As shown in the following figure, he connected two longitudinally polarized magnets closely and added a holder at each end. Then the master simply puts it on the tool (a screwdriver is shown on an example) and that’s all you need to do. This method does not produce such a strong magnetic effect as the transformer method, but quick tests have shown that it should be quite sufficient for most, if not all needs.
Until modern magnets, many years ago, if you needed to magnetize something like a screwdriver, you would have to stroke the object many times with a magnet to get a significant effect.
PS. Later, the master formed the ends of the tips so that they fit closer to the screwdriver and thus reduce the magnetic resistance. This produced a noticeably greater magnetic effect in the instrument.
Step 7: Conclusion

This simple home-made demonstrates the magnetization and demagnetization of various tools in the workshop. Its simplicity and convenience guarantee that the master will use this instead of his old transformer-based device.
If someone wants to repeat this homemade product, then the best solution would be to make the entire device out of plastic blanks and mill the holes for the magnets deeper, but insert the magnets from the back. Such a device will not work better, but it will be a better solution.
In order to finish home-made work finally, the master cut out a steel circle 1 mm thick to use it as a holder for a demagnetizing device, which “shortens” the magnetic field and completely kills any tendency to collect iron shavings. Illustrated above.