
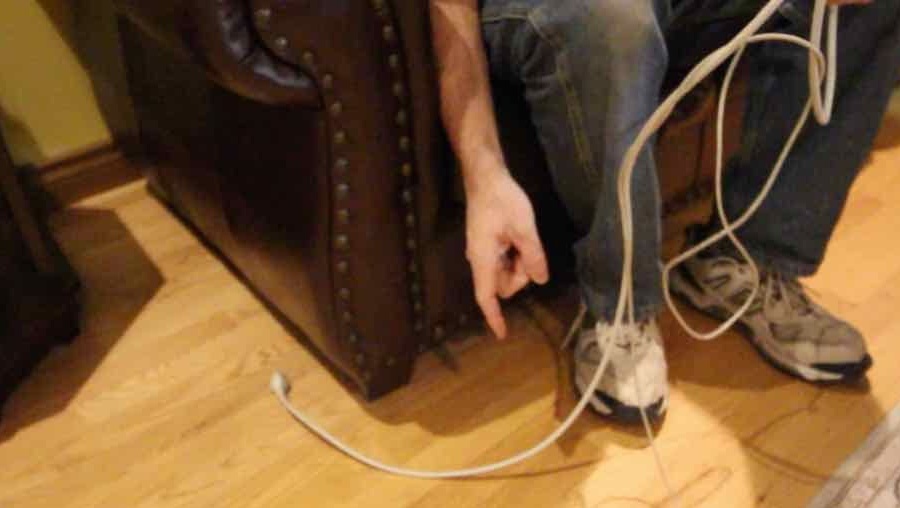
According to the author of this homemadeThe electrical outlets in his living room do not meet his needs. They are good for things that do not move, but are not very useful when you want to connect and disconnect something. Outlets are mostly hidden at tables or chairs. This is not very convenient, for example, when connecting a vacuum cleaner or laptop.
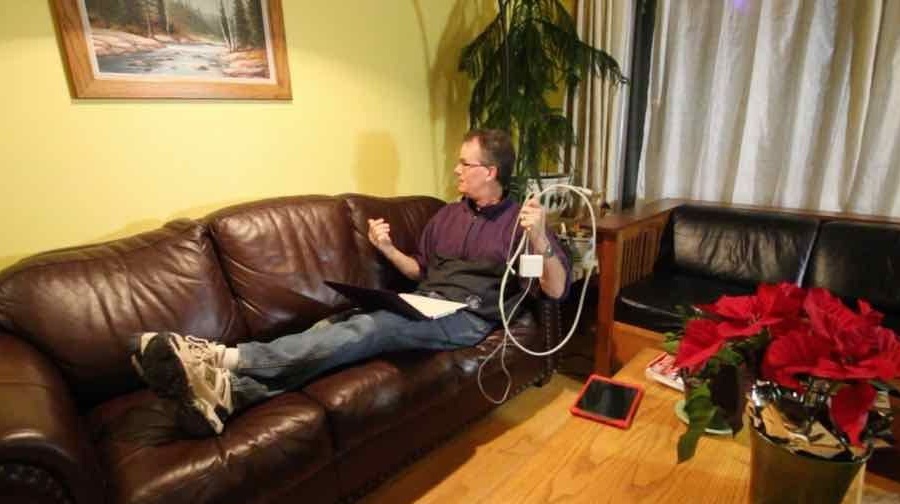
In particular, today we often sit on the couch with a laptop or some other device, and when you need to connect them, you have to try to access the power supply.
The master thought about attaching a power panel to the bottom of the sofa, either along the side in front or in front near one of the corners. This will allow you to reach out and connect your phone or laptop. However, there is a chance of stumbling. In addition, the cords will remain there when the device is removed, it is quite unsightly.
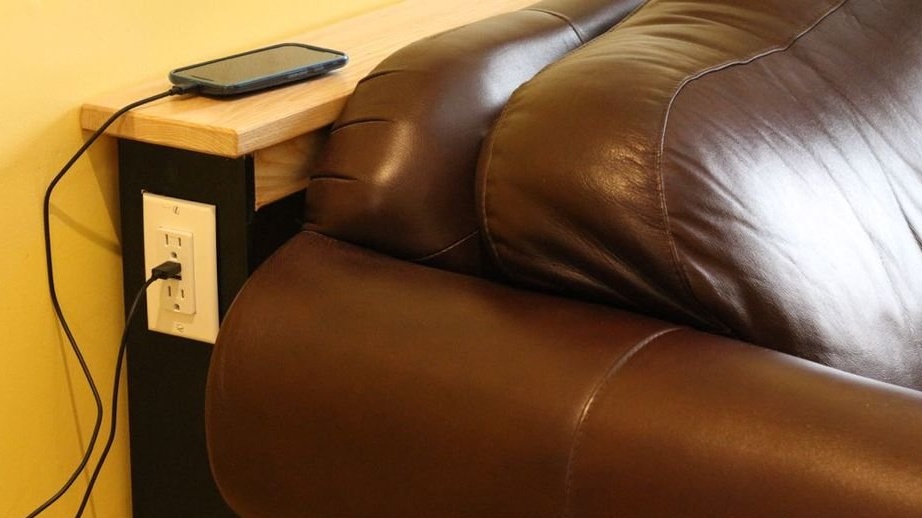
Therefore, the idea of the master is to make a thin table and hide it behind the sofa. His living room is not large, so the table should be thin. It would look like a small shelf that would benefit. However, the main idea is that it will be possible to add several electrical outlets along the edges of the sofa table. Thus, electricity will appear near the sofa, but at the same time it will be imperceptible and hidden from sight.
Materials:
- ash board;
- birch plywood;
- electrical cable;
- restrictive clamps for an electric cable;
- double socket with USB 2pcs .;
- black paint;
- polyurethane modified with Minwax oil;
- carpentry glue;
Instruments:
- router;
- band-saw;
- clamps;
- hammer;
- ticks;
- jigsaw;
- screwdriver;
- screwdriver;
- angle grinder with grinding discs;
- sandpaper;
Step 1: Design
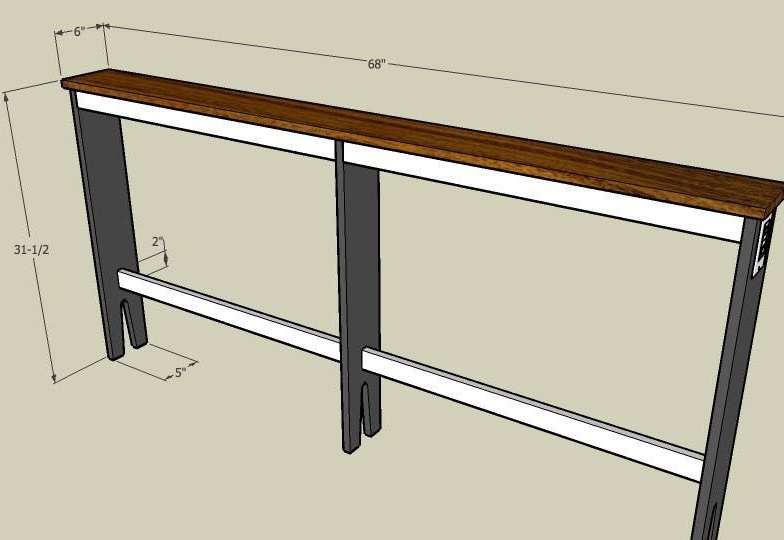
The dimensions of the table are only 15 cm wide and about 80 cm high, so it will be slightly lower than the top of the back of the sofa. Initially, the master developed the table layout in the SketchUp program so that it was 172 cm long, but in the end the master cut it to 167 cm. This is most of the sofa in the middle of it.
The table top of the table will be made of ash and painted in ash color, and the lower construction of the legs will be made of Baltic birch plywood, which the master planned to paint black.The structure of the bottom of the table will be almost completely hidden behind the sofa, so the choice was made in favor of painted plywood. The only part that really needs to be visible is the top of the countertop, which will be made of hardwood.
Step 2: Making the countertops and legs
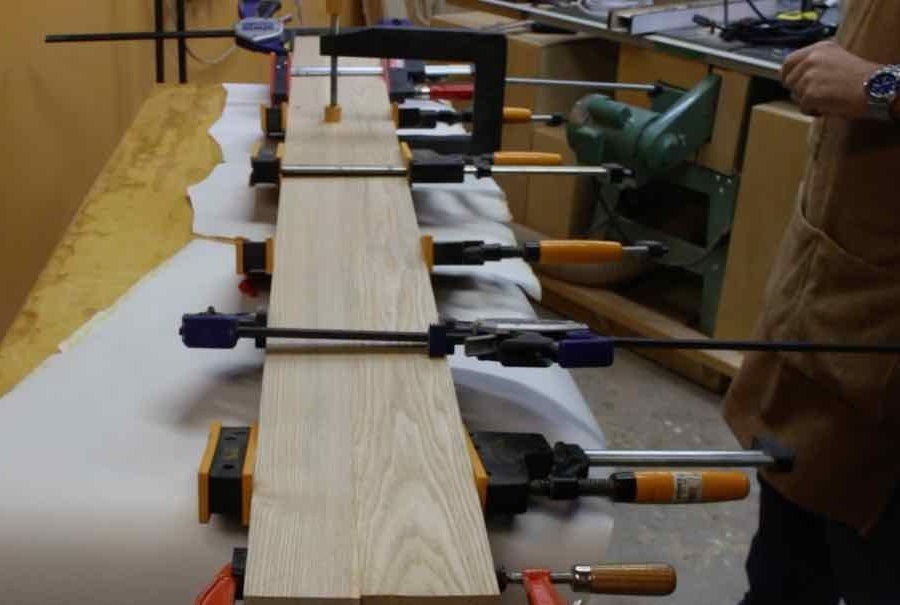

The master did not have a sufficiently wide board, so he glued it from two smaller boards. A countertop will be made of them.
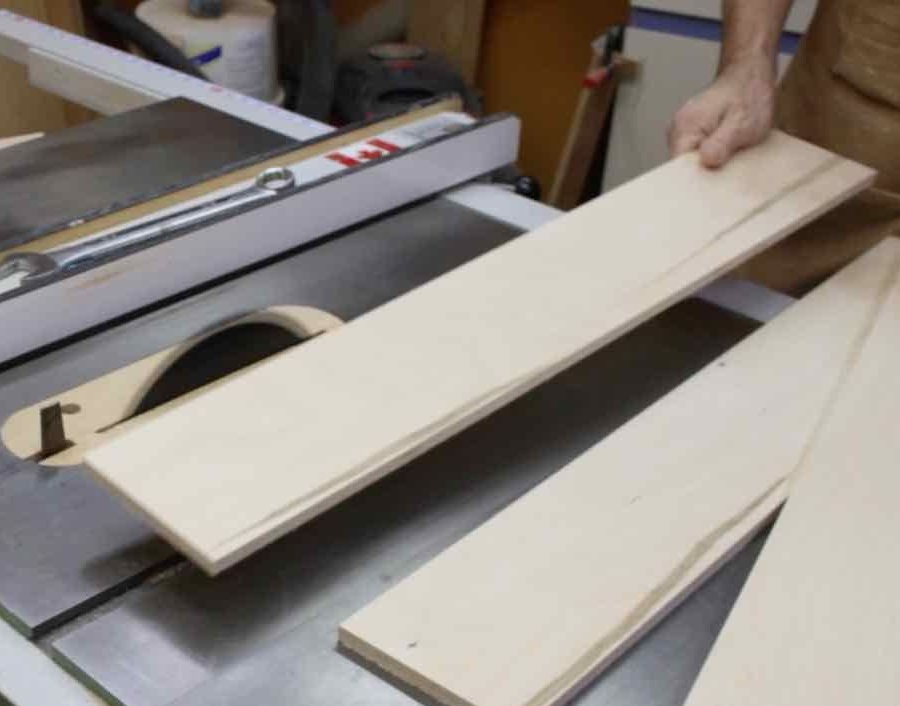
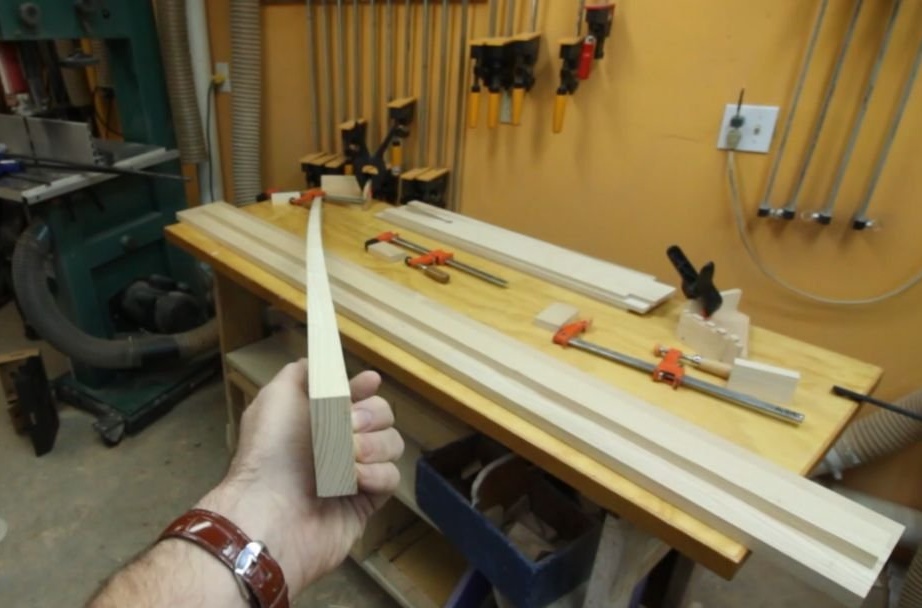
The master also cut plywood from Baltic birch 12 mm thick (which turned out to be at hand) into three strips 12 cm wide in order to use them as legs. The sofa table will be long enough, so the use of three pairs of legs is justified.
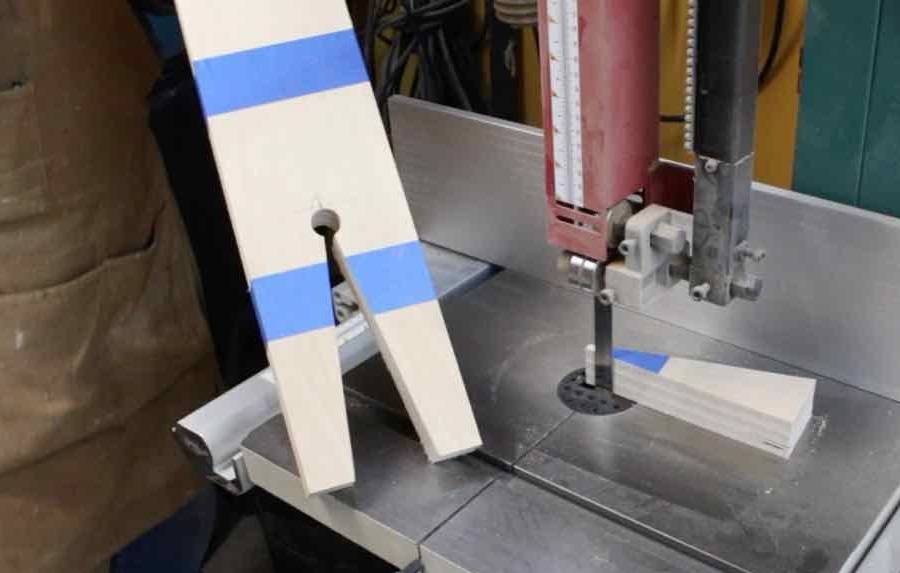
It was decided to make a V - neckline at the base of the legs. To do this, the master fastened all three legs together and sawed a cutout about 20 cm in height. First, a hole was drilled in the upper part of the place where the corner slots met, and then he cut all the legs at the same time using a band saw.
Step 3: Attaching the base to the countertop
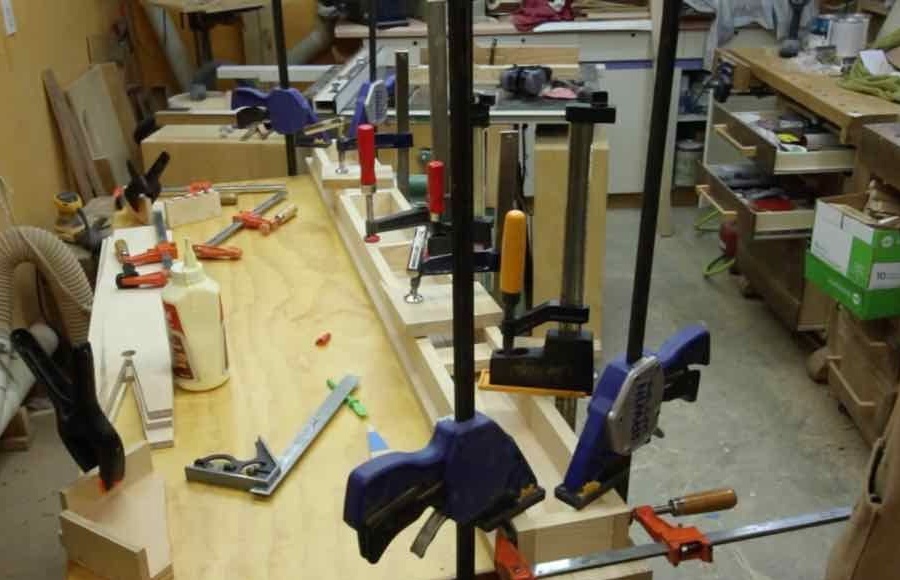
Usually, when a table is made, the base is made as one unit, and the countertop is separate. It is easier to process the parts individually and then attach the top. In this case, the master used wood that had pronounced bends and inclinations. Therefore, he decided to assemble a semblance of rails, and then gently stick them to the top of the table.
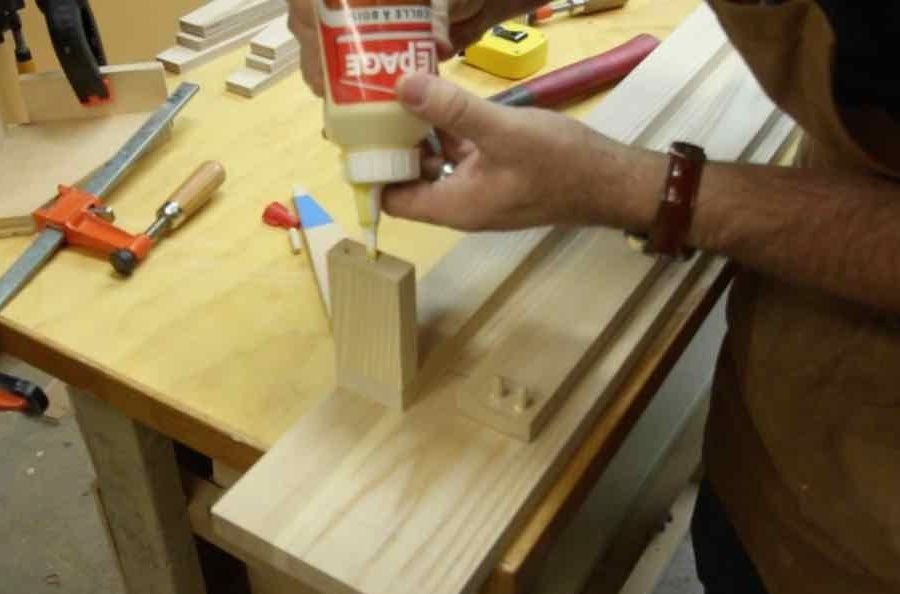
The idea is that this trick should turn the countertop into a kind of "I-beam" and eliminate bends. The master used pins to attach the ends of the base to the rails before gluing.
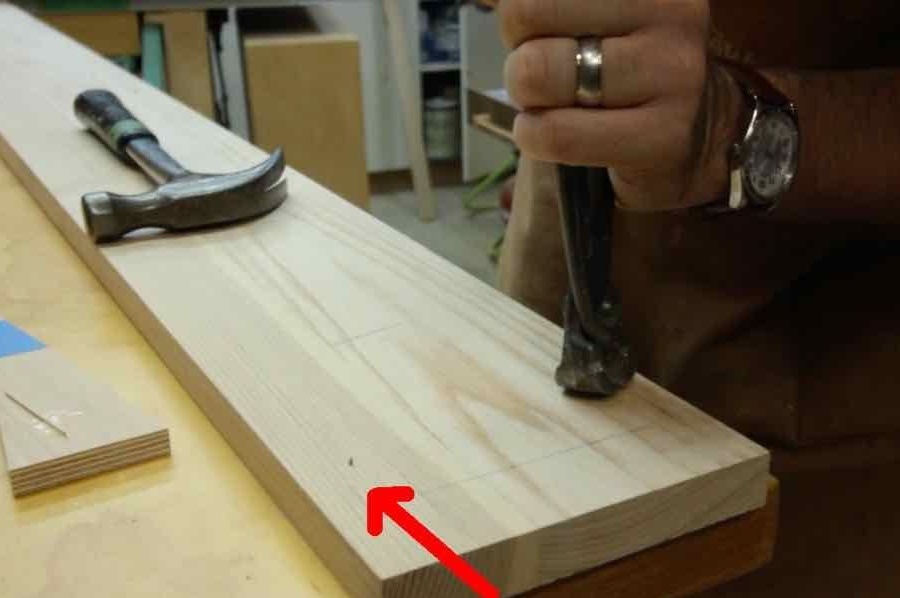
Also, the master on the edges hammered small cloves, which he bit off his hats. This will prevent the rails from slipping when they are glued and compressed by clamps.
Step 4: Work with the legs
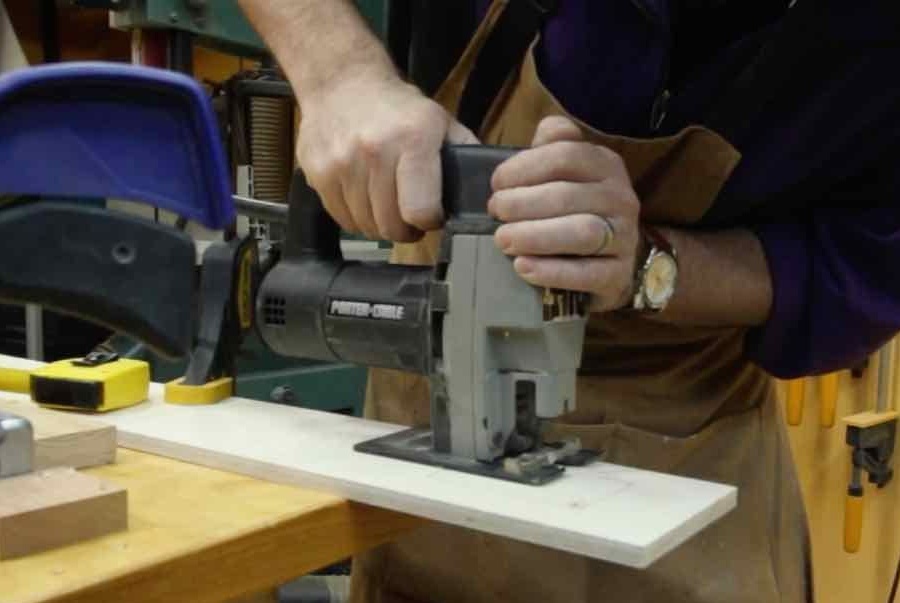
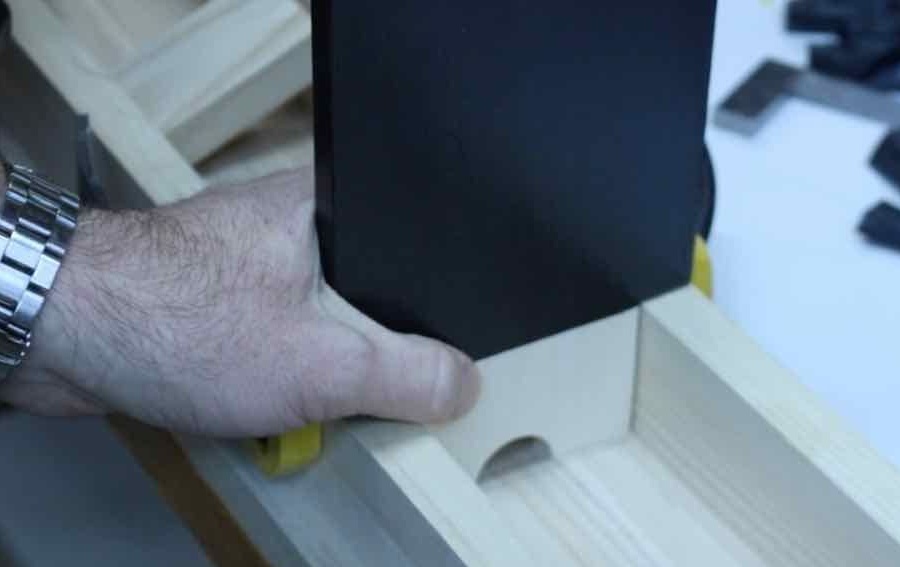
Then the master proceeded to work with the legs. He picked up several electrical boxes and, using a jigsaw, cut holes near the upper edges of the extreme legs.
The middle leg needed a slot in the upper part, so that you could bring the electric cord from one end of the table to the other, tucking it under the upper part.
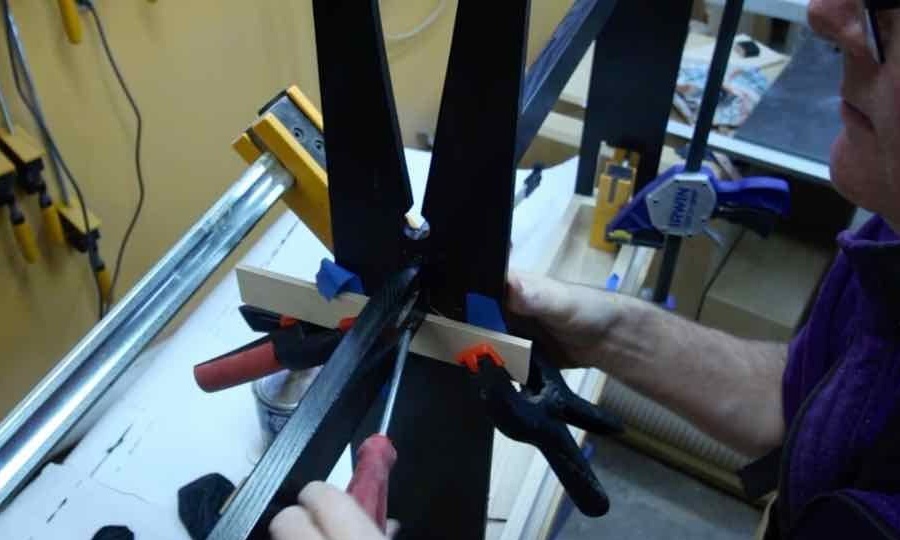
The master also wanted to add a cross to the bottom of the legs. It was a bit complicated, as the middle leg was in the way of the crosses. Therefore, he cut the cross into two parts. The result was two jumpers that were found on a very thin middle leg.
First, he installed one crosspiece, fixed it in place, and then drilled holes in the middle leg and glued two pins. Then the second cross was installed in place with screws in the middle leg. The master used pan-head screws to attach the crosses to the outer legs. Usually he tries to avoid visible fasteners, but this fastener was the easiest approach for this project. Since the table is mostly hidden behind a sofa, there is no reason to complicate the carpentry.
Step 5: Finish the countertops
The master chamfered at the countertop, and then polished it.
Among other things, the master is a big fan of polyurethane modified with Minwax oil. It is very easy to finish, because it is water-based and yet gives a little warm amber color, which adds an oil finish. The master applied three layers of this finish, grinding each layer.
Step 6: Adding Electrics
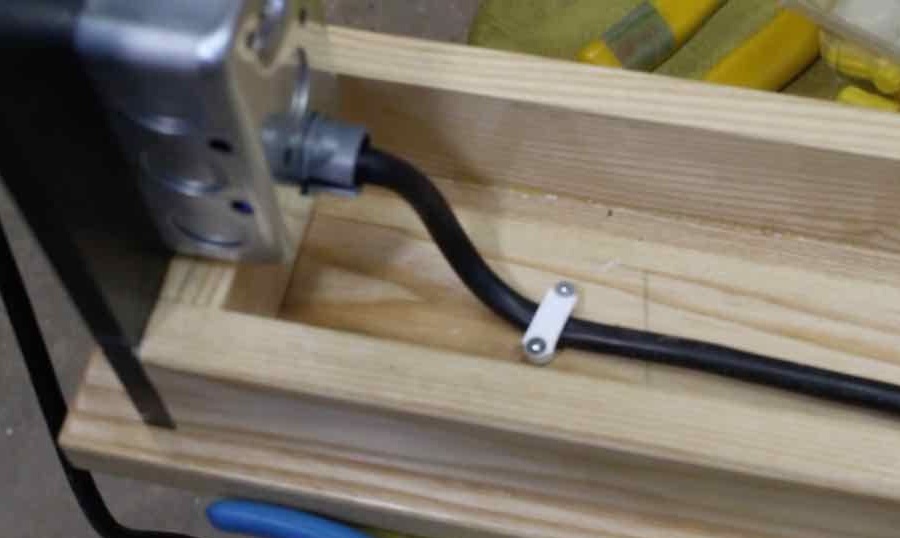
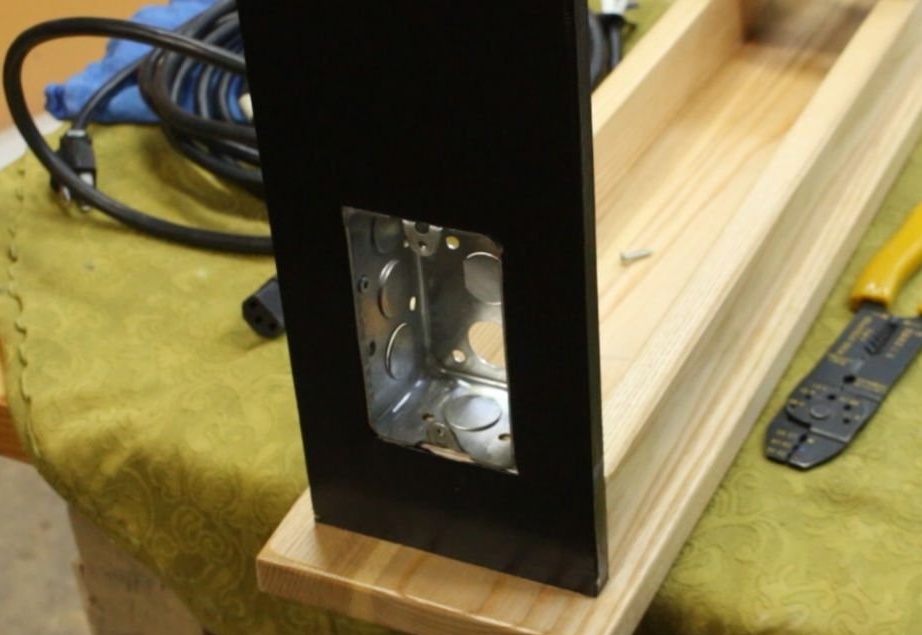
The next step was to add electrical boxes to the extreme legs.
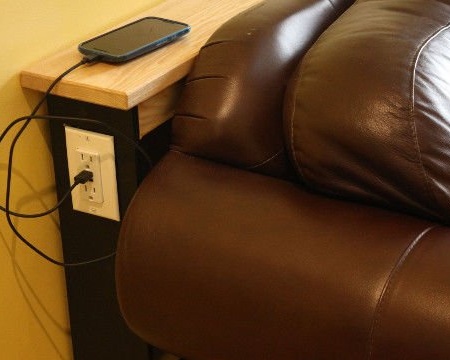
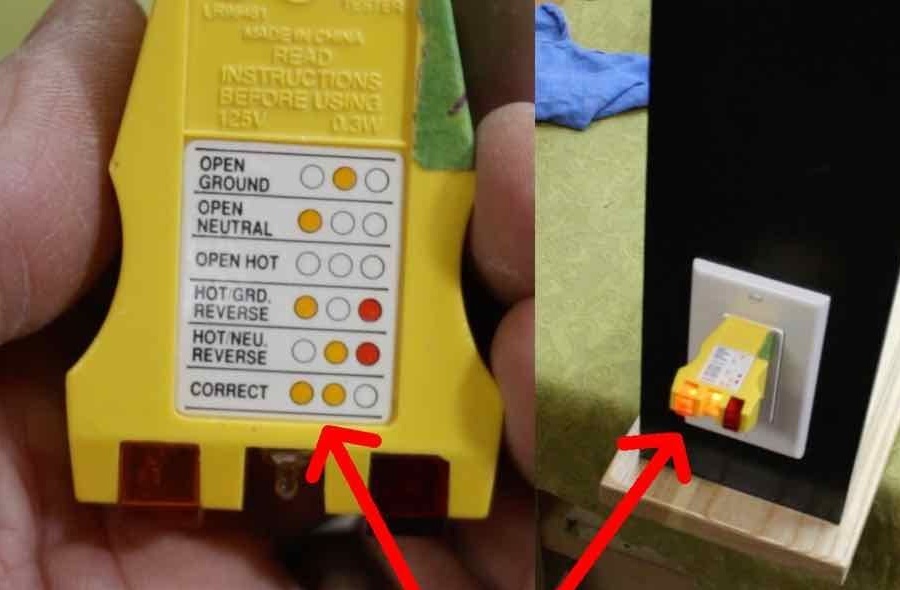
The wizard added a regular duplex outlet from one end, and from the other end, he added a special duplex outlet that contained two USB ports for charging. An electric cord with a plug at the end is connected to the first outlet, and the other wire continues parallel connection with the second electrical unit at the other end of the table.
The wire is attached to the underside of the countertop using restrictive clamps, which are used to secure the electrical wire inside the walls in construction. The nails that came with the clamps were removed because they were too long and were replaced with short screws with a diameter of 6 mm.

Step 7: Video on the assembly of a crushed table with sockets: