
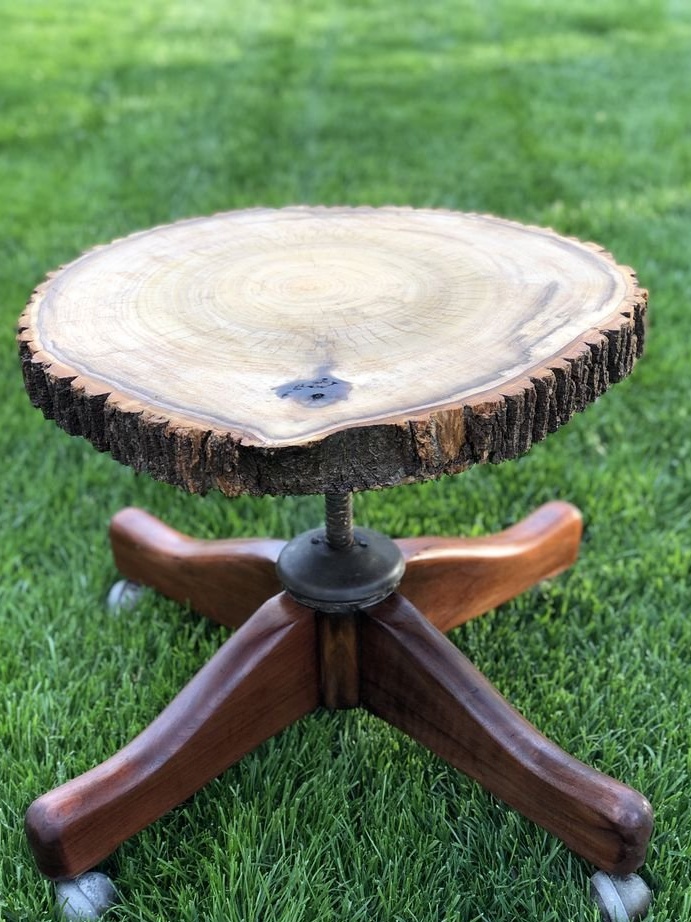

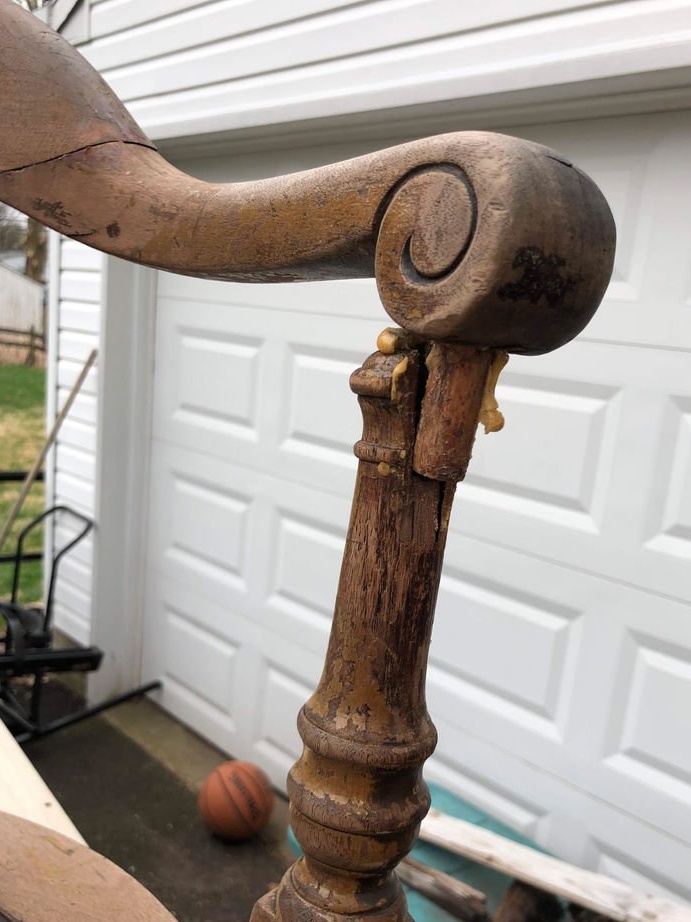

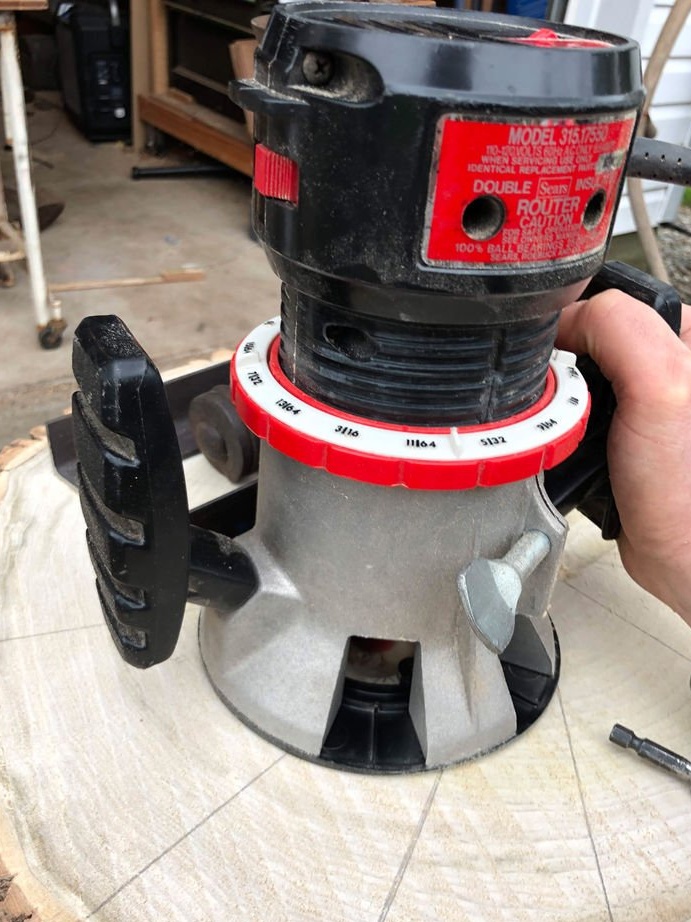
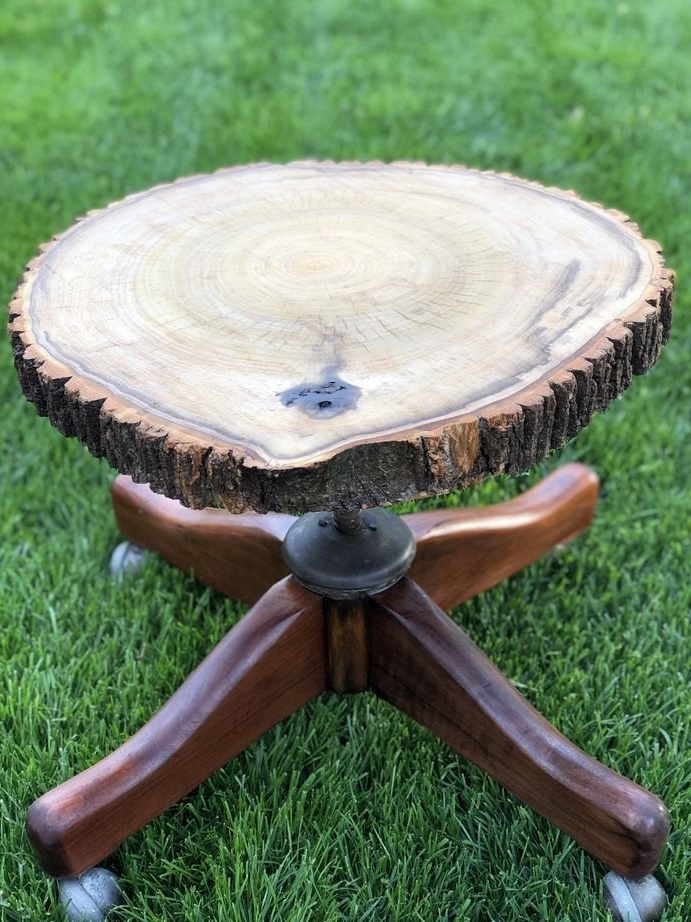
This old Frankenstein-style office chair was thrown into the trash by the author’s neighbor homemade. The author loves basic mechanics. However, the chair was not in a usable condition. The upper part was not original and did not fit the base in style. In addition, it was glued with instant glue.
Step 1: Tools / Supplies
Materials:
- Old office chair;
- A wooden round log from a whole tree trunk of your choice (the author used poplar, but it is too soft);
- Angle Iron (used bed frames);
- 25 x 6 mm bolt, nut, washer and lock washer - 4 sets;
- Grout on a polyurethane basis (the author makes himself with mineral oil and polyurethane in a proportion of 50/50);
Here you can see the instructions for its manufacture:
Instruments:
- drill;
- Angle grinder;
- Grinding whetstone;
- Cord brush for a drill;
- A section. typewriter;
- A set of titanium high-speed steel bits Harbor Freight - 3 pcs.;
- Router;
- Sled-Jig router;
- Forstner drill;
Step 2: disassembly and cleaning

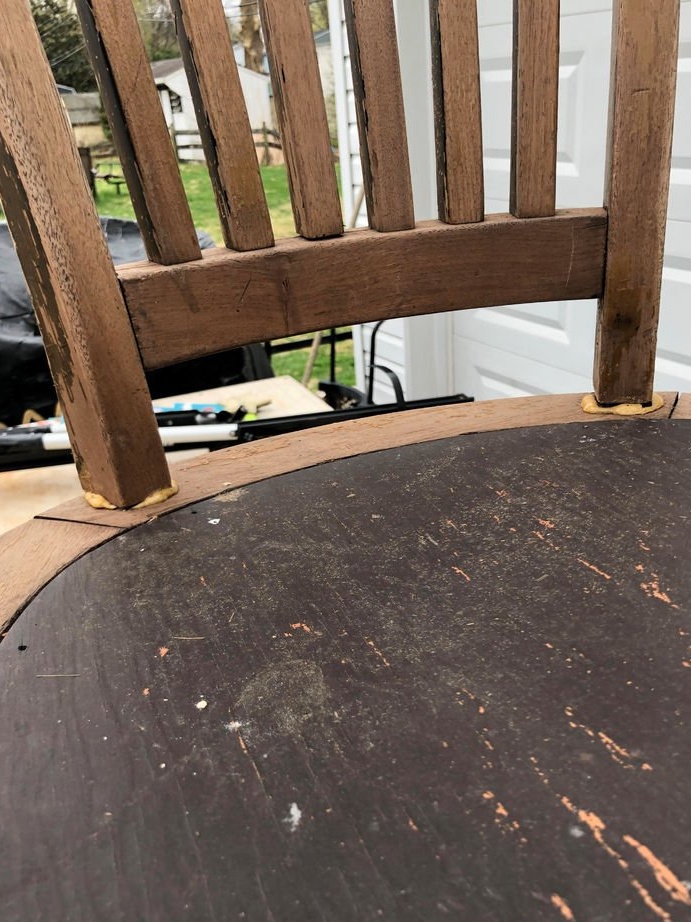
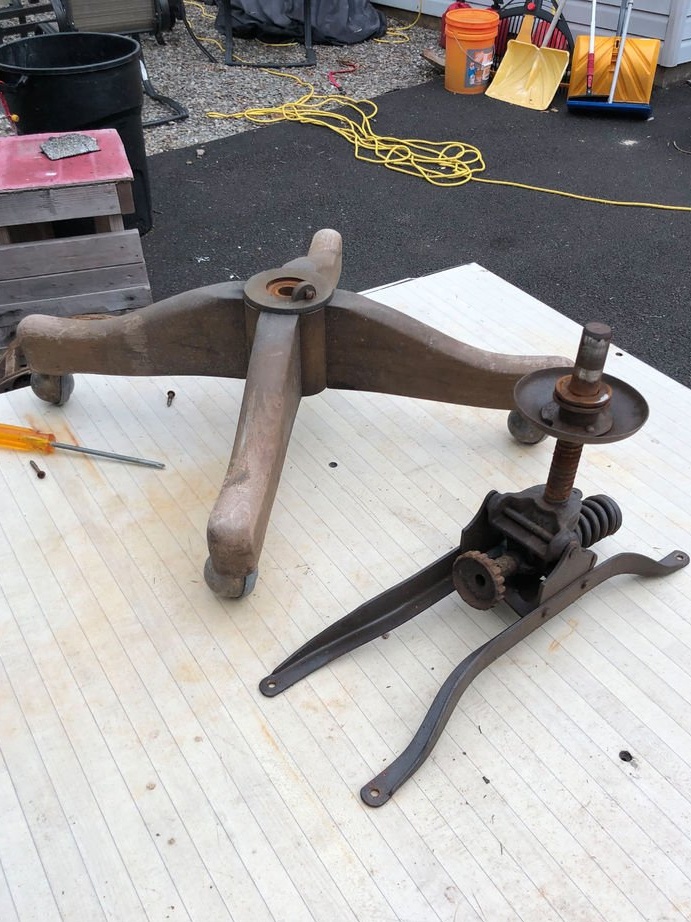
First you need to remove the top of the chair. She will no longer be needed. The master decided to leave a few spare parts from the chair, but for the most part, this is firewood.
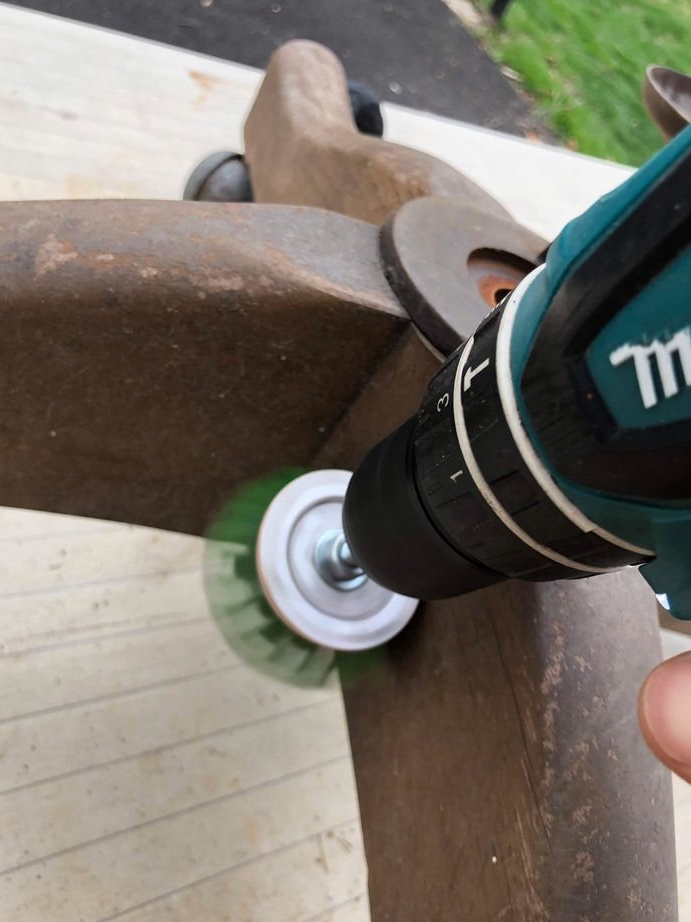
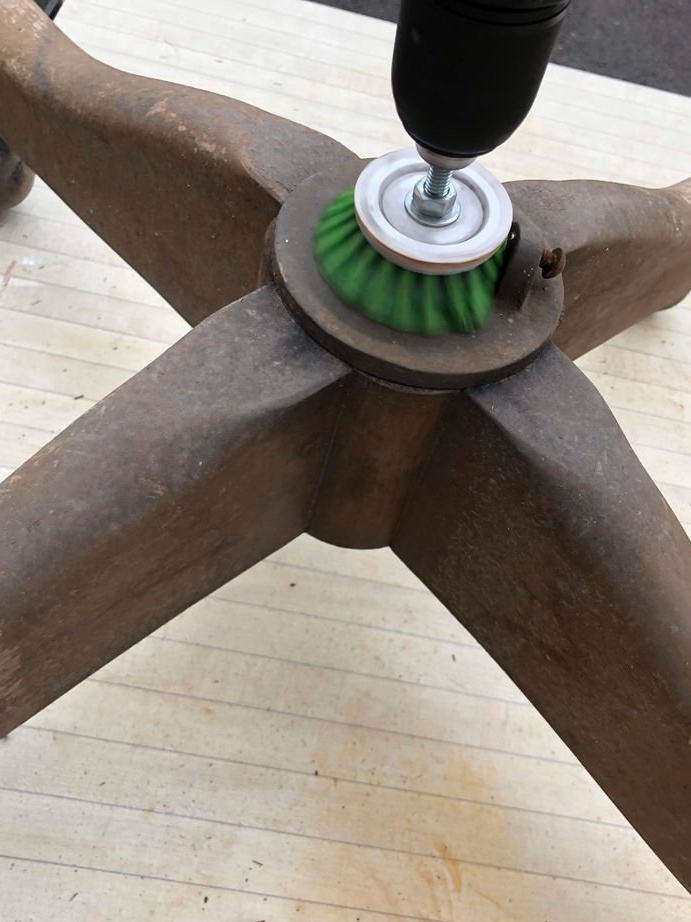
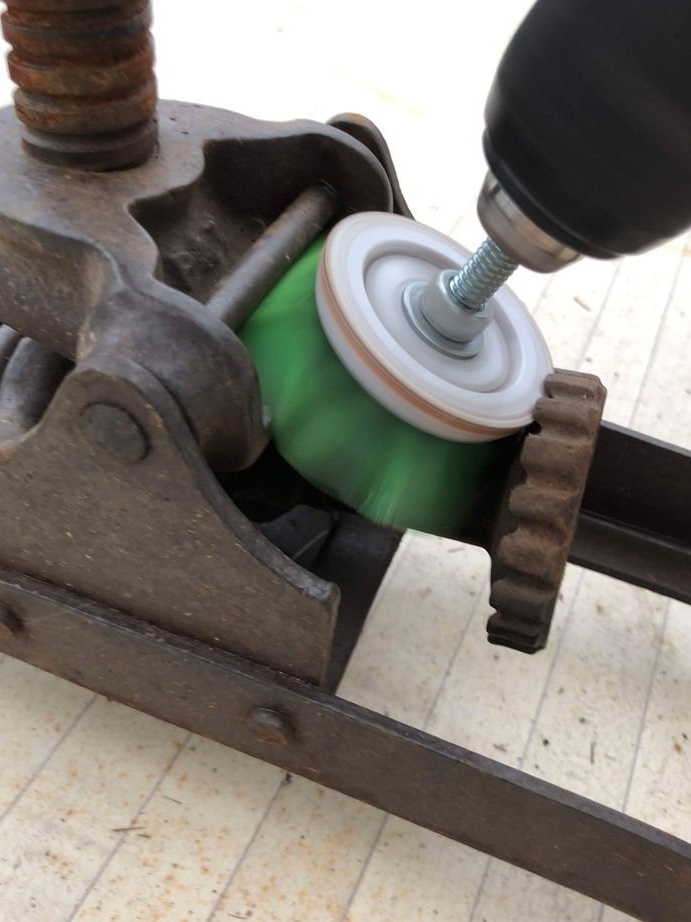
After the chair is unscrewed from the base, the master proceeds to clean. You can use a wire brush and an air compressor. The master used a small cleaning cord cord, which is attached to the bolt and clamped in the chuck of a screwdriver or drill.
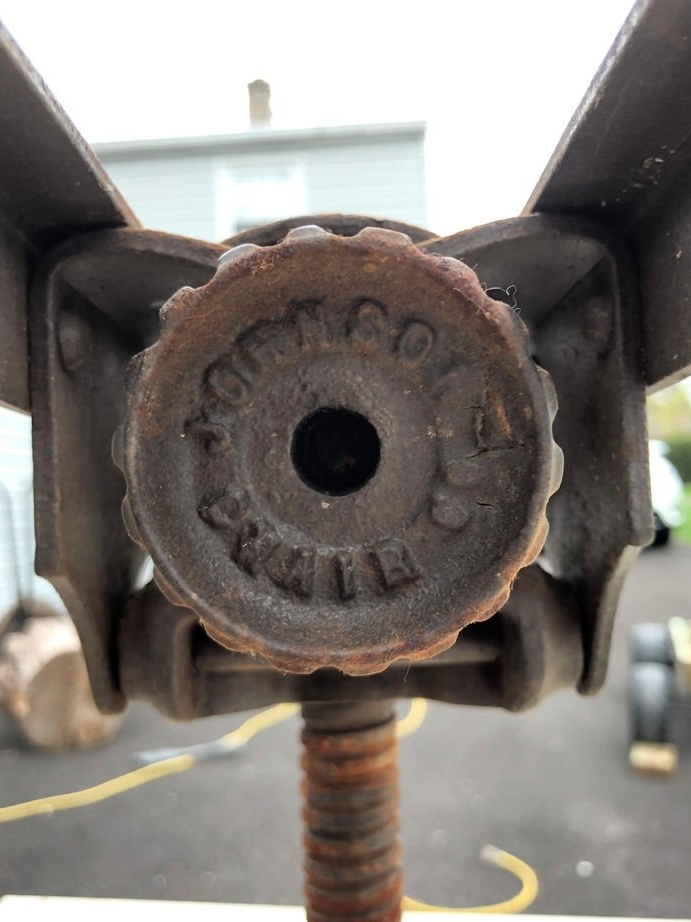
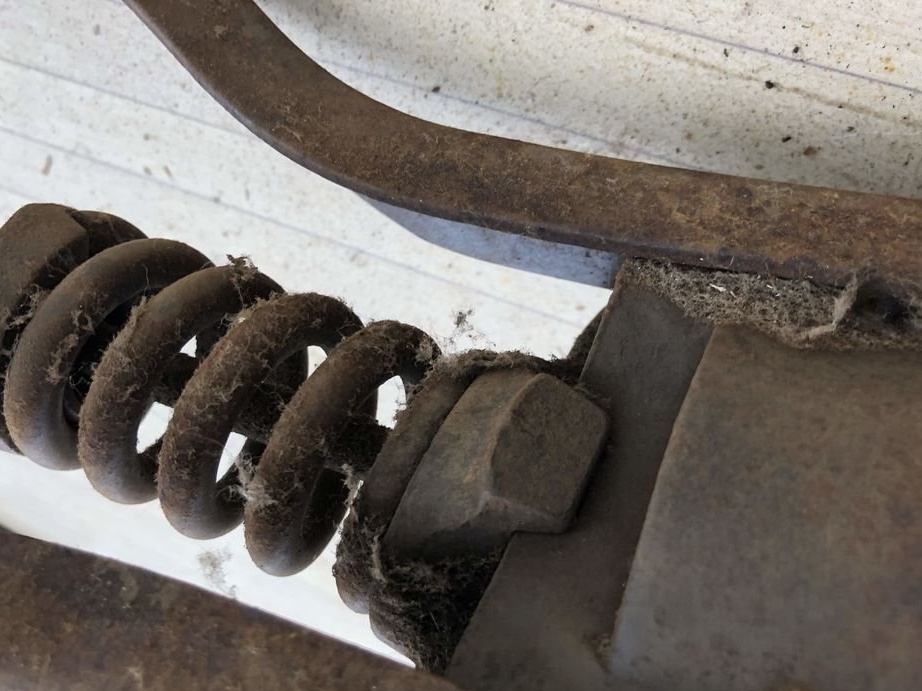
After that, it is advisable to use a little denatured alcohol or at least water to erase the coarse dust. The mechanism of this chair has surface rust, to remove which, the master took a wire cord brush and a little wd-40 and arranged a good scrub for the metal.
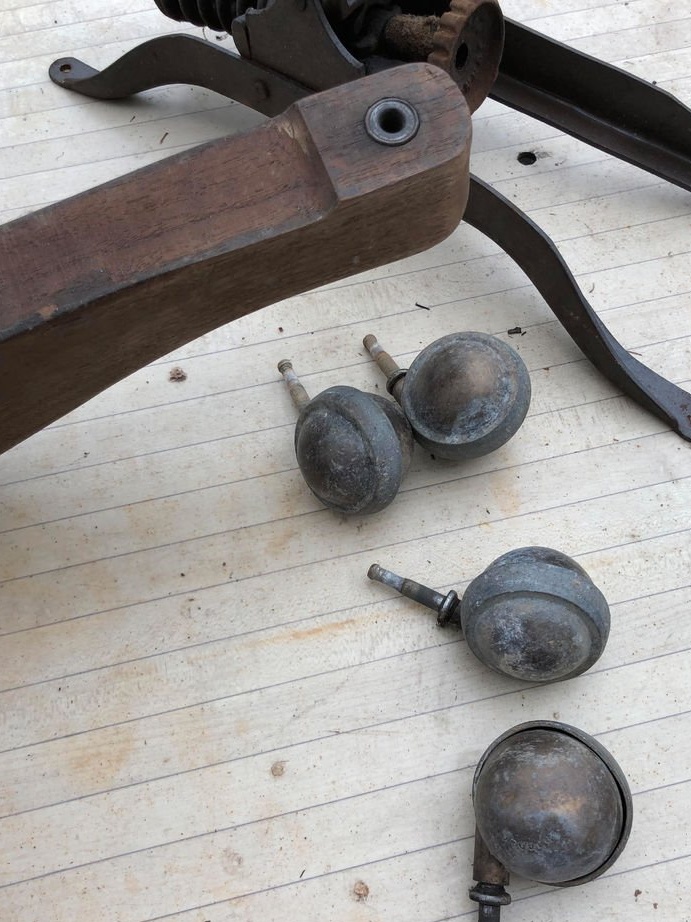
The wheels on the support jumped out very easily.
These wheels were once copper. However, they still rotate well. This is the only moment that matters.
Step 3: grinding the legs
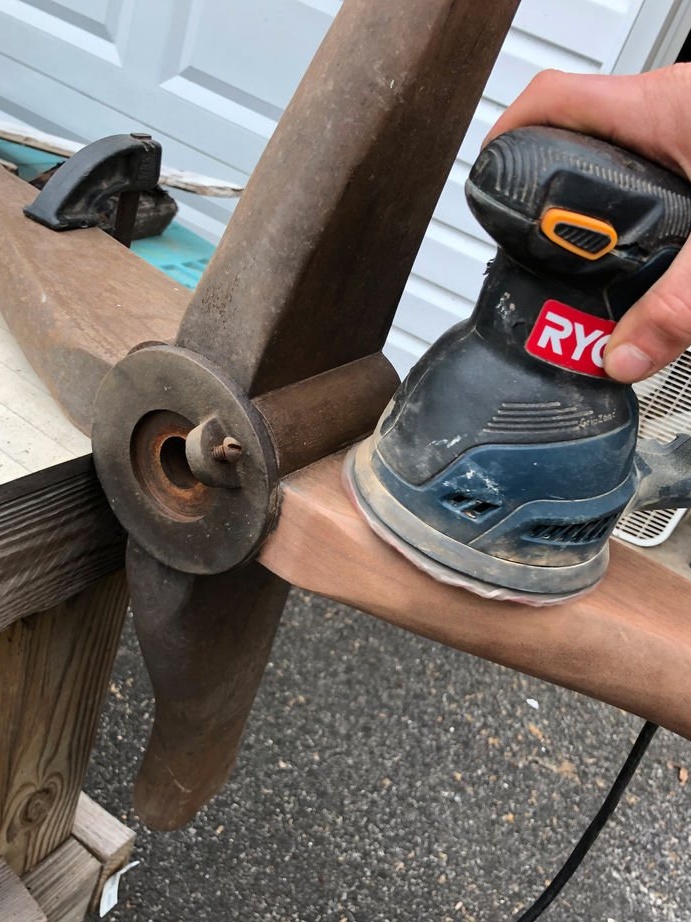
As soon as all the parts were cleaned, the master began grinding.
He used an orbital sander and some sandpaper to penetrate the narrow nooks and crannies.
First, he began work with a grain size of 120 units, and then he realized that the legs had deep dents. Therefore, I had to switch to work with a grain size of 60 units.
Step 4: Replacing Existing Handrails by the Chair

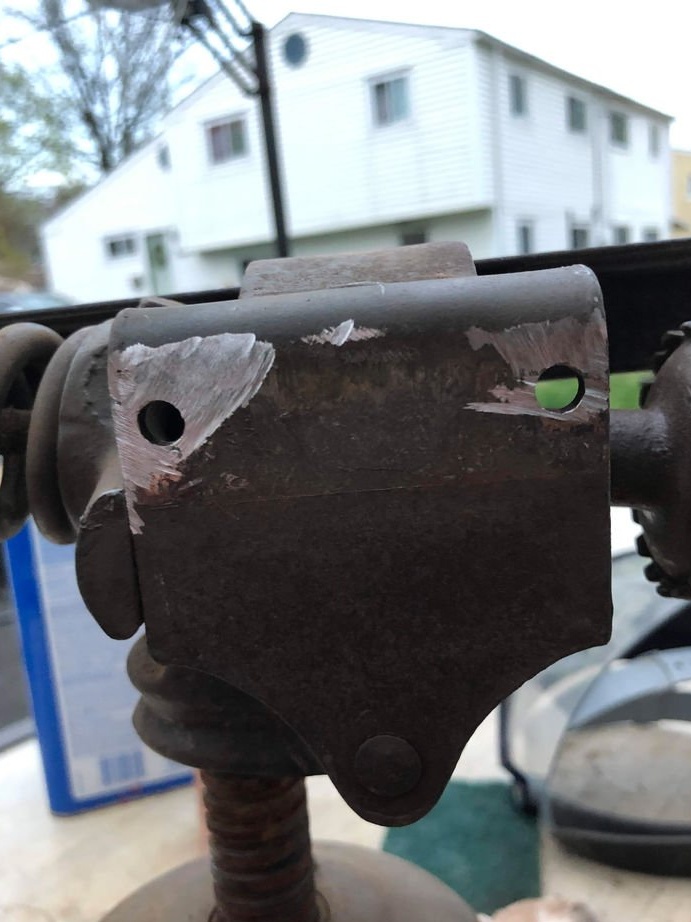
The rails of the chair on the mechanism will not correspond to the plan, as they have an offset towards the chair. Thus, this will mean that the table will also be displaced and will look very unstable.
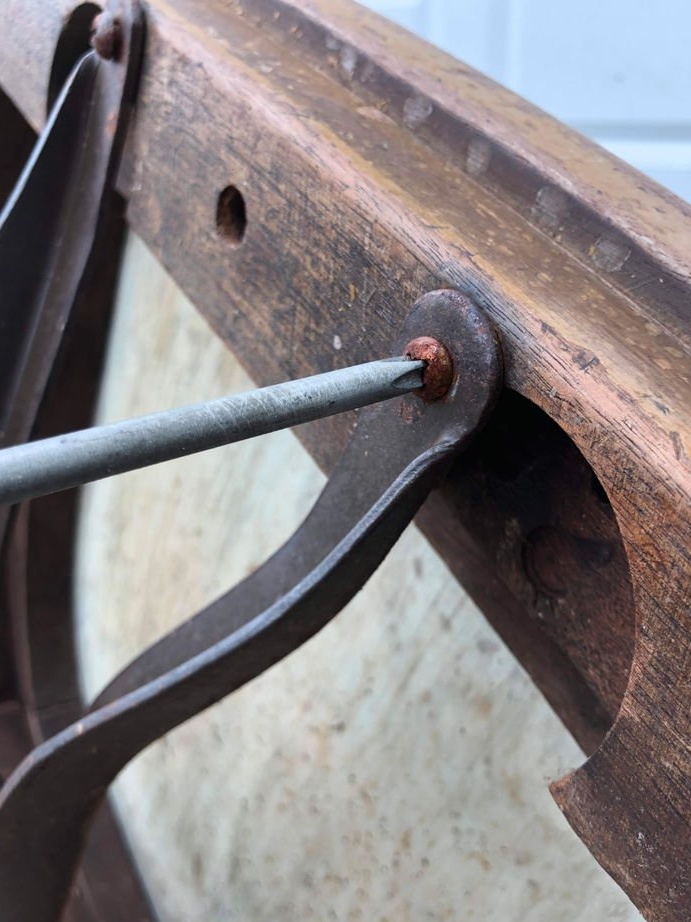
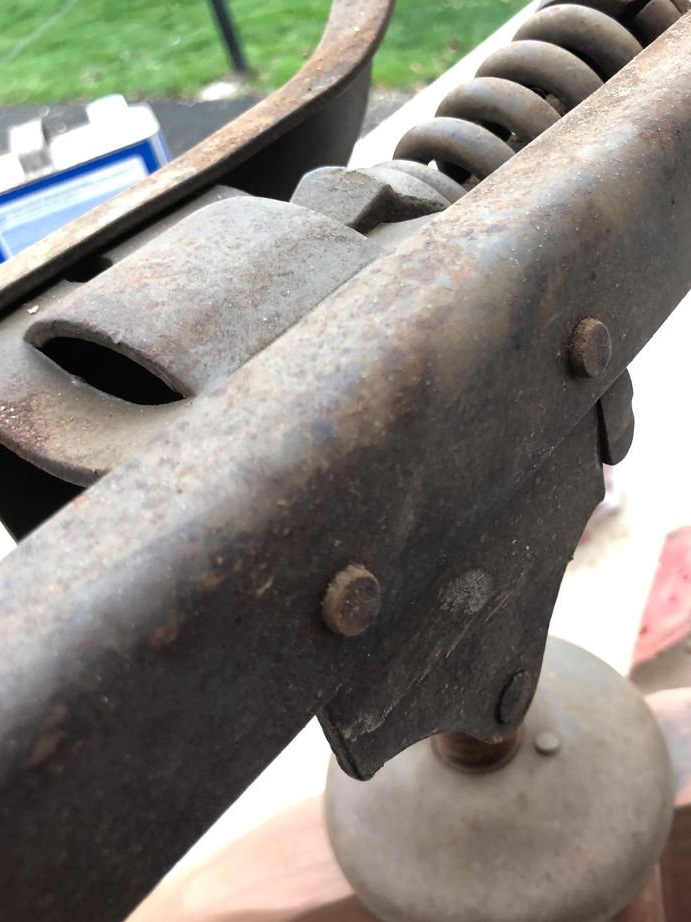
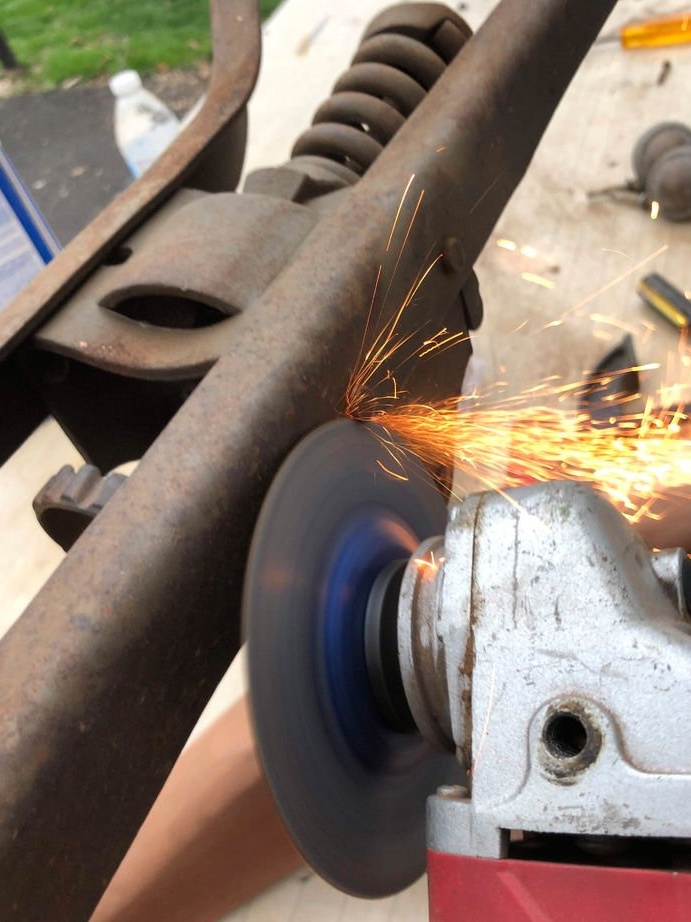
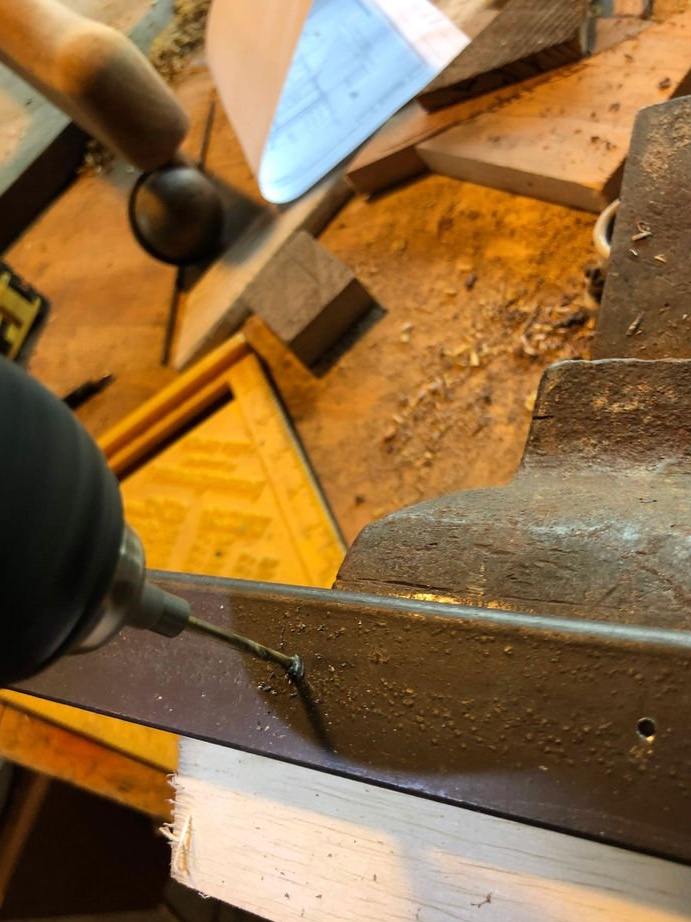
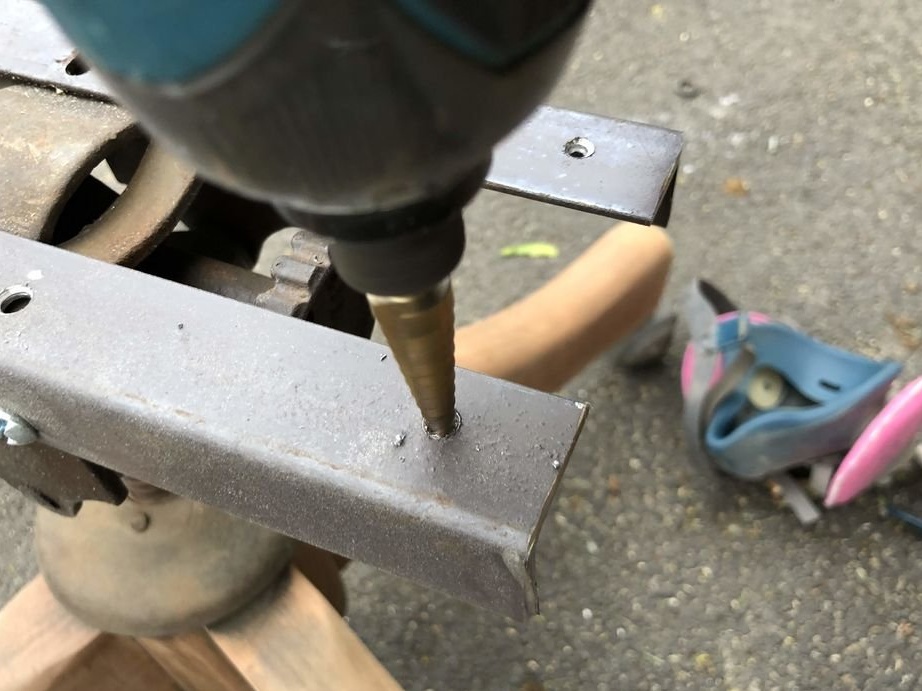
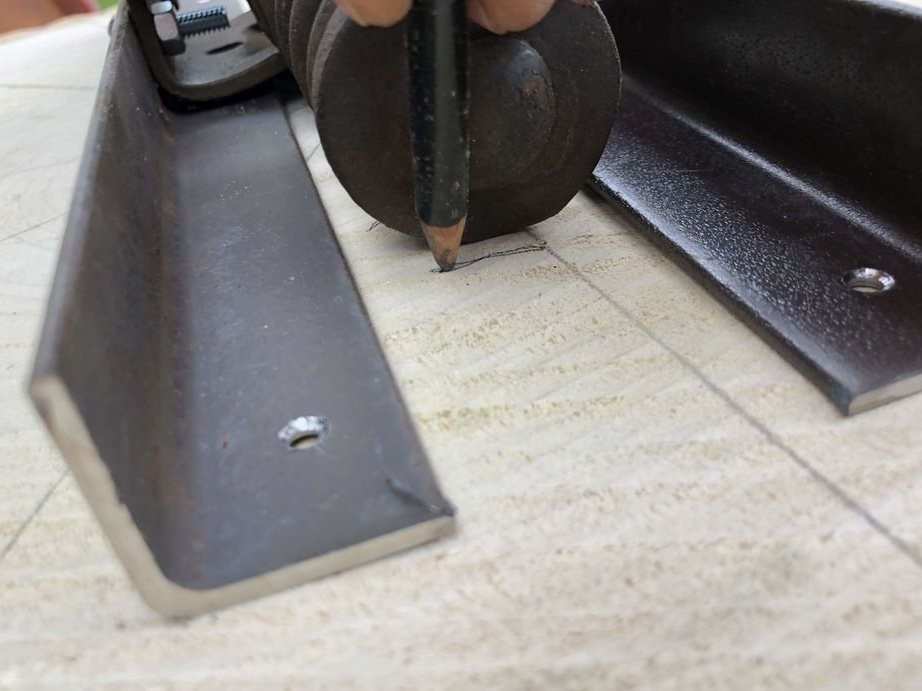
The master grinded existing rivets. After that, they must be knocked out with a rod or a screwdriver. Once this is done, cut the corner to size, the master turned 40 cm. He used the corner from old beds. Find the center point and place the corner on the base, and mark the holes from the inside. Now that you know where the holes are, you can start drilling.
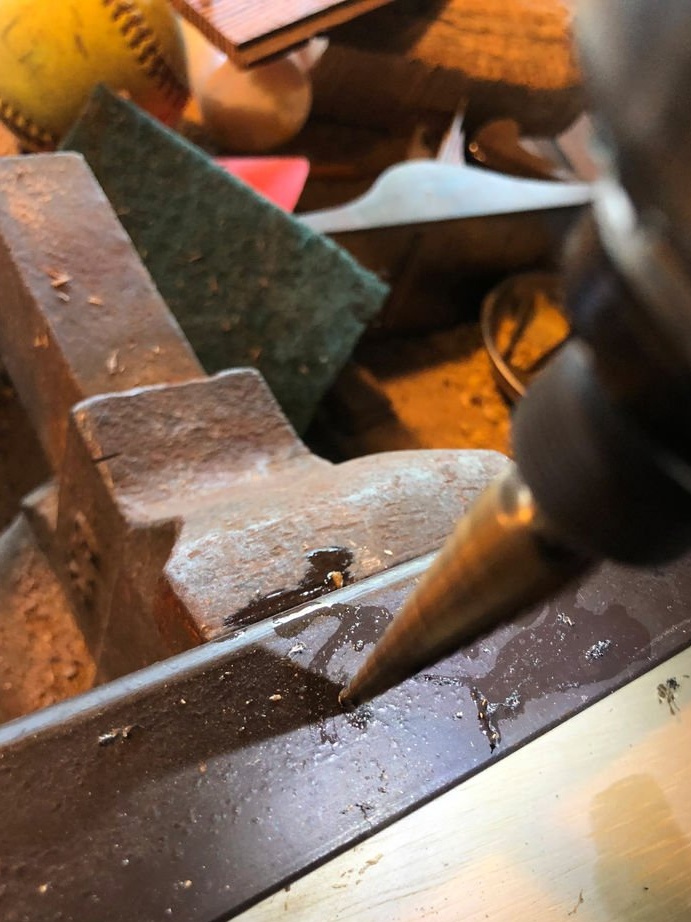
The master began to drill holes using a drill with a smaller diameter. Once this was done, he used titanium step drills.
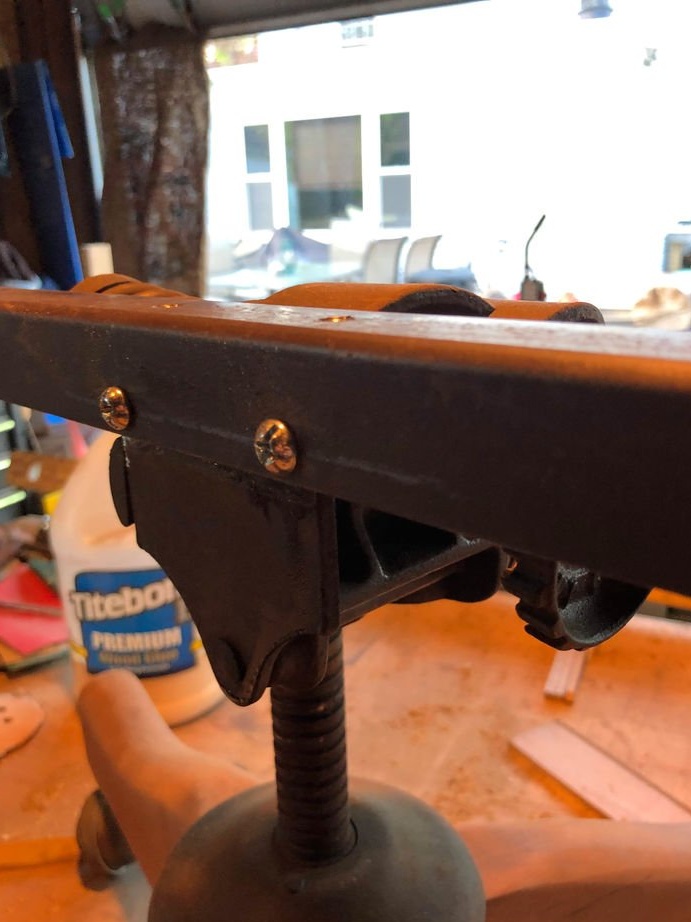
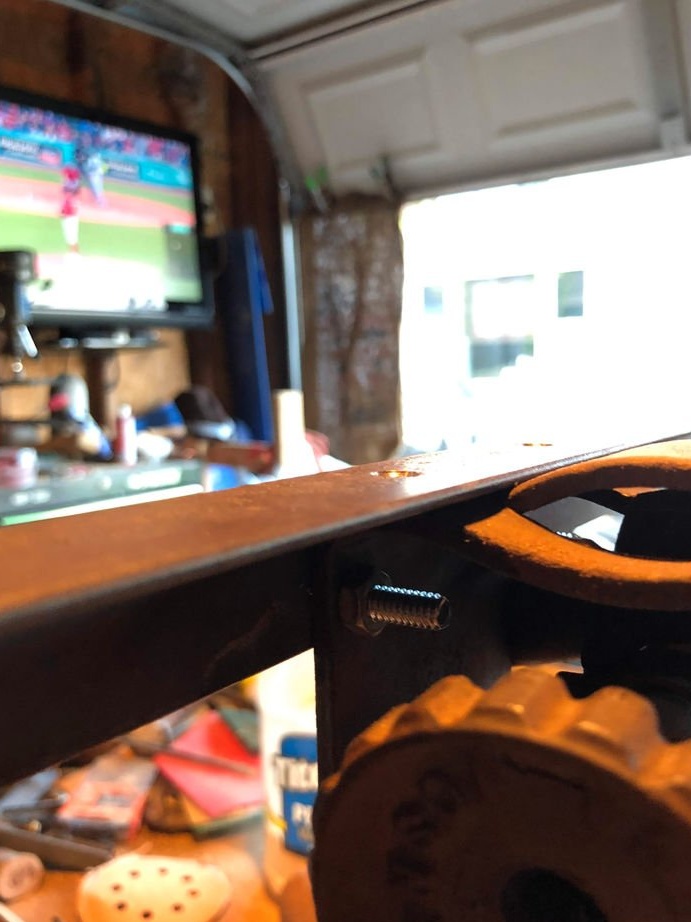
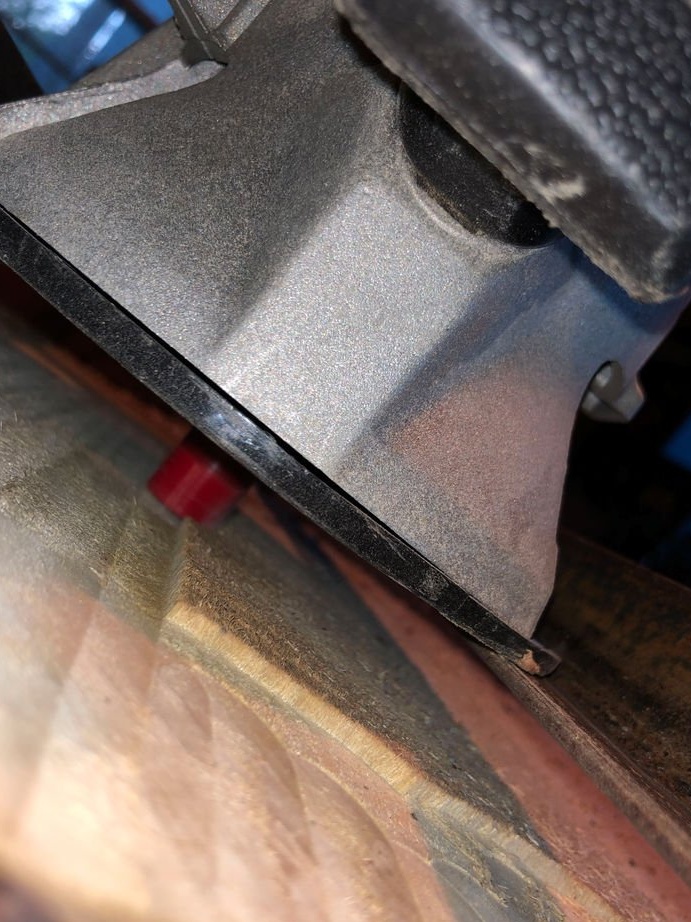
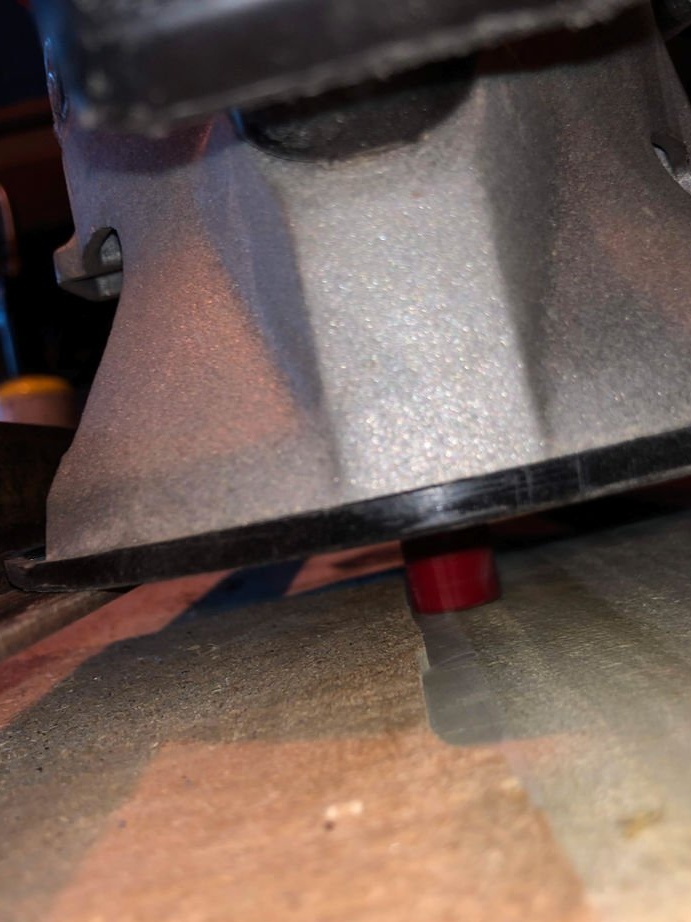
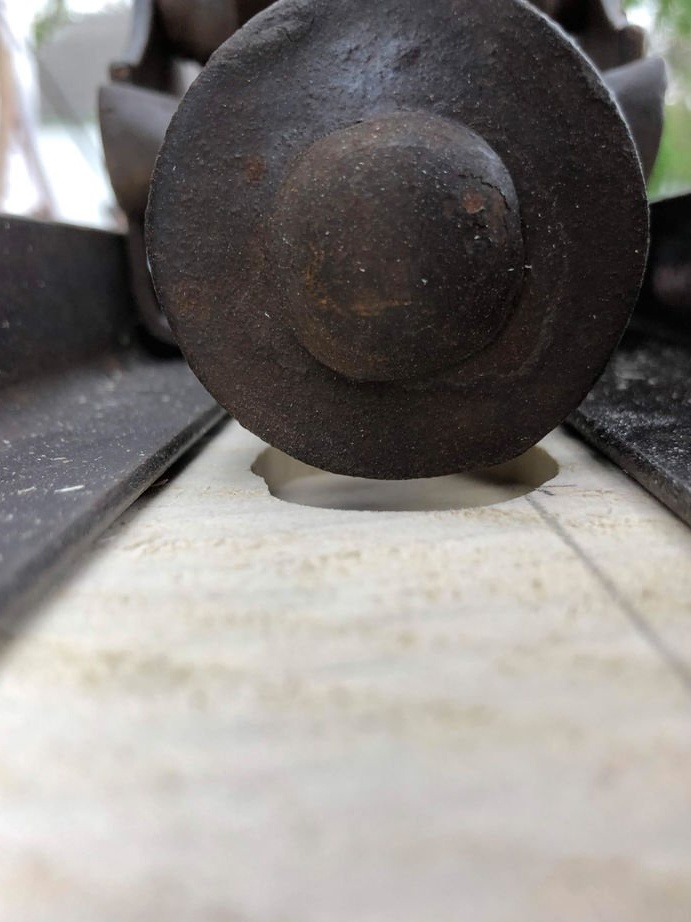
As soon as the holes are drilled and aligned, bolts must be secured.
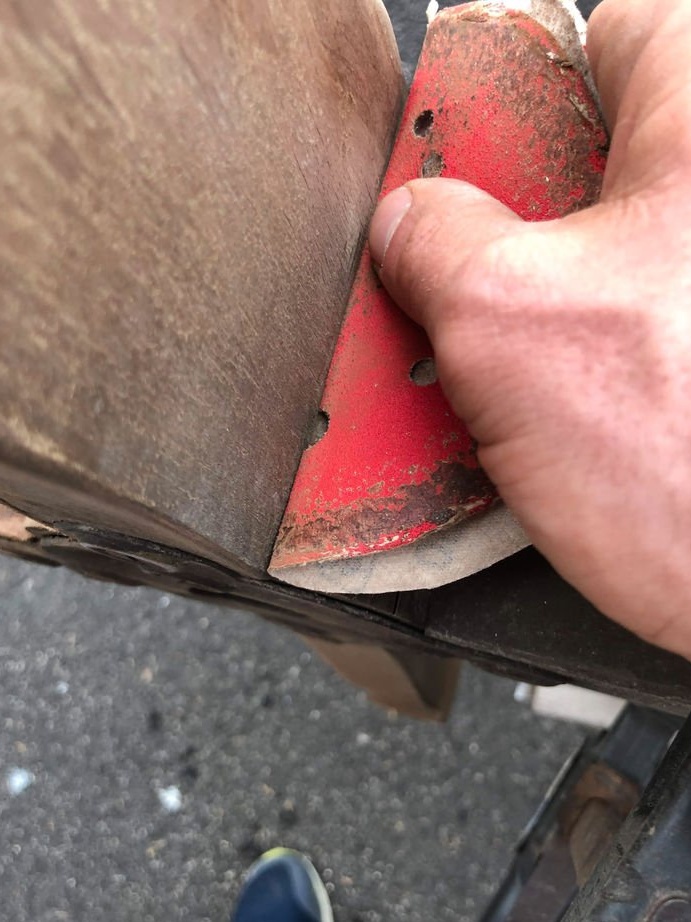
Then drill 4 holes on the rails to secure the countertop. The master decided to drill them about 25 mm from the edges.
As you can see in some figures, the chair mechanism sticks out above the rails. Later, a small inlay will be laid.
Step 5: Leveling the wood round and grinding

Foreword: All that the master had was a poplar. Poplar - the tree is soft and can easily fall apart in the process.
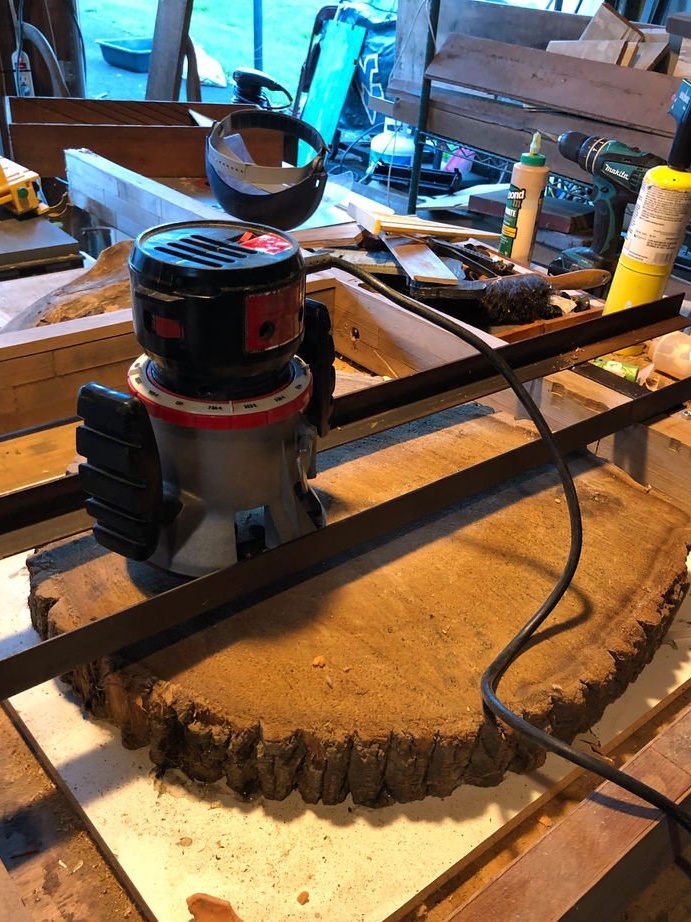
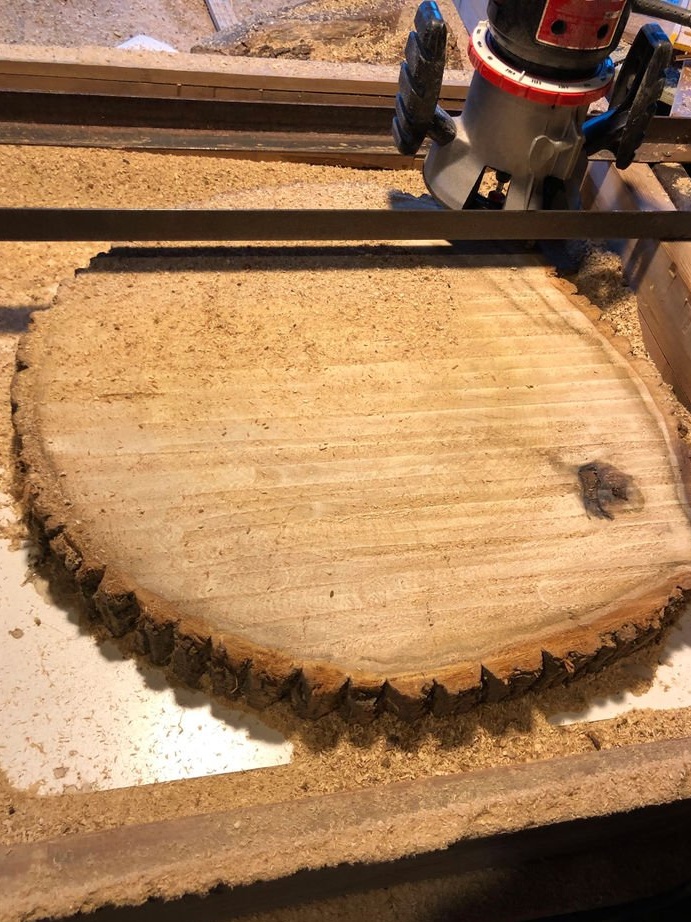
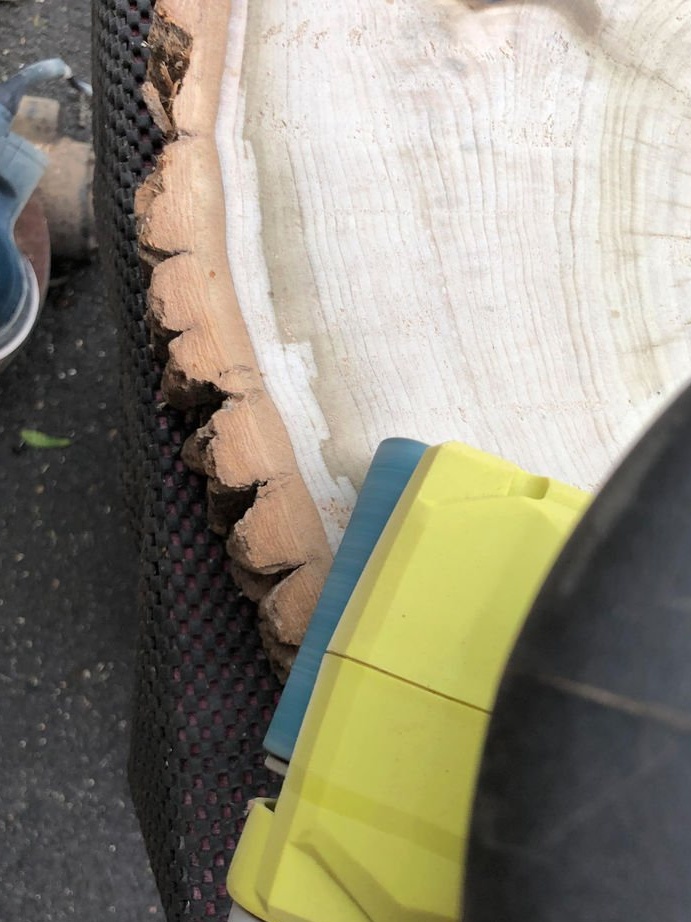
To align the front side, place the wooden round timber on a flat surface. It is advisable to stick the round timber so that it does not swing. To do this, use hot glue along the edges of the round timber.
Then the master makes small passages using a router, this reduces the split of the tree. Passages must be done very slowly and shallowly until a flat surface is obtained. If you use a harder tree, you can make several deeper passages.
Then the plate is turned over and the whole process is repeated.
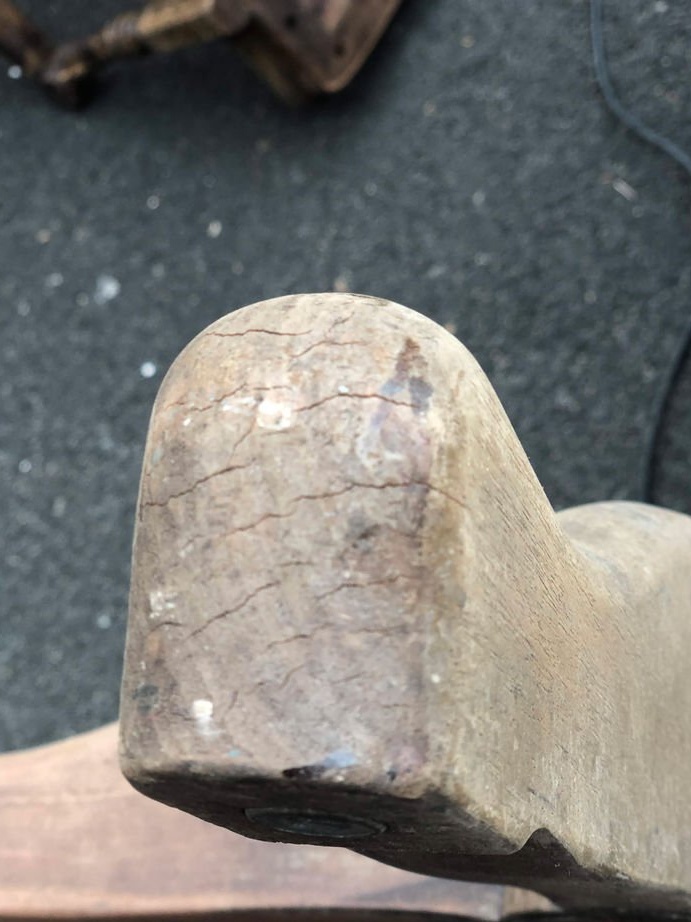
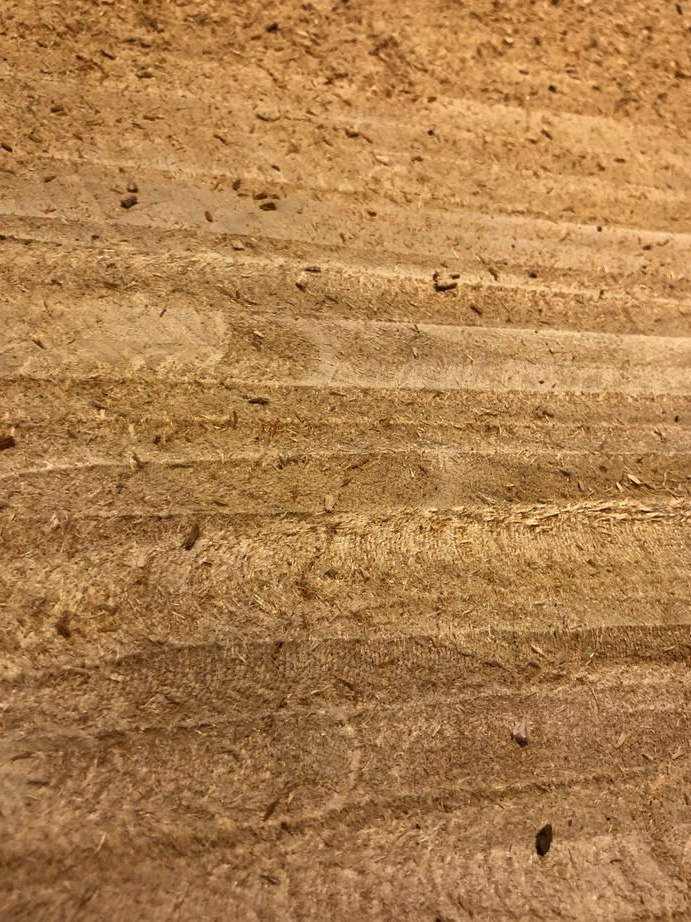
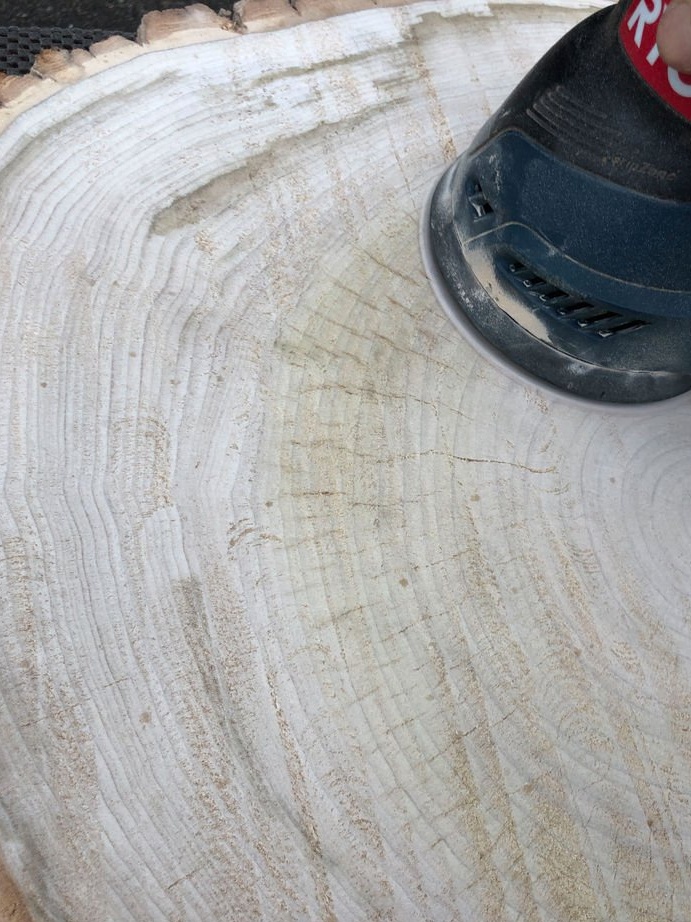
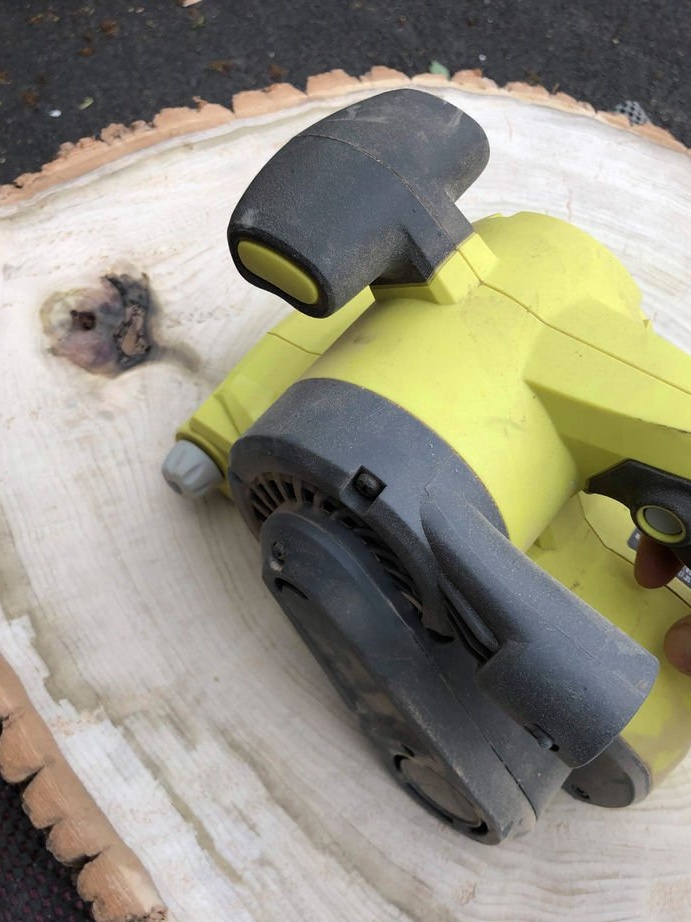
As soon as the round log is aligned, the master proceeds to grinding.
He used a belt sander until the belt broke. Therefore, I had to switch to an orbital sander. First, the master used several sheets with a grain size of 60 units, then switched to a grain size of 120 units, and then 150 units.
Step 6: Finding the center of the round log and fetching material using a router
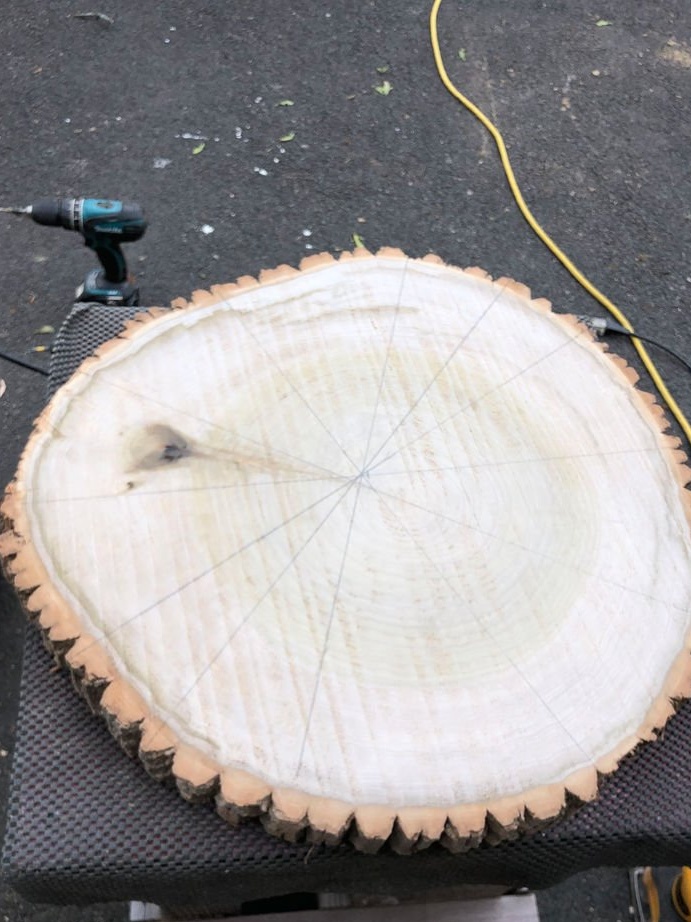
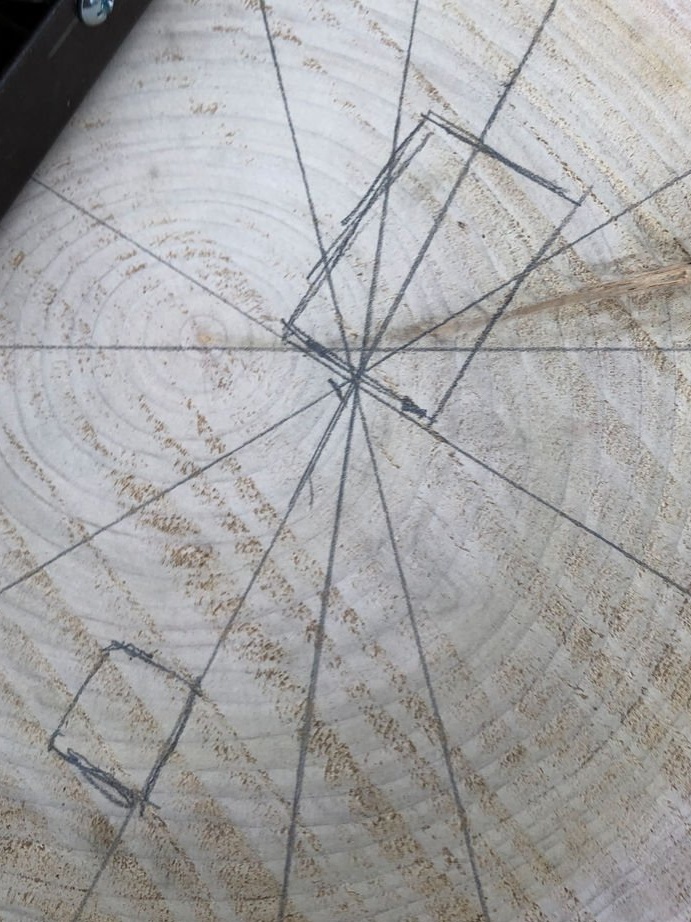
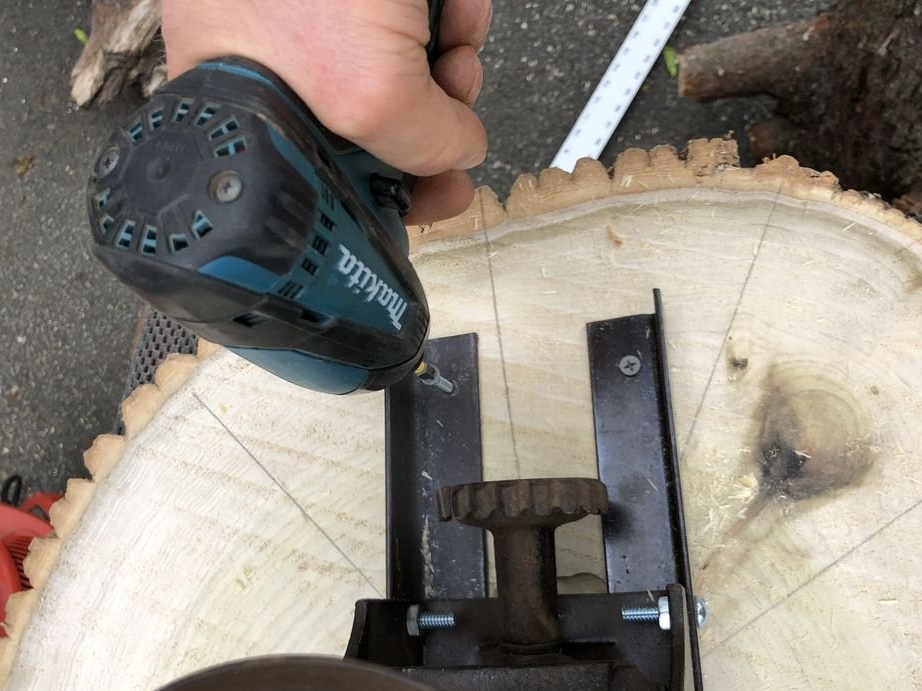
The center of the chair mechanism is shifted to the side space to which the master attached the rails. This in itself increases the difficulty of attaching the wooden round timber. To determine the coaxial center in the round timber, the master used a long steel ruler. Try to find the center so that the round looks like sliced pizza.
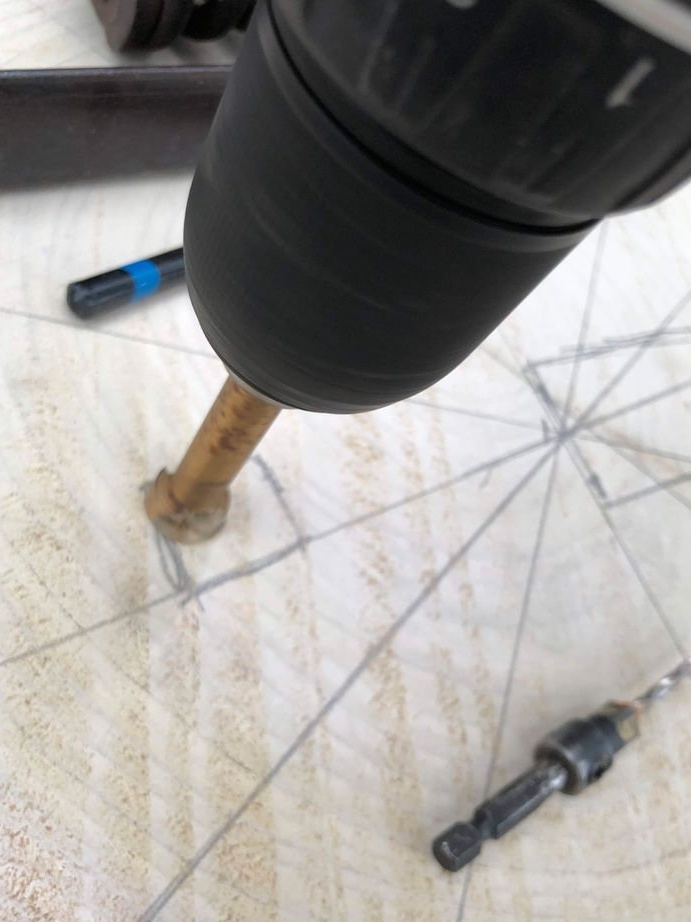
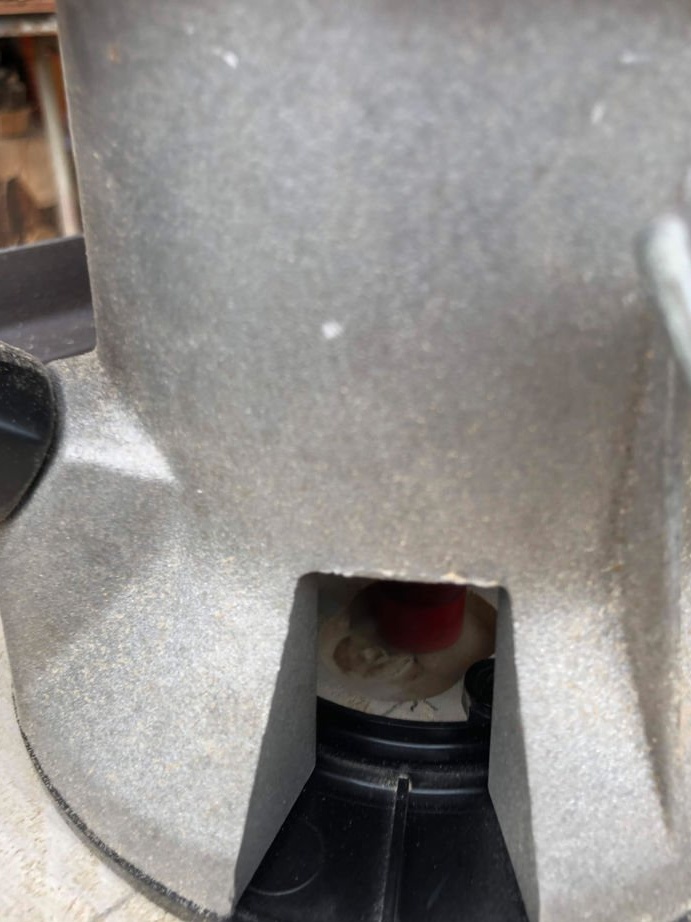
As soon as the place for fasteners is found, it is necessary to choose the cavity in the lower part of the round timber so that the mechanism is inside the plate. Place the round as close to the center as possible and mark where it is needed.
With the help of a Forstner drill, the master made a pair of holes that made it possible to start choosing material from the round timber. When sampling the material does not need to be too precise, since the space needs to be increased a little more than is required.
After completing this work, the master easily attached a wooden round log to the base.
Step 7: Apply a polyurethane-based grout
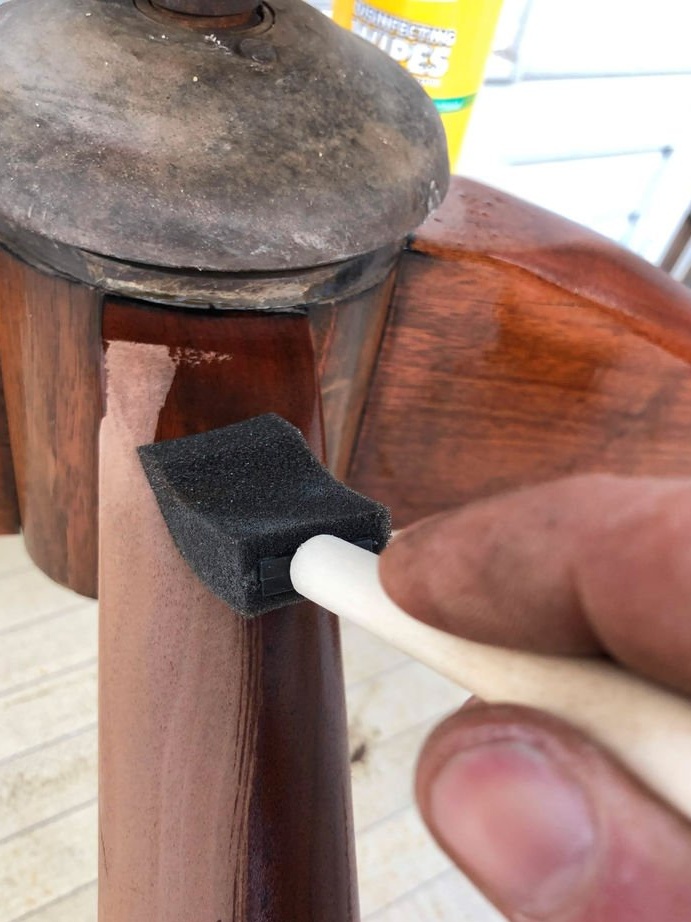

The use of polyurethane grout, this is the favorite method of finishing the master. Yes, it takes longer, but the finish is smoother and easier to work with!
Therefore, he usually begins with a proportion of a mixture of polyurethane and mineral oil, like 50/50. It is necessary to apply 2-3 layers with this mixture. After drying of each layer, check the wood for the appearance of sawdust and grains of sand. If you need to grind again, lightly sand with 400+ grit sandpaper. After these layers, the master adds a little more polyurethane to the mixture and again applies 2-3 layers, checking the roughness.
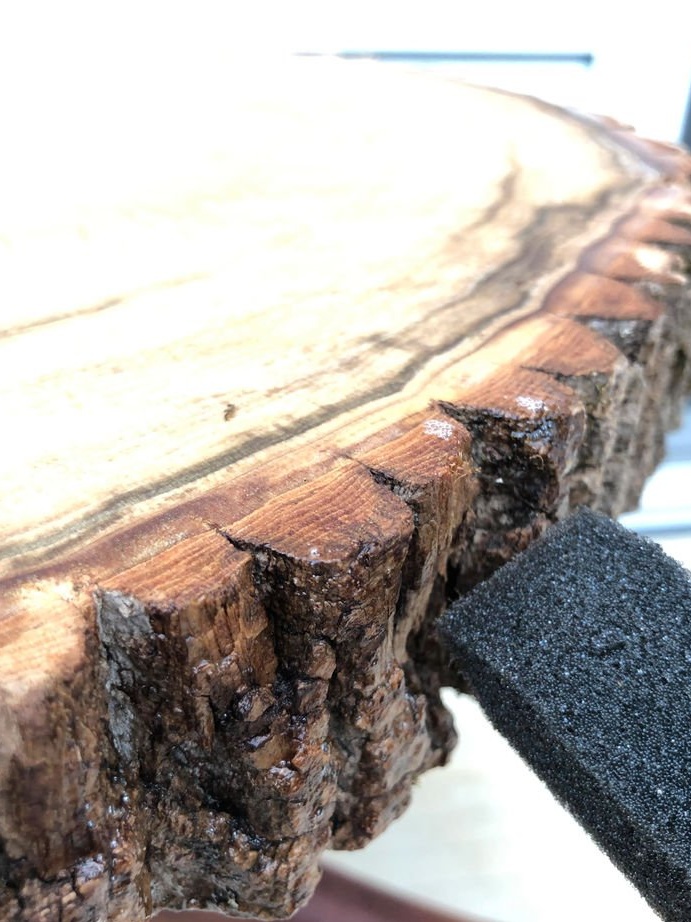
You can apply this grout using a rag, foam, sponge. The master uses a foam brush to apply round timber to the bark. First, be sure to clean the bark of loose particles.