
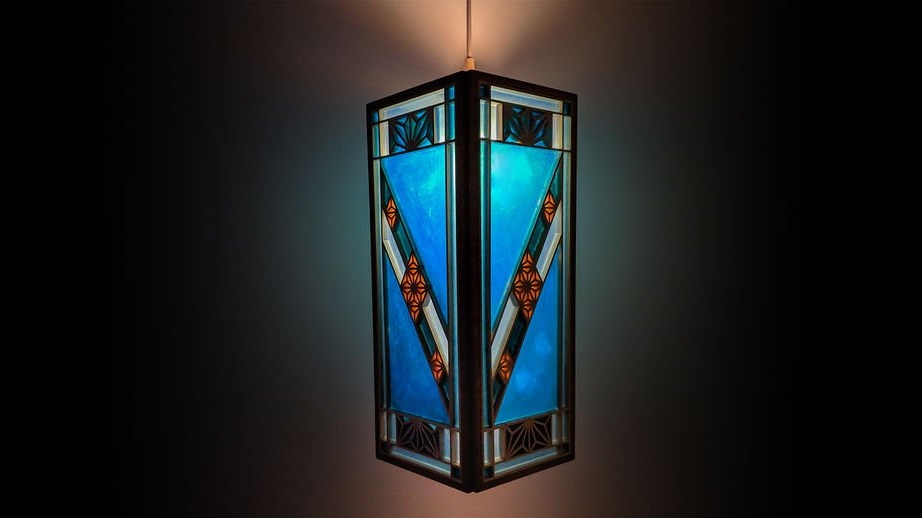
For those who don’t know, kumiko is an ancient Japanese technique of assembling wooden stripes into geometric patterns without the use of metal fasteners. Pieces of mesh and fill in this project are strips of linden 12x3 mm.
To clarify this issue, the Kumiko section will be called three separate sections. Main grid (consisting of all vertical and horizontal stripes), corner grid (stripes running diagonally in the main grid), padding (small stripes that create intricate patterns in both grids).
Instruments:
- Conductor for Kumiko;
- Saw for metal;
- Chisels;
- Japanese hand saw;
- Hot glue gun;
- Dental syringe;
- Router;
- Drilling stand;
- orbital sander;
Materials:
- Wooden strips for Kumiko;
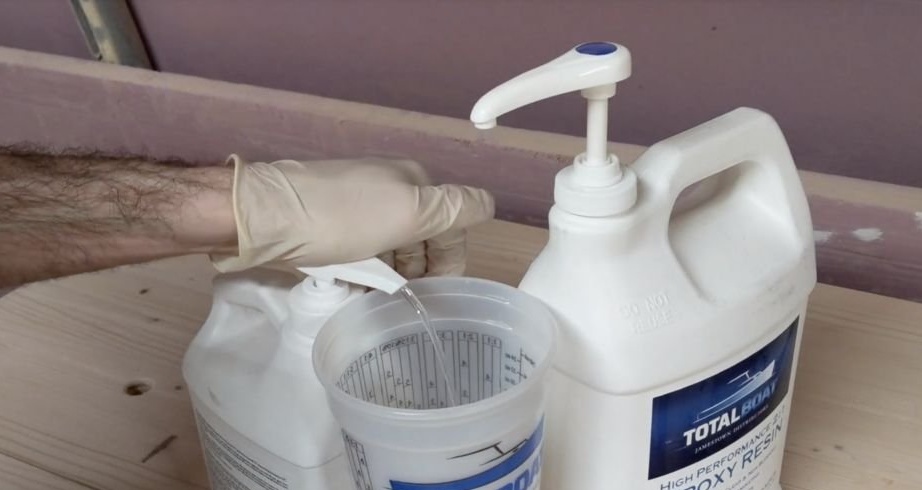
- Epoxy TotalBoat;
- Black pigment with diamond chips;
- packing tape;
- Cord for the lamp;
- base for the bulb;
- light bulb;
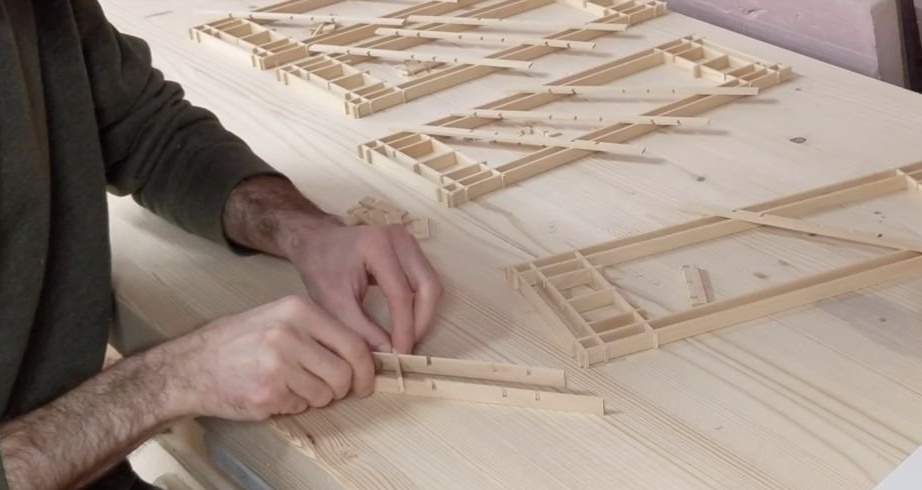
Step 1: Main Grid
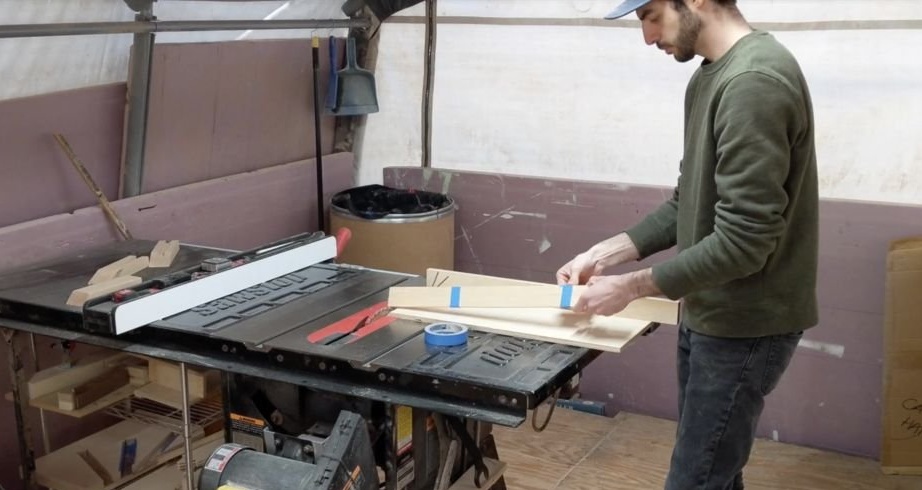

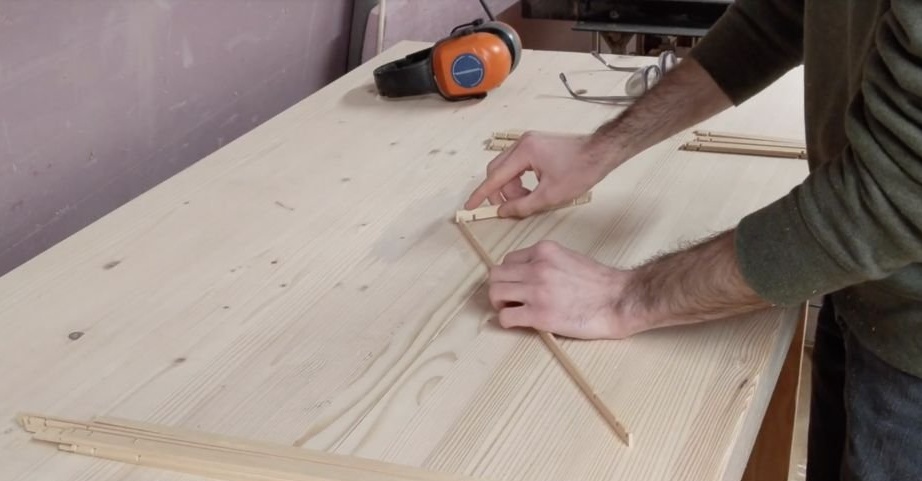
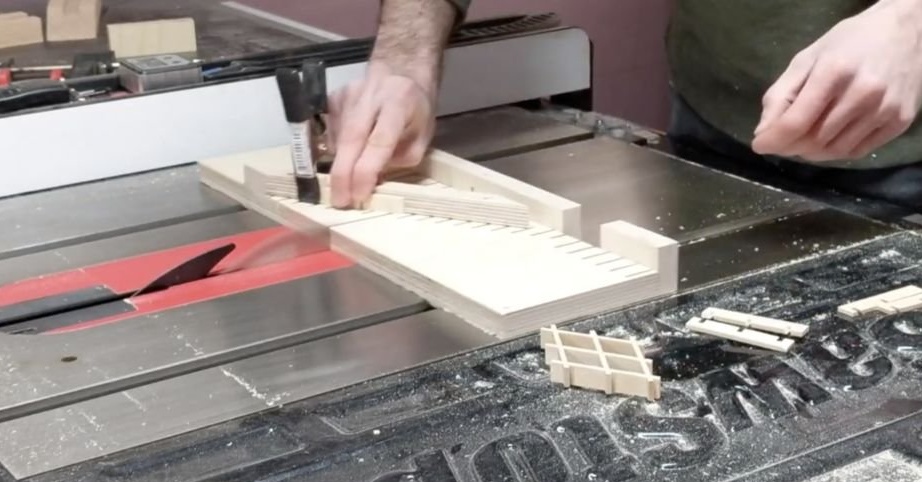
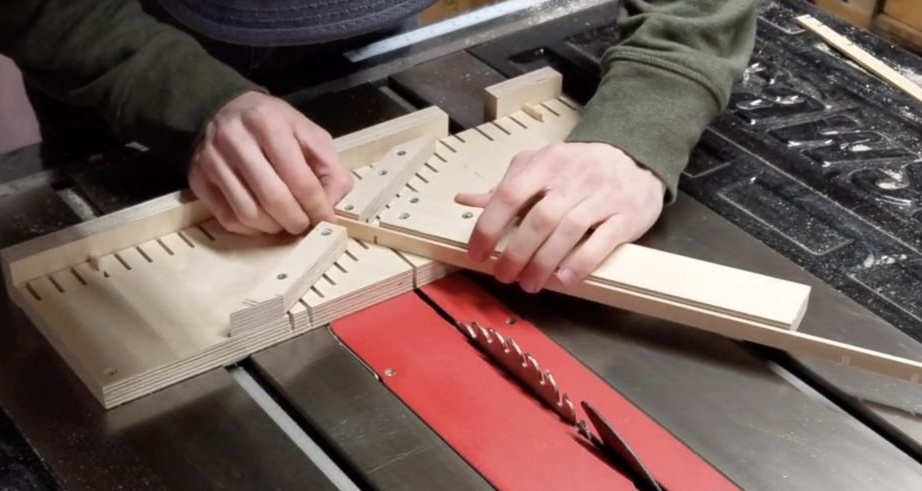
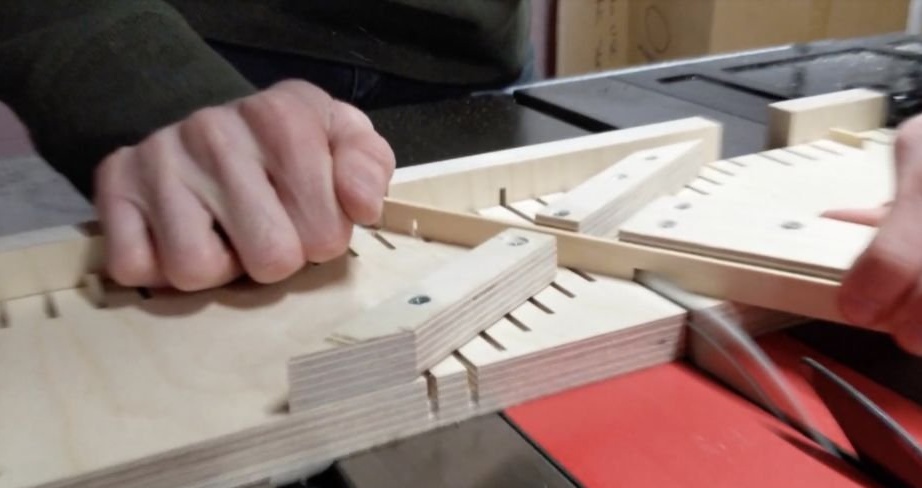
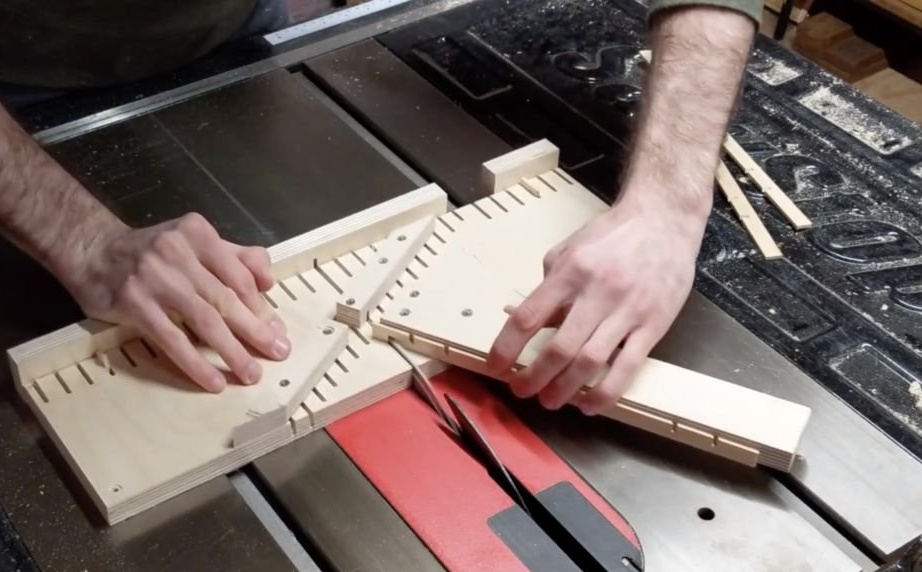
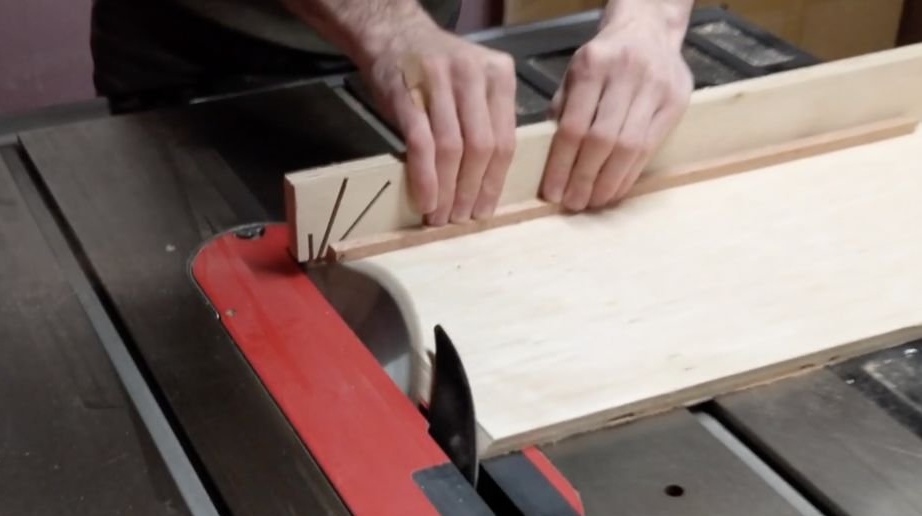
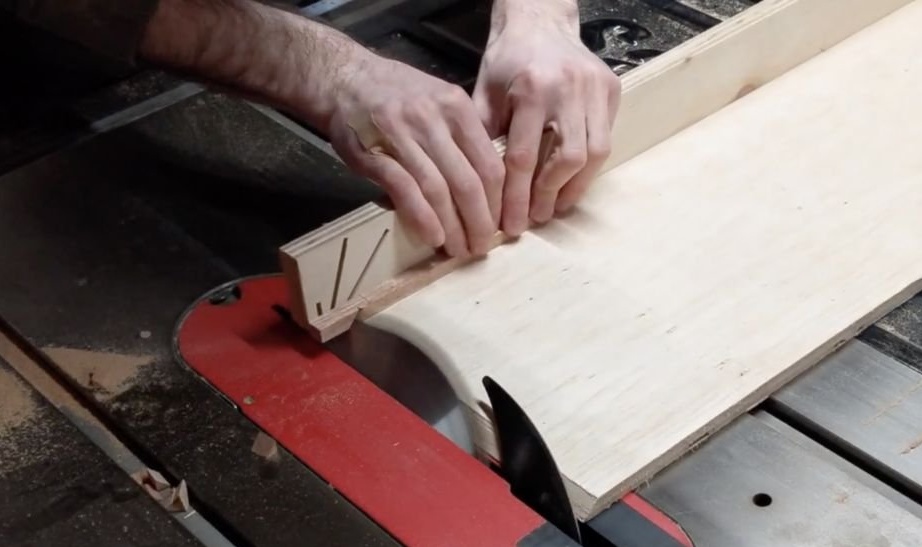
The main grid consists of three strips of different sizes. (10-43.8 cm.), (15.2 -15.8 cm.) (4.44 - 15 cm.) For kumiko it is very important to be extremely accurate when cutting all parts. To make sure that they are all the same length, the master glues them together, cuts one side of the strips so that they are even, and cuts off the other side in length. To do this, he used a table saw with a transverse slide, but this can be done using a band or hand saw, and the same applies to cutting half combs.
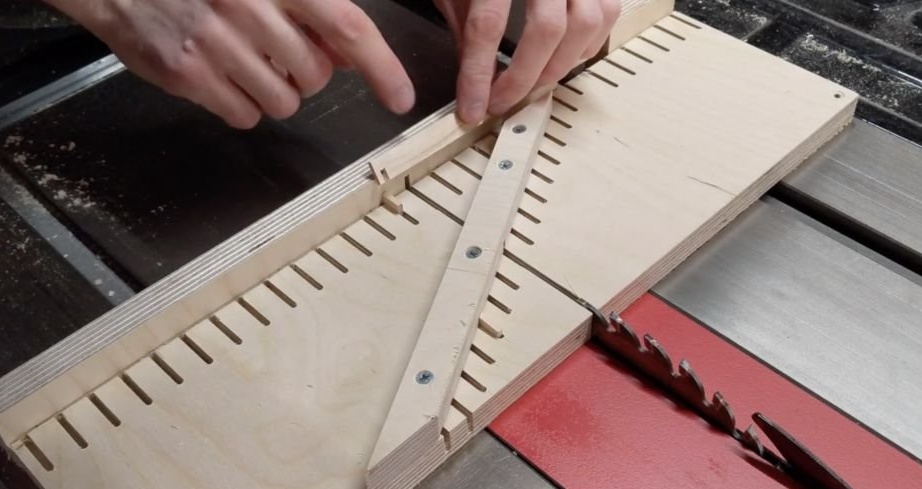
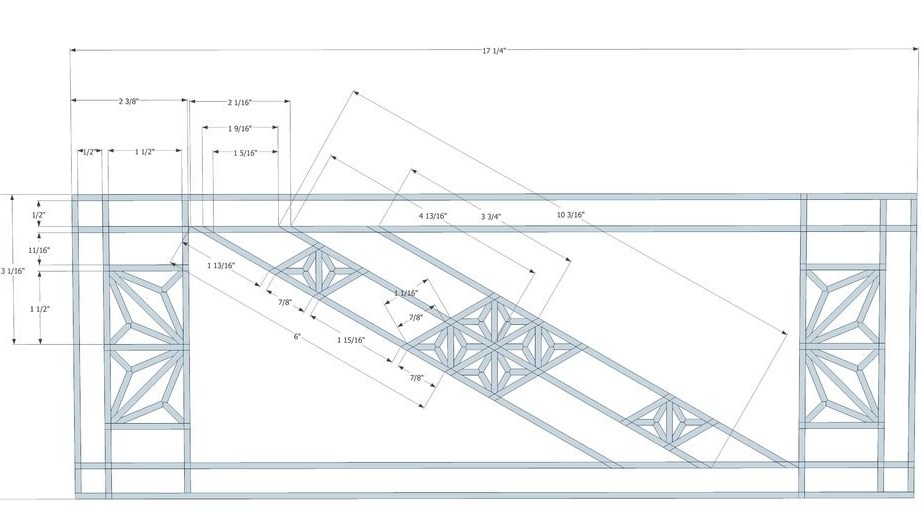
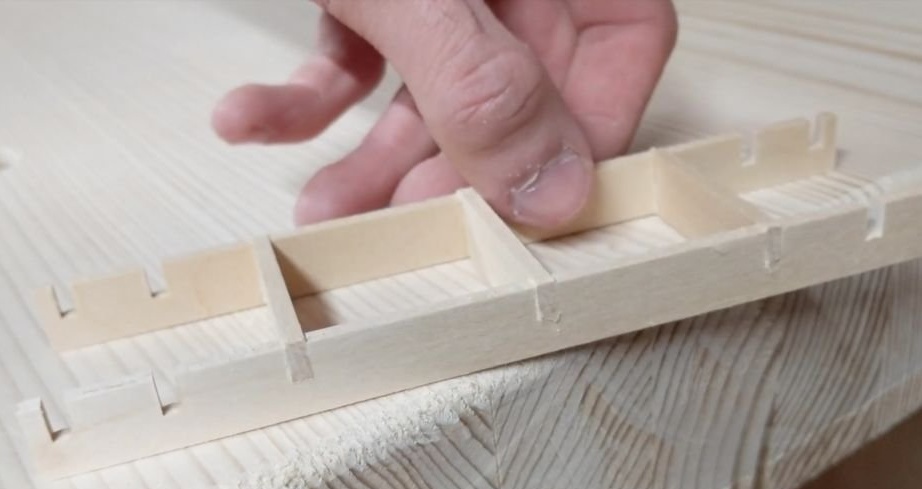
All sizes that the wizard used for this panel are illustrated in the next step. To facilitate the cutting of half combs at appropriate angles, he made a slide for a table saw. The rear fence is 90 degrees to the blade, and the inclined fence is 30 degrees from this fence. The grooves in the slide are 12 mm apart. apart from each other.
Once all half combs are cut out, the grill can be assembled.
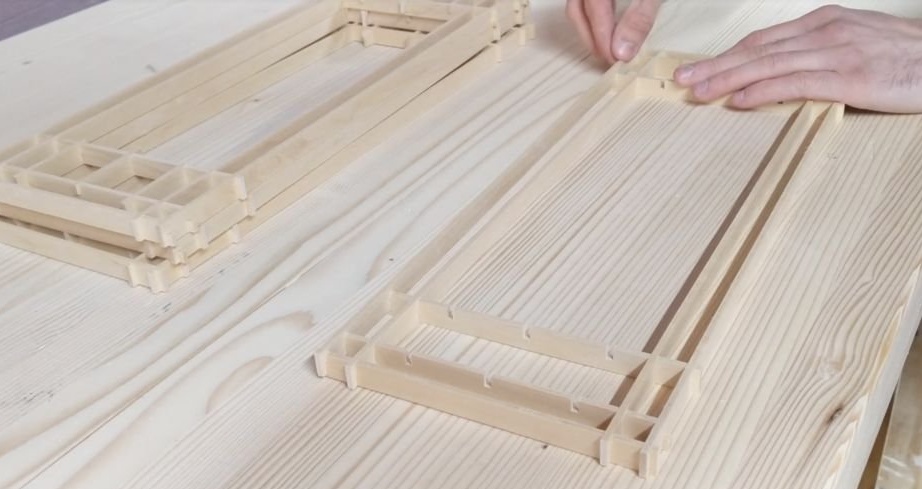
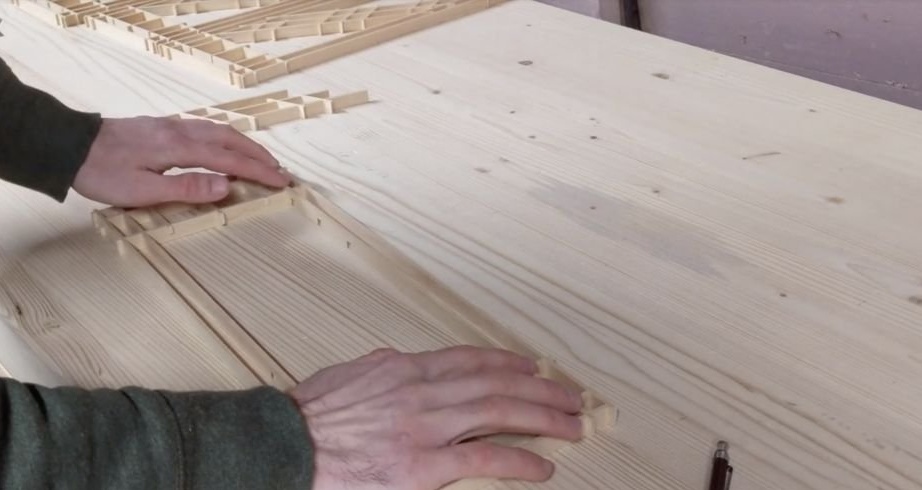
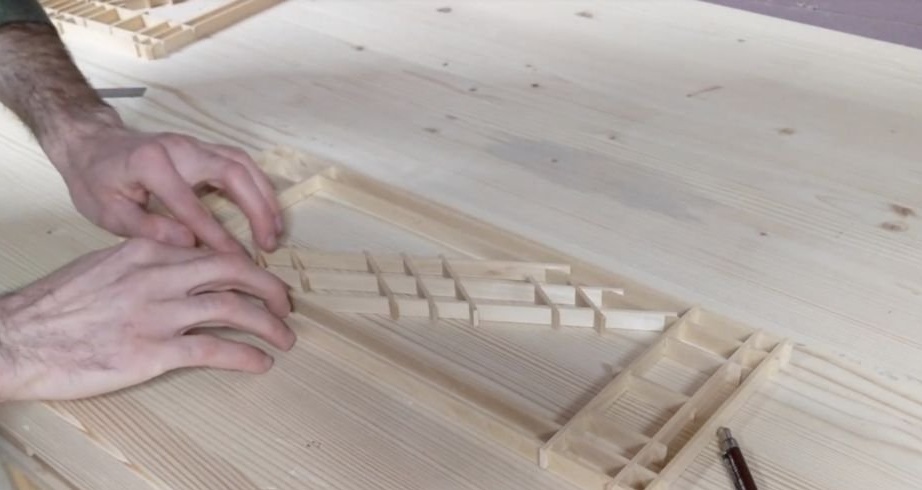
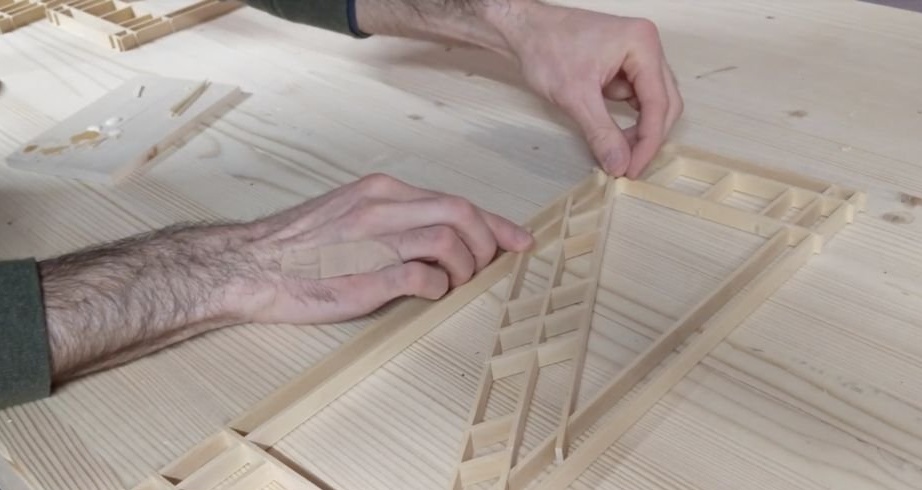
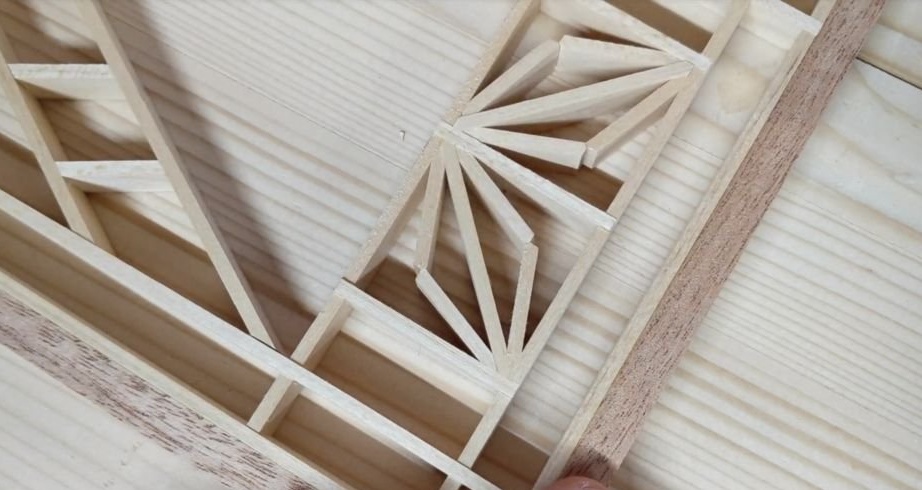
Step 2: Corner Mesh
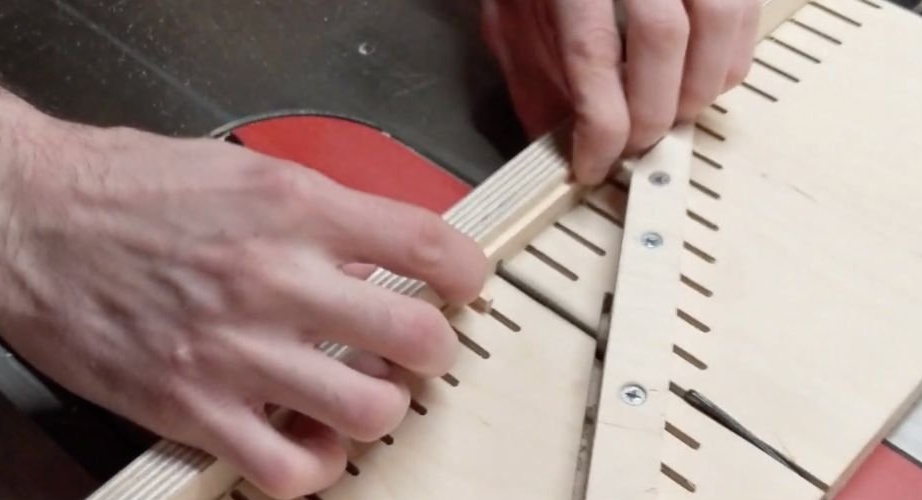
The master began by cutting three half combs into small corner strips. After that, he cut the central half comb in longer stripes. Then he used small strips as a template for marking two other half combs on long strips.He did this in such a way that all the combs were correctly spaced, so that they intersected correctly. Small corner sections at the ends of this grill have also been added.
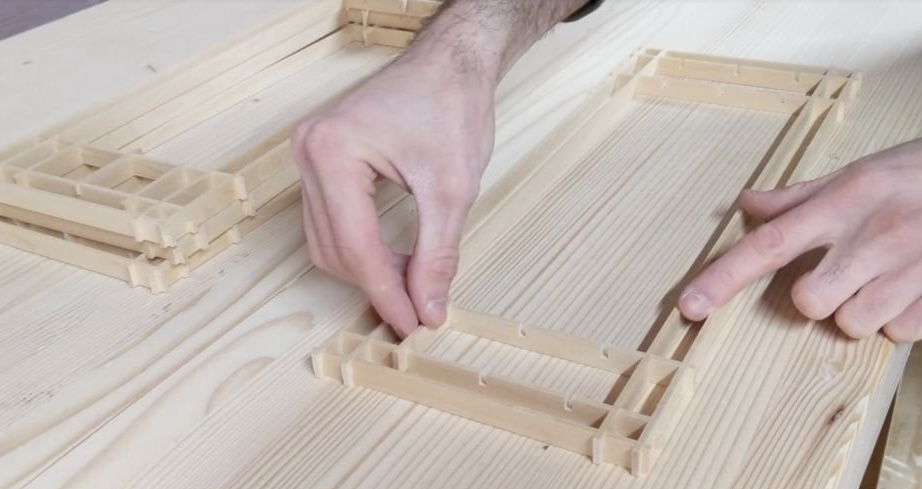
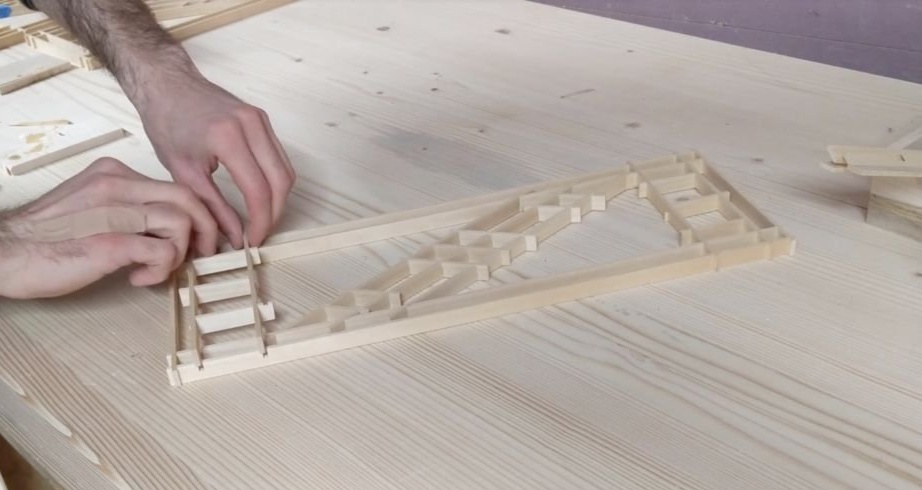
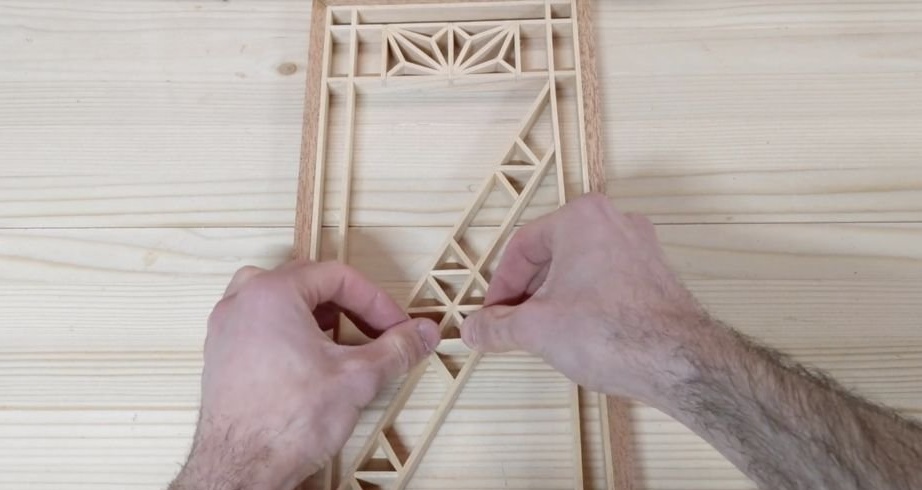
Step 3: Merge Grids
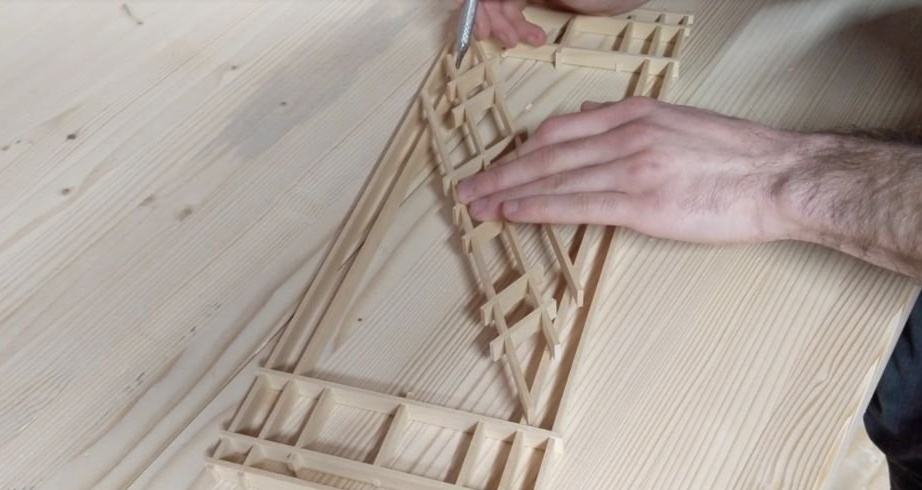
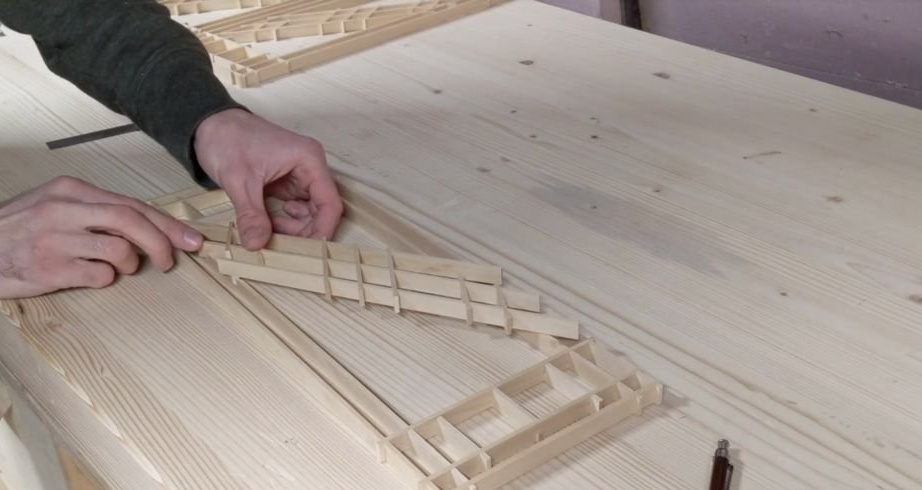
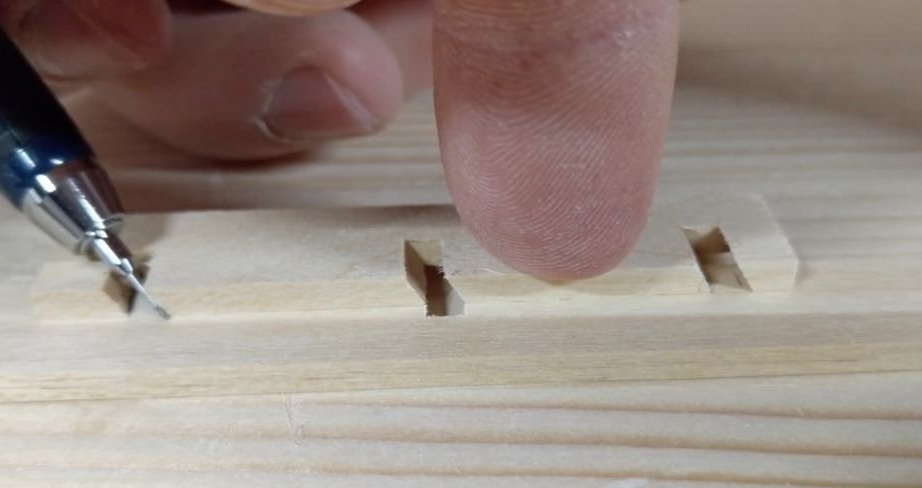
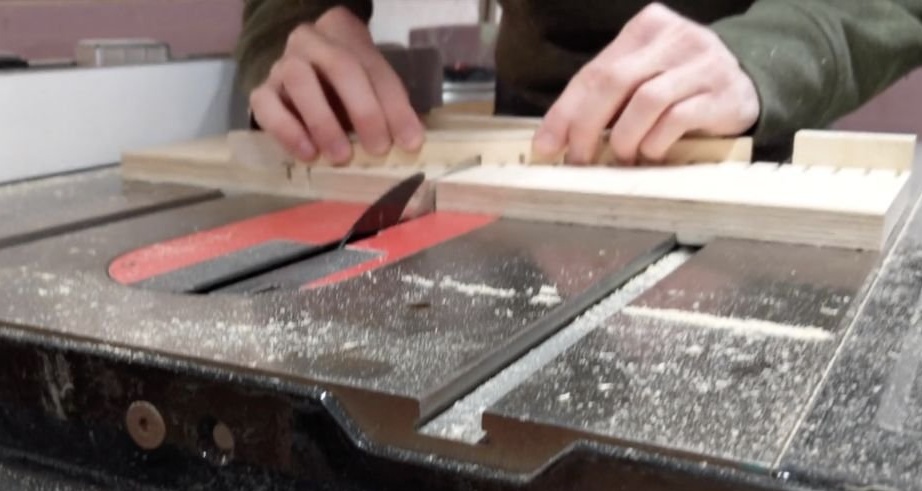
Now it's time to merge the two grids together. If half of the combs are not properly positioned, grinding may be distorted during assembly and complicate future steps. To prevent this, the master uses the nets themselves to mark the places for cutting on the combs. First, he cuts half the combs on the main net. To do this, he centered the corner grid on the main grid to mark where to cut. Then he removed the strips that needed to be cut from the made mesh, and cut them on a table saw. They need to be cut at 60 degrees.
Having cut these combs, he collects the main grid and places the new slots for half combs at an angle.
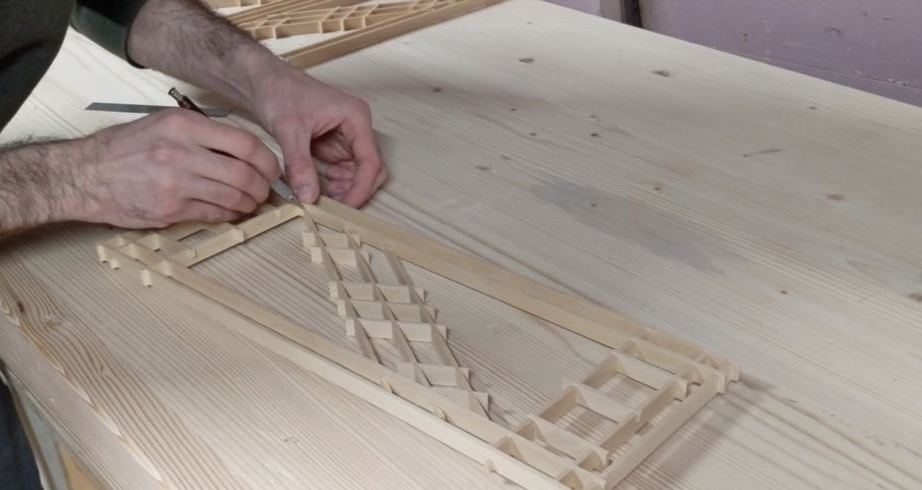
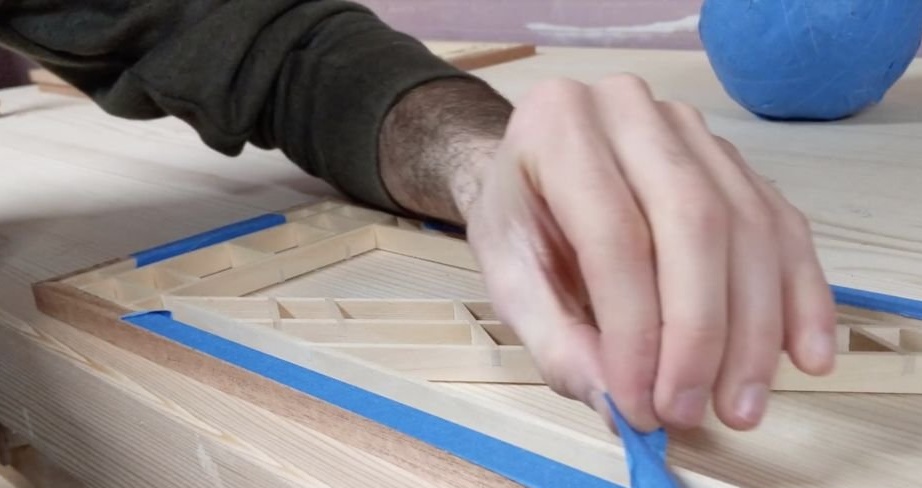
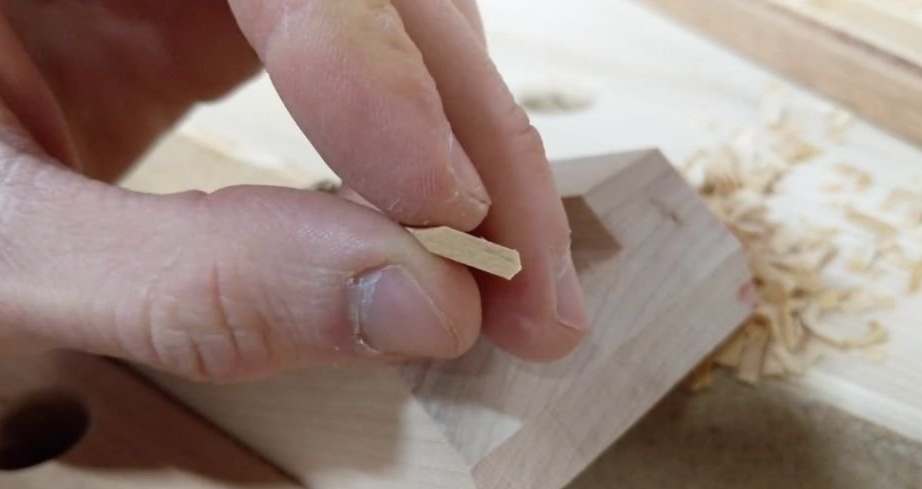
Step 4: Trim Stripes
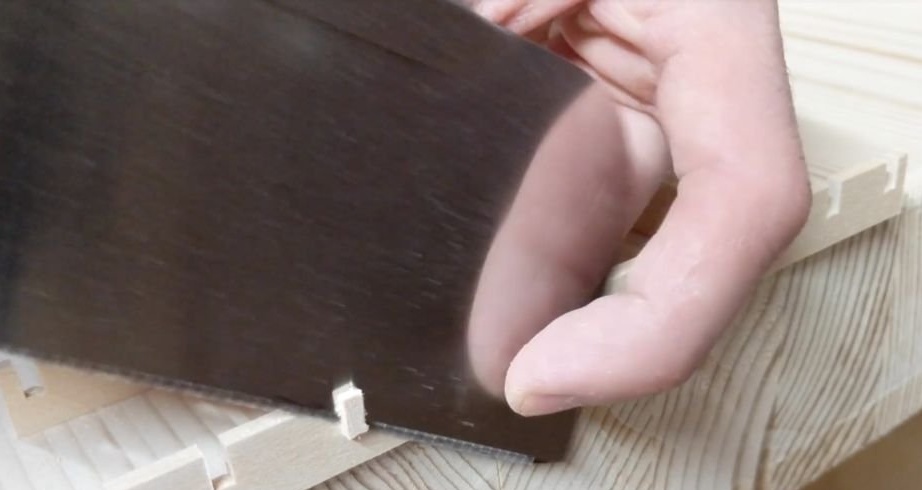
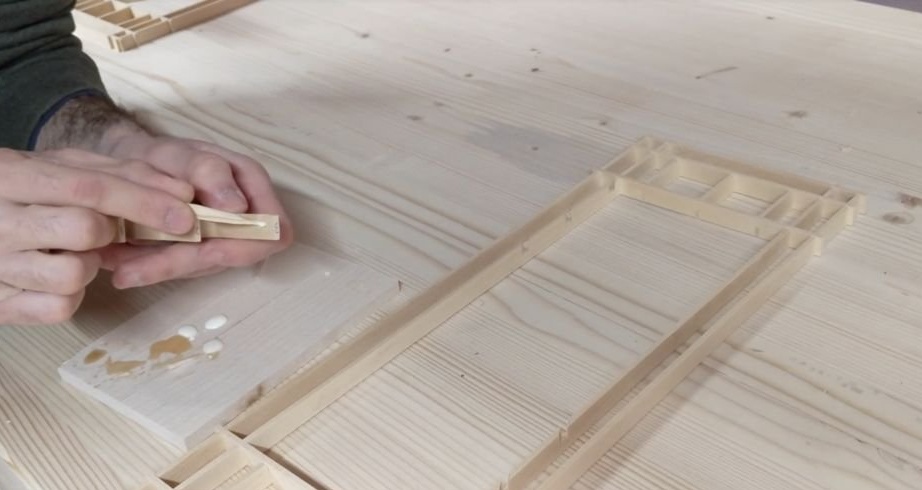
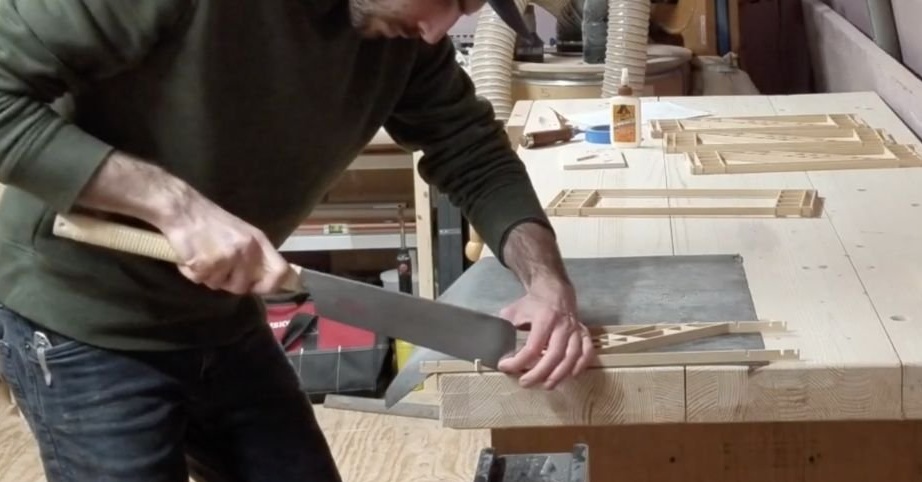
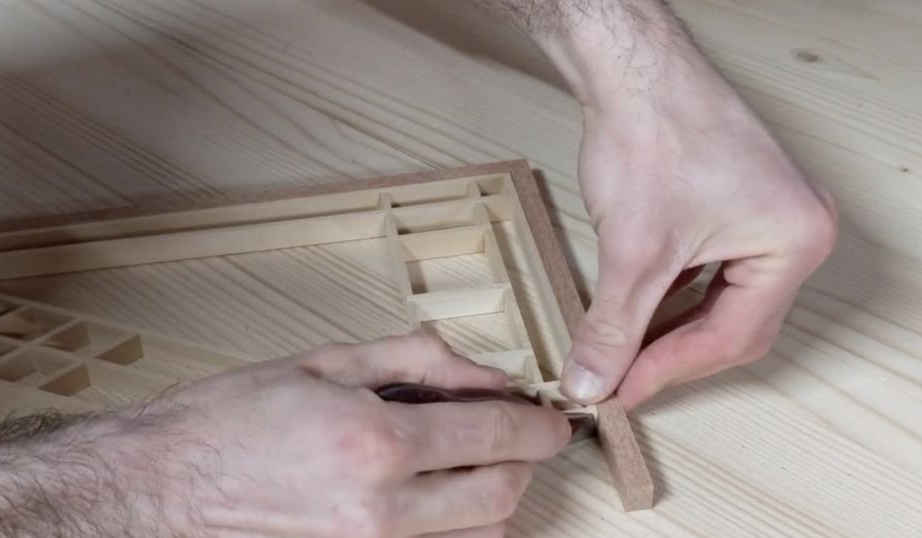
The master glued sections at a time. Then he cut off the excess parts from the strips. For this, he used a Japanese saw. Removing sections from the panel made it easier to cut the strips, and the glue allowed them to stay exactly where it was needed.
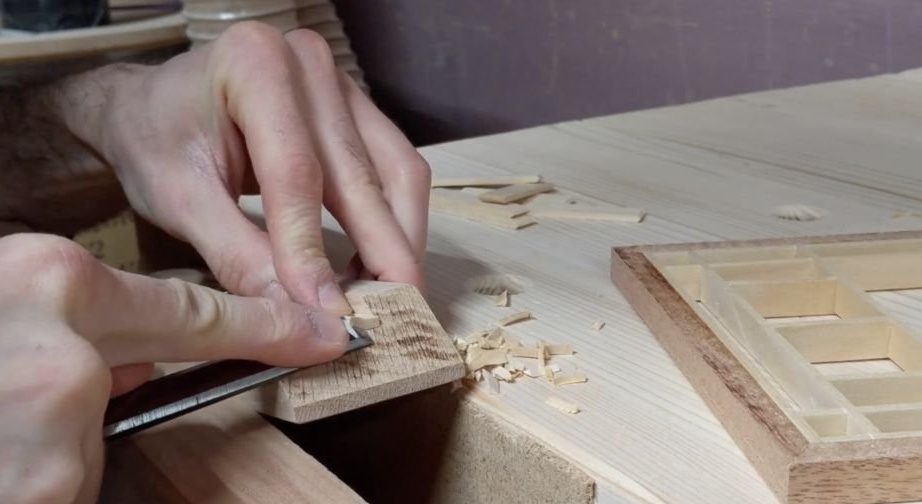
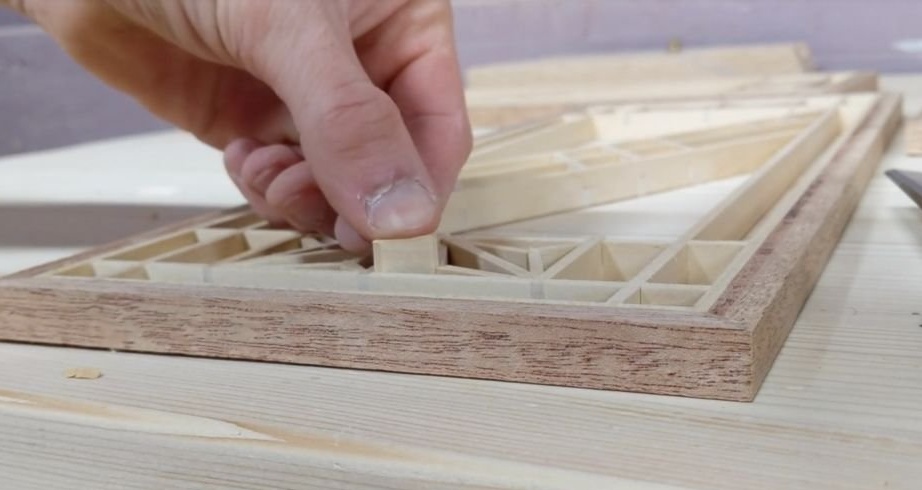
Step 5: Frame

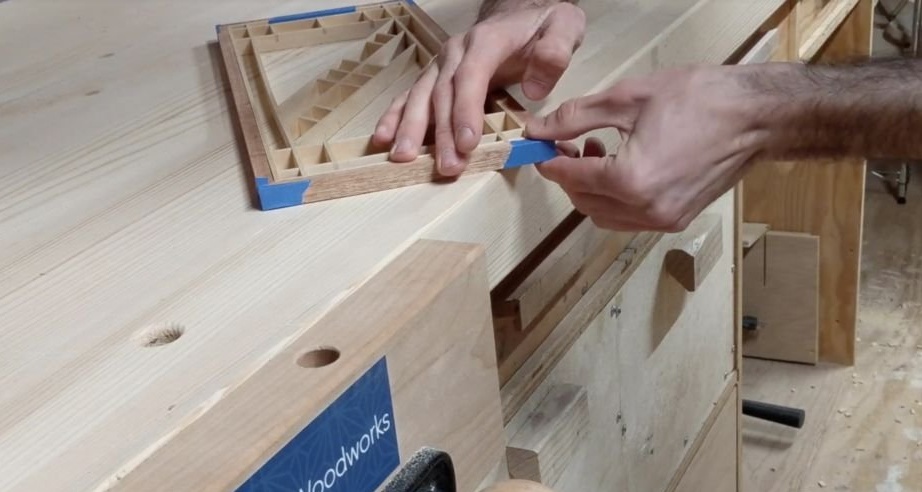
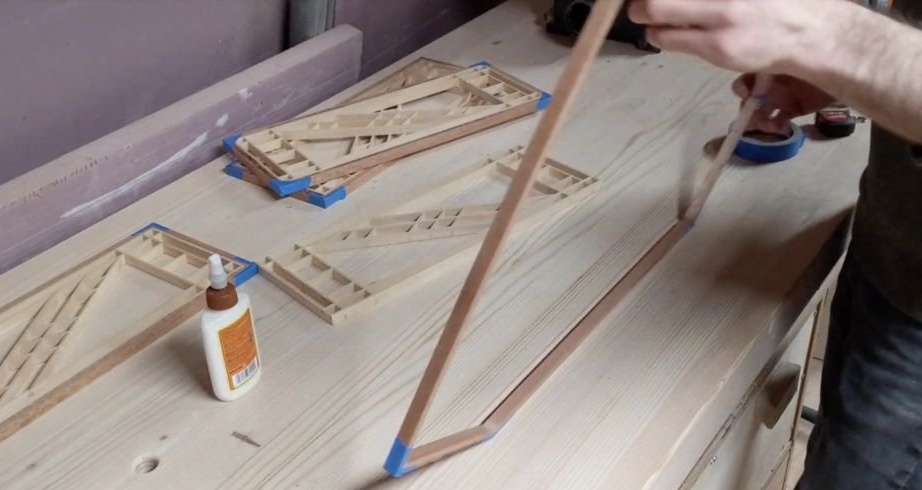
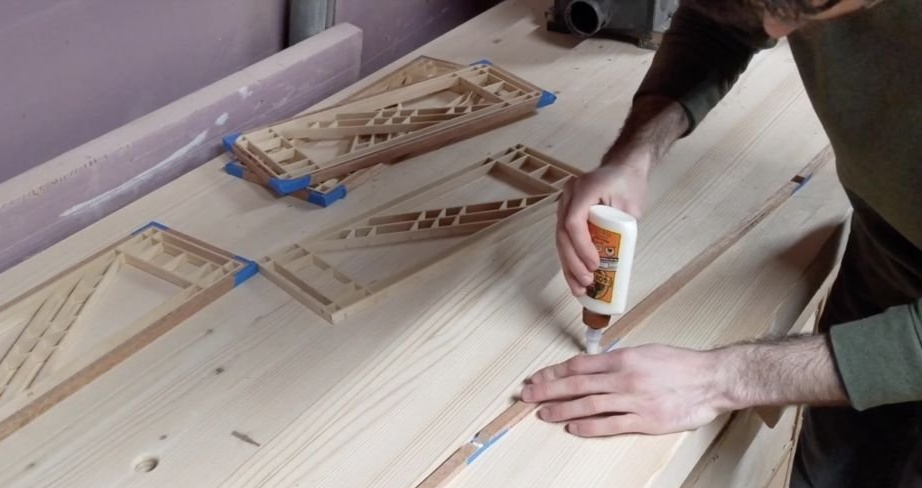
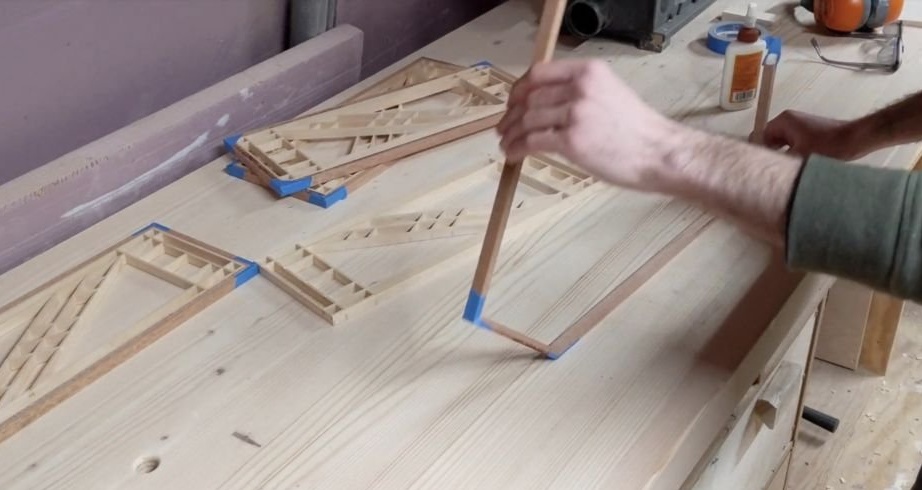
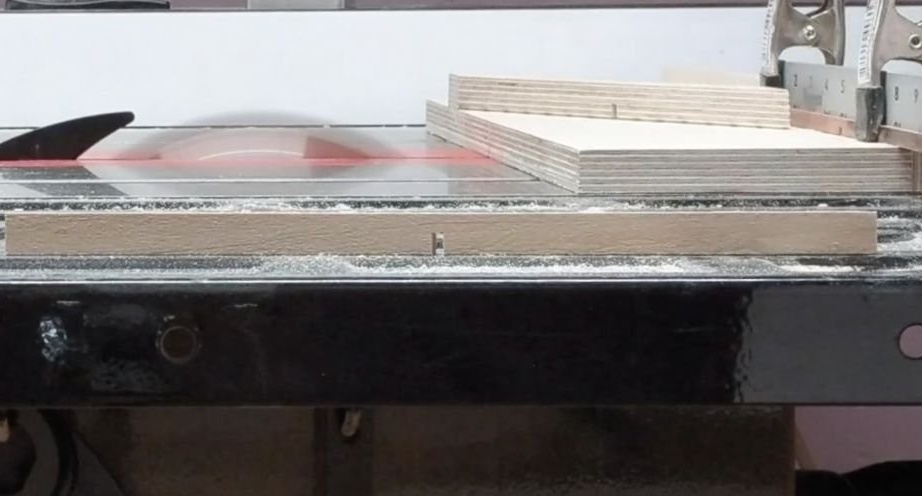
This frame is made of African mahogany. From it the master cut strips 12x9 mm in size. After trimming the first slice at one end, he used the panel to mark the place where it would be necessary to crop this part of the frame so that it was the right length. Having cut one piece to the desired size, he stuck it in place and repeated this process for the rest, focusing on the first part. He also marked and cut out every part of the frame for each side, each panel.
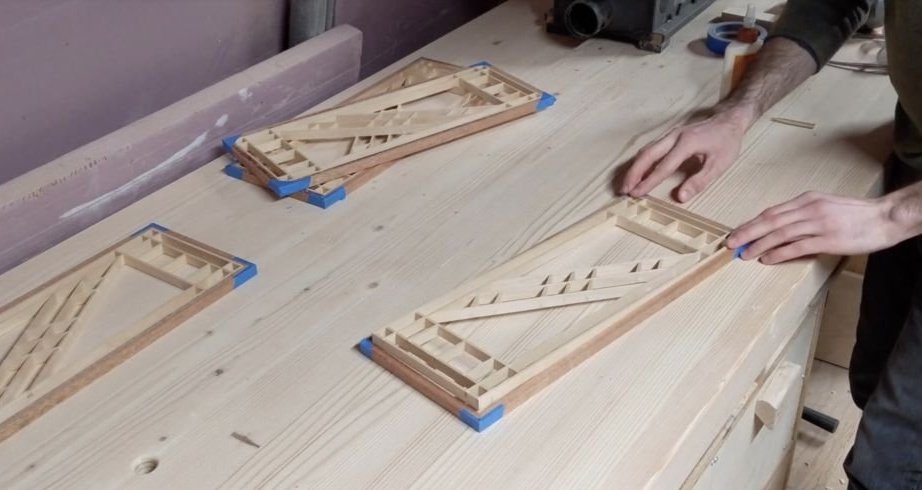
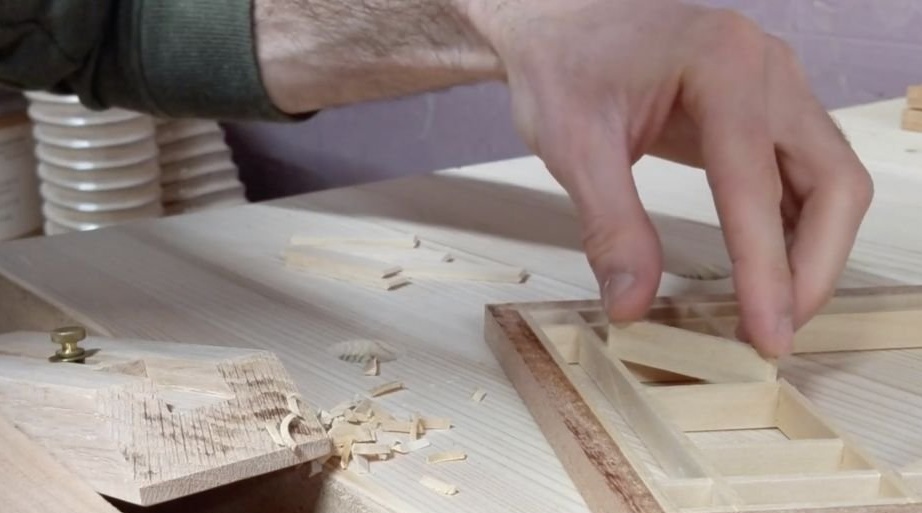
The master glues the sawn parts of the frame in the corners of the frame. Above the corners, he seals with tape. He also adds glue to the inside of the frame and glues the kumiko panel to the frame. He also seals the gaps between the panel and the frame with tape.
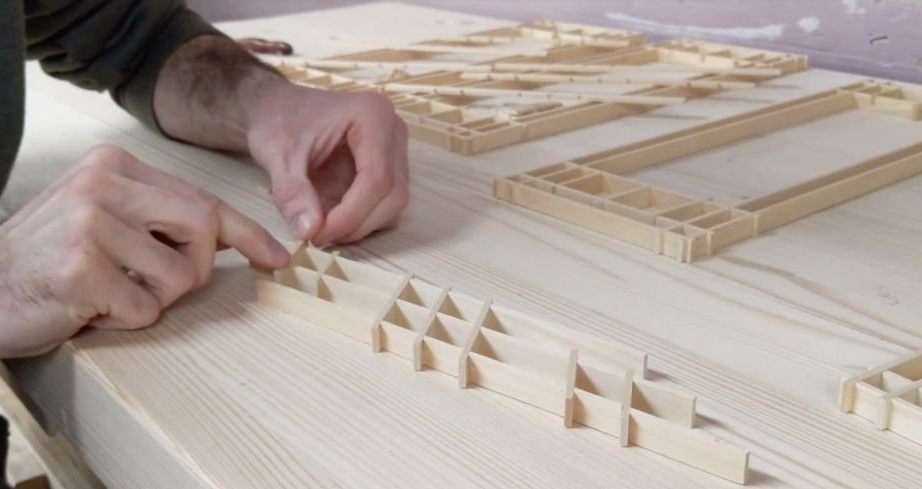
Step 6: Filling
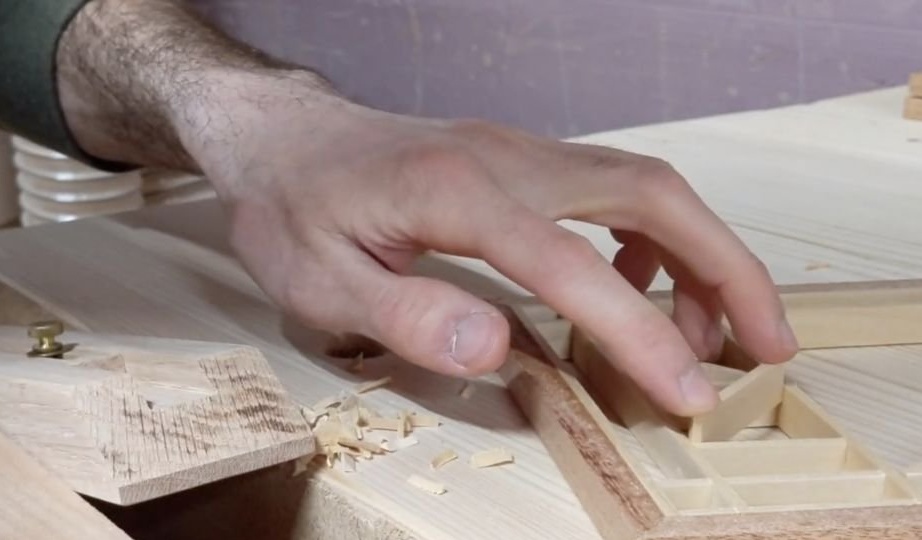
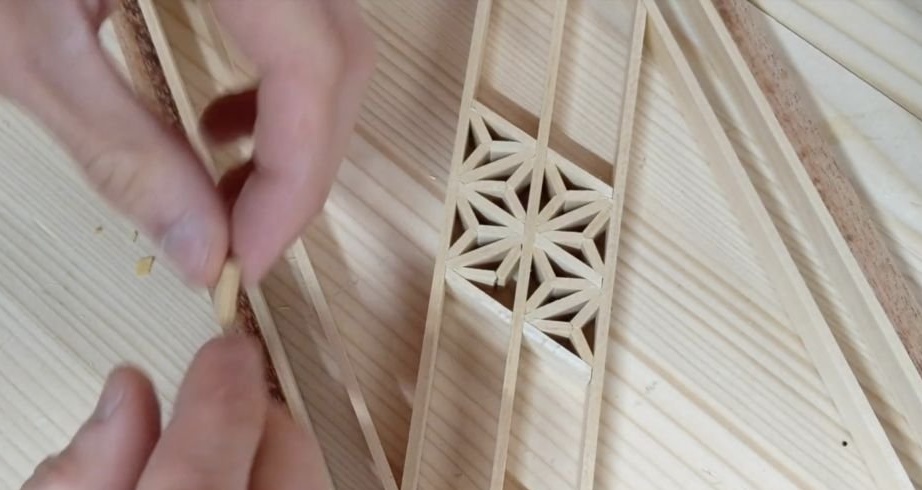
Filling is a difficult part of making a kumiko. Here you will learn how to make an “asanoch" pattern for a square grid, which the master used for small rectangular sections in the upper and lower parts of the panels. The process is very similar for diamond sections on an angular lattice, except that segments of the filler are cut with clamps at 30 and 60 degrees to reflect the angles in this lattice.
Step 7: Epoxy
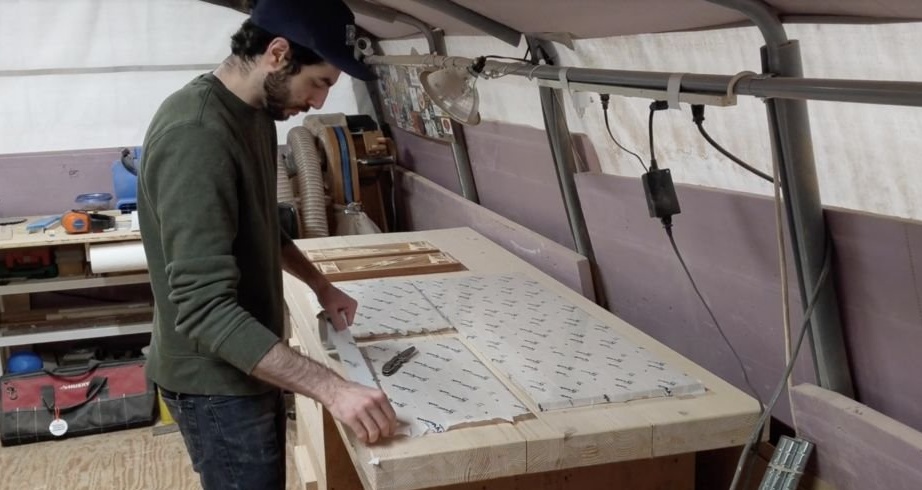
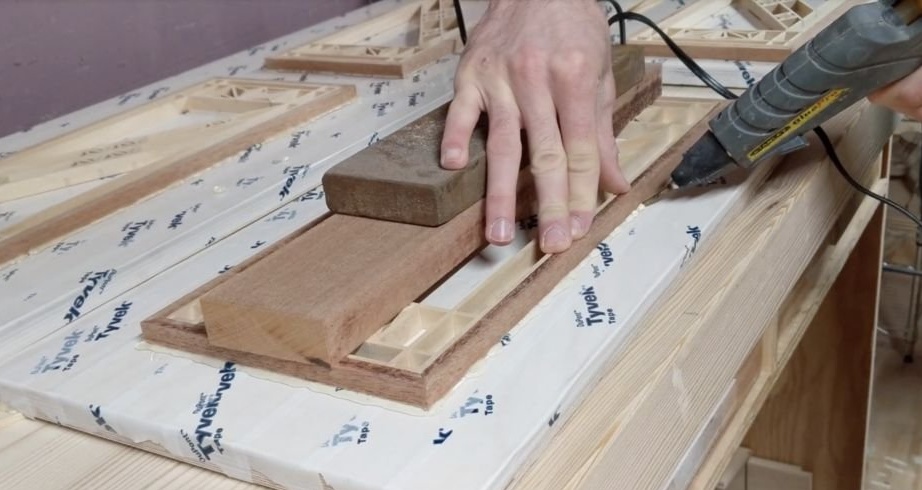
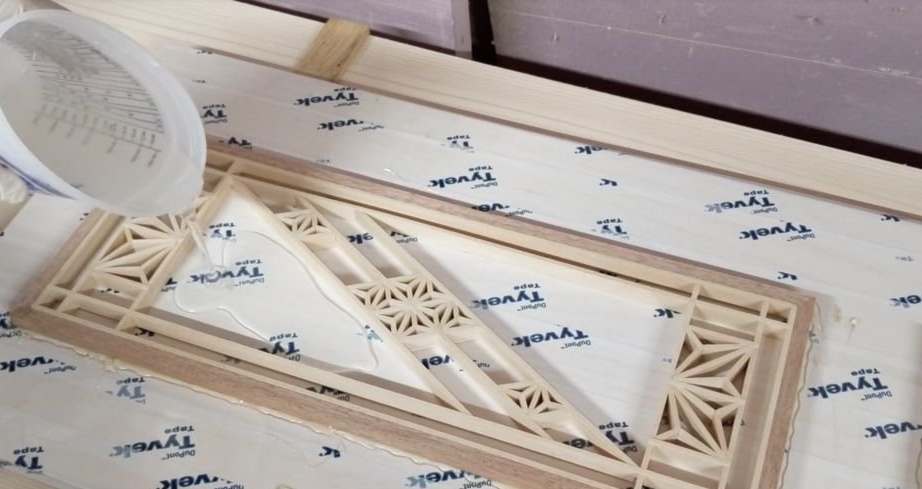
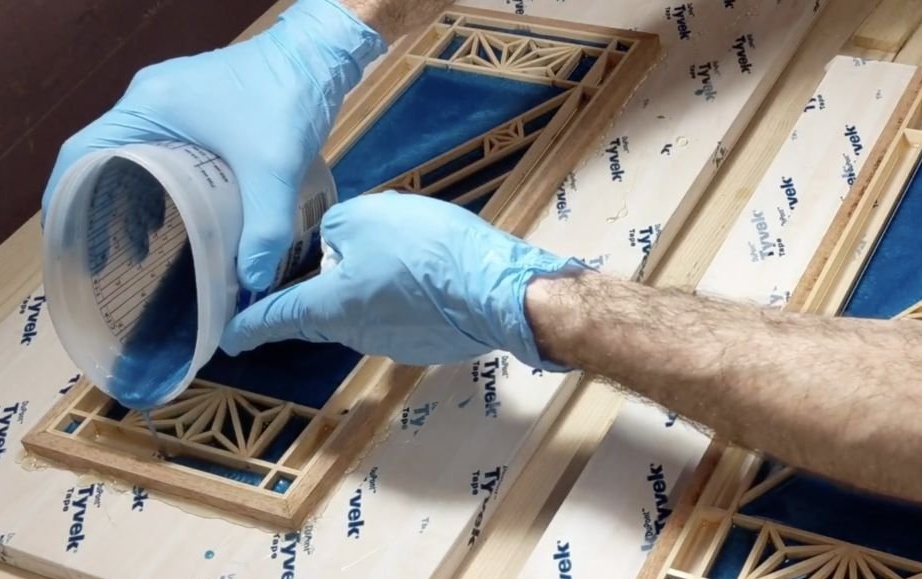
The following is an epoxy resin. As a backing board, the master uses plywood glued with adhesive tape. This casing will not adhere to the epoxy, as it cures and will allow easy removal of plywood later. The master then glues the panels to the plywood with hot glue, which prevents the epoxy from leaking out from under the panels. To do this, the master used the weight on the panels to make sure that they lie flat.
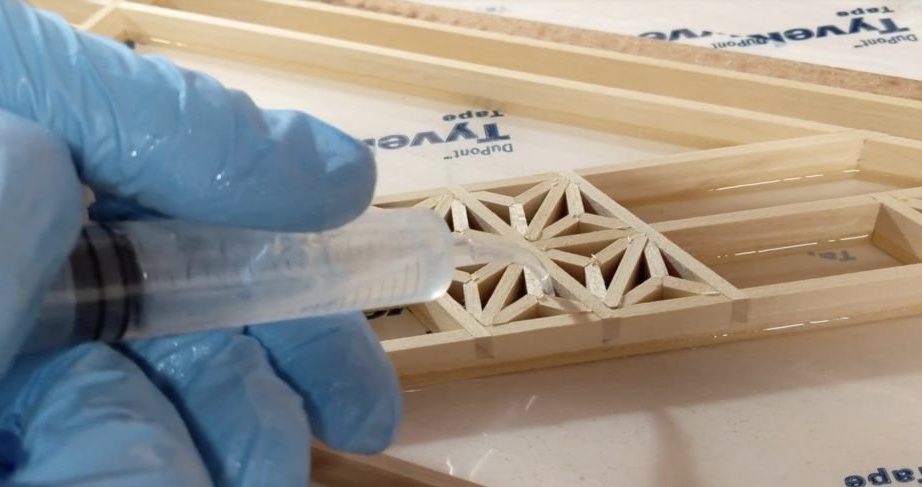
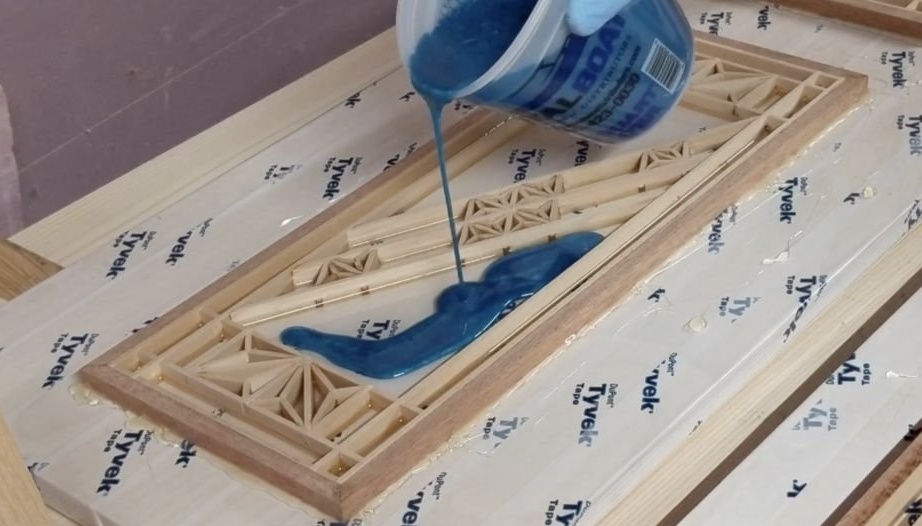
Then the master mixed the epoxy resin and made two separate fillings, each to a depth of about 3 mm. The first fill is transparent, and the second with the addition of color pigments. Thus, more light will come through the sides of the lamp. To fill the epoxy in narrow spaces, the master used a dental syringe.
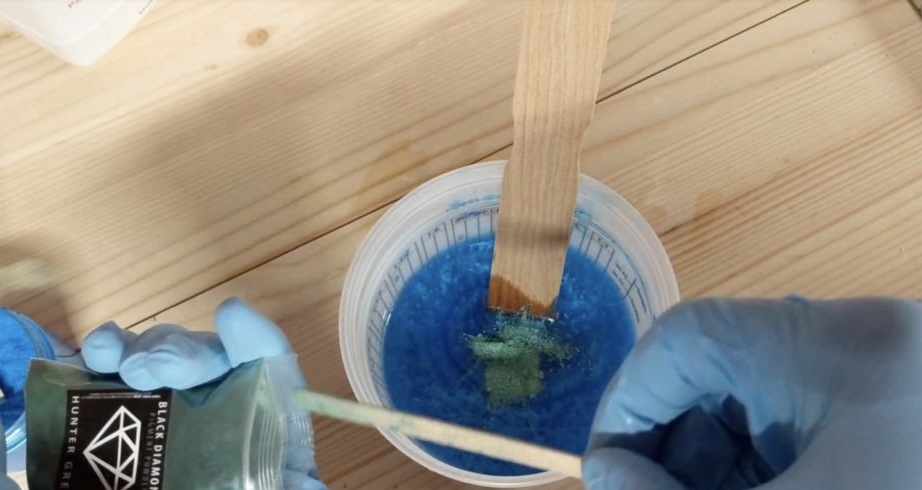
As soon as the first fill turns into a gel state, the master mixes the epoxy again and adds blue and green pigments to get a little dark turquoise mixture.
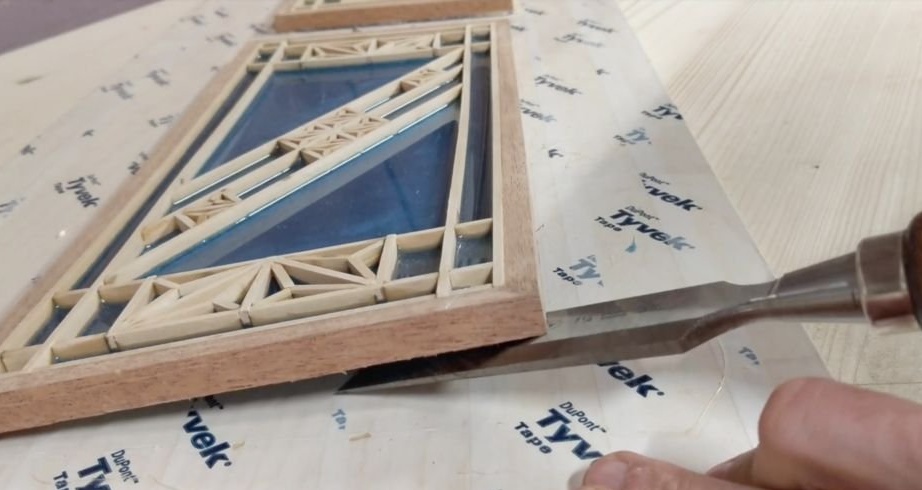
When the epoxy was completely hardened, the master removed the panels from the plywood using a chisel.
Step 8: Chamfering
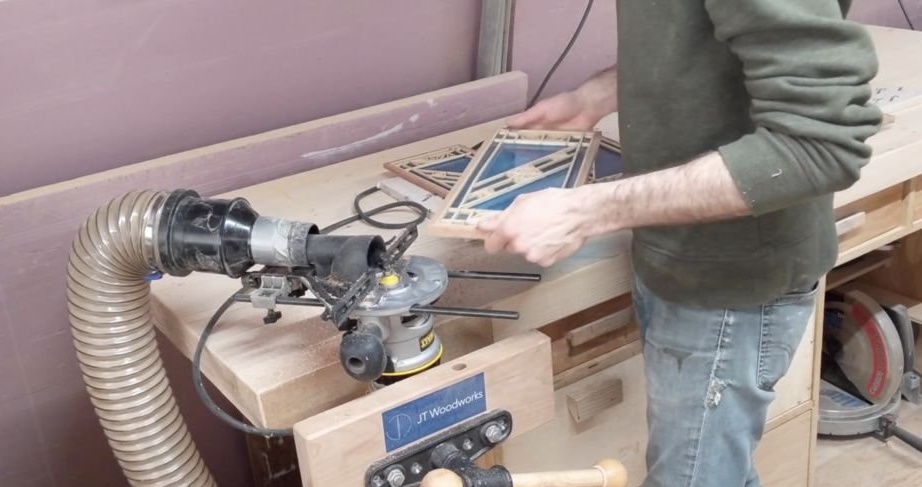
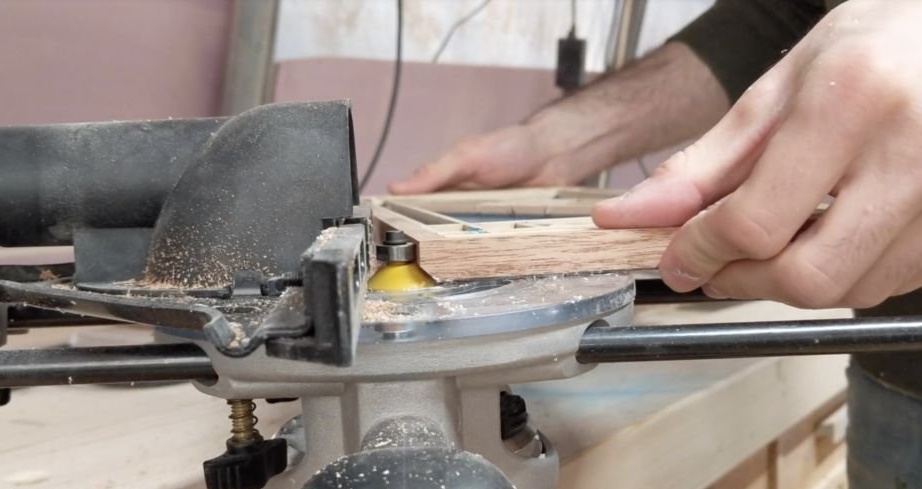
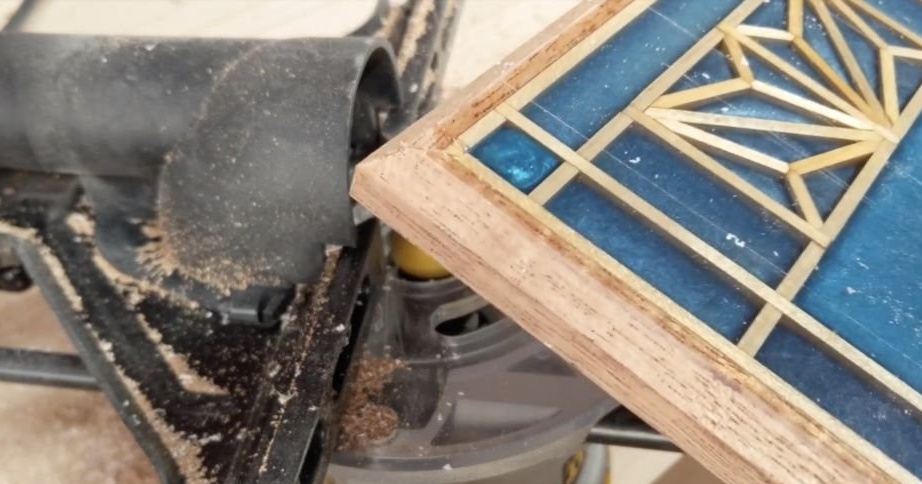
Next, the master cuts the chamfers on the back of the long sides and one of the short panels. This short side will be the bottom of the lamp, and the long sides will be glued to other panels.
To perform this work, the master turned the router upside down and tightened it in a vise, setting 6 mm. cutter.
Step 9: Attaching the Lamp Base

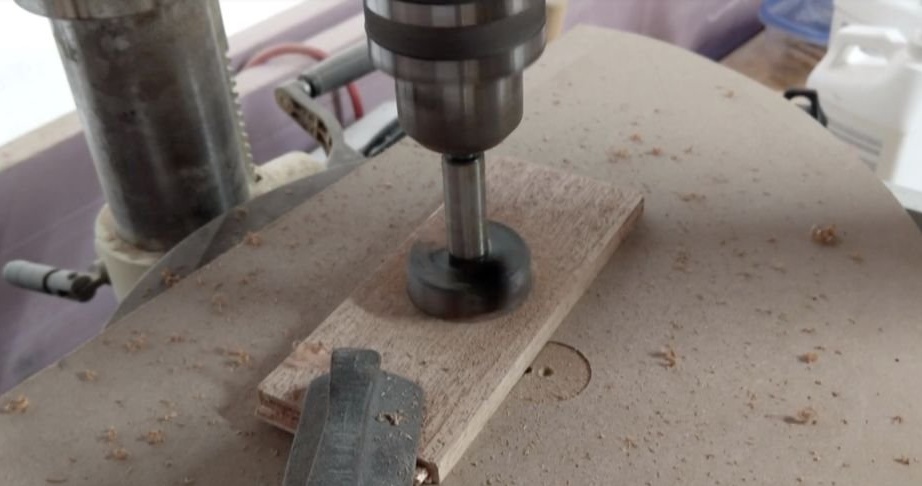

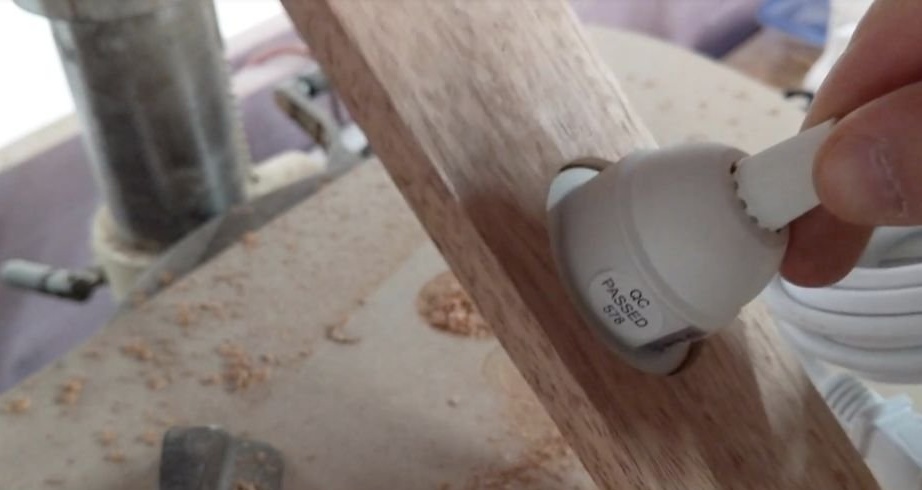
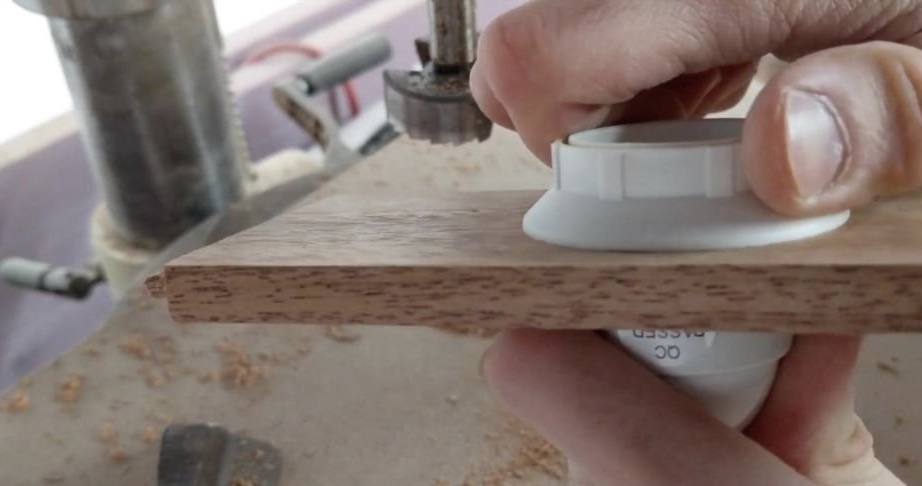
The master cut off the upper part, where the cartridge will be mounted, in length, using a table saw and a transverse slide with a locking block to precisely cut the spikes at the ends of these parts. Then, in the center of the part, he drilled a hole for the lamp holder.
The master drilled this hole with a Forstner drill in a drill stand.
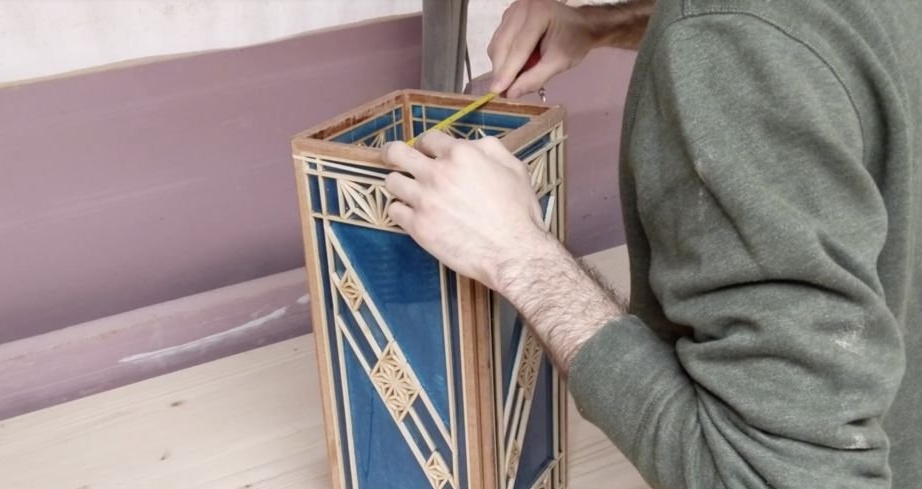
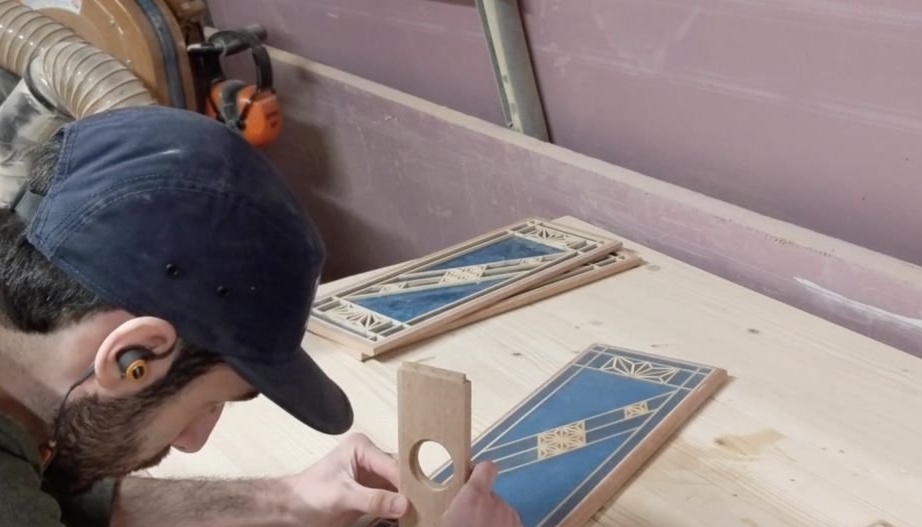
Step 10: Panel Groove
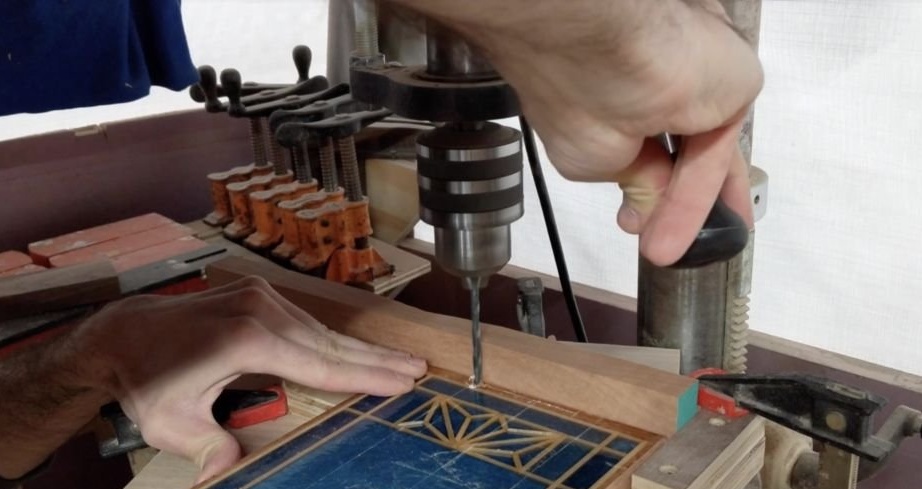
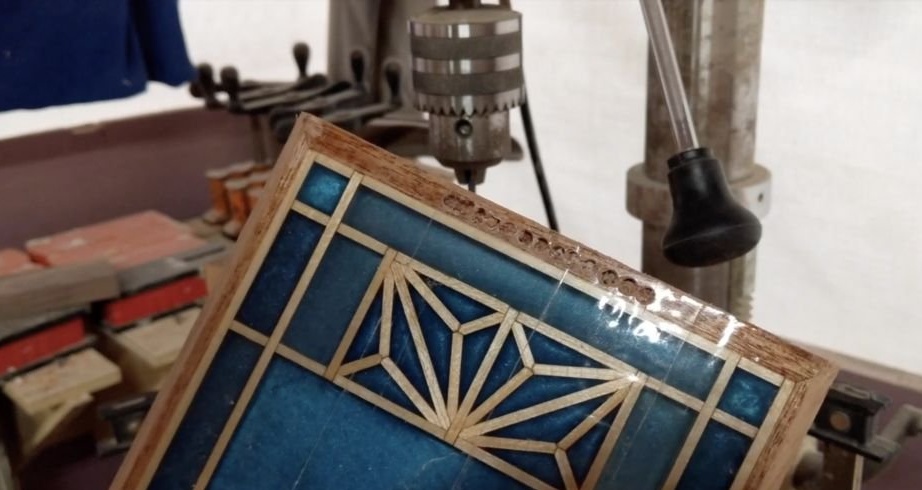
Using a drill stand, the master drilled most of the groove in a frame of two panels. Then he evened the sidebar with a chisel.
Step 11: Grinding
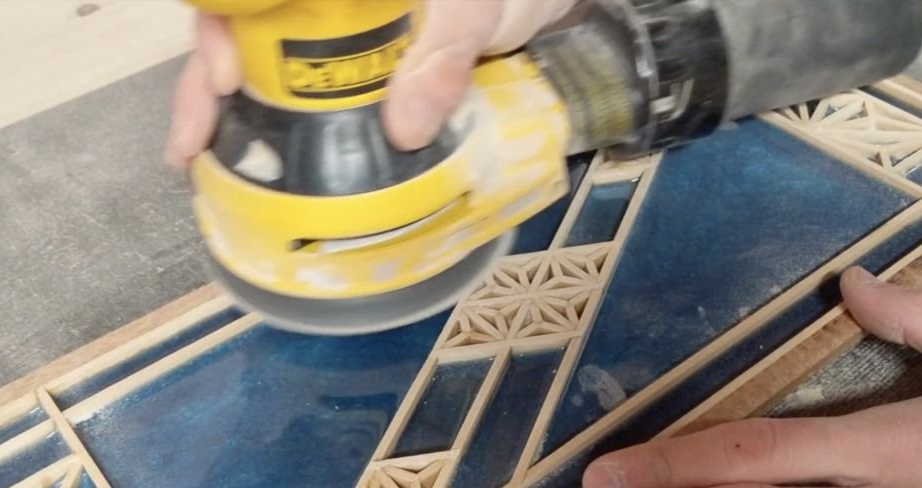

Before assembling the luminaire, the master polishes the front and back of the panels to remove any irregularities between the wood and epoxy. He sanded an epoxy resin with a grain size of 120 units, which left a rough surface. This helps to diffuse light through the epoxy.
Step 12: Build
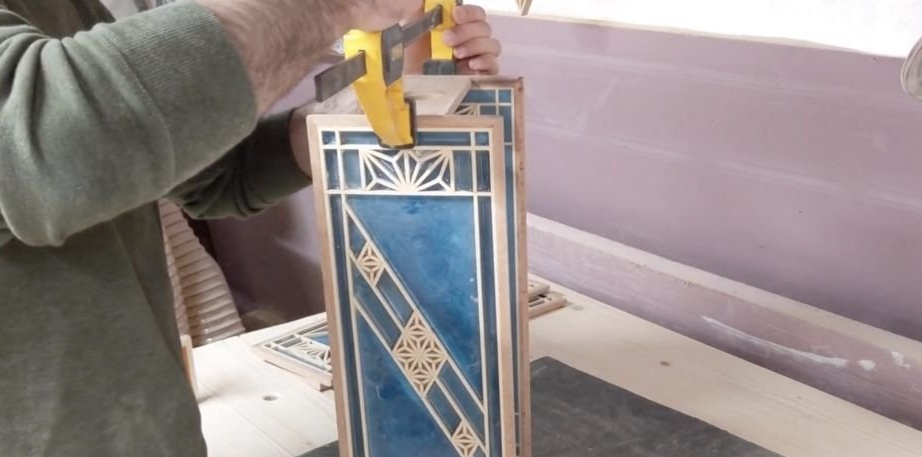
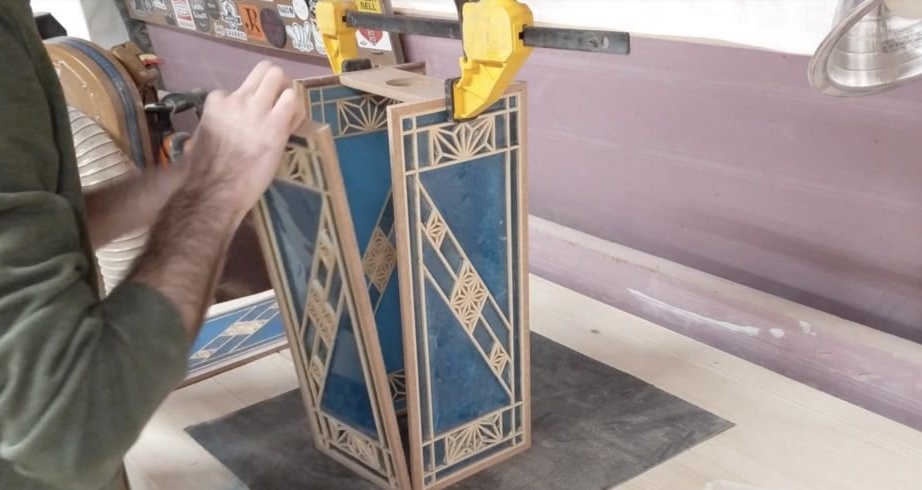
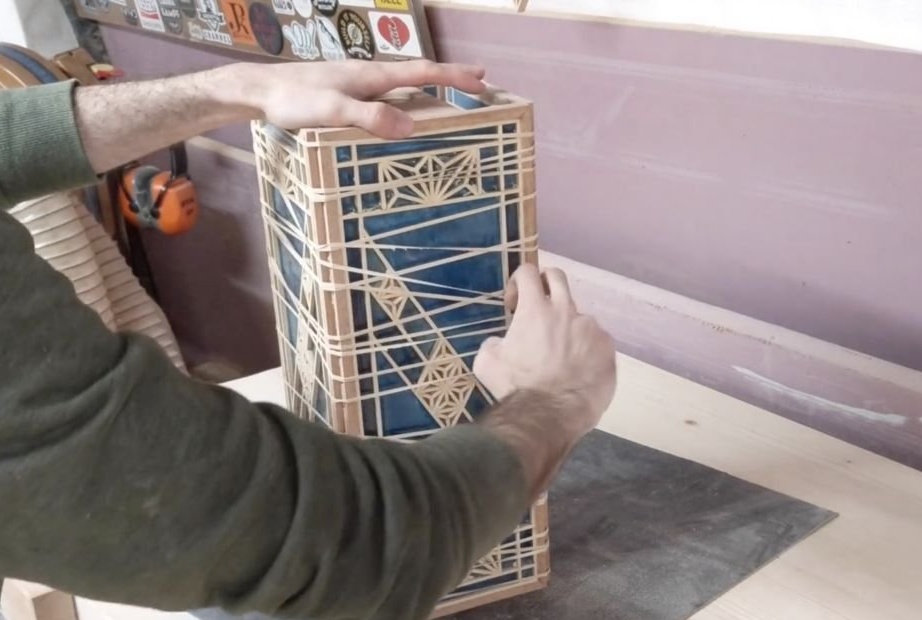
At the very beginning, it is necessary to glue the part for fixing the lamp base in the grooves. Then, as a temporary support, a clamp is installed on top. Then, on the chamfers of the remaining parts, glue is added and the entire structure is fastened with rubber bands. The master used Gorilla brand wood glue because it dries quickly and is not visible if it protrudes slightly.
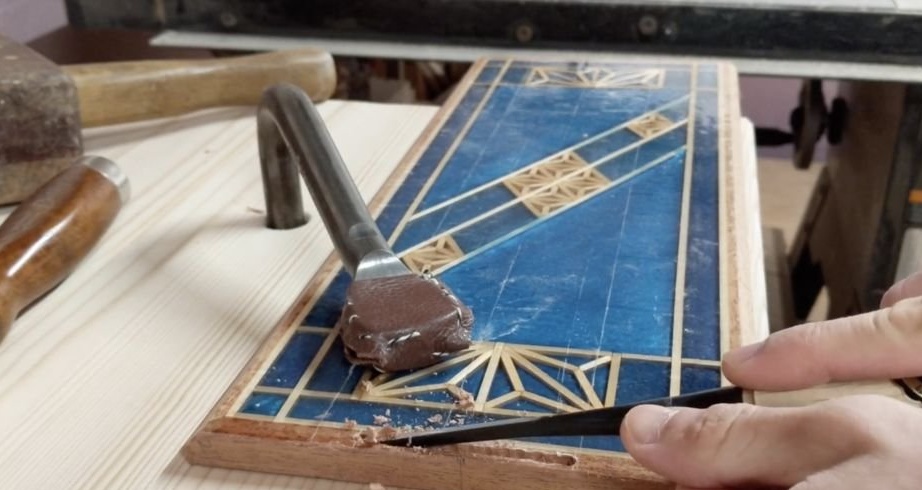
Step 13: Finishing up
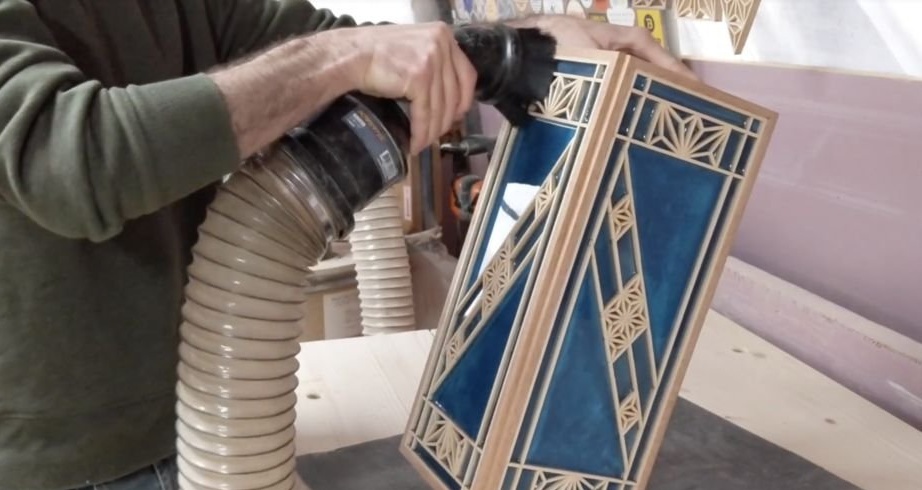
As soon as the glue had dried, the rubber bands were removed and the dust was removed with a vacuum cleaner. As a finish, a spray varnish was used, with a focus on mahogany to emphasize the rich orange color.
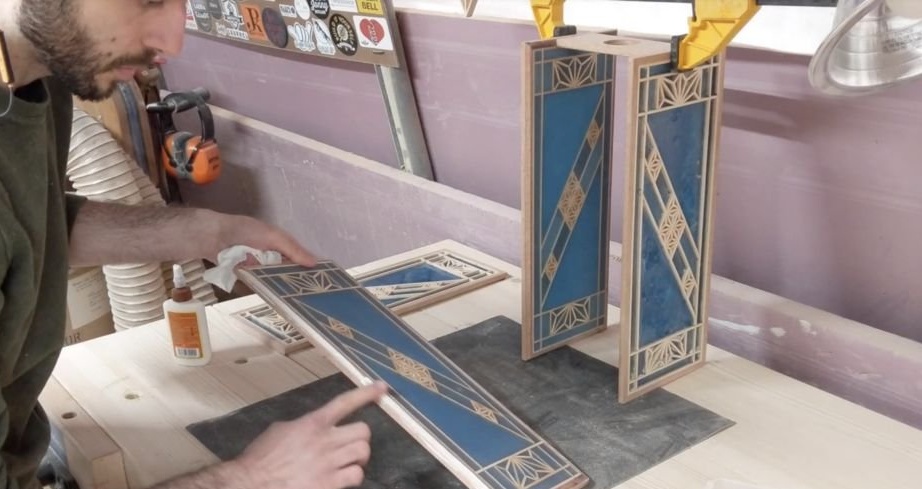
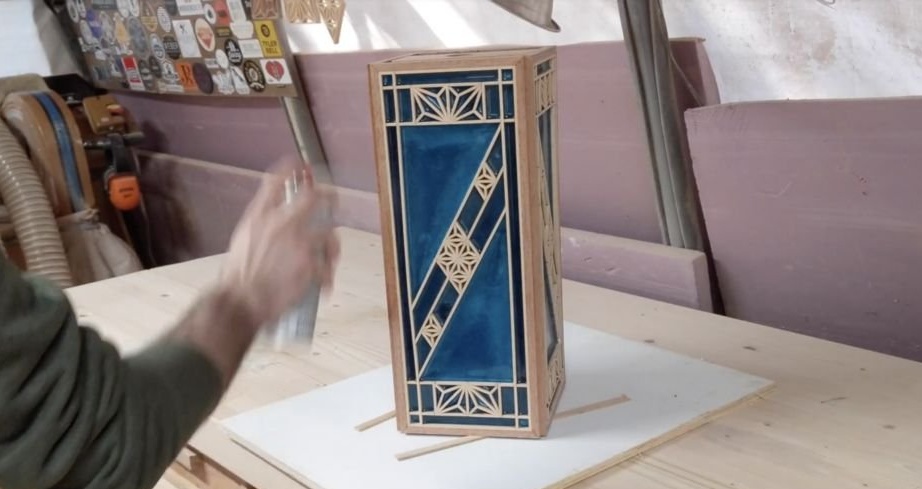
Step 14: Finish
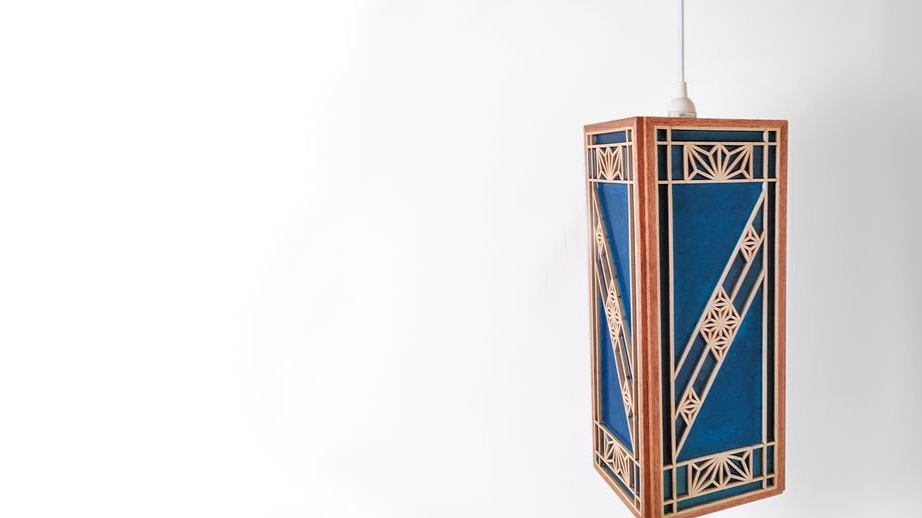
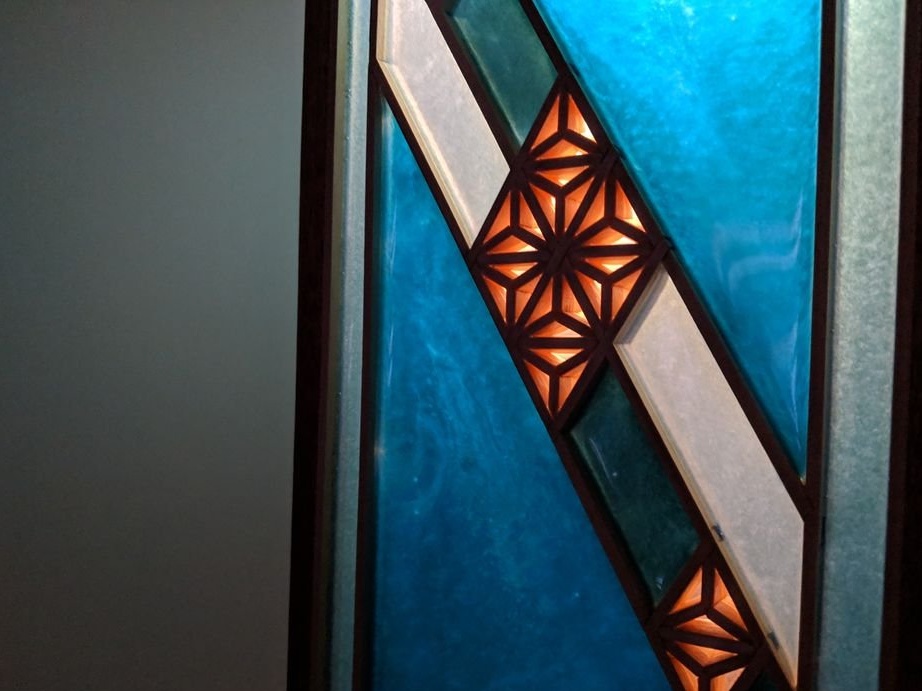
When pouring epoxy resin, the master decided not to add epoxy to the diamond sections that are in the middle. In this way, more light will pass and it will highlight warm wood tones on the cool blue epoxy material.
The manufacturing process of the Kumiko lamp you can see in the video below: