
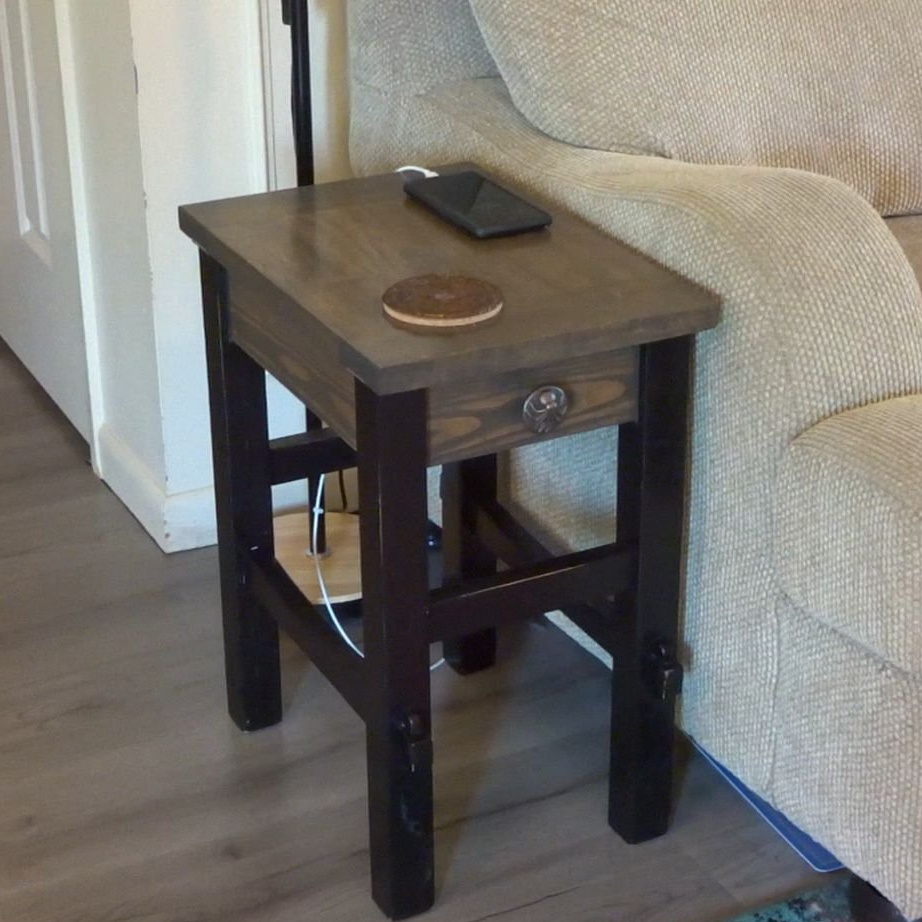
The master needed a bedside table to take a small place at the end of the sofa. He was going to make it from scratch, but then he realized that you can use a broken bar stool, which he was going to throw away. He was in pretty bad shape and was repaired many times. However, it was made from solid hardwood.
Materials:
- An old Thai chair made of rubber wood;
- pine board;
- Furniture handle;
- epoxy resin;
- plywood 3 mm;
- gray and black paints;
- Deft semi-gloss varnish;
- screws 31 mm;
- patch loops;
- Furniture handle;
- chain;
Instruments:
- table saw;
- table jigsaw;
- milling machine;
- mallet;
- planing machine;
- clamps;
- conductor for countersunk corner holes;
- orbital sander;
Step One: Dismantling a Broken Chair
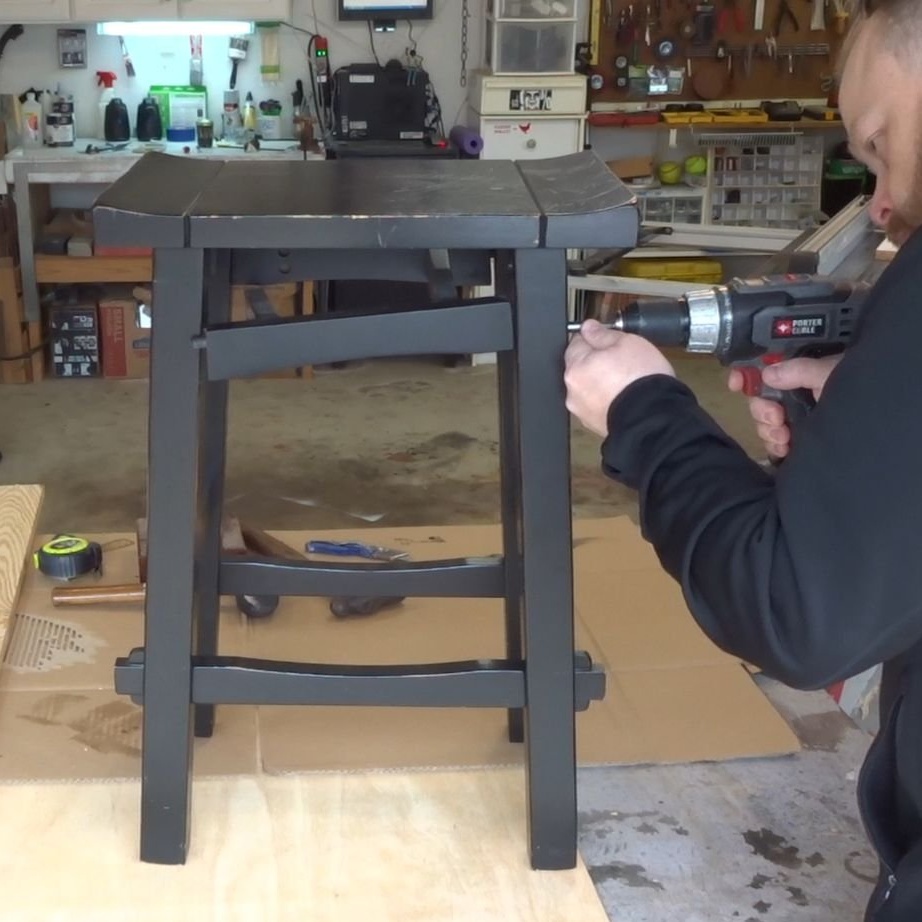
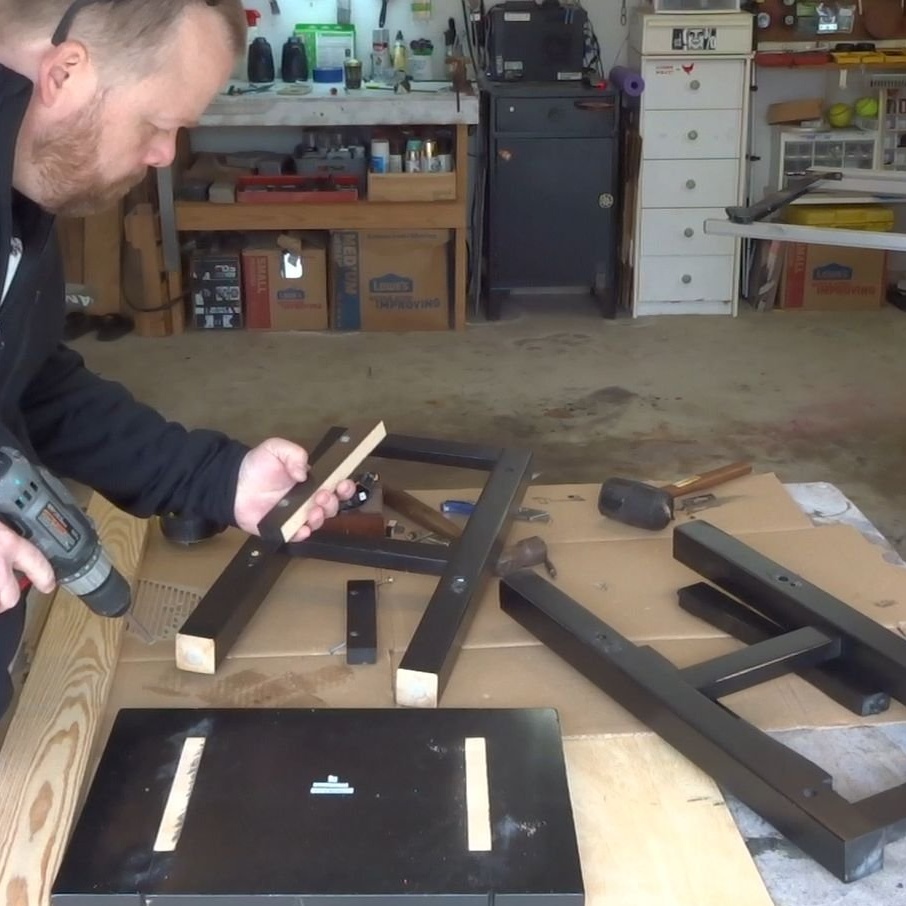
Like most factory of furnitureThis stool was fastened with screws, hex bolts, cam locks and wall plugs. One drill with the appropriate bits and a mallet is enough to take it all apart.
Step Two: Aligning the Chair Seat
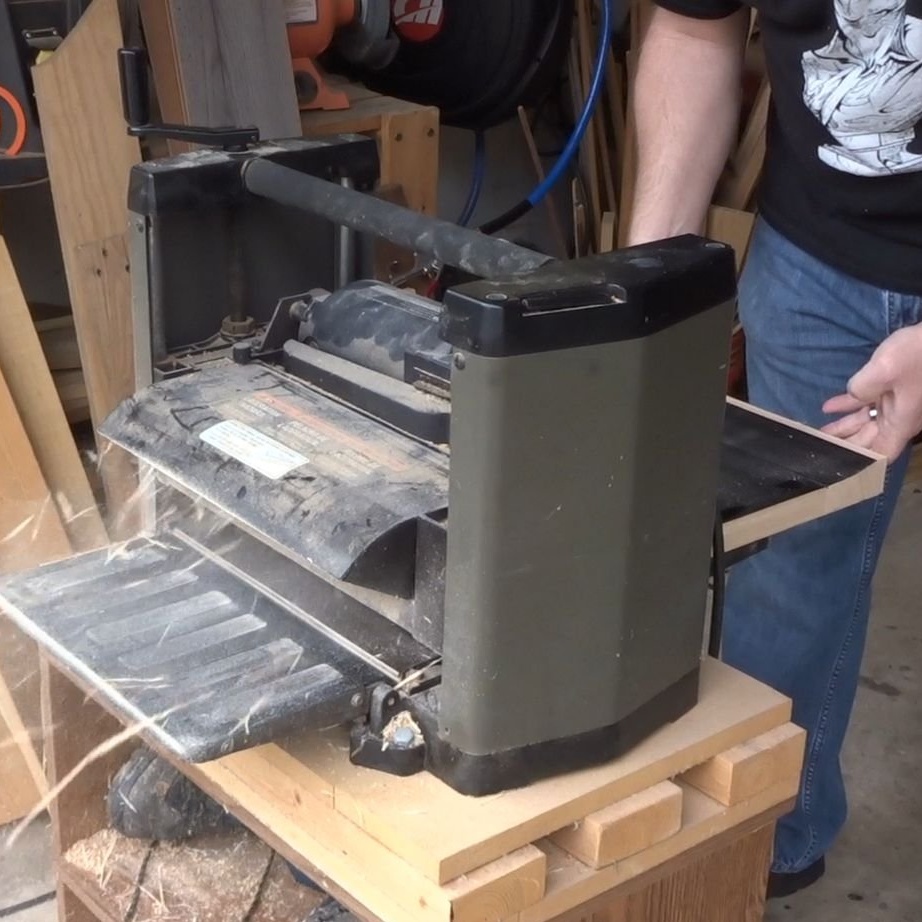
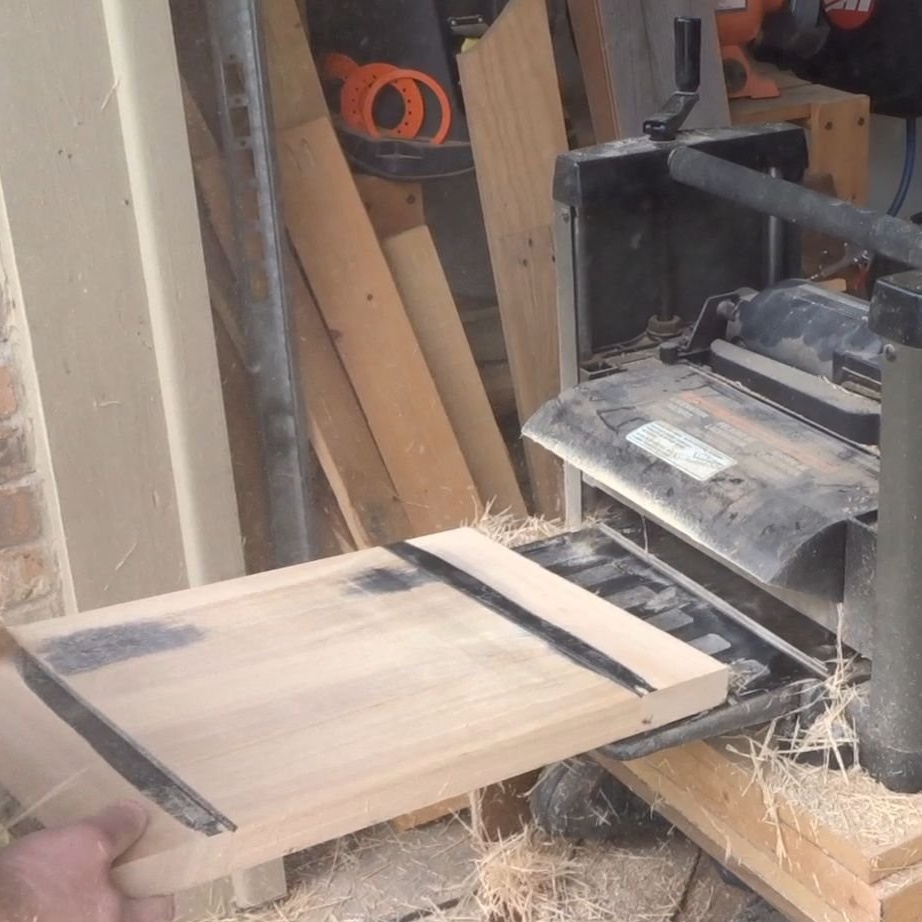

The craftsman used a planer to level the chair seat and remove paint. It took a little time and several passes.
The master did not know what kind of wood it was. In addition, she was heavy in weight. It was labeled “Made in Thailand,” so he explored different types of wood in the area. After studying, he came to the conclusion that this is a rubber tree.
Step Three: Adjusting Height and Angles
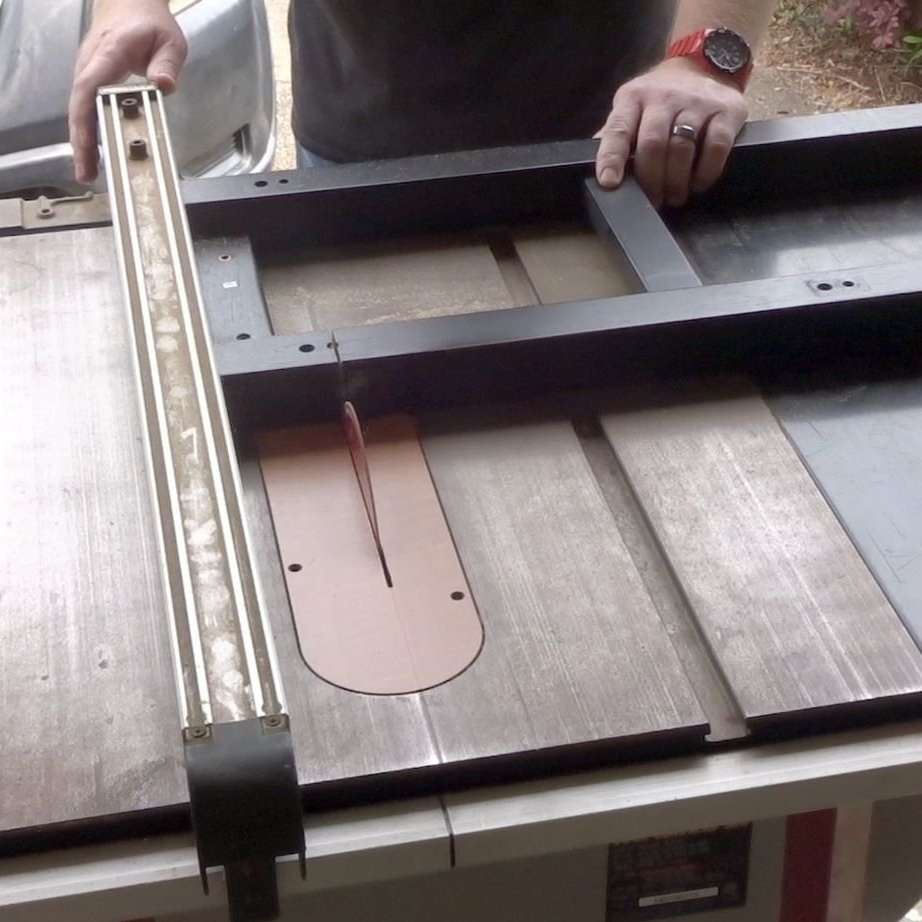
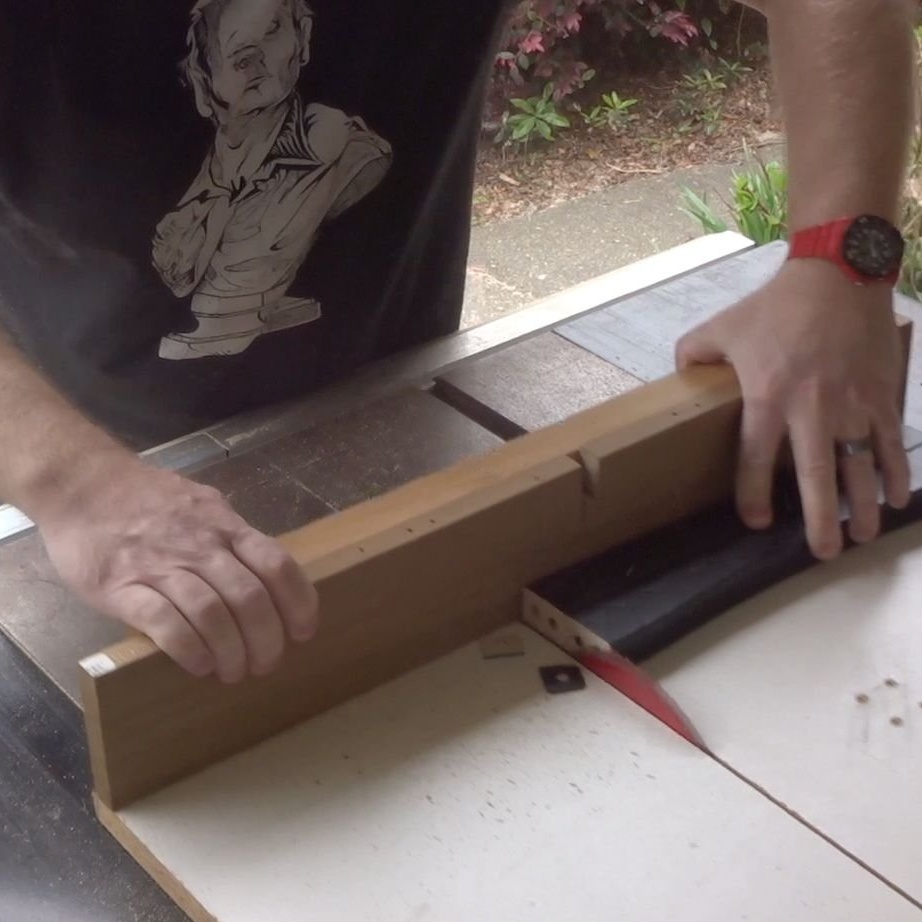
The master needed to trim the height of the chair so that the table was about the same as the armrest on the sofa. Using a table saw, he cut 7 cm from the top of each leg.
The bar stool initially had a small angle. The master pulled the remaining dowels from the sidewalls using pliers. Then applying a transverse slide, he cut the ends at 90 degrees, also making sure that they were the same length.
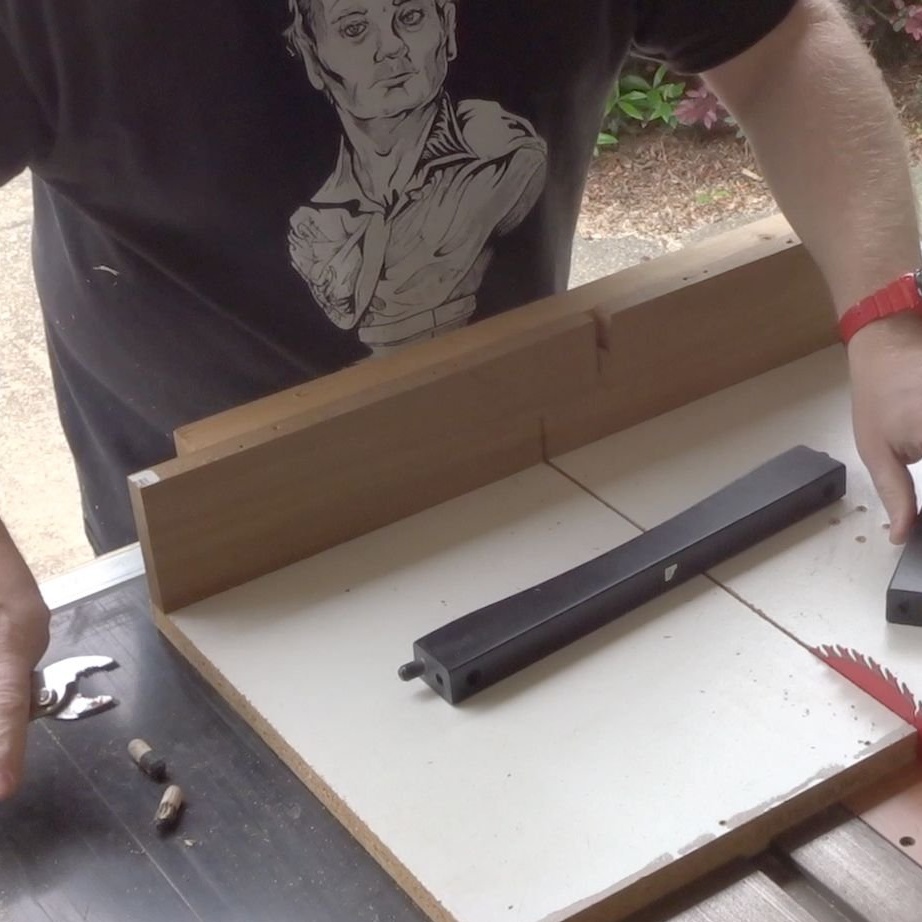
Step Four Creating the sides of a table
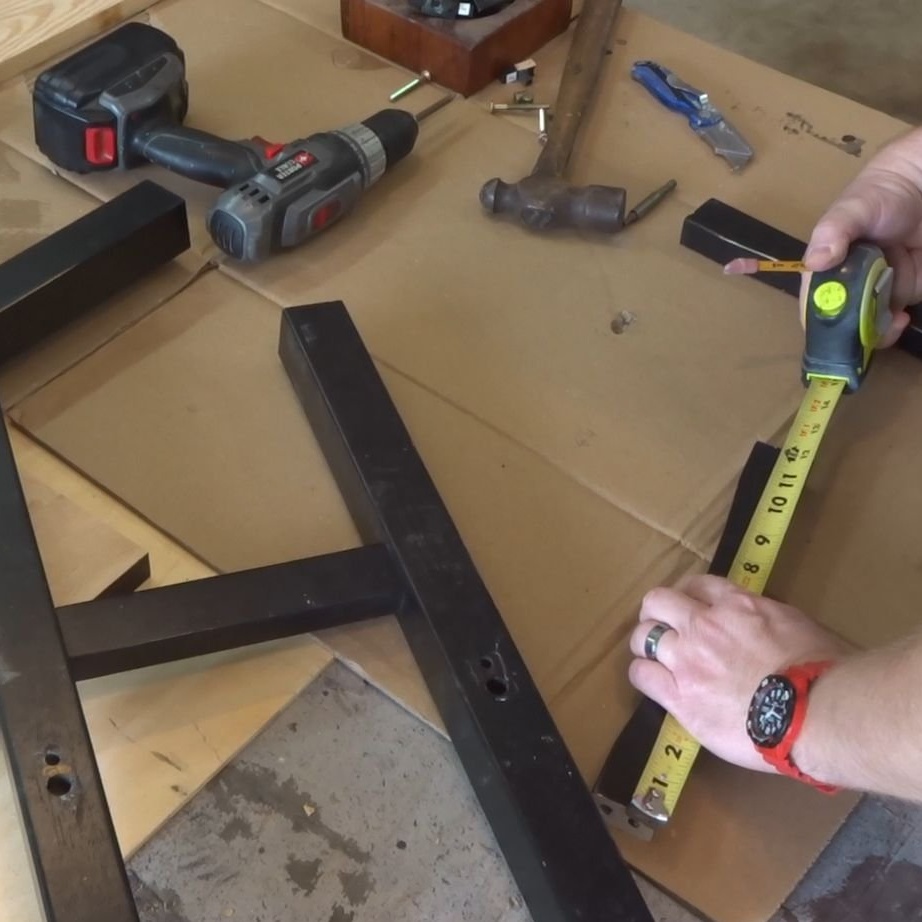
As the sides of the upper part of the table, the master used a 25 x 100 mm pine. He measured the cross members that connected the two pairs of legs and made identical blanks.
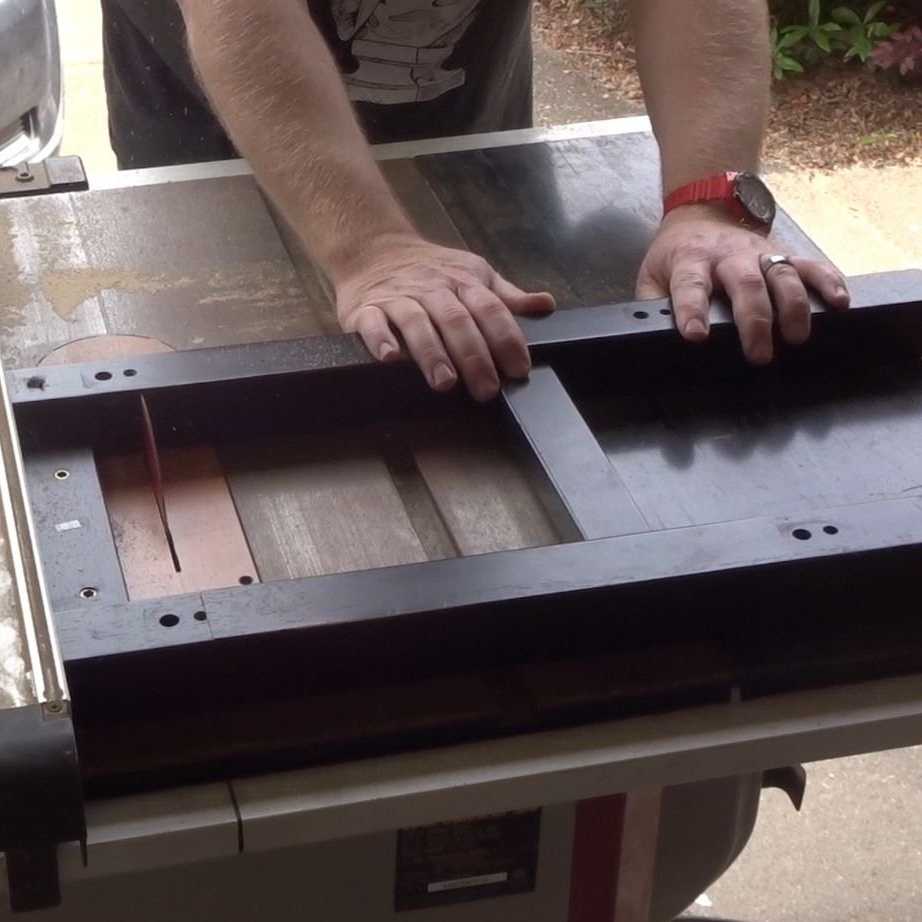
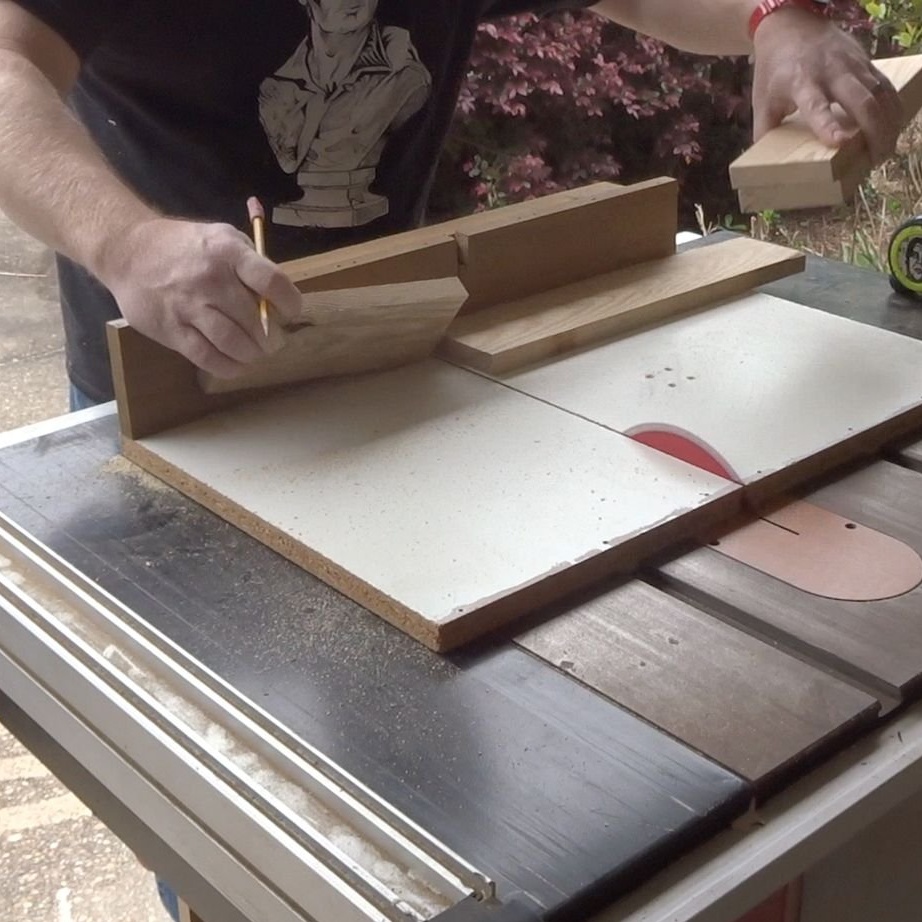
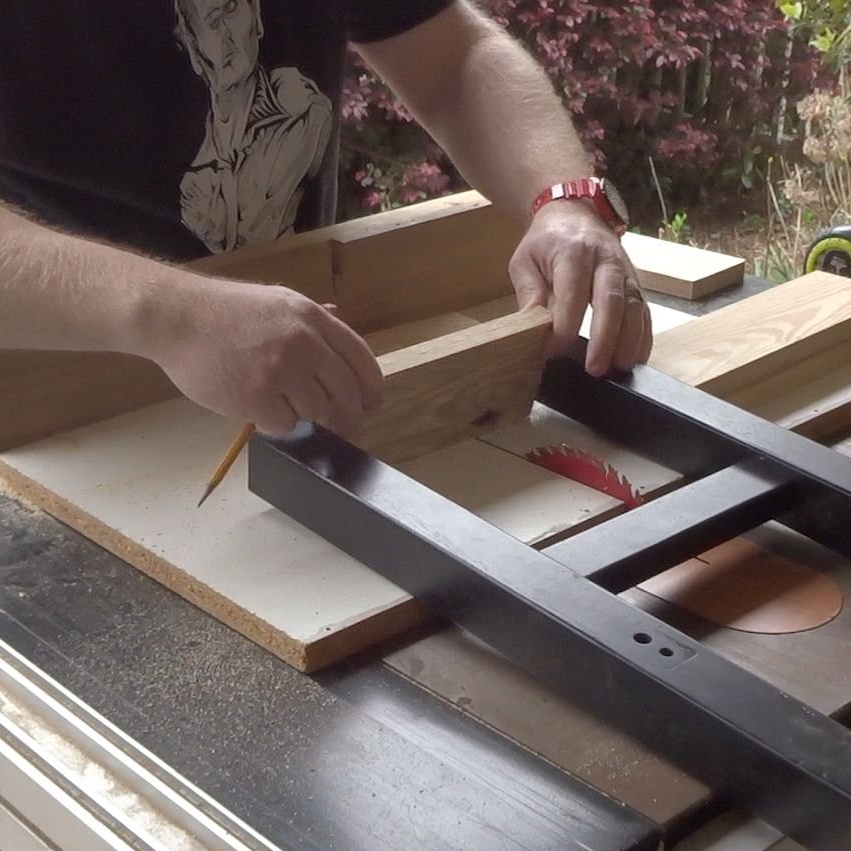
Step Five: Create Guides for the Storage Base
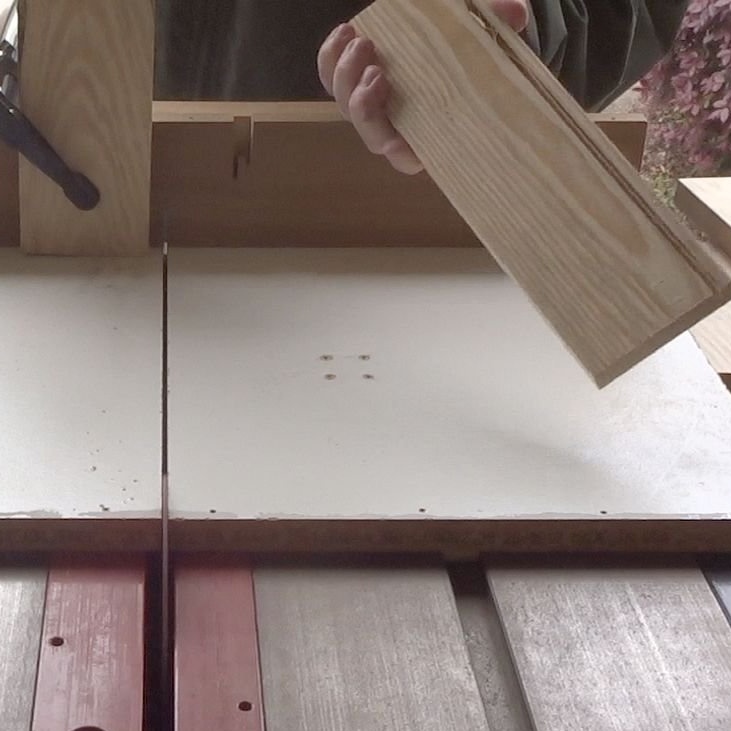
The craftsman needed to create a groove in each of the new side parts to support the plywood base for storage. He wanted to choose a groove 6 mm from the bottom of the sidewall.Using the transverse slide, he installed the locking block, clamping the part with clamps, at this distance from the saw blade.
The height of the table saw blade was set to 4 mm. He made 3 passes on each board, each time slightly moving the locking block and clamps. This helped to select a sufficiently large groove in every detail for the plywood base.
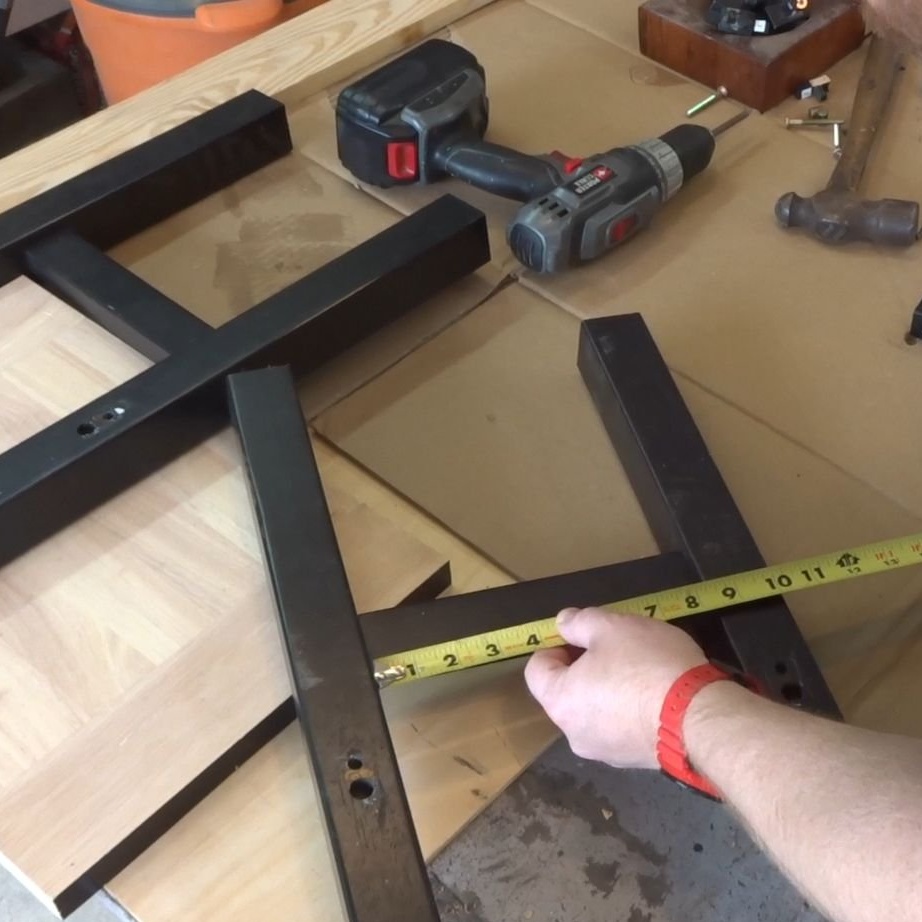
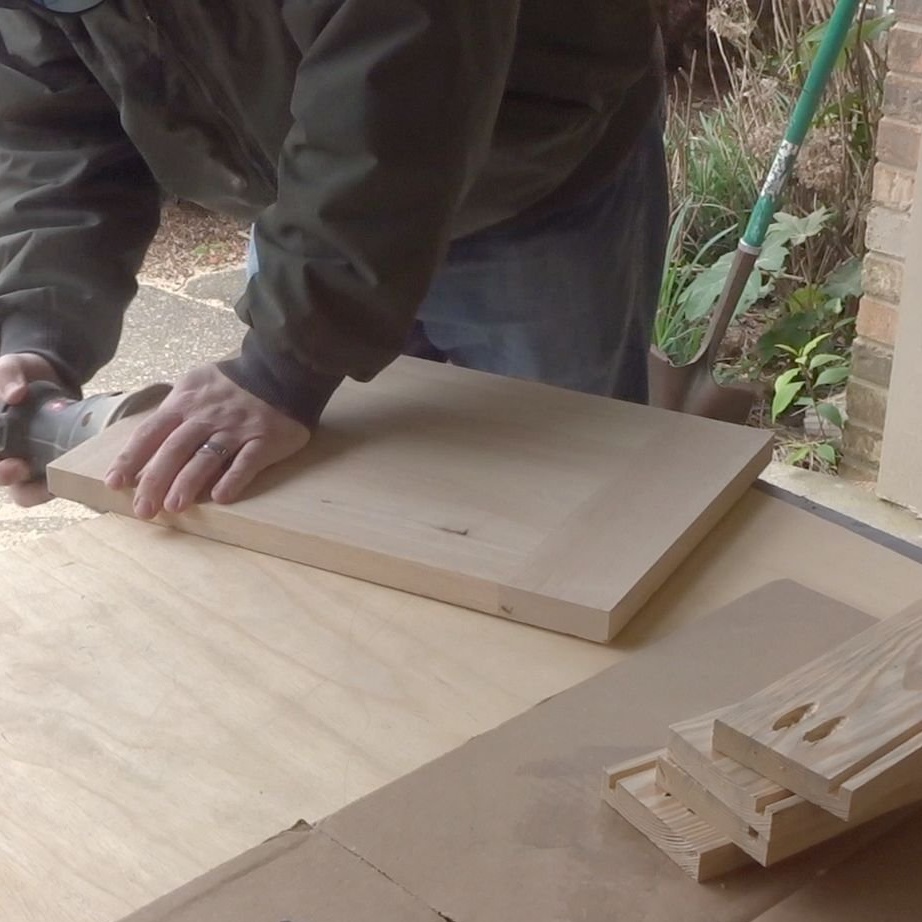
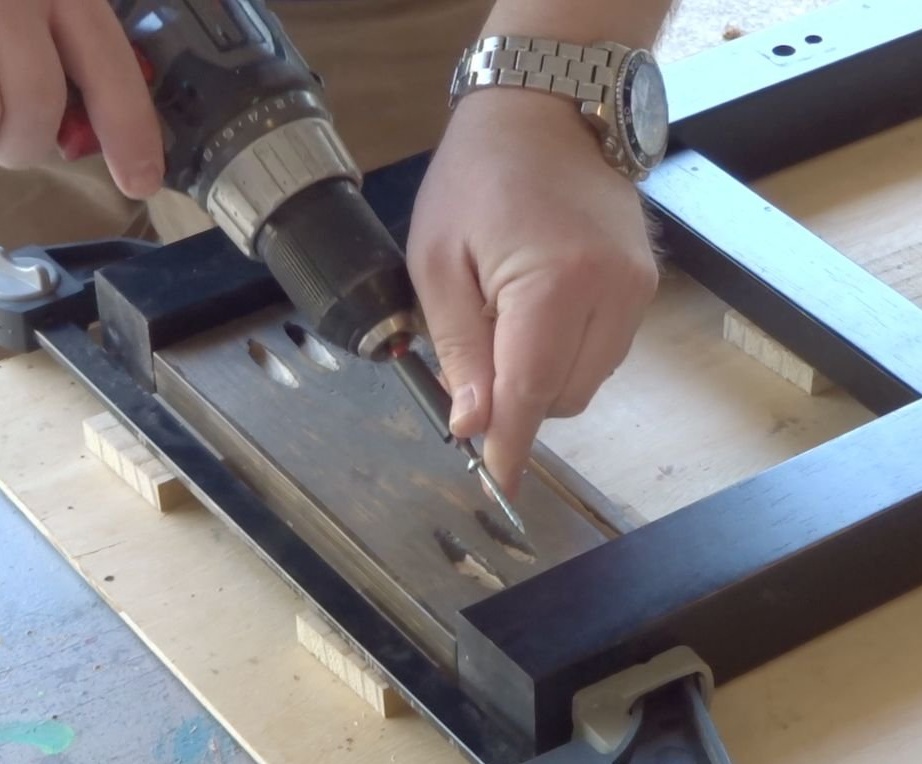
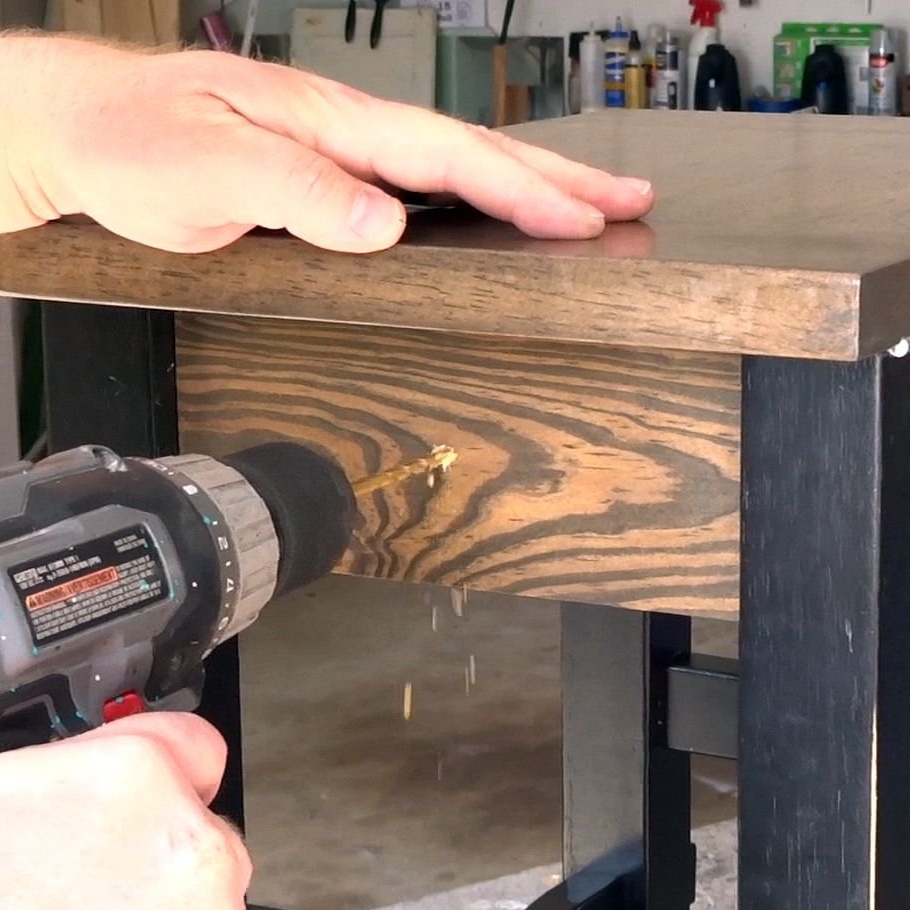
Step Six: Drilling angle holes and grinding
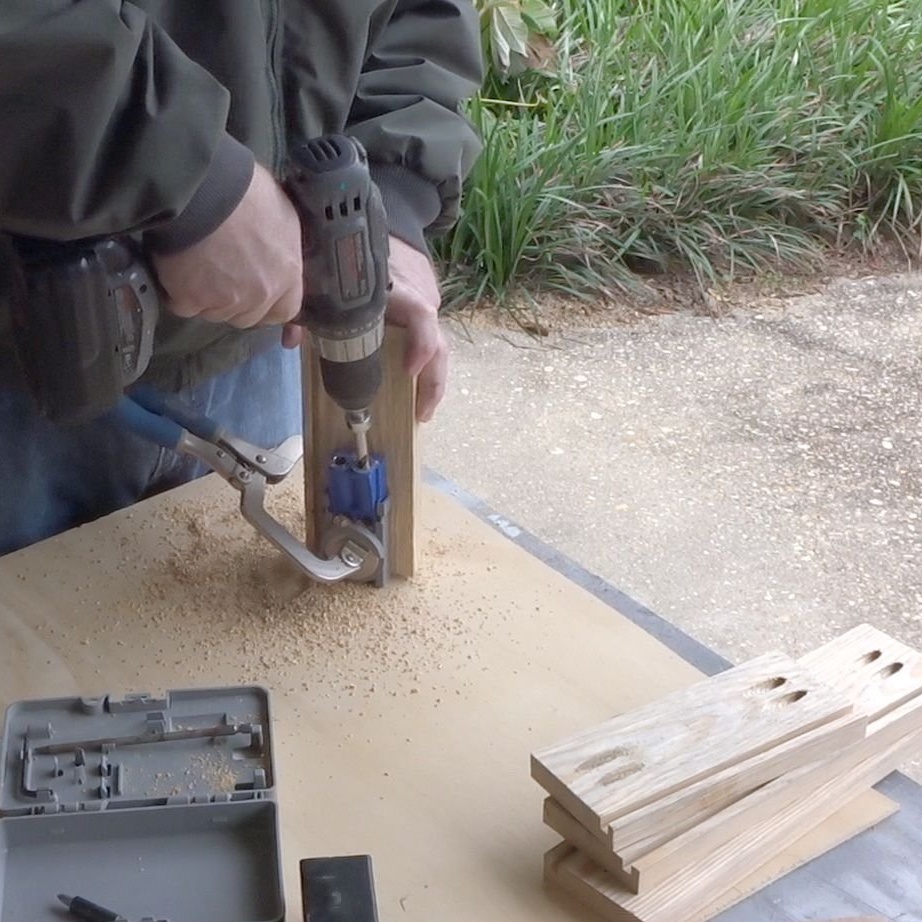
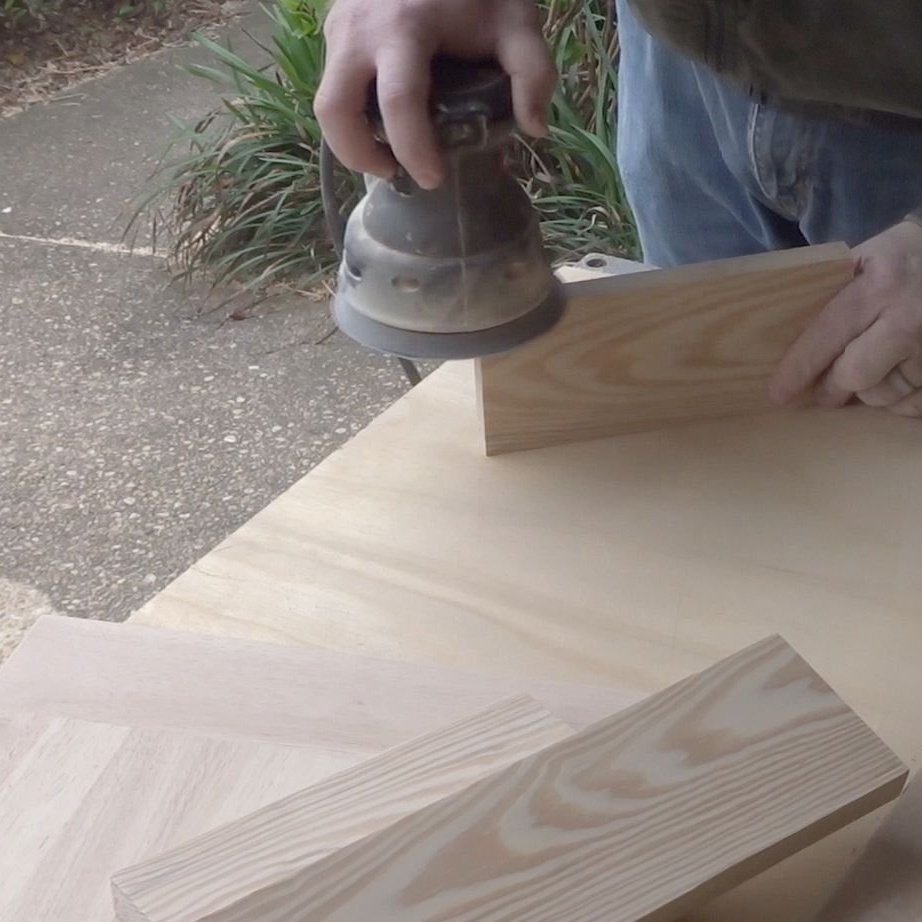
Now that we have all the details cut out, it's time to assemble them. The master used a conductor for countersunk corner holes.
Then the product was polished. The master began sanding with 120 grit sandpaper and finished with 220 grit sanding.
Step Seven: Painting and Finishing
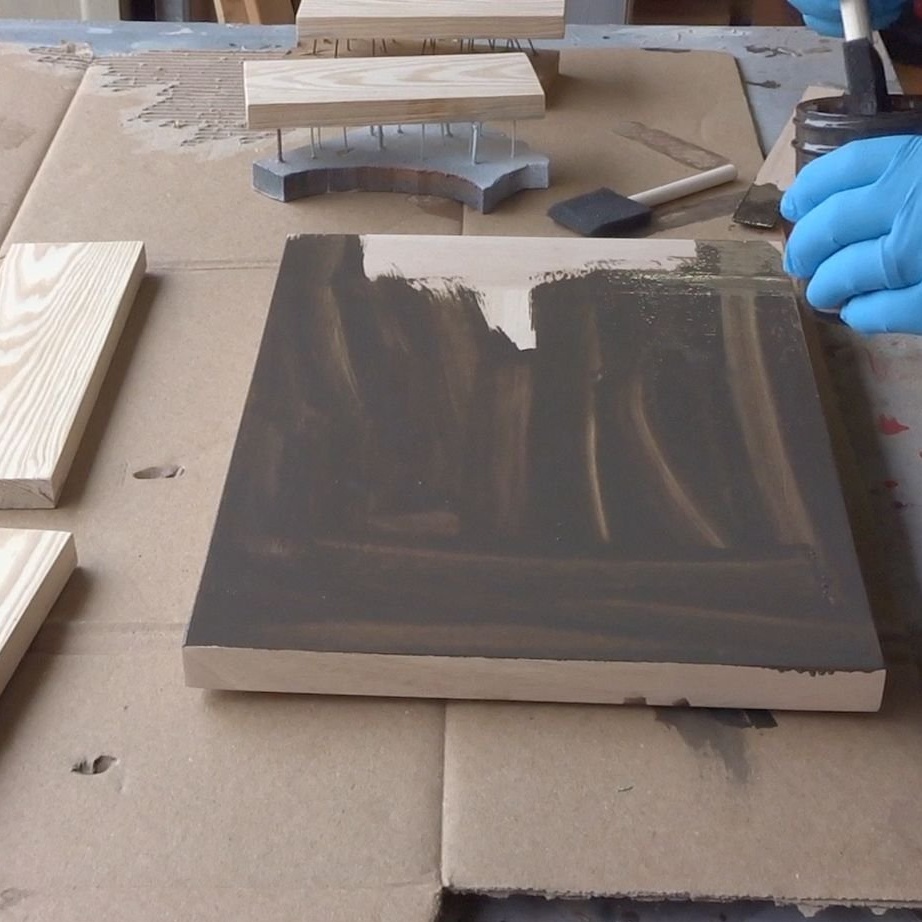
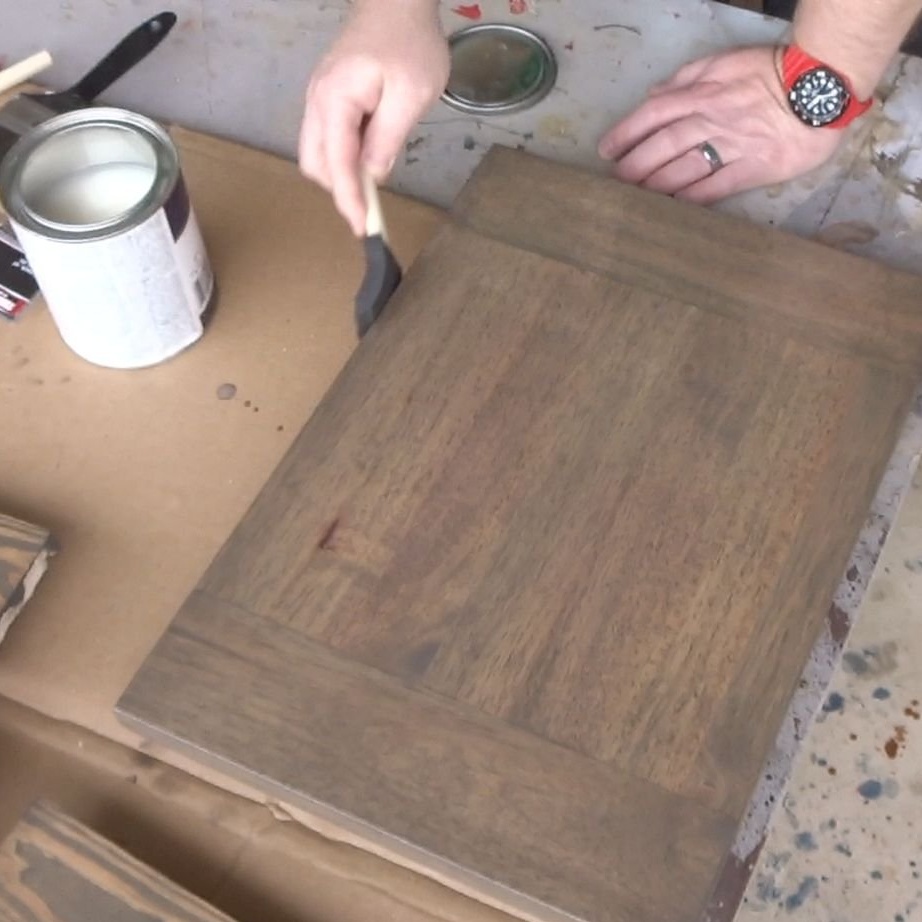
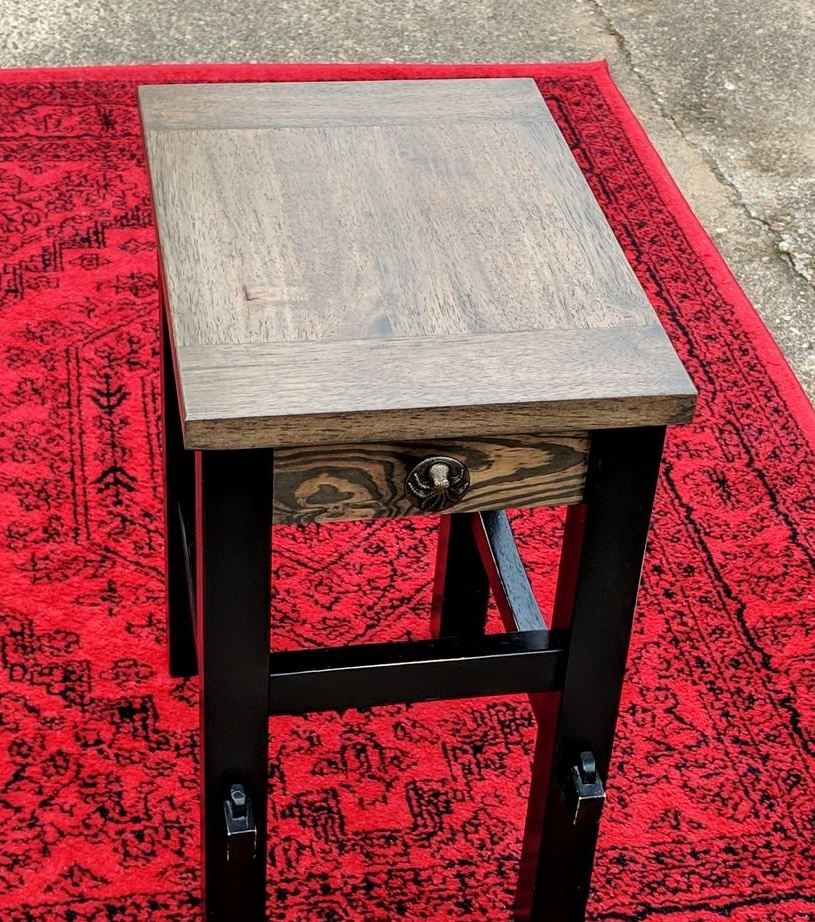
Initially, the chair was dark black. The master wanted on a new top to have a color that complements the original legs, and also contrasts well.
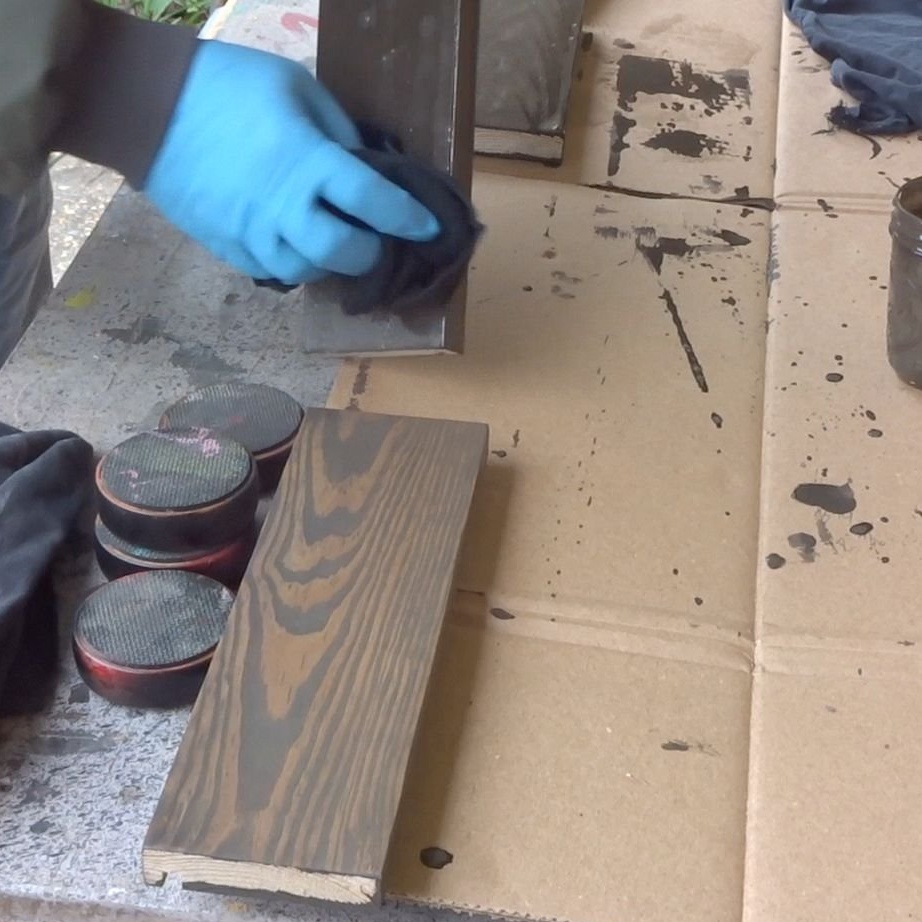
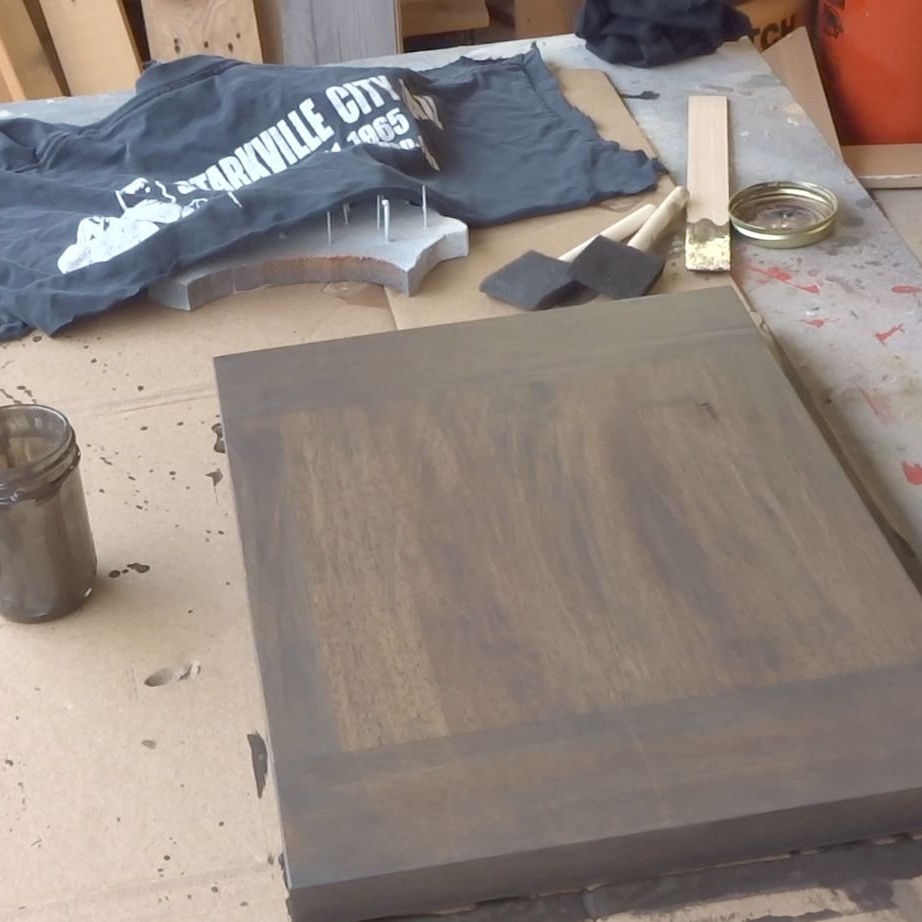
None of the paints that the master had available, he did not like. In the end, he used a classic gray color mixed with black to get a darker gray color. After removing the excess paint, the color between the two different species of wood seemed to be the same.
Then the master applied several layers of Deft semi-gloss varnish for finishing.
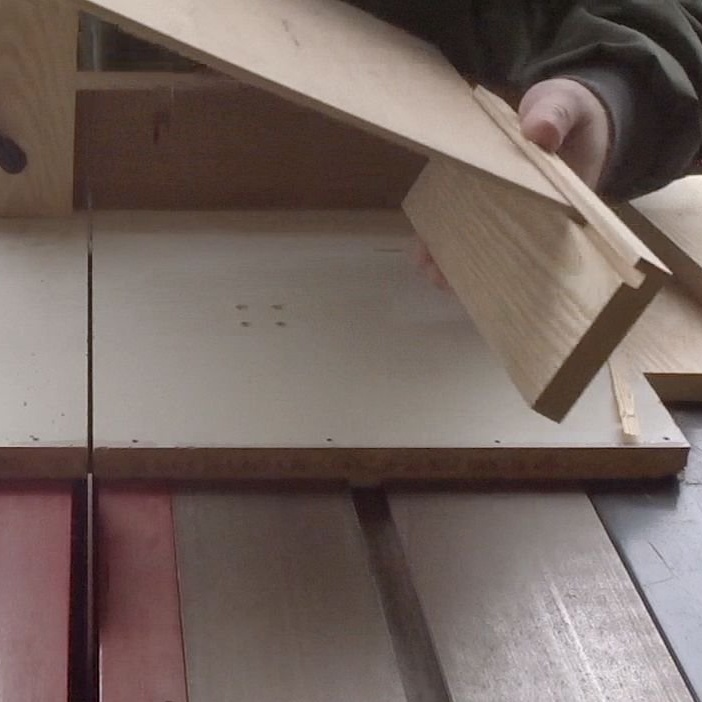
Step Eight: Making the Storage Base
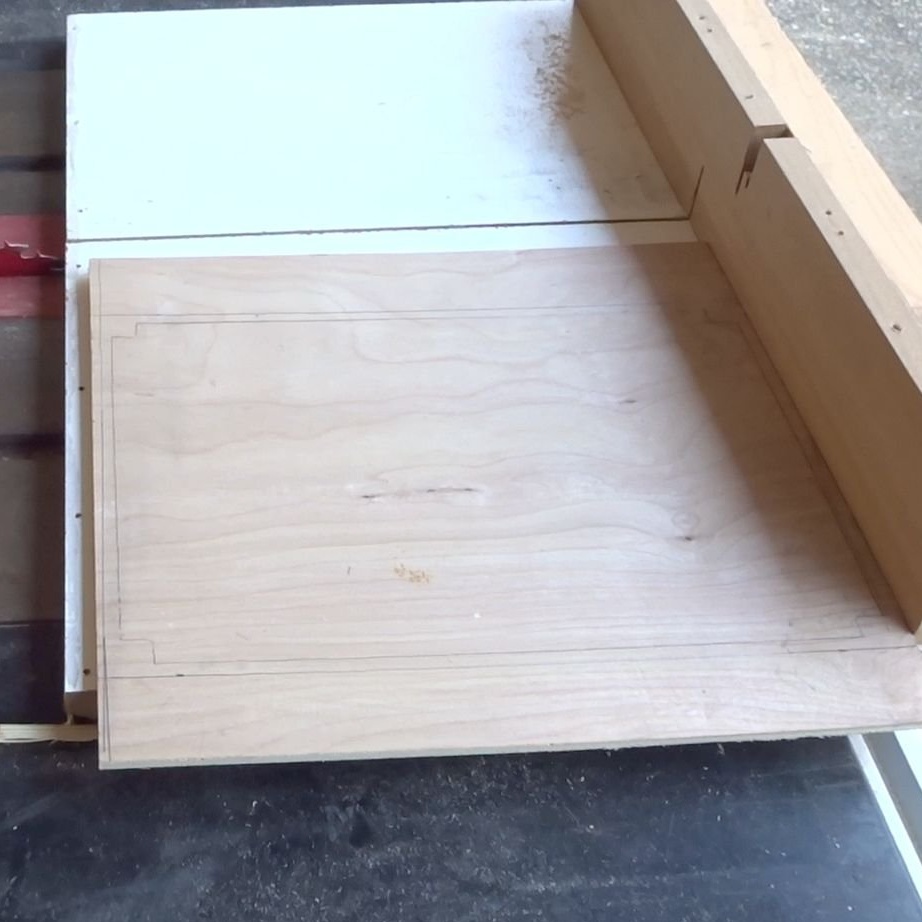
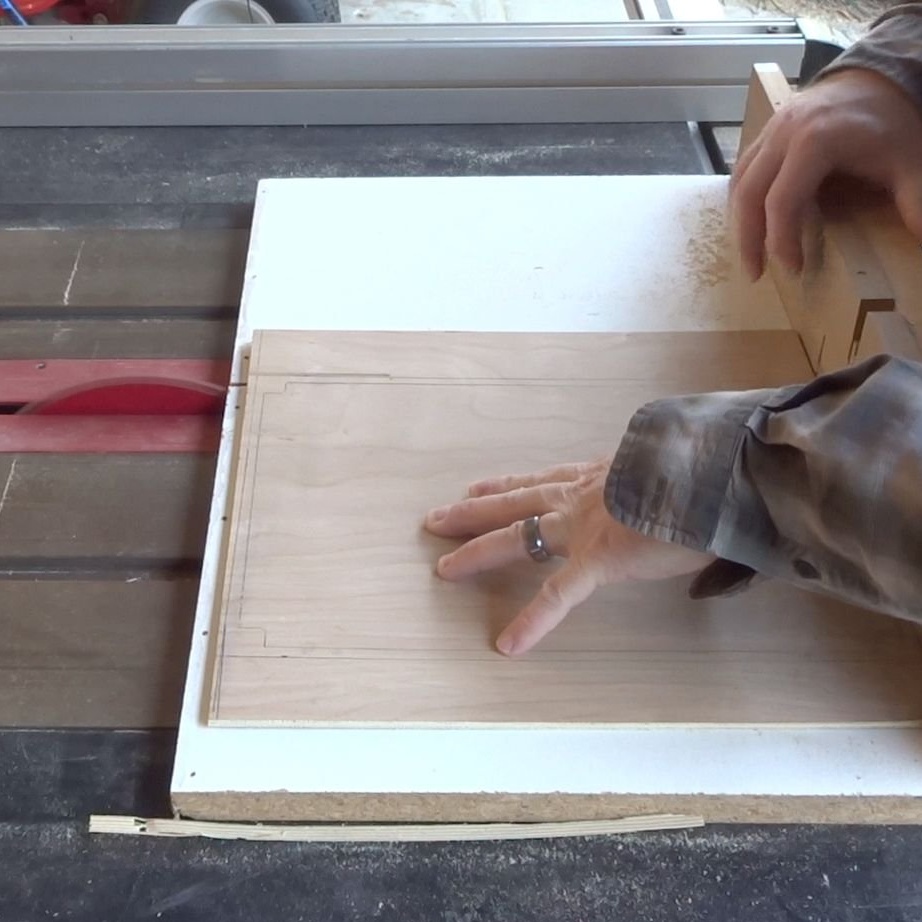
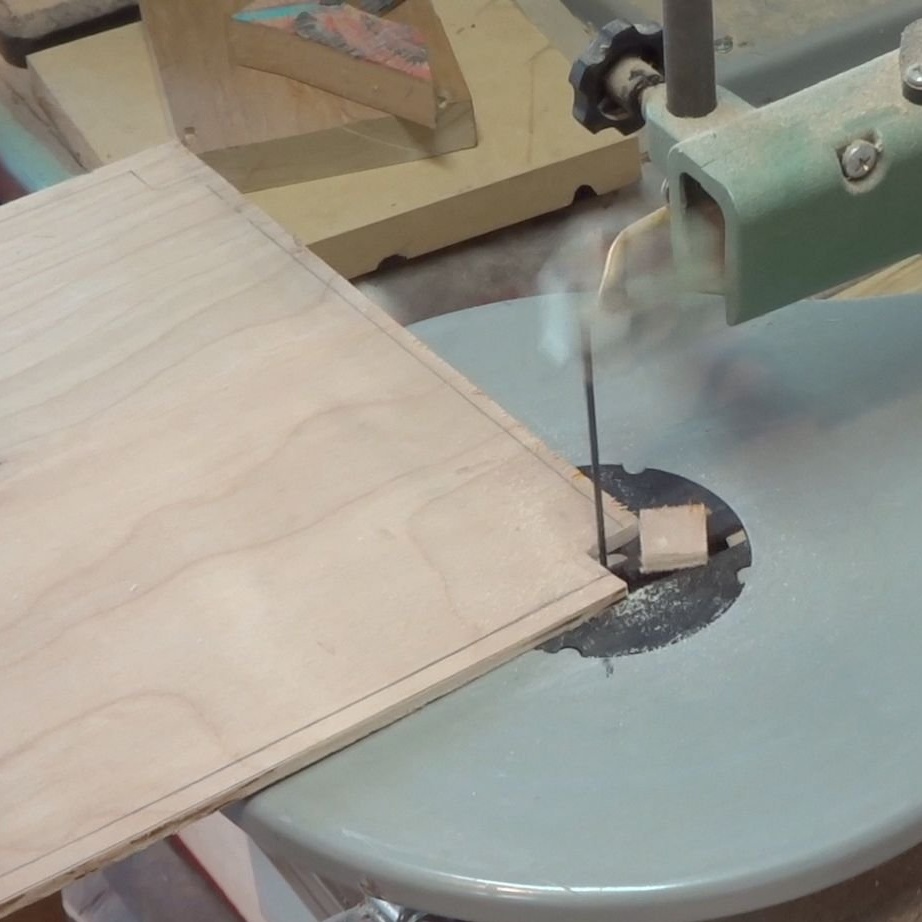
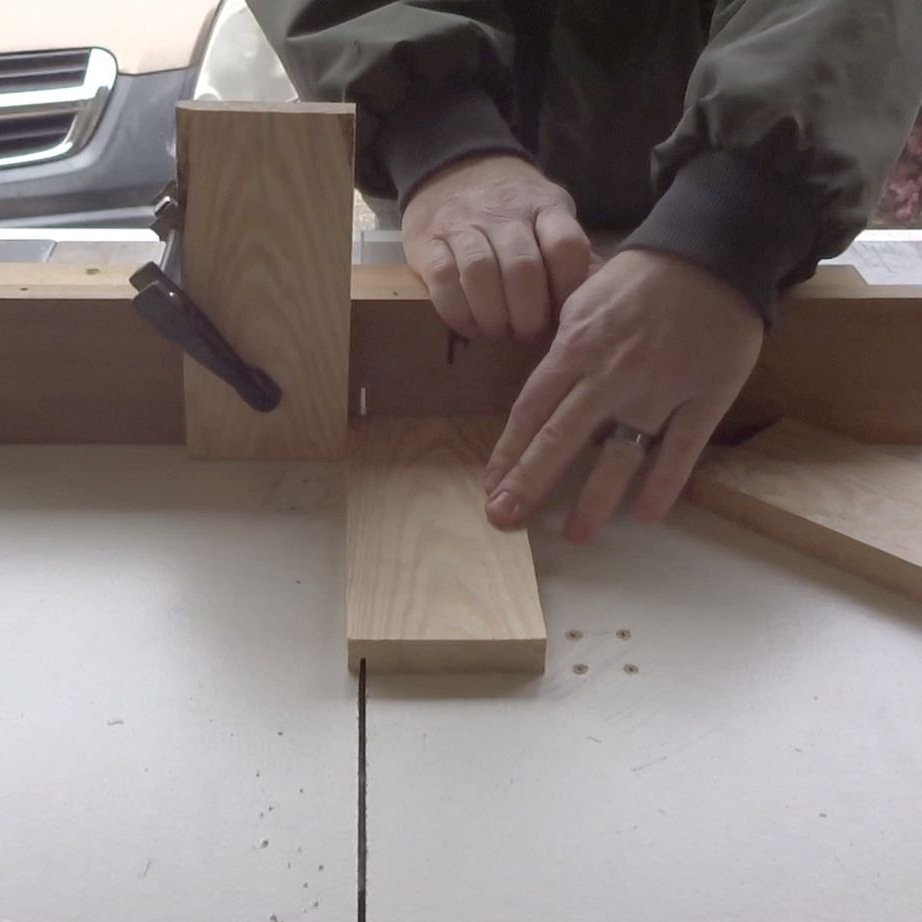
The master used 3 mm plywood as the basis for storage. He measured the width and length of the inside of the table. Then left additional space on each side of 4 mm.
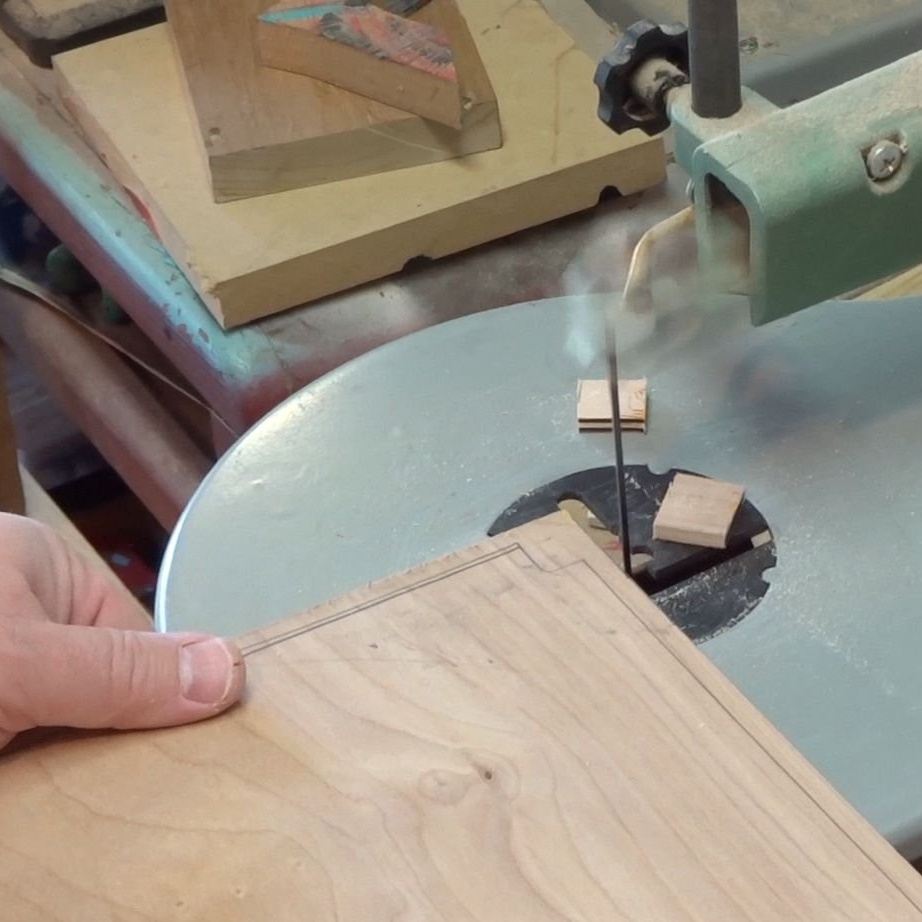
Then the master used a table saw to cut corners so that the plywood could fit near the inside of the legs.
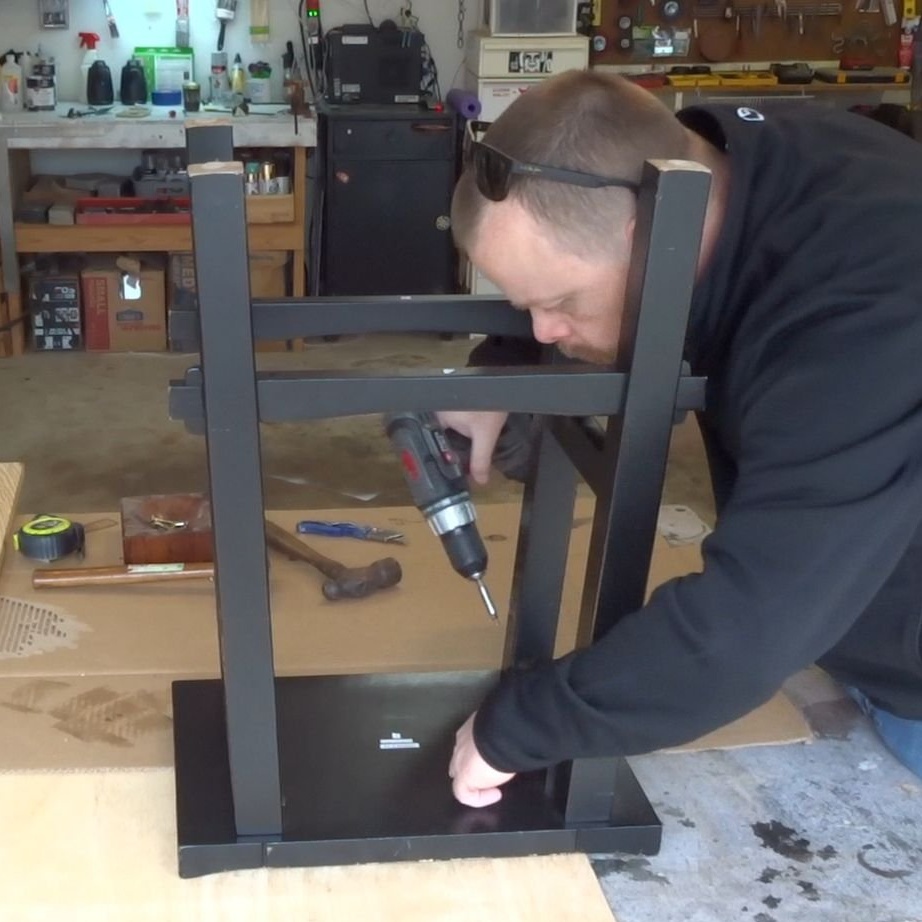
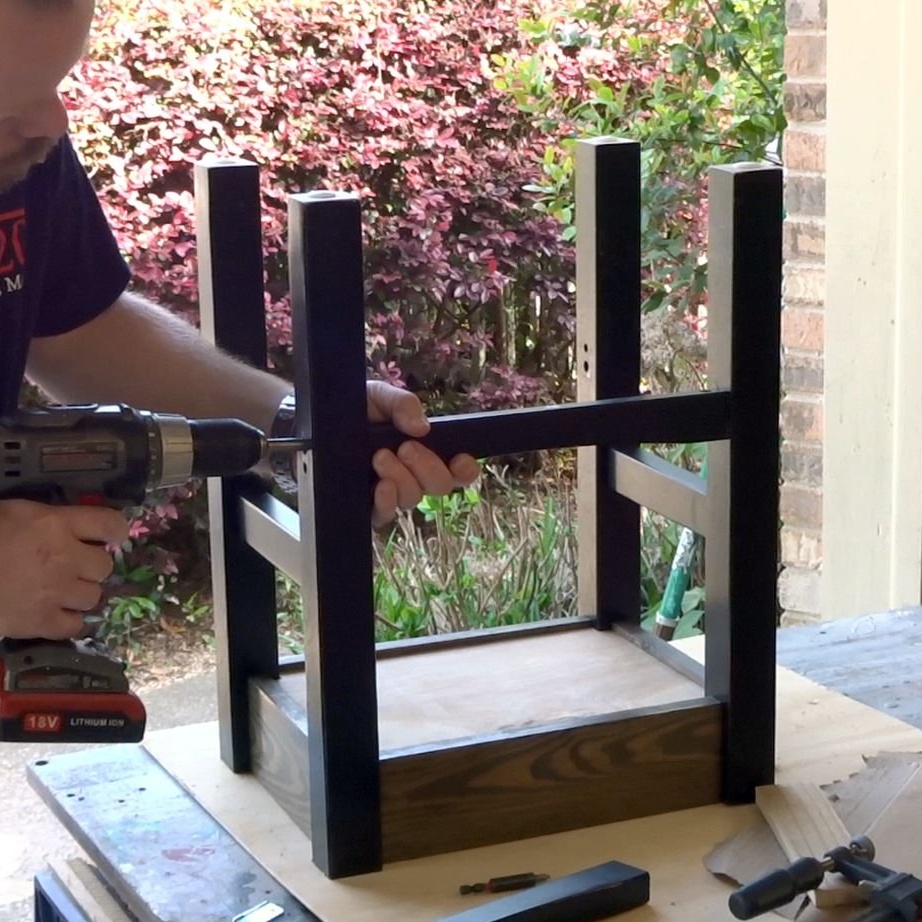
Step Nine: Assembling the sides and base
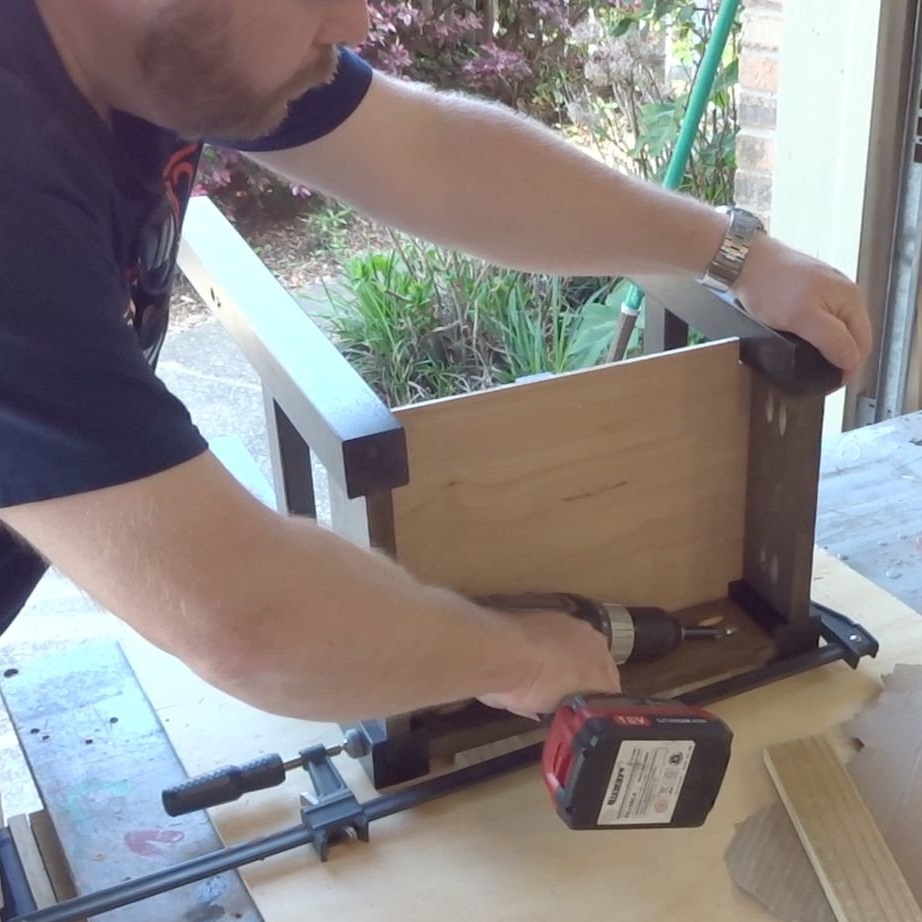
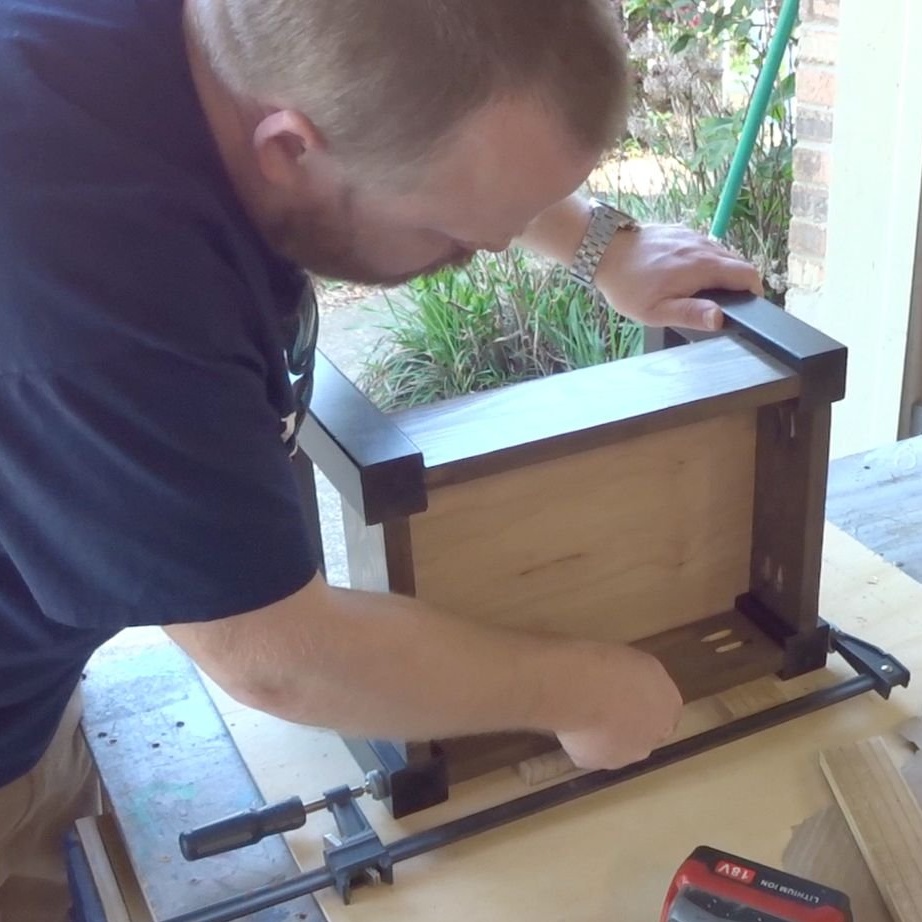

Using several clamps with rubber tips, the master tightened the first pair of legs. Then with screws 31 mm long. craftsman tied wood parts together. After attaching the first two sections, he inserted the storage base into the grooves. Then he clamped the remaining sides with clamps and tightened the screws.
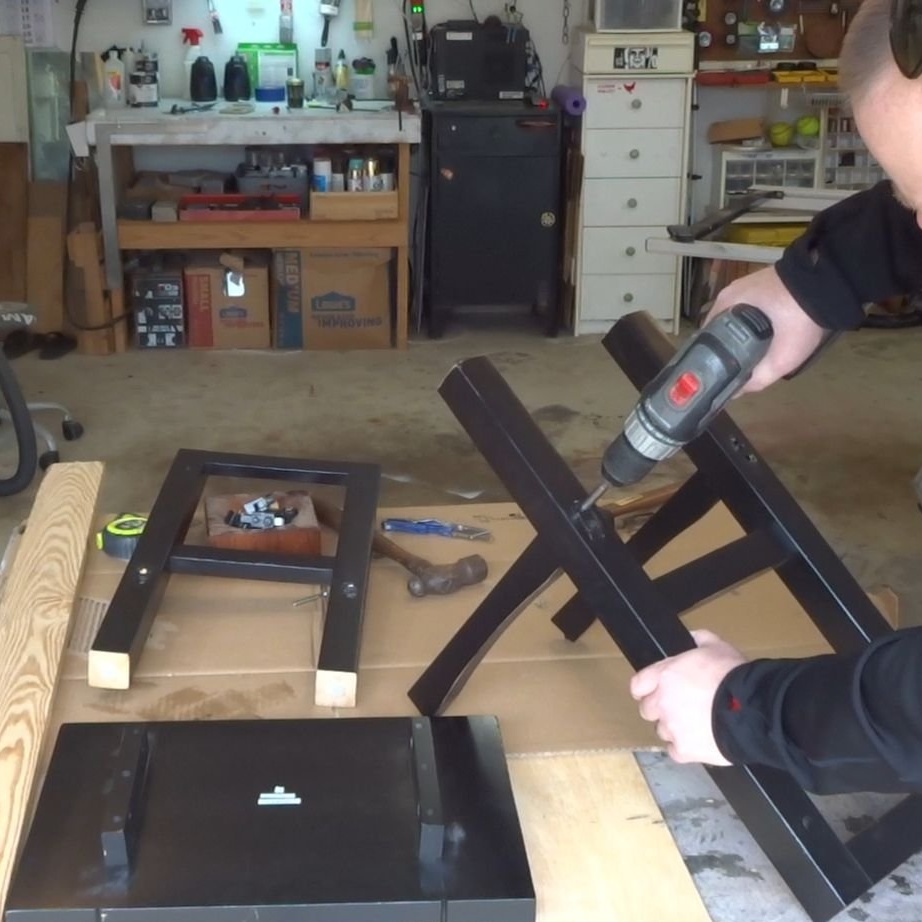
Step Ten: Assembling Original Parts
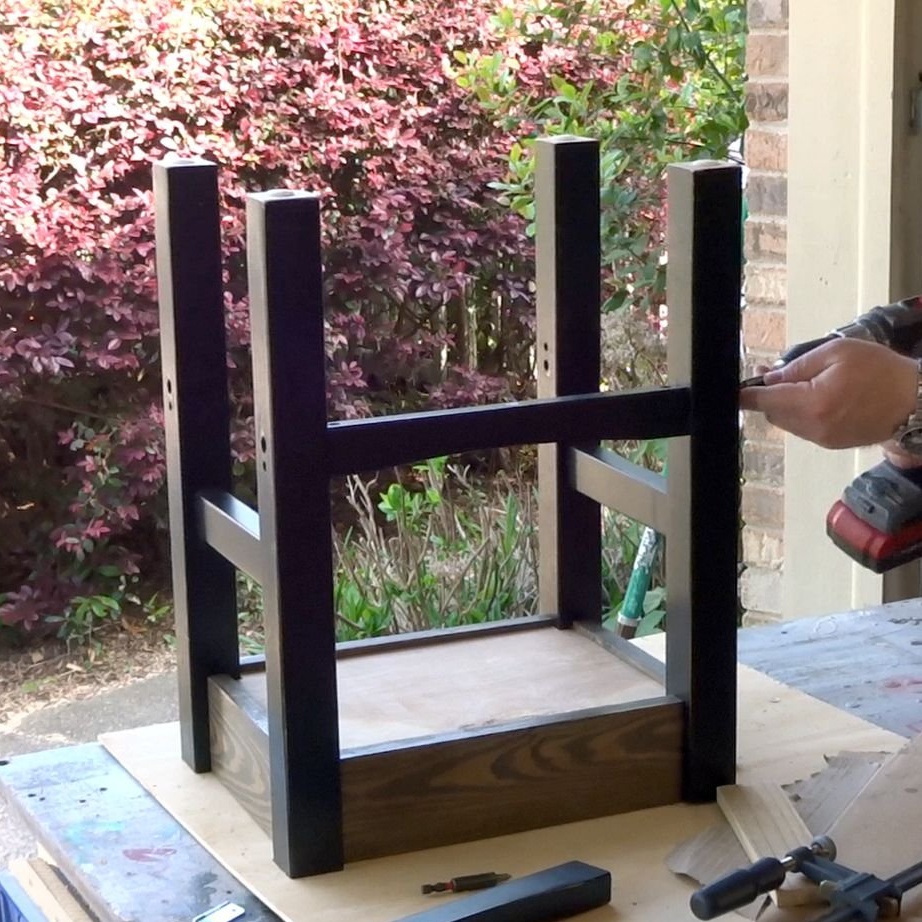
The master attached the side rails using the original dowels, hex bolts and cam locks using a drill.
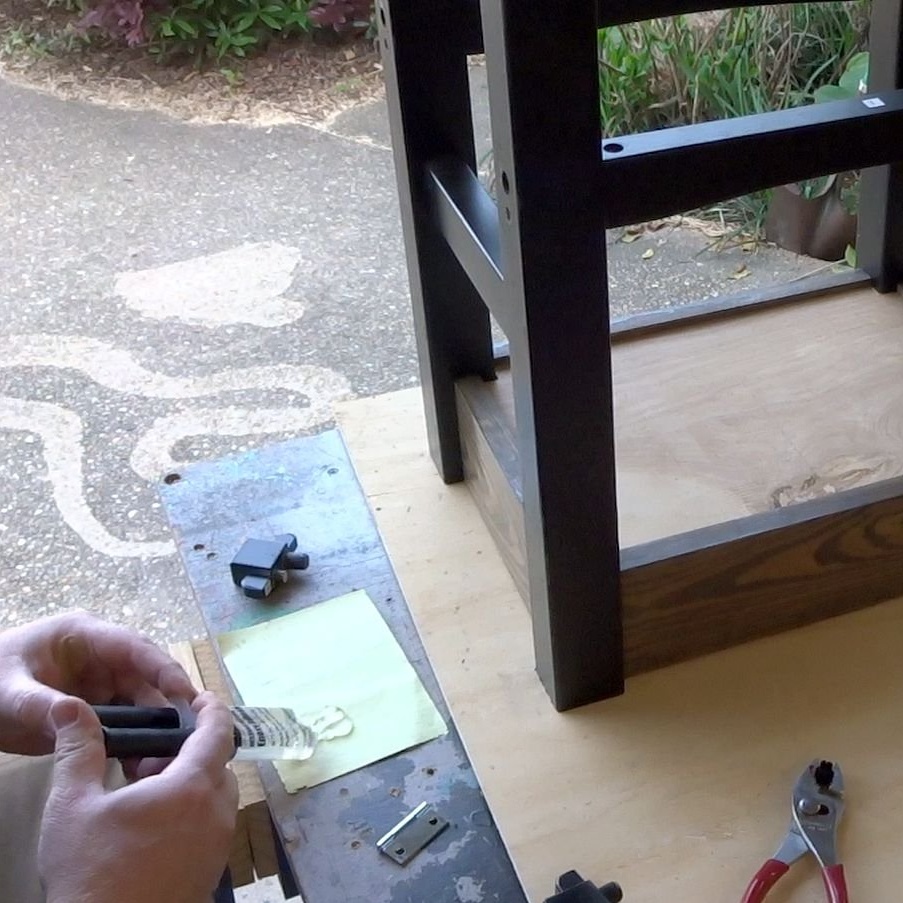
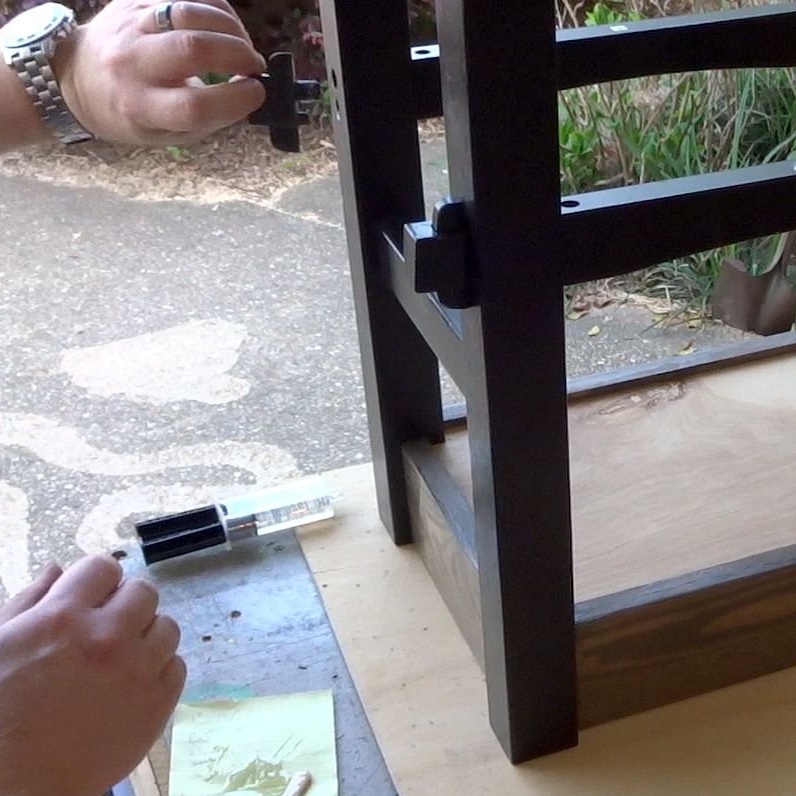
He then mixed a 5-minute epoxy to glue the accent details that covered the bolt holes again. He glued the dowels to the epoxy and besieged them with a mallet.
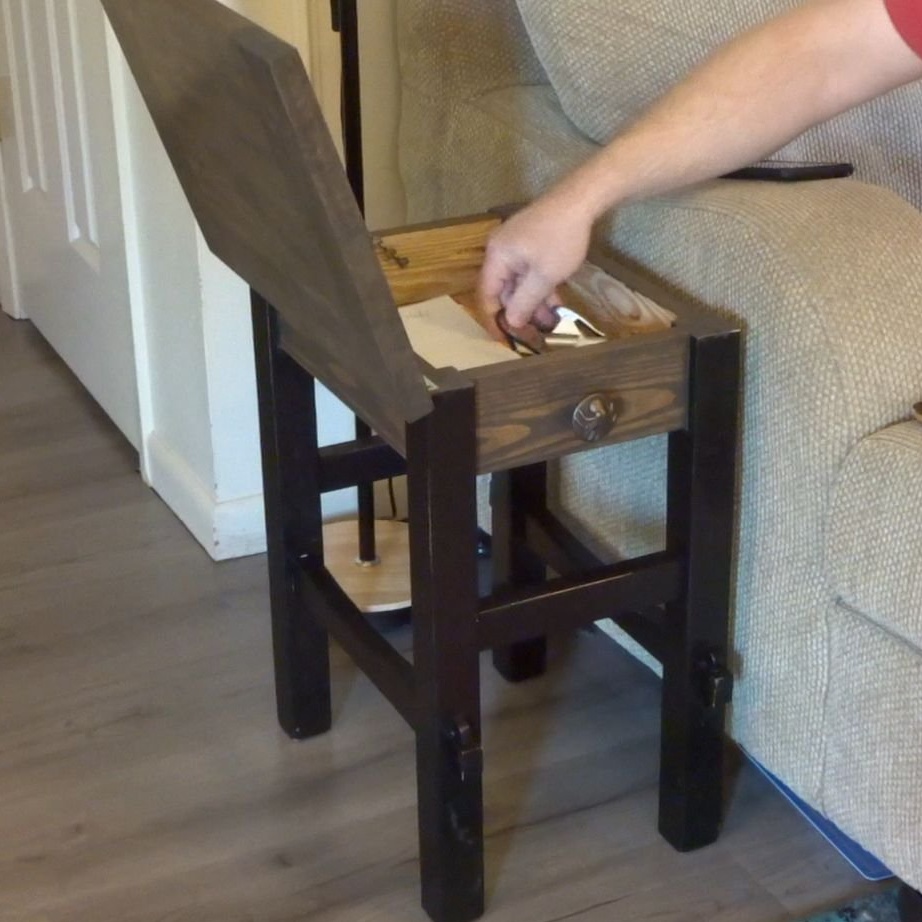
Step Eleven: Attaching the Hinges
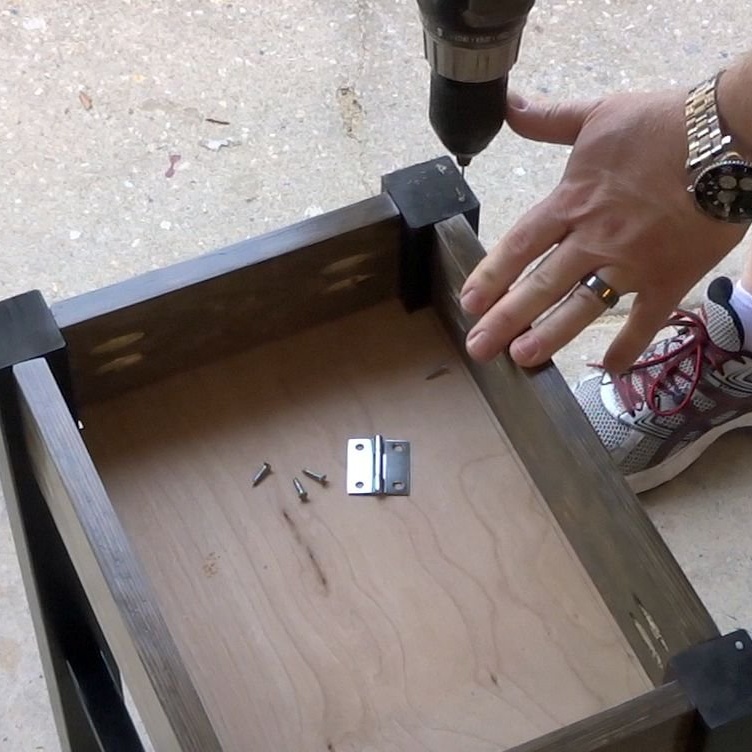

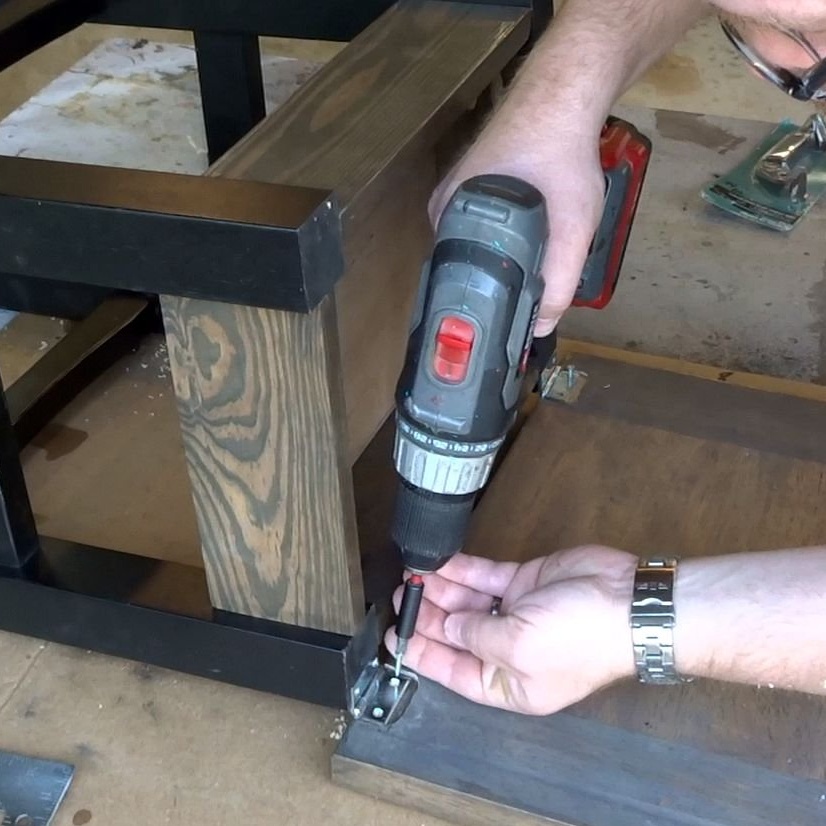
The master used 25 mm overhead loops to attach the top of the table. Aligning the hinges, he marked the drilling points, and then drilled them. After that, I fastened the hinges with screws.
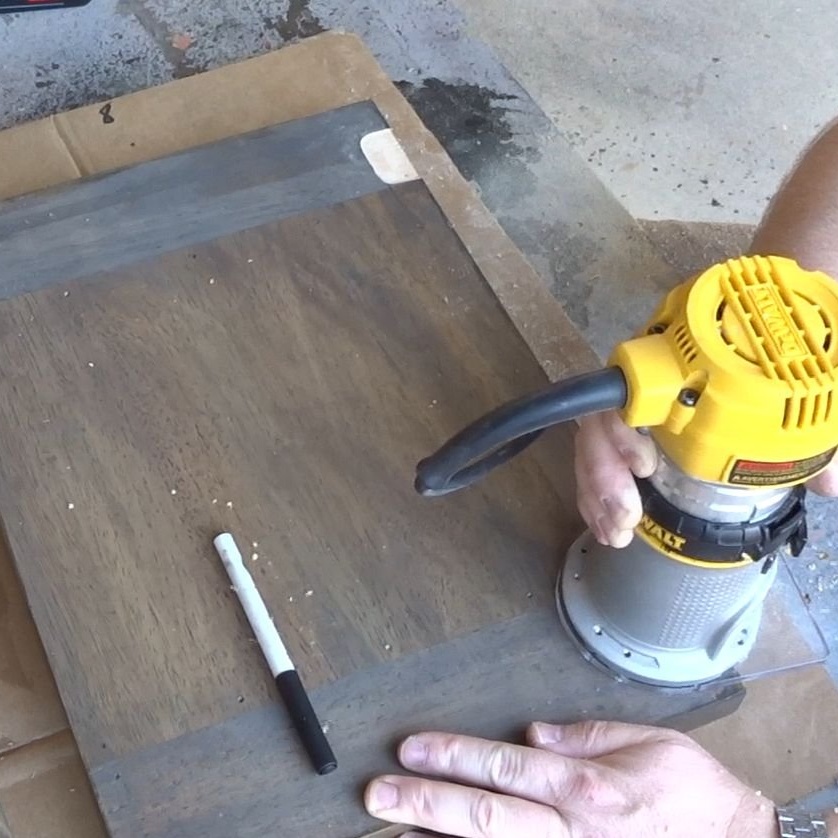
In order for the top of the table to sit flush with the base, the master cut out the location of the loops. To accomplish this task, he used a milling machine with a milling cutter. It was necessary to mill to a small depth, only 1 mm. He then noted and drilled the locations of the screws, which he then installed.
Step Twelve: Final Touch
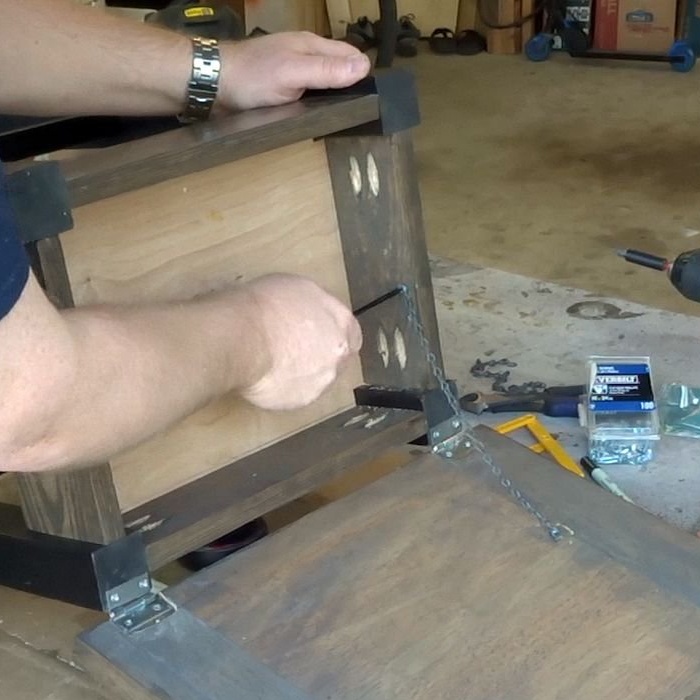
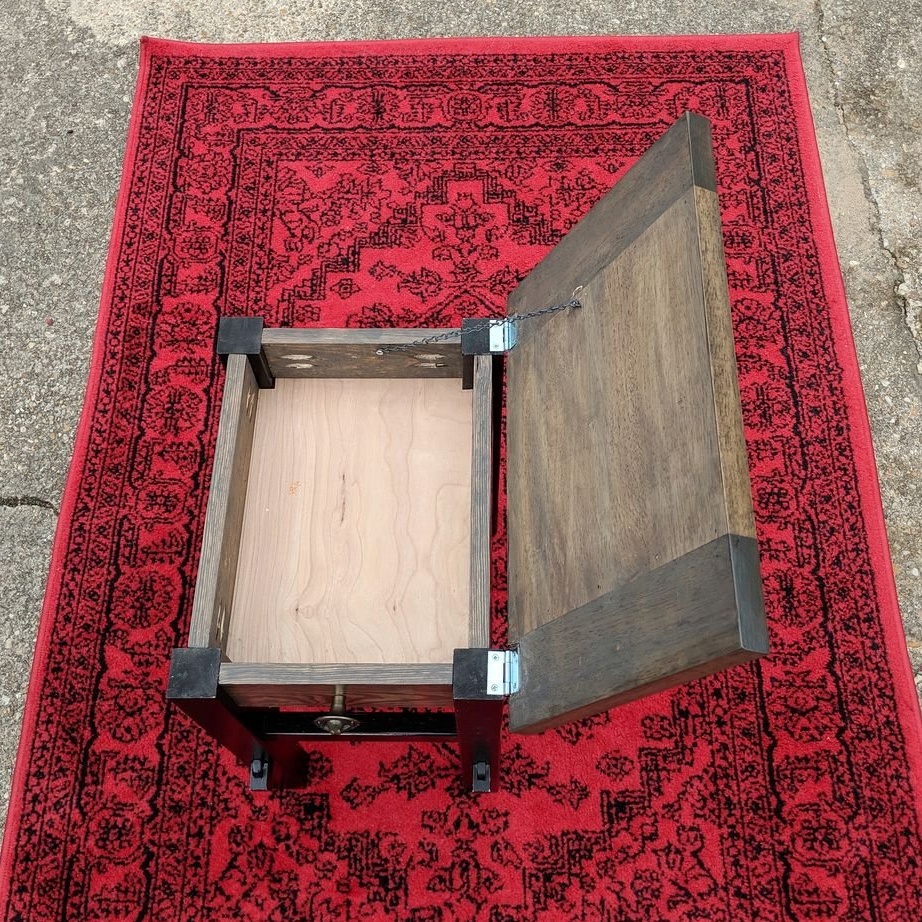
The master wanted to fix the countertop so that when opening it would not tear out the hinges. To do this, he decided to use a small chain. He adjusted the opening angle of the lid at the farthest point. Then he pulled the chain and marked 2 places where it would be attached, both to the lid and to the bottom of the table. After that, he drilled 2 small pilot holes and screwed several 19 mm screws into them to secure the chain.
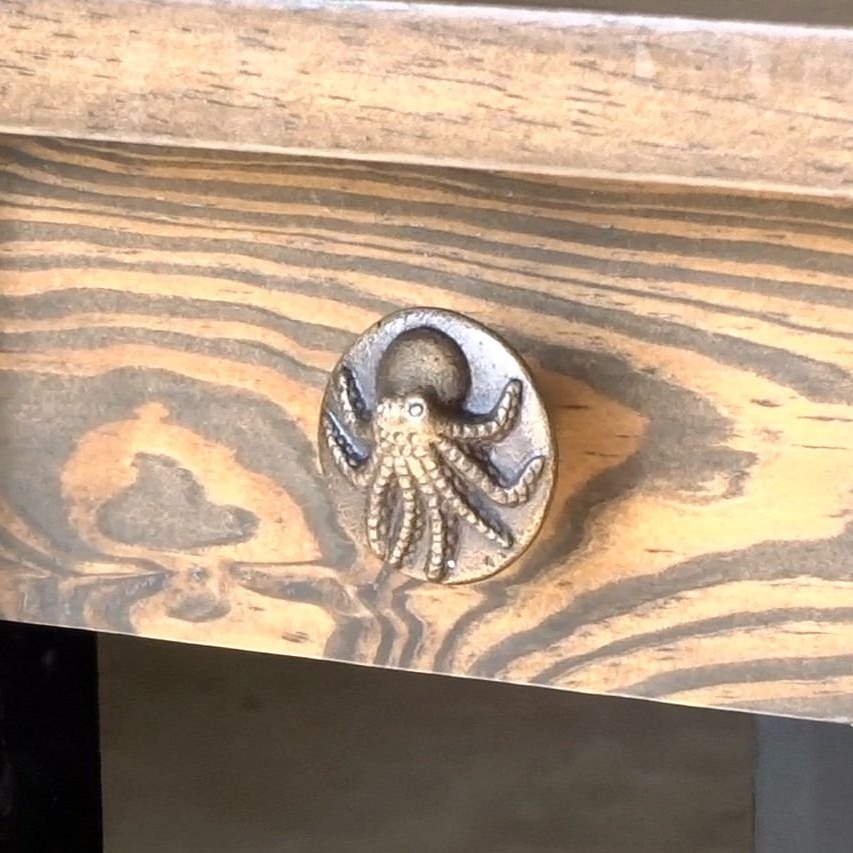
I wanted to add to the appearance, something else. The master decided that it would be nice to install a handle on the front to simulate a fake box. Having measured the center, the master drilled a hole for the handle and installed it.

You can also watch the process of making a table in the video below: