
In this article, YouTube author Pask Makes tells you how he made one interesting kind of vise.
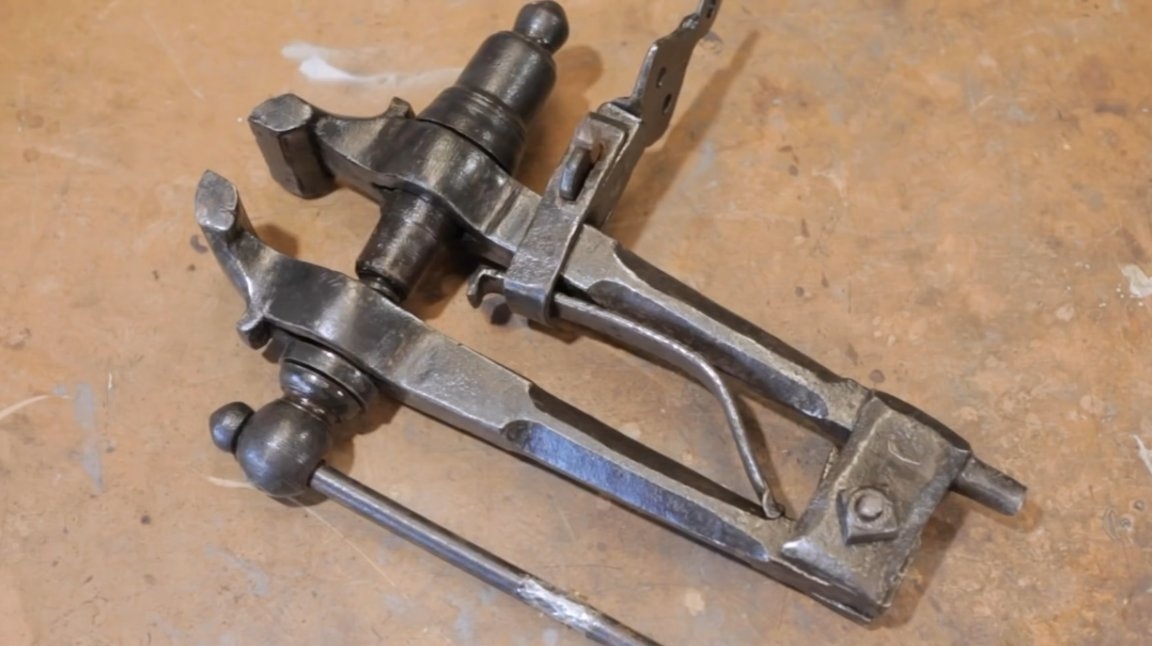
The folk wisdom of artisans says: there are not many vices. The author’s workshop has a dozen different types of vices available. And they are all designed for several different purposes. For example, a foot vise, a tail vise, for metal work, a blacksmith vise.
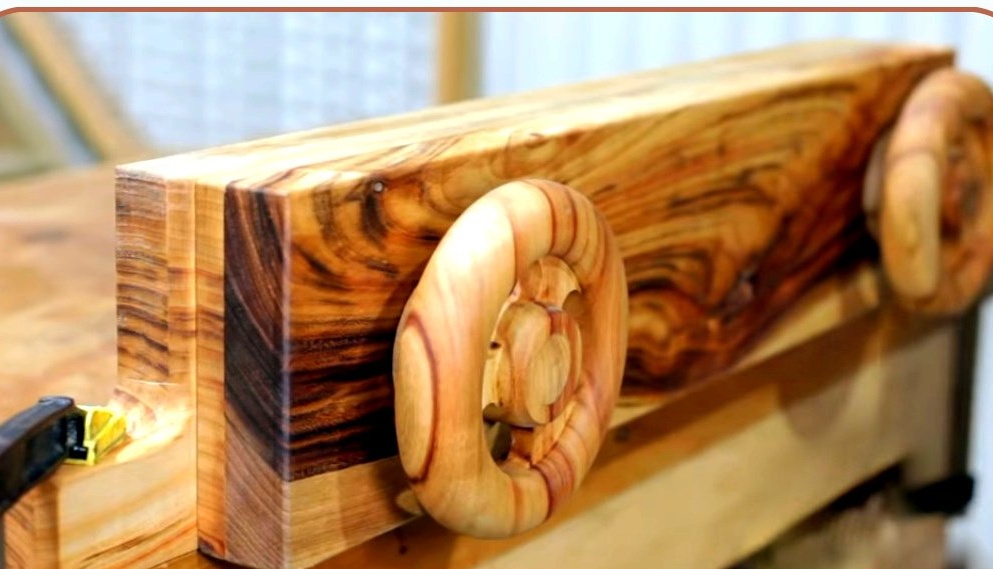
Once the master delves into the workshop, he will surely find a few more highly specialized copies of the vise. He intends to add one more variety to this collection - Moxon's vice, designed to fix wide boards and raise workpieces to the most comfortable working height, as well as indispensable when cutting and assembling dovetail joints.
By the way, the author of YouTube channel "Dustin Penner" also made a vise of Moxon, they can be found in articlewritten earlier.
Materials
- PVA glue
-
- Hazel board
- Two-component polyester resin
- Sandpaper.
Instruments, used by the author.
- Jointer, planer, circular saw
-
-
-
-
-
-
-
- File, compass, plane, vernier caliper
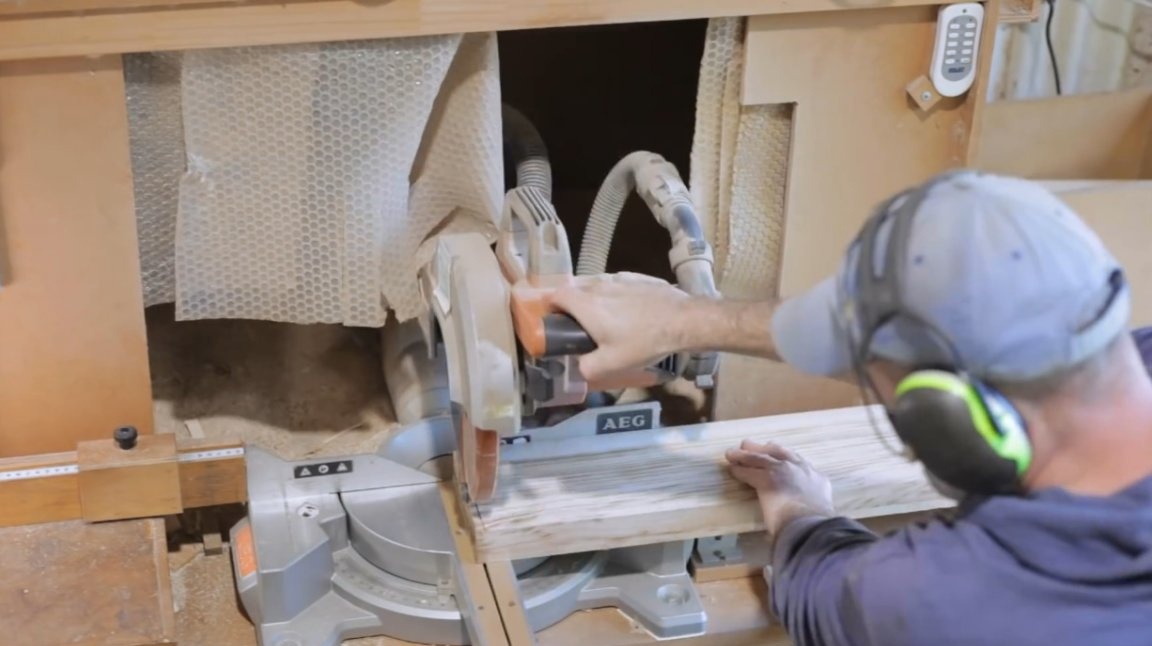
- Miter saw
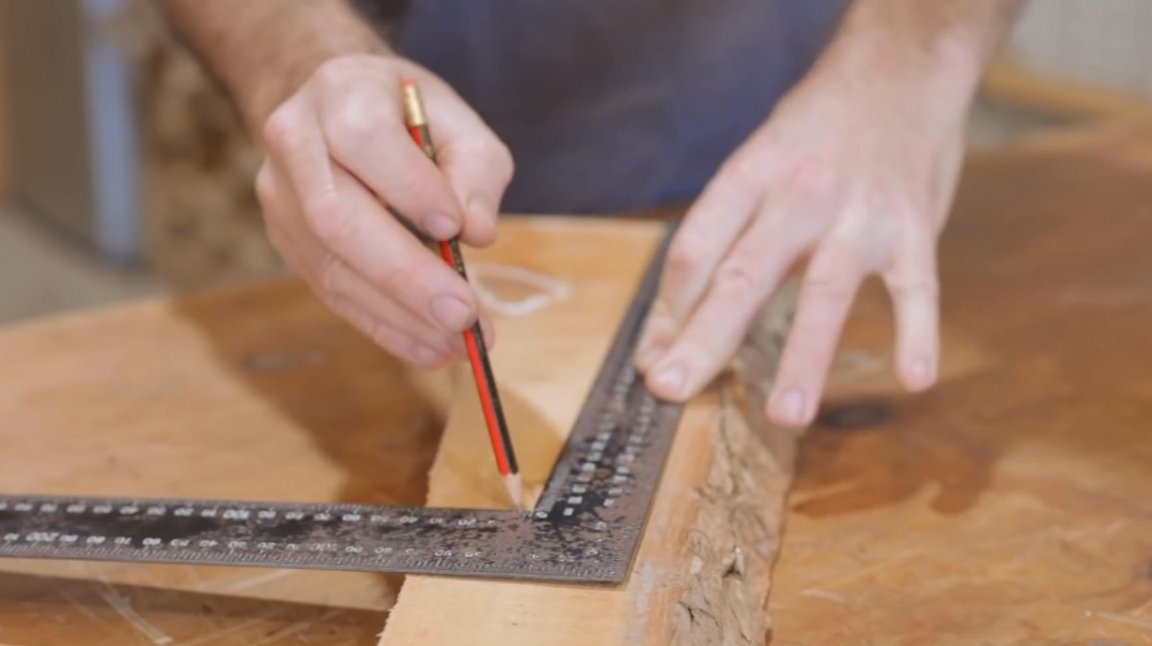
- A ruler, a pencil, a marking surface gage, a square, an awl.
Manufacturing process.
For this vice, wooden studs are used, which the author will make on his own.
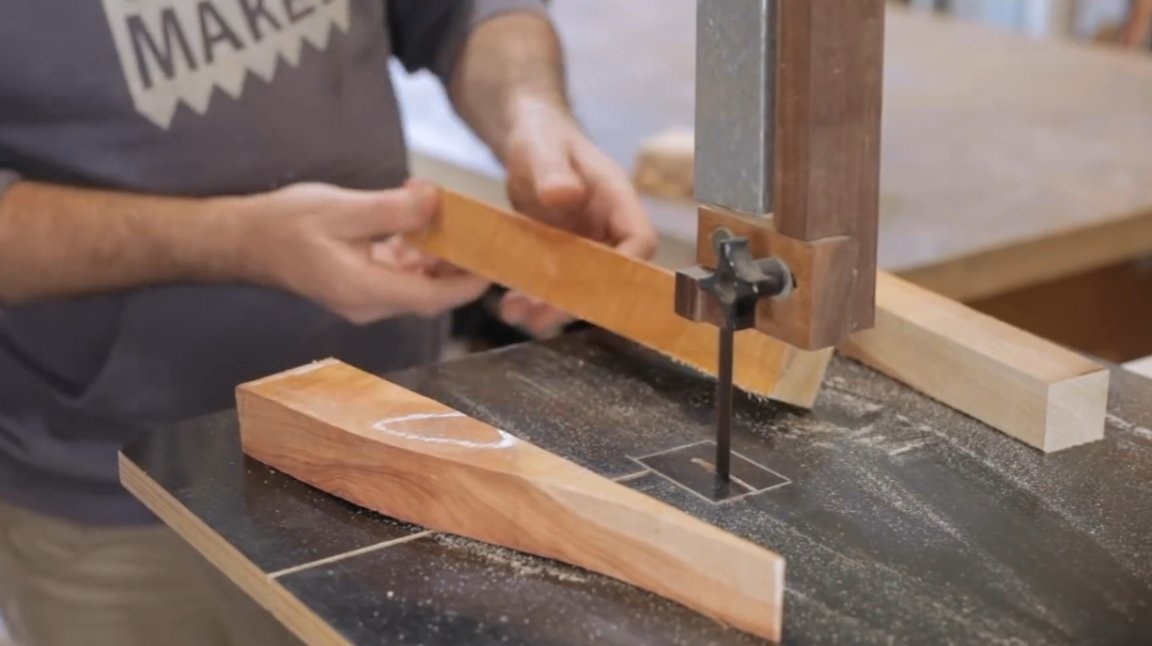
As usual with Neil, cuttings are used. In this bar, a knot got caught - such places must be avoided. So, the master cuts out another bar.
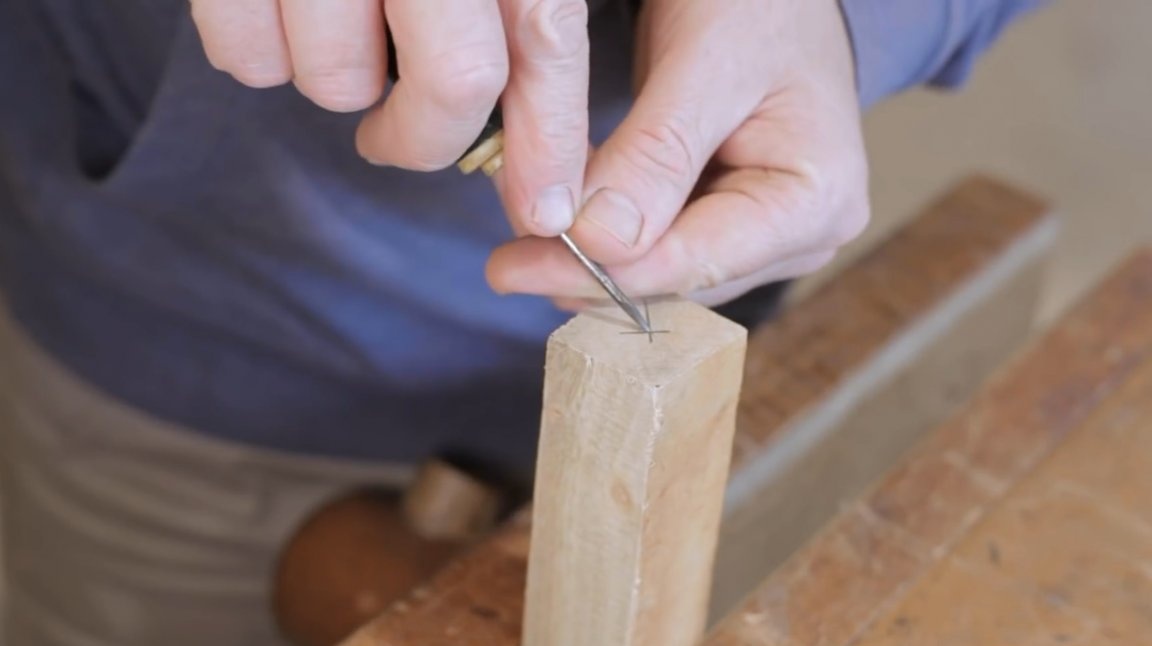
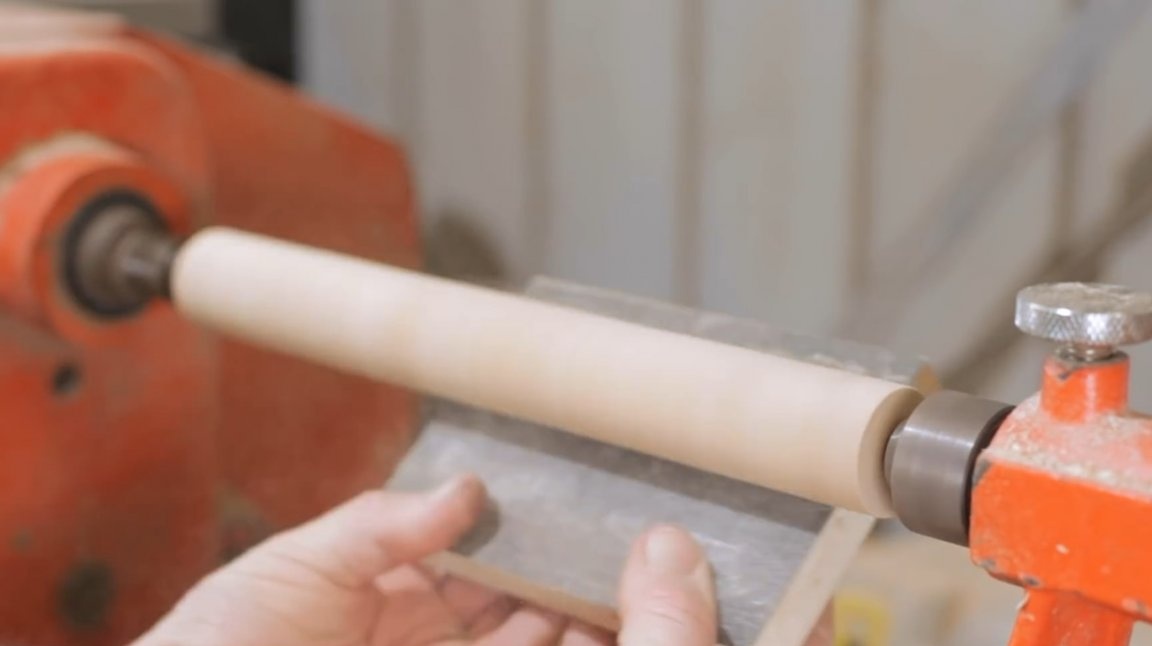
He marks the centers at the ends of the workpieces, and processes the bars on a lathe.
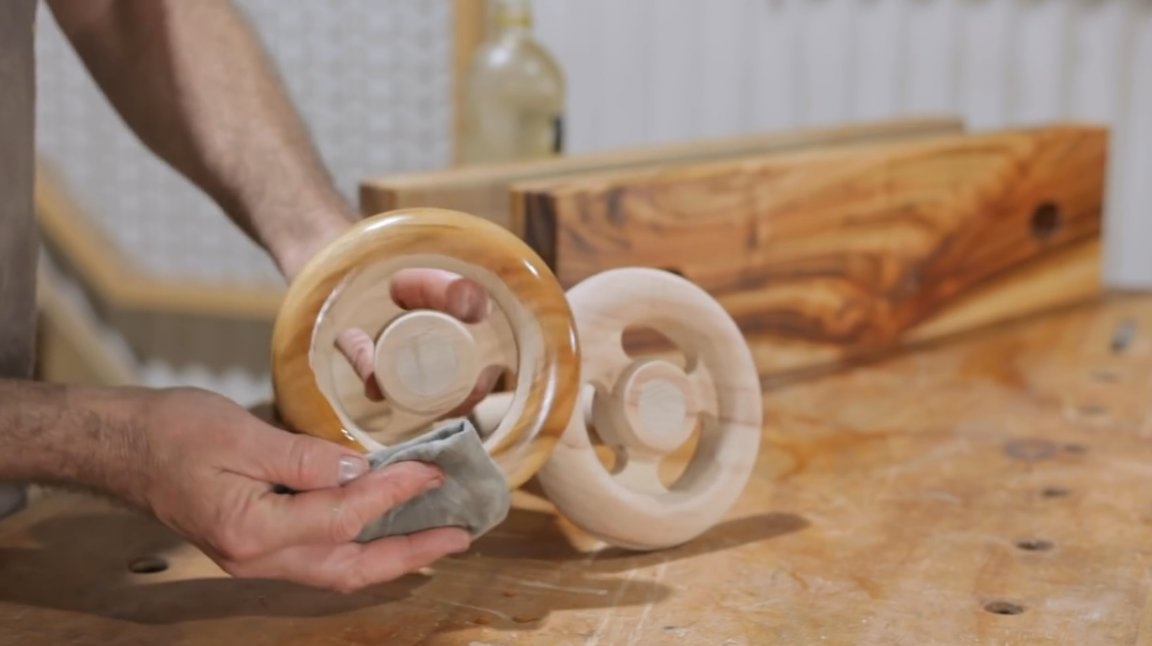
It is important to observe the geometry and size of the resulting rounds, so the master checks the template. Then polishes the workpiece.
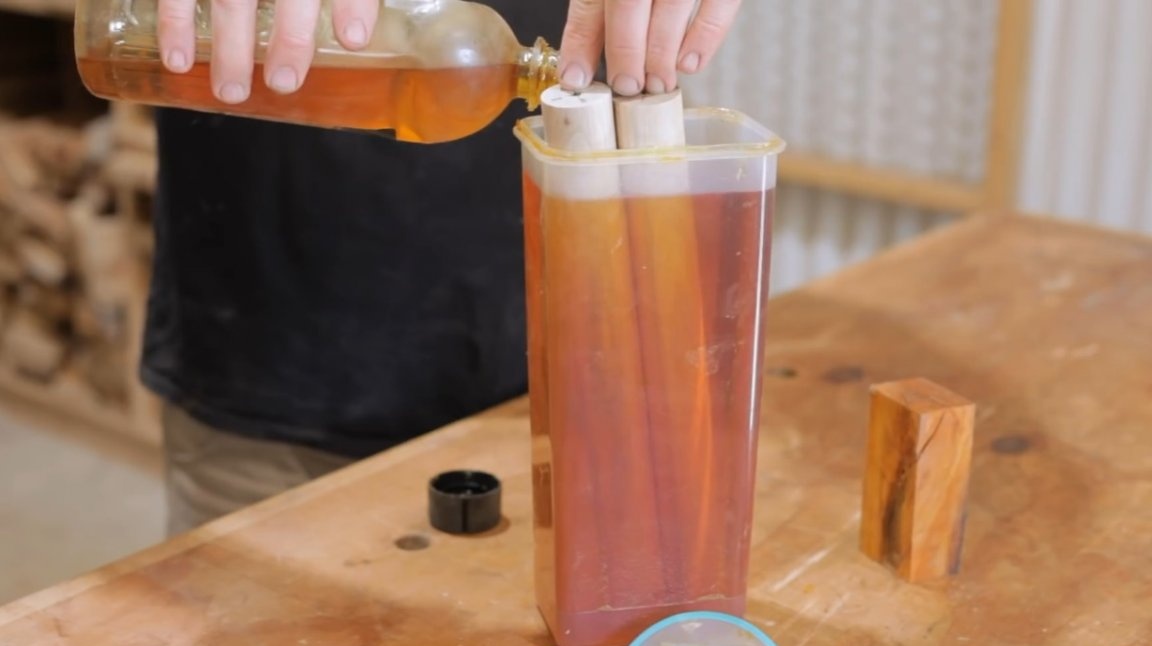
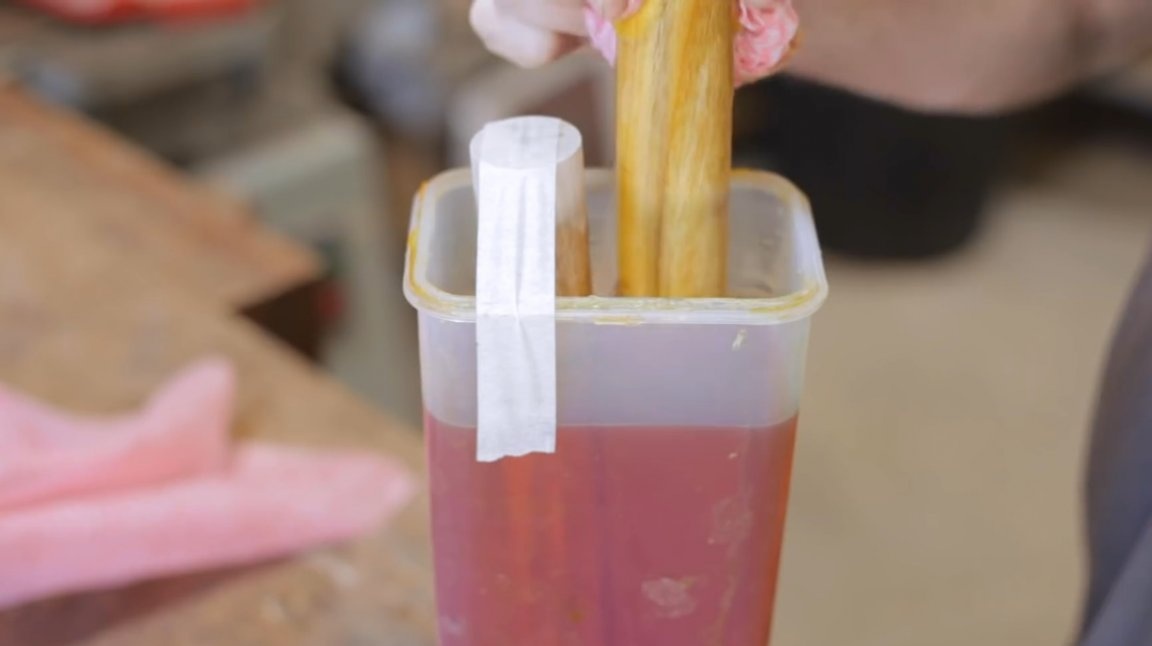
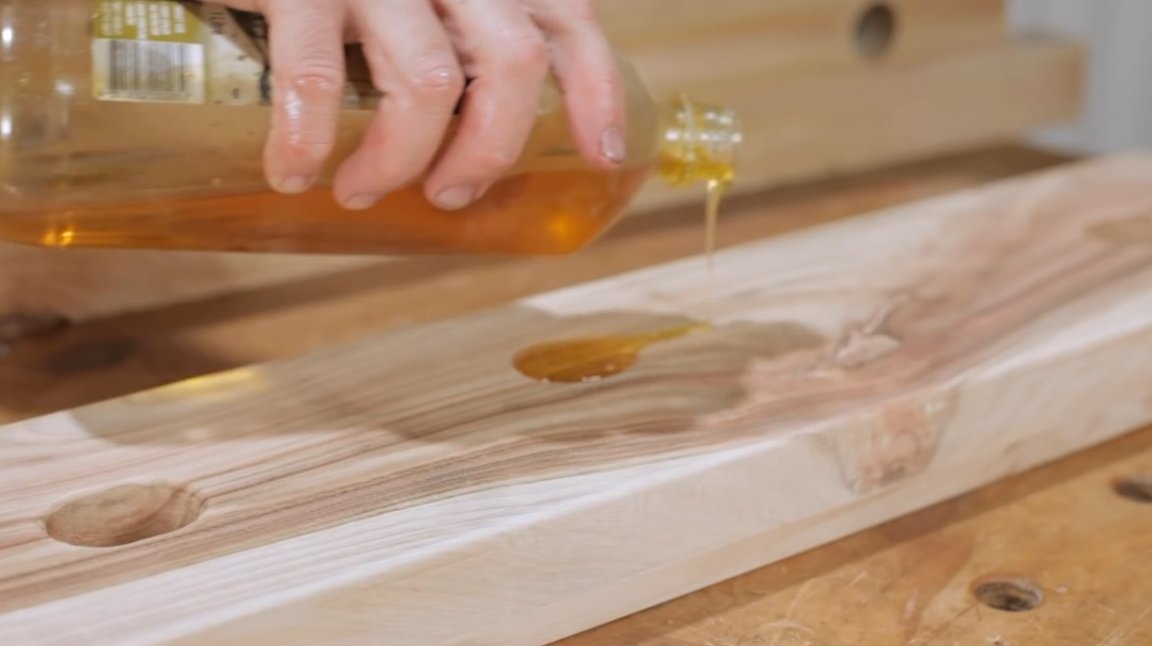
Then he leaves the discs soaked in linseed oil for the whole night. Thus, he will get a more solid wood structure.
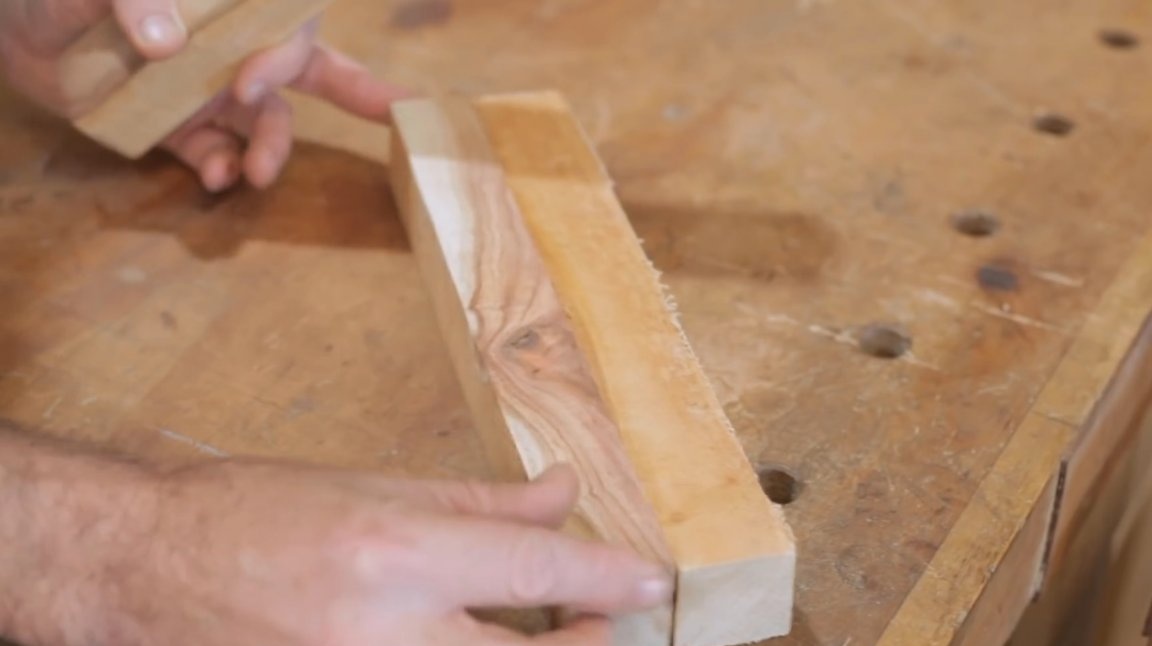
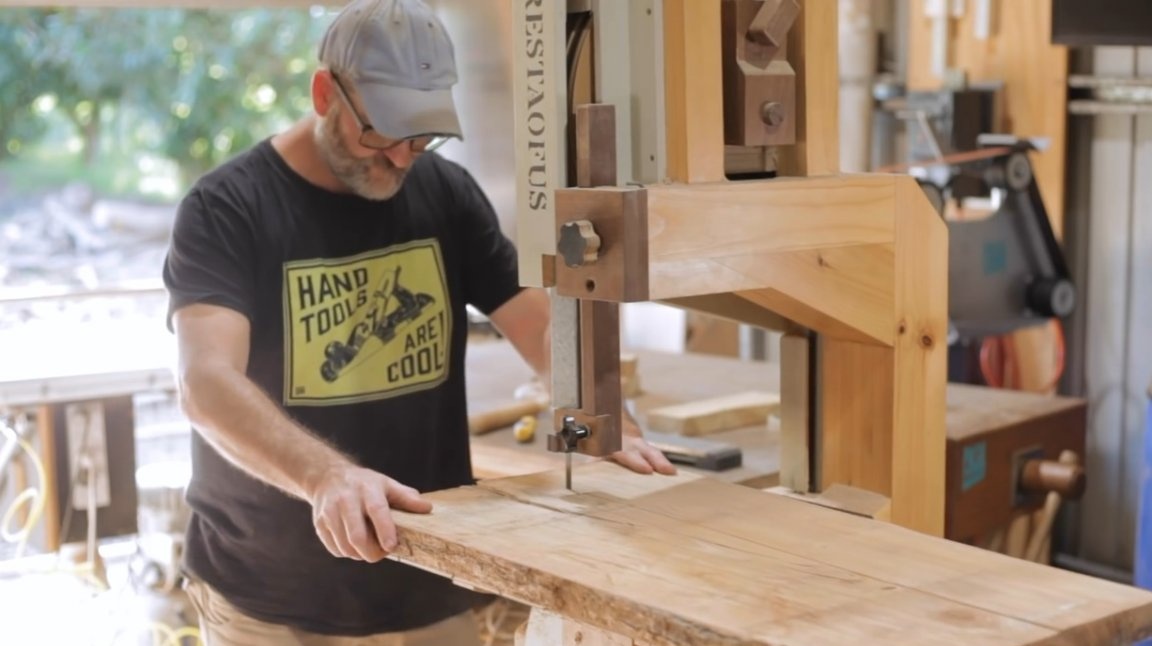
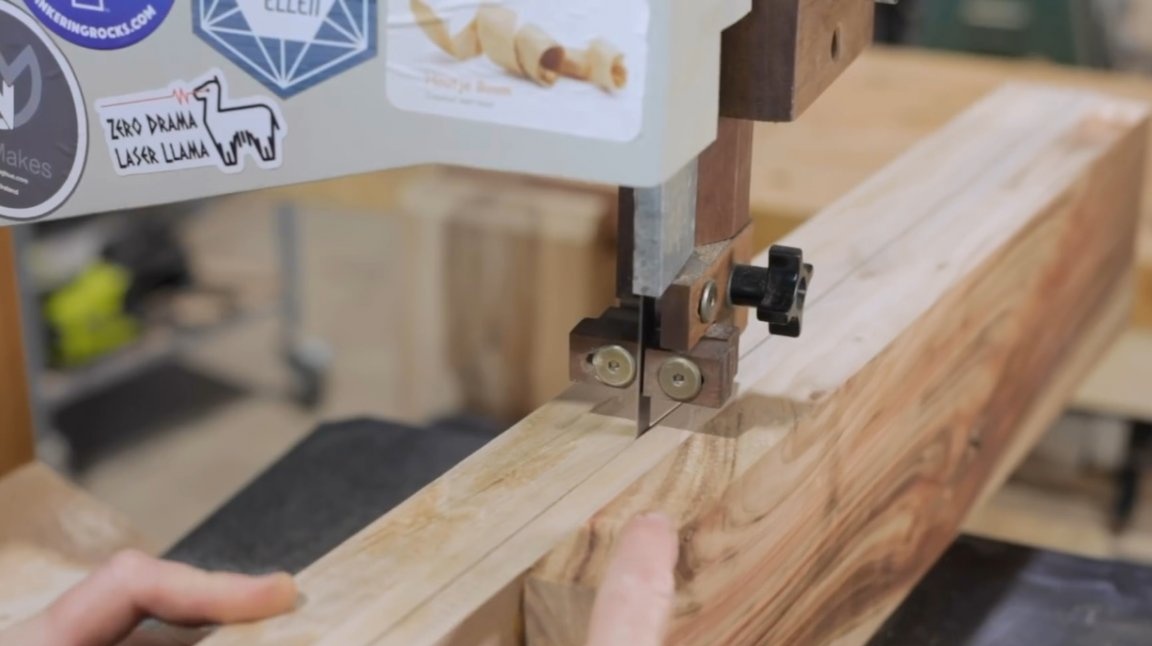
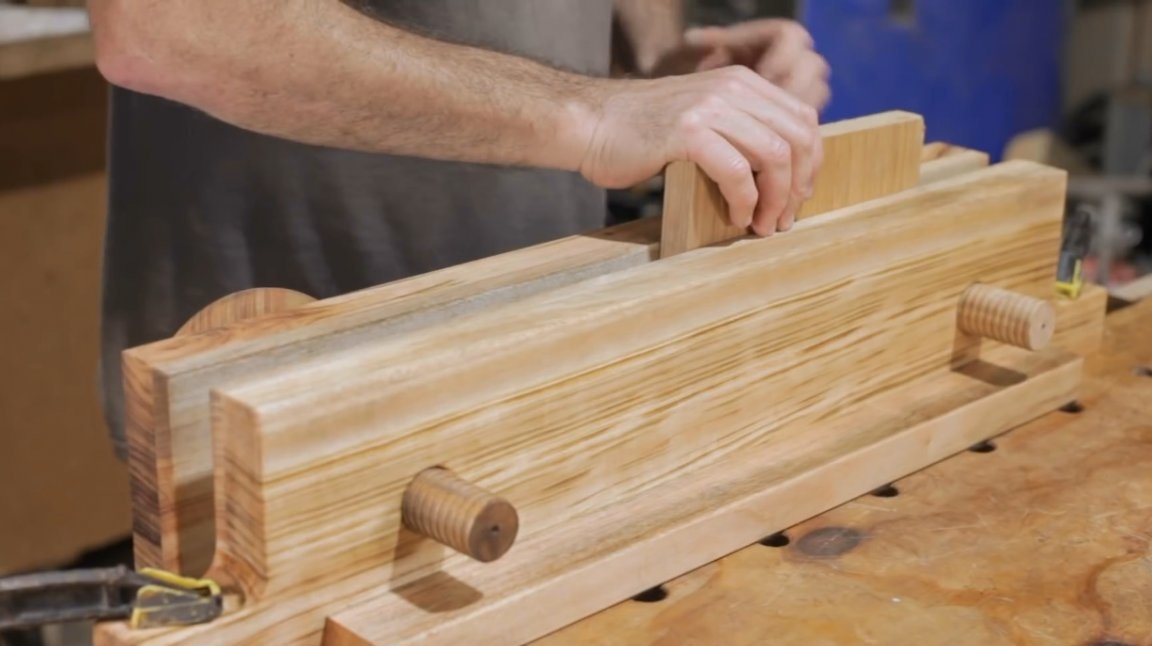
In the meantime, the master will manufacture sponges for a vice. These slabs will be more massive than those wood scraps that the author usually uses in his projects. But they have their own defects: in one of them there is a crack, and in the other there is a knot in the middle. But Neil needs first of all such blanks that would fit the length for the jaws of a vice. And these slabs, despite the marriage, are what you need!

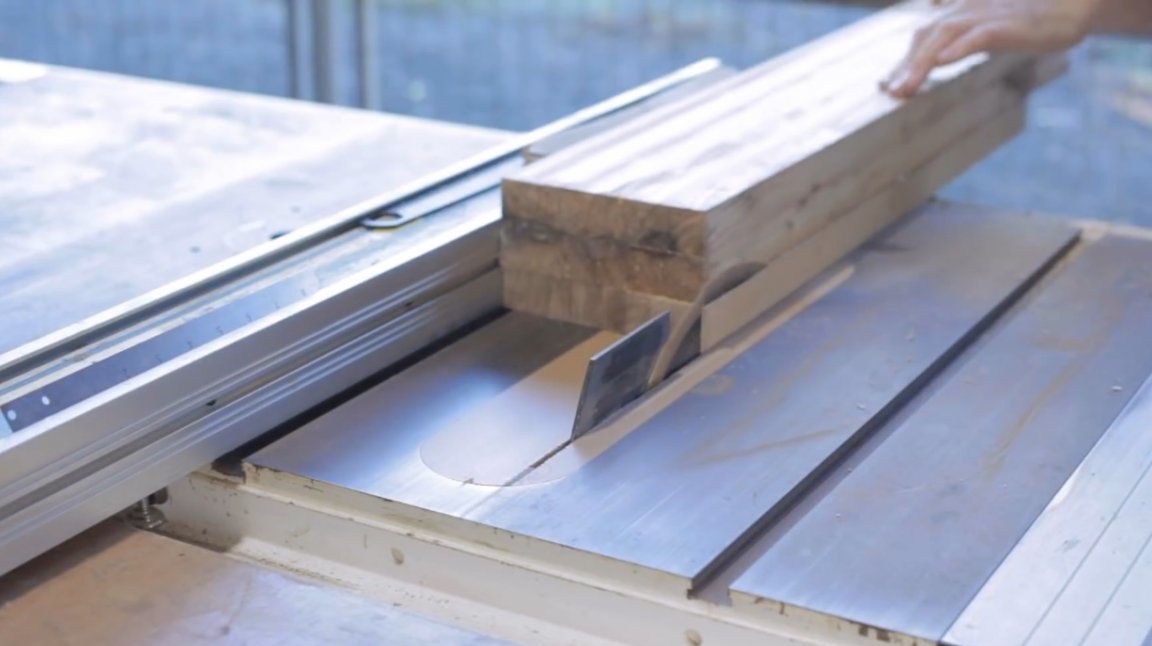
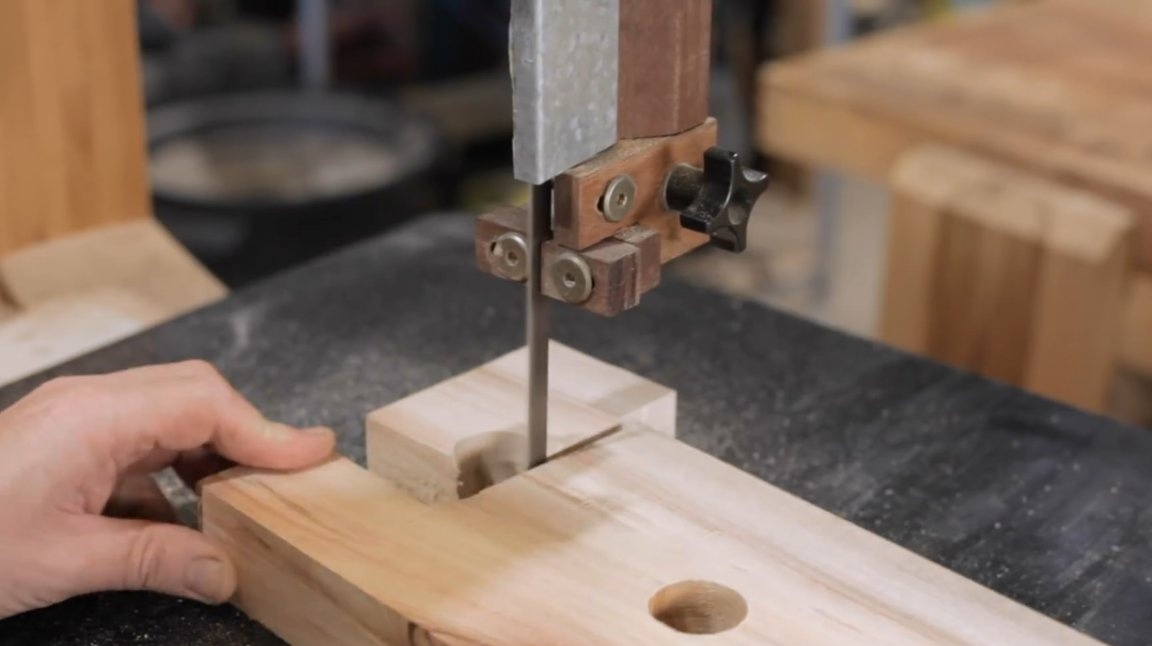
Defective parts are trimmed on a band saw. By the way, the author has a very interesting home-made saw.

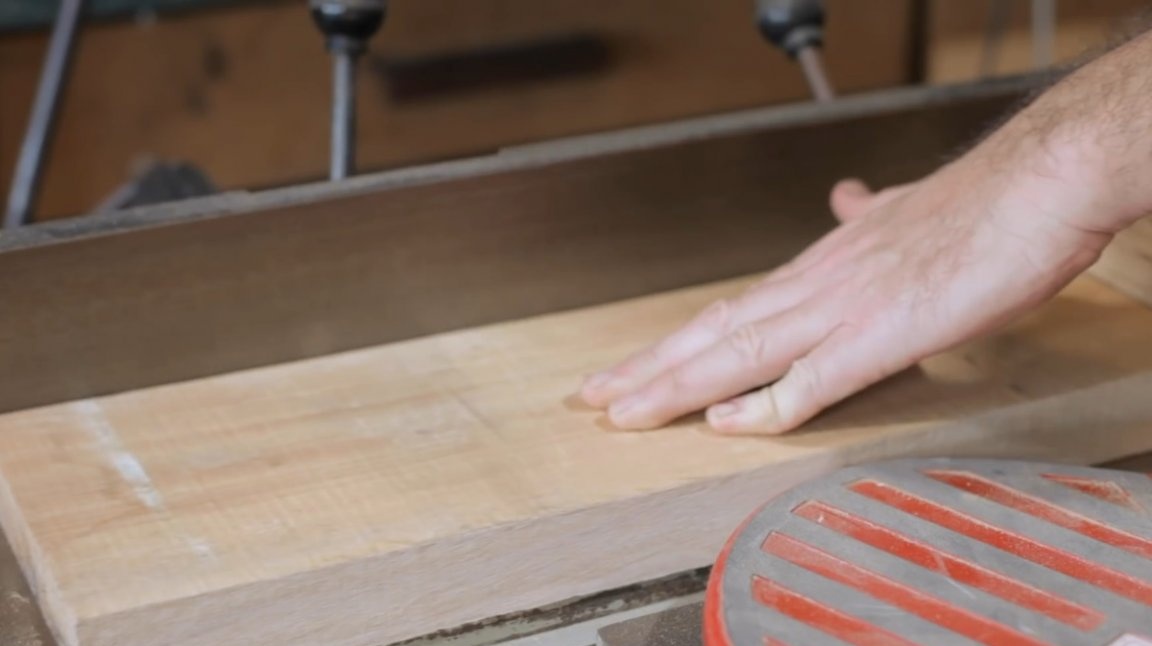
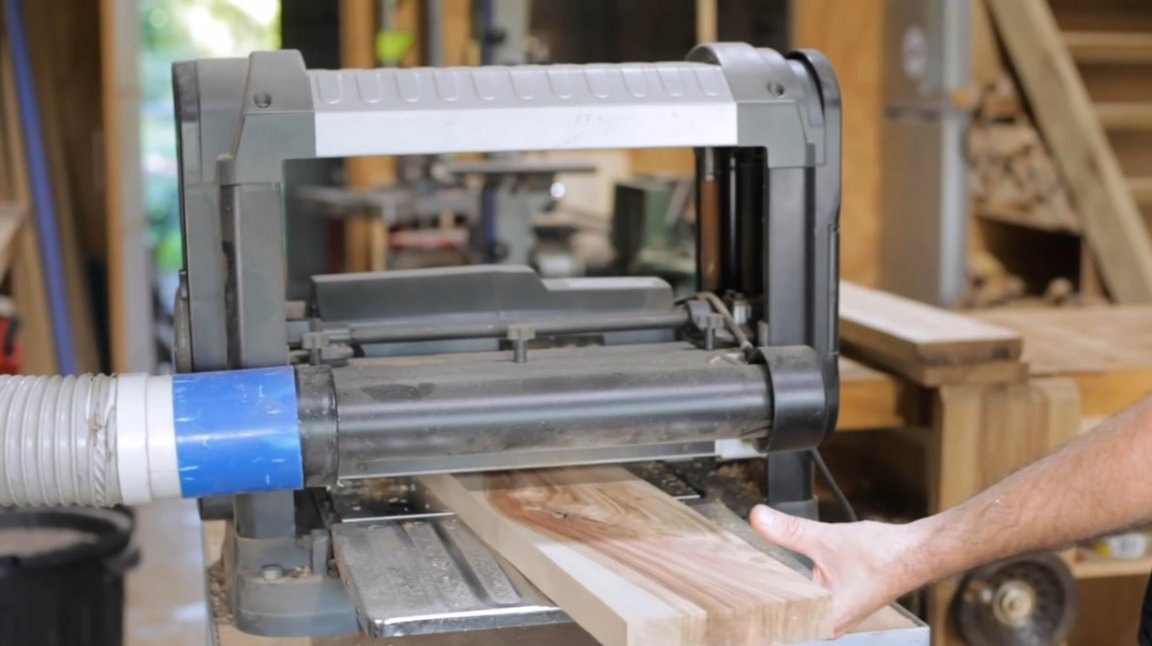
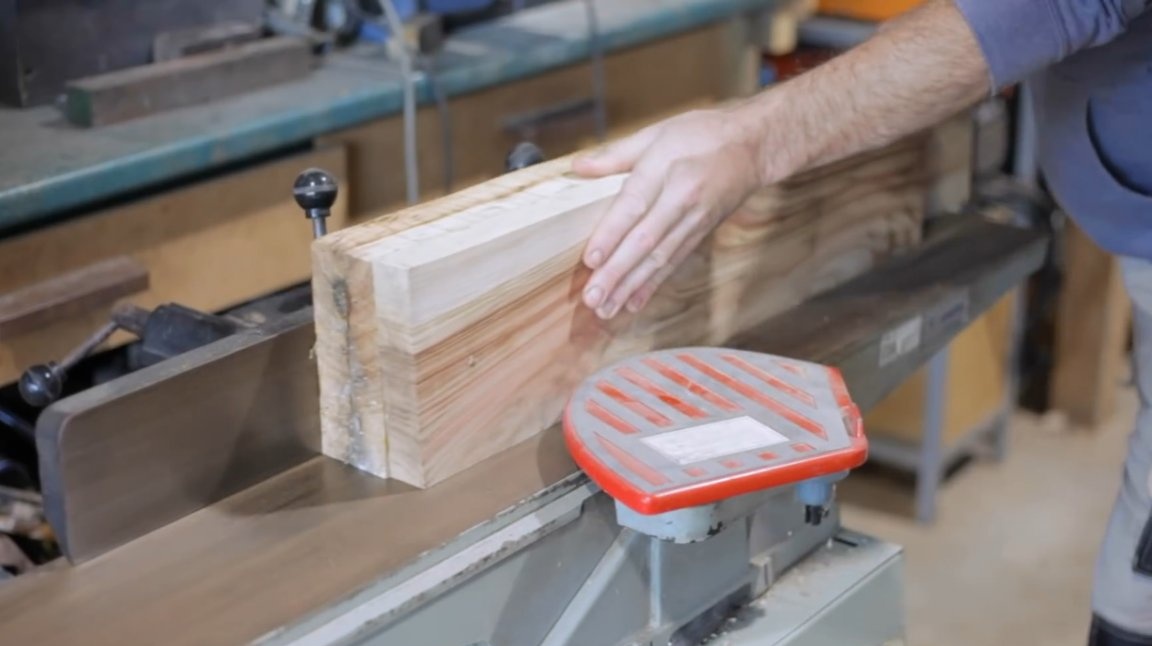
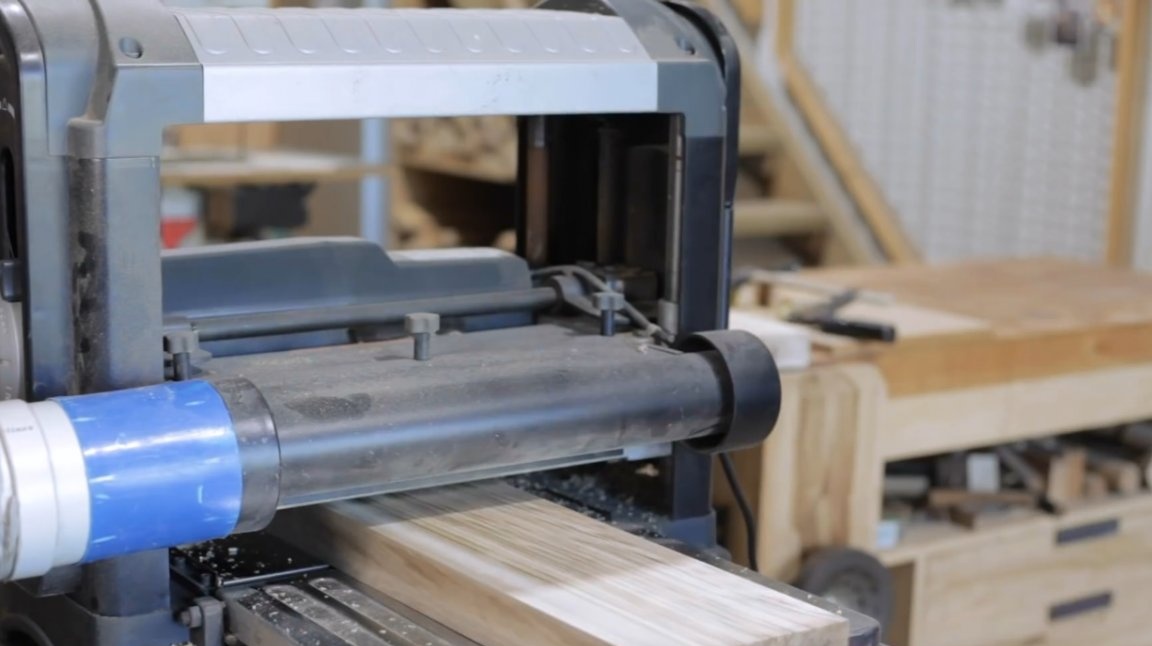
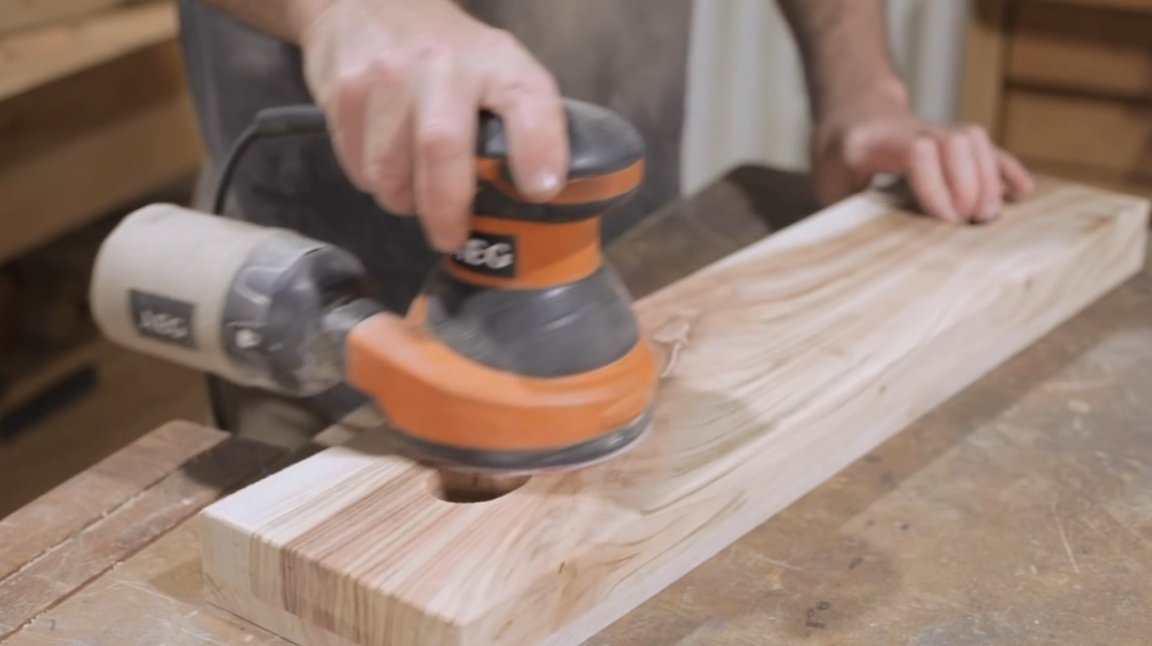
Then the boards are processed on a jointer, and passed through a thicknesser.
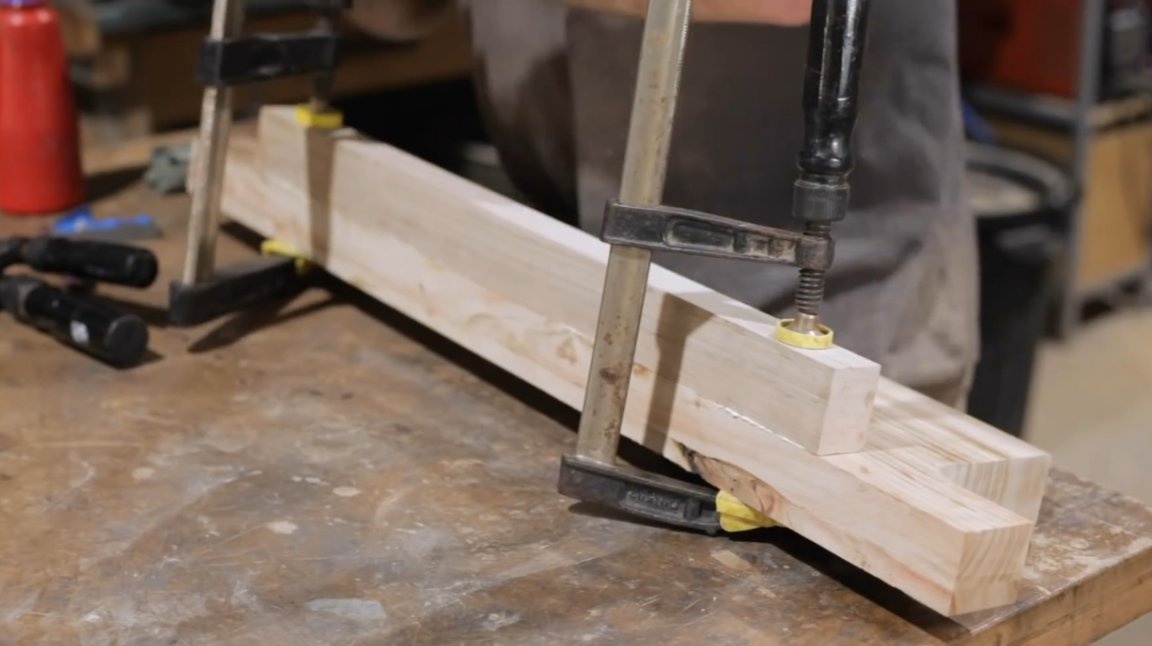
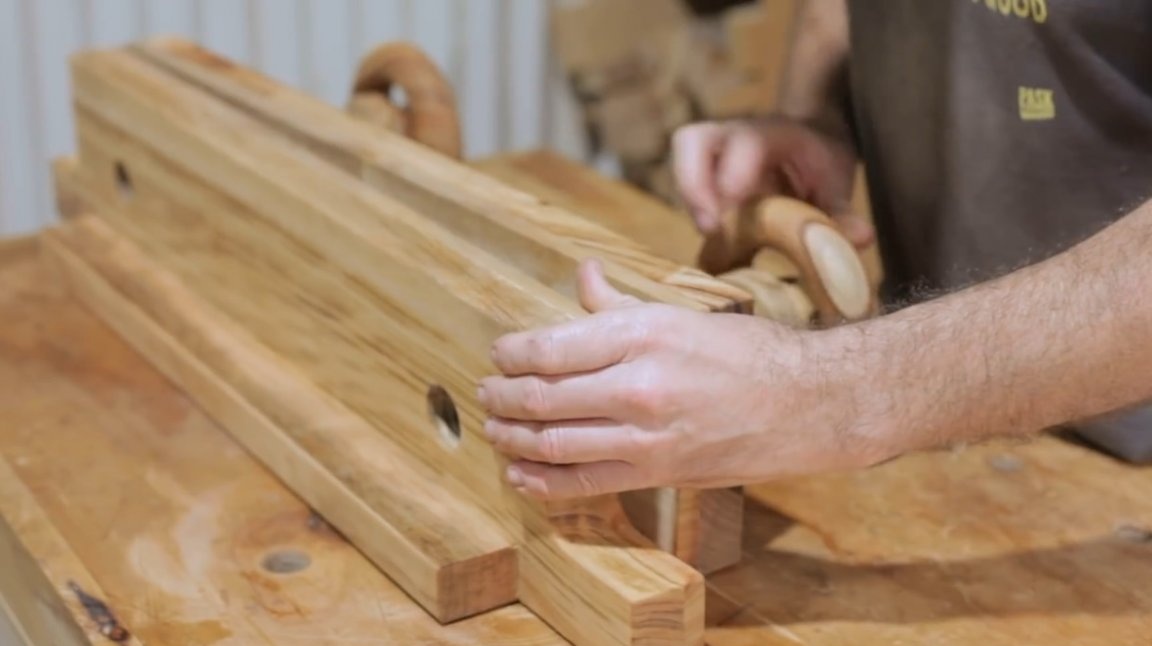
Three boards stick together, and are fixed with clamps.
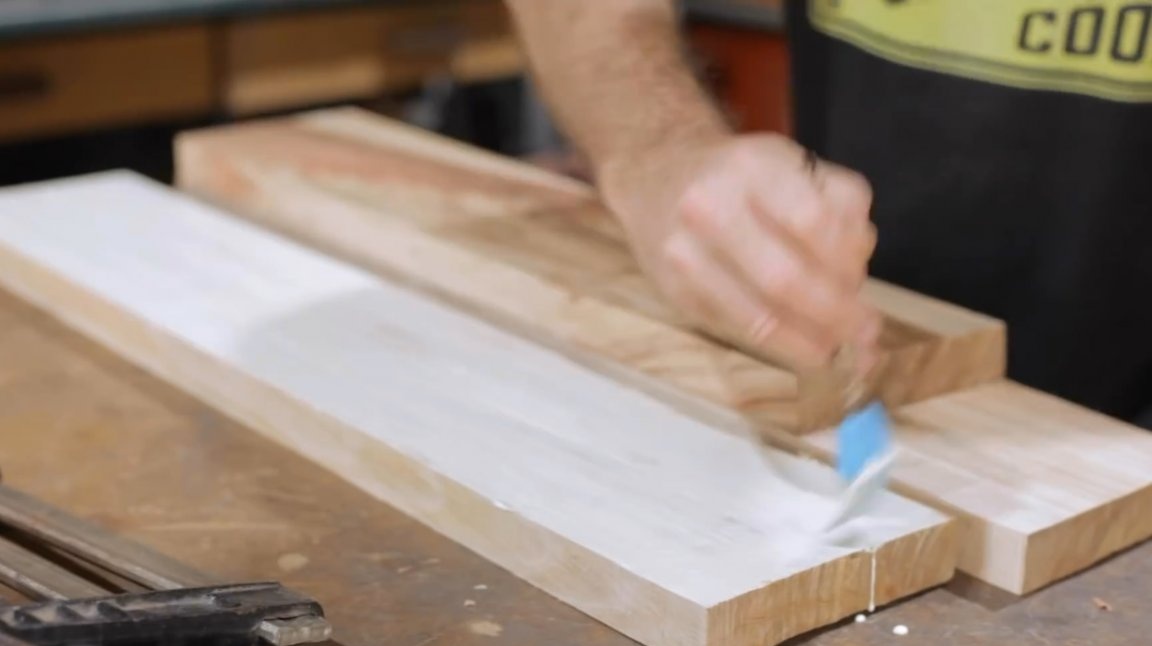
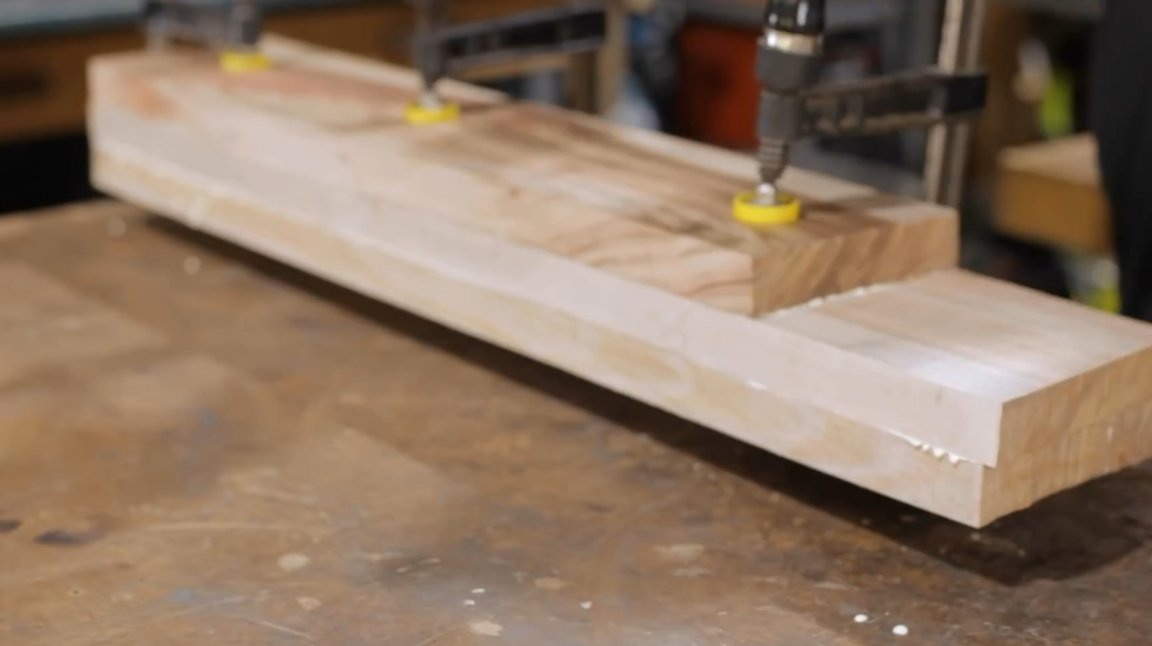
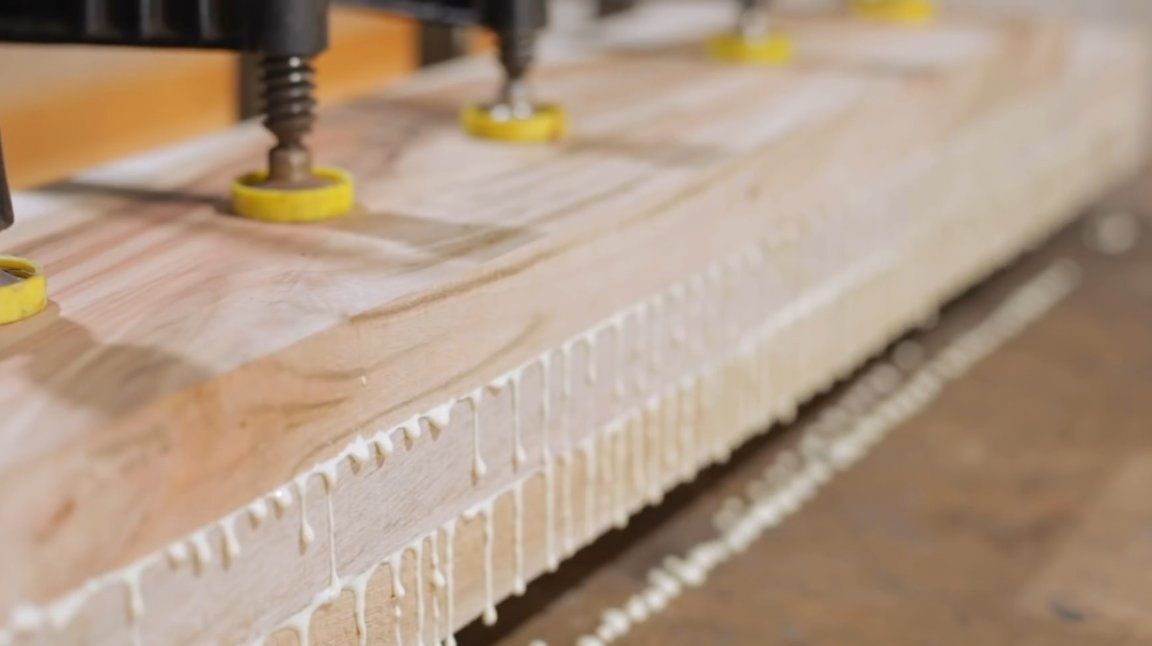
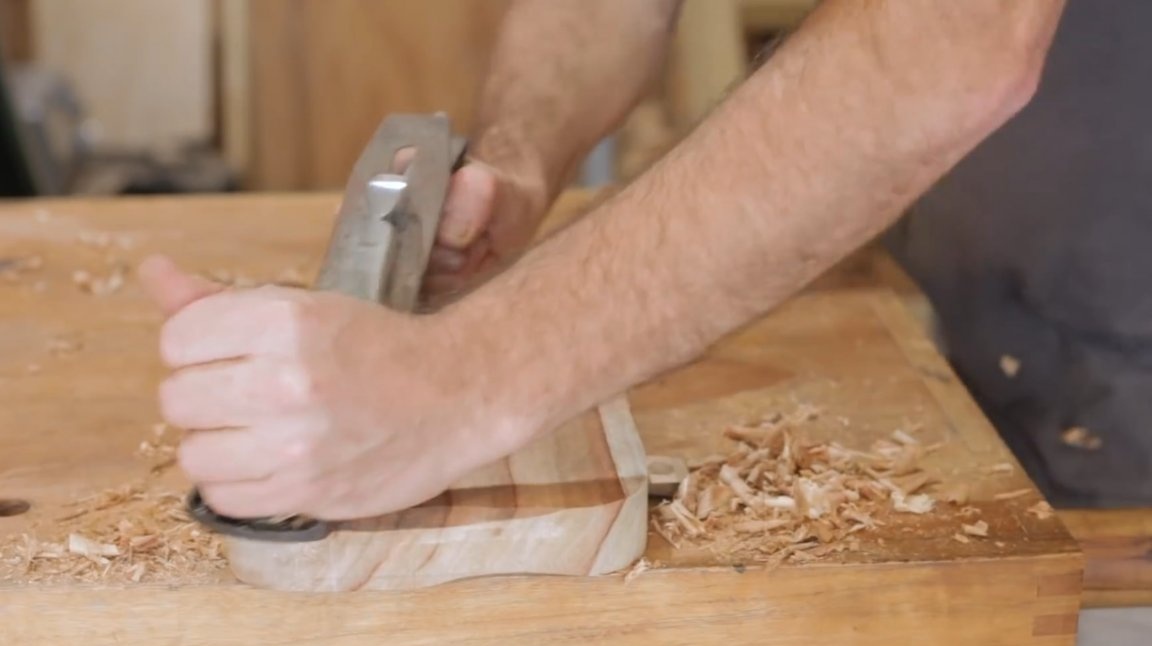
The master removes traces of glue with a scraper, and evens out the side surfaces.
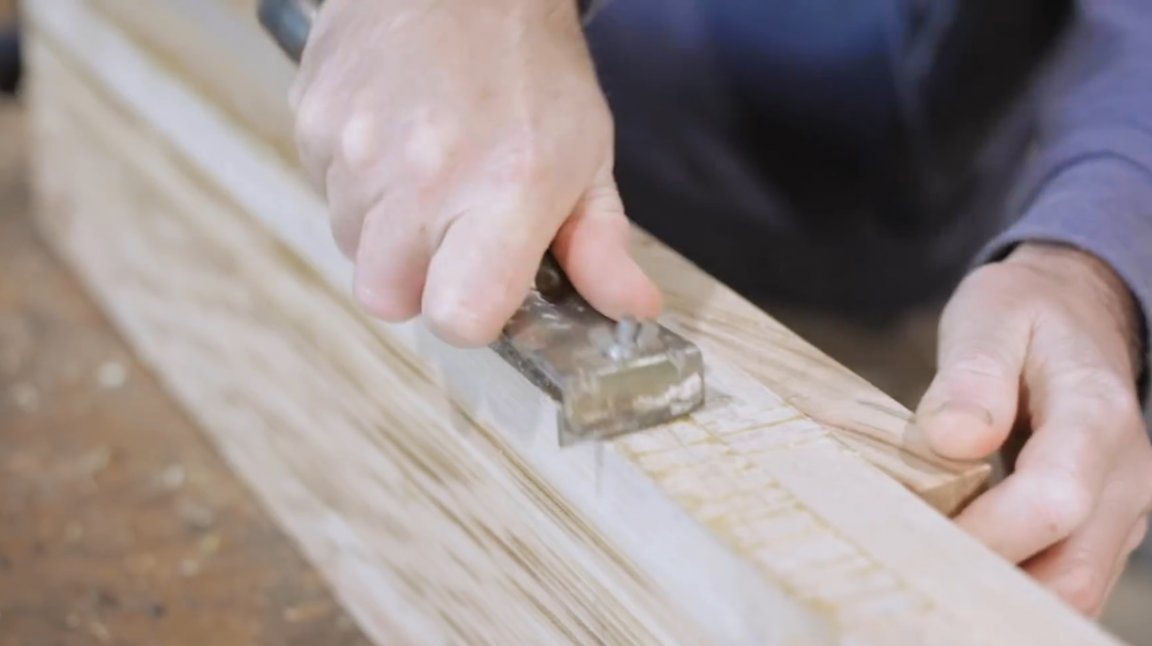
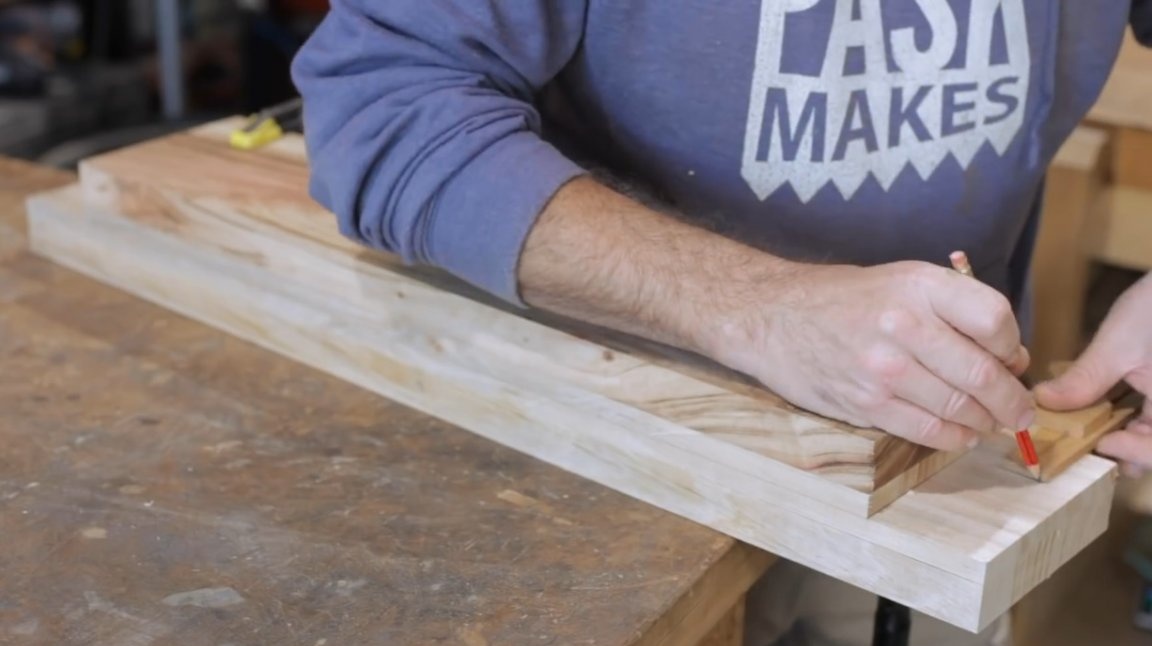
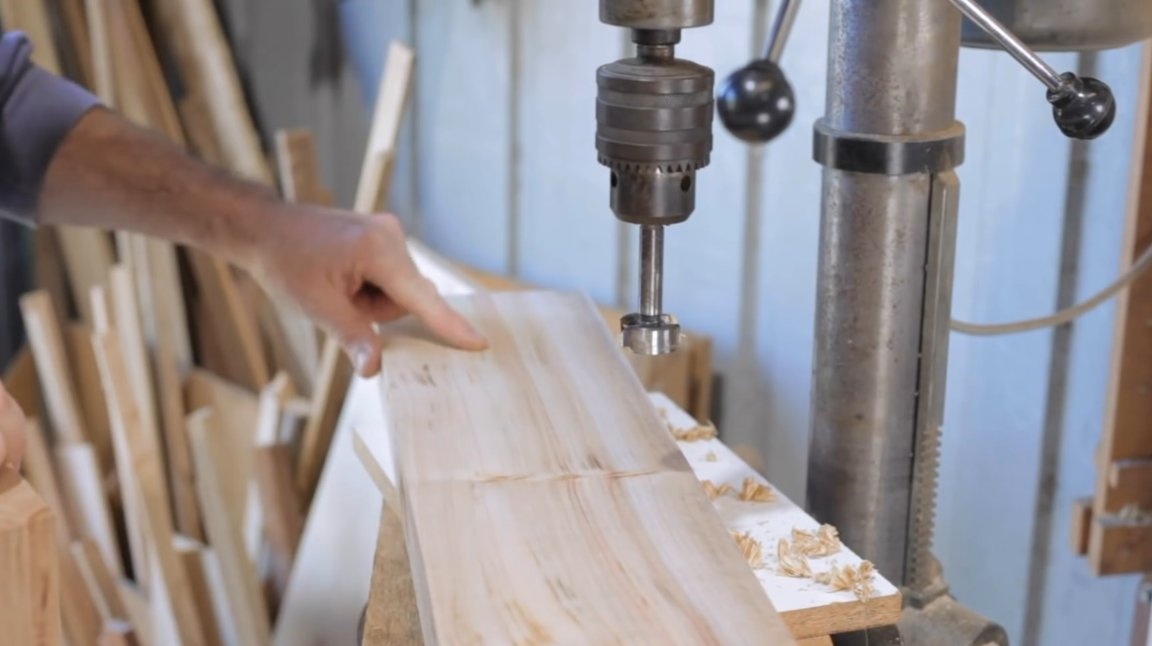
Then the workpiece is marked using a marking surface gage, and is cut in thickness into two parts.
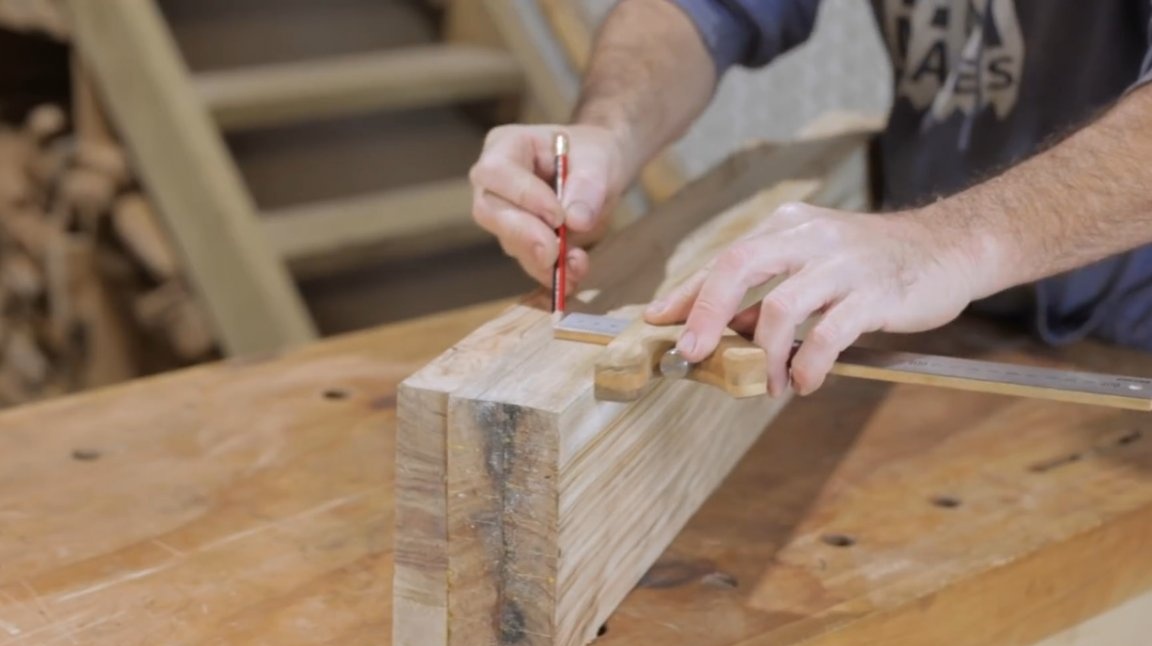
Finally adjusts the workpiece in size, and aligns them.
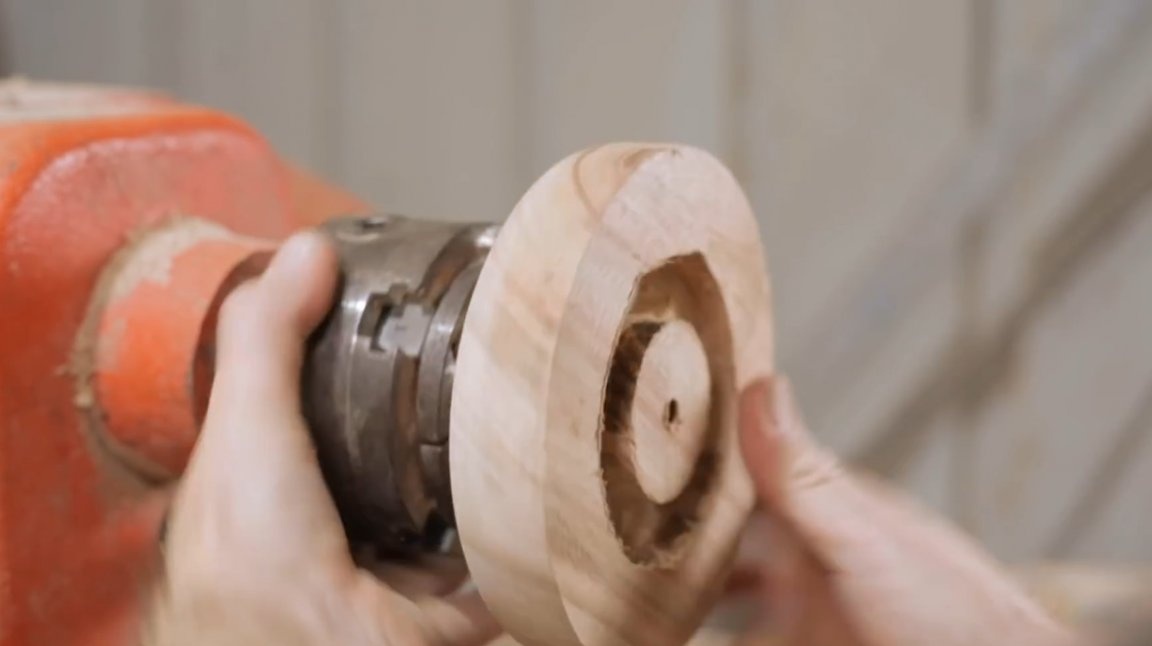
The author marks the locations of future stud holes, and drills them with a Forstner drill. Moreover, he makes the first holes by connecting the blanks to each other. So he gets the center marks on the second workpiece.
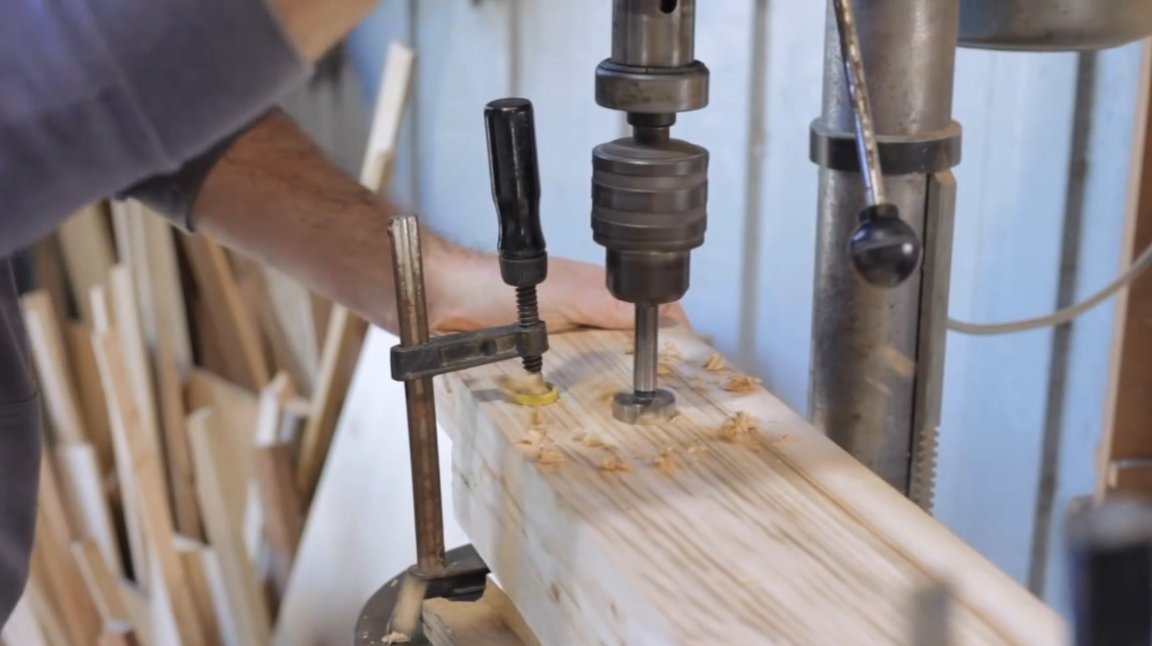
Oval holes in the movable sponge are cleaned with a file.
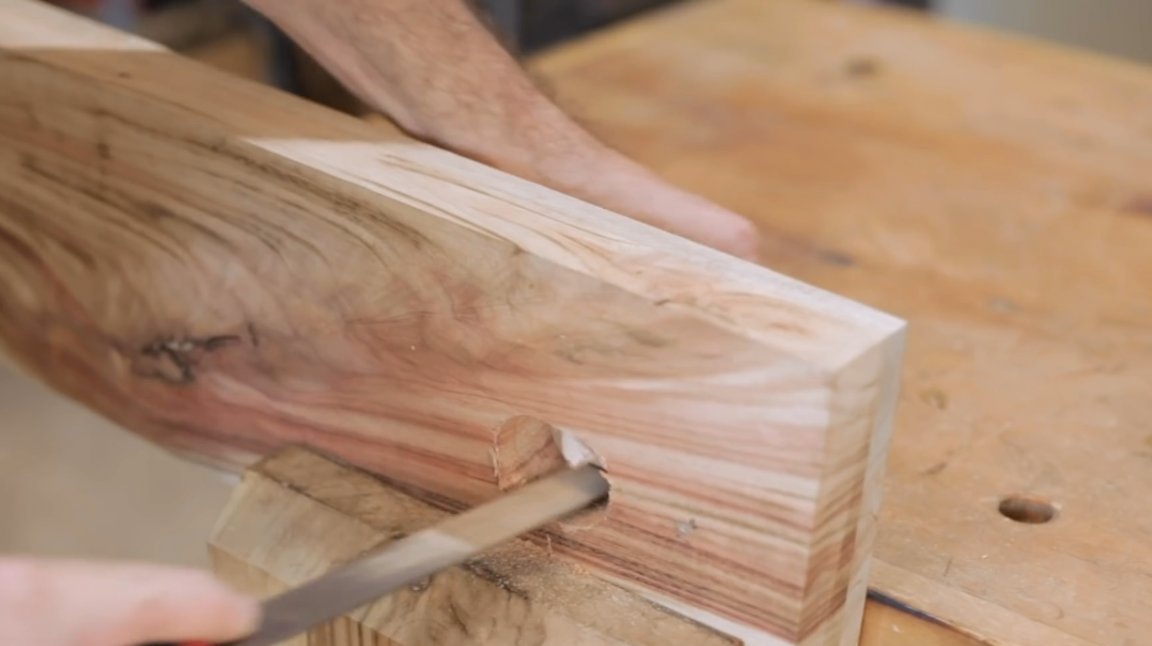
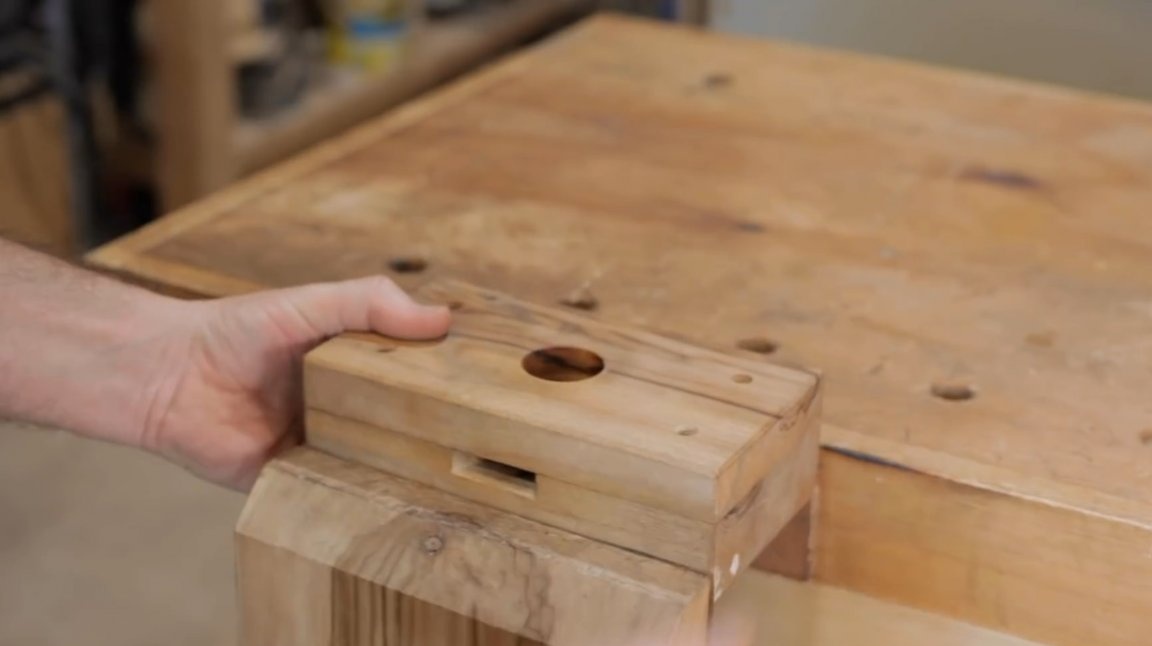
At the corners of a fixed sponge, the master makes two cuts. They will be needed to mount the vise to the workbench.
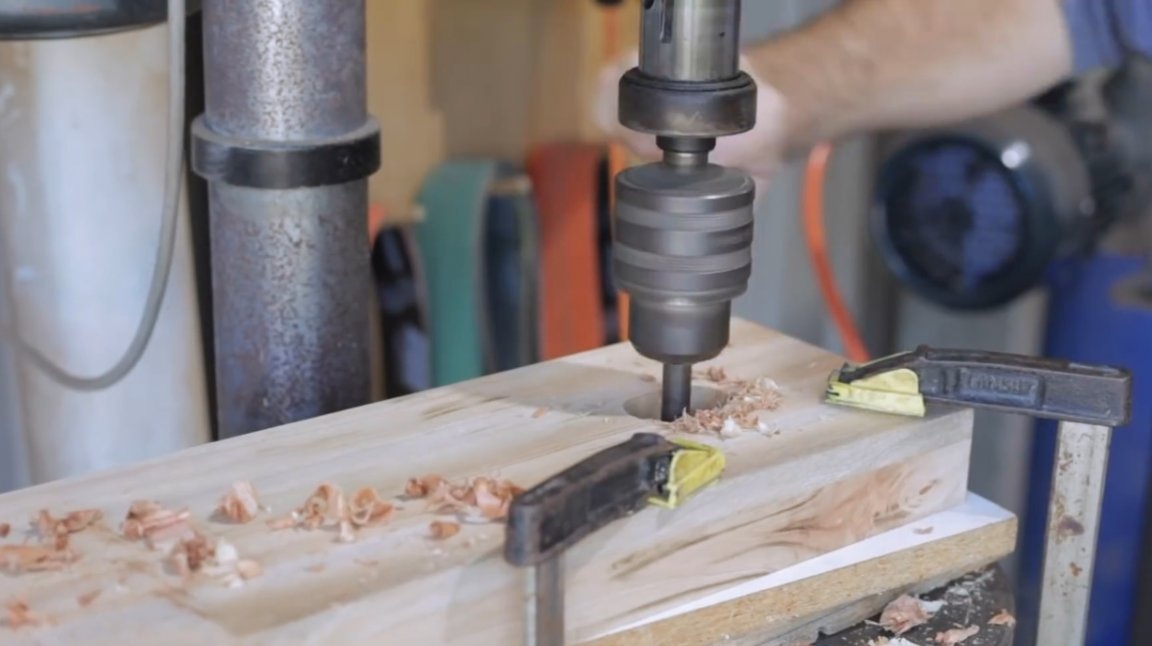
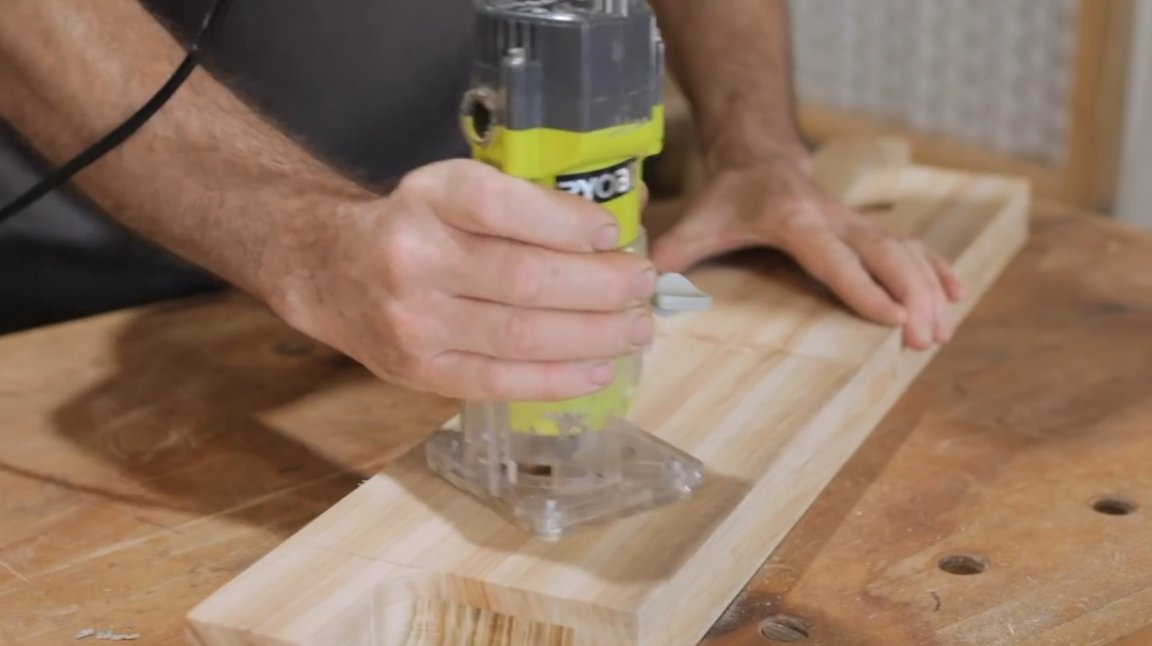
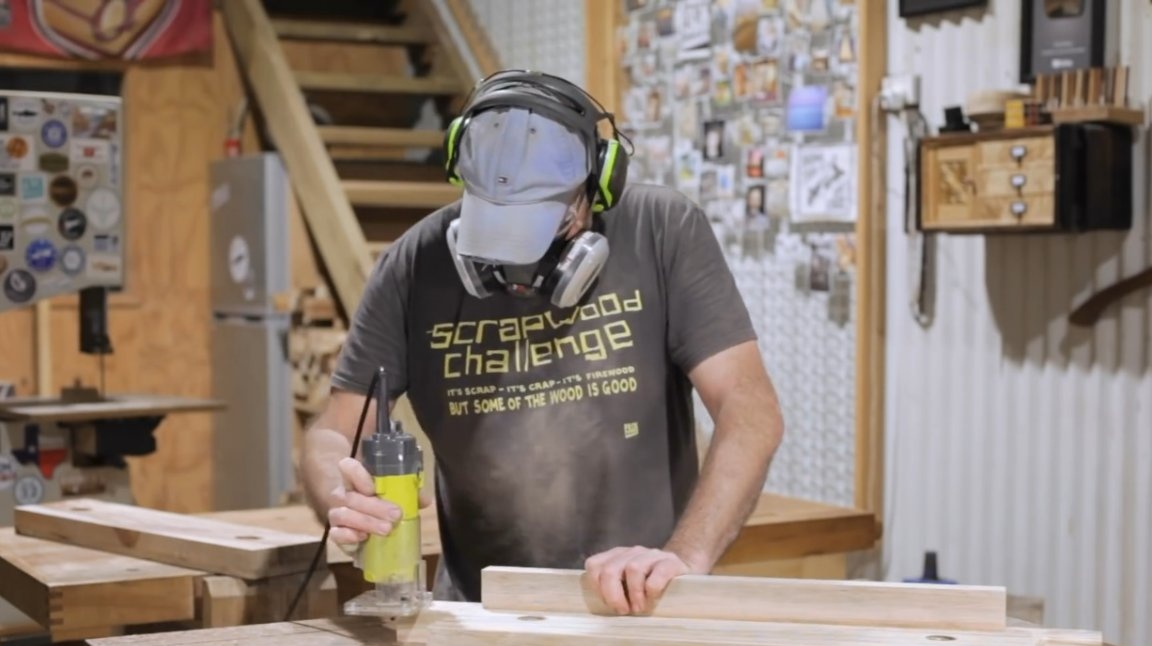
All holes are machined by hand milling.
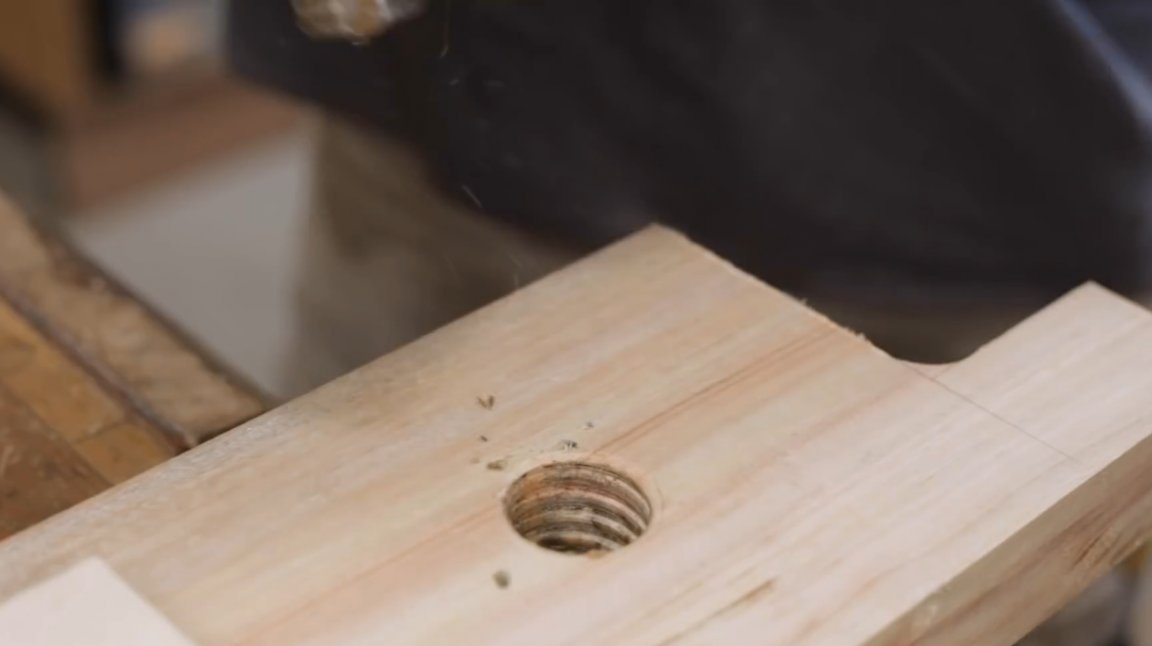
With a special tap, the author cuts the thread in the holes of the fixed sponge.
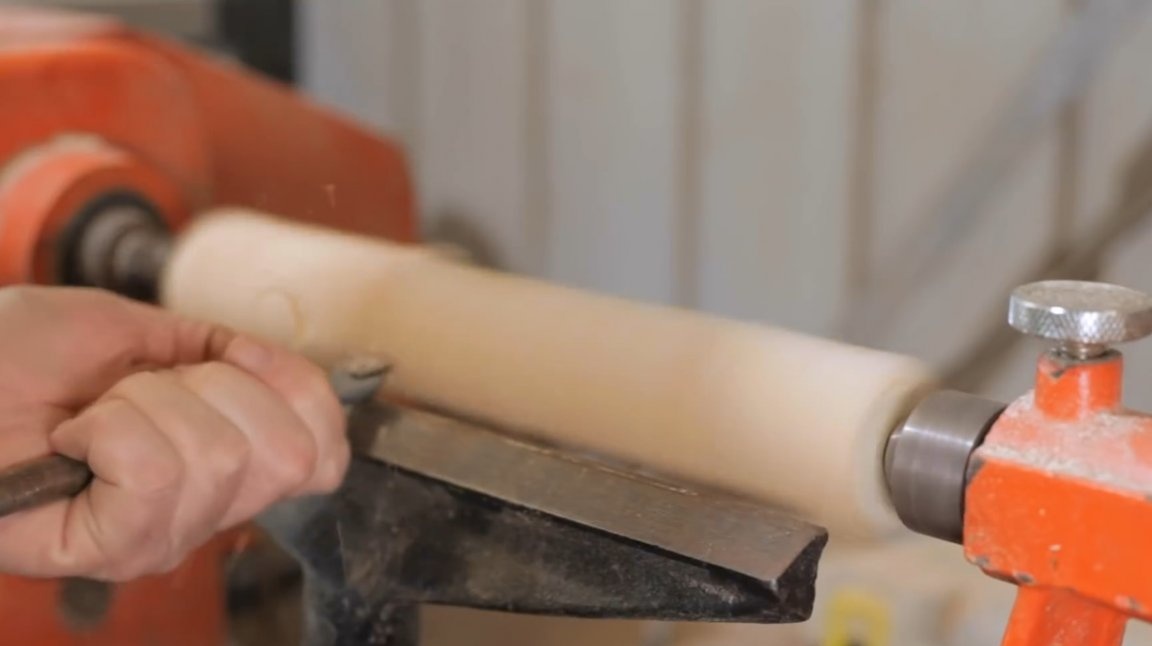
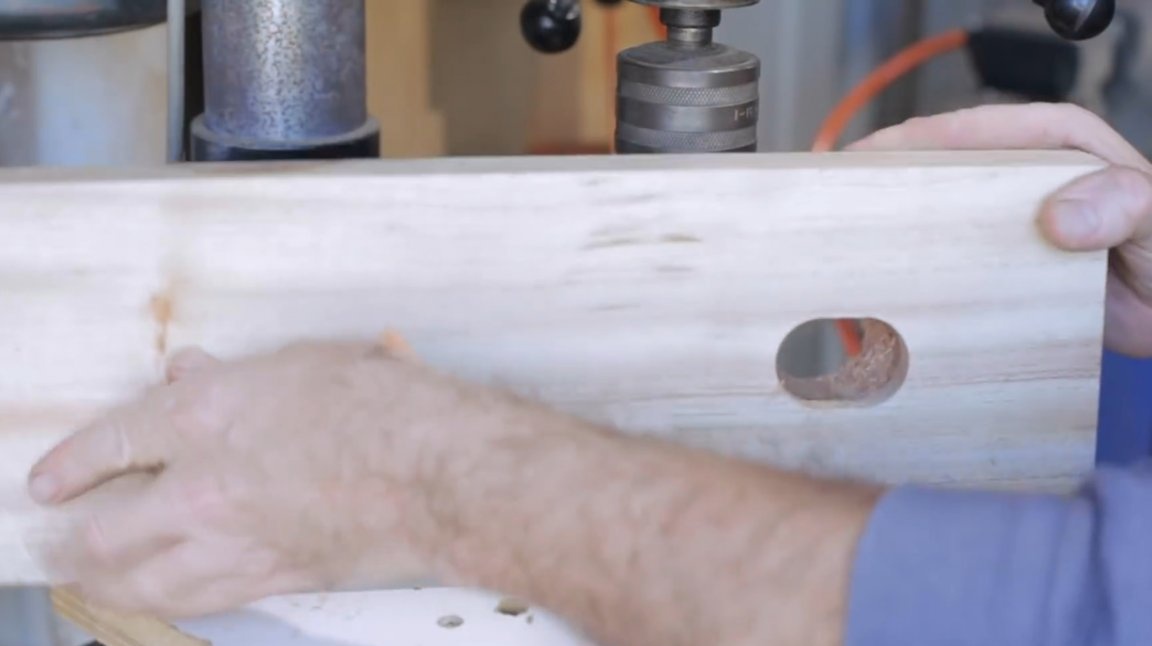
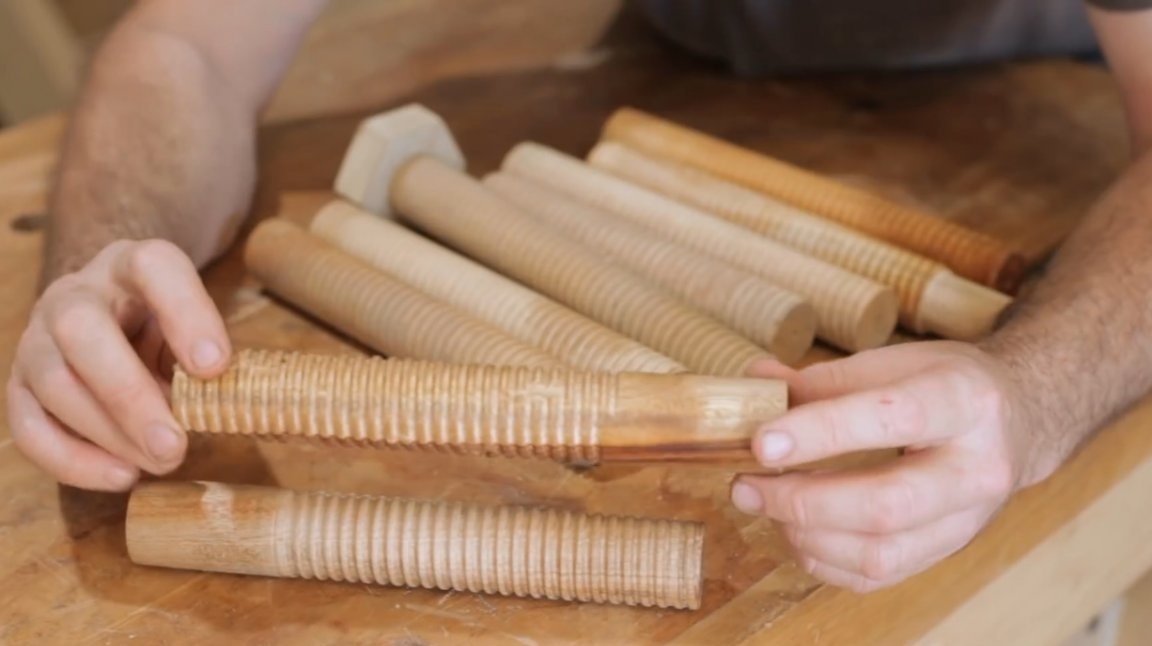
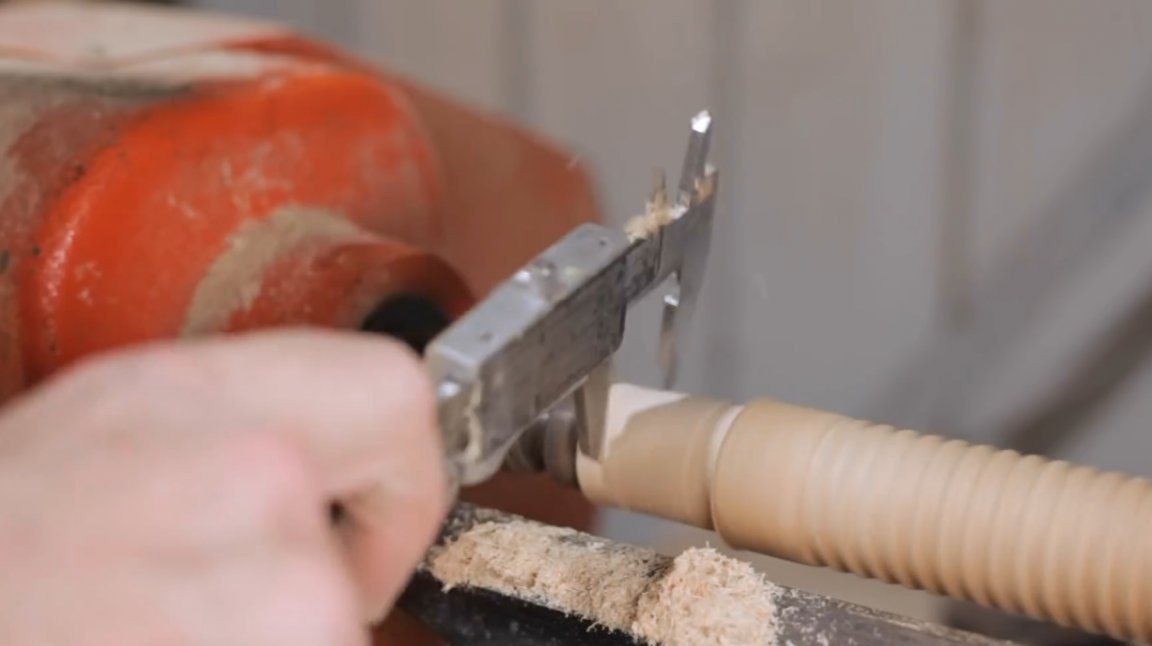
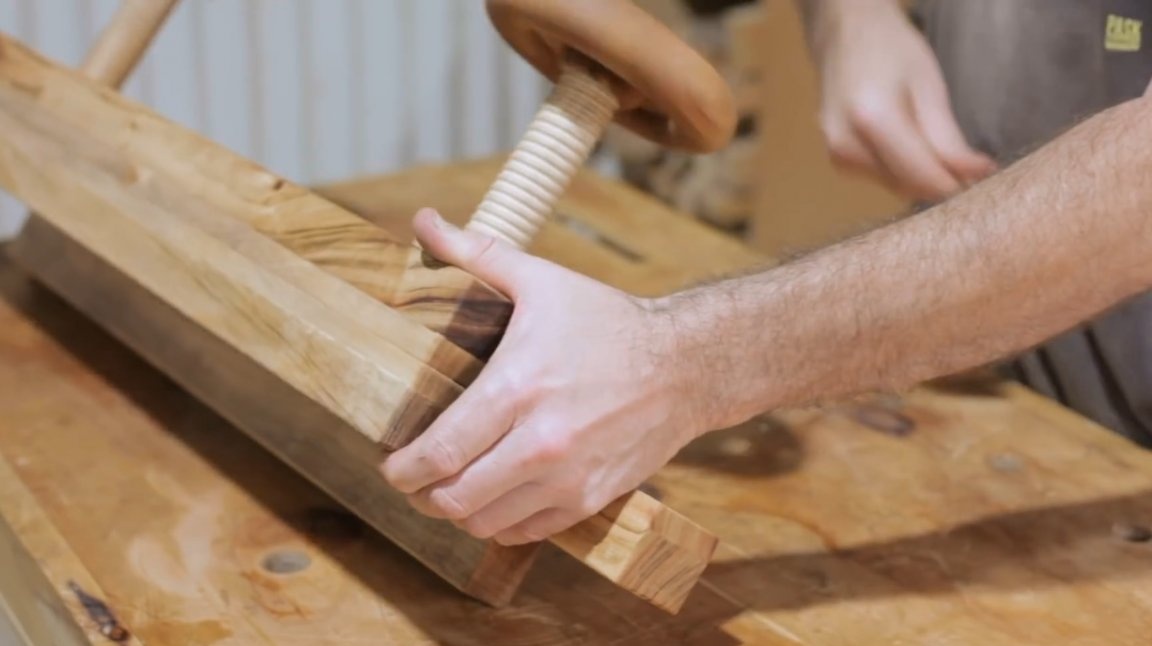
Blanks for studs are saturated with oil, they can be taken out and cut to size.
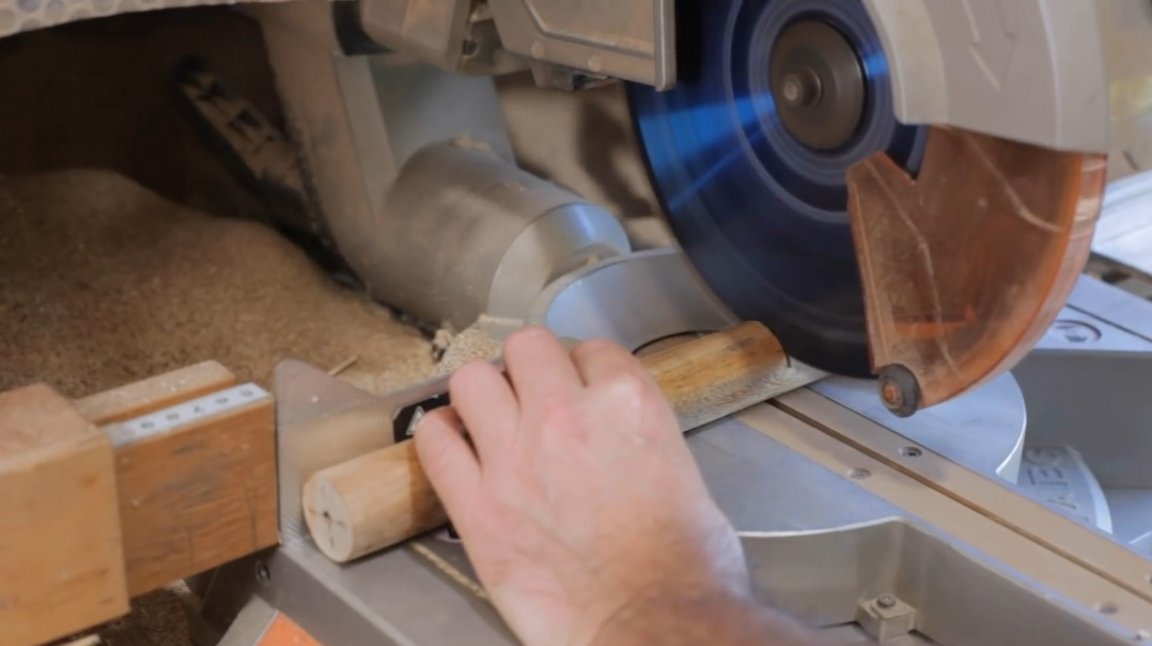
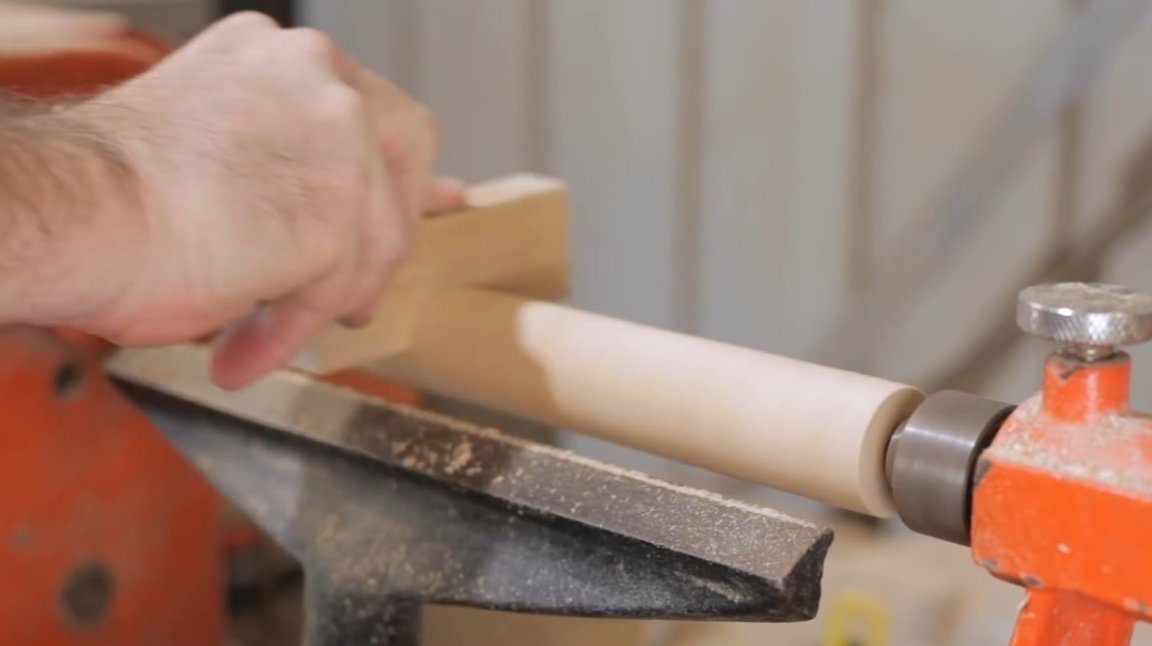
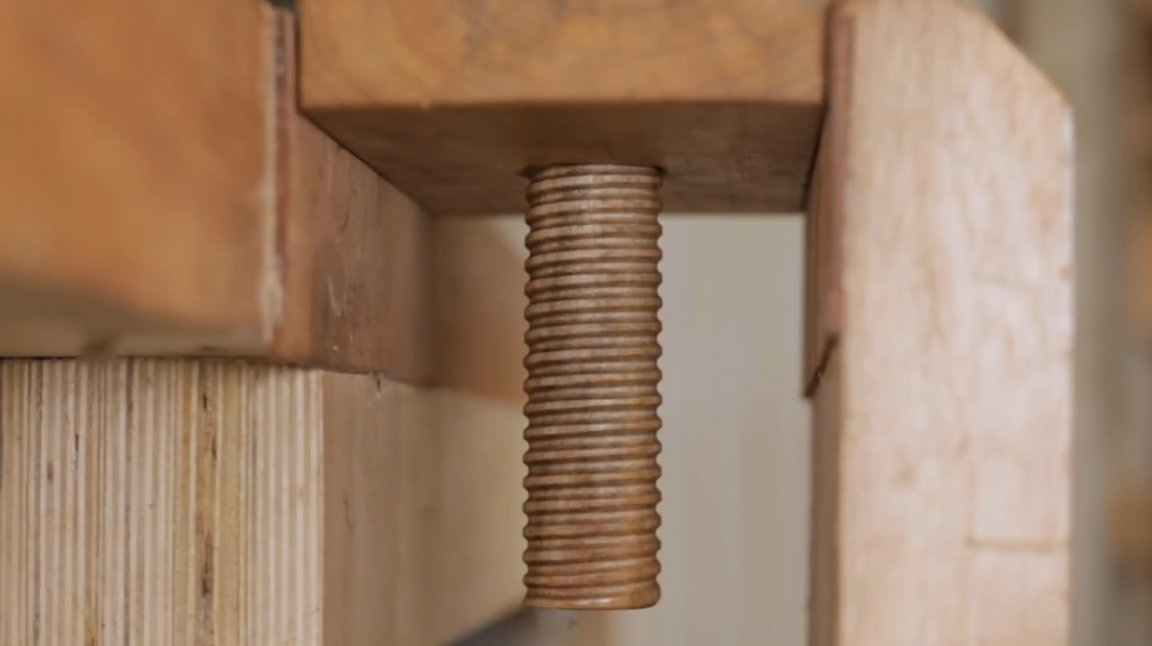
Then a thread is cut on the wooden rods themselves using a large lehr.
One hairpin didn’t work out very well. The master had made several similar threaded rods before. And they all turned out great.
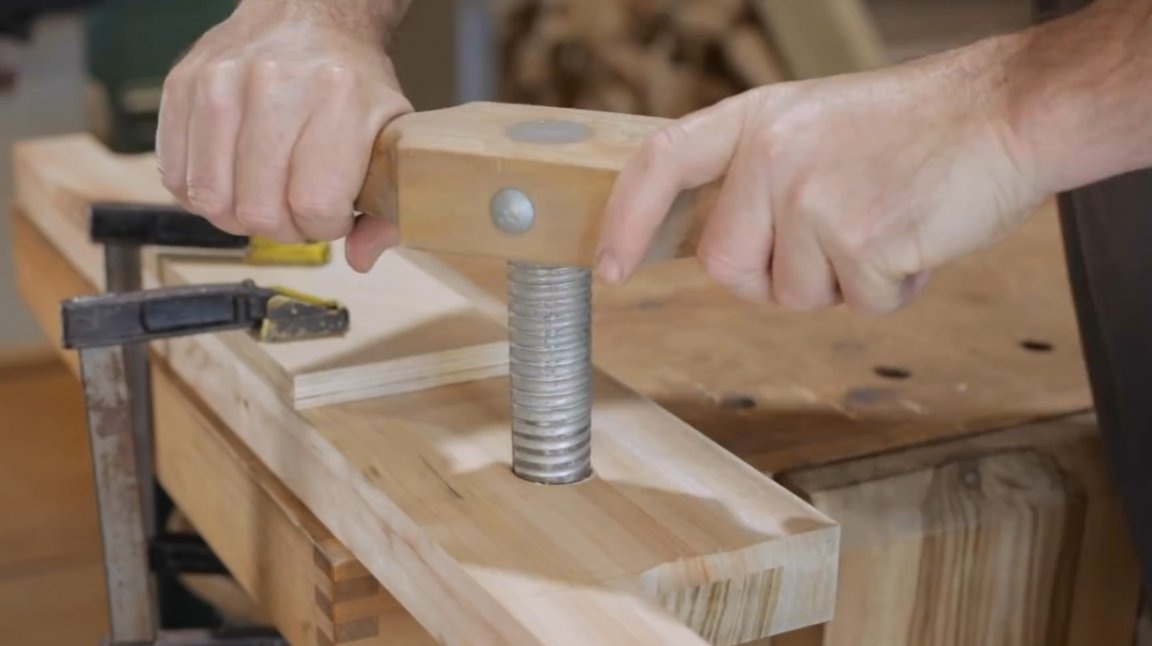
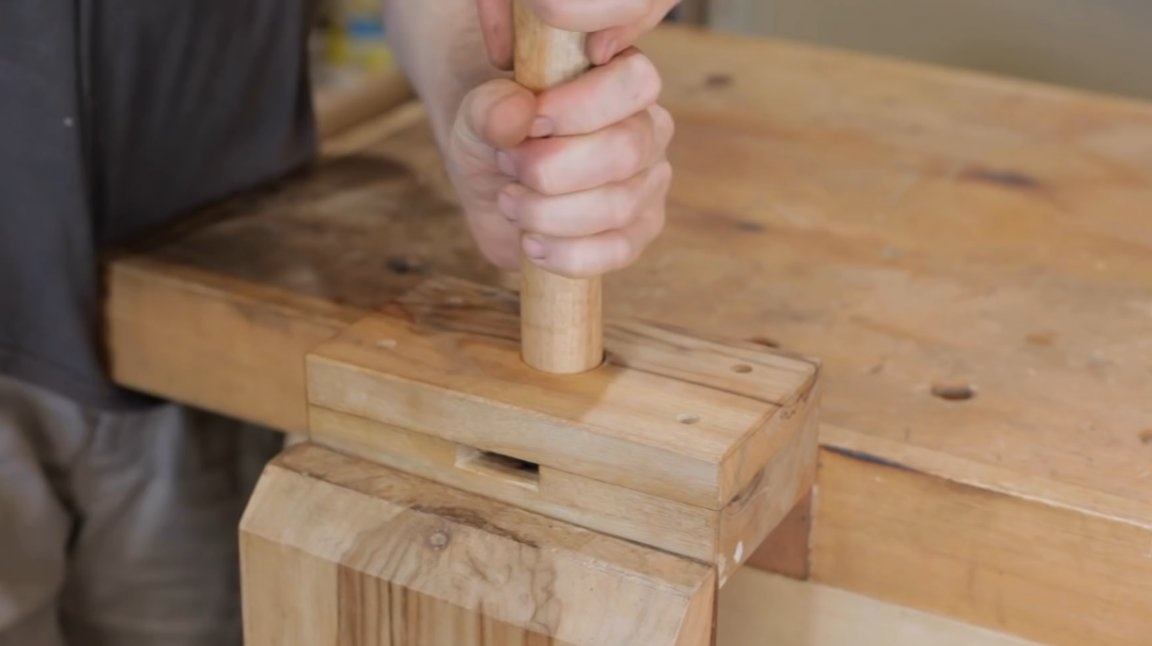
The stud is twisted into the prepared fixed sponge almost effortlessly.
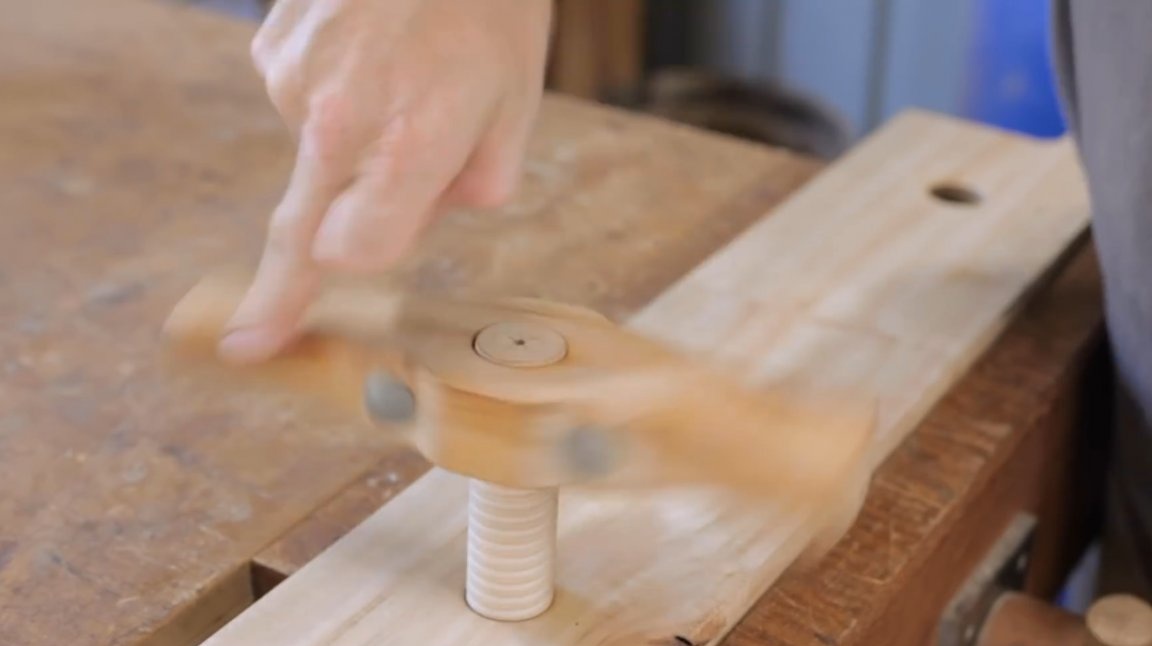
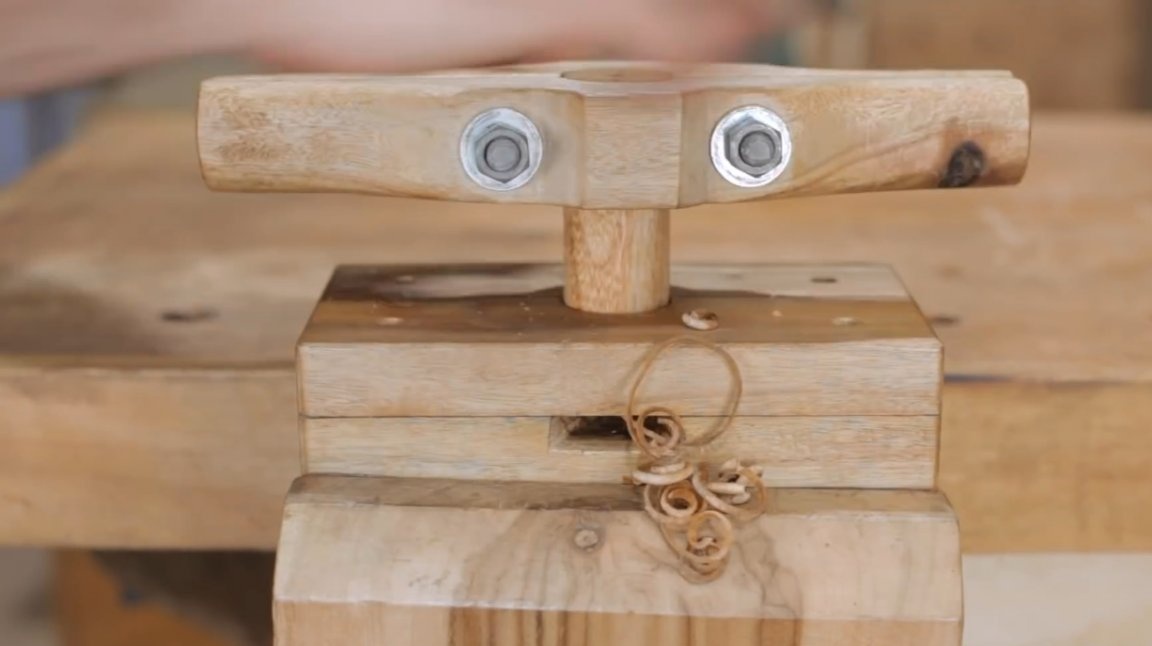
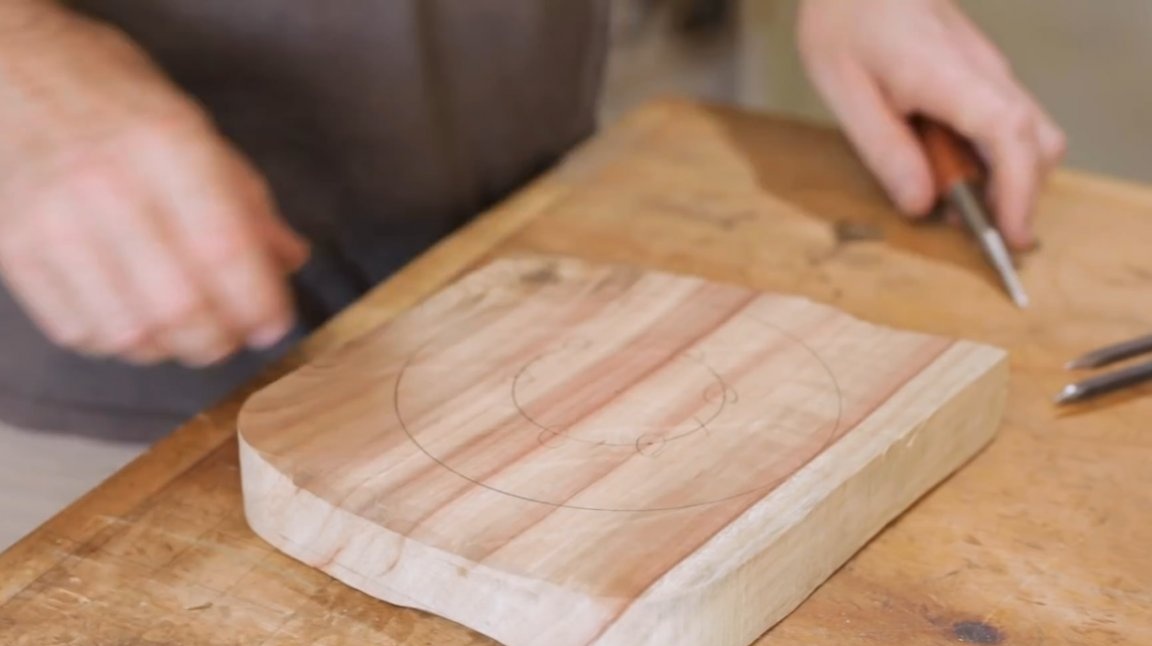
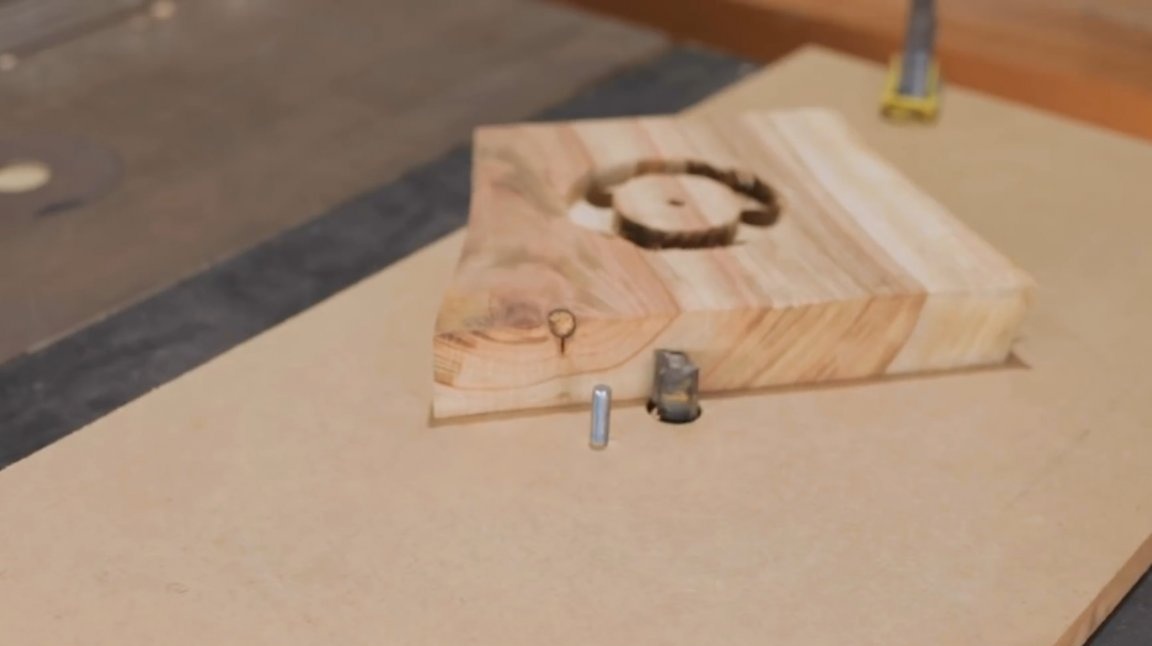
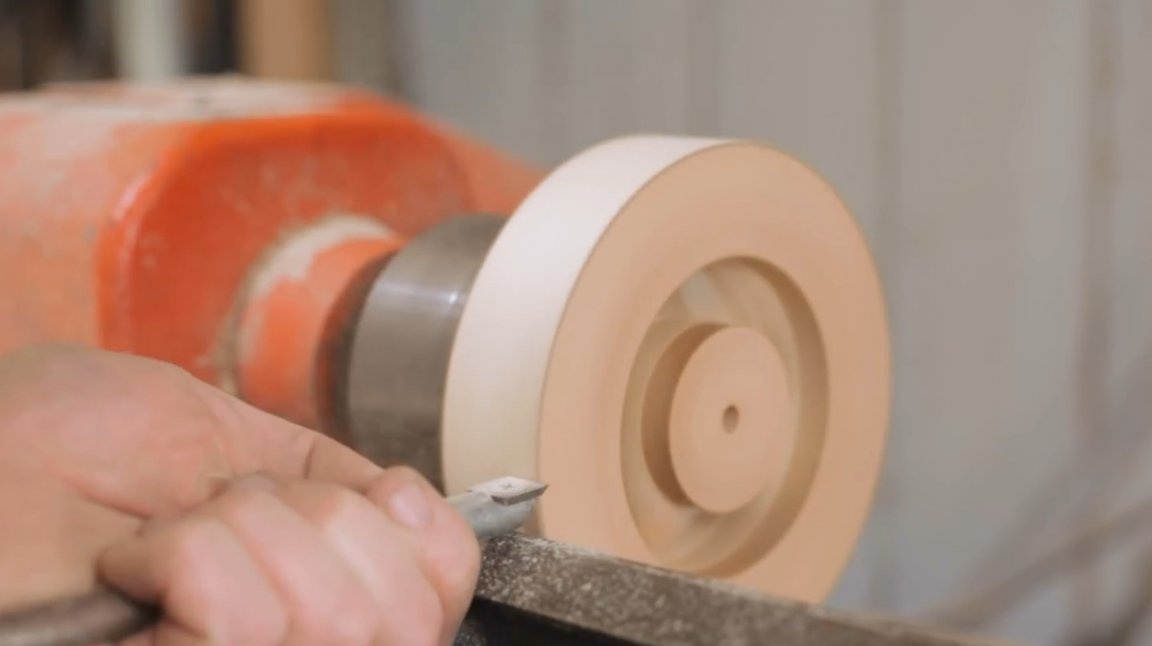
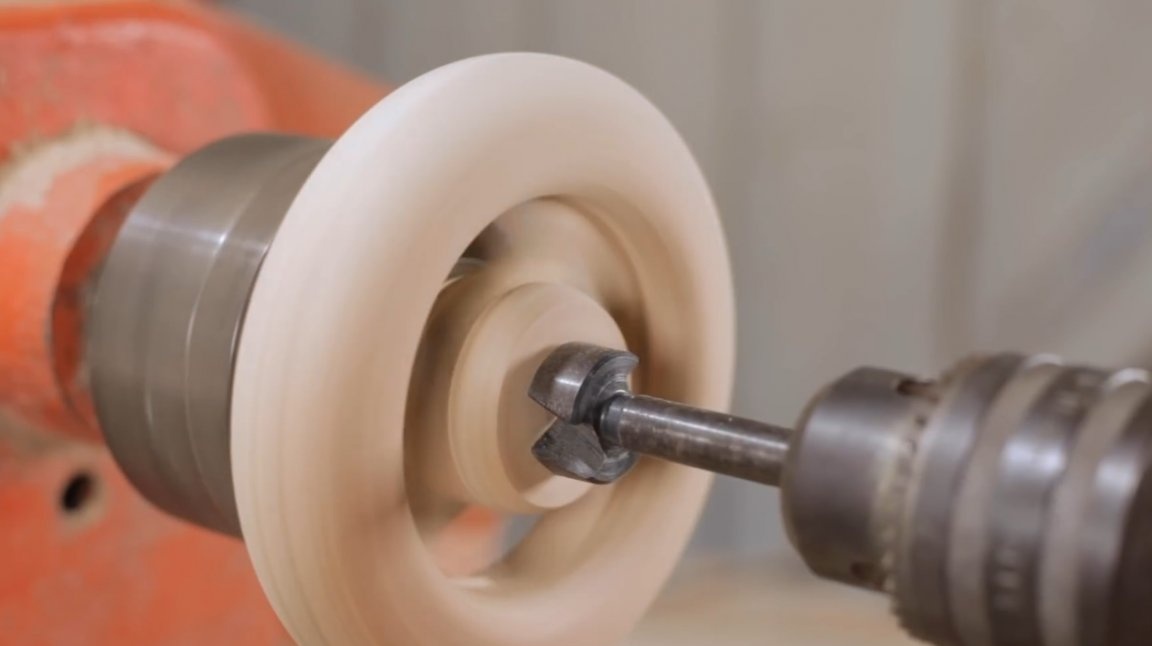
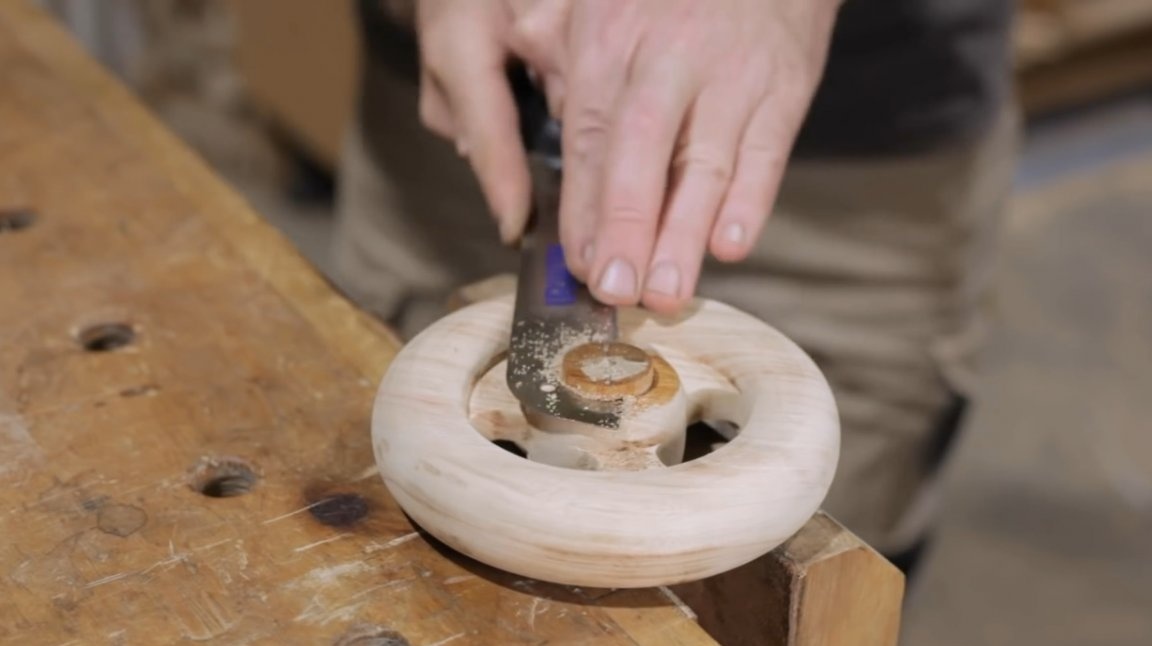
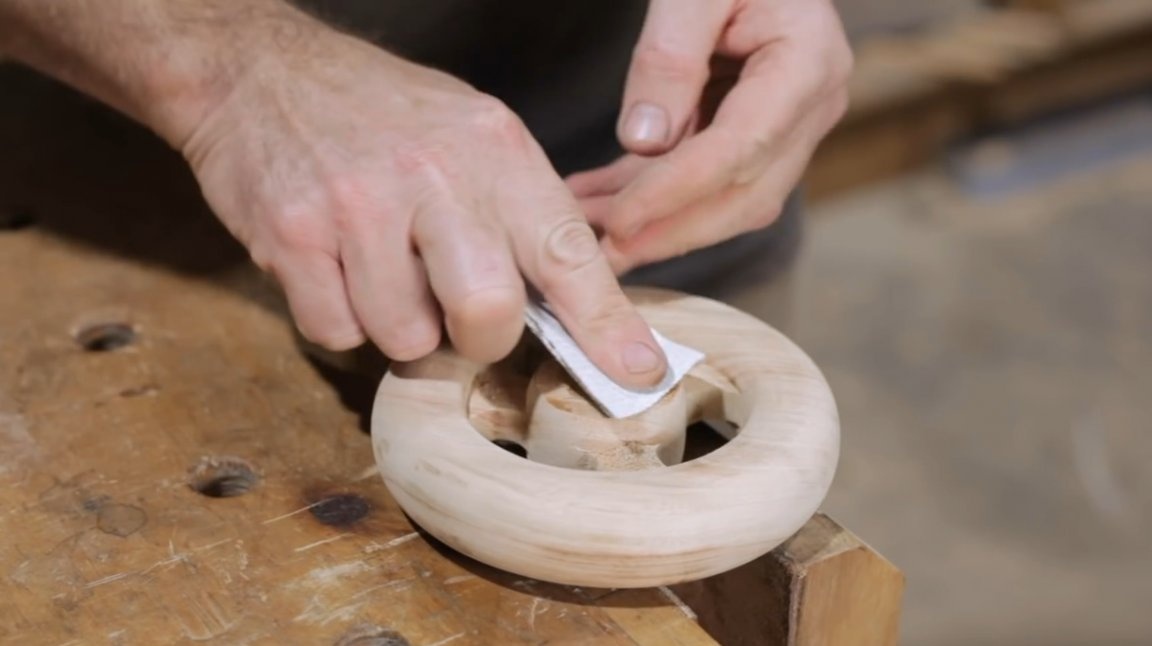
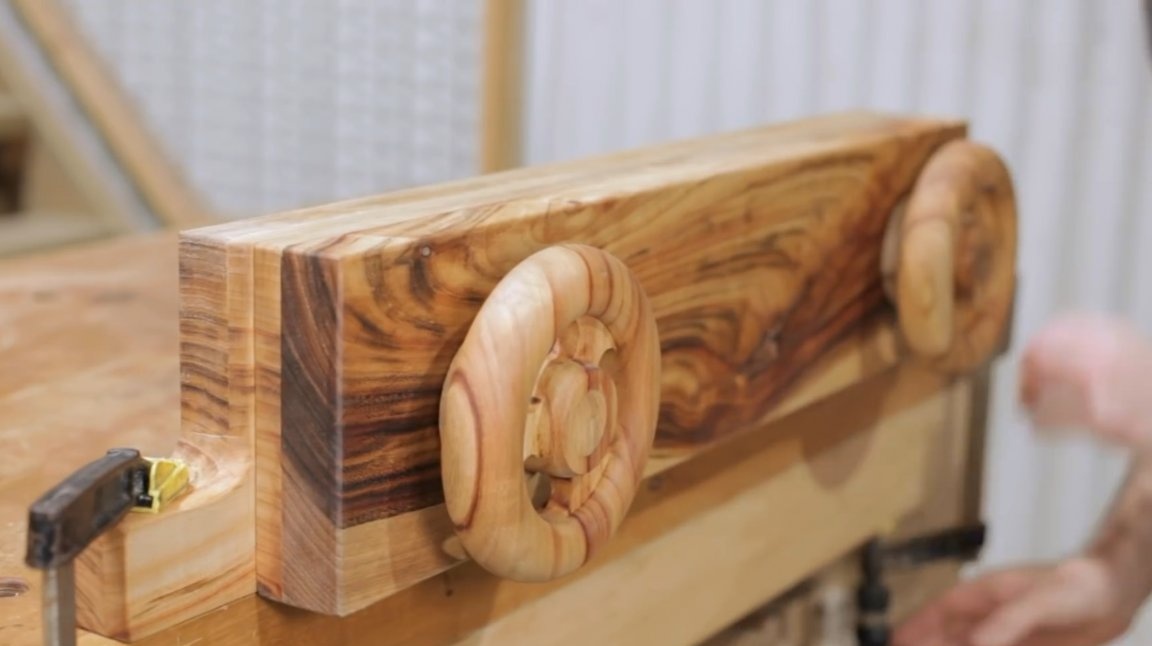
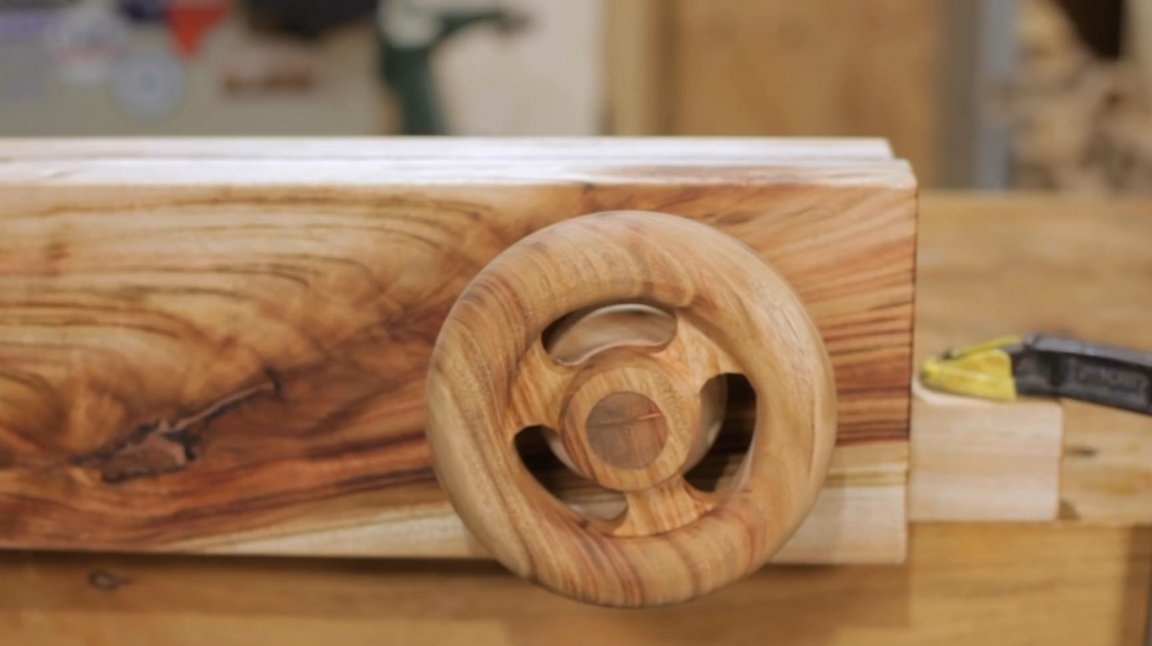
Now you need to make the lamb. On a separate board with a compass, the master marks a large and a small circle, again the inner circle is divided by a compass into equal sections.
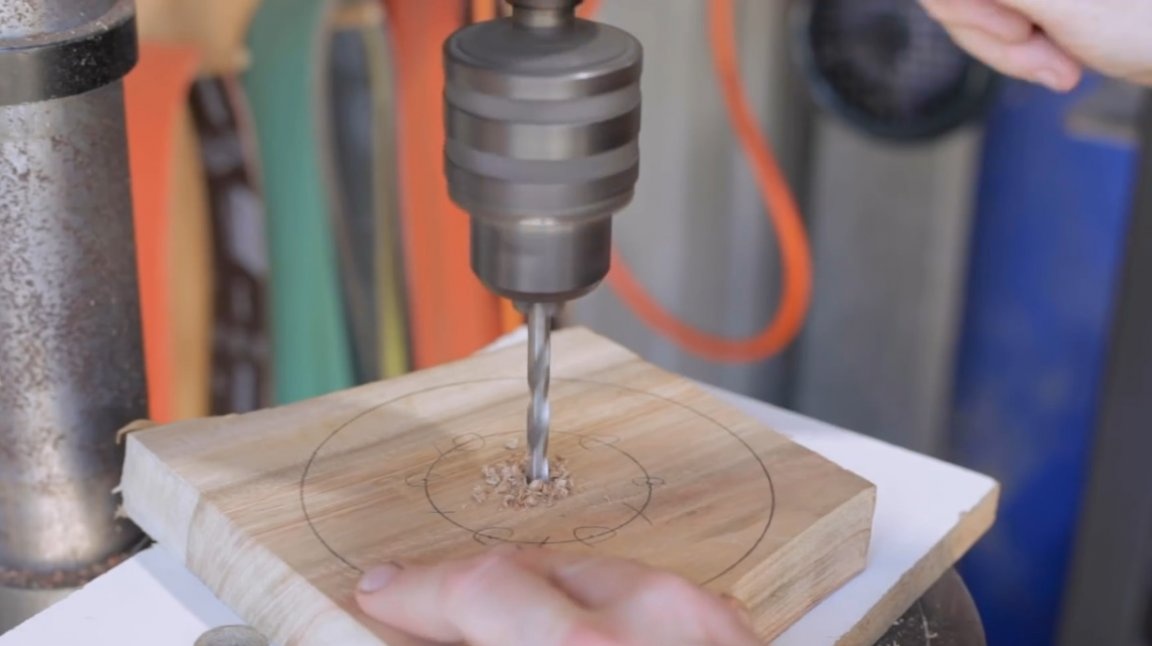
Drills a hole in the center of the workpiece, and with a Forstner drill, Neil makes the same holes around the circumference of the circle.
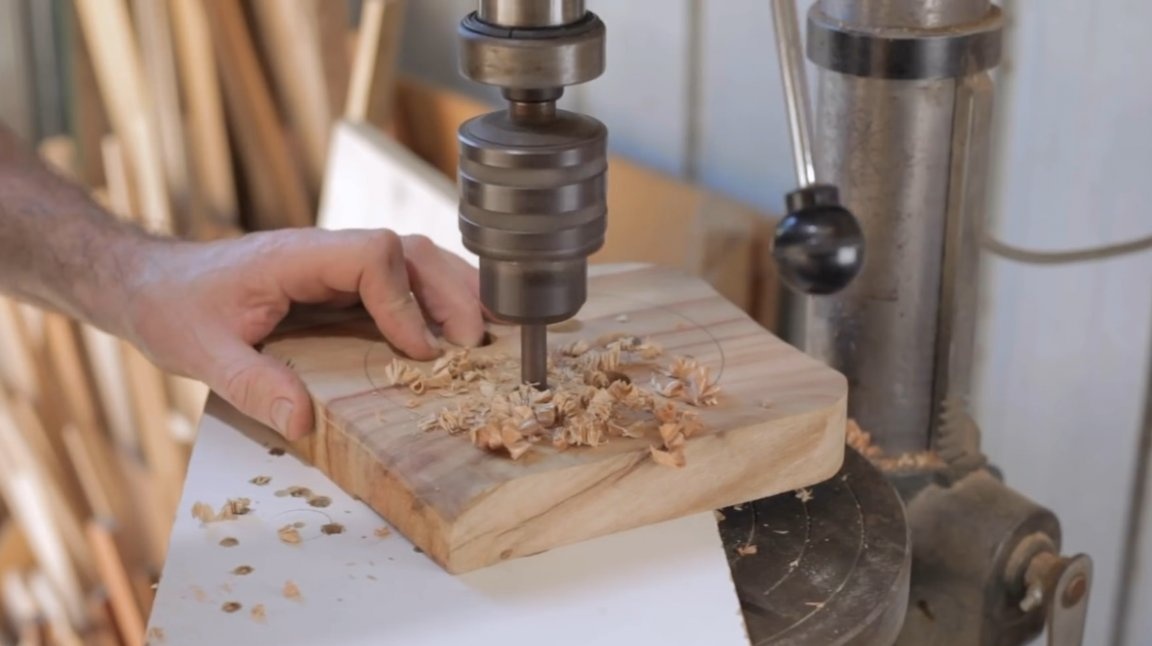
Then on a milling machine he makes shallow circles on both sides. For this, a stud is used, on which the workpiece is worn with a central hole.
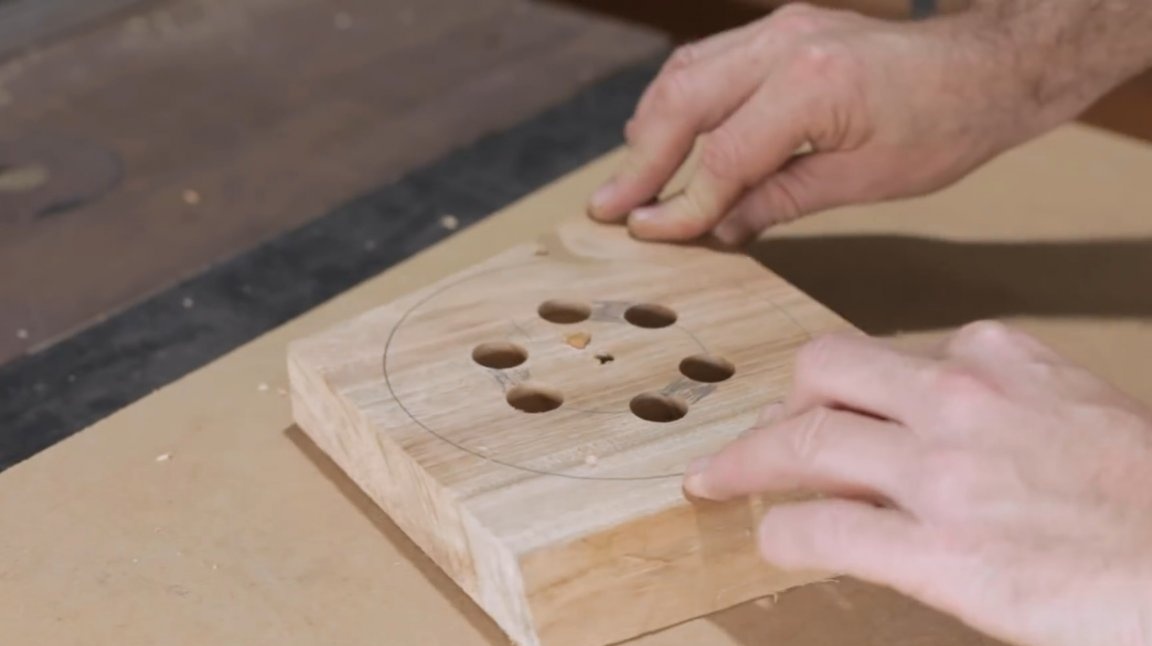
Then he lifts the cutter and drills a pair of holes to an oval shape.
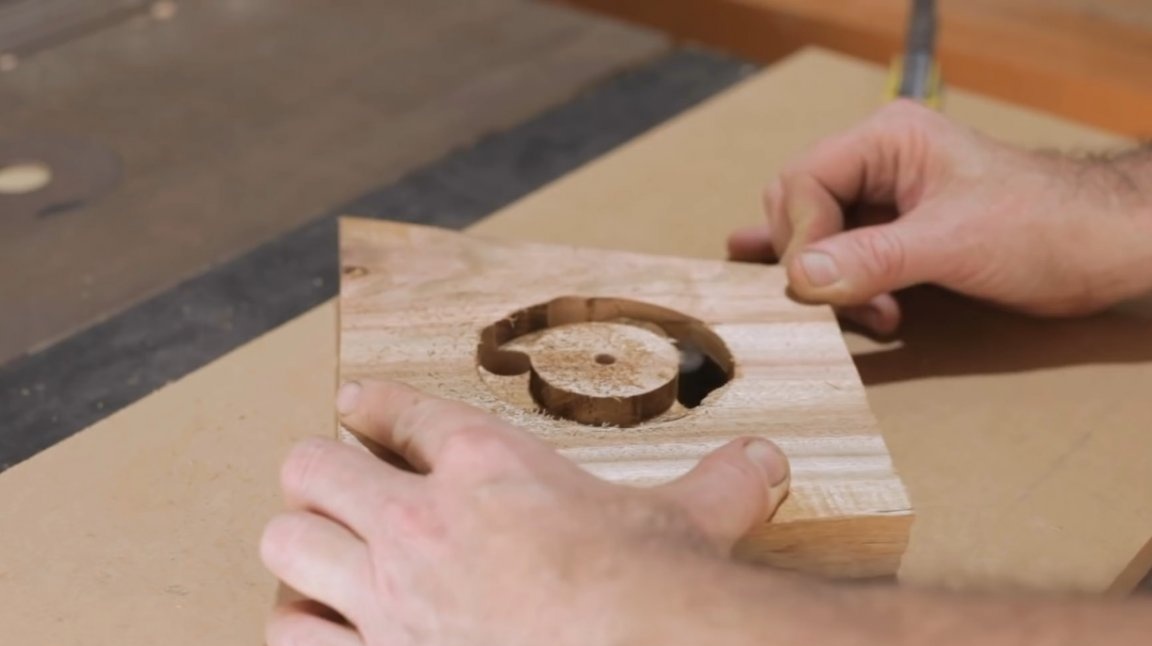
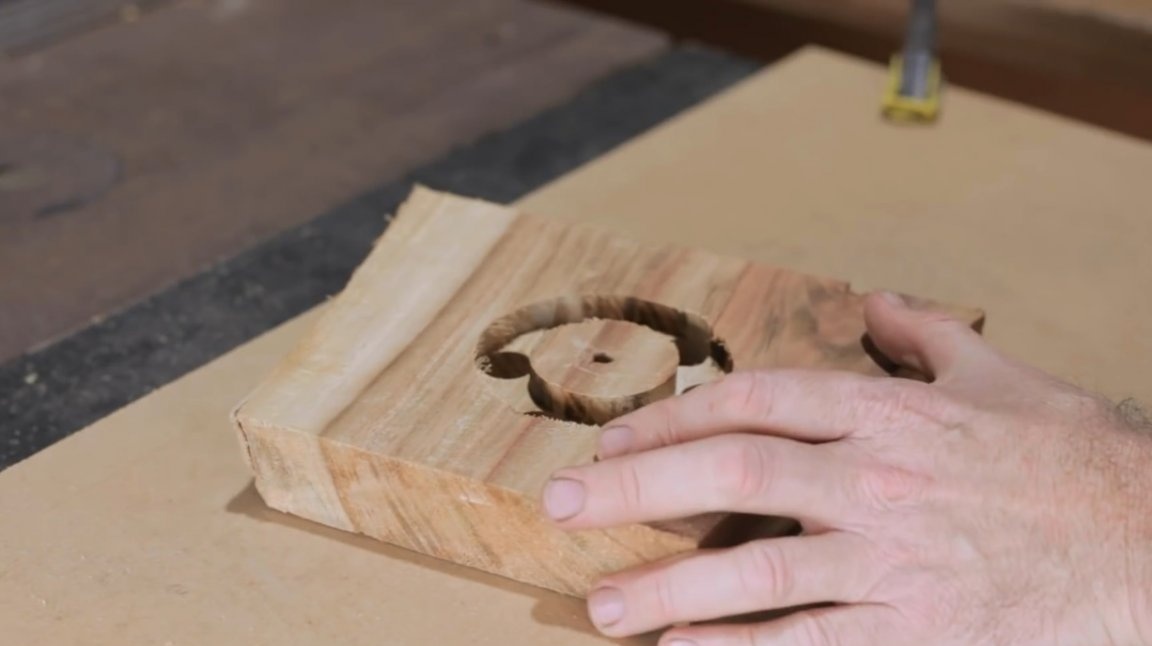
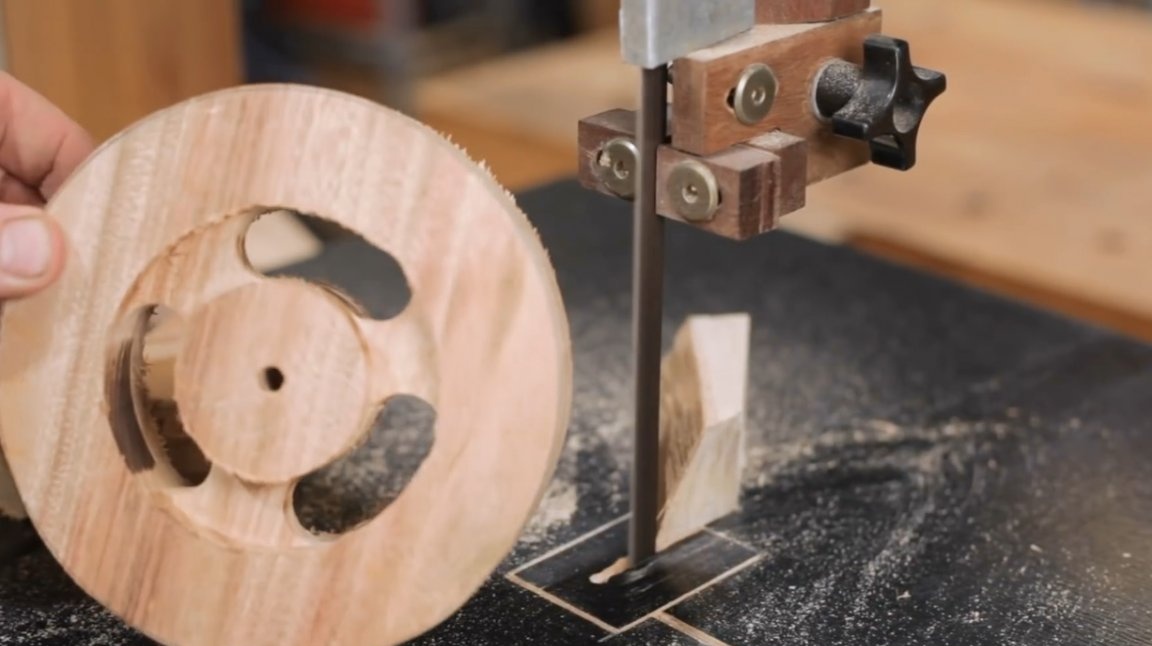
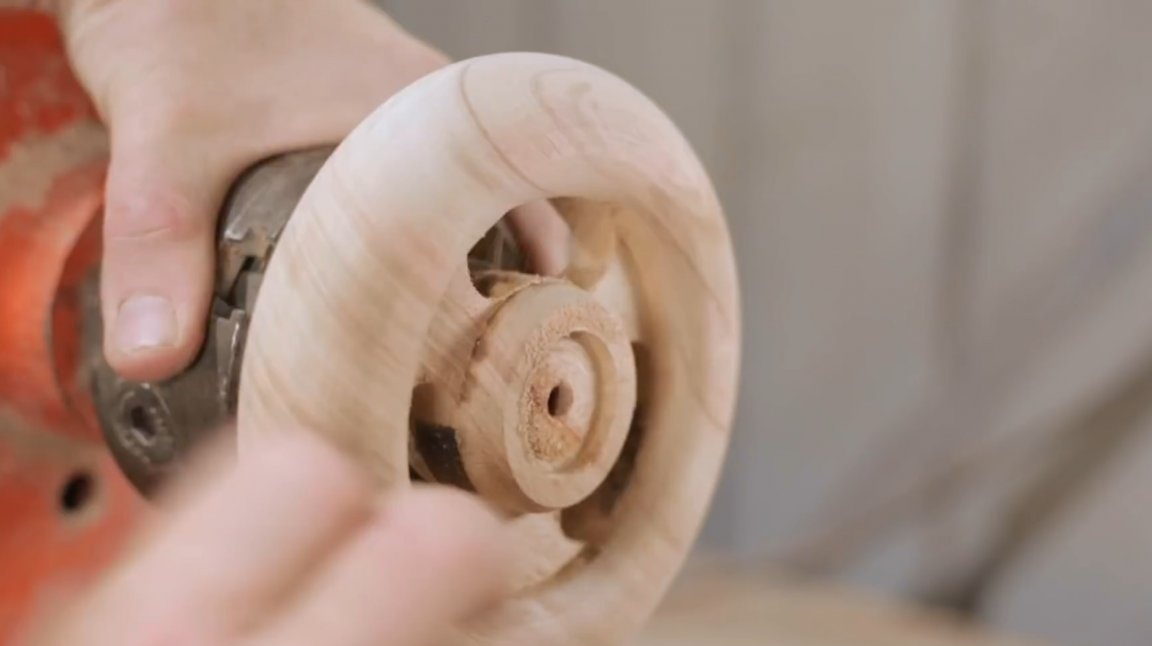
The workpiece is processed on a band saw, and is ready for installation on a lathe.
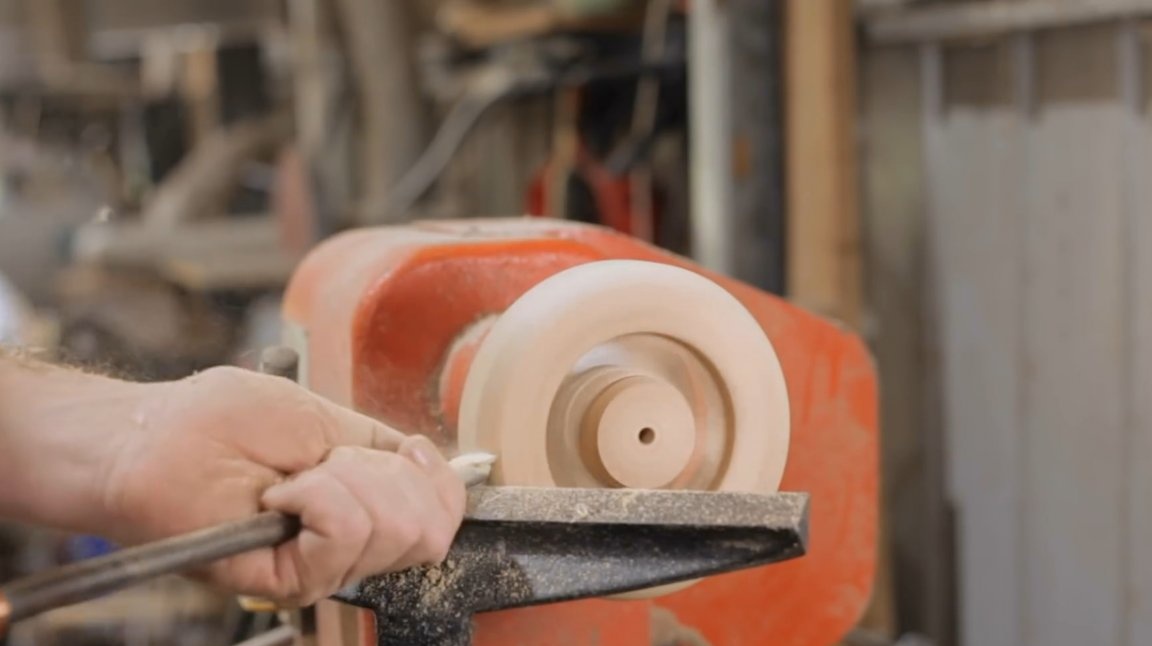
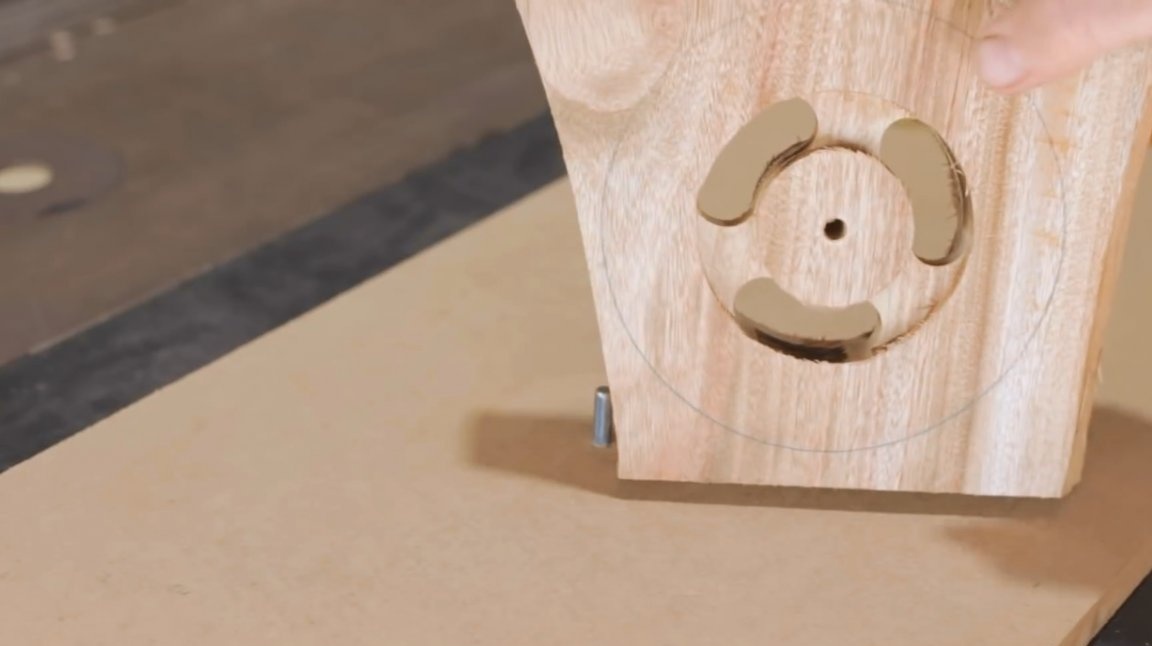
By expanding the lamb, the author worked on its second side.
He outlined the central hole, and drilled it on a drilling machine.
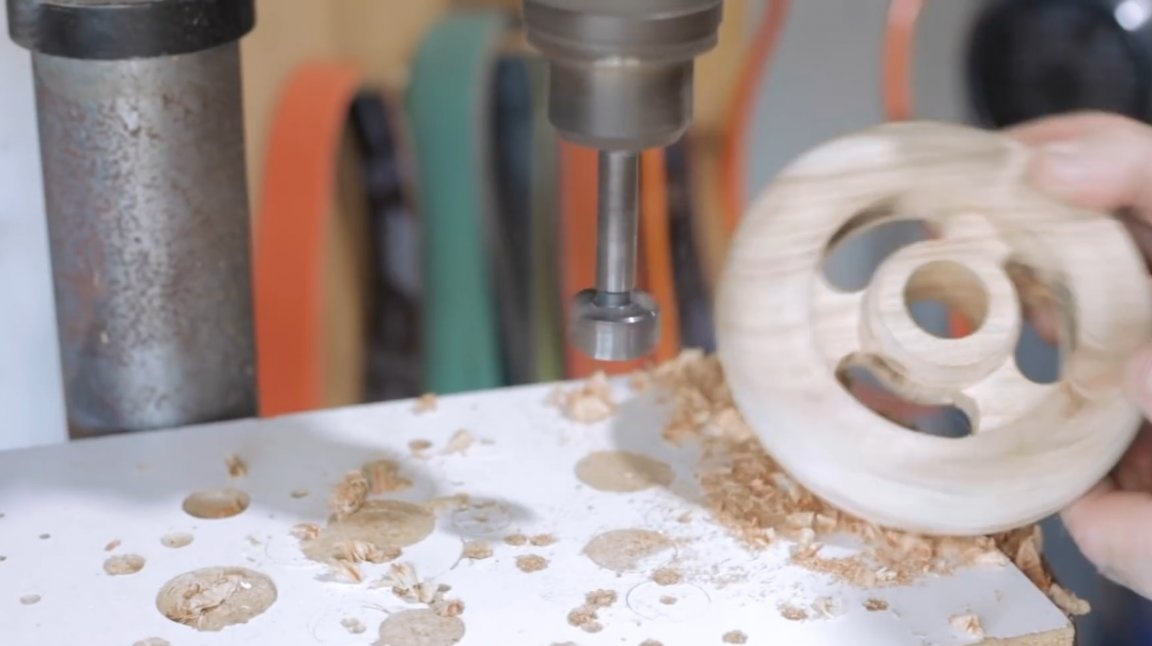
Finishing grout with sandpaper.
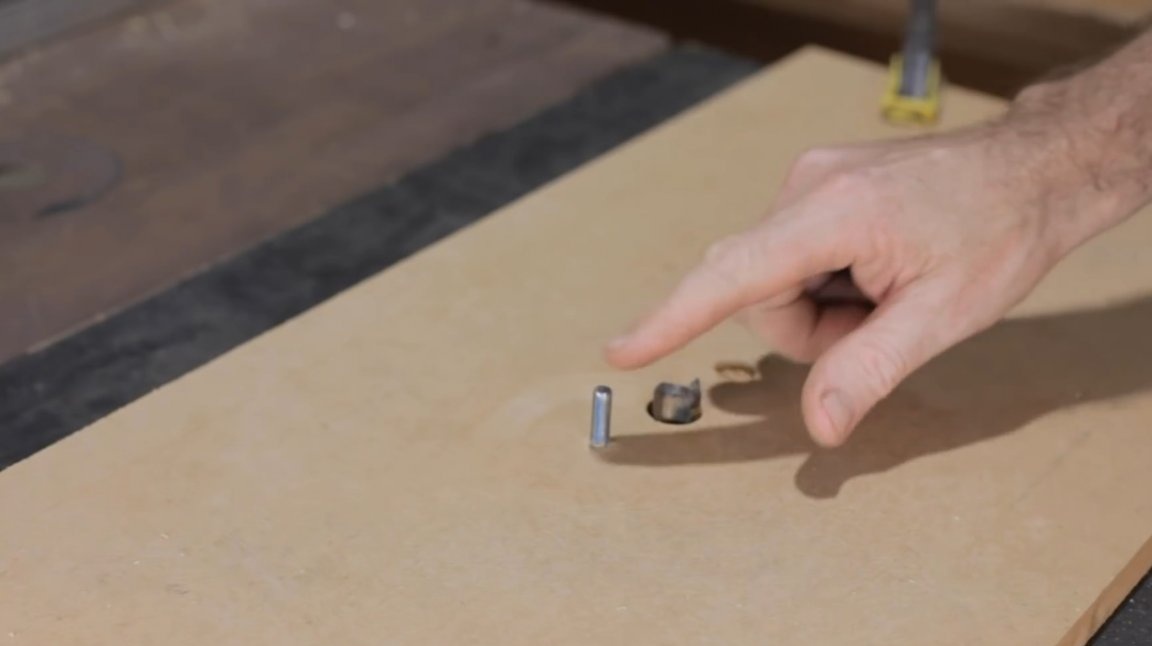
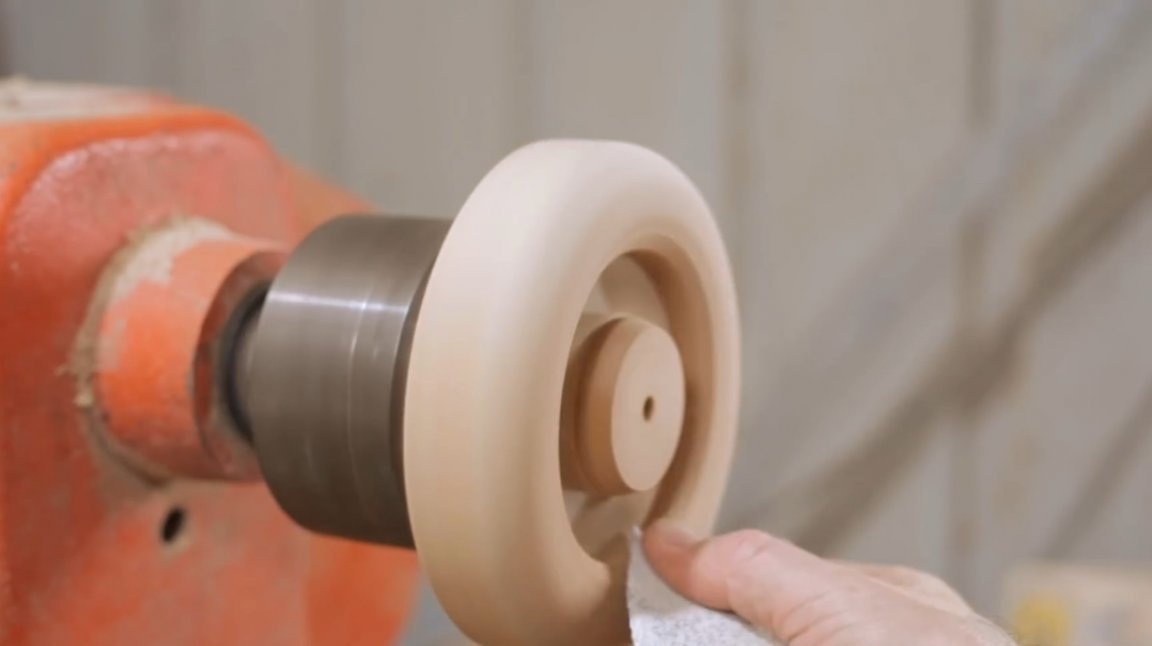
Now I fitted the ends of the studs in size, and pasted them into the rams using polyester resin.
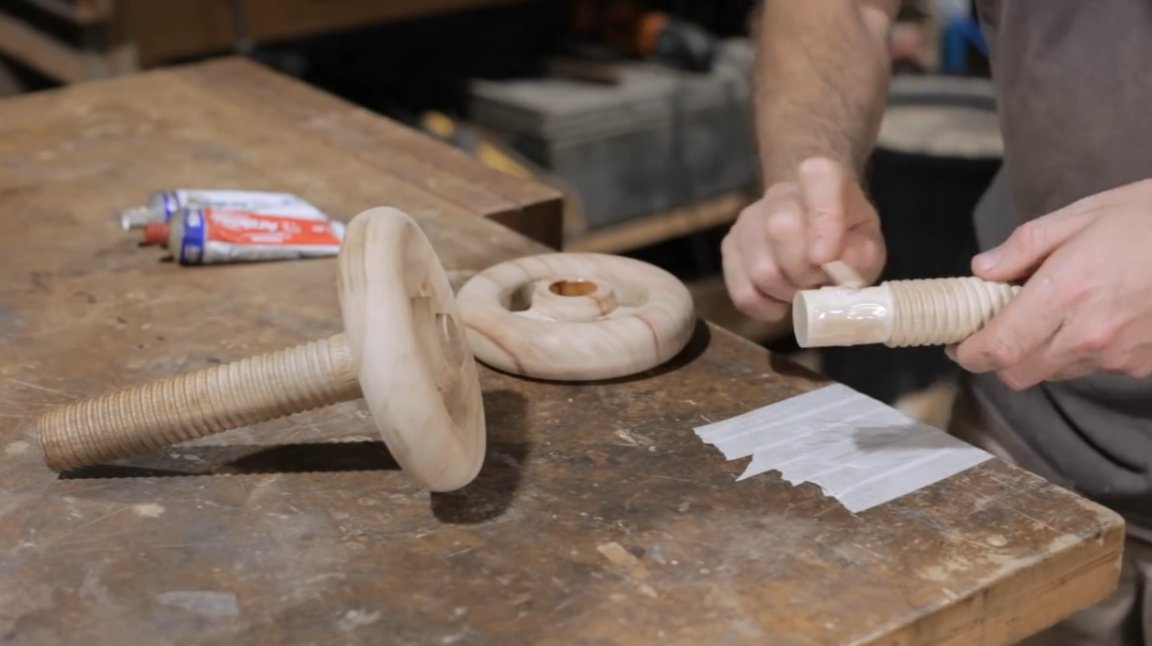
Another block was glued to the lower back of the fixed sponge to strengthen the structure. Strips of fair skin or felt can be glued to the inside of the sponges.

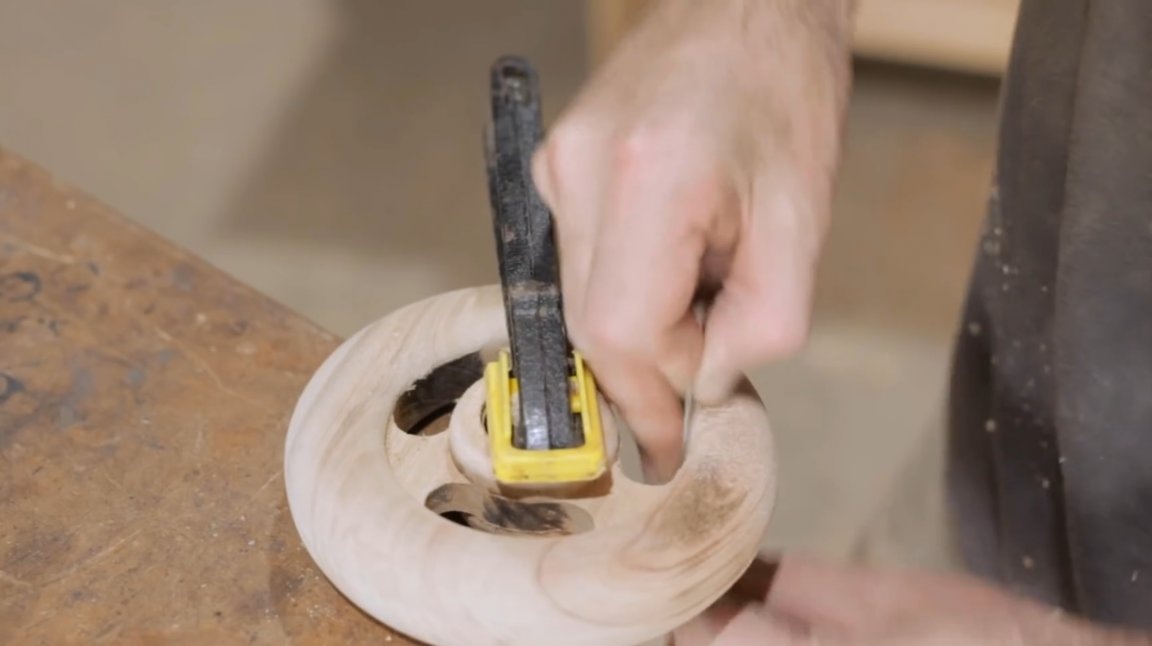
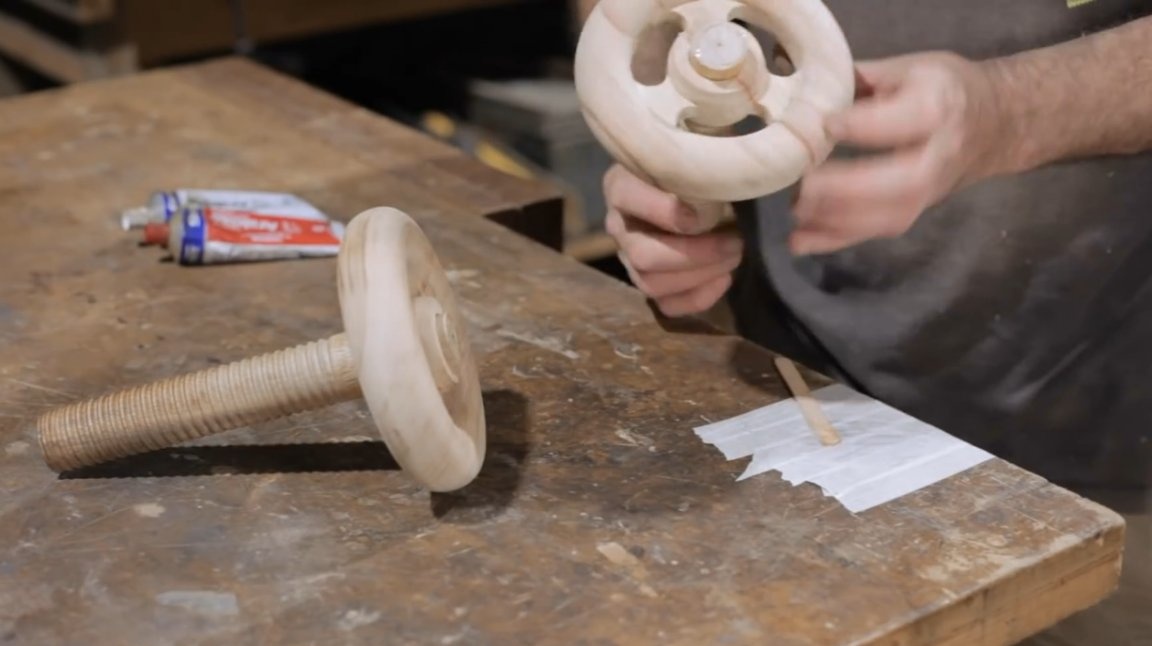
The edges of the vise are milled, polished, and opened with linseed oil.
These washers were made by the master in advance, at the same time as the wooden nuts and bolts.
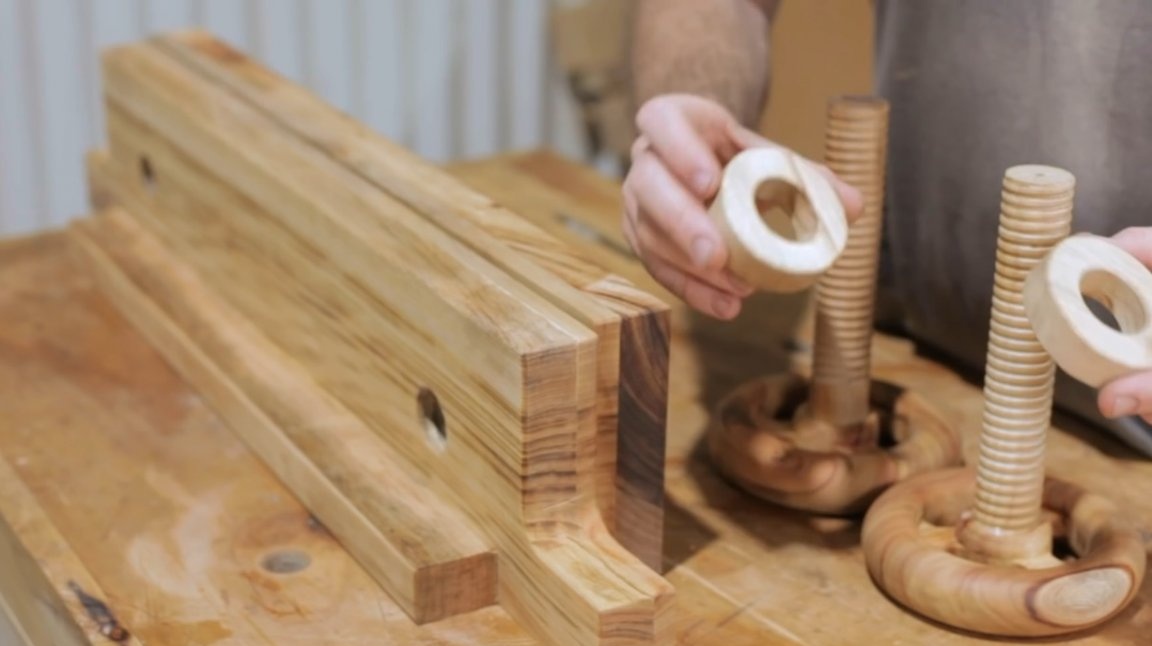
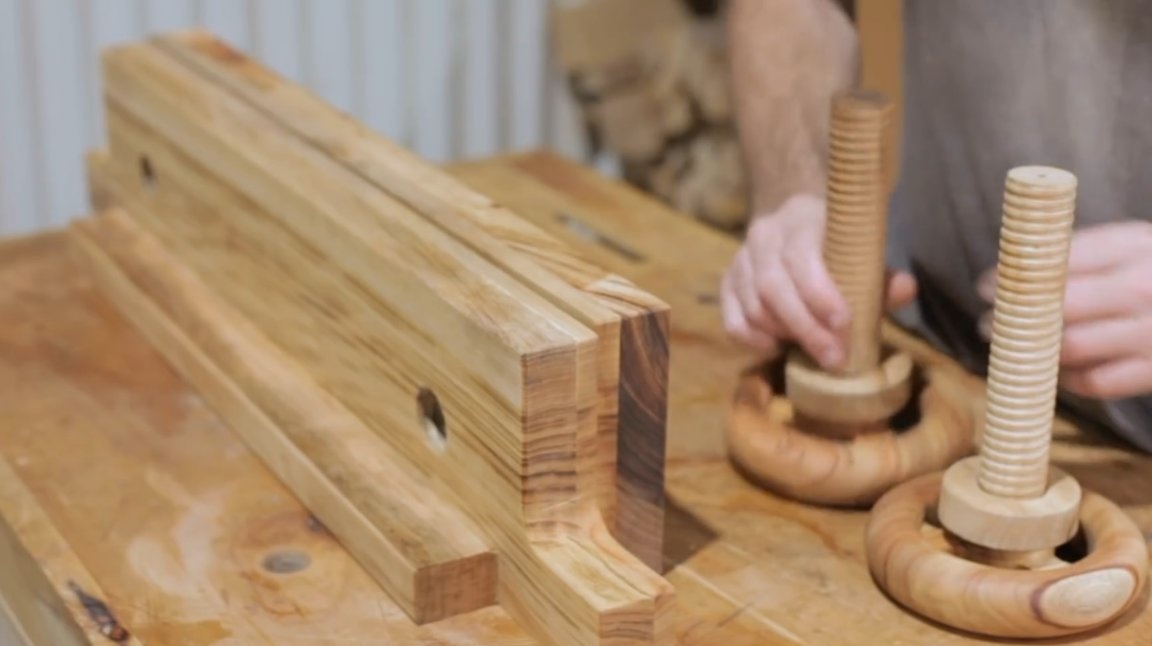
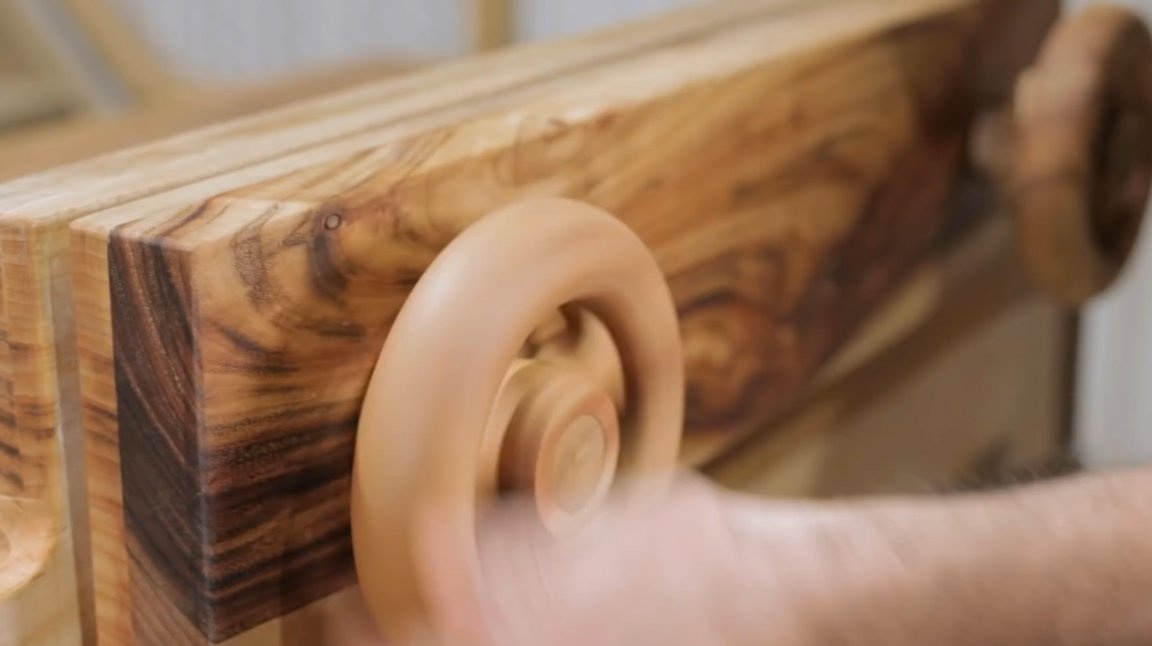
It remains only to tighten the lamb into place, and fix the vise on the workbench.
And here is the assembled design.

Thanks to the author for the simple but useful device for the workshop!
All good mood, good luck, and interesting ideas!
Author video can be found here.