
The master of this headphone amplifier made it after being upset by the terrible sound quality coming from the headphones during a recent airplane trip to China. The sound was tinny and sounded like he was sharing one audio driver with about 300 other people.
Creating a small portable headphone amplifier helps control the speakers in the headphones and significantly improves sound quality, clarity and detail.
You can also use this headphone amplifier as a daily amp for your headphones.
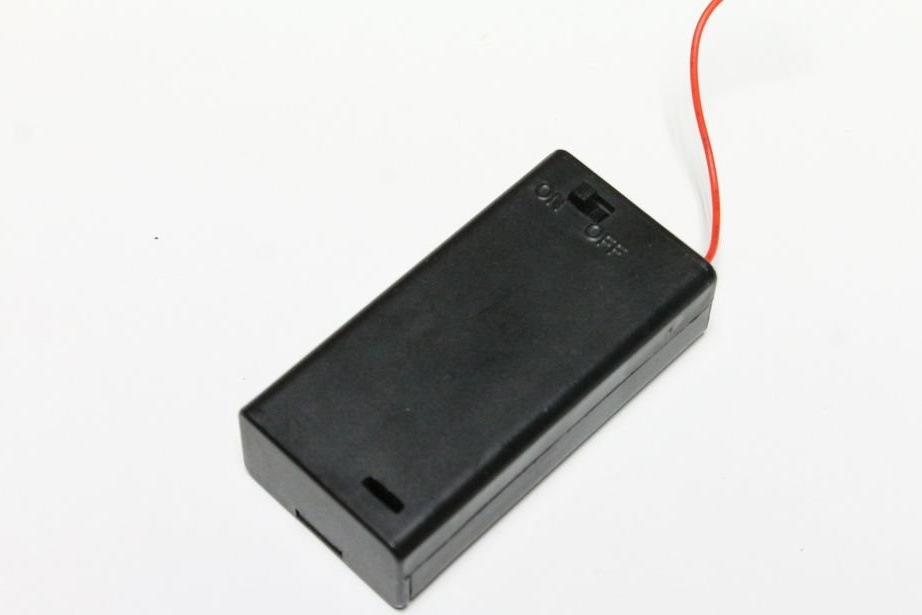
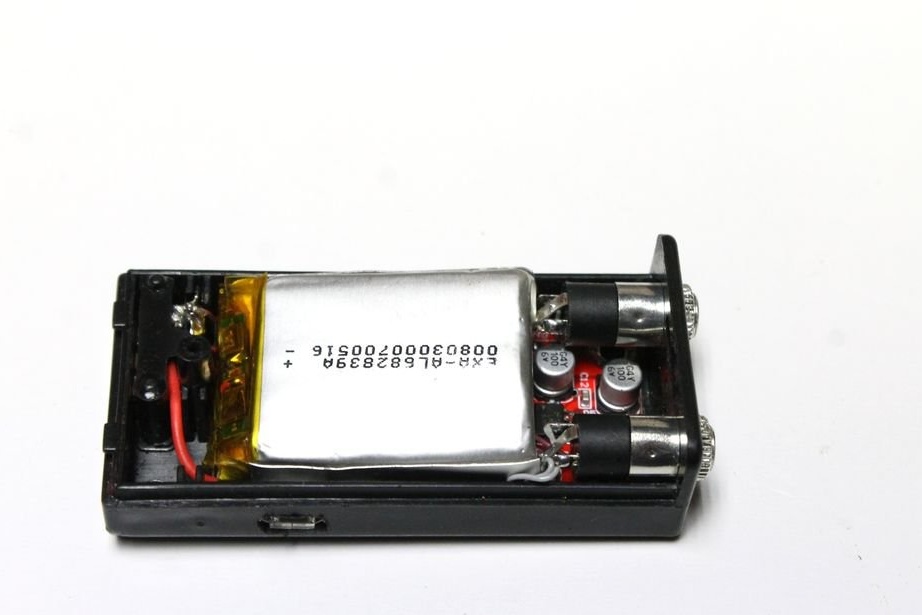
The amplifier uses several ready-made modules that can be ordered from the Chinese. This amplifier perfectly stuck in the 2 x AA battery holder, which in the end turned out to be just the right case.
Step 1: Parts and Tools
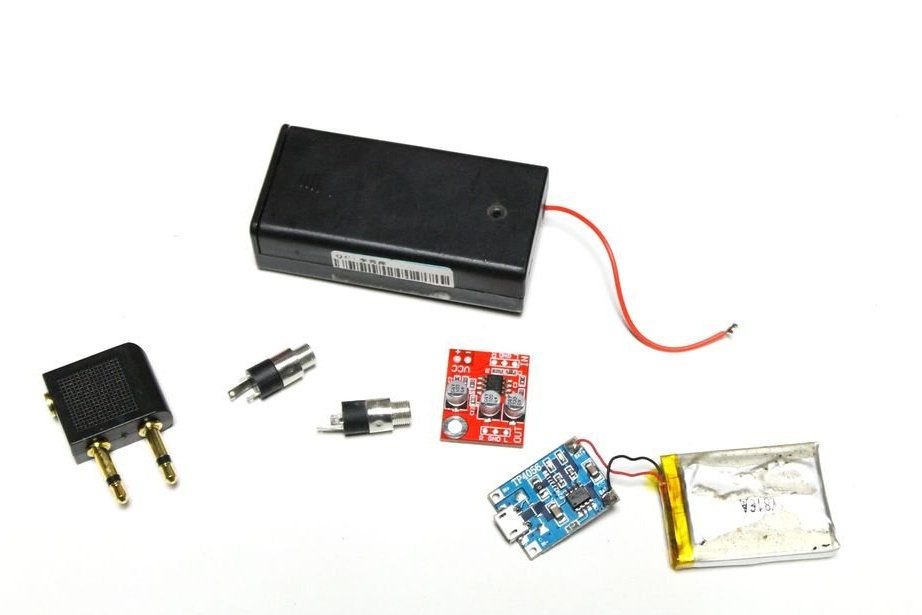


Details:
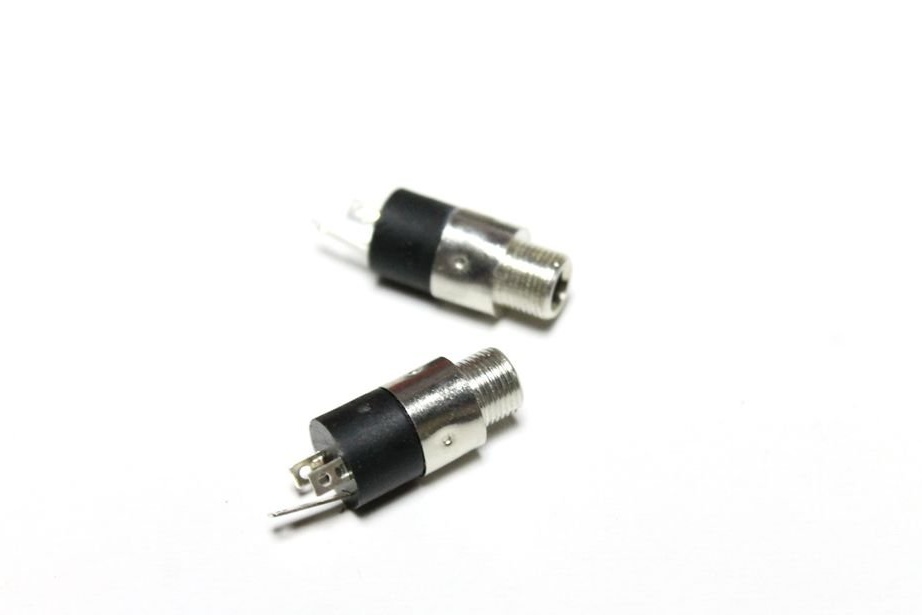
1. 2 x 3.5 mm headphone jack;
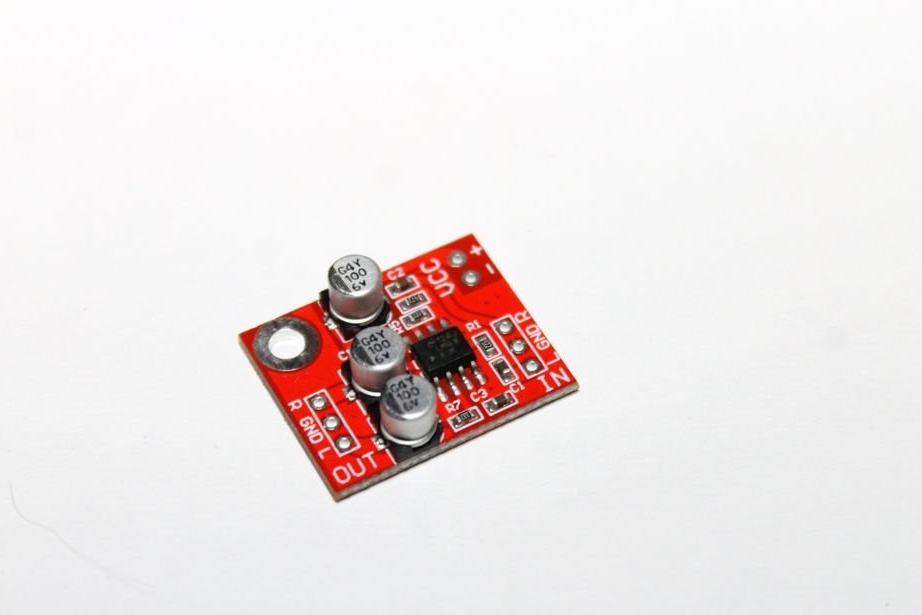
2. Headphone amplifier module;
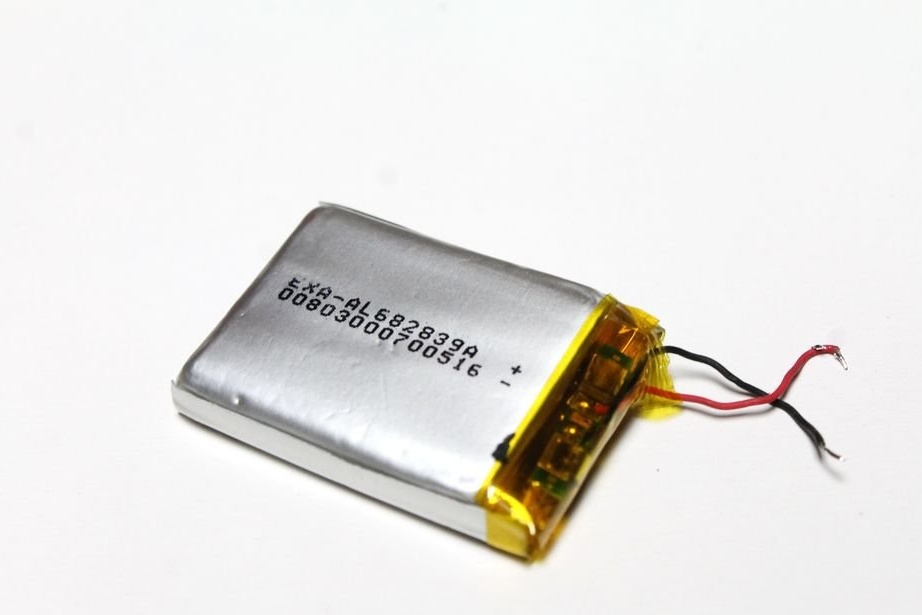
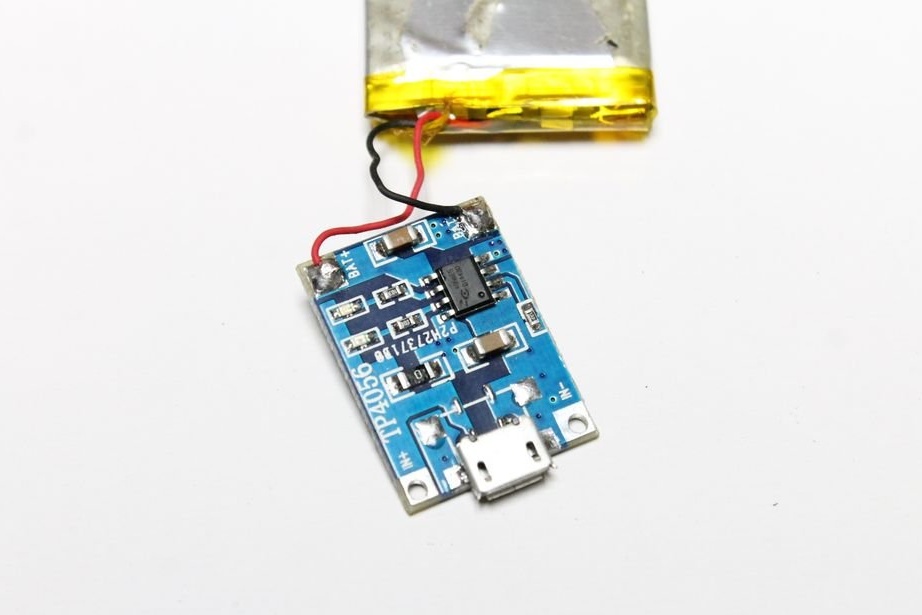
3. Lithium - polymer battery;
4. Lithium - polymer charger;
5. Battery holder 2 x AA;
This is the case when you can change the design. You can also use a 9 V battery .;
6. Thin wires;
If you plan to use this amplifier in an airplane, like the author of this homemadethen you will also need the following:
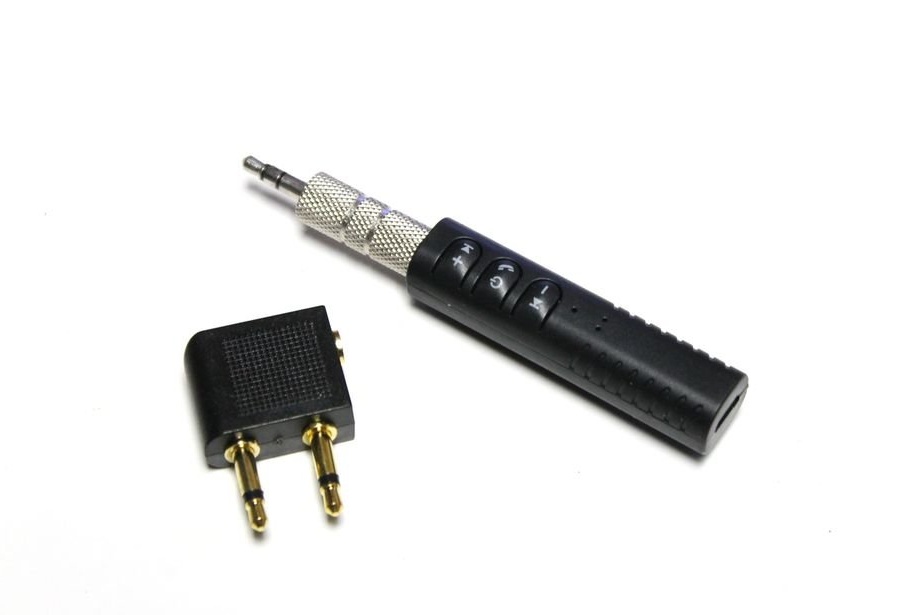
7. Flat headphone adapter;
8. Headphone jack adapter;
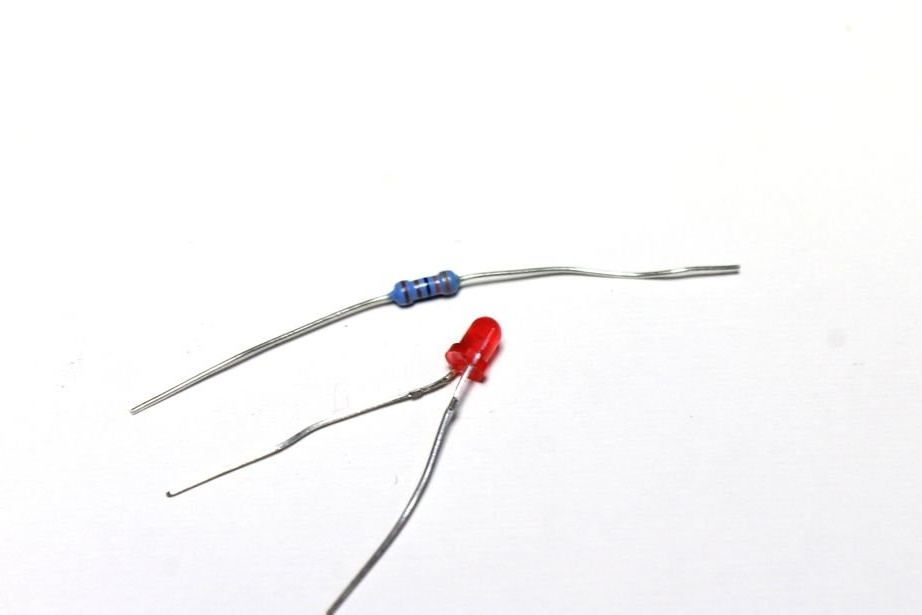
9. LED;
10. 3.3K resistor;
To connect the amplifier to the phone, you need the following:
11. Headphone cord (dad / dad);
Instruments:
1. Soldering iron;
2. Pliers;
3. Super glue;
4. drill;
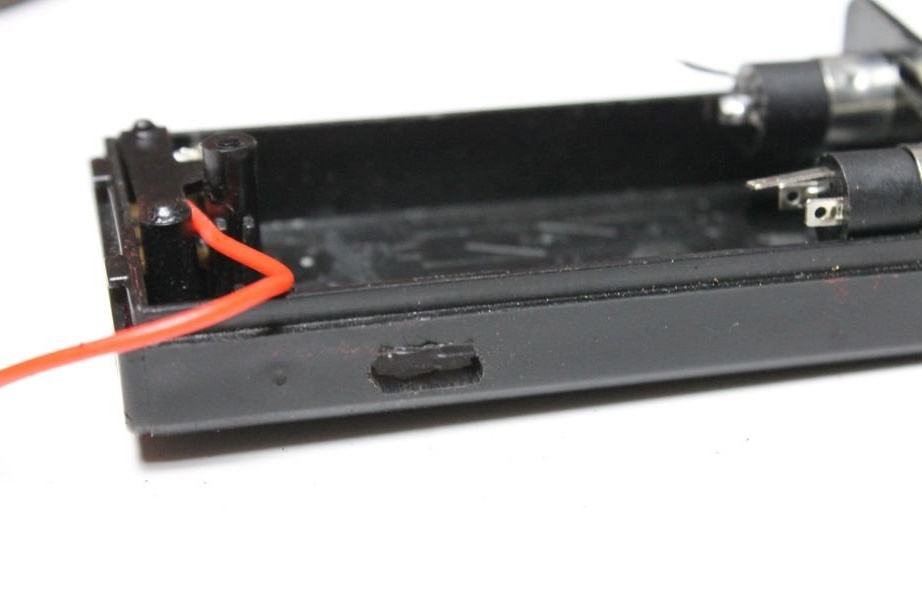
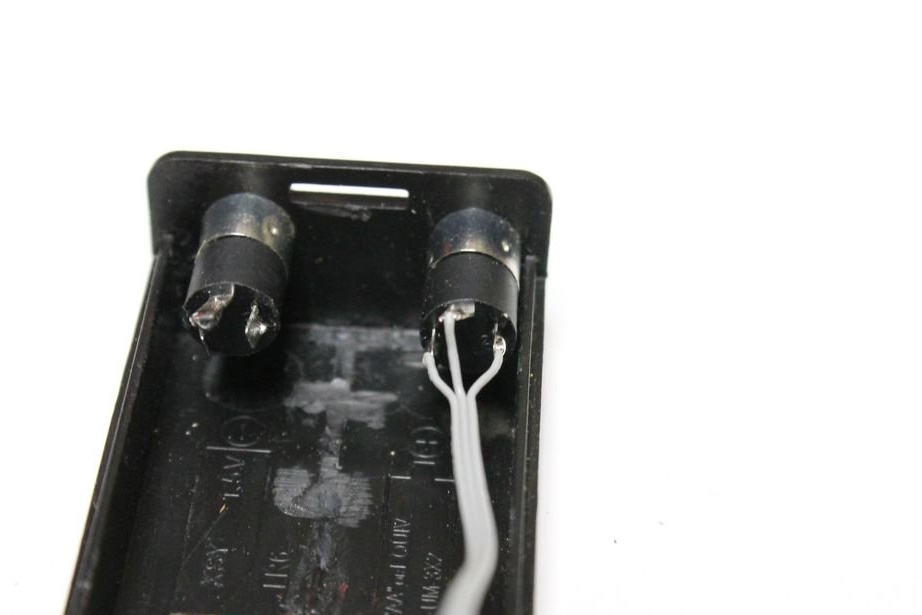
Step 2: Modifying the housing and adding headphone jacks
Step by Step:
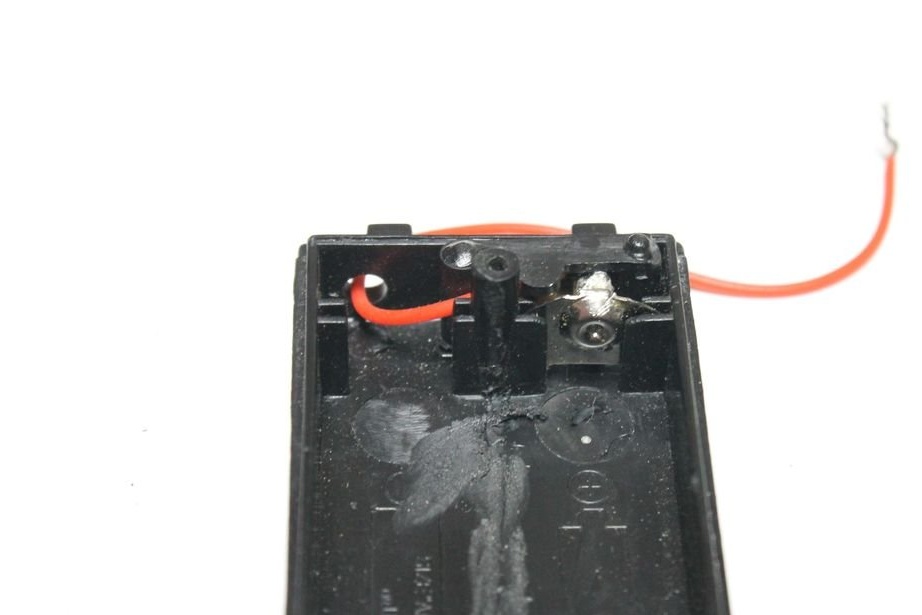
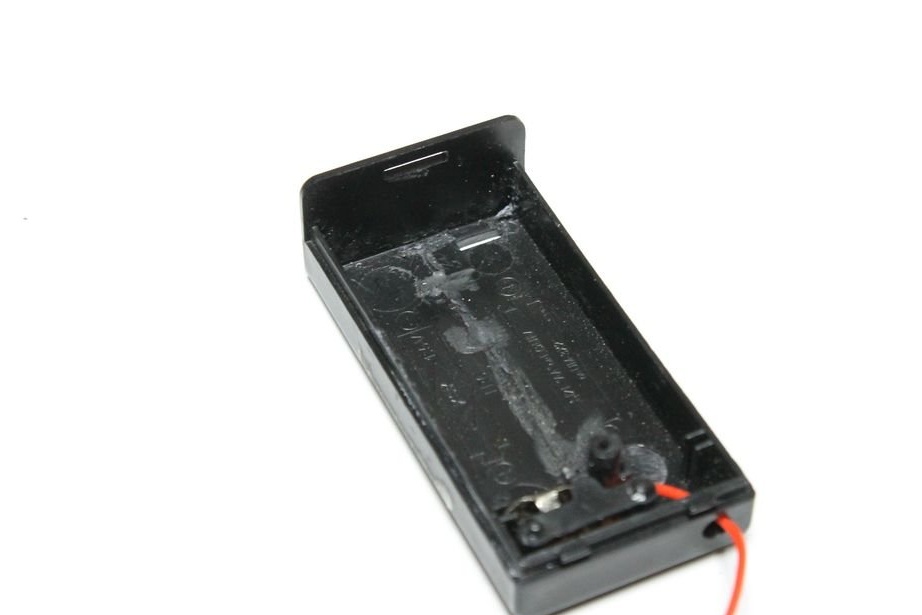
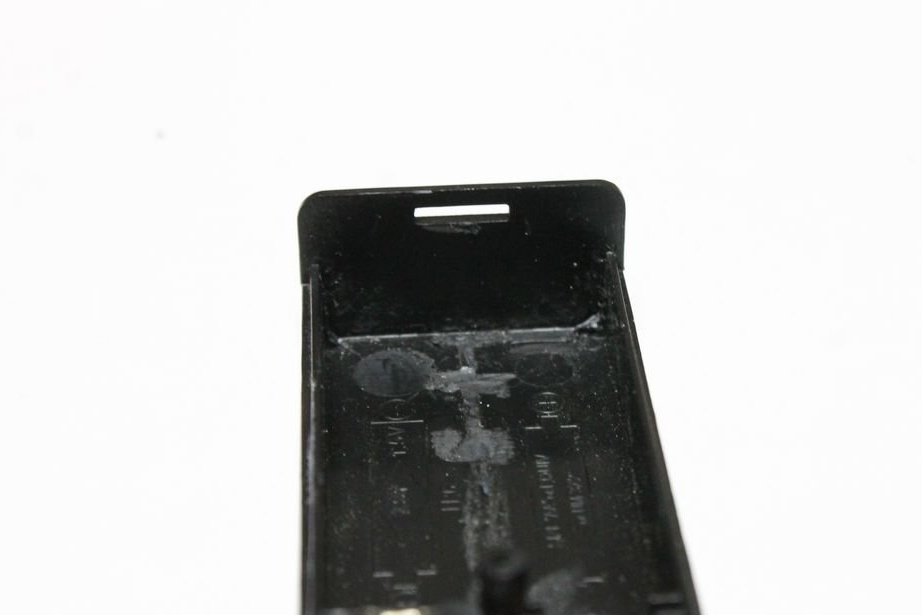
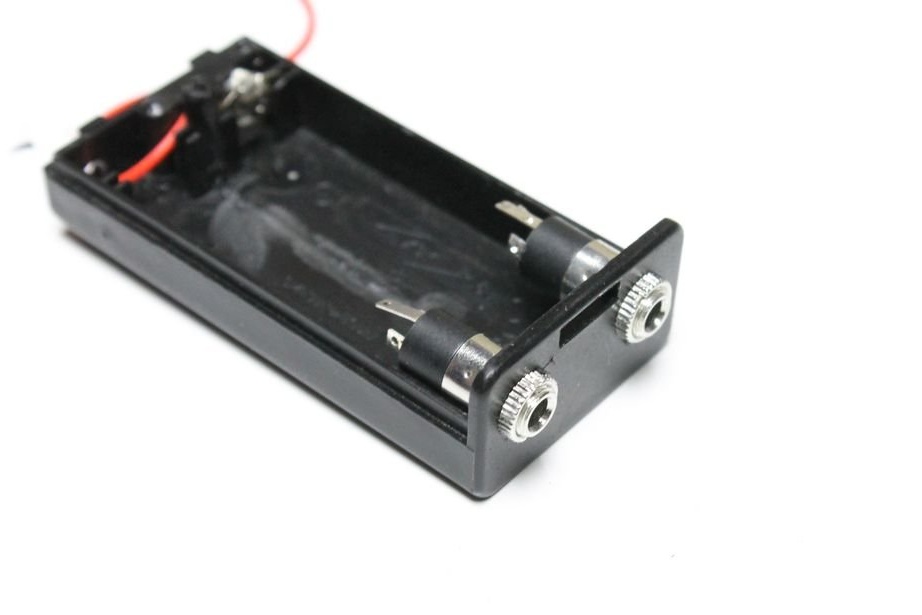
1. In order to install all the parts inside the AA battery holder, you will need to make several modifications. First remove the plastic splitter in the middle of the battery holder.
2. Next, remove the battery terminals.
3. Remove any creases or pieces of plastic that you do not need.
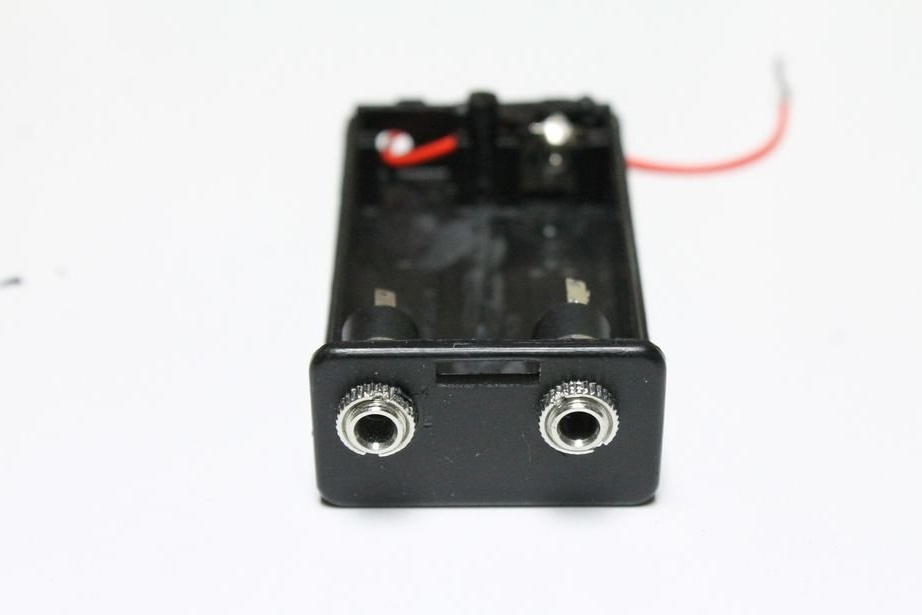
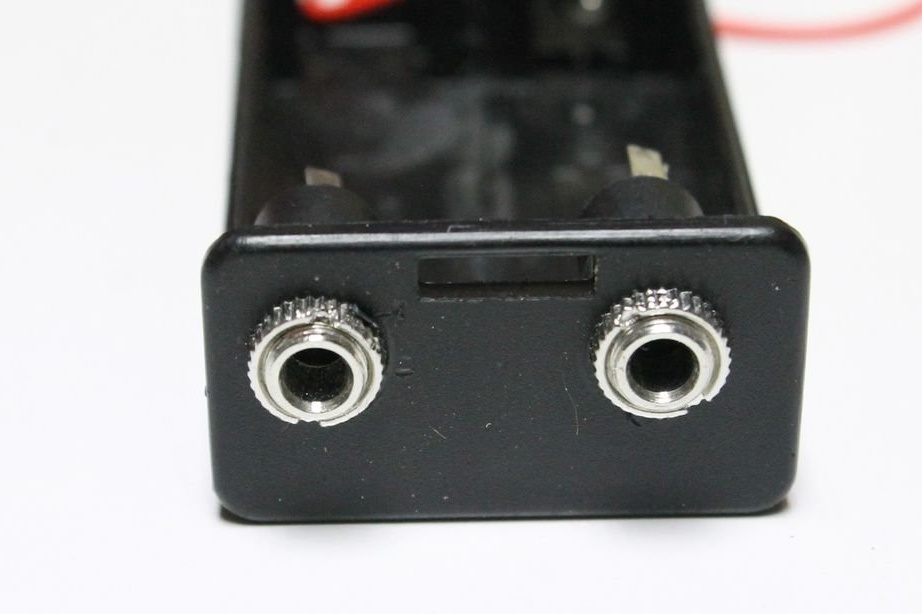
4. Next, drill a couple of holes at the end of the housing.These will be headphone jacks. Do not drill too low, as you will need to install an amplifier module later.
5. Connect the 2 slots to the chassis using the connecting rings.
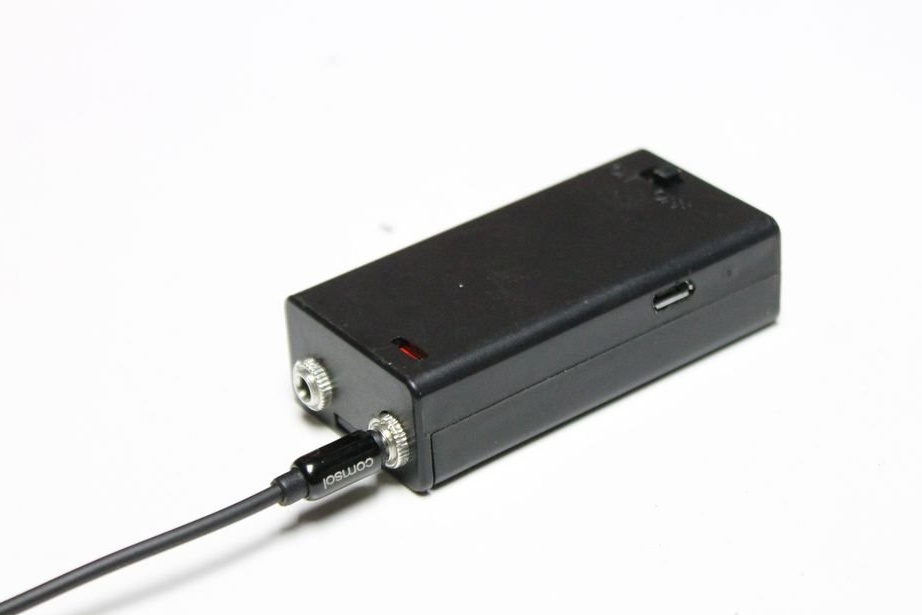
Step 3: Adding a Charging Module
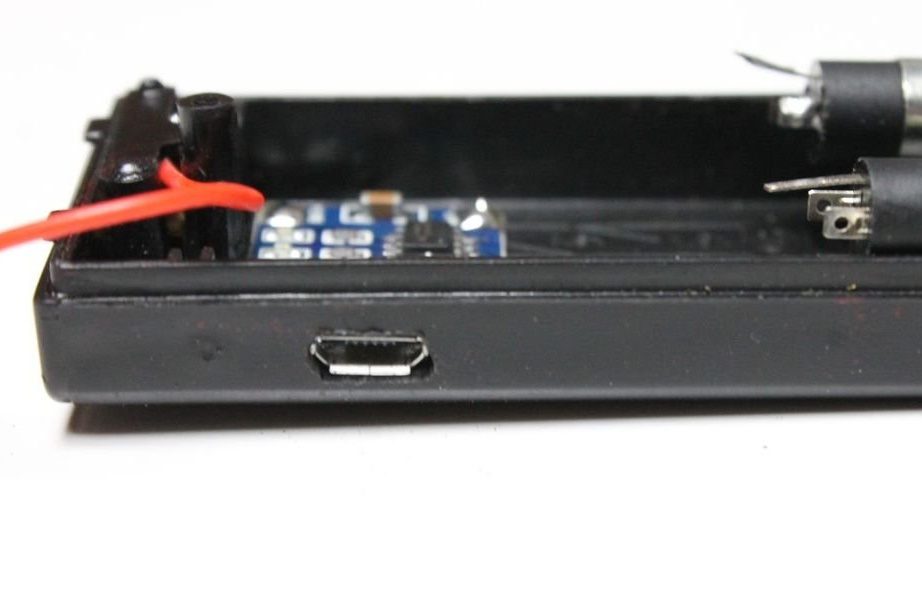
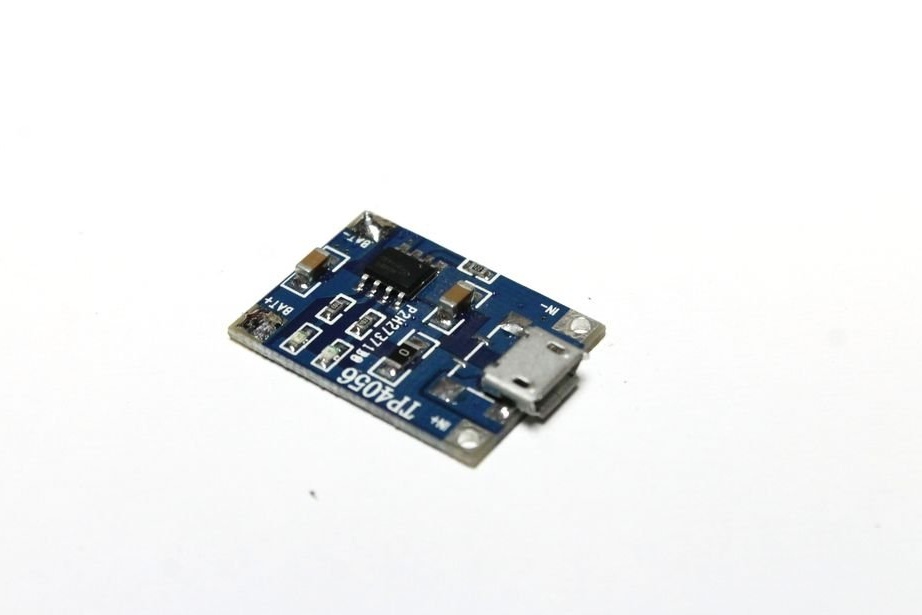
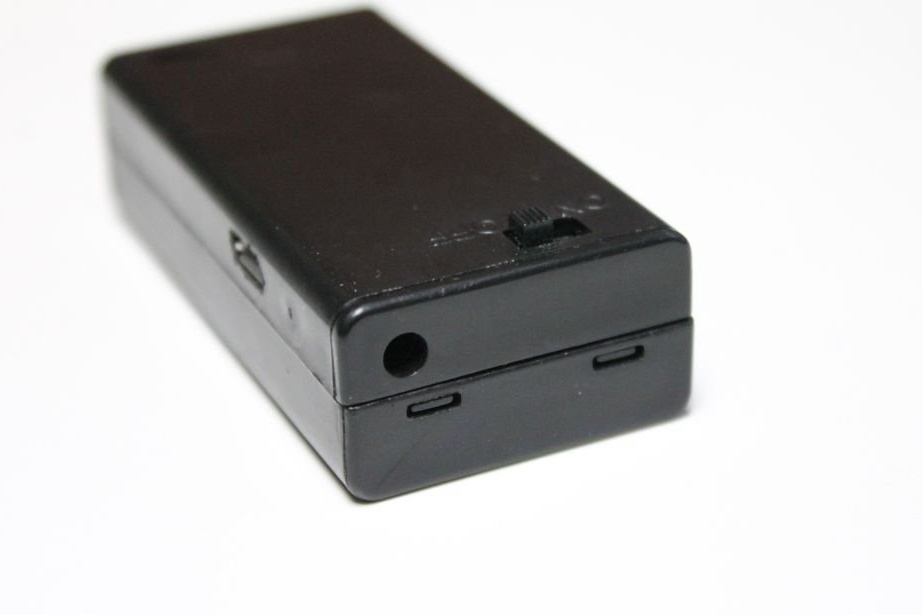
The battery is charged through the charging module, which has a micro USB connector. You need to make a small slot in the side of the case so that it is accessible.
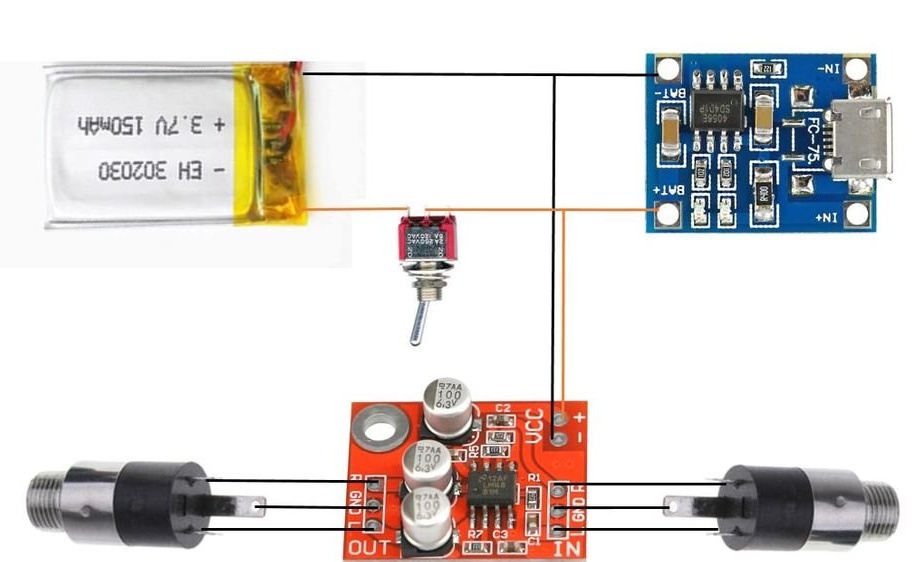
The wizard also drew a detailed circuit diagram so that you can see how everything is configured. Please note that this is for reference only.
Step by Step:
1. Measure and mark where the USB connector will come out on the side of the case, and drill some small holes.
2. Use a file to smooth and shape the slots for the micro USB connector.
3. Once it fits, add some glue to the bottom of the charging module and stick it in place.
4. Be careful not to get glue on the USB connector.
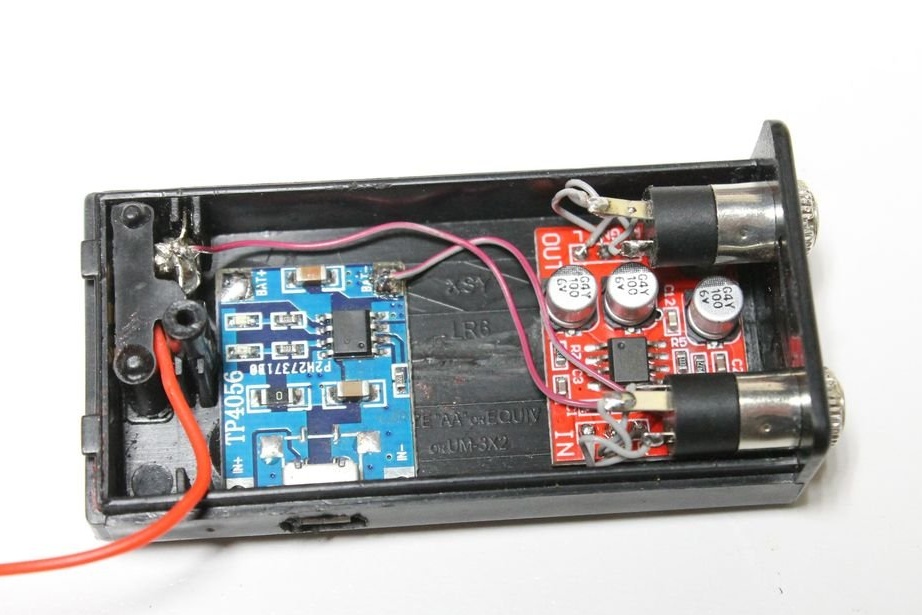
Step 4: Connecting the connectors to the amplifier module
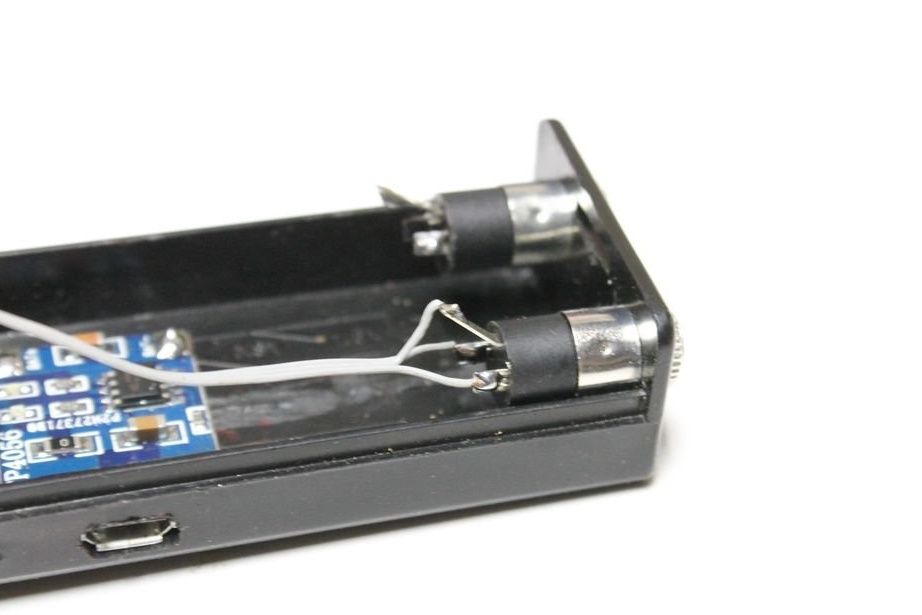
There is not much space in the case, so you will need to use the thinnest wires you can get. The master used a thin ribbon cable that works very well.
Step by Step:
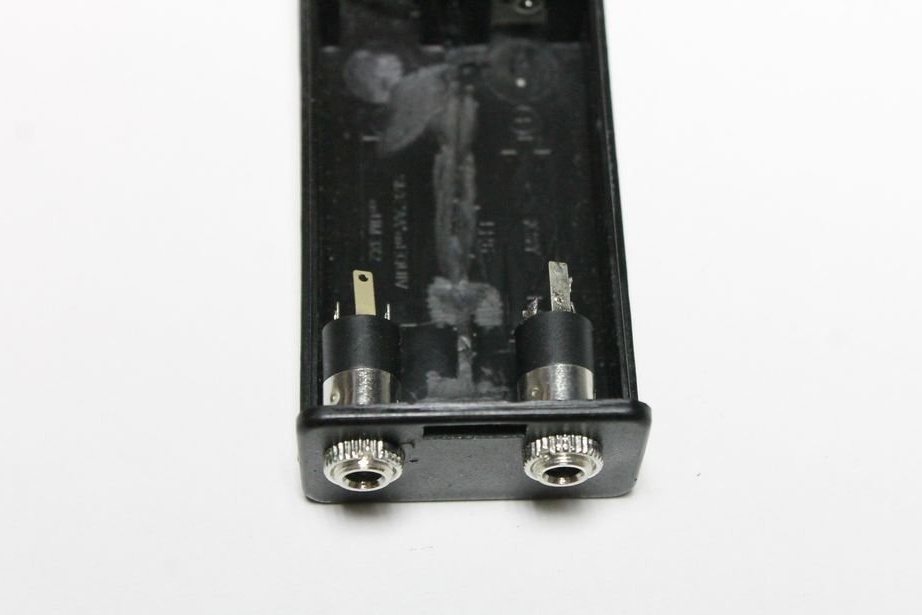
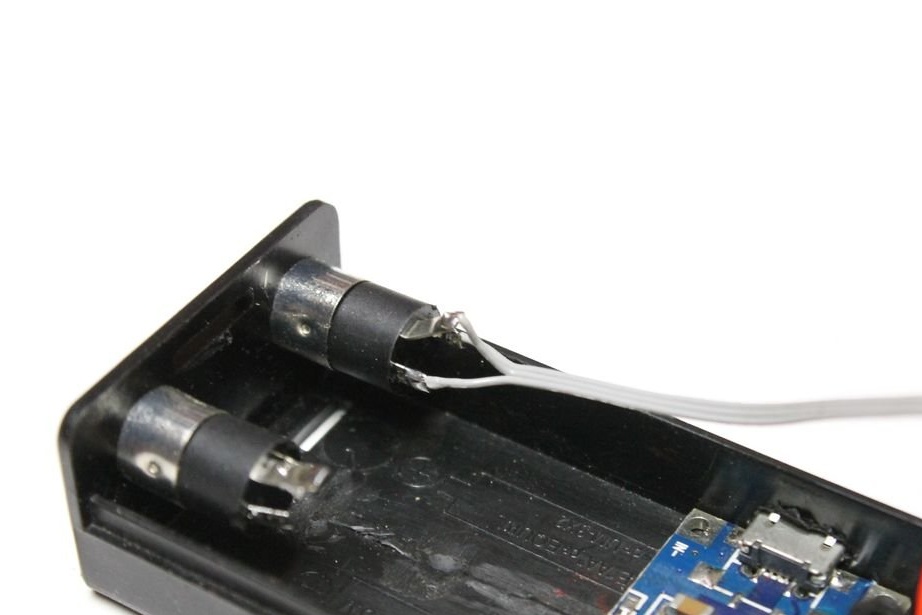
1. Solder 3 small pieces of wire to each solder point on the socket sockets.
2. Cut them to size, and also remove excess tin from the ends of the wires.
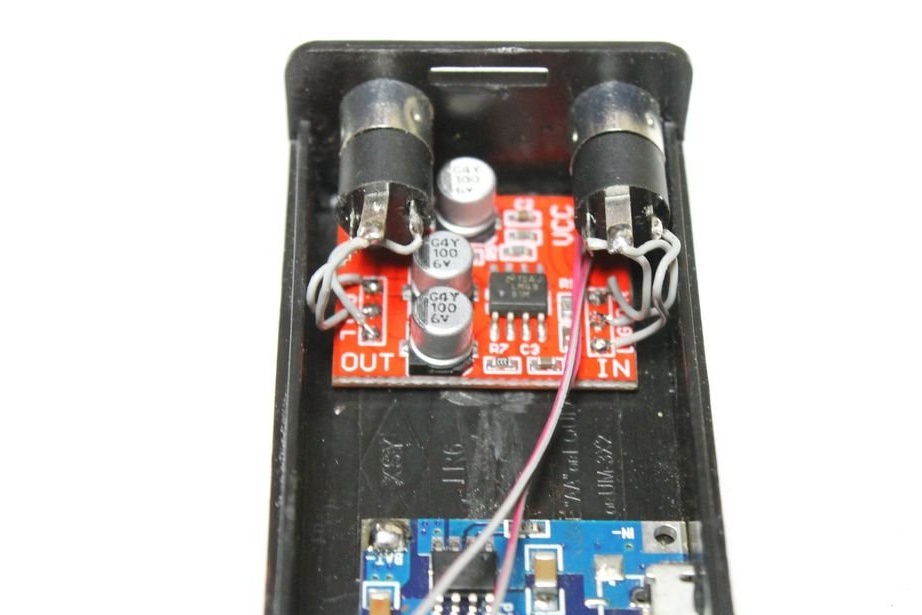
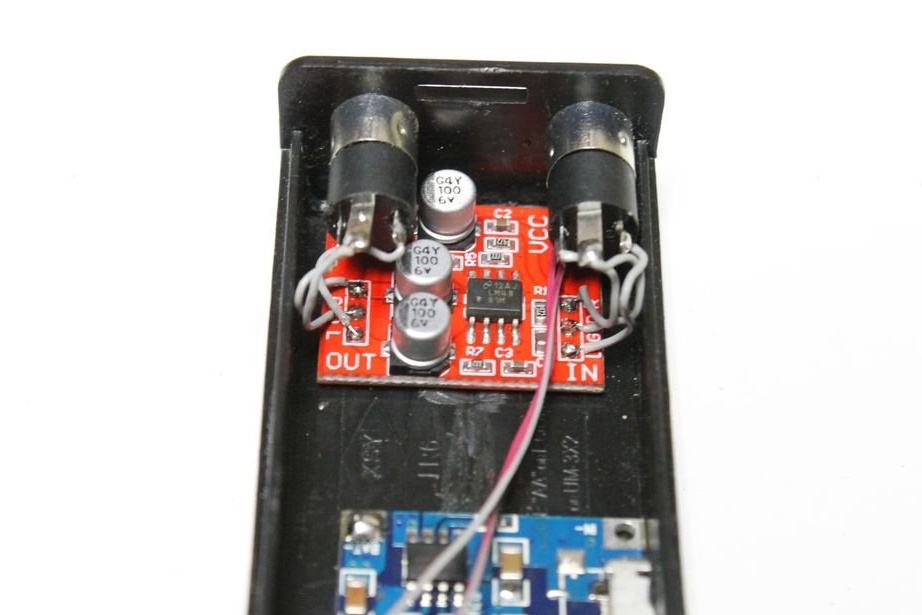
3. Add solder to each solder point on the amplifier module. You will notice that there are 3 solder points for entry and exit and steam for power.
4. Now you need to solder the ground on the socket with the ground on the module. Grounding on the connector is a large foot in the middle.
5. The other 2 legs are the left and right audio channel. Solder the wires from the connector to the left and right soldering points.
6. Make sure you solder the second socket in the same way. The left solder point on each of the connectors should be soldered to the left solder point on the amplifier, and so on.
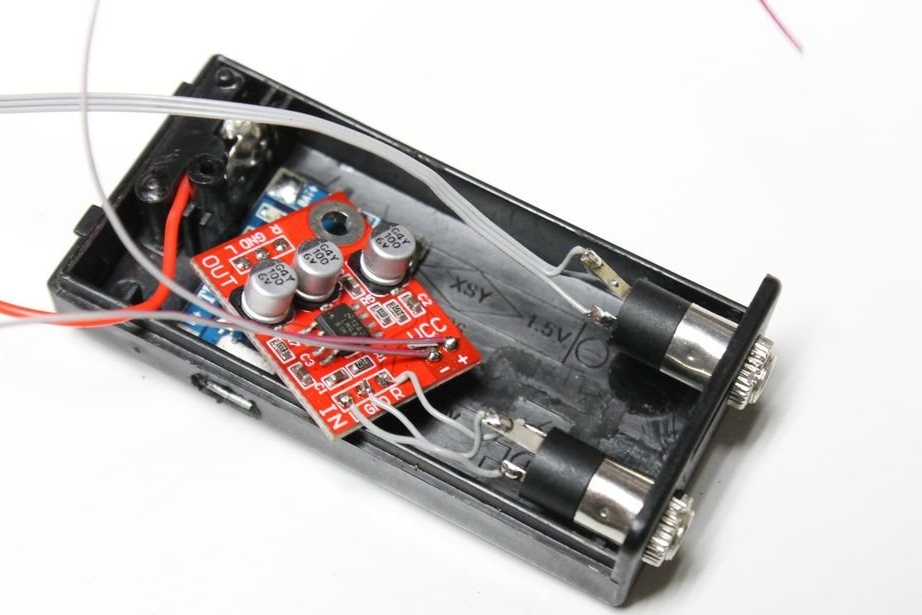
7. Solder the pair of wires to the solder points and carefully insert the amplifier module under the connectors so that it does not interfere.
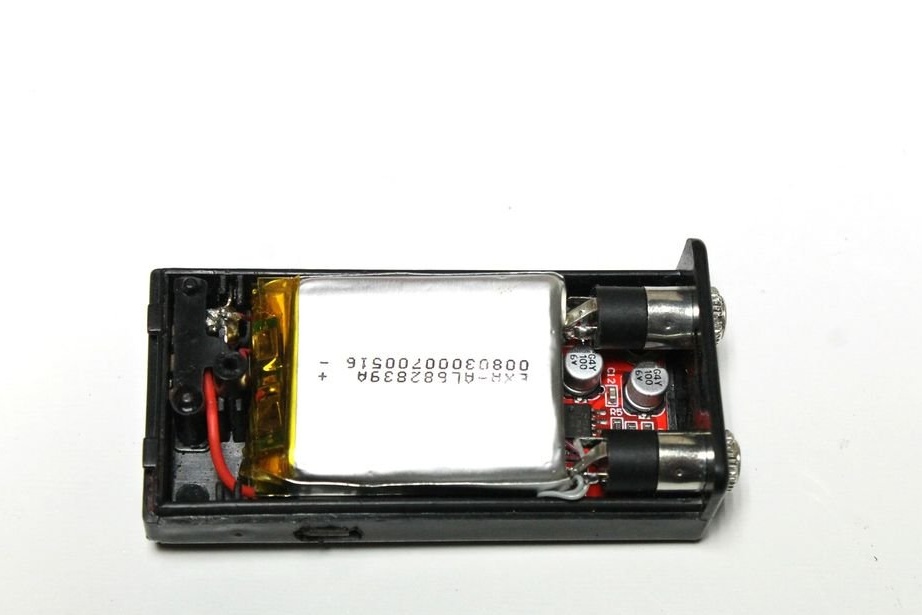
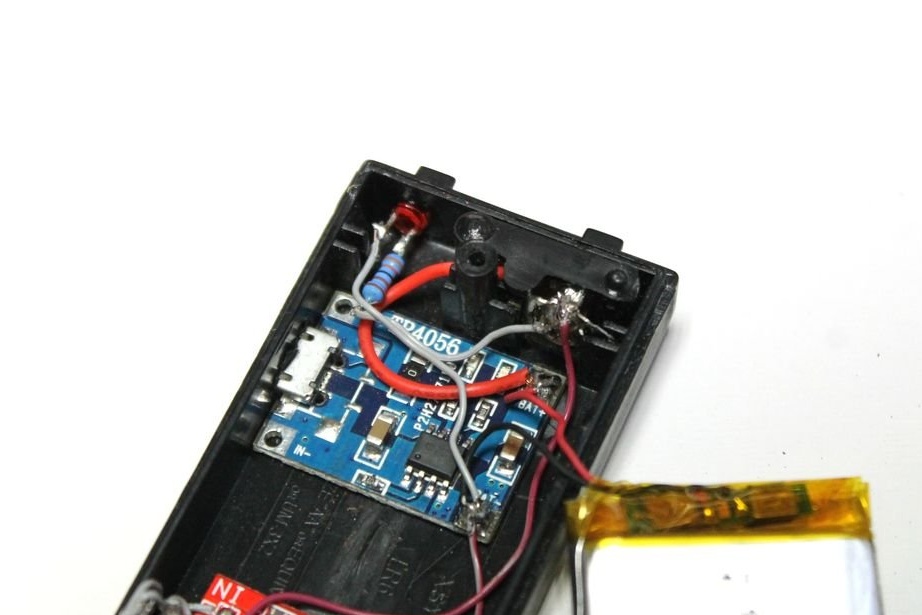
Step 5. Connect the battery to the charging and amplifier modules

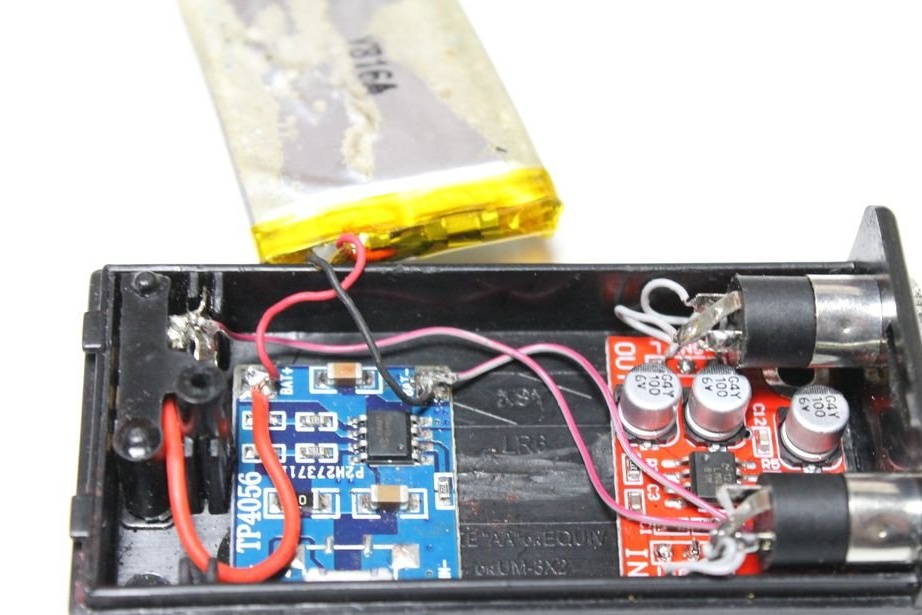
The next thing to do is connect the battery and amplifier module to the charging module.
Step by Step:
1. Connect the amplifier module to the power source, it is best to connect it directly to the pads on the charging module.
2. An excellent feature of using an AA battery case is that it has a built-in switch. The positive wire should be soldered from the amplifier to one of the solder points on the switch.
3. There will be a wire already soldered to the other solder point of the switch. Solder it to the positive soldering point on the charging module.
4. Then solder the negative wire from the amplifier to another soldering point on the charging module.
5. Finally, solder the positive and negative wires of the battery to the charging module.
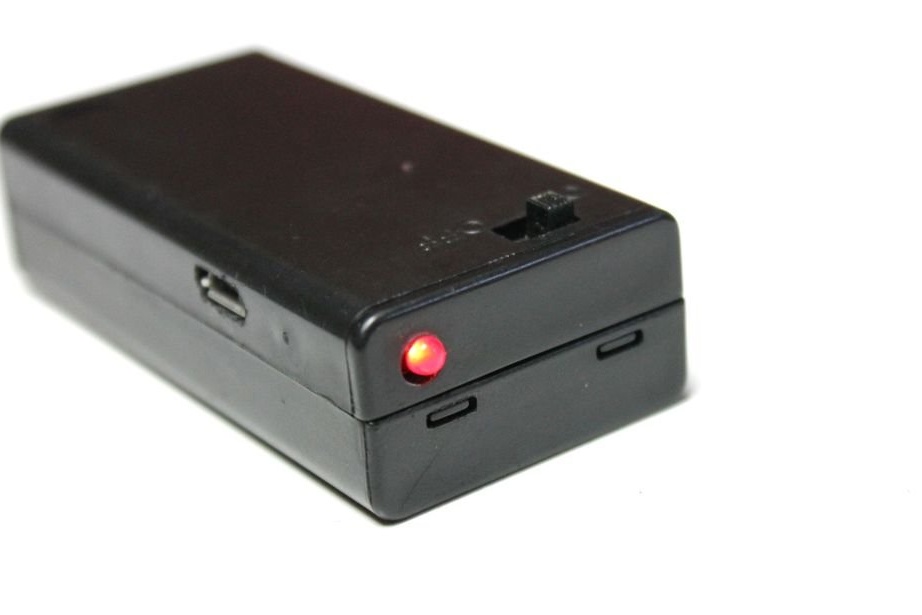
Step 6: Adding a Power On LED
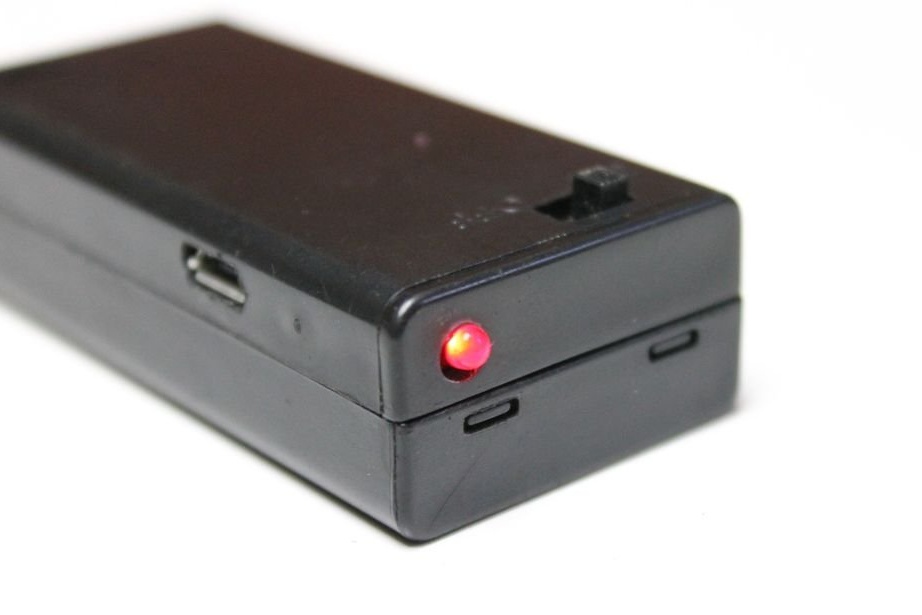
At the last minute, the master decided to add an LED so that it could be seen if the amplifier was not working.
Step by Step:
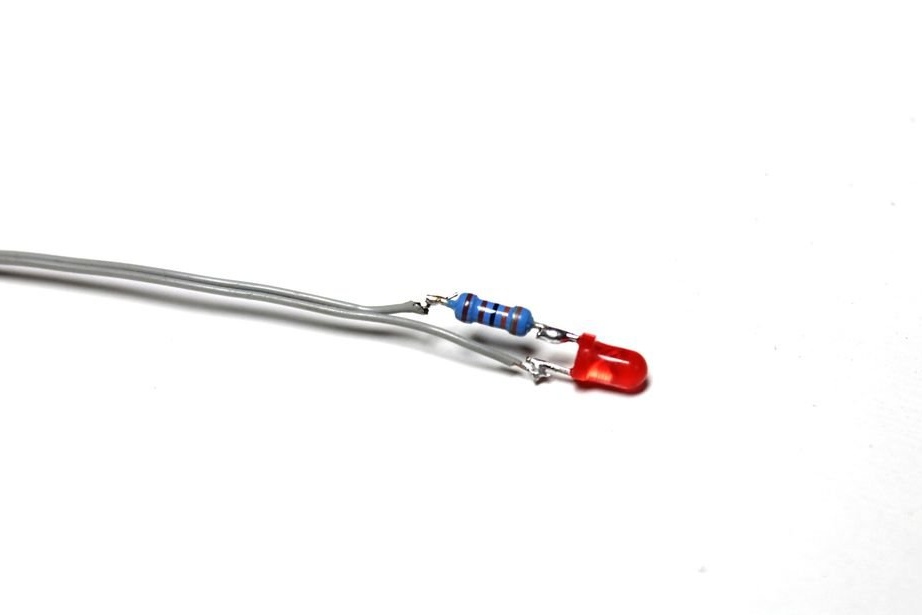
1. Solder the 3.3K resistor to the positive leg on the LED. You will also need to trim the legs of the LED and resistor.
2. Solder a pair of wires to the legs of the LED and resistor.
3. Then put the LED in place and use super glue to fix it.
4. Solder the positive wire to the switch, and the negative wire to the negative point of the soldering of the charging module.
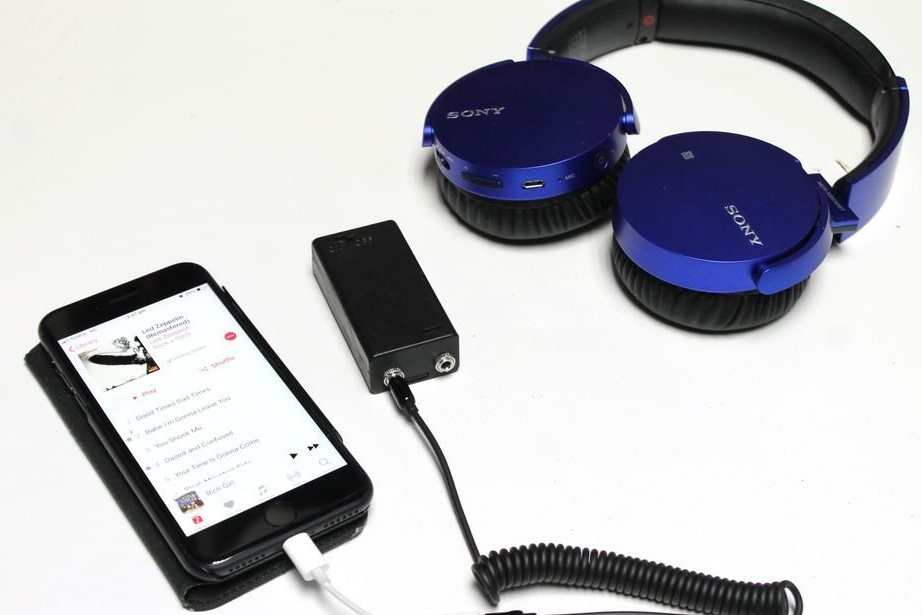
Step 7: Using Headphone Amplifier

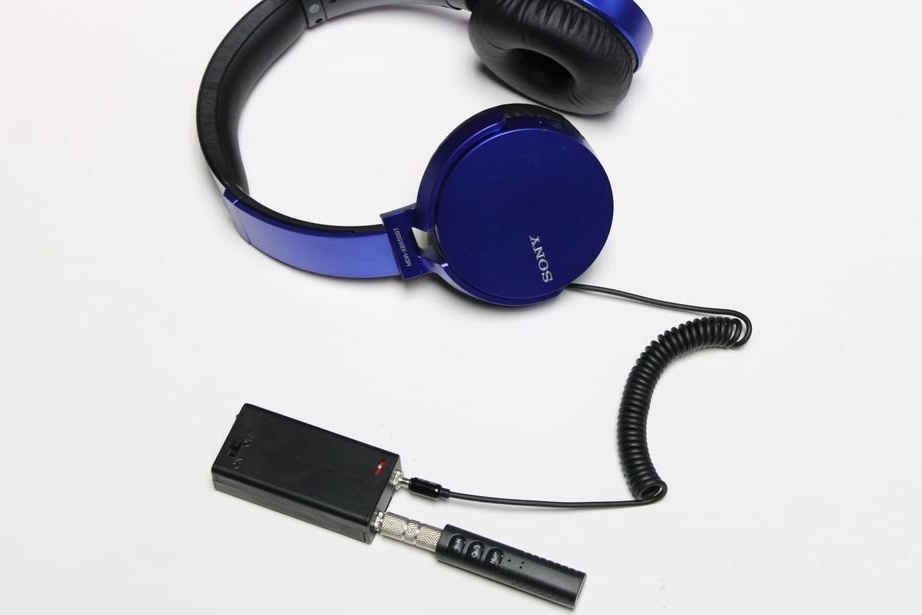
Now that you have everything ready, it's time to conduct a trial run.
Step by Step:
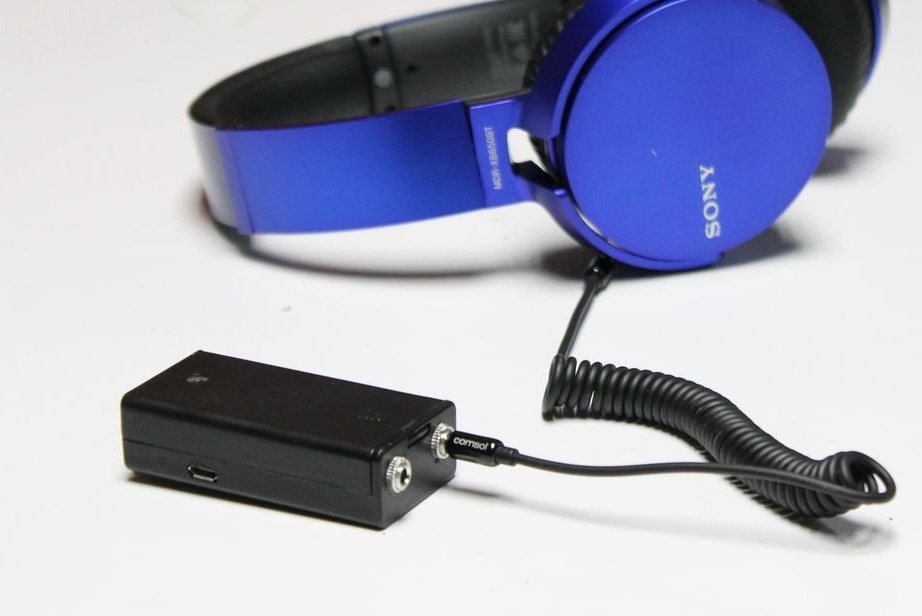
1. Connect the headphone jack to the output jack on the amplifier. If you forgot which one is which, do not worry - just swap the connectors if you don’t hear anything.
2. Then use a 3.5 mm mini jack cable and connect one end to the amplifier and the other end to the phone.
3. Turn on the amplifier and start playing music from your phone. Make sure your phone is not too loud, otherwise damage your hearing!
4. If everything is soldered correctly, you will hear music. If you don’t hear anything, try swapping the sockets in the amplifier. If there is still nothing, you need to check the connections and find the fault.
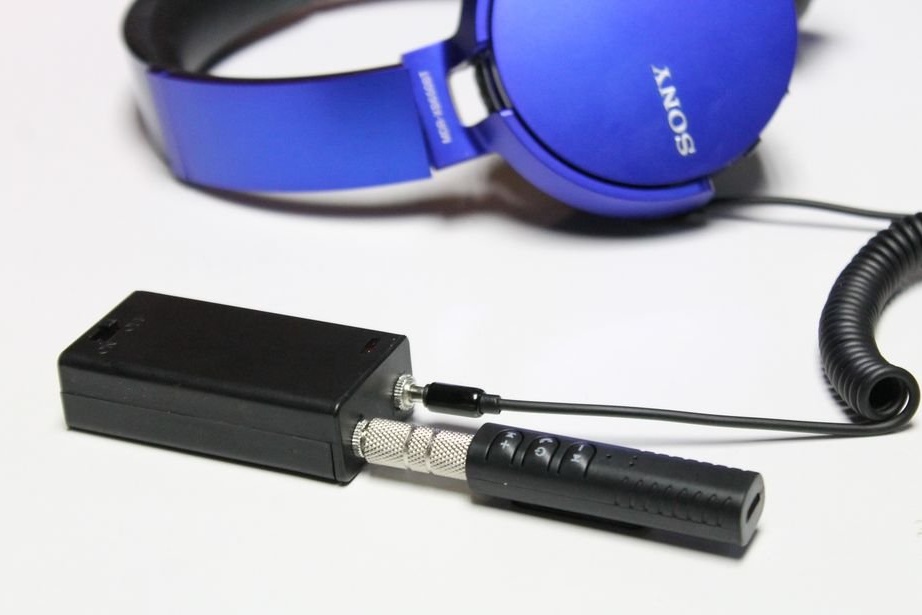
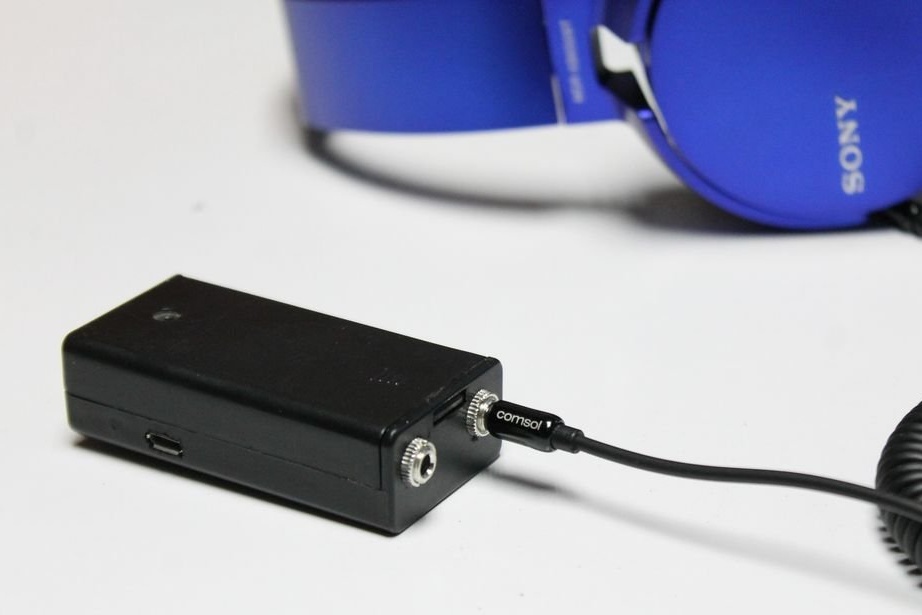
5.You can also take a Bluetooth connector with you and connect it to an amplifier. Thus, you do not have to worry about any cords!