First, let's figure out what a longboard is and how it differs from a skateboard.
As Vicki tells us, “Longboard is a type of skateboard characterized by greater speed, increased stability and improved ride quality. ..... longboards are less commonly used to perform tricks ... the design allows you to develop high speeds, feel at the board is more stable, while moving gently, almost not noticing small asphalt defects ... Longboard is primarily attractive for its speed. You can move on it both in the mountains along the serpentines and in the city along asphalt tracks m. "
From this we can conclude that a longboard for high-speed driving, a skateboard for stunts. Moreover, this skateboard grew out of a longboard, and not vice versa.
The master, together with his wife, are fond of riding a longboard. So, first for her, and then for himself, he did a longboard.
Tools and materials:
-Boards;
- Plywood from Baltic birch;
-The cloth;
-Fasteners;
-Putty knife;
Epoxy resin;
-Capacity;
- Liquid for cleaning epoxy;
- Painting tape;
-Black paint spray;
-Varnish;
-Profile;
-Silicone glue;
-Solder;
-Set of rollers with mount;
-Bearings;
-Anti-slip fabric;
-Electrolobzak;
-Sander;
Milling cutter;
-Drill;
-Dremel;
-Knife;
-Sandpaper;
- Burner with a cylinder;
- Clamps;
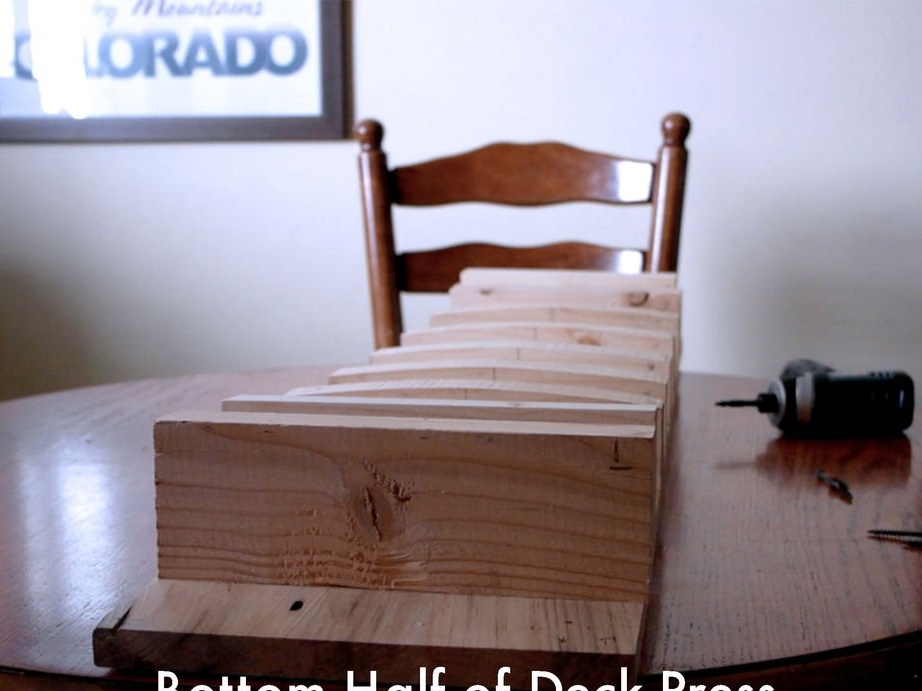
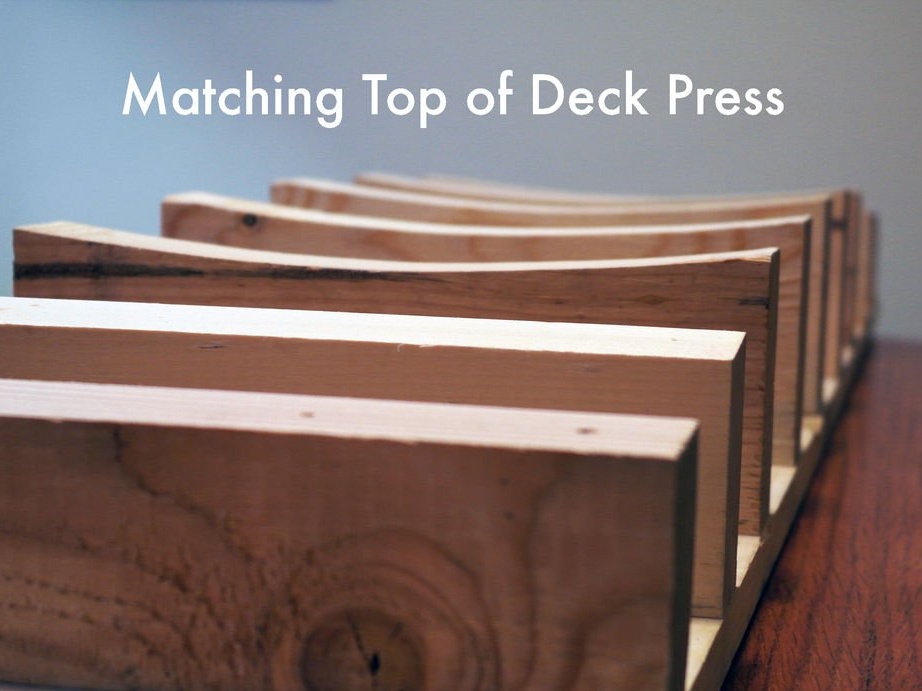
Step One: Press
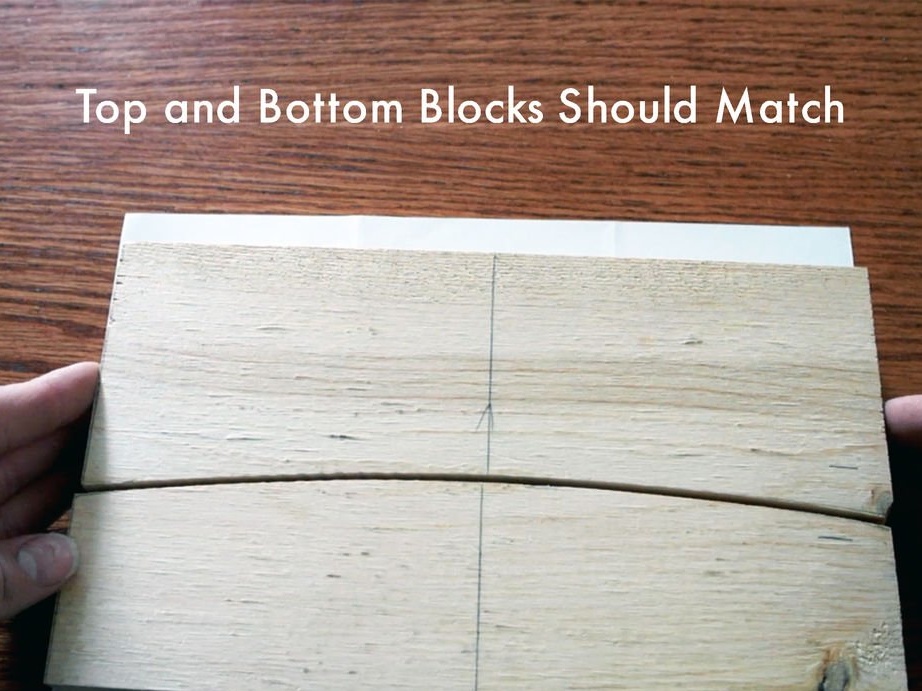
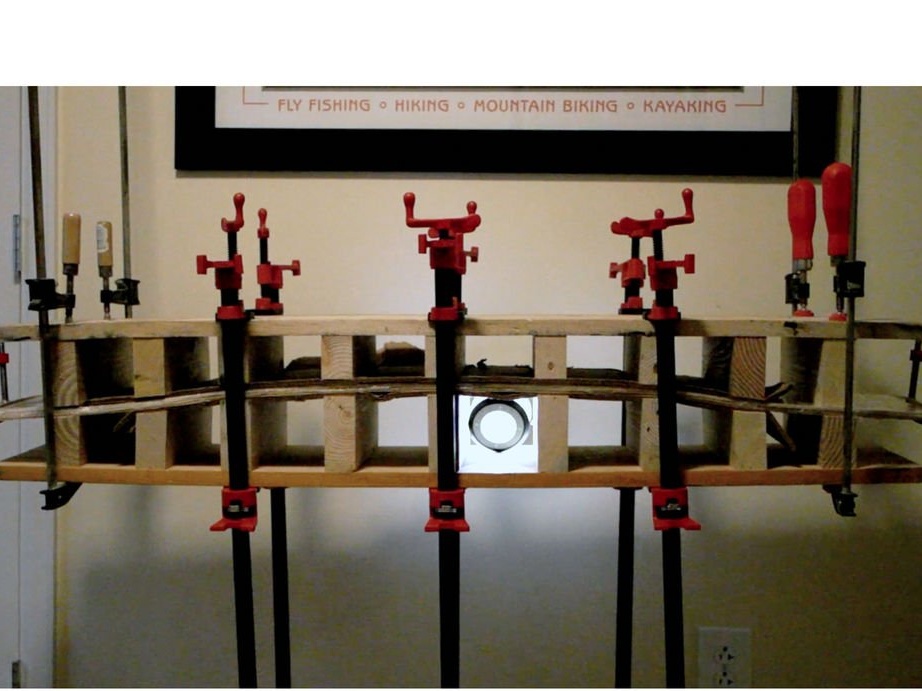
To give the longboard a certain shape, the master makes a press from the boards. As a template, the master used an industrial production longboard. But here is a little trick after removing the board from the press, it will still straighten up a little. Therefore, the press must be done with a large angle.
Step Two: Board
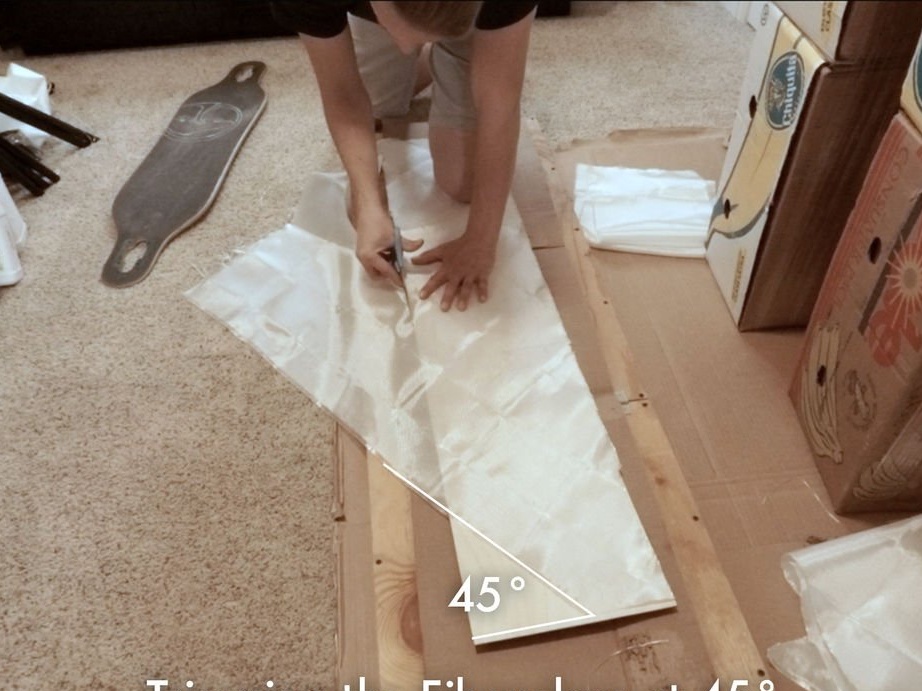
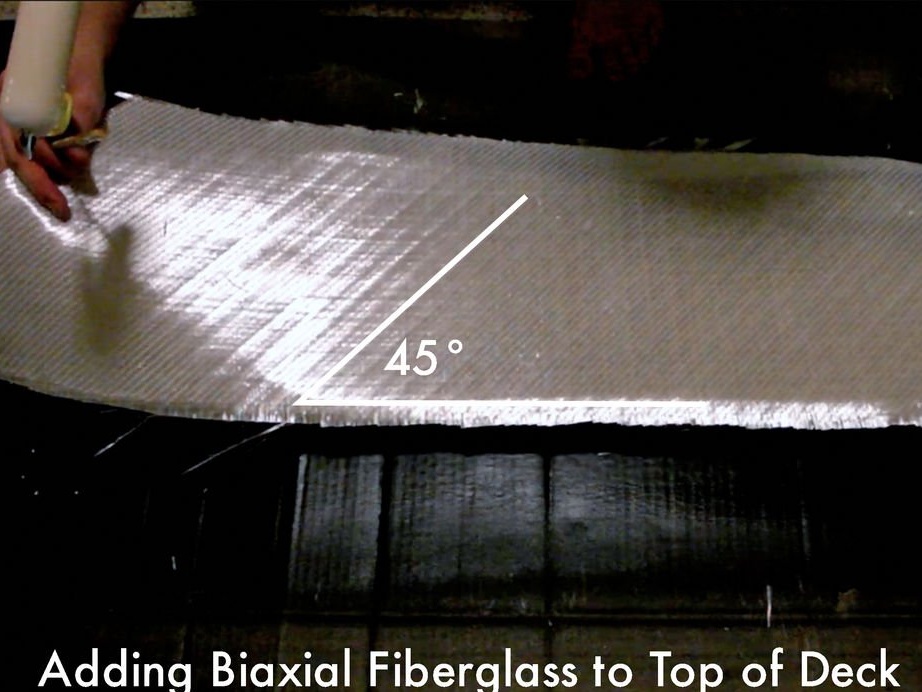
To make a board, the master took a piece of plywood from Baltic birch 3 mm and cut it into three parts 2.5 cm wide and 122 cm long. These parts will make up three layers of the board. Then he cut off one piece of fiberglass 2.5 * 122 cm wide with threads running parallel and perpendicular to the board. The master weighs 68 kg and he really liked the "springiness" of the board with one fiberglass insert. If you like a tougher board or weigh more, he advises adding another piece of fiberglass. If you lay the second sheet of fiberglass on the board, it is necessary that the threads pass at an angle of 45 ° to the board.
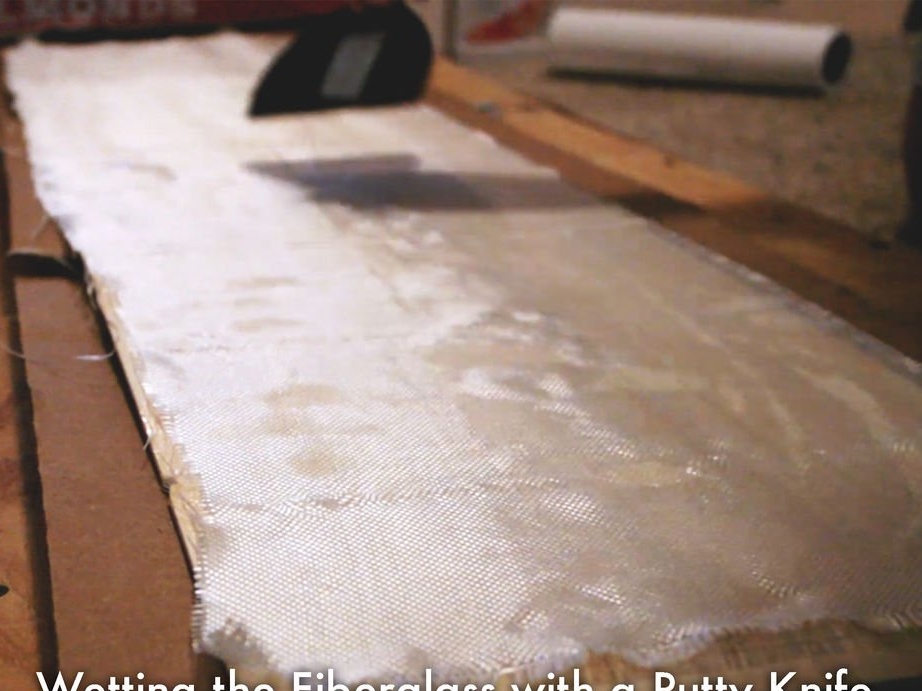
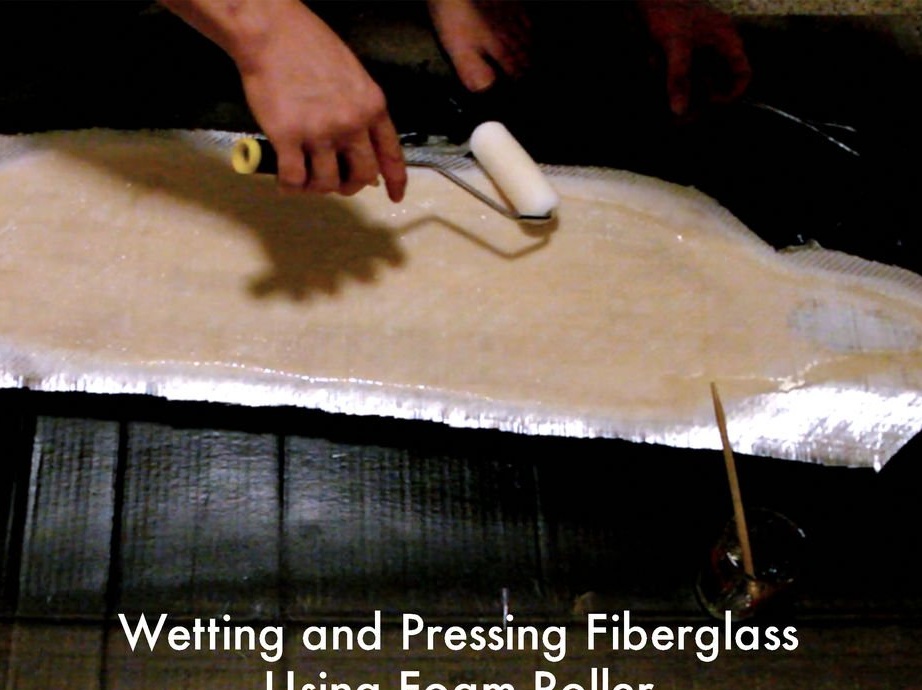
Then he measures the epoxy. No need to use more than 1/4 liter at a time. Thoroughly mix the epoxy for six minutes.The layout should go from bottom to top as follows: plywood - fiberglass - plywood - plywood. If two pieces of fiberglass are used, then the second piece is placed between the two upper pieces of plywood. When applying epoxy resin, it is necessary to make sure that all the fiberglass is moistened with it.
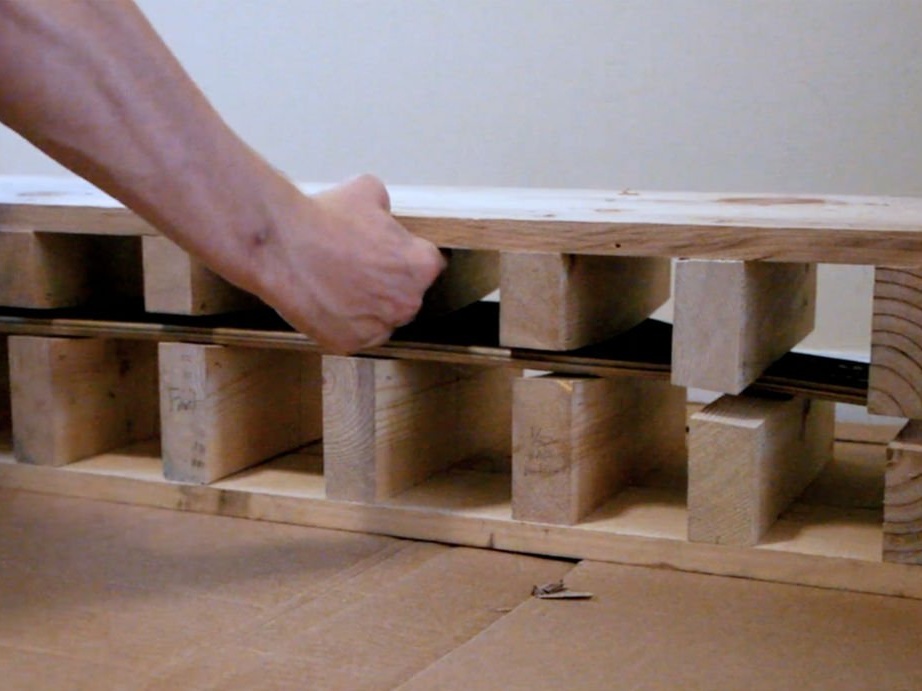
After completing these steps, the master wrapped the board in Saran film to prevent epoxy from dripping all over the press. Before putting the board into the press, he cut two pieces of corrugated board along the width and length of the press. This cardboard is placed above and below the board so that the press does not leave dents on the longboard. Finally, the master tightly clamps both sides of the press with clamps and leaves the board for 24 hours.
Note.
When the master made his board, he glued two pieces of fiberglass. However, during testing, the board was not stiffer than the previously made board for the master’s wife. The reason for this was because he used the wrong kind of fiberglass. He used ordinary fiberglass, but you need to use it, albeit a little more expensive, but with different characteristics of Bi-Axiel Fiberglass.
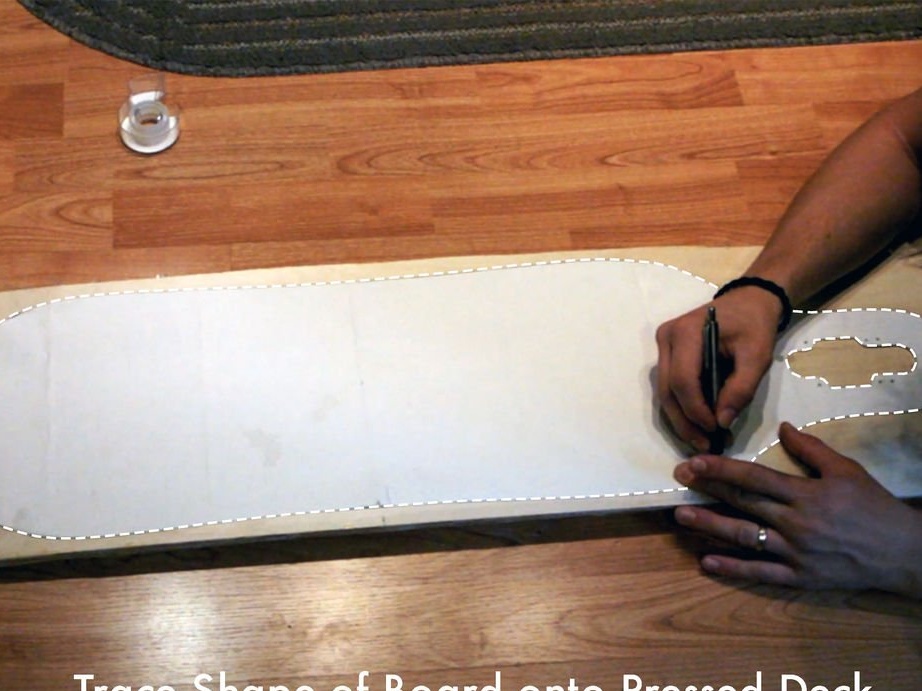
Step Three: Trimming
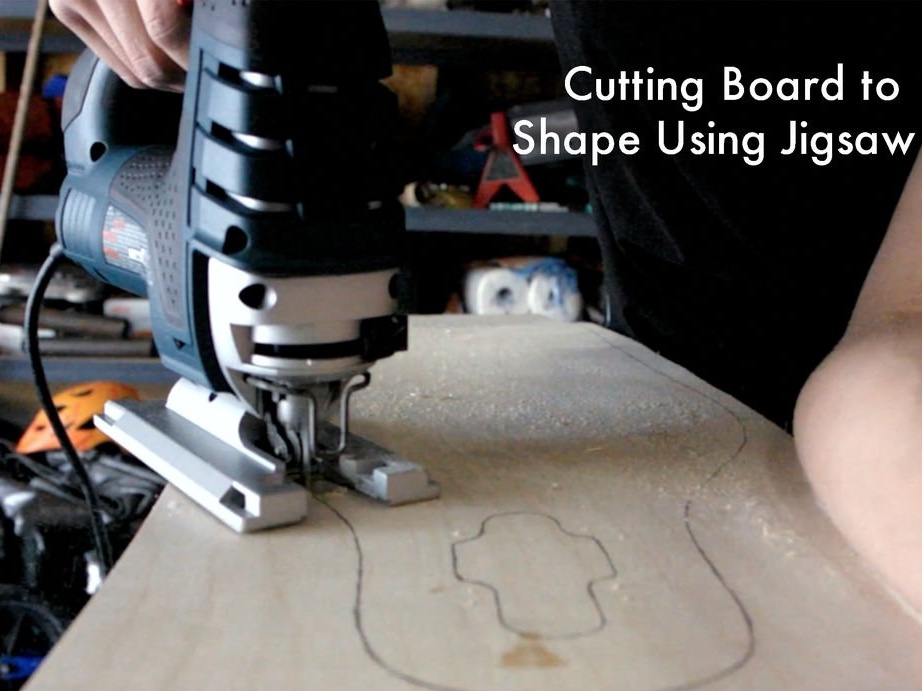
To cut the shape of a longboard, the master made a stencil. Then he cut the board with a jigsaw.
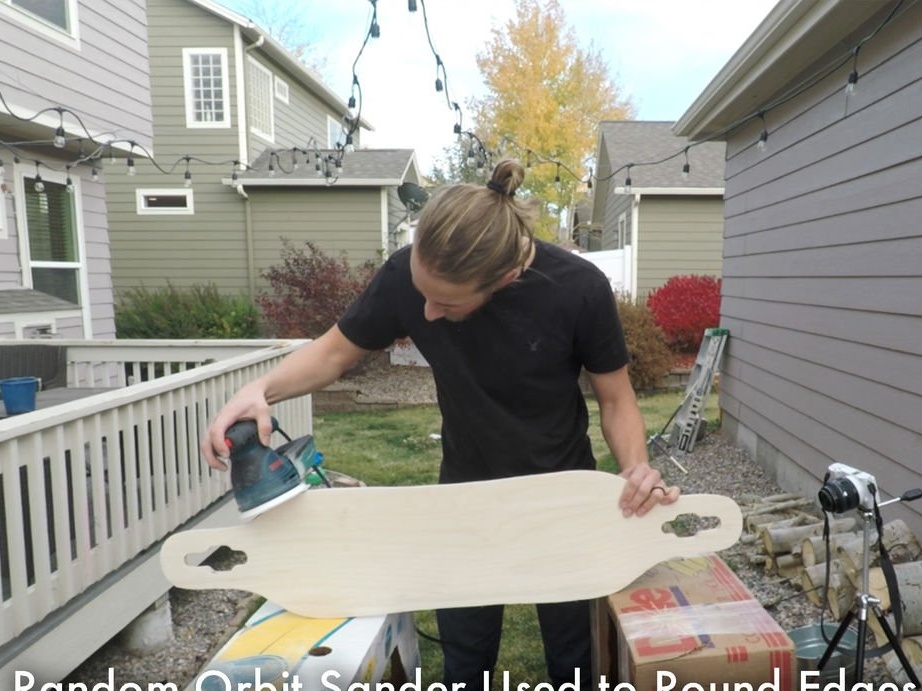
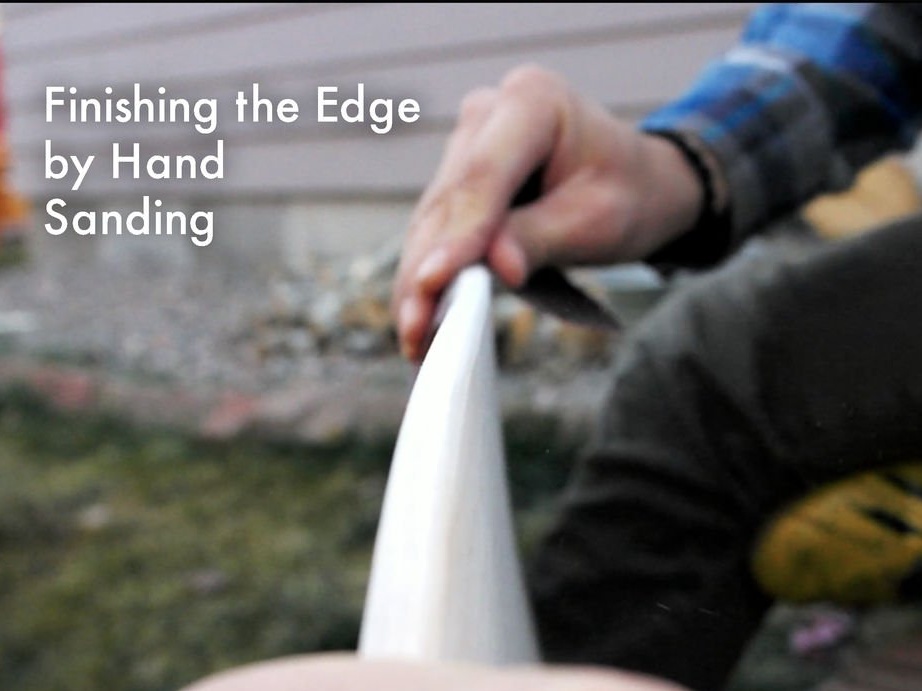
As soon as the board was cut, he polished it. He rounded the edges of the board with a grinder. When sanding the board, the master began with sandpaper with a grain of 80, and finished with a grain of 220.
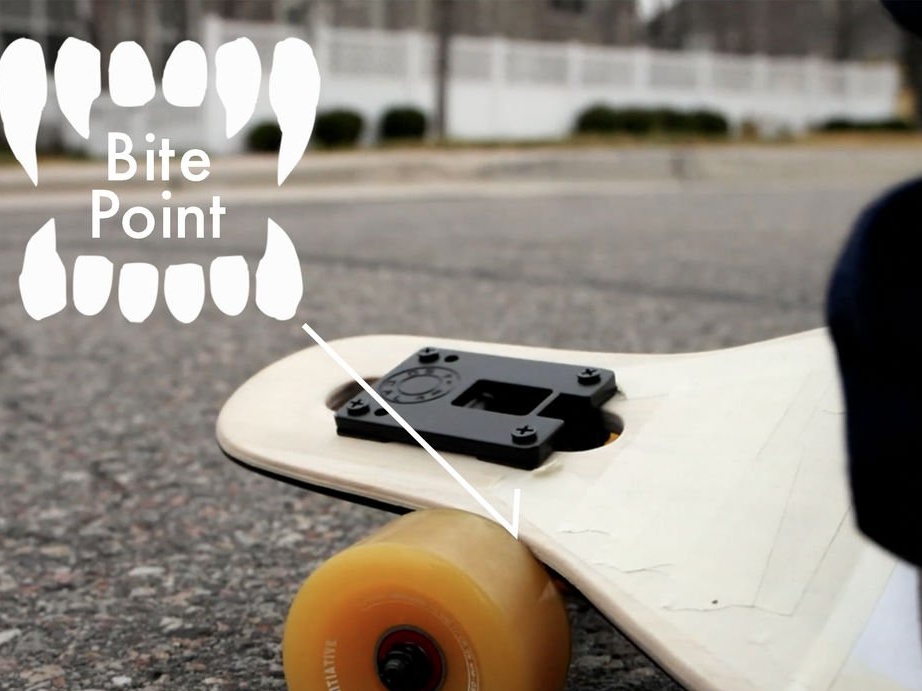
When manufacturing a board, it is necessary to take into account the factor that with a sharp turn of the wheel, its edge can be touched. If necessary, fit.

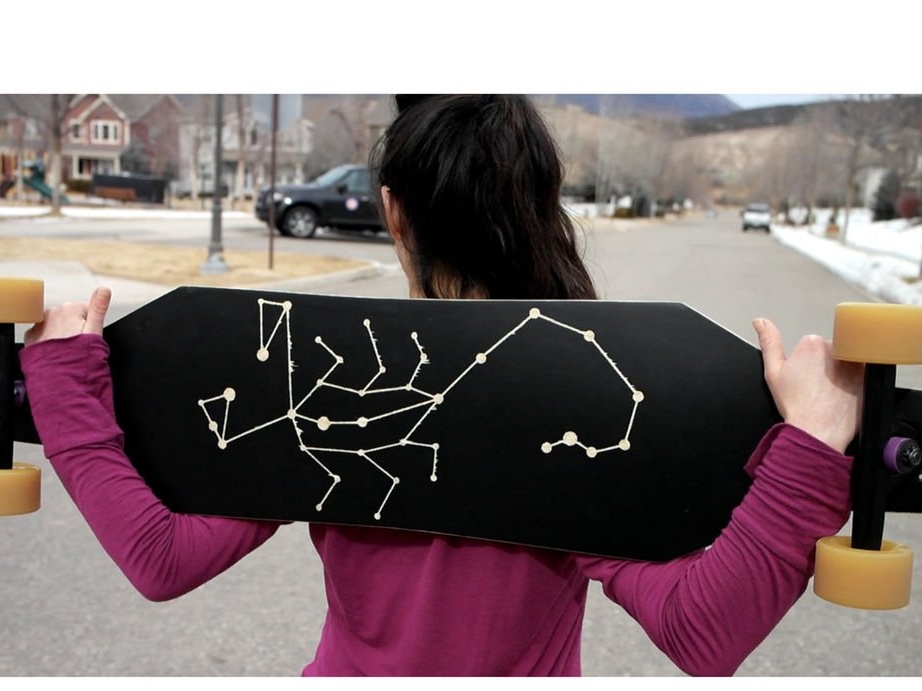
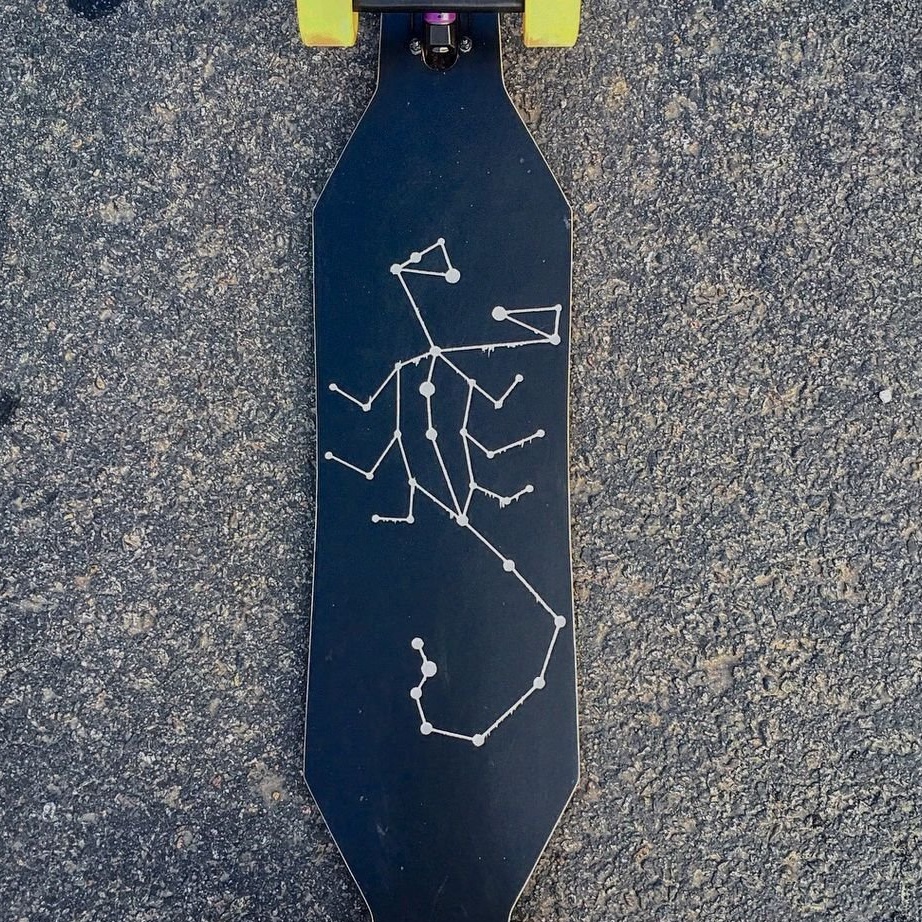
Step Four: Painting
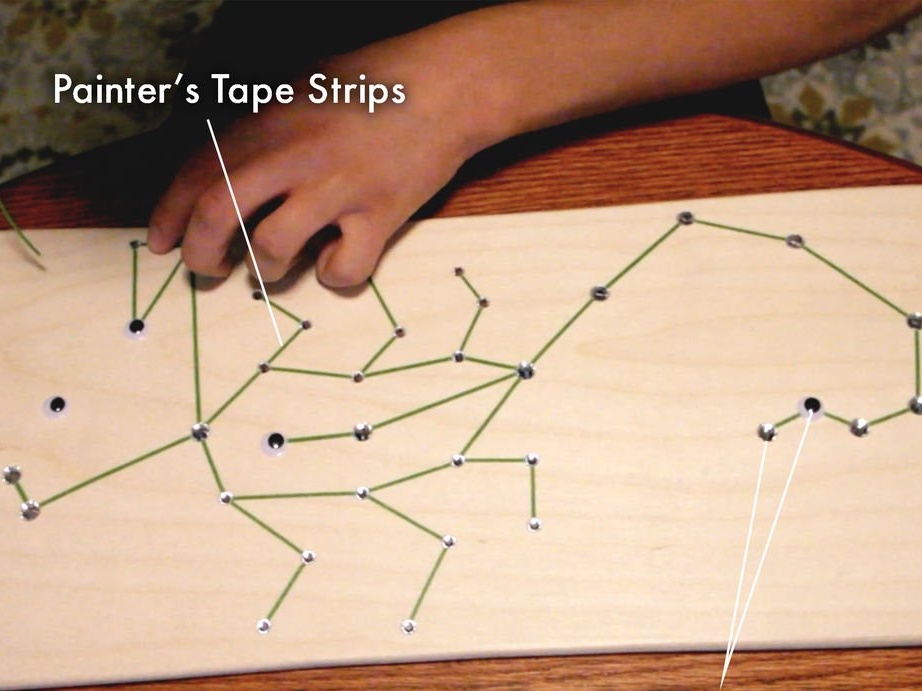
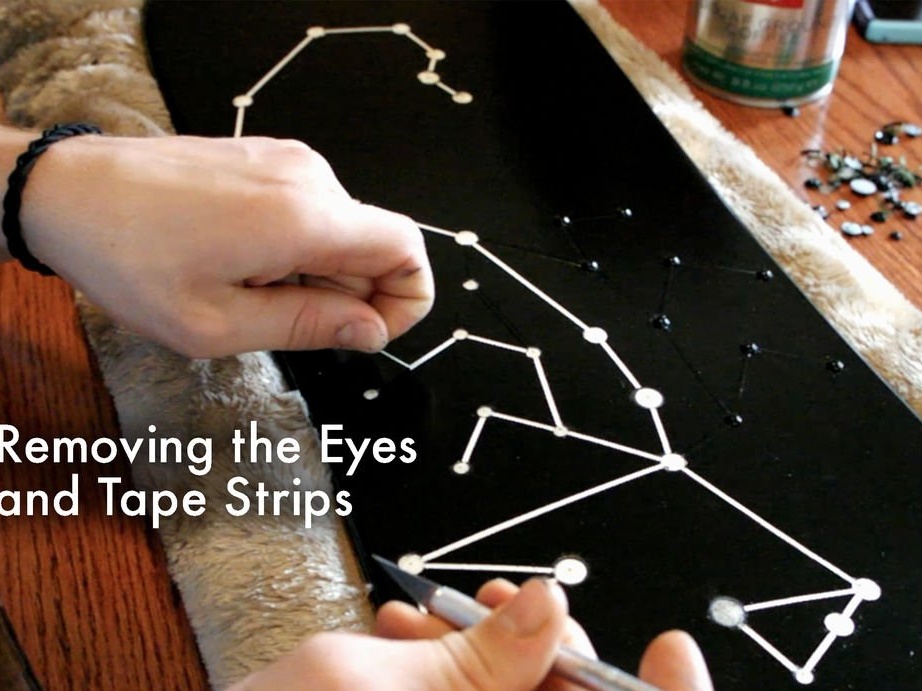
Before painting the bottom of the board, the master draws a drawing on it and closes the lines and dots. Then he puts three layers of black paint from an aerosol spray can. After drying, the paint removes the protective coating and applies a colorless varnish in three layers.

Step Five: Top
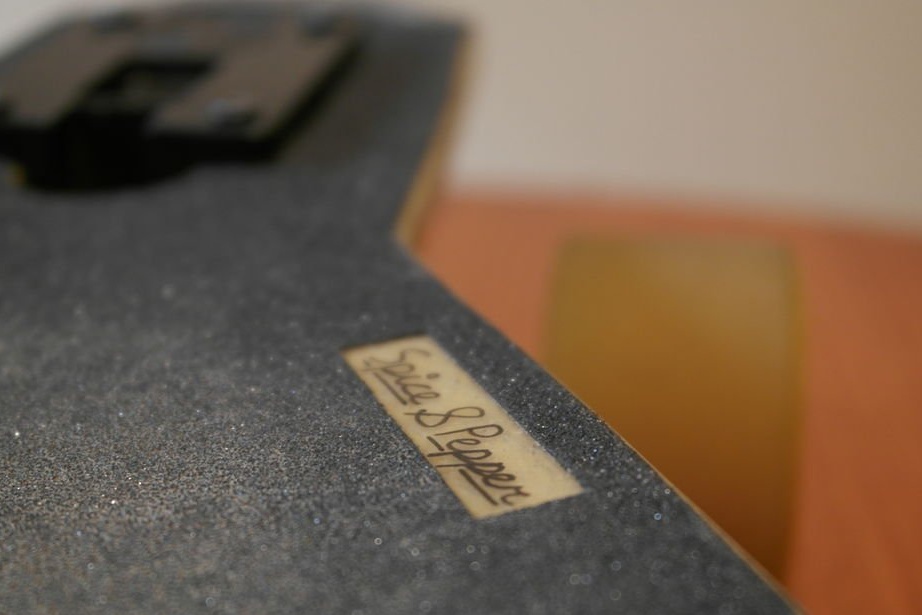
A special anti-slip coating must be glued to the top.
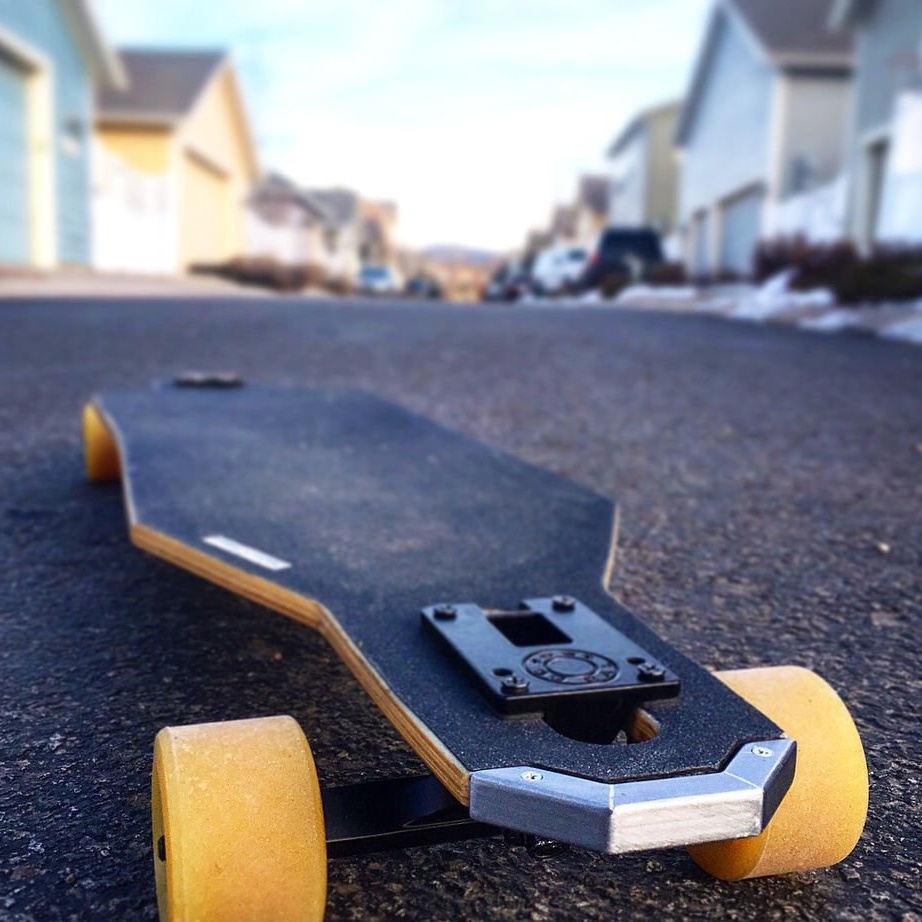
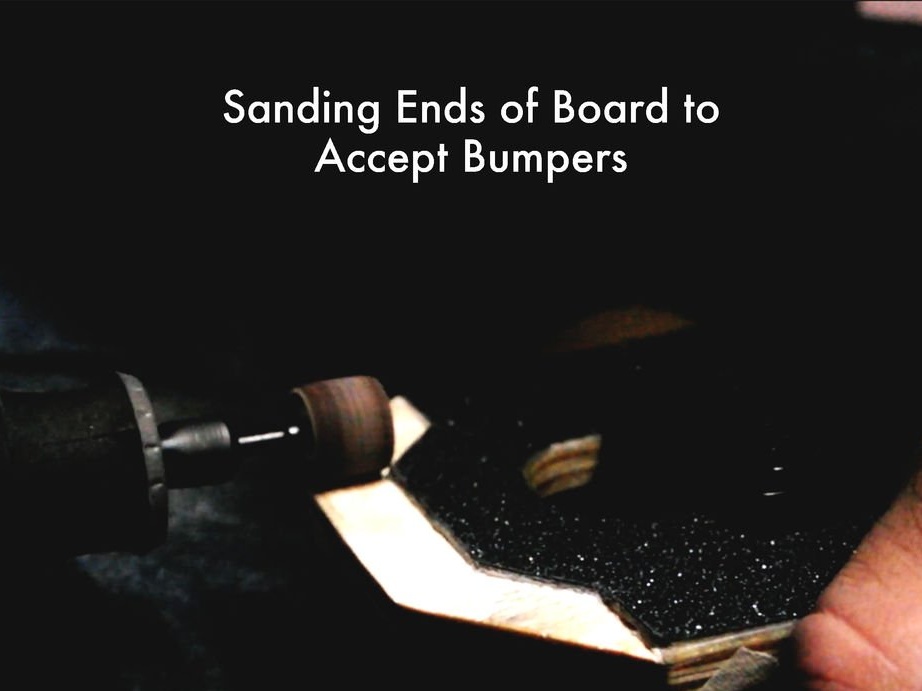
Step Six: Bumper
To increase the resistance to impacts of borders and what the board may encounter, the master made protective metal bumpers on the ends of the board.
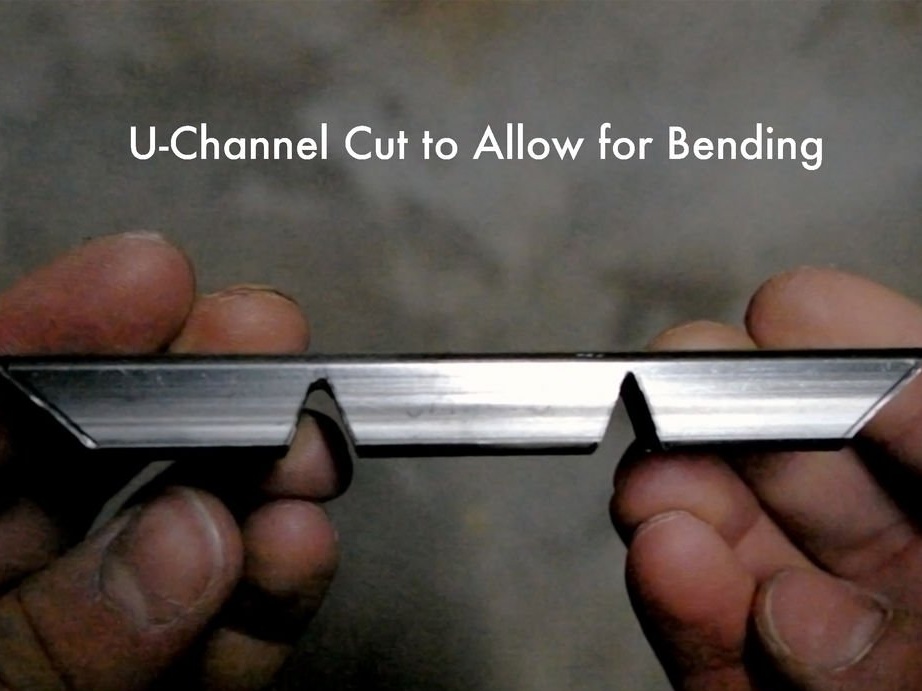
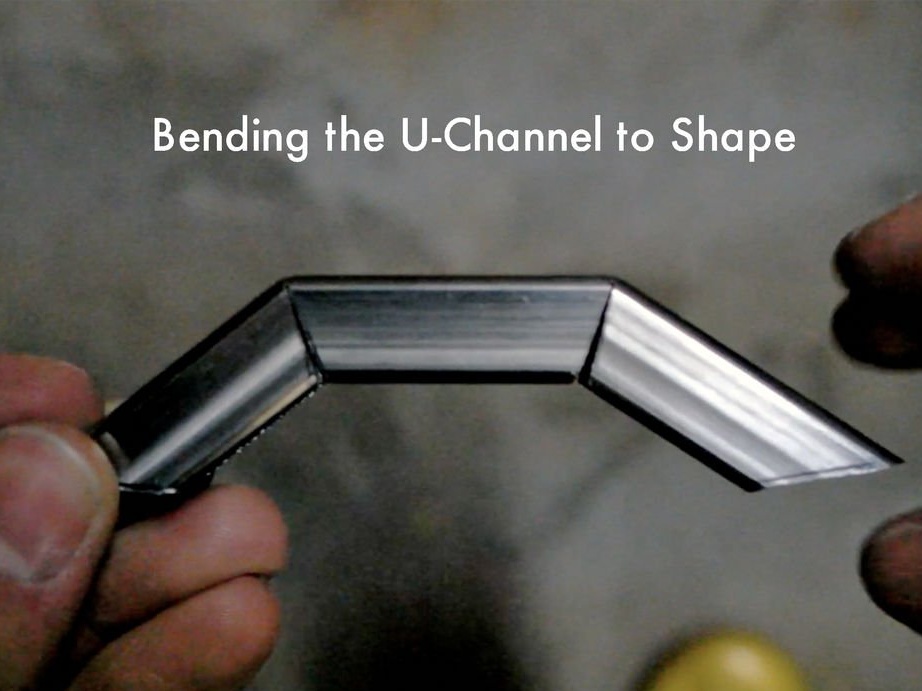
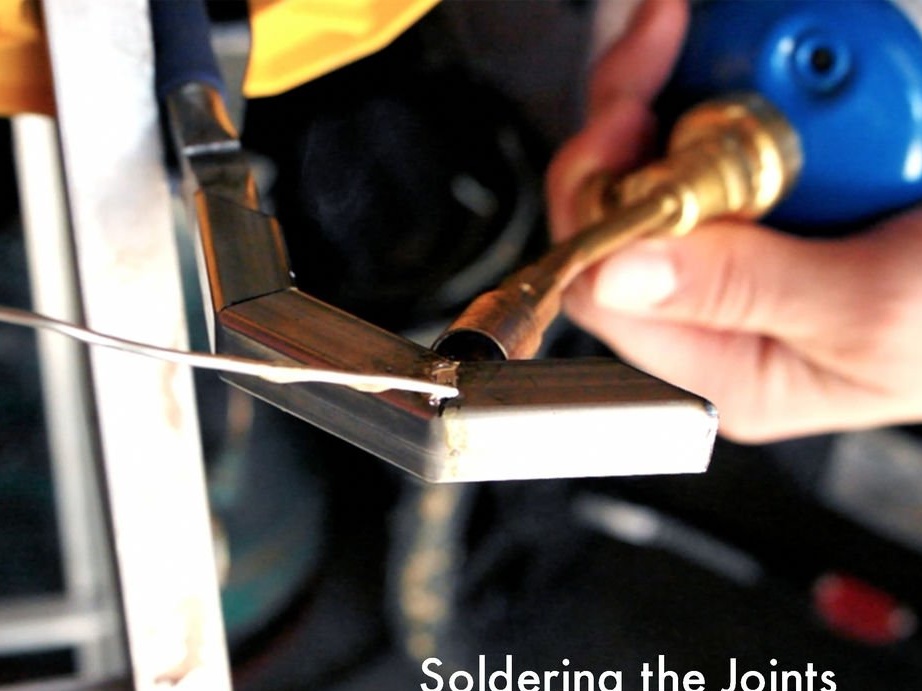
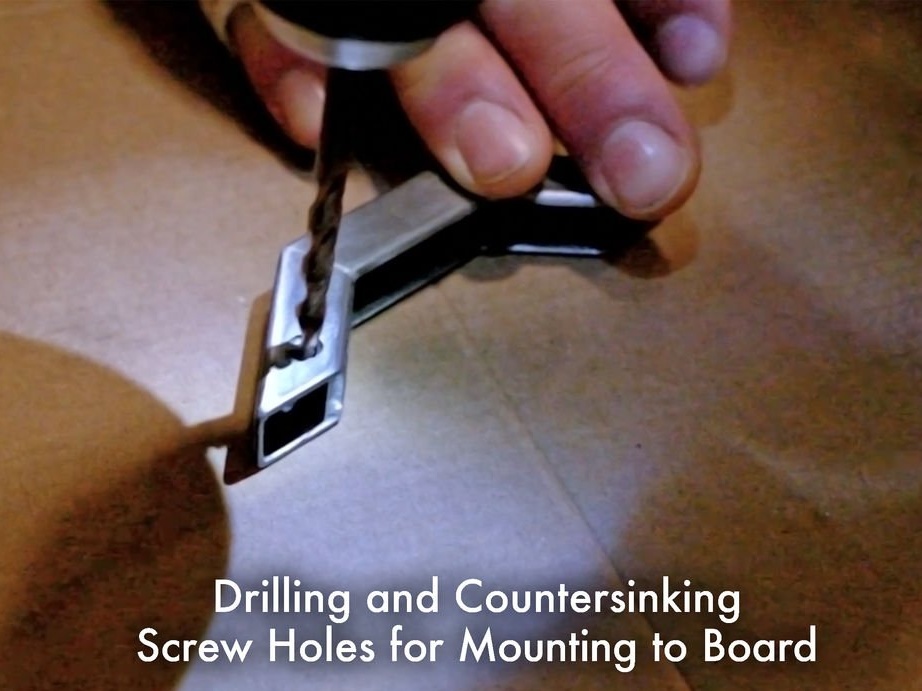
For the manufacture of bumpers, he used a steel square pipe. First I cut off one shelf of the profile with the Dremel tool to turn it into a U-channel. Then I cut out two triangles on the sides so that the metal could bend at appropriate angles. Then the bend points are welded together and ground.
Before fixing the bumpers, the master prepares the seat. Once the fit is done, the bumpers are installed and screwed to the board.
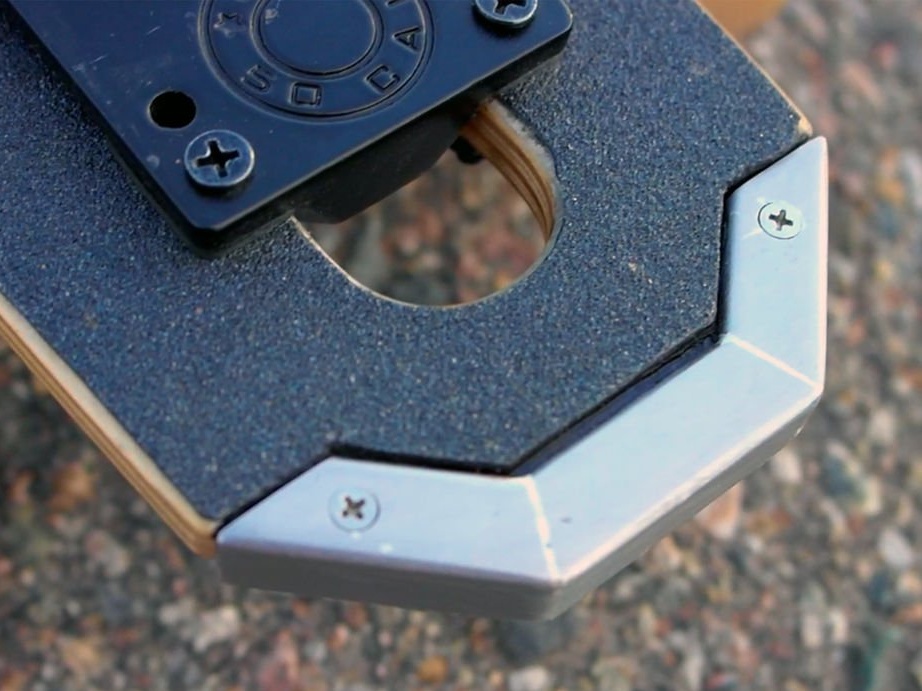
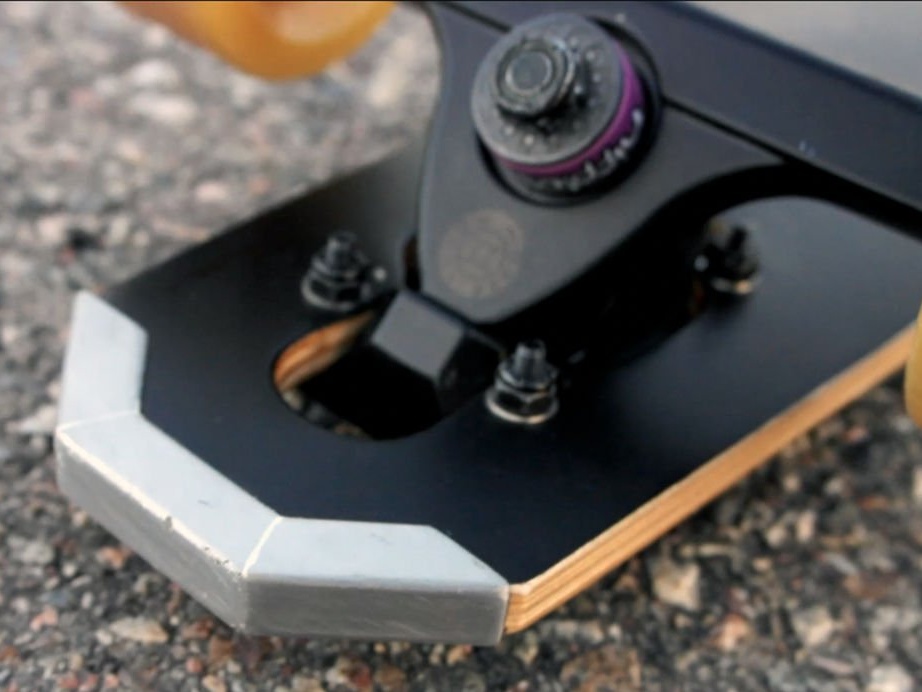
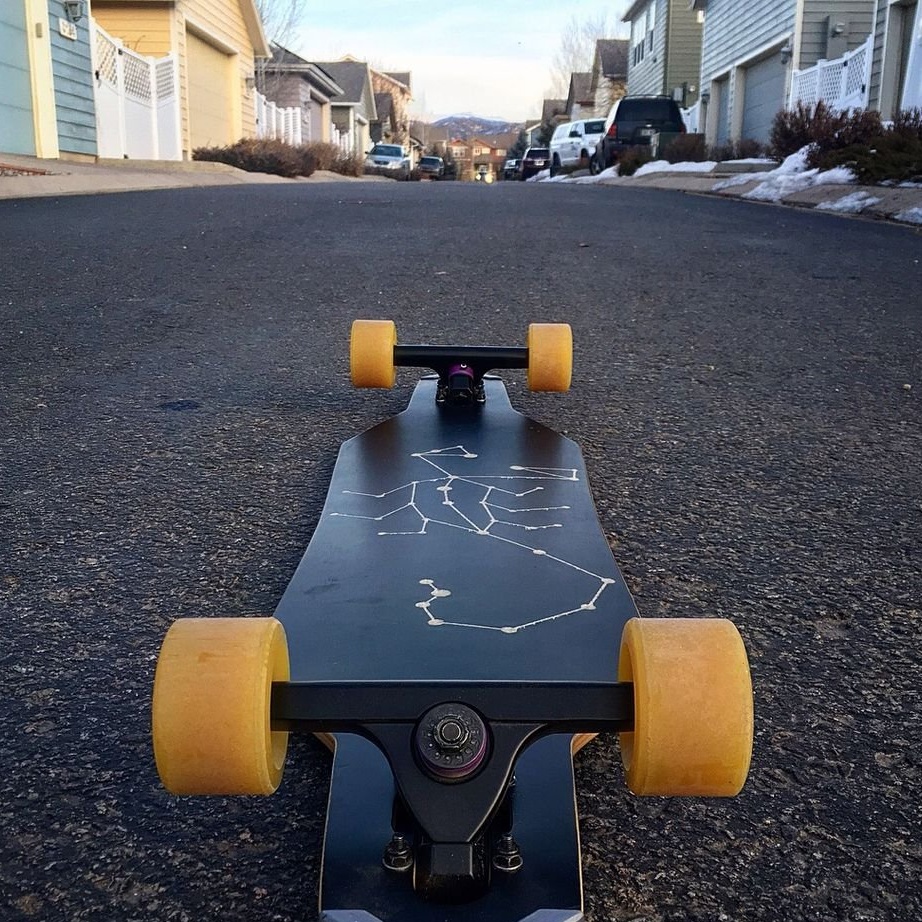
Now it remains to install the wheel platform and the longboard is ready.