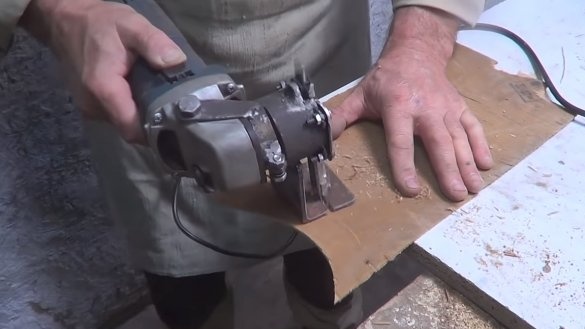
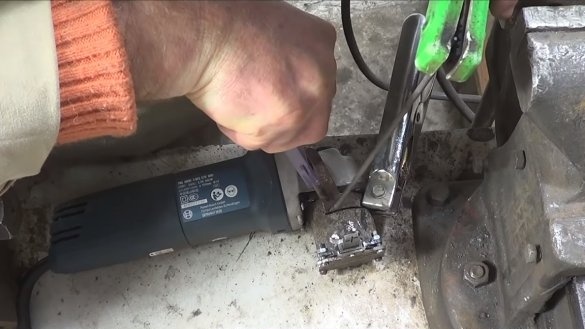
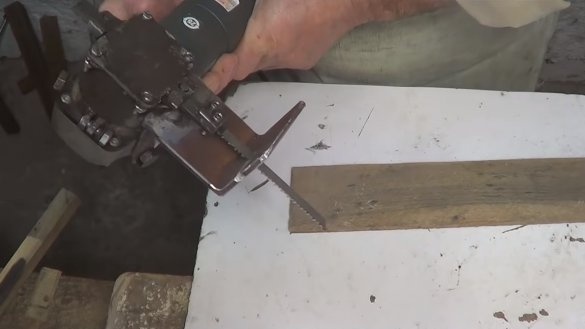
Greetings to fans to craft. This homemade It will be useful in everyday life, with the help of it you can quickly cut boards, plywood and other sheet material. It will be about such a useful tool as a jigsaw. The author decided to make a jigsaw based on a grinder, it is a nozzle that is installed on a angle grinder, not its design. The jigsaw is much more powerful than the purchased jigsaw. Assembled from an old jigsaw, in which the engine burned down. To assemble home-made products you will need a minimum amount of materials and tools. If the project interests you, I propose to study it in more detail!
Materials and tools used by the author:
Material List:
- old jigsaw;
- sheet metal;
- iron pipe;
- a nut for the working shaft of the grinder;
- bolts, nuts and other little things.
Tool List:
- ;
- ;
- drill;
- vise;
- grinder;
- vernier caliper;
- marker.
Homemade manufacturing process:
Step one. We disassemble the jigsaw
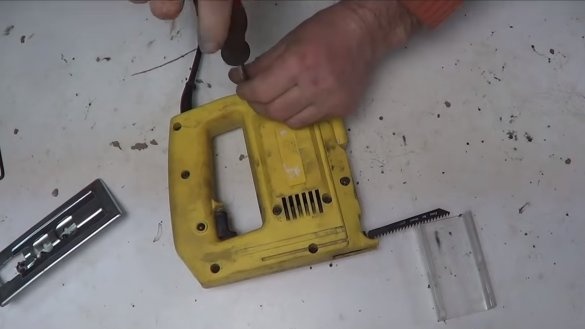
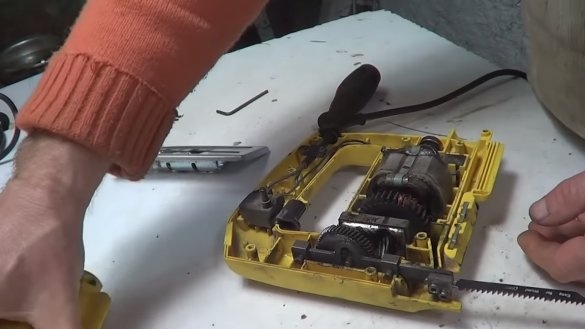
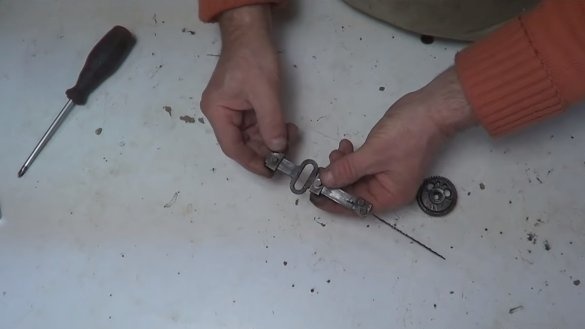
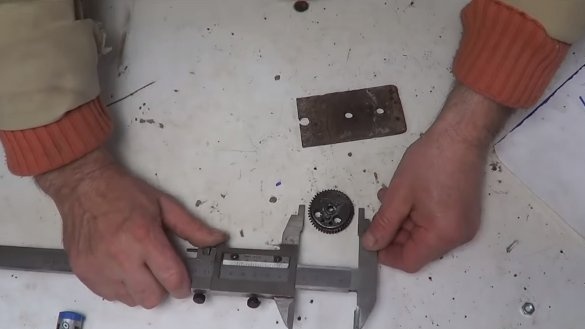
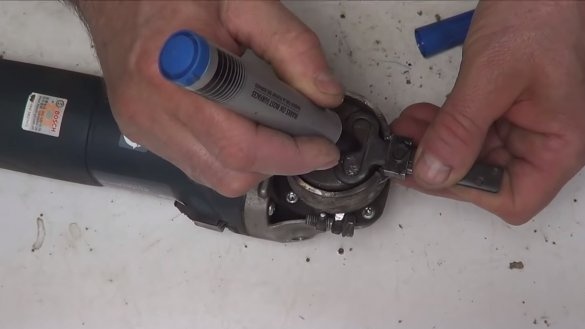
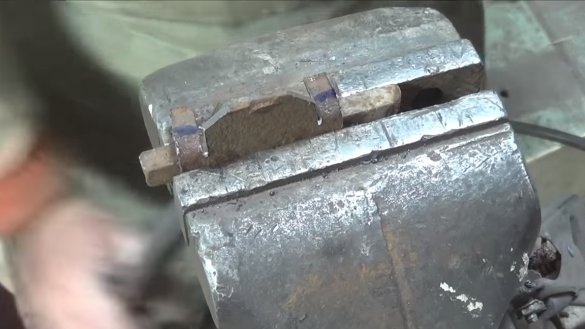
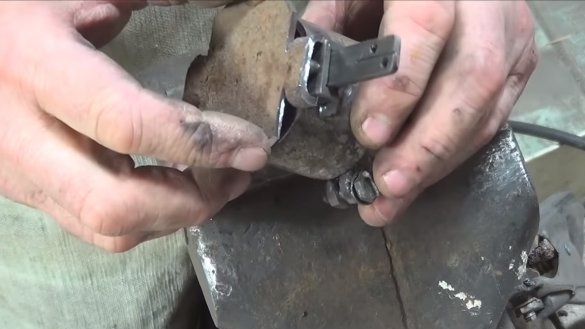
First of all, we have to disassemble the jigsaw, the author burned out the author’s engine, so that all the parts for homemade work turned out to be free. There is a crank assembly in the jigsaw, which makes the knife move. It is this knot that we need, we extract it from the jigsaw.
Step Two Crank
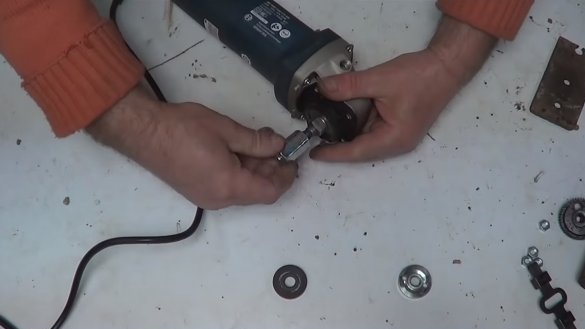
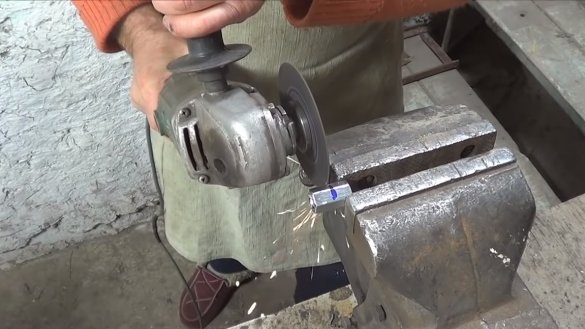
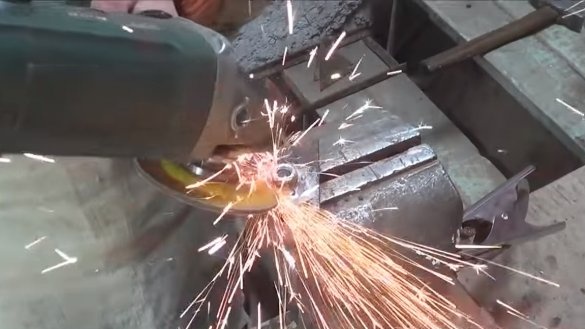
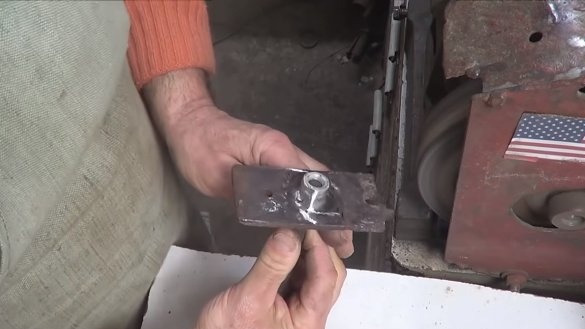
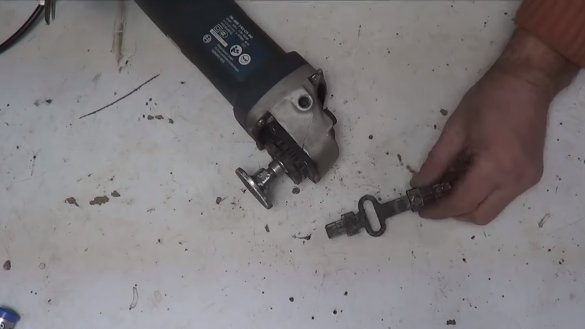
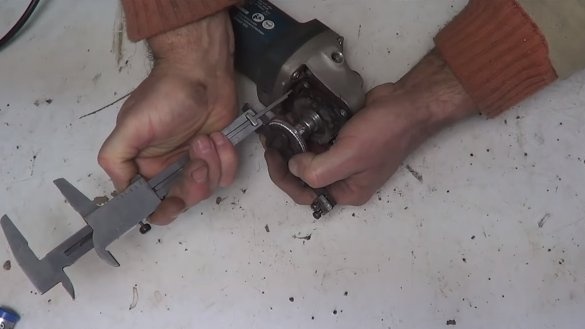
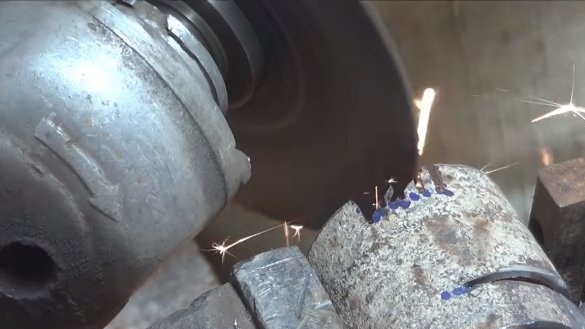
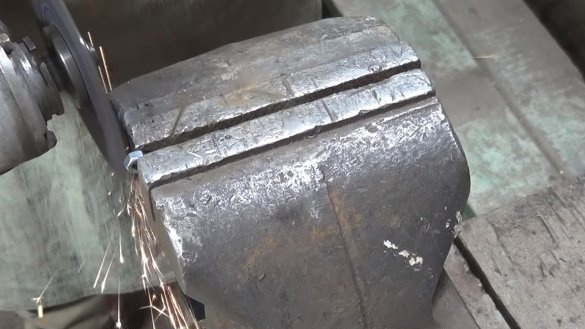
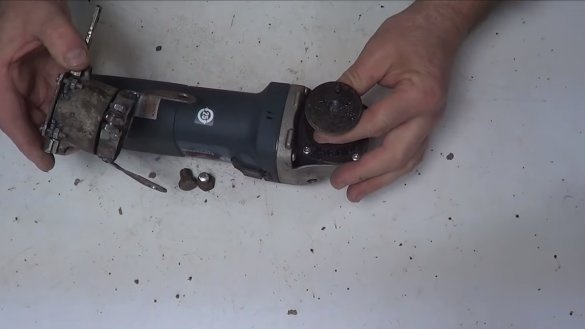
Next, we need to make a crank; in a jigsaw, it is made in the form of a driven gear. Our crank will be attached to the shaft of the grinder. To begin, we are looking for an elongated nut that can be screwed onto the shaft of the grinder, and cut off the excess.
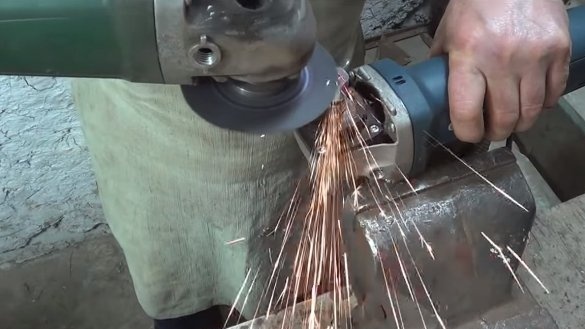
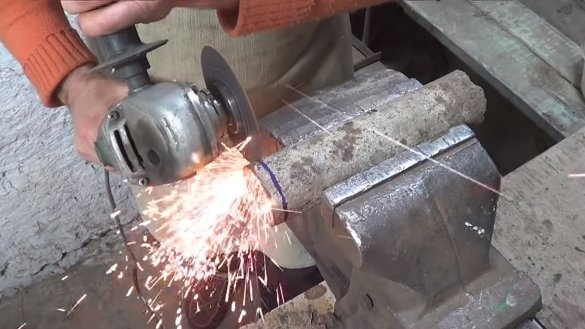
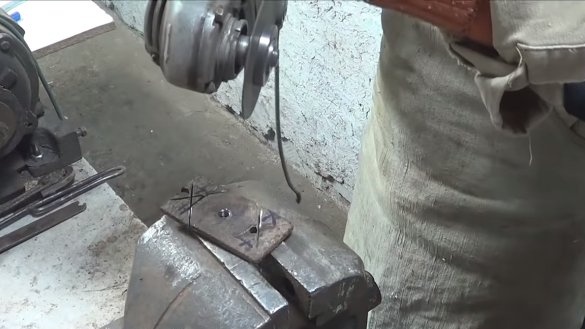
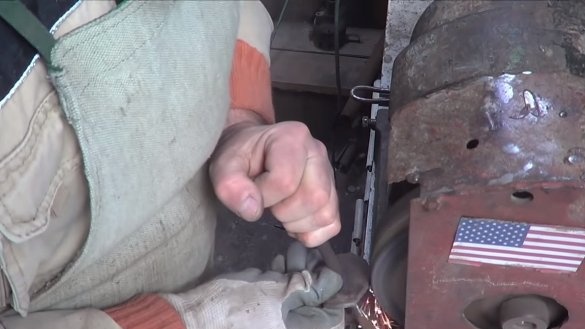
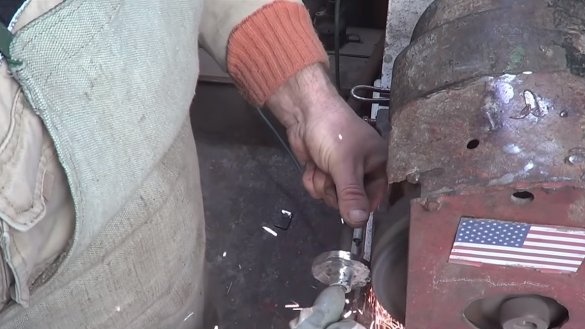
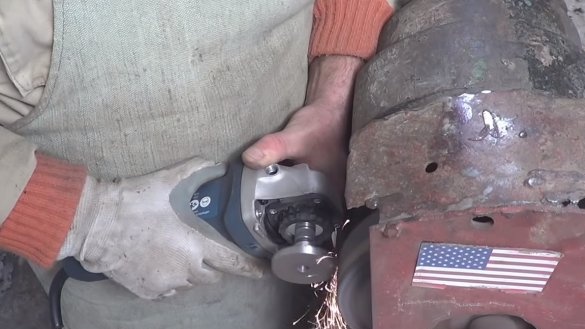
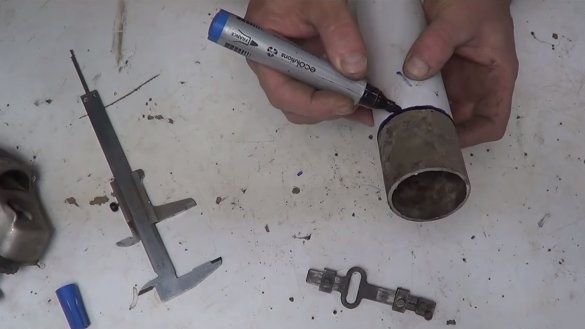
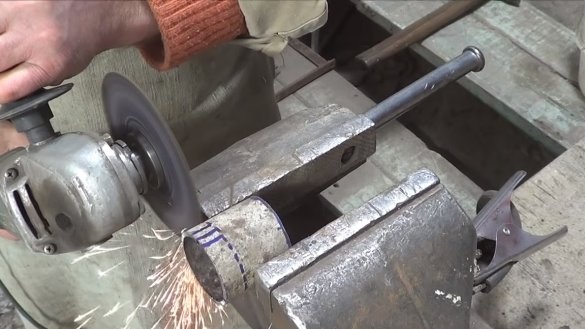
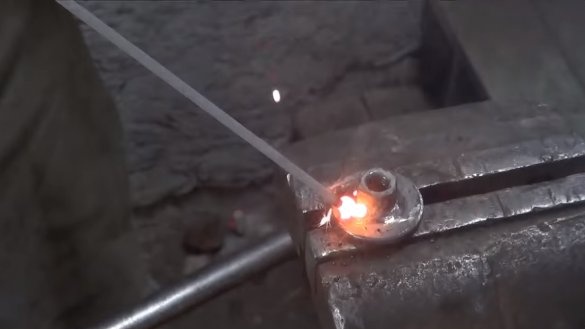
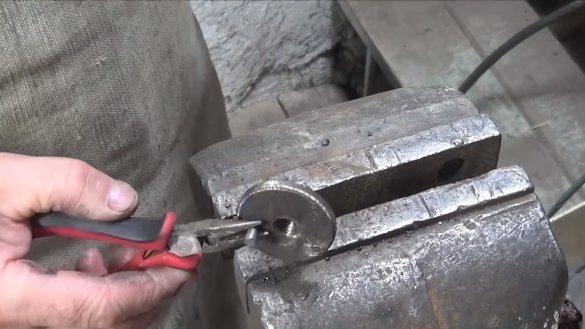
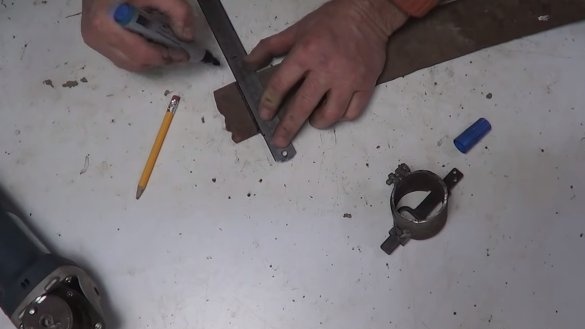
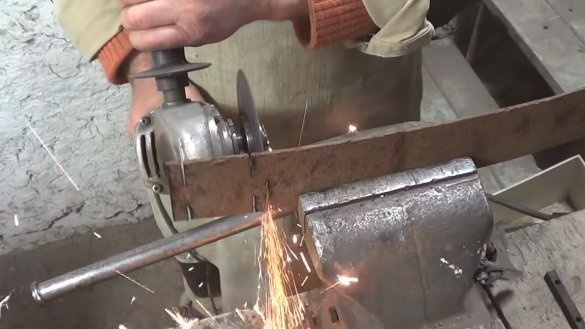
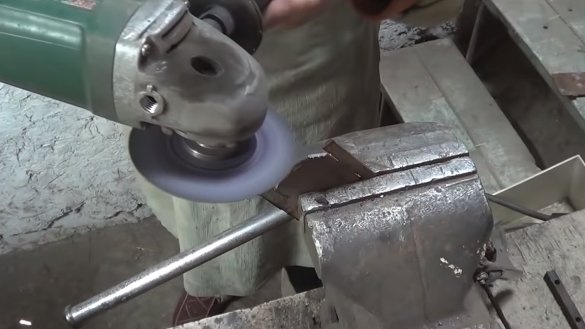
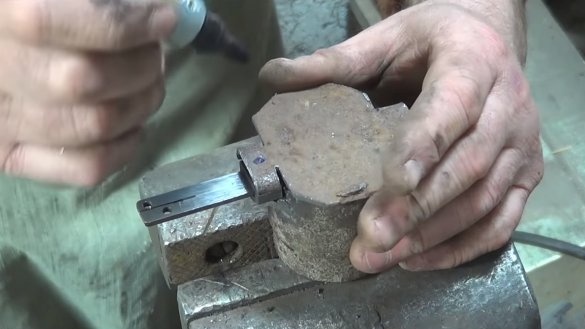
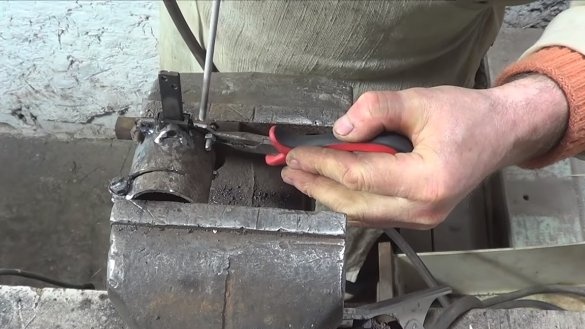
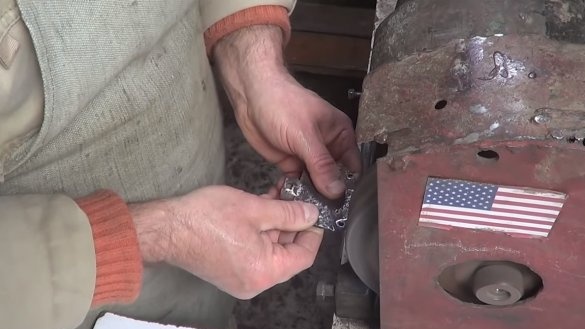
Further, this nut is welded to a piece of sheet iron, which will be our crank. Draw a circle around the nut and cut it out. Cut the circle with a grinder, and then grind it on a sharpener. As a result, we get a well-balanced iron disk, which then remains to weld the spike.
Step Three Housing
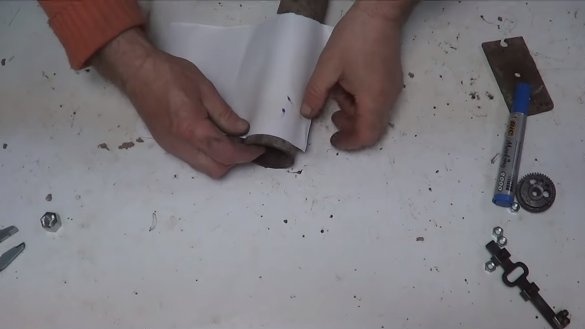
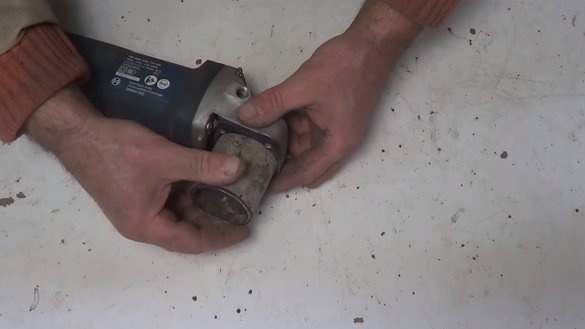
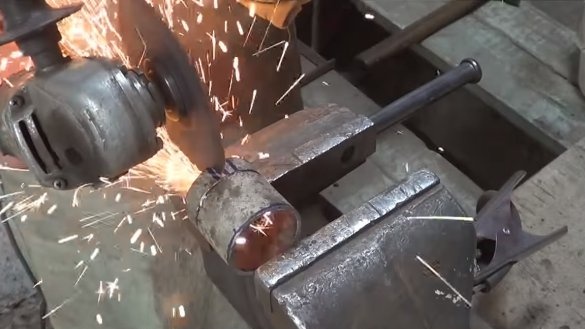
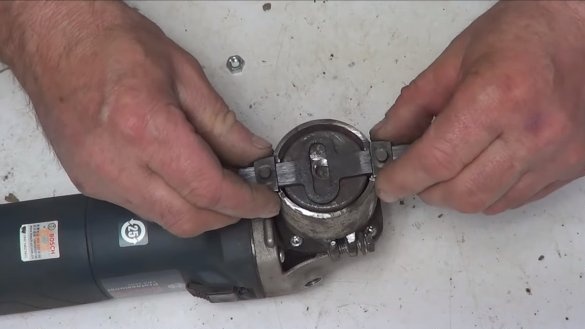
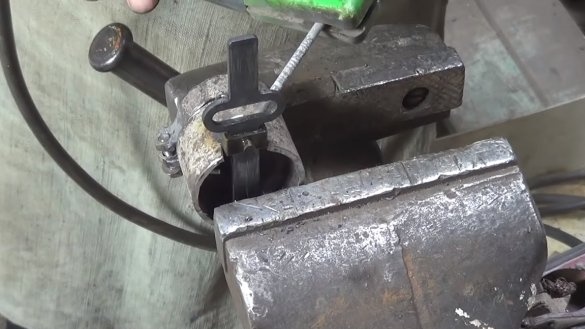
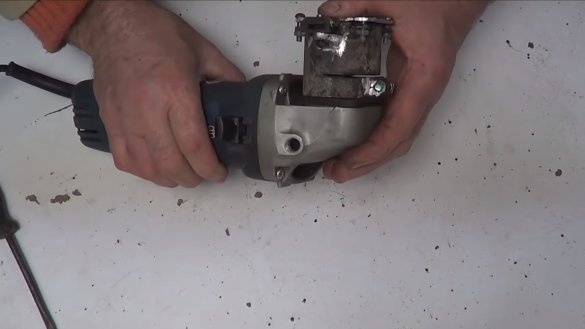
We make the device case, for such purposes we need a piece of iron pipe of such a diameter that it can be put on that part of the grinder where the protective shield of the grinder is installed.
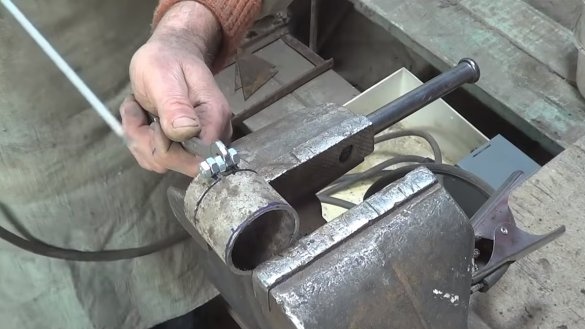
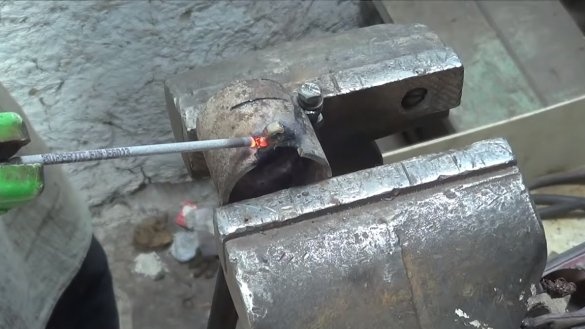
On one part of the pipe there will be a clamp with which the homemade product will be attached to the grinder. We make a cut in the pipe and weld two nuts by drilling a thread in them. As a result, our clamp can now be pulled off with a bolt and nut.
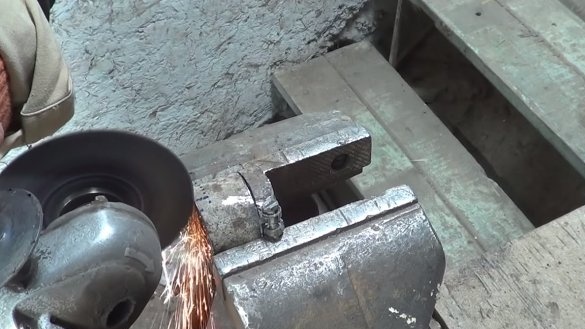
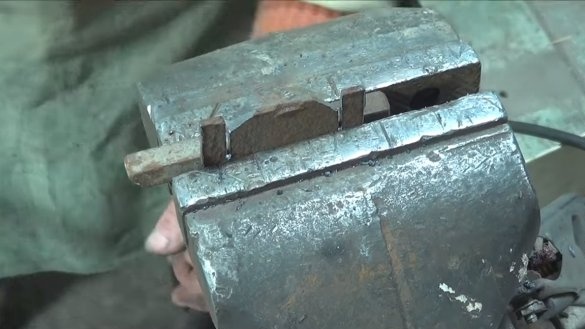
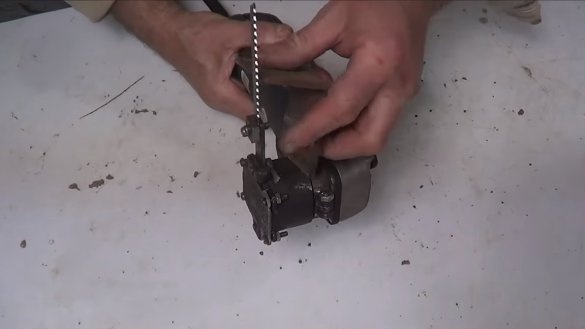
On the other side of the case, you need to make cuts for the moving part of the jigsaw, to which the knife is attached.To fix this part, we also weld nuts to the body.
Step Four Crank spike
We weld the spike to the previously made disk in the right place. The farther the spike is from the center, the greater the stroke of the knife. For approximate figures, we look where the spike is located on the crank of the jigsaw.
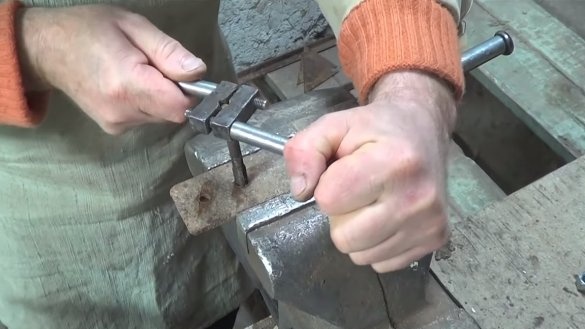
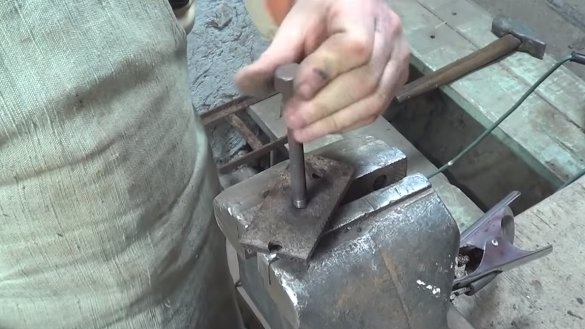
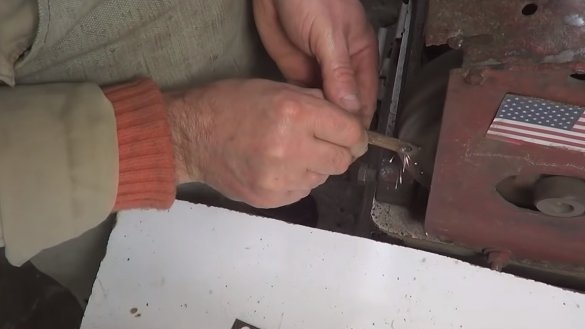
We drill a hole, install and weld the spike. For a spike, it is better to use a steel axis, as ordinary iron will quickly wear out.
Step Five Cap
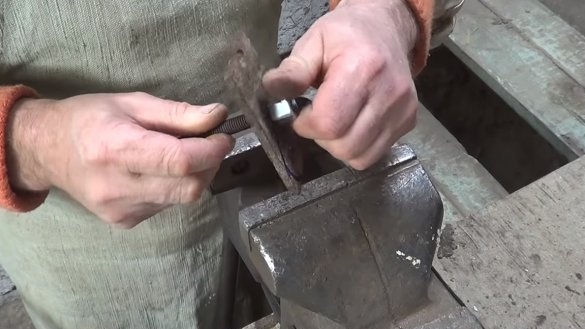
Be sure to make a cover for the device to hide all moving parts. The cover is made of sheet iron, cut out the right one in size and shape. To fasten the cover, drill holes and cut the threads for the screws.
Step Six Additional fasteners and emphasis
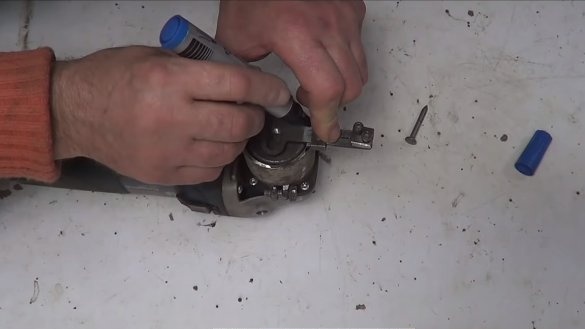
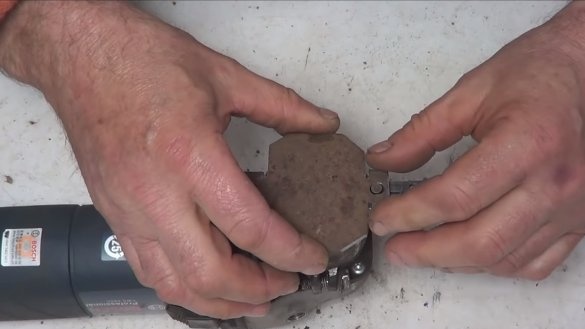
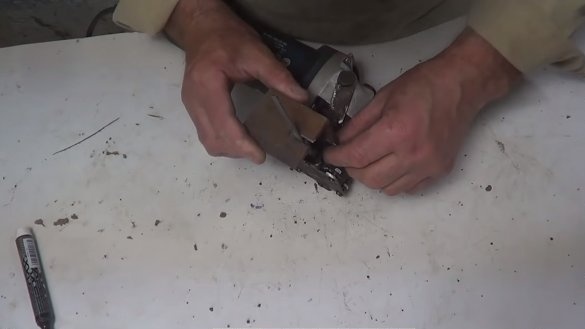
The nozzle needs to be fixed securely, as jokes are bad with a grinder and serious injuries can occur. The author’s nozzle is additionally attached to the grinder with bolts that are wrapped in the holes where the front handle is installed. As fasteners, we cut out and weld iron plates to the body.
We also need to focus, we use sheet metal for this.
Seventh step. Assembly and testing
The homemade product is ready, you can collect everything, but before that, the iron parts are best painted. So the homemade product will look beautiful, and the iron will not rust.
Inside the homemade product there are many friction units that need lubrication. We lubricate the friction units with thick grease such as solid oil, or just motor oil, in a pinch. Firmly install the nozzle on the grinder, and also fasten the blade for the jigsaw.
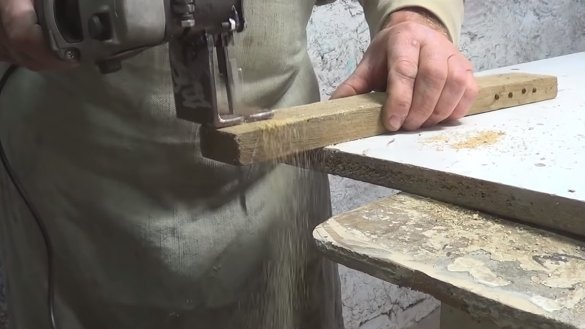
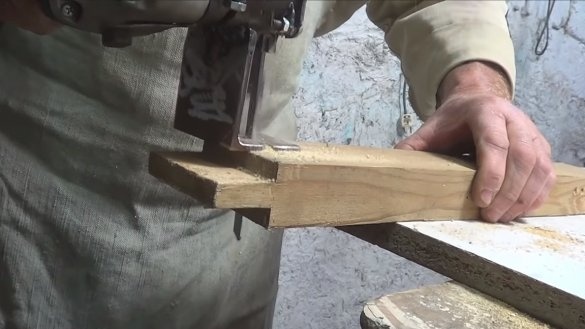
That's all, after that the instrument is ready for testing. To begin with, the author tries to cut thin sheet material, the homemade product does not feel the load, it turns out quite well to turn. Also, the author easily cut thick bars, homemade also easily copes with the task. If desired, you can try to cut and iron, setting the appropriate canvas.
This is the end of the project, I hope you liked the homemade work, and you found interesting thoughts for yourself. Good luck and creative inspiration, if you decide to repeat this. Do not forget to share your ideas and homemade things with us!

