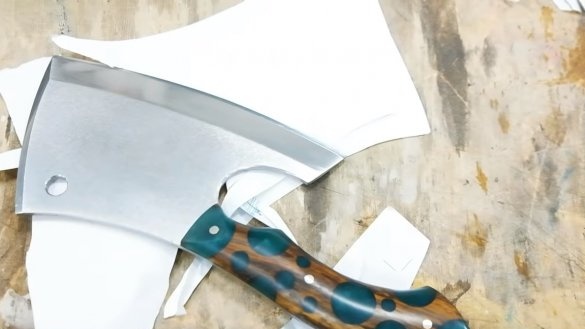
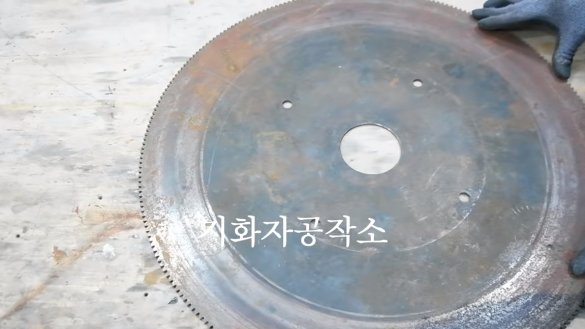
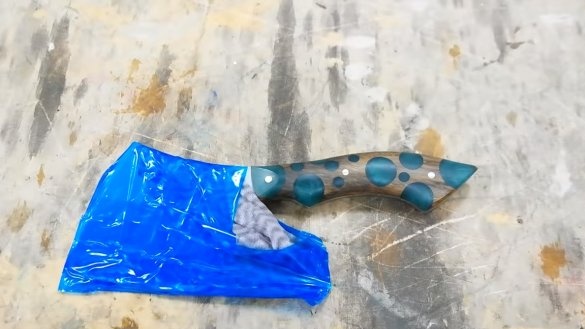
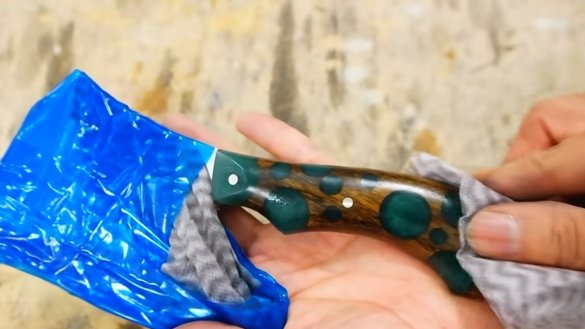
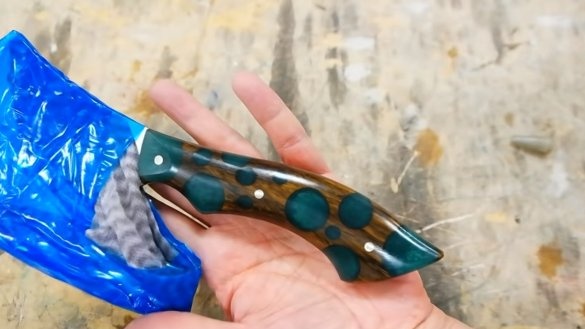
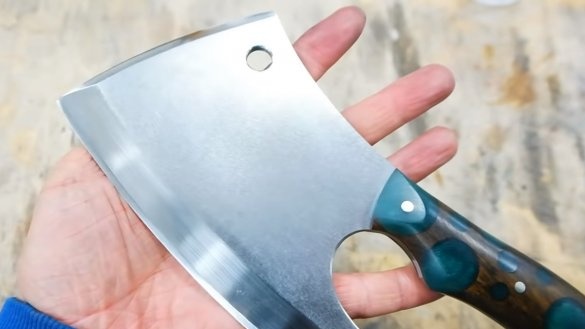
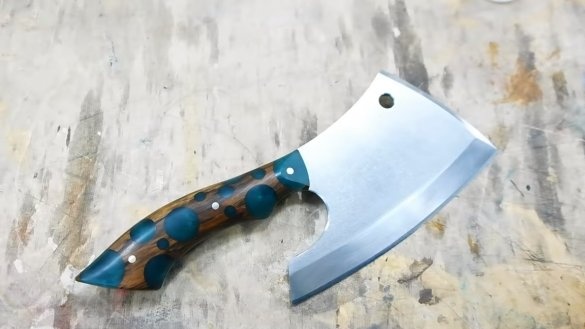
Hello everyone, today we will do such a useful thing for the kitchen as a kitchen hatchet. Using manufactured homemade You can chop or cut vegetables, meat, bones and other products. As a material, the author used an old thick steel saw blade. As a result, the hatchet became weighty, which makes it convenient. Also, the product went through hardening and tempering, which made the steel durable. Handle covers are made of wood, which is impregnated with epoxy resin, as a result, such a handle will not be afraid of water. The only drawback of the chosen steel is that it rusts, but if you use the ax often, over time the steel will become covered with a patina. You can make a patina yourself, using etching and so on. If the homemade product interests you, I suggest studying the project in more detail!
Materials and tools used by the author:
Material List:
- old saw blade (made of good steel);
- a tree for overlays;
- brass rods for pins;
- epoxy resin and dye;
- oil for wood.
Tool List:
- ;
- drilling machine;
- ;
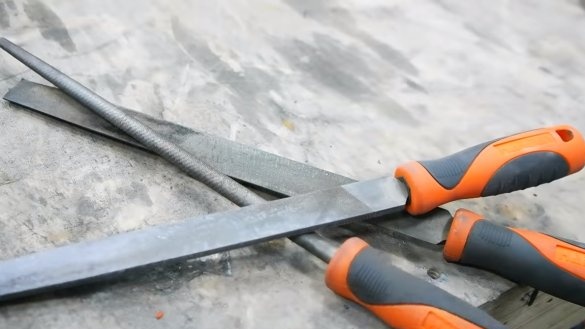
- files;
- sandpaper;
- oven, oil, oven (for heat treatment);
- marker;
- orbital sander.
Hatchet manufacturing process:
Step one. Ax profile
Before cutting an ax, it is advisable to check the steel for hardening. Otherwise, then it can be very disappointing when the product suddenly refuses to be tempered. Some modern saw blades to save steel are made of bad metal, such a "steel" can not be hardened.
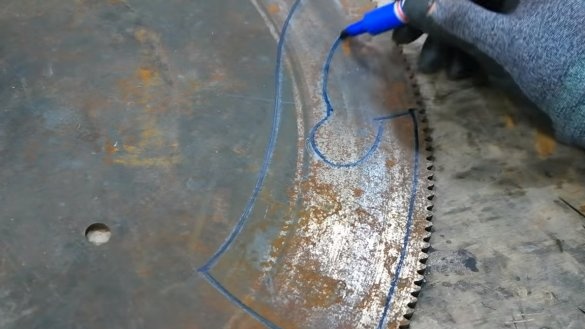
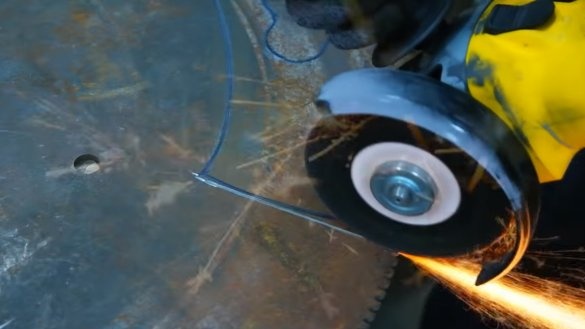
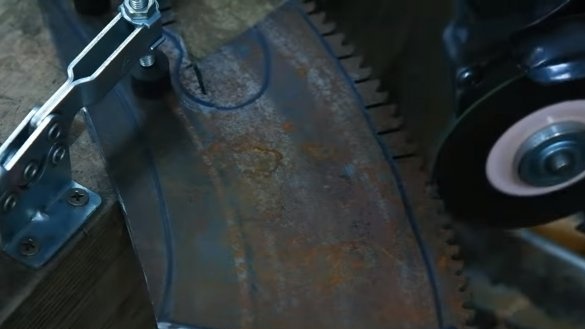
As a source material, the author uses an old thick saw blade. First, draw on it the desired profile of the hatchet with a pencil, and then point it with a marker. That's all, you can start cutting, the author works as a grinder. Our metal is quite thick, so it will take a long time to cut. As for the problem areas that cannot be cut out with a grinder, cut them into pieces.
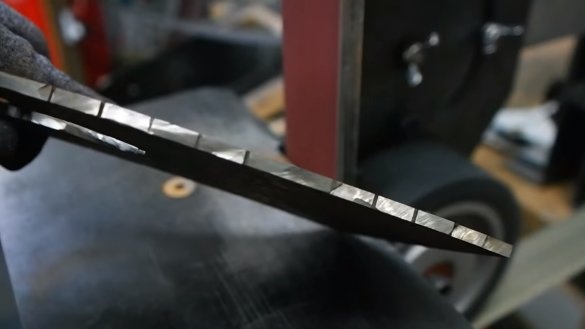
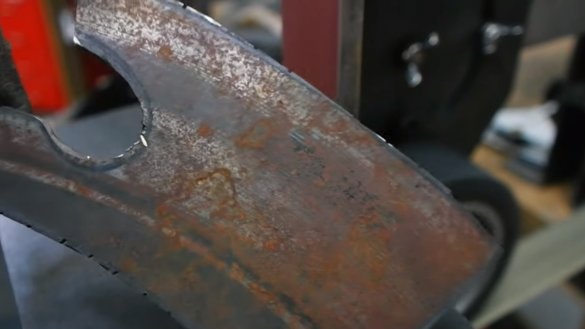
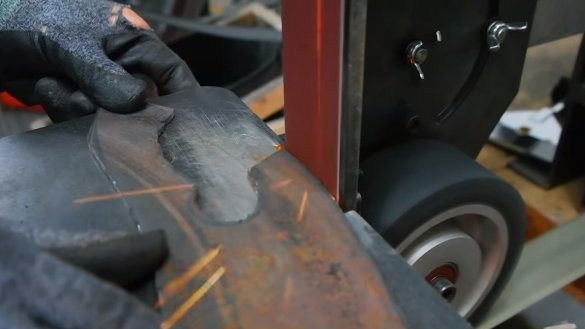
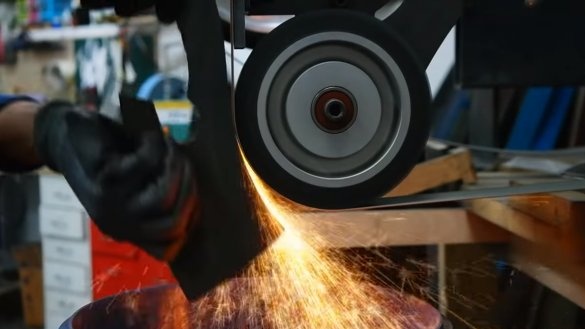
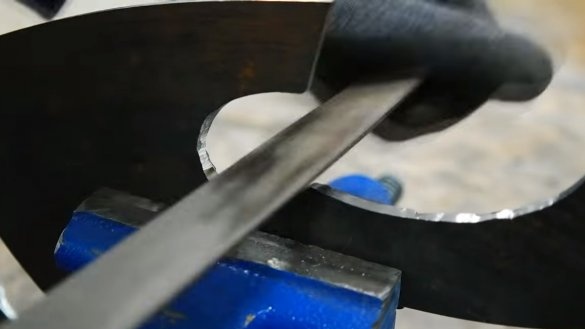
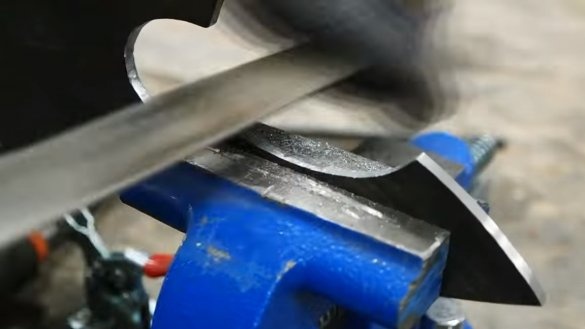
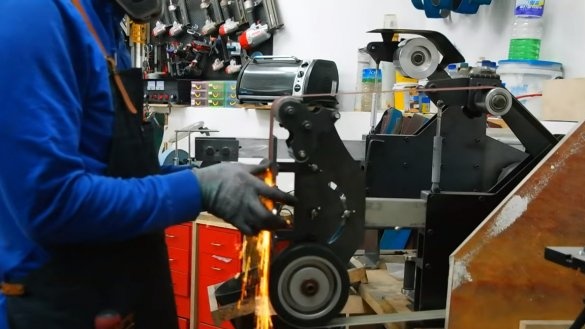
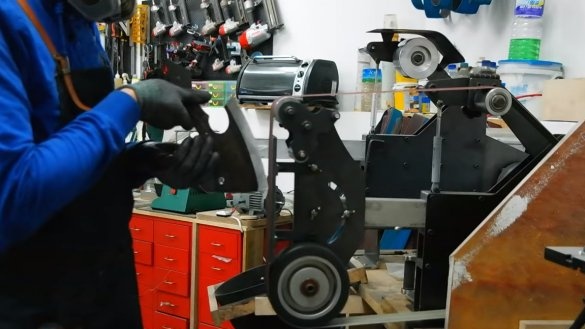
As a result, we get a primary profile of an ax with jagged edges after cutting with a grinder.We eliminate all these sins by grinding, here we need a belt sander. The workpiece will heat up quite a lot, we cool it periodically in water. The author completes the final refinement of the profile manually, using files.
Step Two Slopes
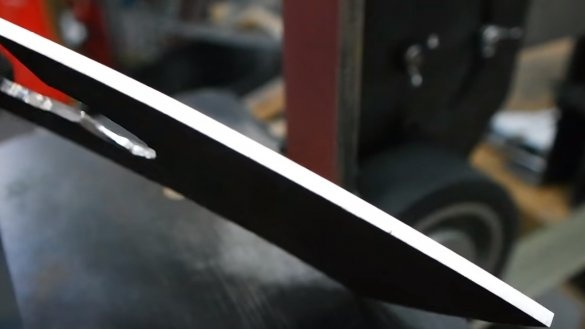
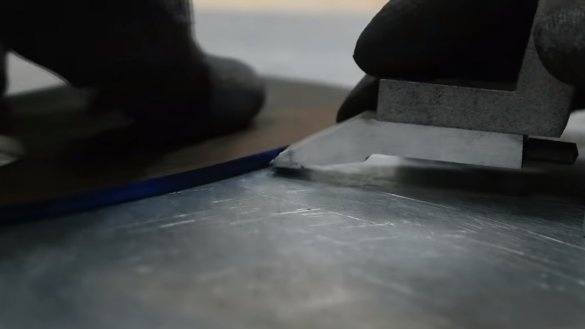
We bring down the slopes on the ax, we will need to grind quite a lot here, so again we turn to the help of a belt sander. To make the bevels symmetrical, draw a center line along the blade. When grinding, steel should not be overheated, in no case should it turn blue.
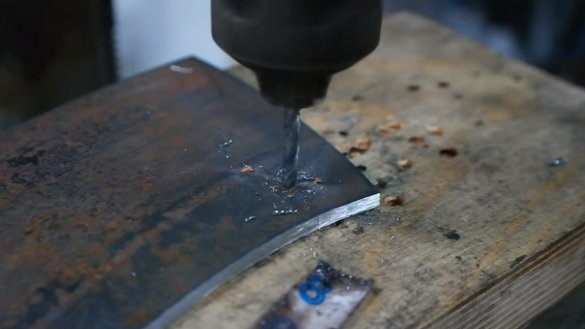
We also drill all the necessary holes in the ax, as it will be hardened further.
Step Three Heat treatment
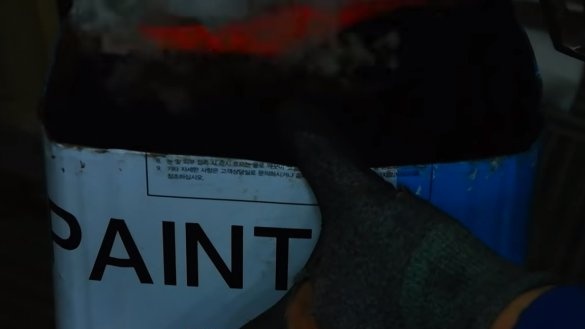
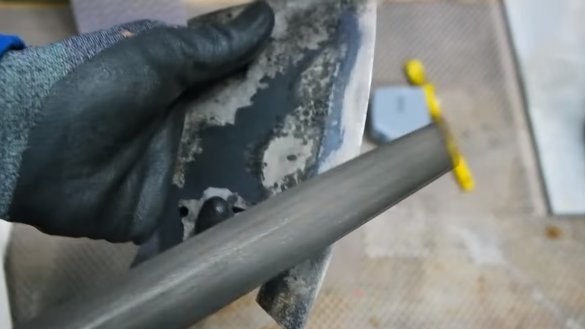
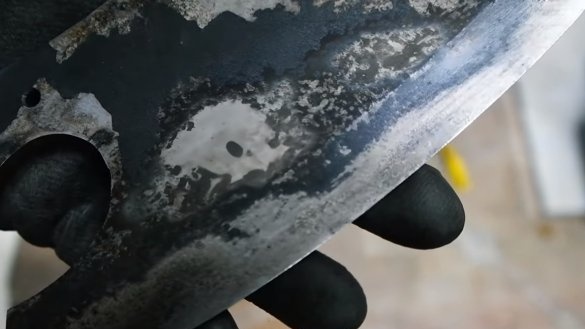
We start hardening the ax, for this we need to heat the steel to a temperature of just over 800 ° C. The ax should warm up evenly, it will glow in all places with the same red tint. Next, immerse the ax in the oil and check whether the hardening is successful. If everything is done correctly and the ax is made of quality steel, it should not be scratched with a file.
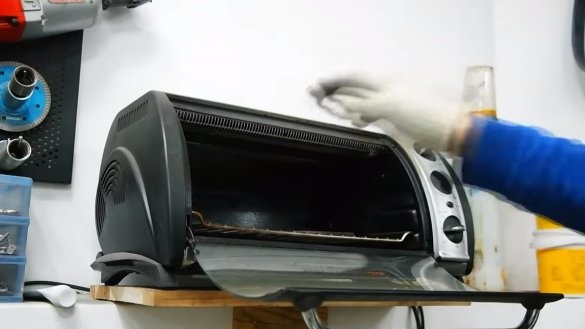
Then be sure to make a vacation, otherwise the steel will be very brittle, the blade can give chips. We use an oven for holidays; the temperature is classically set at 200 ° C. If the steel has been previously ground, it will turn a straw color after tempering.
Step Four Grinding
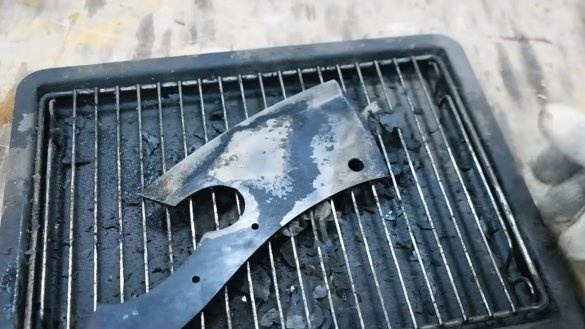
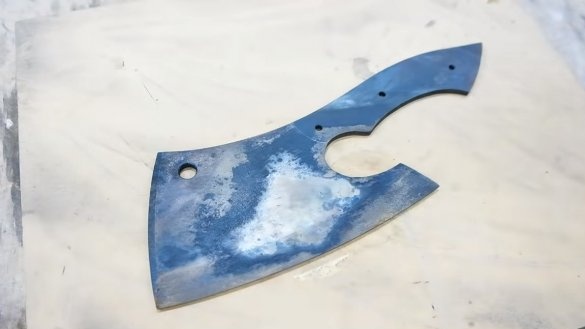
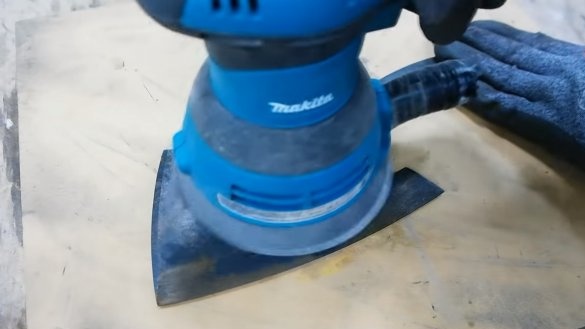
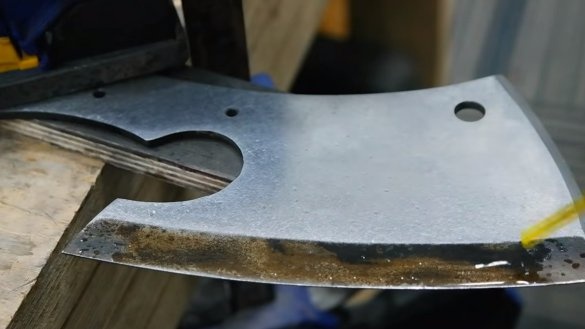
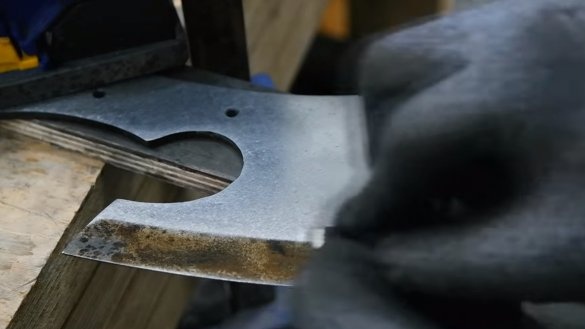
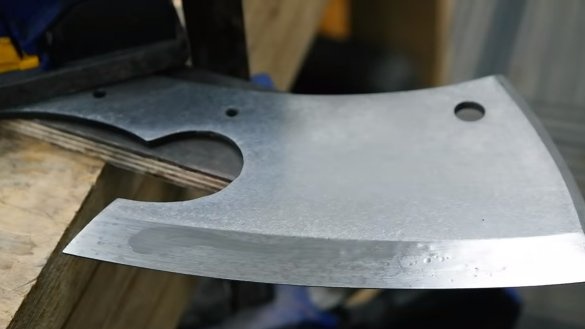
After hardening, the steel will be in tan and scale, this whole thing needs to be cleaned. We arm ourselves with an orbital sander and grind the hatchet well to shine.
As for the descents, the author decided to grind them manually. We use fine sandpaper and WD-40. If desired, the slopes can also be polished.
Step Five Lining
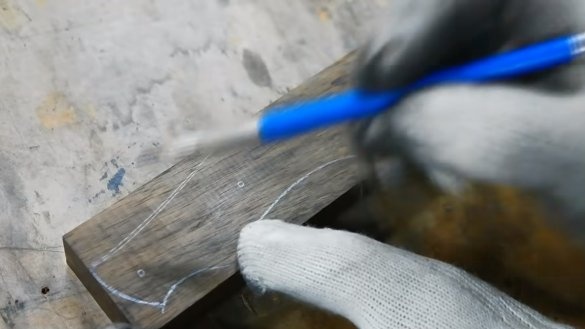
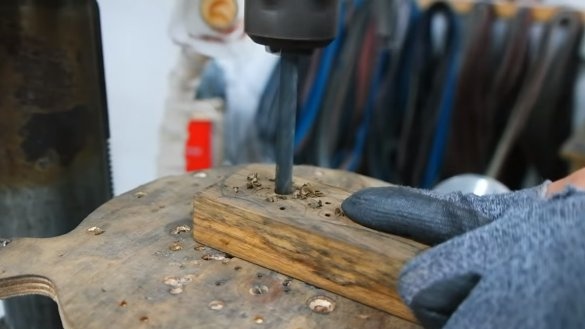
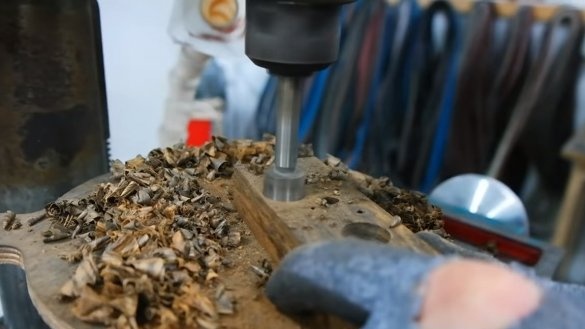
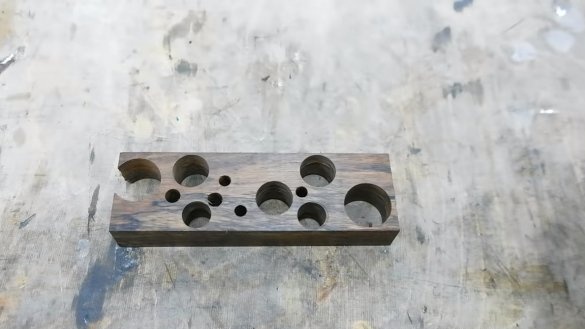
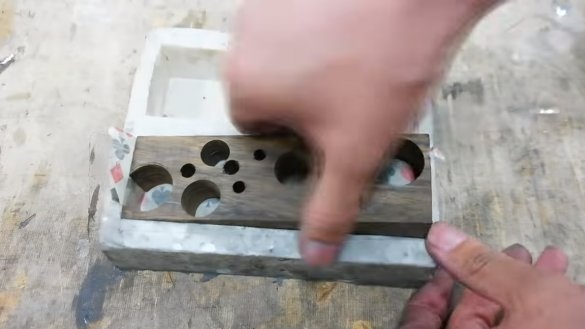
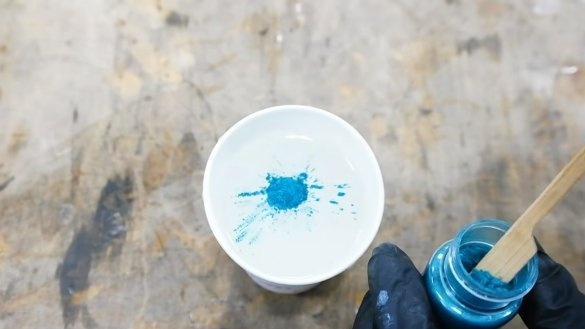
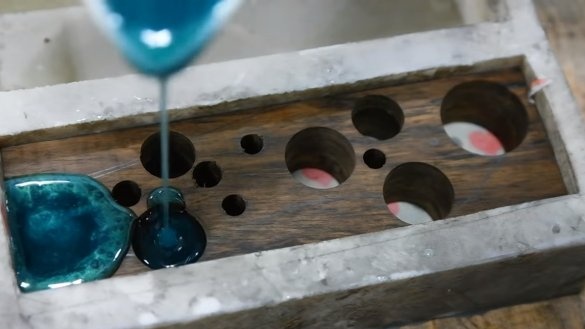
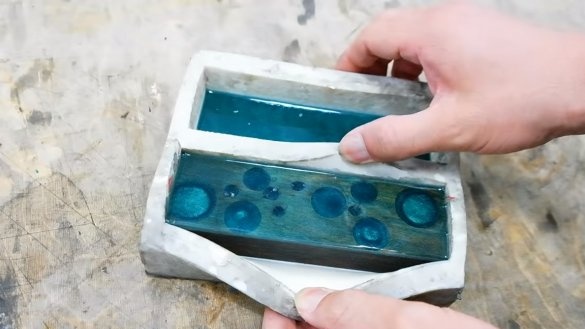
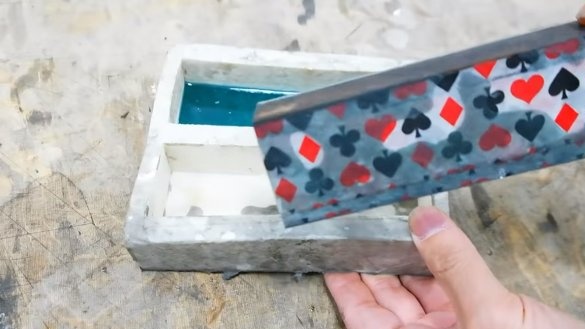
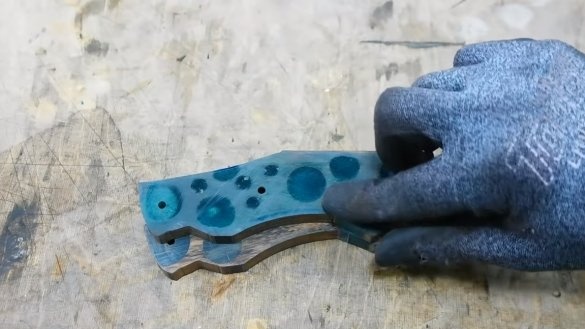
We make pads for the handle, here we need a tree, a bar or a thick board will do. As a decor, we drill holes in the workpiece and fill in epoxy with dye. To fill the resin, the author used a silicone mold.
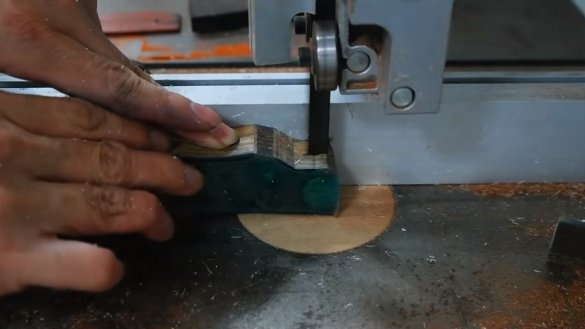
When the epoxy is dry, we need to cut the workpiece lengthwise to get two halves, which will become overlays. For cutting, the author uses a band saw, but you can handle it with a hacksaw. We grind the workpieces well and you can cut the primary profile.
Step Six Installation of overlays and completion
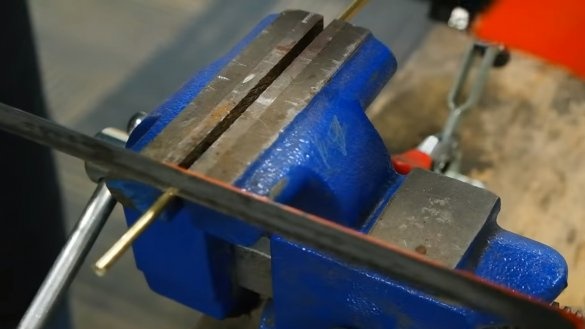
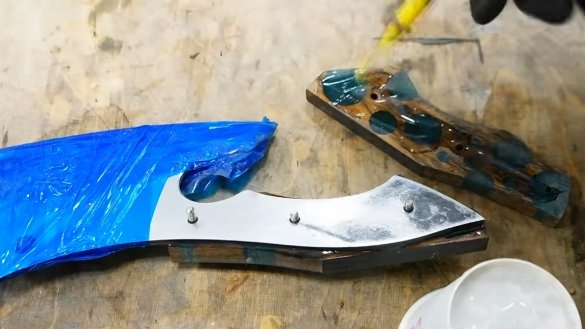
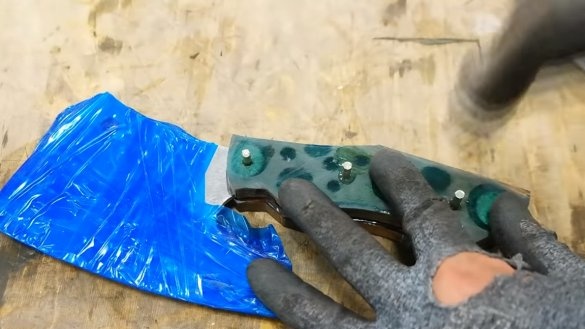
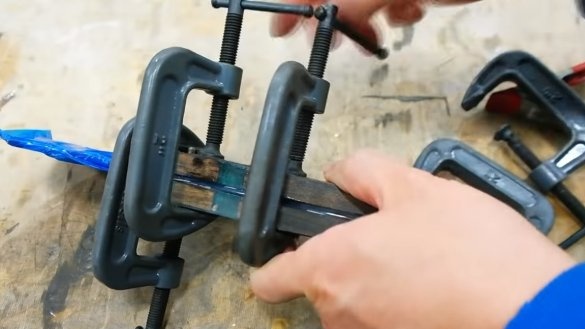
We cut the brass rods, which will be pins, and also knead the epoxy glue. We glue the handle, not forgetting to solidly glue the pins with glue. Well we tighten everything with clamps and let the glue dry.
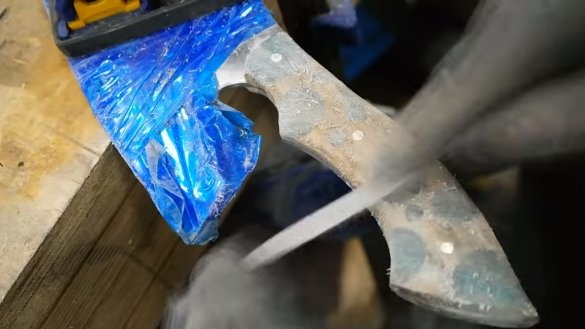
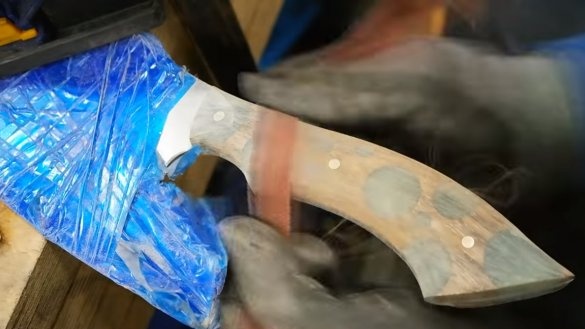
Well, when the glue dries, we set the desired profile for the handle, the author carries out such work manually so as not to remove the excess. First, we work with files, and then go to the sandpaper and grind the handle to a perfectly smooth state. At the end, we cover the handle with oil or varnish, while the epoxy will return to its former transparency, and the handle will look masterpiece.
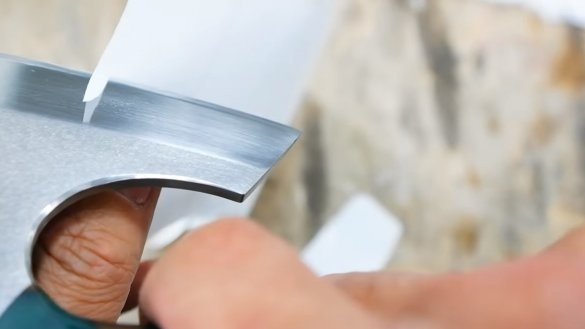
The hatchet is ready, it remains only to sharpen it and, if desired, polish it. The author got an ax so sharp that it easily cuts thin paper. On this project can be considered successfully completed, I hope you liked it. Good luck and creative inspiration, if you decide to repeat this. Do not forget to share your ideas and homemade things with us!

