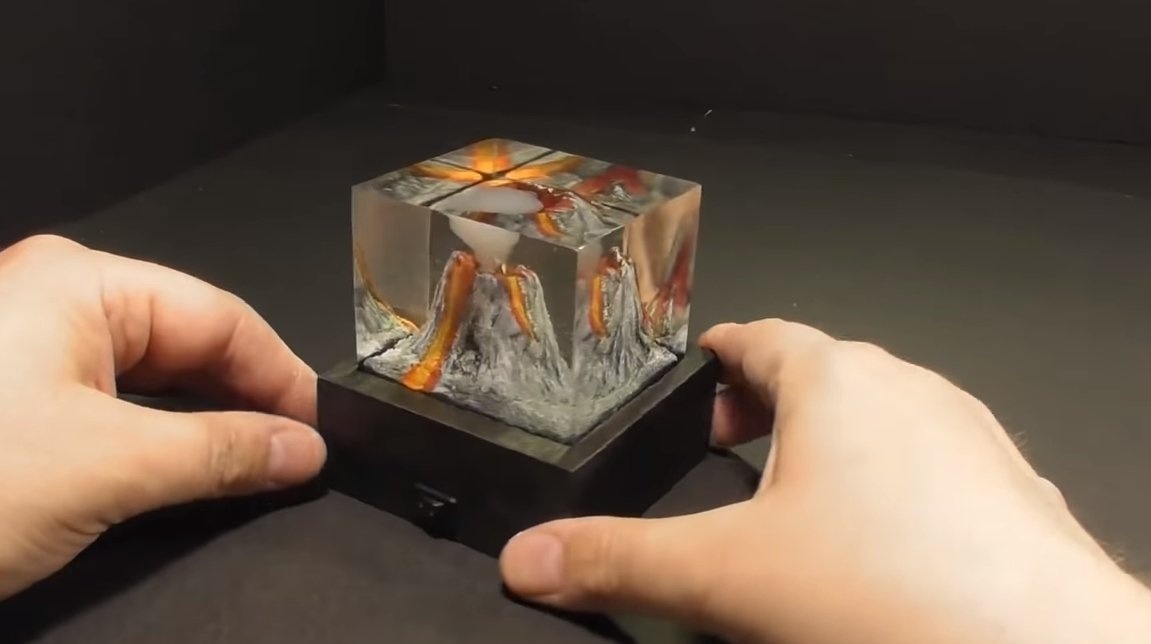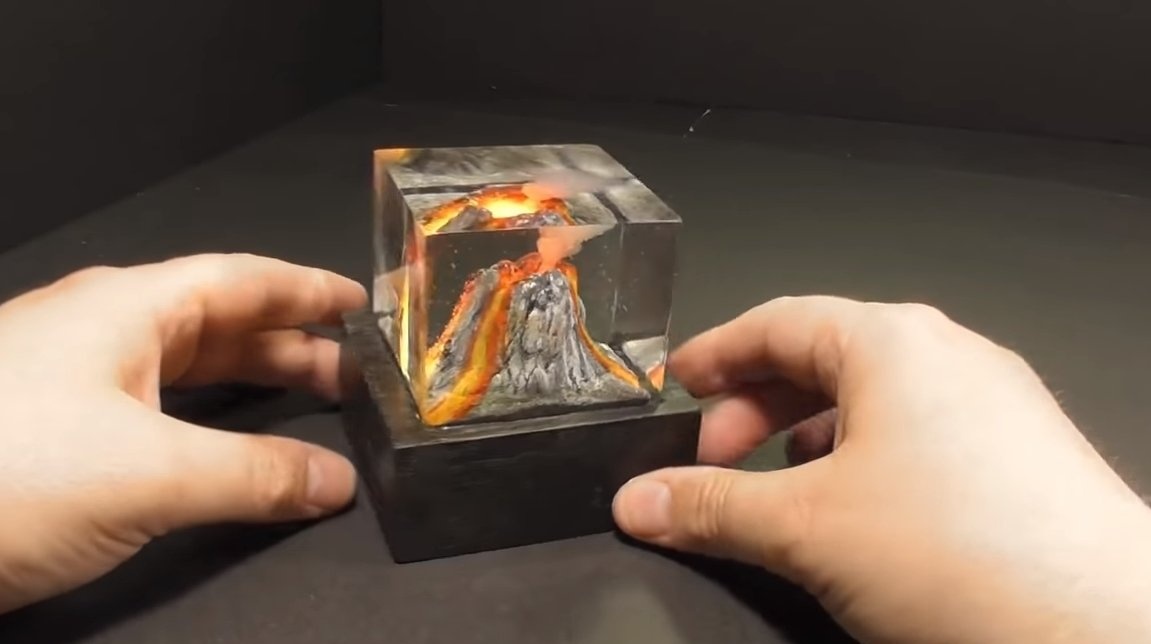
Hello fans to craft, I propose to consider an interesting homemadethat will bring a special atmosphere to your home. One author decided to make a miniature luminous volcano, there is lava and smoke, all as per the charter. Everything looks pretty interesting, but the home-made from available materials is going. The composition is poured into epoxy resin, so this lamp is eternal, unless, of course, it is thrown against the wall or from the balcony. The volcano itself can be made from plasticine or even from dough. If you are interested in the project, I propose to study it in more detail!
Materials and tools used by the author:
Material List:
- ;
- acrylic for formwork;
- paints;
- hot glue;
- ;
- dyes for epoxy;
- wood or dense foam for the base;
- Light-emitting diode;
- battery pack;
- switch;
- wires.
Tool List:
- glue gun;
- soldering iron;
- stationery knife;
- fine sandpaper;
- polishing machine.
Homemade manufacturing process:
Step one. Volcano
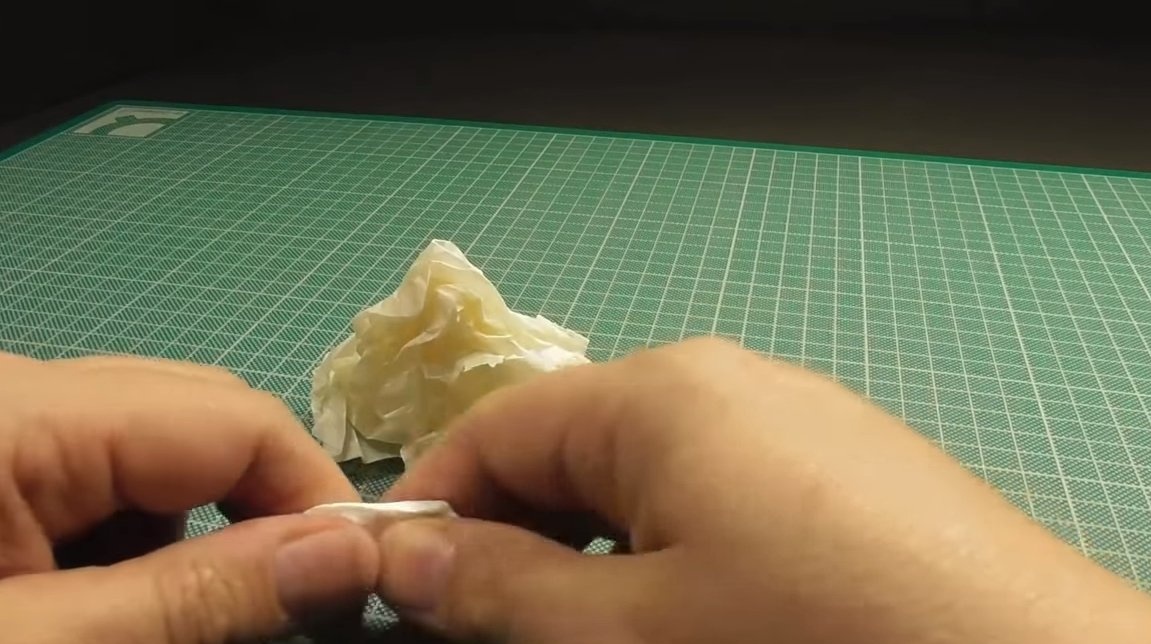
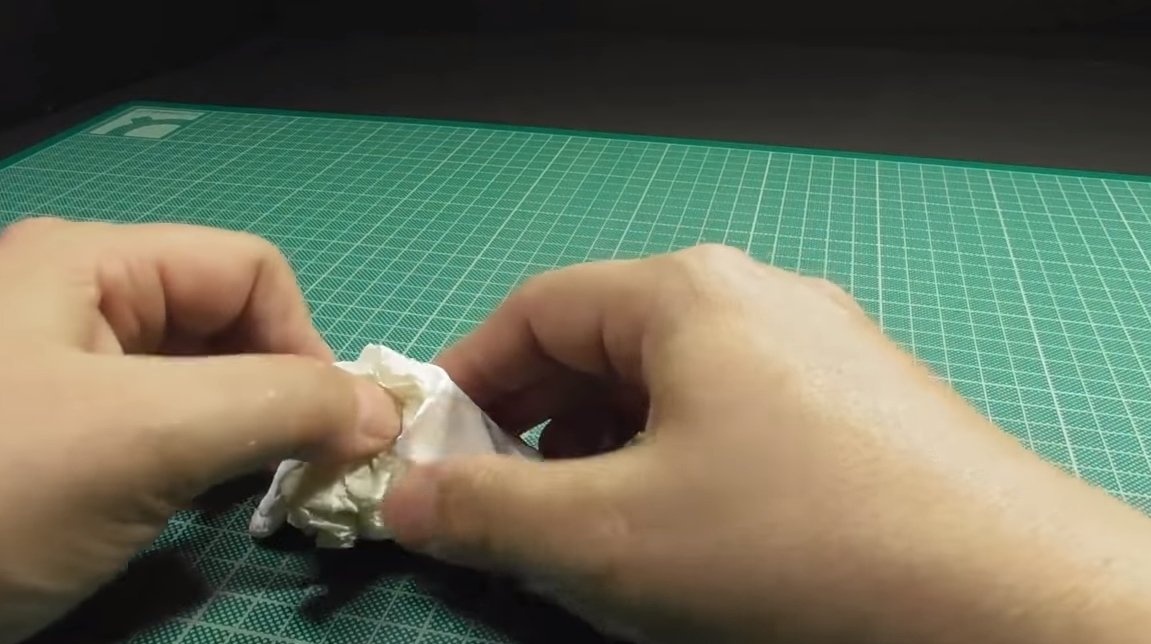
The first step is to make the volcano directly, the author makes it from polymer clay, which is then baked in the oven. Instead of clay, you can try using dough with salt, after baking it turns out a very strong material.
We shape the volcano on a napkin; you can also use foil to make the desired pattern.
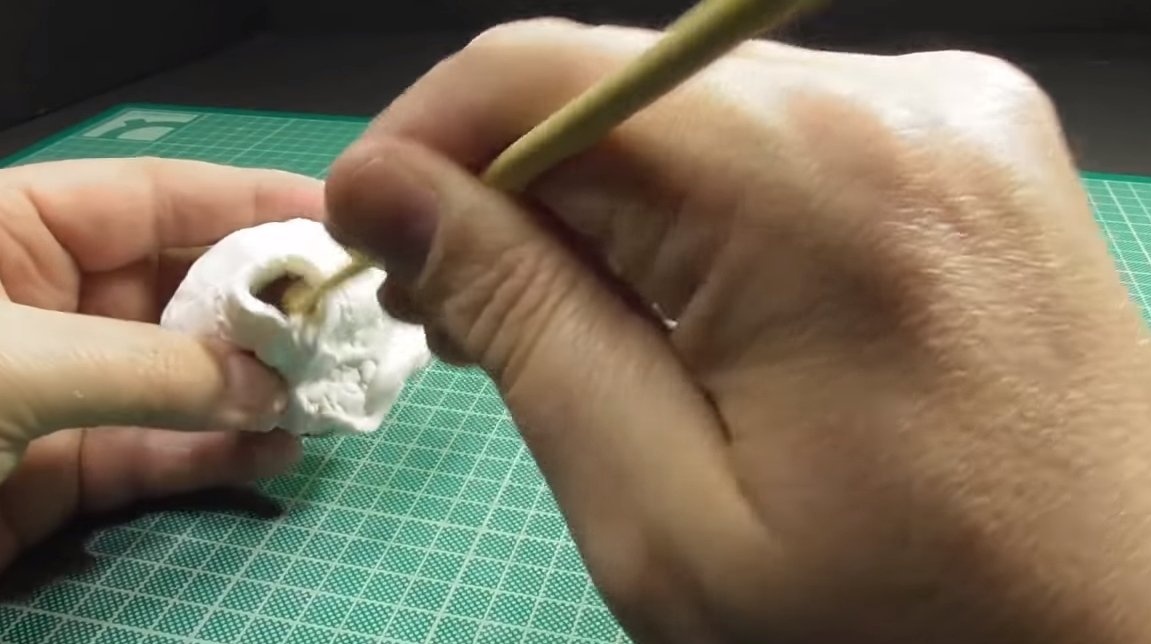
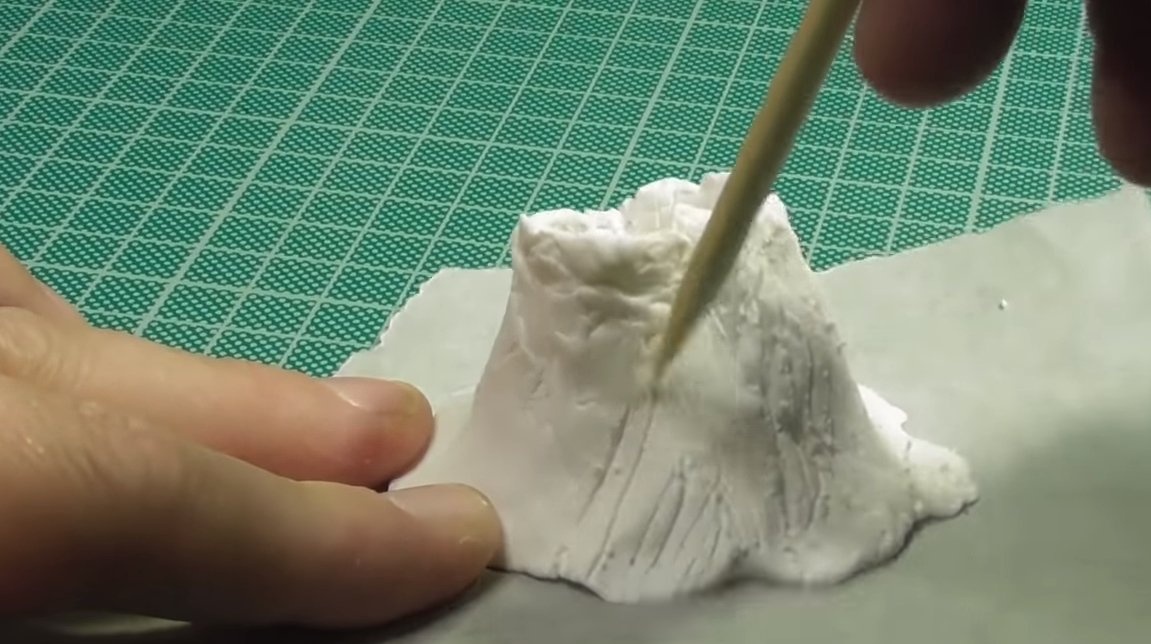
We decorate the volcano; cracks and other volcanic relief should be visible on it. We apply the necessary patterns with a pencil or other object. Next, the product is sent to the oven and baked.

Step Two Paint
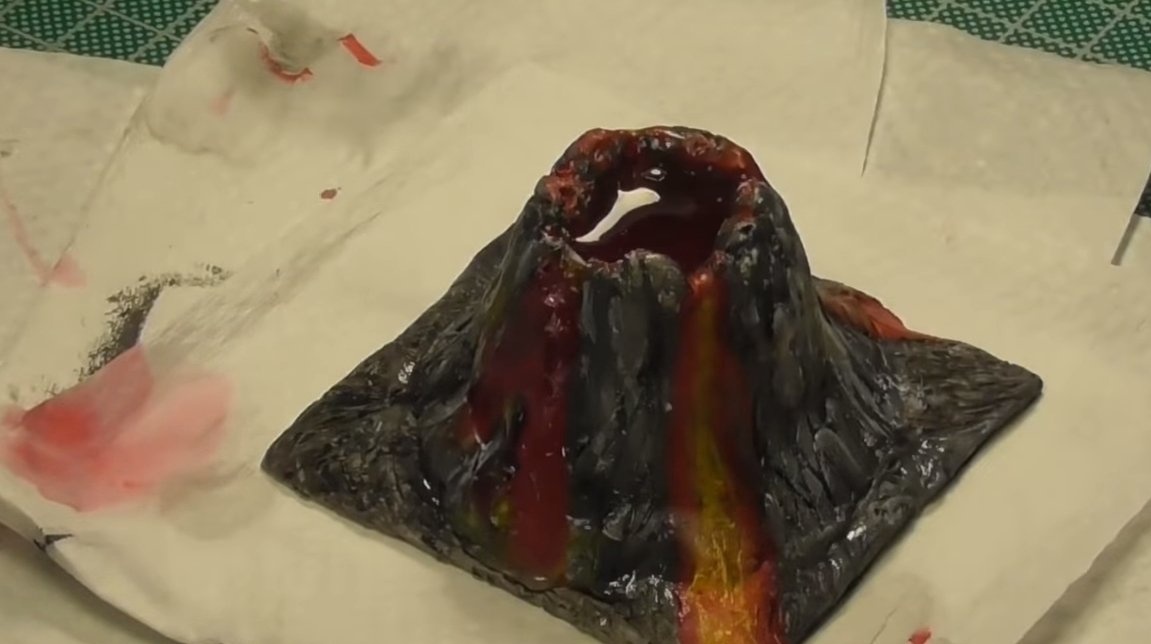
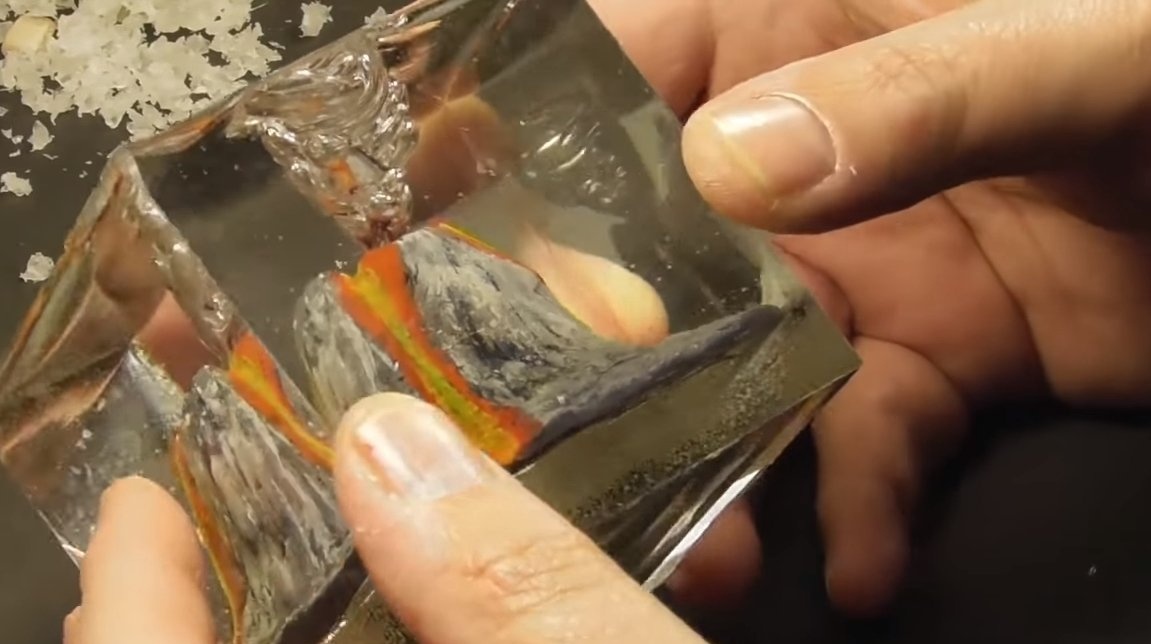
We paint the finished volcano so that it seems as realistic as possible. The main part is made of dark gray color, and then with orange and yellow we draw lava flows.
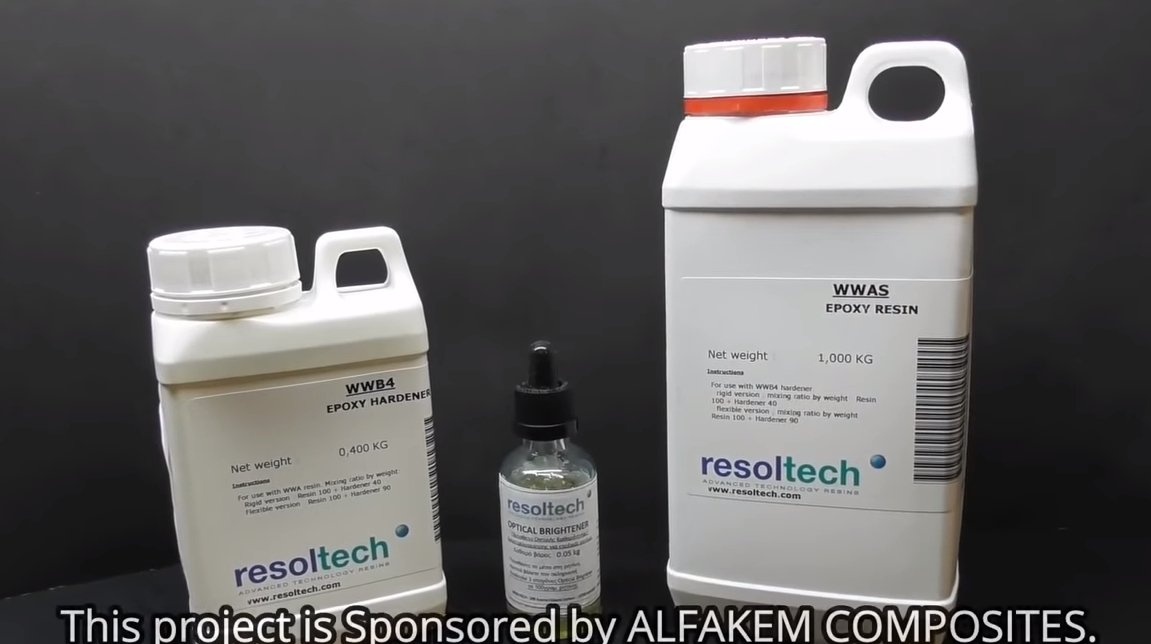
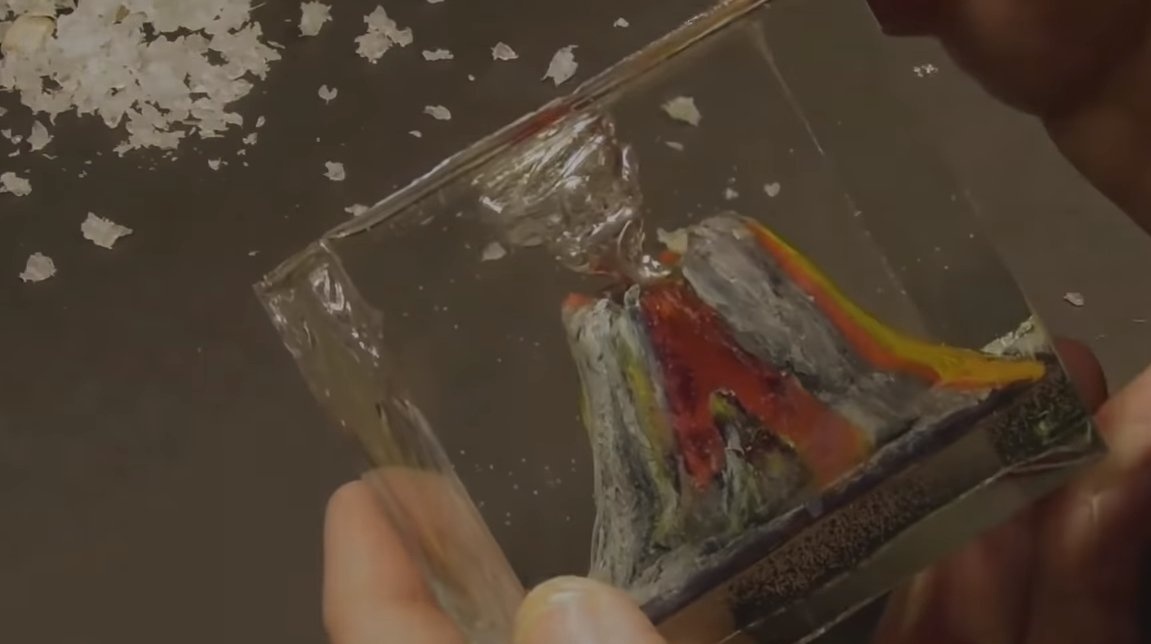
After coloring, we make and pour lava inside the volcano. As the lava we use epoxy resin, add dye to it to match the color of the lava. Do not add too much dye, as the resin will be poorly translucent.
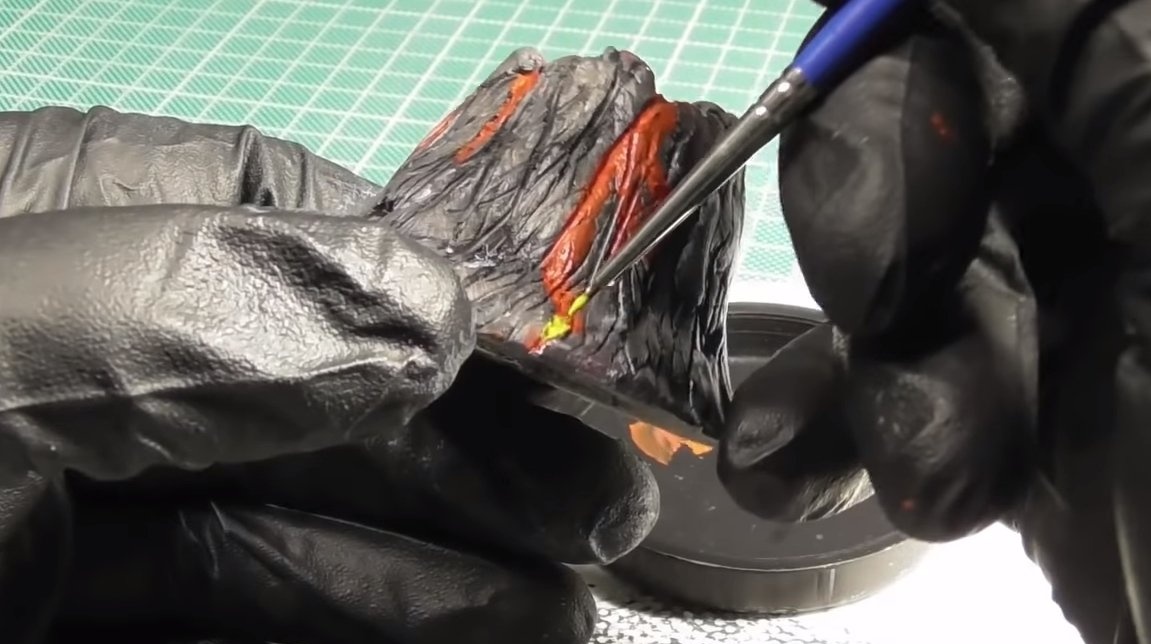

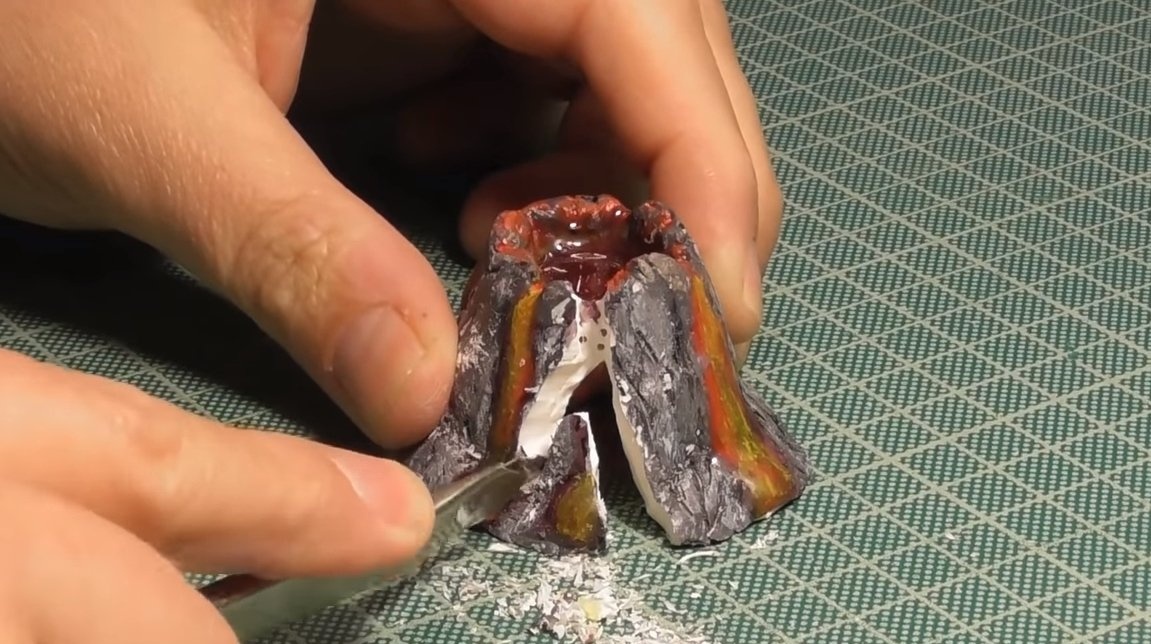
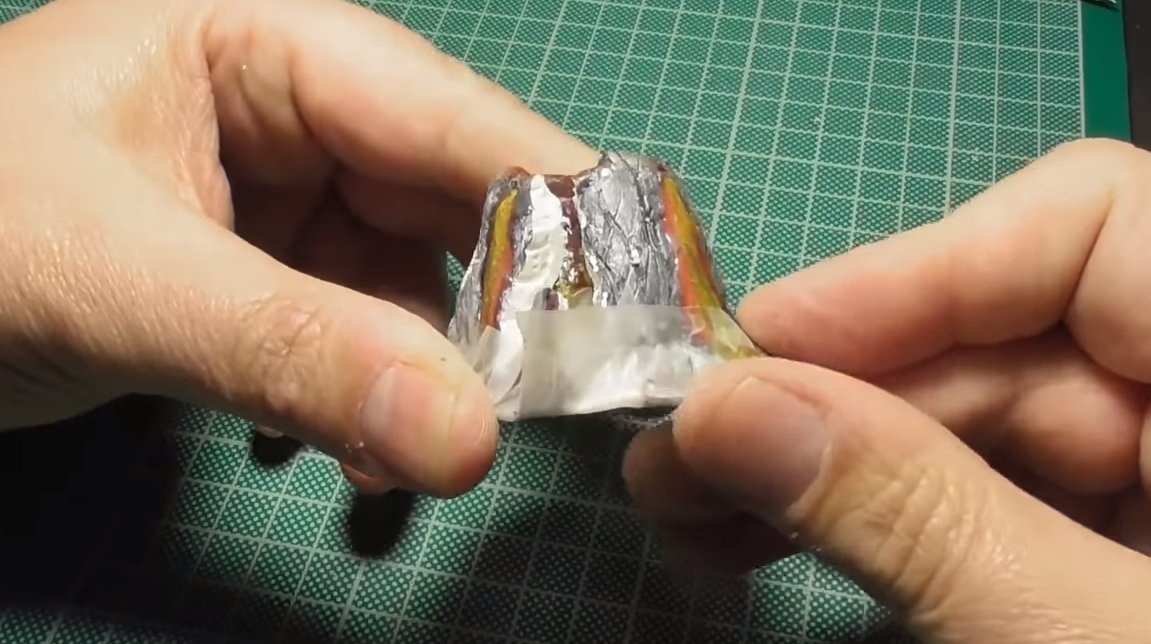
Further, when the resin hardens, we need to make a river of lava, for such purposes we arm ourselves with a clerical knife and make a cut in the volcano to the center where the epoxy is. Well, then we make an impromptu formwork from a masking tape and fill the river. The river is poured in two layers, the first layer is tinted with yellow dye, this is the most hot section of lava.Further, when the first layer of resin hardens, pour the second layer on top, we tint it already in red.
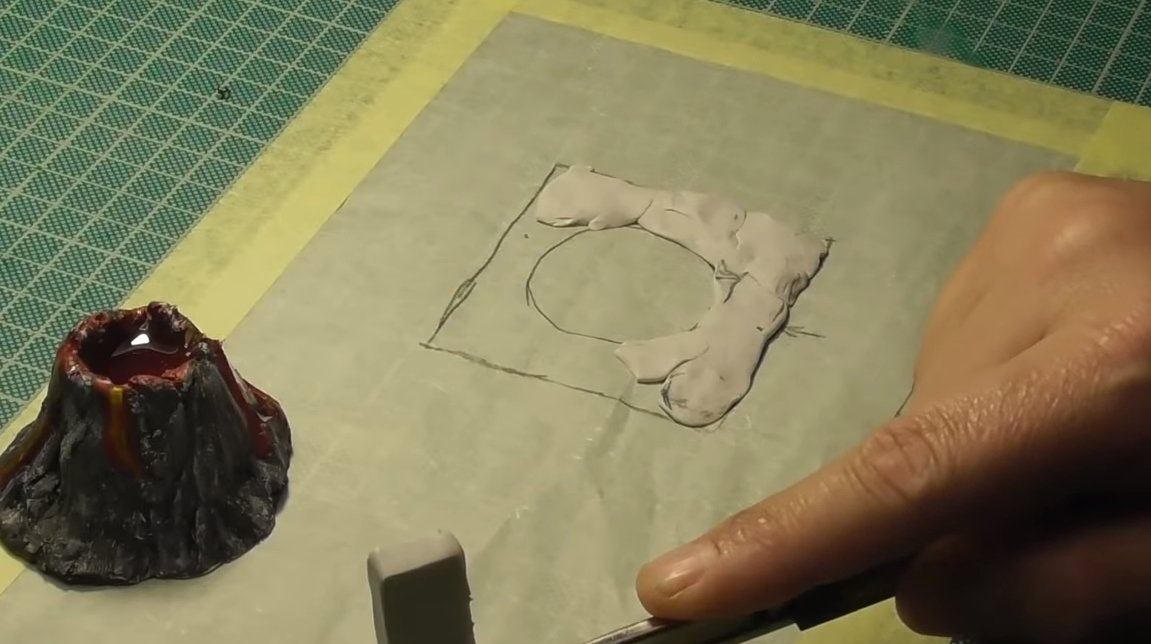
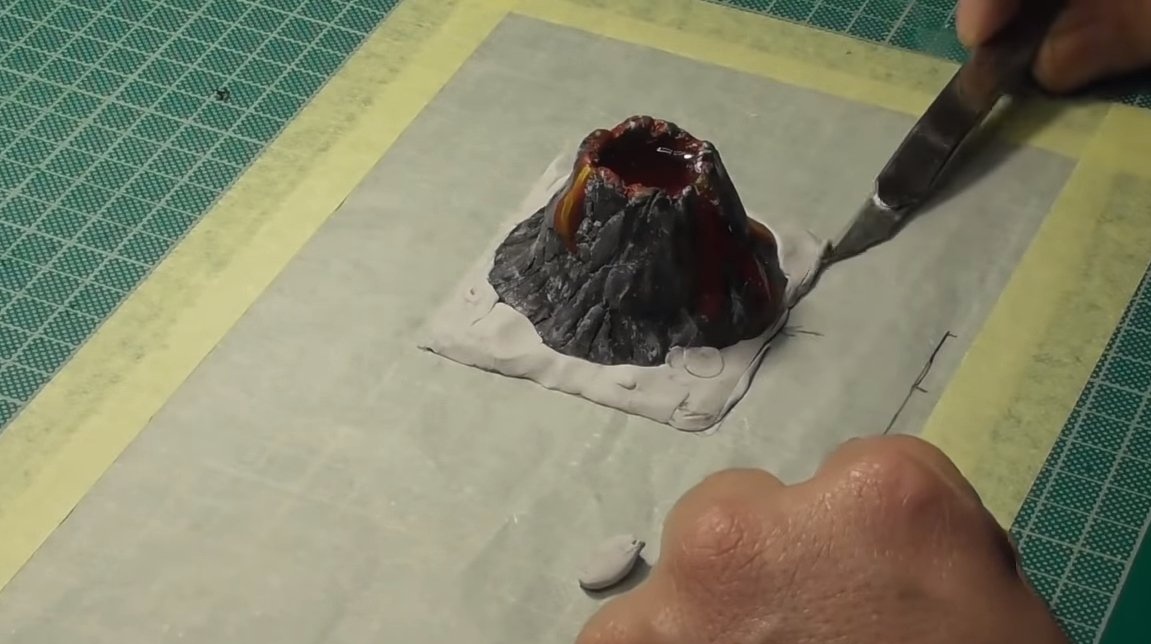
Step Three Base fabrication
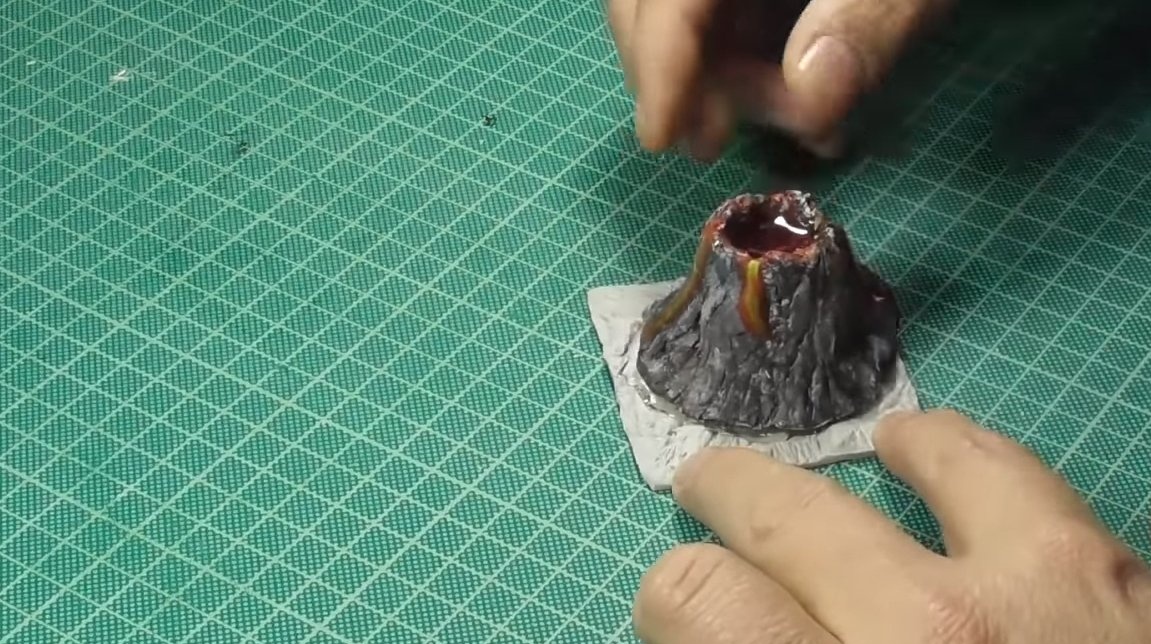
We make a base for the lamp, here we also use polymer clay. We mold the base, and then send it to the oven and bake according to the instructions. As a result, we glue the base to the volcano, the author uses hot glue for such purposes. At the end, the base will need to be painted.


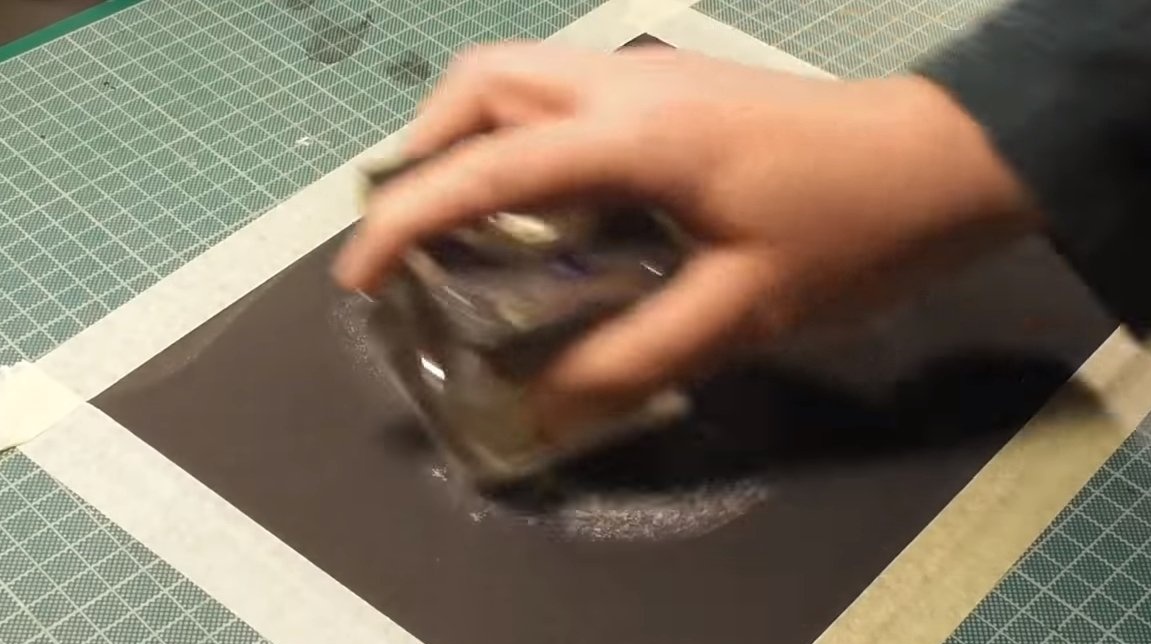
Step Four Pour resin
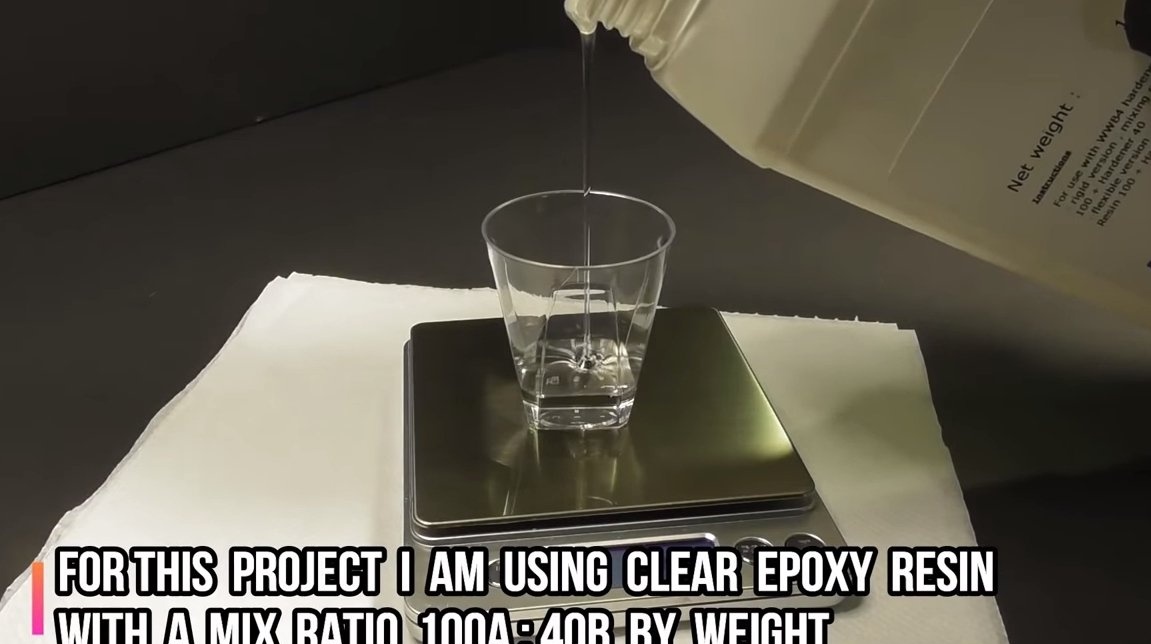
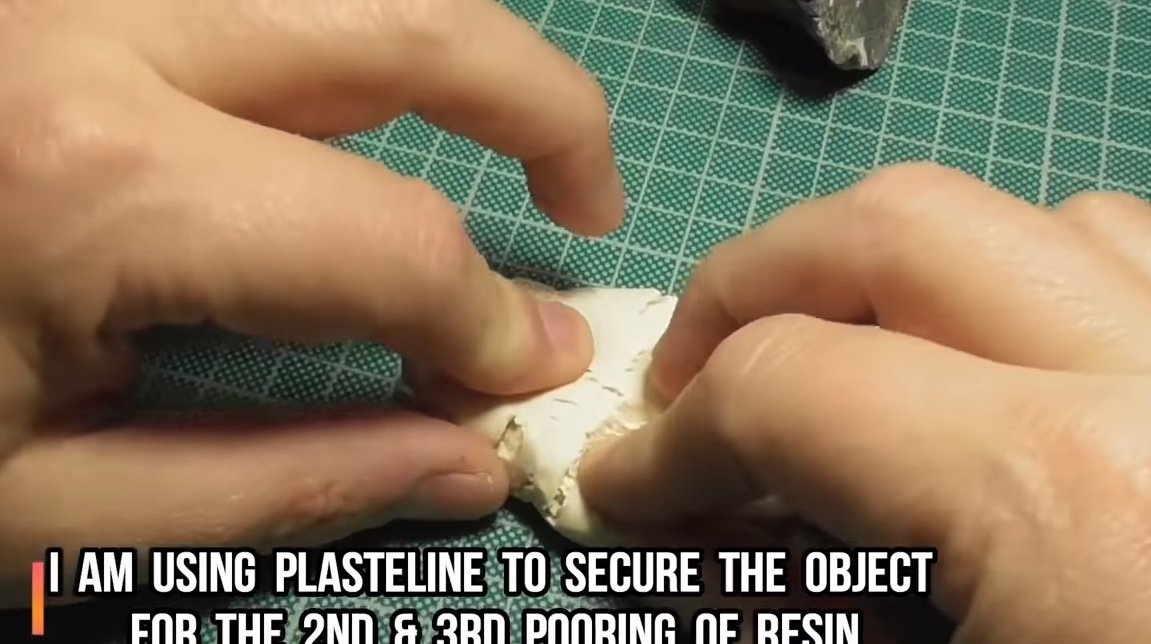
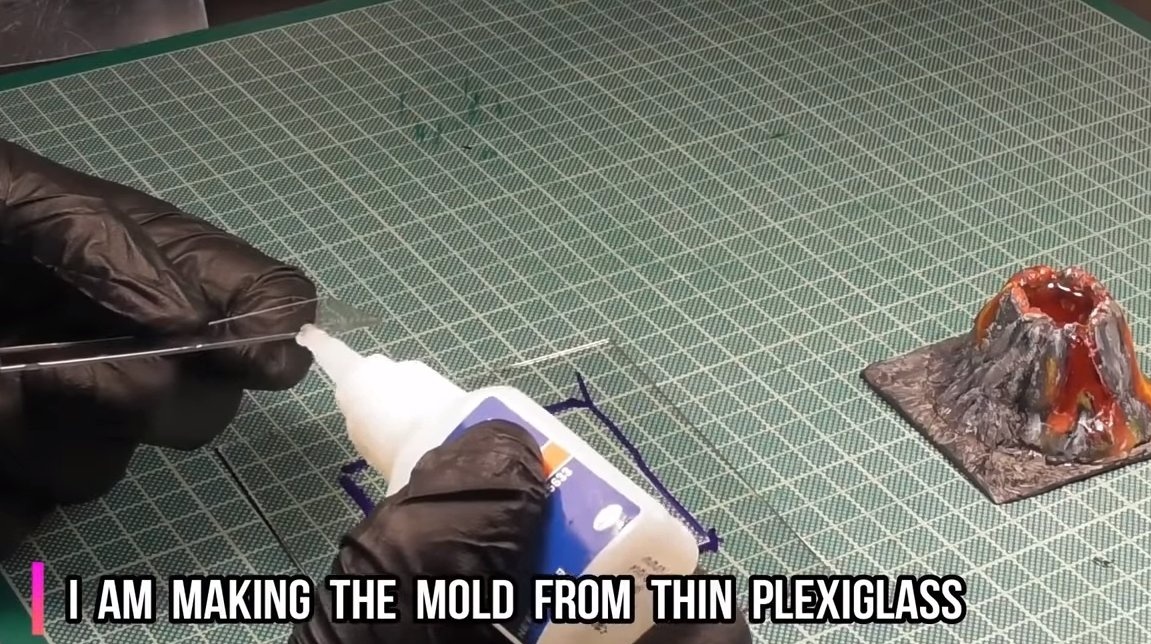
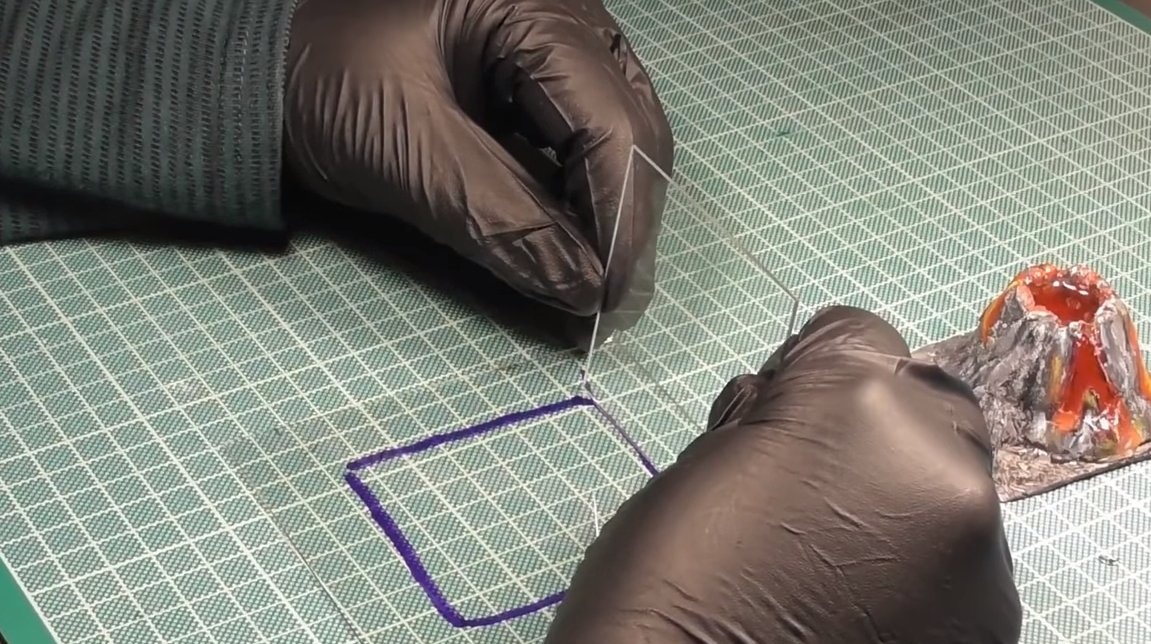
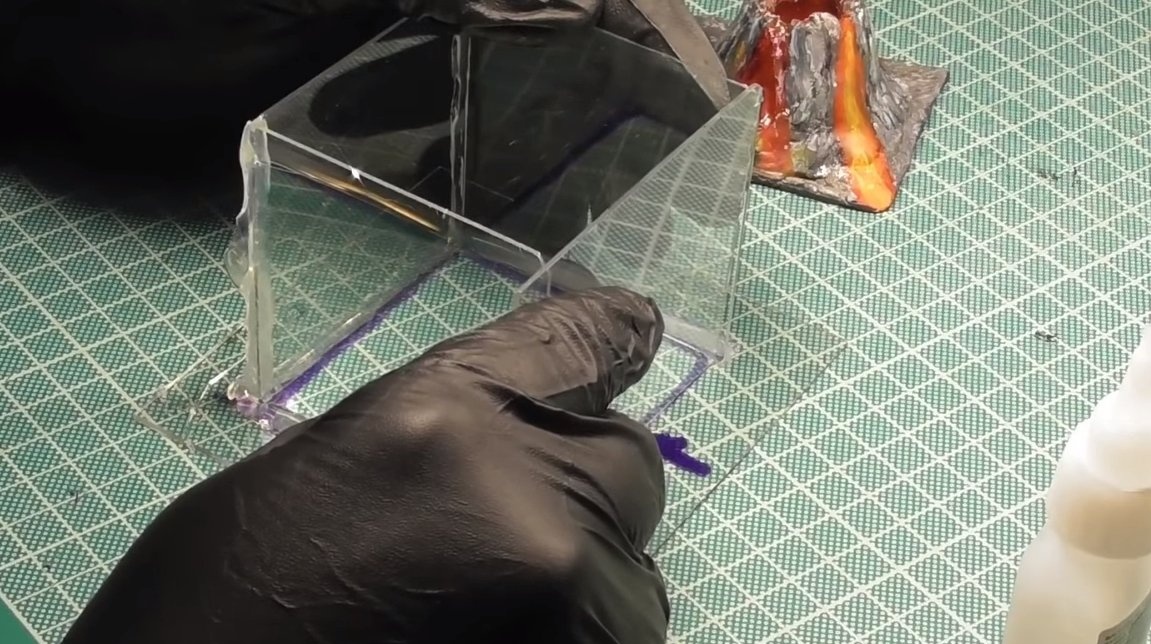
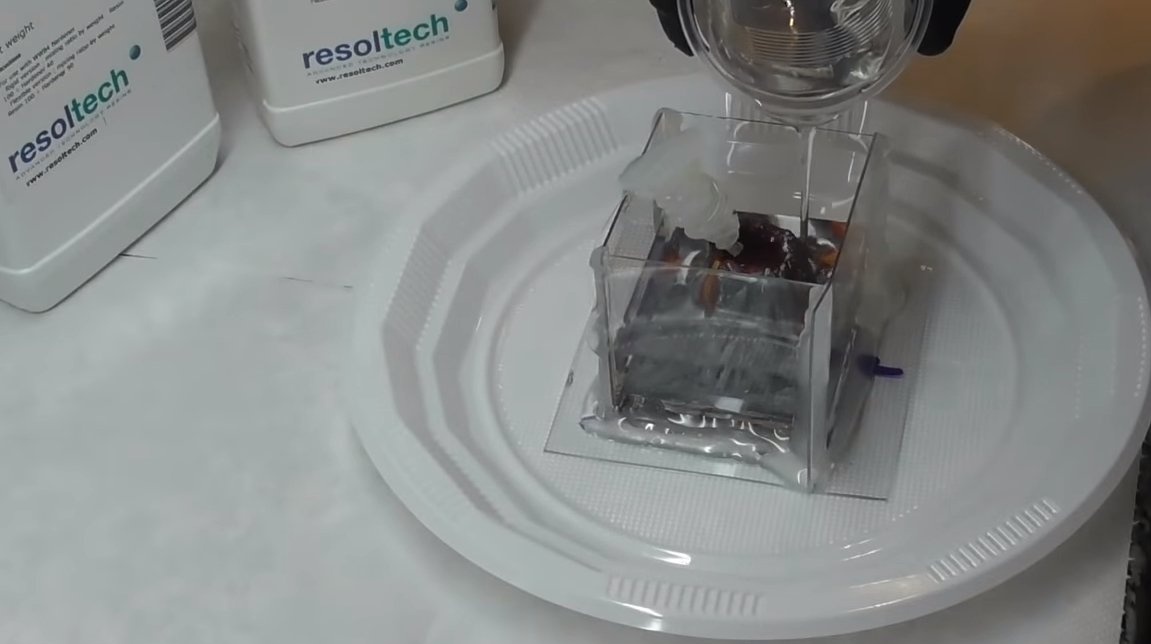
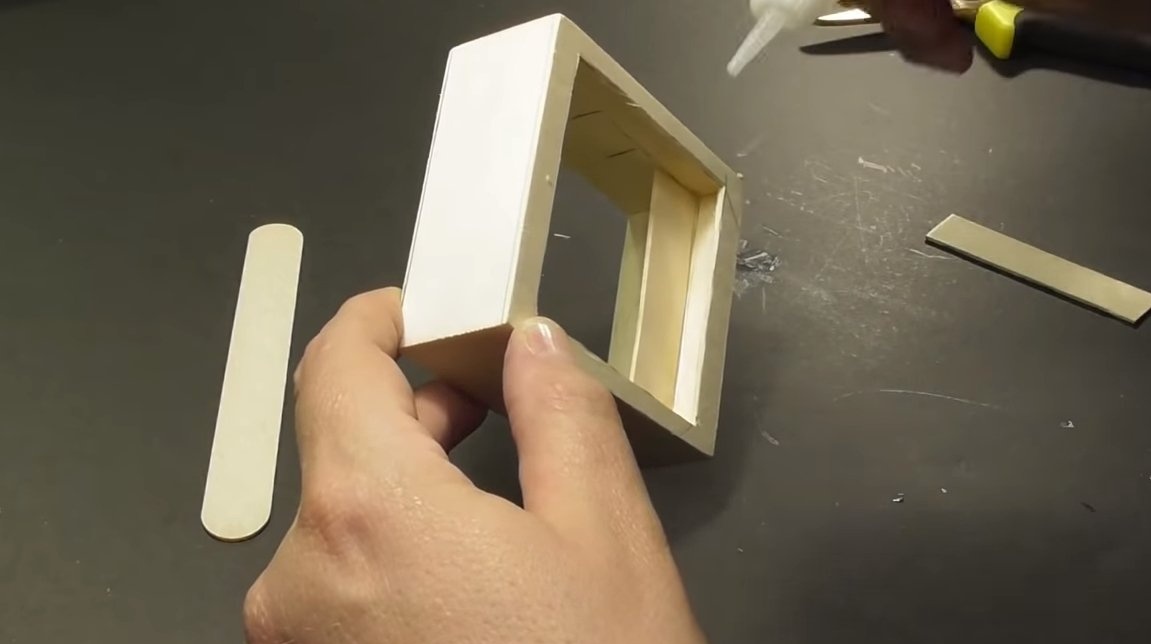
The product is ready, now it can be poured into epoxy. Our product is obtained in the form of a cube, we make acrylic formwork for such purposes. Sheets can be glued with a glue gun, do not forget about good tightness. Filling epoxy is very fluid, it can easily seep where water can hardly pass.
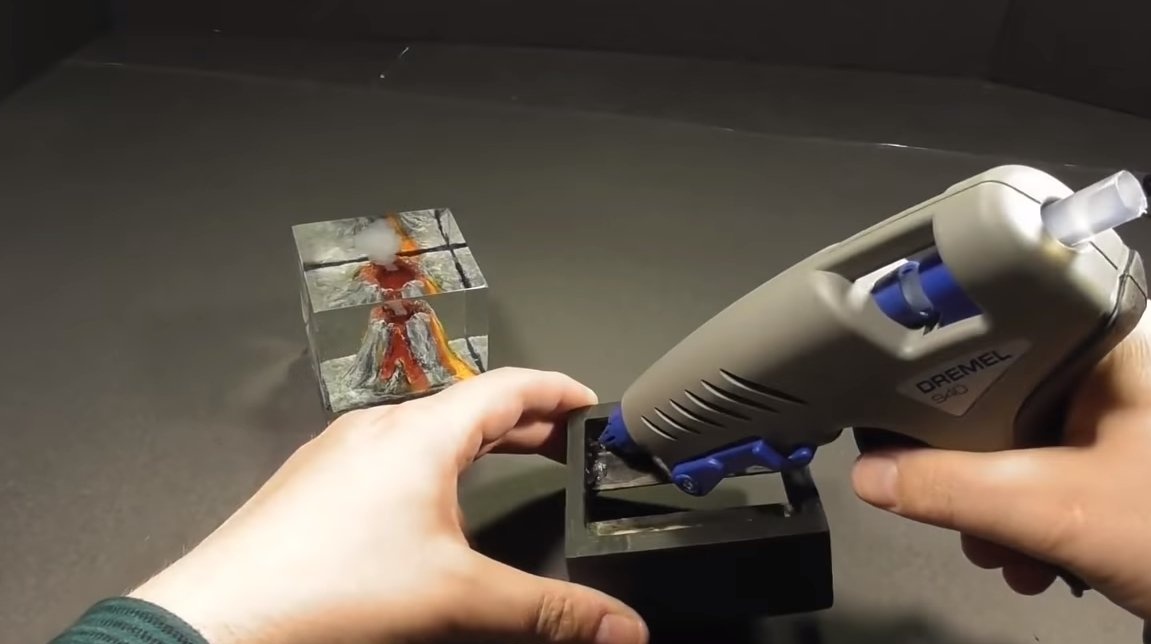
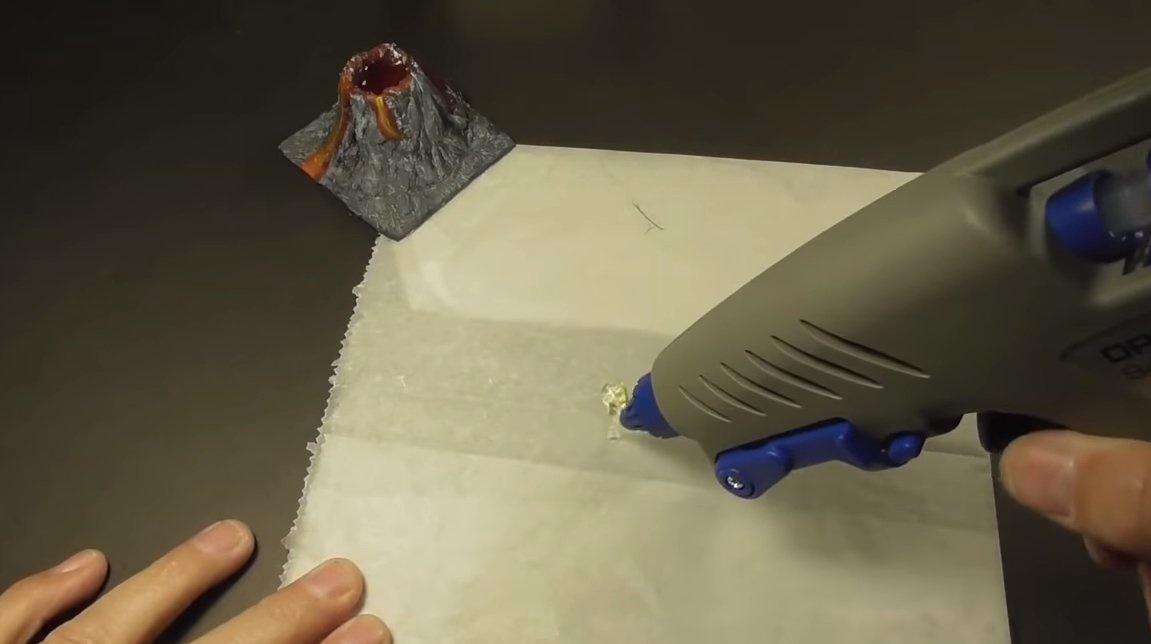
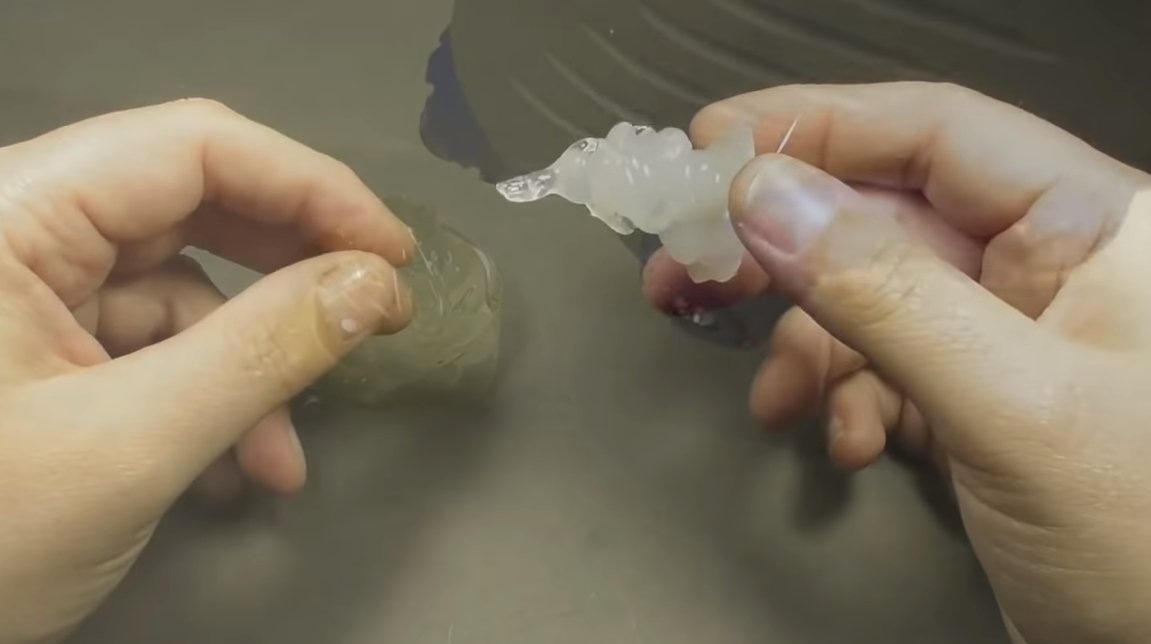
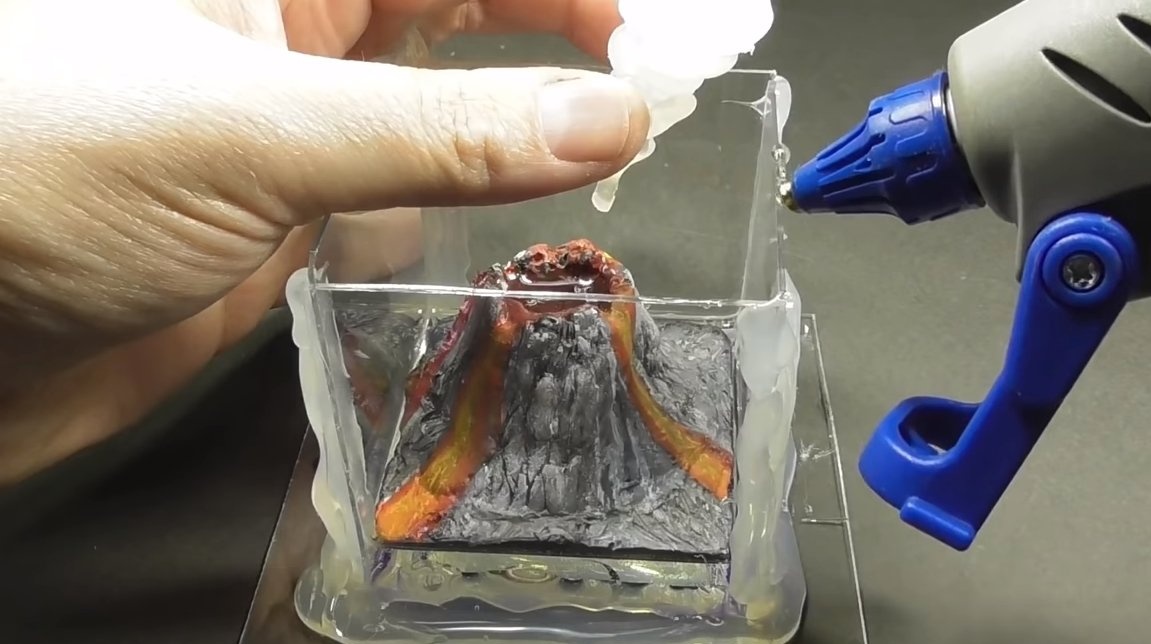
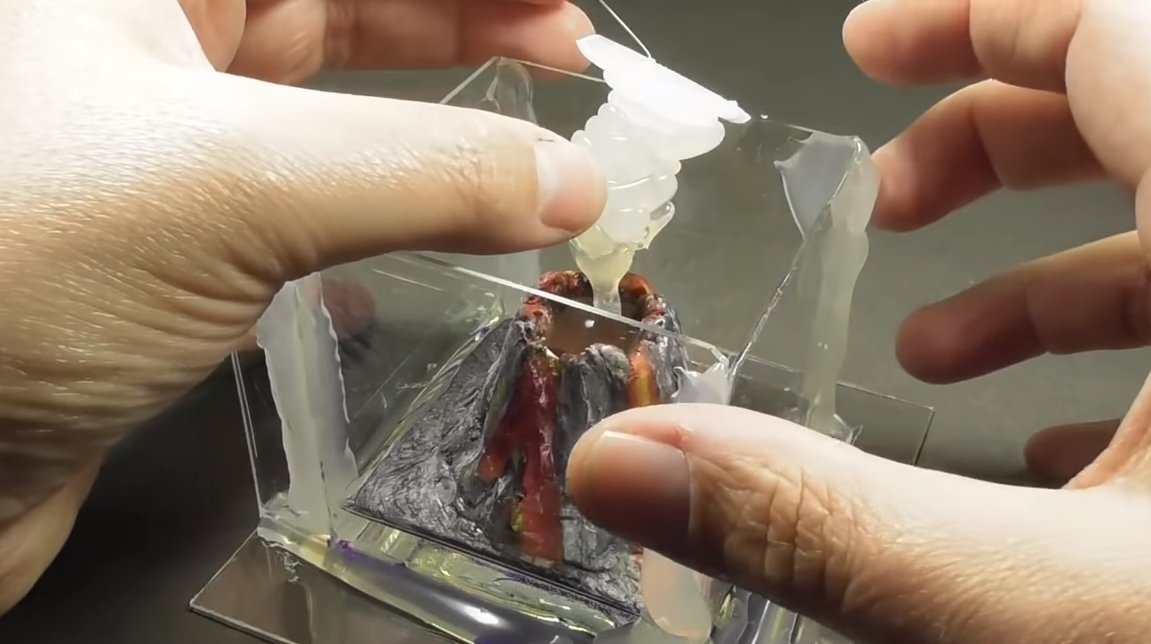
We also need to simulate smoke, for this we need a glue gun. We take the gun and put a bunch of hot glue on it, set the resulting figure in the form and fix it to the formwork with the glue gun. Epoxy does not stick to hot glue, and then it can be picked out.
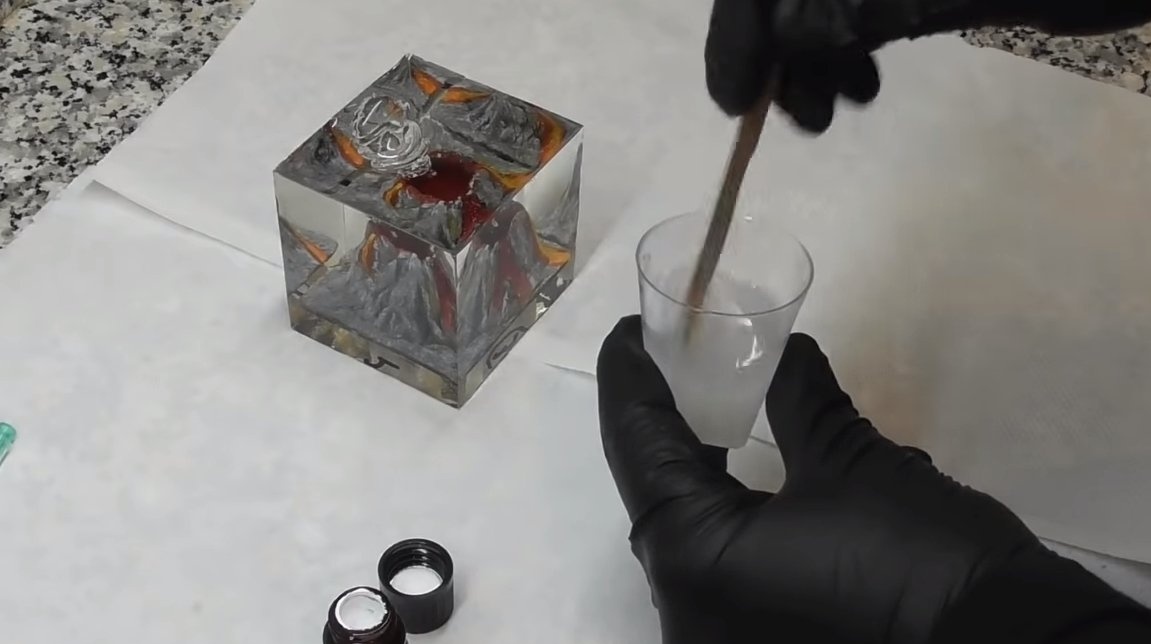
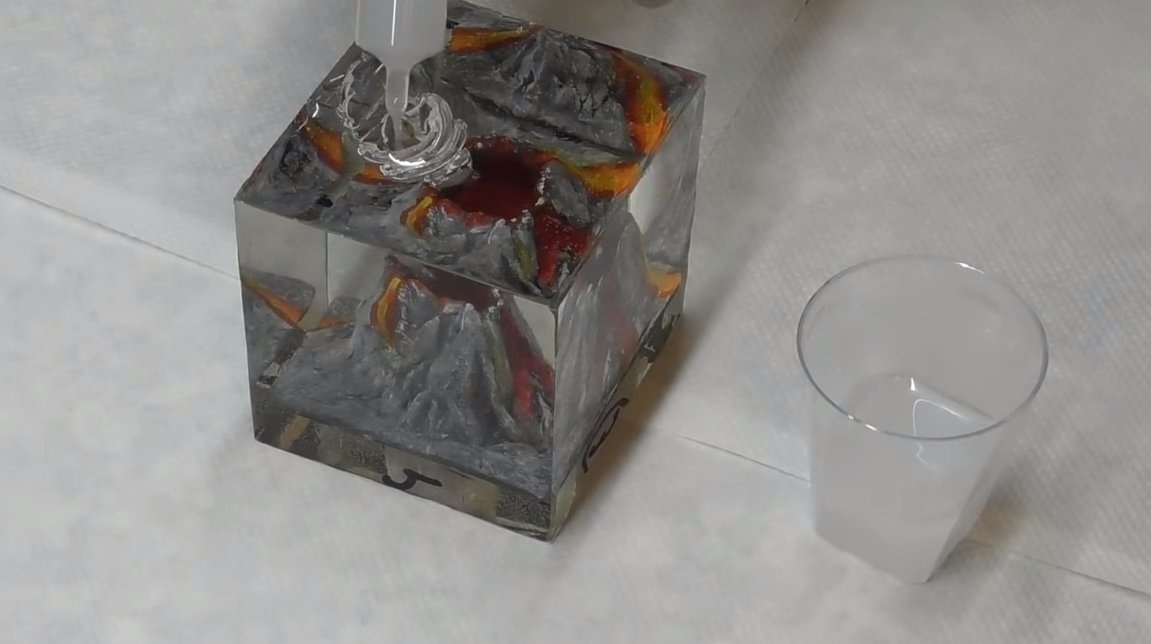
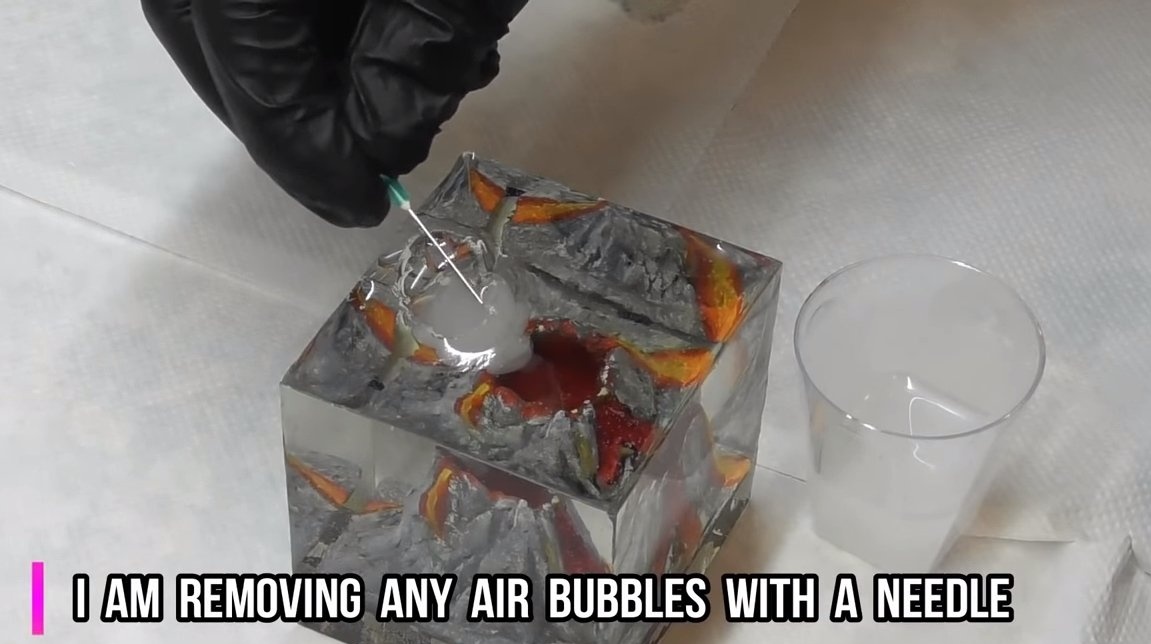
That's all, pour the resin into the mold and wait until this whole thing completely hardens.
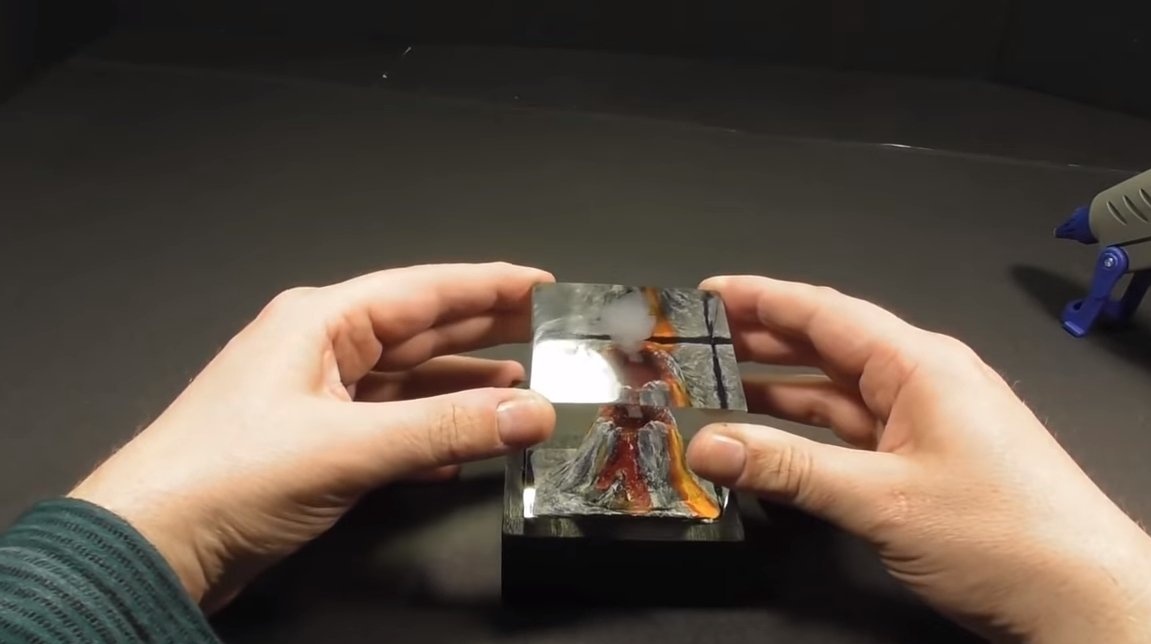
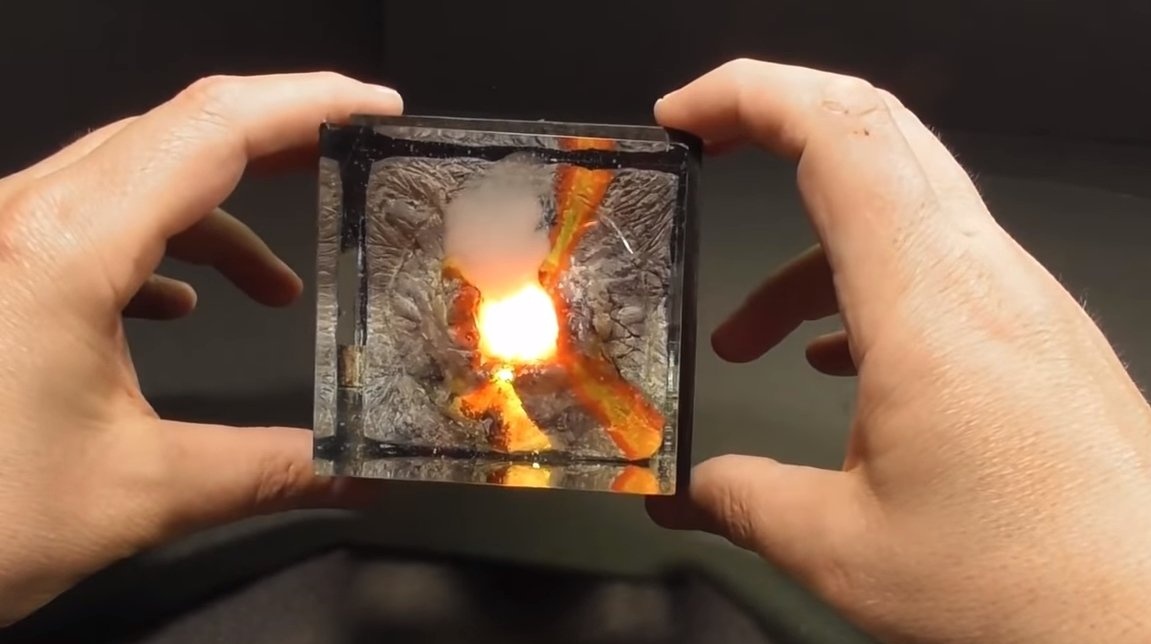
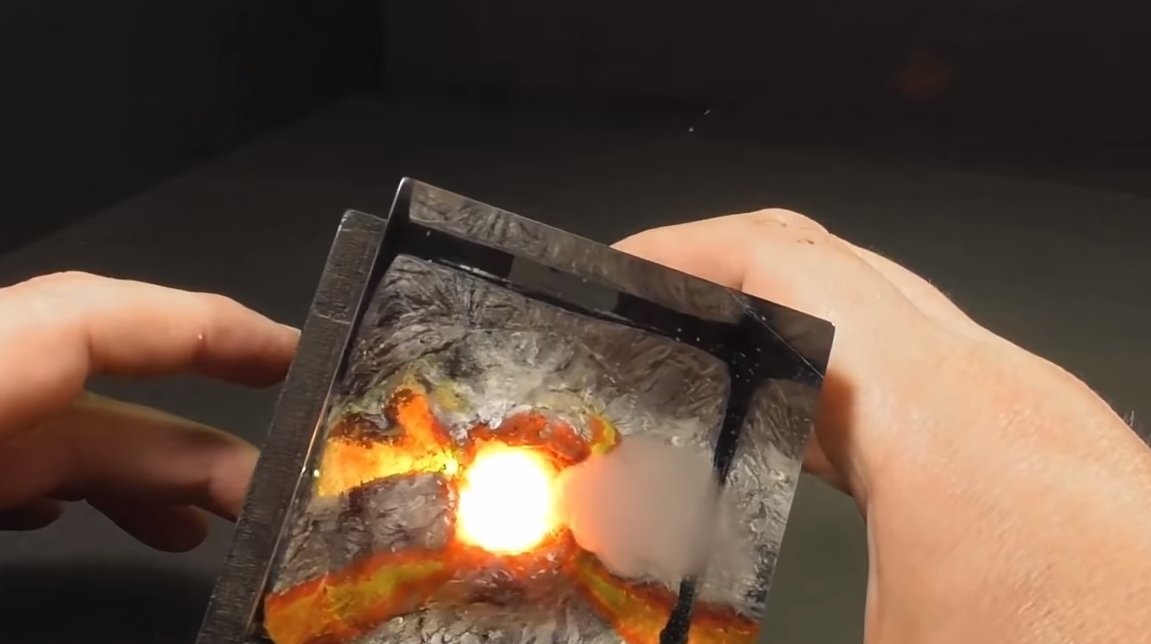
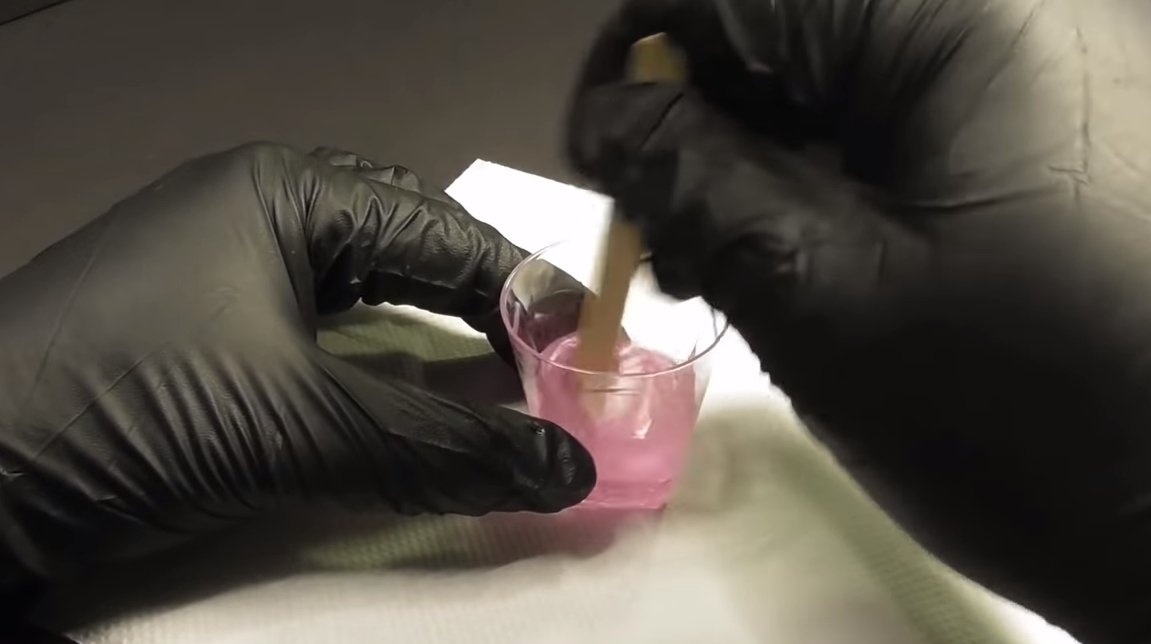
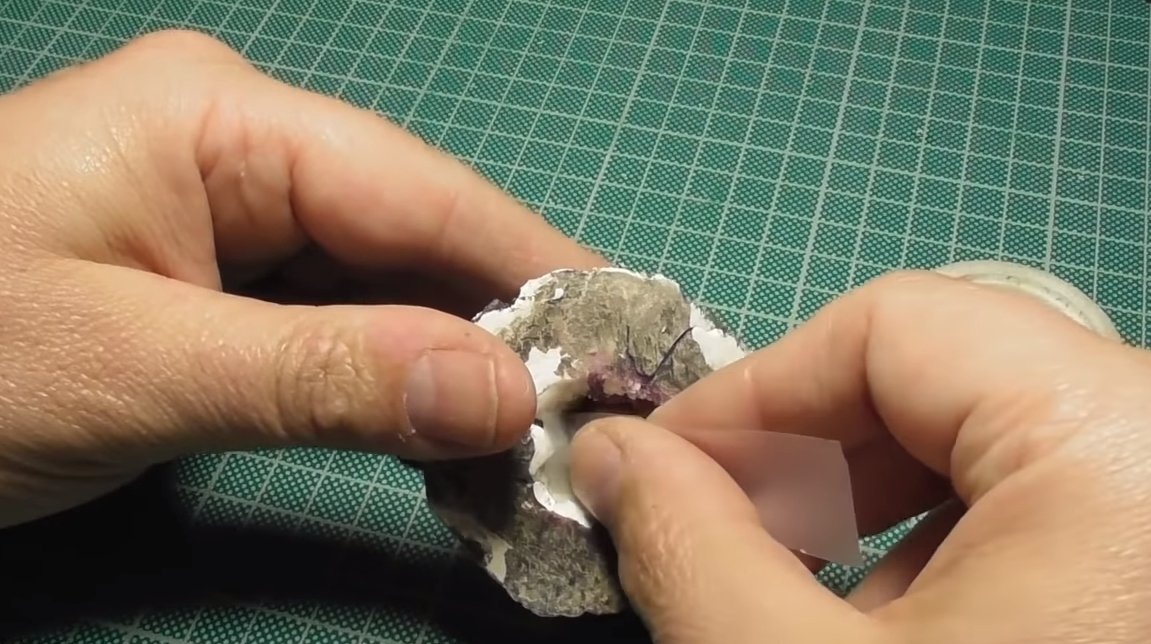
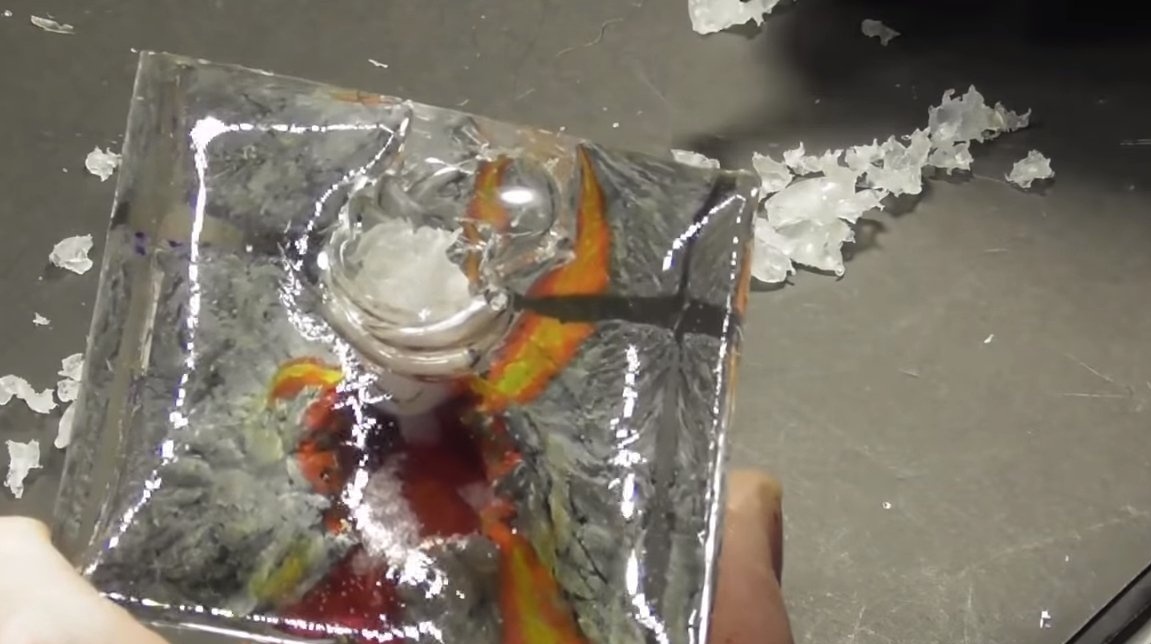
When the resin dries, we need to finish the smoke. We take a sharp object and pick out hot glue that simulates smoke. Instead, we fill in the formed cavity with an epoxy resin with a white dye. That's all, we have an excellent imitation of smoke, not everyone will guess how this is all done.
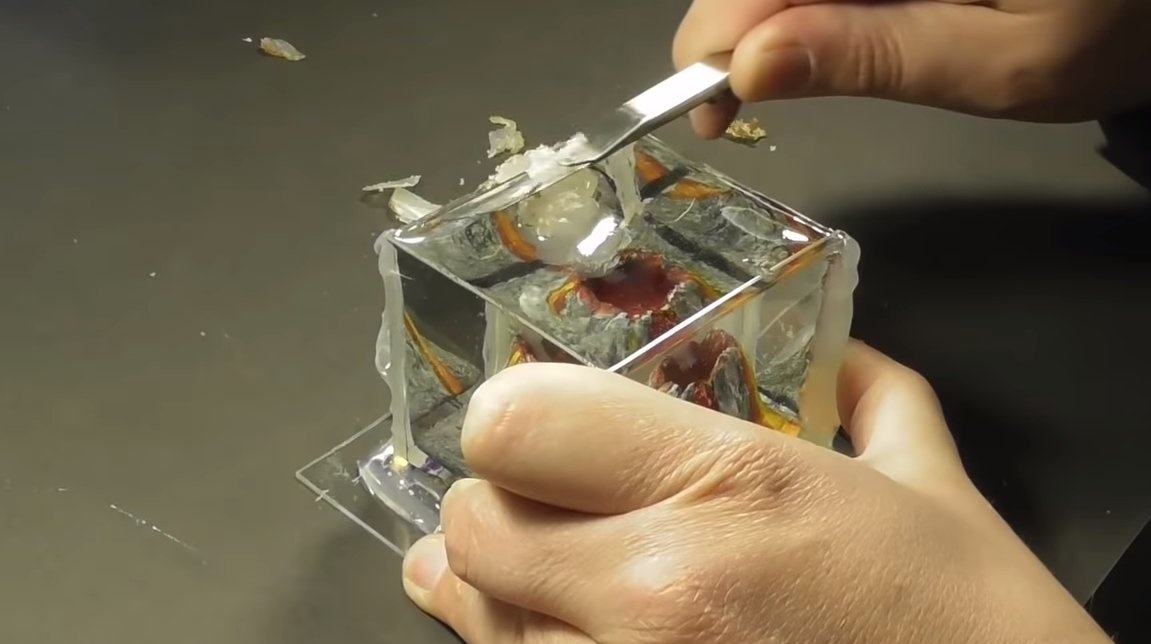
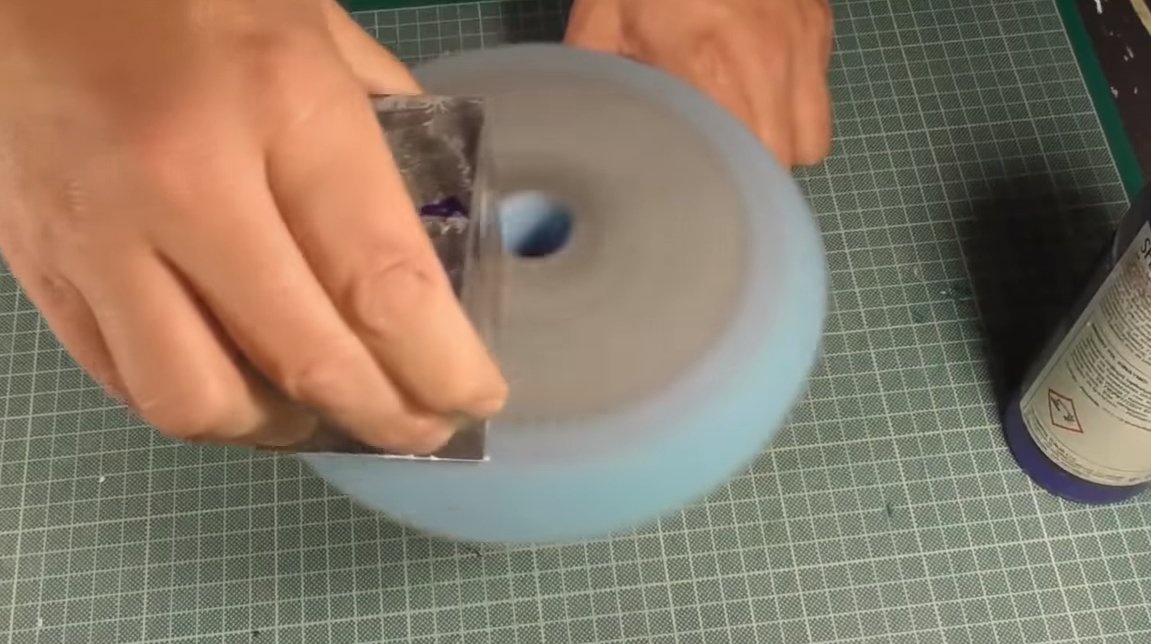
Step Five Grinding
The formwork is not ideal, and therefore the resulting product will need to be finalized. We take a piece of sandpaper and carefully grind the product. Next, we polish the home-made well on a polishing machine, this will return the product to its former transparency.
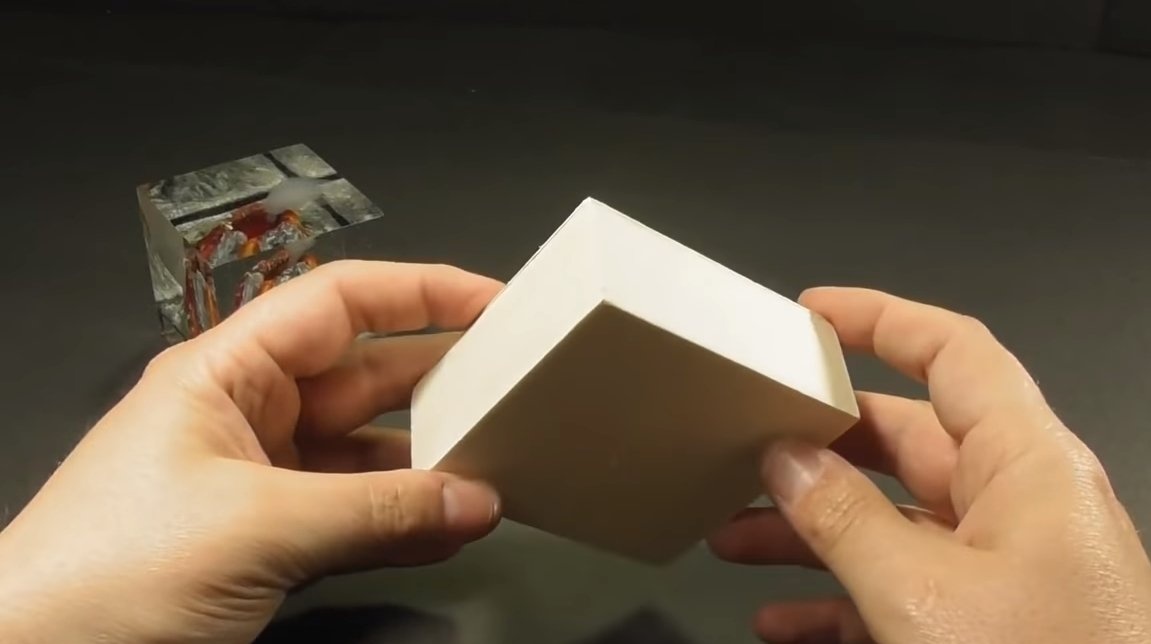
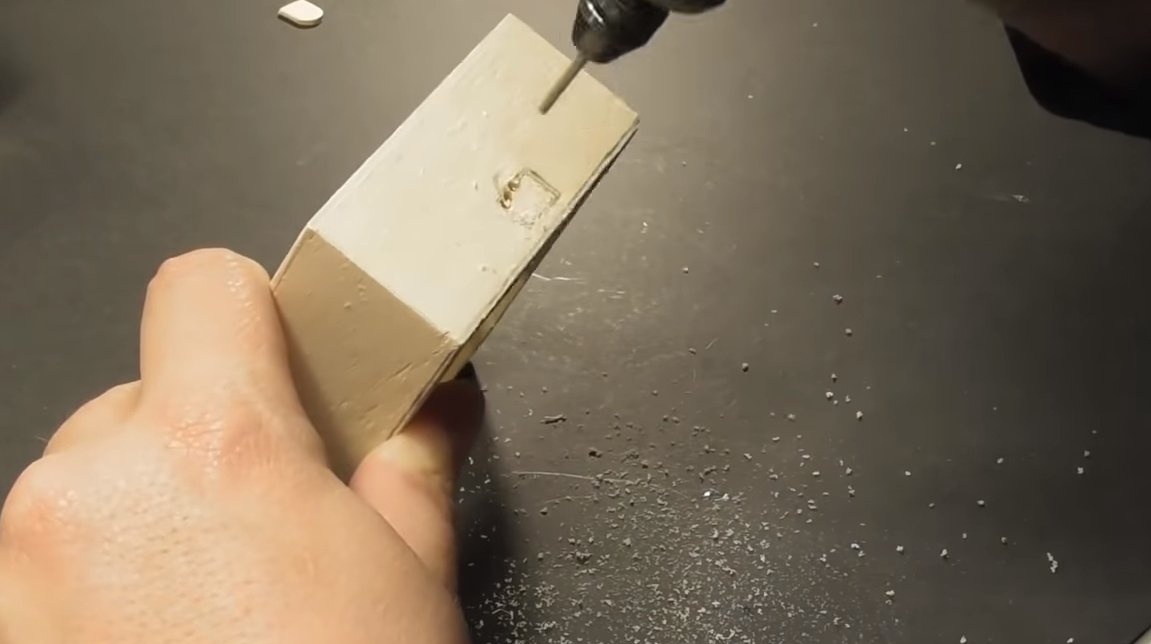
Step Six Base
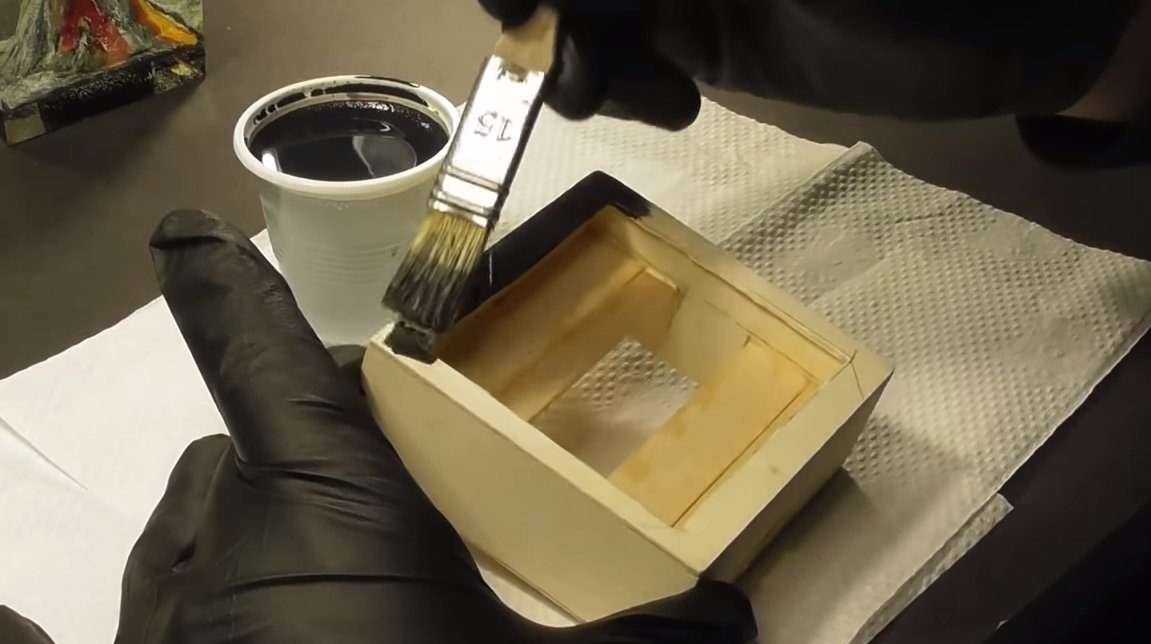
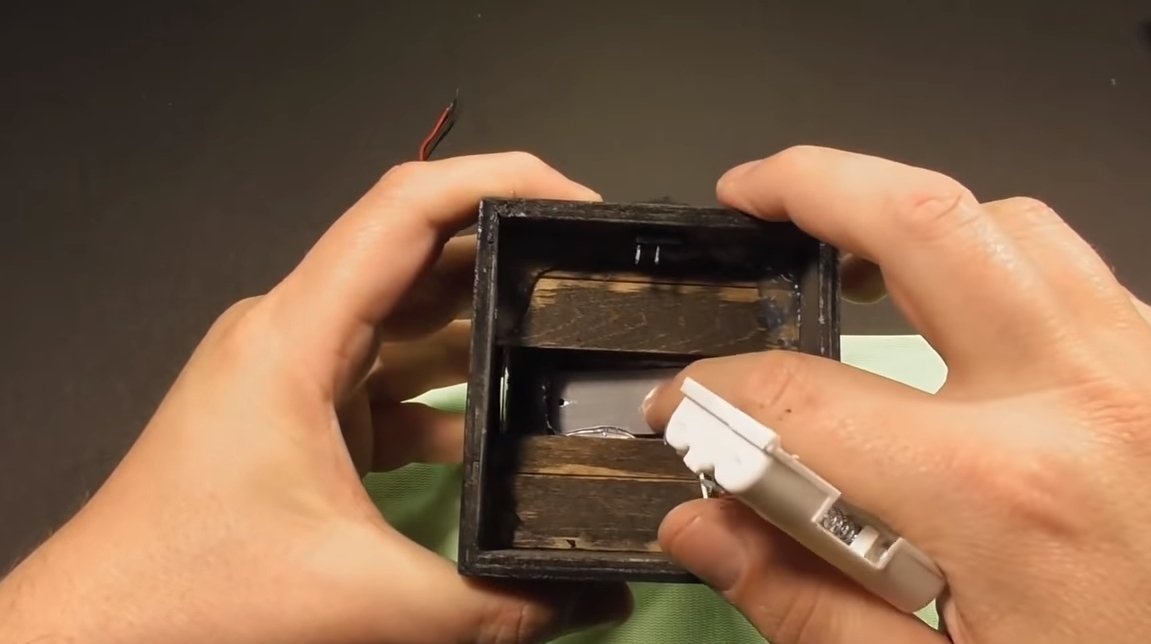
We make a base for the nightlight, it will have an LED, and also there will be a battery pack. The base can be made of wood or dense foam. We paint the base in black or another color at your discretion. That's all, now we glue the volcano to the base with a glue gun.
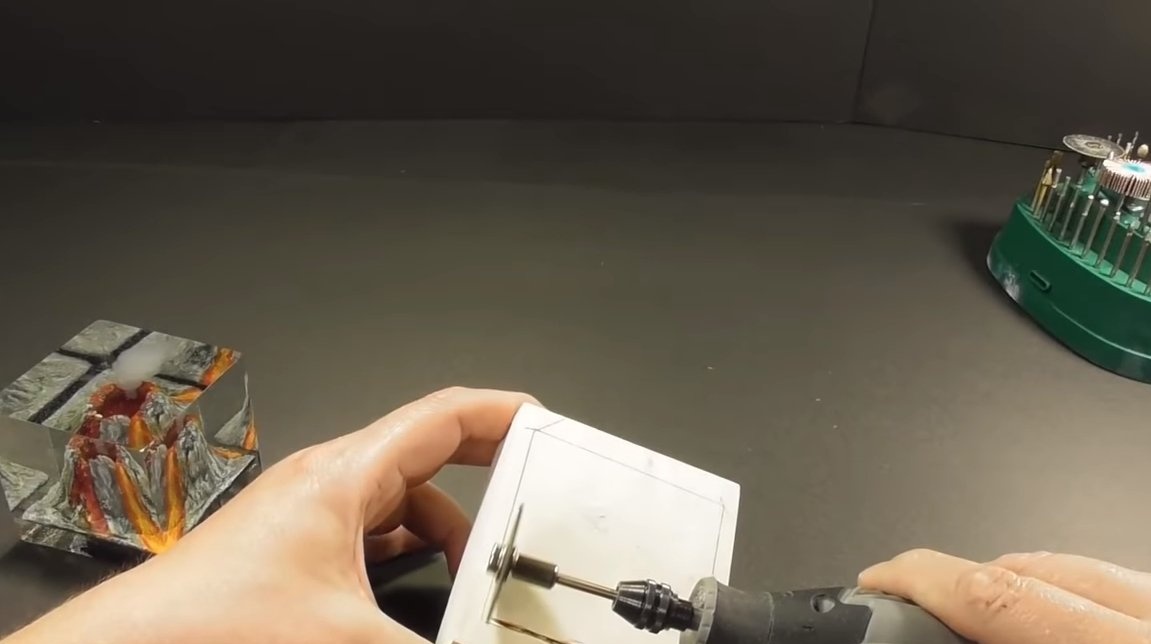
Seventh step. Assembly
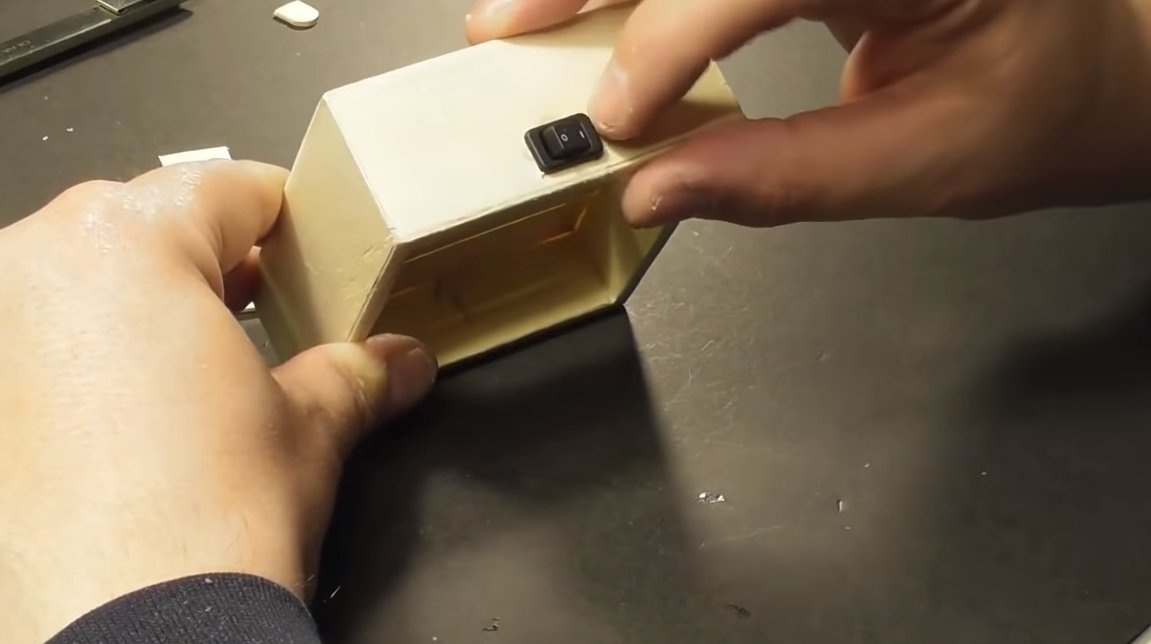
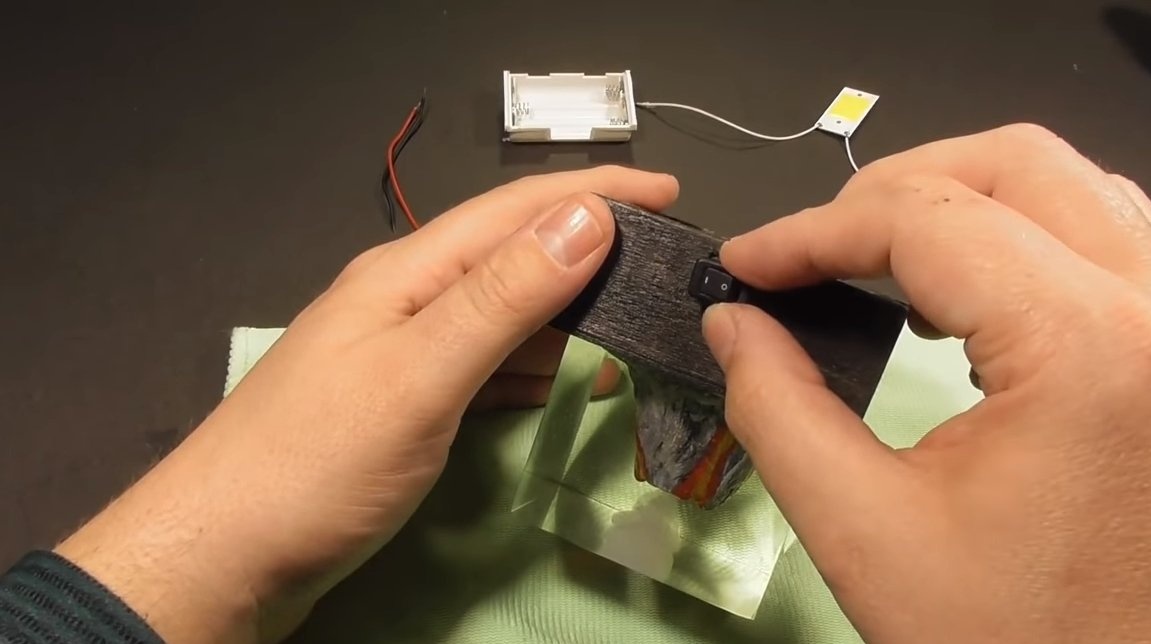
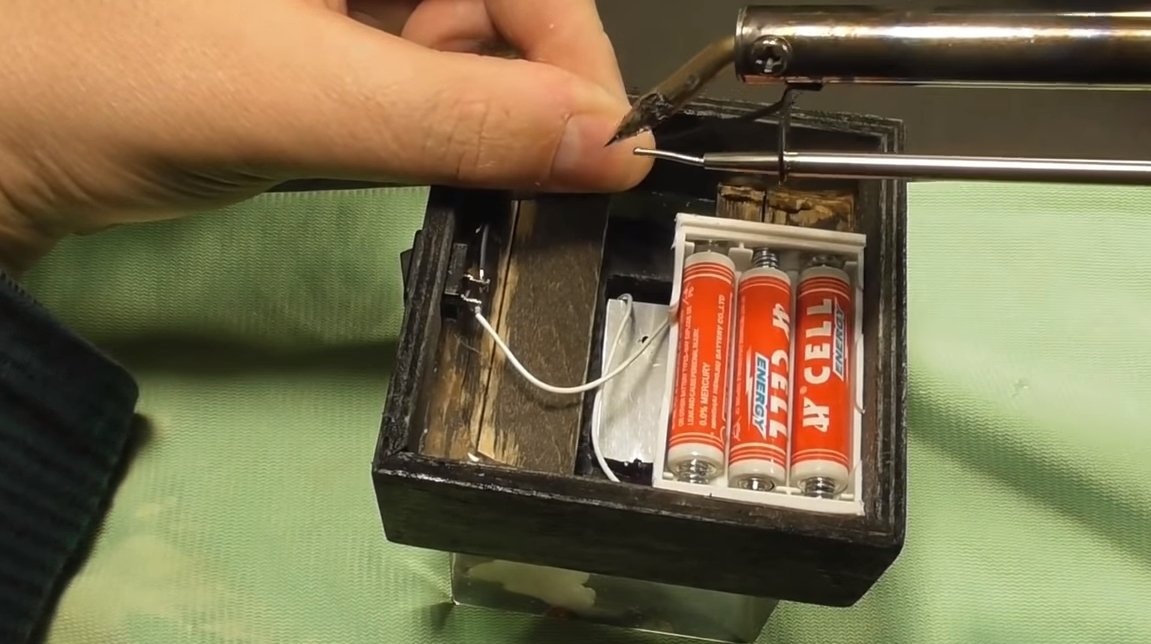
The homemade product is almost ready, it remains to install the insides. We install an LED inside the base so that it illuminates the volcano. Do not forget about the current-limiting resistor for the LED, otherwise the LED will not last long. We install hot glue and a battery pack, finger batteries are used. Optionally, you can install and rechargeable batteries. At the end, install the switch and solder the wires.
This nightlight is ready, it looks just amazing. I hope you also enjoyed the project. Good luck and creative inspiration, if you decide to repeat this. Do not forget to share your ideas and homemade things with us!