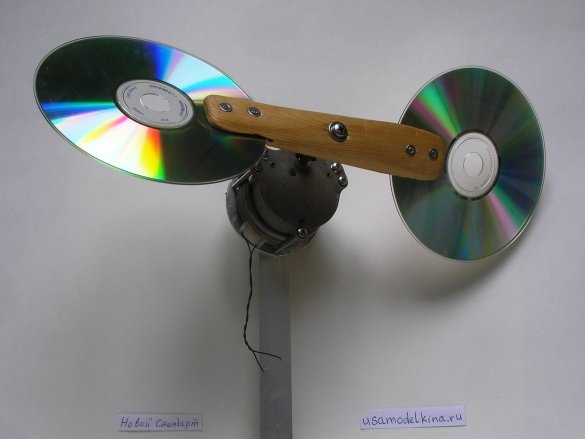
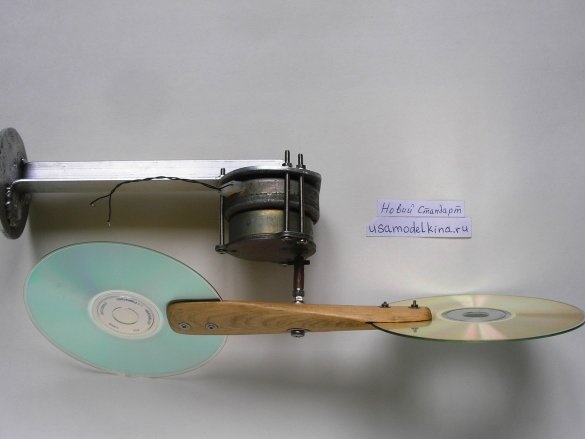
Probably the smallest operating windmill in the world with a generator. But can we put mini-impellers for the necessary generation behind the windows? Some of the readers probably thought:
Well, no, keep reading further. This model I specifically designed for a city that is not urban, but not a cat, but a windmill, you can not only mount it on a high-rise building, of course.
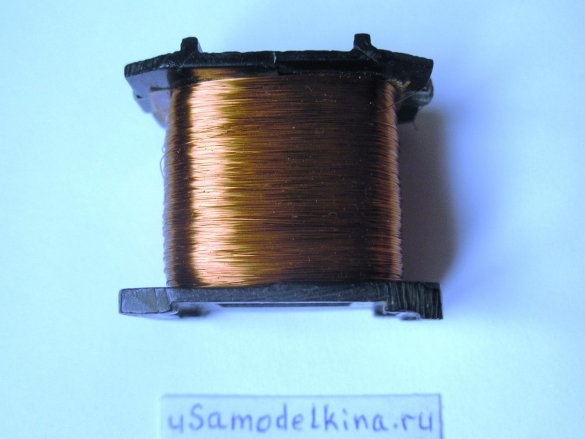
His advantage - compact, therefore "mini", the diameter of the propeller is 320 mm. Surely someone will immediately think that there is not enough power, but this is not so, the power is taken into account if you find a cool generator with zero coil resistance. Most likely you will have to rewind the winding under the desired voltage, everything is experimentally installed, or with the calculation. I thought, instead of a copper wire, I wound a silver one, if you didn’t twist, but at the same time you can get 20% more power. I went to the radio store, I say I need a silver varnished wire, at first the sellers were surprised, then they sent me to the jewelry store, and in the jewelry store they are all thick and mostly not varnished, but I didn’t find it in the bathhouse, it's a pity. Does anyone know any silver lacquered wires?
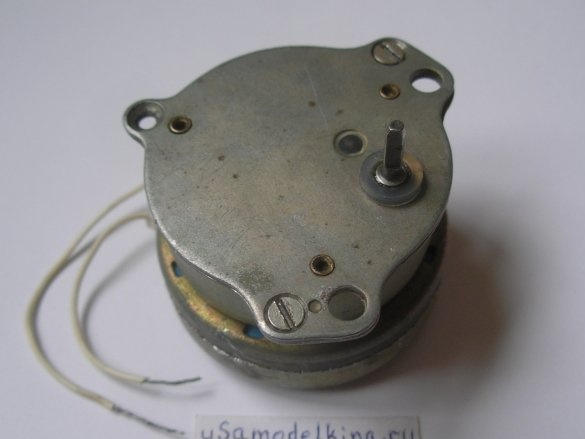
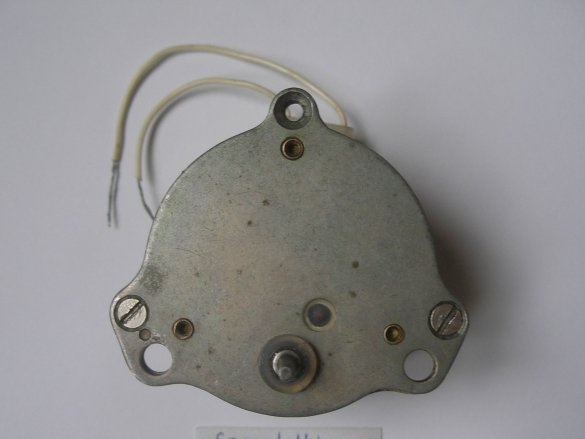
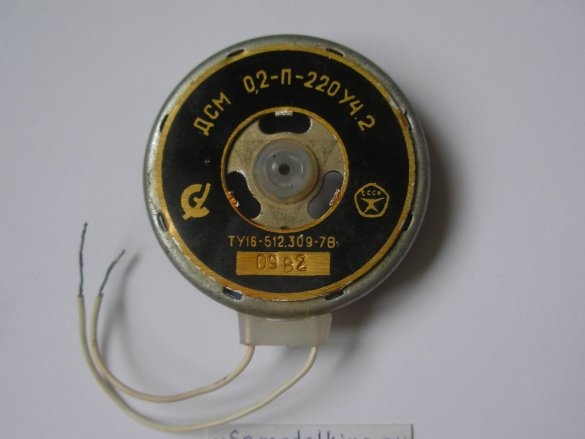
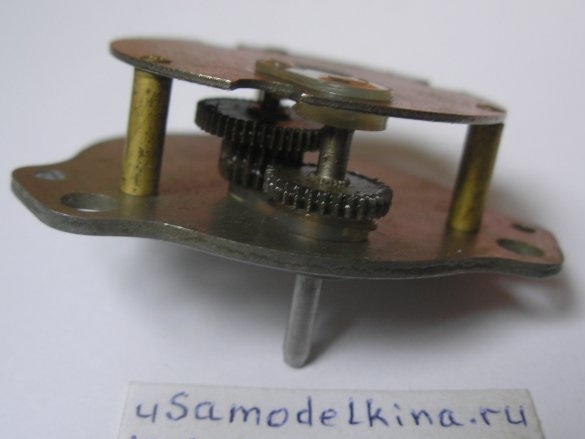
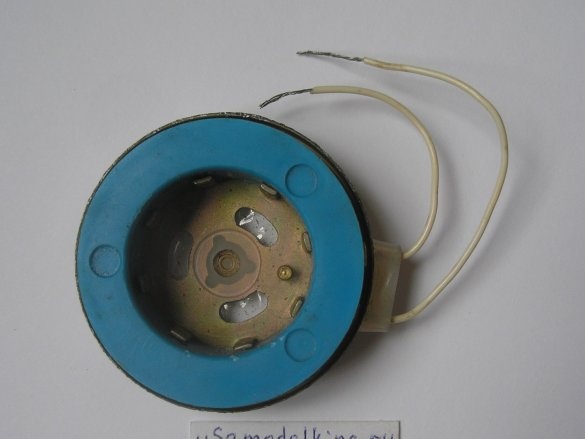
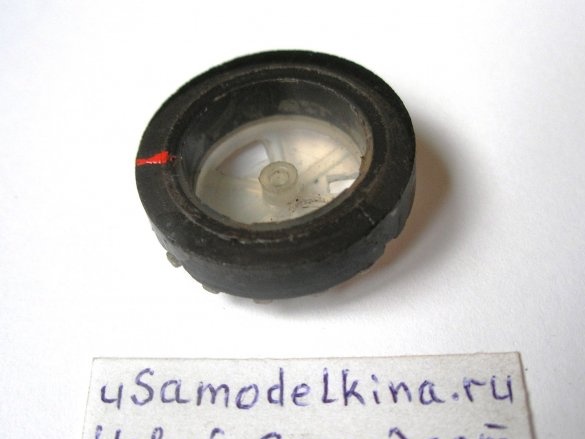
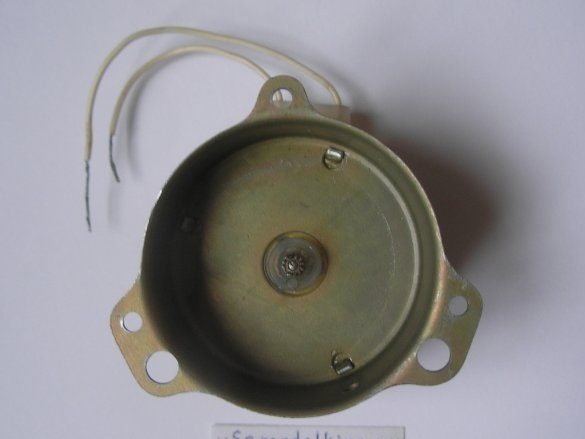
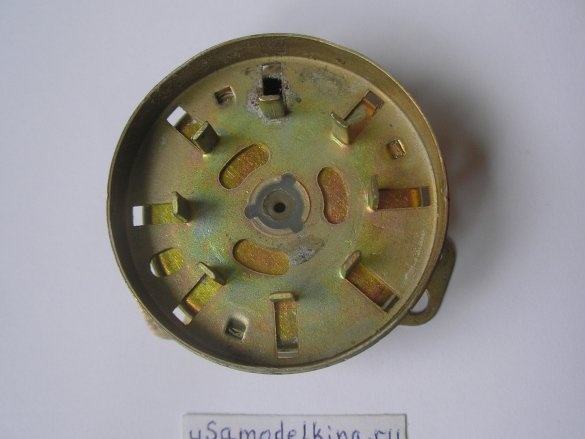
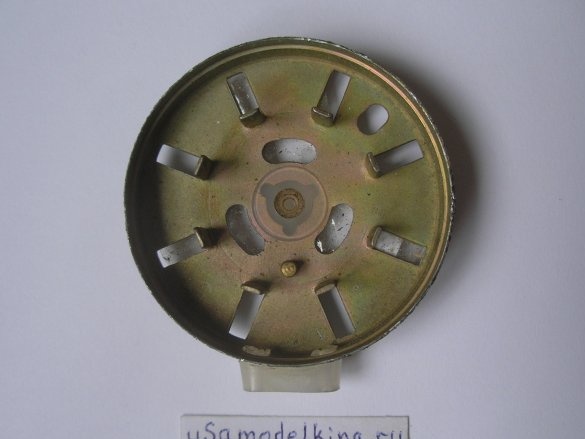
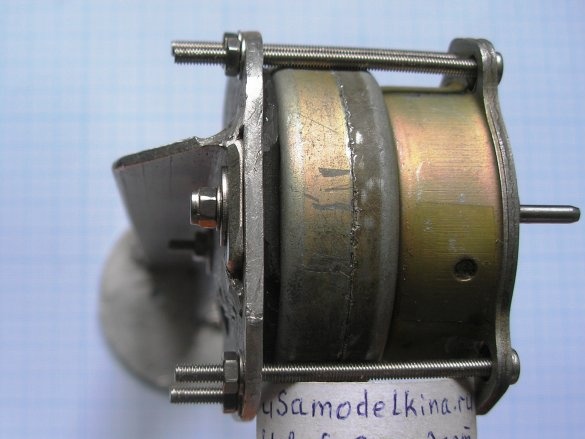
As a generator, a Soviet 220-volt AC motor with a gearbox was used here.
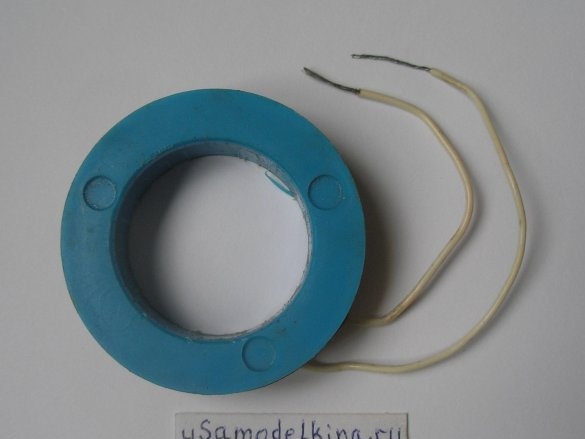
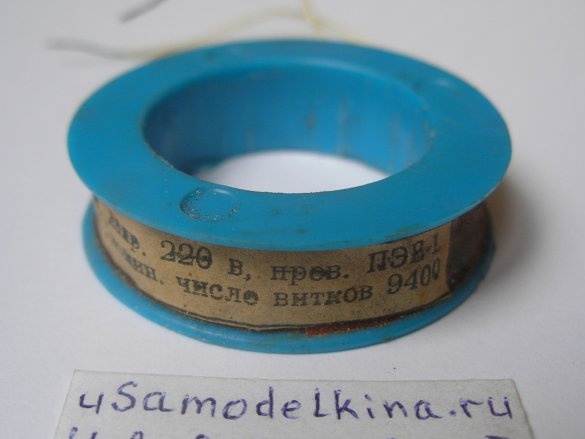
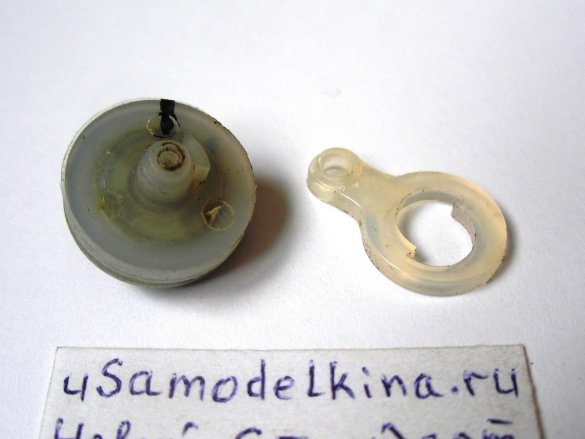
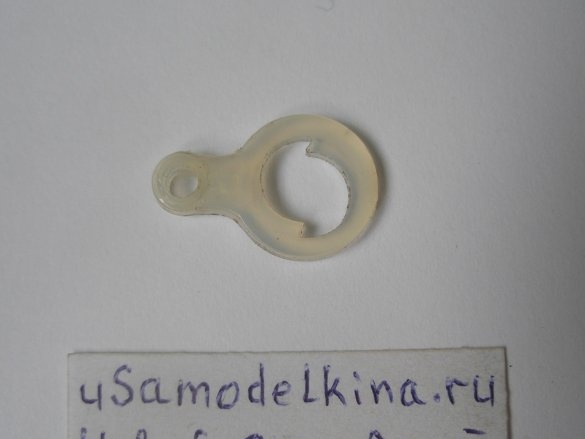
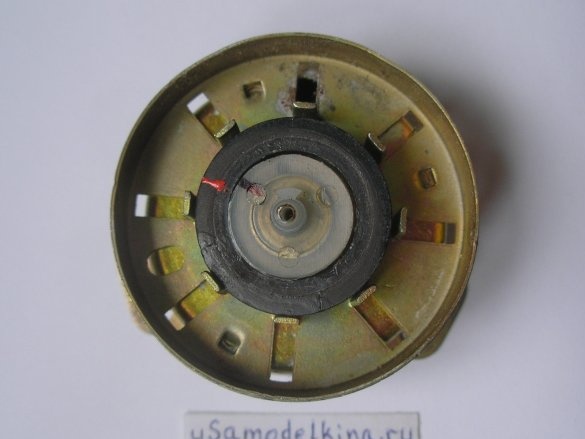
The reverse clutch is removed from it. The winding can be rewound if necessary.
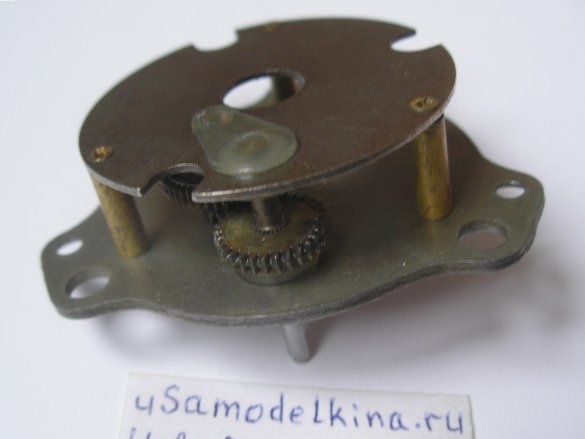
The reducer itself in this case, the multiplier, should be with a not very large gear ratio, otherwise the wind will refuse to rotate such a screw, but the fact that it must stand is for sure. There are many reasons, one of them is that small-pole motors are more common, and they do not give large power at startup, that is, you need to quickly rotate the rotor. At the same time, multipoles, as a rule, have large dimensions and a large start moment, which is also not suitable in the construction of windmills. The gearbox must be checked for damage and damage, it can be cleaned and greased well with grease graphite, this procedure not only increases the starting moment, but also suppresses the noise of gears.
The windmill starts at a wind speed of 2 m / s, measured with a special instrument - an anemometer. An anemometer is a device that determines the speed of air or non-air masses, it can also record the maximum and average values in its memory, if it is and is not clogged with foolishness.Installation at this starting speed immediately gives out a current, which, after accumulating in a personal Pavar in the Bank (not included homemade) can be used to charge smartphones of the proletariat. Well, yes, with increasing wind speed, the generating power increases, since an alternator is operated here, you need to build diode bridges and all that, otherwise the drive will not have time to grunt from the turbo-boosting wind. We also need to show how to add a special drive, I feel that I do not squeeze into one topic, so most likely this will be the next homemade product, of course, if you subscribe to my channel)). After all, without an electric circuit there is less joy here, but without an electric circuit it is also a beautiful centrifuge for the May bugs and a bunny thrower. In this article I will show more the mechanical part of the project, right?
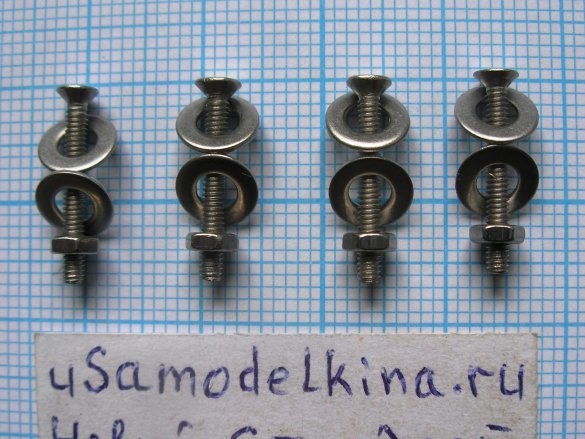
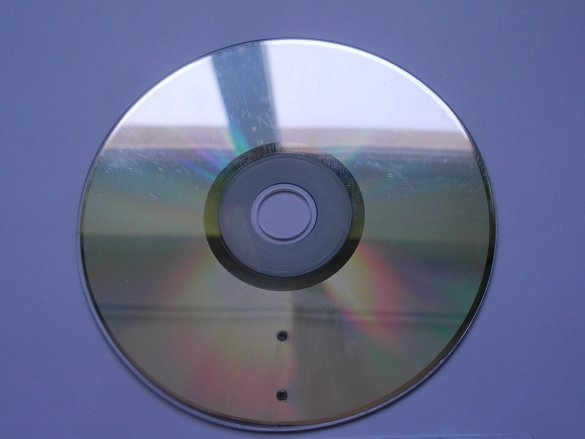
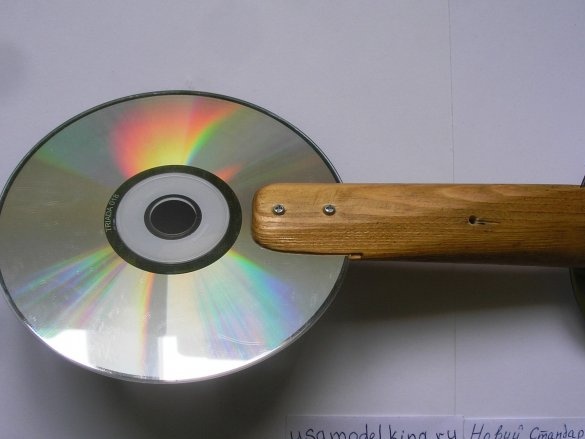
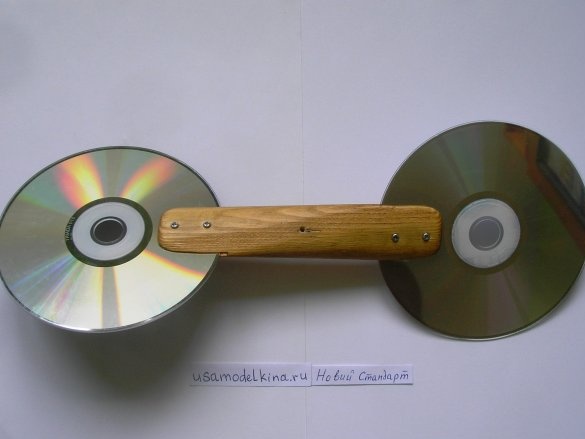
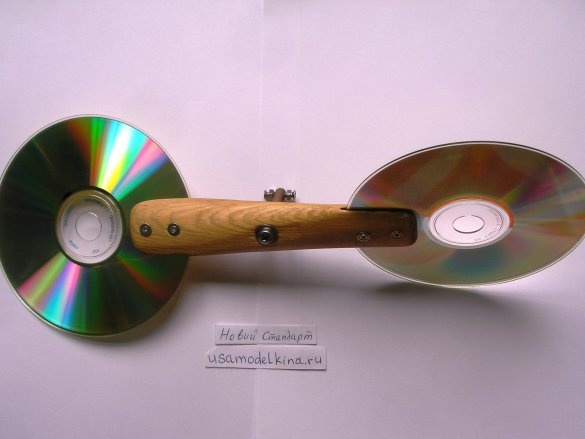
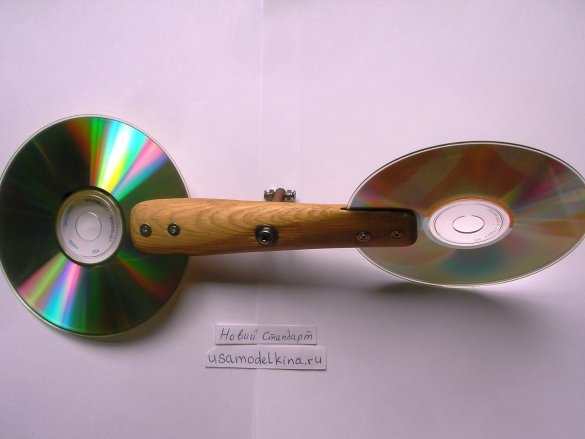
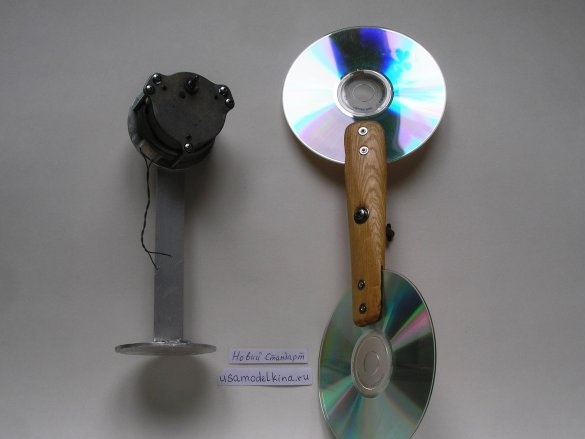
The propeller is made from CD or DVD discs mounted on M2 screws, preferably from stainless steel. The method of mounting discs can be even more gentle without drilling a disc, with such mounting even the discs themselves are not damaged, they can be easily removed, replaced or reused as a storage medium. Who guessed how to fix the disk without damage, write a check out idea.
For the manufacture of the brainchild, the following components are needed:
Tools and devices:
-hacksaw;
-file;
Drill and drill;
soldering iron;
- brush;
-multimeter;
-key for nuts;
-screwdriver;
M3 tap;
-nippers.
Consumables:
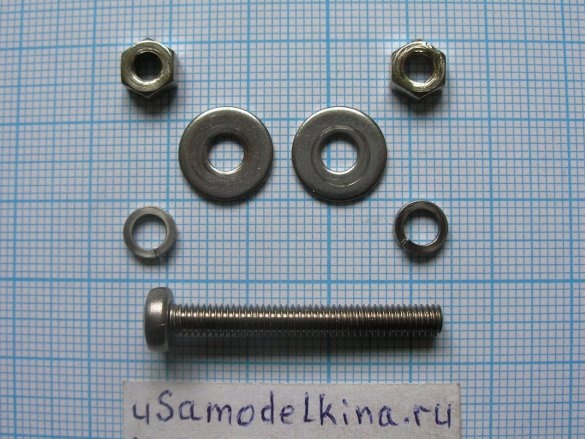
-screws, washers and nuts M2, M3, M5 (stainless steel possible), different lengths;
- M3 screws without a hat 4 pcs.;
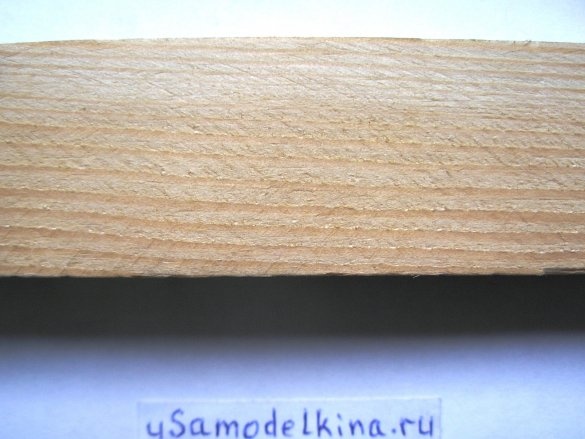
-plank 15 * 30 * 140mm;
solder, rosin;
-CD- or DVD-ROM drive 2 pcs.;
-profile corner from dural 2 * 20 * 20 * 180mm;
- duralumin plate 3 * 60 * 120mm;
-tube copper D = 6 / 2.5 * 20mm;
- 220 V AC motor with a permanent magnet on the rotor, Soviet with a gearbox of about 1:20;
- rubber plate 2 * 60 * 120mm;
- the wire for winding coils varnished, the cross section is selected under voltage;
- wires with ordinary insulation;
varnish or paint.
We begin the manufacture of a mini-windmill with a propeller, this is the most critical element of the installation.
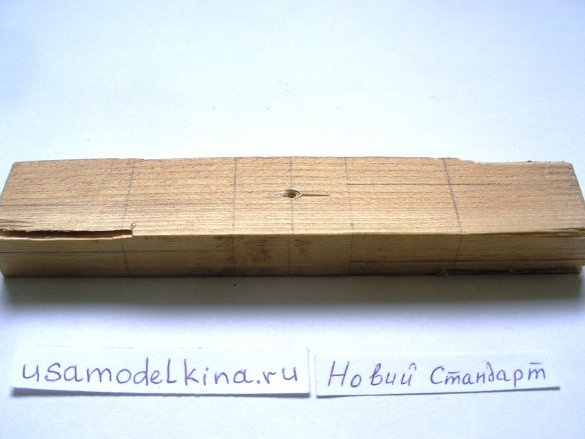
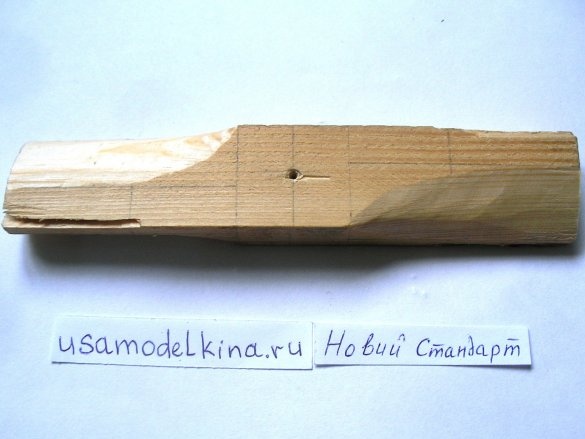
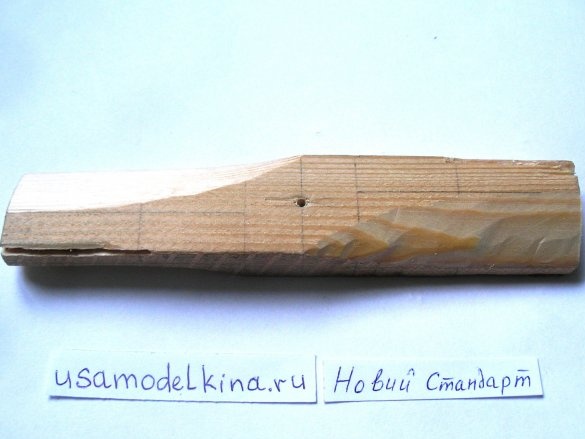
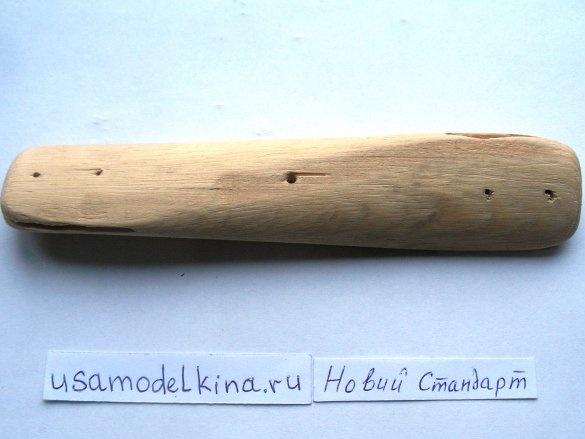
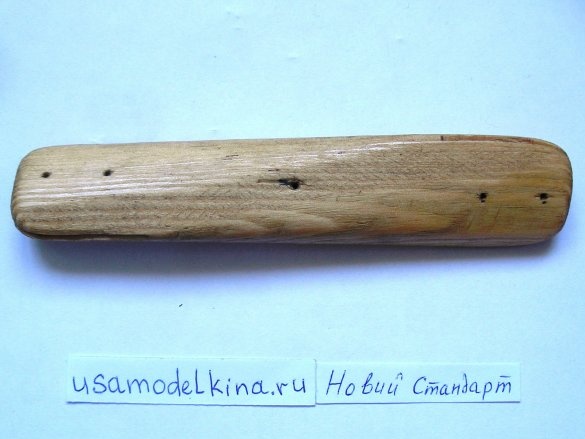
Episode 1. The history of wind turbines of the Sumerians (just kidding). We take a stub of a strap with a size of 15 * 30 * 140mm, set the center along the diagonals, drill a centering hole with a diameter of 1 mm. We make diagonal cuts "crosswise" at the ends of the plank 40 mm deep. Another production option, but not a direct, but a rounded groove at the bottom of the cut (to fix the disk) with a grinder.
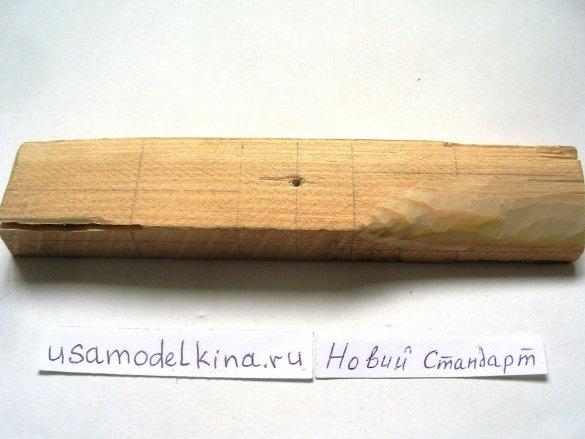
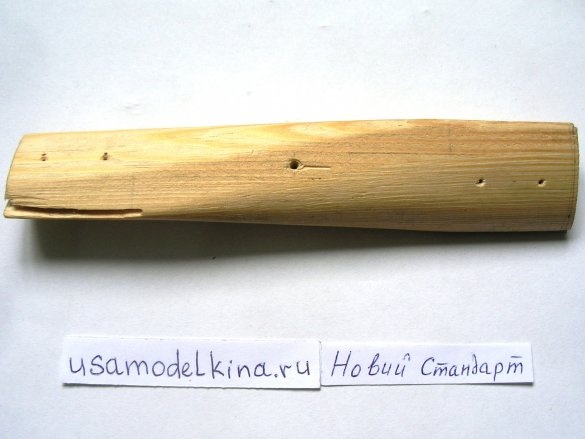
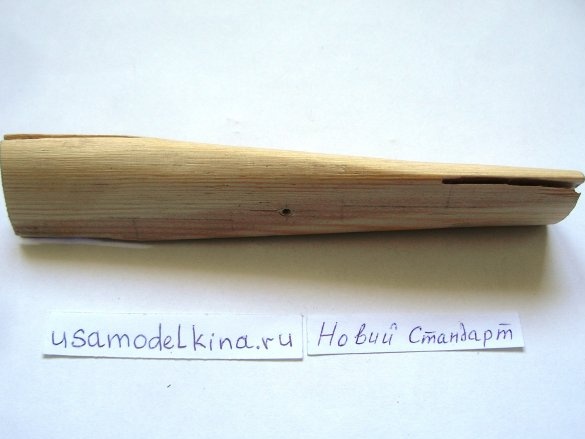
Stage 2. Stripping and grinding the strip, giving it the shape of a propeller, while controlling the center of gravity of the element within the center hole.
Stage 3. The base of the screw, if desired, can be coated with waterproof varnish or paint. We drill holes in the bar for mounting with CD screws, then we insert the disk and getting into the holes with a drill, we drill and wheels, after which we fasten them with screws.
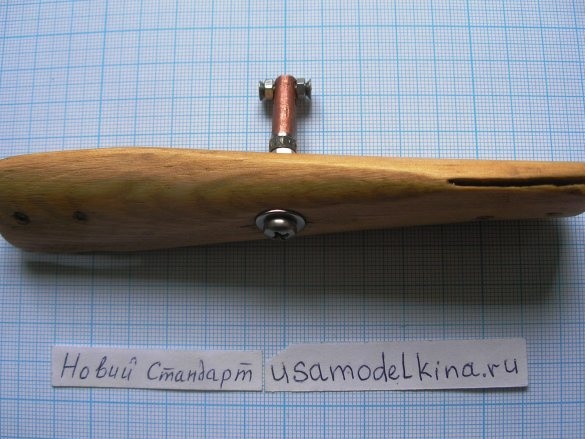
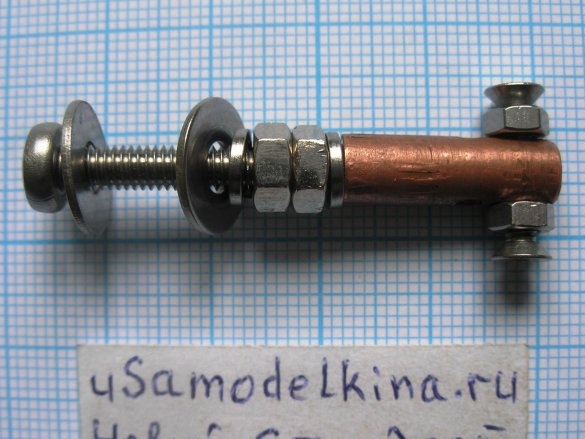
Stage 4. We fasten the M3 screw with washers as the axis of the propeller, tightening it with a nut.
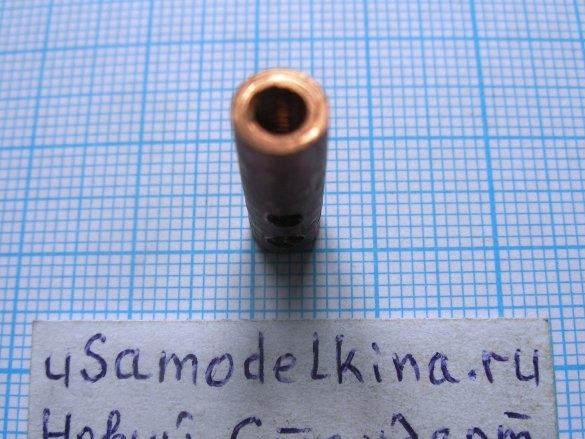
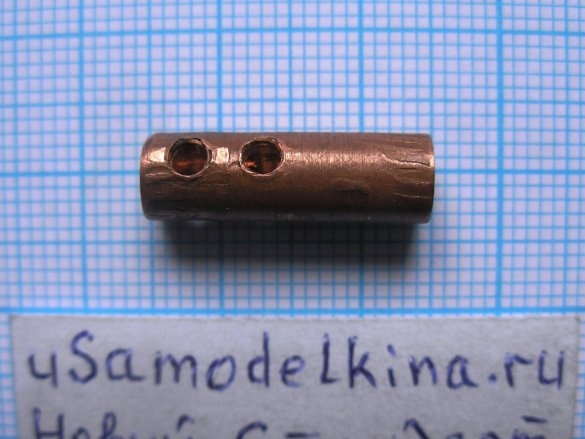
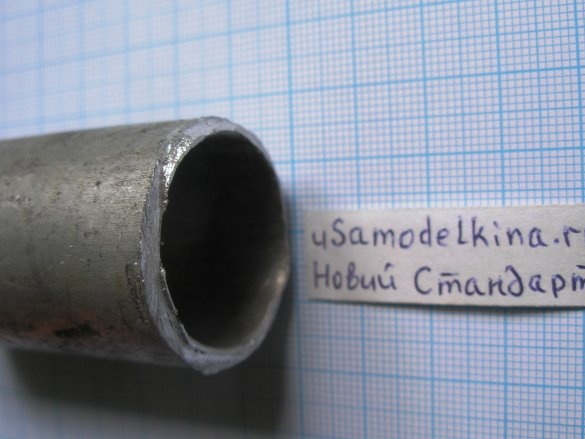
Stage 5. To connect the propeller to the generator shaft, we make a connecting sleeve from a copper tube. Inside the coupling, M3 thread (half the length of the tube). To prevent rotation of the M3 screw in the clutch from the outside, I put a lock nut and tighten it to the clutch with a key. The second half of the hole inside the copper tube without thread corresponds to the diameter of the generator shaft. So that the shaft does not protrude, I fix it with 2 or 4 M3 screws without caps. After pre-drilling 4 holes and cutting the M3 thread perpendicular to the axis of the tube.
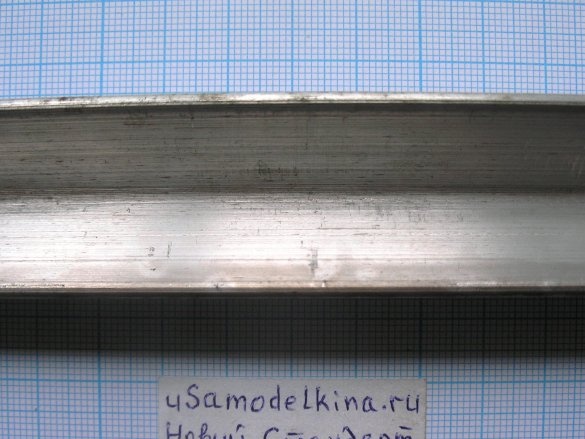
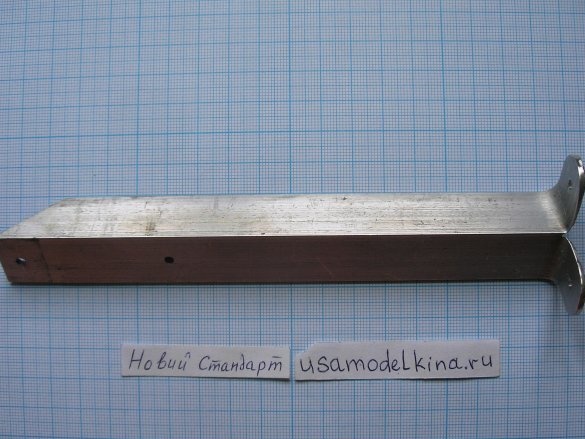
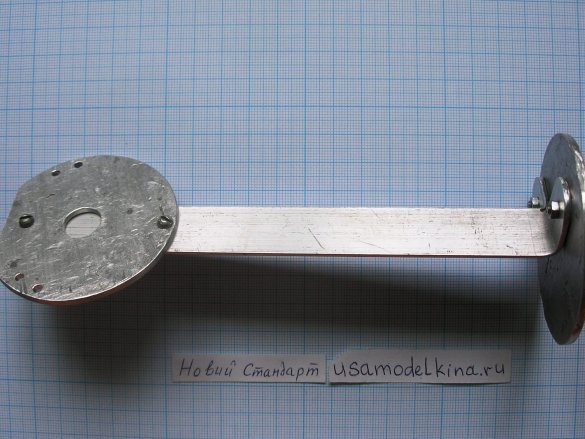
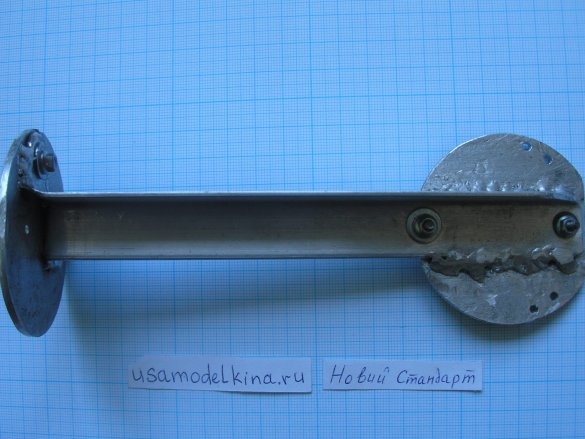
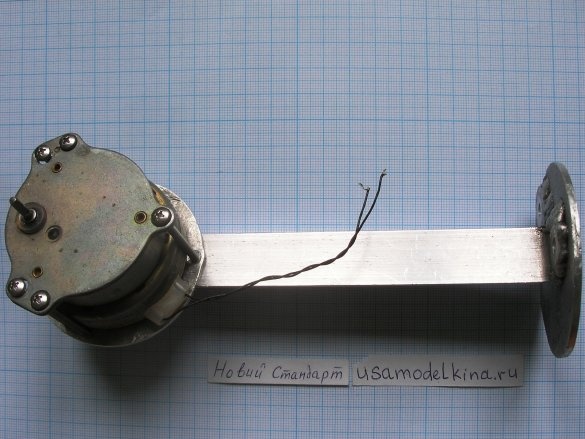
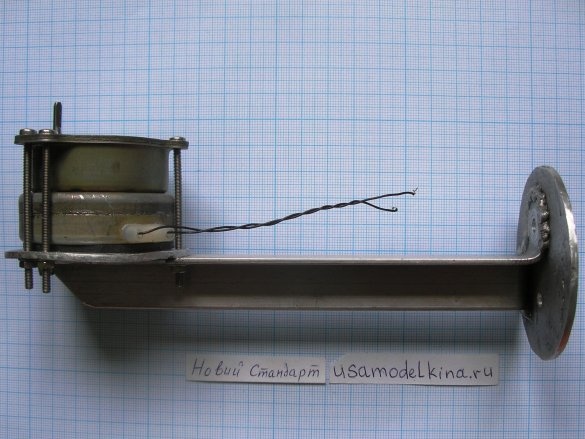
Stage 6. I make a stand for the generator from a dural angle 2 * 20 * 20mm long for the diameter of the propeller plus a margin of 30mm, that is, only about 180mm. To do this, cut the corner at one end and bend the ends perpendicular to the corner itself.
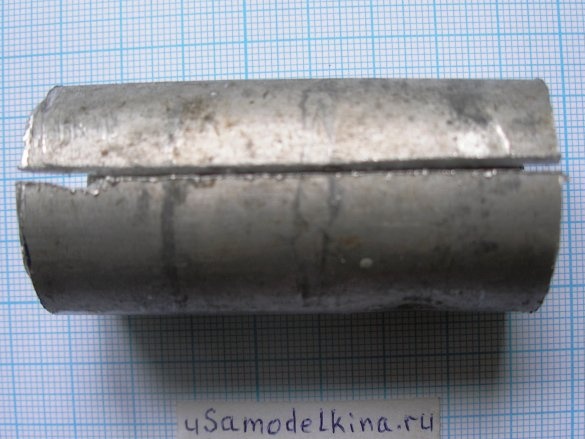
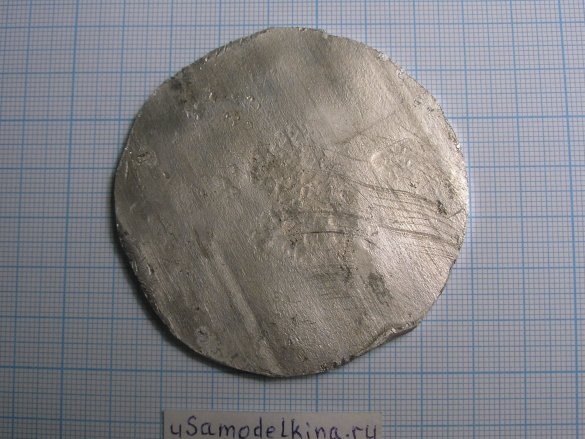
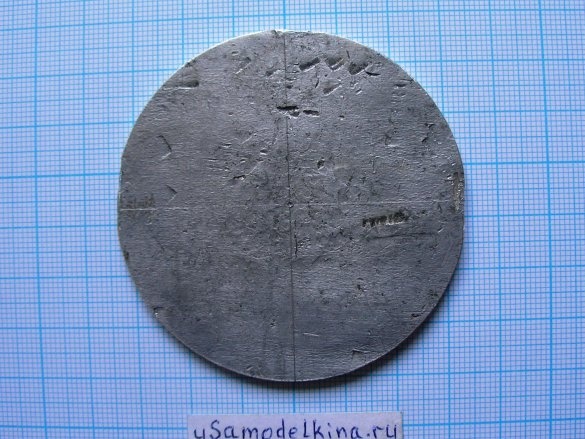
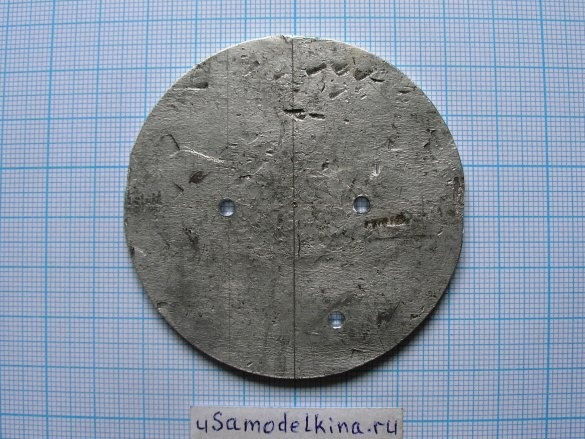
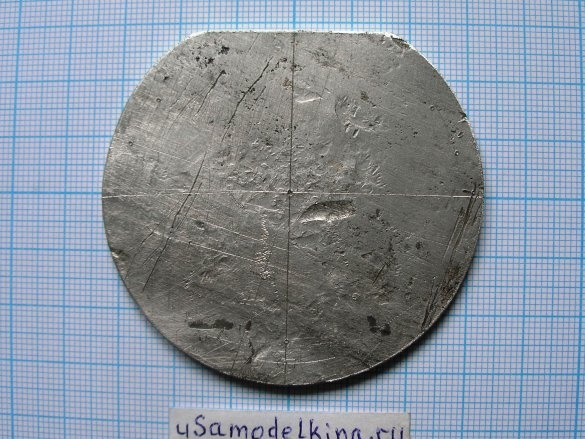
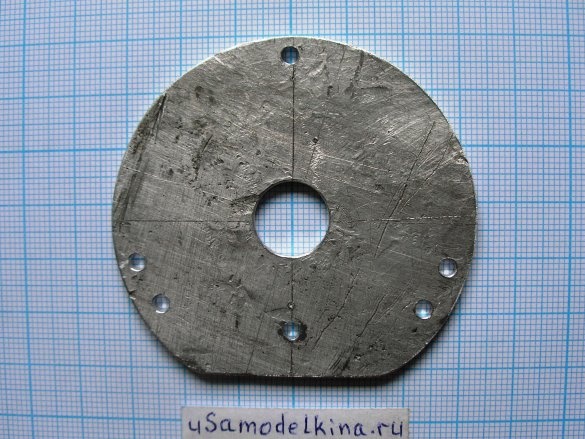
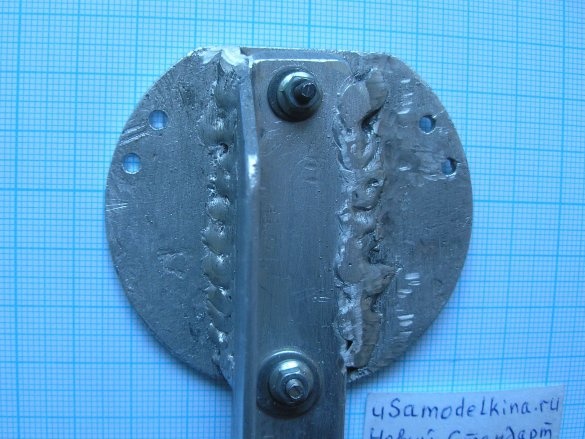
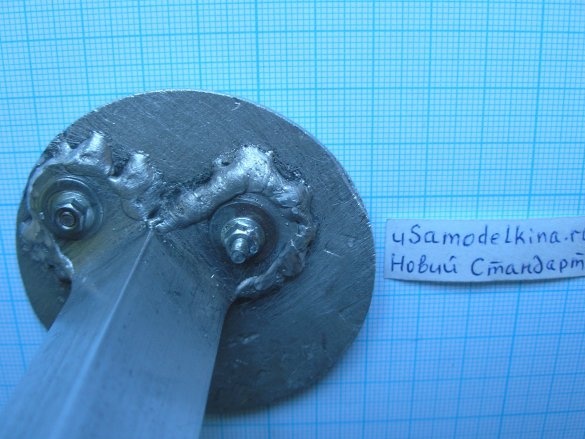
Stage 7. Meanwhile, from a duralumin plate, I cut out 2 circles, one for the diameter of the generator. You can connect the circles with the corner with screws, but I welded. Another circle for attaching to the wall of the house there are holes for screws.
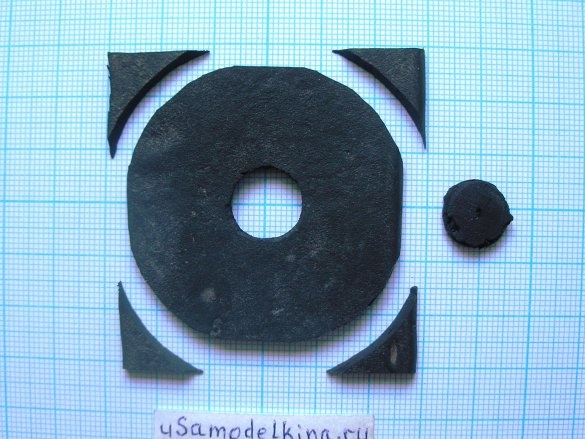
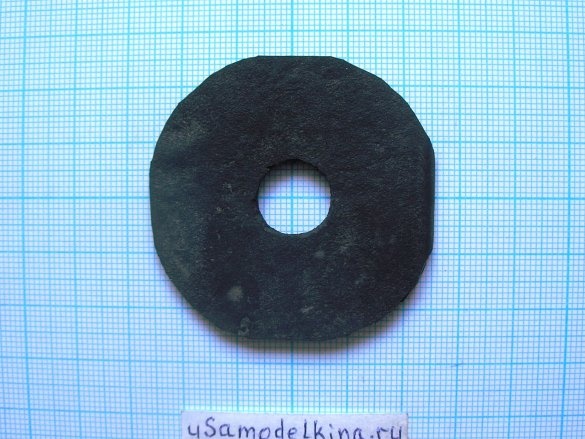
Stage 8. I am preparing the generator by pulling the overrunning clutch from it, since the wind turbine must rotate both behind and counterclockwise. Before installation, the generator gearbox must be greased with grease.Between the dural circle and the generator, I install a rubber gasket and tighten everything together with M3 screws and nuts.
Stage 9. I attach the propeller to the generator shaft and can be installed outside the window. The installation still needs an electrical circuit about it, I will tell in the next, part number 2. But even without a circuit, it is seen how the LED from the alternating current is lit while the propeller rotates in the wind.
In the video you can see the rotation of my wind turbine at a wind speed of 2-3 m / s. Near the corner, I temporarily installed a 1 W LED, not very clearly due to the bright sun, but you can see flashes of light from AC


