
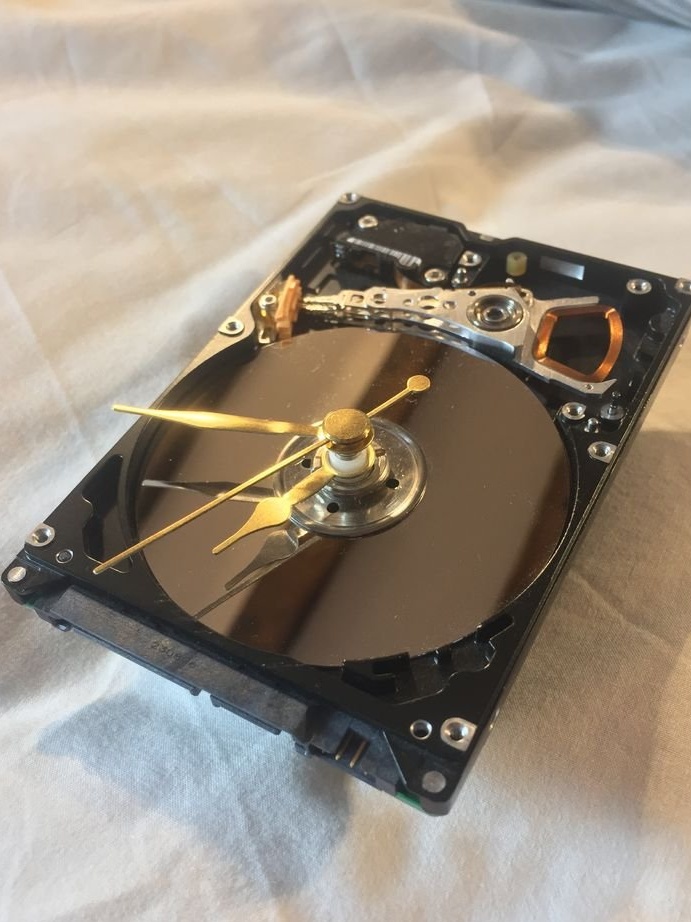

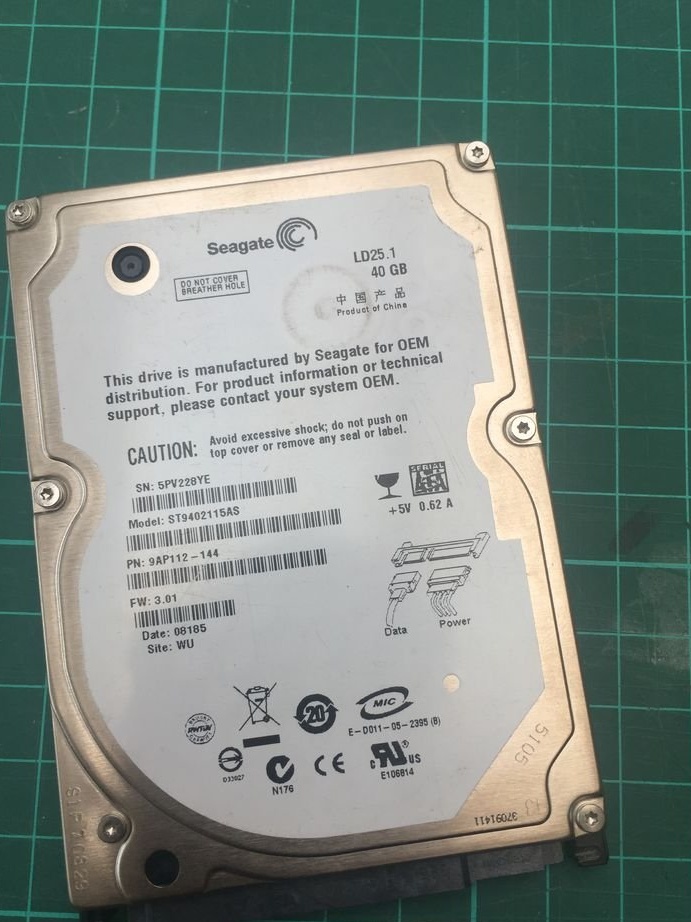
This happened one fine day, when the wizard dismantled the old computer components that were no longer needed. He stumbled upon an old hard drive and decided to make a watch out of it. He needed a new watch, for this he had already bought several ready-made watch modules.
Step One: Materials and Tools Required


- Old hard drive from the computer;
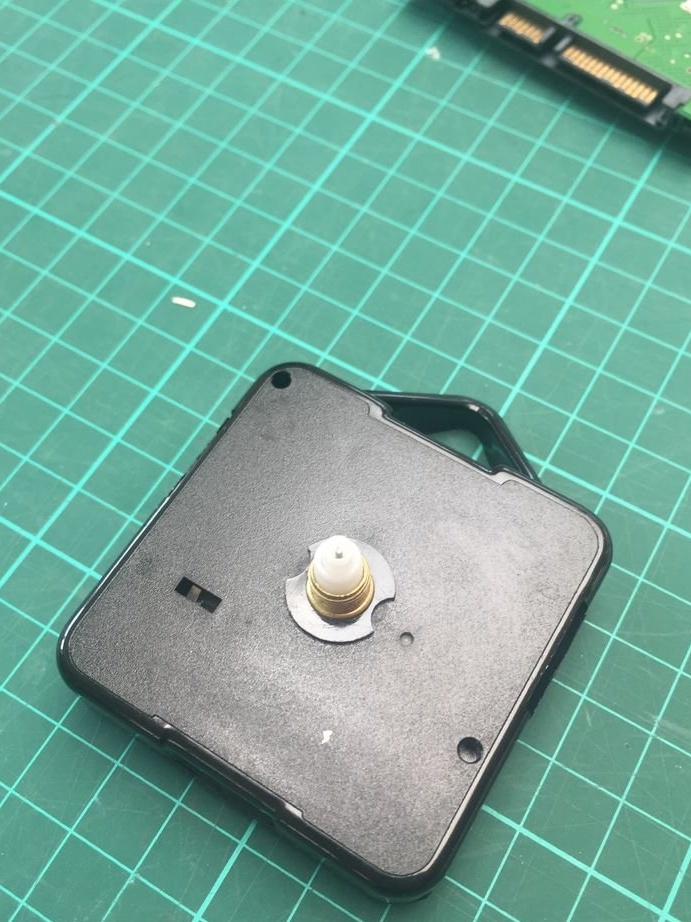
- Clock module - the master had a shaft diameter of 10 mm and a shaft length of 14 mm.
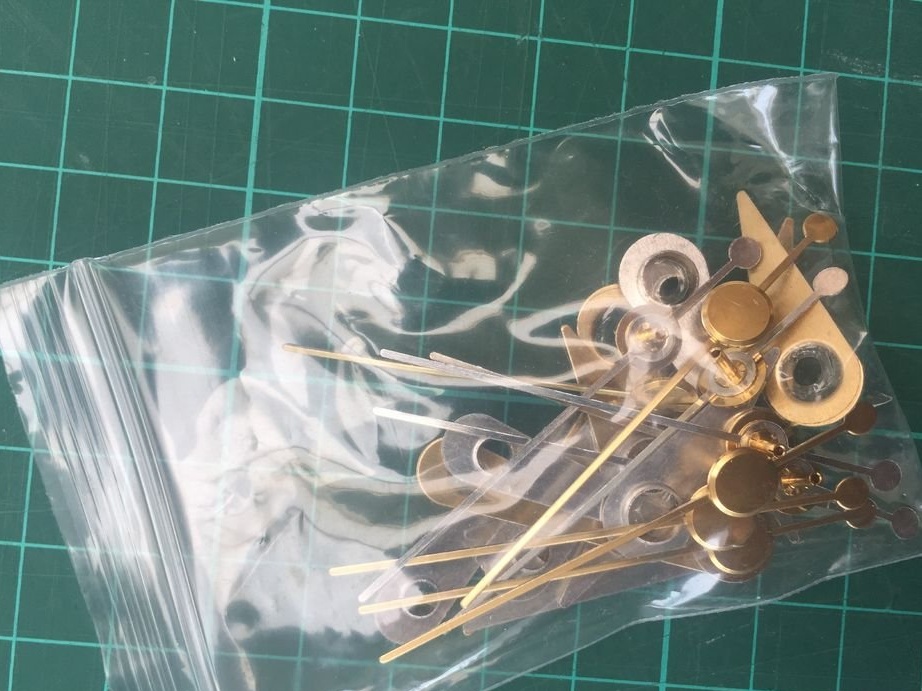
- Clock hands corresponding to the module;
- Headphones;
- Points;
- A set of small Torx screwdrivers (T6 - the most common);
- Crosshead screwdriver;
- Hammer;
- Round metal file (diameter up to 1 cm);
- Chisel;
- Pliers with a long nose;
- Various drills - a metal drill of 1.5 mm, a drill of 5 mm and a drill of 8 mm;
- A small piece of cardboard (slightly larger than the size of the hard drive);
- The cloth;
- battery;
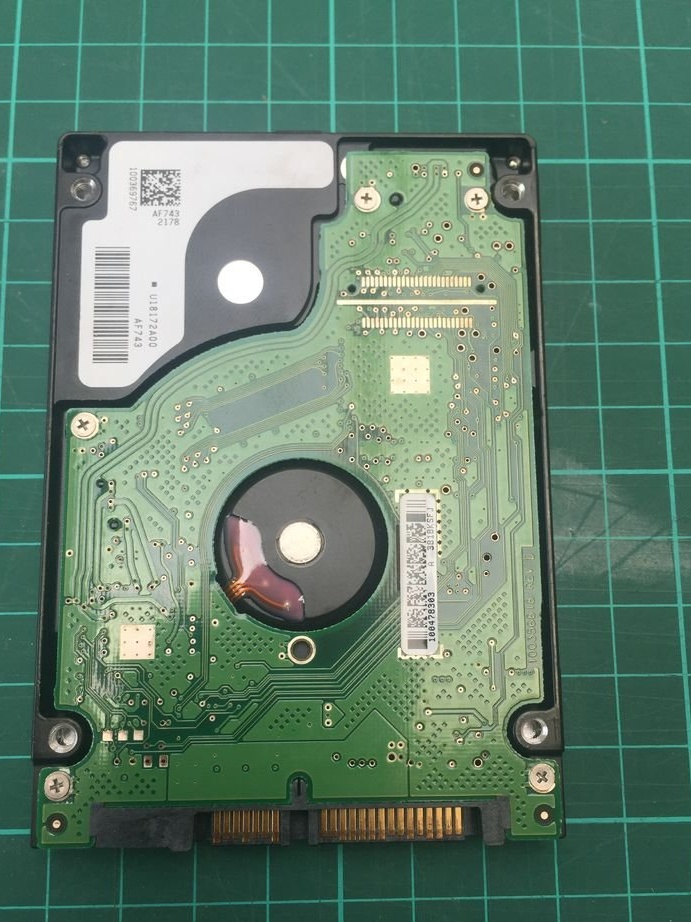
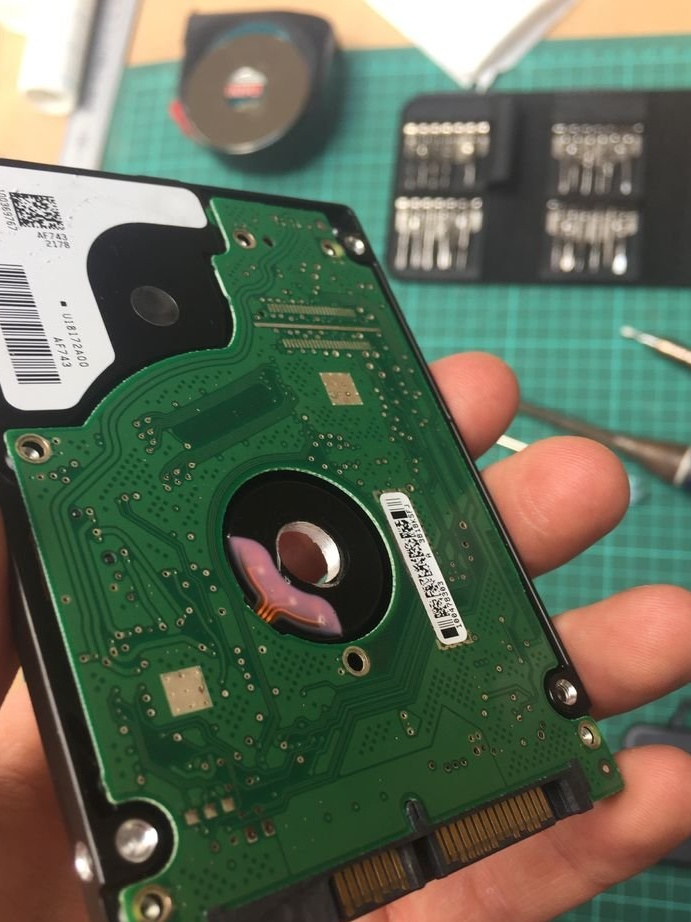
Step Two: Removing the Front Metal Plate and Rear Board
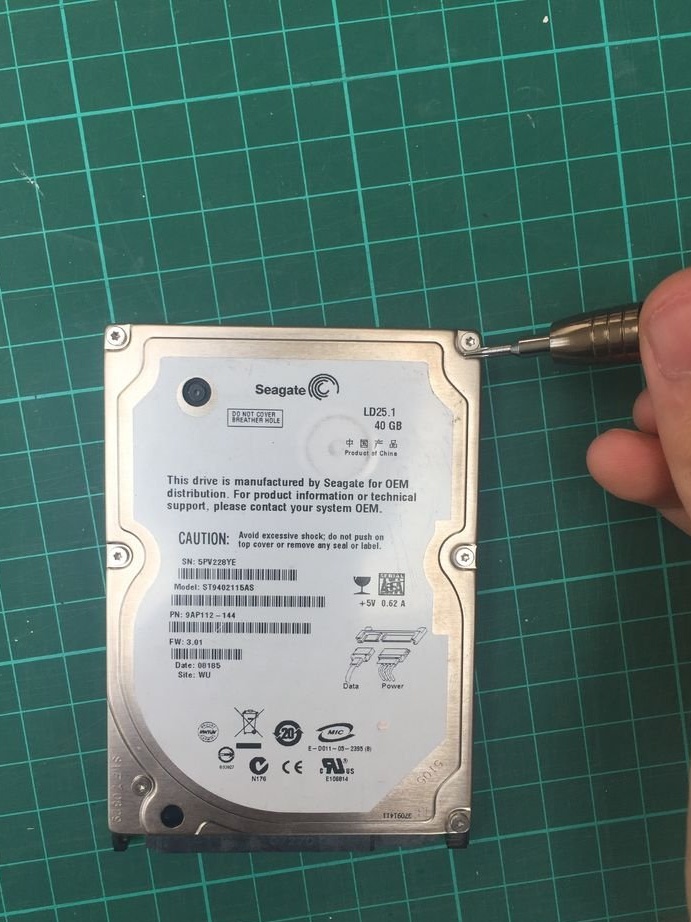
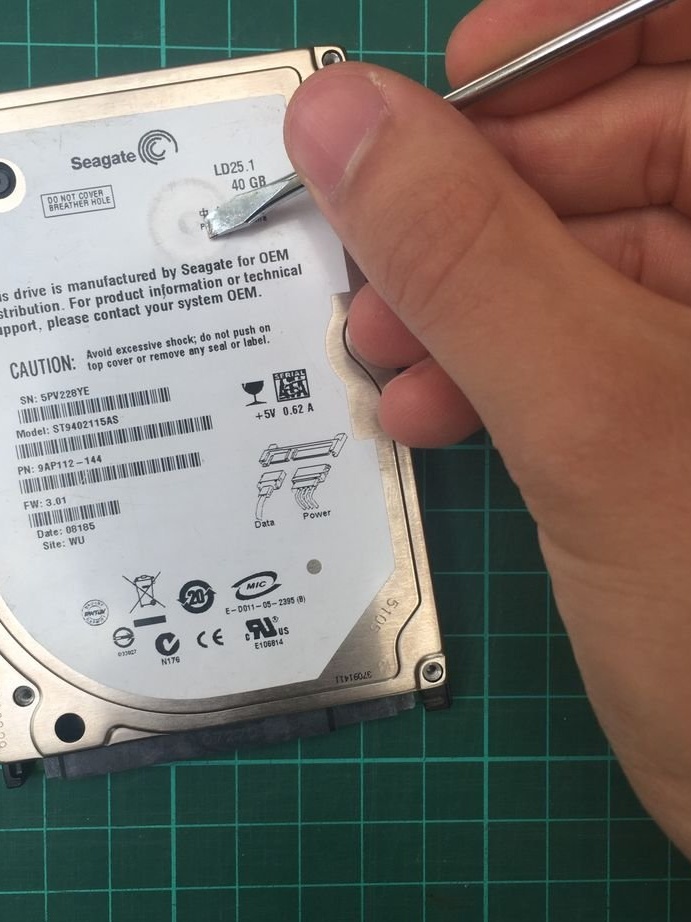
Using a Torx screwdriver, remove the 6 visible screws on the metal side of the disc and lay them aside.
Scrap the paper sticker to see the last Torx screw, and remove it too.
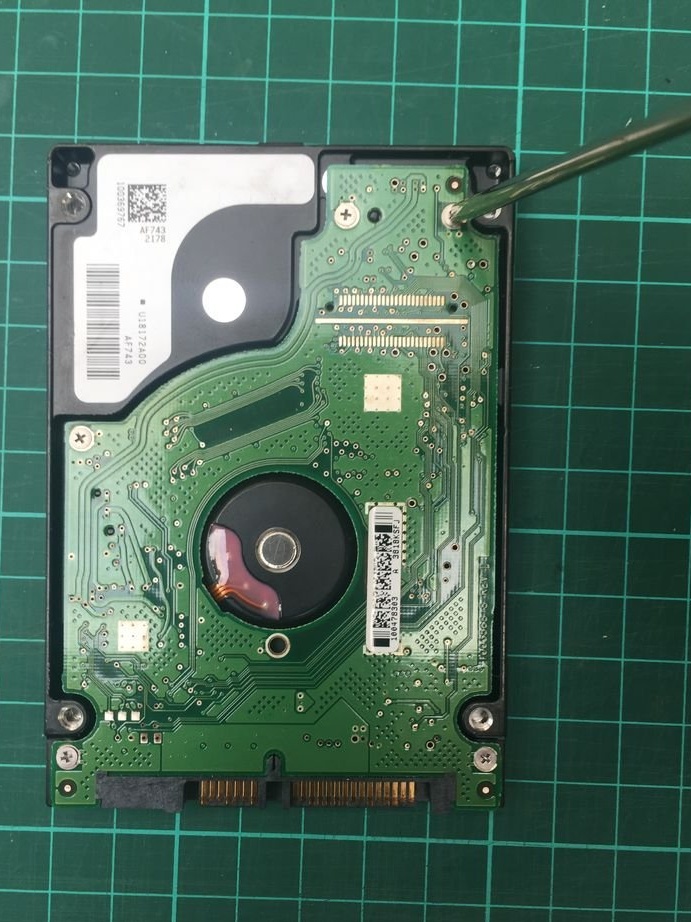
Using a screwdriver, remove the circuit board and put it and the screws to the side - they will be needed later. Protect them from damage, as the board will be visible.
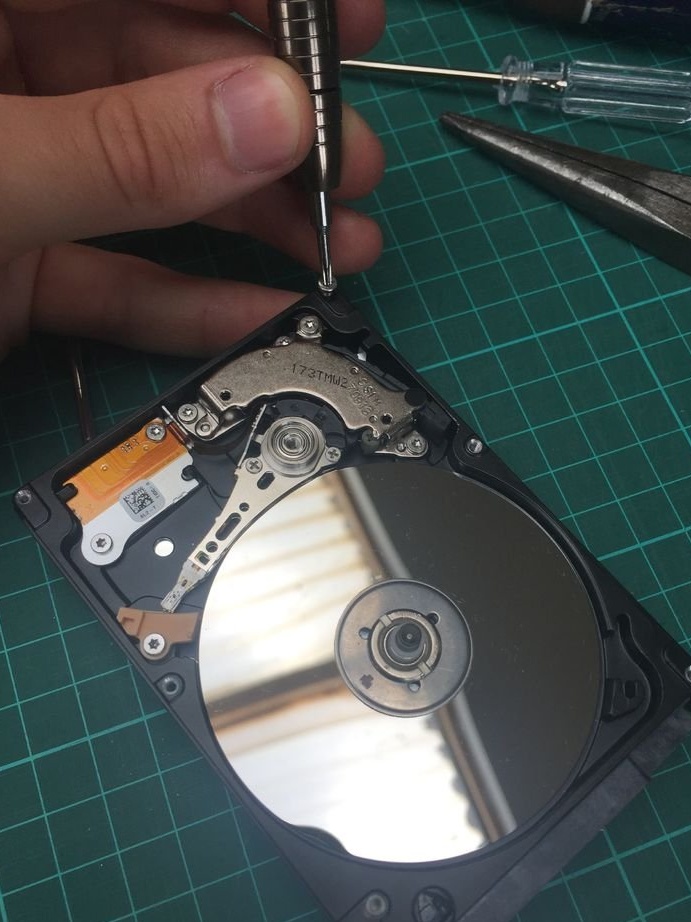
Step Three: Removing the Metal Disc
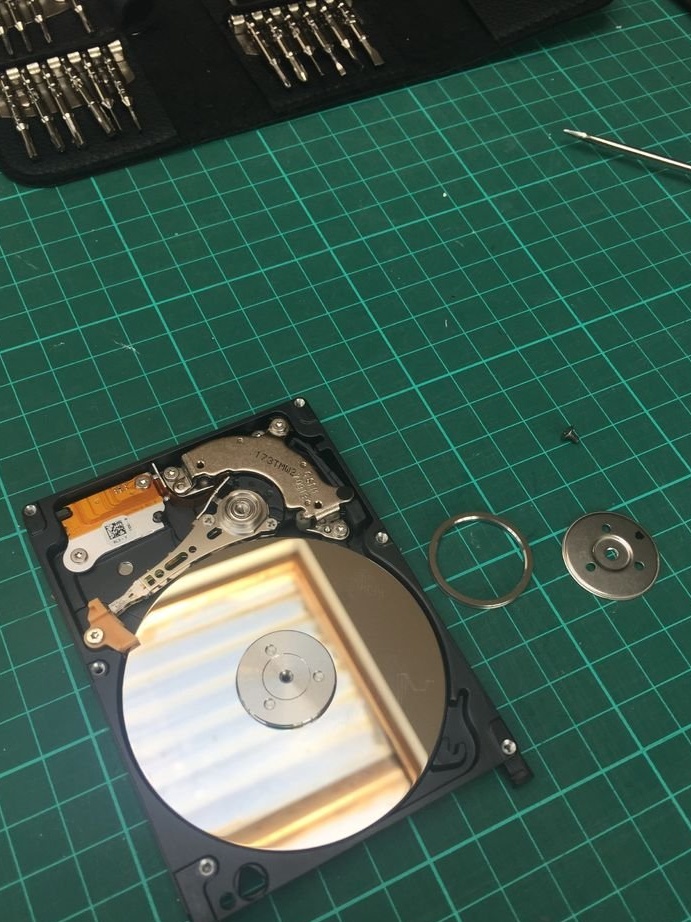
Using a Torx screwdriver, remove the center screw from the center of the metal plate. Save the disk, but you don’t need a metal ring.
The mirror plate will still be held in place by a metal holder in the center of the drive.
Use Torx again to remove the plastic holder. Save it and the long Torx screw, as you will need them later.
Then you can remove the mirror plate.
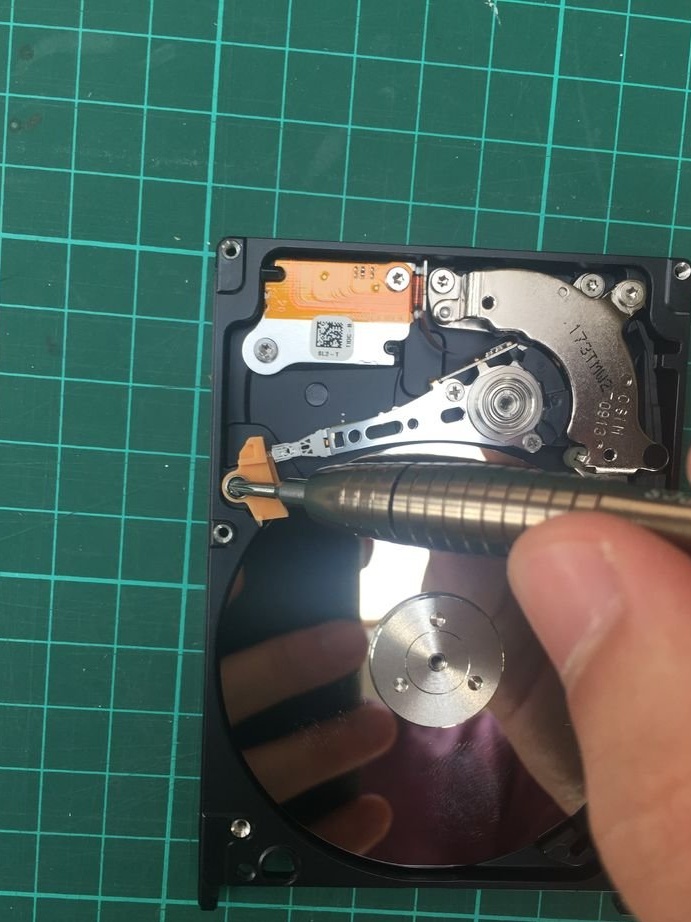
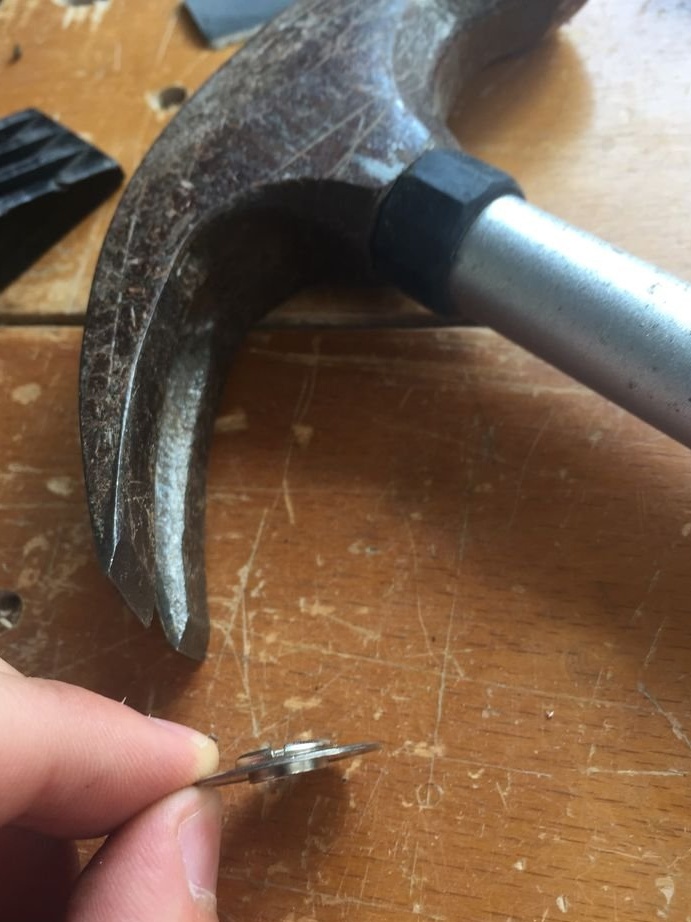
Step Four: Removing Magnets
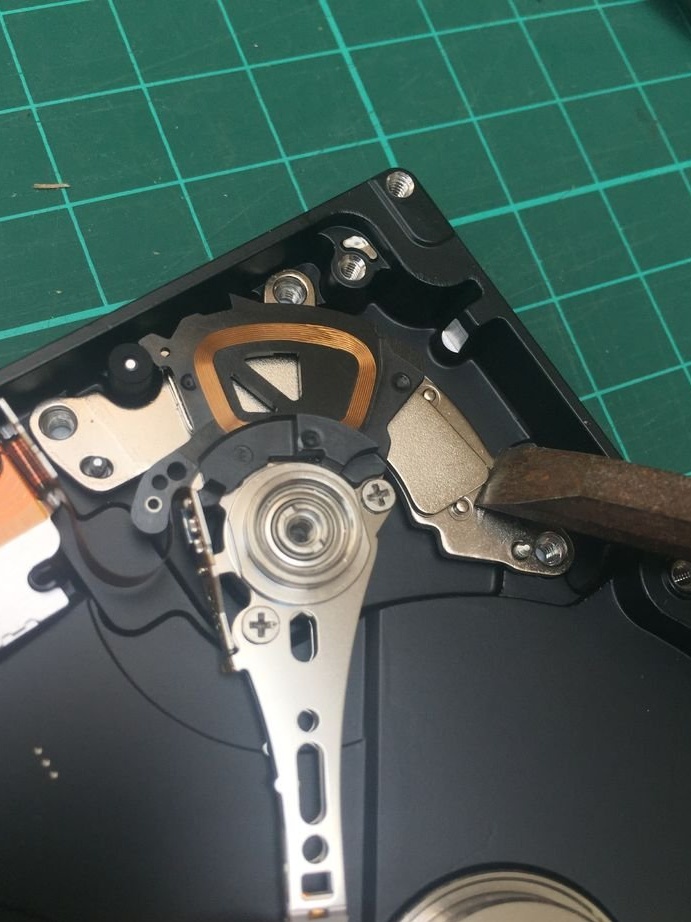
First magnet
Using a Torx screwdriver, remove the upper right screw - it holds the upper magnetic plate. On the back of this plate is a magnet; one magnet above the copper coil, and the other below it.
Once the screw has been removed, the top plate will open completely.
Using a chisel, tear off the magnet from the plate - there will be a little glue on it. This magnet is strong enough, since it is neodymium. Useful somewhere sometime.
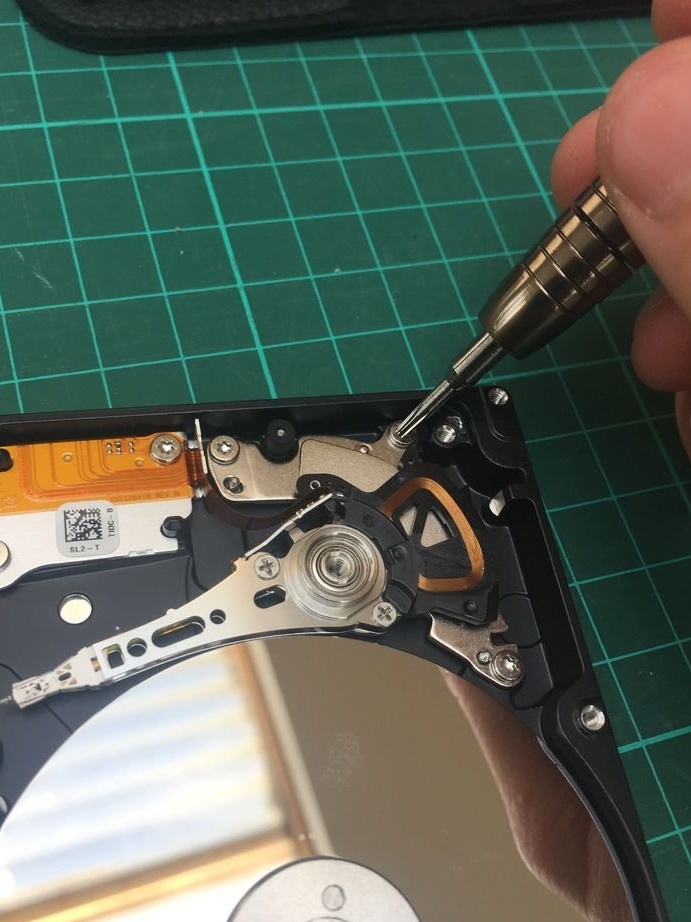
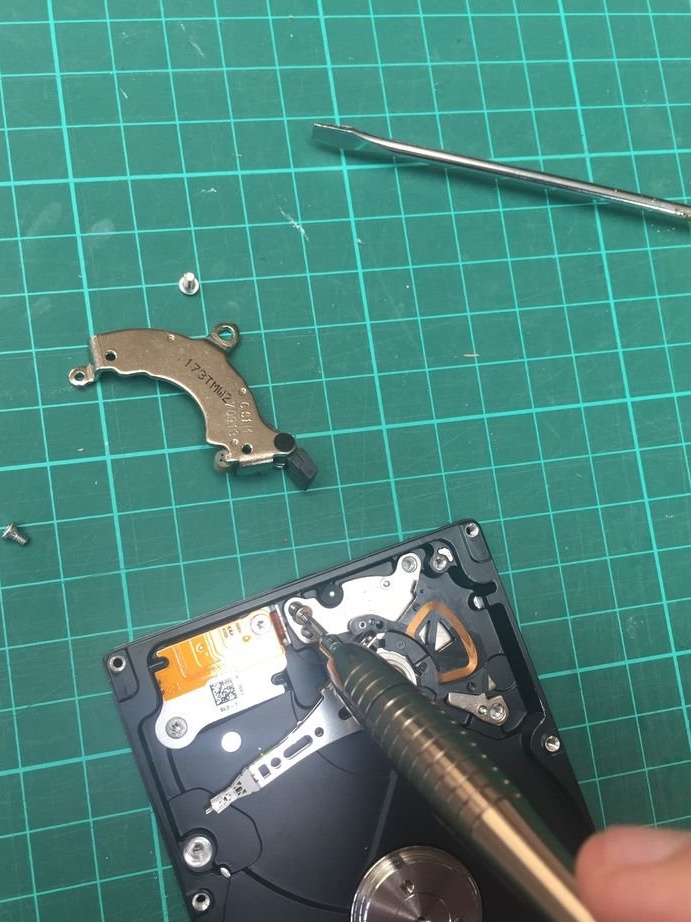
Second magnet
Remove the 3 Torx screws holding the bottom magnet plate in place (the wizard believes this helps push the magnet out).
Move the drive lever all the way down, revealing the bottom of the magnet.
Lift the bottom of the magnet with a chisel (it can break in the center, but it doesn’t matter) and pull out this half of the magnet.
Then you need to extend the other half of the magnet.
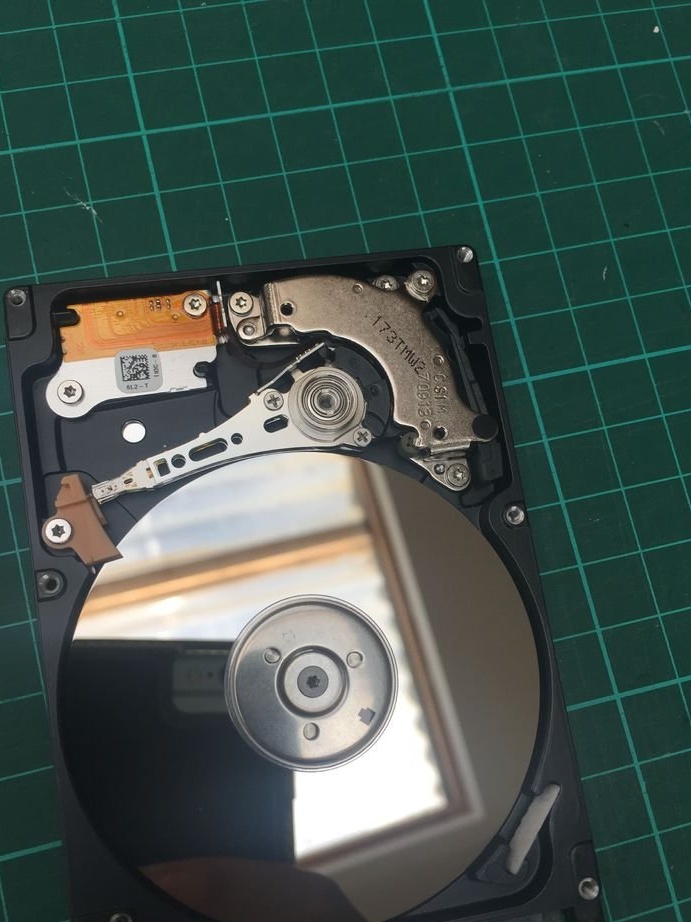
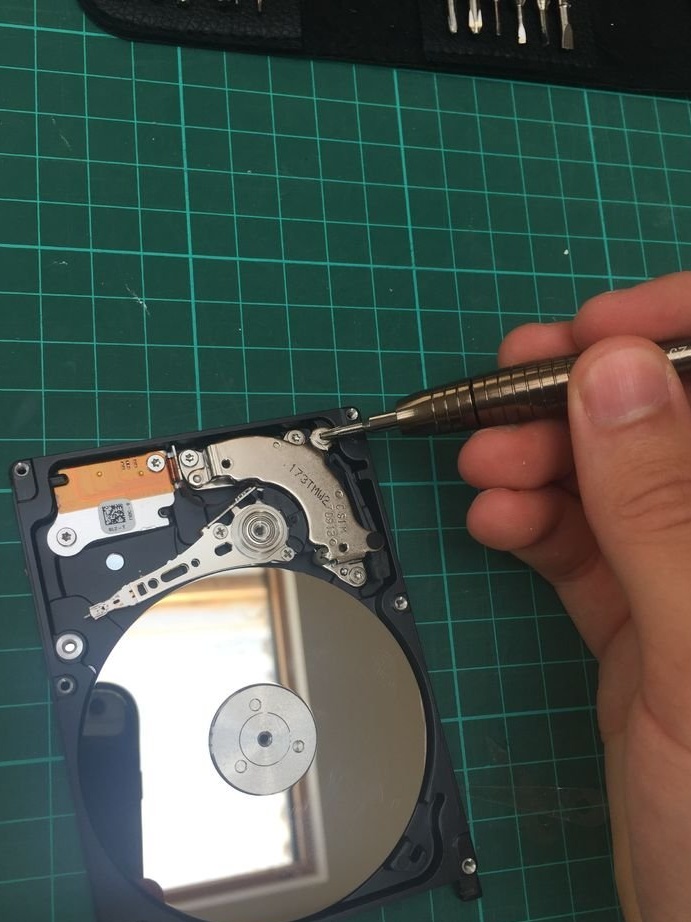
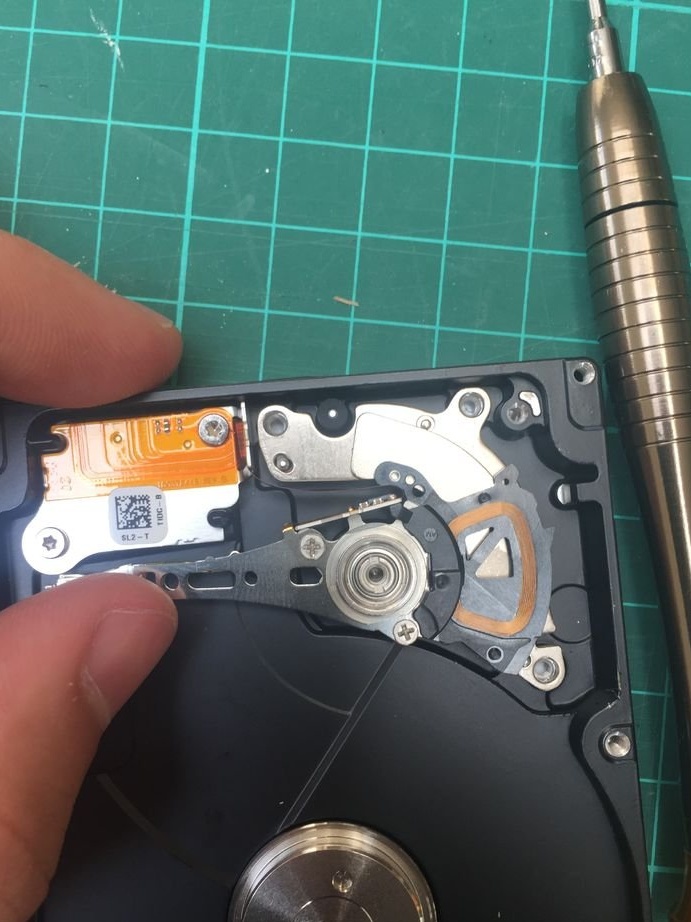
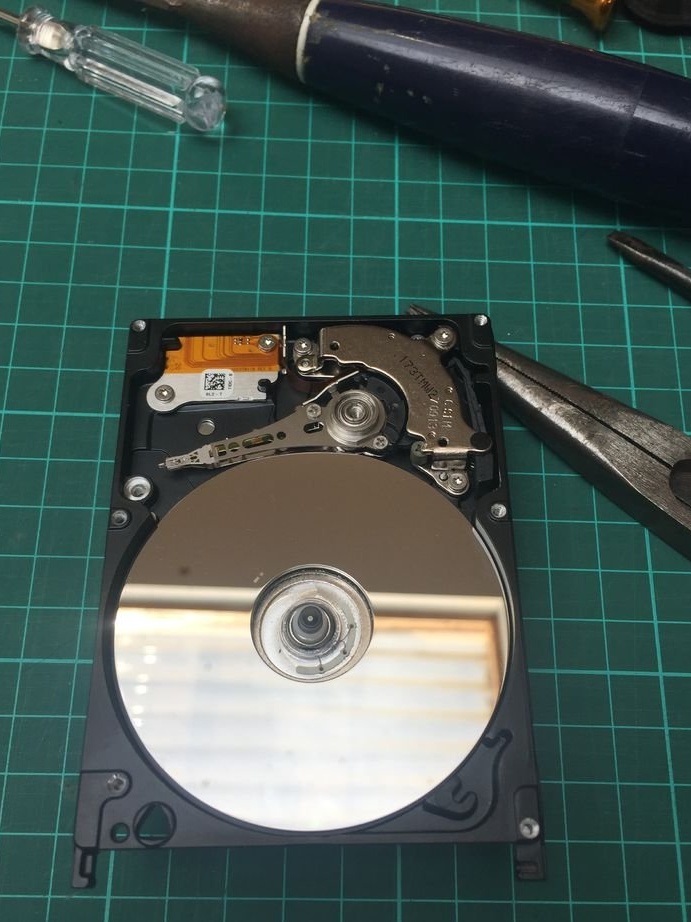
Step Five: Replacing the Magnetic Holders
Screw in the bottom plate again using the 3 Torx screws.
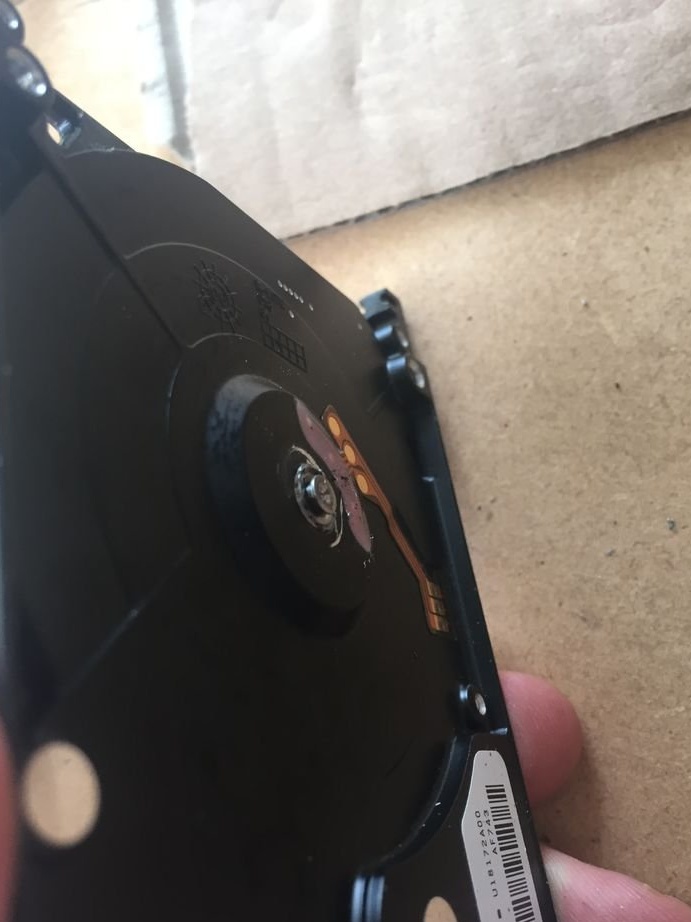
Reattach the top plate with 1 Torx bolt.
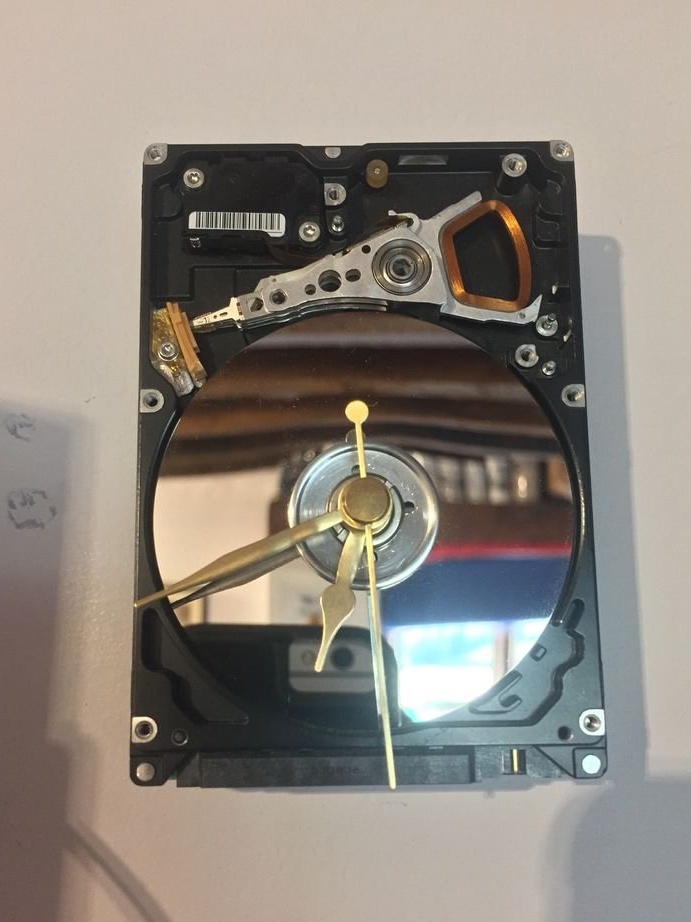
Winchester should look like in the second picture.
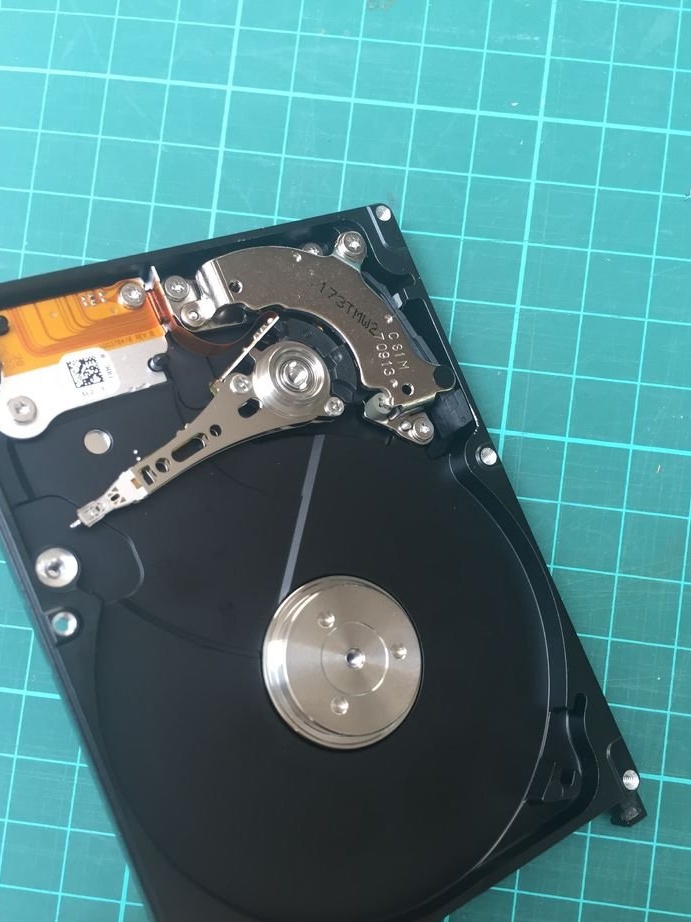
Step Six: Drilling a hole in a disc drive
This stage is the most disappointing and to a certain extent comes down to trial and error.
*** Use safety glasses and earphones ***
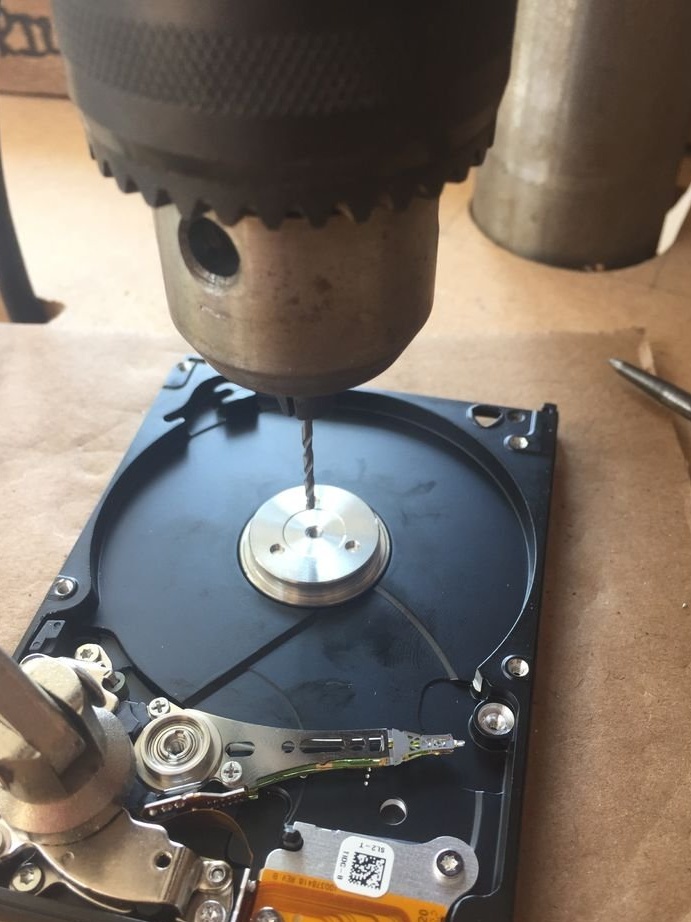
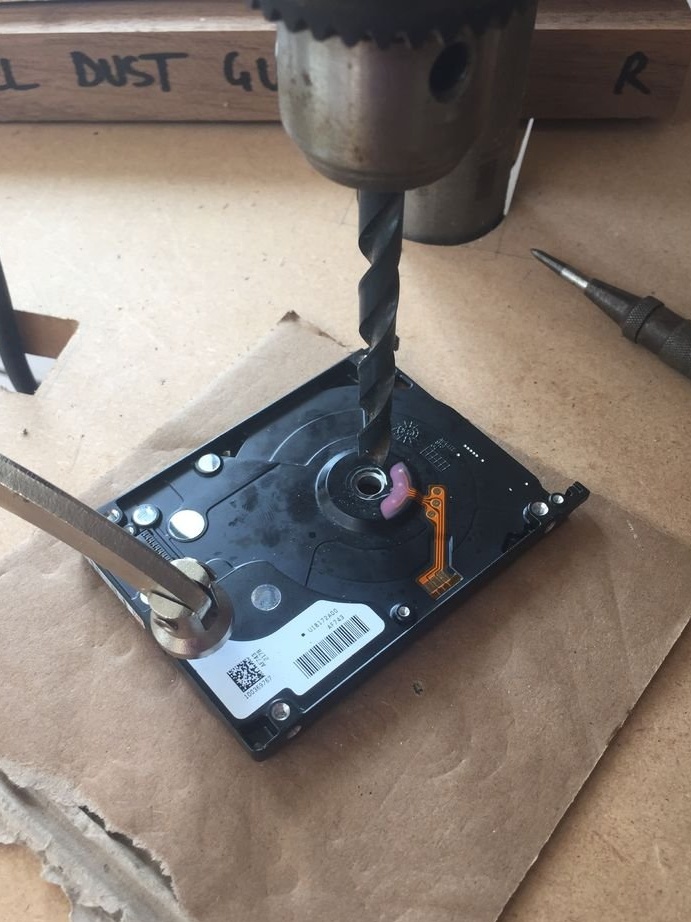
Place the disc face up on a piece of cardboard, and then on the table of the drill press. Use a clamp to hold the drive in place, as it can rotate.
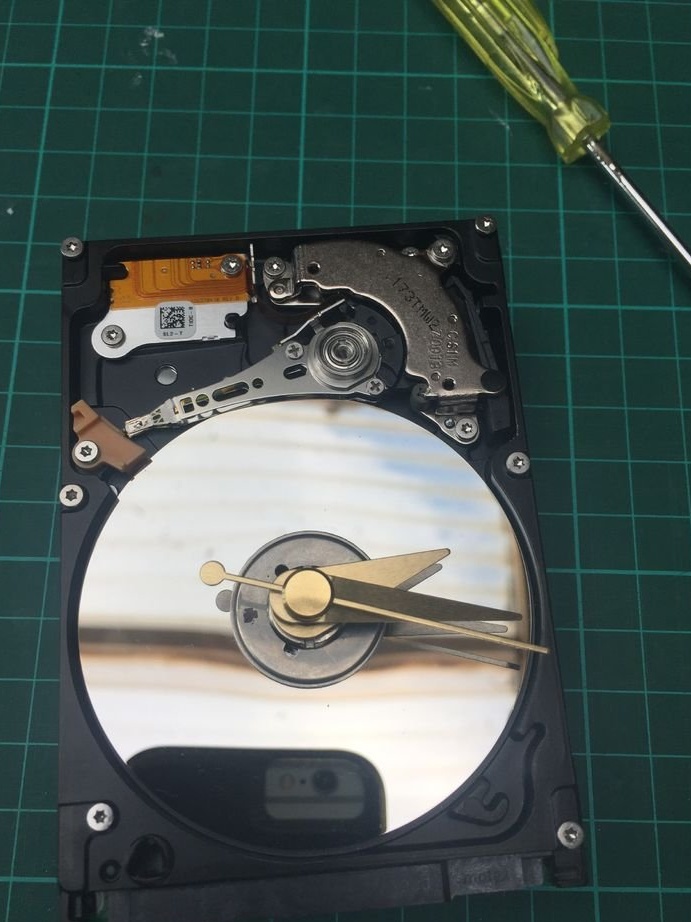
With a 1.5 mm drill for metal, the master slowly drilled a central hole in a metal circle.
Then the master, using pliers, pulled out the metal pin from the back (as can be seen in the second figure).
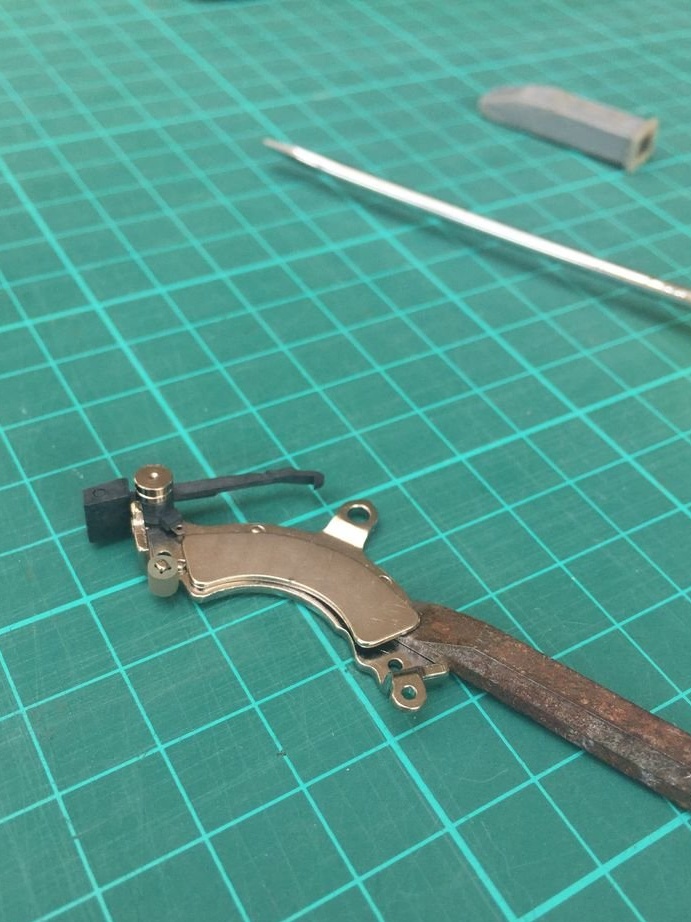
Seventh step: Removing the central metal cap
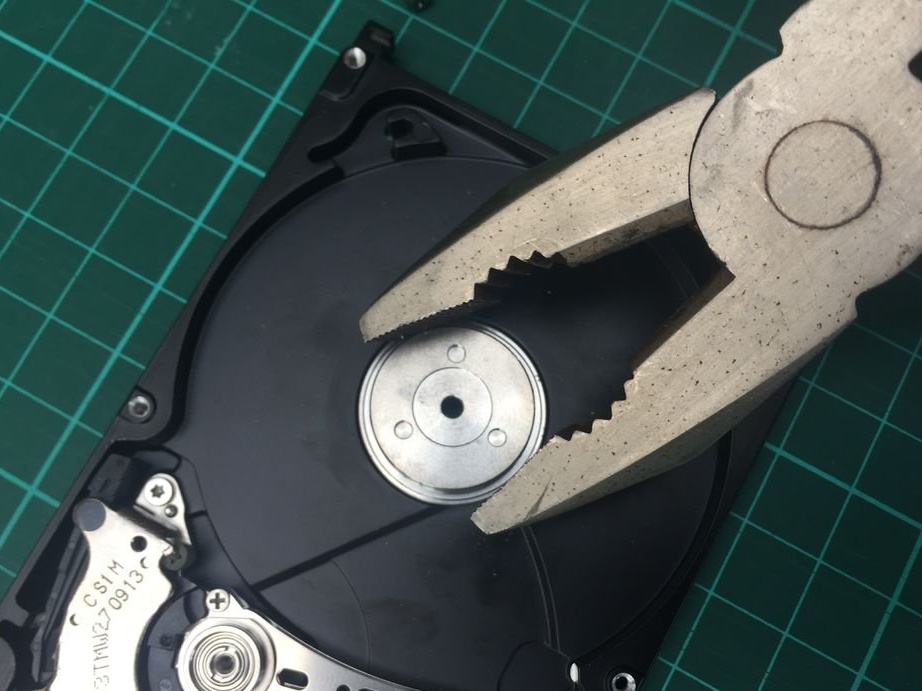
Using pliers, remove the cap of the metal cap (it will no longer be needed).
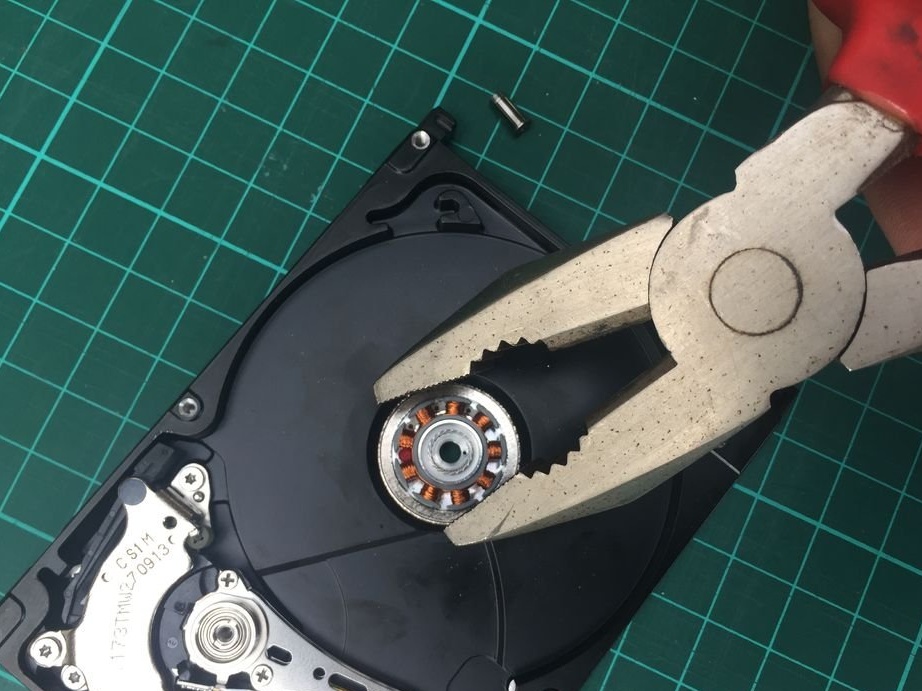
Remove also the copper coil (also not needed).
Step Eight: Increasing the shaft bore to fit the watch module
It is necessary to check the shaft diameter of the watch module in comparison with the hole left after drilling and removing the hard disk. The hole needed an increase of several millimeters.
The disc was placed back on cardboard, under the drill press. Then the master gradually enlarged the hole. First I used a 5-6 mm drill, and then an 8 mm drill to get a hole of the right diameter.
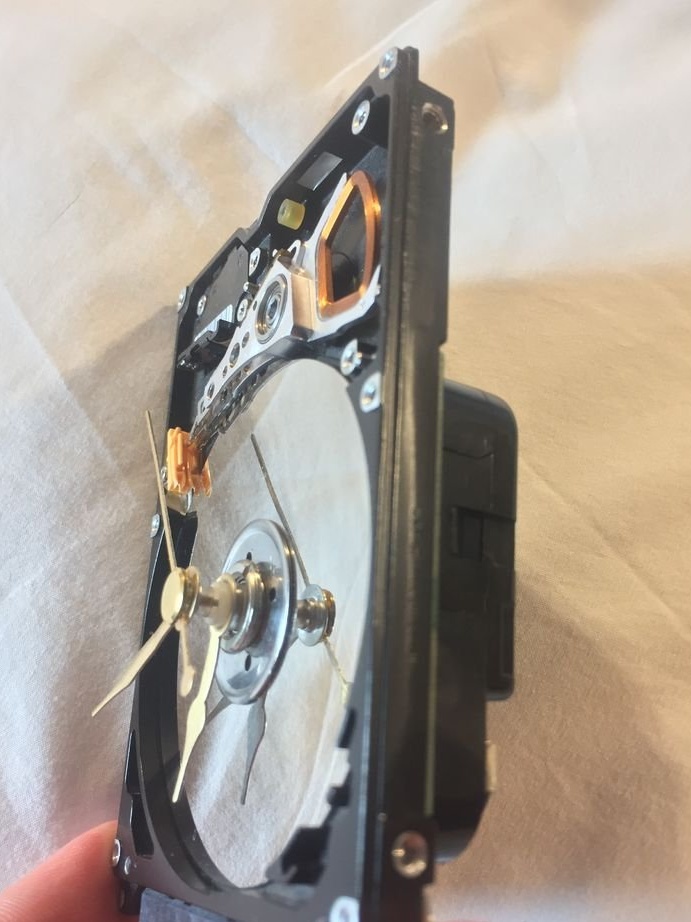
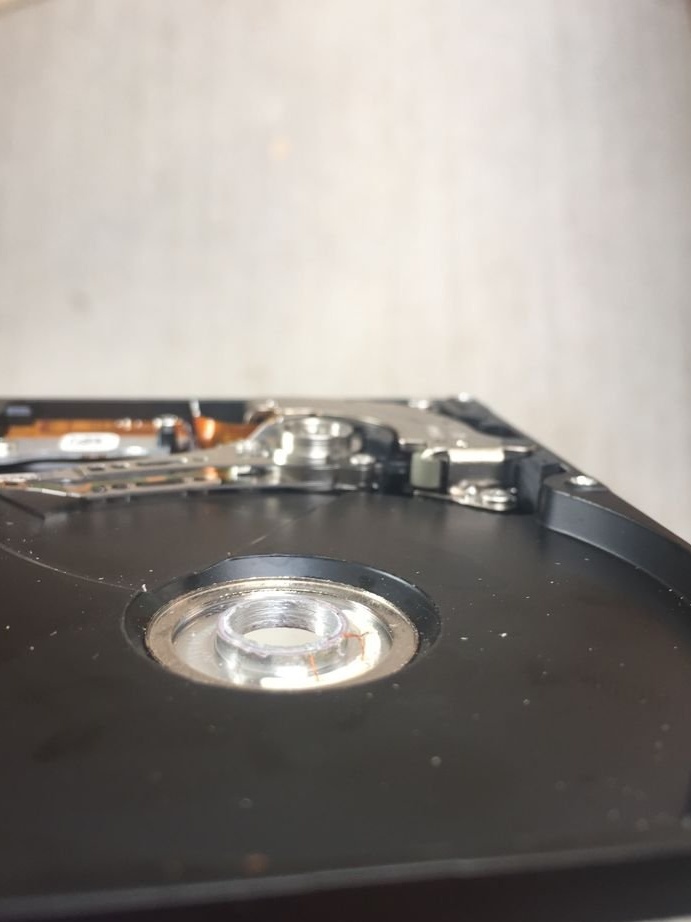
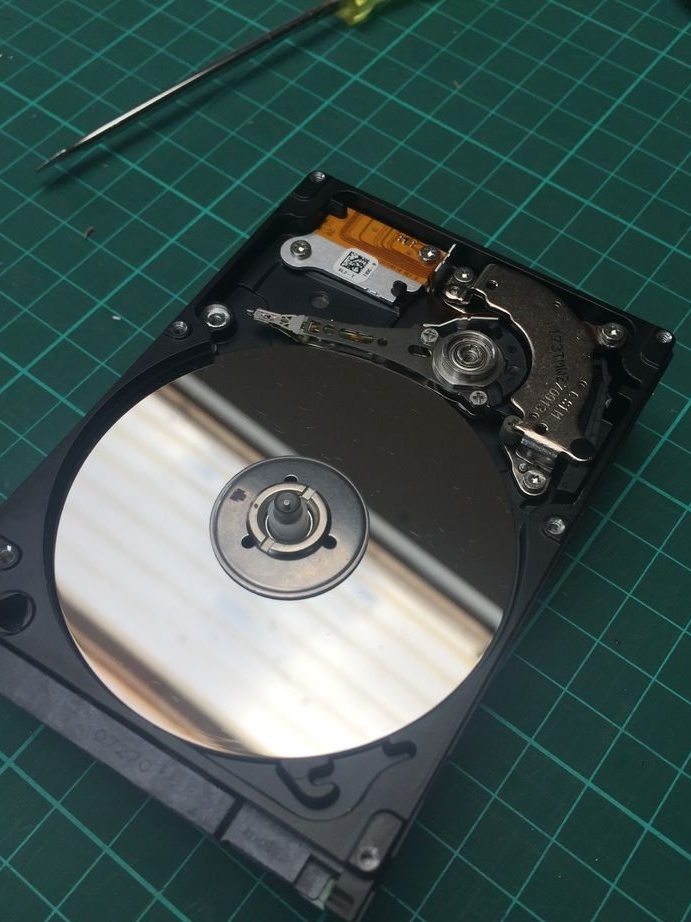
The master’s drive had an extra height on the shaft drive that had to be removed in order to clean the thread of the watch module.
Using pliers, the master pulled out the shaft drive metal and equalized it to the level of the surrounding metal (according to the last picture).
Step Nine: Enlarging the Hole in the Metal Plate

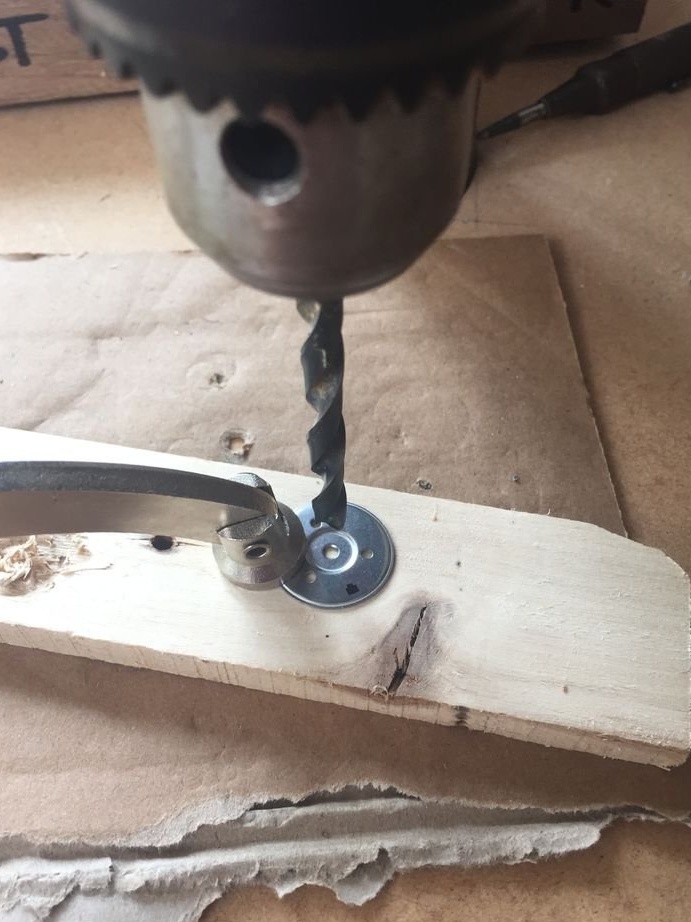
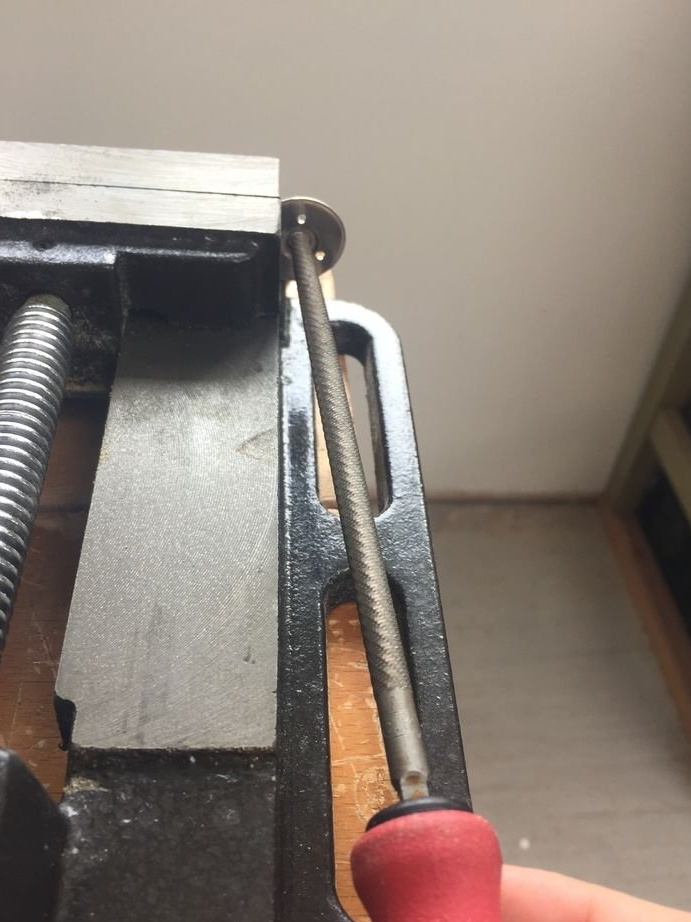
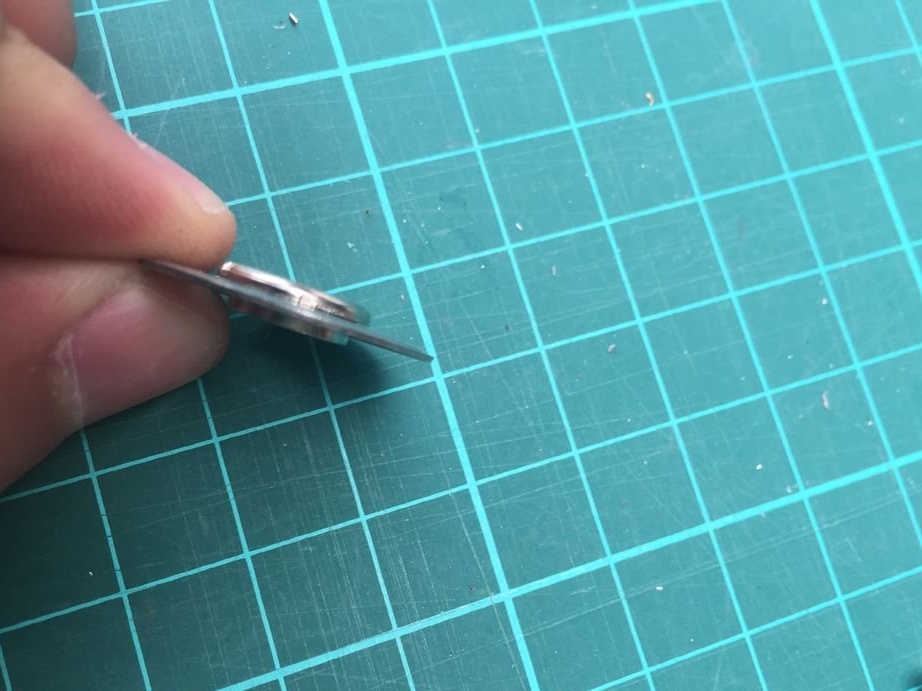
Now you need to find the flat metal circle that was removed from the front of the hard drive a few steps back. It already has a hole in the center, but it must also be increased so that it is possible to wind a screw ring that holds the watch module.
*** safety glasses and earphones ***
To increase the hole, the master used a drilling machine. Due to its small size, the master used a handy tool to hold the plate.
To finalize the plate, the master used a round file.
The last photo shows how the master pressed the ring into a metal plate so that the screw part was at the same level with the upper part.
Step Ten: Installing the Rear PCB
Use the 5 screws to reattach the rear circuit board to the drive.
Screw 6 Torx screws back into the holes on the front panel. The final product looks better with them.
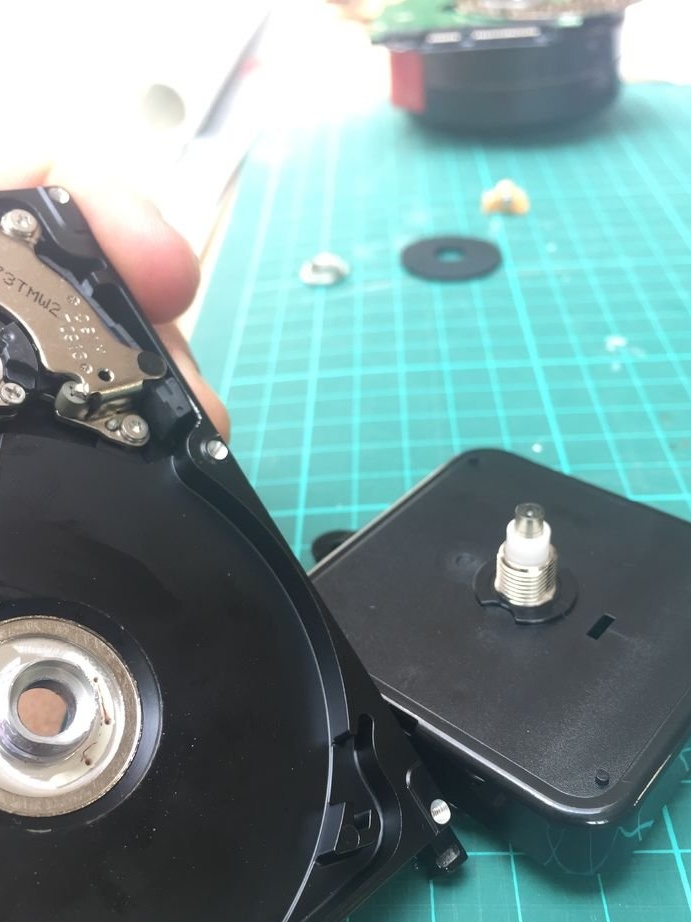
Step Eleven: Assembling the Clock Module
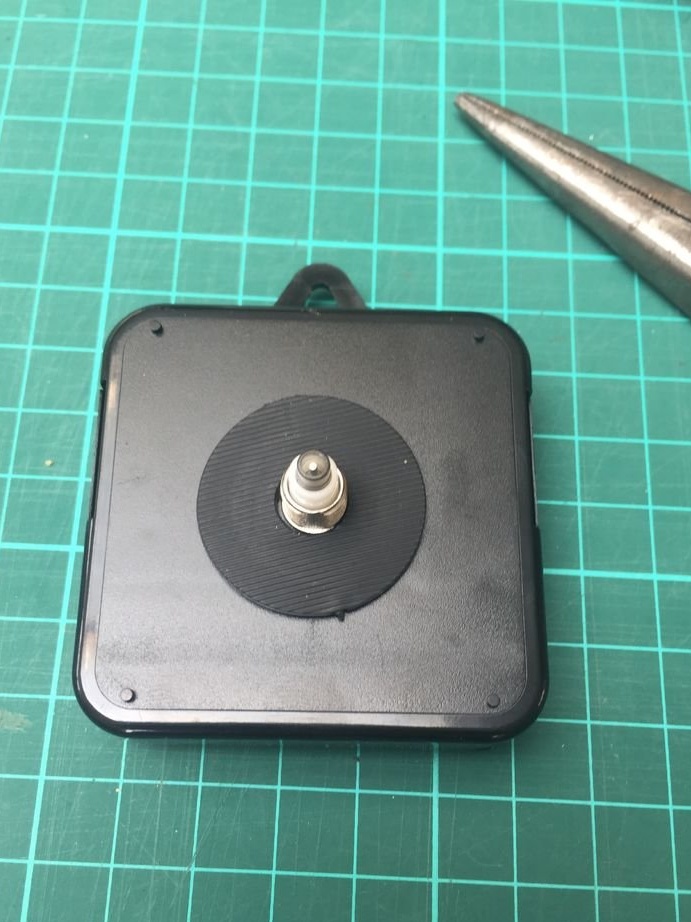
Put the rubber ring on the back of the module.
Insert the module flush with the back of the circuit board, making sure that the hook (top) of the module is facing up.
Screw the metal plate with the pressed-in module screw ring onto the front of the drive, on top of the mirrored metal disk.
Using a microfiber cloth (or equivalent), polish the mirror plate, removing all fingerprints, grease, etc.
Step Twelve: Setting the arrows

Attach the hands in the following order: hour, minute, then second.
Make sure that the arrows rotate 360 degrees without any obstacles by turning the adjustment wheel on the back of the module.