
Good day to all. Today, I would like to tell you how the author of the cemaL AÇAR YouTube channel, some are already familiar with this author and some of his homemade, for example, from articles such as:“A universal cabinet for various small things” , or “Camping mini oven from freon cylinder”, and many more homemade products that the author made do it yourself.
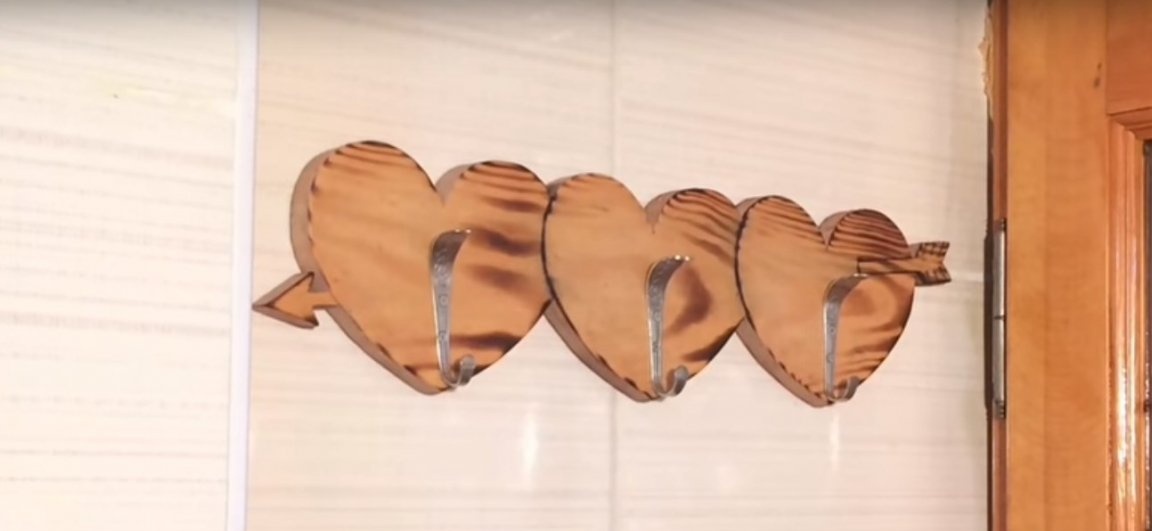
Well, in this article, the author will show how he made the original hanger.
So, let's begin! The list of what the author used for his homemade work.
MATERIALS:
Board length of approximately 500 mm., And a thickness of 10 mm -15 mm;
Spoons (ordinary tablespoons) -3 pcs.
Screws - 6 pcs.
Cardboard;
INSTRUMENTS:
Vise
Electric jigsaw;
Electric drill and screwdriver;
Drill;
Sandpaper;
Marker;
Glue stick;
Scissors;
End Saw;
Ruler;
Gas stove;
Varnish for wood;
Paint brush;
Angle grinder:
Cutting wheel for metal;
Pliers;
Grinder;
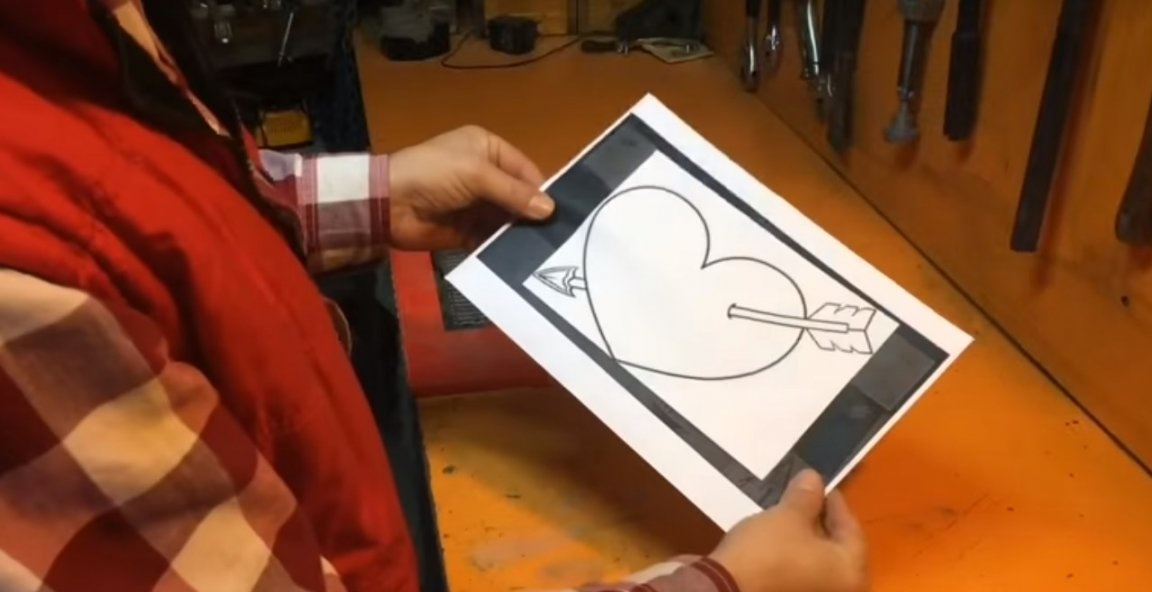
And also, the author will need a picture printed on an ordinary sheet of paper of A-4 format.
Well, perhaps, all that is needed for this homemade product.
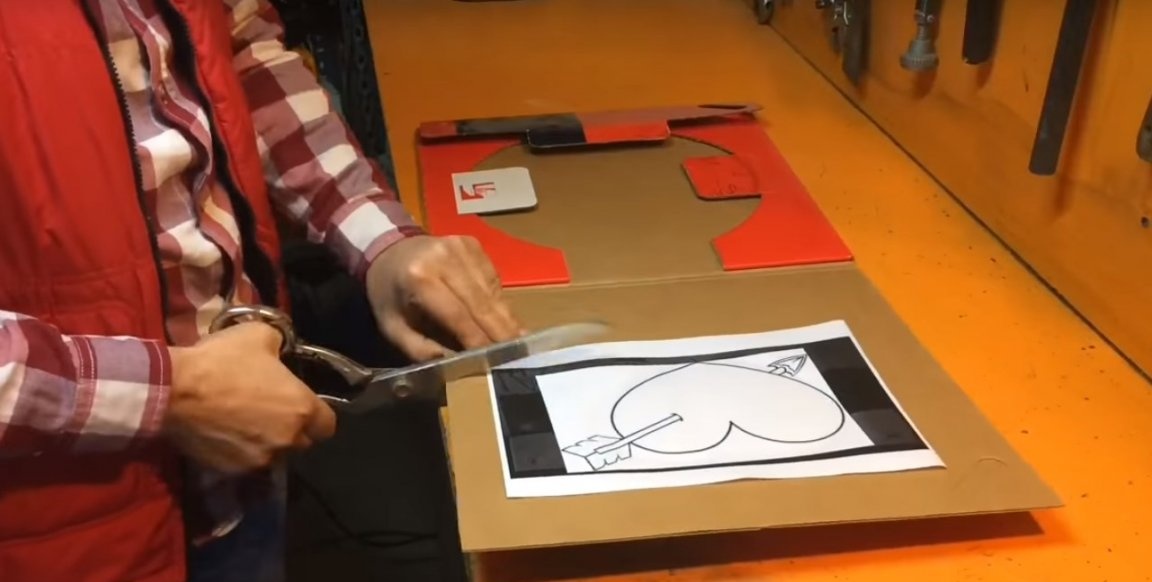
First of all, the author will make a template, for this he will stick a sheet with a picture on cardboard.
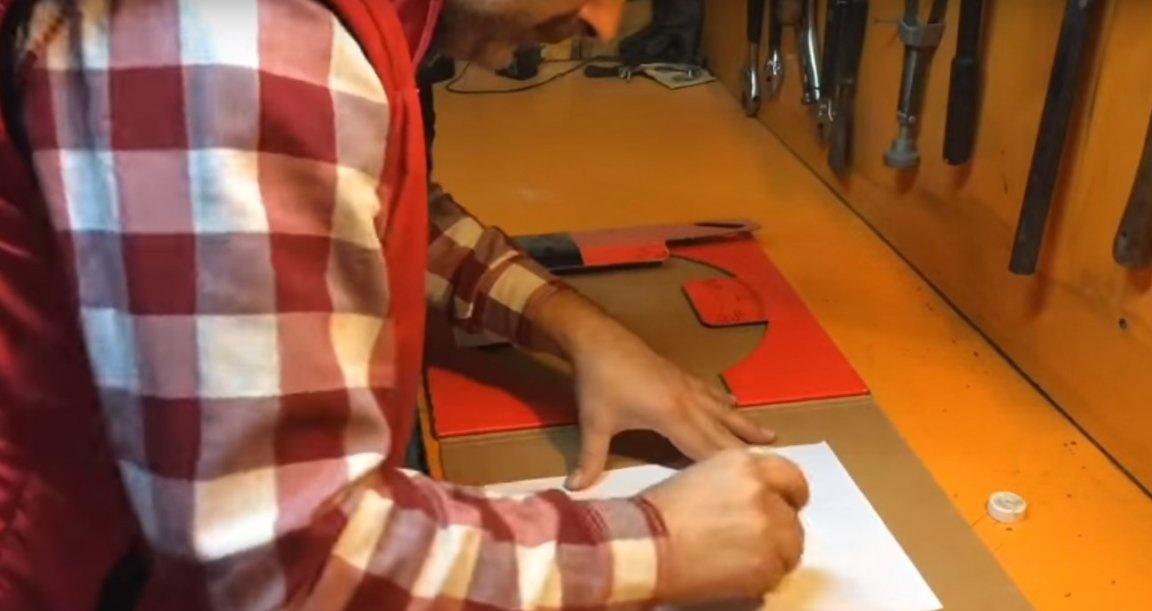
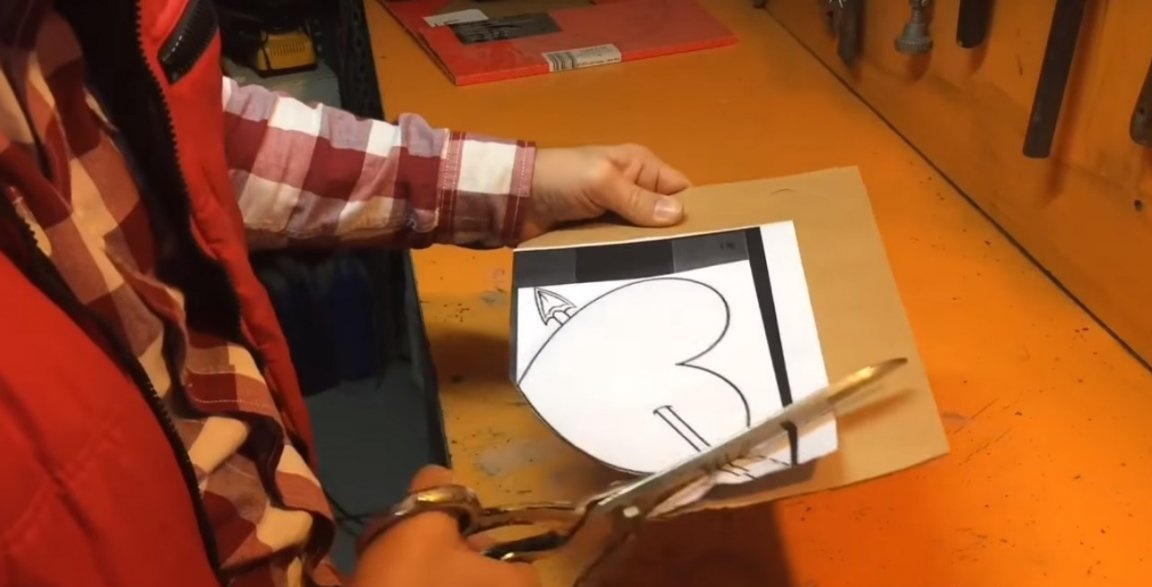
After cutting out the pattern with scissors.
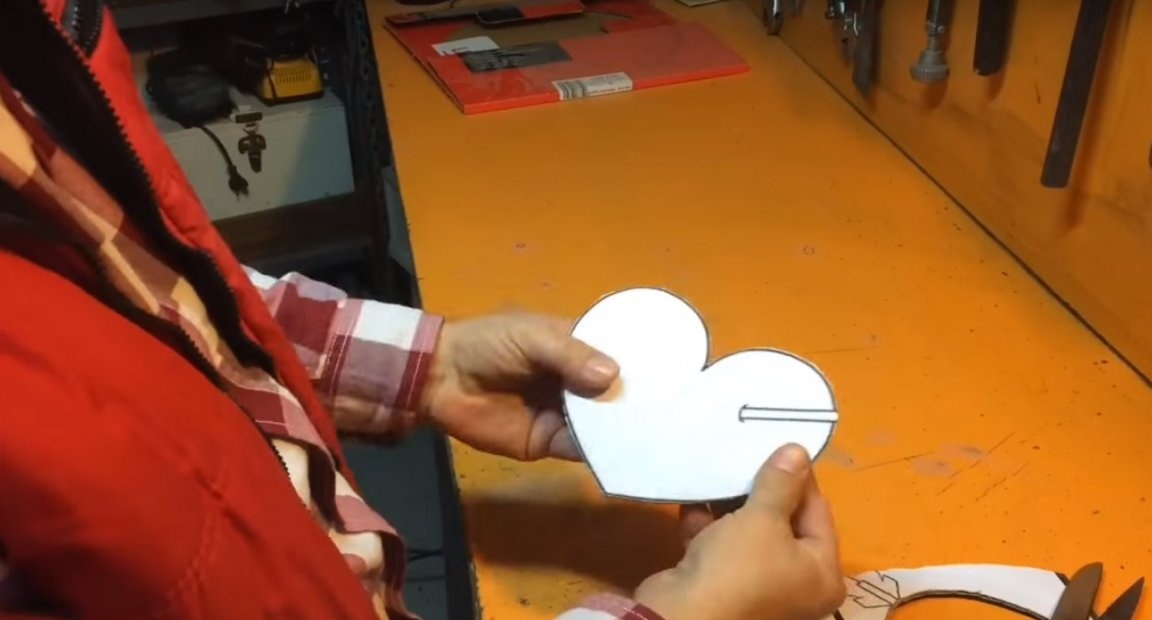
Here is such a pattern.
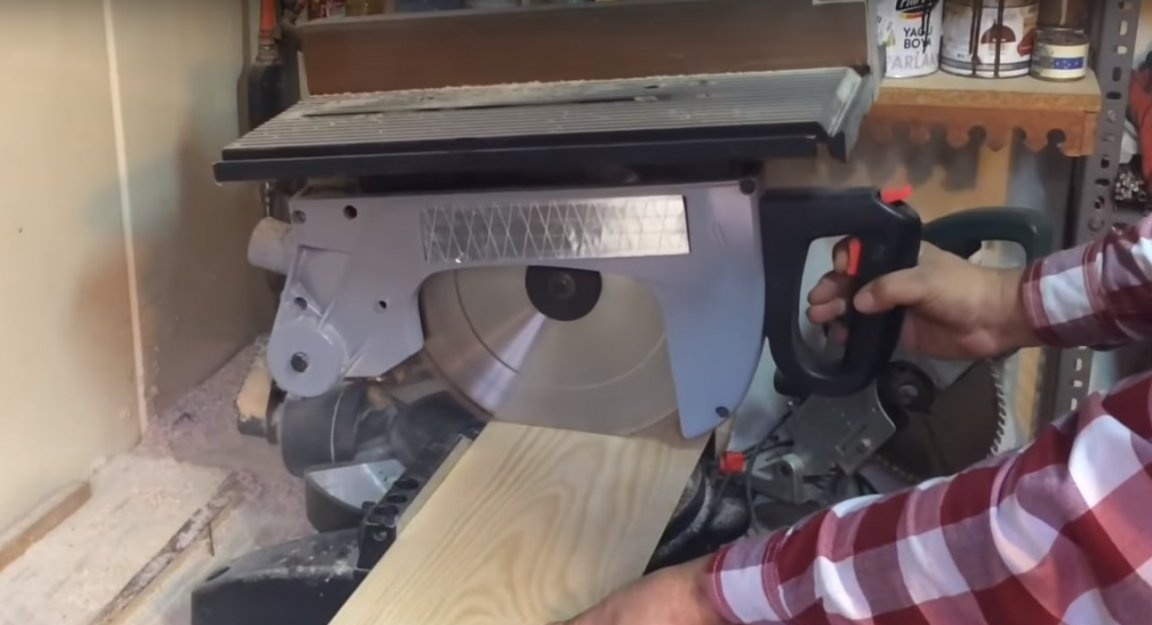
Then cut off a piece of board of the desired length.
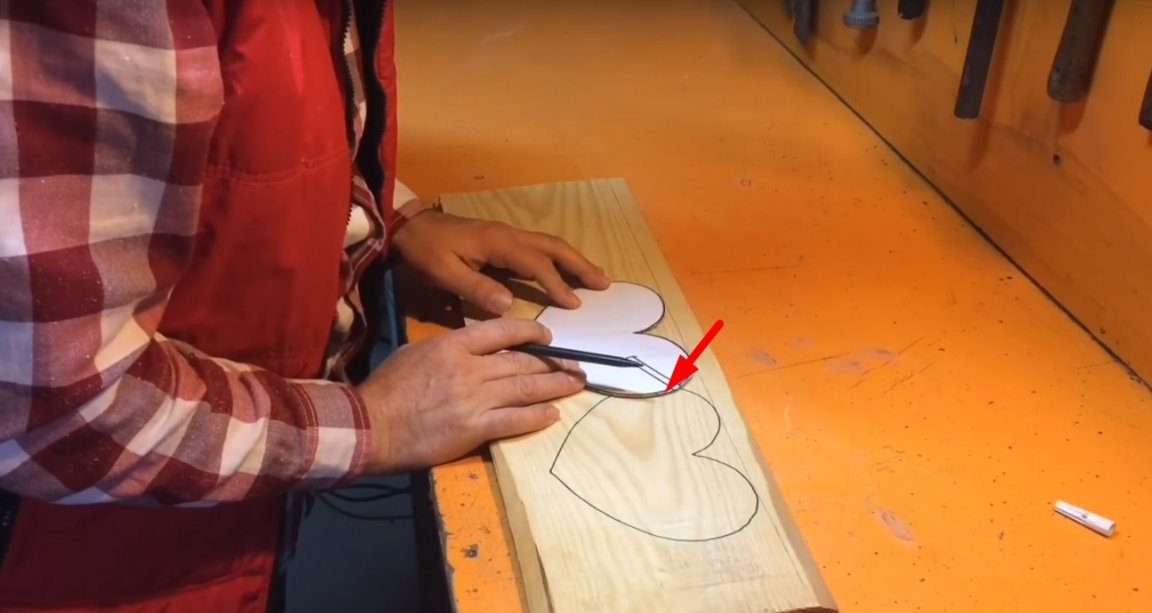
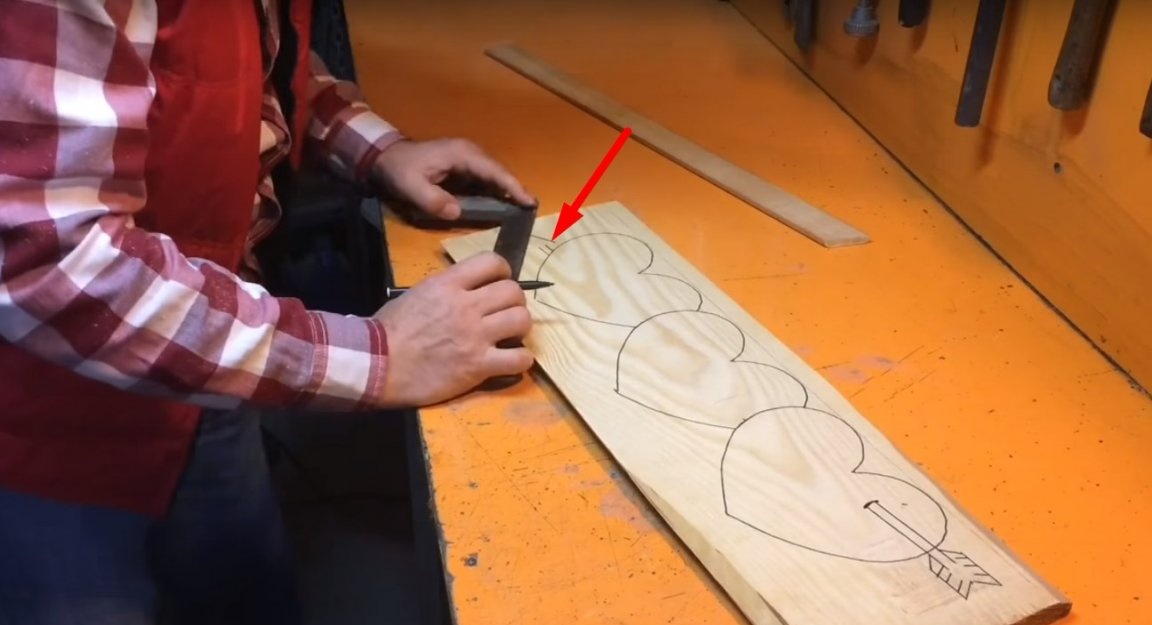
And with the help of a template and marker, he will make a drawing on a wooden blank.

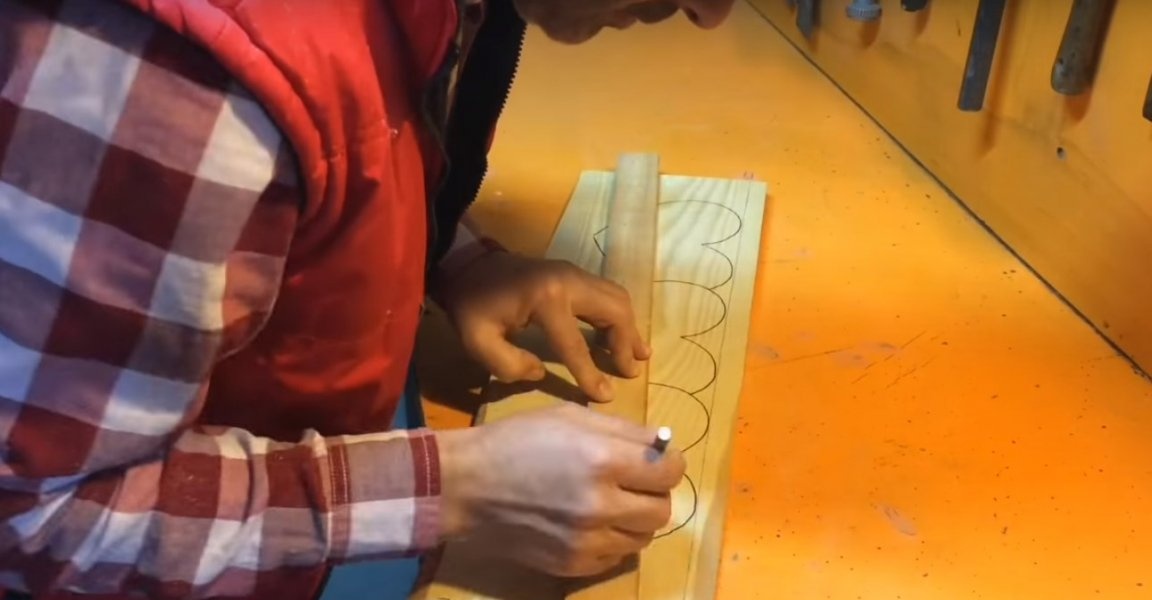
By moving the template to the side, it makes the next pattern overlapping the previous one.
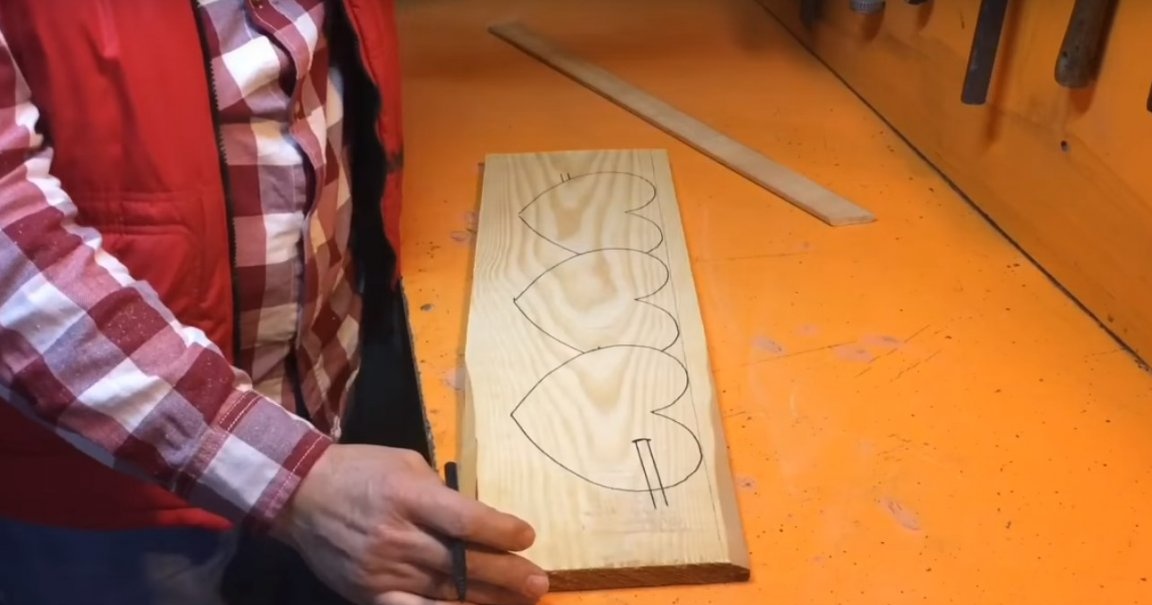
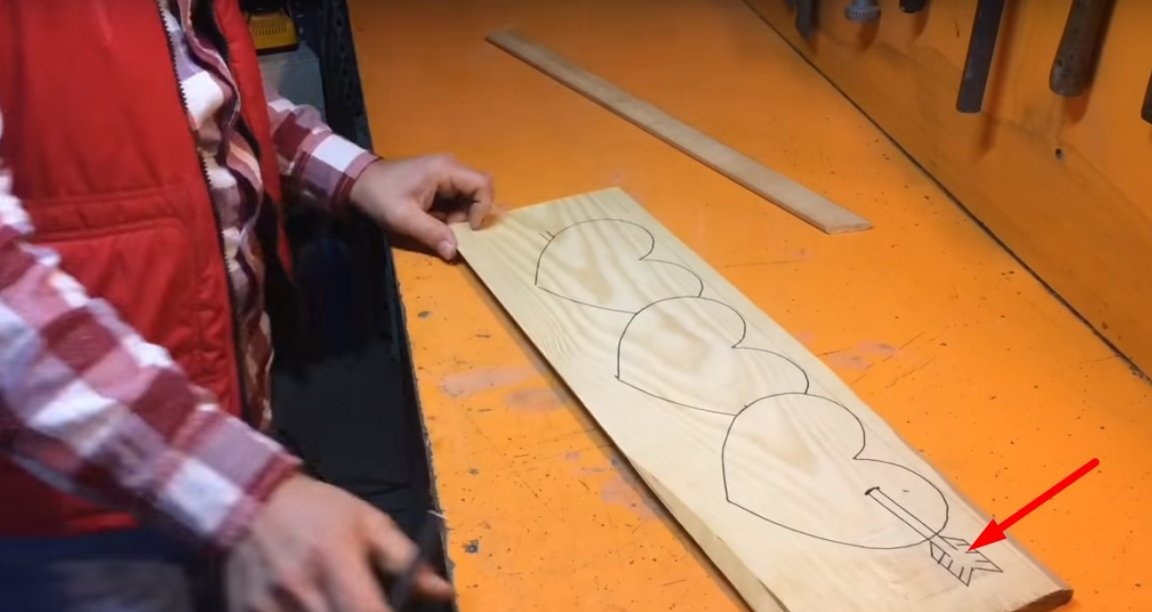
Then, the author drew up the missing elements using a ruler.
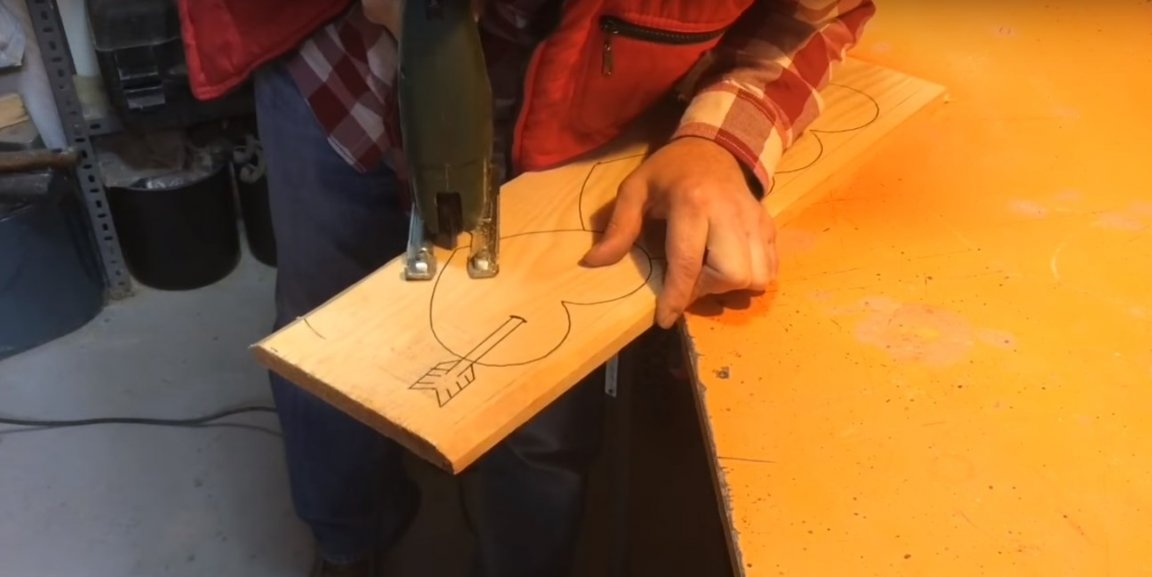
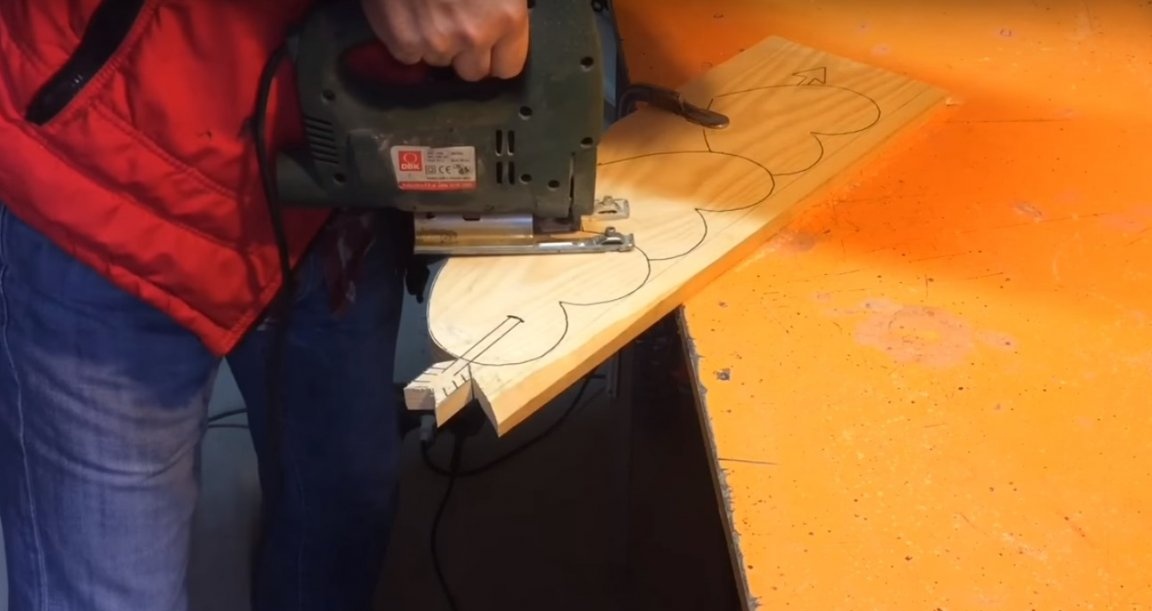
And he carefully cut out the part with an electric jigsaw.
After processed the edges with sandpaper.
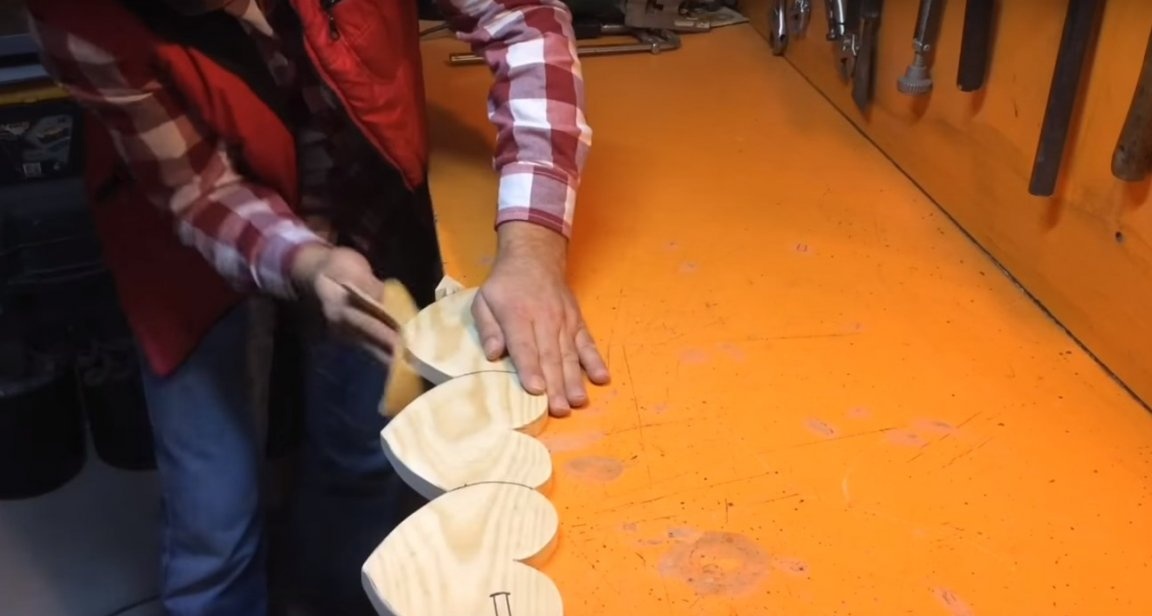
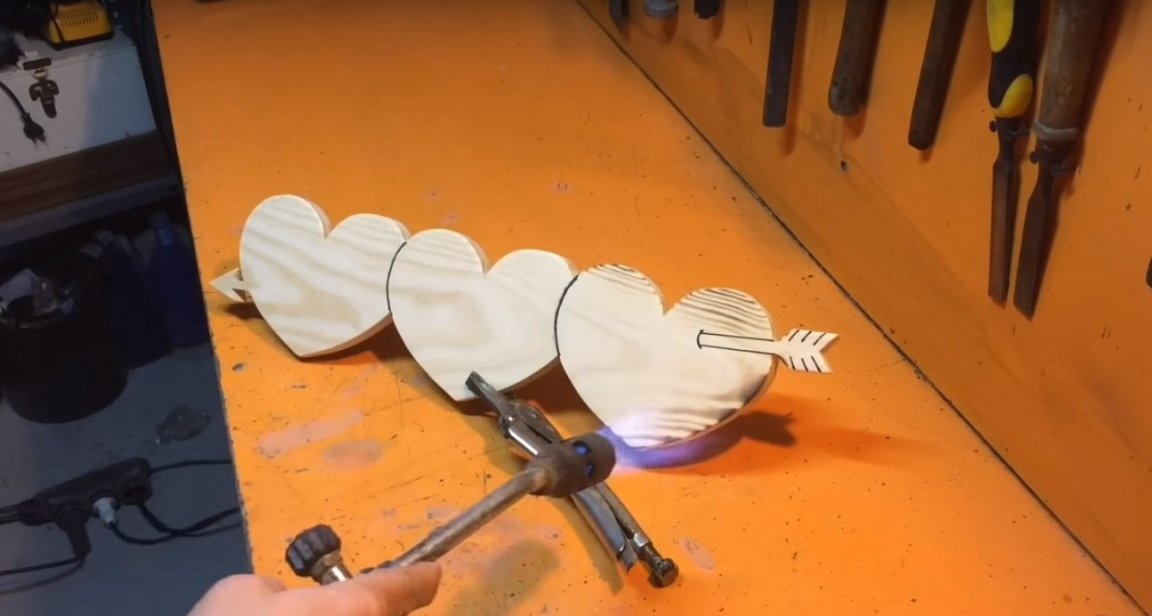
It turned out something like this.

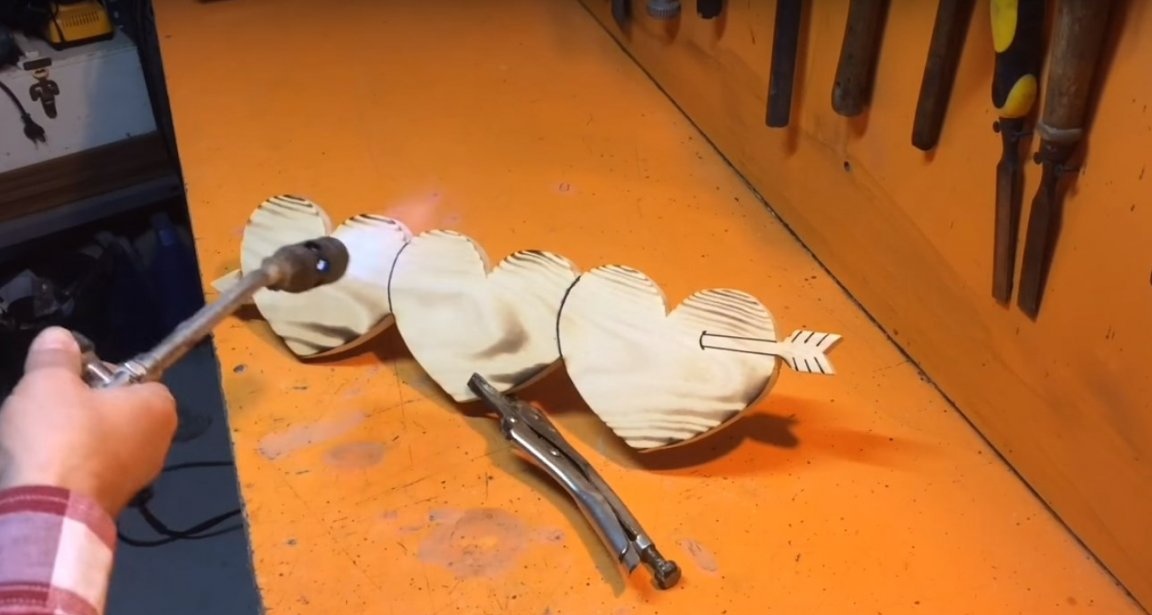
After that, the master took a gas burner, and worked a little, the product with fire.
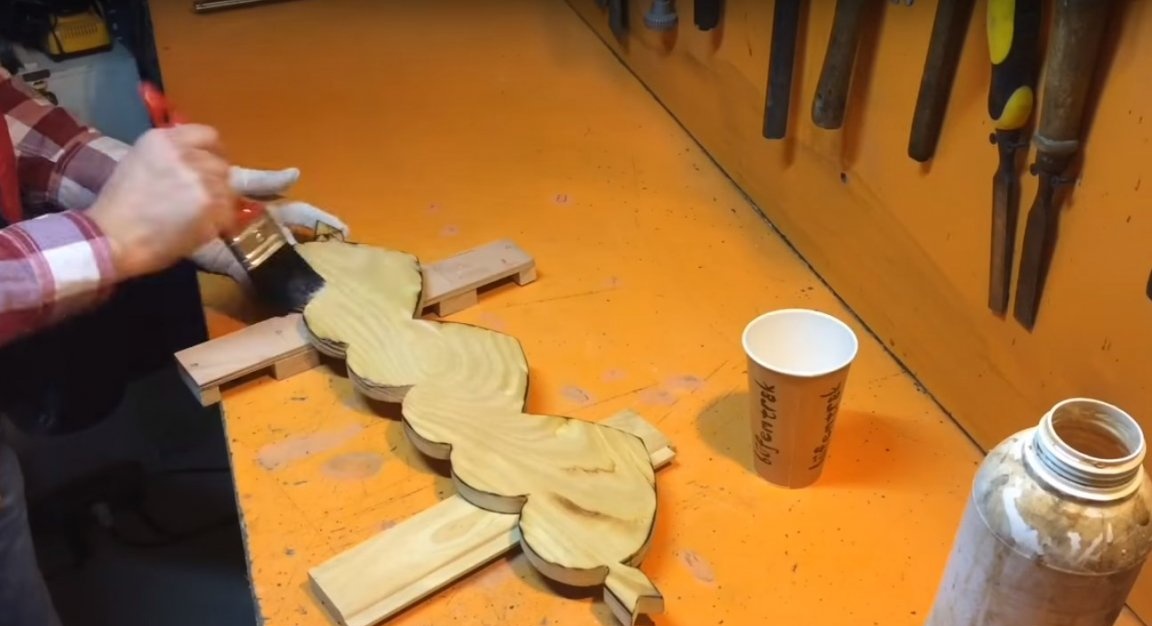
Then varnished the product.
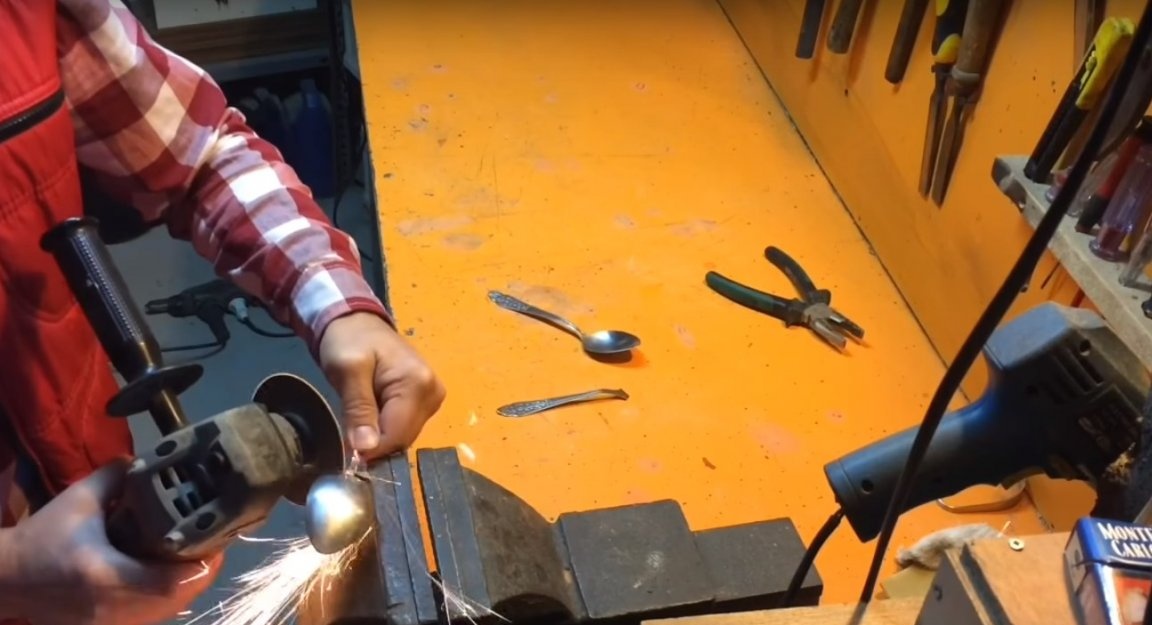
And while the varnish dried, the author made hooks.
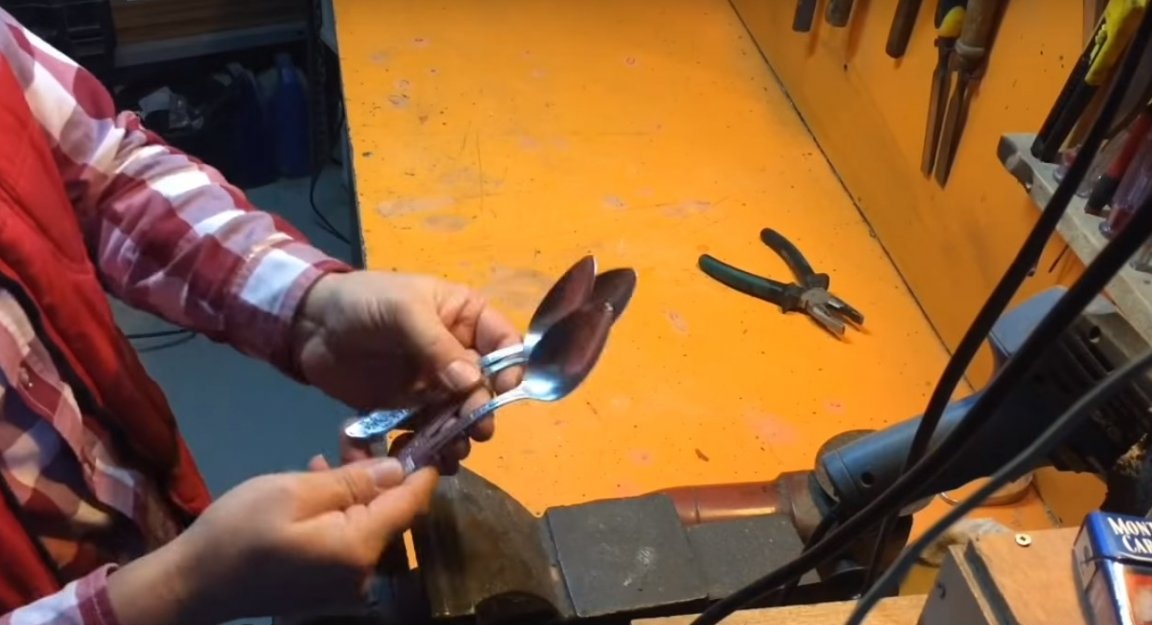
Cutting off the handles from the spoons.
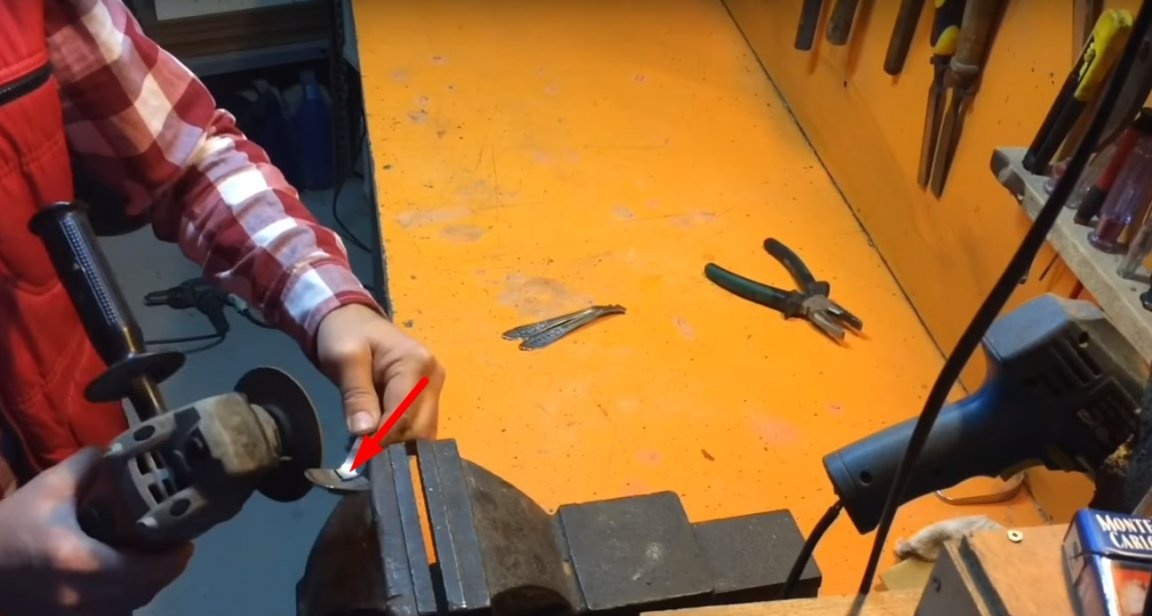
Making a cut, as in the photo.
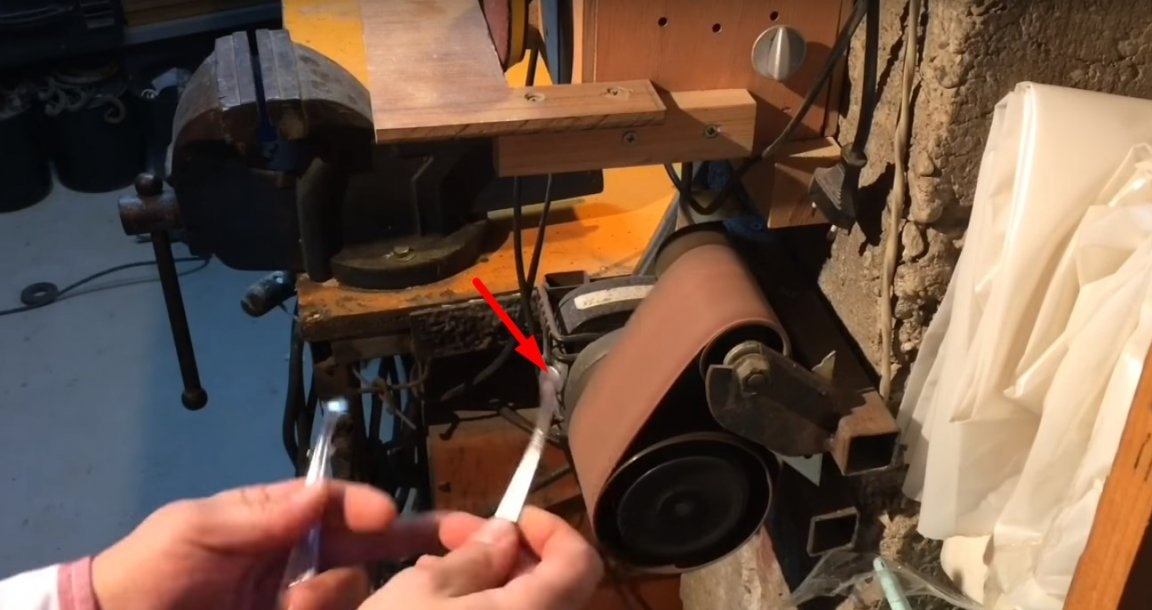
After, he processed the edges of the pens on the grinder, giving the edges a roundness.
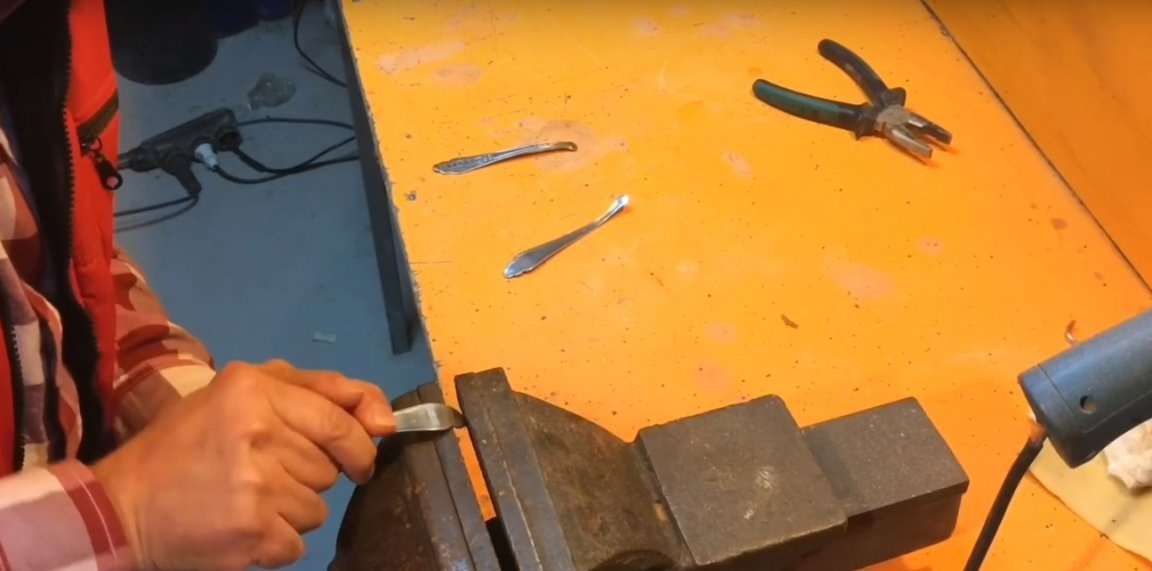
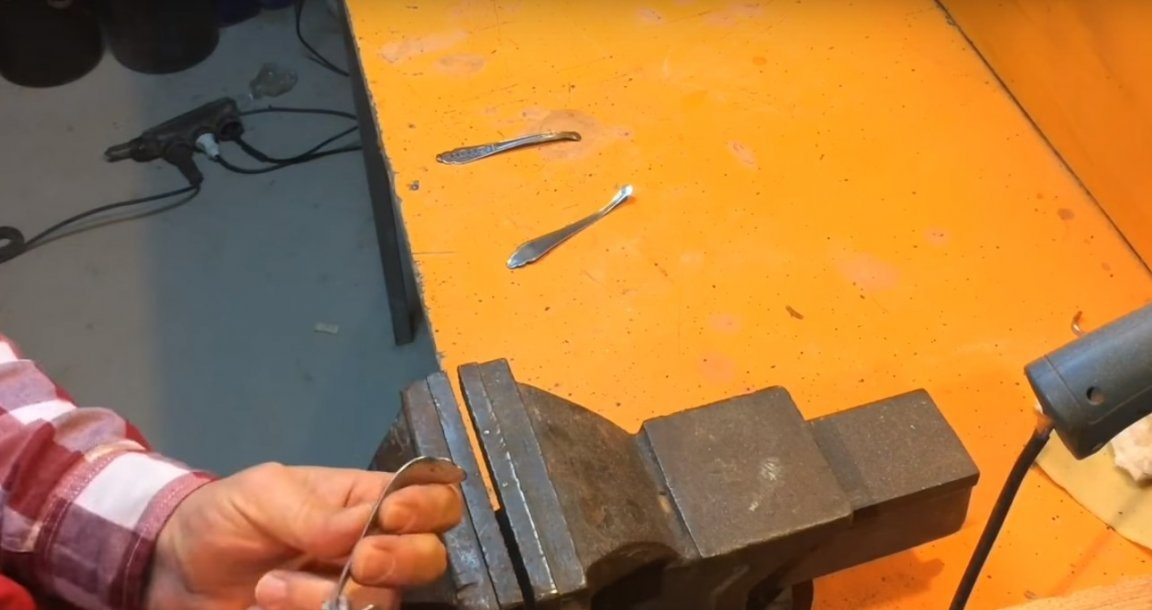
Then he bent all the blanks, giving them the shape of hooks.
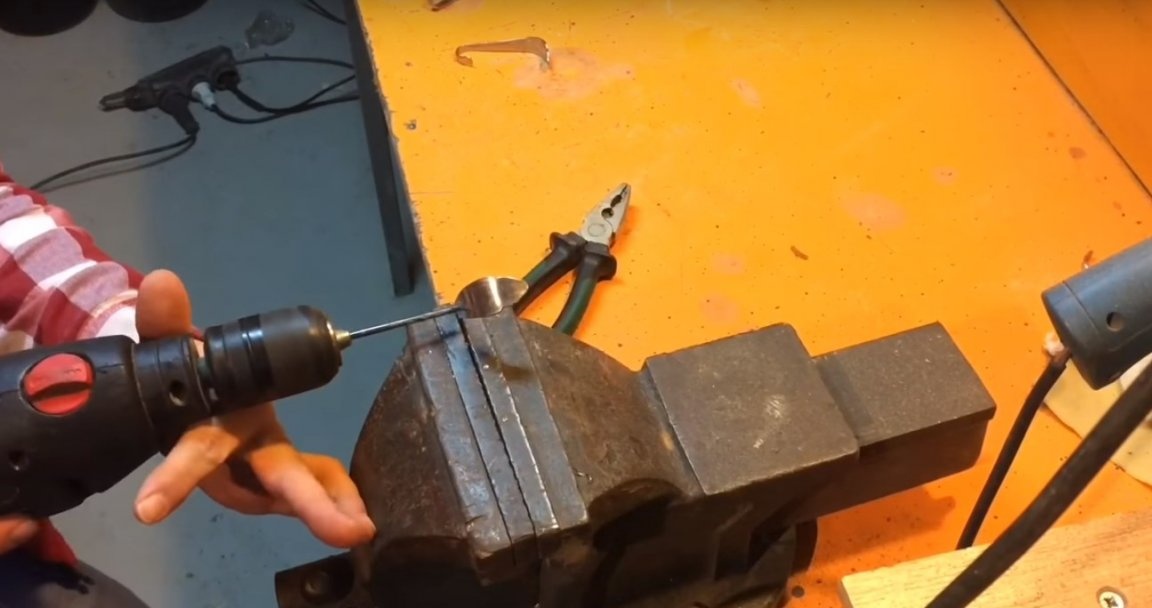
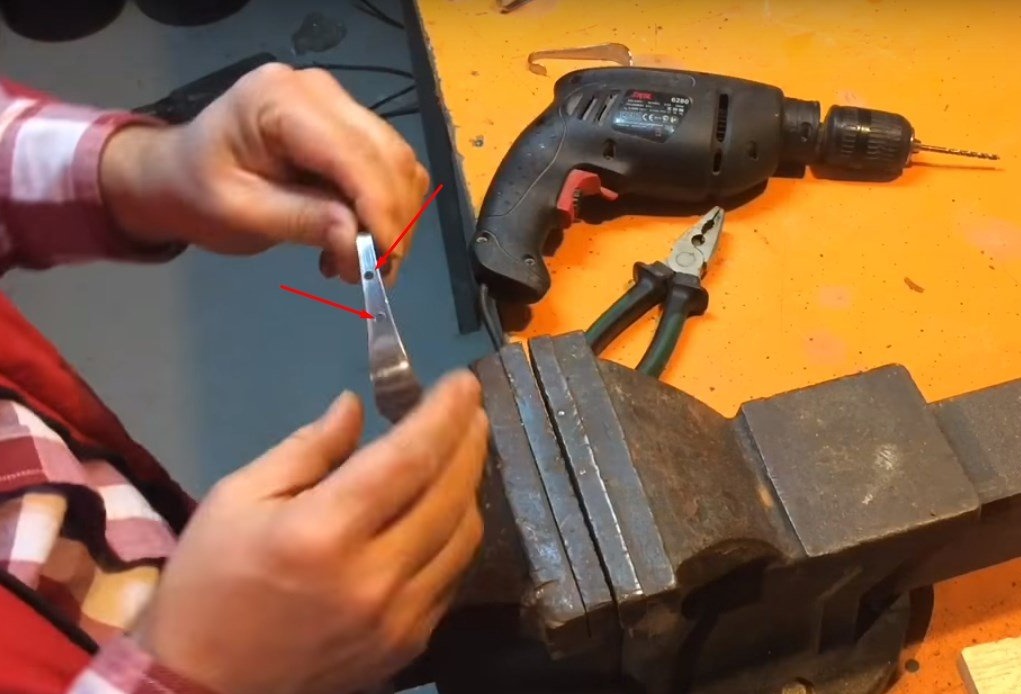
Then, in the resulting hooks, the author made two holes in each, for fastening.
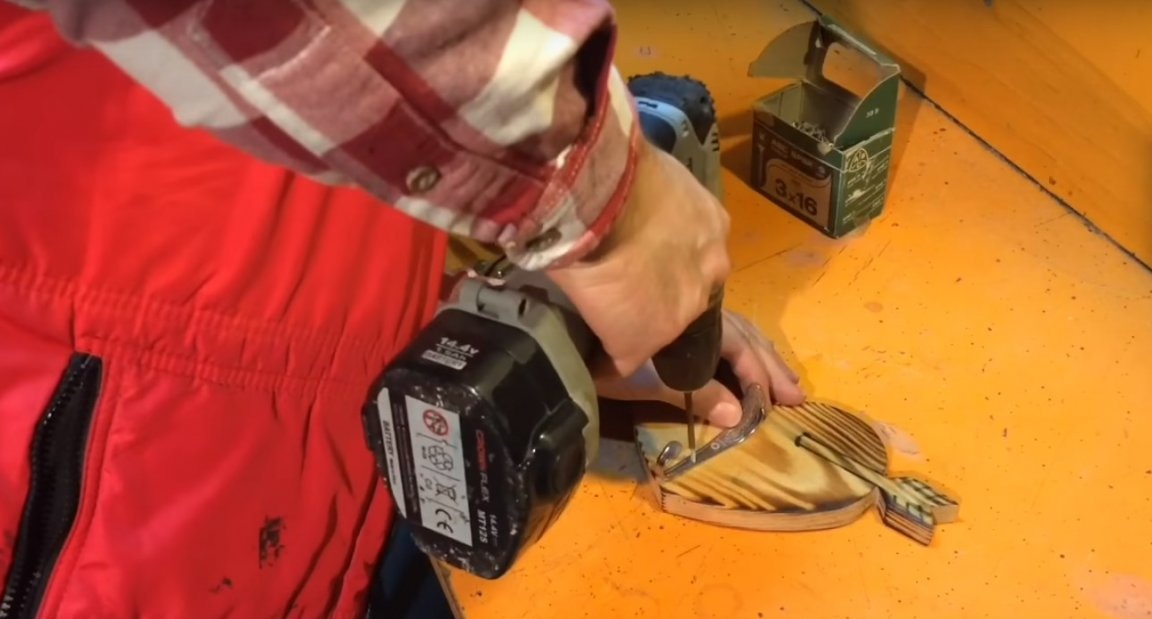
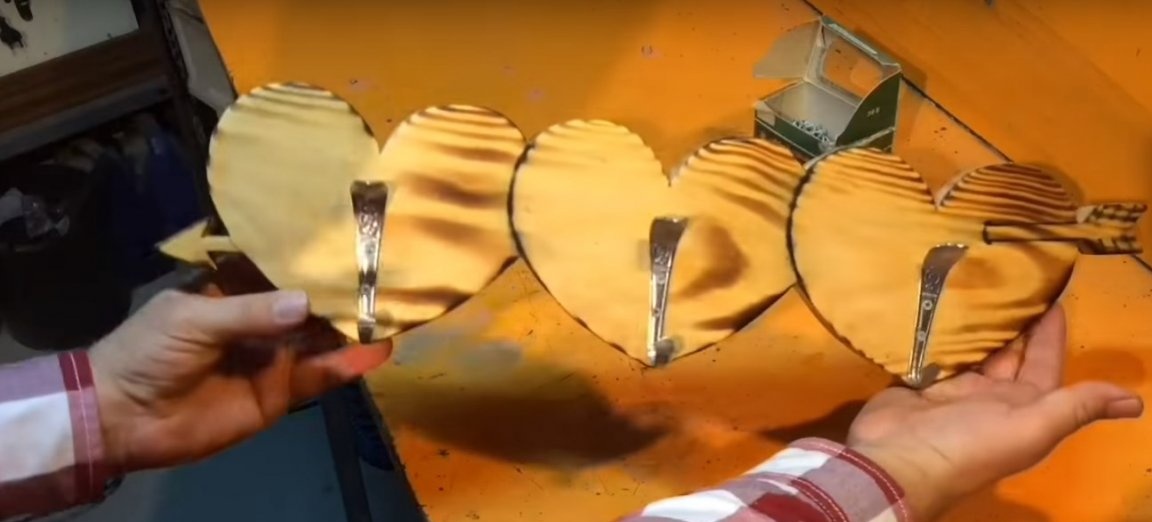
After the varnish had dried well, the master installed the finished hooks on the wooden part and fixed them with screws.
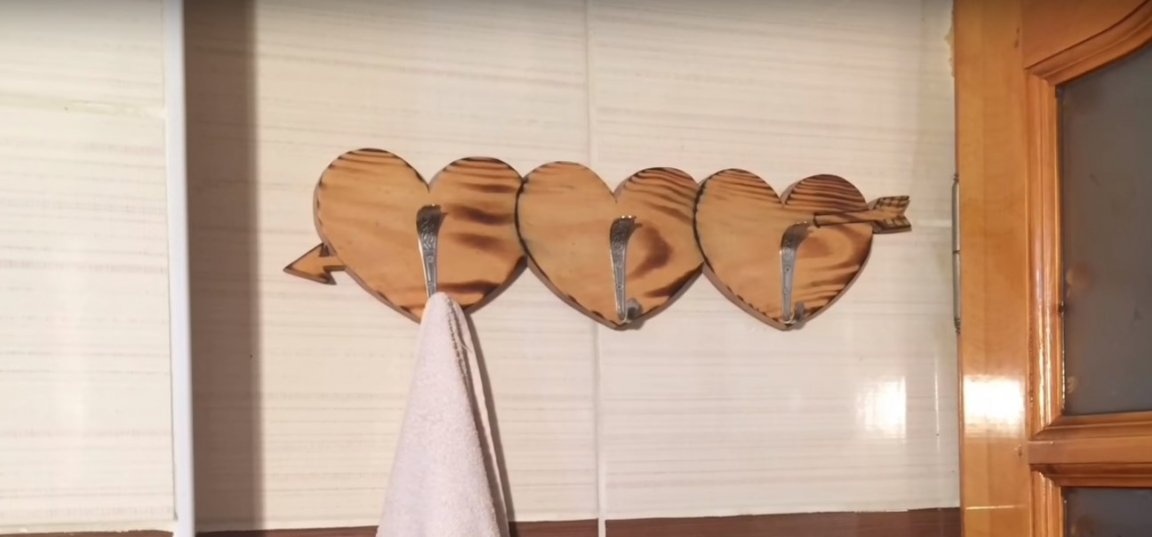
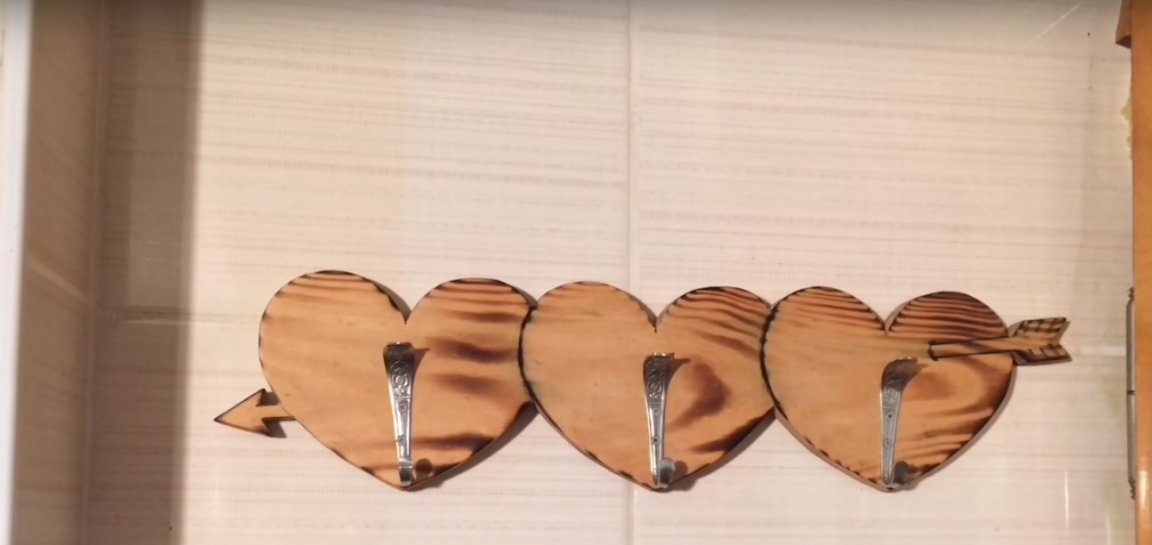
Here is such an original hanger turned out by the author.
There are many ways to fix a hanger. You can make some non-through holes on the back side or screw a couple of loops for fastening, or you can just screw it with screws to the wall.
And that’s all for me. Thank you all and see you soon!