
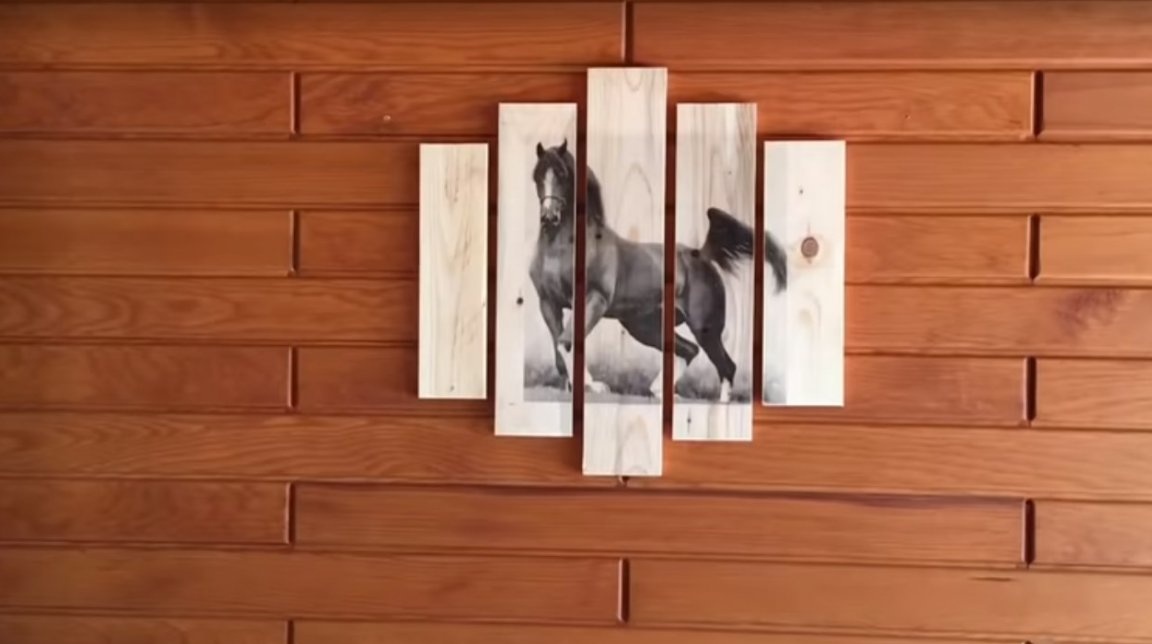
Good day to all. In this article, already well-known to many, the author of the cemaL AÇAR channel will show how he made a modular picture with minimal cost. Such paintings look very beautiful in any interior, and many stores offer a very wide range of these paintings, but there is one significant minus of the store paintings and this is of course their price. Here is our hero and decided to make such a picture himself and almost for free. And what he did and how he did it, you can find out by reading the article or just watching the author’s video at the end of the article.
And so that I used the master for this homemade.
MATERIALS:
Nails
Varnish for the interior;
Wooden pallet;
INSTRUMENTS:
Reciprocating saw, you can use an electric jigsaw or an ordinary hacksaw for wood;
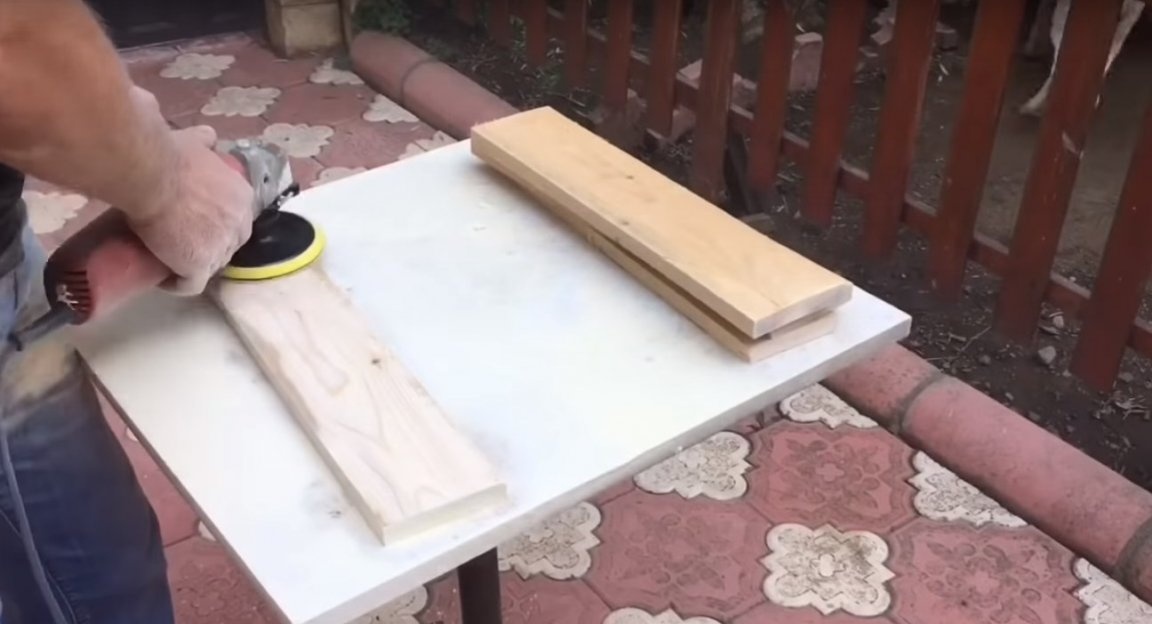
Angle grinder;
Grinding wheels;
Sandpaper;
Drill or screwdriver;
Paint brush;
Water;
Napkin or piece of foam;
End Saw;
Glue for wood (the master used this one);

Roulette;
Calipers;
Stationery knife;
Ruler;
The pencil is simple;
Square;
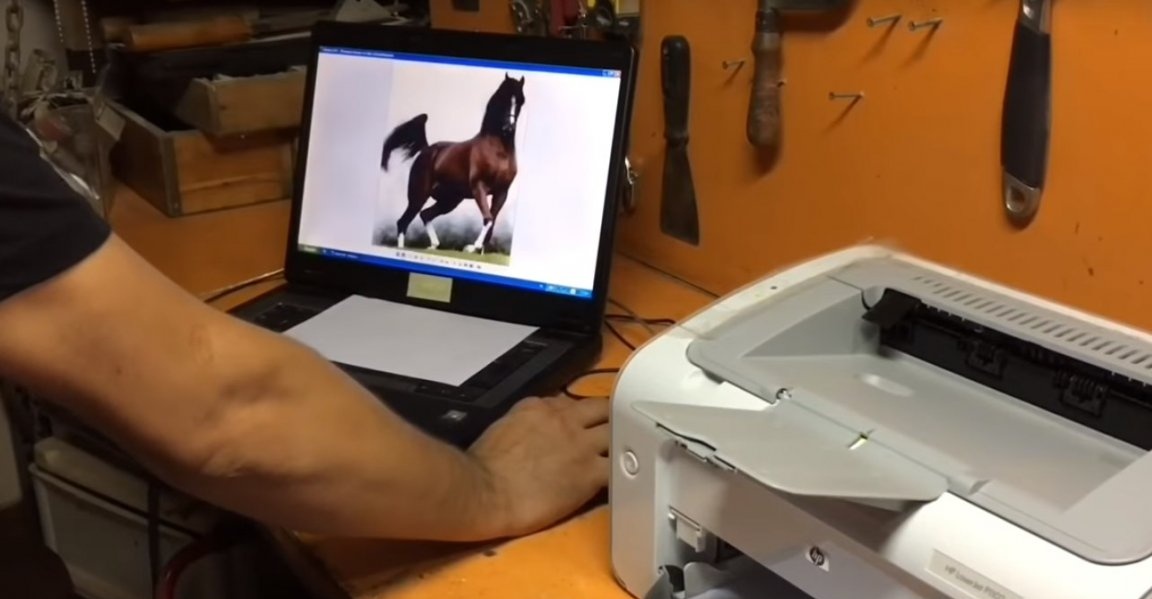
The printer is preferably a laser;
Laptop or pc;
And A-4 paper.
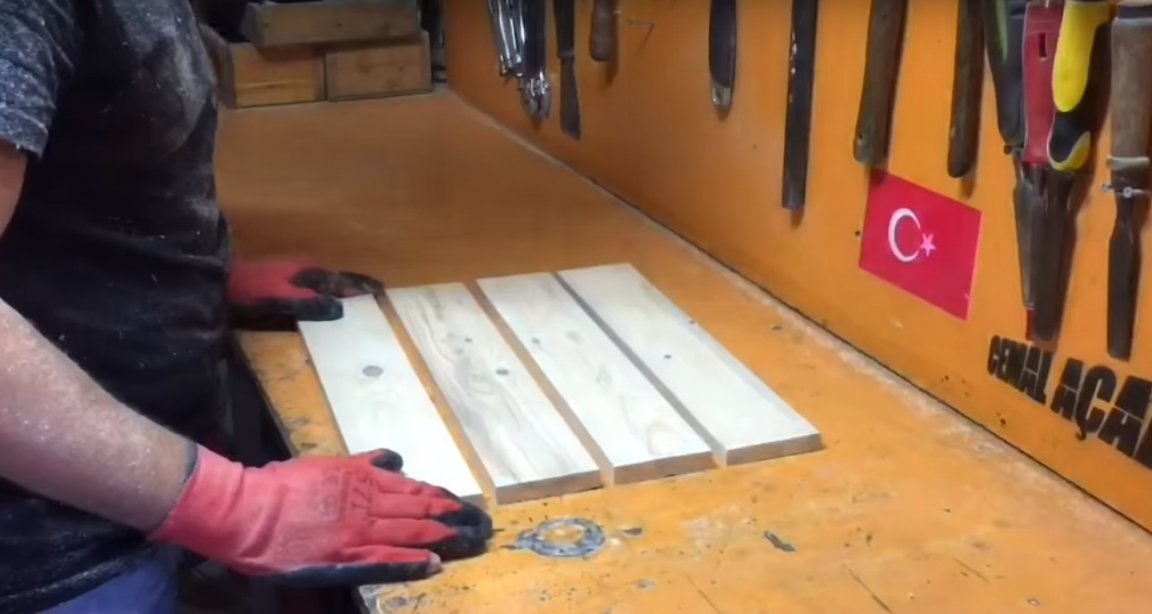
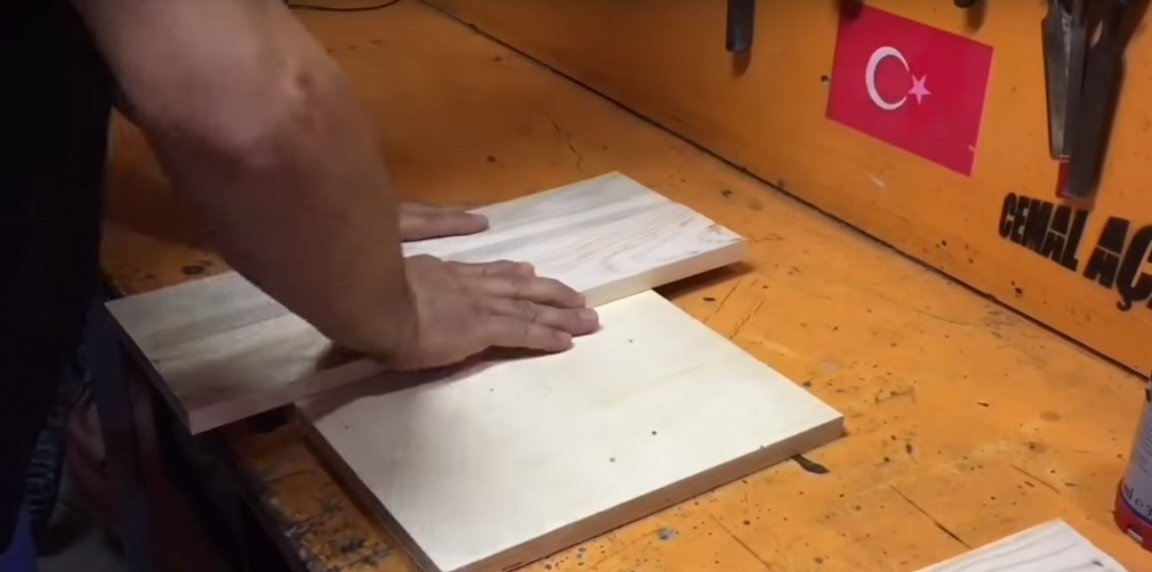
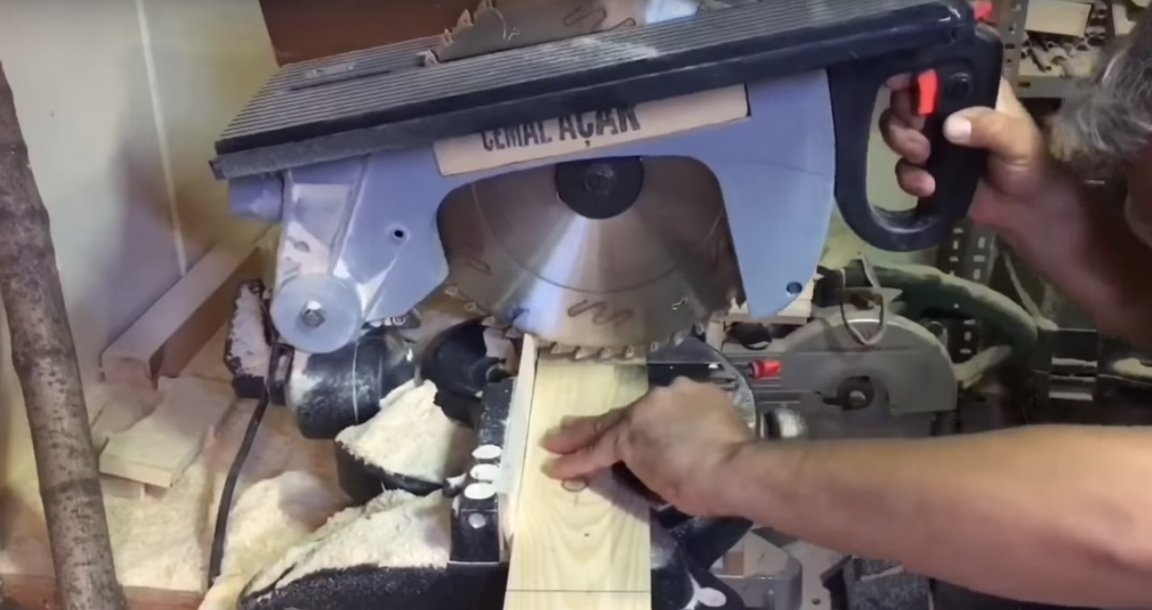
The author sawed off five blanks from the pallet.

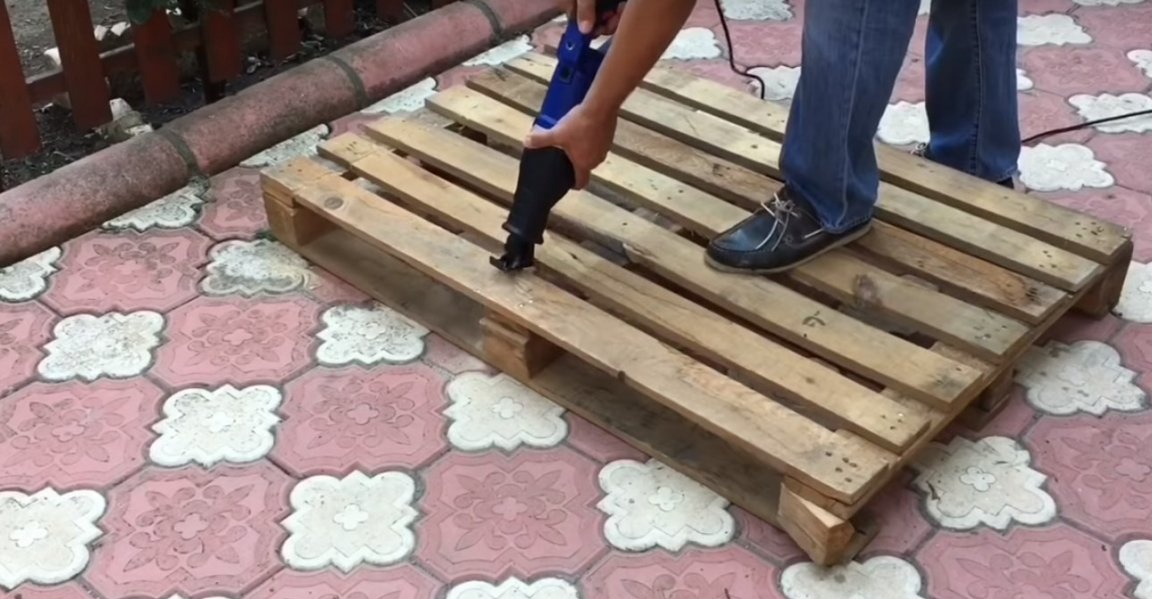
The length of these blanks is approximately 500 mm.

After that, the author processed all these blanks with sandpaper.
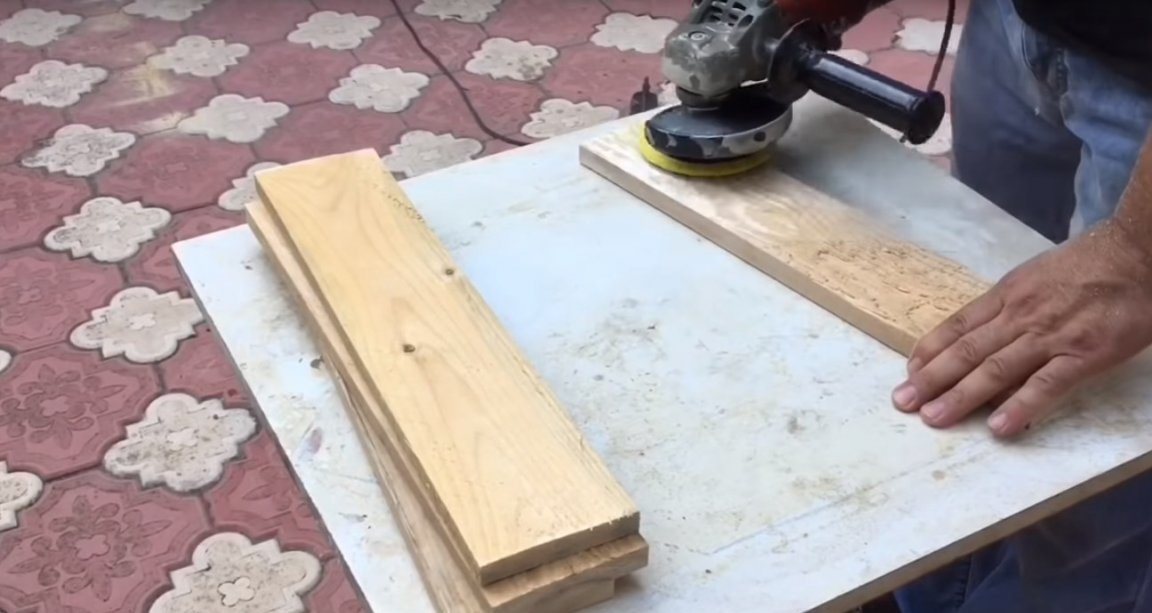
At both sides.
Then he leveled the edges with a face saw.
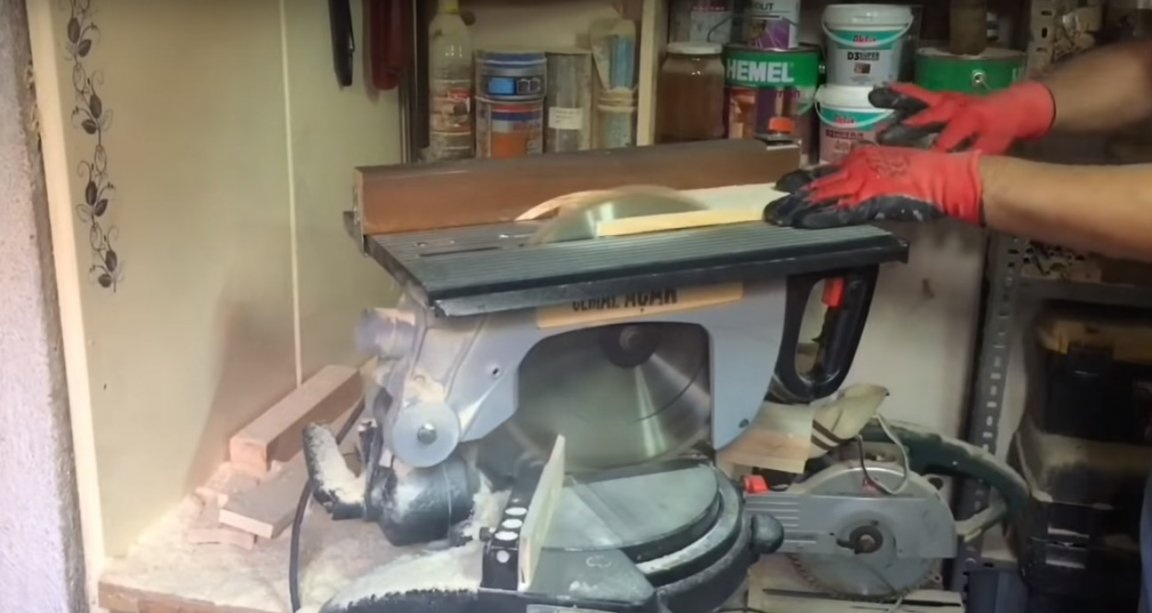
Something like this happened.
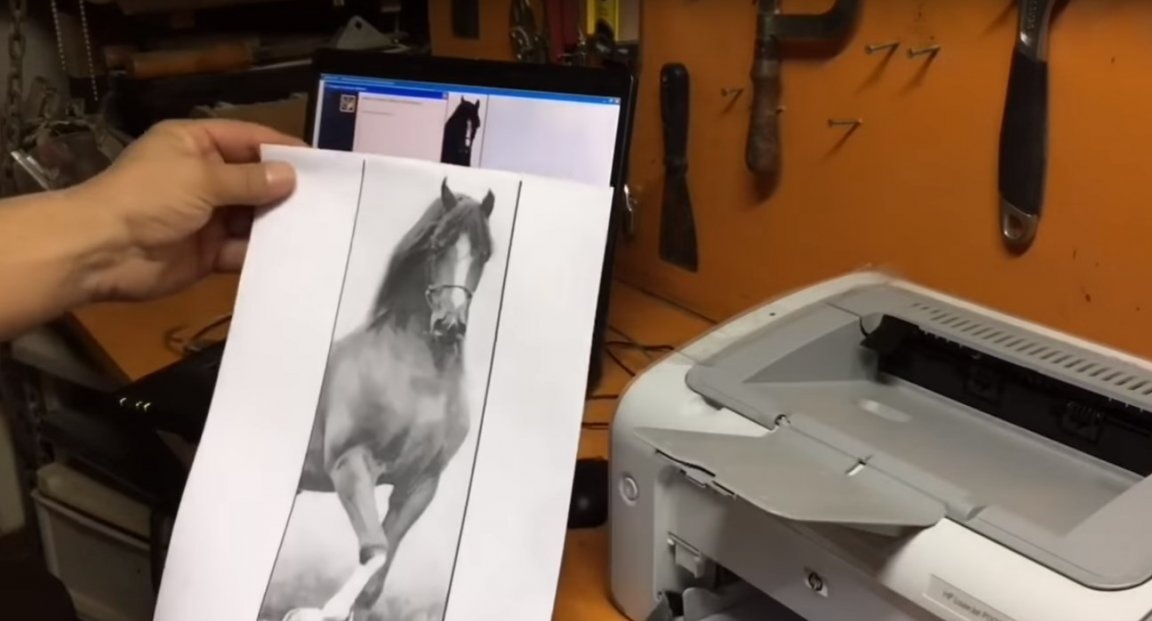
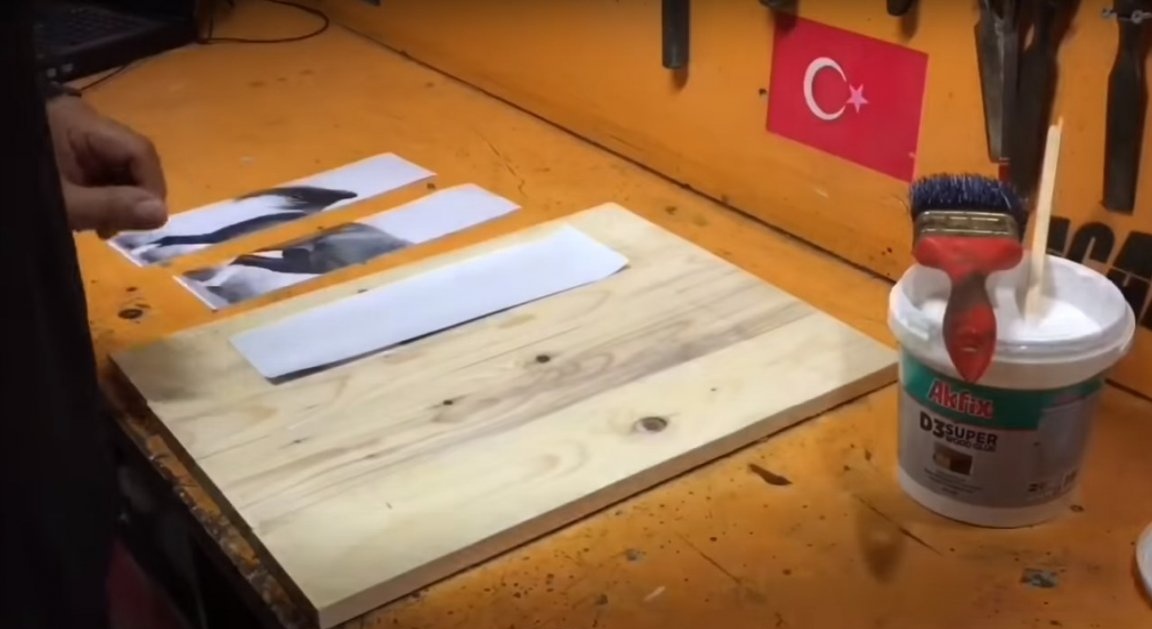
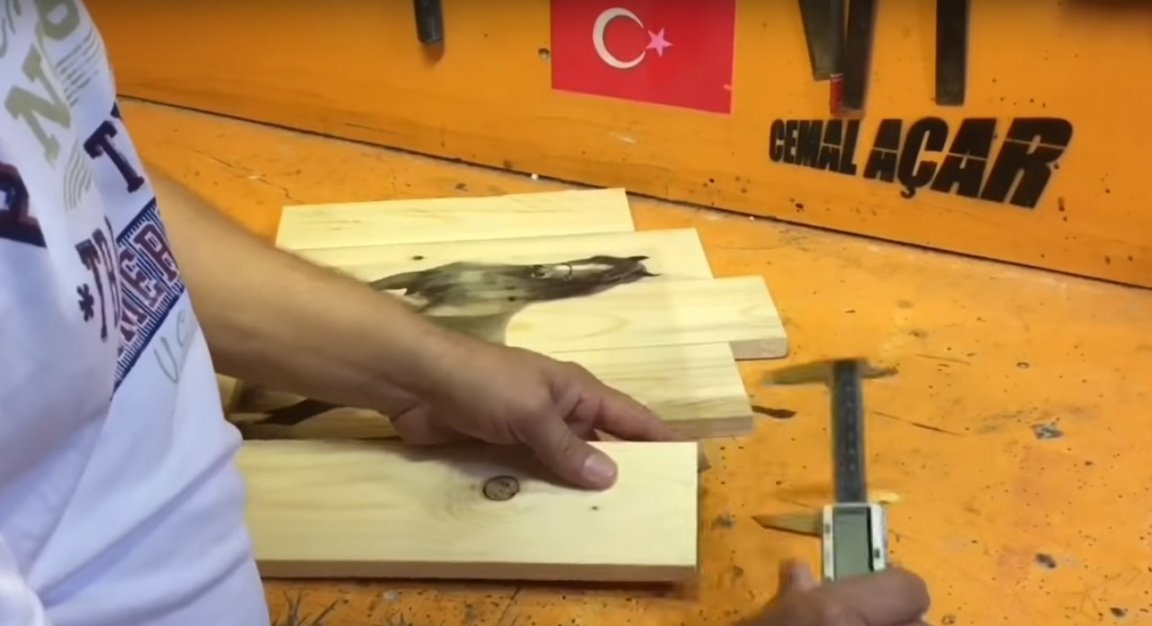
After I found the desired picture on the Internet. Then, dividing it vertically into four equal parts, I sent it for printing.
Something like this happened.
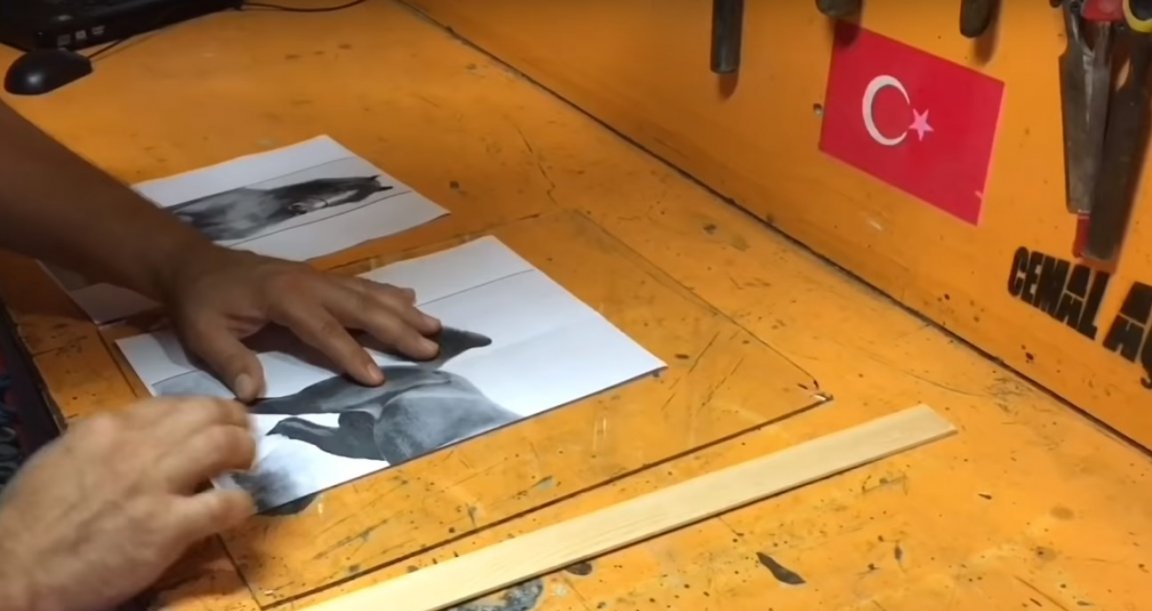
After the knife in the pictures removed the excess.
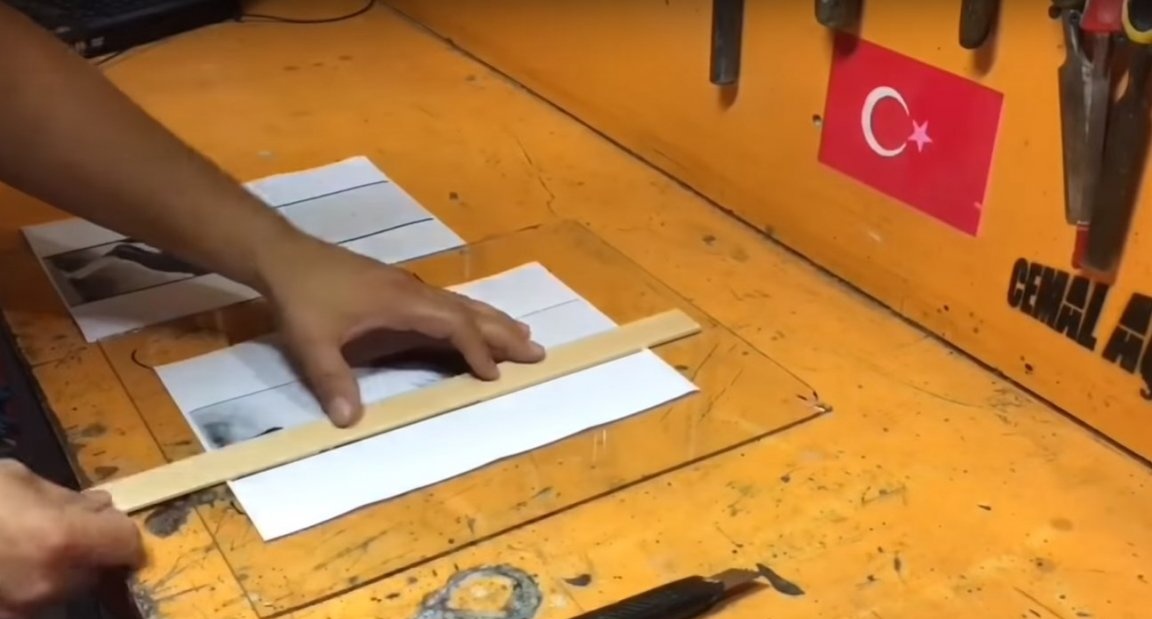
It turned out such a “puzzle”.
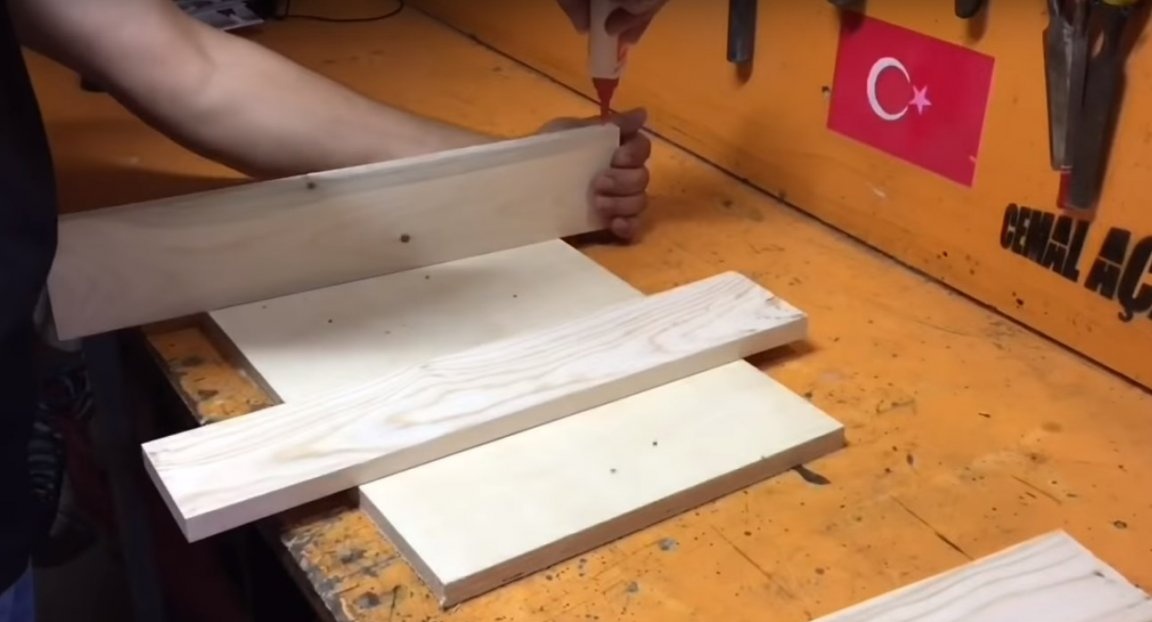
Then he joined the wooden blanks with glue. The connection is temporary, so the author applied glue in one small drop and only in two places.
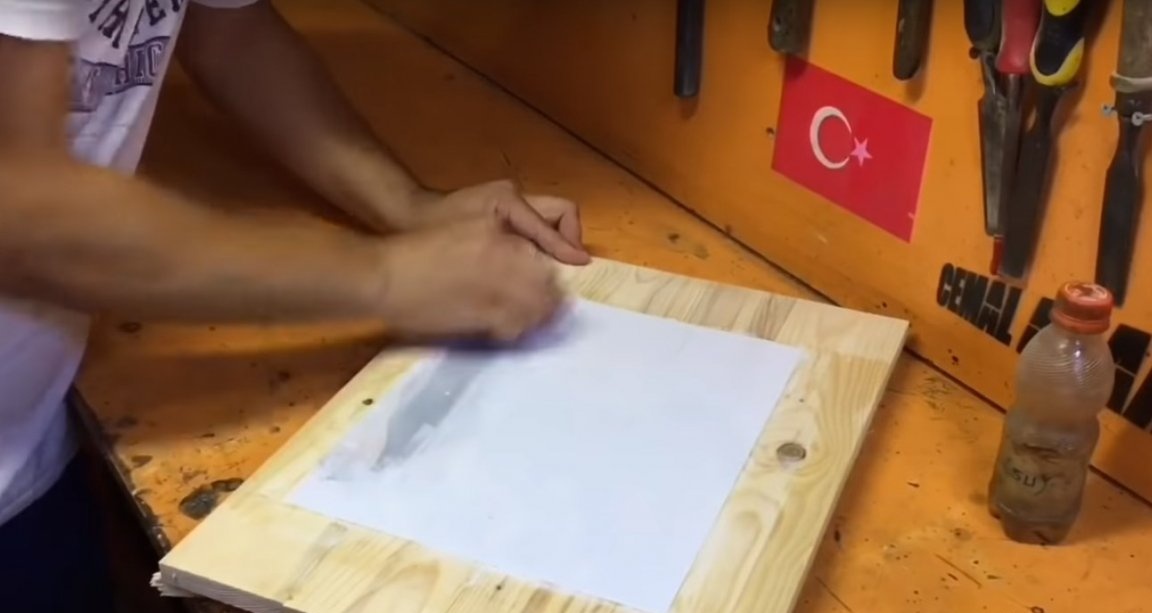
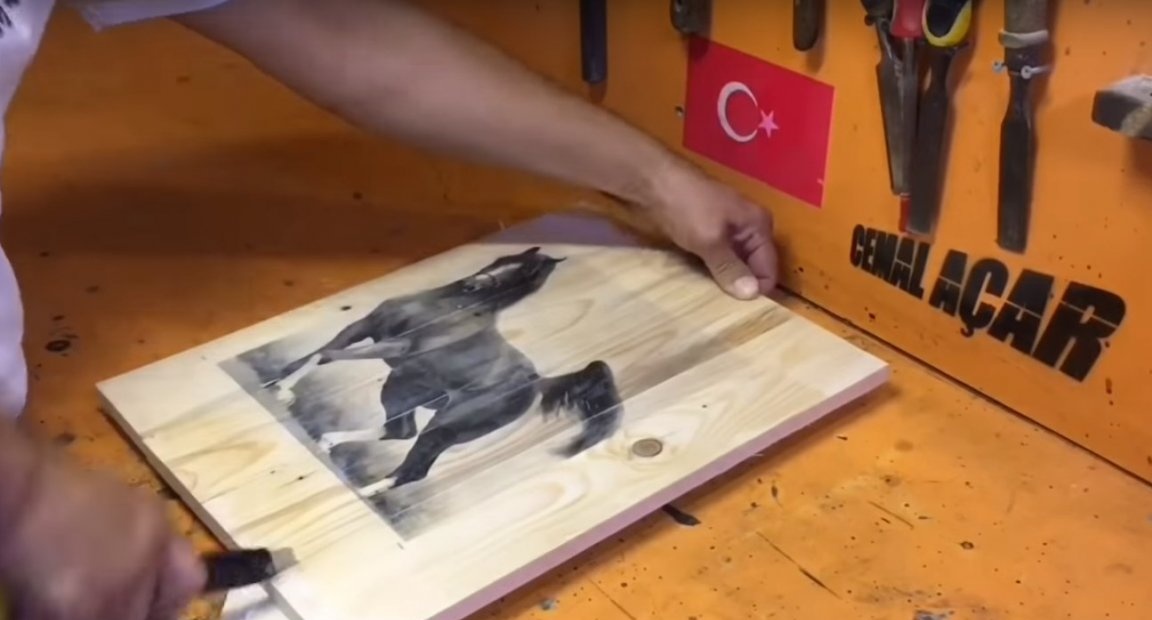
After, put a layer of glue on the resulting shield.
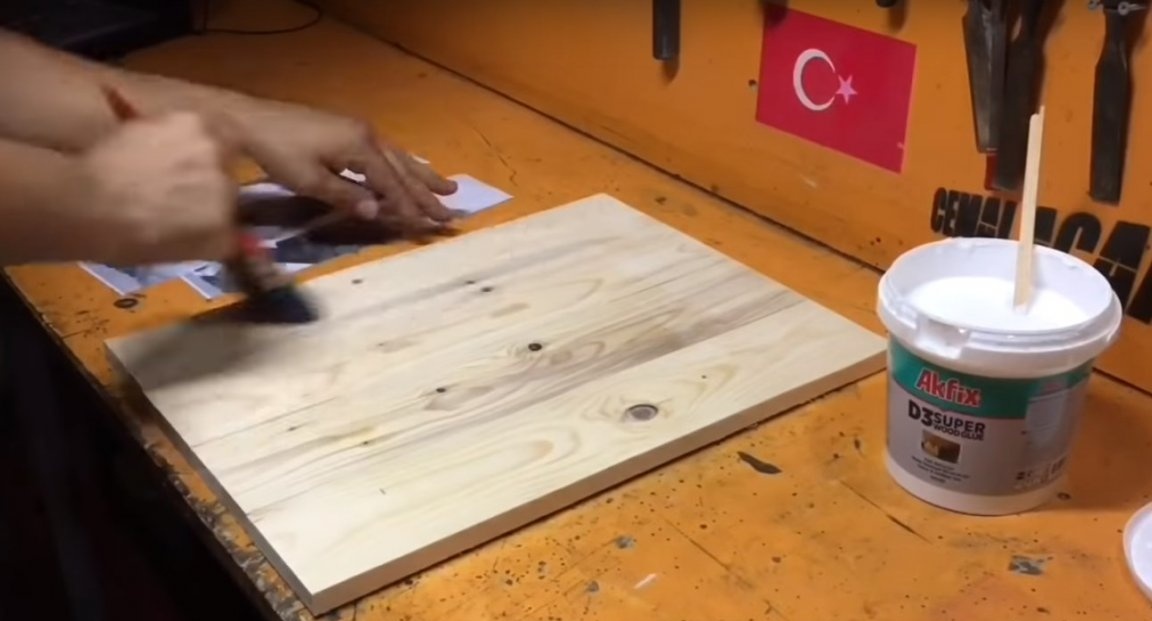
And he gently glued all parts of the picture to the shield, with the pattern down.
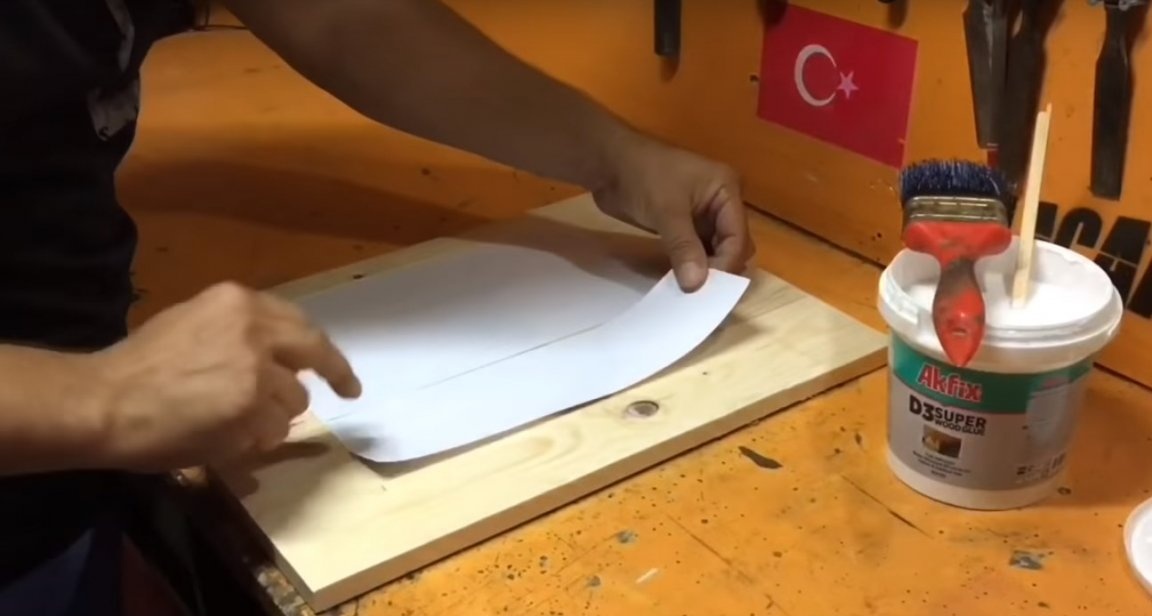
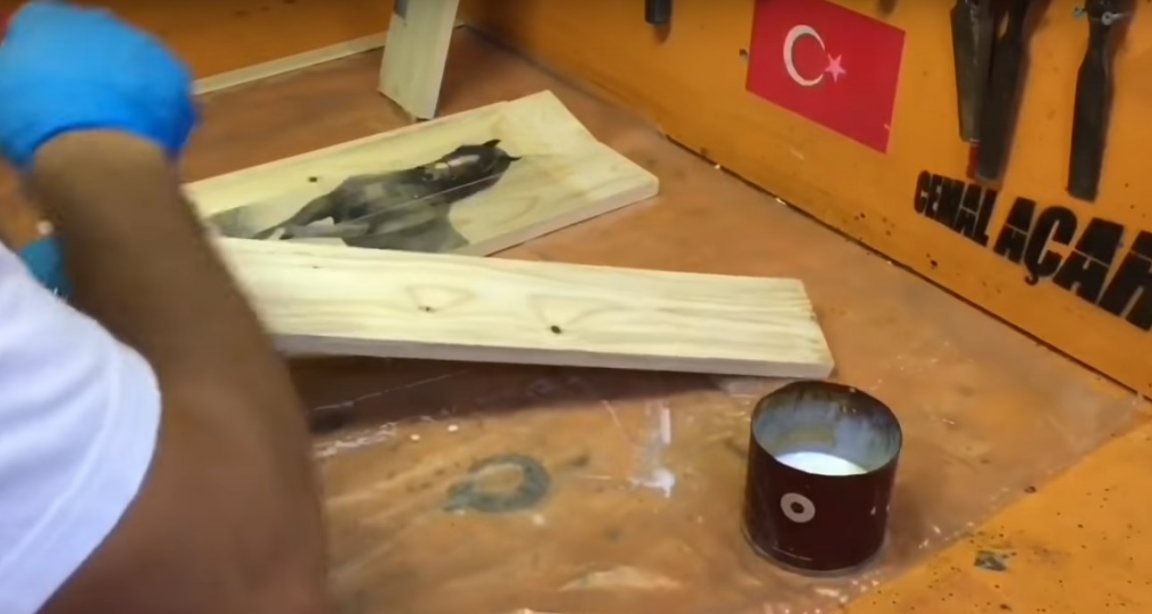
After the glue has completely dried, the master removed all the paper using a cloth soaked in water. Gradually soaking the paper with water and gently rolling the paper.
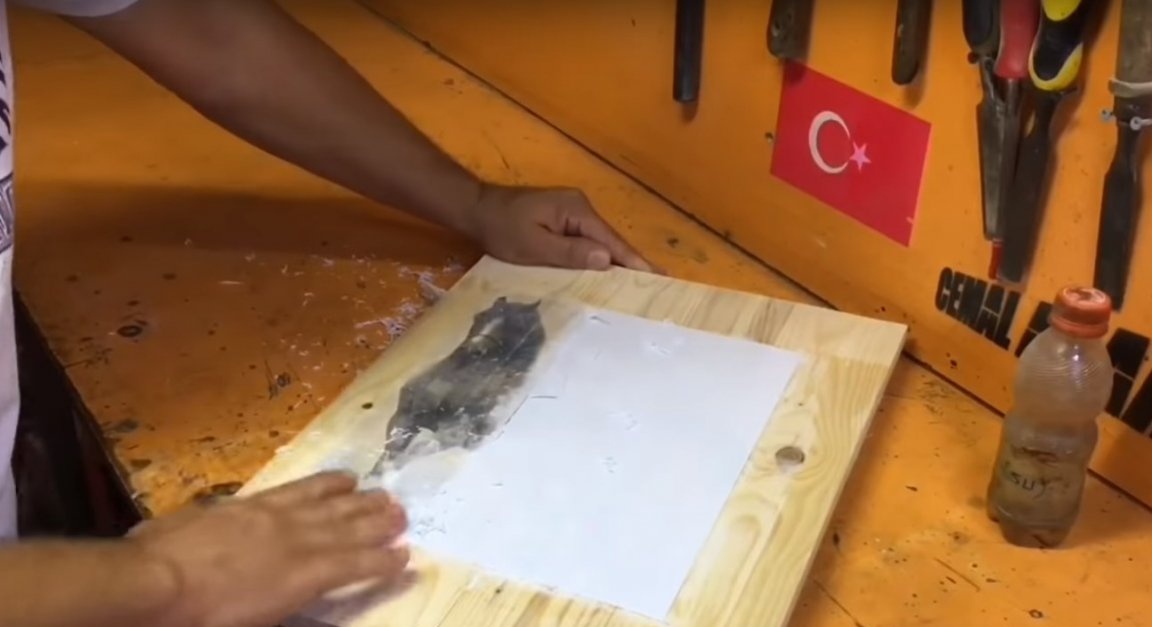
In this case, the main thing is not to rush and do everything carefully and gradually, as the paper is saturated with water, so as not to damage the picture. (Water is better to use warm 20 -25 ° C)

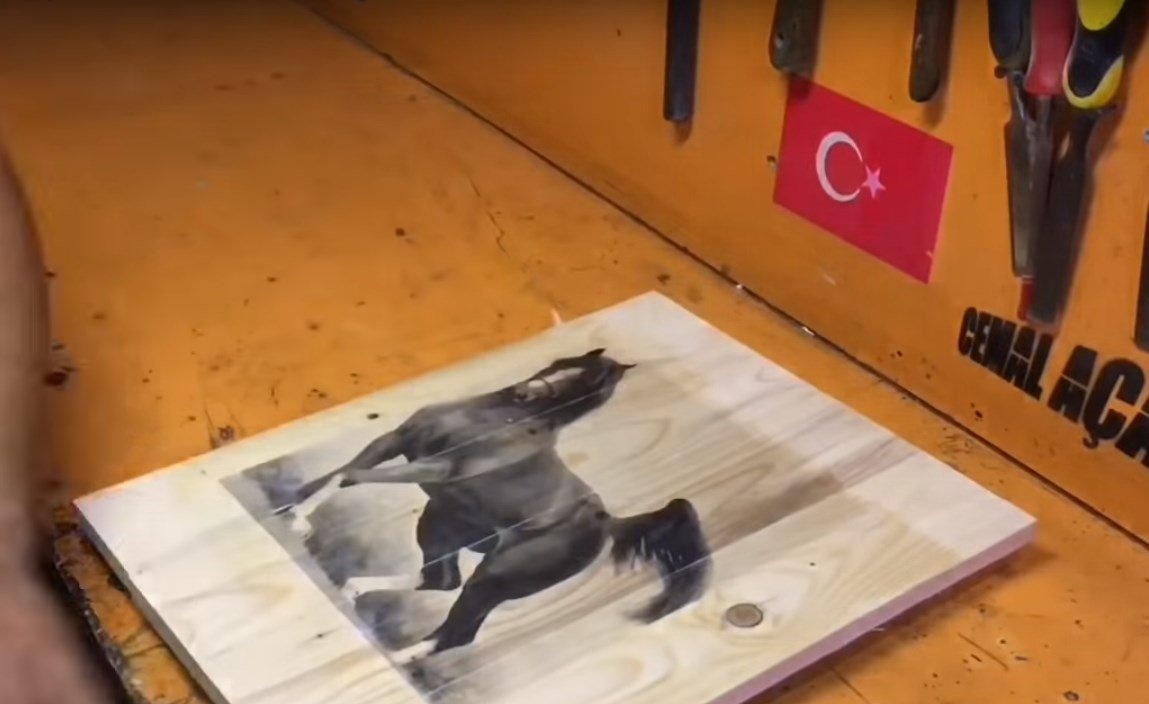
This is how the blank looks after removing paper.
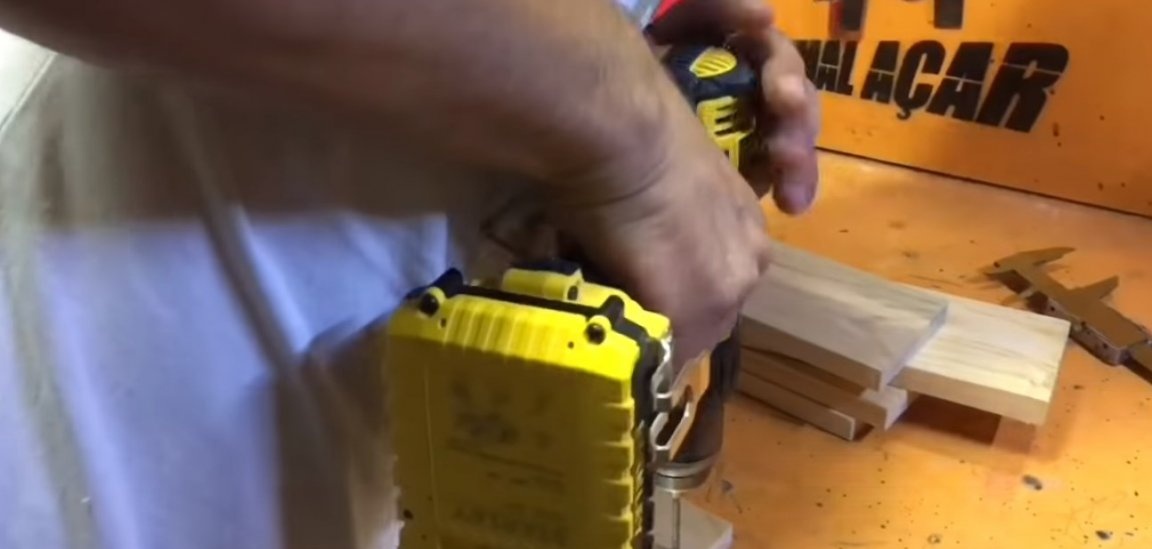
Then the author with a knife divided the shield.
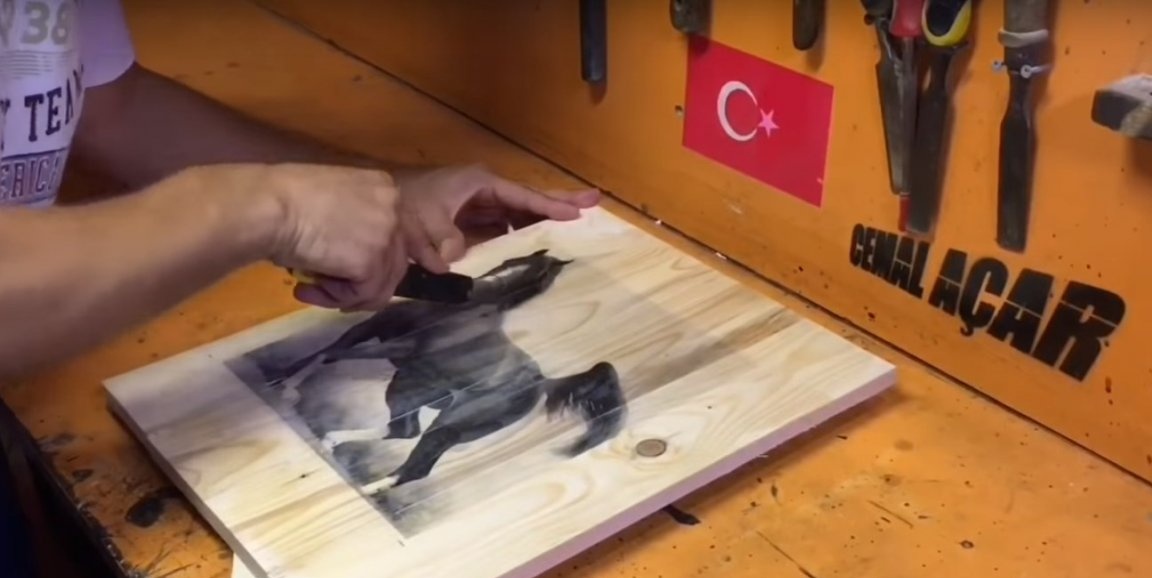

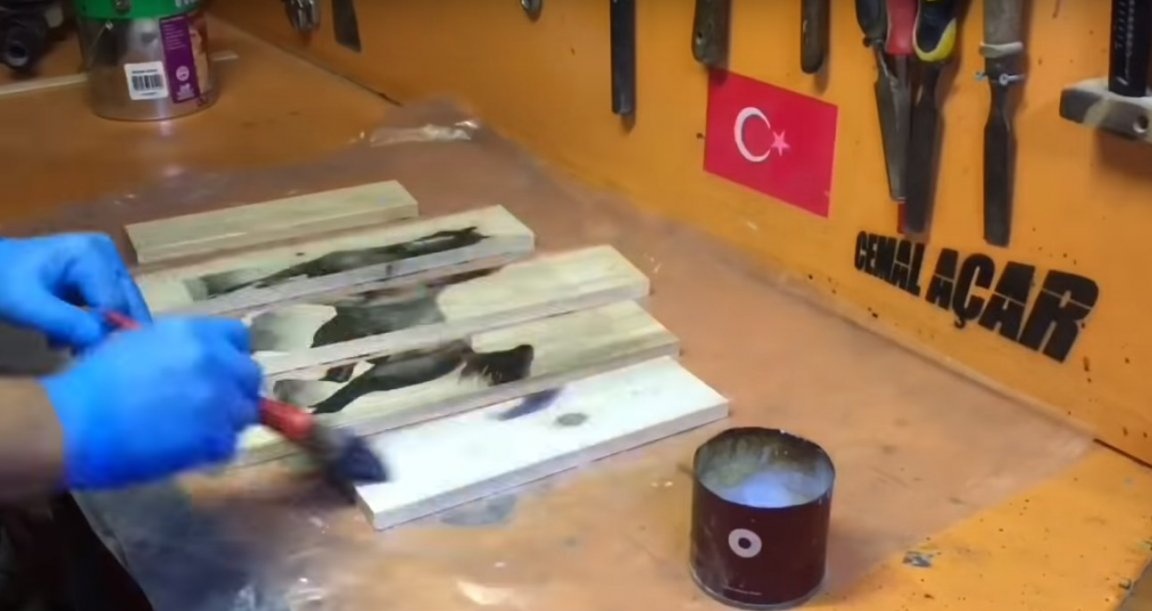
After covering all the details with interior varnish.
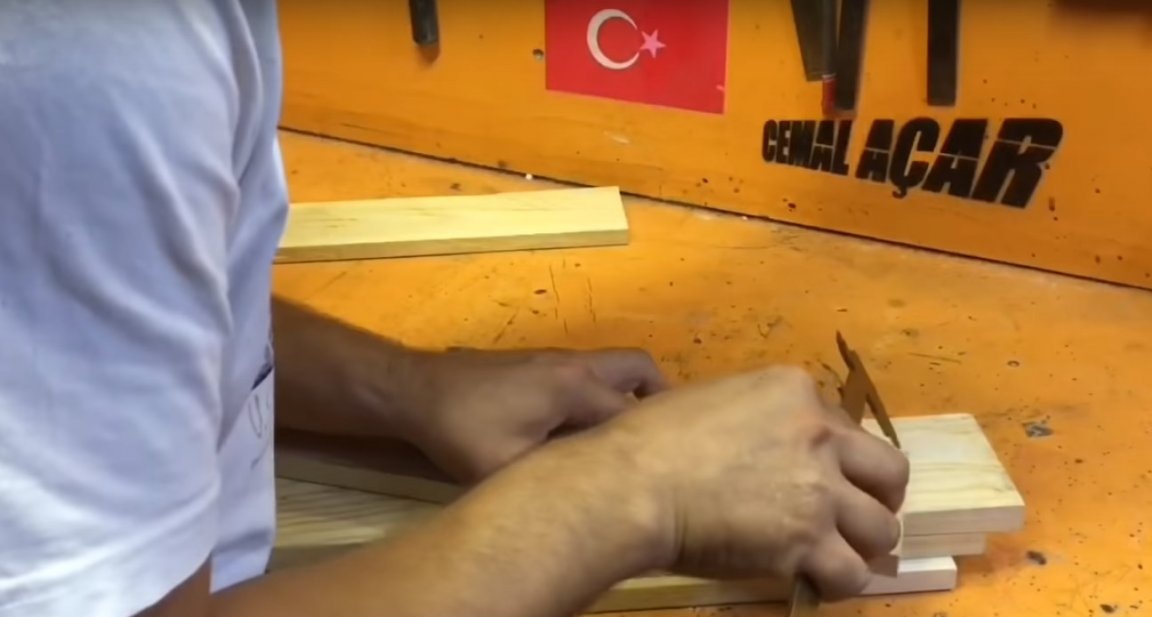
And when the varnish dried, he made the markings as in the photo.
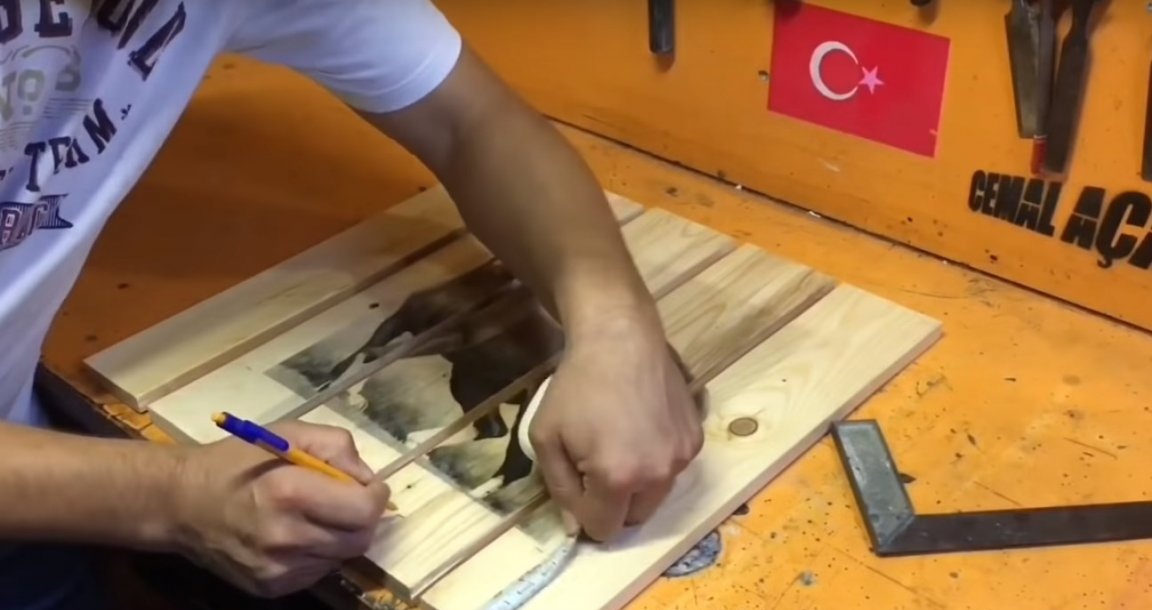
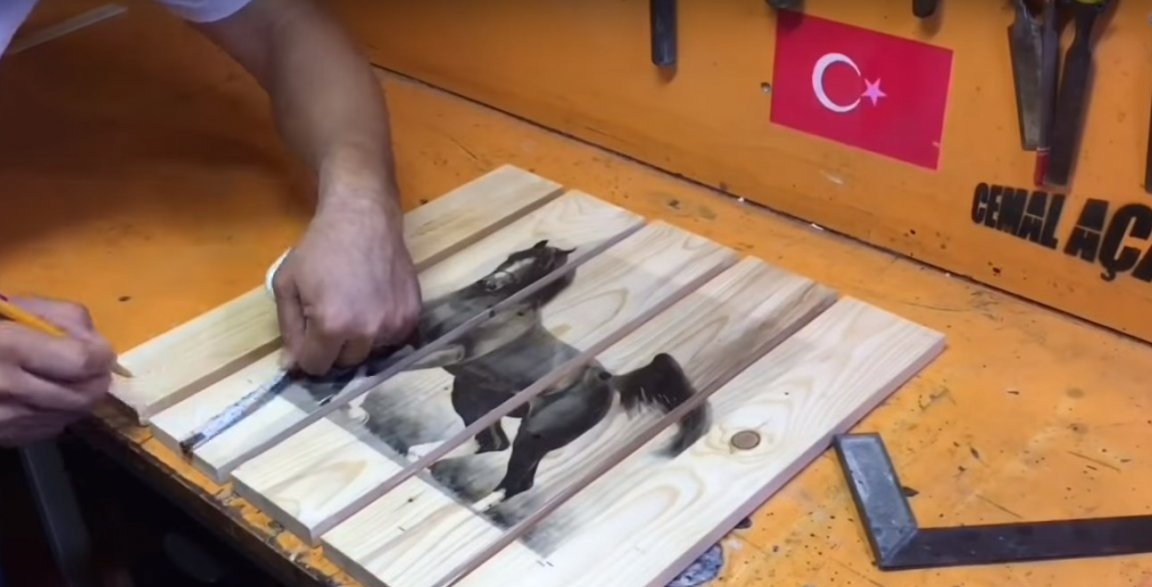
And cut off all the excess.
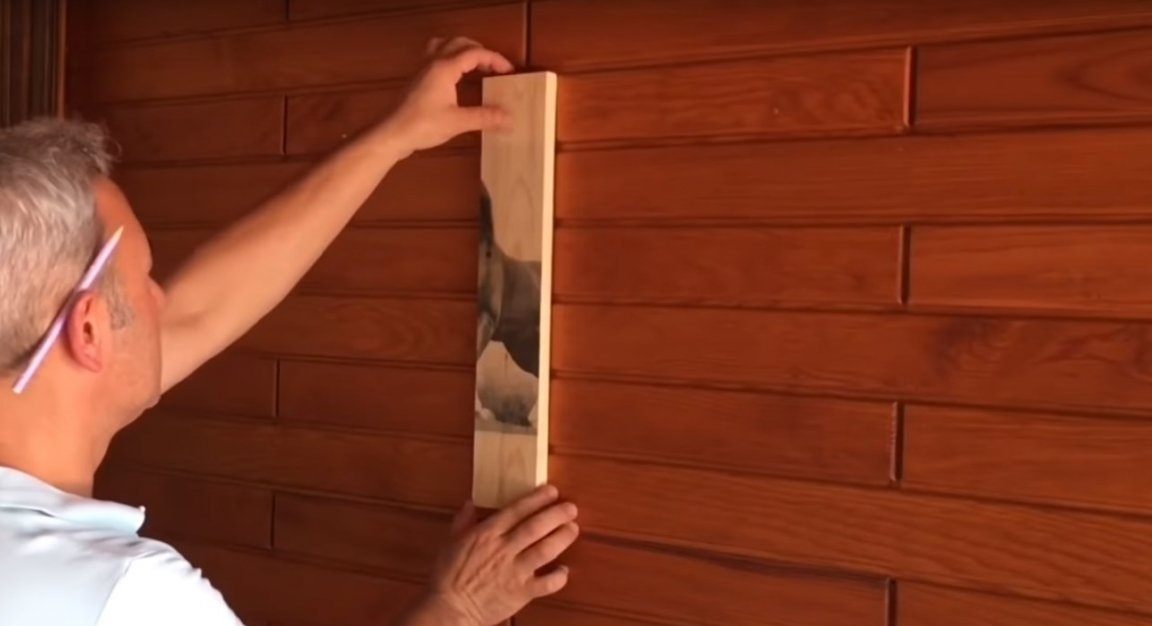
After I decided on the place for mounting the finished homemade.
And he did not make a through hole for attaching the picture.
Then he applied another coat of varnish.
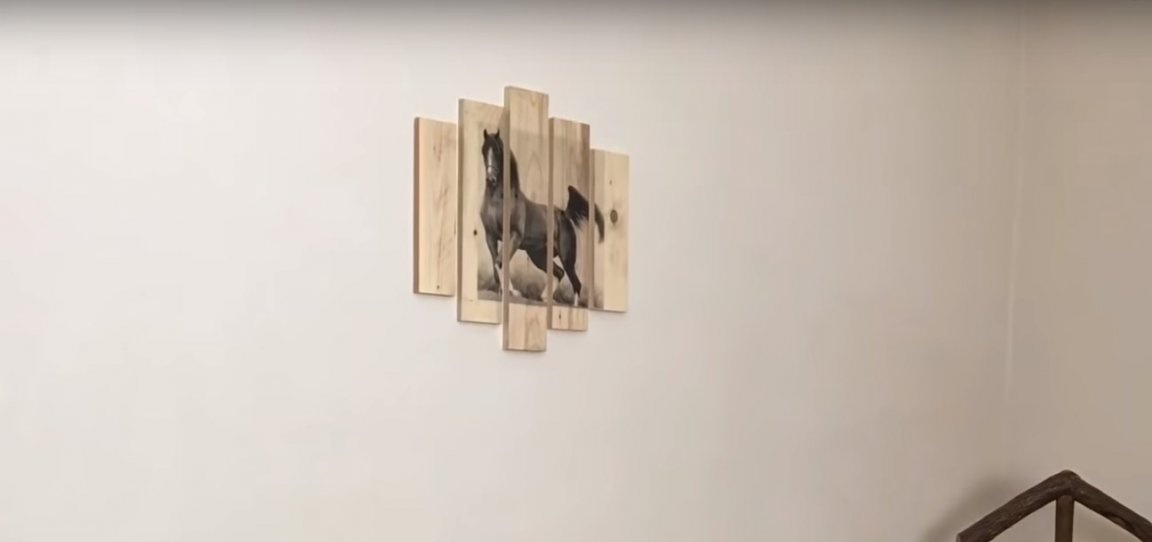
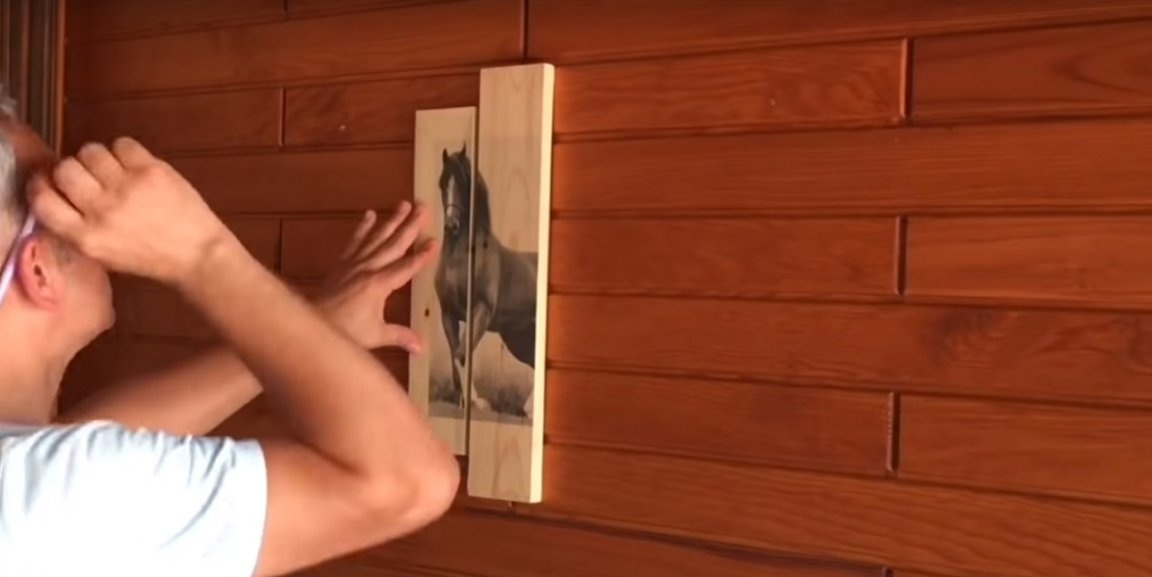
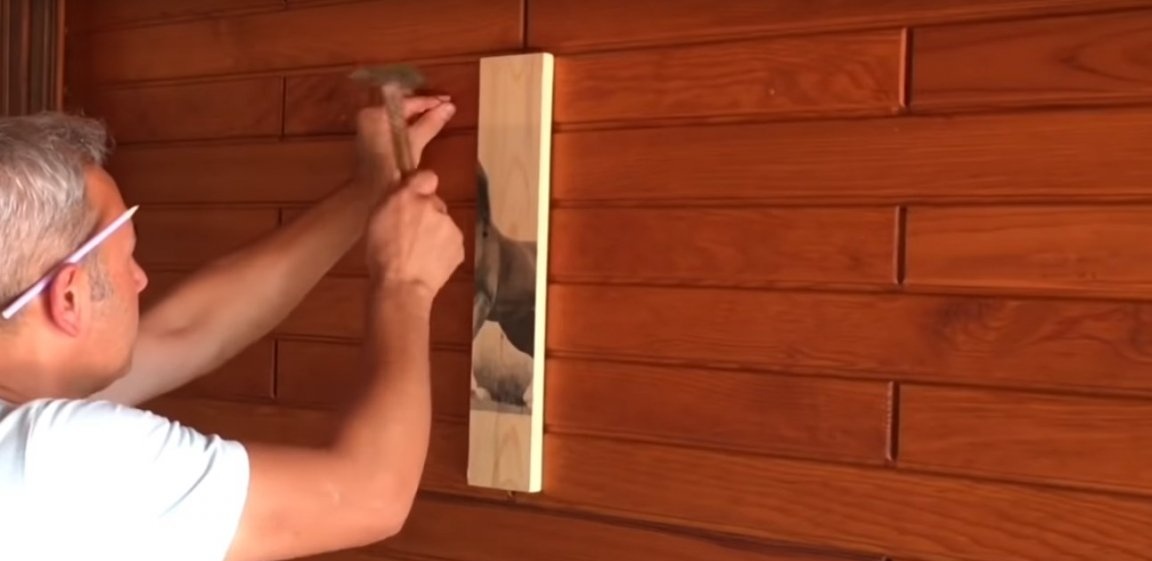
And after it had dried, he hung the picture in a suitable place.
Having previously scored small nails for this.
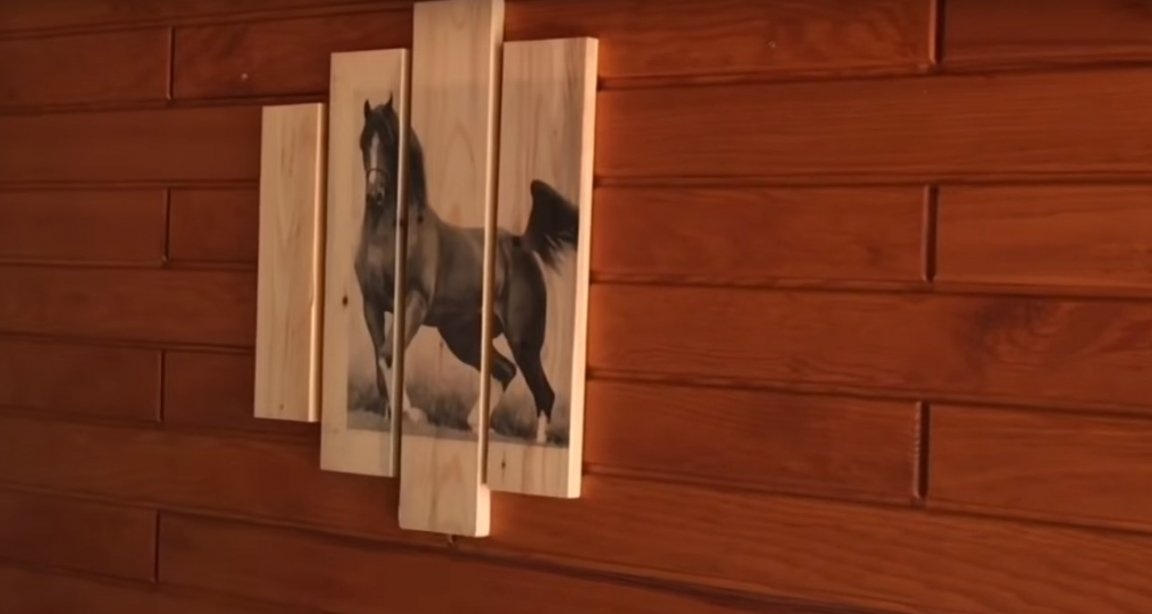
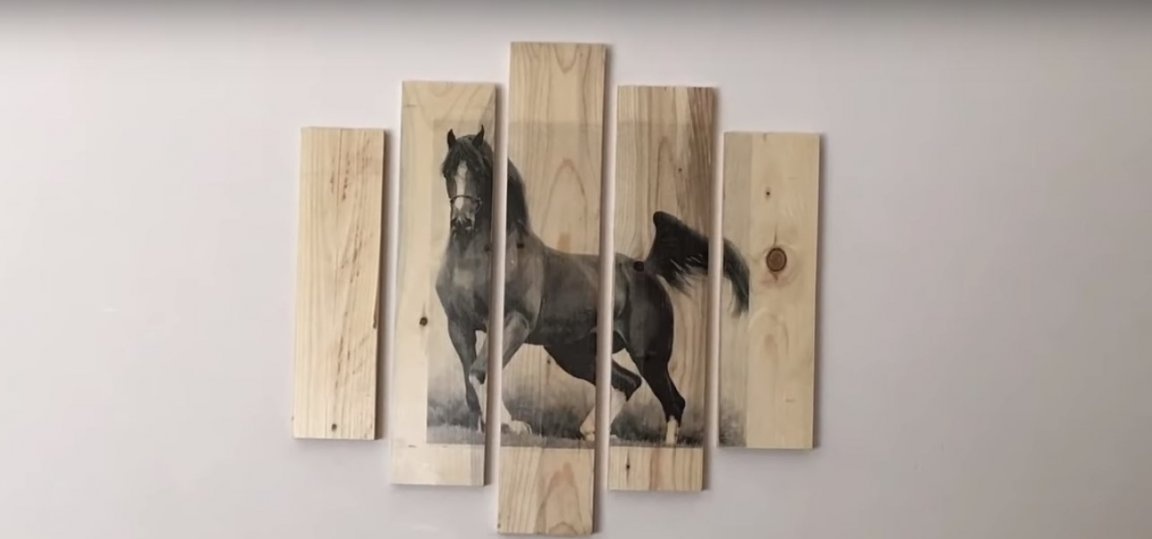
The whole picture is ready. I think for any interior, a picture in black and white style is perfect.
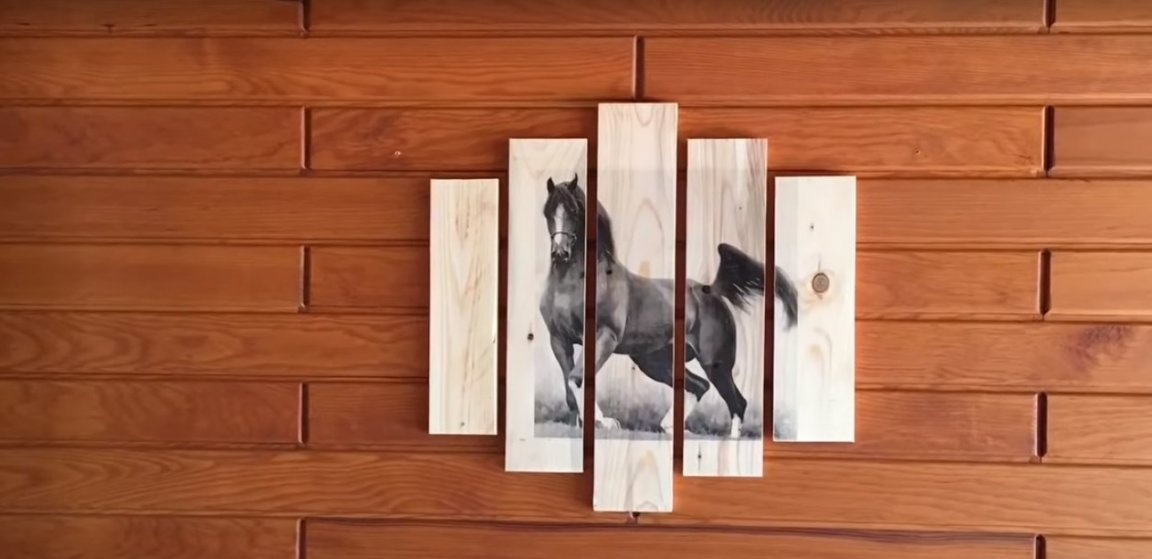
But if you wish, you can make a color module picture, for this it will be enough just to make a color print of the selected picture.
I would like to thank the author, for such a good home-made, as well as everyone who paid attention to this article, thank you very much. And that’s all for me. Good luck to everyone and see you soon!