

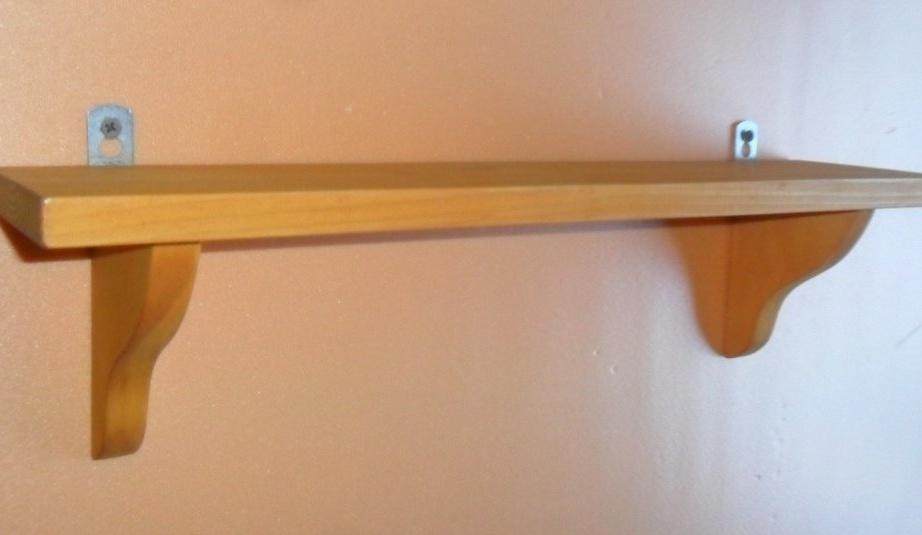
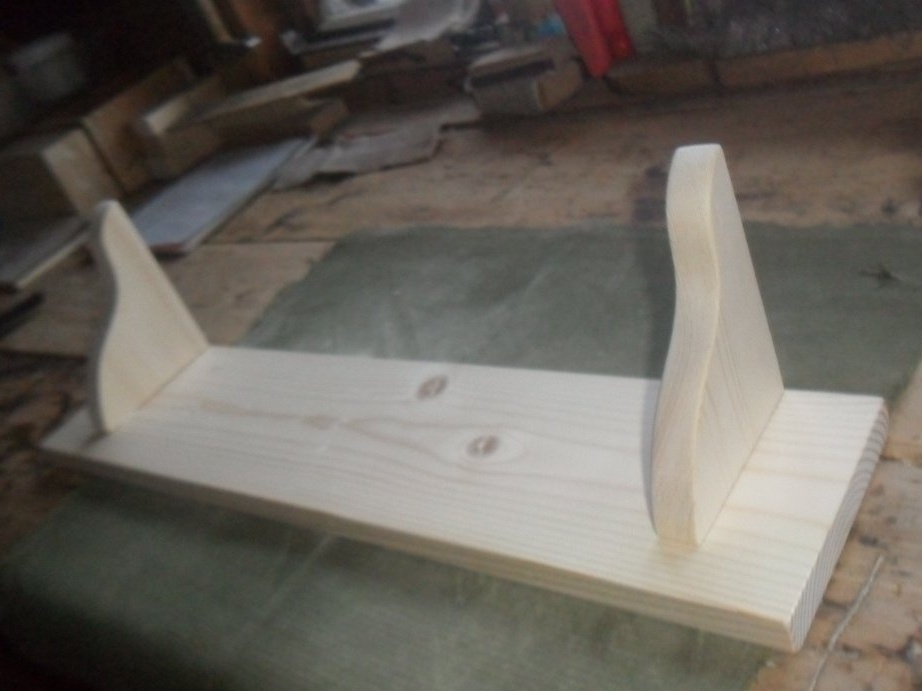
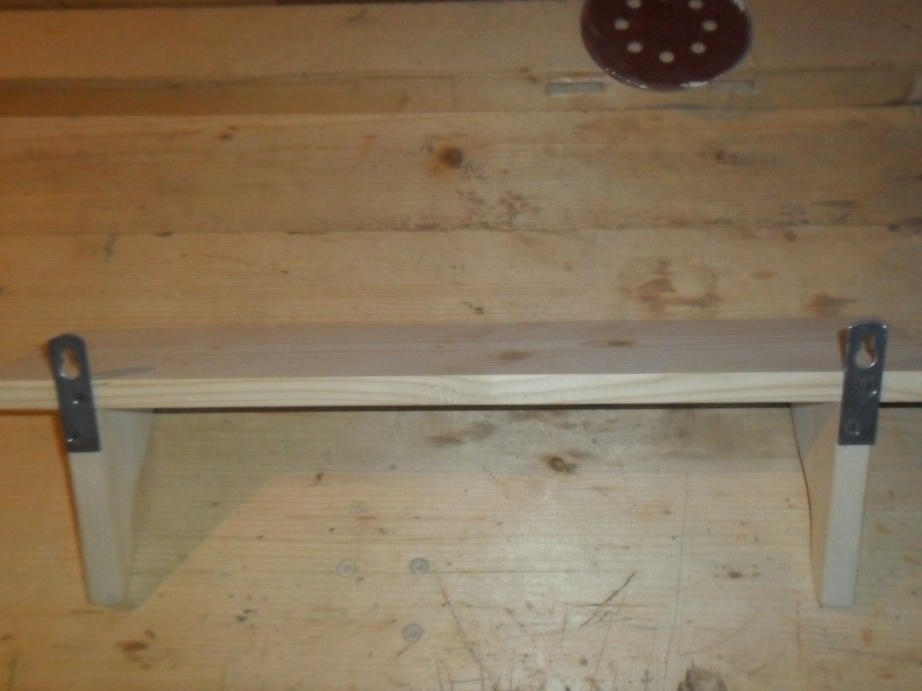
Among the whole variety of hinged shelves, one can distinguish shelves of a certain type: small, with a base in one board. They are often found without stops built into the wall. This article also shows the step-by-step process of manufacturing a shelf based on two wooden stops with a wavy end contour.
When working, the following tools and materials were used:
Instruments:
1) a pencil;
2) a ruler;
3) a hacksaw for wood;
4) eccentric sander;
5) sandpaper;
6) planer-planer;
7) bench vise;
8) square;
9) electric jigsaw;
10) a screwdriver;
11) wood drills;
12) pliers;
13) putty knife;
14) electric drill;
15) paint brush.
Materials:
1) board 12 x 65 cm;
2) dowels with a diameter of 8 mm (4 pcs.);
3) carpentry glue;
4) silver hinges for of furniture (2 pcs.);
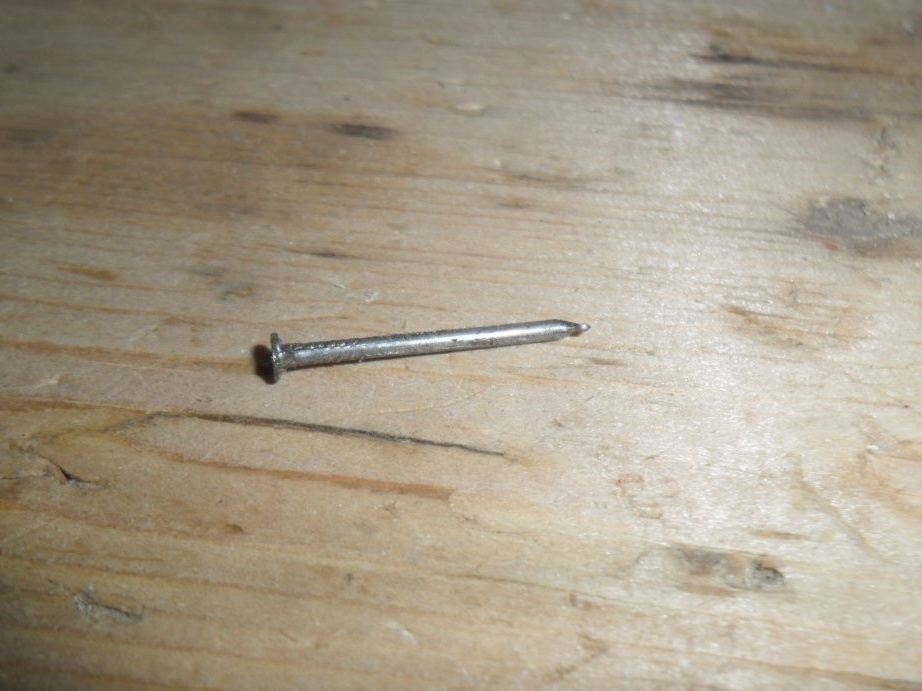
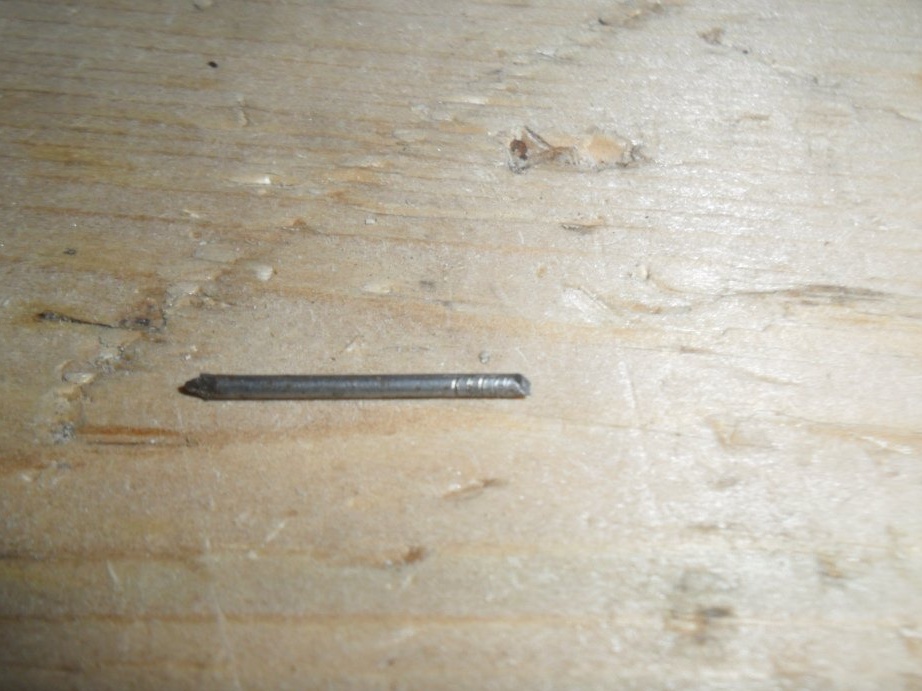
5) two small cloves (length - 2 cm);
6) water-based stain (larch color).
Manufacturing process:
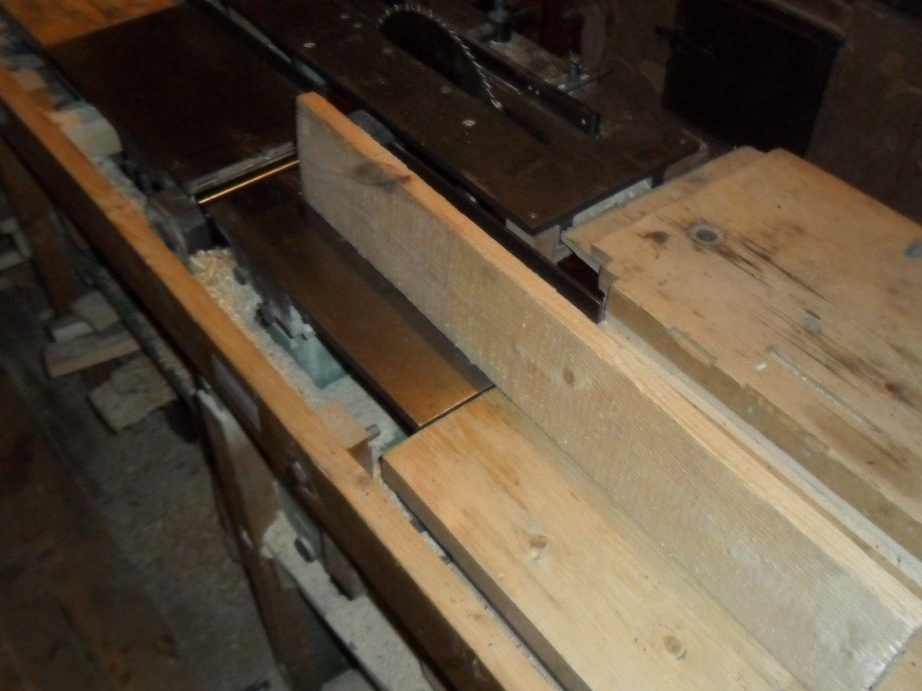
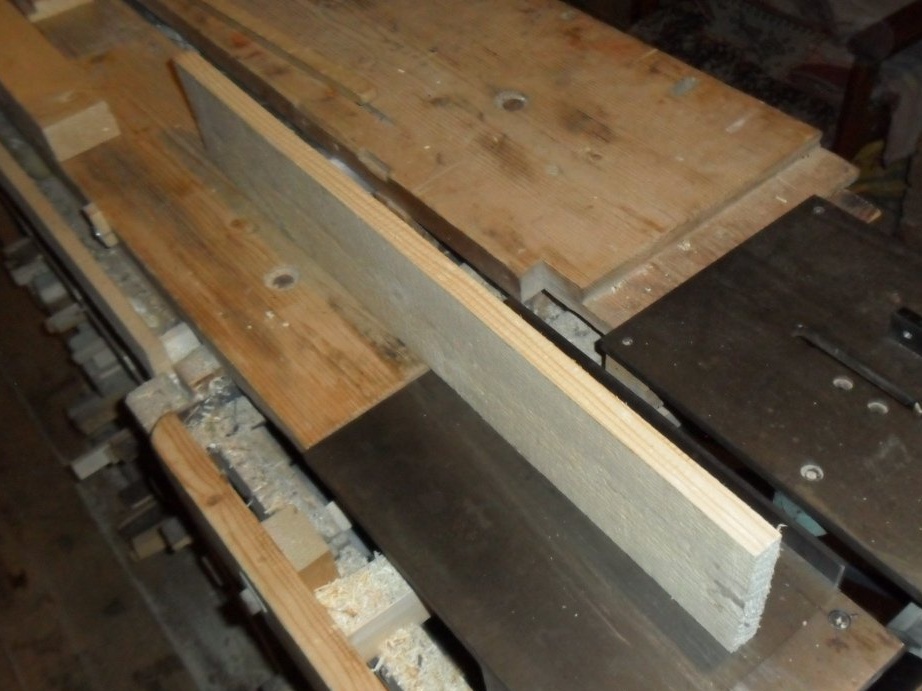
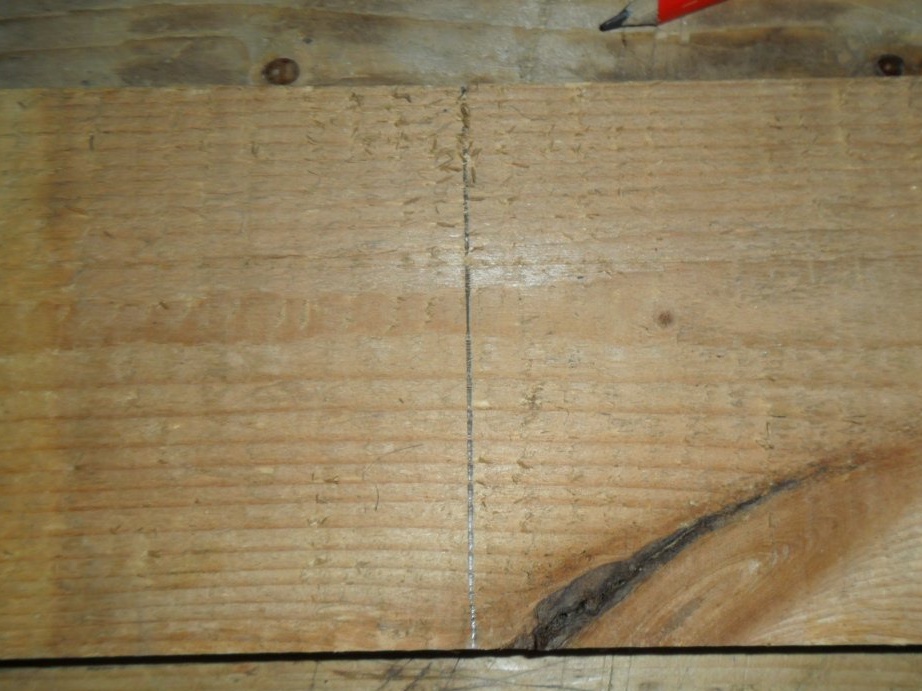
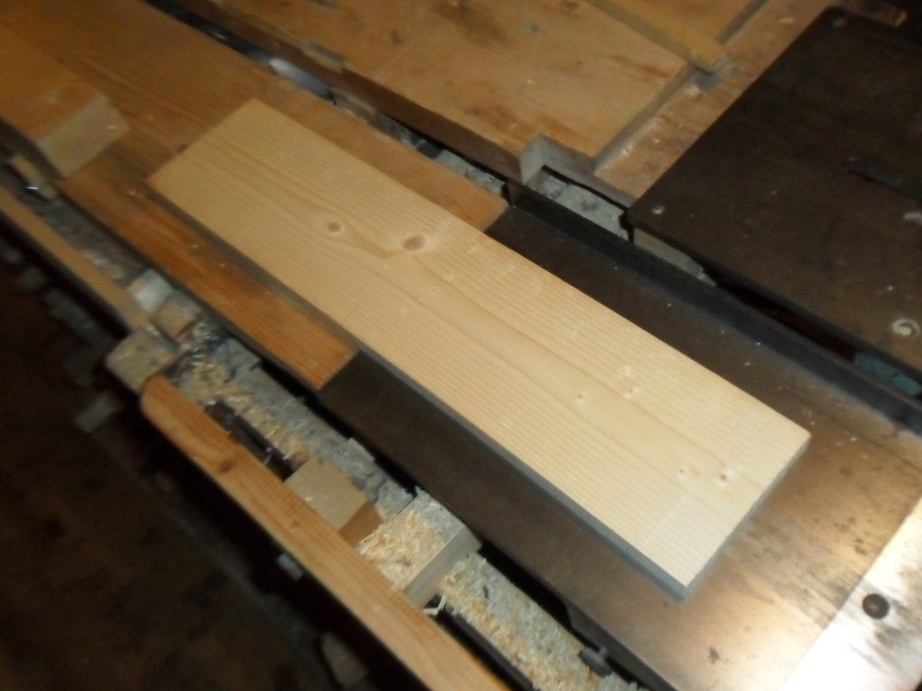
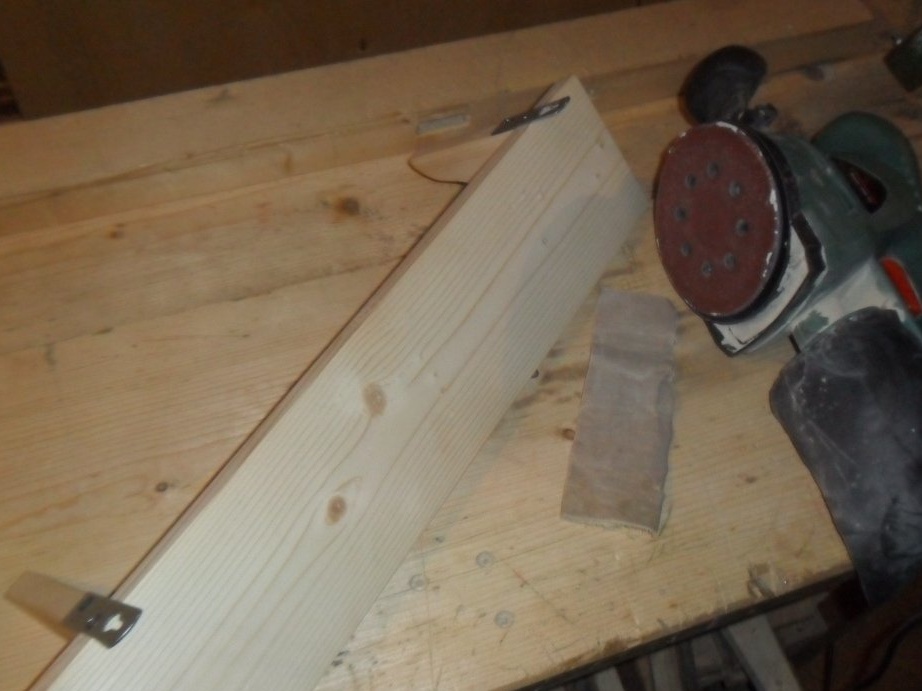
Step 1. Sawing and planing boards for the base of the shelf.
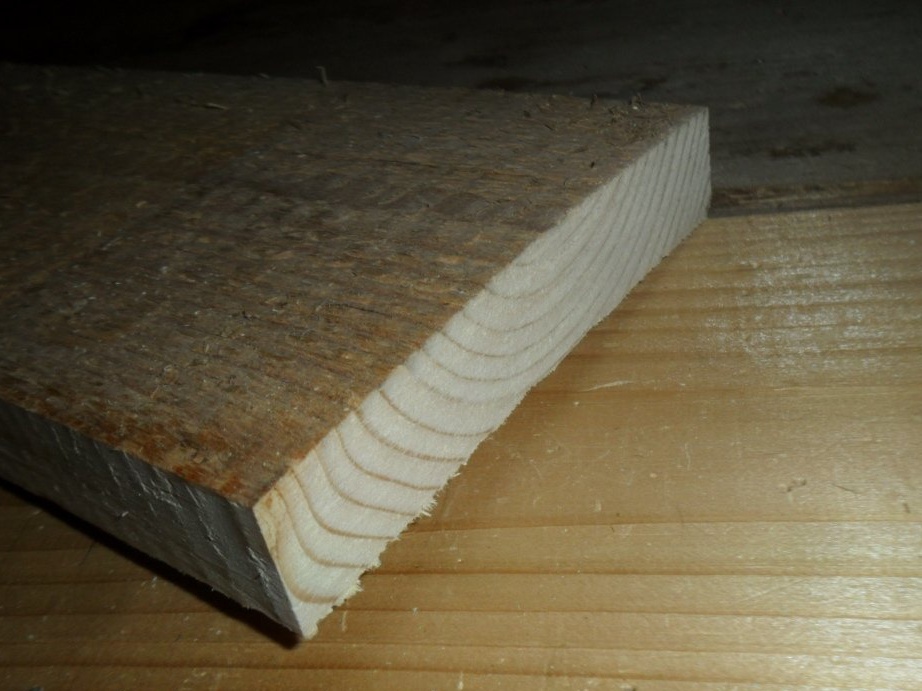
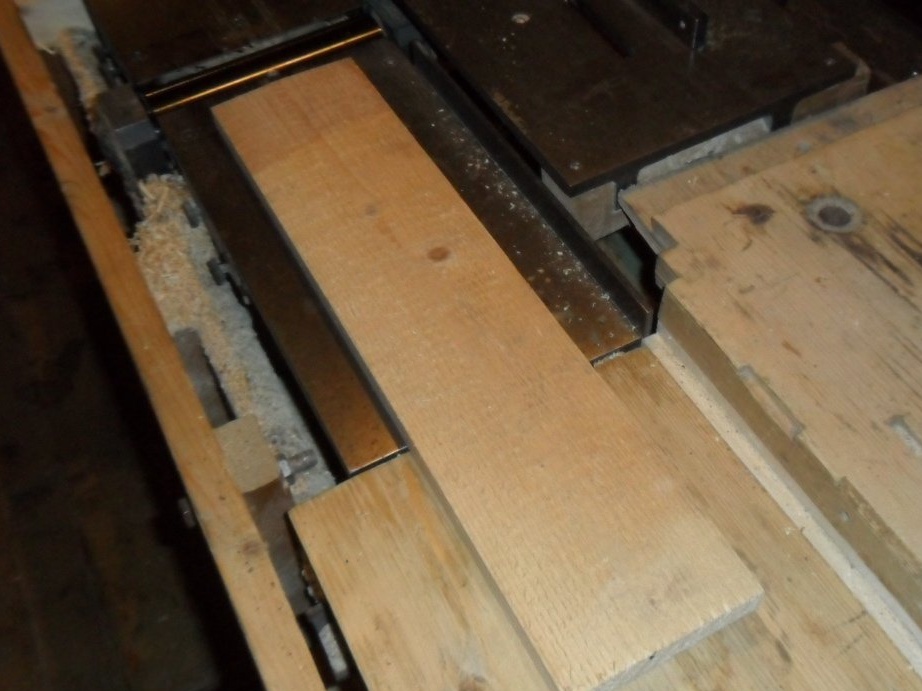
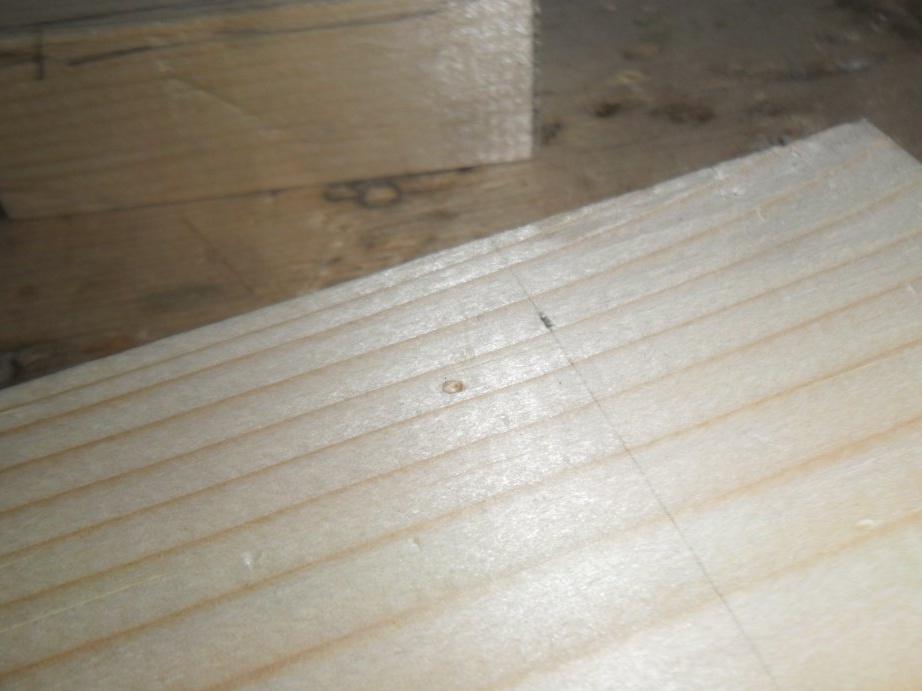
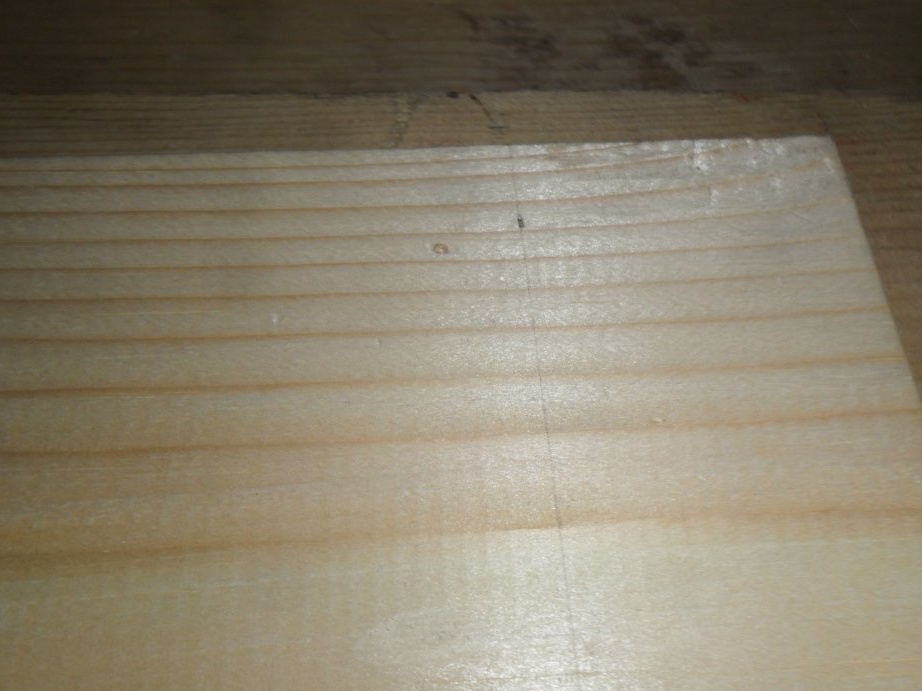
We need to saw off the excess part of the pine board. So that the end plane after outlining with a pencil on the square and saw is perpendicular to the edge plane, the latter is processed on a planer. Draw a pencil along the square so that the knot remains outside the desired part of the board. In the miter box we saw a board. After that, we are combining the resulting long part of the workpiece. We put the processed board back into the miter box and saw it from the side of the uneven end. Of course, you could immediately blow off the entire board, and then saw off the excess parts. But by doing so, as described above, we thereby saved the electric energy spent on the work of the machine, and simultaneously maintained the sharpness of the knives of the jointing shaft. In carpentry, as in other polysyllabic matters, increased rationality is important.

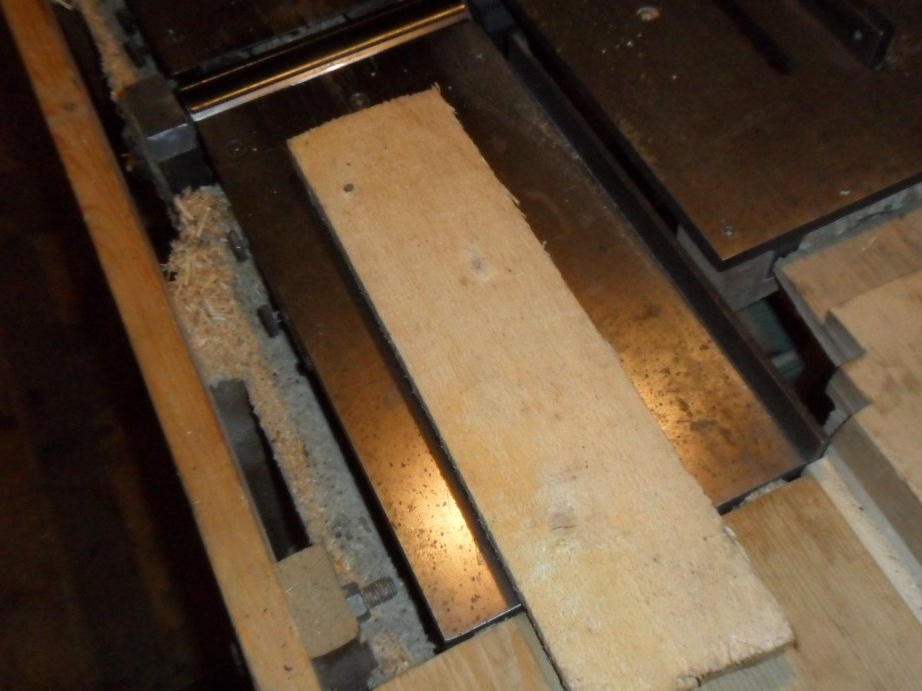
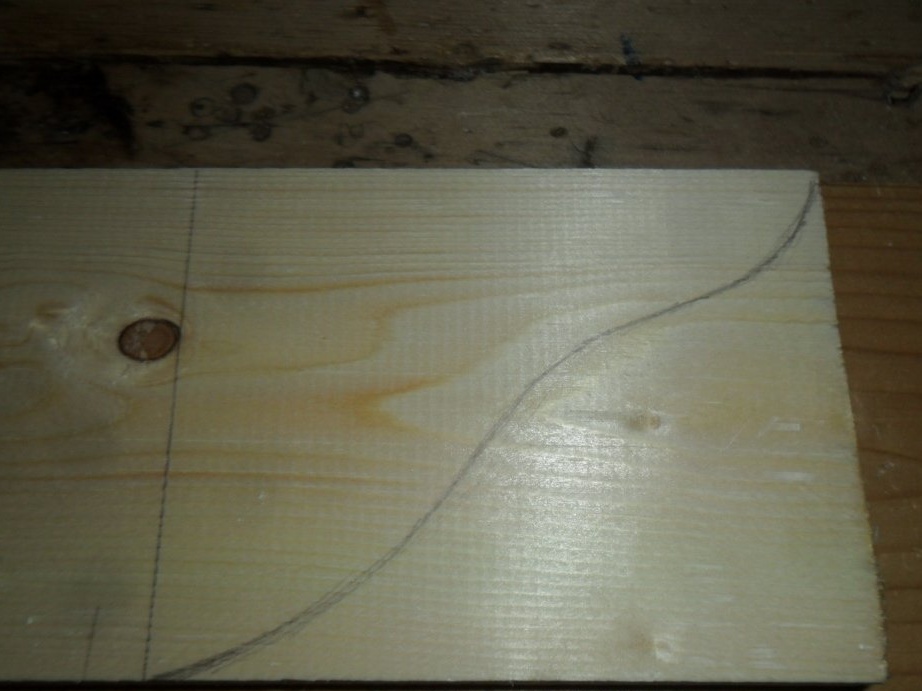
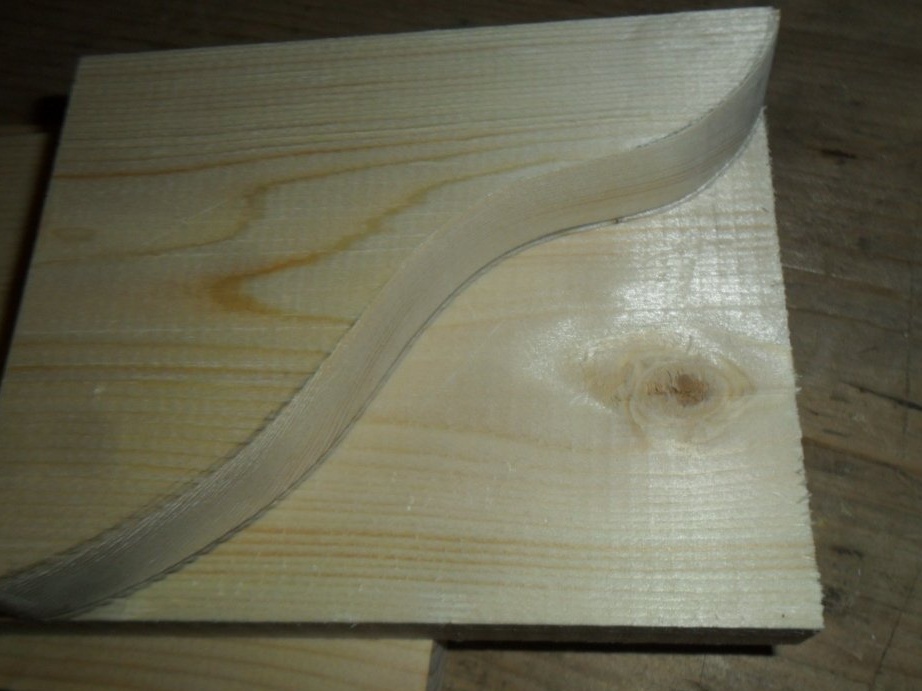
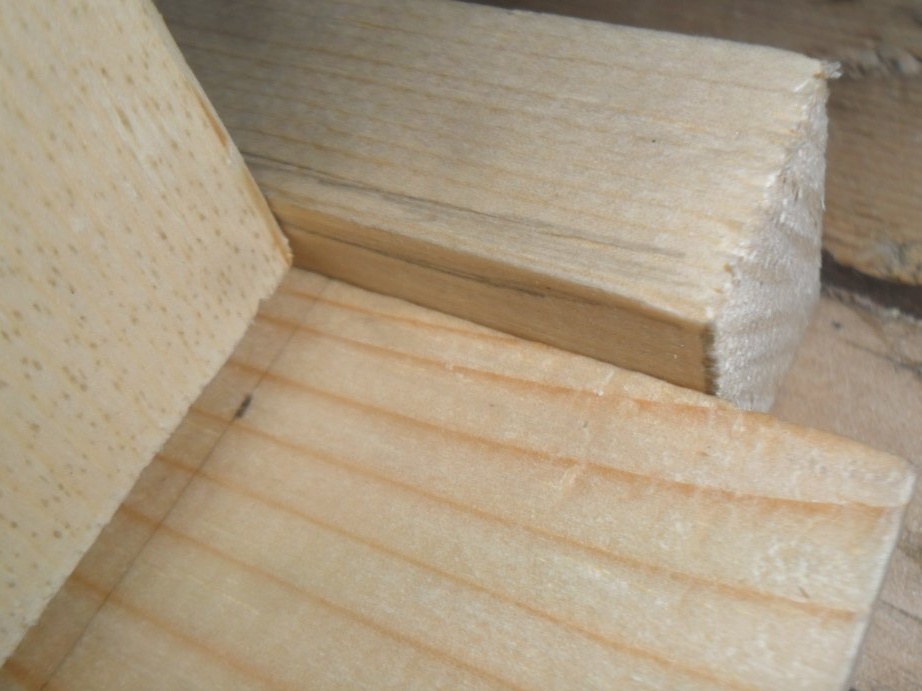
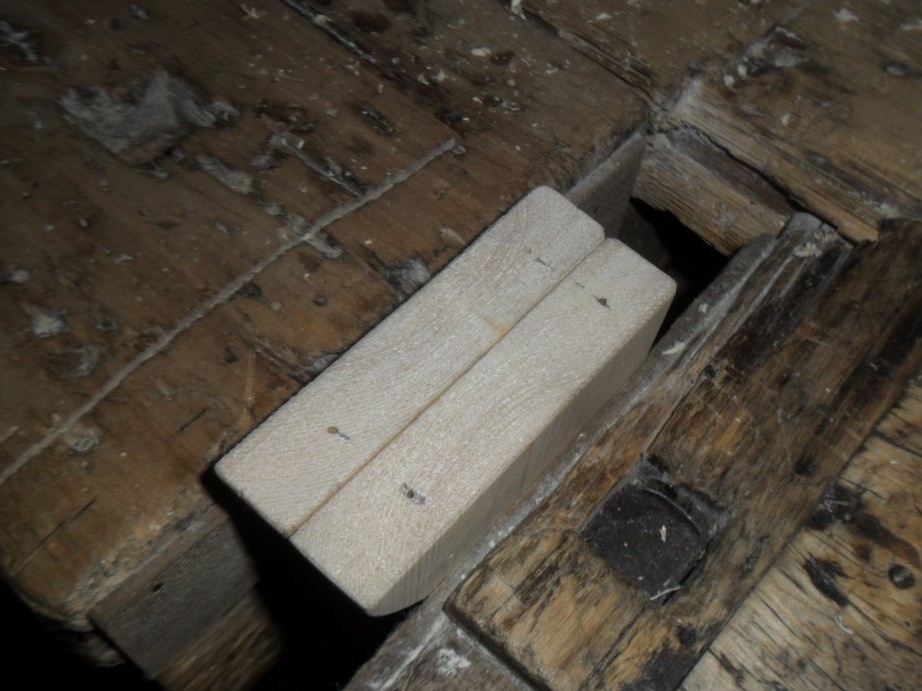
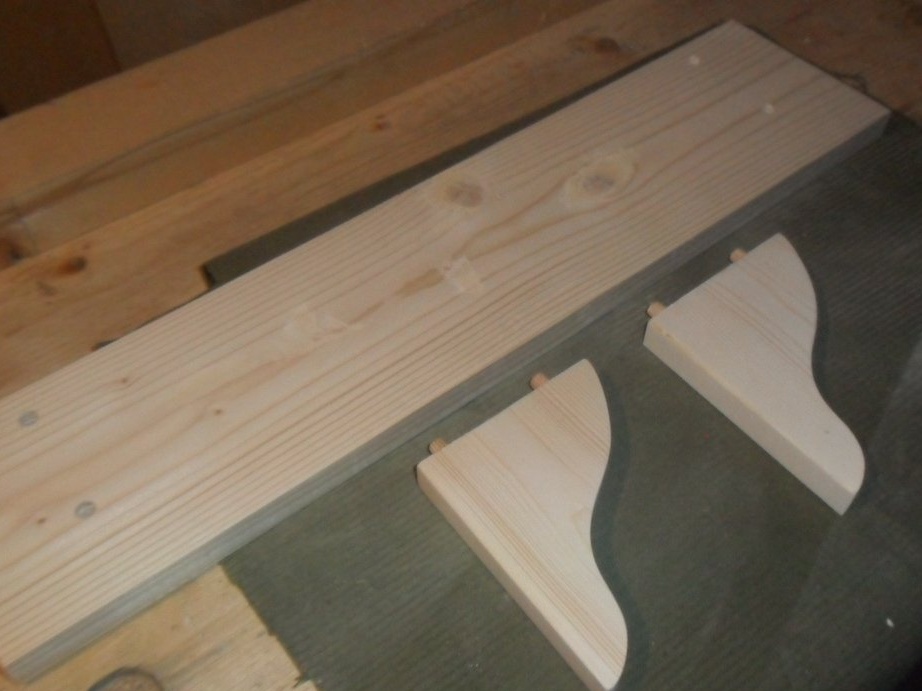
Step 2. Cutting out the supports.
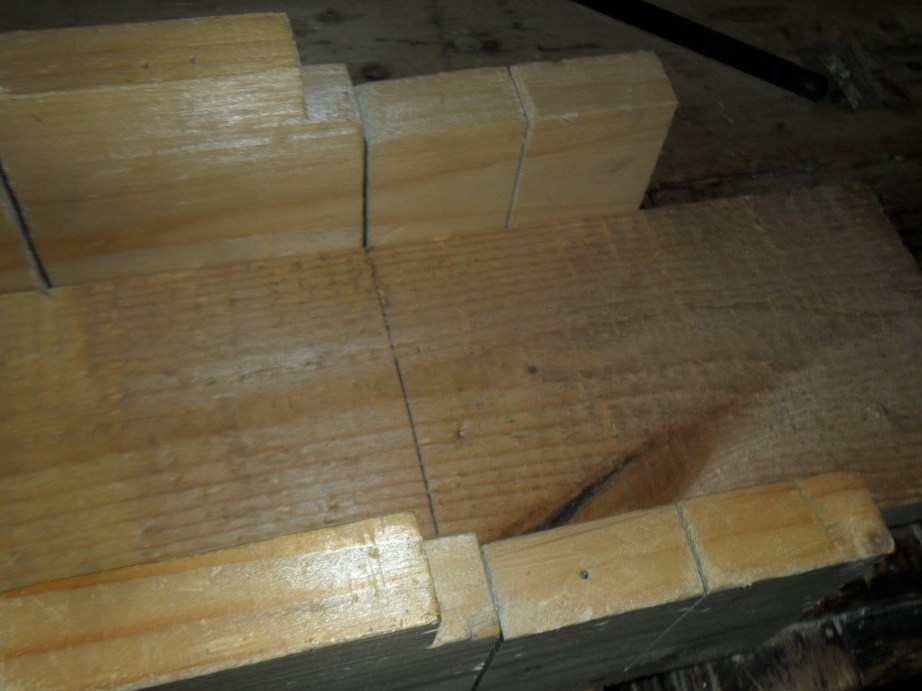
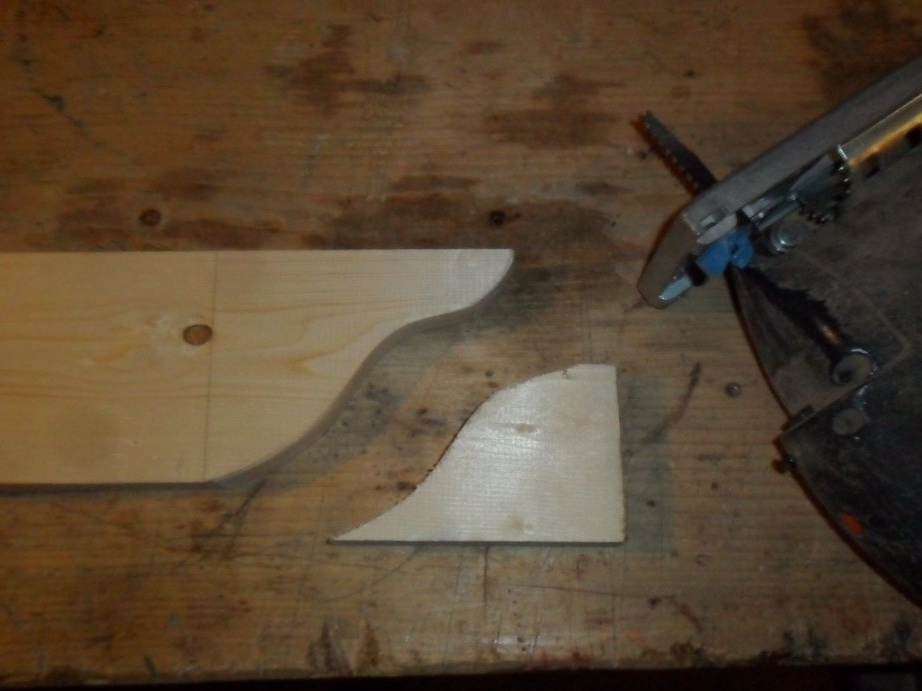
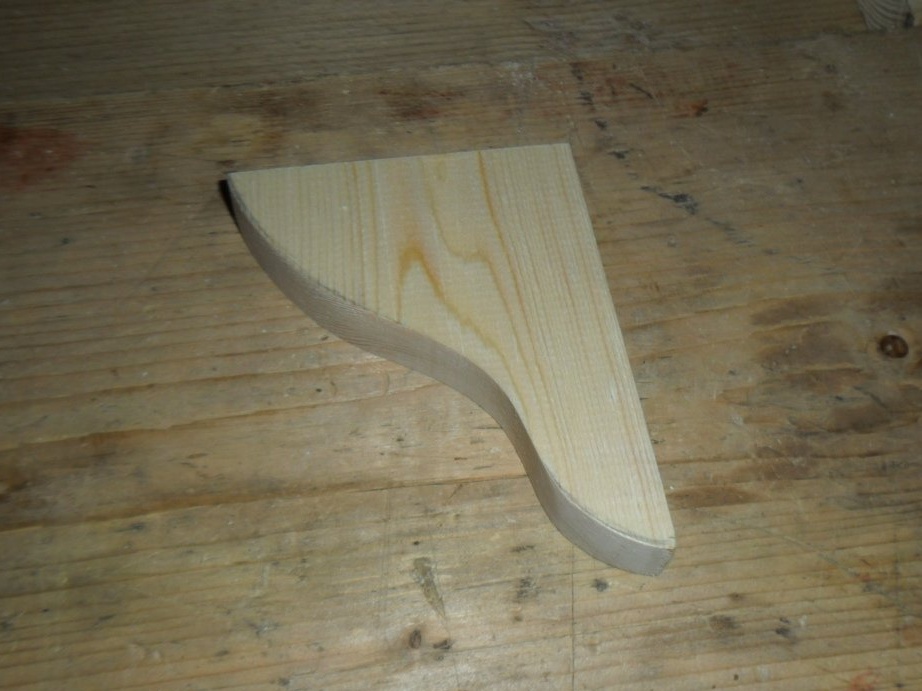
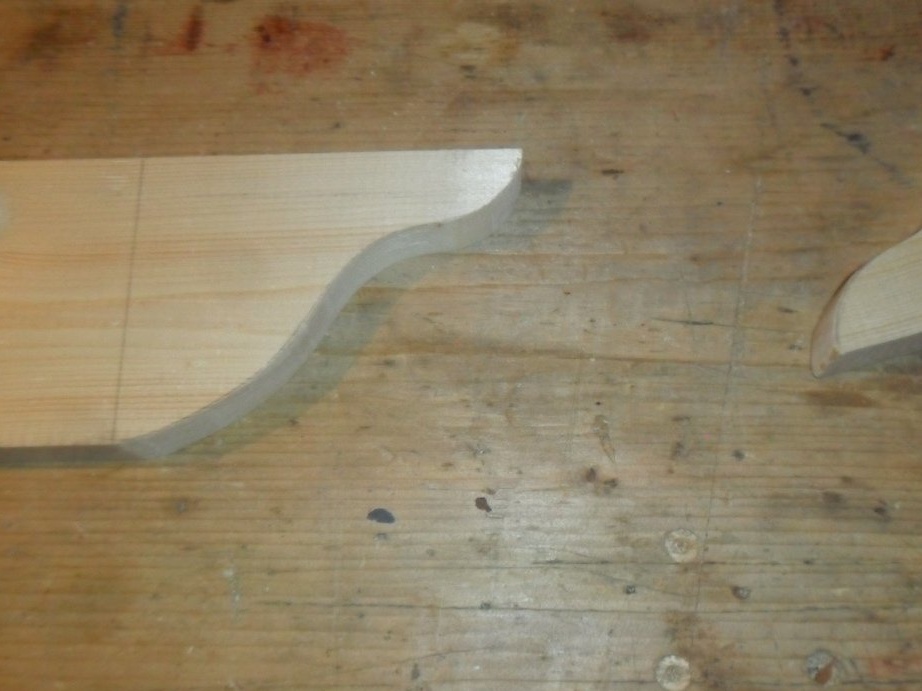
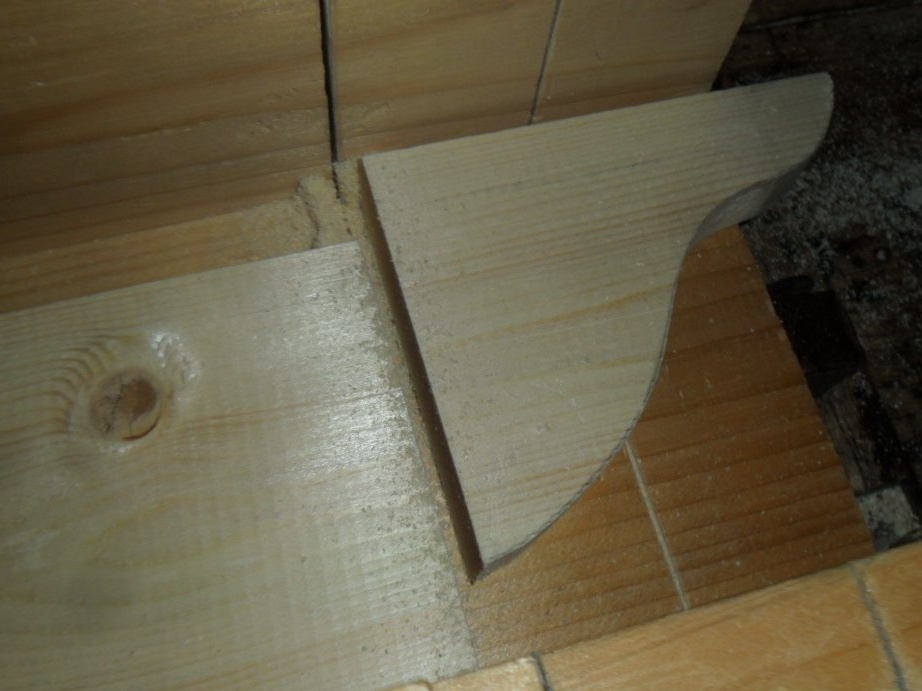
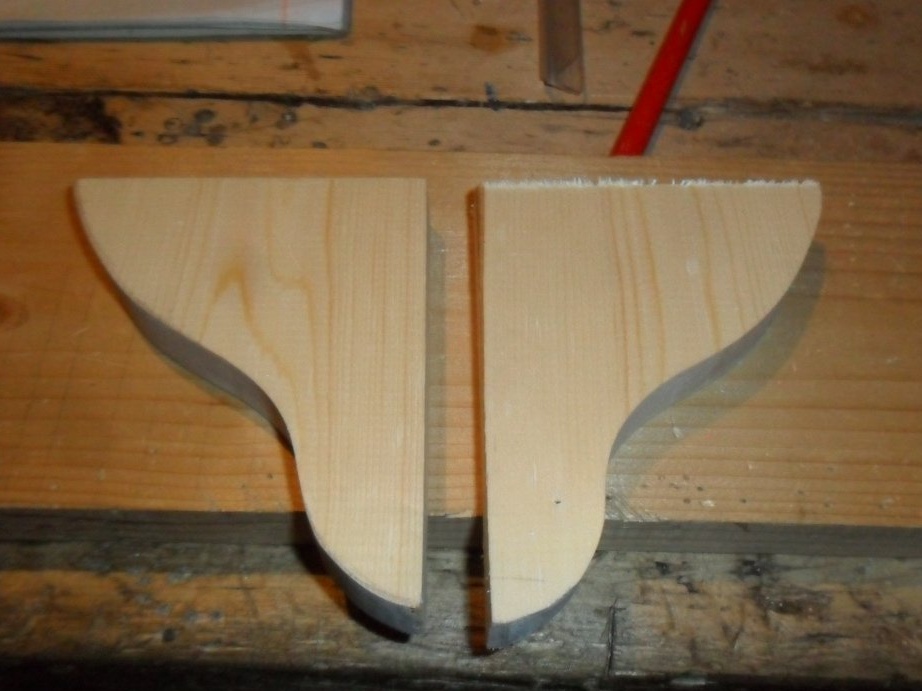
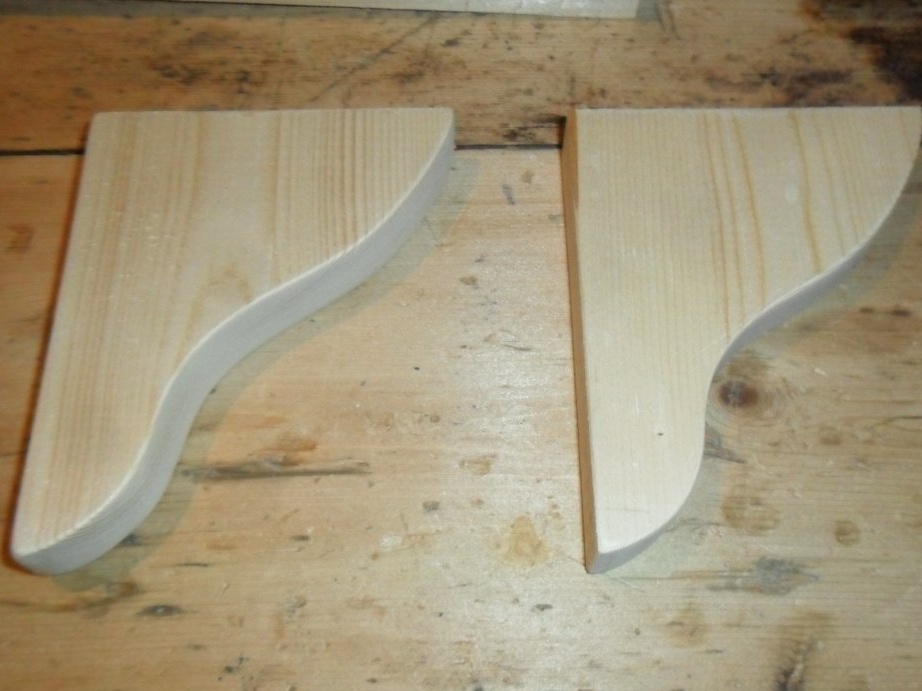
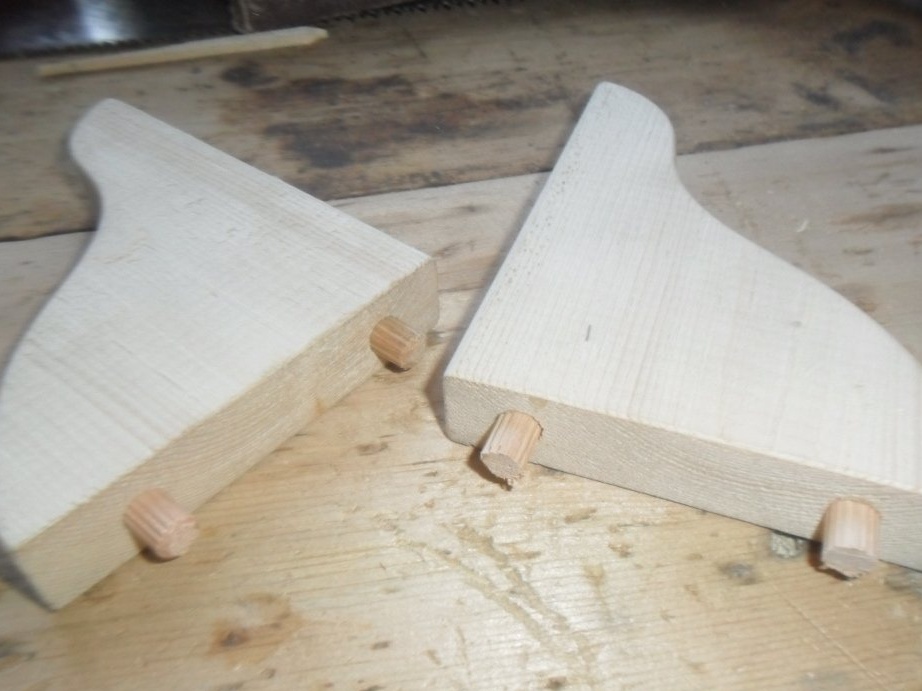
The main part of the shelf will rest on wooden brackets. The shape of the front ends will be wave-like. We process the selected desired board on the machine. Then draw a smoothly changing curved line. Saw off the unnecessary part with an electric jigsaw. Then in the miter box we saw along another - straight - line. The result is the first bracket. Putting it to the board, draw a pencil around the contour and perform the same two operations as in the manufacture of the first support. The result was two parts 11.5 cm long and 9 cm wide.
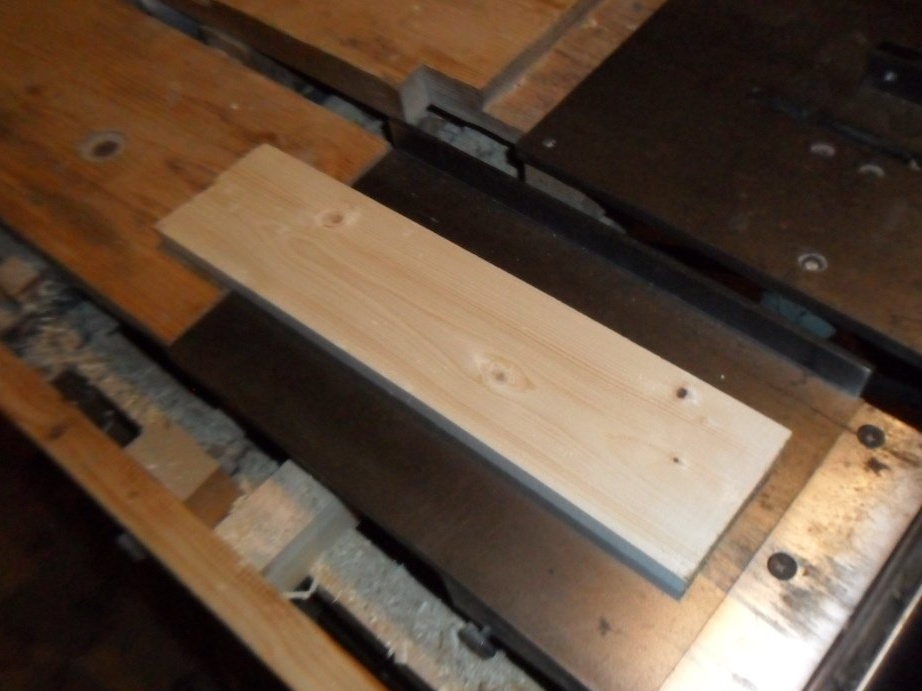
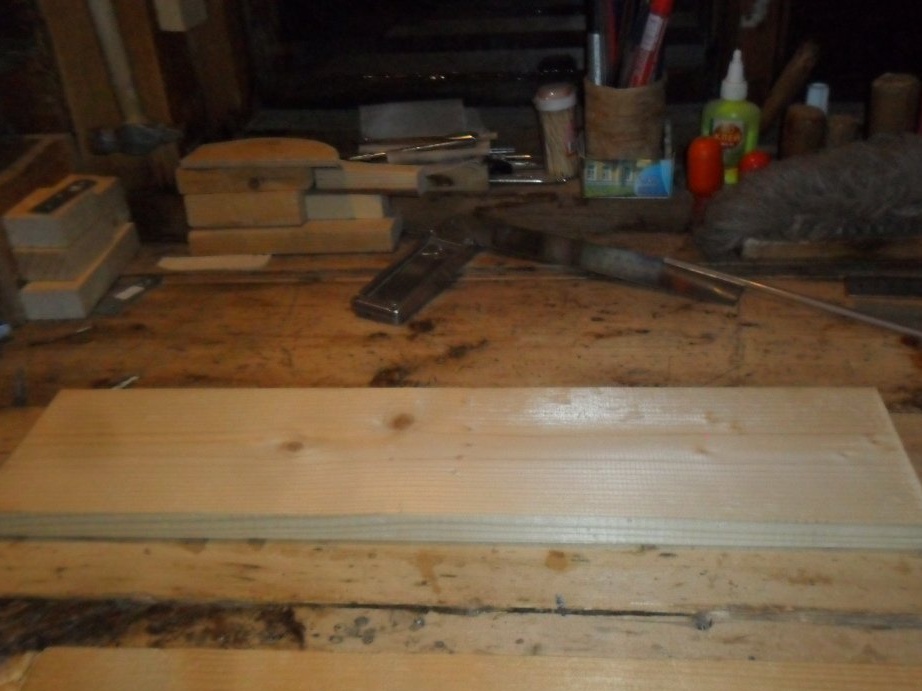
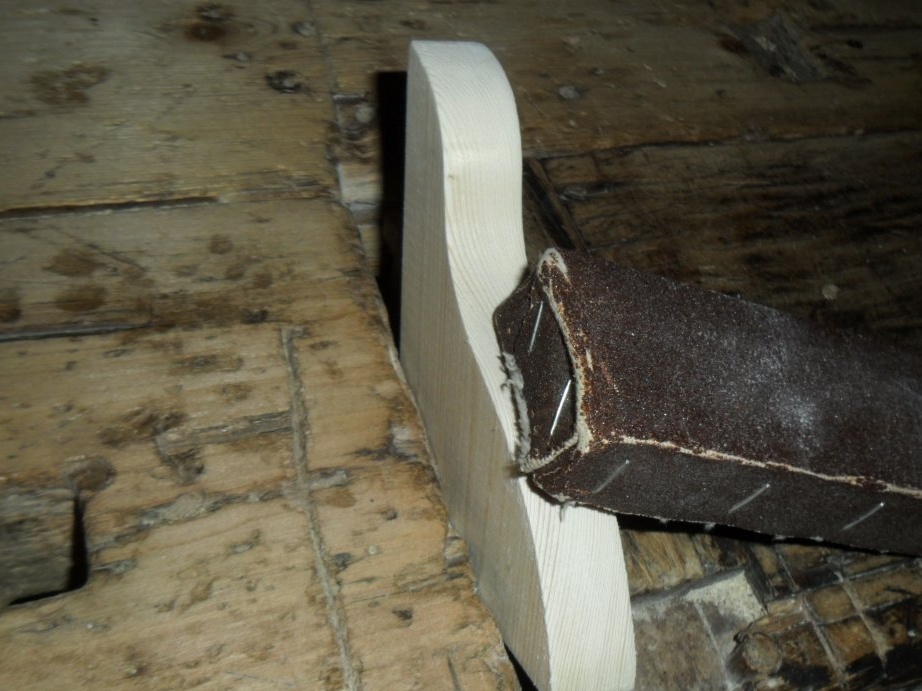
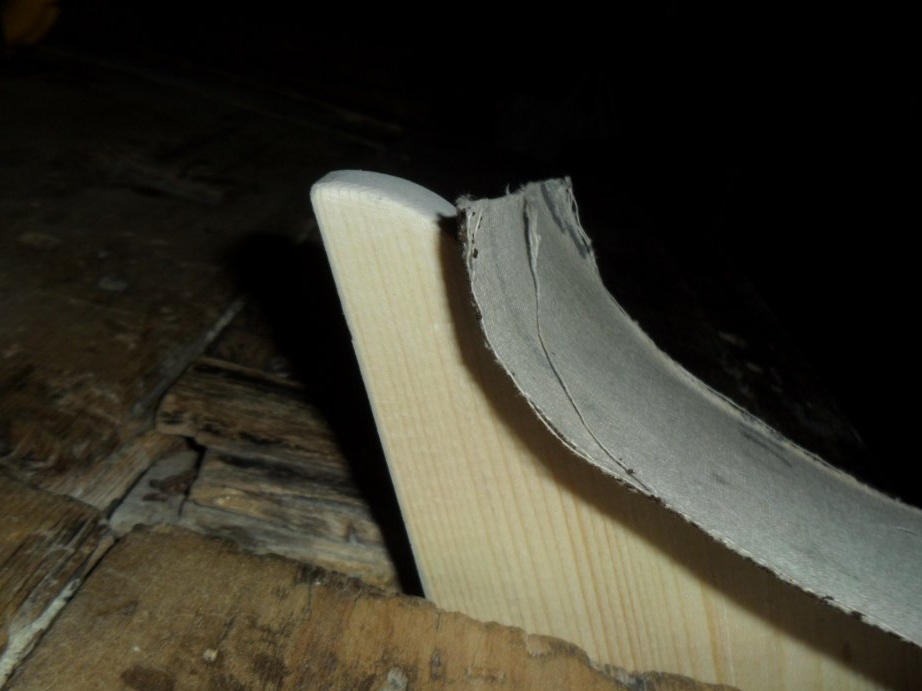
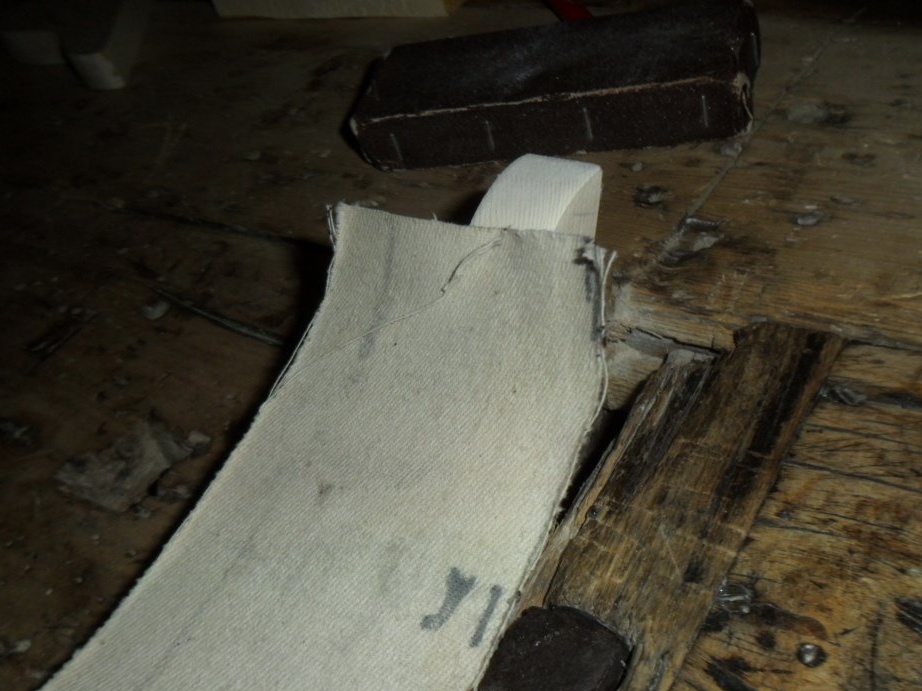
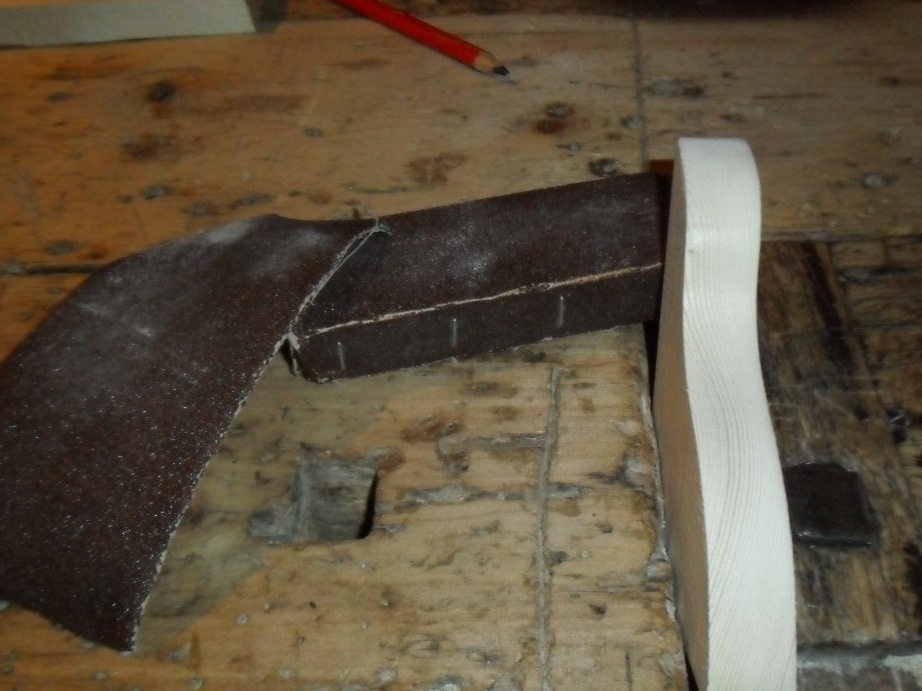
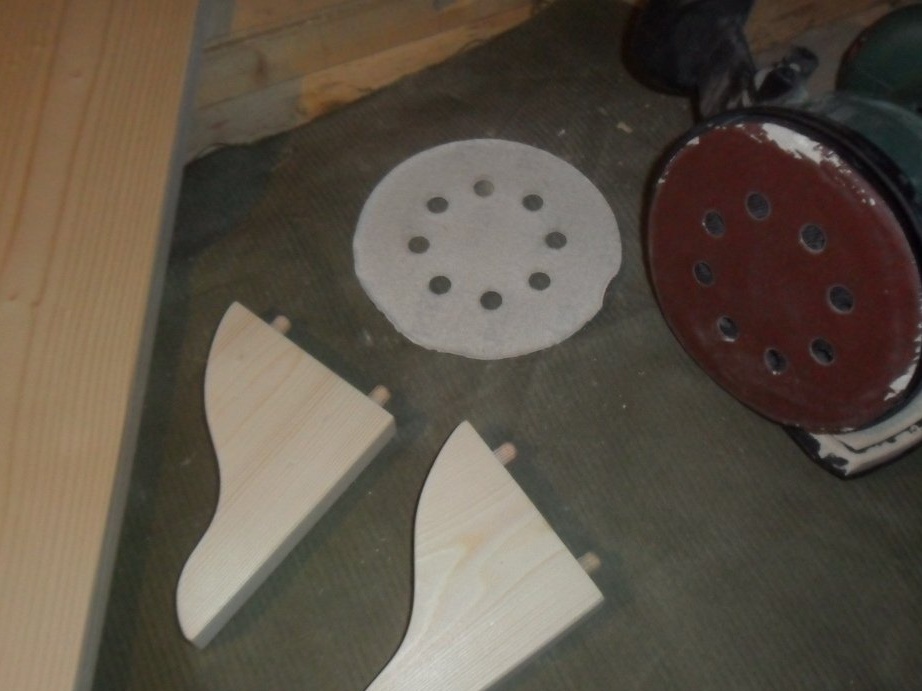
Step 3. Sanding the brackets with sandpaper.
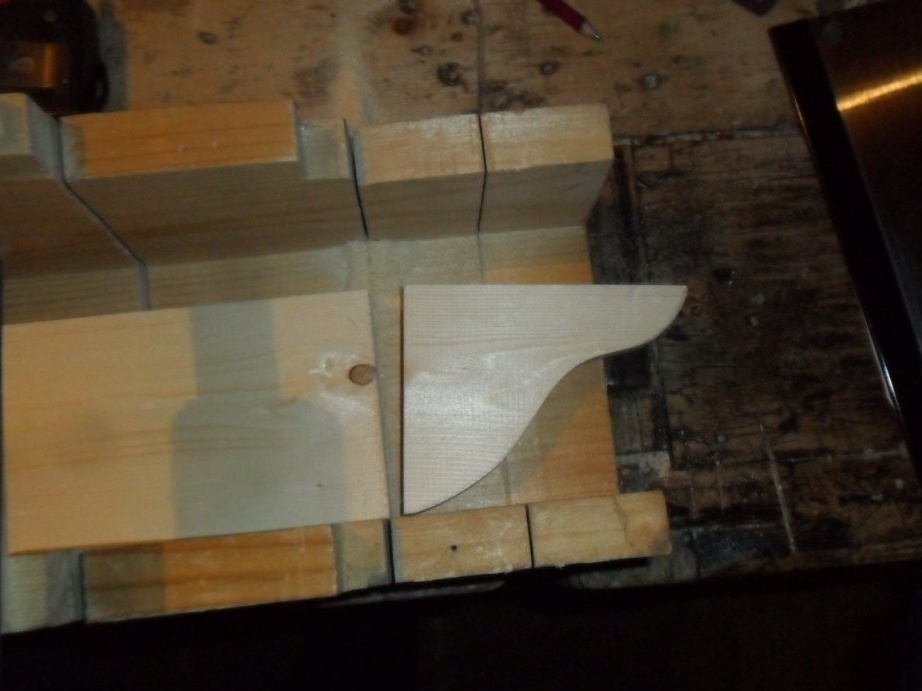
First, smooth the sharp edges of the workpieces. Then proceed to grinding the curved ends. To do this, you will need, in addition to the grinding block, a piece of unfixed, bendable skin. Having processed both parts, we put them on the same plane of the board to check whether the brackets are the same. As you can see from the photo - are quite the same.

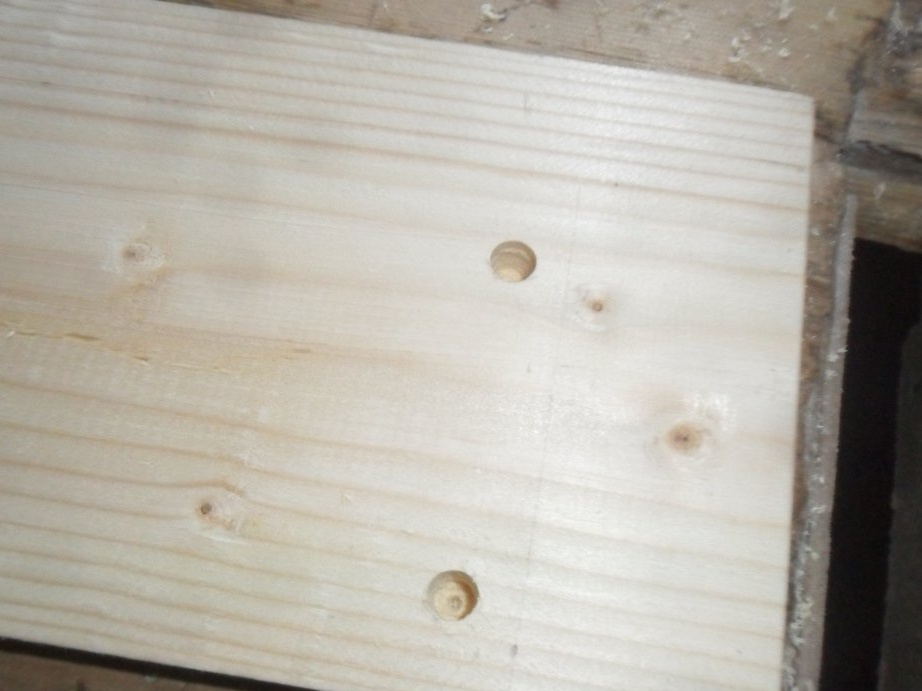
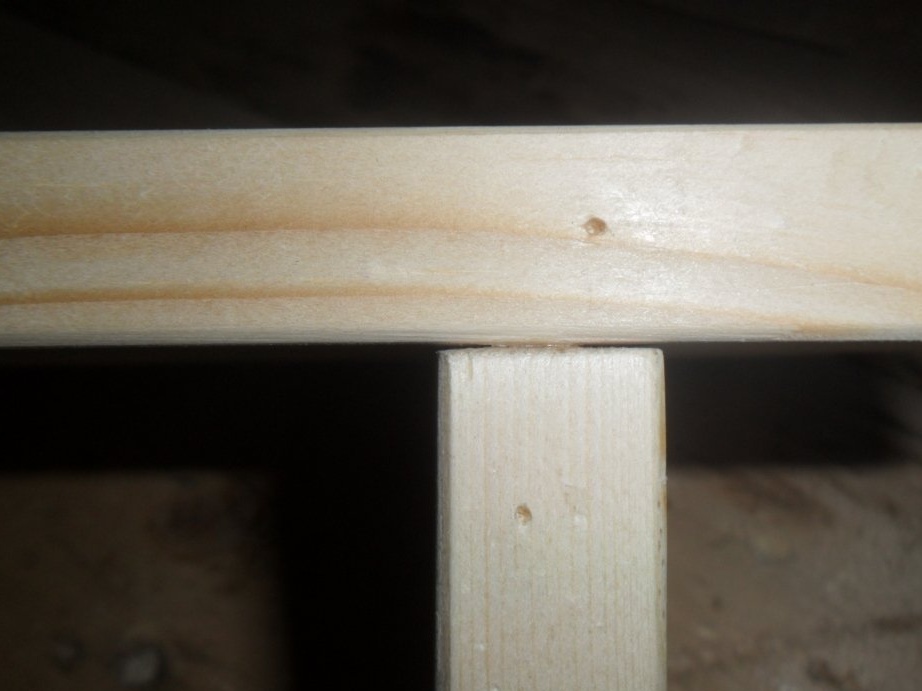
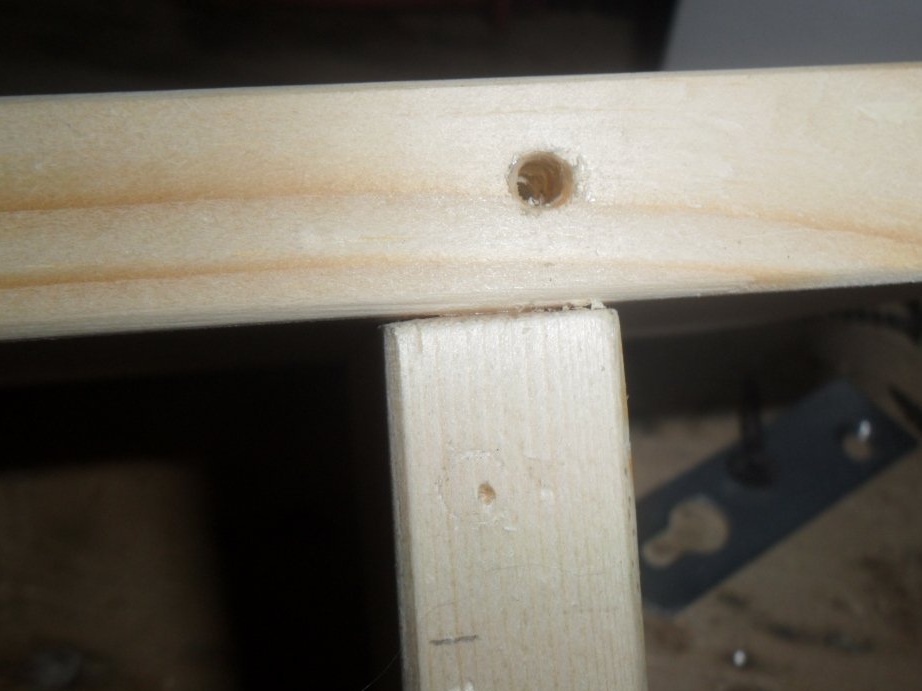
Step 4. Marking the location of dowels.
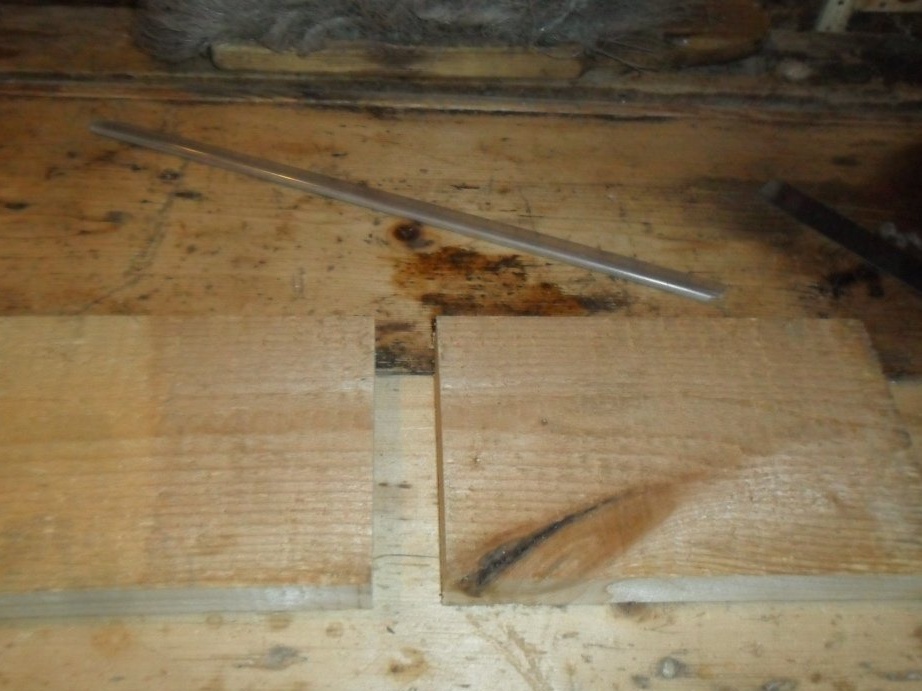
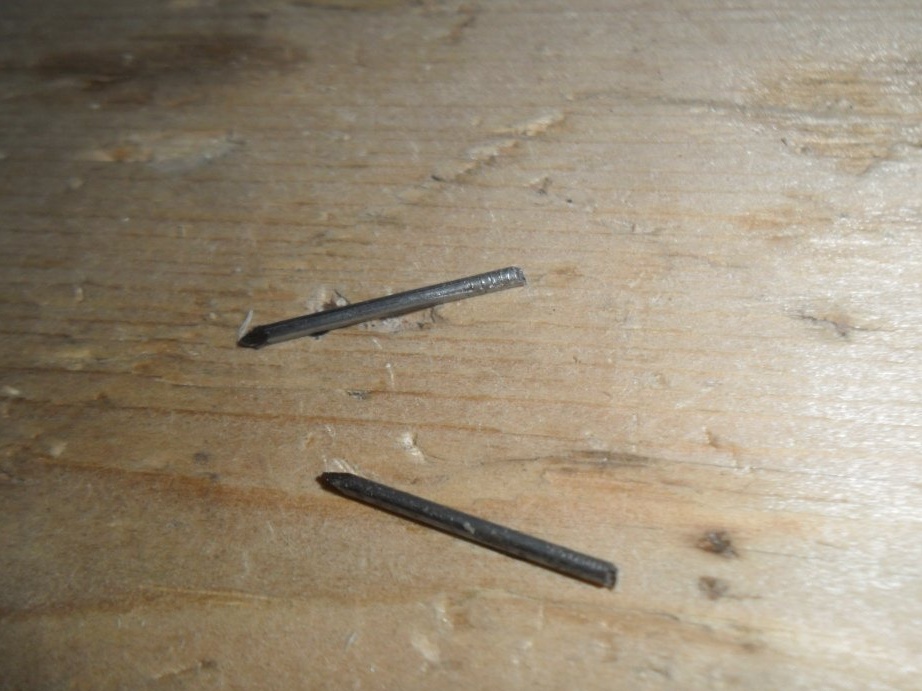
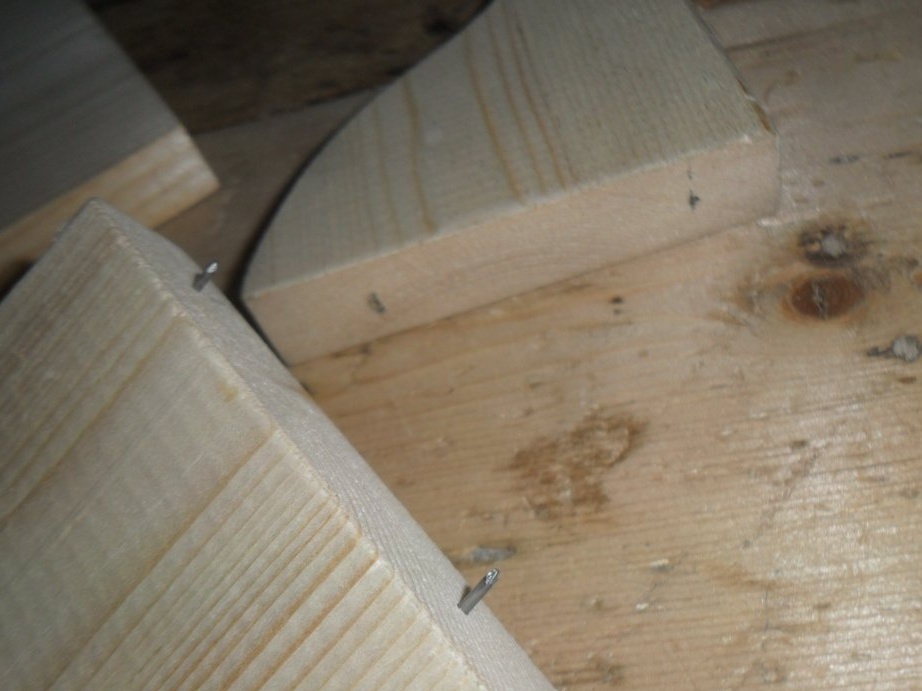
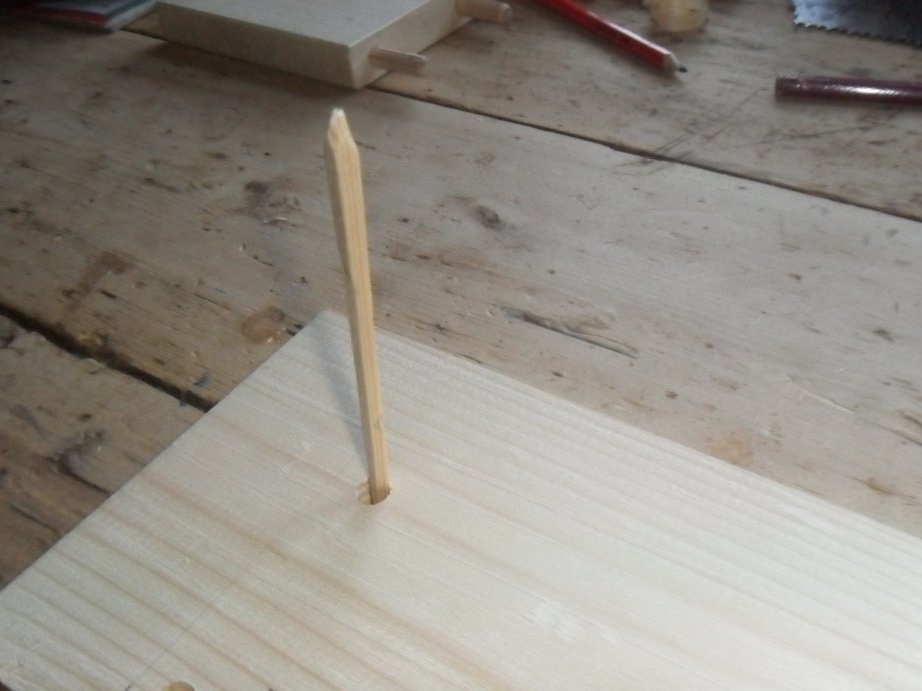
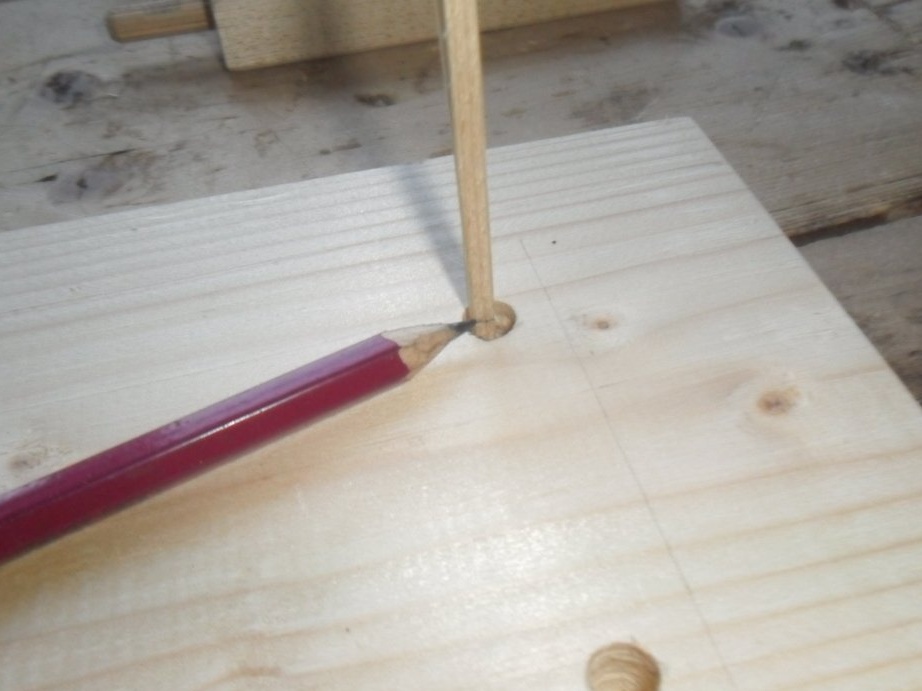
A large board and brackets will be attached to each other with dowels and wood glue. In order for the dowels to exactly match the holes when connecting all the parts, you should outline the locations for the first. This is done as follows. We take two small cloves and “bite off” hats from them with pliers. Then we insert (drive) the metal rods into the stop so that they protrude from above by at least 3 mm. Taking the bracket, carefully place it on the bottom of a long board in a line and gently press it. So we got the indentation marks. Having taken out the nails without a hat from the first stop, insert them into the second and put them on the board as well.
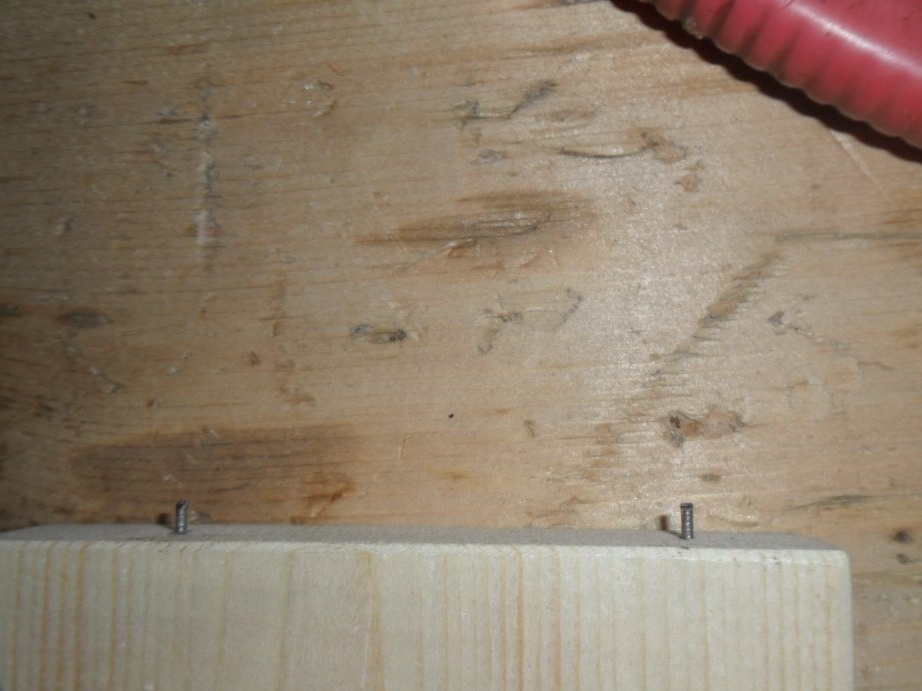
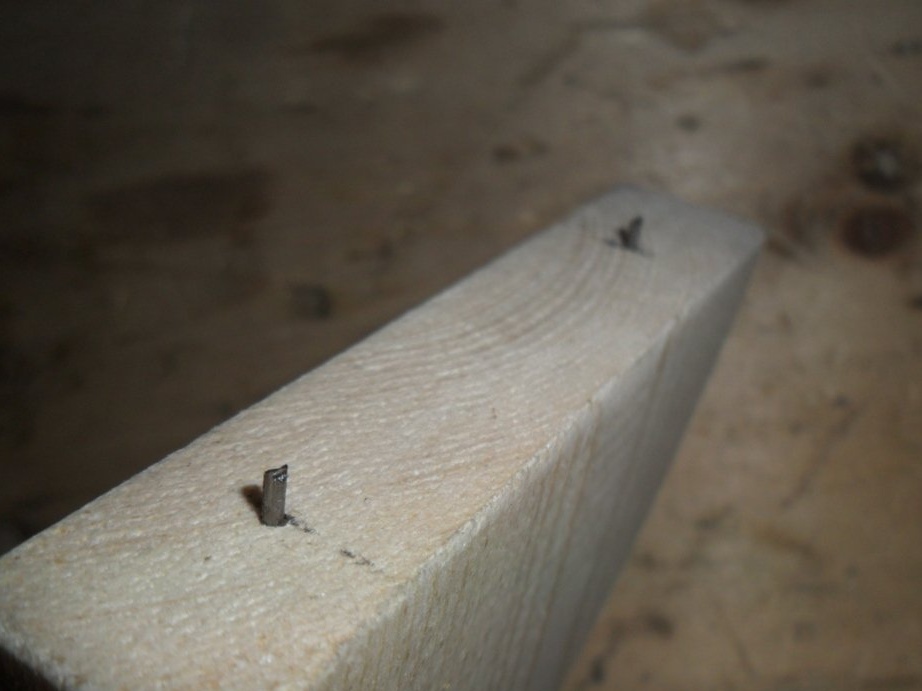
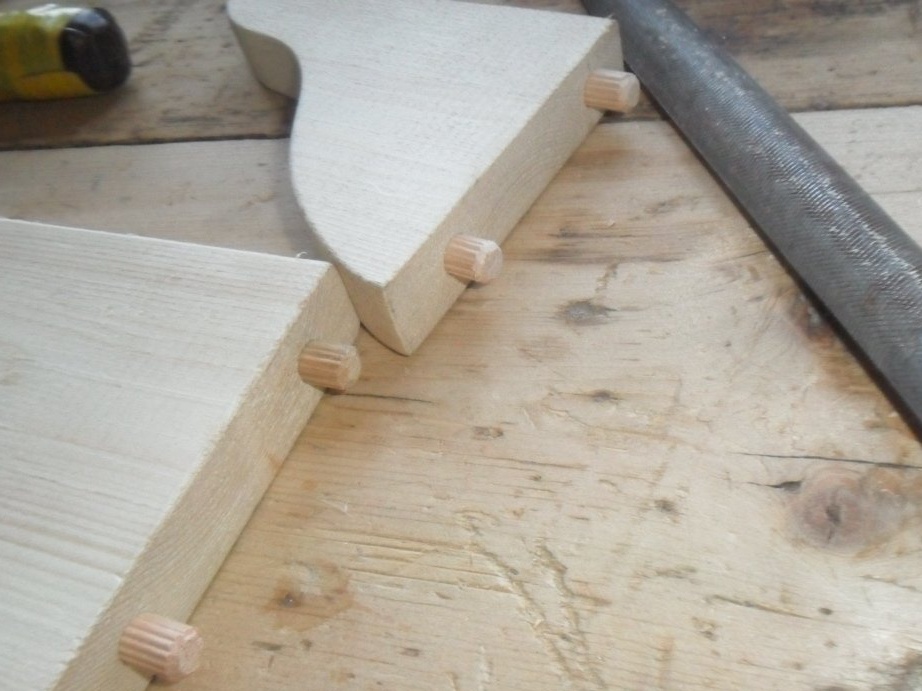
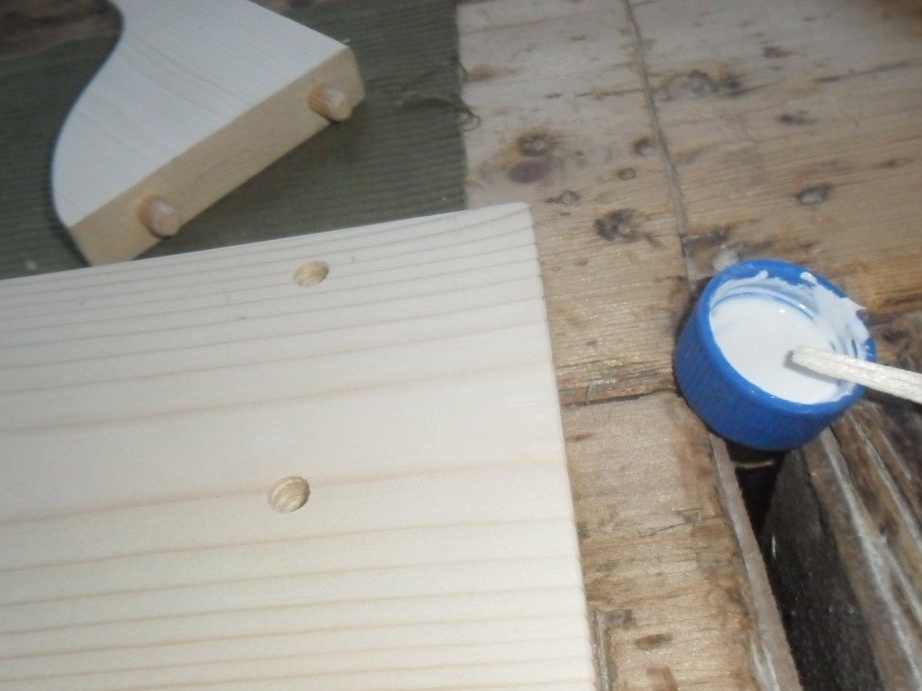
Step 5. Drilling holes for dowels.
We mark the marked places on the brackets and the main board with a drill to a depth of about 1.5 cm. The diameter of the resulting holes is 8 mm.
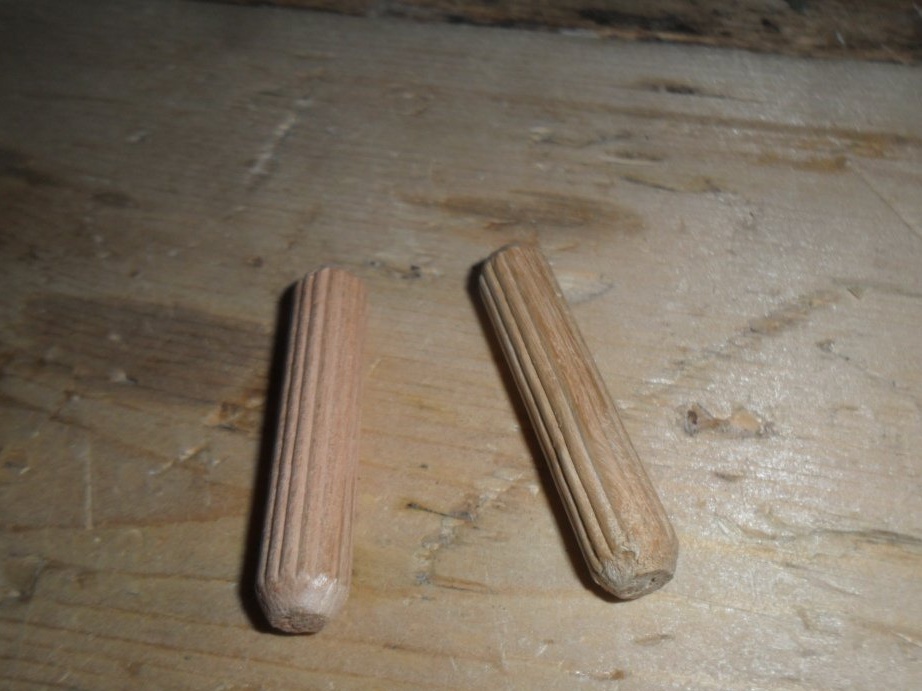

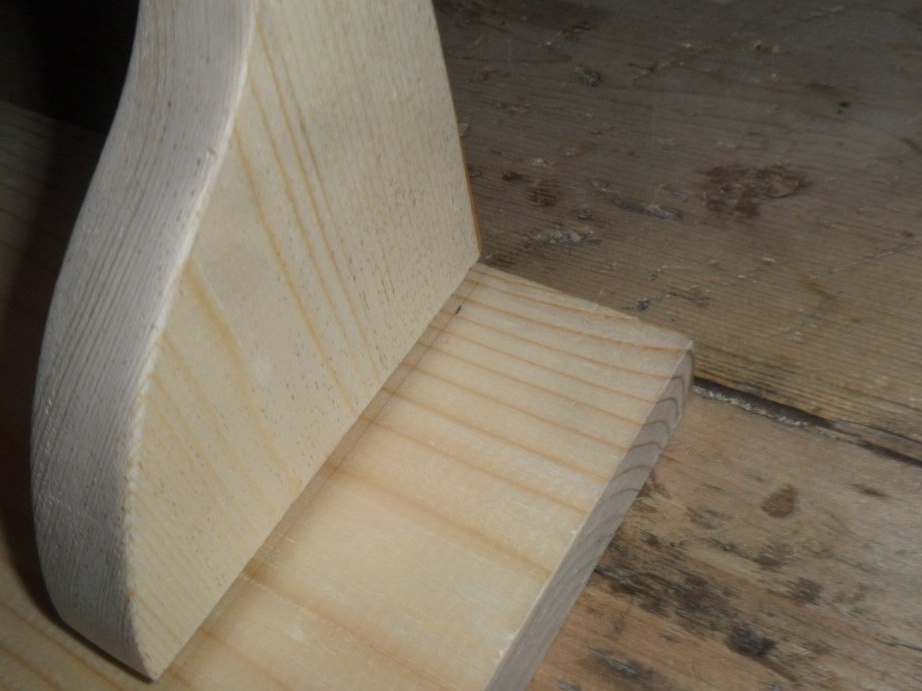
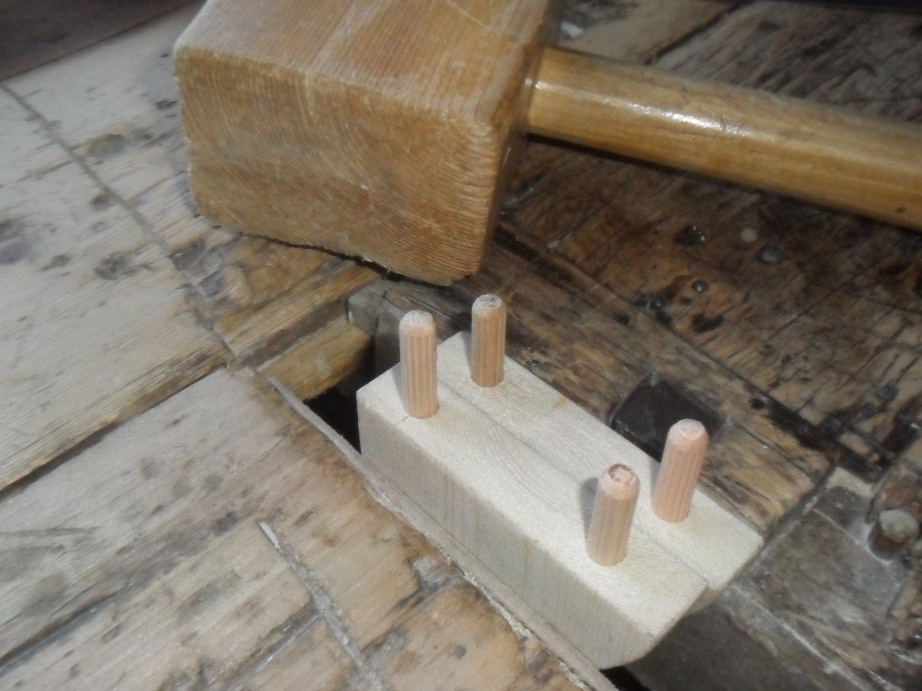
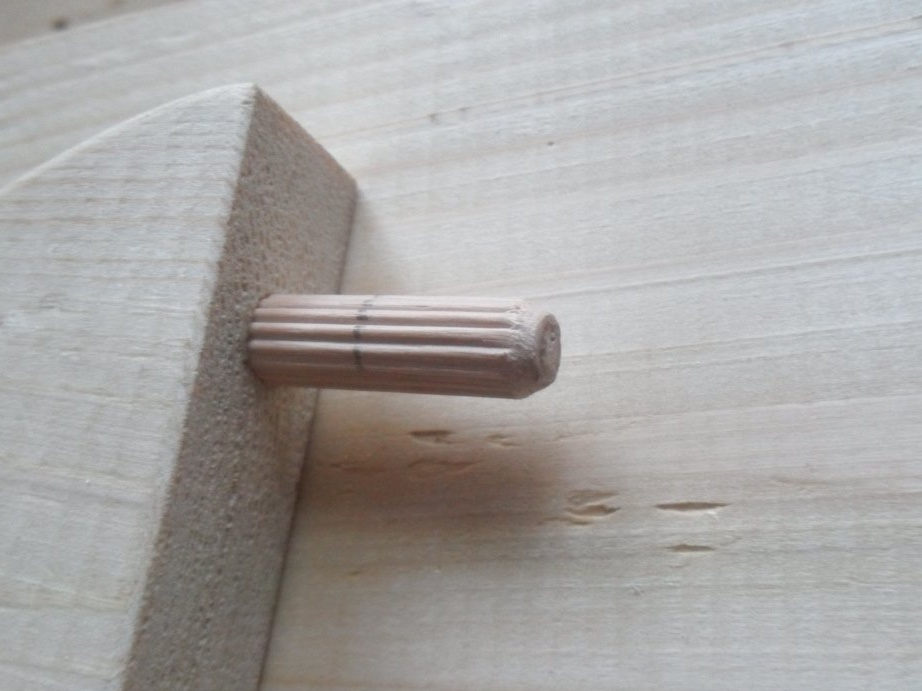
Step 6. Install dowels.
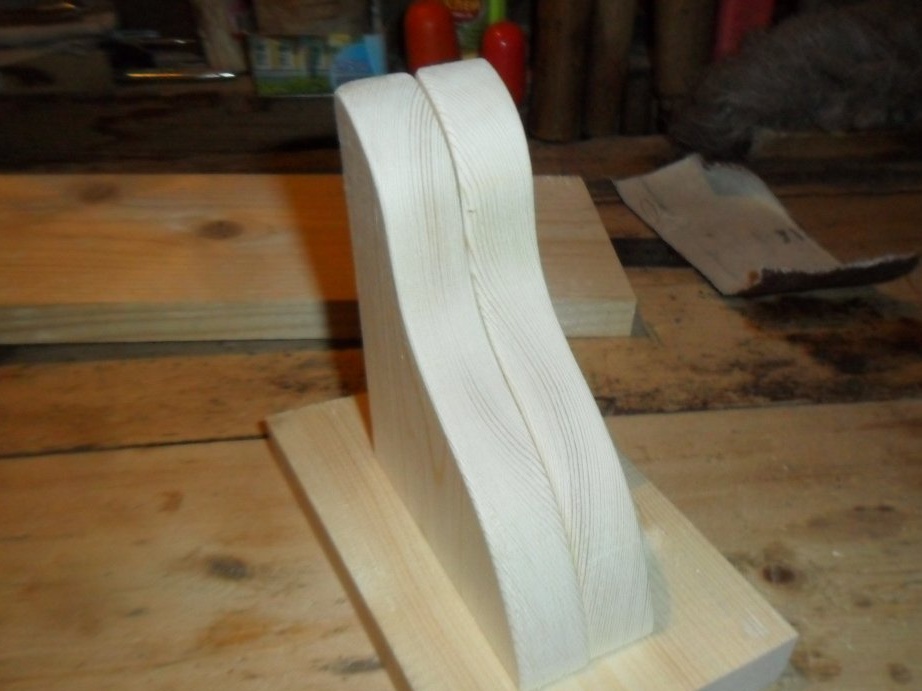
Having fixed the stops together in the vice of the workbench, we lubricate the holes and dowels with carpentry glue and drive in the spikes until they are completely “planted”. We measure the depth of the holes on the board and transfer the dimensions to the protruding part of the dowels. After that, we saw just below the marked lines (below - in order to be sure that the dowels freely and completely enter the holes). To check the work performed correctly, we temporarily connect the brackets and a long board.
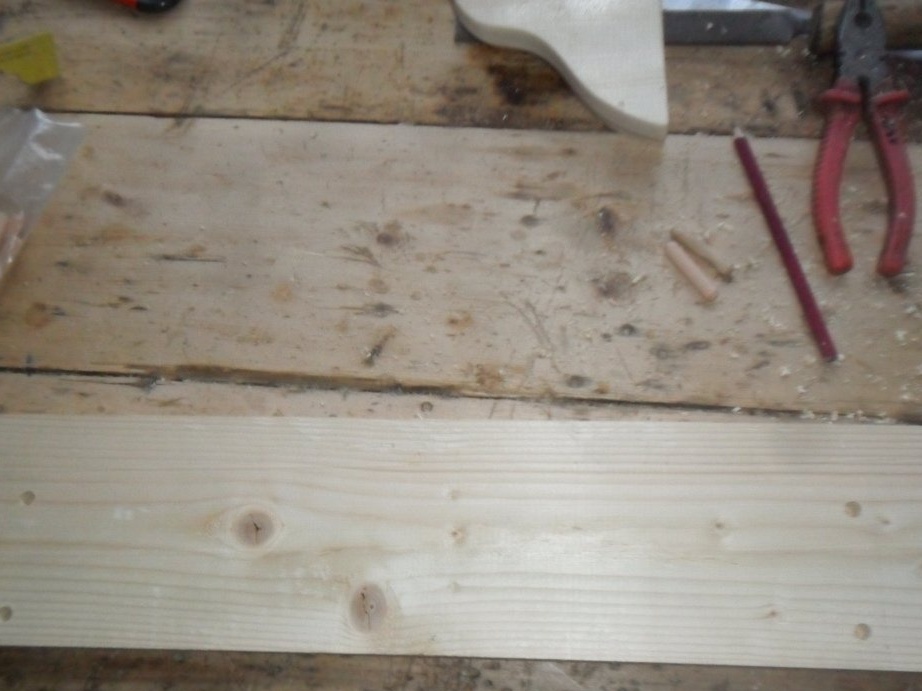
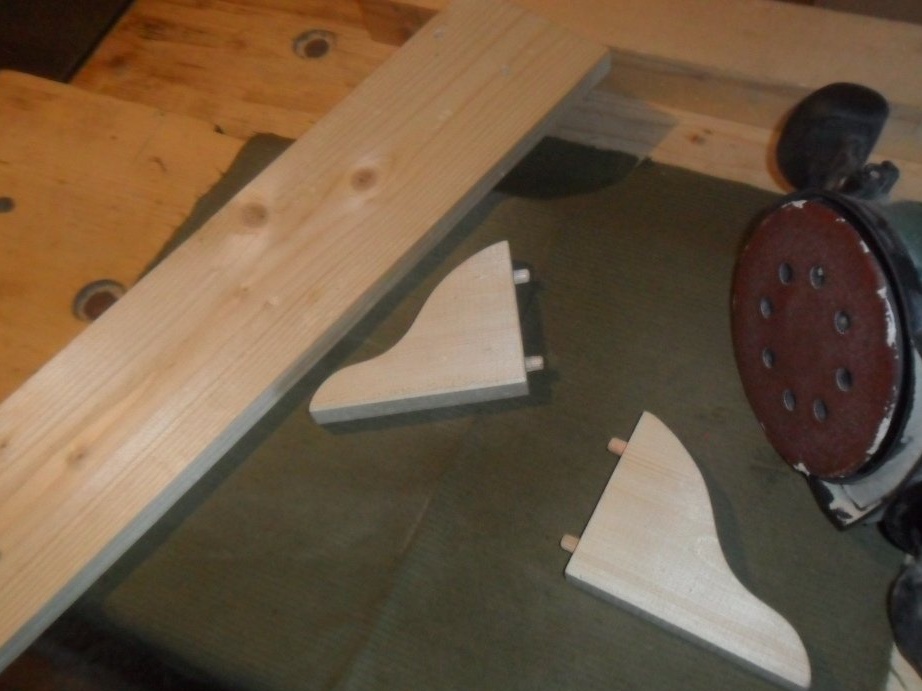
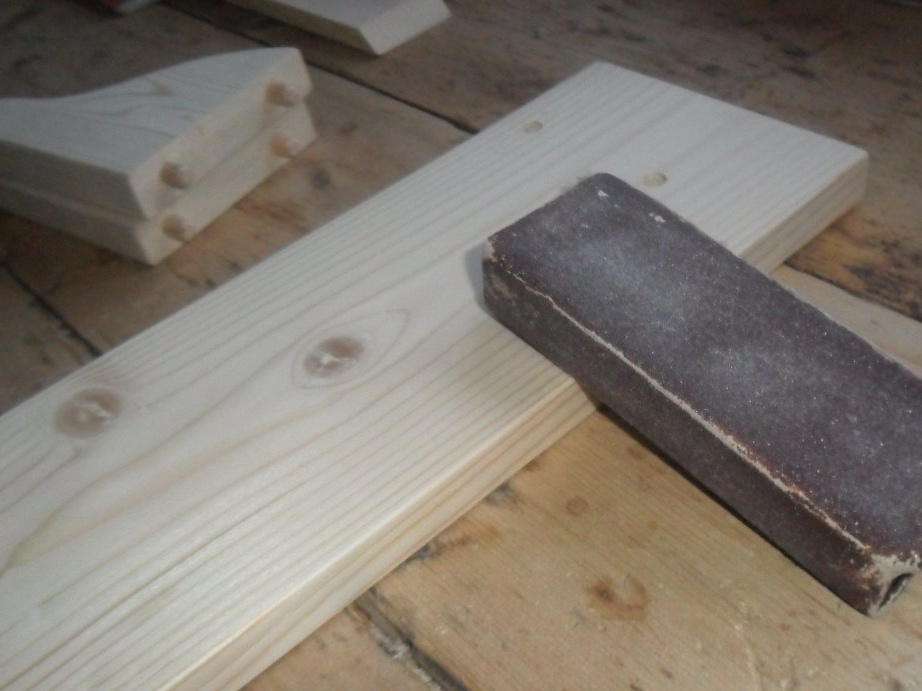
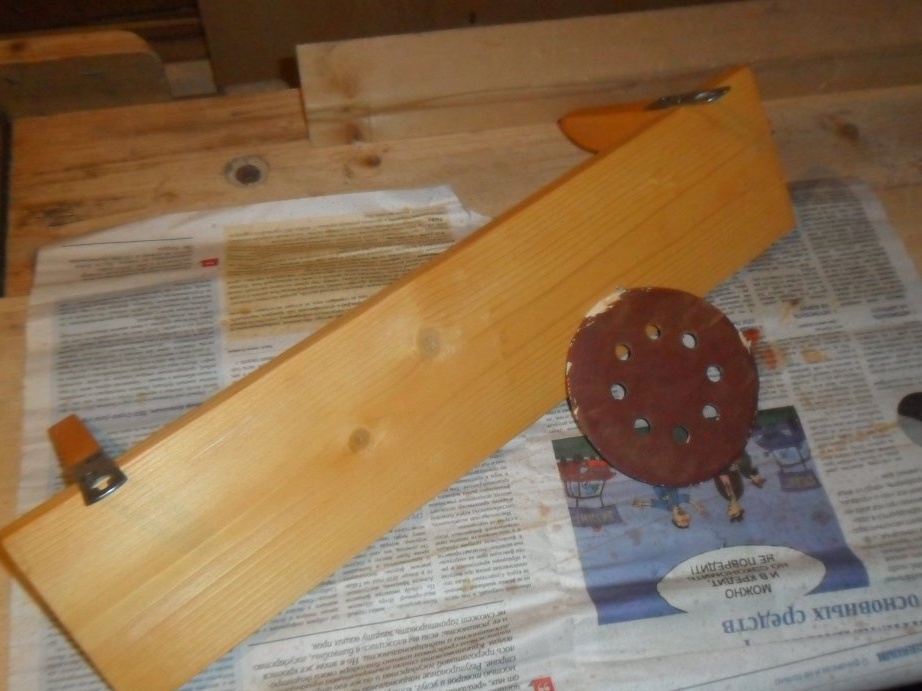
Step 7. Grinding parts.
After disconnecting the parts, we proceed to grinding them. We will use a grinding machine and sandpaper of medium grain size.
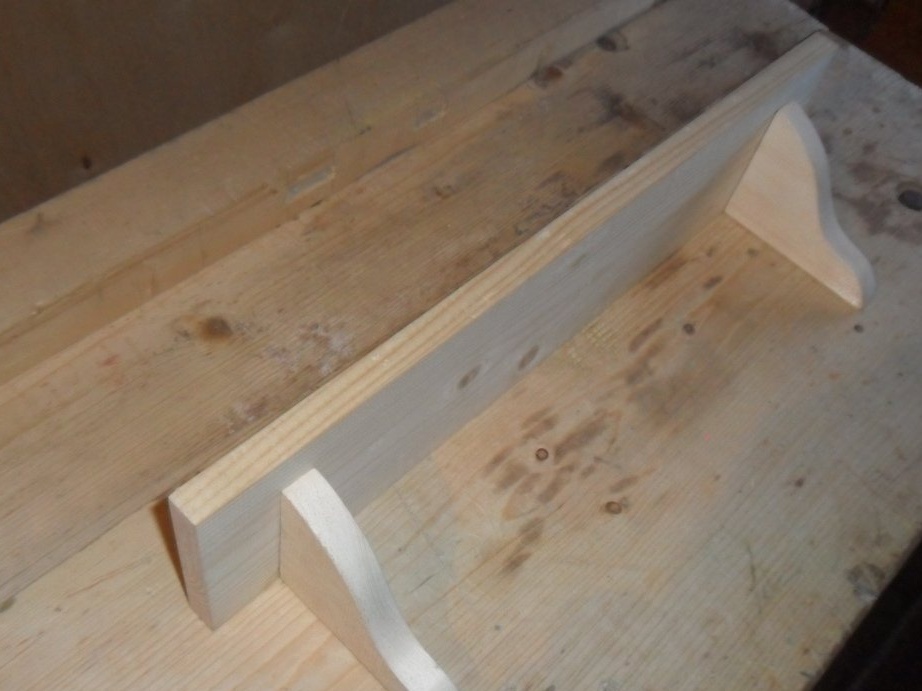
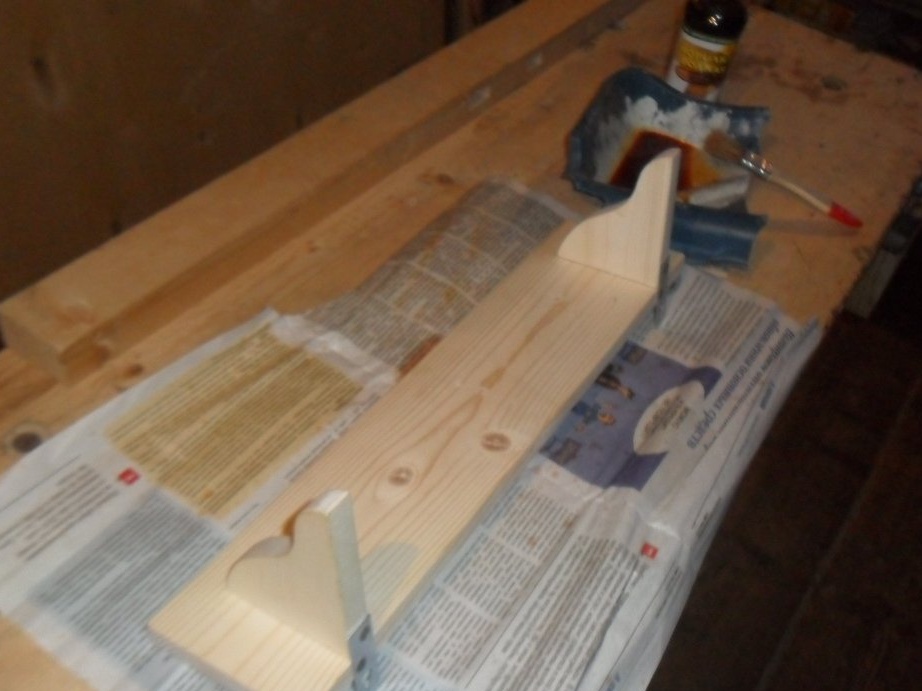
Step 8. Bonding all the components of the shelf.
Lubricating the dowels and holes of the main board with carpentry glue, we connect all the details.

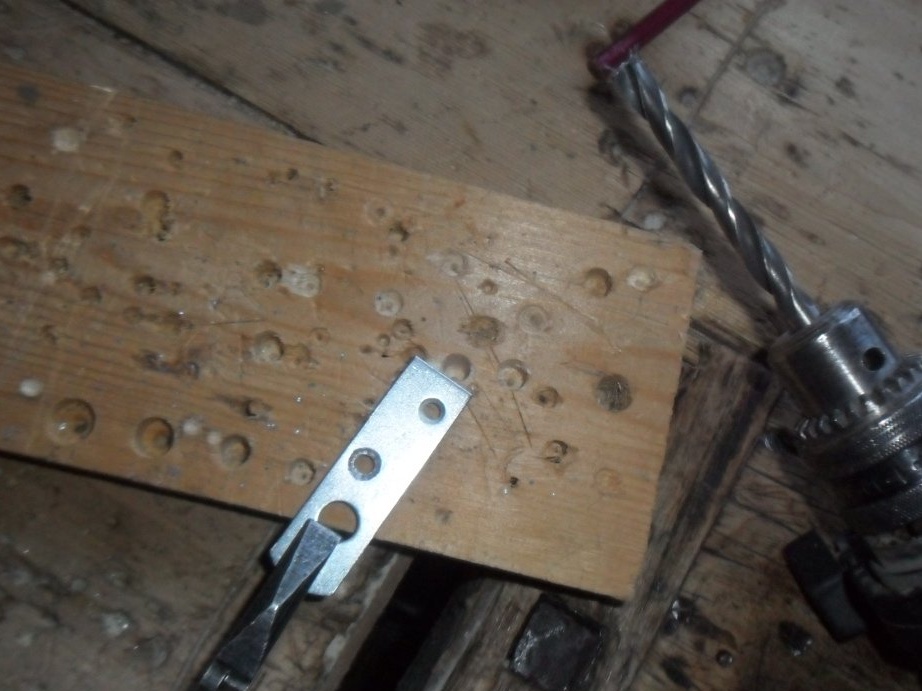
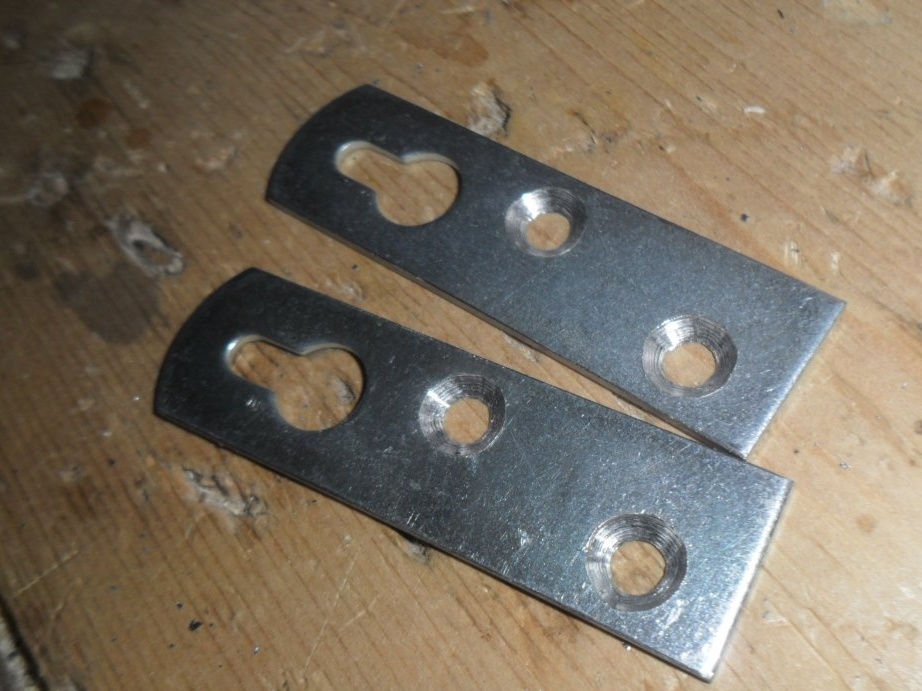
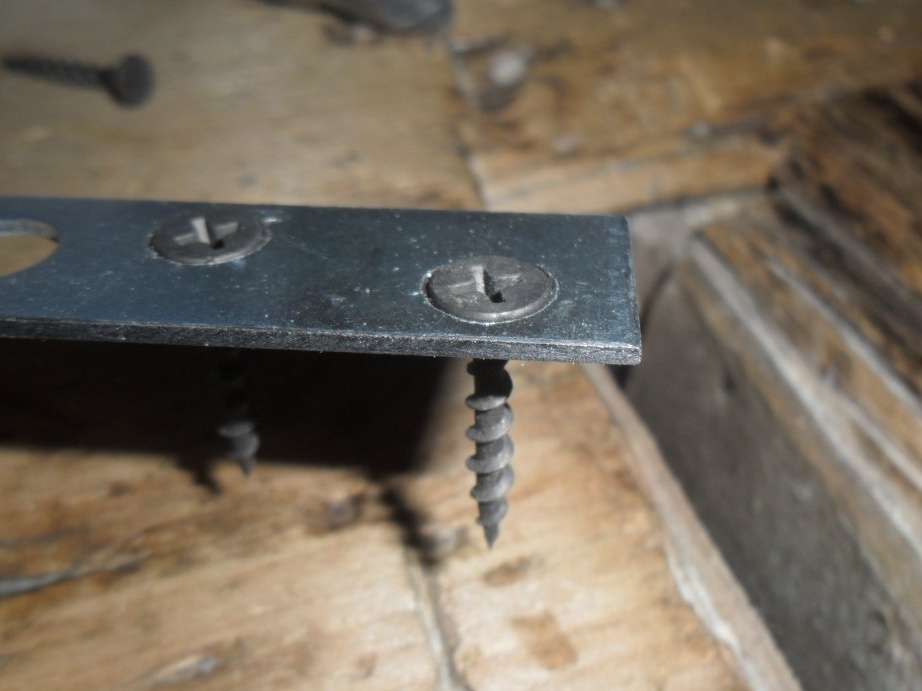
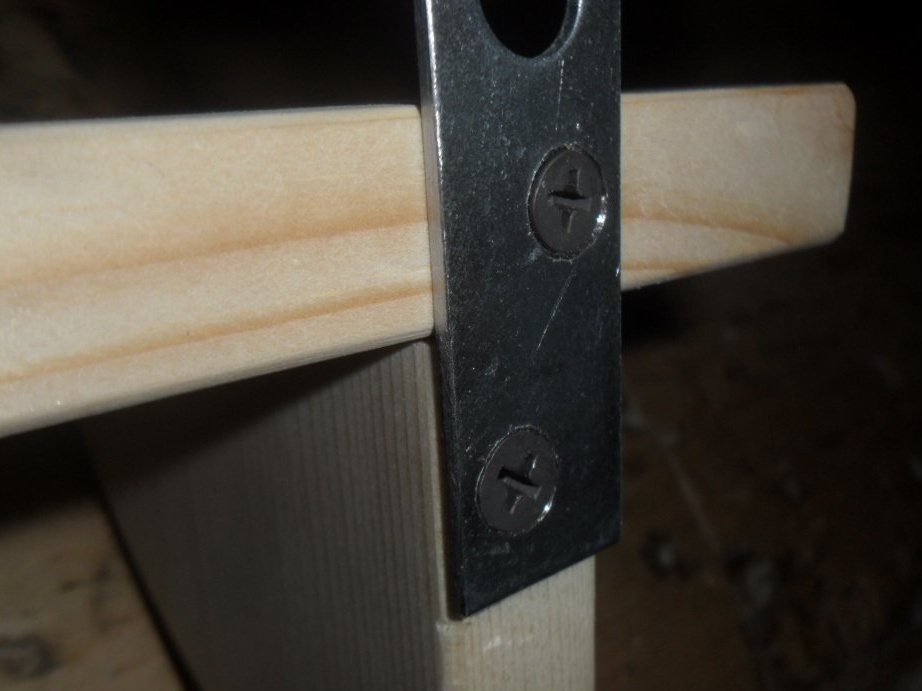
Step 9. Installing the hinges.
Factory hinges are released with not wide enough recesses for the screws. Therefore, the holes should be expanded and deepened simultaneously. We do this with a drill, drill and pliers. After drilling, insert two self-tapping screws into the holes and make sure that the self-tapping screw caps are almost at the same level with the hinge plane (this arrangement is acceptable). Next, attach the hinges to the shelf and mark the centers of their holes. In these places we drill small holes for screws. At the end of the installation, we screw the hinges to the shelf with a screwdriver.

Step 10. Another grinding.
During the bonding of the blanks and the attachment of the hinges, the shelf was a little tarnished. To fix this, grind it.
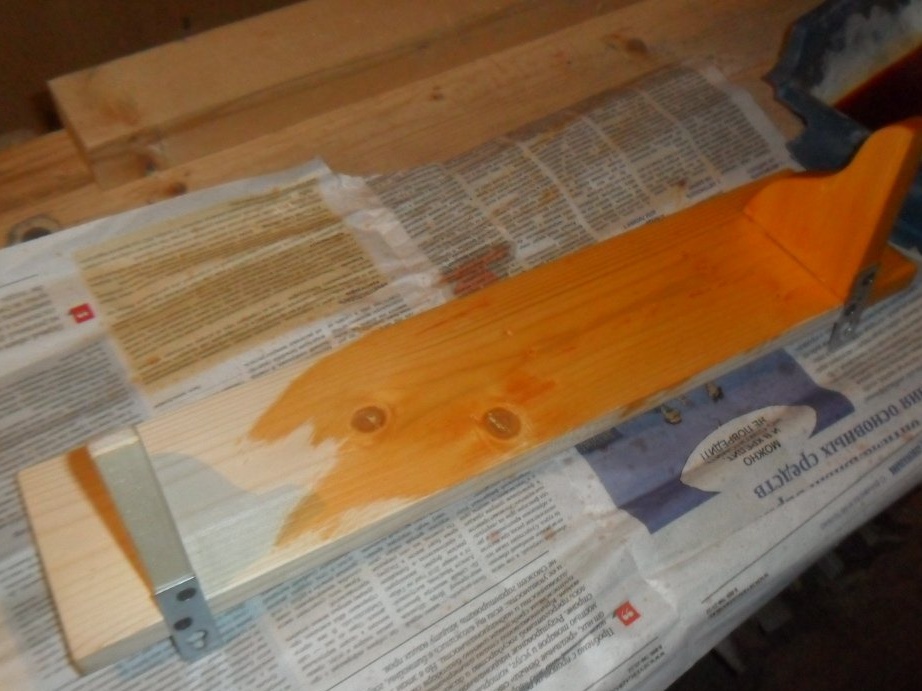
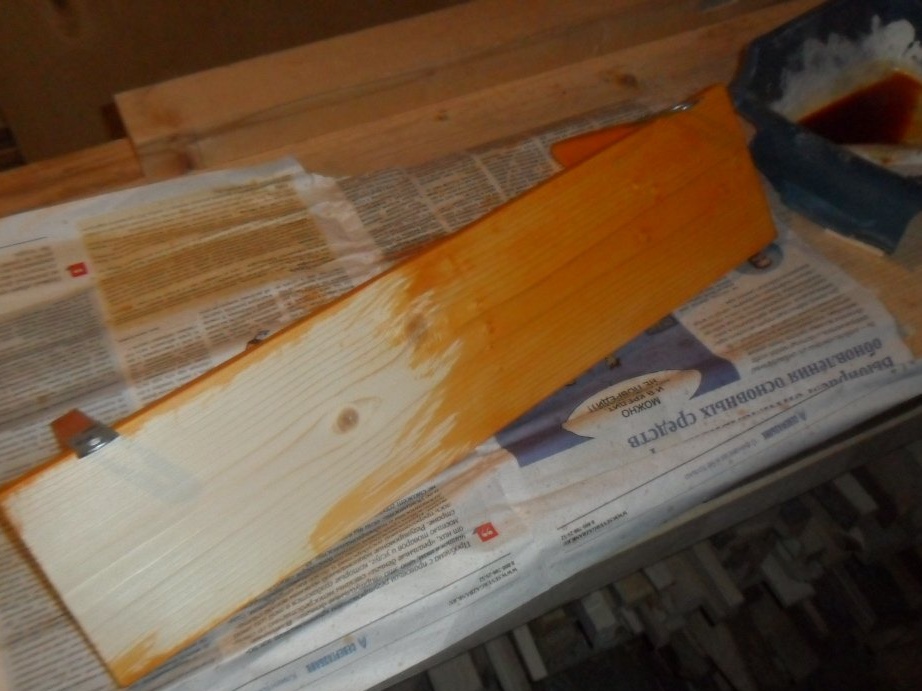
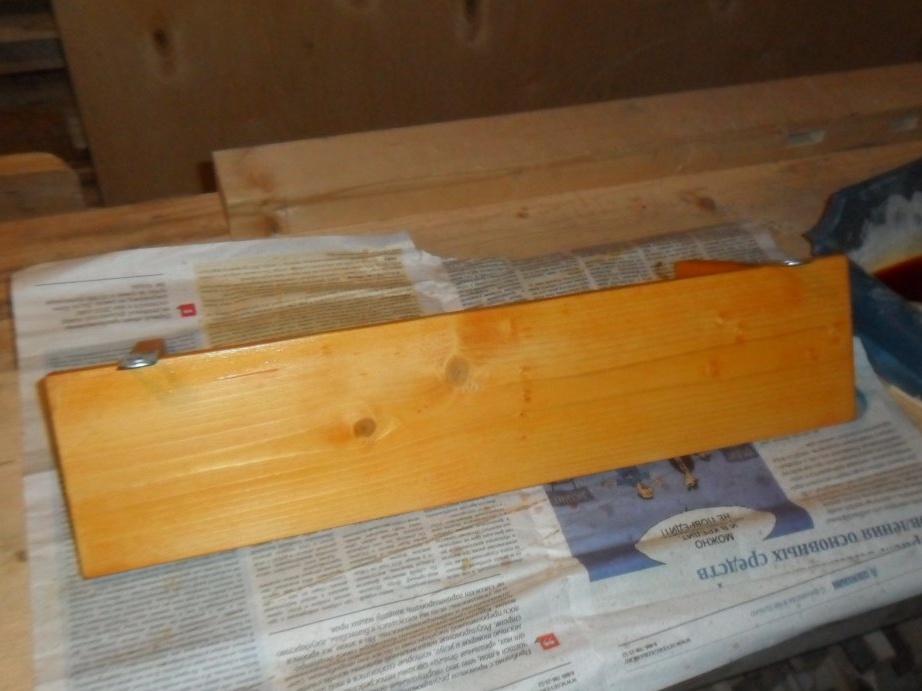
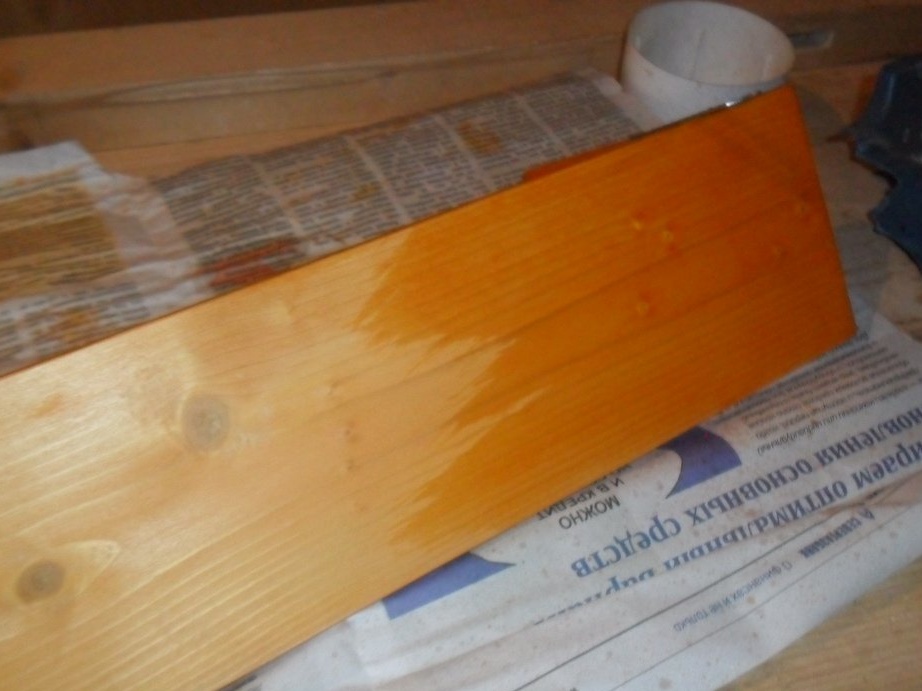
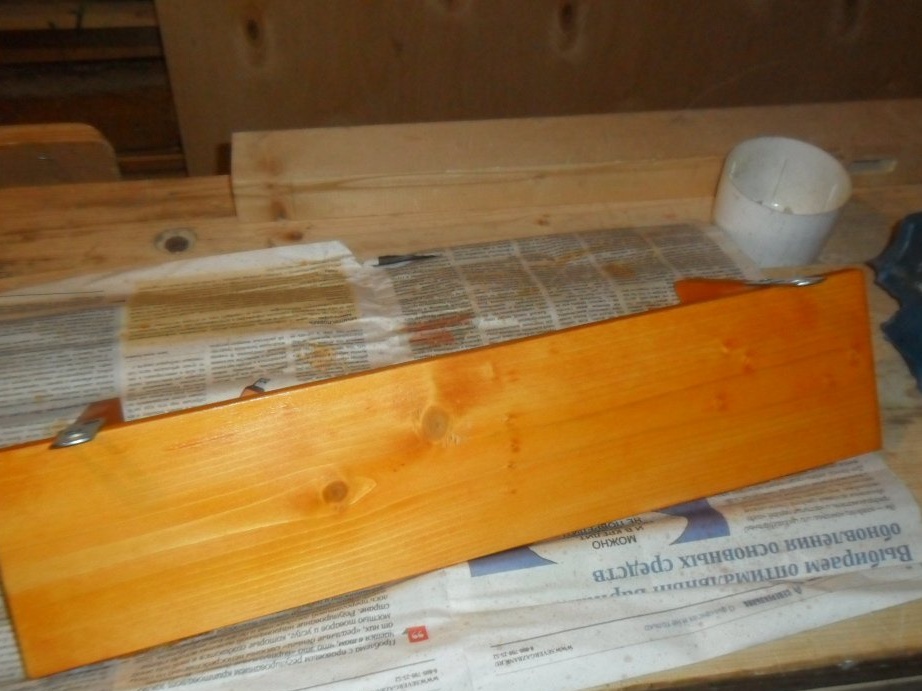
Step 11. Painting the shelves.
We paint the shelf with a stain in two layers. After the first layer, sand the product lightly with fine-grained sandpaper.

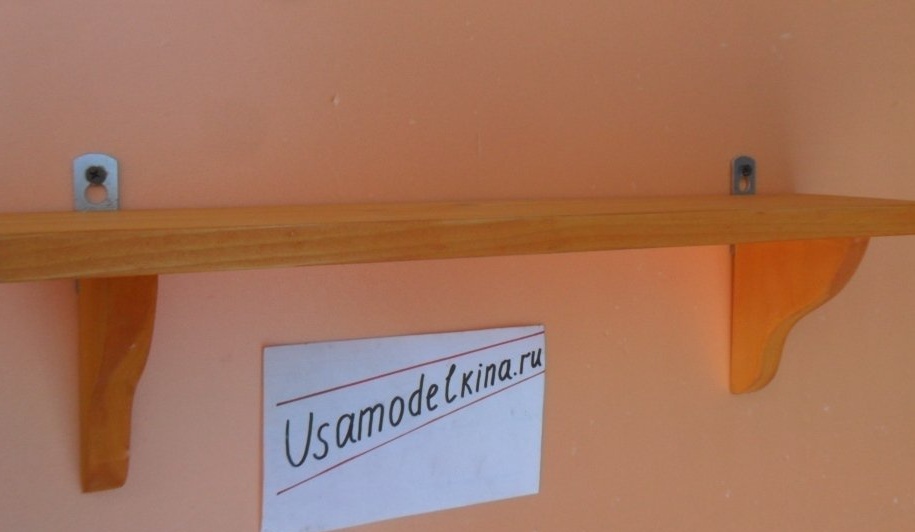
Conclusions.
Apart from the screws, the shelf is made without a single nail. In addition to this advantage, there are others: convenience in transportation, high-quality coating-impregnation, lightweight design.