
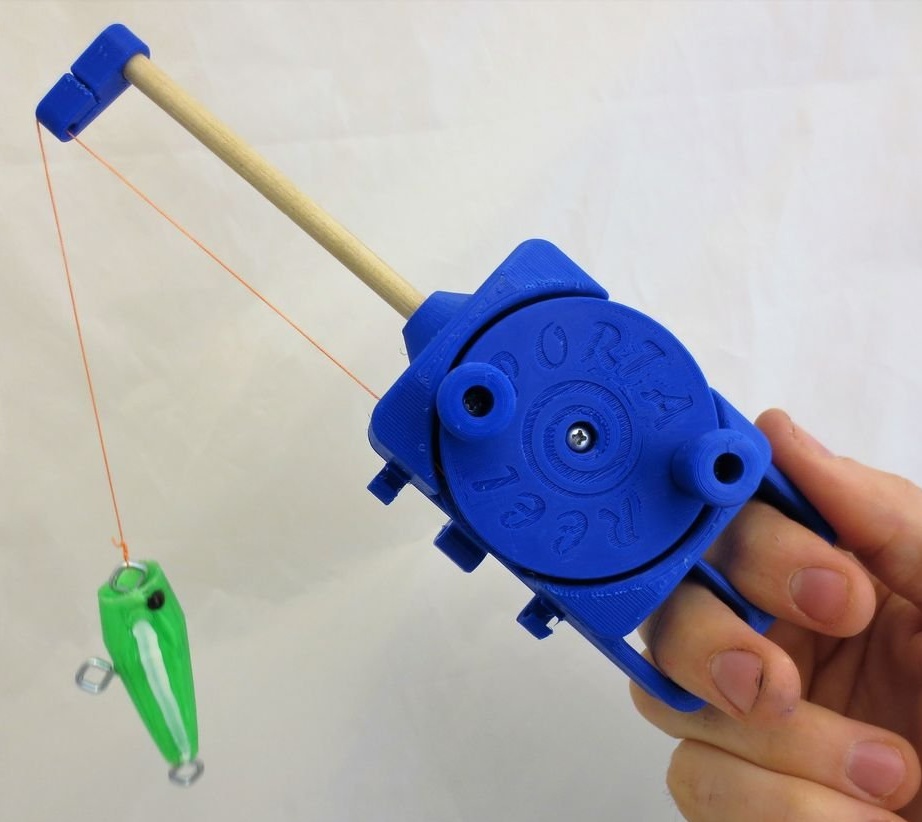
The original miniature fishing rod, such a fishing rod can be taken on foot or on a hike, even if you are not going to fish, as it practically does not take up space and weighs extremely little. Also, if you are smart, you can directly make a fishing rod from a branch of hazel, and with this device get an almost complete fishing rod. It can also be used as a compact and convenient coil for small kites.
Step 1: 3D Printing

All models are arranged in such a way as to print all the details in one go, but there are models separately, so if you want, you can print in plastic in different colors. Also included in the files model Popper bait, which can also be printed on a 3D printer. According to the author, the bait came out quite good, but he himself draws attention to the fact that well-floating fishing tackle are quite inexpensive in order to bother with their seal. All files can be downloaded in the archive at the end of the article.
Push. 3D printing is the basis of this project, so if this does not suit you, there is no point in reading further. Yes, not every home has a 3D printer, and I am no exception. However, it is worth agreeing that 3D printing is tightly entering modern life; 20 years ago, few people now had antediluvian matrix printers. By the way, now they are also few who have  Personally, I periodically apply for 3D printing services to people who have these printers. In fact, it is relatively inexpensive, so do not be scared.
Personally, I periodically apply for 3D printing services to people who have these printers. In fact, it is relatively inexpensive, so do not be scared. Print Settings:
- Any plastic you prefer
- No support required
- Nozzle 0.4 mm or slightly larger
- Maximum layer thickness 0.2 mm
- Filling at least 10%
Step 2: Unprintable Required Parts
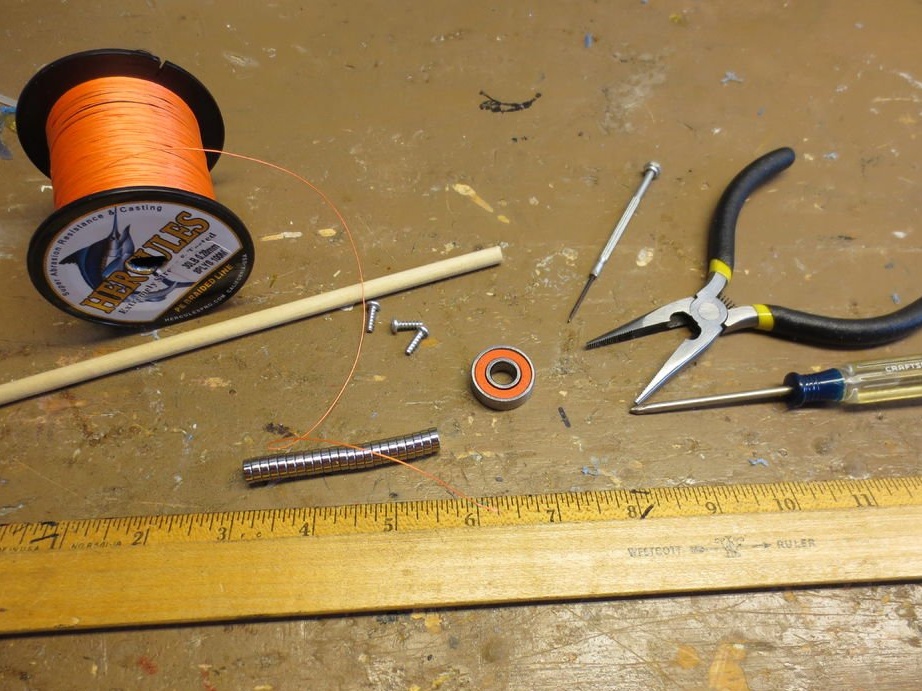
- Dustproof bearings 8x22x7 mm (marked 608 ZZ)
- Suitable screwdriver (approx. 3 mm diameter and 10 mm long) 3 pieces
- Wooden rod 6 mm (I will say about it separately)
- Neodymium magnets 8x3 mm 3 pieces
- Fishing line. The author used Braided Line 10LB +
Instruments:
- Second glue or epoxy
- Screwdriver
- WD-40 (kerosene, gasoline ... more on that separately)
Step 3: getting started
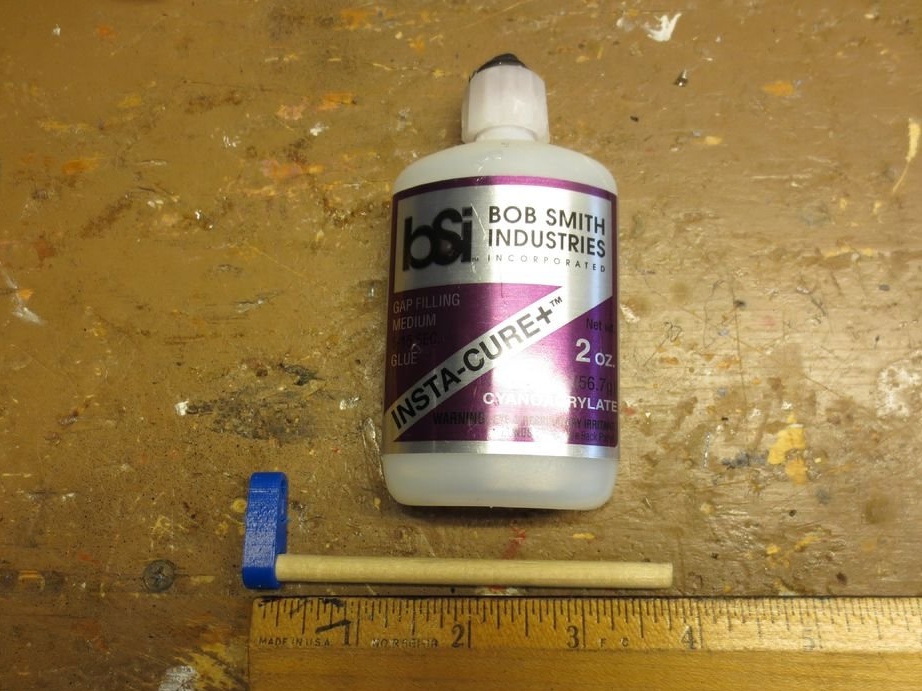
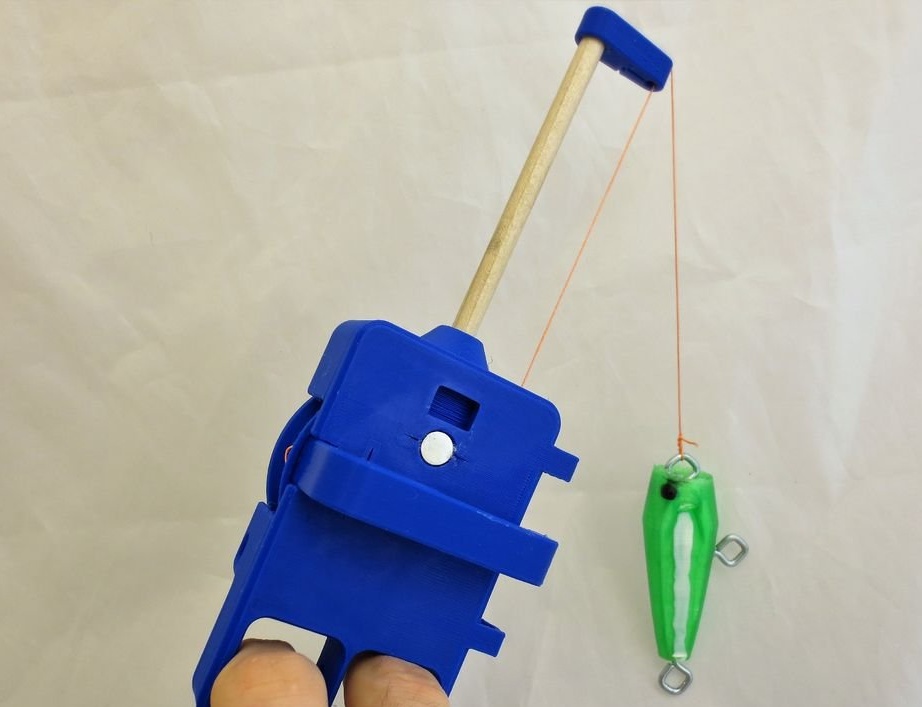
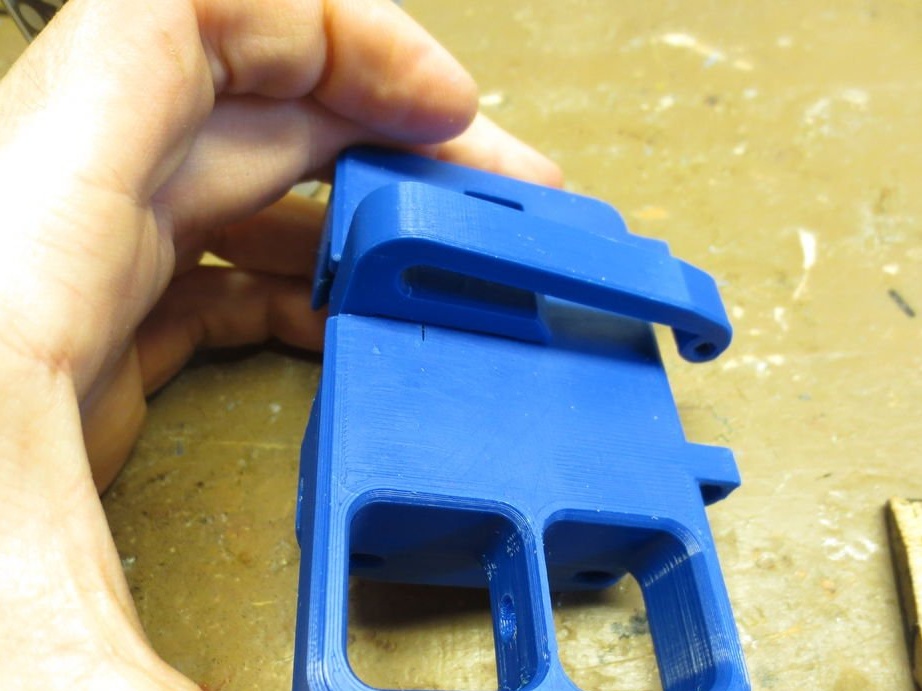
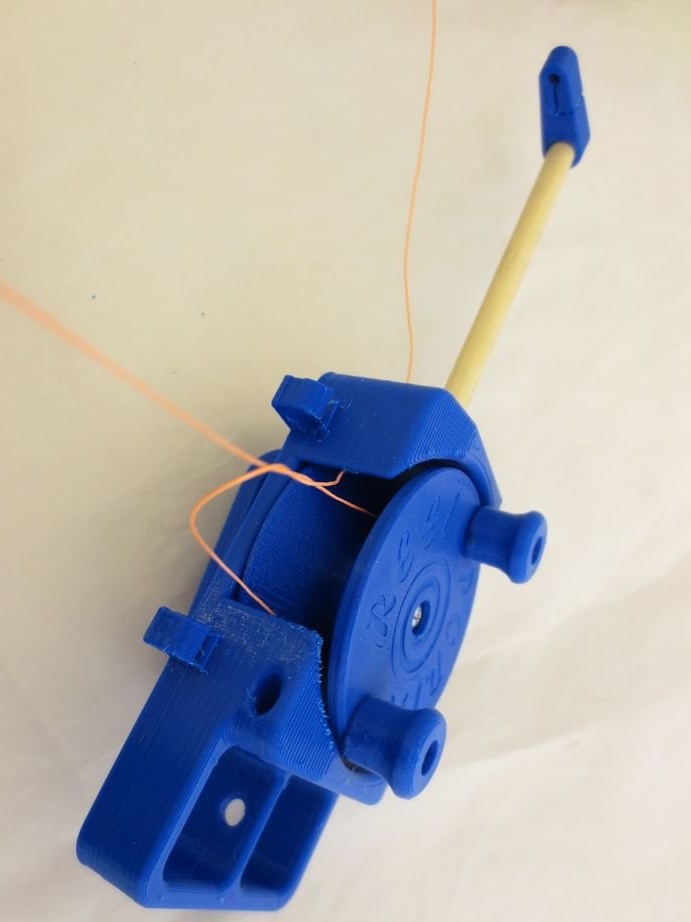
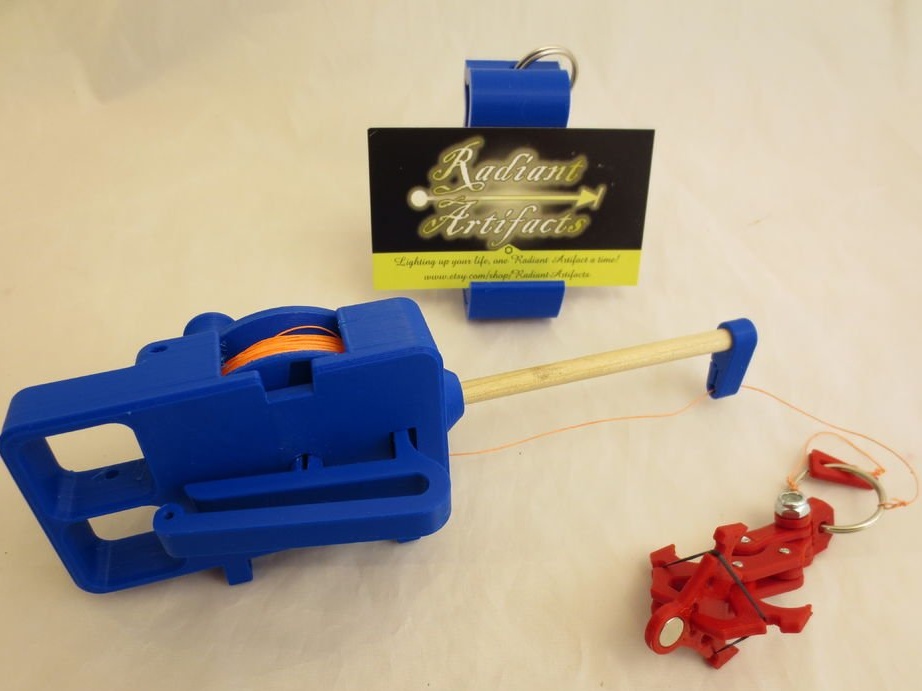
Cut a piece, 3.75 "(9.5 cm) long, from the wooden rod along the length of the reel body. It can also be longer, but then the assembled" rod "will protrude.
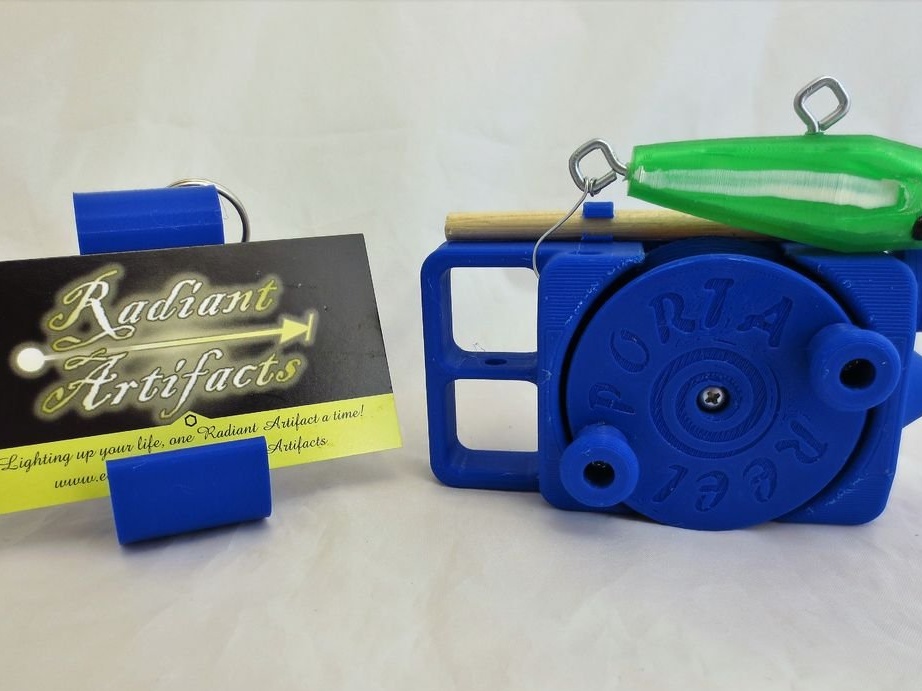
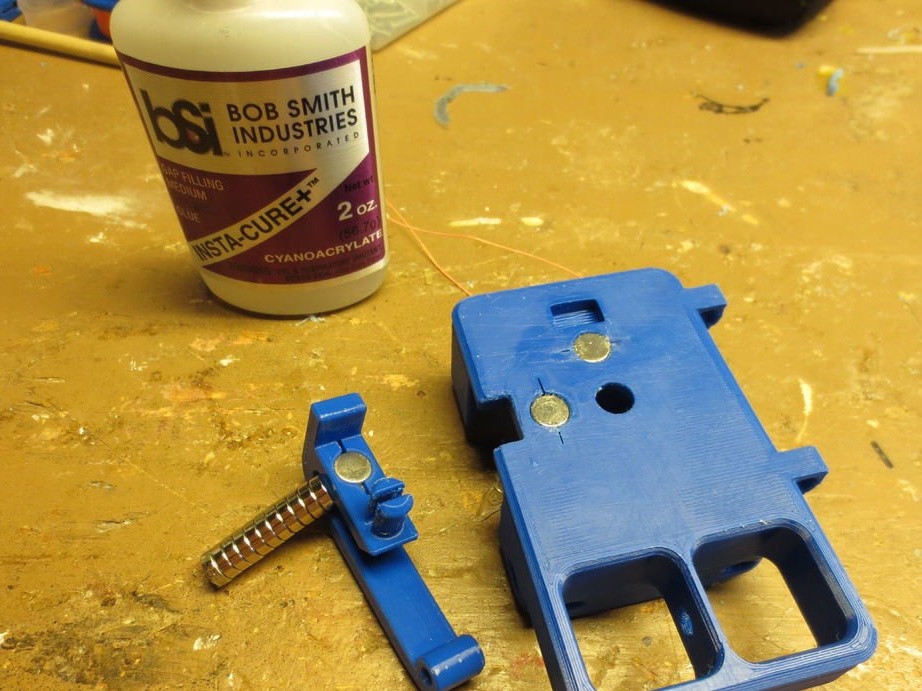
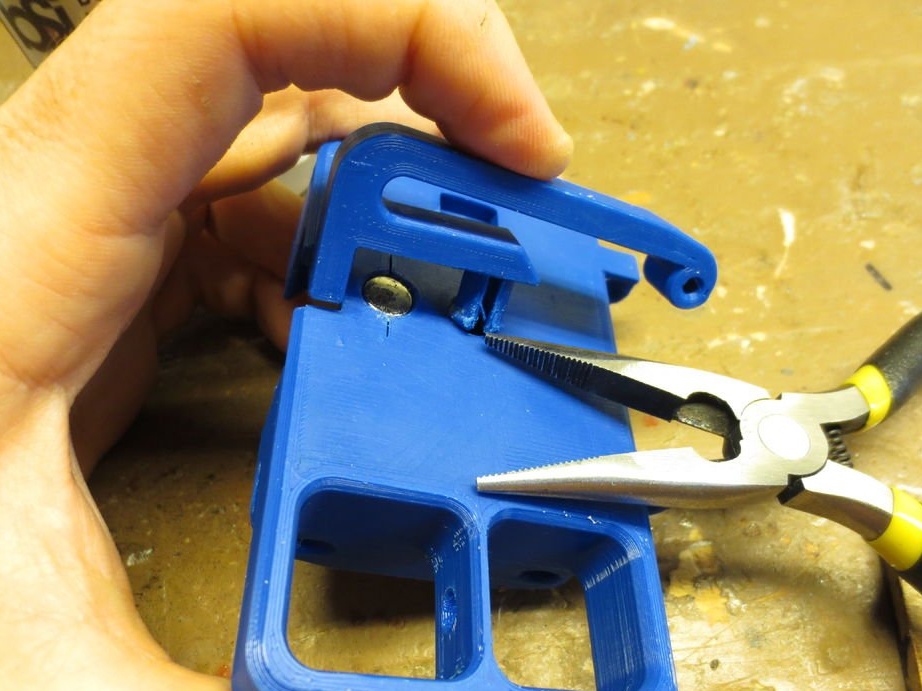
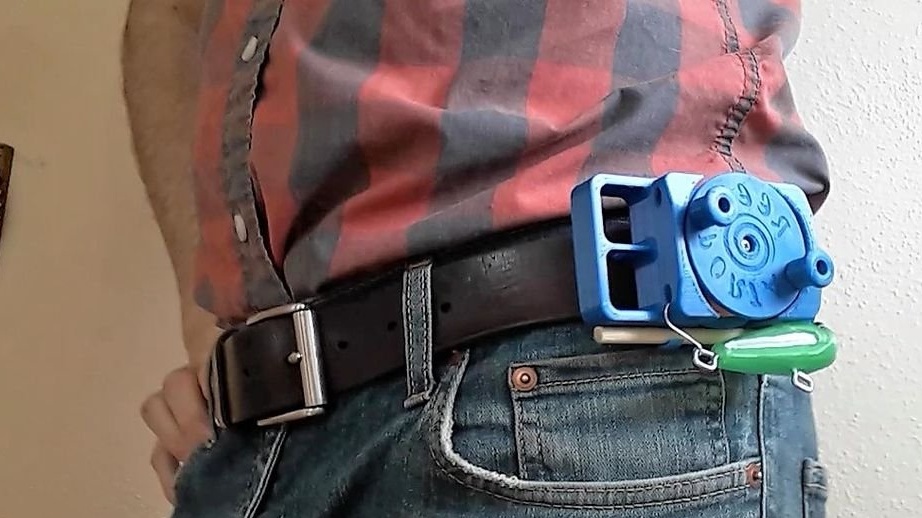
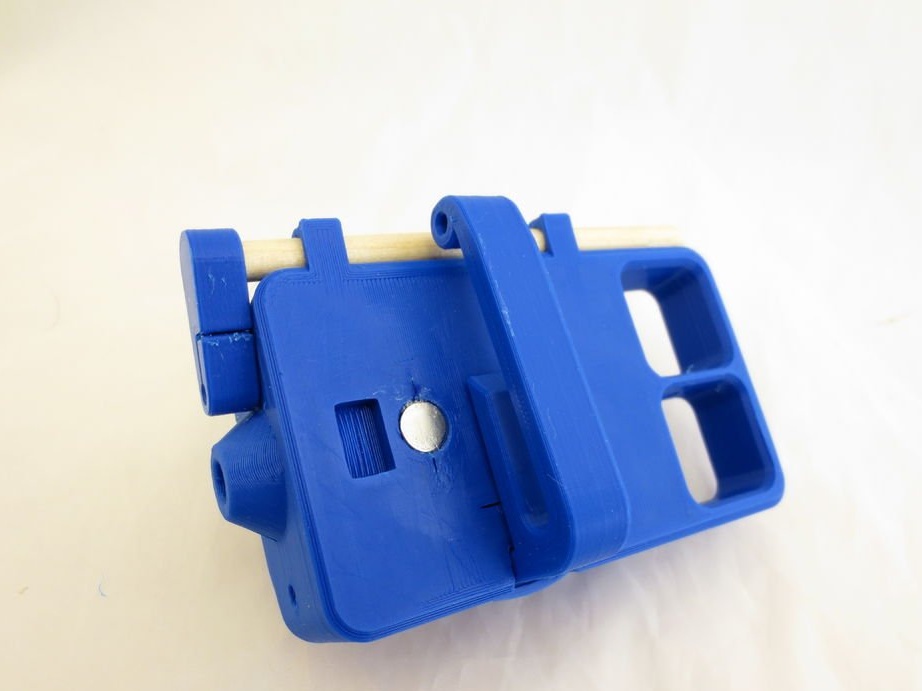
Glue the top loop to one edge of the rod. Glue the magnets into the corresponding recesses shown in the photo. After the glue has dried, install the carrying bracket on the belt. To do this, use round-nose pliers or thin-nose pliers to gently squeeze the axis on which the bracket will rotate.By turning this bracket, the coil is fixed.
Glue the top loop to one edge of the rod. Glue the magnets into the corresponding recesses shown in the photo. After the glue has dried, install the carrying bracket on the belt. To do this, use round-nose pliers or thin-nose pliers to gently squeeze the axis on which the bracket will rotate.By turning this bracket, the coil is fixed.
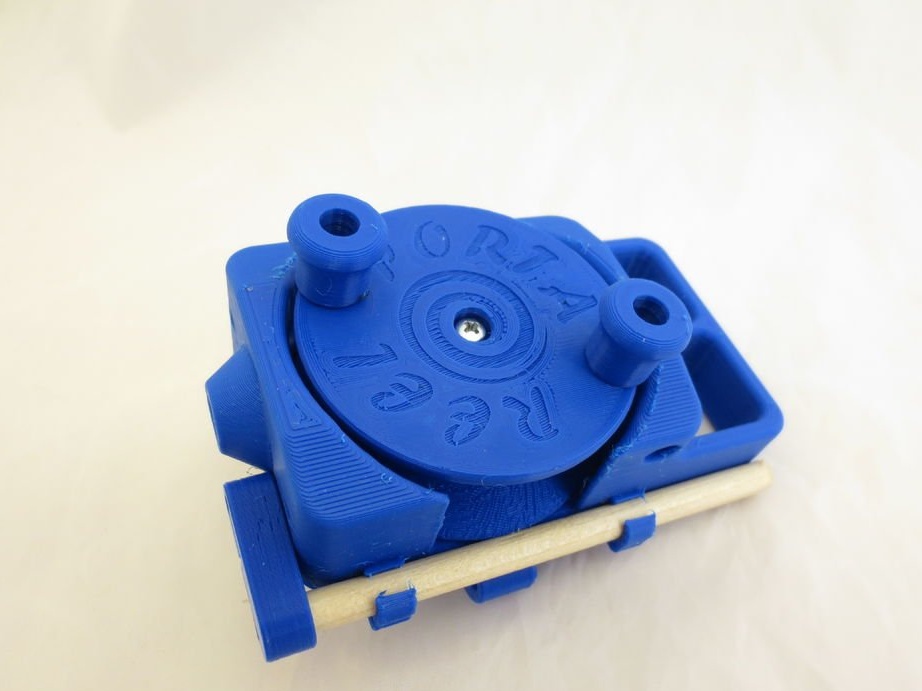
Step 4: Finalize the bearing
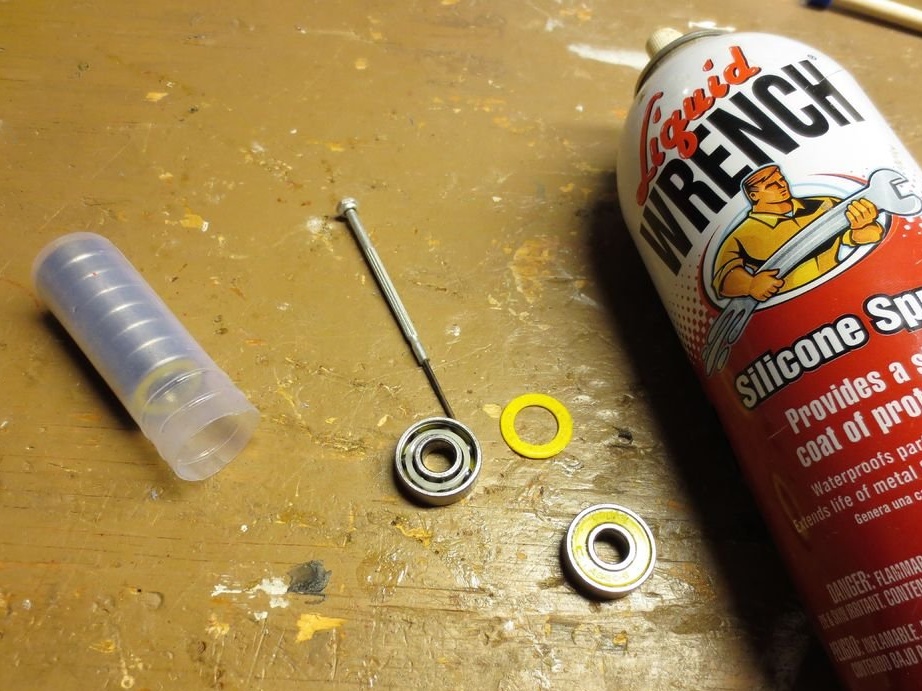
Most of the 608 bearings out of the box come with grease, which prevents free unimpeded rotation (given that the reel is very light). In order for the bearing to rotate easily, it is necessary to pry off something thin and remove the dust protection on one side of the bearing and wash the grease (VD-hoi, kerosene, gasoline, white spirit). After that, the bearing can be greased with a drop of oil for sewing machines or with the same WD-40, reassembled and remove excess grease with a dry, clean cloth. This bearing will not experience heavy loads, so it will last for a long time, but even if it breaks, they stand like seeds. After that, the bearing is pressed into the coil, after which the coil can be installed in the housing with a screw (the fishing line can be wound right away, or later). Using the same screws, two handles are attached, do not tighten them to the end so that the handle rotates freely.

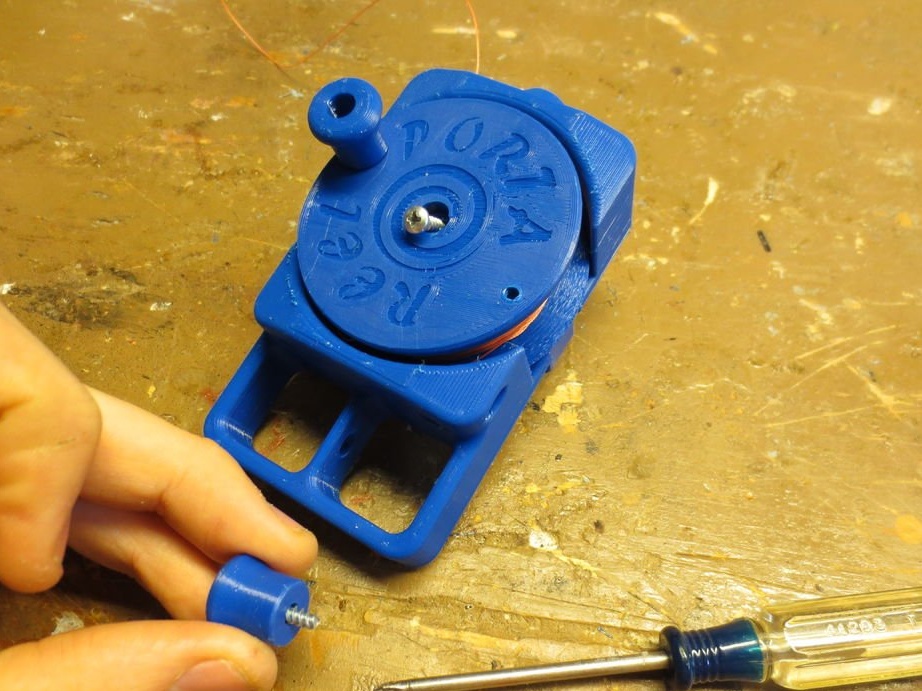
Step 5: Winding Coils
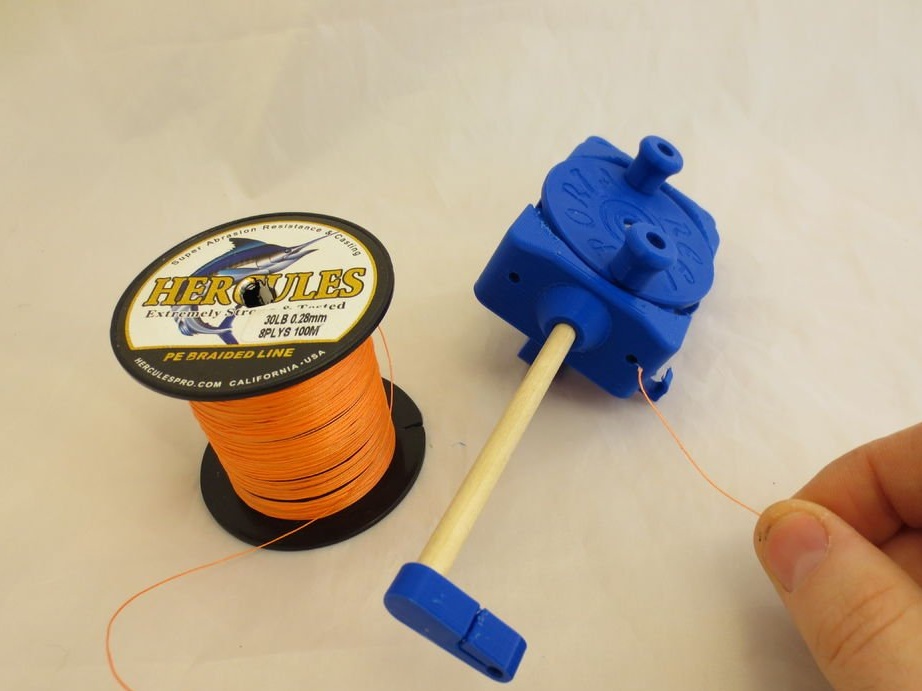
Note that there are two holes on each side of the shaft from the shaft. This is done to orient the device on both right-handed and left-handed people. Pass the fishing line into one of them, push it further so that it goes around the reel, and then tie it. Cut off the excess and wind the reel.

In conclusion from myself. The idea is actually very interesting, but as for me - extremely raw. Firstly, it would be worth replacing the rod with a brass one made of a strong aluminum alloy or, in extreme cases, just aluminum. On one side of the rod, cut the thread, in the counterpart, to where the wooden rod is inserted - glue the corresponding nut. Next, refine the model itself, add on the one hand the standard coil mount in the form of the letter T, which will allow you to put it on any factory rod or trivially wind it up with suitable means to a suitable branch. I would also modify the handle mounting, although on most inexpensive coils they are attached in the same way.
Download 3D model files
That's all, good luck to everyone in your work!