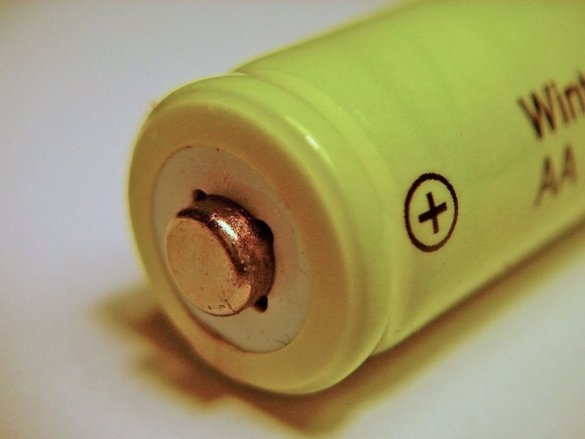
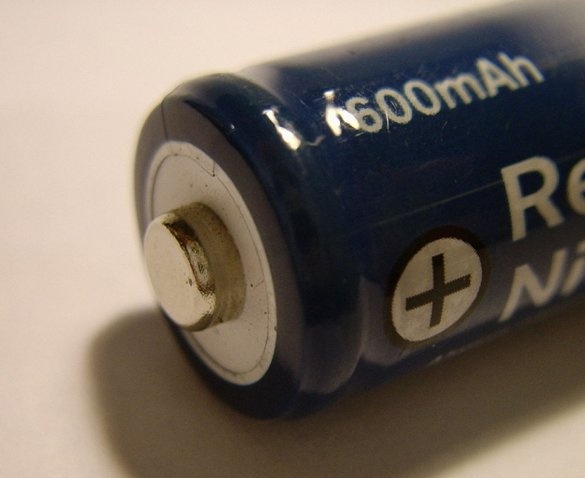
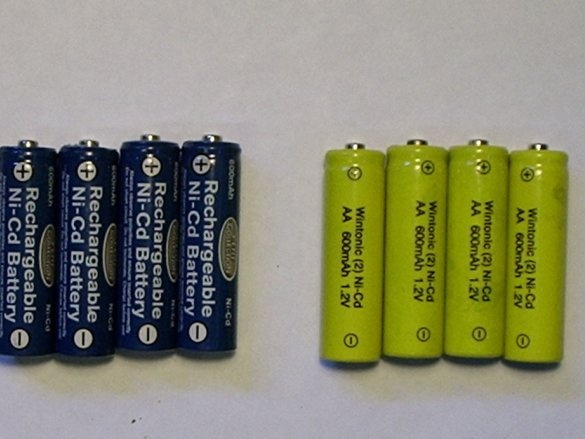
Are you tired of nickel-cadmium batteries that refuse to charge and just die?
What do you do with them when they die?
Just throw them in the trash - what is harmful to the environment?
Or just take it for recycling?
Here is the best solution to bring your dead batteries back to life.
Warning:
For this homemade disassembling a device that works at 300V and can be dangerous if not handled correctly is necessary.
Step one: Why do nickel cadmium batteries die?
They do not "die" completely, the problem, according to the master, is in sulfur crystals.
Crystals form and begin to grow.
This is called:
- Battery recharge;
- Leaving the battery in a discharged state for a long time;
- The effect of battery memory;
- Exposure to high temperature;
After crystals begin to grow inside the battery, they ultimately touch both ends of the cell terminals. This shortens the battery and prevents it from recharging ...
But the good thing is that sulfur crystals can be easily destroyed if you supply a powerful pulse current through the battery ... This will evaporate the crystals, and the battery will again become new!
Step Two: What you need to restore the batteries ...
The master recommends the use of capacitors, since they give a powerful pulse discharge.
Other power sources, such as car batteries, are not a good option. Since they are continuously discharged, the wire may accidentally be welded to the battery terminal, and this can lead to overheating and explosion ...
The capacitance of the capacitor to be used should be around 100,000 uF 60V. Unfortunately, such a capacitor with extreme characteristics is too expensive ...
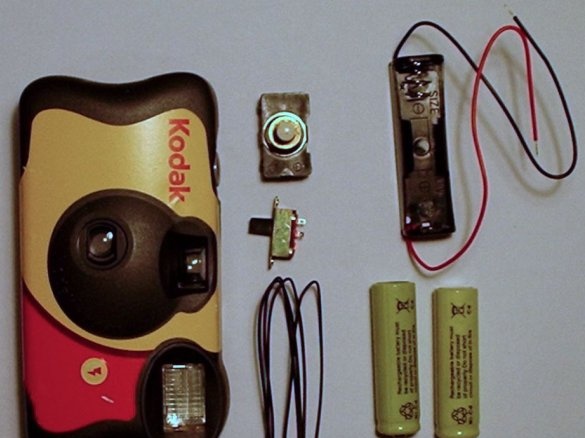
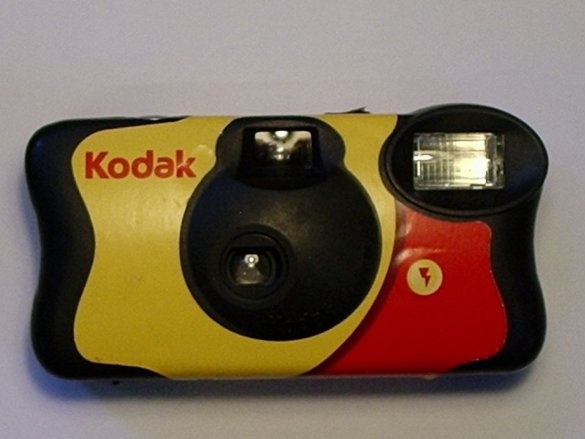
In this case, in order not to overpay for a large capacitor, the master will use the capacitor from the flash of the camera. Why? Because these capacitors are suitable for pulsed discharge, and most importantly, they are FREE. After all, everyone has an old film camera with a built-in flash. Nevertheless, this device is more dangerous ...
So, what will be required to implement this homemade product:
- Film camera;
- Discharged nickel-cadmium batteries;
- Wires;
- Battery holder for discharged nickel-cadmium batteries (You can use size AAA, AA, C or D, depending on which battery you want to restore. The master is going to use the holder for type AA batteries);
- A small switch (the master used the slide switch);
- High power switch (the master used a push button switch);
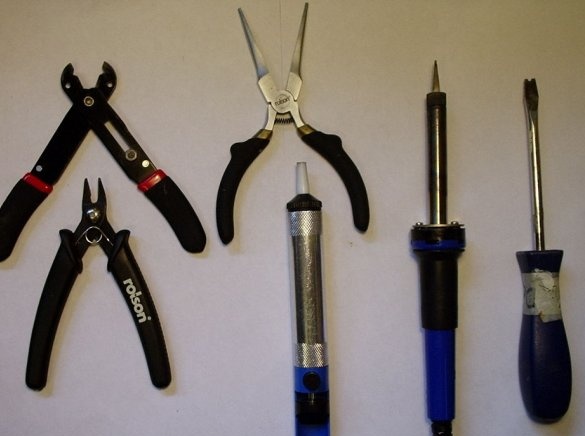
From the tools you will need:
- Soldering iron (you can avoid soldering by simply twisting the wires together);
- Tin;
- Rosin;
- Desoldering pump;
- Nippers;
- Tool for stripping wires;
- Flat screwdriver;
- pliers;
Step Three: Disassembling the Camera
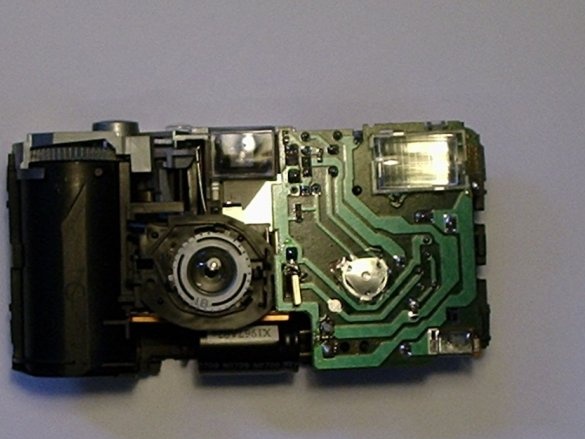
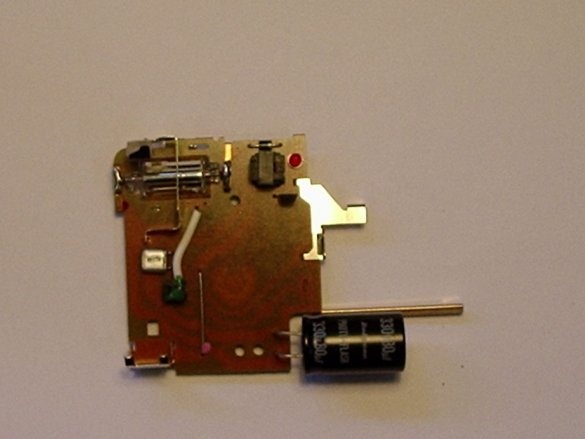
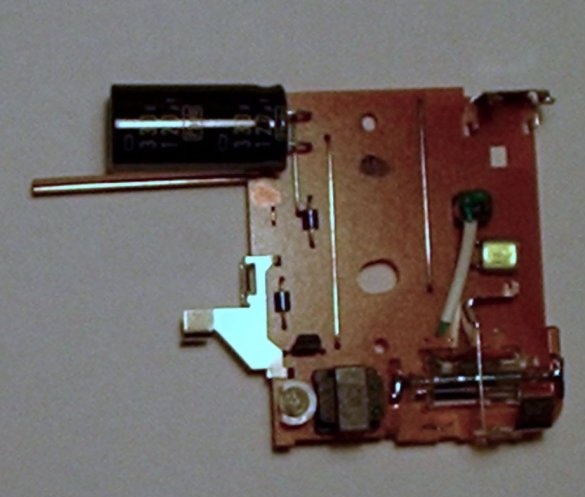
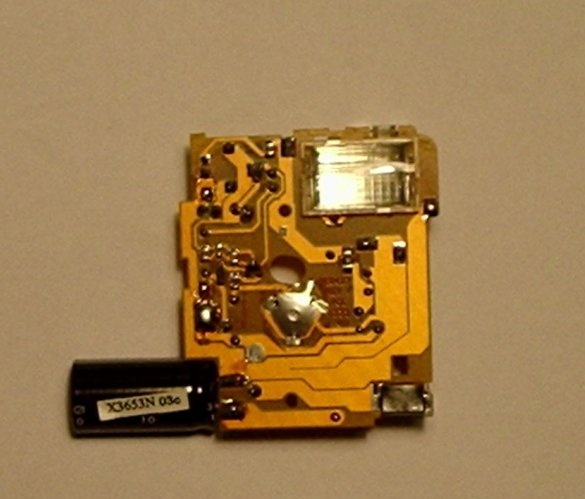
This is a rather dangerous procedure. It is necessary to open the camera and pull out the electric circuit from the device, and it is necessary to discharge the capacitor.
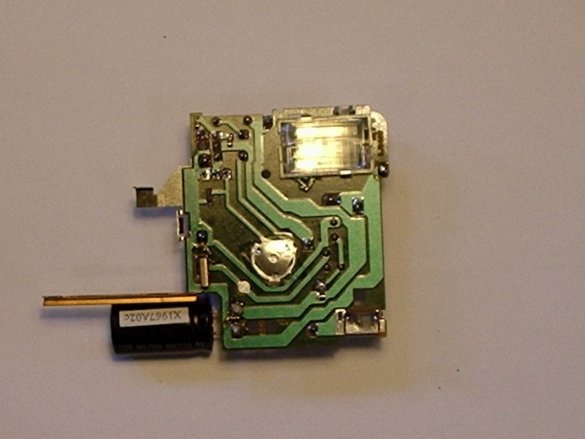
(The capacitor in the chamber is a large cylinder that is an energy storage device. It is used for flash).
First, open the camera body using a screwdriver.
After you have removed the camera body, close the capacitor with a screwdriver with an insulated handle. Most likely you get a big and loud spark. After that, the capacitor will discharge ... (Use a screwdriver, which is not a pity, because a fully charged capacitor will leave a deep mark on the metal part of the screwdriver!)
Step Four: Remove the switch from the circuit and add a new one
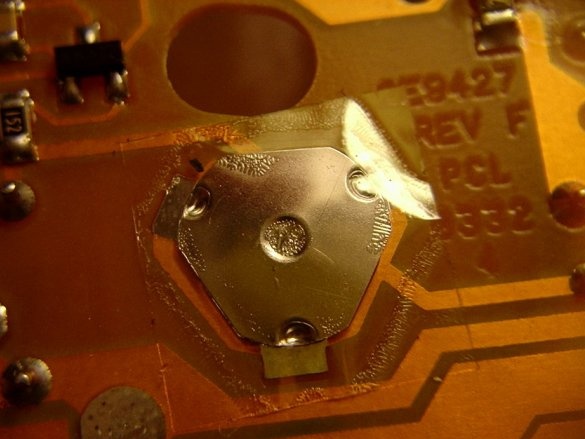
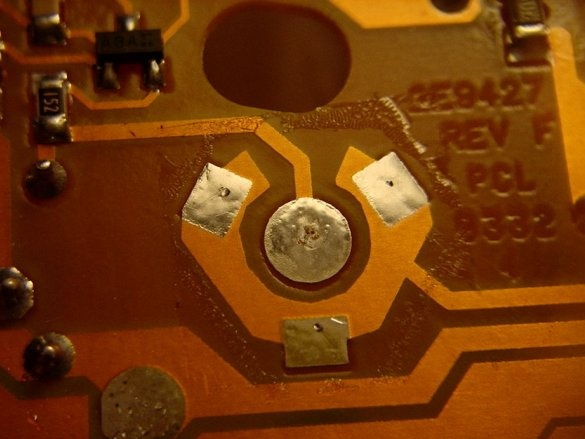
After the camera circuit is removed from the device, you need to remove the overhead charge switch and add an external switch. Thus, we will have easier control over the circuit and less likely to get an electric shock.
Remove the top of the charge switch. It is not too difficult to remove.
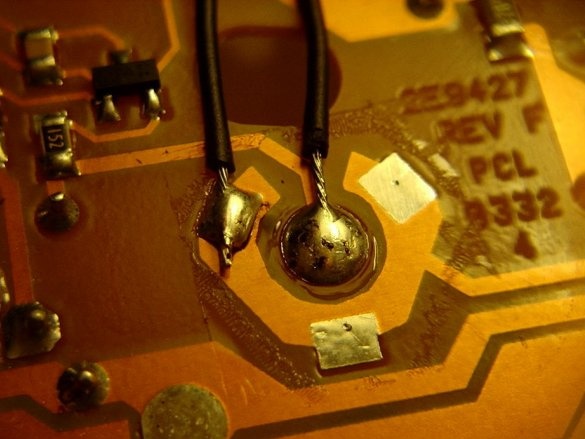
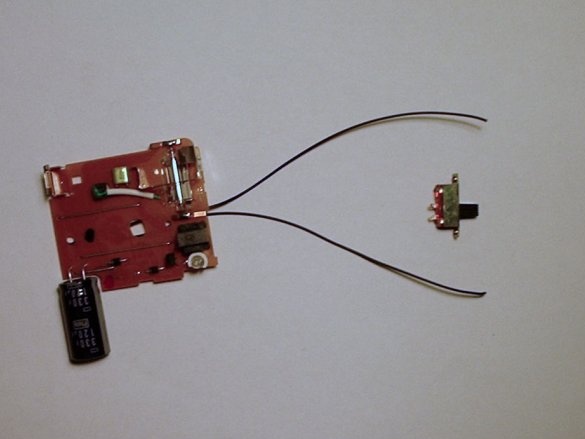
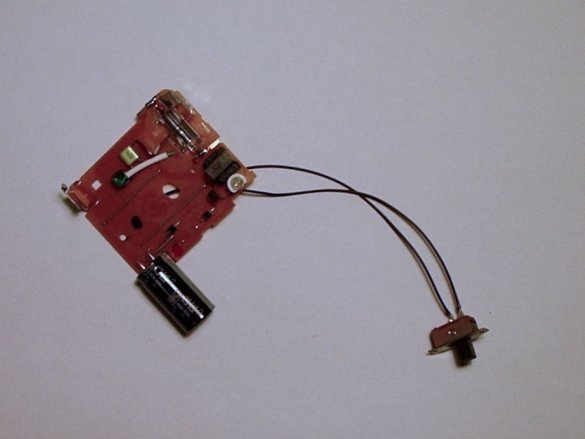
Then solder the two wires on the open metal legs. And solder the “new” charge switch from the other end of the wires.
It is also advisable to flash the flash itself.
Step Five: Adding a Battery Holder and Switch
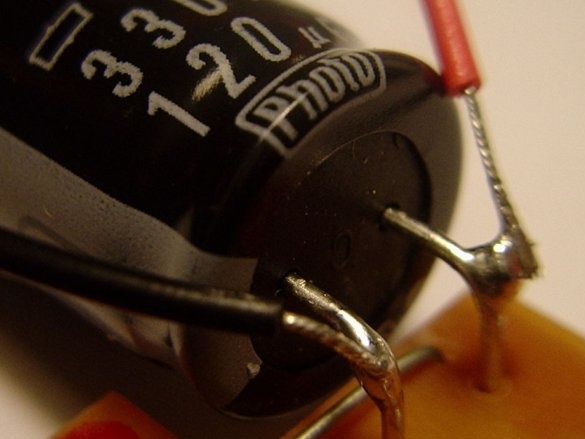
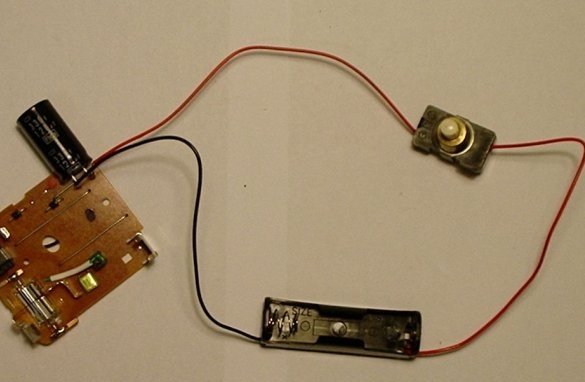
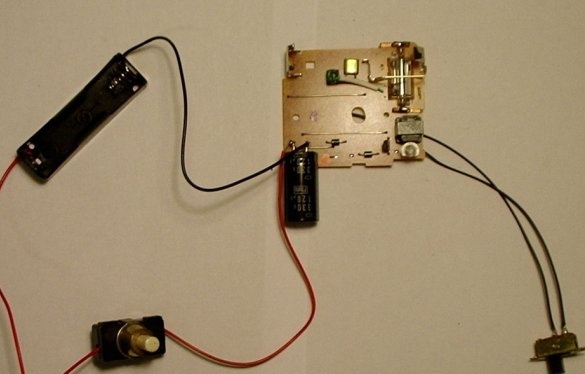
Then you need to solder the battery holder and the high power switch together with the black capacitor.
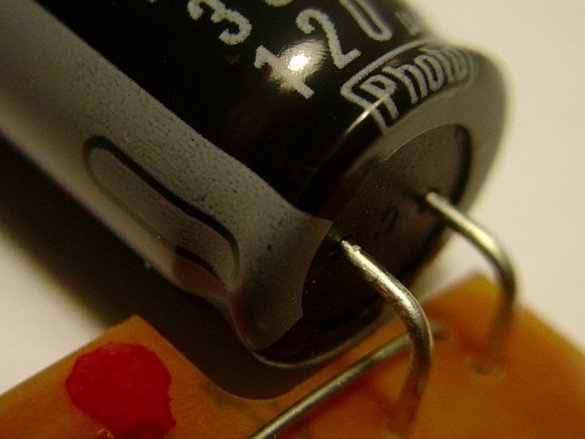
The black wire of the battery holder is negative. It must be soldered to the negative terminal of the capacitor. For this capacitor, the negative terminal is the one that is closest to the gray bar. A minus sign is drawn on this strip.
Then you need to solder a piece of wire to the other terminal of the capacitor.
Then solder the push button switch to the red wire of the battery holder and another wire. It will be a positive wire.
The battery holder that has just been added is where the low nickel-cadmium battery will be located.
Step Six: High Voltage Isolation
All that remains to be done is to isolate the entire route of the high voltage ... Simply come up with a housing for placement electronic components.
You can put electronic components in a nice box ...
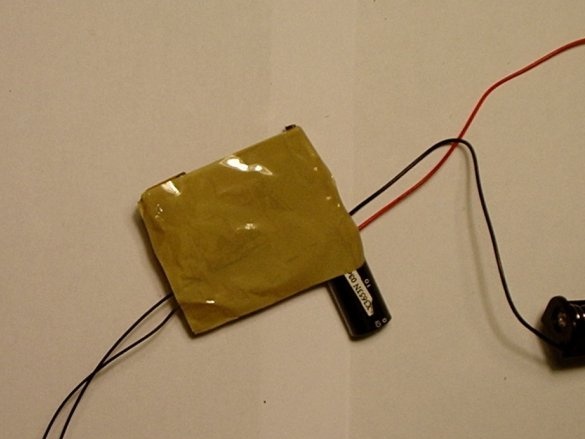
The author did not find an affordable box for this homemade product. Therefore, he simply glued the tape to all the bare metal parts and glued the bottom of the camera outline.
Step seven: restore a dead battery
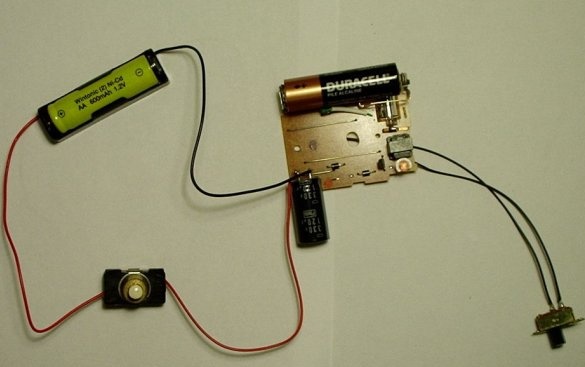
To bring a dead nickel-cadmium battery back to life, insert it into the “snap-on” battery holder and a good alkaline battery into the battery holder in the camera circuit.
Turn on the charge switch and wait until the neon / LED lights up. When it lights up, press the button and you will hear a loud pop. This is normal. This indicates that the battery has been killed and is now alive. To be sure that the sulfur crystals have indeed evaporated, discharge one more time on the nickel-cadmium battery ...
After charging the nickel-cadmium battery in this way, you should then charge it in the charger so that it works again.

