
We are all trying to save on electricity. Although we are trying to buy the most ecological electrics and turn it off as early as possible, we still use energy-consuming incandescent or mercury lamps. The immediate solution that comes to mind is to switch to LED bulbs. But these bulbs are quite expensive. Therefore, the master of this homemade I decided to make these bulbs myself.
Step One: Materials and Tools

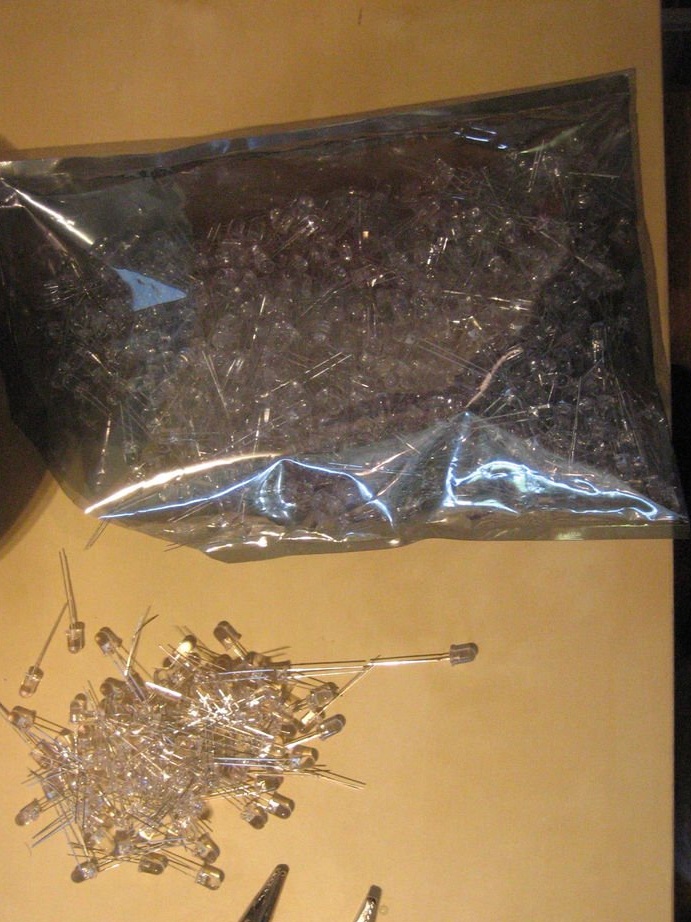
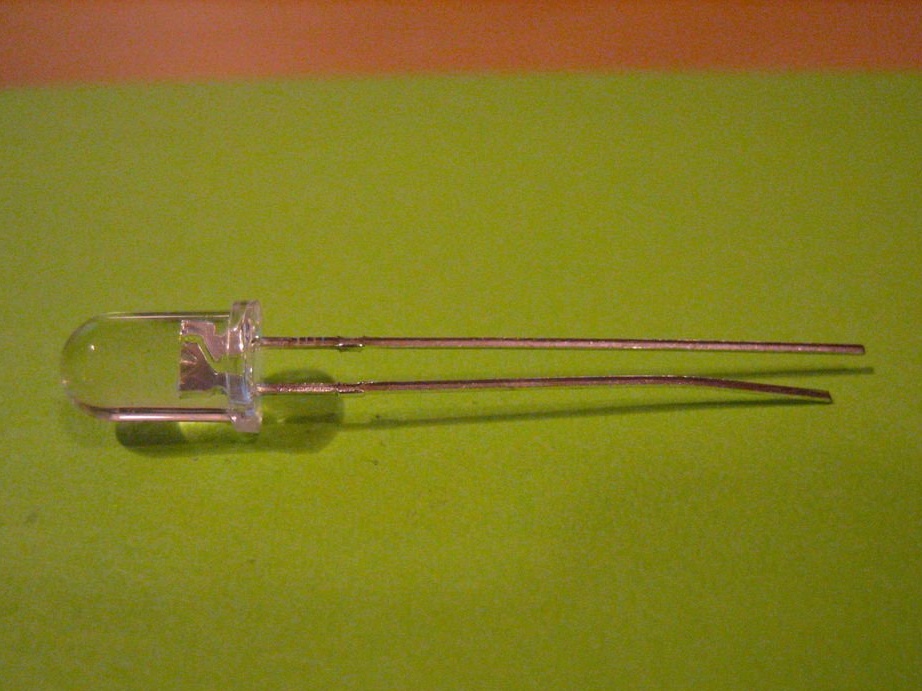
- LEDs 5 mm. The type of LEDs can be changed if you expand the calculation;
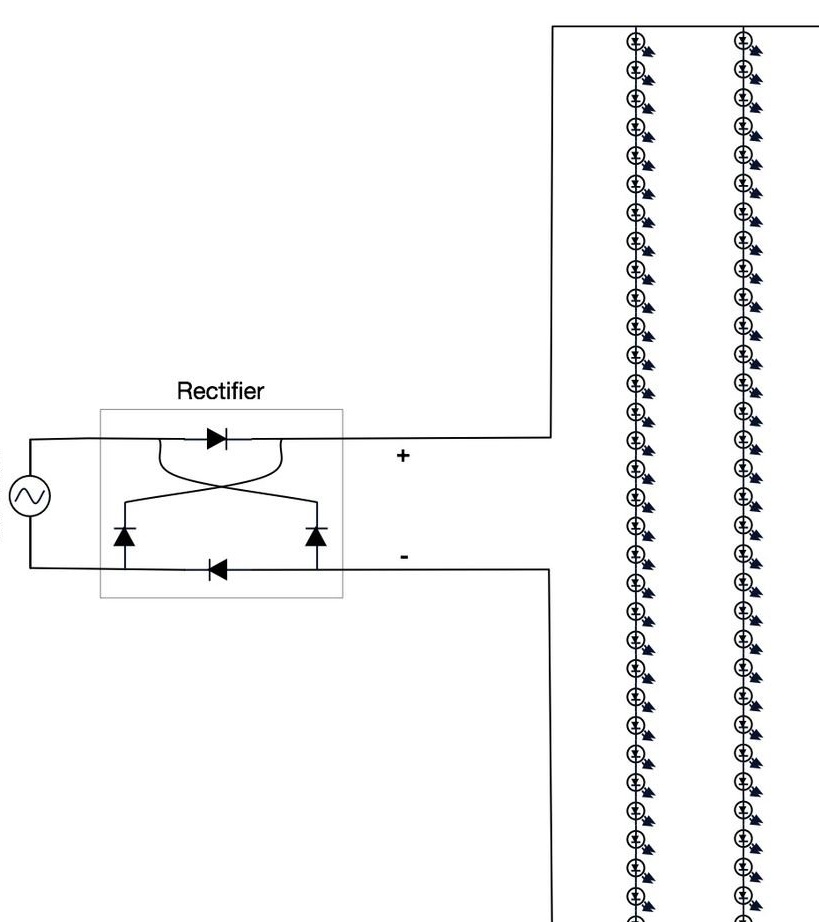
- Bridge rectifier - converts alternating current into direct current;
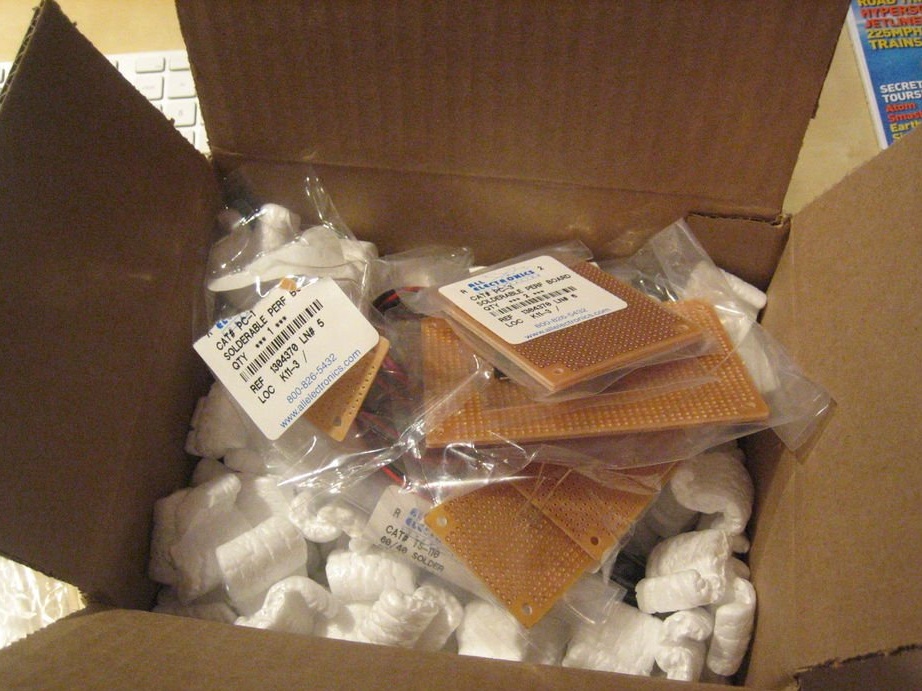
- Cardboard - the size of cardboard purchased by you will depend on the size of the light bulb that you want to create;
- Soldering iron and accessories - the cheapest one will do;
- An adapter for the base of a conventional light bulb - has a normal bulb base at one end and a normal household outlet at the other;
- Plastic clamps;
- Wax paper - instead, the master used a silicone baking tray. You can use almost everything that has high temperature tolerances and does not conduct electricity, but according to the master, these are the best materials for work.
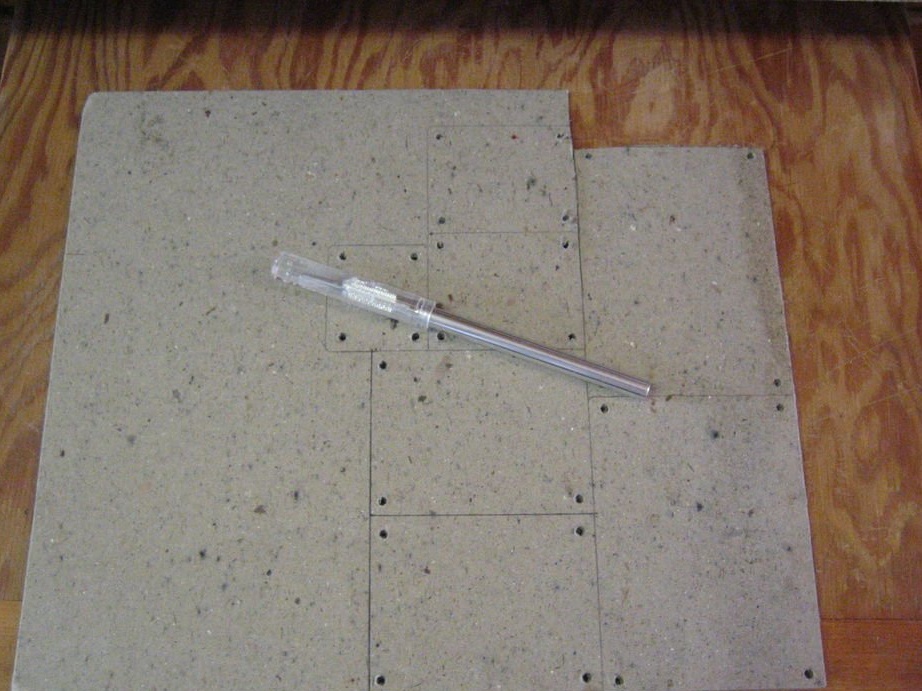
- Drill and drill 3 mm;
- Knife;
- 0.75 mm wire .;
- PVC pipe - for connecting the lamp base to the rest of the assembly;
- Multimeter;
- Roulette;
- Pencil;
Step Two: Calculations
Next, you need to make certain calculations. It is pretty simple. Make sure you have detailed LED specifications.
FV (Forward Voltage) is the voltage used by each individual LED. It is expressed as a range, so there is a minimum and maximum value.
AC MAX / MIN - AC The mains is not always under constant voltage and is not always the same. In the United States, the range is 110 - 125 V., in Russia, the range is 220 - 250 V. AC. The master lives in the States. Therefore, all calculations for voltage 110 - 125 V.
EQUATIONS:
[AC MAX] X 1.4 = A
A / [FV MAX] = [# LEDs]
CHECK:
[AC MIN] X 1.4 = B
B / [# LEDs] = C
“C” is a forward voltage and must be within the range.
The end result is the number of LEDs that can be installed in each module. Think of it as the basic unit. The total number of LEDs on the bulb should be a multiple of this number. In each “module”, the LEDs are connected in series, from plus to minus.Then all modules can be connected together in parallel. The following is a sample wizard calculation.
EQUATIONS:
125 X 1.4 = 175
175 / 3,8 = 46
CHECK:
110 X 1.4 = 154
154/46 = 3,3478
“C” is in the desired range.
Step Three: Prepare Isolation

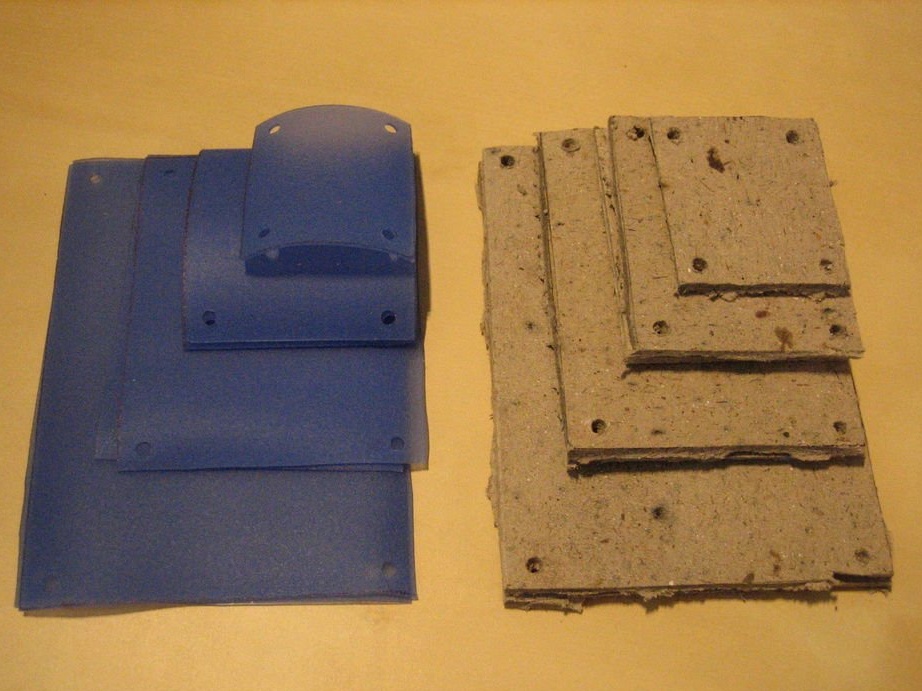
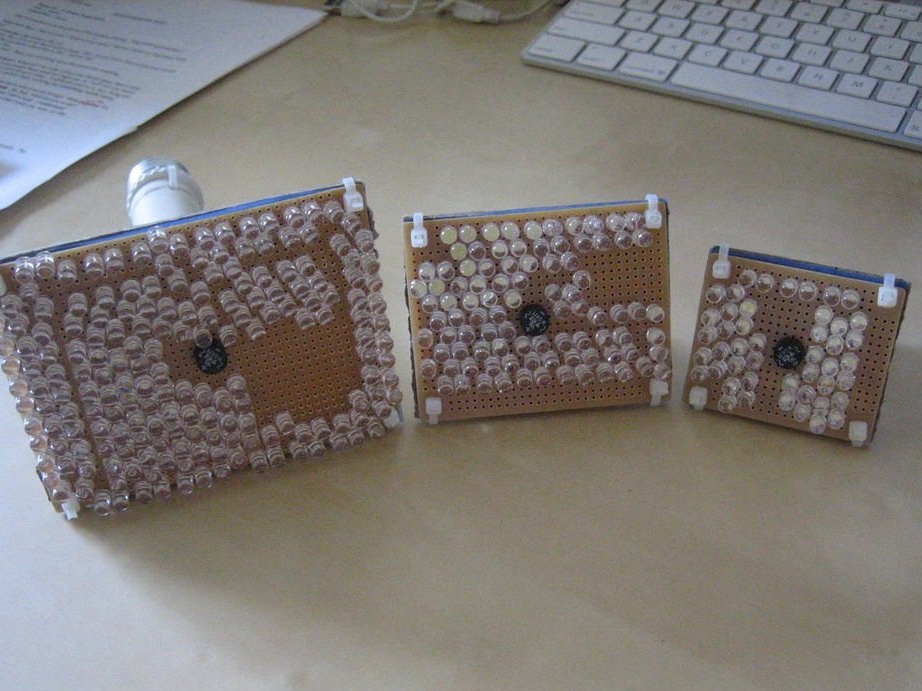
Insulation consists of two layers. A layer of silicone / wax paper is located directly on the circuit board and comes into direct contact with the circuit. The second layer is made of cardboard and is placed on top of the first layer. In addition to being an insulation layer, this layer is the physical center of the bulb and holds all components together.
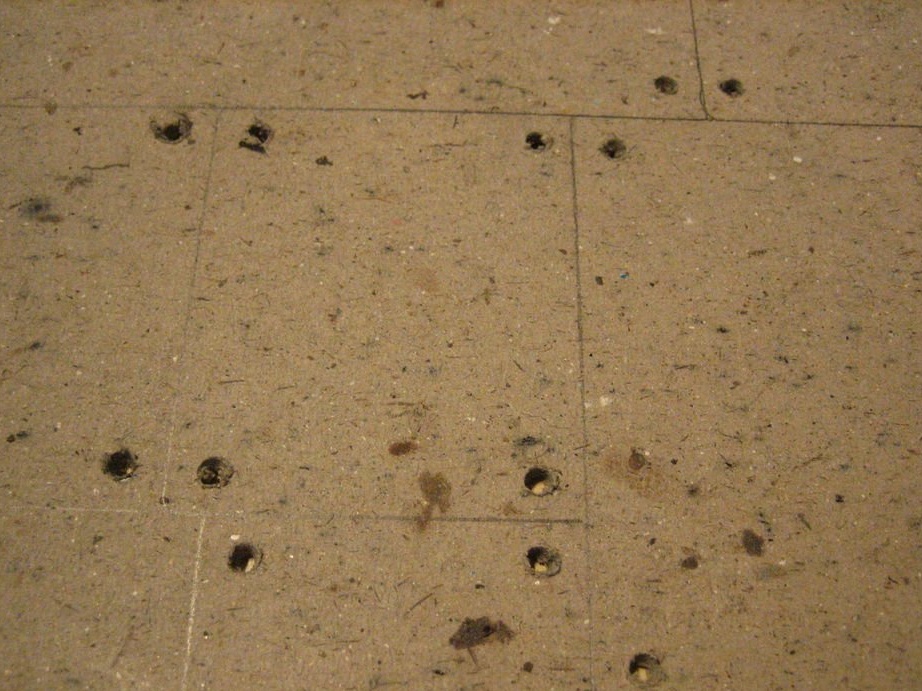
The master had previously made a piece of cardboard. Then he put this pattern on pieces of cardboard and circled the contours / holes.
Cardboard should be thick, as it is the base. The dimensions of the cardboard are determined by the size of the space provided in the lamp.
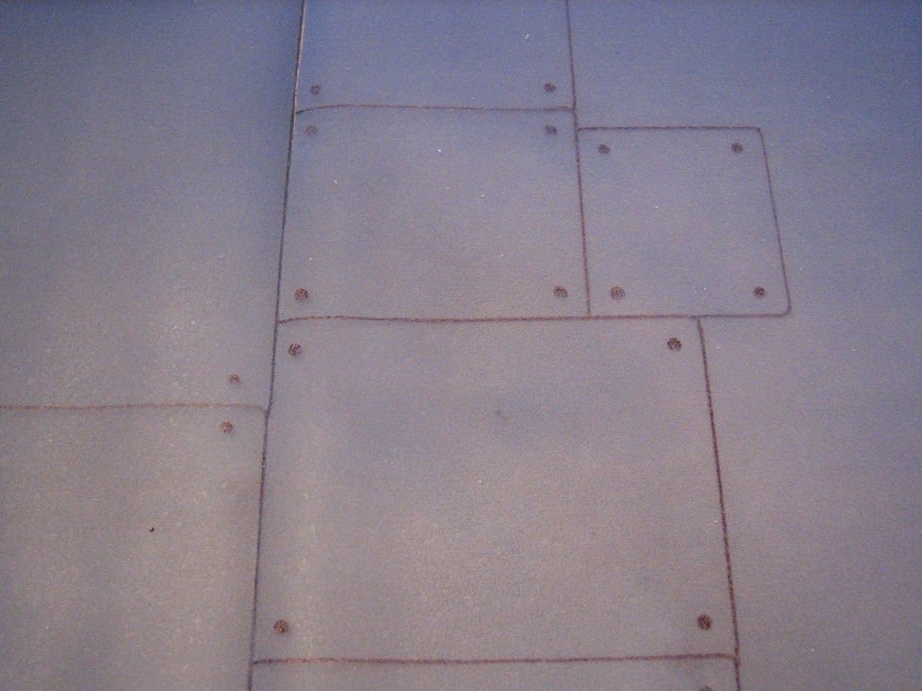
The second part of the insulation is made of silicone or wax paper. Both materials work fine, but at least two layers must be used. If using waxed paper, the glossy side should be facing the outline.
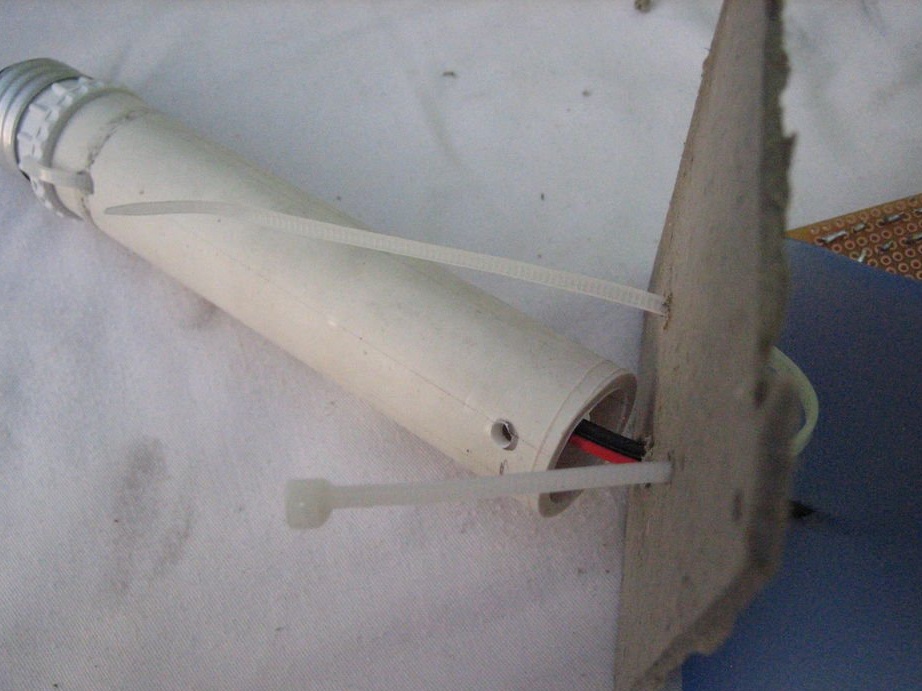
Step Four: Base Preparation
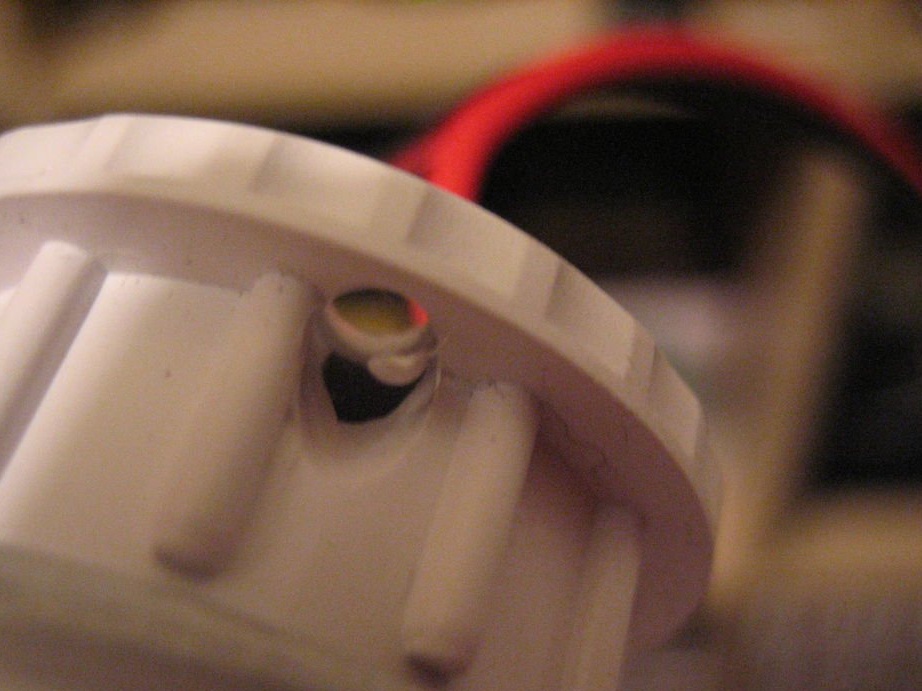
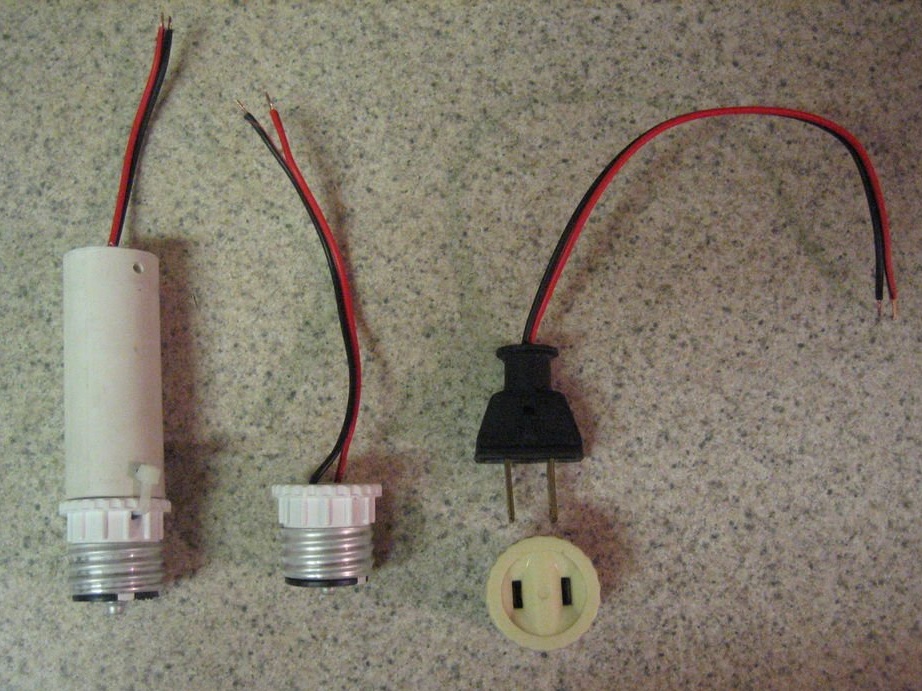
The purpose of the PVC pipe is to place the wires and give a little extra length if device requires this. The base manufacturing procedure is as follows:
1. Holes for drilling.
Make two small diagonal holes on each side of the plug, between the teeth. Make sure that the hole starts at the outer edge and ends slightly inward so that these mounting holes do not interfere with operation.
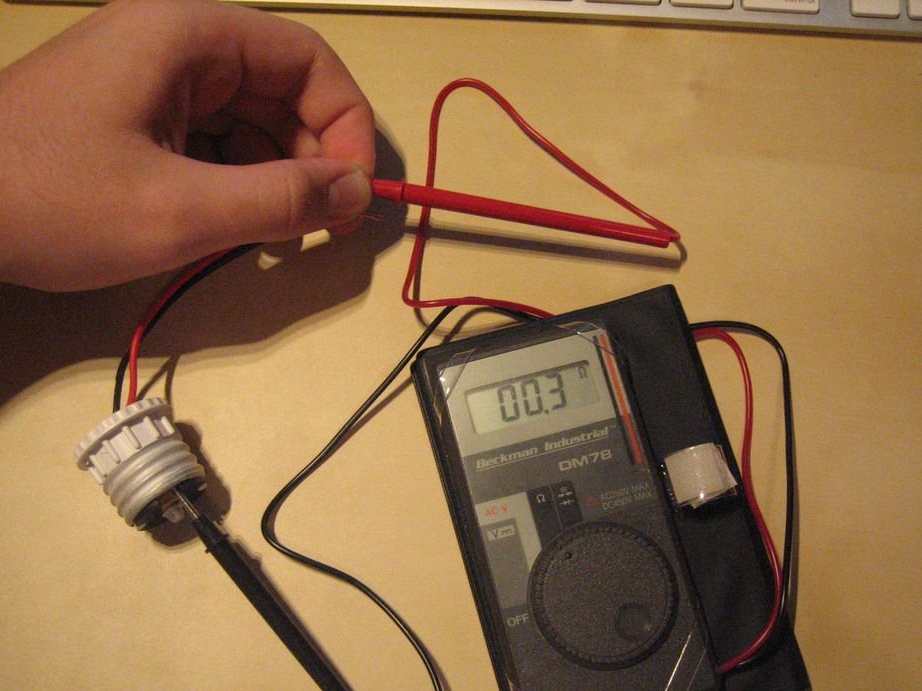
2. Stripping and tinning.
Strip the wires and twist the cores. Apply solder to the ends. (irradiate).
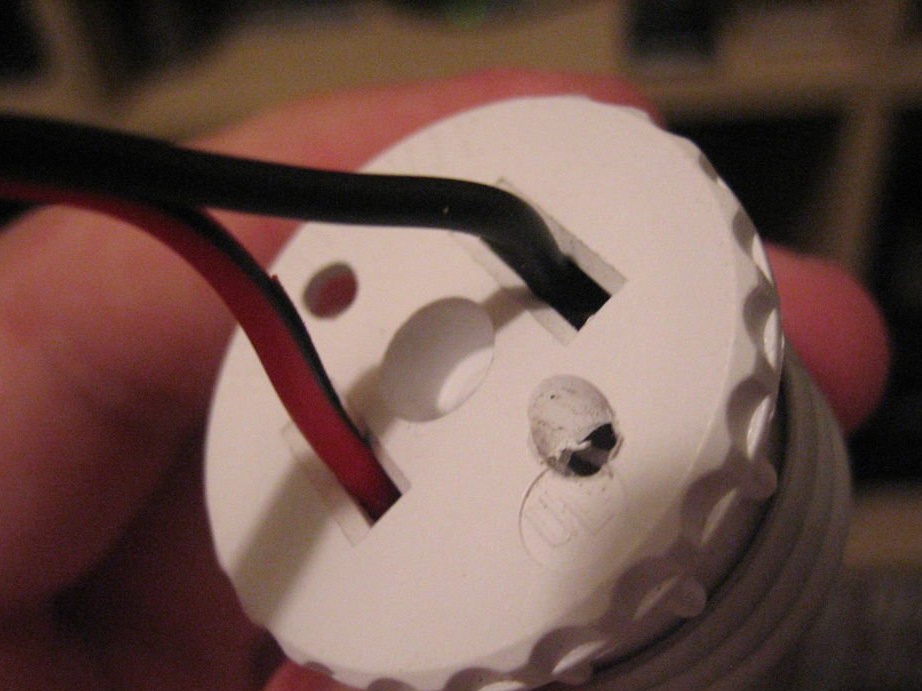
3. Insert the wires into the holes and fasten them with pieces of plastic. If you want, you can solder them in place.
4. Check the circuit with a multimeter.
5. PVC - cut the desired length of the PVC pipe and drill holes in it. Attach the base connector to one end with plastic clamps.
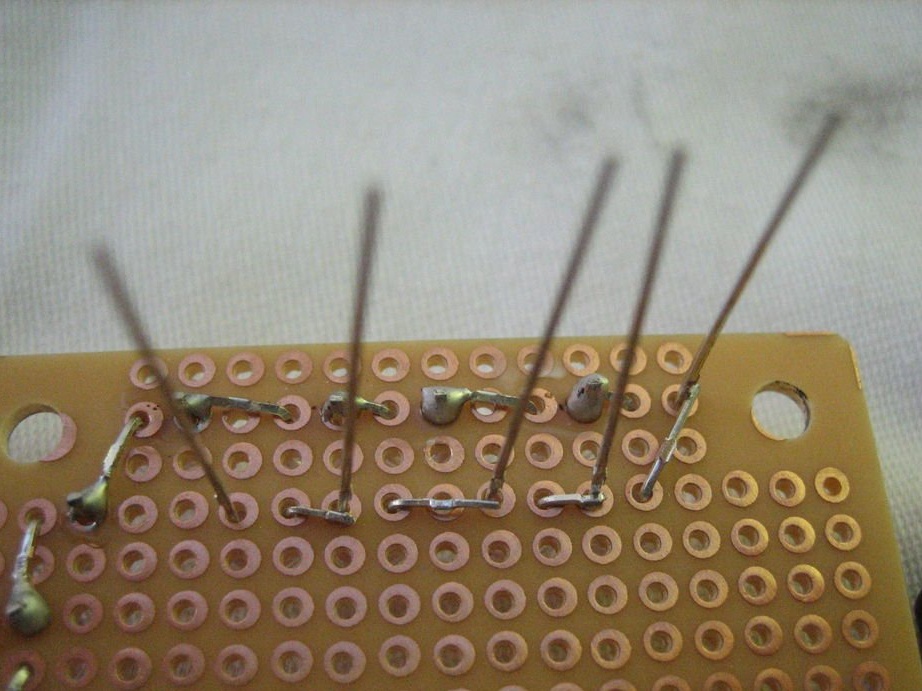
Step Five: LED Placement
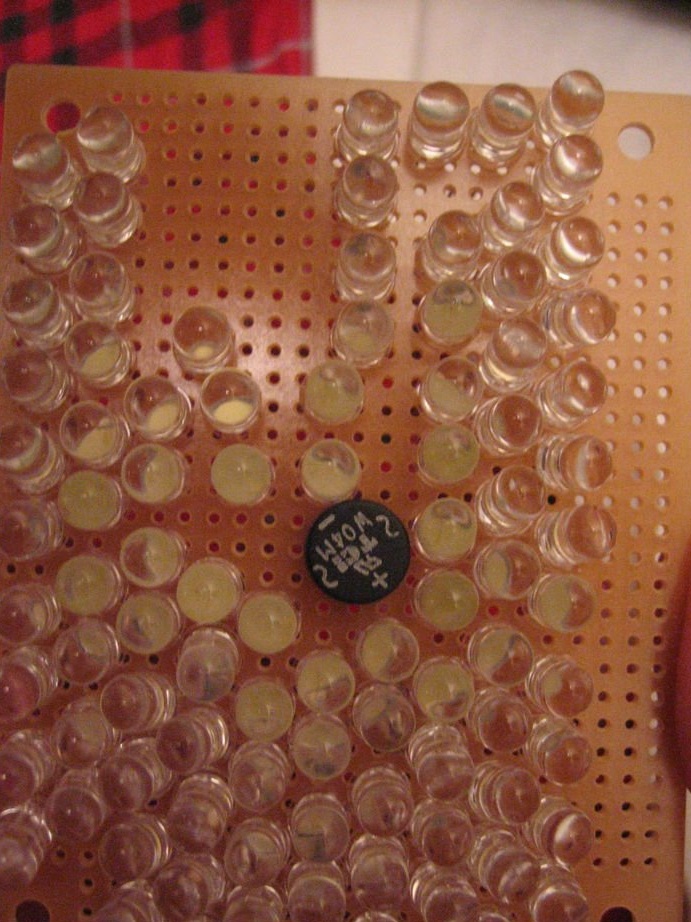
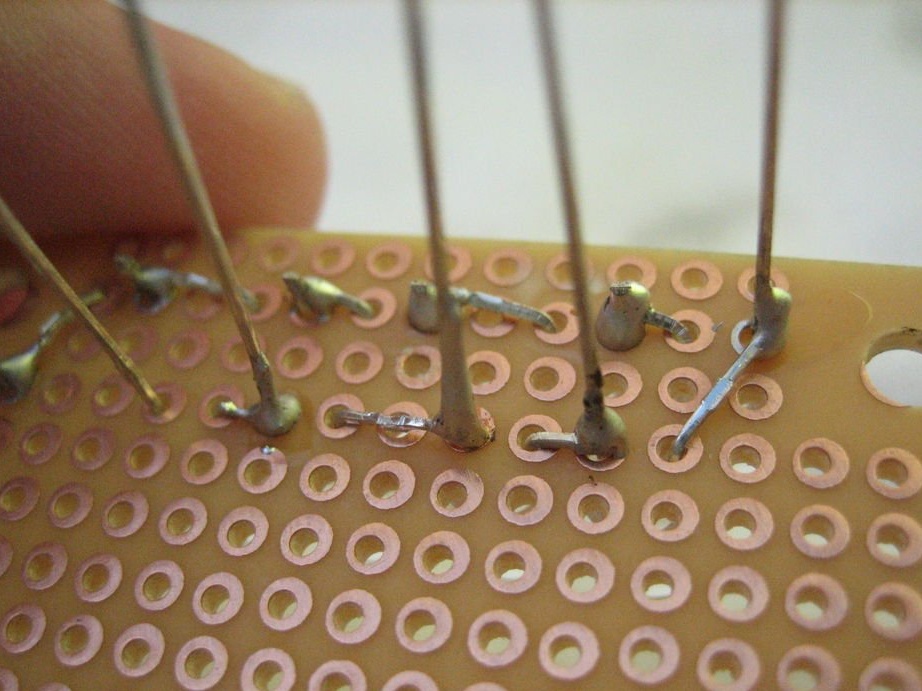
The master divided the soldering into the following stages:
1. Plan - the placement of LEDs and their location. Be sure to keep track of your calculations and use the results to determine how to place the LEDs.
2. Placement - insert one row of LEDs at a time, observing polarity. Remember that a longer LED output is always positive.
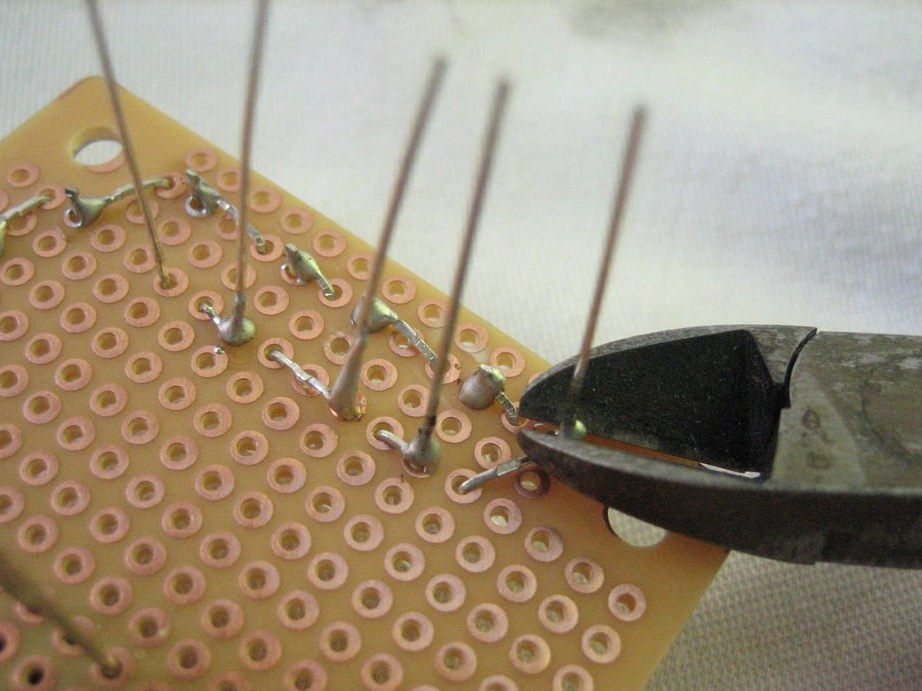
3. Bend each leg to the solder joint and cut off the excess.
4. Solder.
5. Trim the excess leads.
Step Six: Build
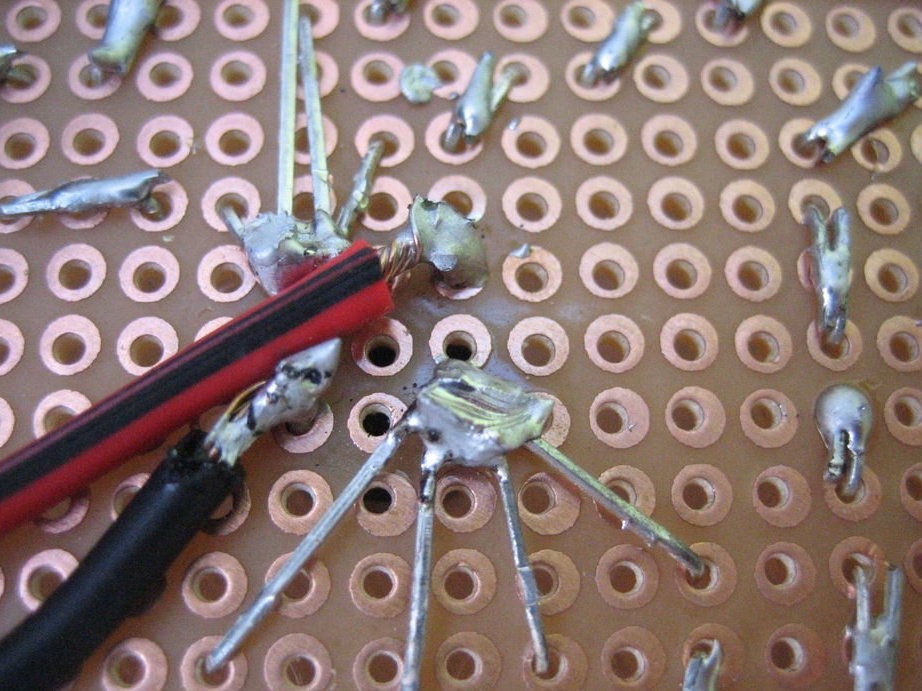
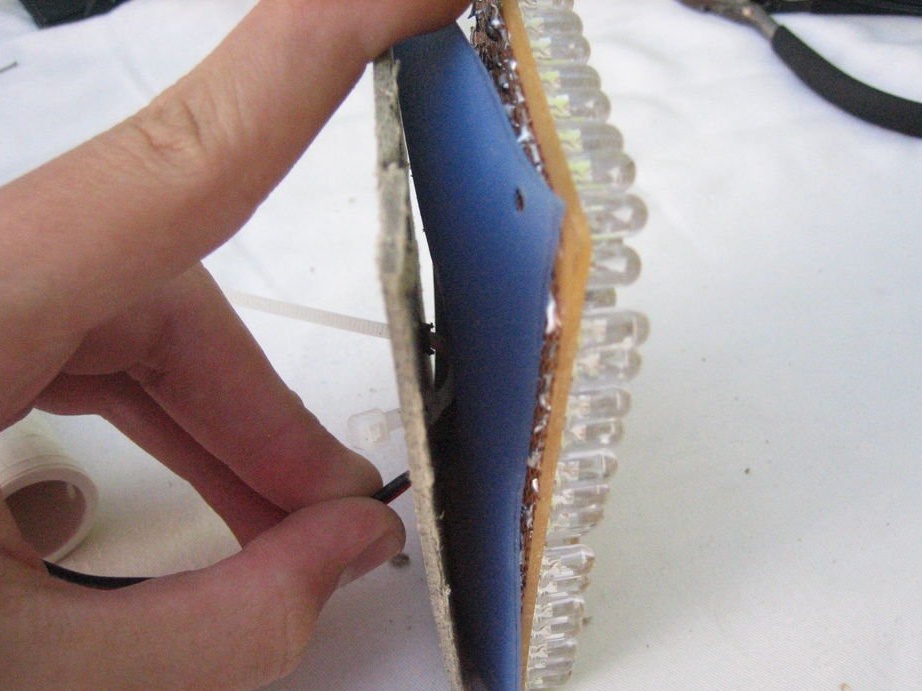
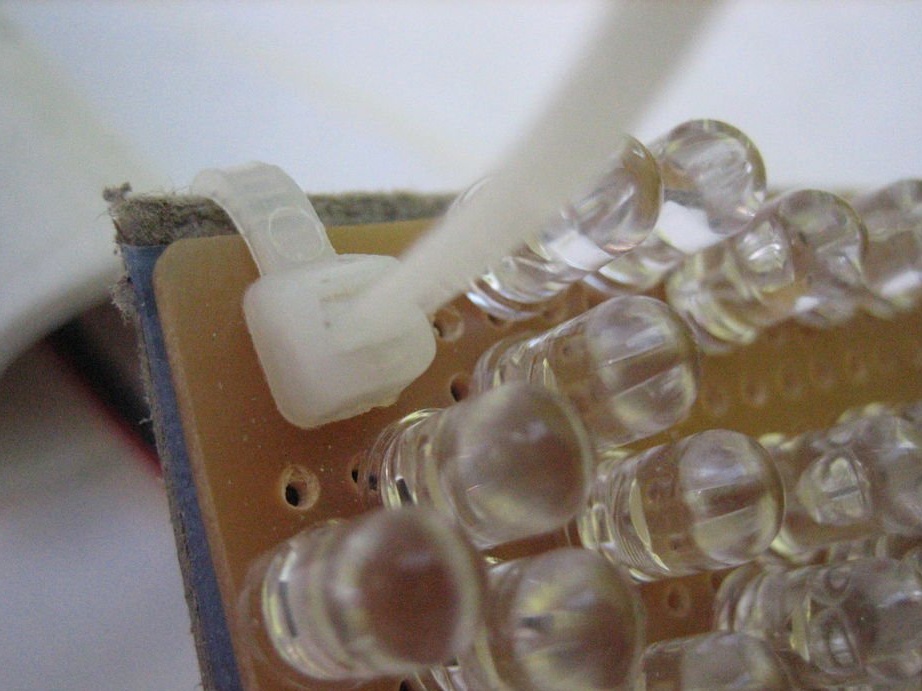
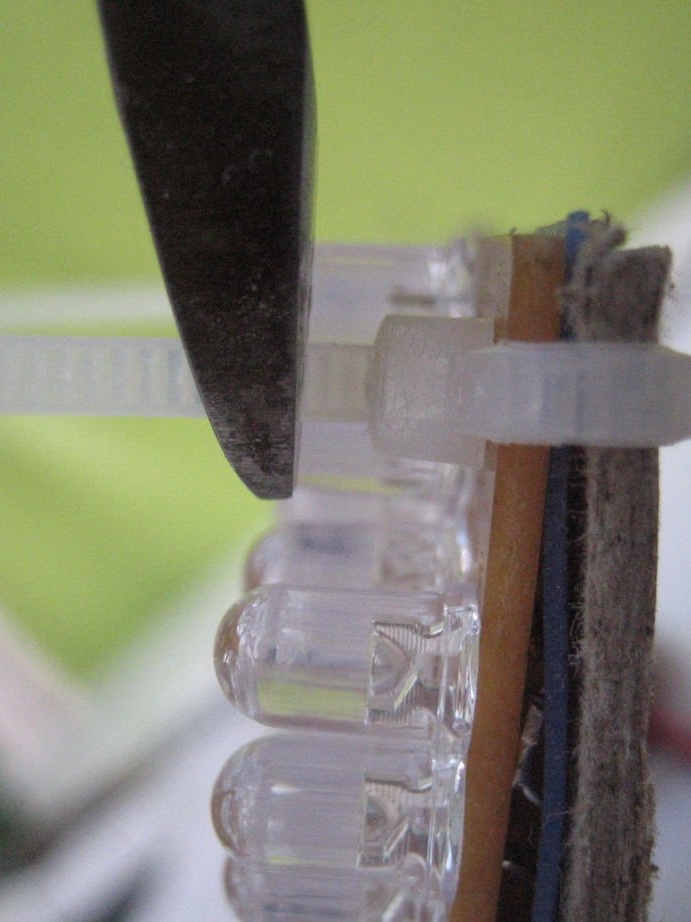
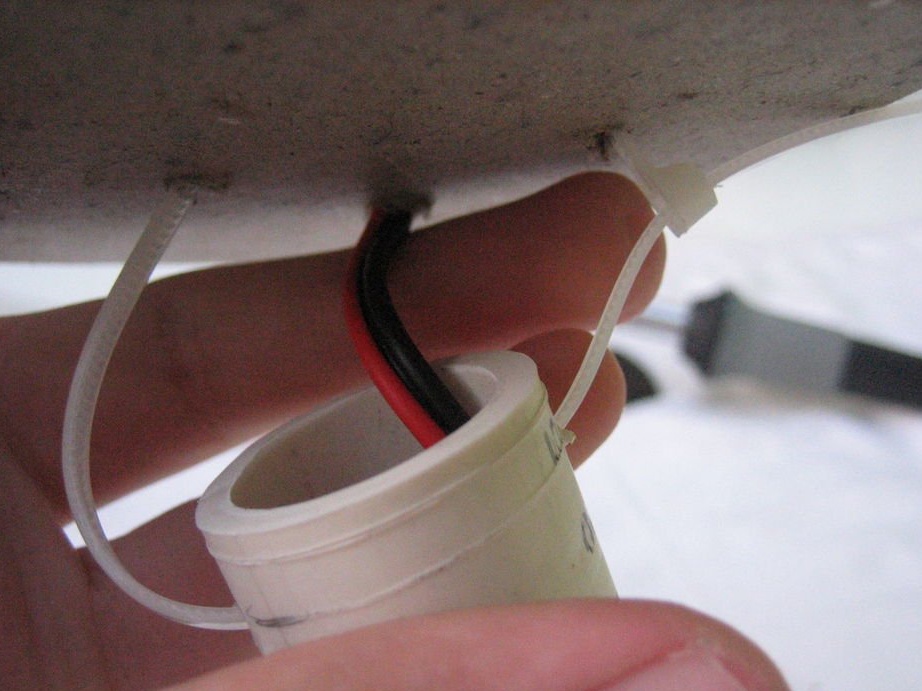
Now that all the individual components have been prepared, you can start assembling the entire bulb bulb. Insert the electric wire through the center holes of the two layers of insulation. Solder the wires to the terminals of the rectifier (marked “~”) and cut off the excess. Make sure everything is soldered correctly. Attach the PVC pipe to the cardboard with plastic clamps. Then, slowly pushing the wires into the pipe, fold all the layers together and secure them with clamps in each corner. Connect the LED light to check if it works.
Step Seven: Operation
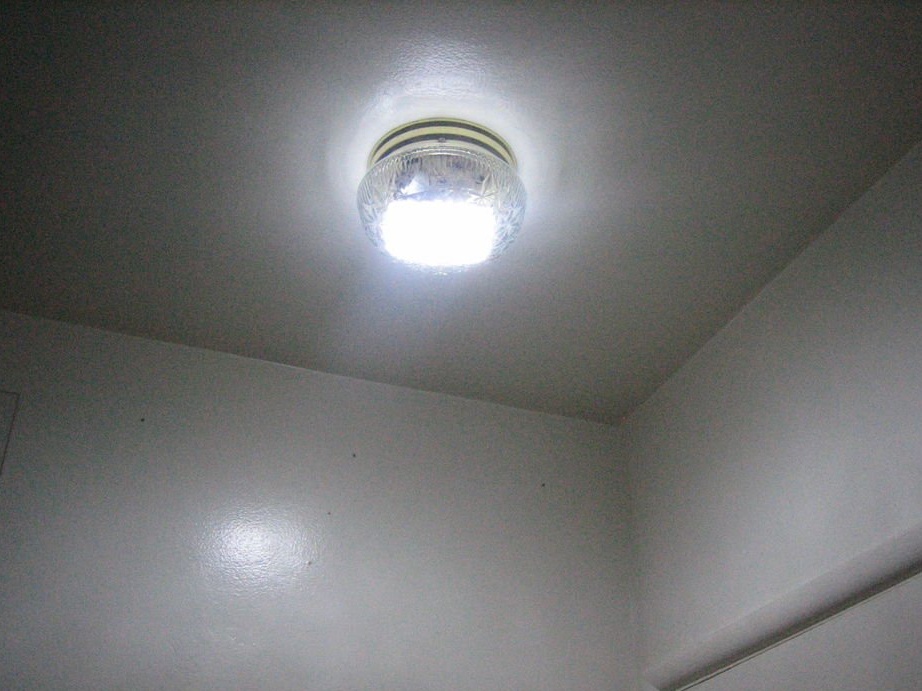
After finishing work, the product can be screwed into any lamp and immediately get the result. The master made this design for a table lamp, but it is also ideal for recessed lamps.