

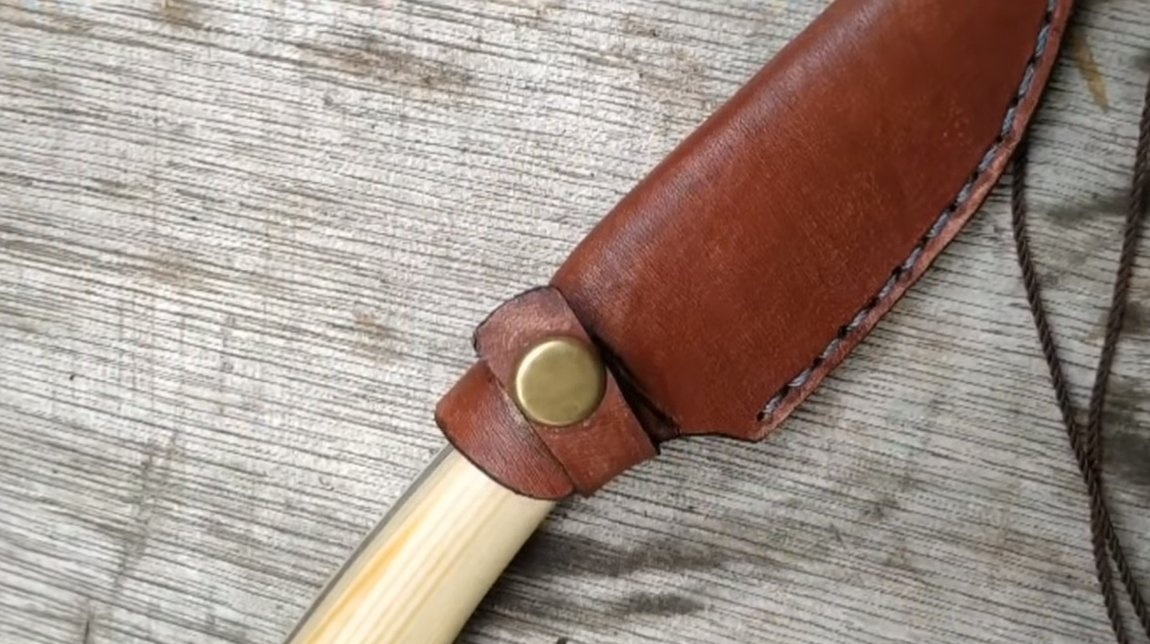
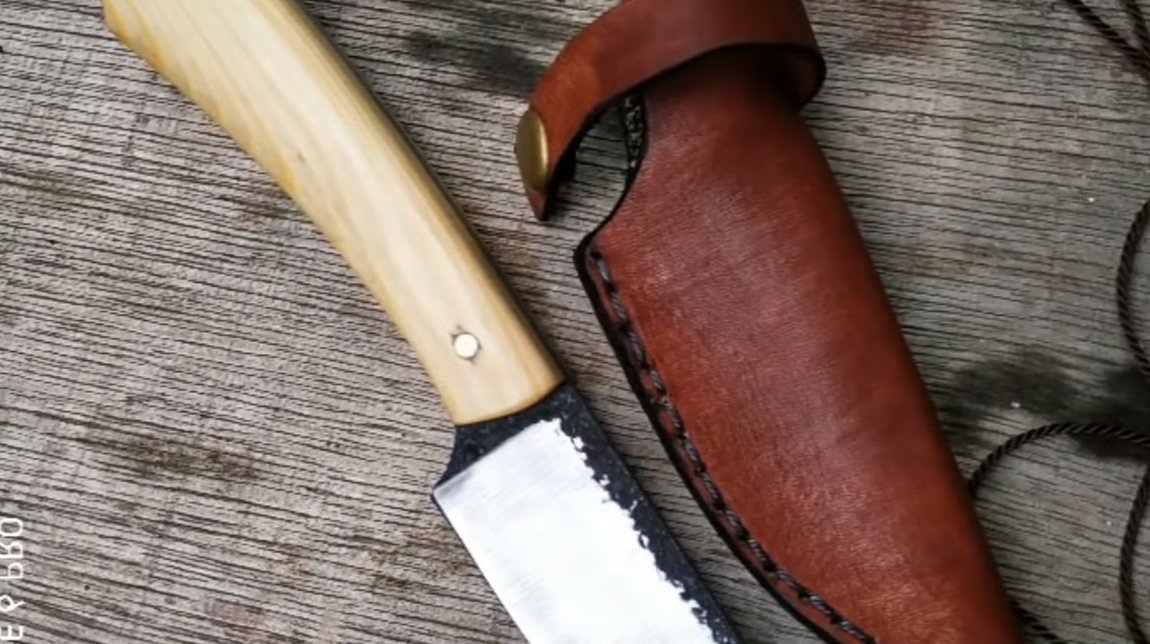
Hello lovers of knives, I propose to consider a knife for various household tasks. The product is small, the author made a sheath for the knife, which allows you to carry the knife even on the neck. A knife is not difficult to make, the main tool for working is a grinder. For the manufacture of the knife you will need a piece of carbon steel, this will harden the blade, the knife and it will remain sharp for a long time. If you are interested homemade, I propose to study the project in more detail!
Materials and tools used by the author:
Material List:
- carbon steel for the blade;
- a tree for overlays;
- copper pipe and nail;
- not enough for a tree;
- leather for sheath;
- epoxy adhesive.
Tool List:
- grinder;
- a hacksaw;
- belt sander;
- clamps;
- marker, paper, scissors;
- oven and hardening oil;
- drilling machine;
- sewing tools.
The process of making a knife:
Step one. Blade profile
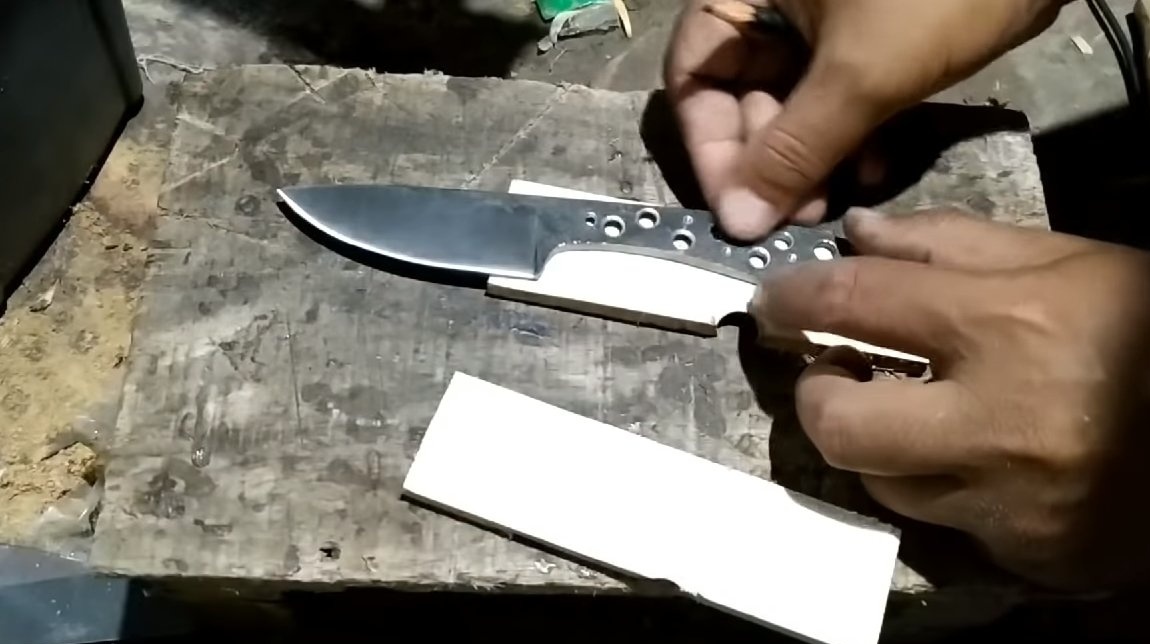
To begin with, we make a knife template, draw it on paper with a pencil and cut it out with scissors. You can also find on the Internet a ready-made knife profile and print it on a printer.
If you plan to make several knives, it is better to make a template from cardboard, this will also make it possible to hold the future knife in your hand and make sure it is convenient.
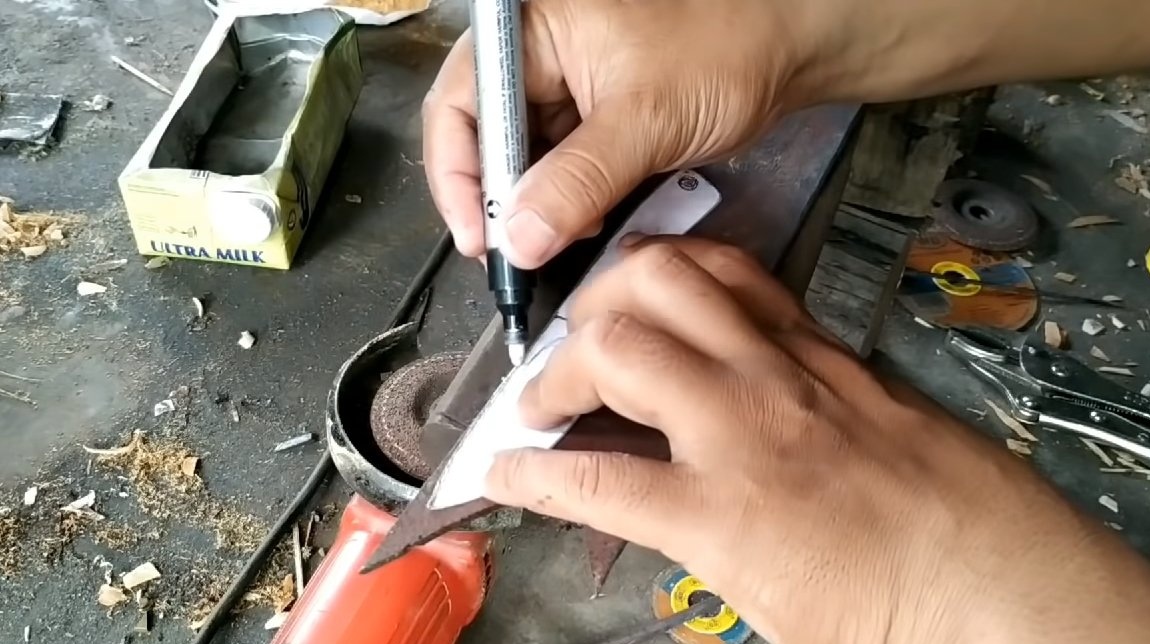
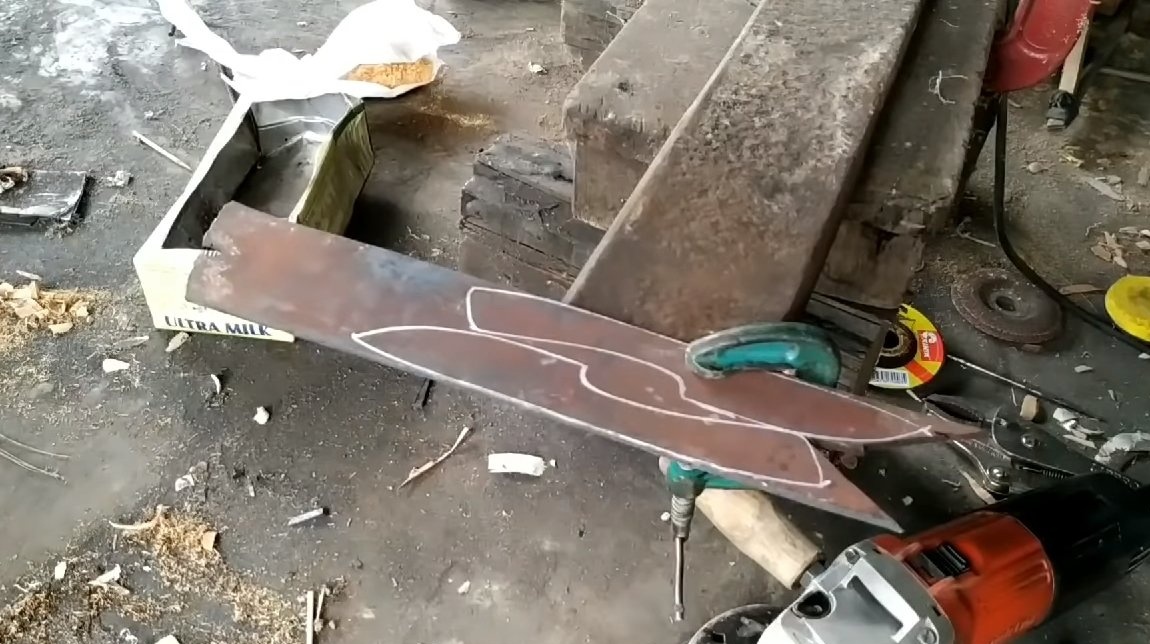
Next, apply the template to the metal and draw a marker. To understand how much carbon there is in steel, you can try cutting it with a grinder. In the presence of carbon, the sparks will be long, yellow, the fountain of sparks will resemble a salute. But ordinary iron sparks are short and red. Of course, the surest way to test steel is to try to temper a small piece.
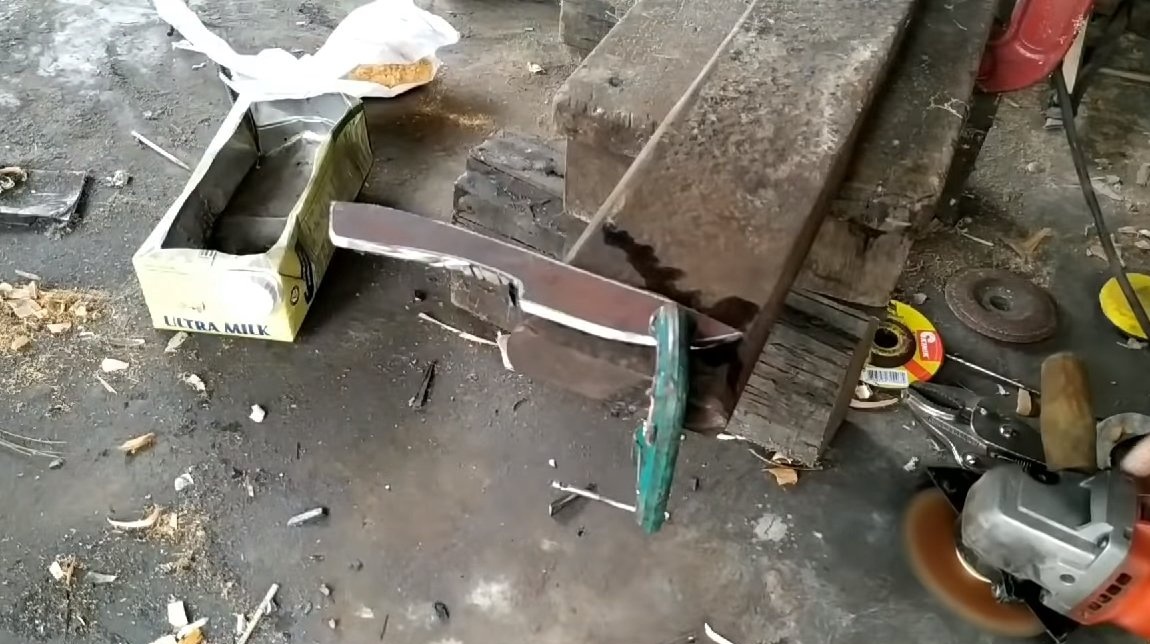
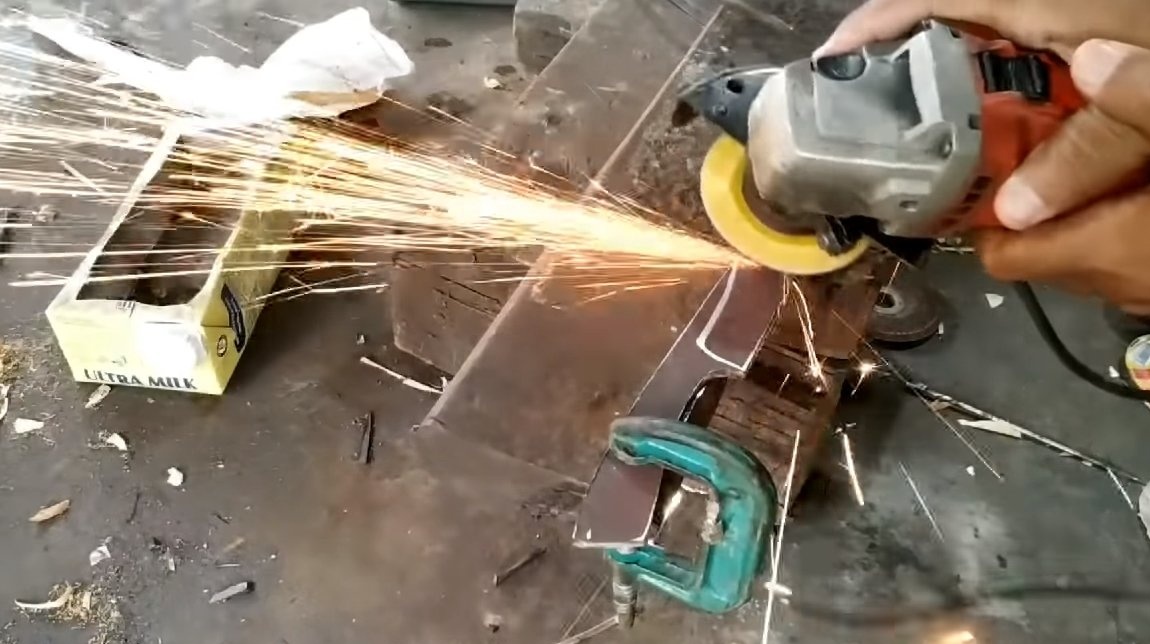
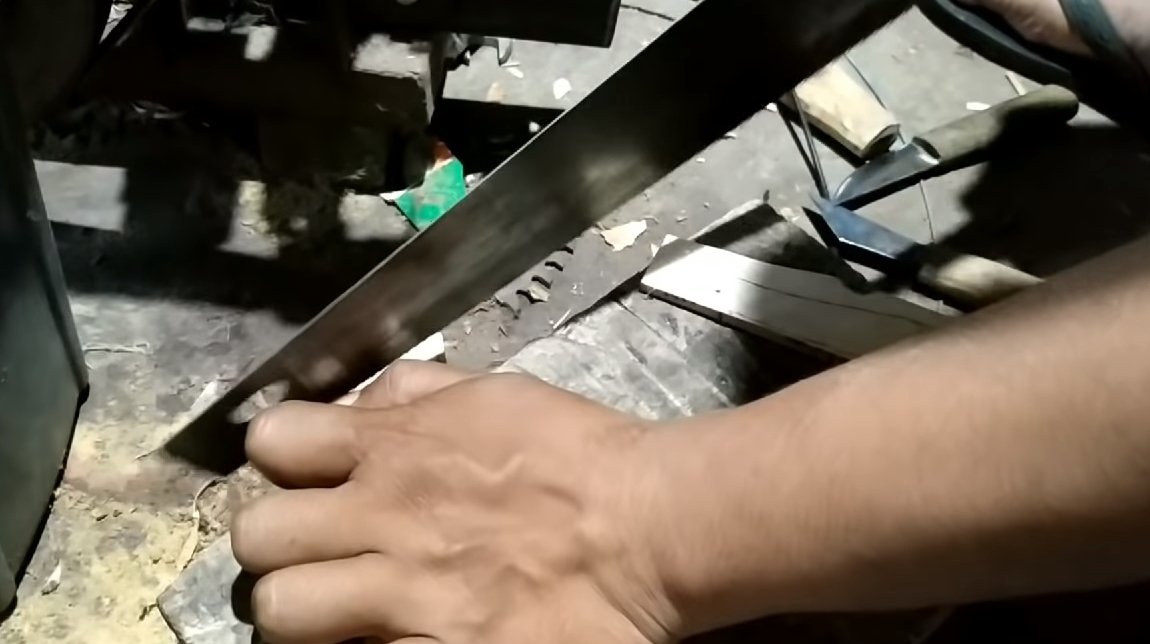
When the template is transferred, you can start cutting, here we need a grinder. We cut out the main profile, difficulties should not arise, since the shape of the blade is quite simple, the author cuts several knives at once. At the end, we install on the grinder a thick disk for grinding work, we refine the knife profile with it. As a result, we get an excellent blank for a knife.
Step Two Slopes
Now we need to make the slopes on the knife, they are quite wide and smooth, which allows us to get a thin blade. Such a knife will be very well cut, and sharpened, it will be possible to sharpen sticks and so on.
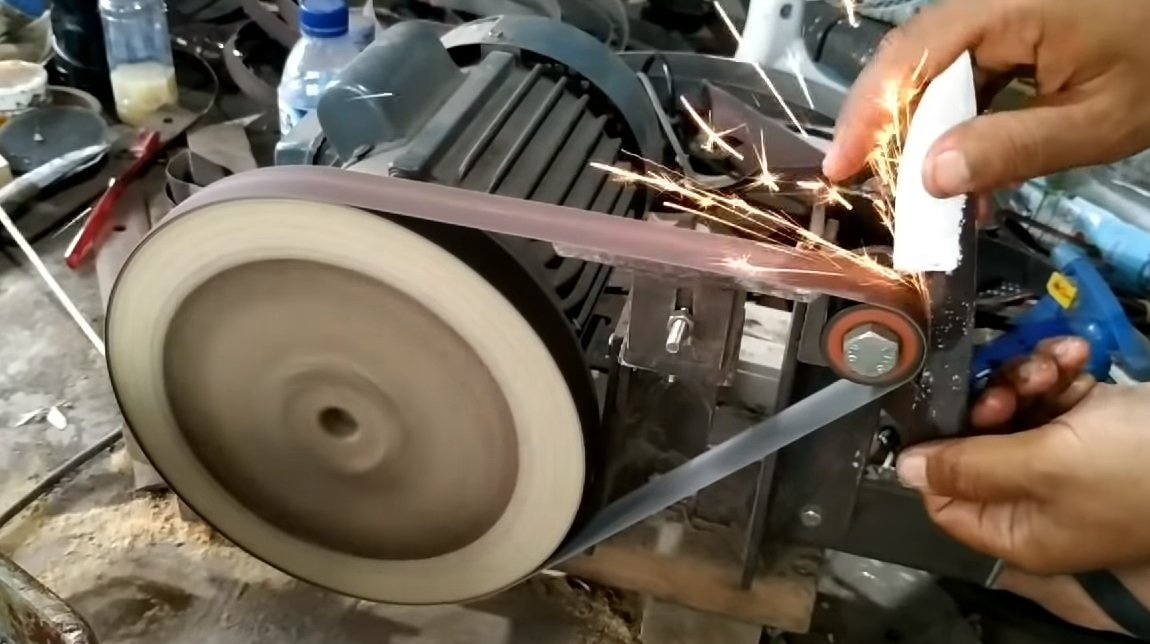
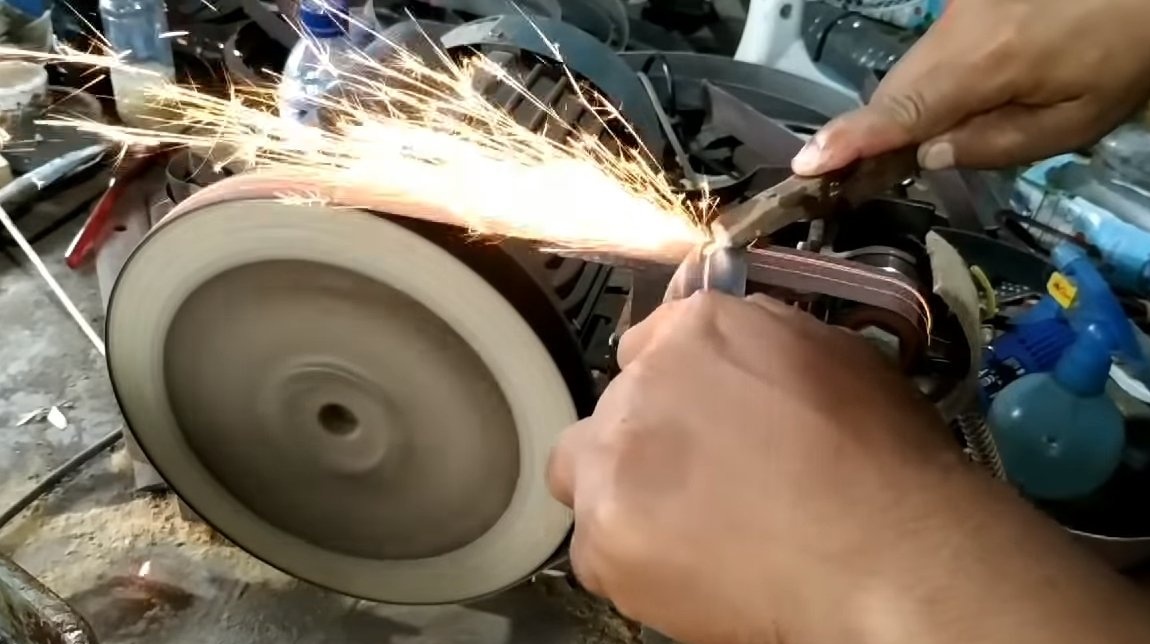
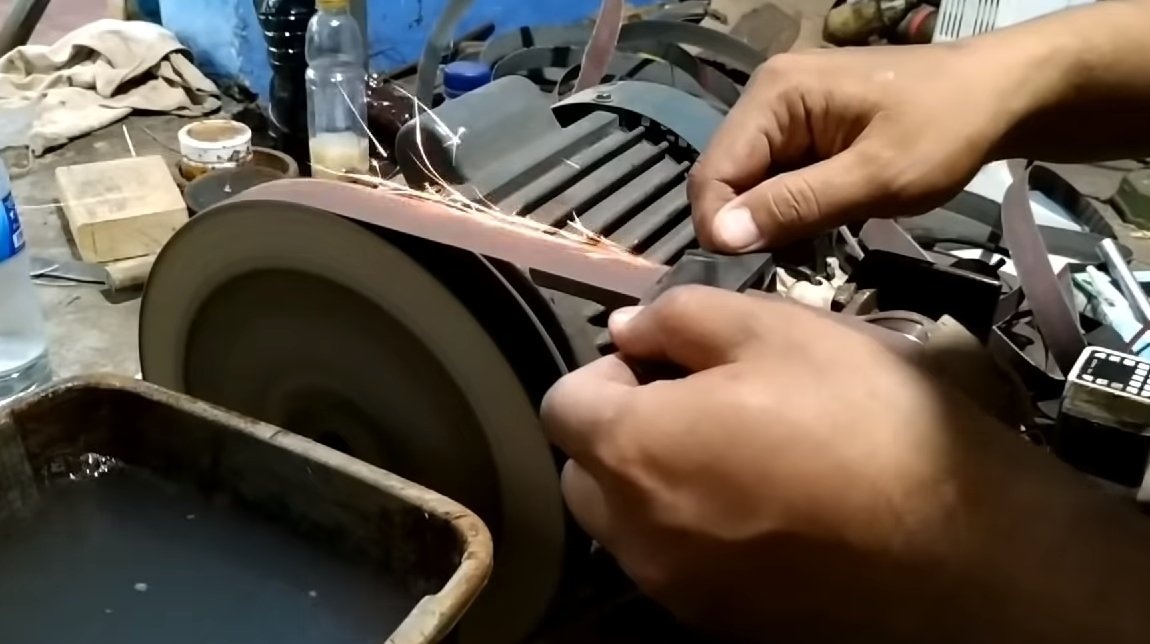
Using a marker, mark where our descents will be, and proceed to work. Here we need a grinder with a grinding disk, you can also work with the petal nozzle. We make the descents symmetrical, during operation we look at the blade, whether everything turns out correctly.
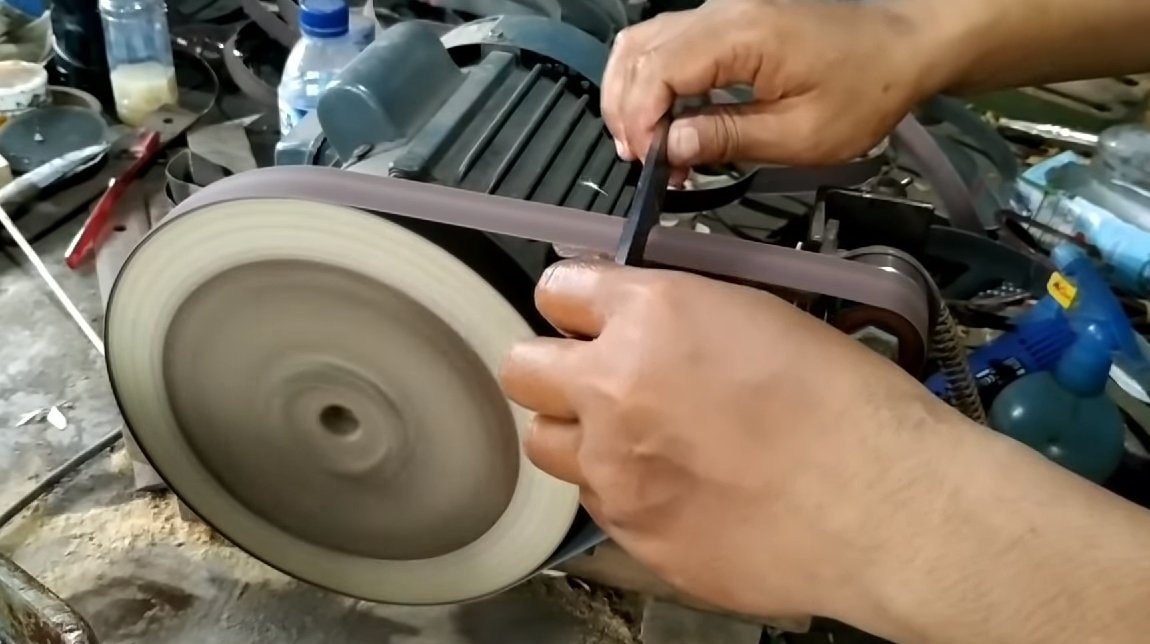
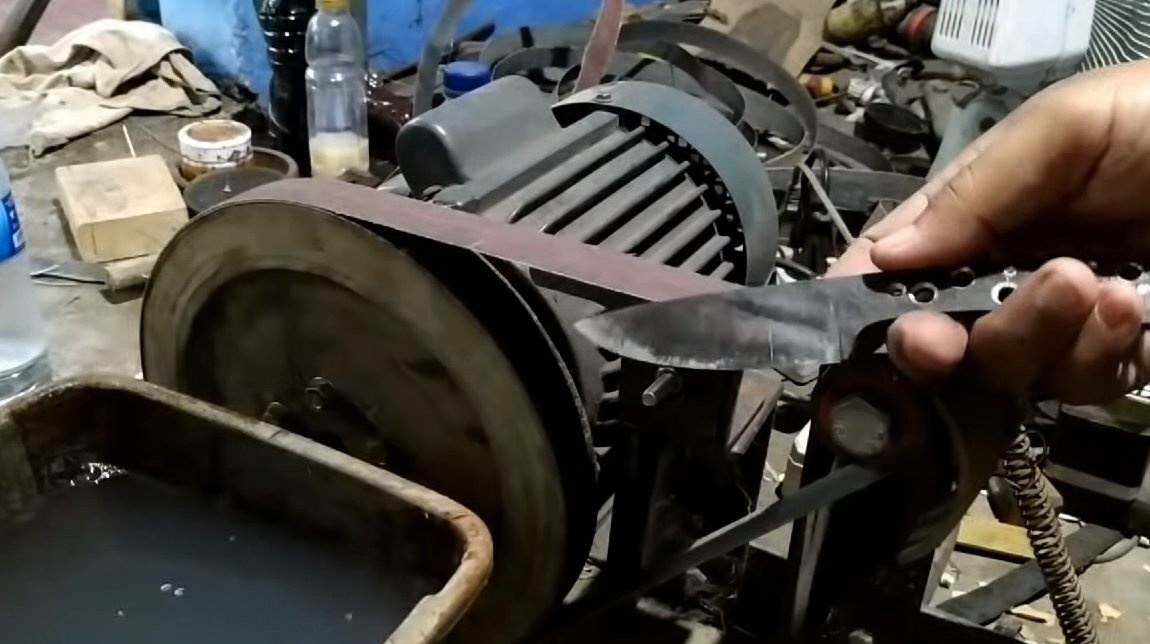
The author conducts the final work on a makeshift belt sander. Sharpening the blade is not yet necessary, as it will be hardened. If the steel is thinner than 2 mm, there is a high probability that carbon will burn out at high temperature.

Step Three Handle
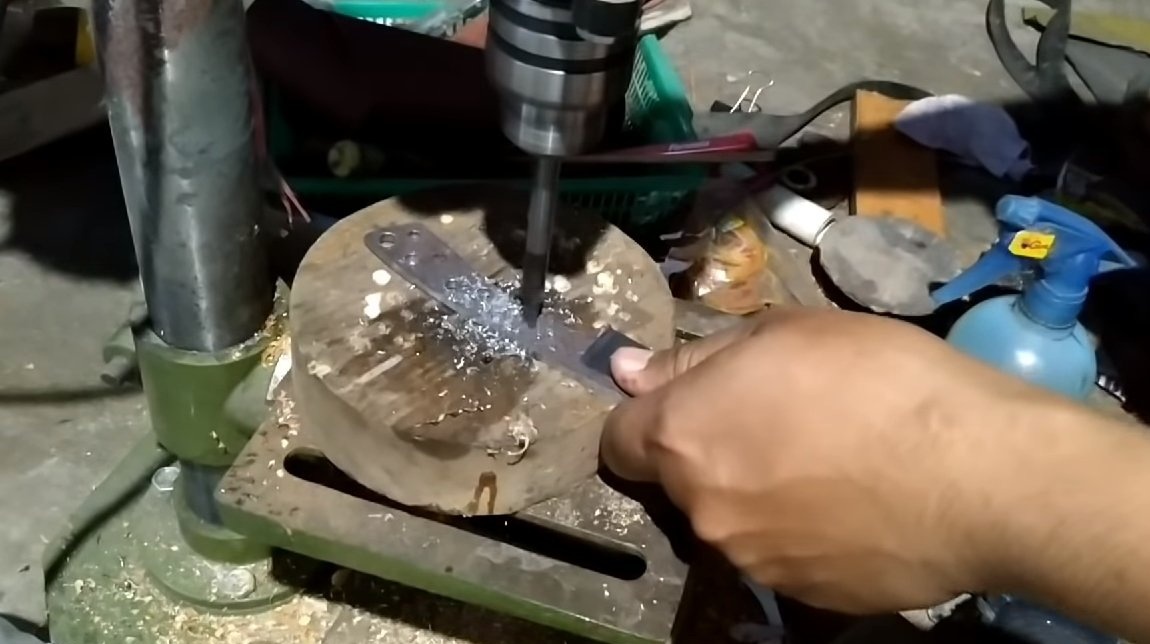
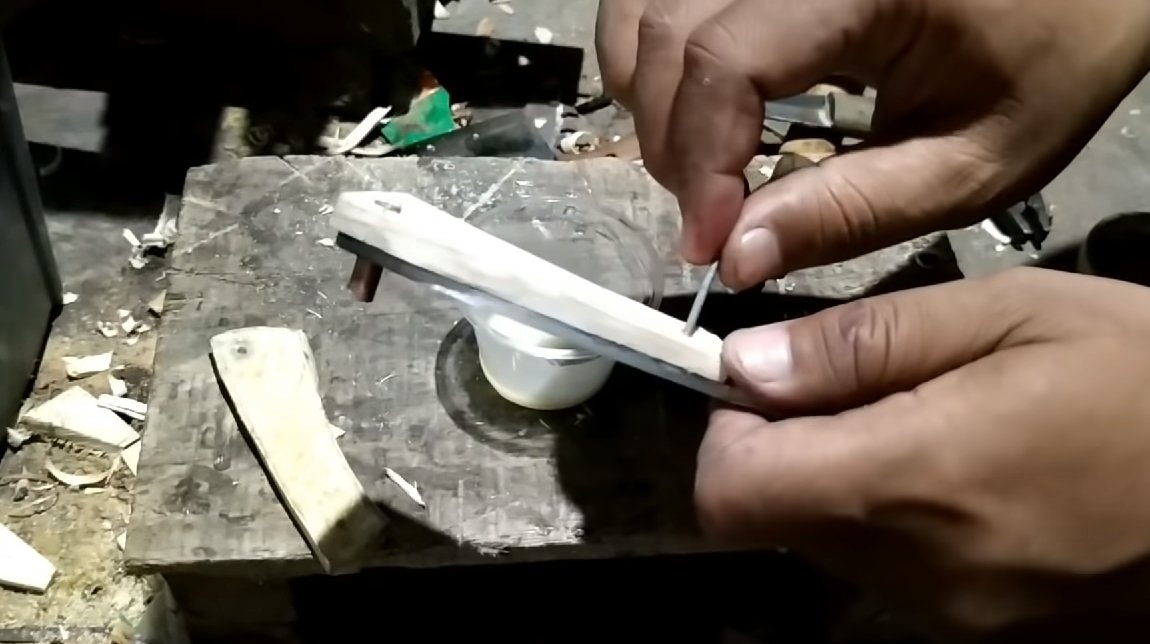
The author decided to lighten the handle of the knife, this will make the knife more convenient and easier. Also, thanks to the rows of holes, it is possible to glue the linings very securely. Do not forget about the holes for the pins. In the back of the handle, the author will insert a copper tube as a pin, which will result in a hole for hanging the knife on a rope.
We drill holes on a drilling machine, and if steel does not lend itself, it must be released.
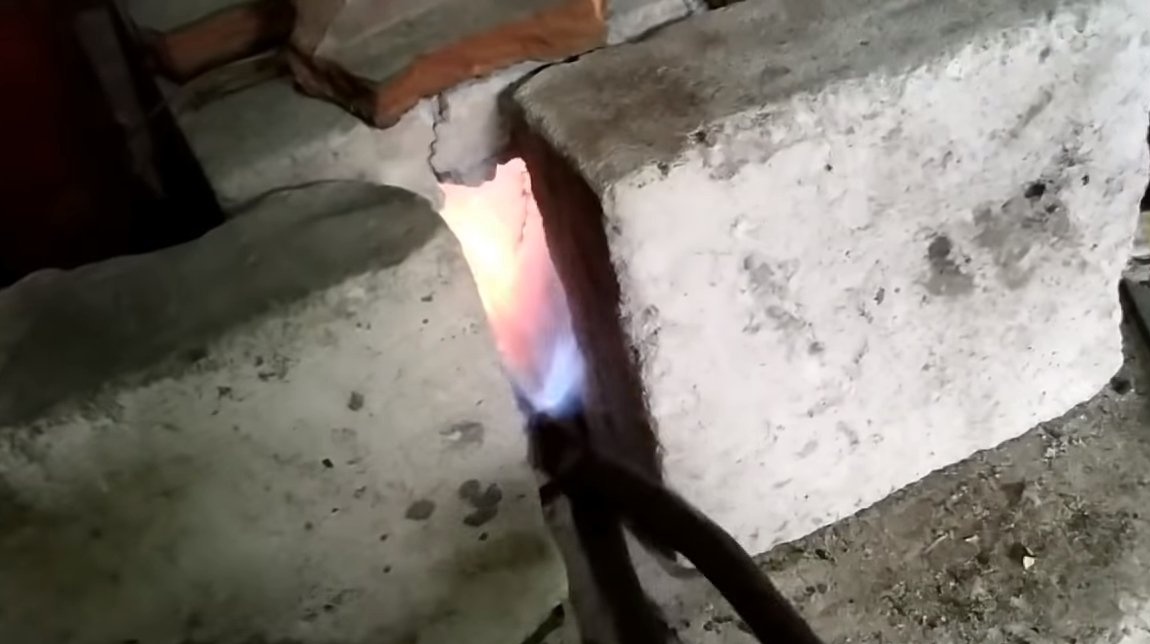
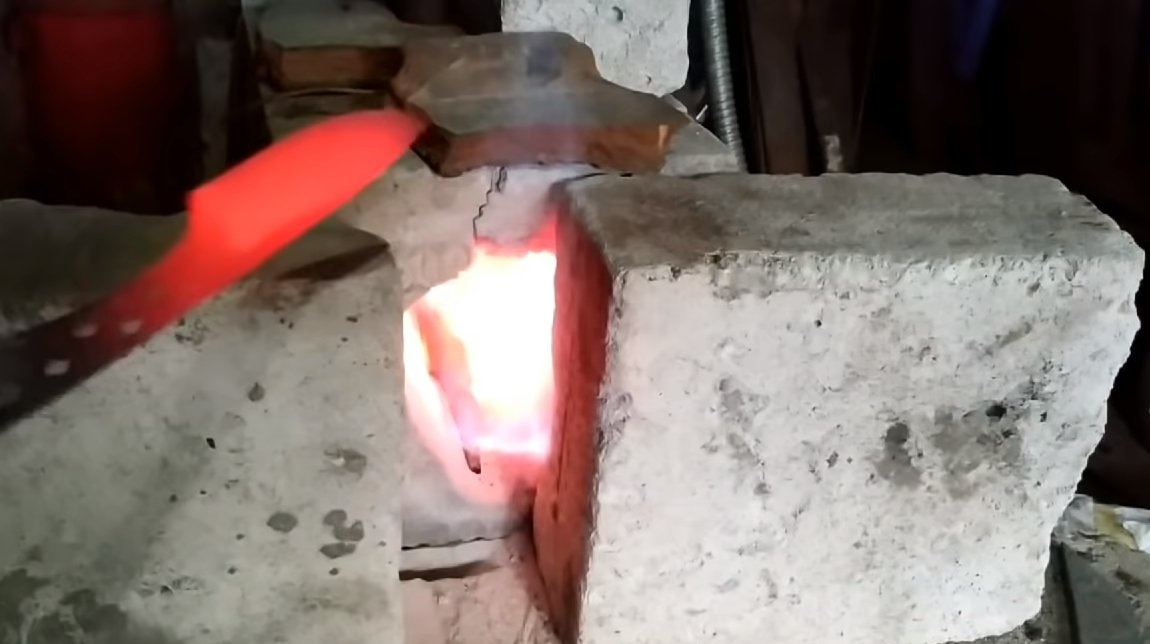
Step Four Heat treatment
We proceed to hardening, and we will only harden the blade, since it should be as hard as possible. We heat the blade until a bright red glow and then immerse in the oil only the blade.
We check, it turned out to heat the steel hole, we try to scratch it with a file, there should be no scratches. Note that if you do not let go of the steel, it can be very brittle, but it all depends on the specific grade of steel.
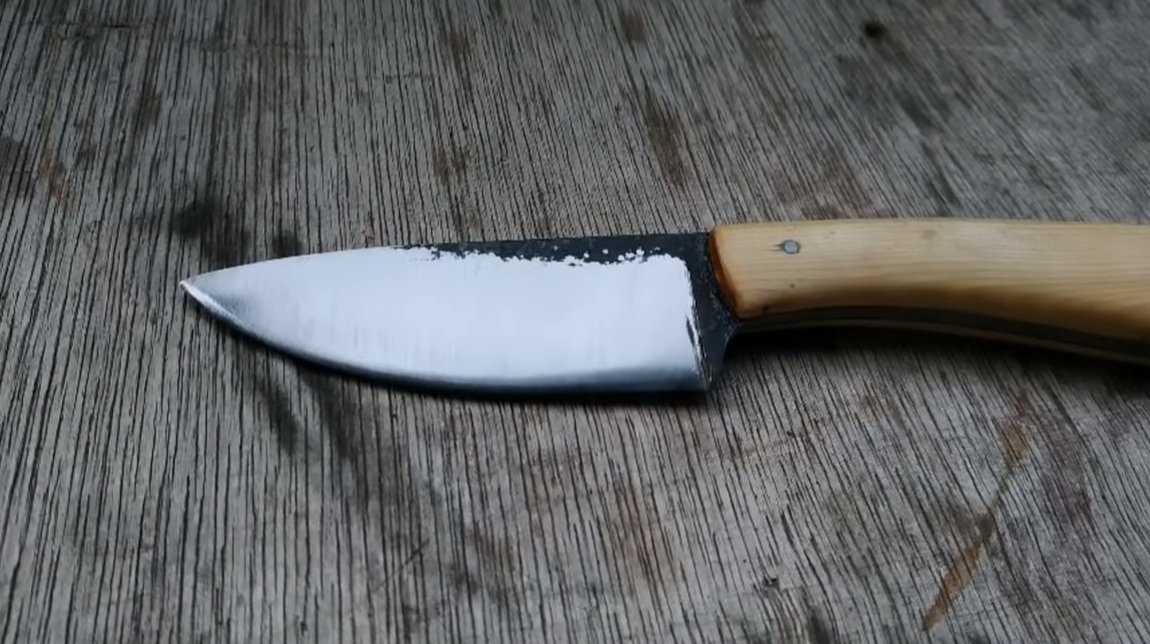
After hardening, the author polished the hilt, as well as the descents, the butt remained black, as if forged steel, it looks interesting.

Step Five Knife assembly
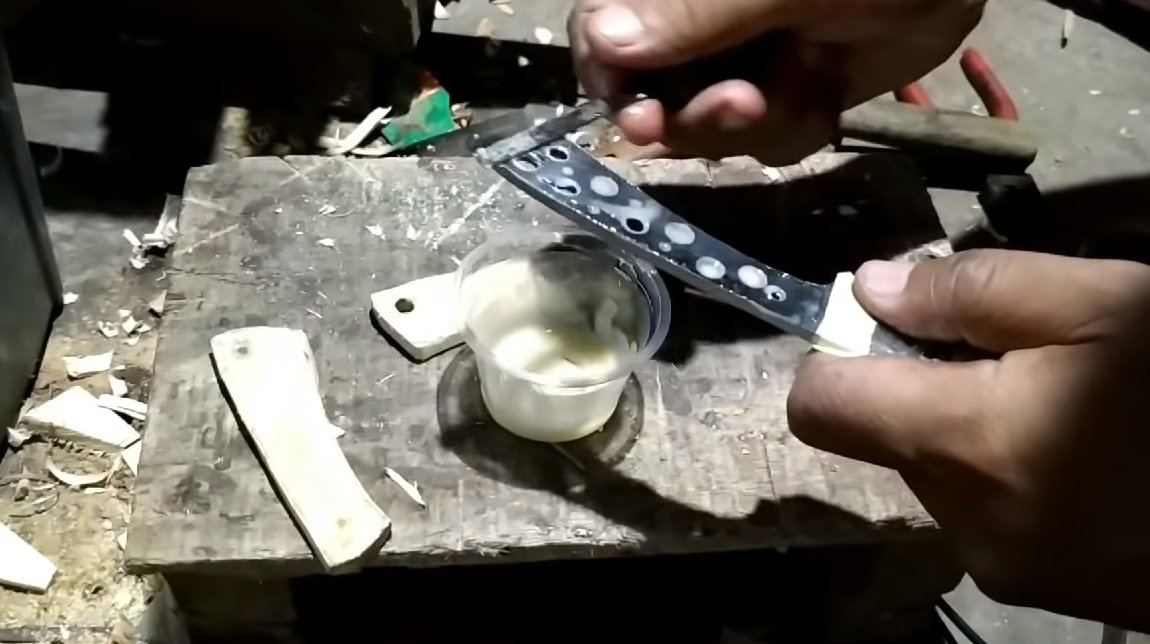
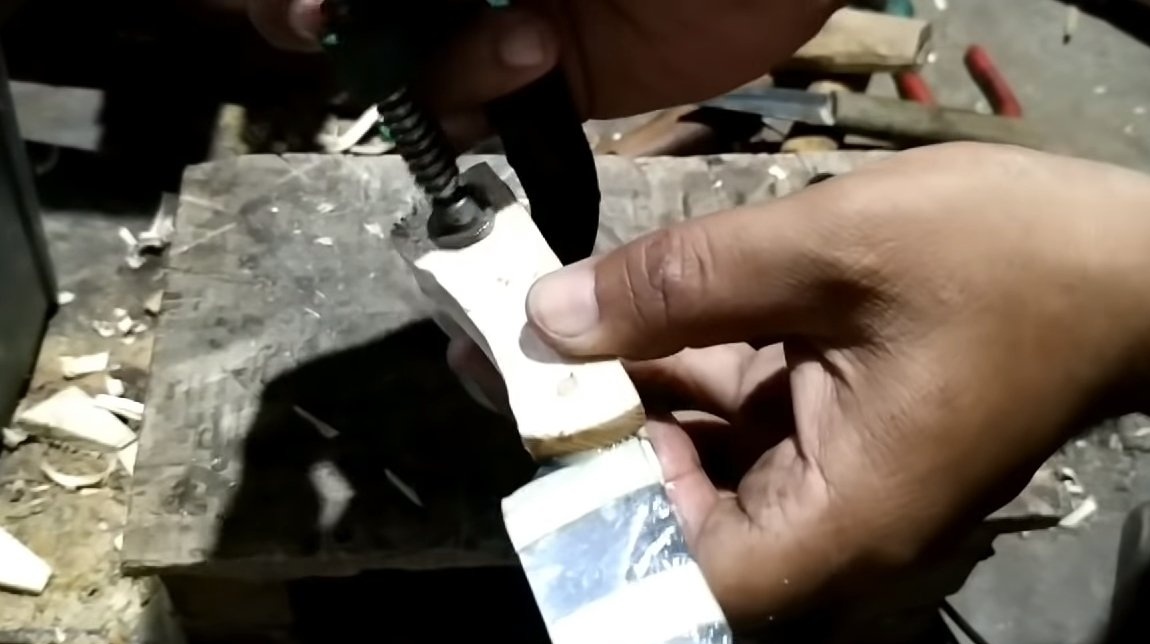
Our blade is completely ready, we wrap it with masking tape so as not to smear it with glue. Now we have to install the pads, cut two blanks from boards of suitable thickness or cut the boards along if they are thick. Next we need epoxy glue and pins.
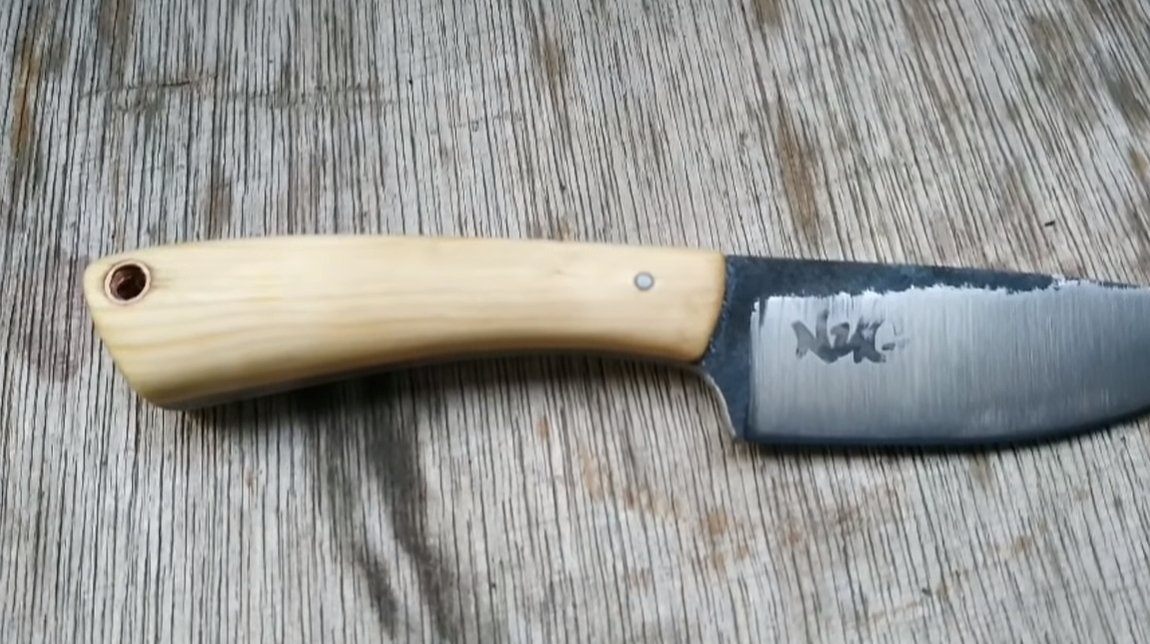
The author installs a copper tube as a pin in the back of the handle. A nail is used as a pin in the front of the handle. We glue the handle well and tighten it with clamps.
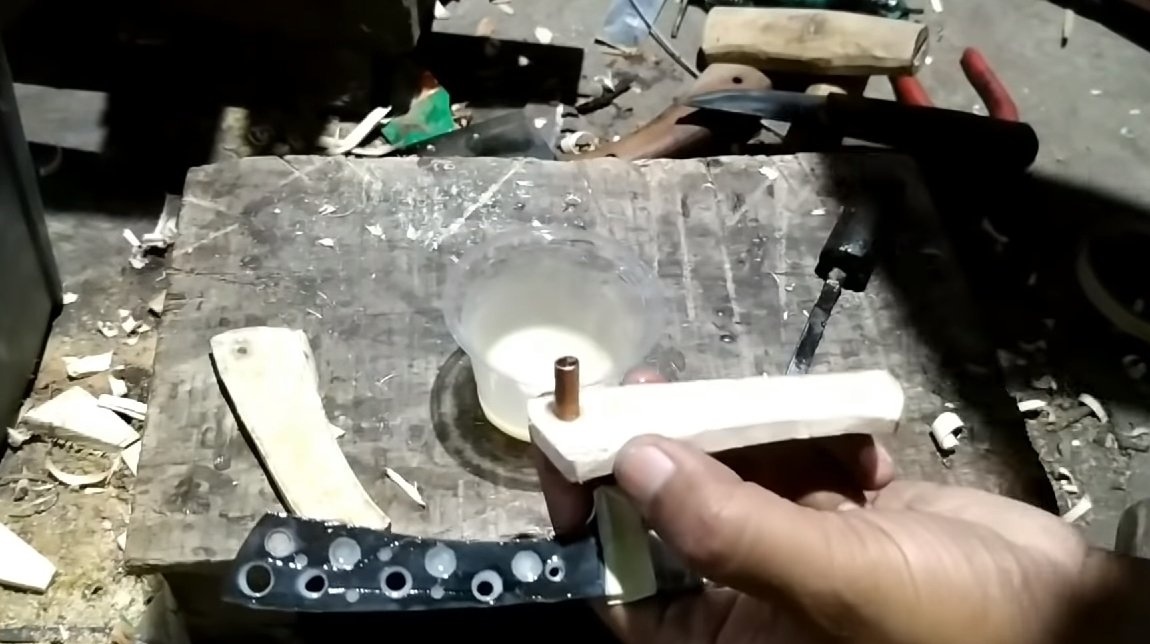
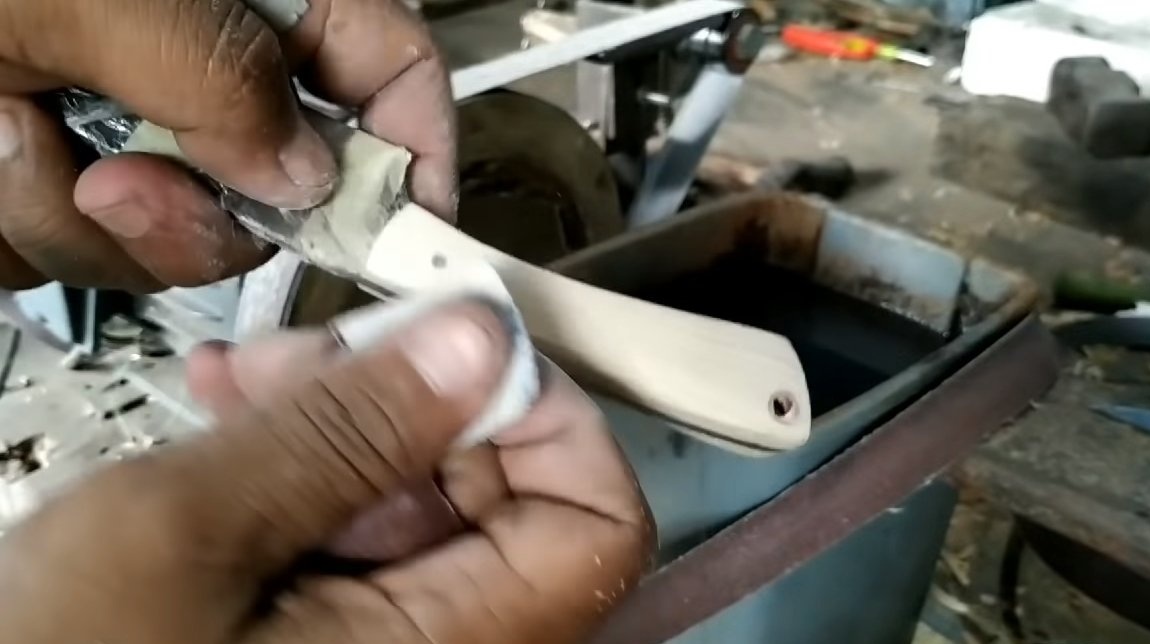
Further, when the glue dries, the handle needs to be given the profile we need. These works can be carried out with a file on a tree, or we can use a belt sander. Final work is carried out manually using sandpaper. We bring the handle to a perfectly smooth state and soak it with wood oil.
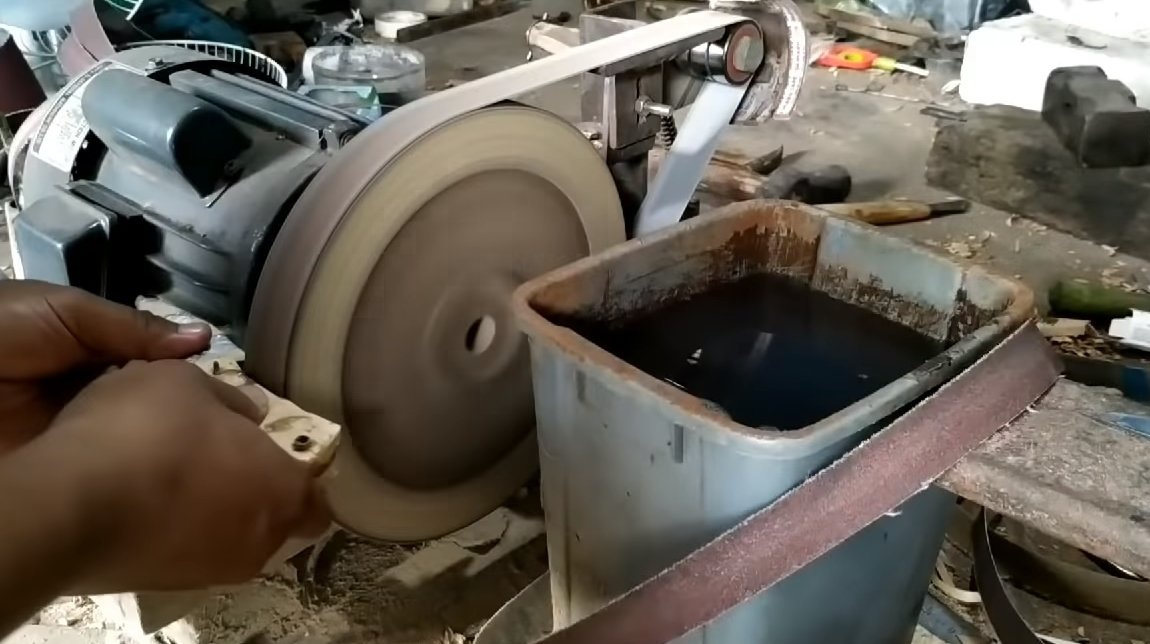
Our knife is ready, it remains to sharpen it to the state of the blade, for this the masters use grinding stones and machines based on them. Of course, we do not forget to make reliable sheaths for the knife, but the author did not show us the process of their manufacture. The knife turned out great, looks great and quite comfortable. I hope you enjoyed the project and found useful thoughts for yourself. Good luck and creative inspiration, if you decide to repeat this. Do not forget to share your ideas and homemade things with us.