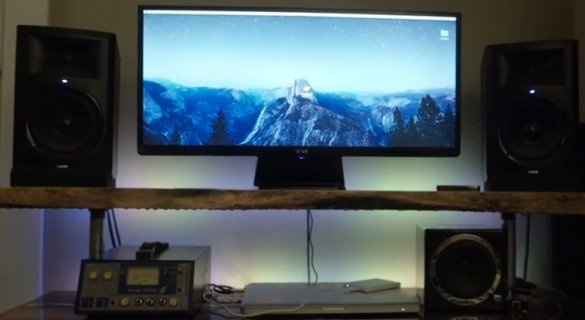
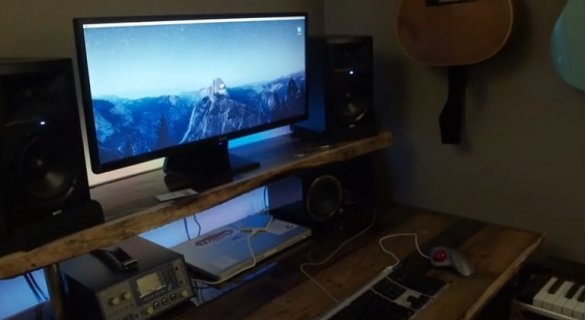
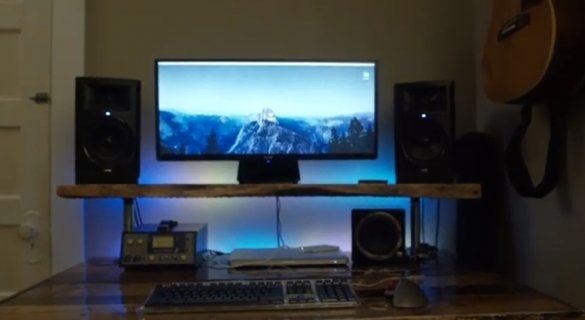
In the manufacture of this table, the Master set himself the following tasks:
-Use of "secondary" materials
-Saving the appearance of the board and at the same time the normal working surface of the table
-Two tiers for installing monitors
- Smart Pixel / Neo Pixel running Arduino
Tools and materials:
-Pallets;
- OSB;
- table legs;
-Hammer;
-Nail puller;
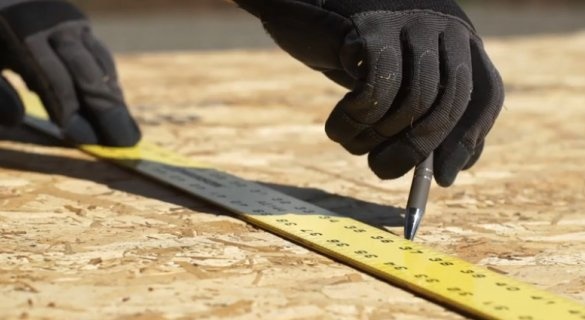
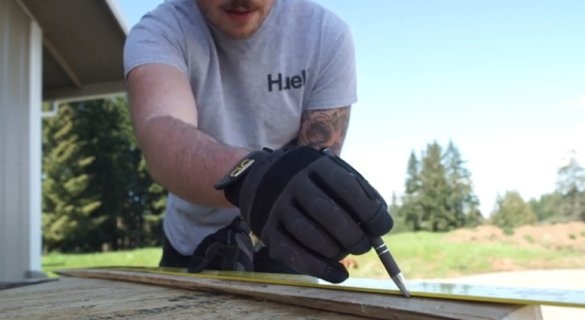
-Rule;
-Marker;
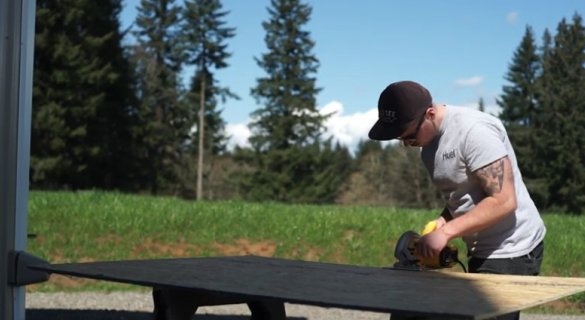
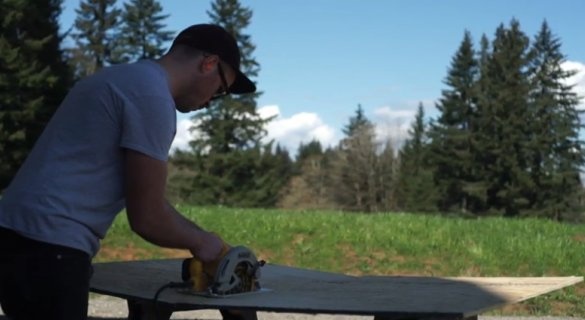
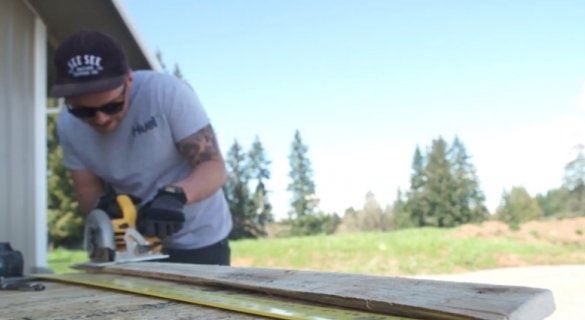
-A circular saw;
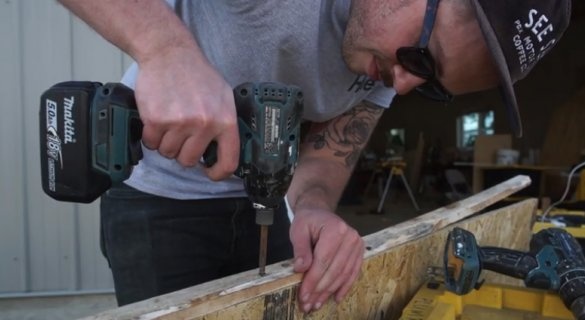
-A screwdriver;
-Fasteners;
-Silicone;
Epoxy resin;
-Miter saw;
-Grinder;
-Polyethylene film;
-Addressable LED strip;
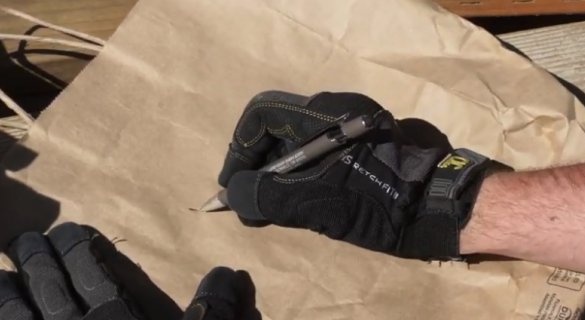
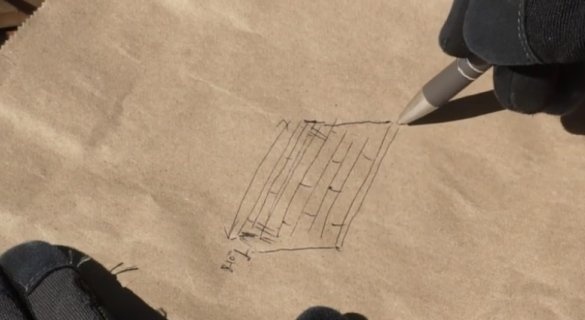
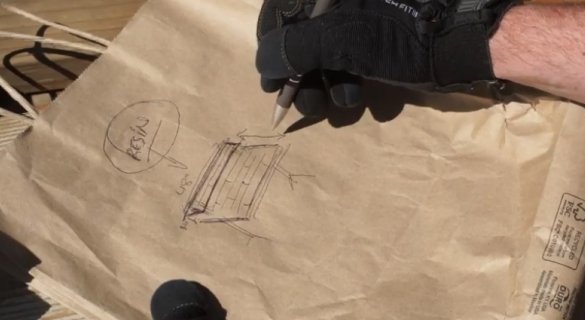
Step One: Sketch
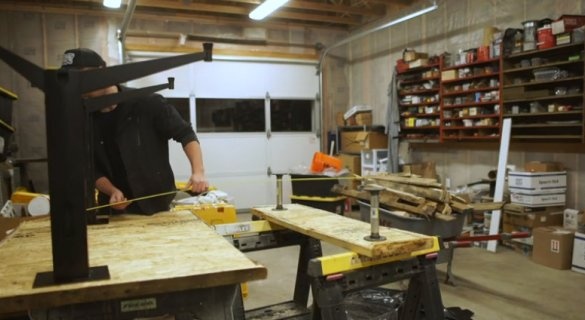
First, the wizard draws a sketch of the computer desk.
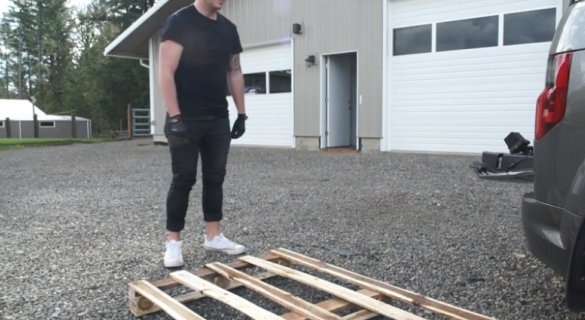
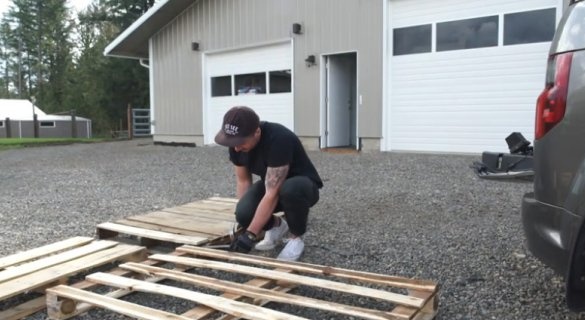
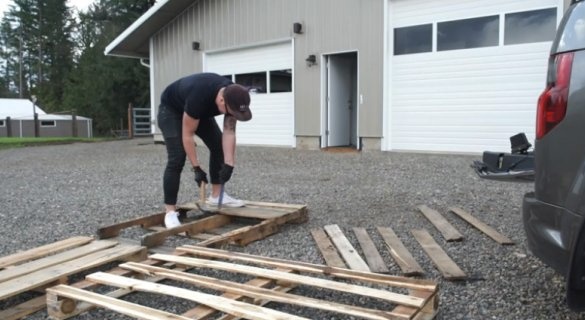
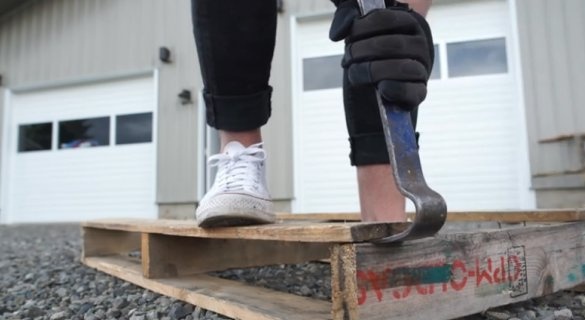
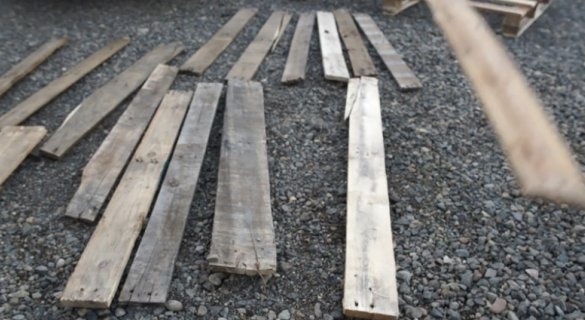
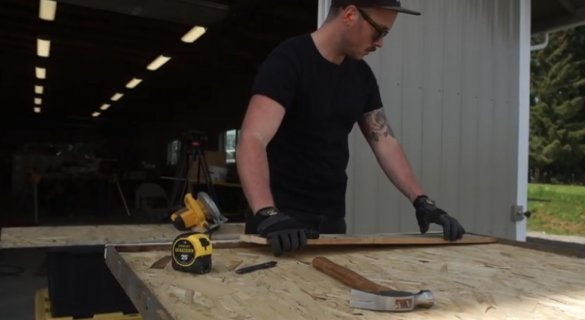
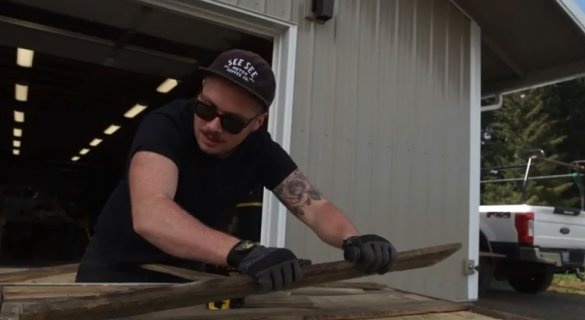
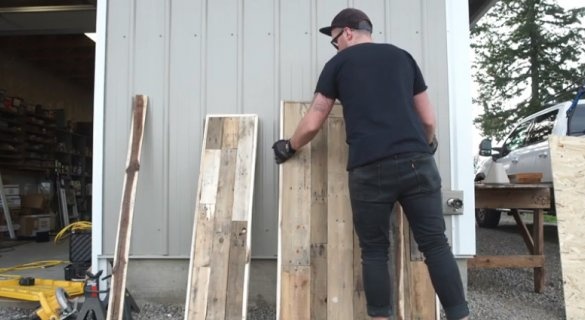
Step Two: Dismantling Pallets
Parses pallets and selects the necessary material.
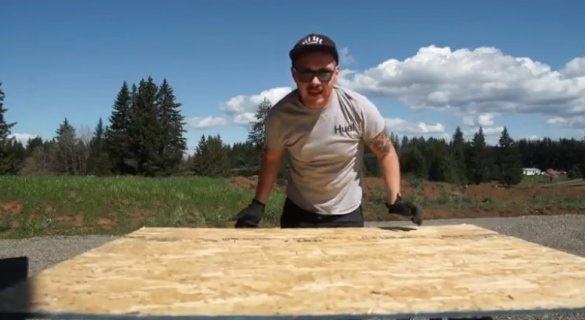
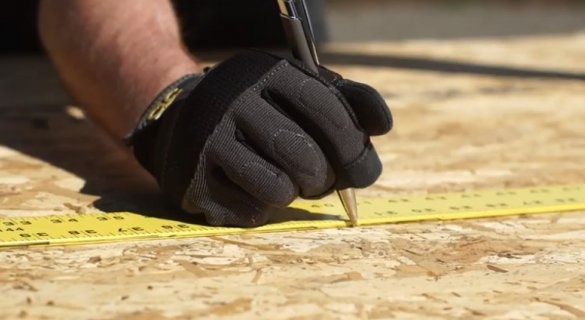
Step Three: Foundation
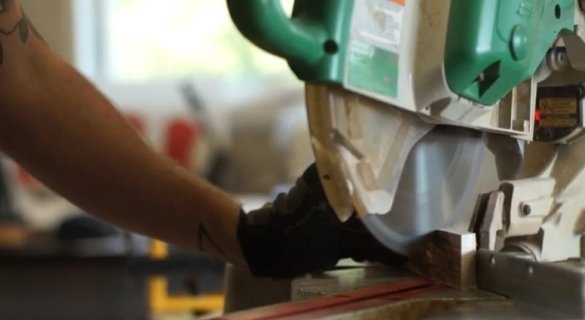
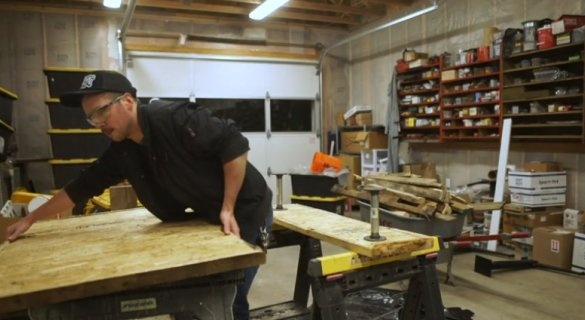
From the OSB cuts out the base for the countertop and for the upper shelf.
Step Four: Frame
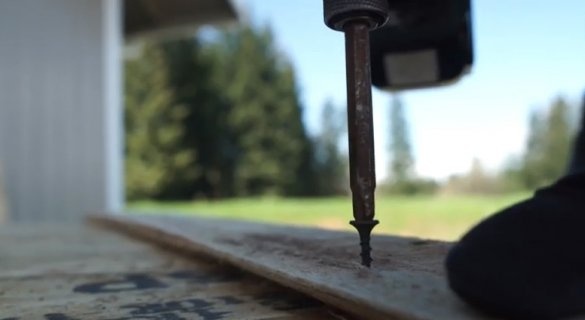
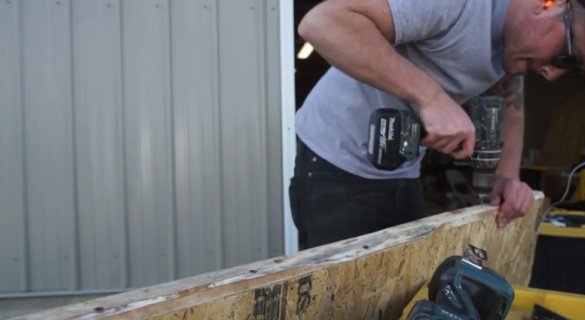
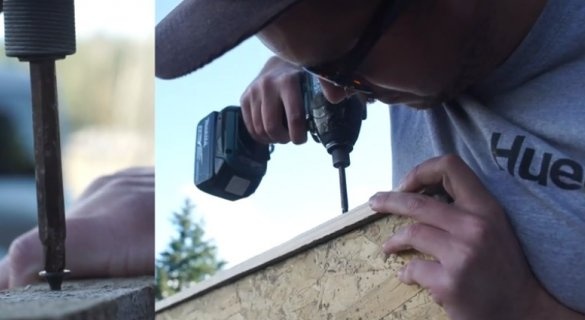
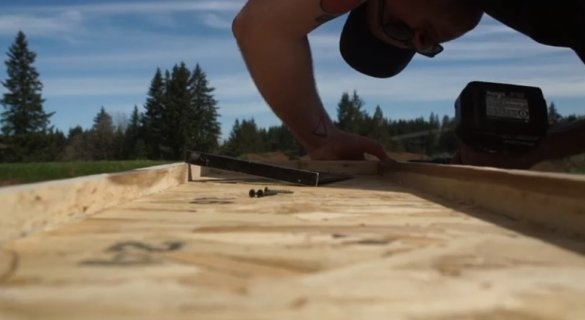
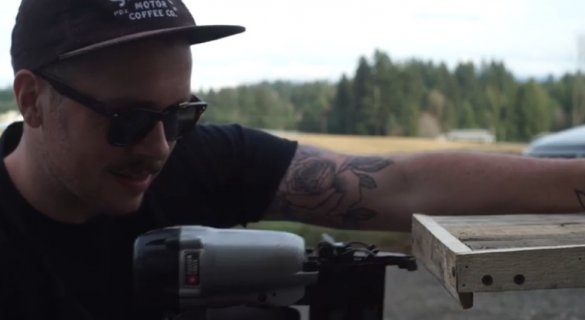
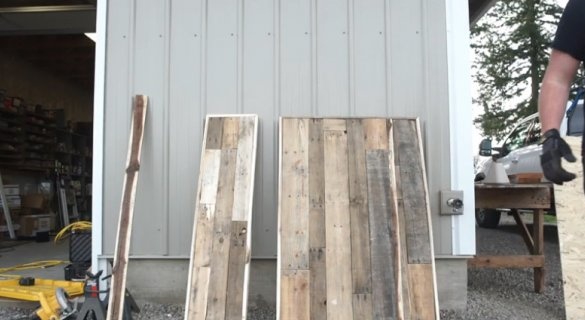
Along the perimeter of the table and shelf, a frame from the rail is screwed.
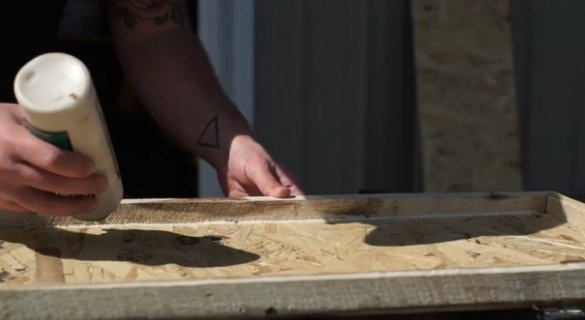
Fills the seams with silicone.
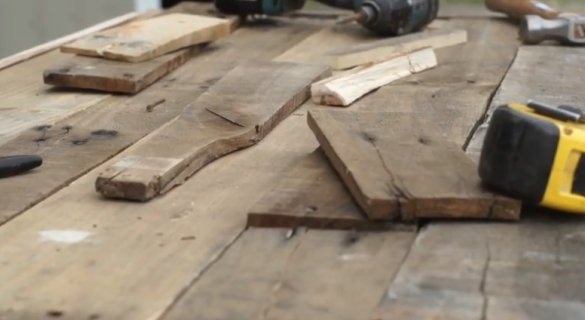
Step Five: Board
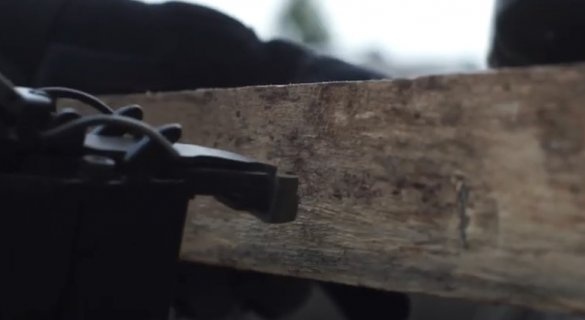
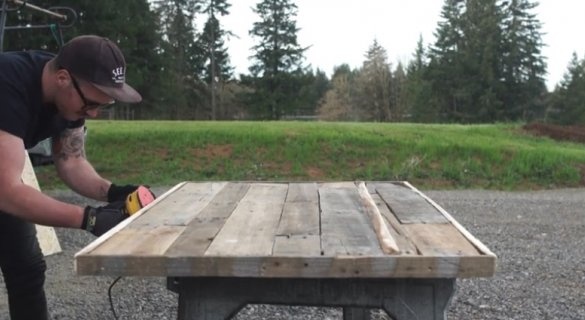
Inside the frame and shelf, it stacks and fastens boards from pallets.
Now you need to grind the workpiece.
Step Six: Fill
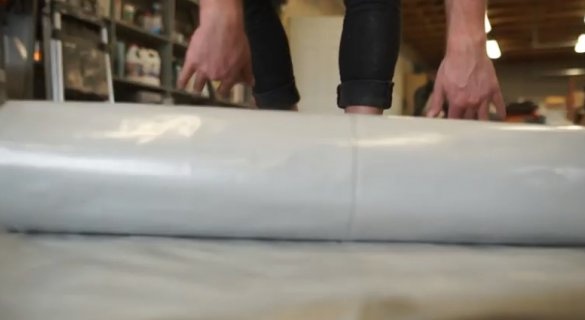
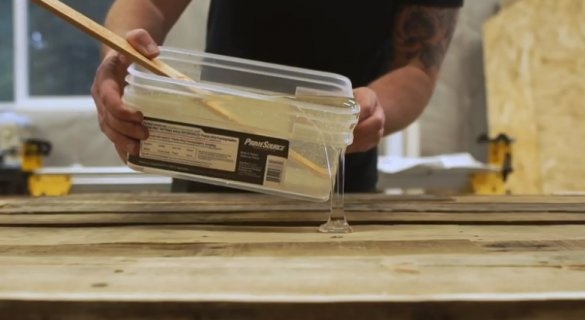
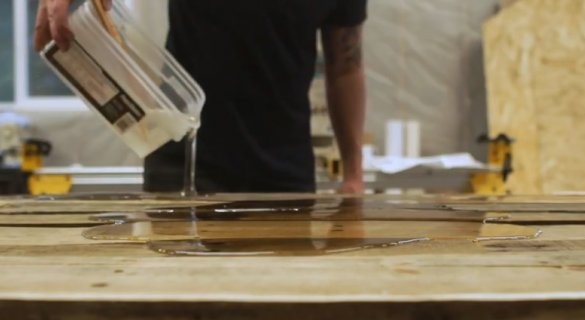
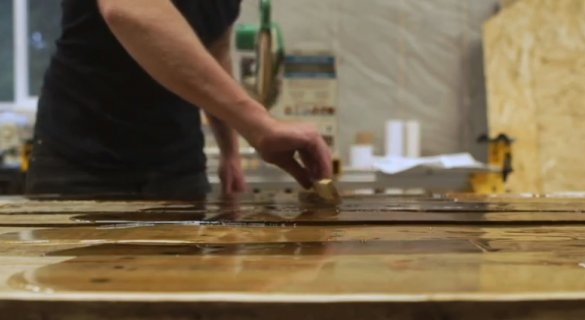
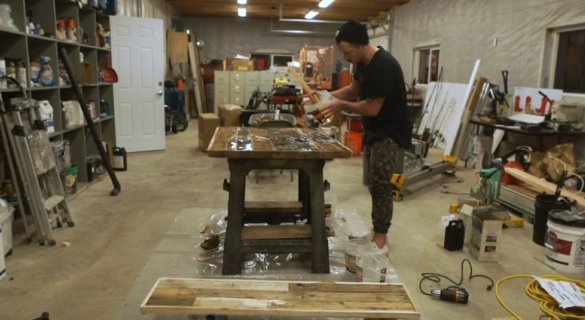
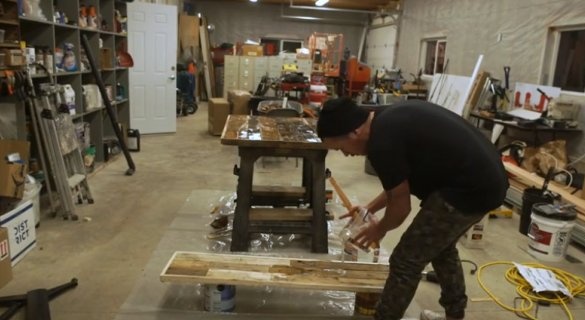
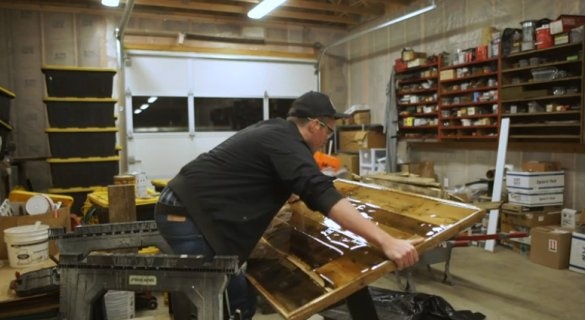
Now it's time to move on to filling the countertops with epoxy. To protect the floor, the master spreads a plastic film.
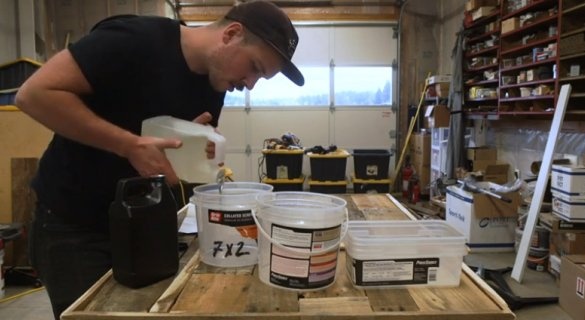
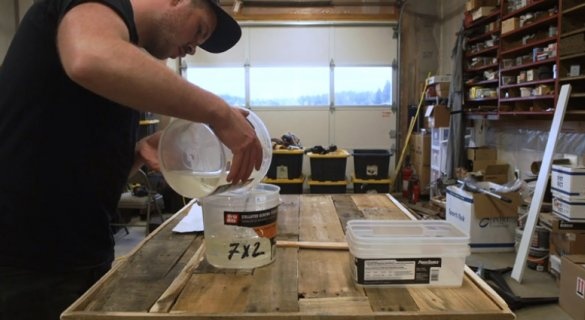
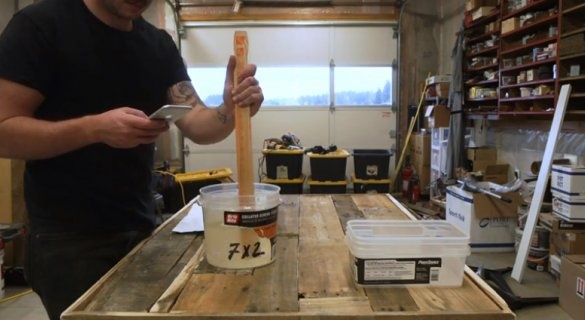
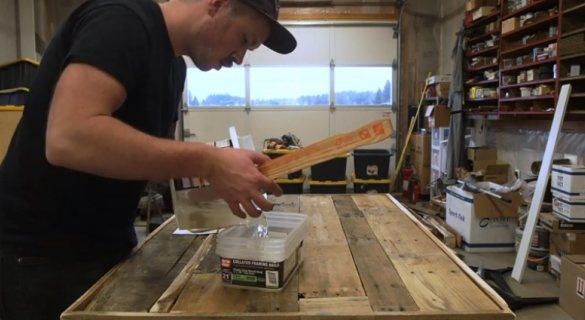
Knead epoxy with hardener according to instructions.
Now the resulting mass must be poured into the frame of the table and shelf, and then leveled with a spatula.
Seventh step: assembly
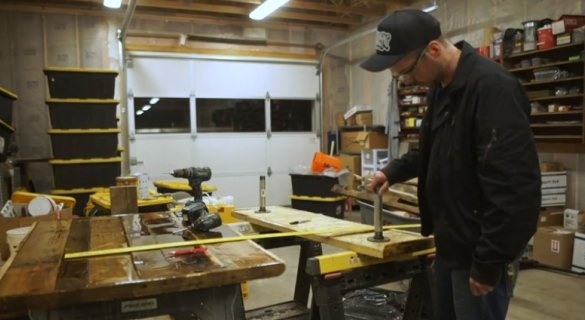
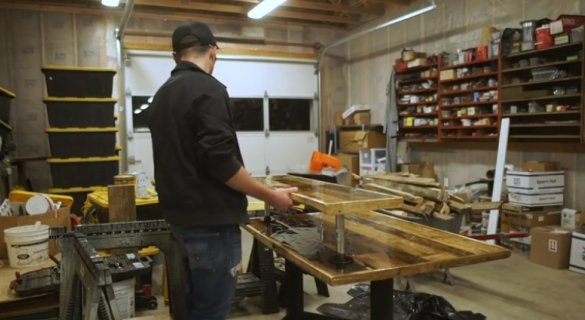
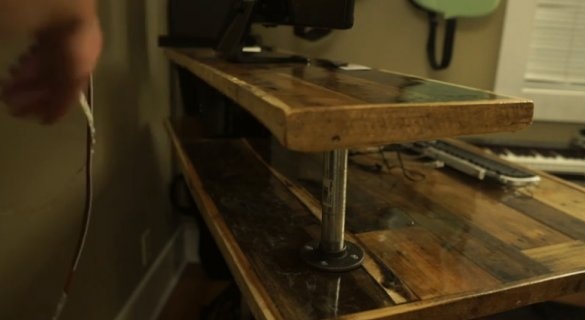
After the epoxy has solidified, the master proceeds with the assembly. The master removed the base of the table with legs from another table that was not suitable for use. Screws the countertop to it.
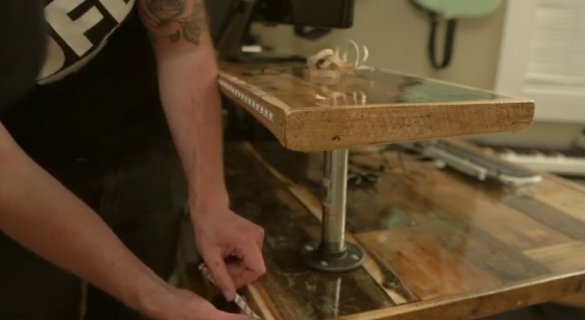
Screws the top shelf.
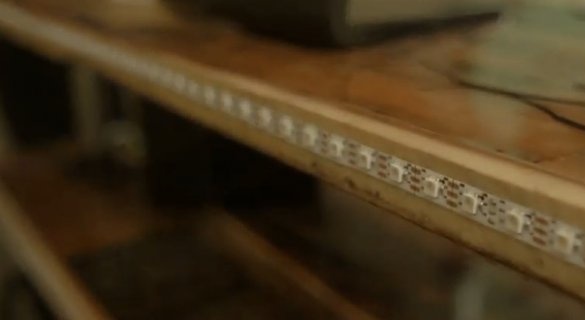
On the back of the table glues an LED strip. The wizard does not describe the process of connecting LEDs. It only indicates that they work under the control of Arduino and used the FastLED library for work.
The computer desk is ready.
Assembly of the table can also be seen in the video.

