» Altern. energy » Solar power »How to build a solar pool water heater

How to build a solar pool water heater


Master of this homemade lives in Canada, so he needs to turn on the water in the pool for the whole summer, as it’s cool enough there.

First of all, you need to determine the location for installing the heater. This place should have as much sunlight as possible throughout the day.

Step 1: Materials and Tools


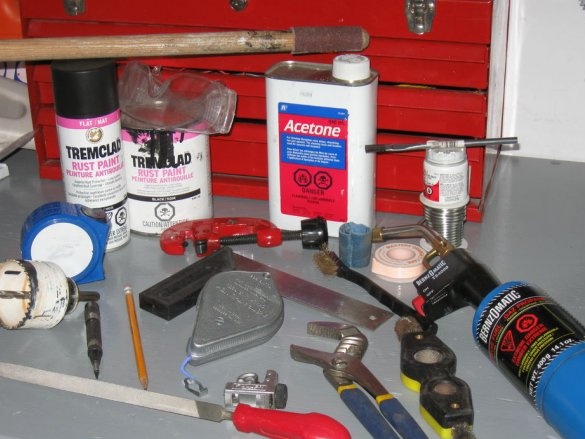
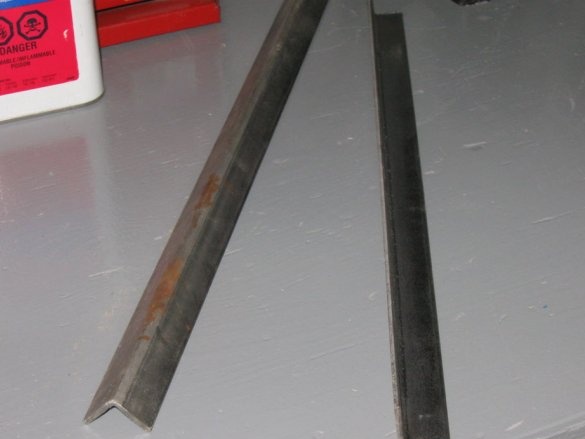
- metal corners;
- copper pipe with a diameter of 32 mm and a length of 162 cm - 2 pcs;
- 3-4 rolls of copper pipes 6 mm;
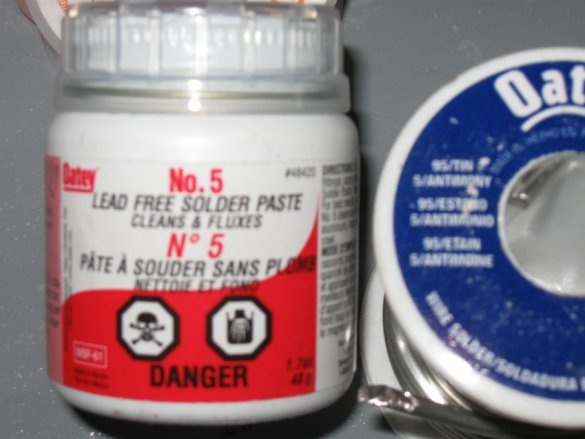
- Tin solder;
- skin;
- solder paste;
- welding torch;
- pipe cutter;
- lace;
- Automatic center punch;
- Pencil;
- roulette;
- stalk;
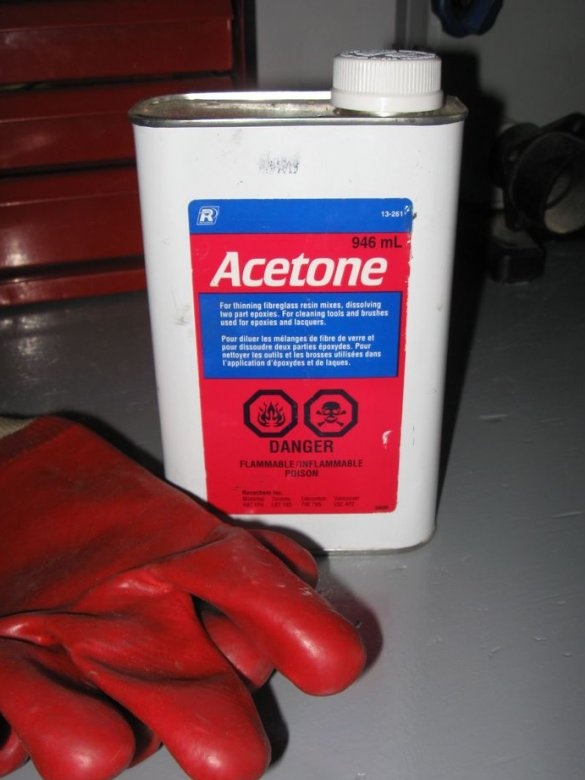
- Acetone or other cleaning agent that can remove solder paste;
- fumlent;
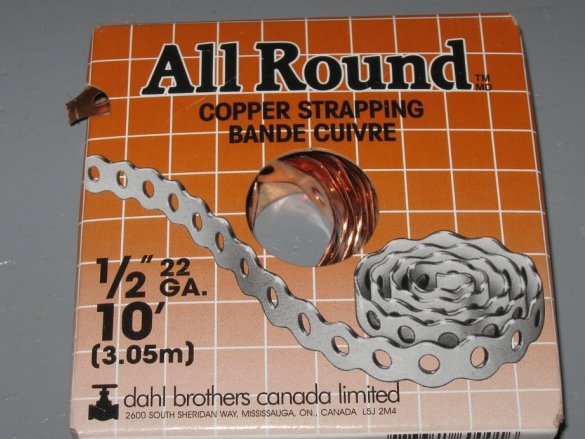
- copper punched tape;
- countersink;
- Double-sided tape;
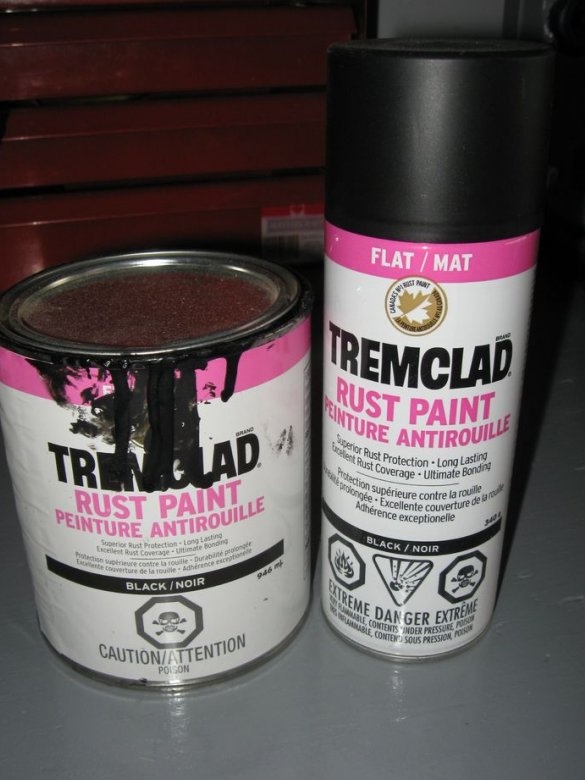
- black paint;

Step 2: Creating a pipe mount frame


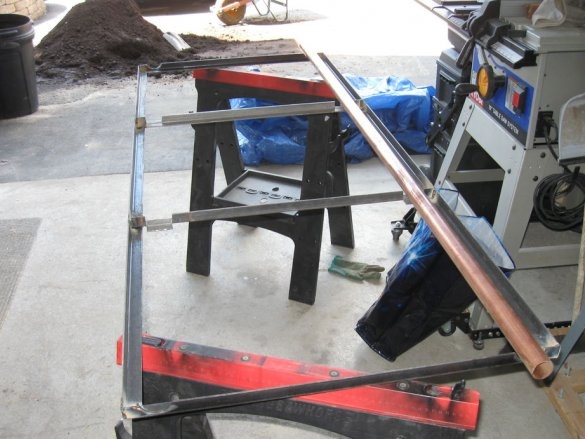
You can build a frame of wood or other material, but the master decided to build it from a metal corner.
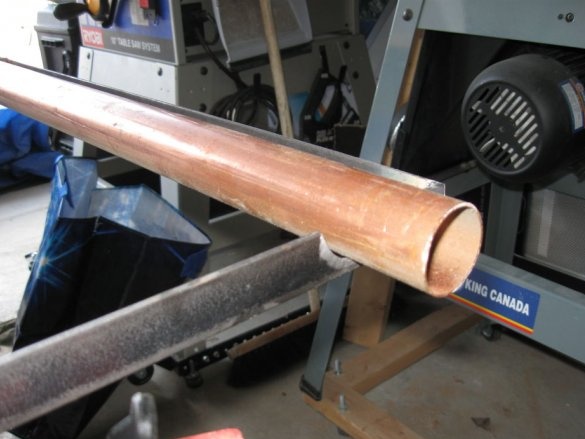
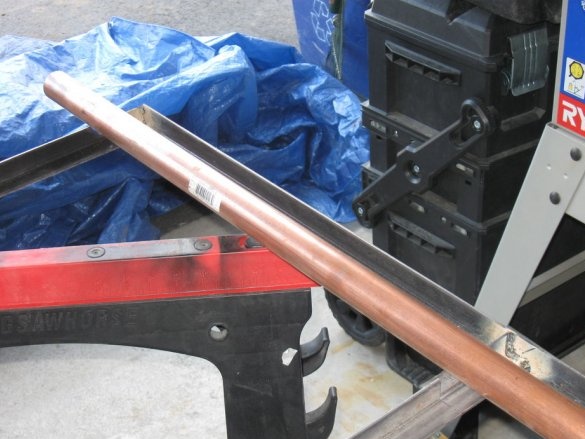
Cut the corners along the length of the pipes to make a rectangle. On the shorter side, the master made several cuts with a hole saw to fit the pipe.

Step 3: Drilling Manifolds


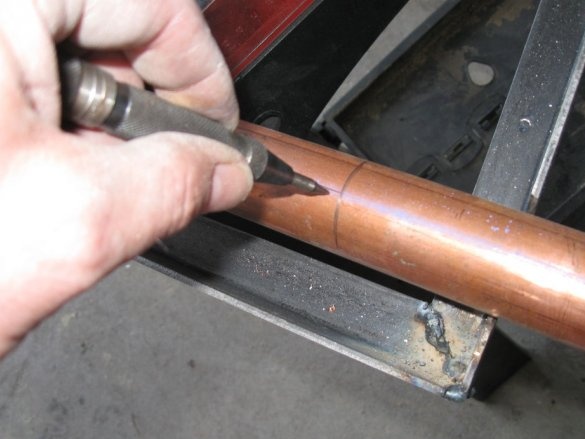
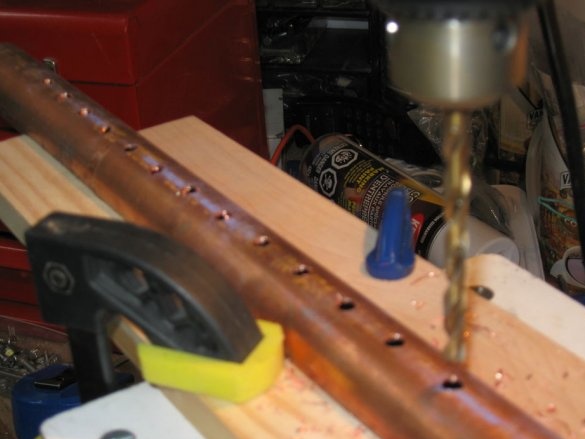
Drill 6 mm holes. in a straight line in a pipe with a diameter of 32 mm to make two collectors. The master drilled holes every 50 mm. a total of 63. To make a straight line, he used a drawstring.

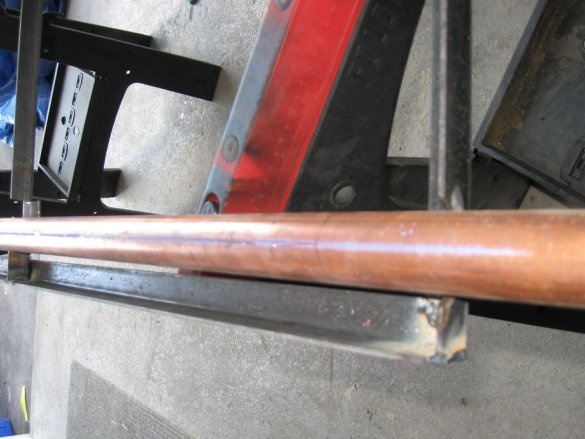
Insert the pipes into the frame so that you can evaluate where the start and end of the holes will be.
Thus, you will not have extra holes where the manifold pipe will be attached to the frame.

The master estimated that 63 holes of 6 mm pipe will have a diameter 3 times the diameter of 32 mm pipe. This is done so that in small pipes the flow of water slows down a little.

Slowing the flow of water helps heat transfer ...

Step 4: Drilling


The master made a conductor to align the pipe in a vise. The pipe is pre-marked and punched with a punch.
A total of 126 holes were drilled (63 per pipe).

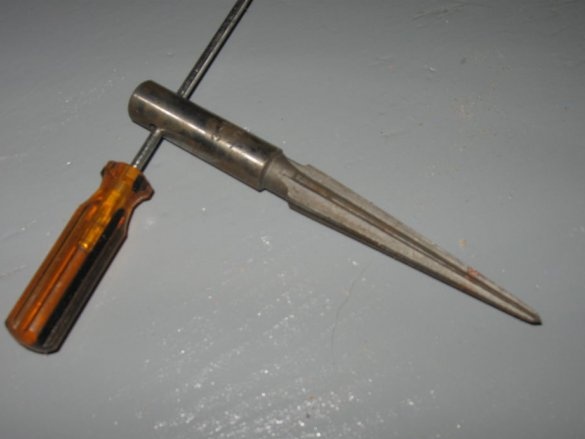
Drills do not make perfectly round holes, so use a countersink to make it more round so that it fits as tightly as possible to 6 mm pipes.

To mark a perfectly straight line on the pipes, fasten them together with clamps, and then use the shoelaces to mark the place where the pipes touch each other.

Step 5: Trimming and fitting a 6 mm pipe


Expand and cut the 6 mm pipe to fit. Make a conductor and try to straighten the pipe by slowly bending it.It is advisable to install and secure a 32 mm pipe to the frame. Make sure that the distance between the pipes is the same.

Cut 6 mm pipes so that they are approximately 2 cm longer than the distance between 32 mm pipes.

Step 6: Preparing to Solder


As in any plumbing work with copper pipes, copper must first be prepared.
Take sandpaper and sand the oxidation where the pipes have to be soldered together.

Sand the inside of 32 mm pipes.
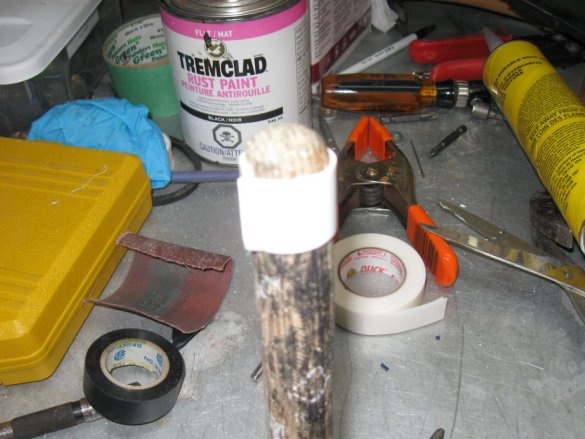
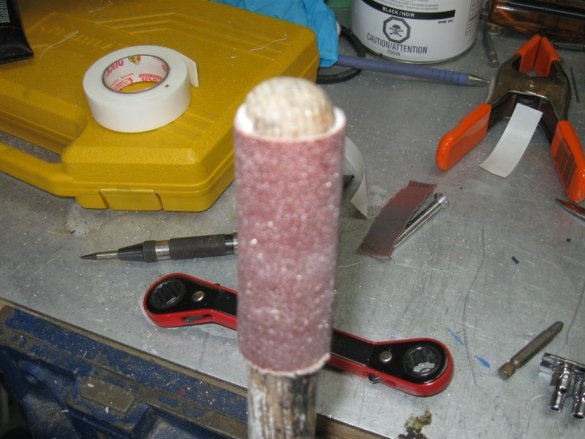
Attach some sandpaper using double-sided tape on the handle and sand the inside of the pipes.

Sand all 63 holes of the 6 mm pipe.

Step 7: Assembling Small Pipes in a Manifold


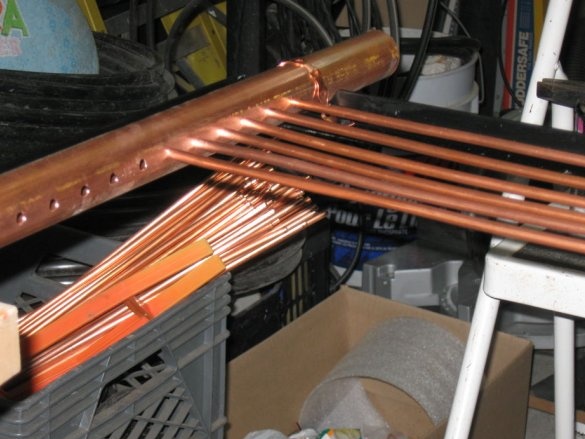
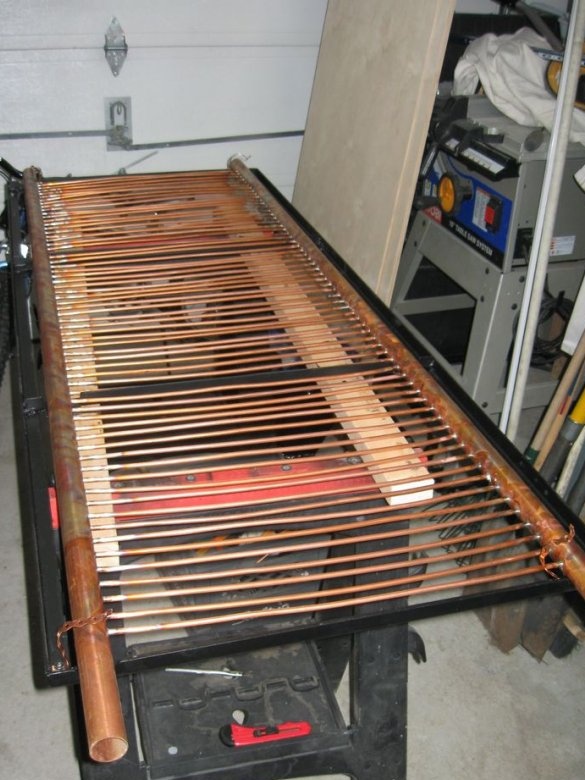
Insert each 6 mm pipe into the hole on each side. Insert the small pipes into one large pipe and the other edges of the small pipes into another large pipe. You can insert a wooden knitting needle to align the pipes from the inside.

Step 8: Soldering Pipes


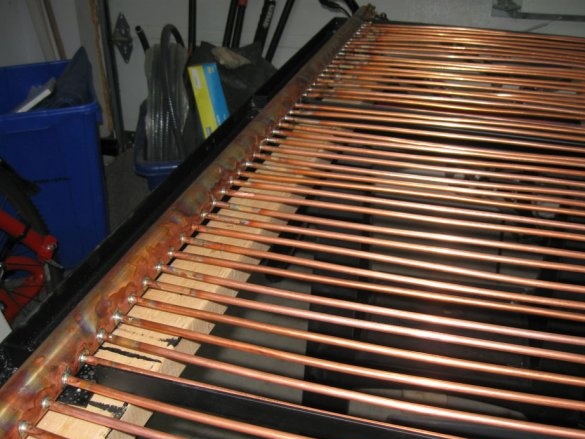
Solder 32 mm pipes with 6 mm using solder.

Soldering is a matter of accuracy and patience. The master took about an hour and a half, he is not a professional.

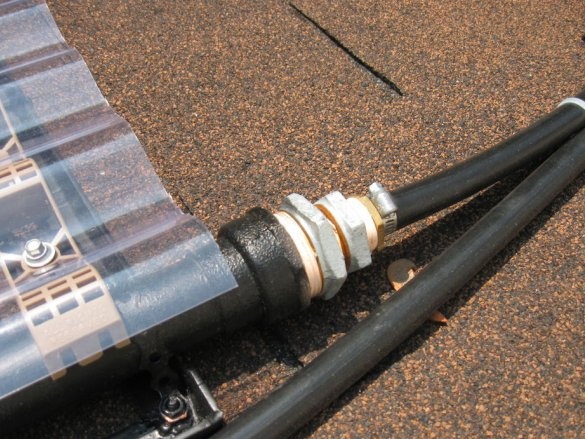
At the two opposite ends (one on the top, the other on the bottom), solder the 32 mm fittings so that the adapter can be screwed from 32 mm to 20 mm.

Other ends will have a welded cap.

Please note that water must enter from one side of the first collector and exit from the other side of the second collector.

Step 9: pressure test


Before moving on, it would be nice to have a leak test.

Connect the hose to one of the 32 mm pipes and a small length of hose to the other pipe.
You can install the adapter 32/20 mm.

Turn on the water to expel the air.

After air has escaped, pass the exhaust hose.

Check each soldered seam for leaks. If any, empty the heater completely and repair.

Step 10: Cleaning


Using Acetone, clean all remaining solder paste. So you prepare the metal for painting.

Step 11: Painting


Use matte black paint in a spray can or regular paint. The master used both paints. Spray for copper, because this paint is easier to spray on small pipes. For the steel frame, the master used an ordinary brush and paint from a can.

Step 12: final assembly


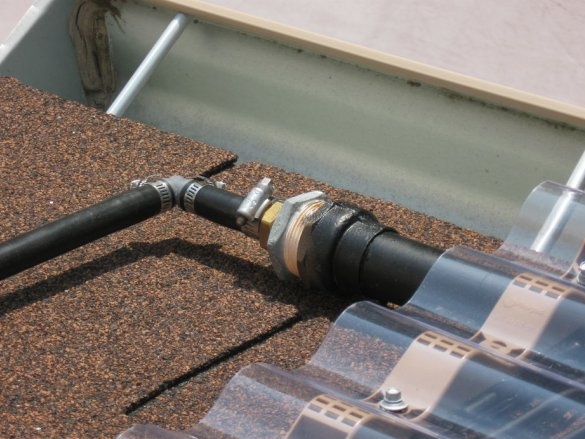
Assemble the 32/20 mm adapter to reduce pipe cross-section.

Step 13: Installation


Find a good place where there is maximum sunlight all day.
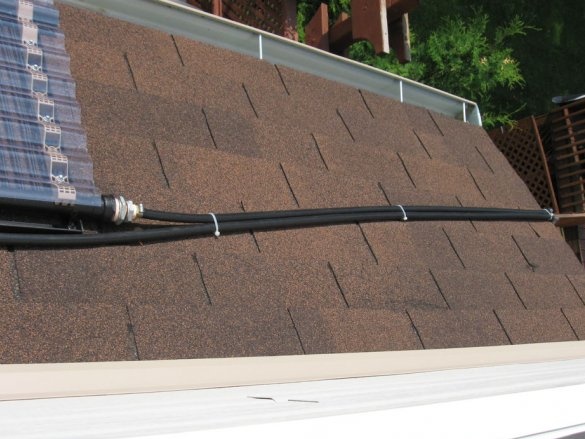
Install the water heater on the roof or in any other place convenient for you.

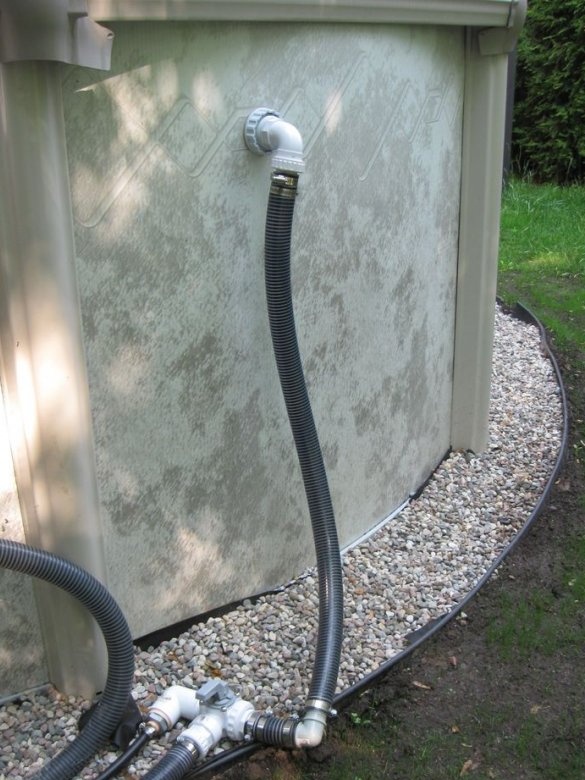
Use a 20 mm plastic pipe from the outlet of the pool pump filter to the lower manifold.
From the upper collector of 20 mm the pipe has a return to the pool.

You can use flexible, versatile, inexpensive hoses.

You can use 90-degree angles to make it easy to lower the hoses from the roof.

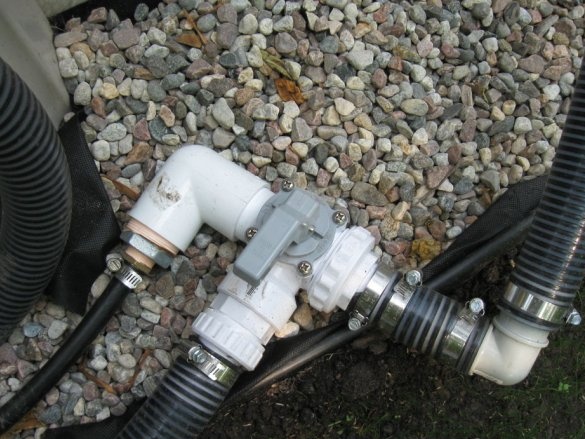
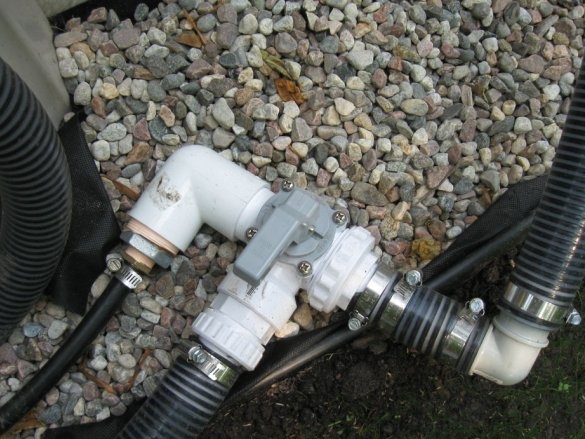
Step 14: Install 3 Way Crane


Install a 3-way valve. Insert it between the filter and the pool return pipe.
Insert the pipe going to the water heater on the three-way valve.

With this faucet, you can control the flow of water entering the heater.

Step 15: Final Result


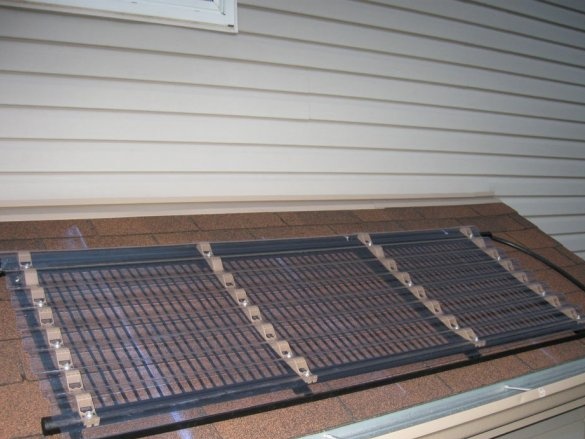
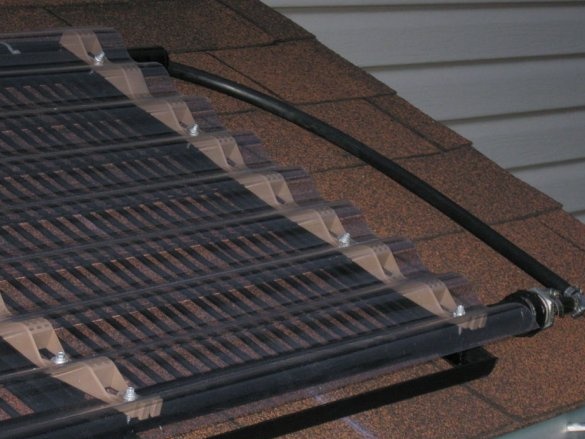
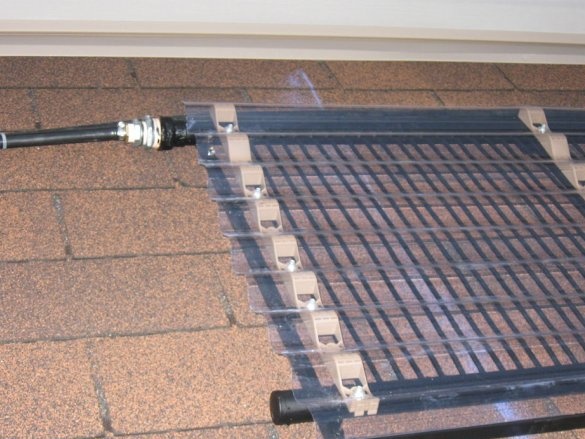
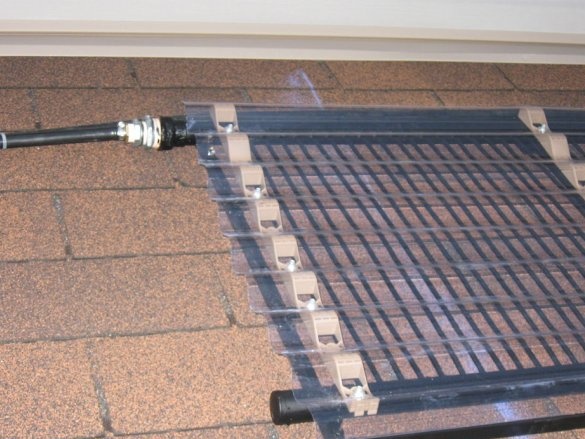
Close the water heater with corrugated polycarbonate, it is much cheaper than plexiglass.
This solution is necessary in order to protect the fragile 6 mm pipes from deflection under the weight of snow in winter, since the water heater is not planned to be removed.

According to the efficiency of the solar water heater:

Delta T (temperature difference):
With an outside temperature of 21 ° C and a pool temperature of 17 ° C, the heater converts water from 17 ° C to 22 ° C in one day.

The water leaving the heater is about 3 ° C warmer than the inlet.

Keep in mind that this data was recorded in the last weeks of May in Canada.

The sun hits the rooftop water heater from 10:00 to 15:30, i.e. 5.5 hours.
Anyone in a warmer and sunnier environment should get much better results.

The master also added some black pieces of metal under the 6 mm pipe and closed them on the sides to get more heat.

Step 16: Swimming 2nd week of May


For any south, swimming in May is normal, but for Canada it’s an exception ...
The average outdoor temperature does not exceed 21 ° C.

Pool Specification:


- 132 cm. In height;

- two-speed pump with filter;

Heater location

It is located on a small roof above the balcony, about 5.5 m higher than the pump.

First you need to pump water into the heater at a second speed. Once it is full, the pump needs to be switched to a low speed, and then it's up to gravity.
7.9
8.8
9.4

Add a comment

    • smilesmilesxaxaokdontknowyahoonea
      bossscratchfoolyesyes-yesaggressivesecret
      sorrydancedance2dance3pardonhelpdrinks
      stopfriendsgoodgoodgoodwhistleswoontongue
      smokeclappingcraydeclarederisivedon-t_mentiondownload
      heatirefullaugh1mdameetingmoskingnegative
      not_ipopcornpunishreadscarescaressearch
      tauntthank_youthisto_clueumnikacuteagree
      badbeeeblack_eyeblum3blushboastboredom
      censoredpleasantrysecret2threatenvictoryyusun_bespectacled
      shokrespektlolprevedwelcomekrutoyya_za
      ya_dobryihelperne_huliganne_othodifludbanclose
23 commentary
ozi
New Standard, the logic should suggest on what surface m2, if the sun has a surface at all. There is: “Standard Sun” (peak radiation power that reaches the Earth’s surface at sea level in the equator at cloudless noon): 1000 W / m2, or 1 kW / m2. Based on this, you can figure out on your fingers what will turn out, the rest is a matter of chance. You can squeeze out the efficiency both with the design of the water heater and with the auto-rotation of the surface in azimuth and elevation. In the end, for the desired result, you can increase the area (not the sun).
In the same place as the village of Gadyukino
There is no sun, there is always rain! smile
Quote: New Standard
and where is Novaya Ushitsa, Svitlovodsk, Pokoshichі,
In the same place as the village of Gadyukino.))
The indicated settlements you need to look for, and where are Donetsk, Poltava and Kharkov, many know.
Ivan_Pokhmelev Interesting data, but not complete in Ukraine and not very good, but somewhere in Novaya Ushitsa, Svitlovodsk, Pokoshichi, .. (there are actinometric stations there), but in Donetsk, Poltava, Kharkiv there is definitely not. It can be seen that someone too interpolated)).
You think ozi I understand how those data differ from 1kW / m2? Perhaps he still thinks that 1 kW per m2. ozi Firstly, 1m2 on the surface of the Sun gives 63 MW / m2. And on average, at our latitudes, at our latitudes at noon on June 22 on a sunny day, about 800 W / m2 falls per 1 m2 perpendicular to the Sun. And now ATTENTION! Of these (800 W / m2), only about 50% (collector efficiency) is used to heat the water in the collector, the rest is re-reflection, poor heat transfer from metal to water, heat loss through heat difference from the outside. Collector efficiency (50%) not to be confused with electrical panel efficiency (15-20%)
ozi
220 in the network is also not precision)) It is considered on average in ideal conditions: without clouds, it is perpendicular to the surface, the rest can be corrected. Although the deviations are not so important - that God sent, you won’t complain)) The solar battery also comes from this: on average 1 m2 1 kW at 15% efficiency = 150 W / m2. For electricians, again, what God sent is not enough for heat. Better solar radiator.
Good information, I just recently started a similar topic for heating water for households. garden house needs.
The average monthly values ​​of total solar energy per unit area for different locations are shown.
Specifically, here is a reflector of something dalby ... But such a design in itself is ineffective. Still in full calm - back and forth. And in the wind ...
But in an airtight box with a transparent top and a black bottom, in addition to direct heating with the rays that hit the tubes, those that didn’t fall would also work ... They would heat the bottom, and from them - air locked in the box ... The greenhouse effect in the sun would heat the water many times more effective .. And in the wind too.
The sun gives 1 kW per m2
The sun can and does, but at what latitudes and at what time of the year (day), and at what angle. Try to take it! smile
ozi
1 m2 of sun = 1 kW. Warm the pool for a week))
ozi
In my opinion, it is not very effective. The tubes are not continuous - filling coefficient of type 0.2 - less than 1 m2 is obtained from 3 m2. The sun gives 1 kW per m2.Improve - more often the pipes and place in the thermostat - the box with polycarbonate on top and inside the bottom should be painted black, then at least the air inside will heat up well and this heat will be taken away by the same pipes, plus it will work almost the same in cold weather. Still - not technologically advanced and expensive materials - I made myself something like this from painted roofing sheet crucified in two layers as a flat tank around the perimeter of a steel frame. Experience 9 years.
A pair of black cast iron batteries on the roof good
By the way, the area of ​​such a spiral will be 22.8 M ^ 2. Cheap and without drilling heaps of holes, and then soldering.
Votozh. It was necessary to voice the flow of water, and its inlet and outlet temperatures. Then one could talk about efficiency.
And for the kind of money spent on copper, I would buy 200 meters of black plastic 3/4 pipe, rolled it into a flat spiral, threw it on the roof, and got a lot more effect. boss
At an outdoor temperature of 21 ° C and a pool water temperature of 17 ° C, heater turns water from 17 ° C to 22 ° C in one day.
And the ambient temperature and the sun do not participate in the heating? scratch
M-yes! You can’t figure it out without a bottle ... ((
Well, it’s in the statement of Mr. WARENIK, but I smiled. when I tried to imagine a bottle with
63 holes 6 mm pipe
and attempts to "attach" to it! smile
A collector area of ​​about 1 m2 is not enough for a pool. It’s easier already to paint the bottom of the pool black in the sun, too. The installation lacks serious thermal insulation of pipes, heat accumulator and for Canada 2 balls of glass instead of corrugations. Too thin tubes, thicker need
Quote: Korolev
close only for the winter,
And orient the polycarbonate so that the snow slides down it, rather than lingering.
63 holes of 6 mm pipe will have a diameter 3 times the diameter of 32 mm pipe.
M-yes! You can’t figure it out without a bottle ... ((
It would be superfluous.
black painted inside
Maybe I’m not catching up with something, but, it seems, the black color absorbs, and the reflecting one, in theory, should heat up from below, somehow ... scratch
But in general - to me more this collector I liked ...)))) ..
PS. Gee ...
It would be superfluous.))))
I think the efficiency would increase at times if you put it in a sealed box, painted inside black. And so - only direct rays, and the greenhouse effect is excluded! (True, then glass is needed, not carbonate)
Close the water heater with corrugated polycarbonate ... to protect the fragile 6 mm pipes from deflection under heavy snow in winter
Well, close it only for the winter, and the reflective substrate under the construction, I think, would not be superfluous! smile

We advise you to read:

Hand it for the smartphone ...