
Single vise - a vise not fixed on a workbench.
It took the master time to develop this project and even more time to build it.
Step 1: Inspiration

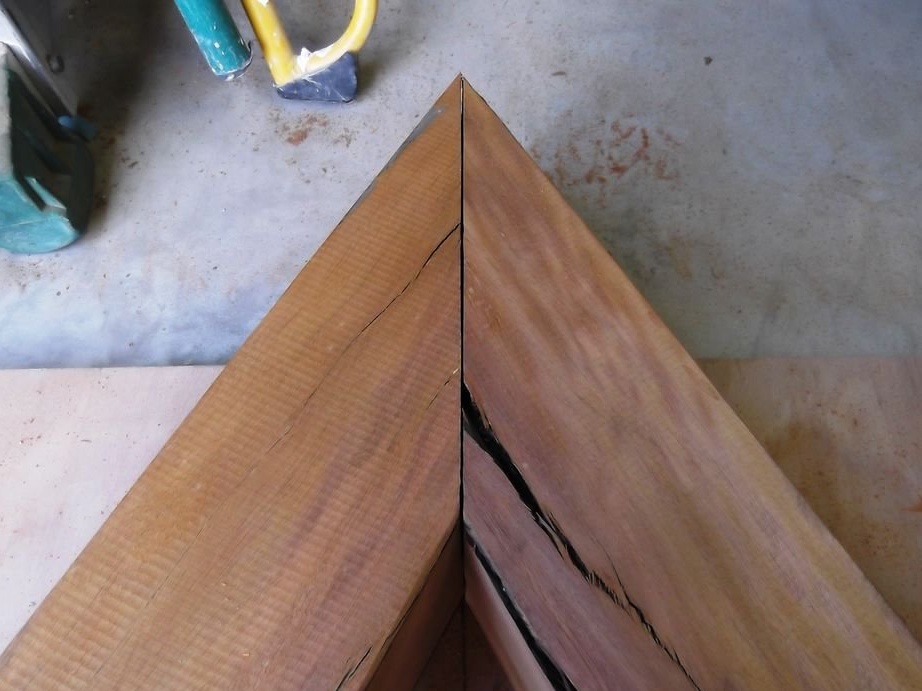
The name of the vise comes from one of the most epic mountains in the Swiss Alps, called the Matterhorn.
This mountain has exactly the same shape as the wooden base of this vise.
The difference is only in weight.
Step 2: Finding the Right Tree
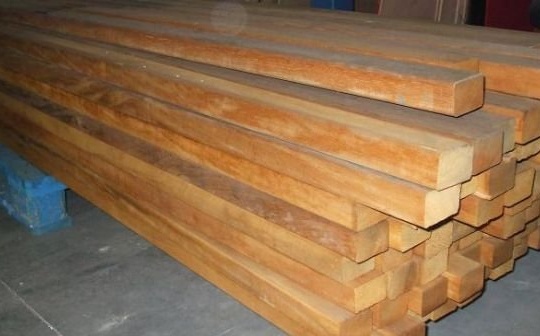
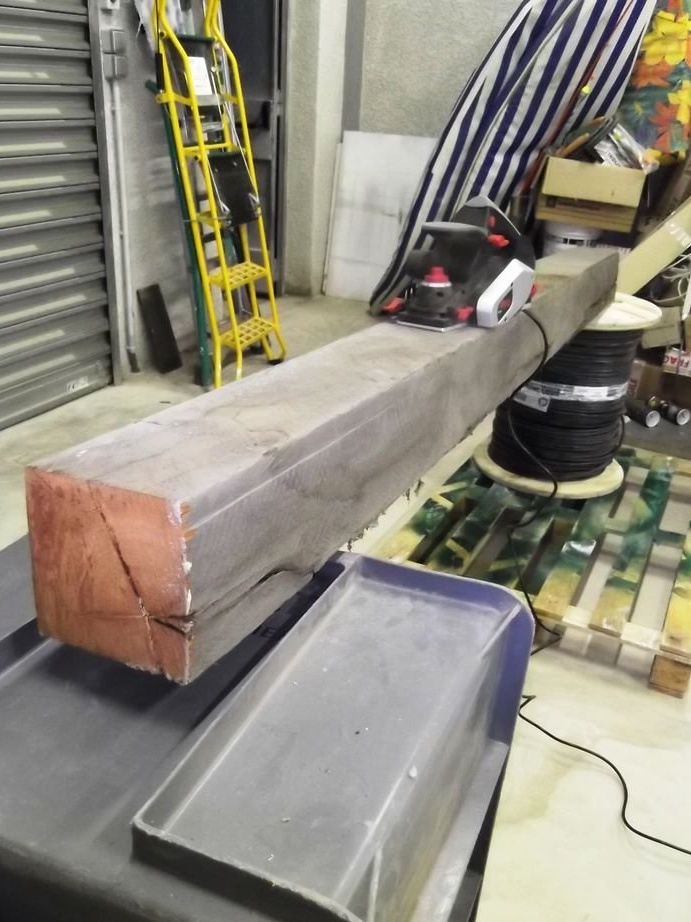
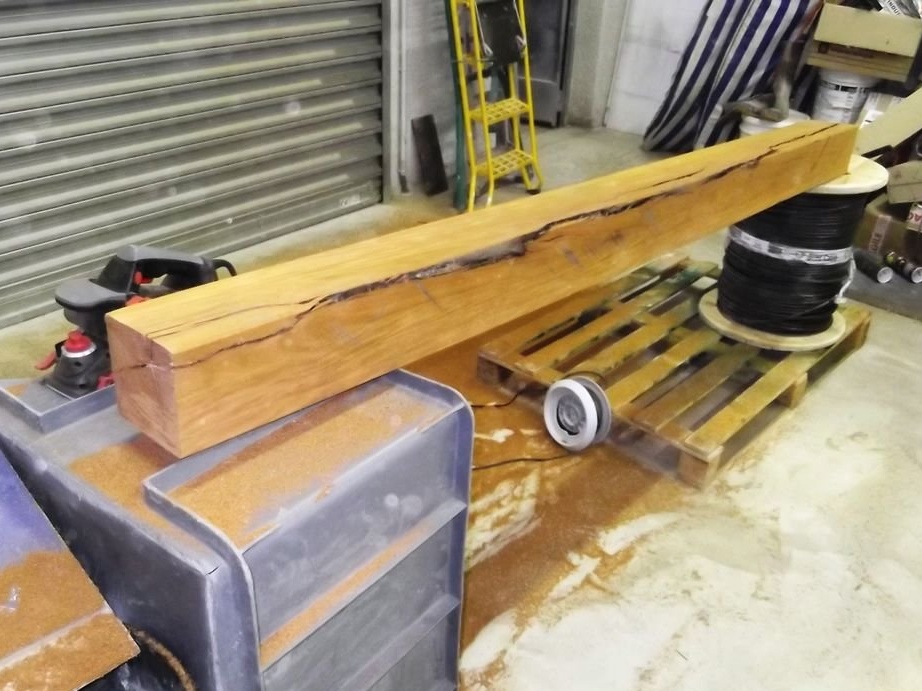
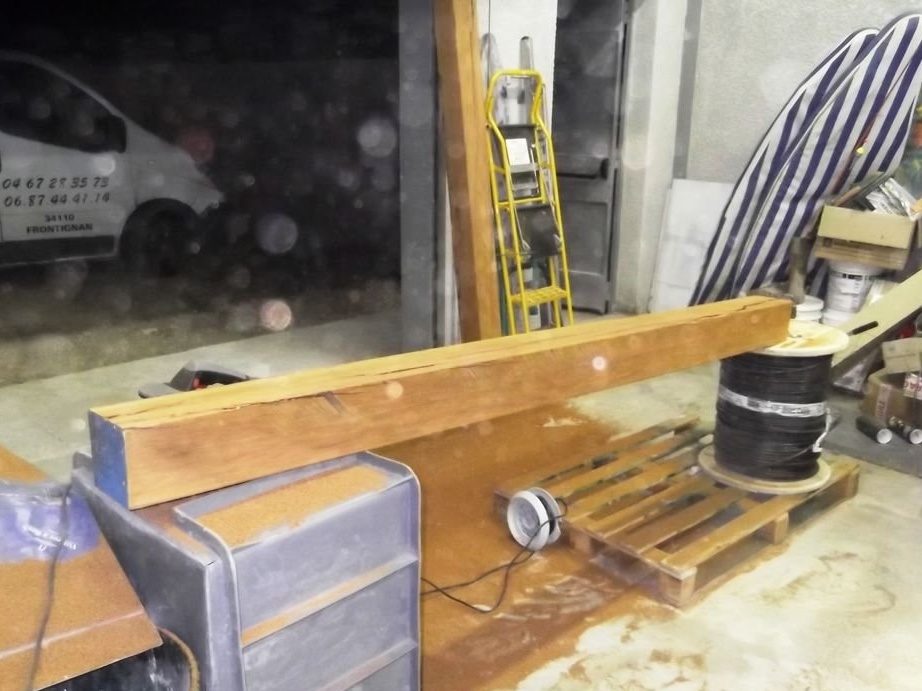
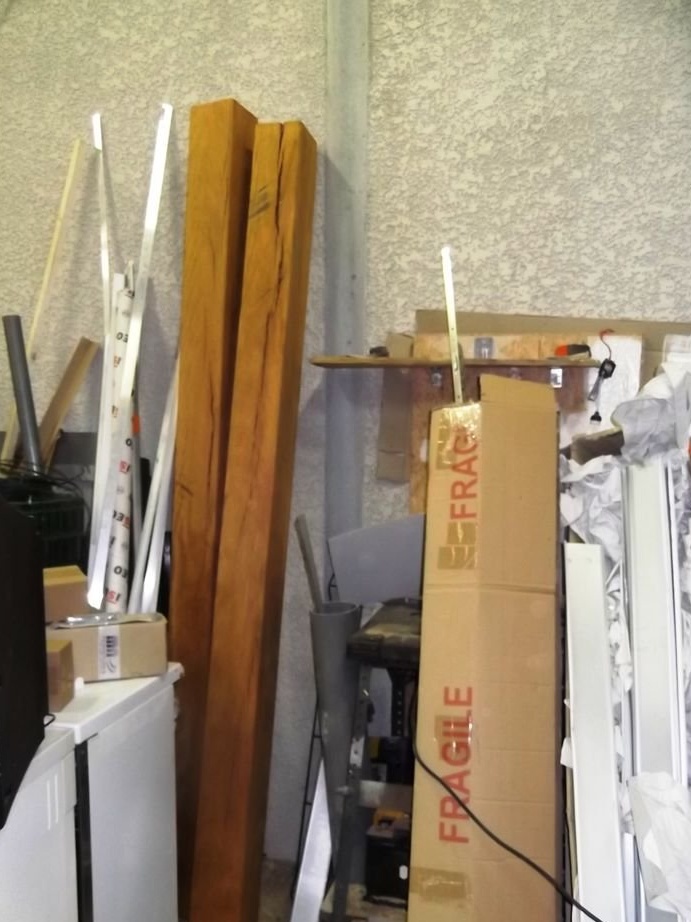
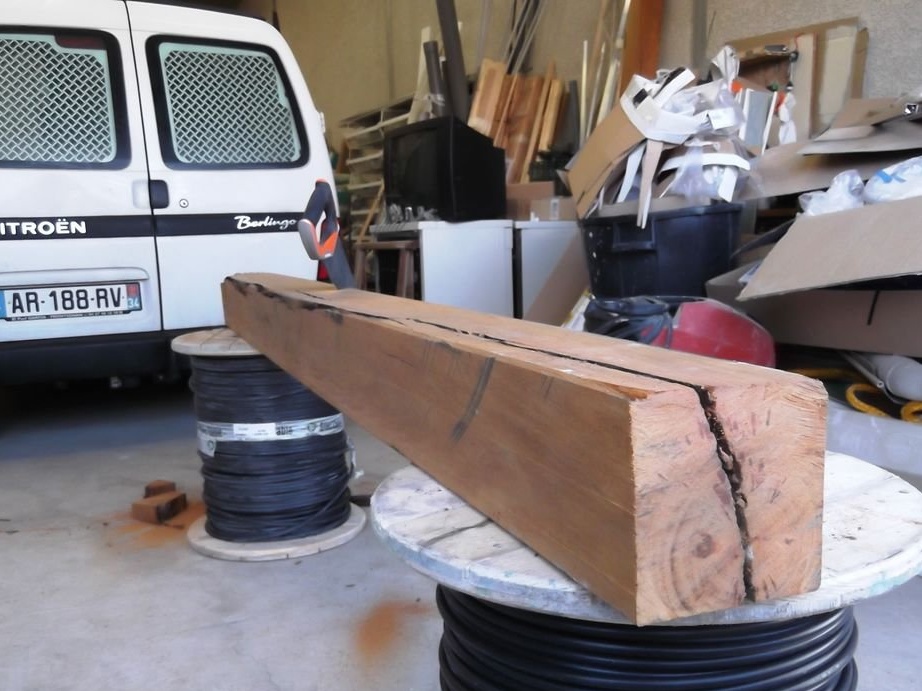
In the construction of a vise, the master wanted to use a large, heavy forest. So he found a badi bar - a beautiful yellow African deciduous wood, often used for construction purposes.
Its dimensions are 120x120 mm thick, 4.5 m in length.
Commercial and local name: Bundui, Badi, Kusia, Opepe, Akondonc, Aloma, N'gulu-maza, Kilingi, Angolo, Mokese, Linzi
Also called: Kilu, Bonkang, Sibo, Bedo, Ekusamba, Eke
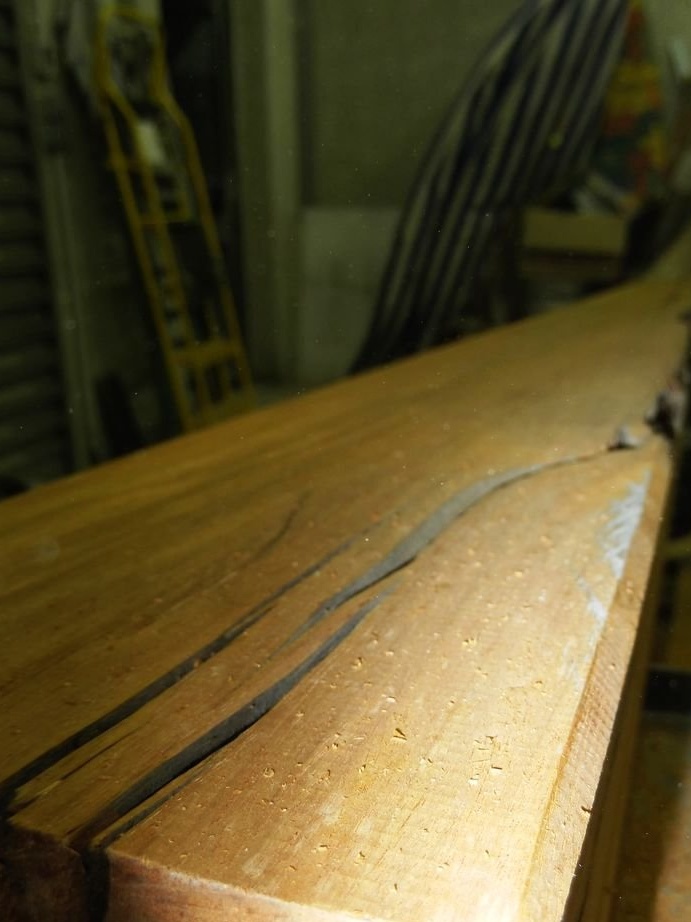
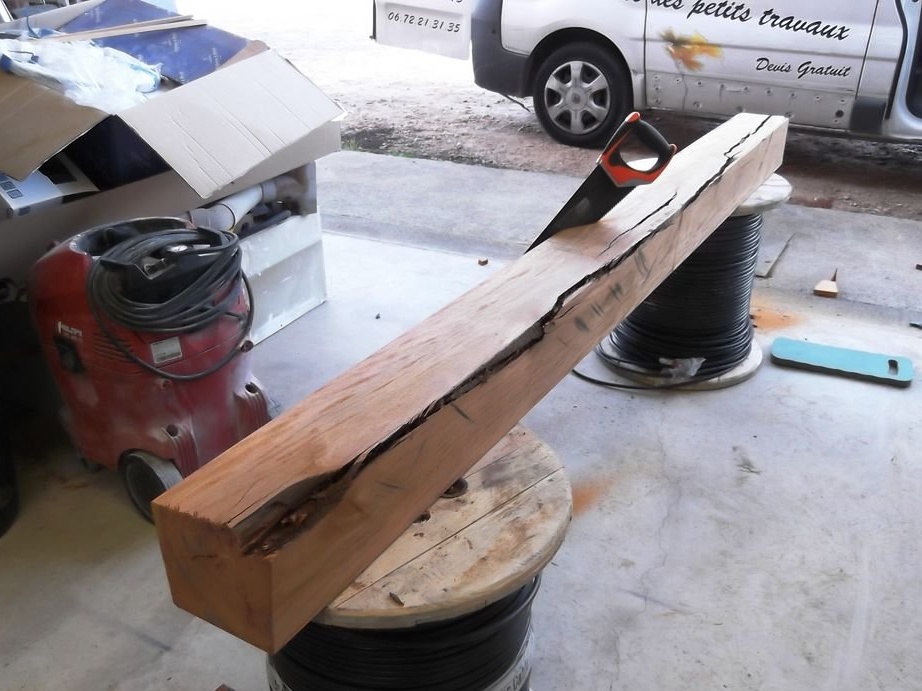
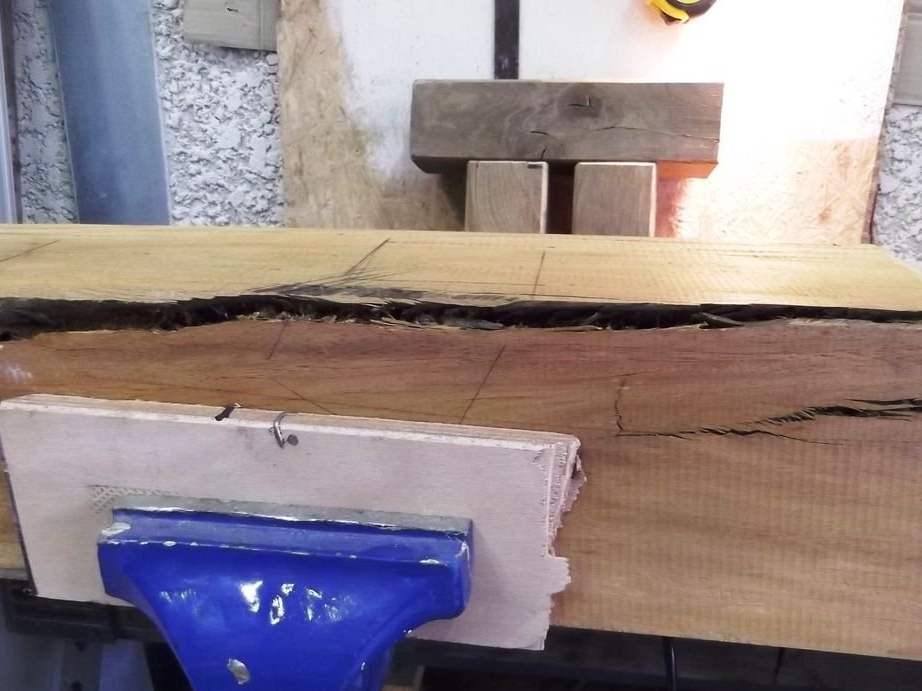
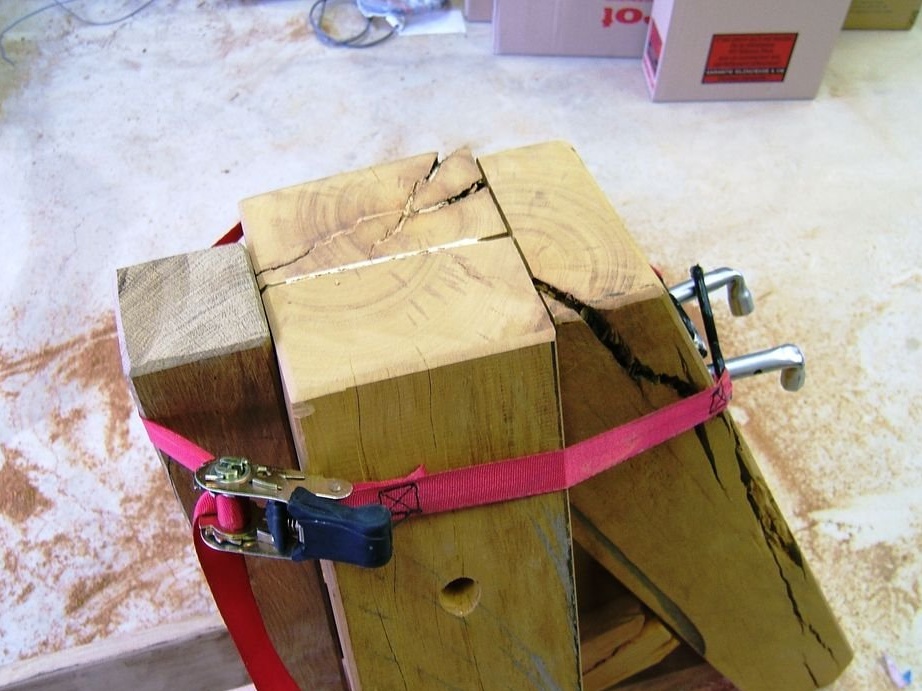
Most people hate cracks in the material, but the master didn’t care - especially when he heard the price.
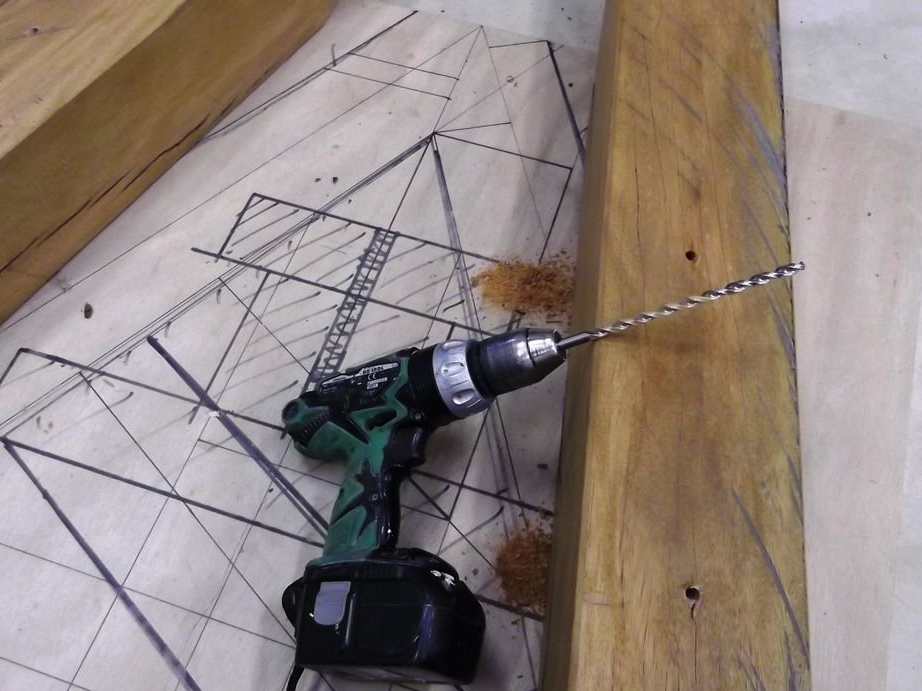
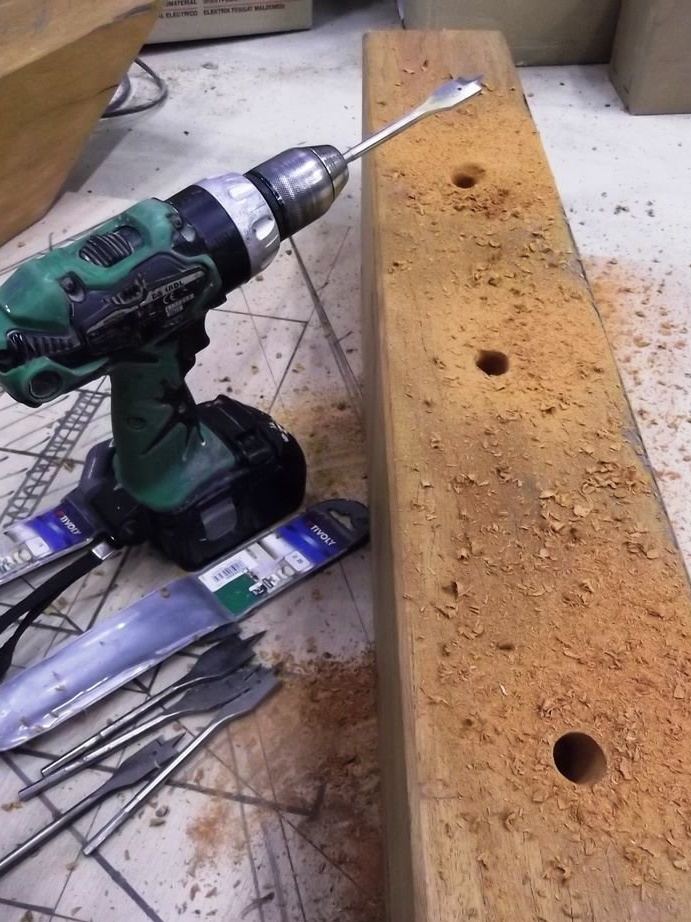
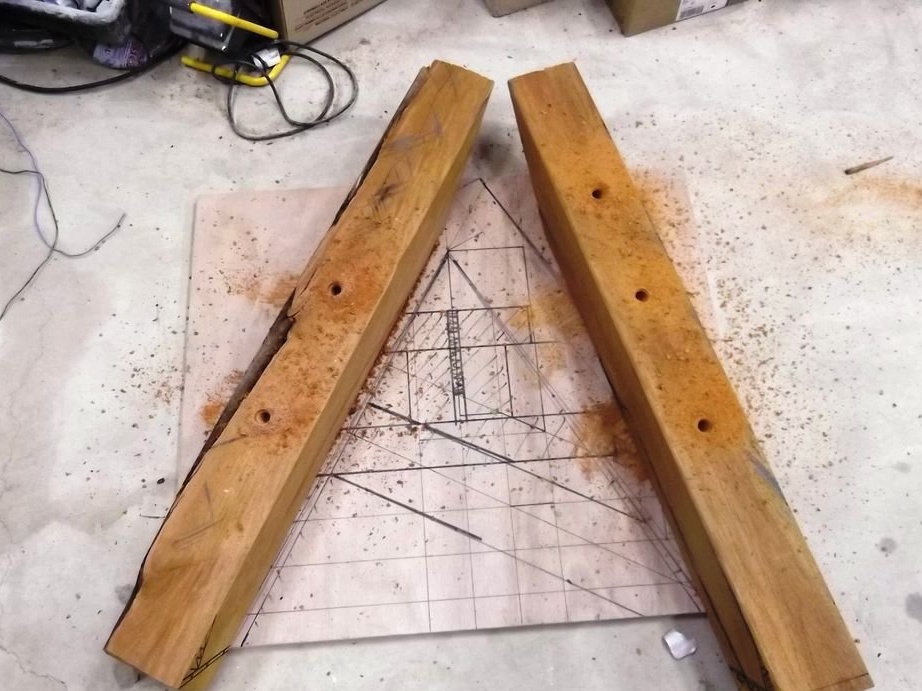
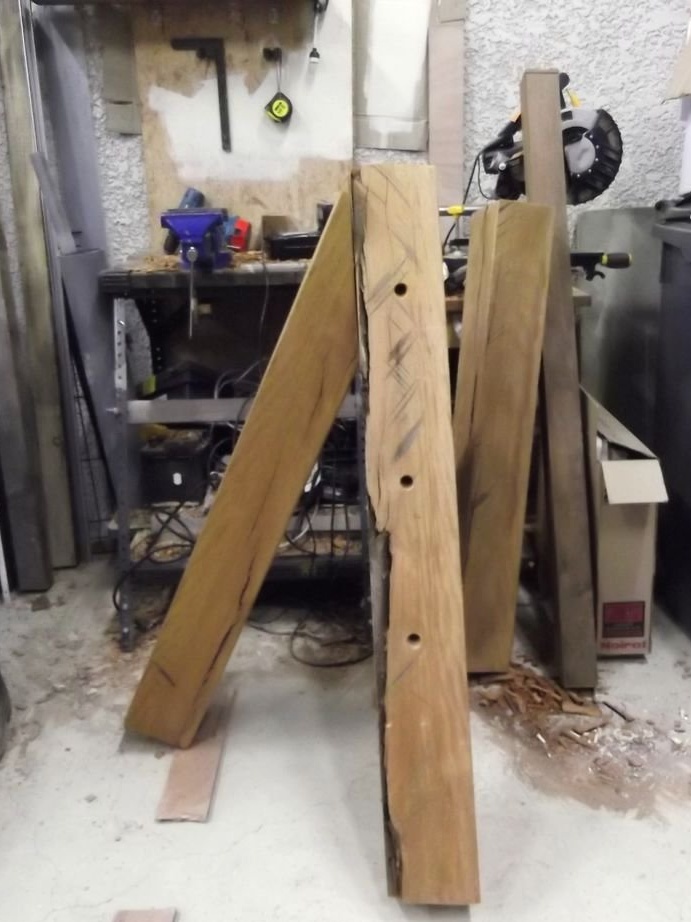
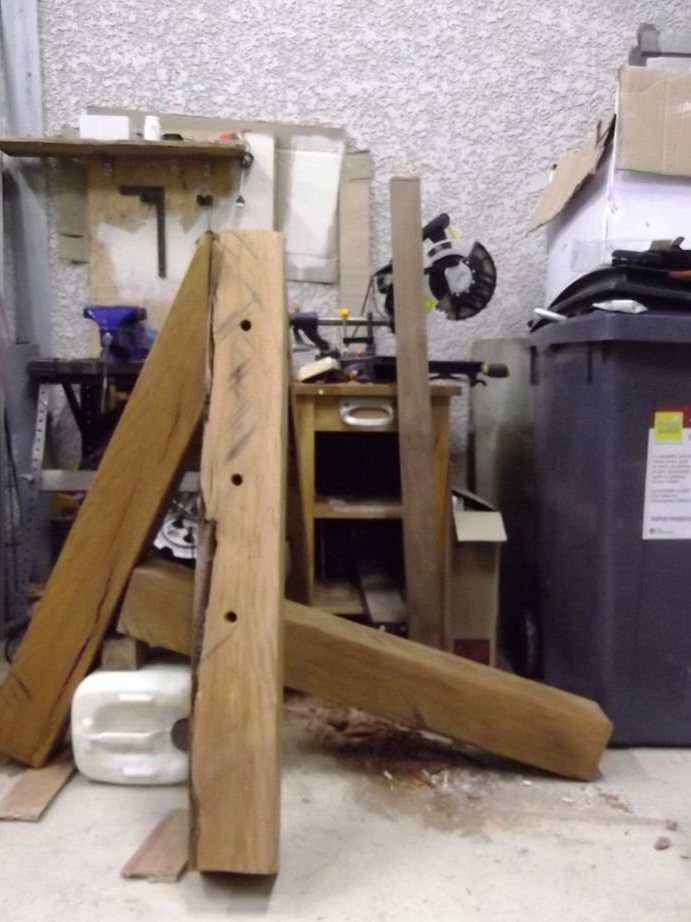
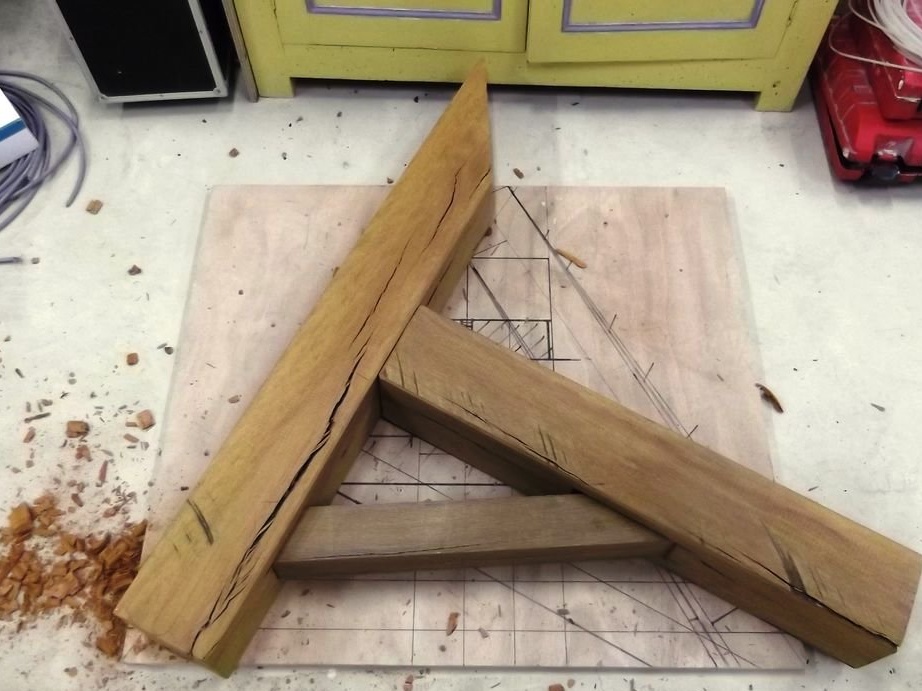
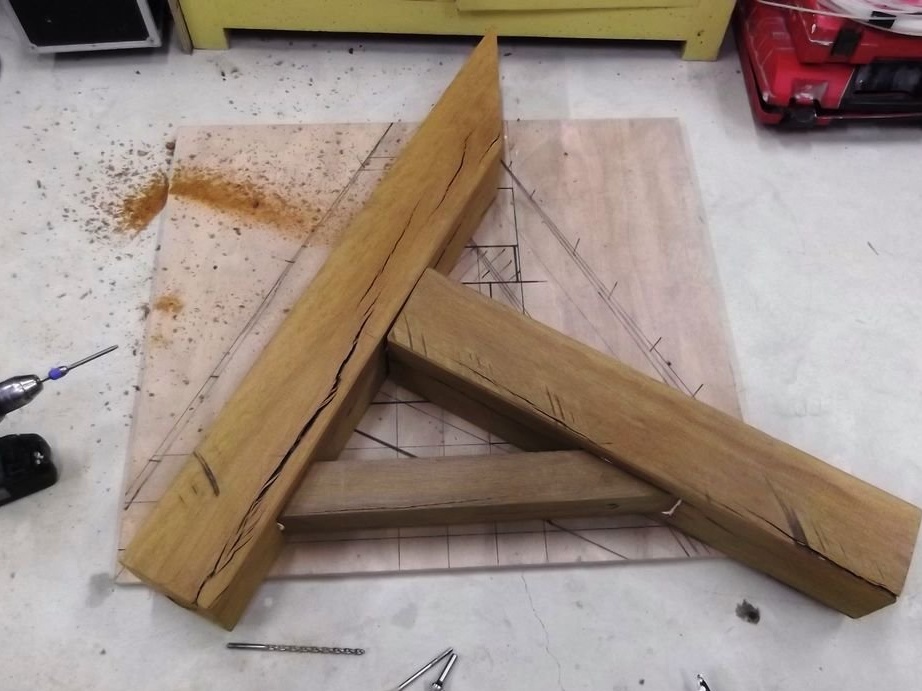
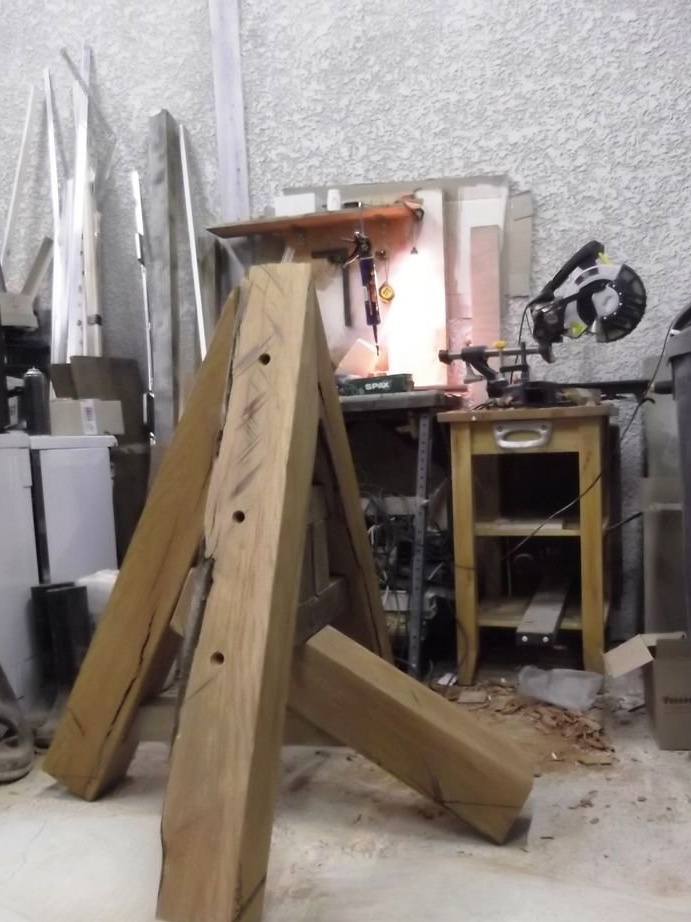
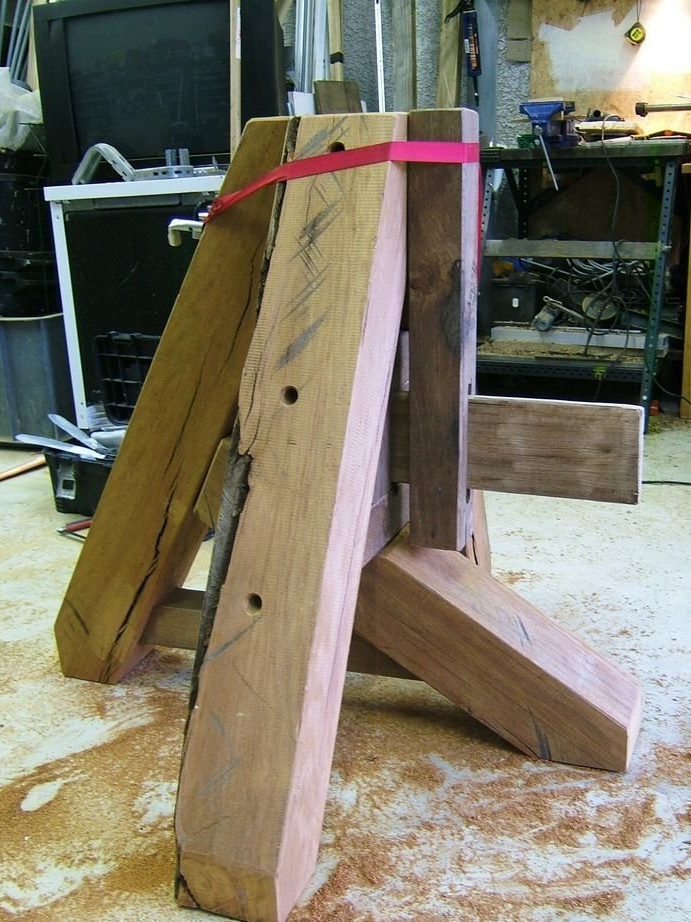
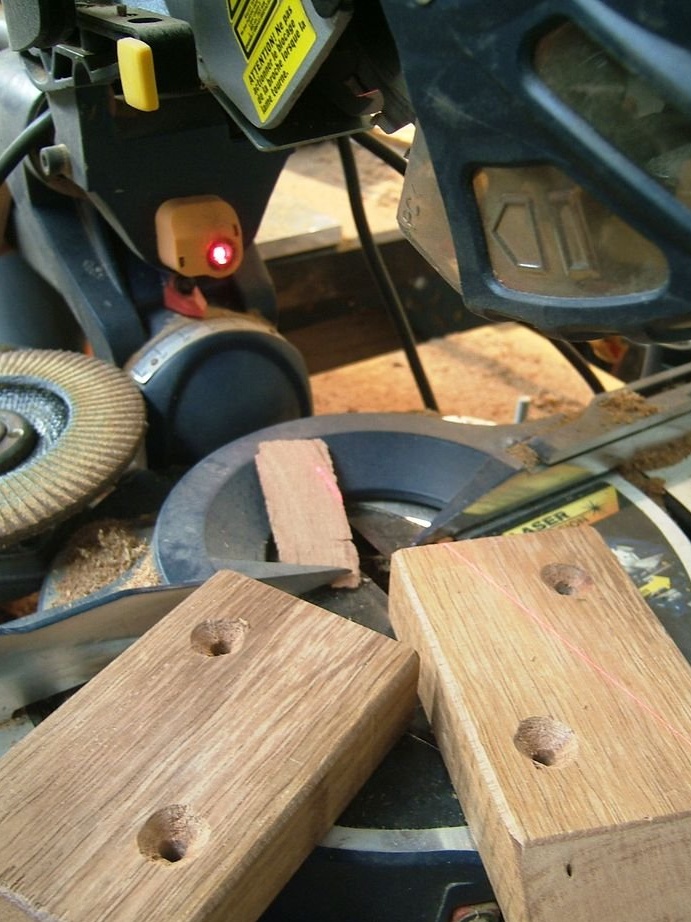
Step 3: Making the main parts
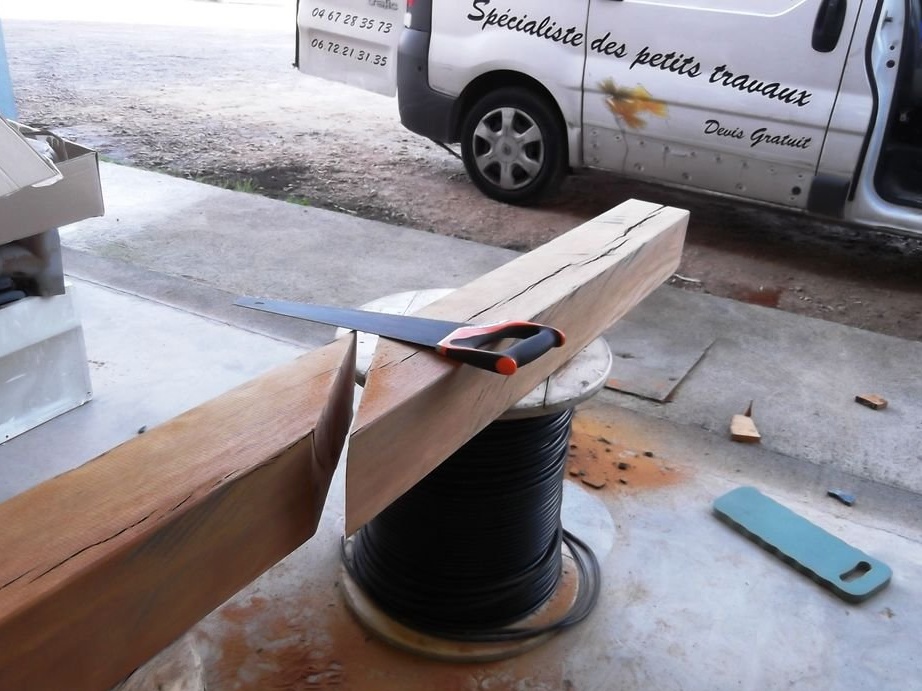
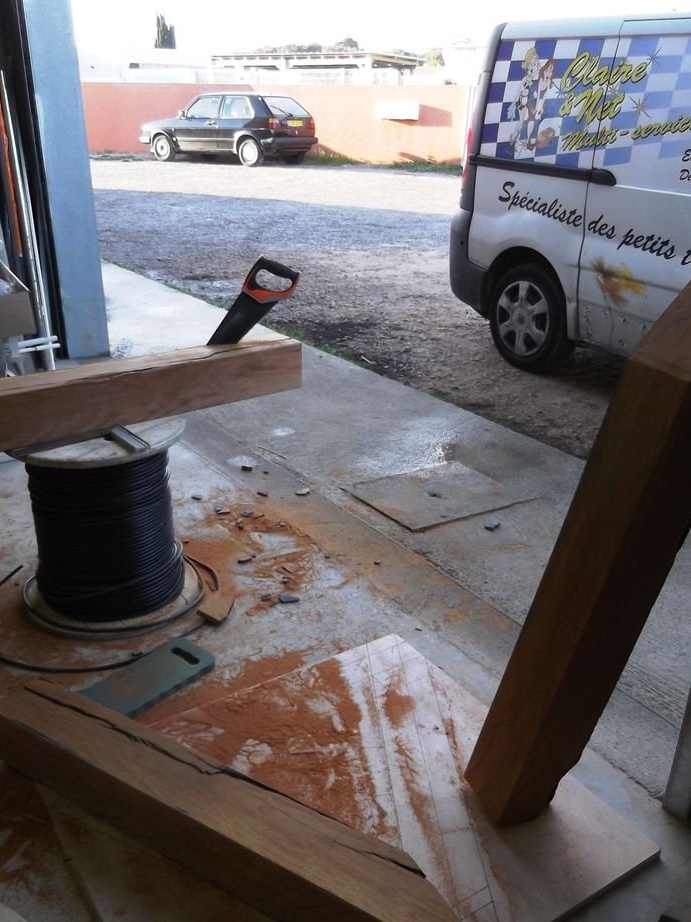
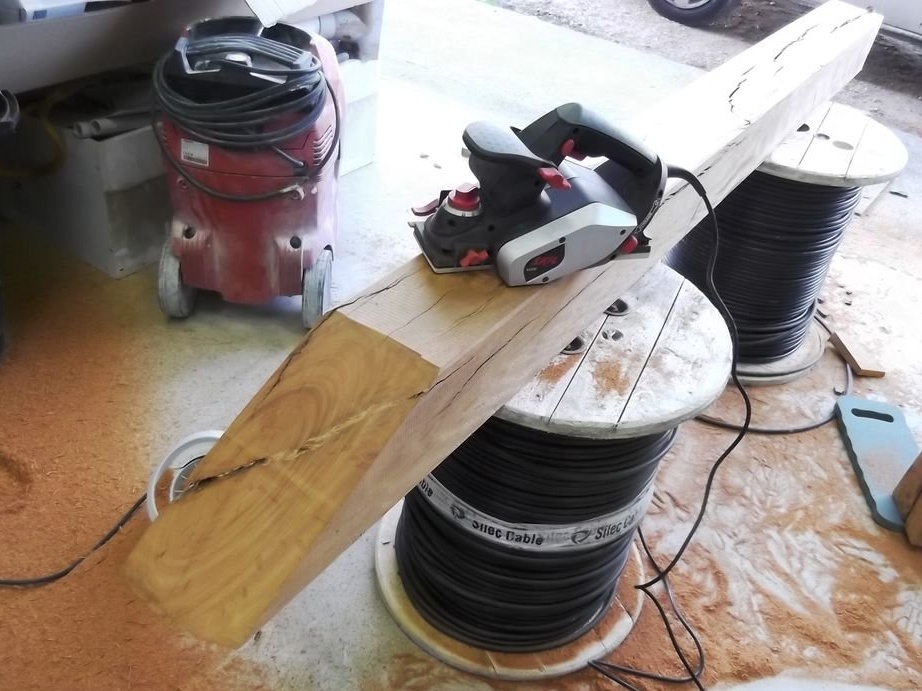
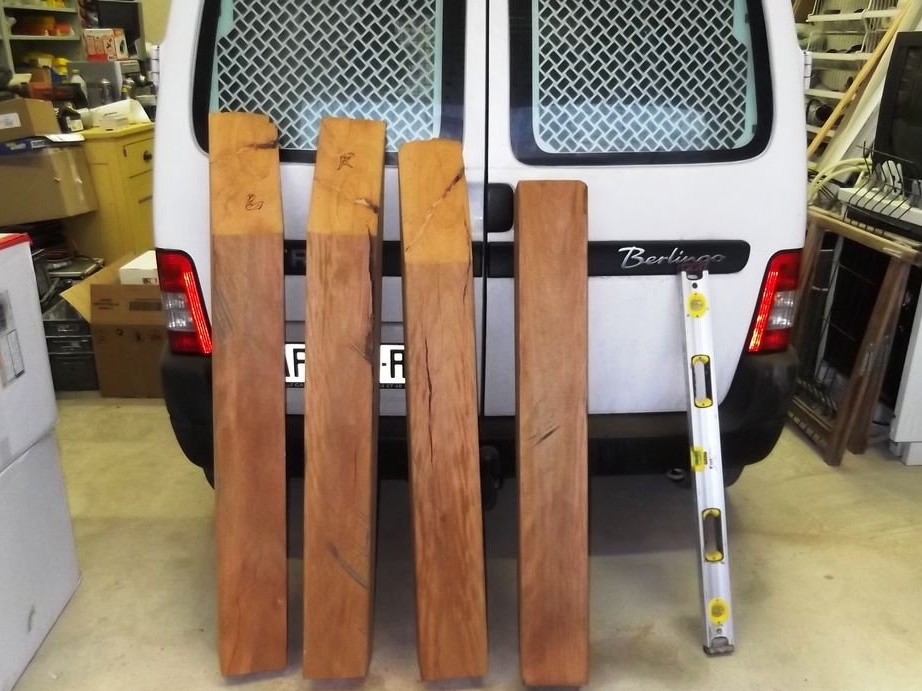
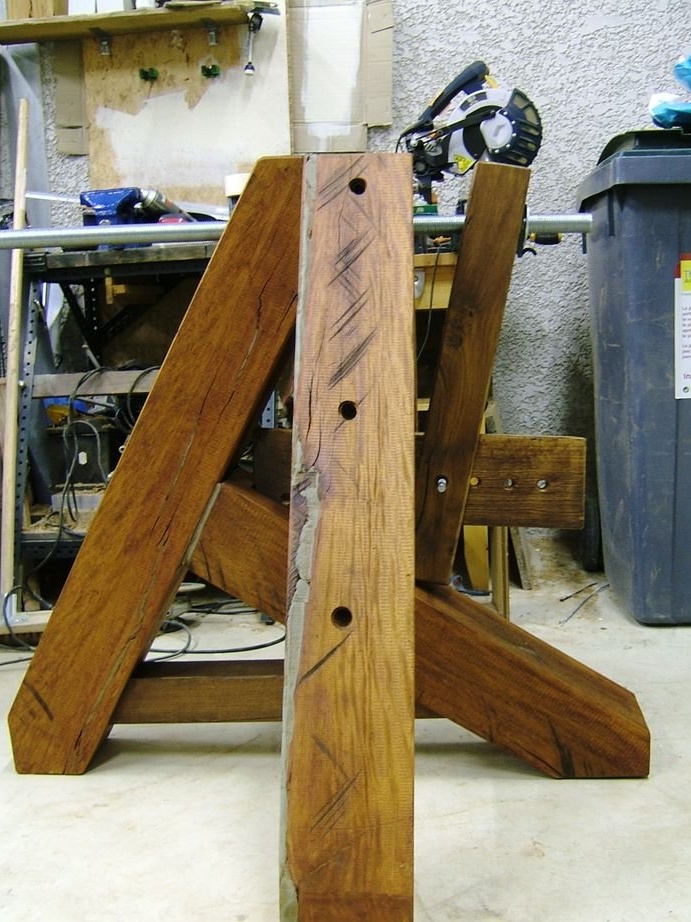
To build a vise, it took 2 legs.
For the vise to stand straight, it took another 2.
Work at this stage:
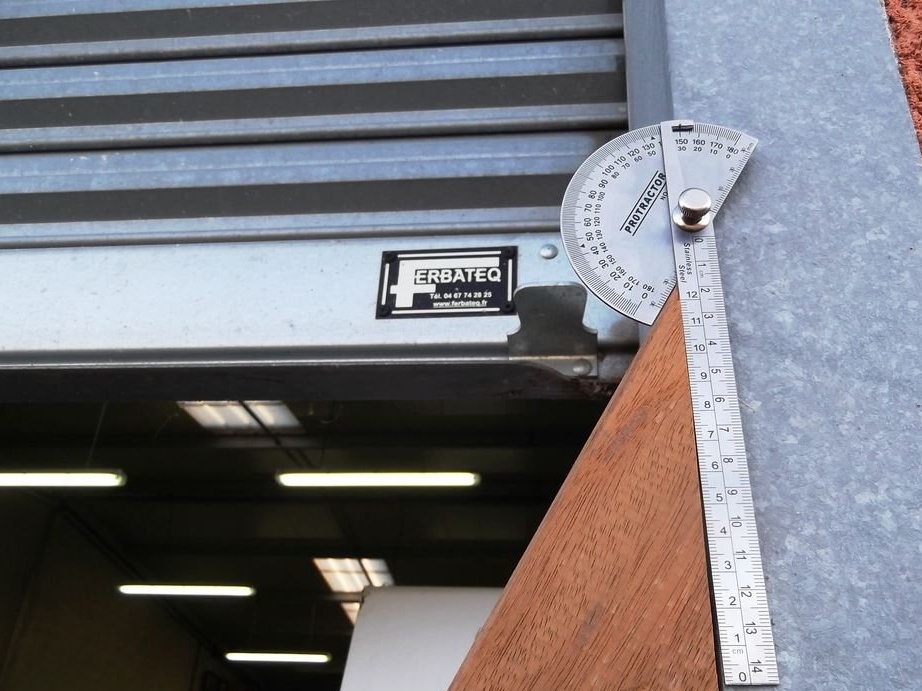
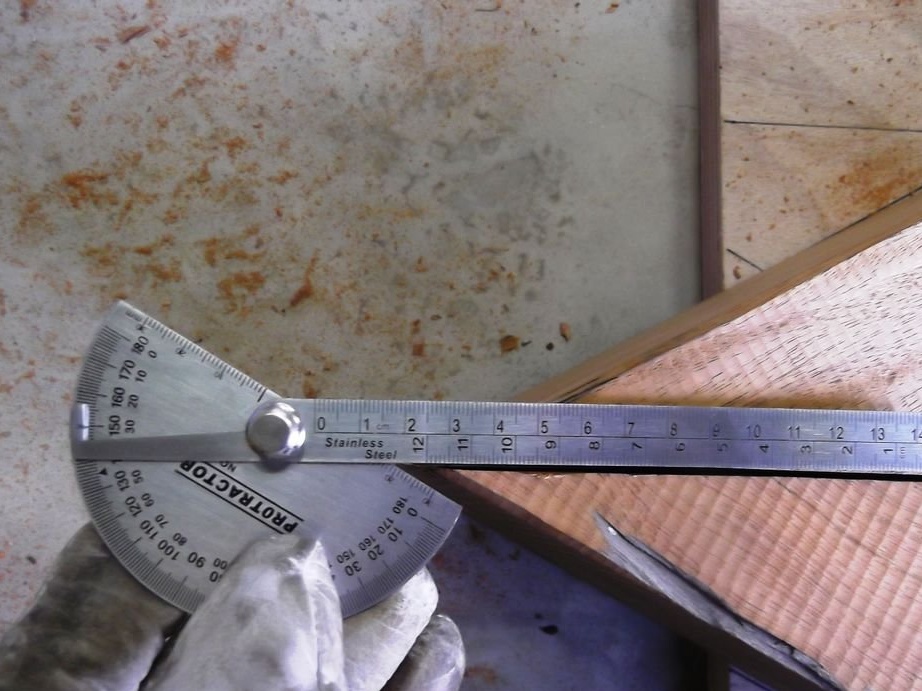
- measurement of length and measurement of angles;
- cutting with a hand saw and correction;
At the end of the work, 4 legs were obtained.
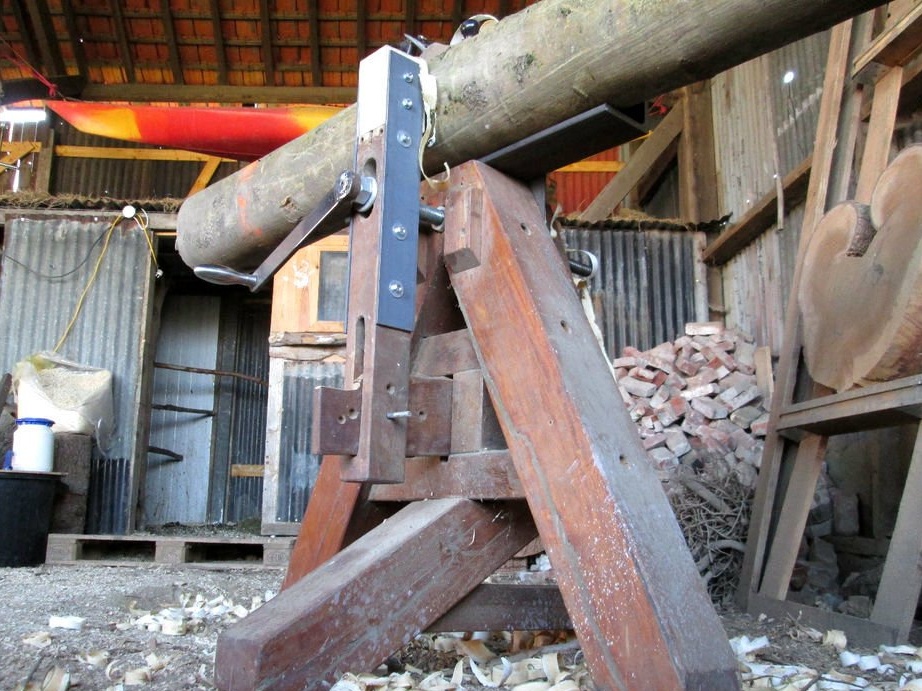
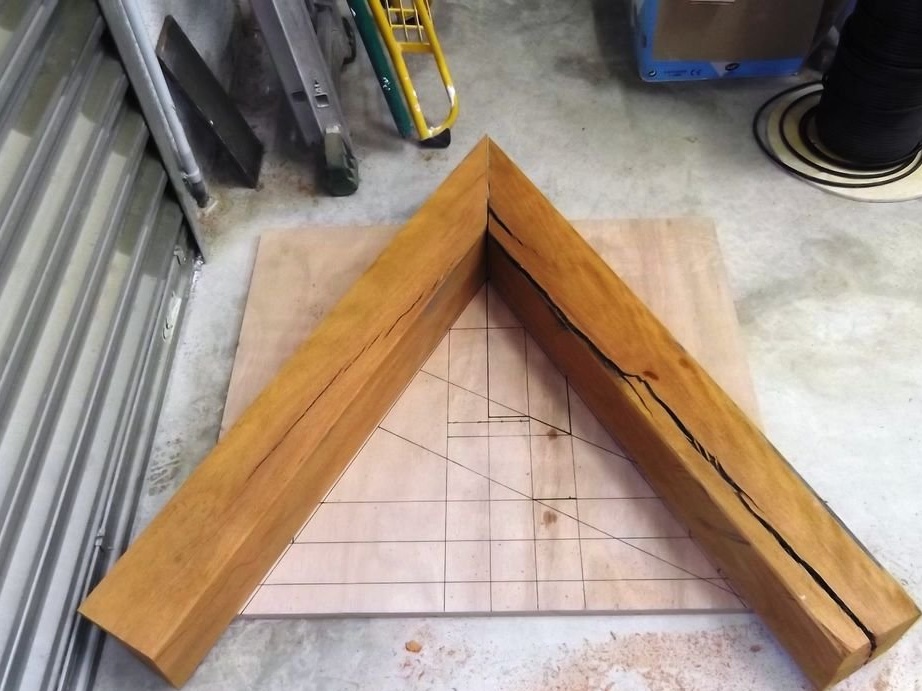
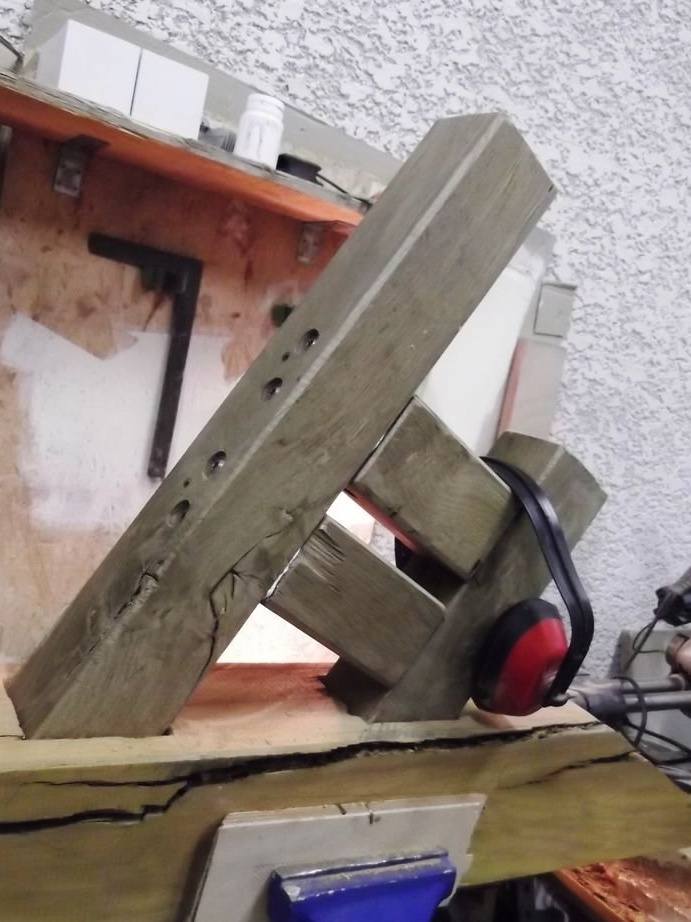
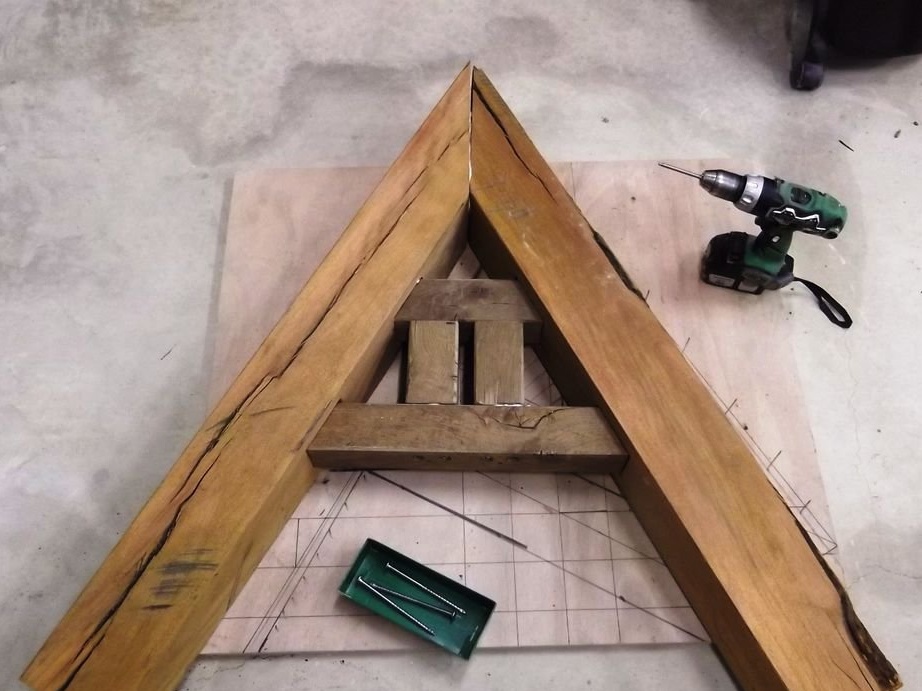
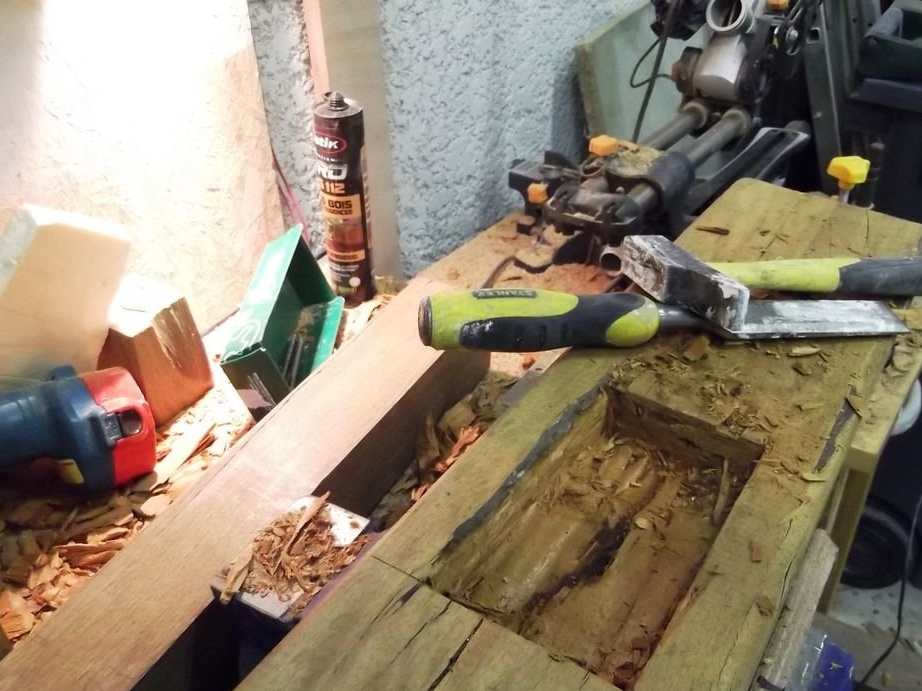
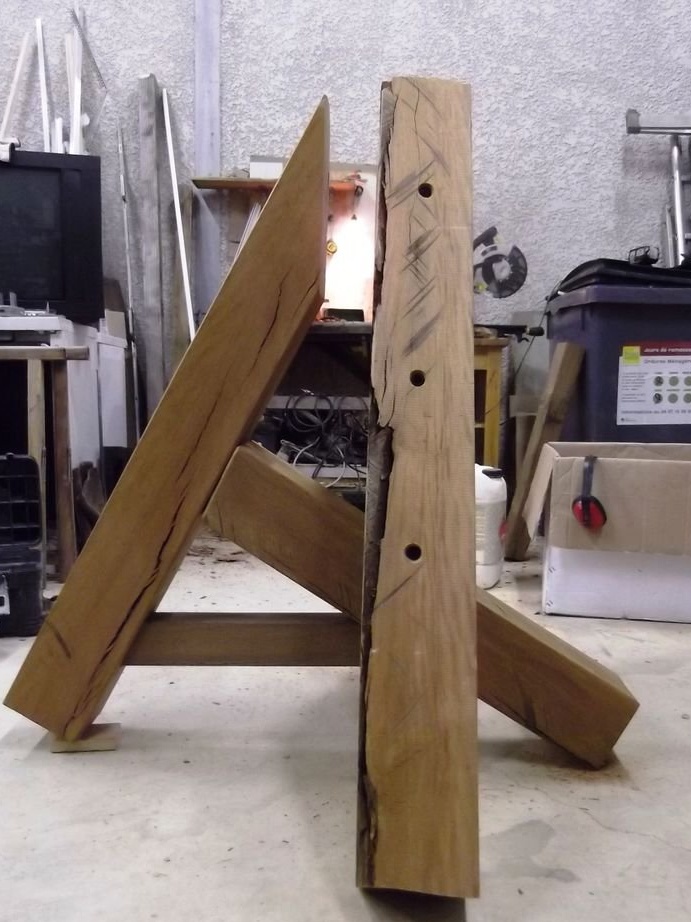
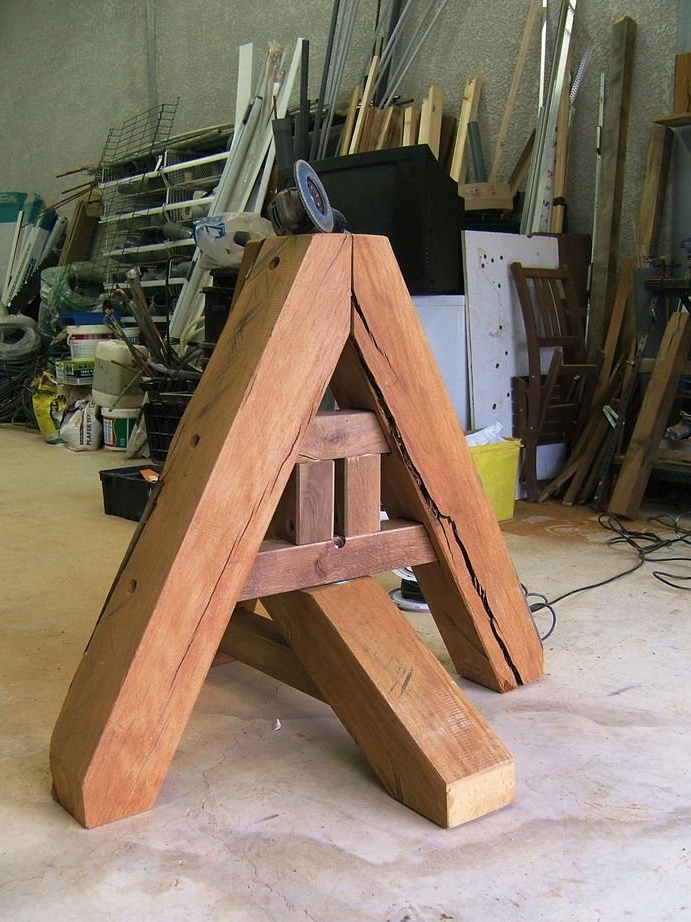
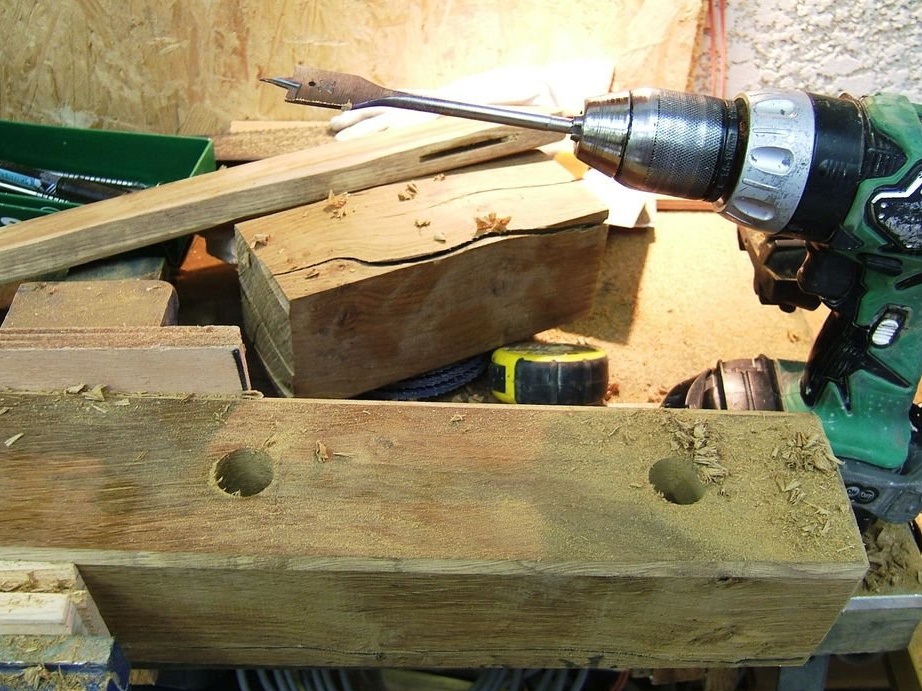
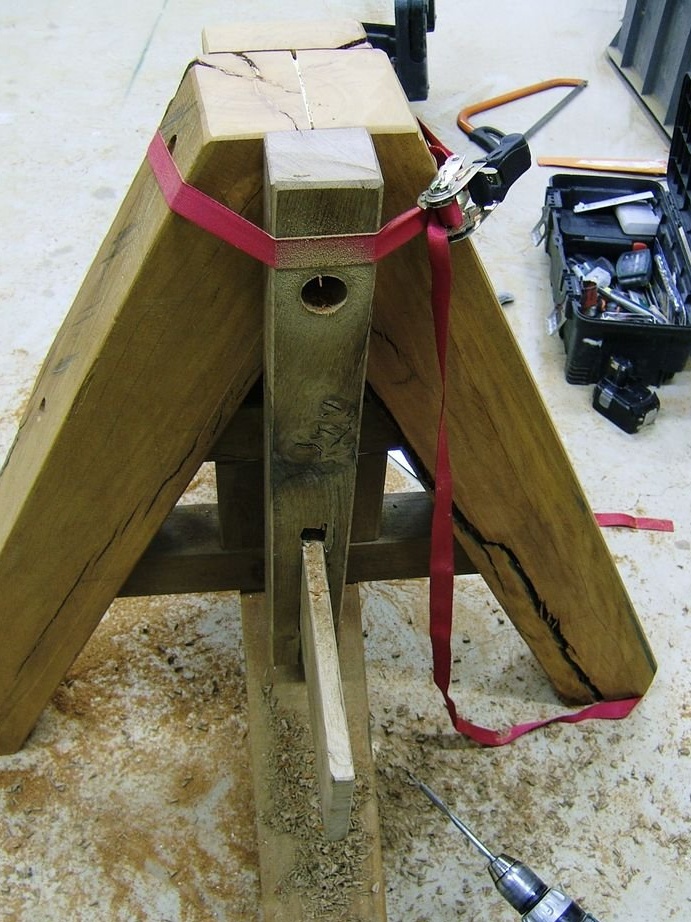
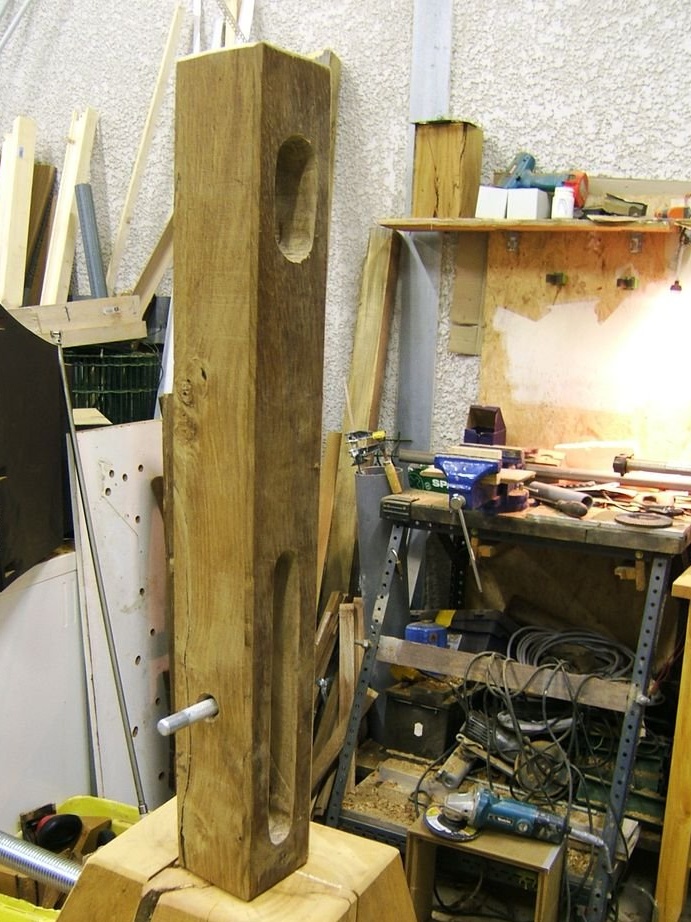
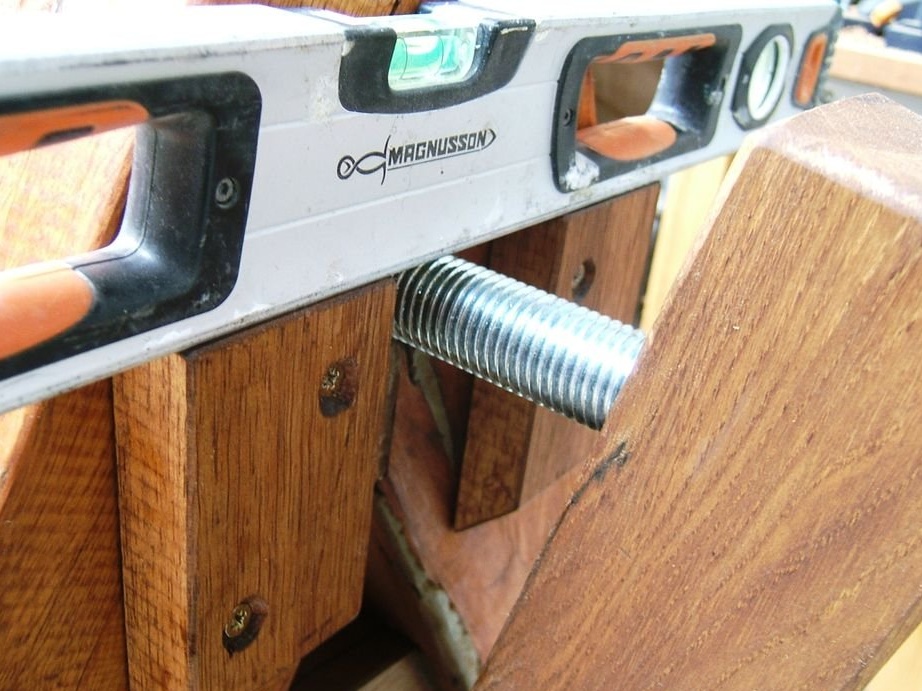
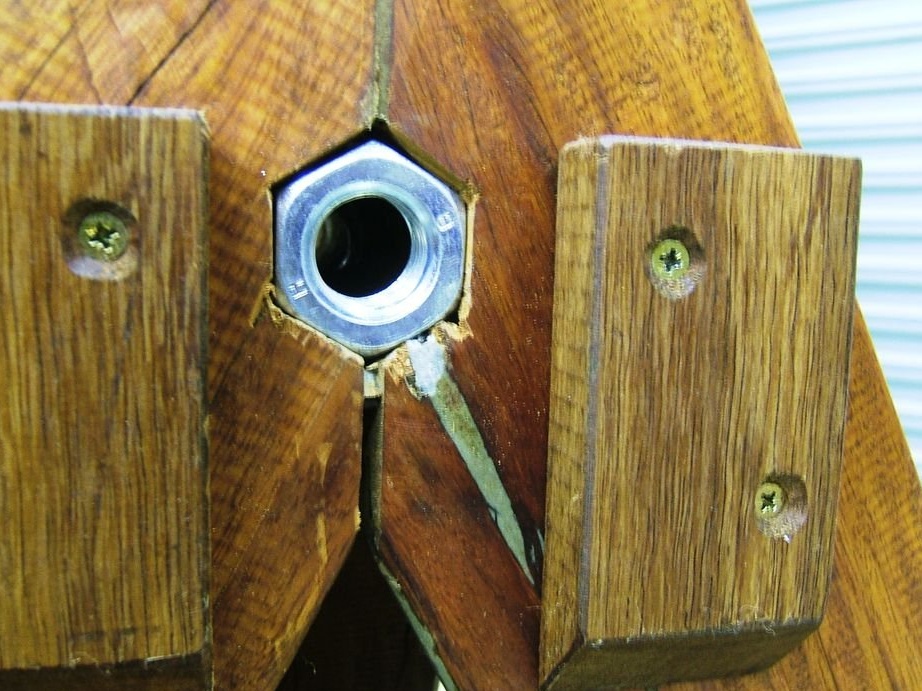
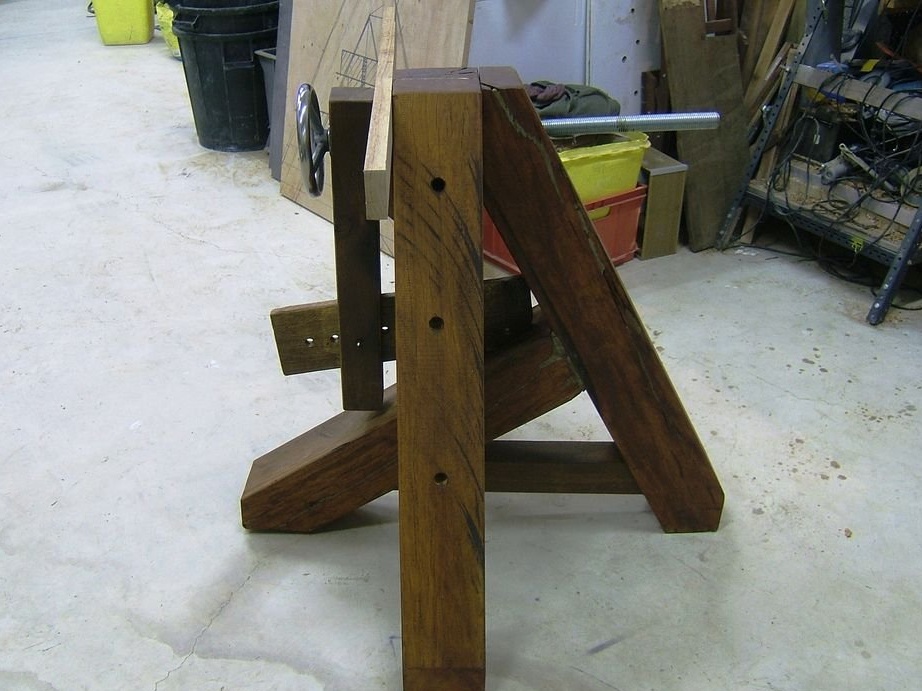
Step 4: Construction the central part of the large support
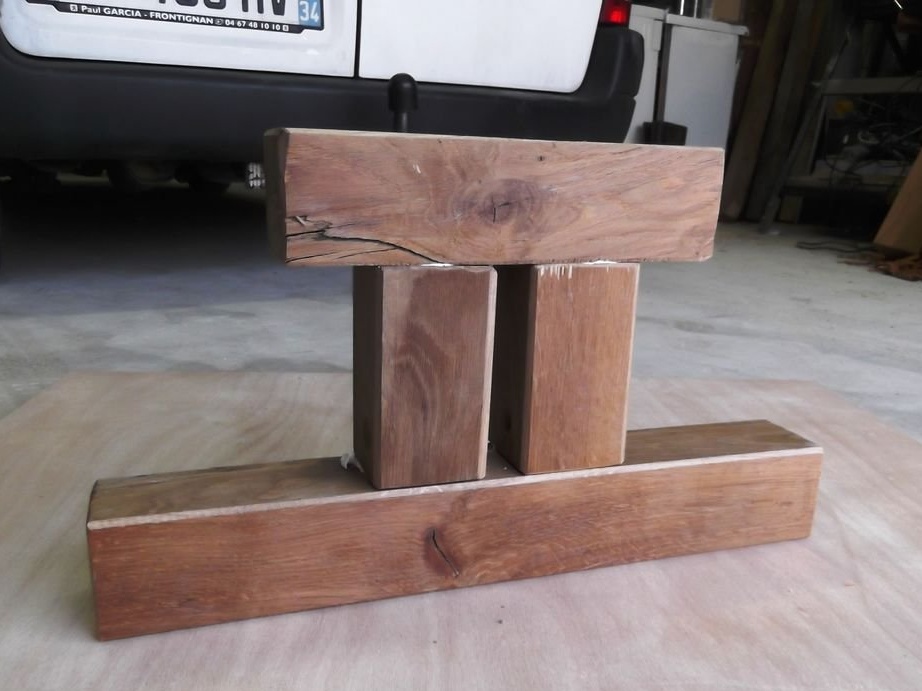

This figure holds the vise together and supports the base.
Made from 75 mm thick oak logs.
Parts glued and fastened with 12 cm Torx screws.
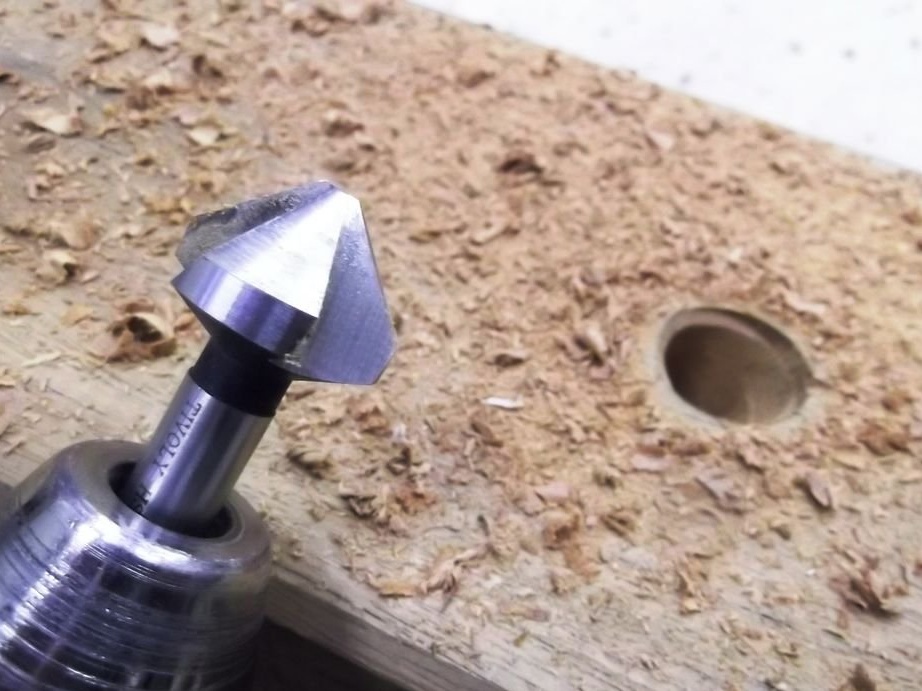
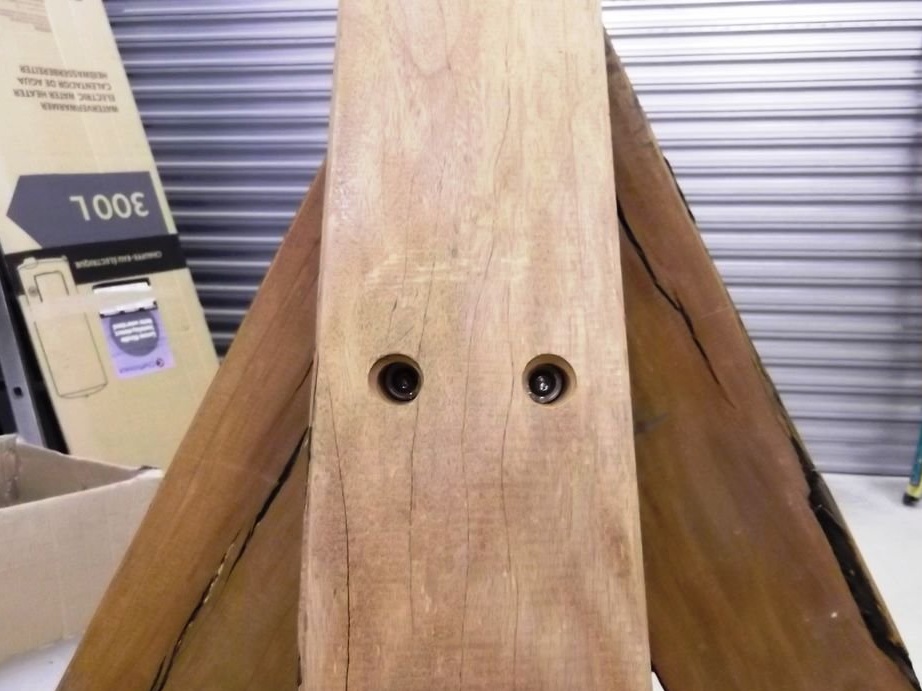
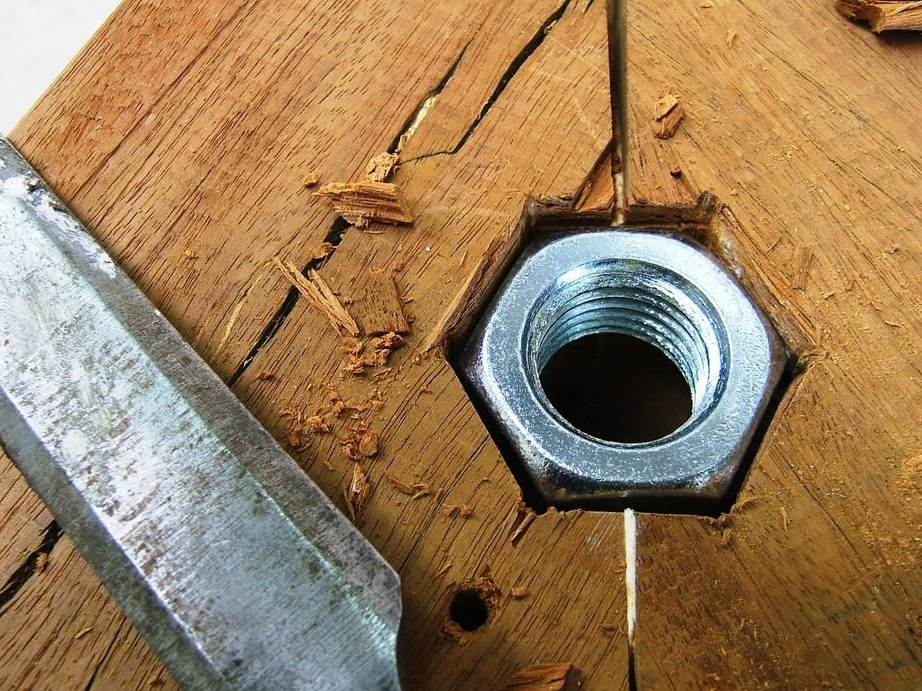
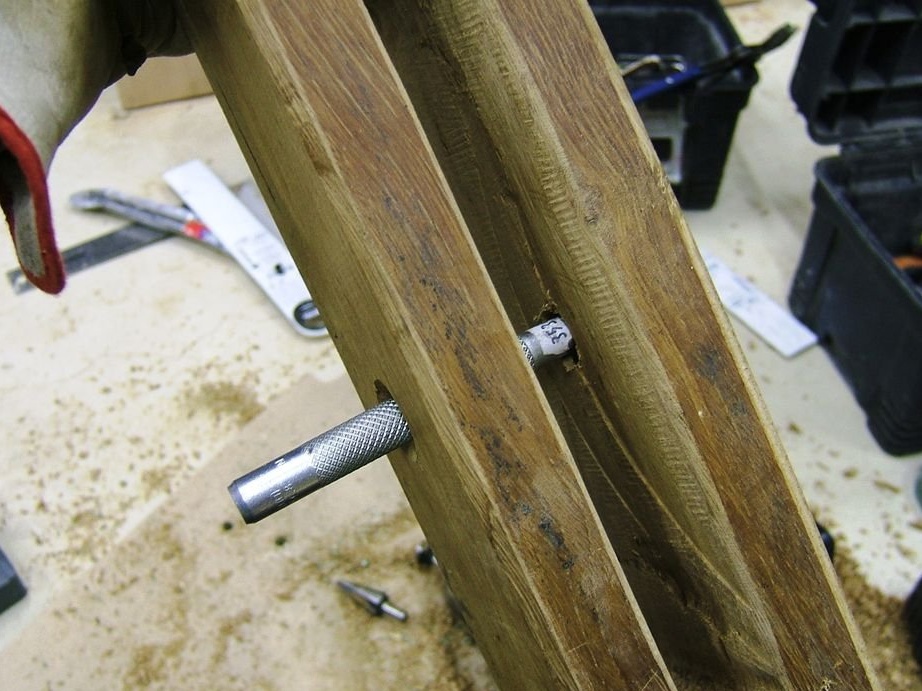
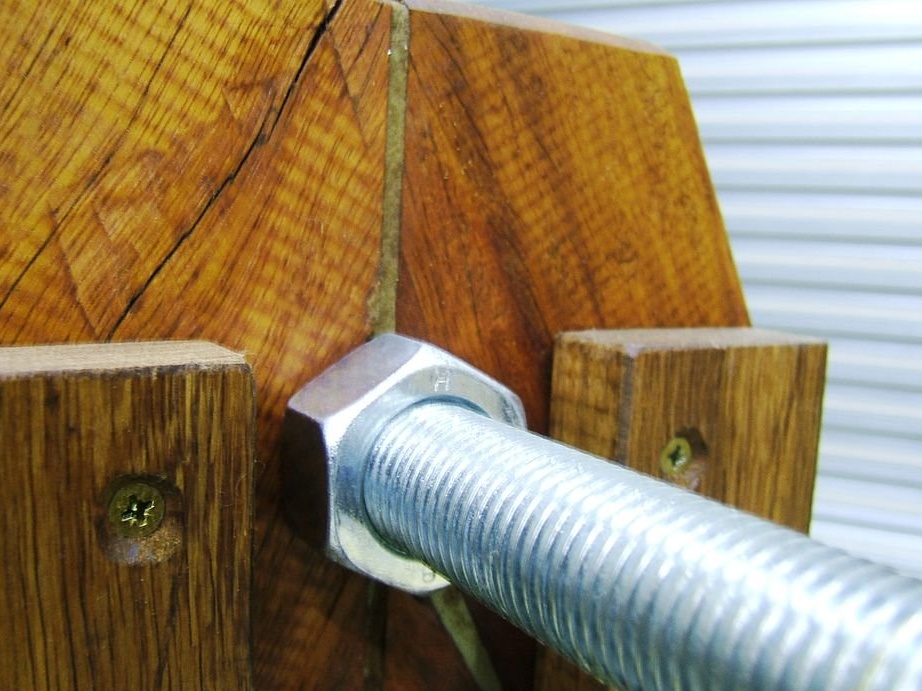
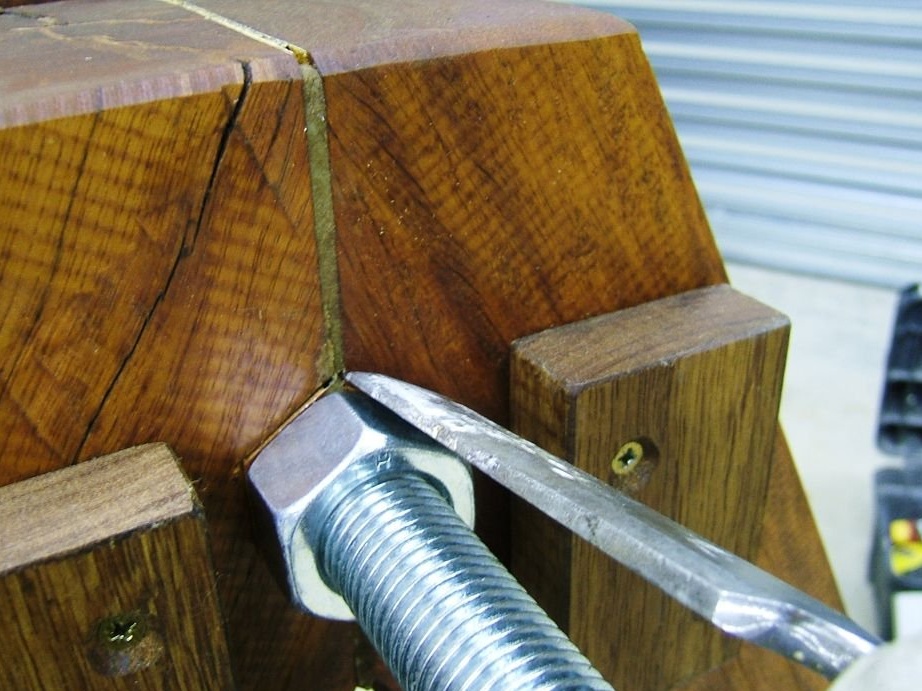
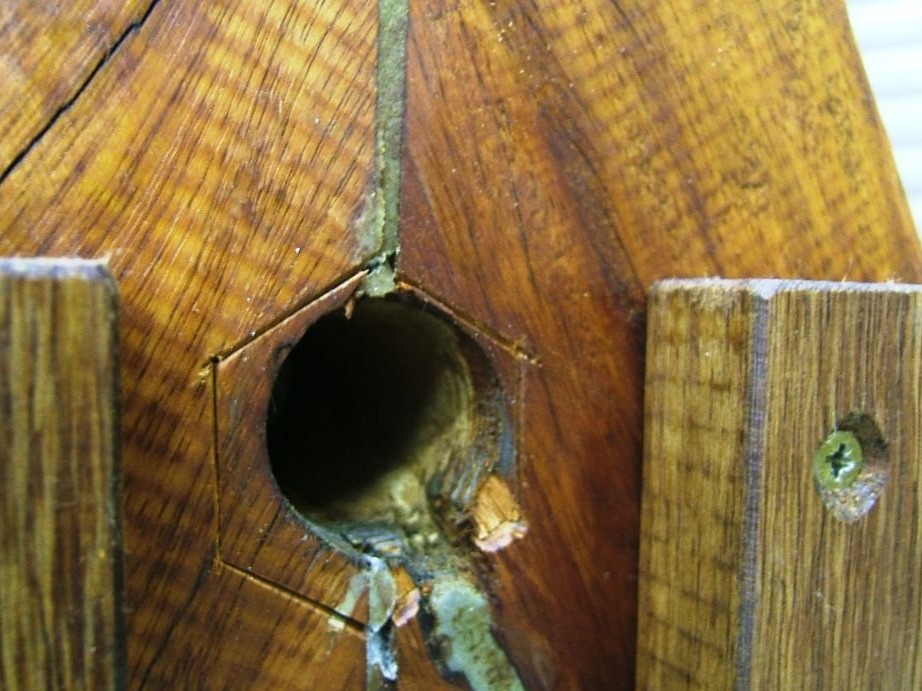
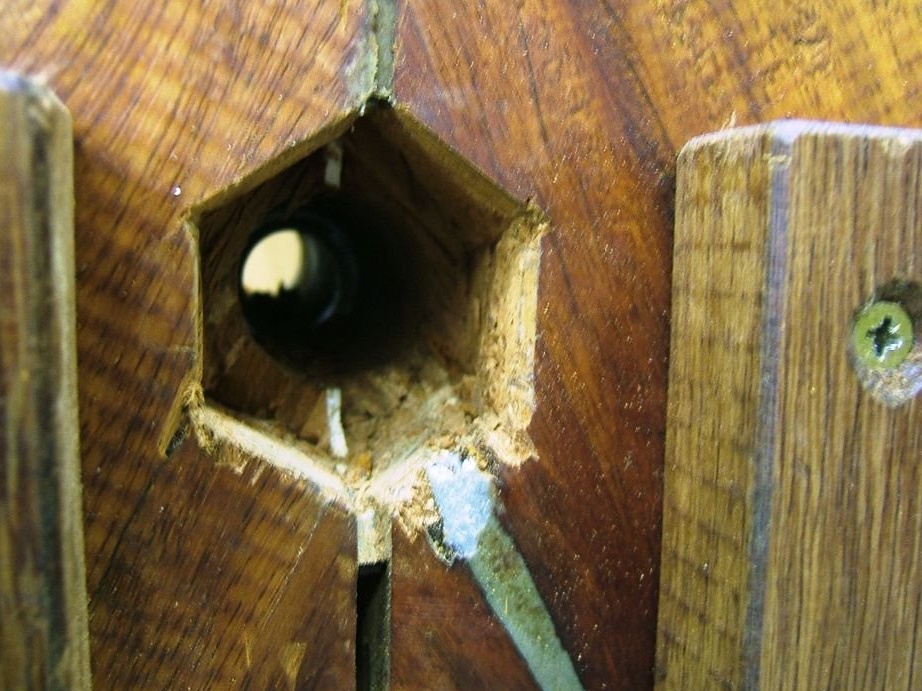
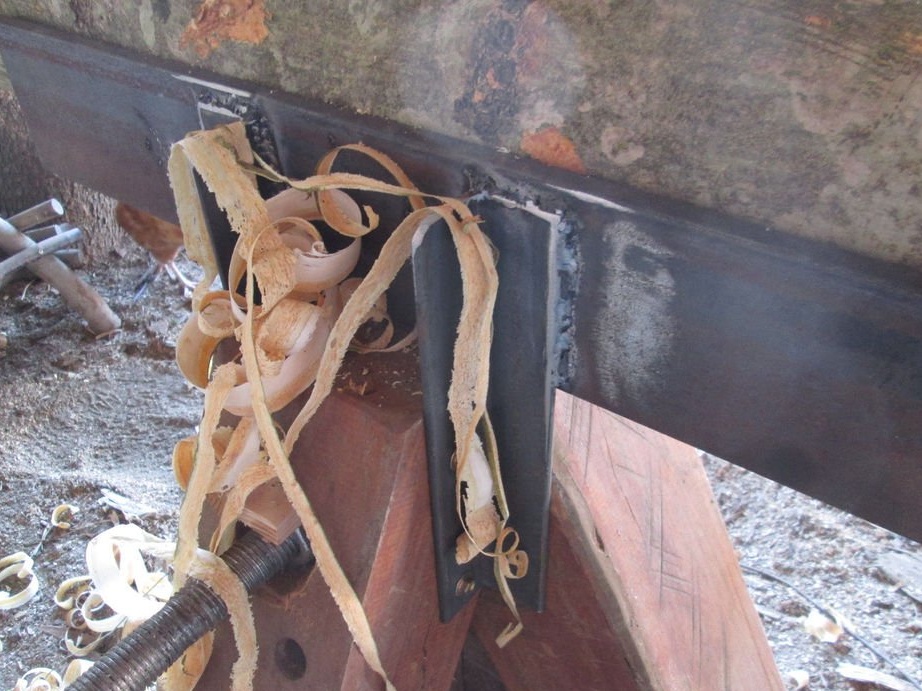
Pay attention to the hole drilled from the side. This is for a steel pin that will hold the adjustable lever in place.
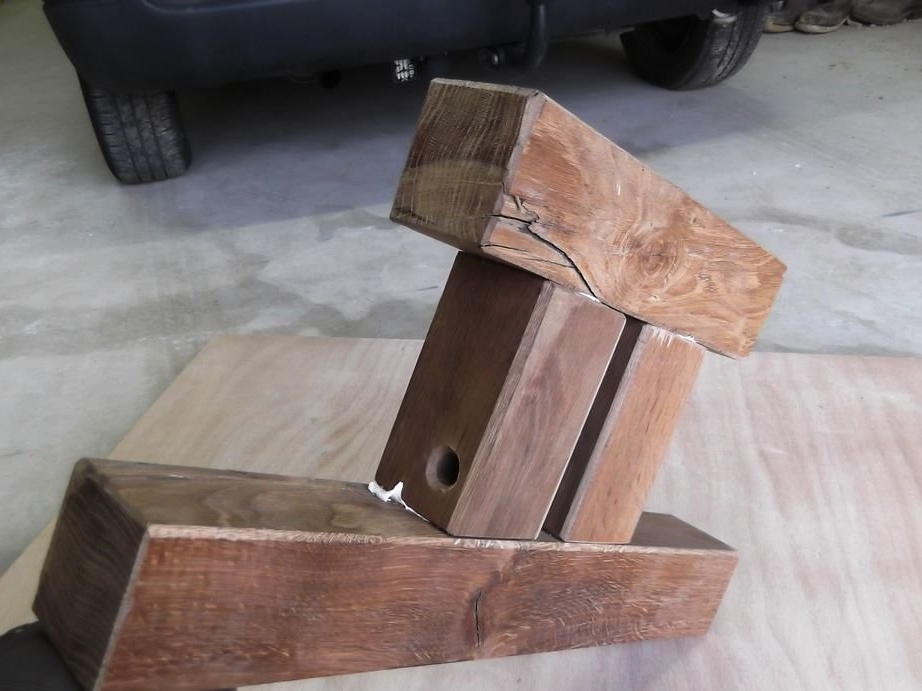
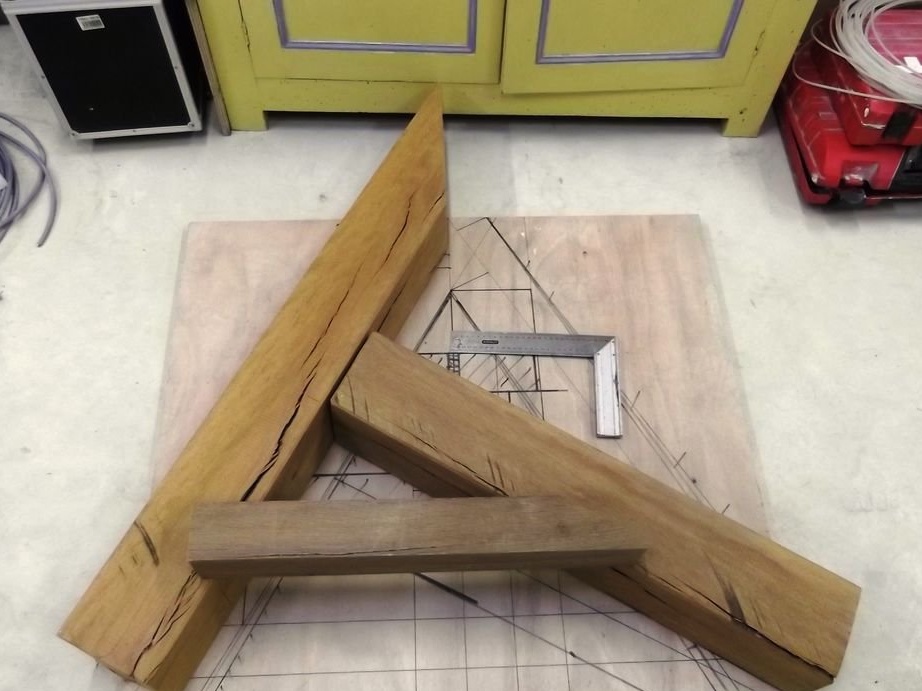
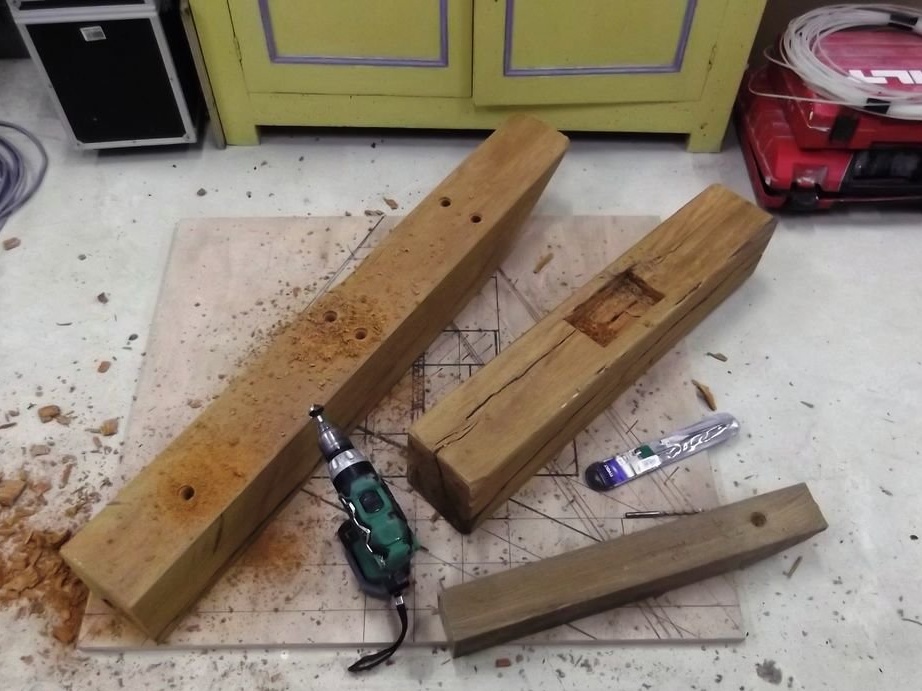
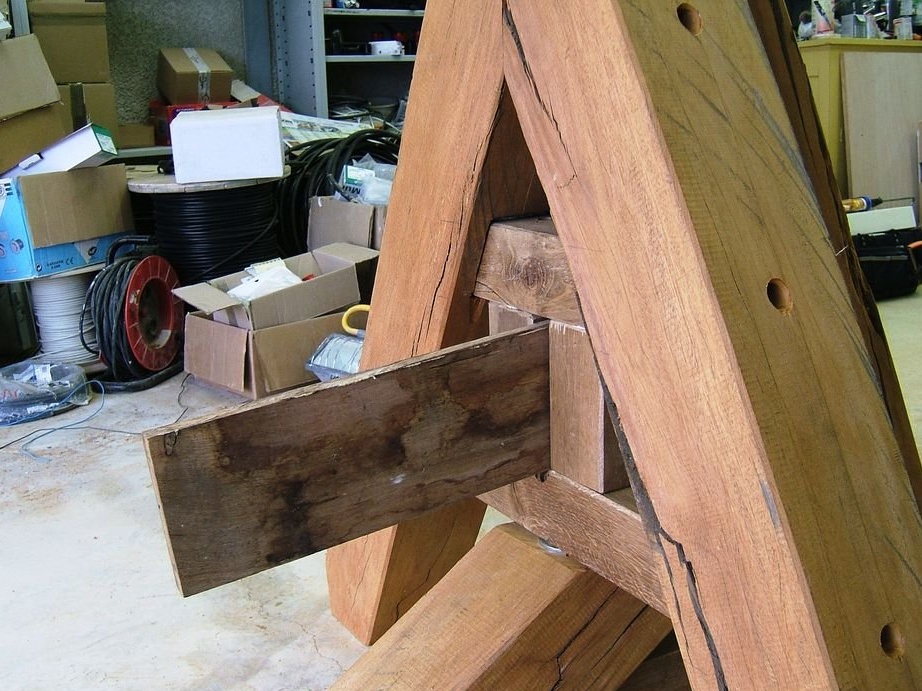
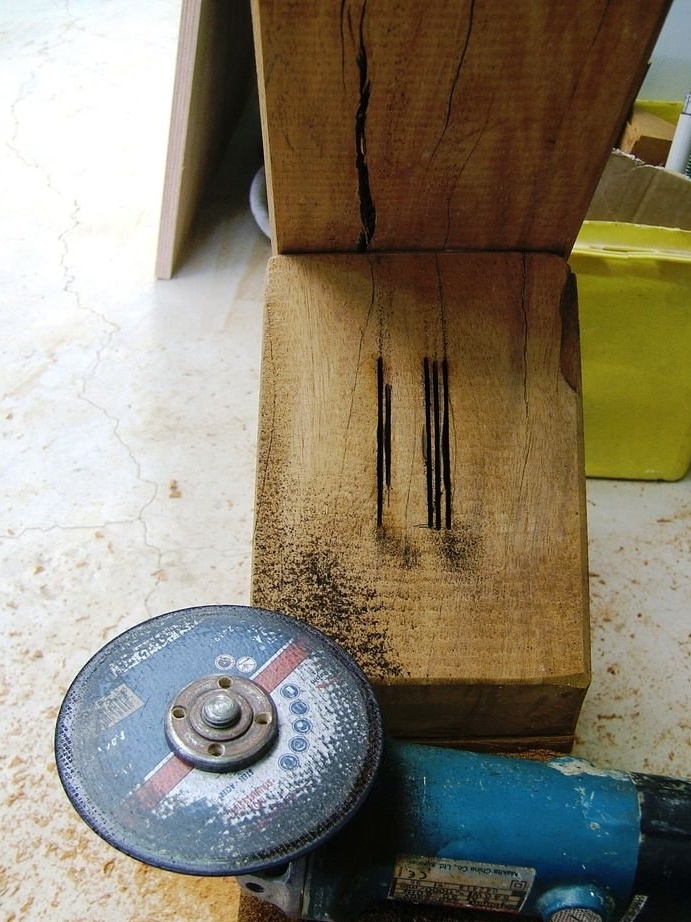
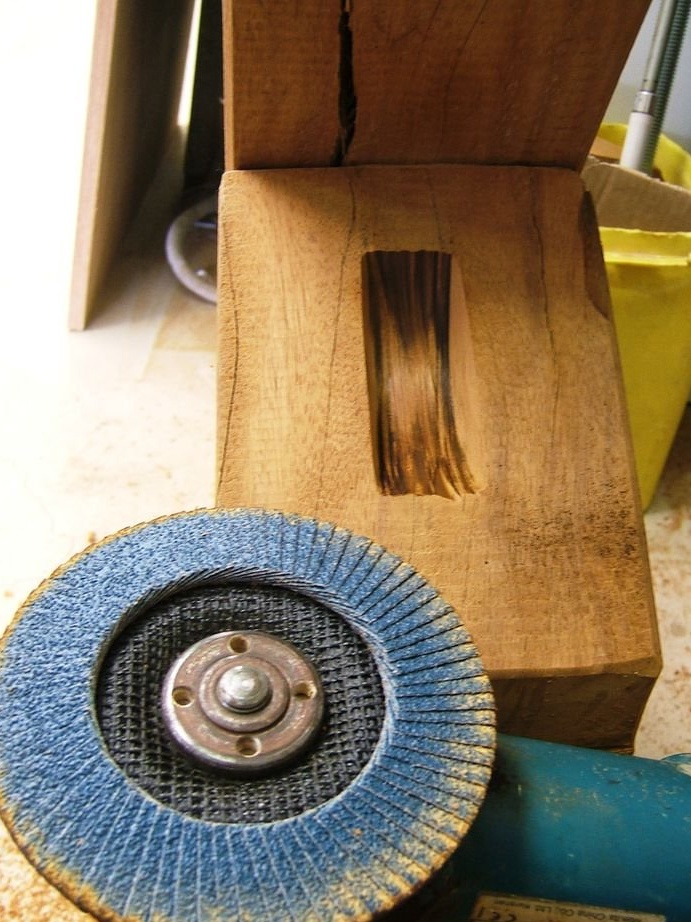
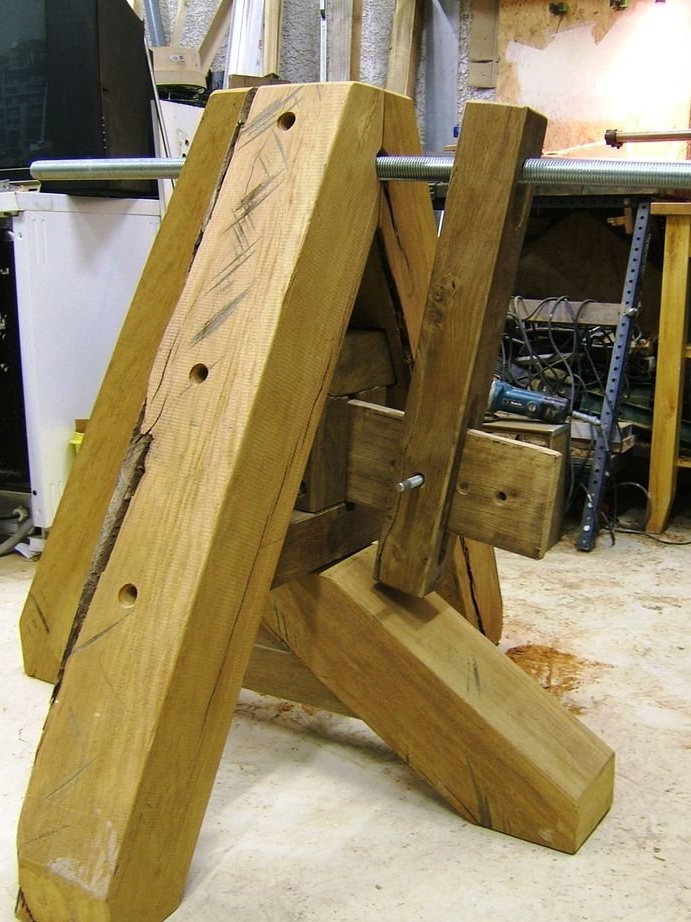
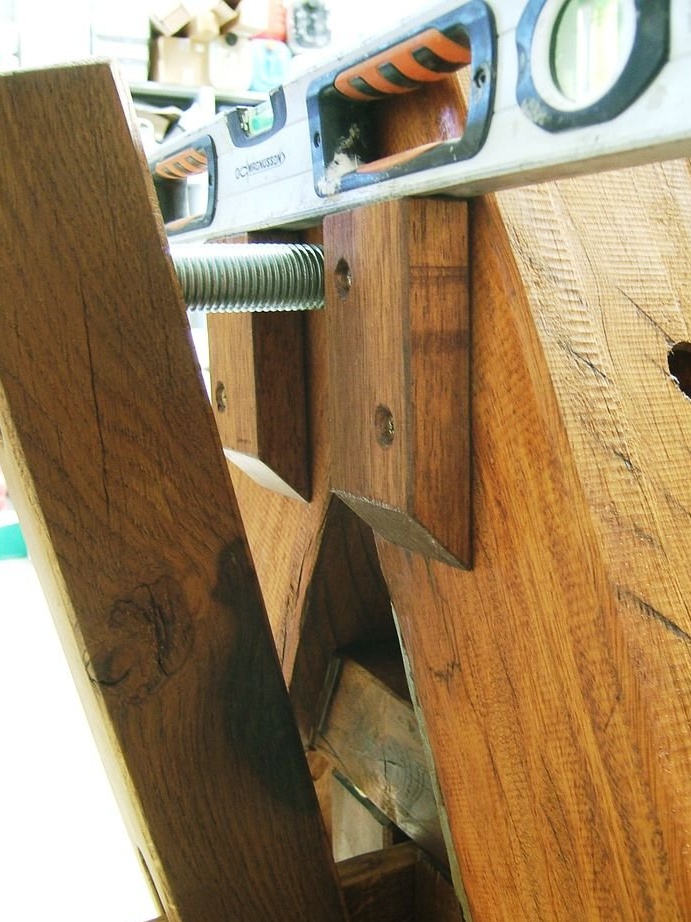
Step 5: Work with a Large Support


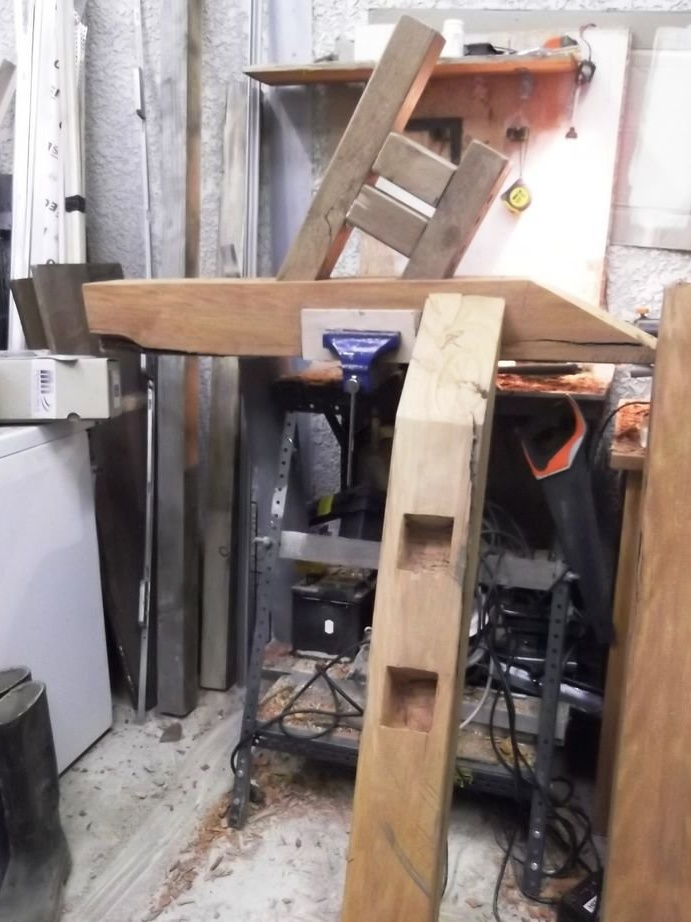
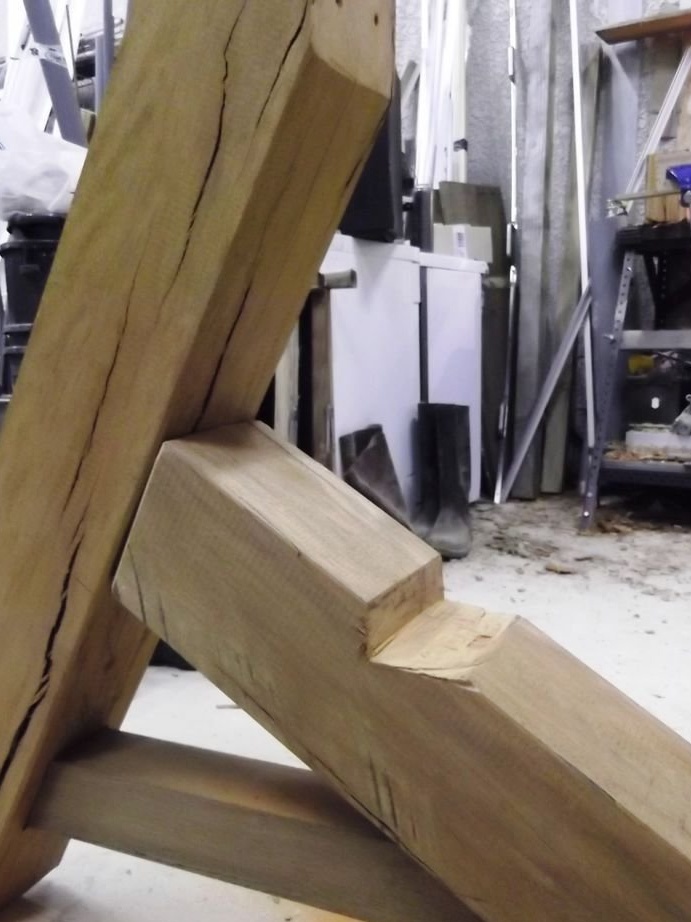
The central part holds together two legs of a large support.
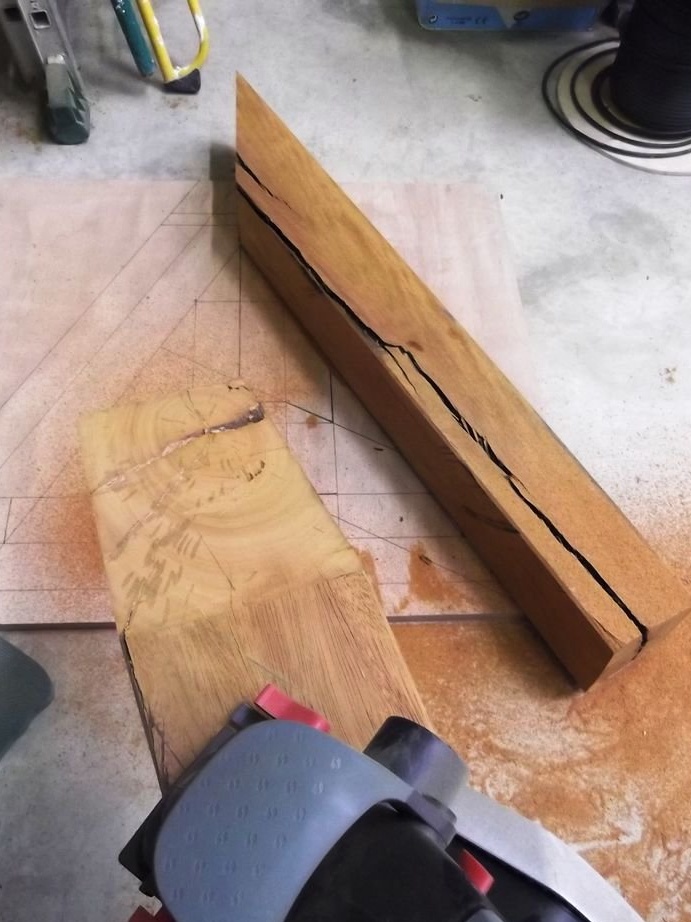
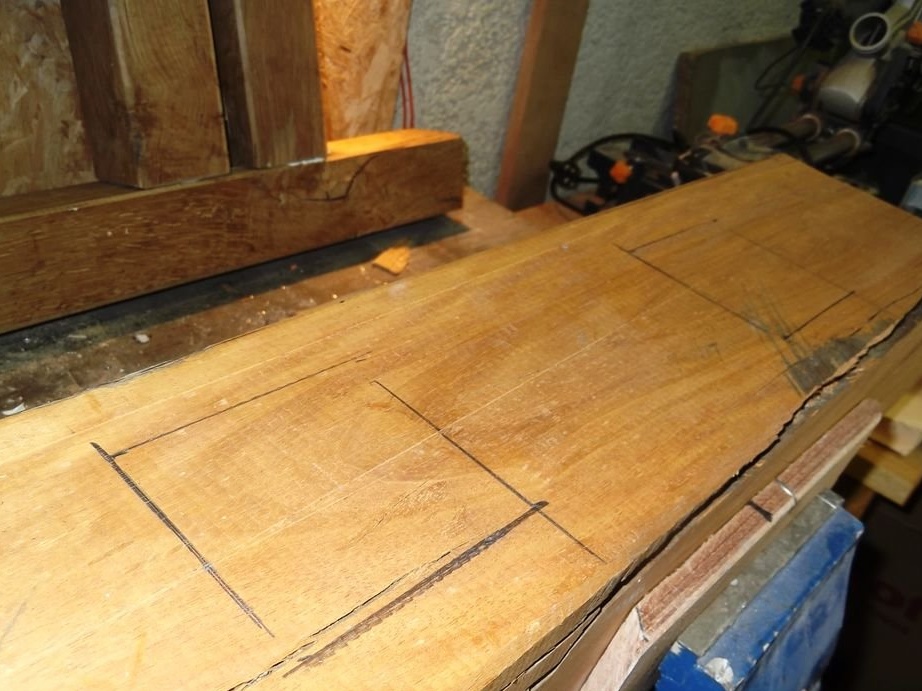
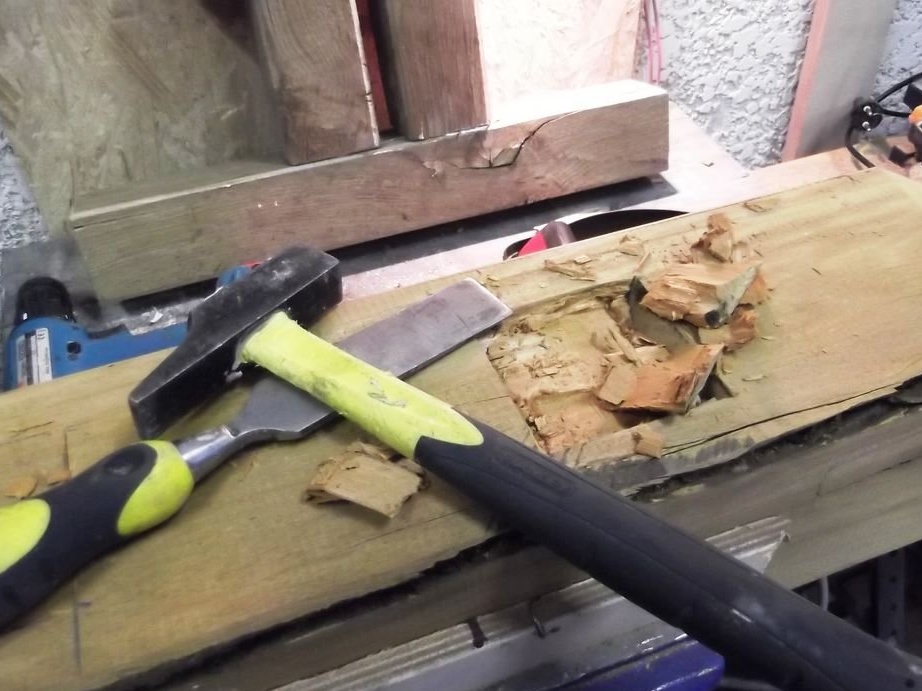
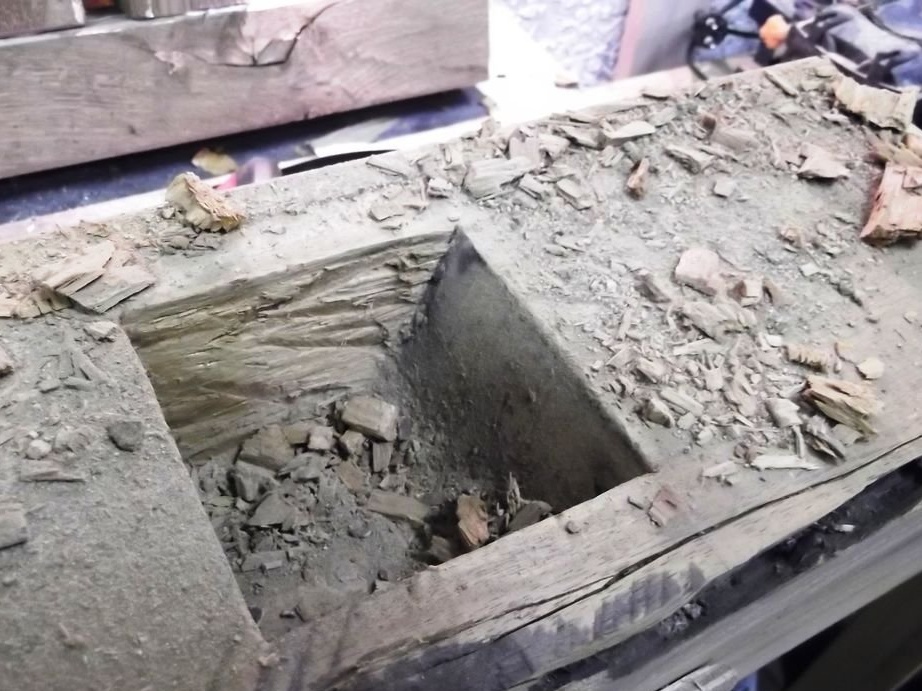
Instead of just gluing and screwing, the master preferred that the part was “recessed”, this will make the support more durable.
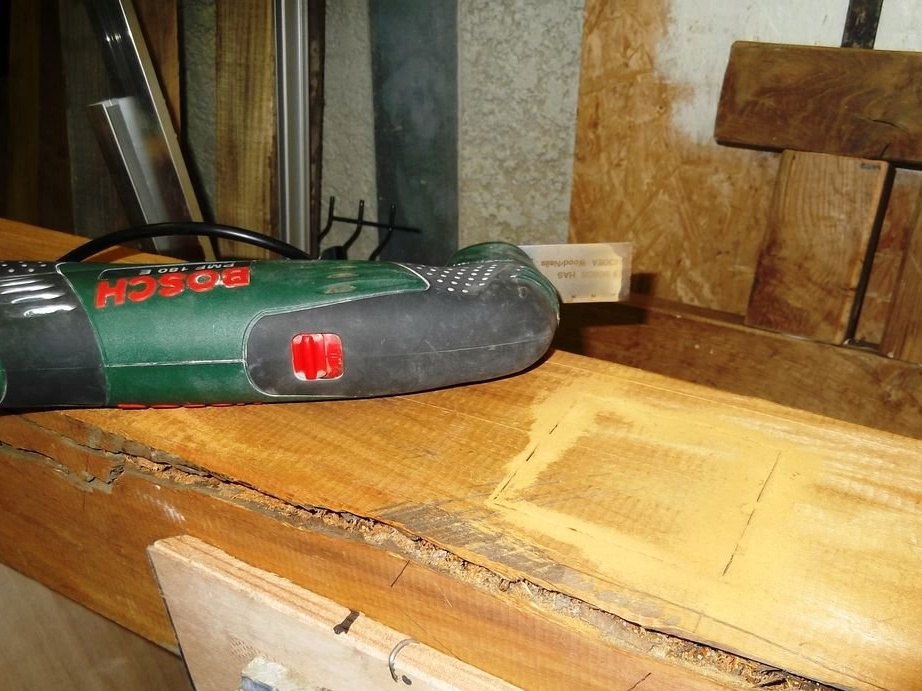
The master began to cut the badi with the help of a milling cutter, but after this cheap tool began to burn, he finished the old-fashioned work with a chisel.
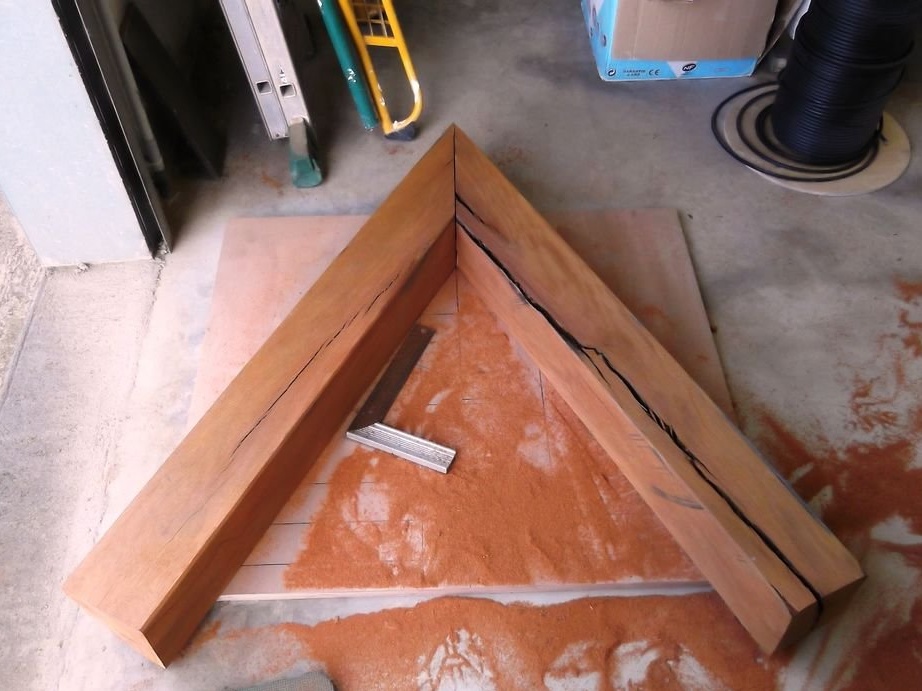
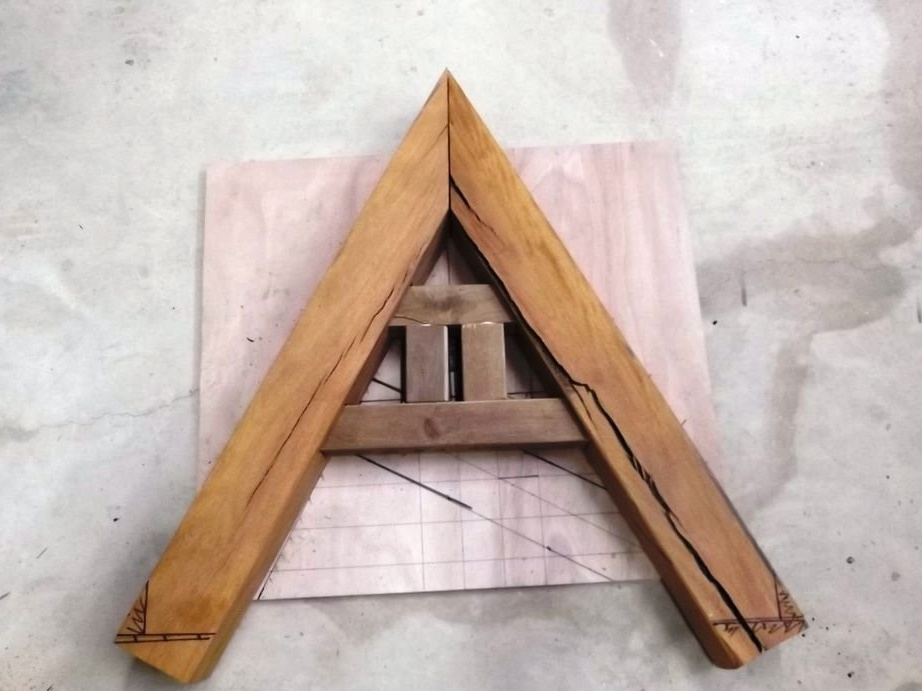
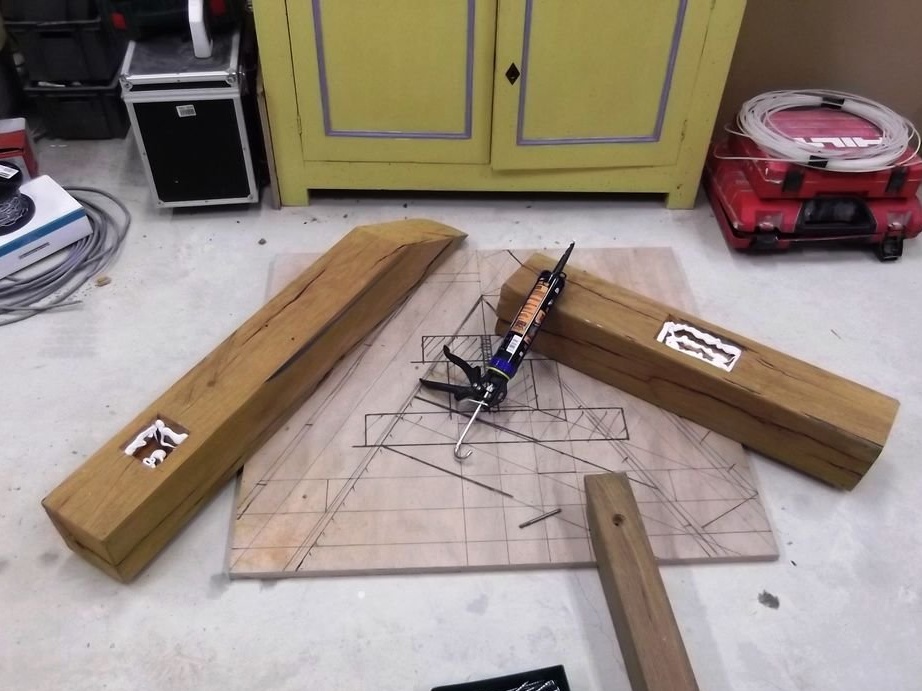
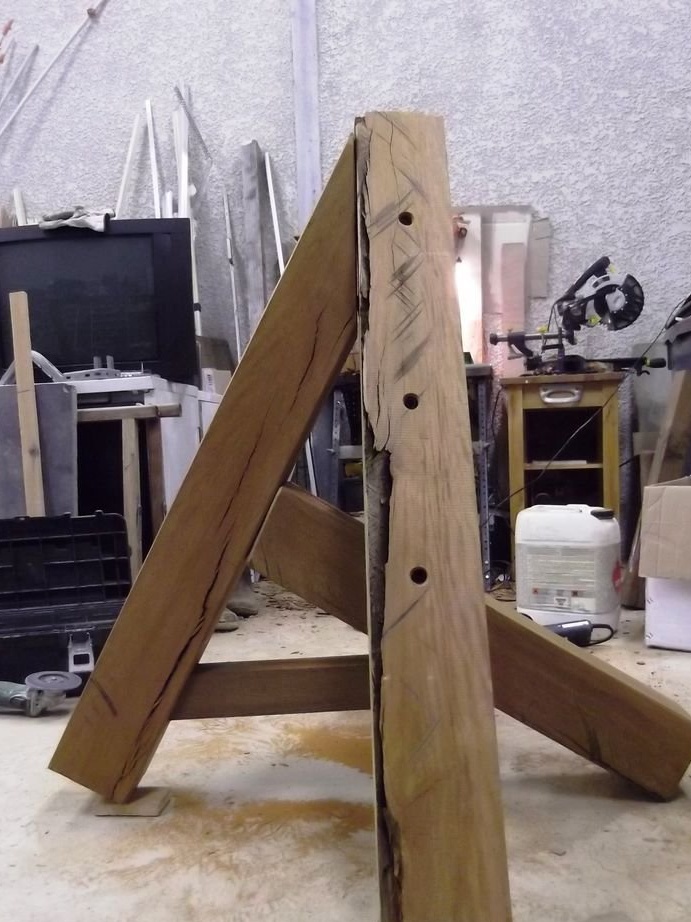
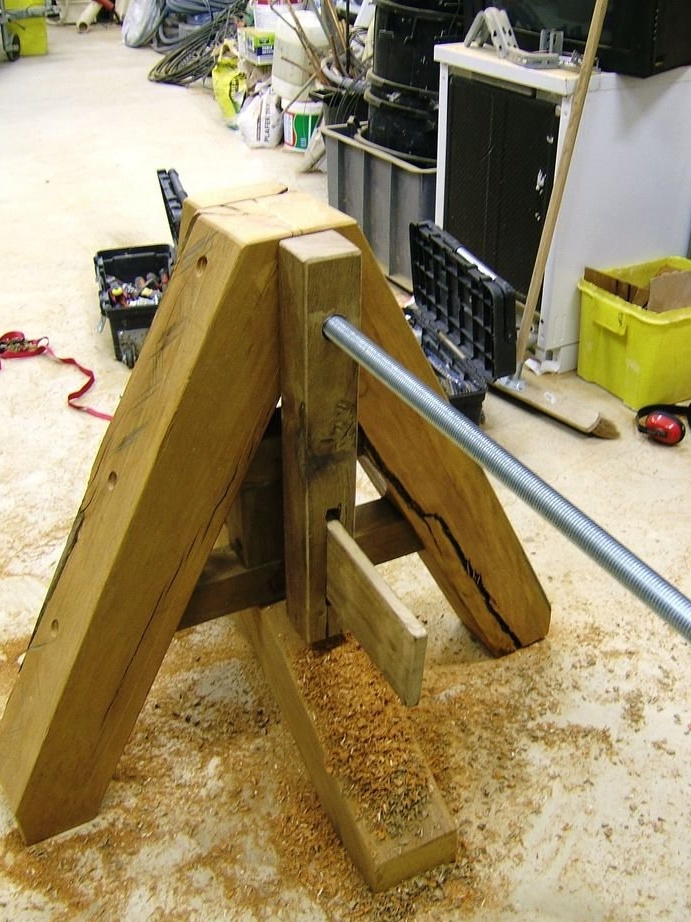
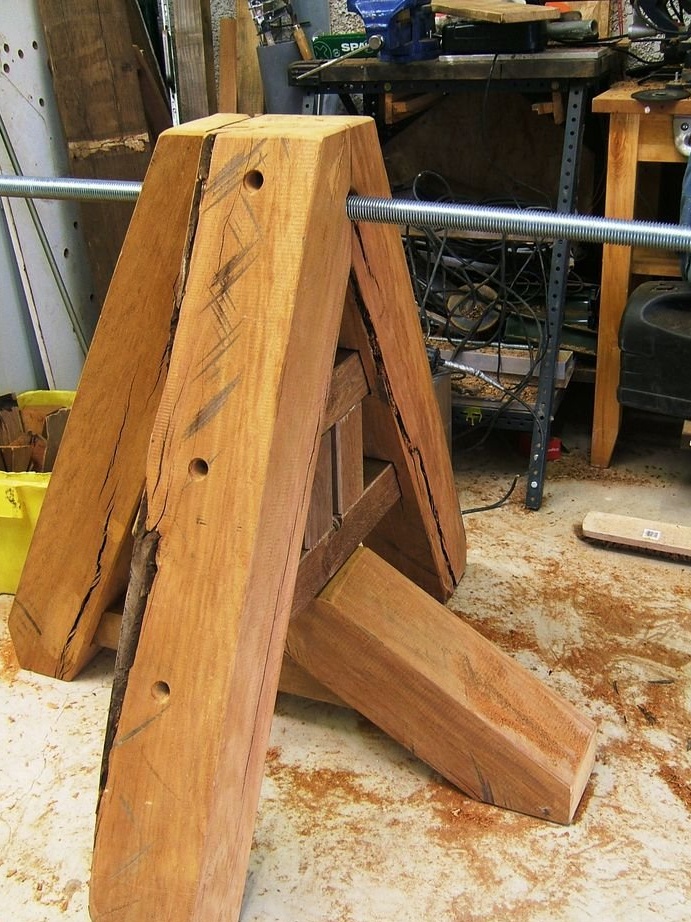
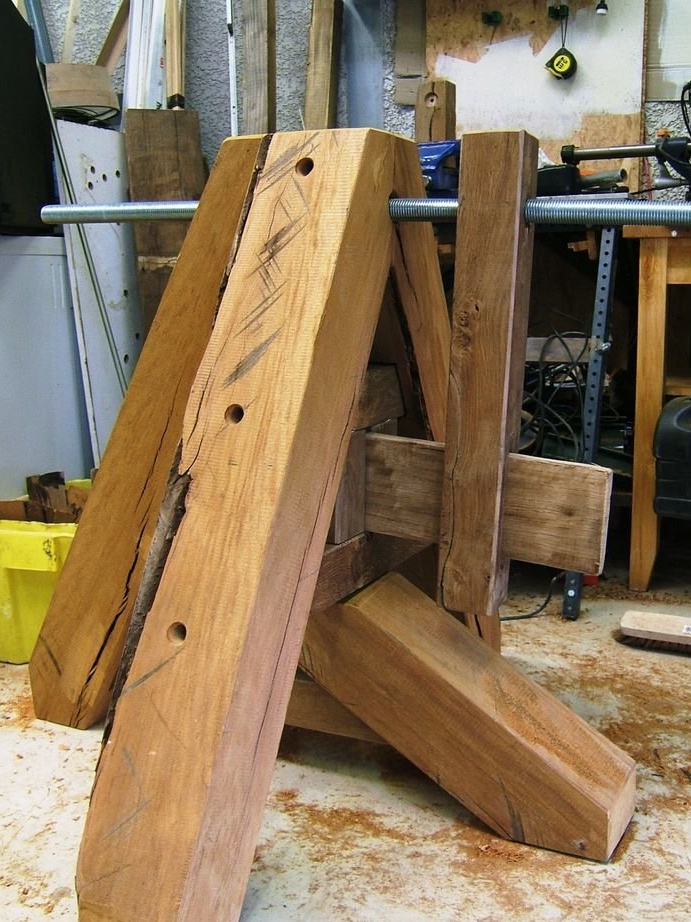
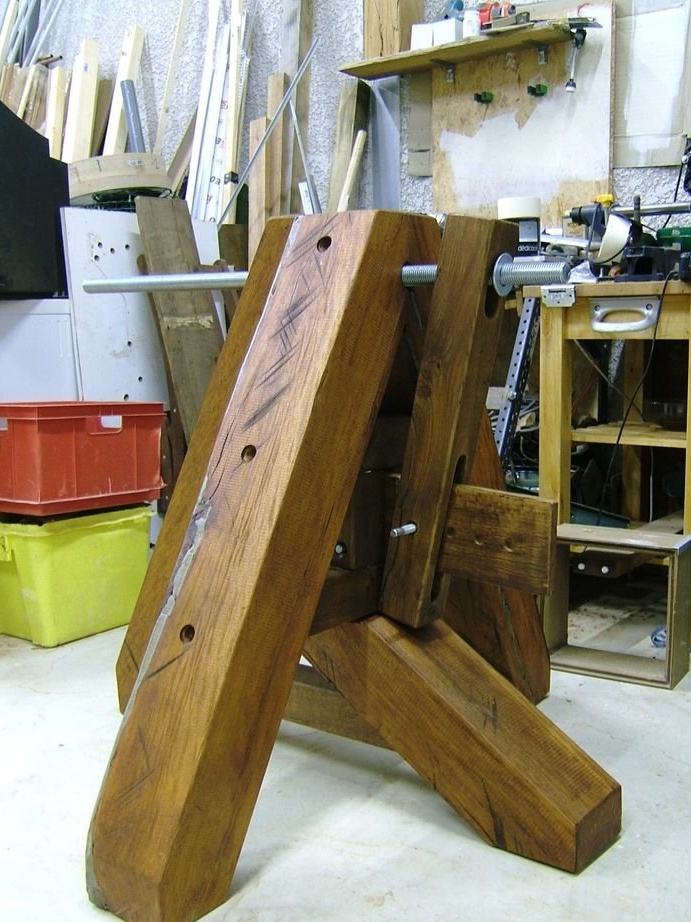
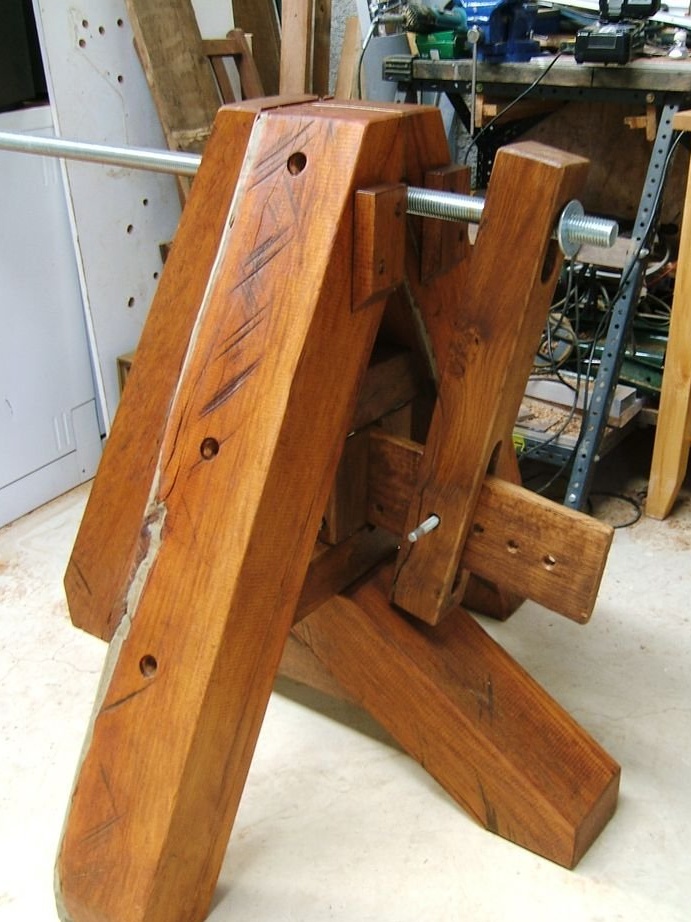
Step 6: Assembling the Large Support
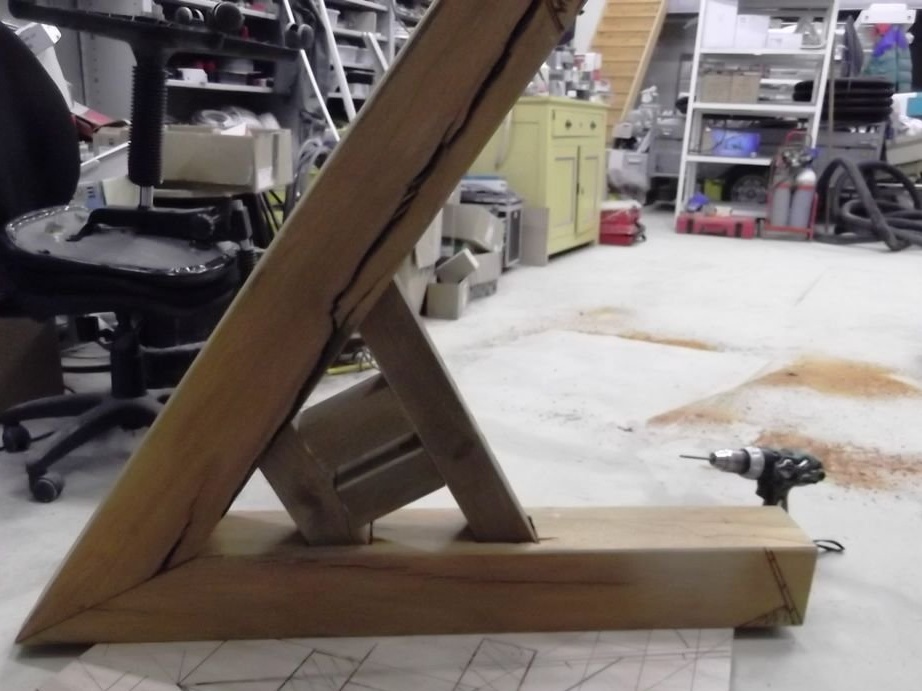
When the swotting was completed, the central part and legs were connected.
The cross member of the support was seated on glue, and also additionally fastened with screws.
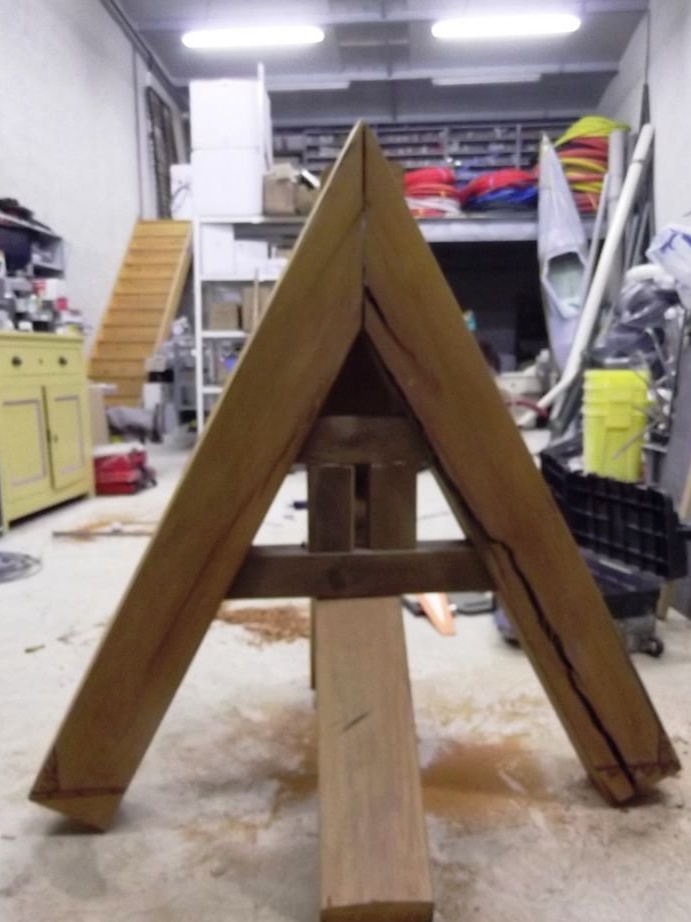
The big support is ready.
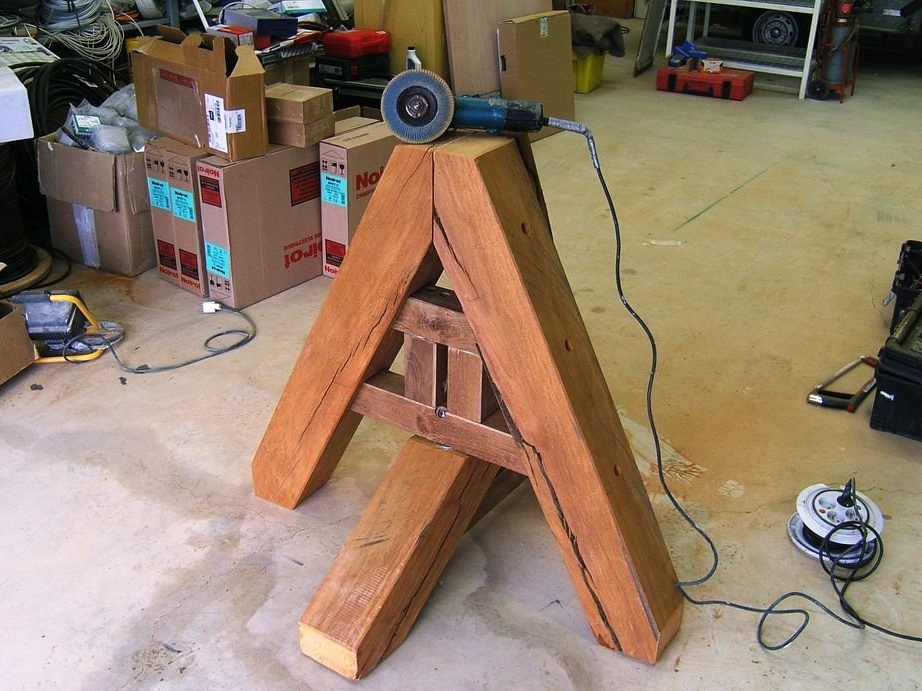
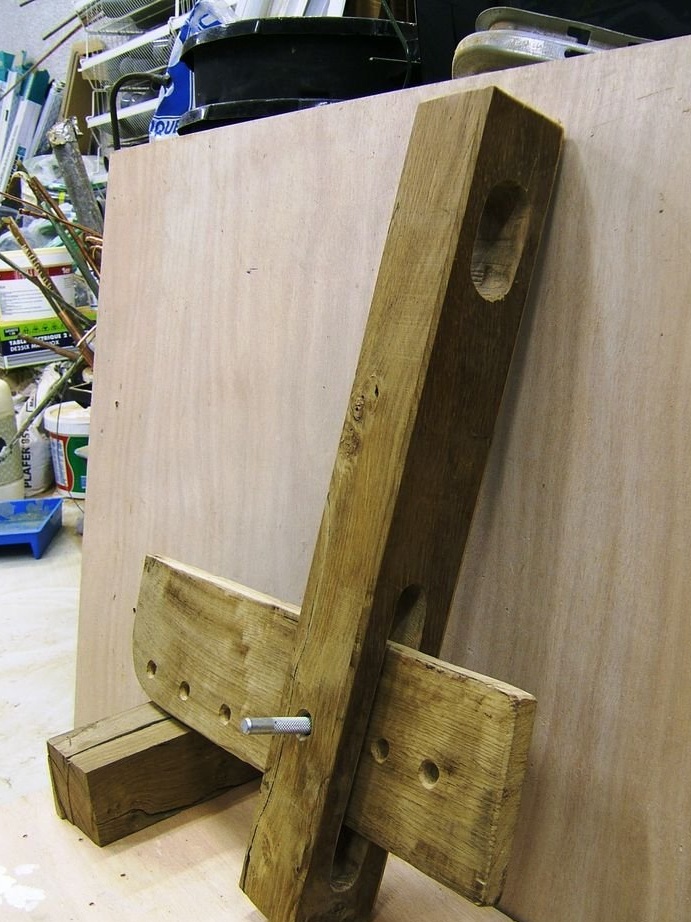
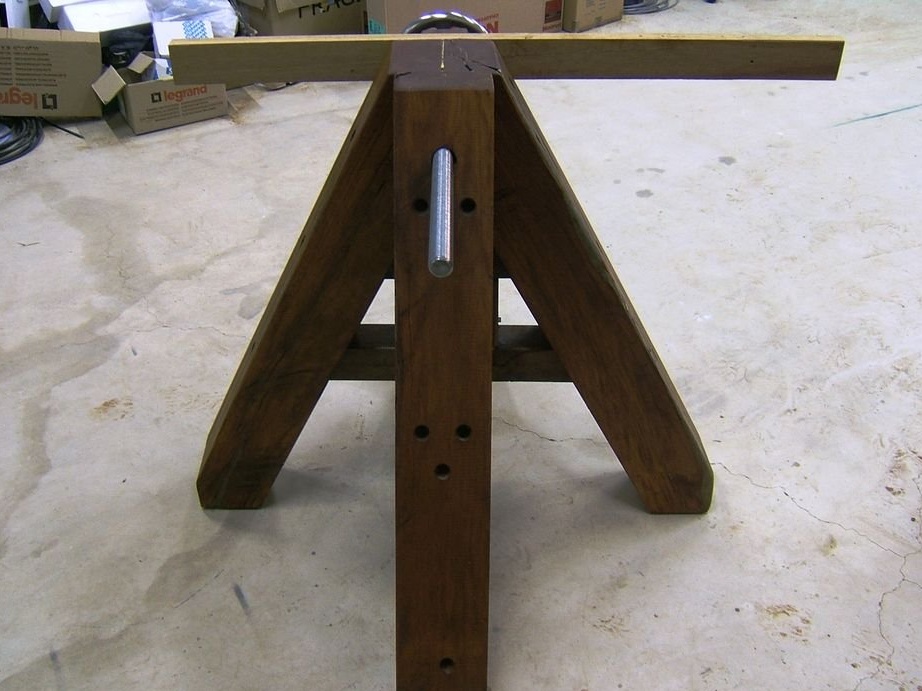
Step 7: Building a Small Pylon

Work at this stage:
- Measurements, cutting, grooving, assembly.
The same process, only a small form.
The large and small supports were finally assembled together and were twisted with only 3 screws - they are easy to install, easy to disassemble and transport.
Step 8: Clarifications
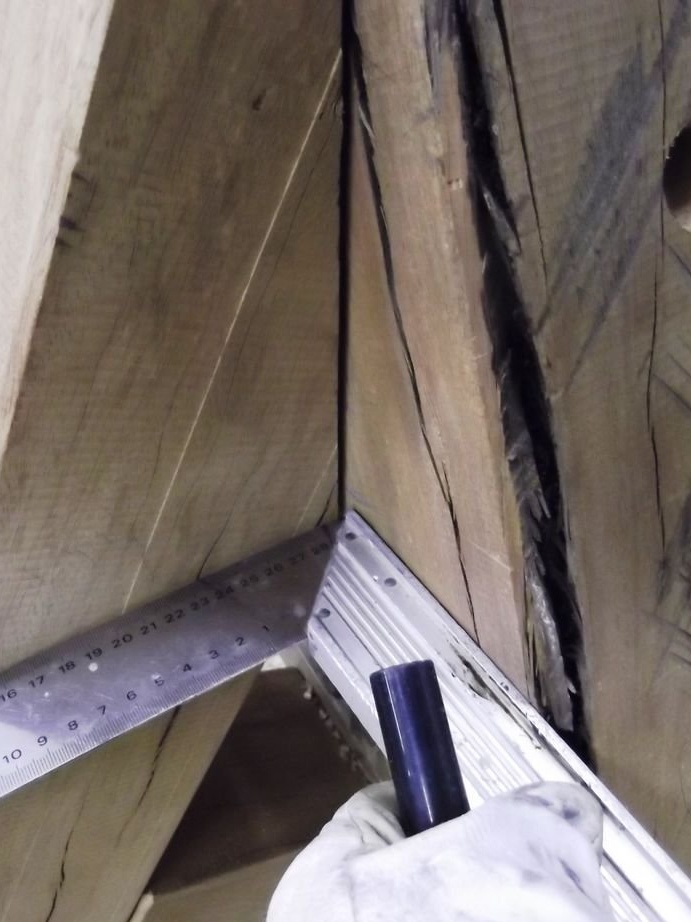
Before assembly, it was necessary to trim the lower corners of the supports.
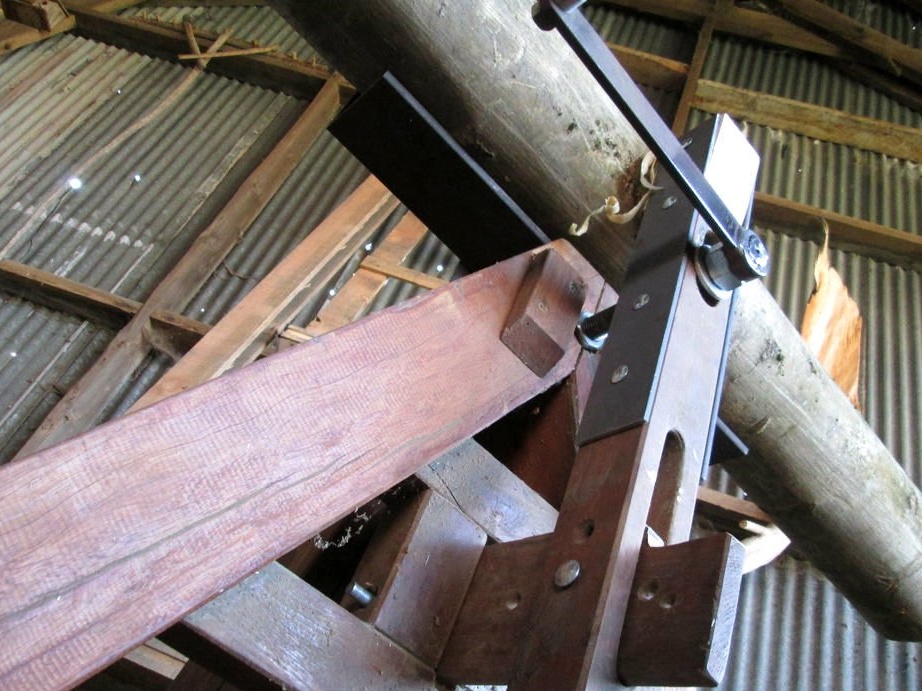
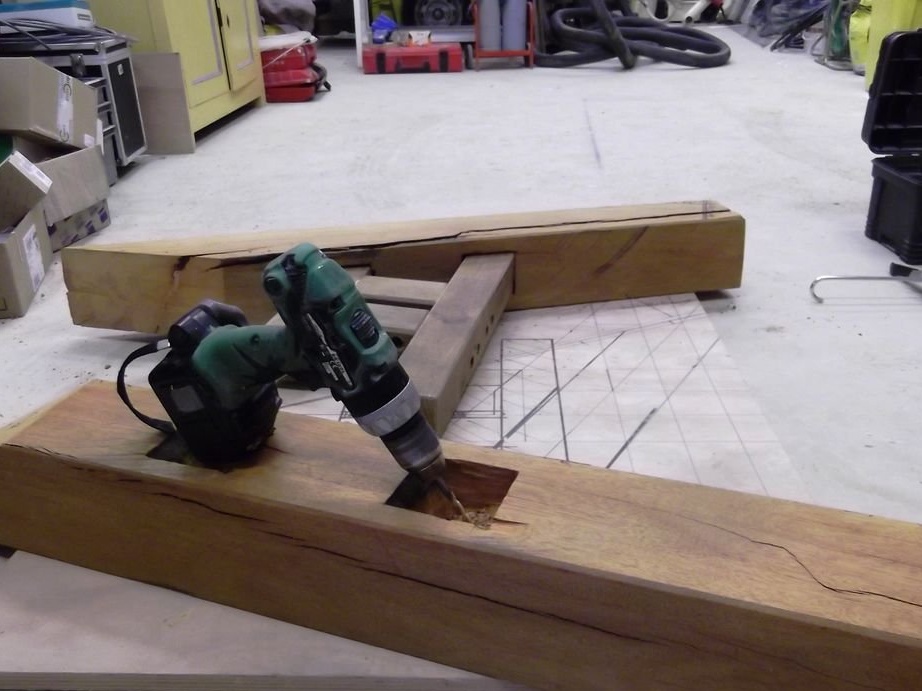
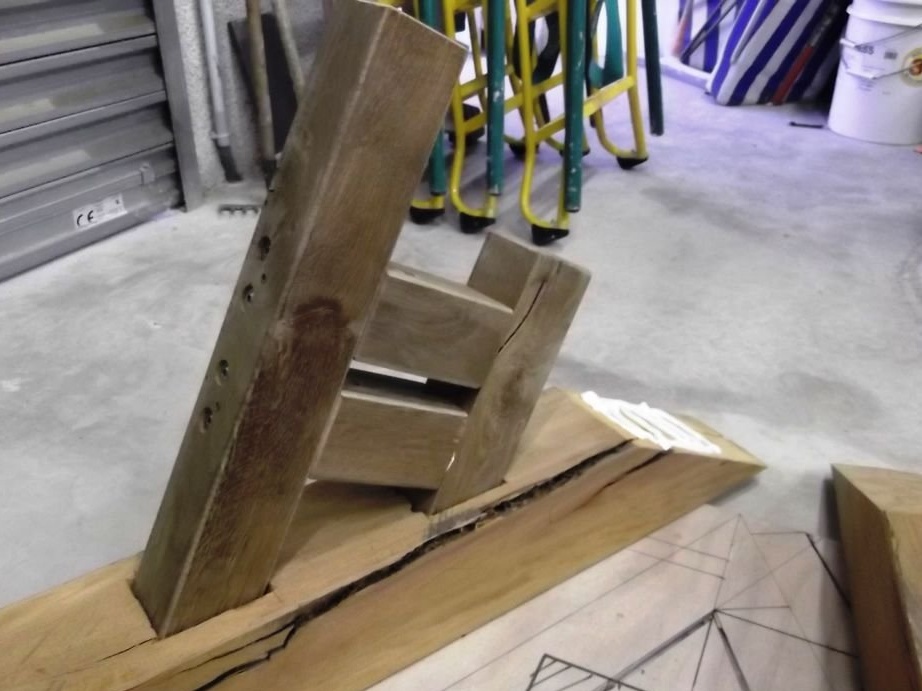
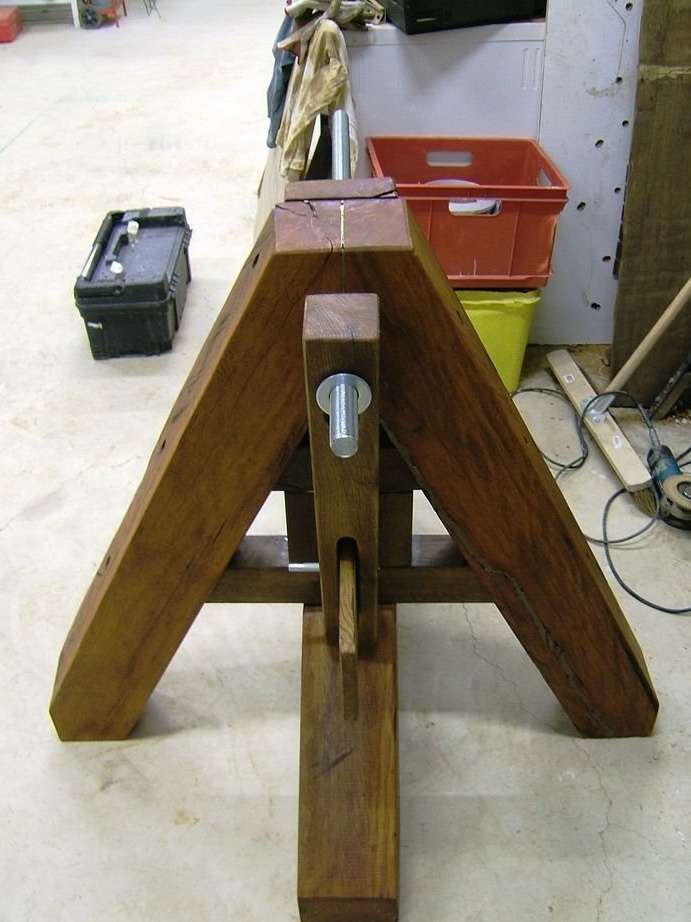
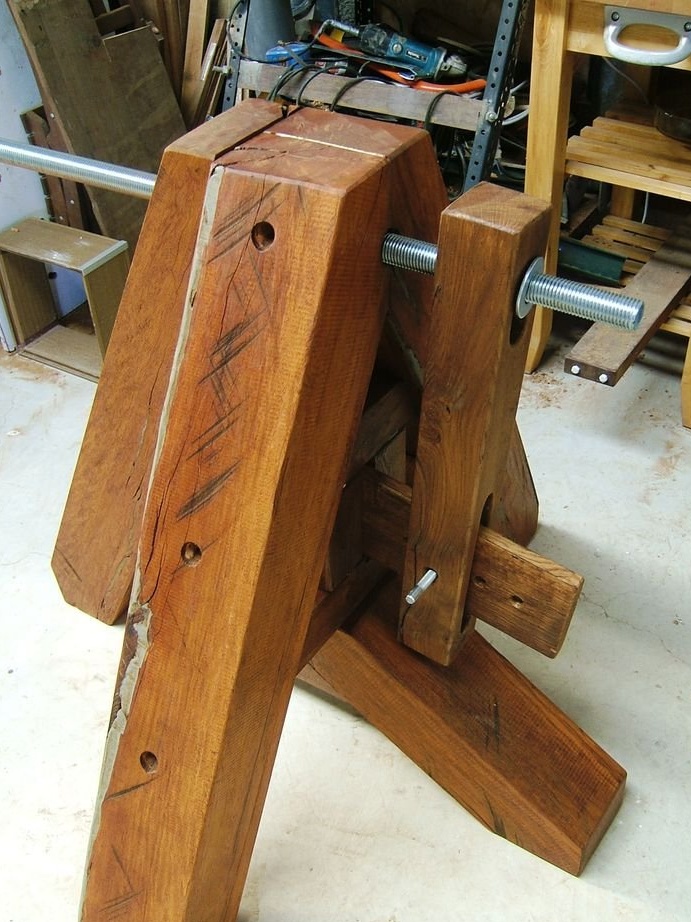
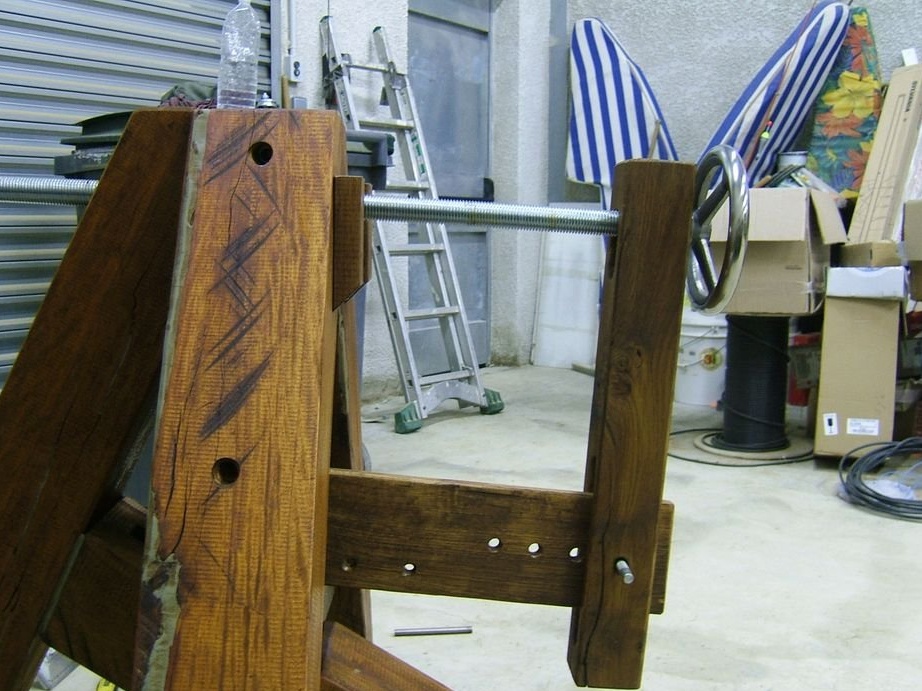
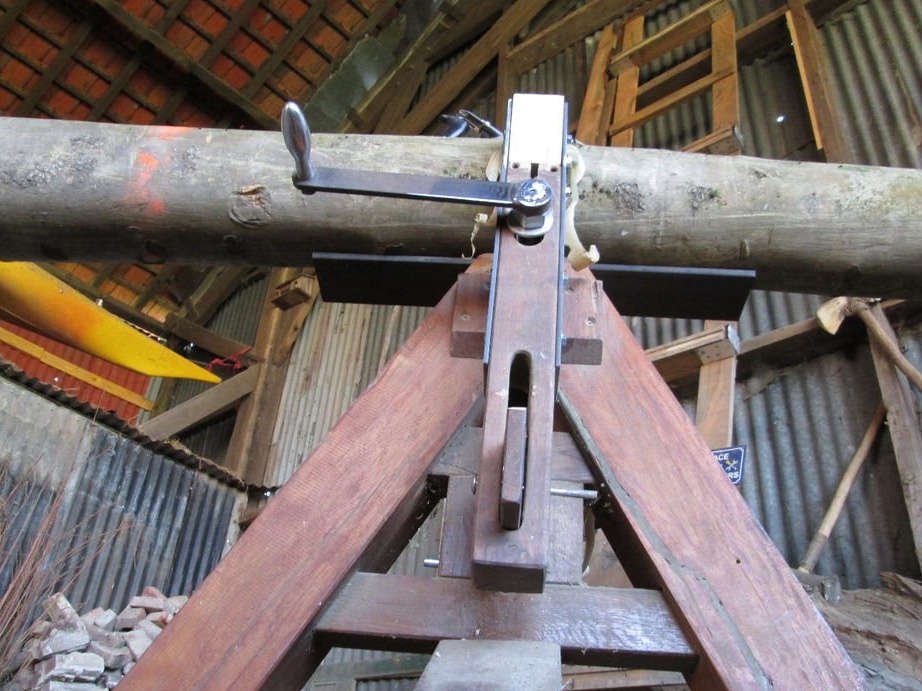
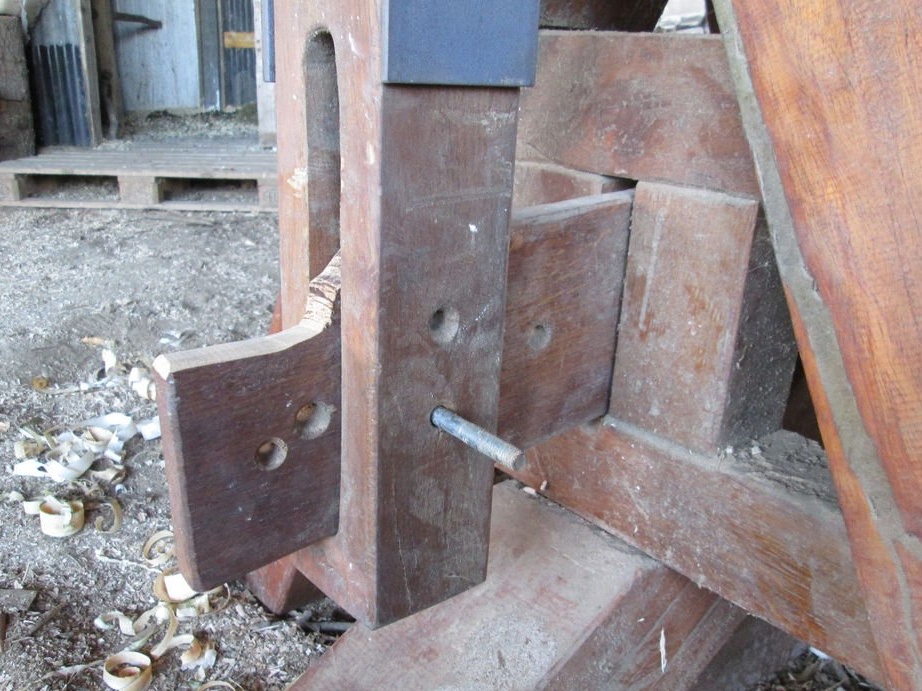
Step 9: Building the Swivel Bracket
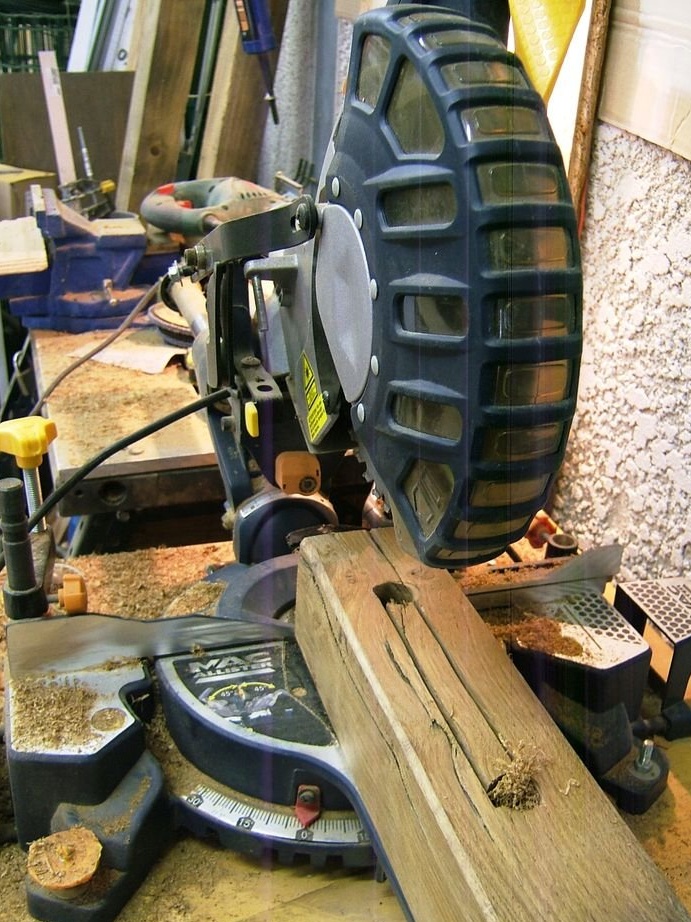
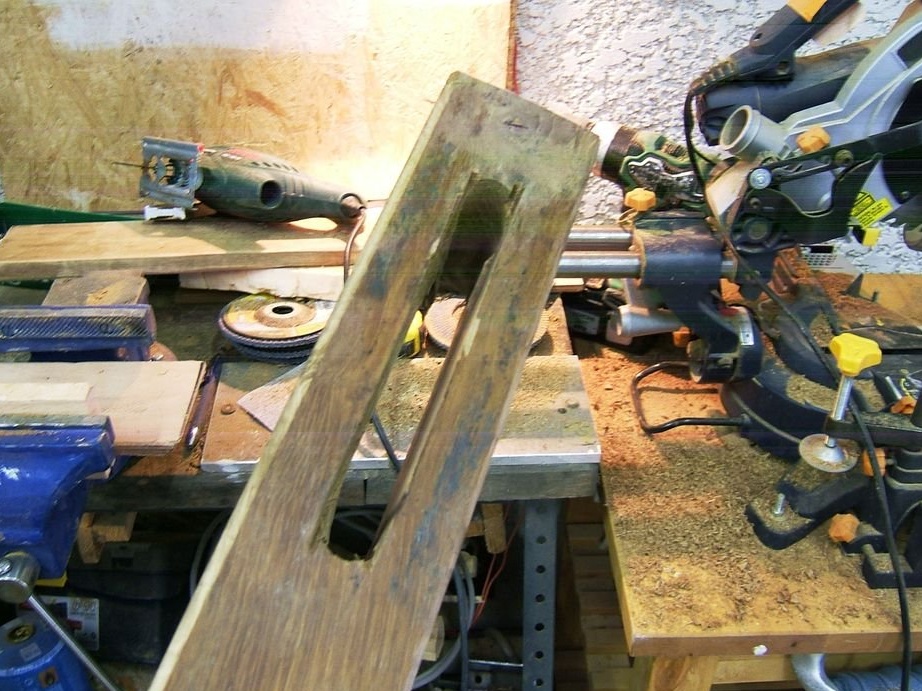
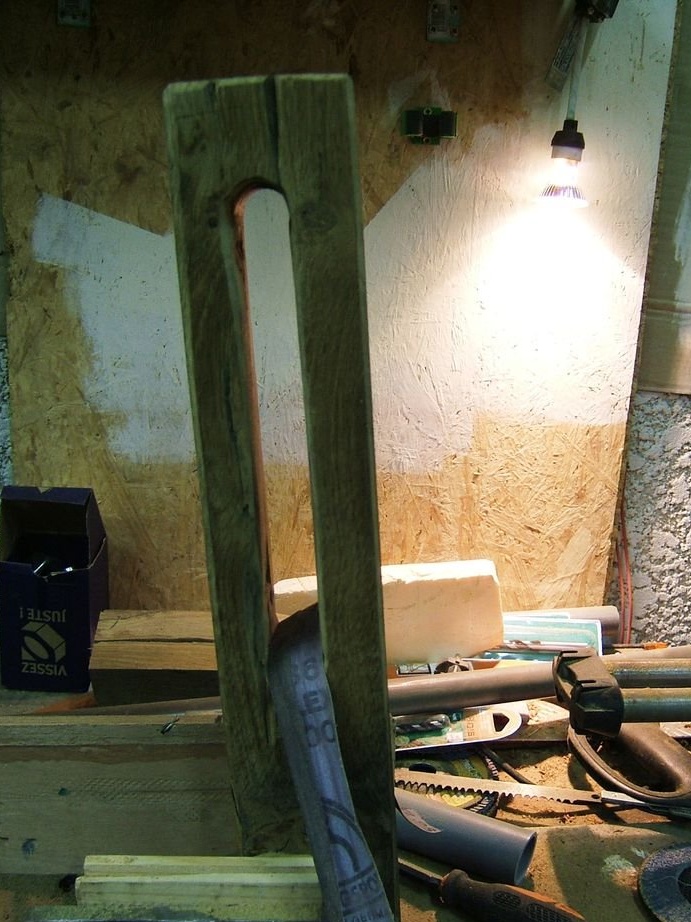
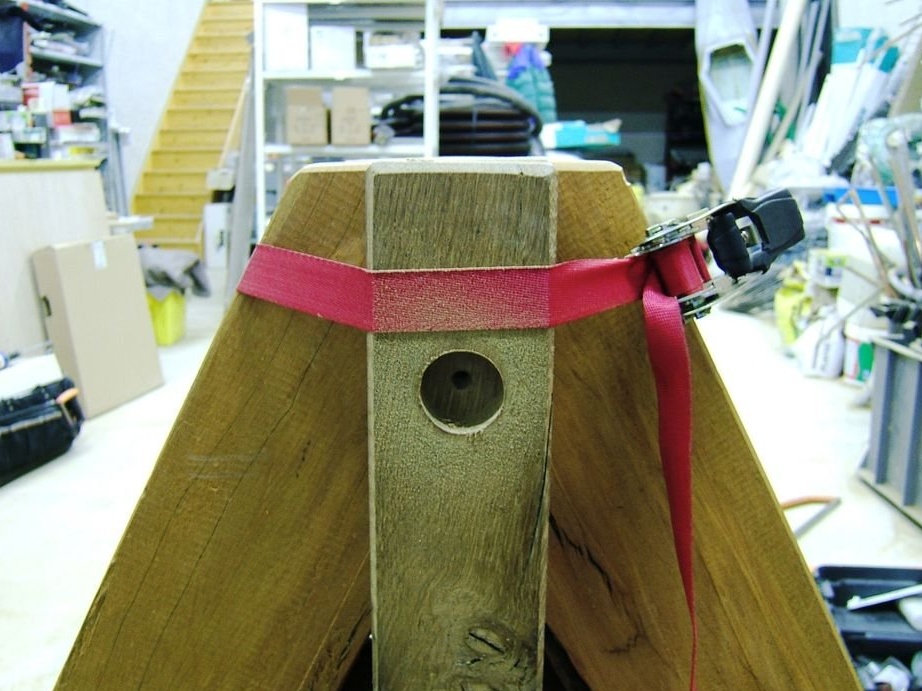


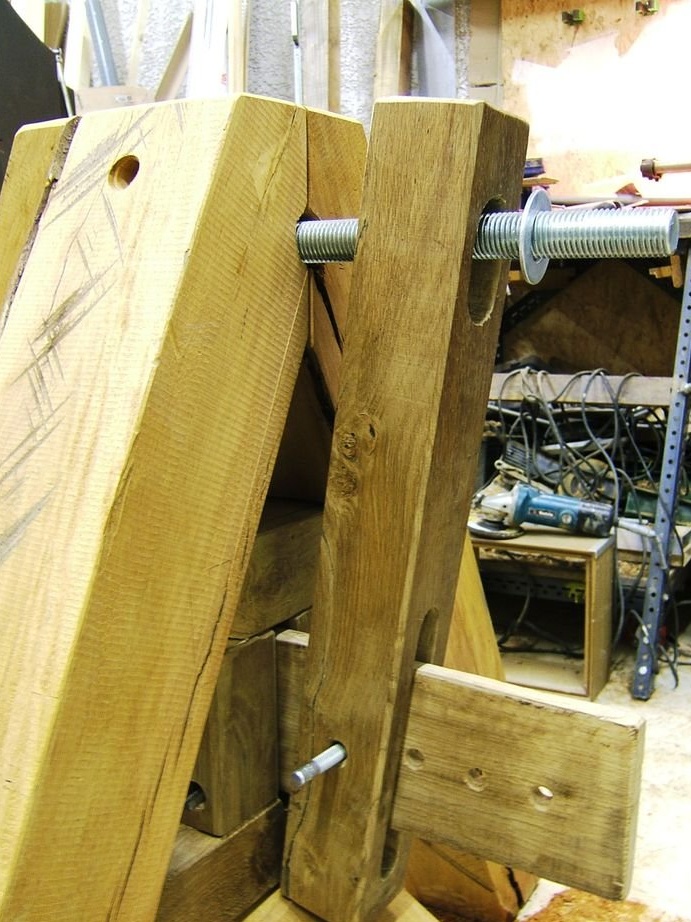
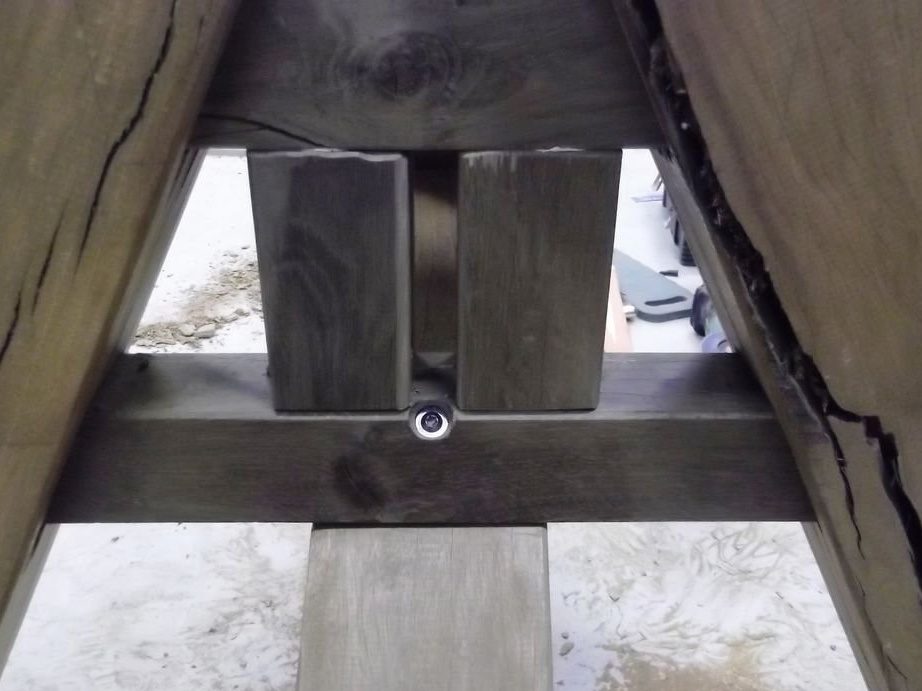
The bracket is made of two oak parts:
- one horizontal, which slides in the middle of a large support.
- one vertical, which will be pivotally connected to the first and will move towards the large support using a threaded rod.
Work at this stage:
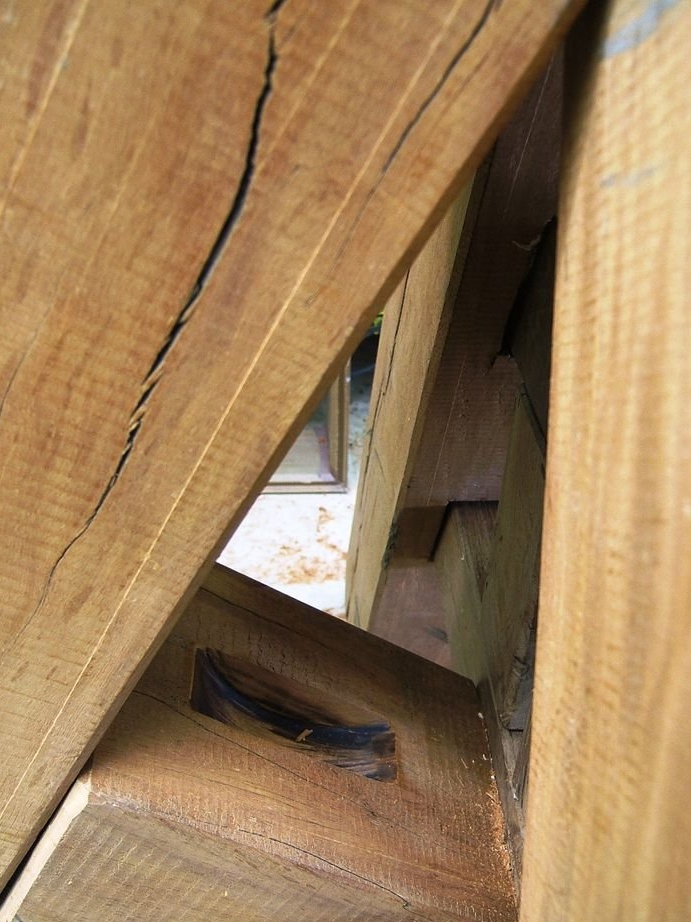
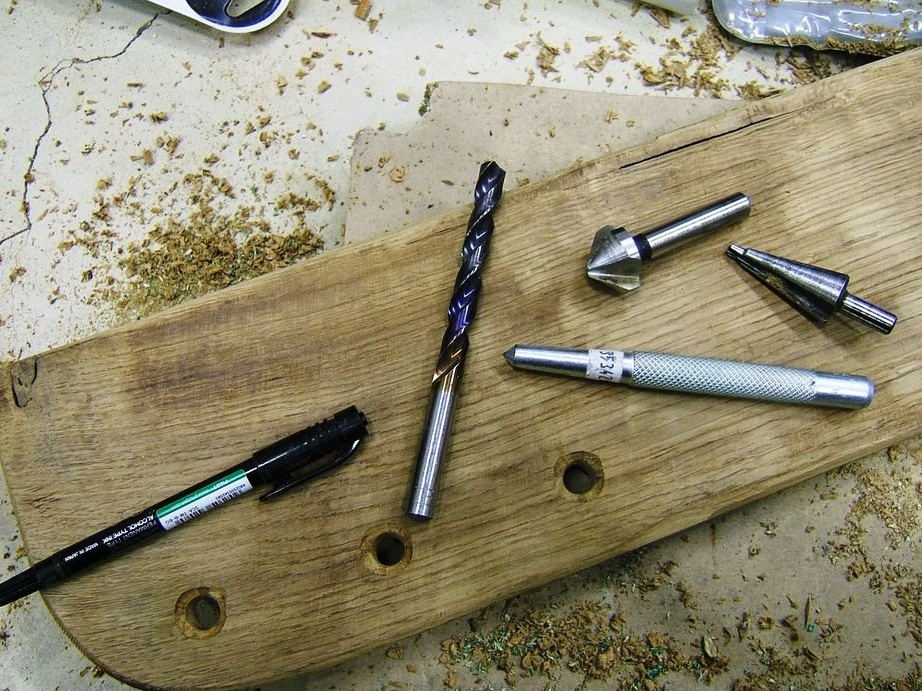
- Horizontal: cutting and drilling - pay attention to the hollowed out area in a small support.
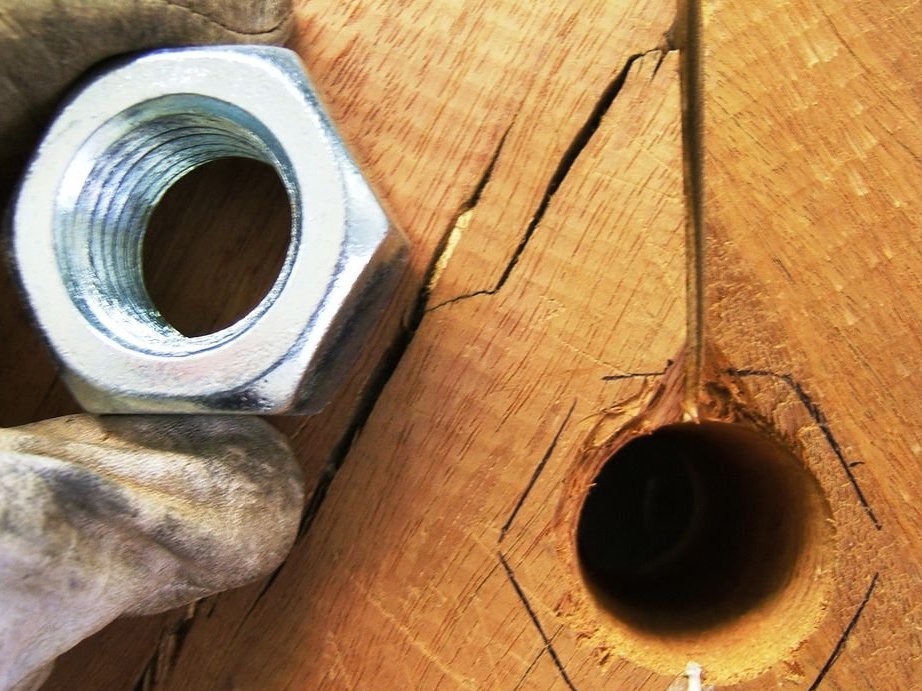
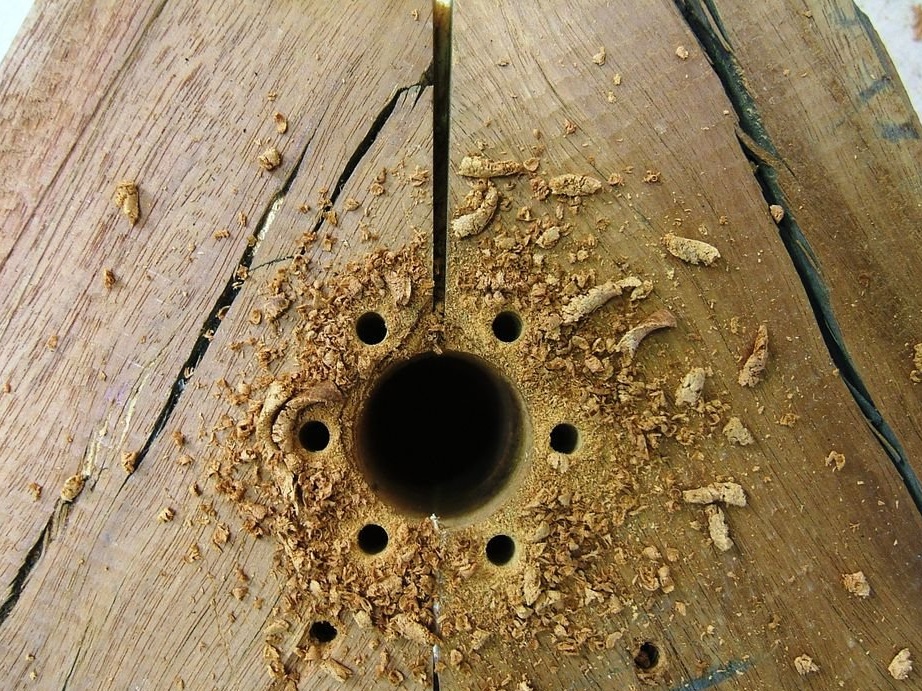
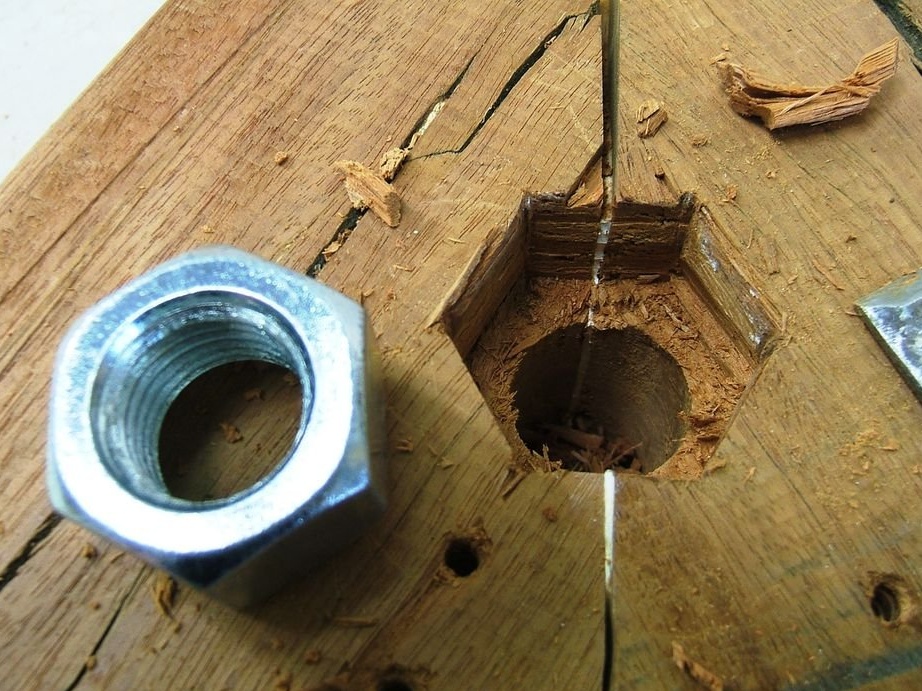
- Vertical: Use a pen drill to drill a series of holes in an oak beam and a circular saw to align the area between these holes.
Remarks:
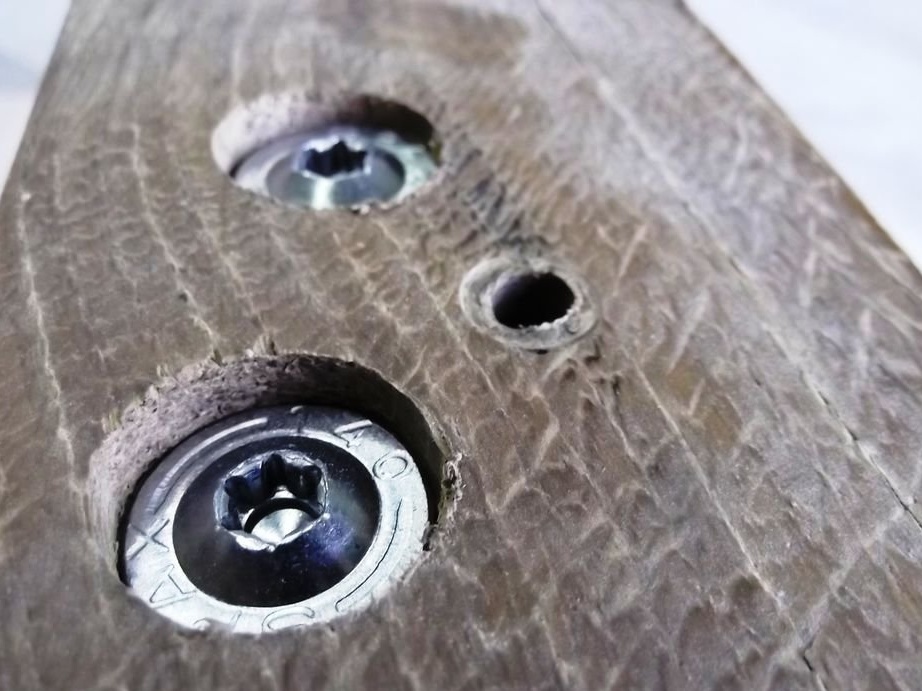
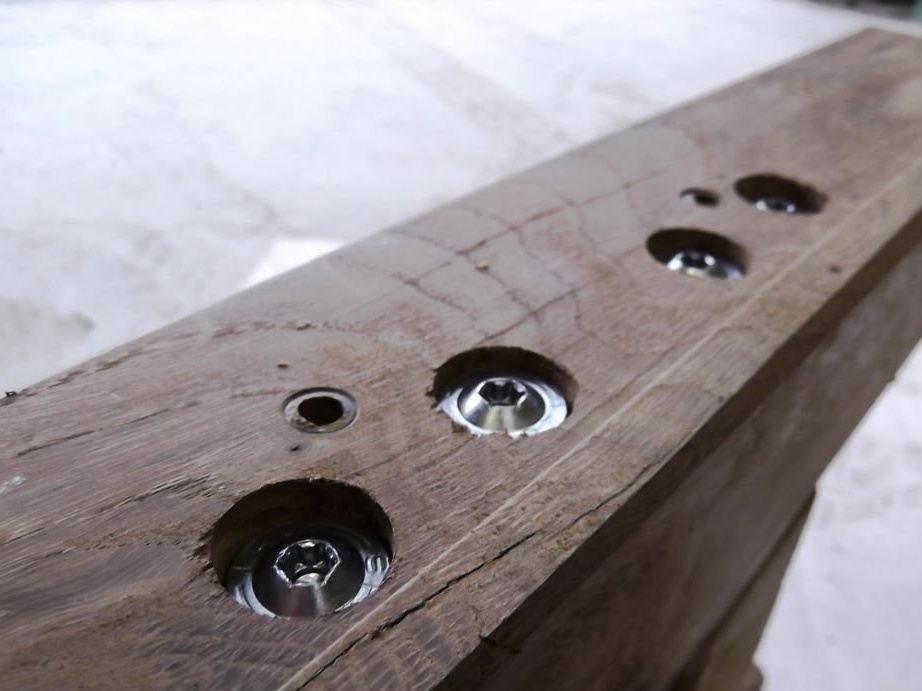
- a hole for a bolt was drilled in the back of the large support.
- several holes were drilled in the horizontal part of the bracket in order to adjust the clamping of the material depending on the size with which it is necessary to work.
- The joint is connected with steel pins.
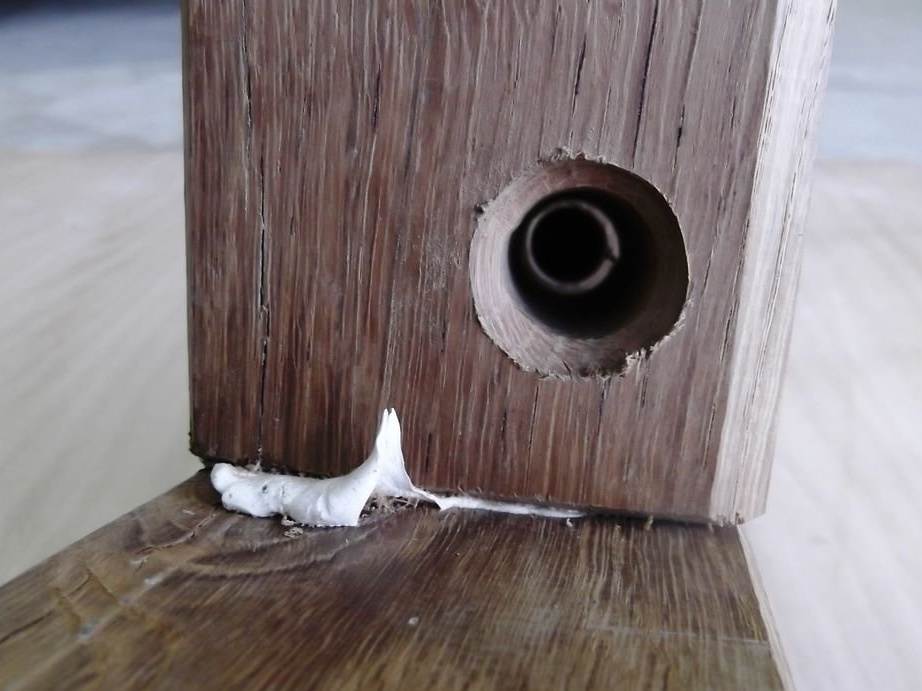
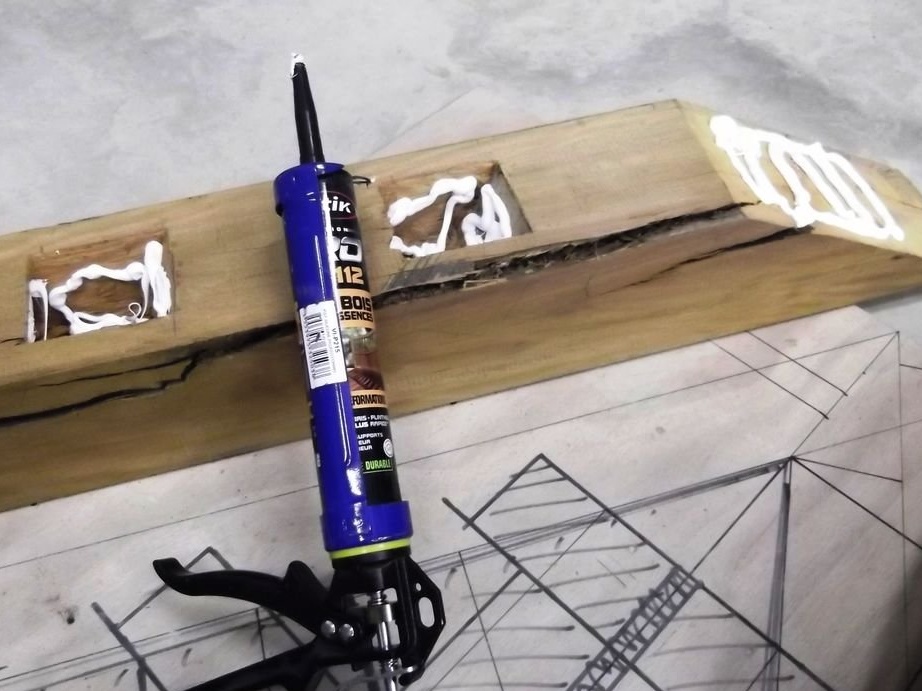
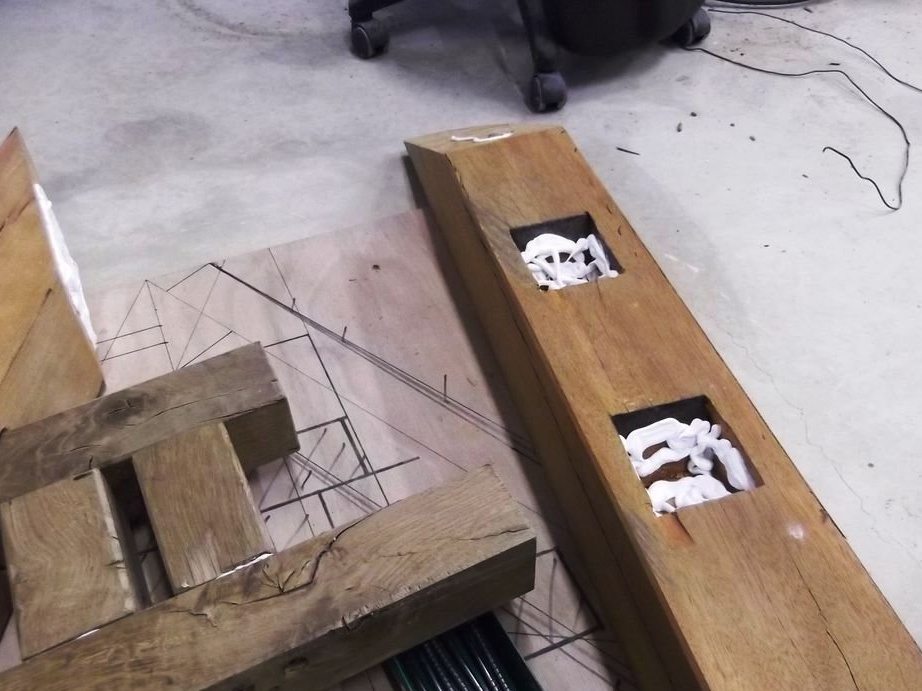
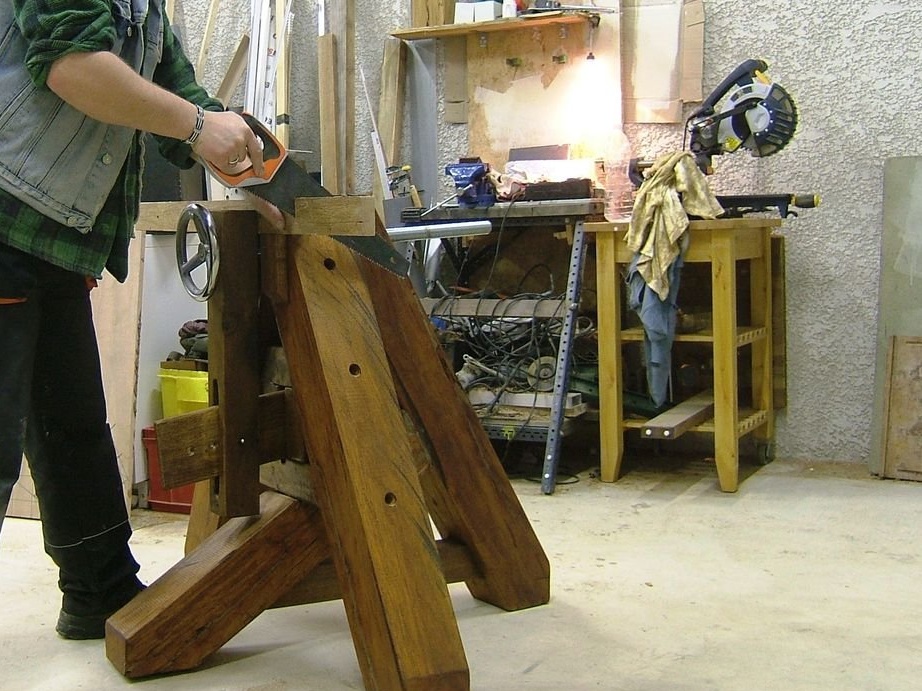
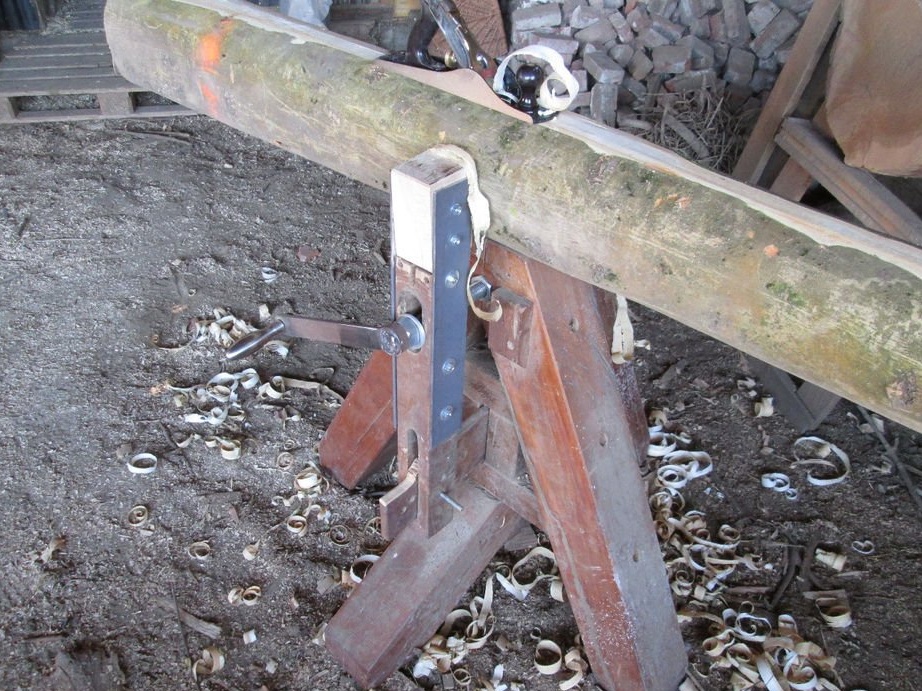
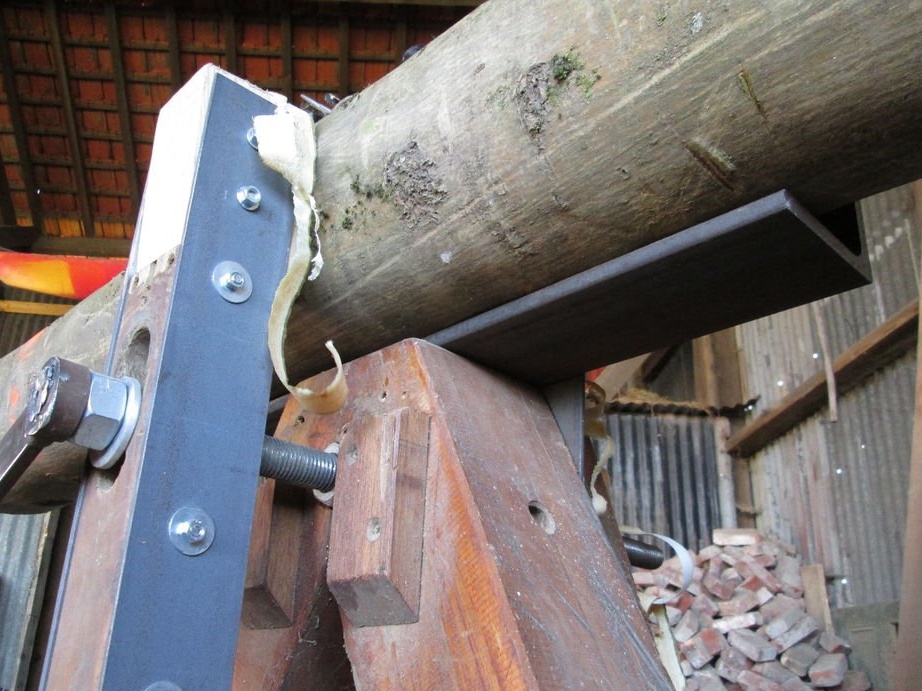
Step 10: Plastic Surgery and Lubrication
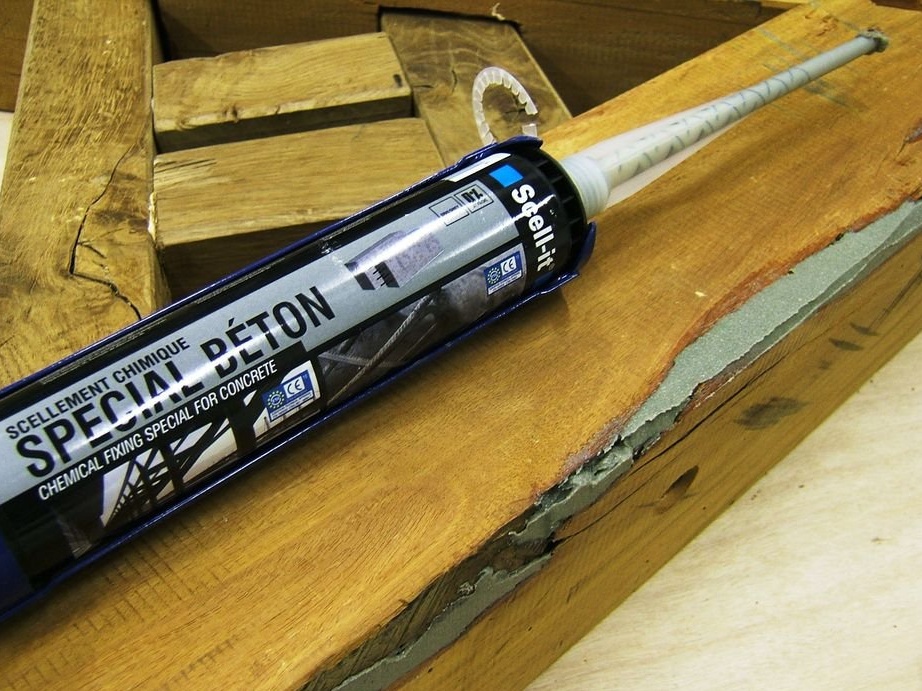
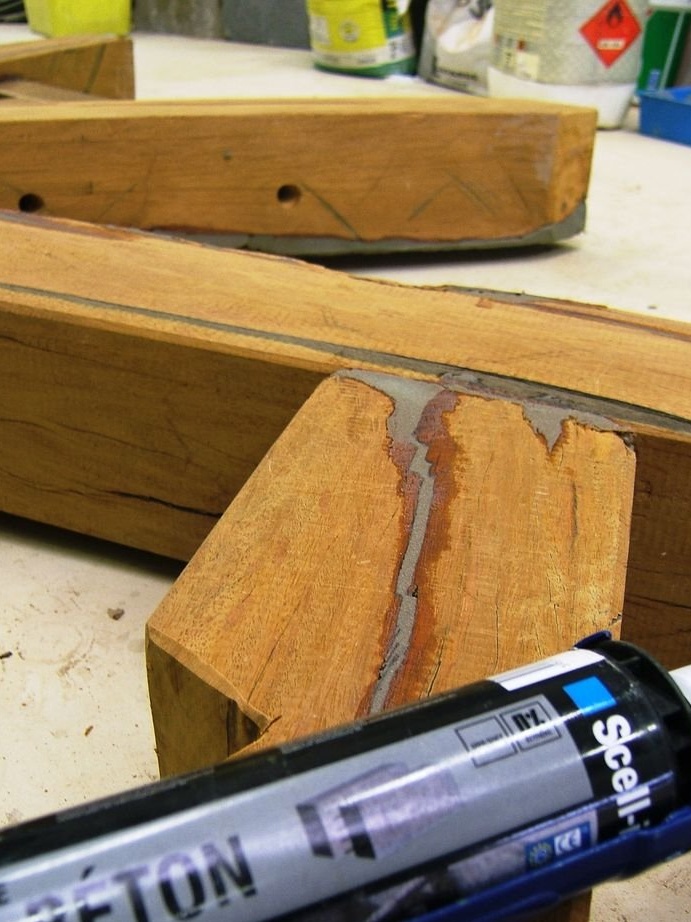
Wooden cracks are filled with a chemical anchor - a resin used in construction to hold studs in concrete.
Fast cure, the joint is as solid as concrete.
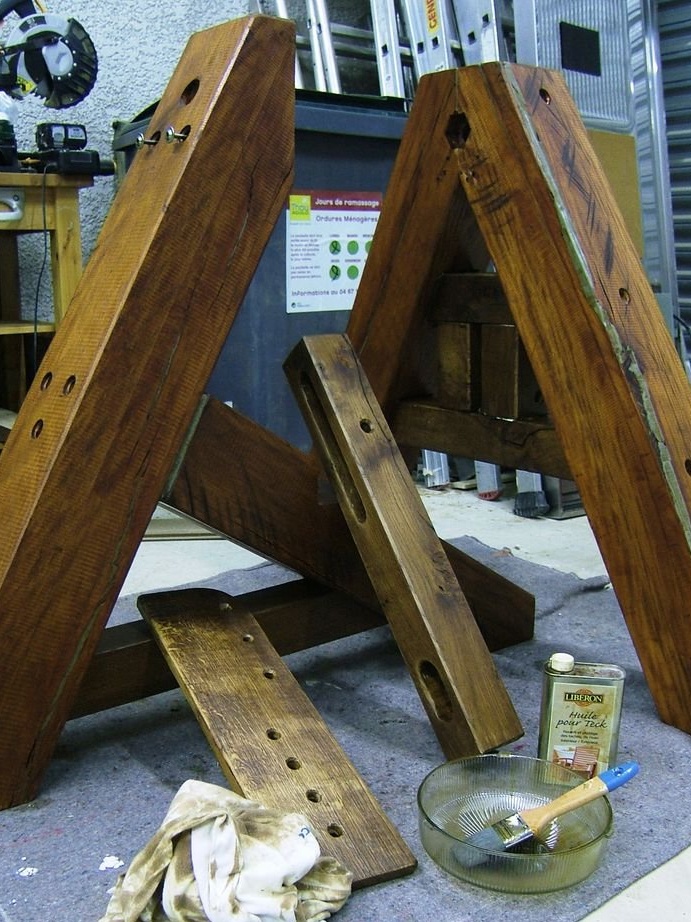
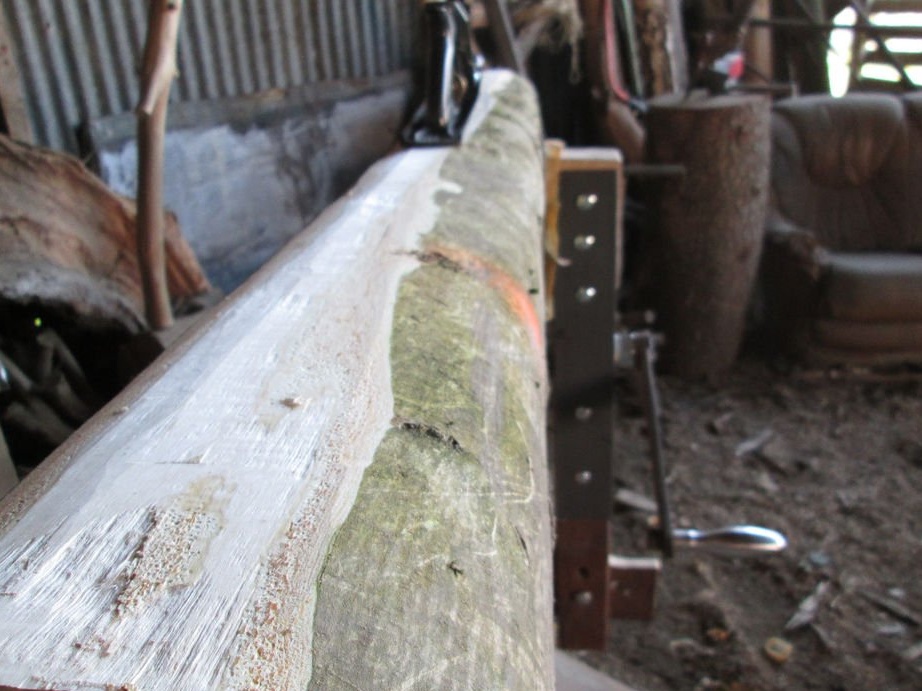
At the end of the work, the master covered the tree with several layers of tung oil, wiping the excess after each layer of oil.
Pay attention to the two “shoulders” attached to the large support: this is a small helping hand for a large weight of products to keep everything in place.
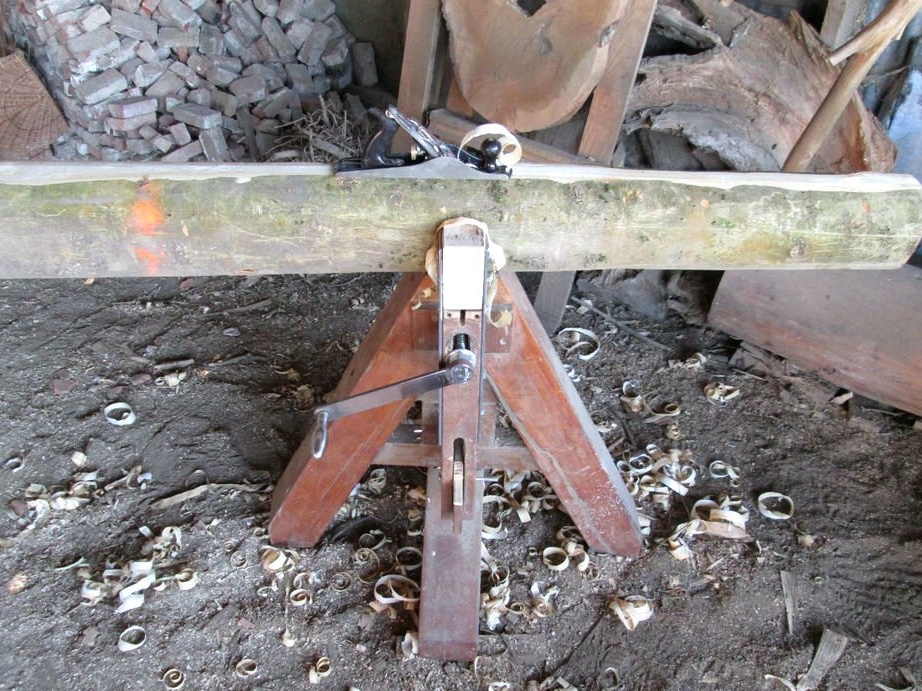
Step 11: Adding the Flywheel to the Screw Rod
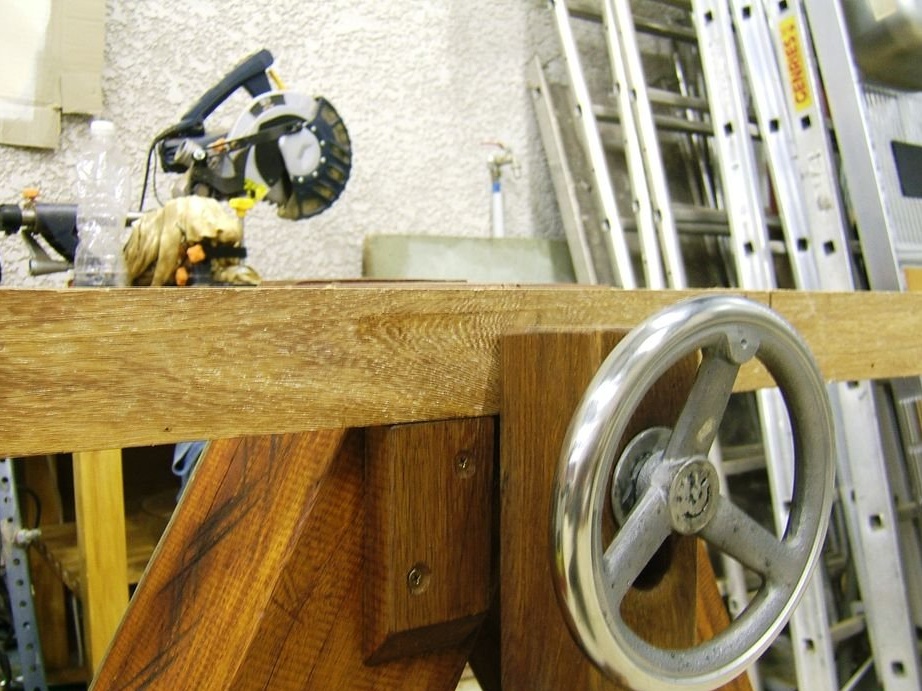
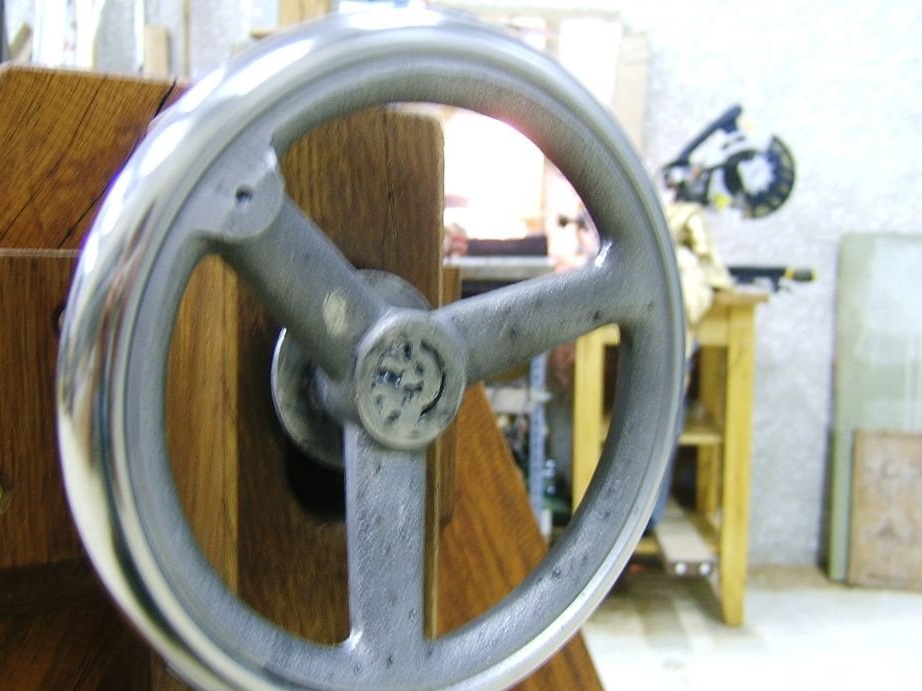
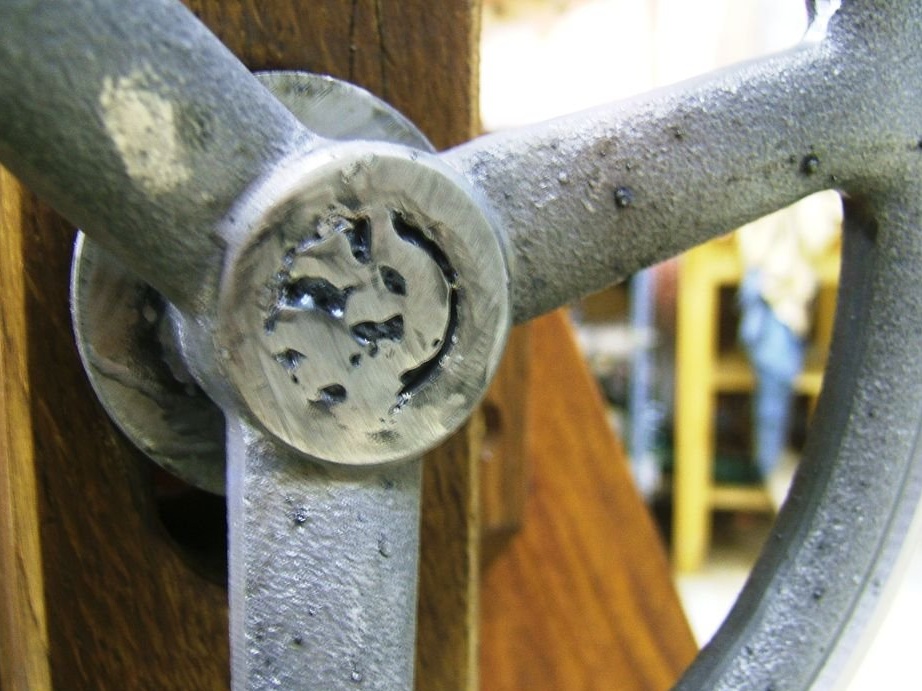
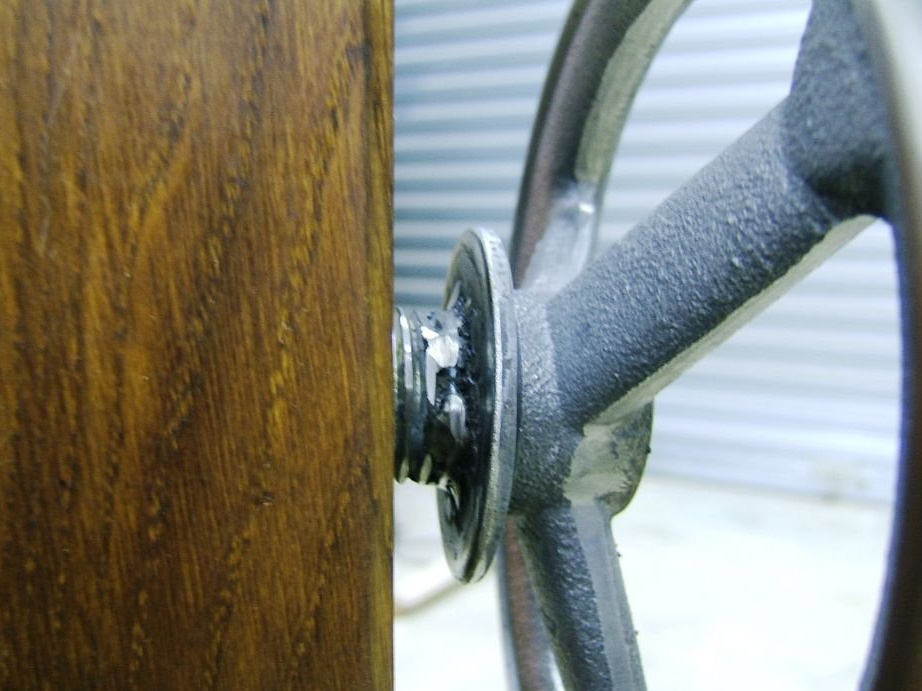
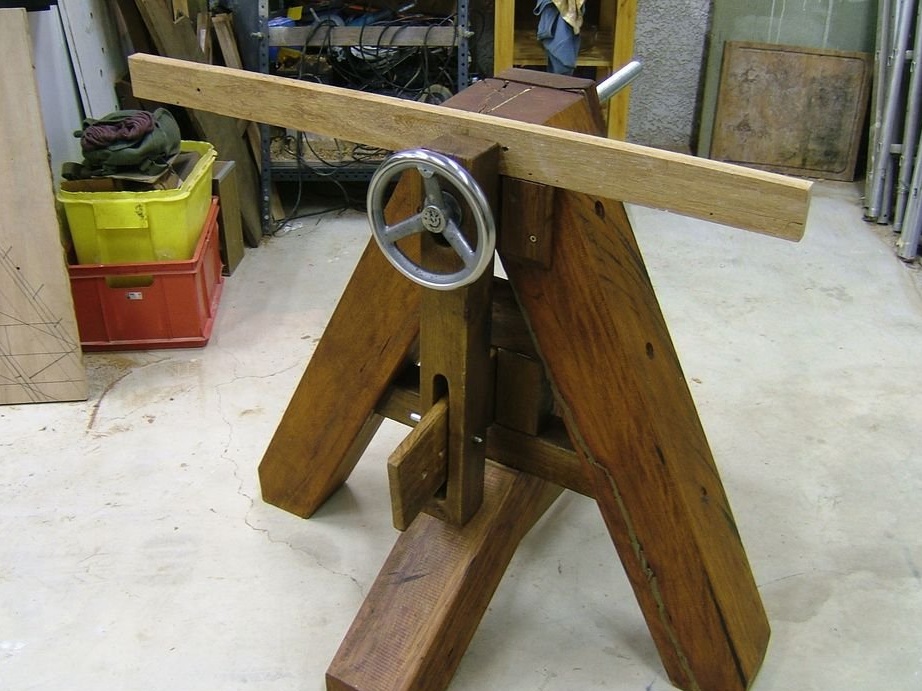
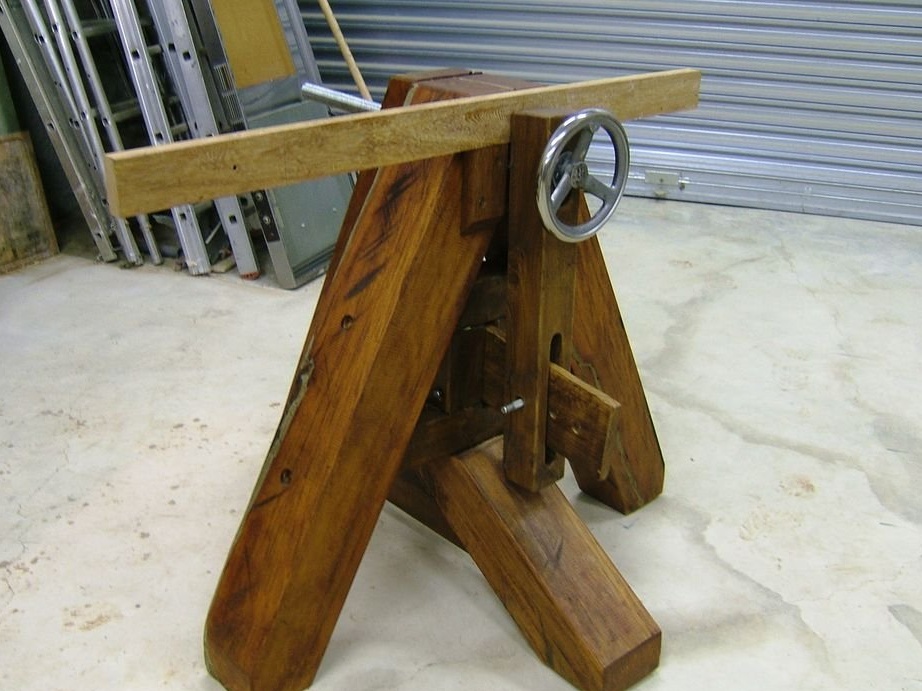
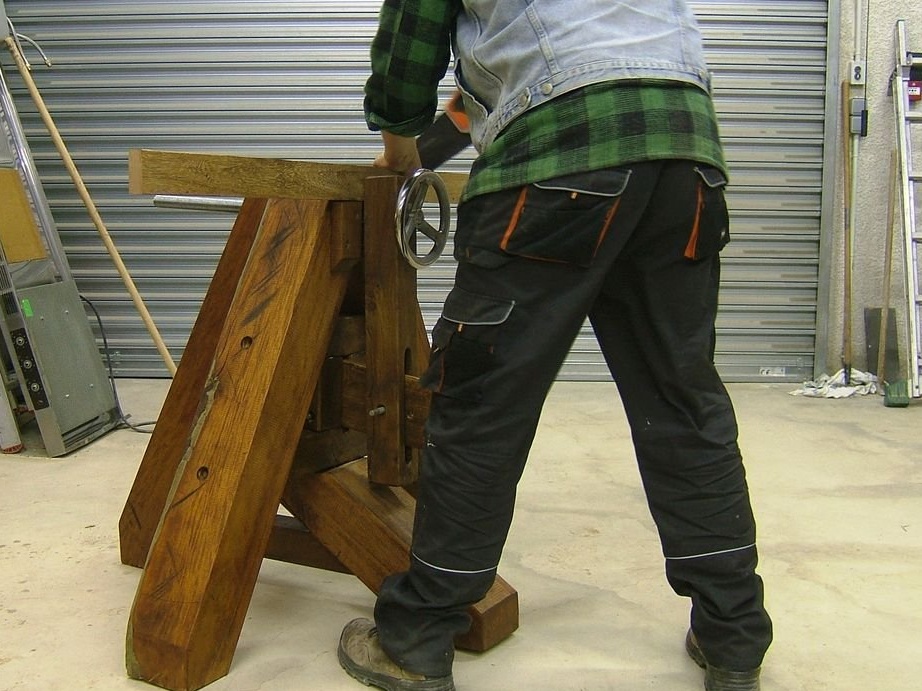
Some adjustments:
- trimming the rod to a human size and adding a second bolt to stabilize;
- some welding work;
- grinding;
All is ready.
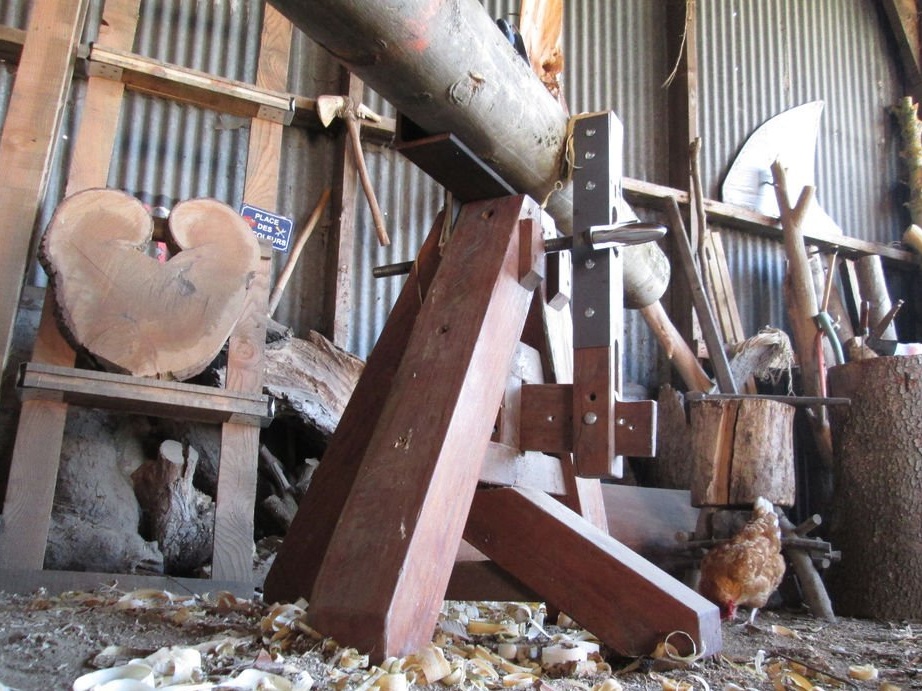
Step 12: A few years later ... Upgrade
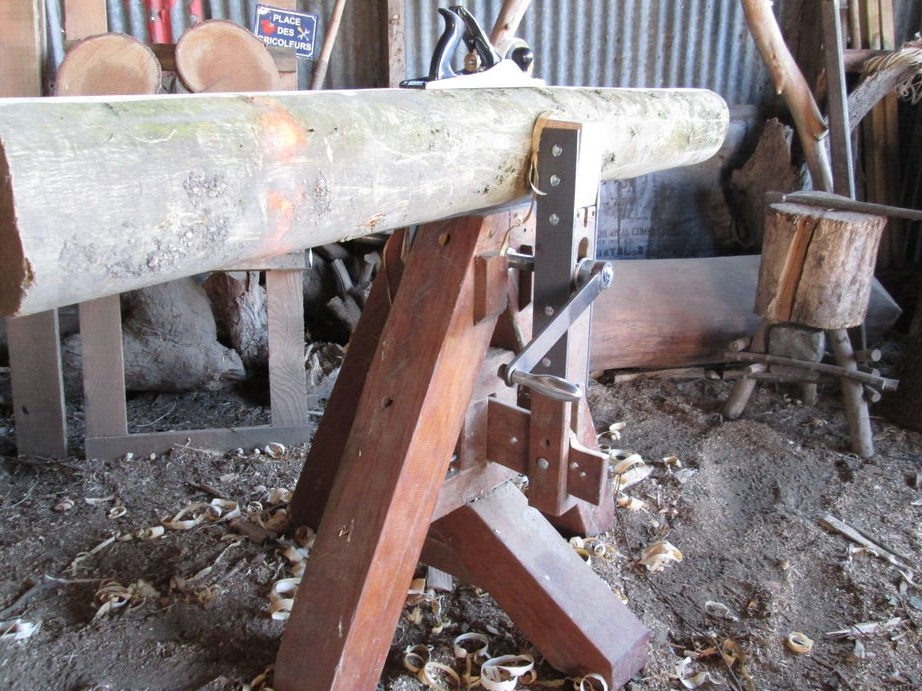
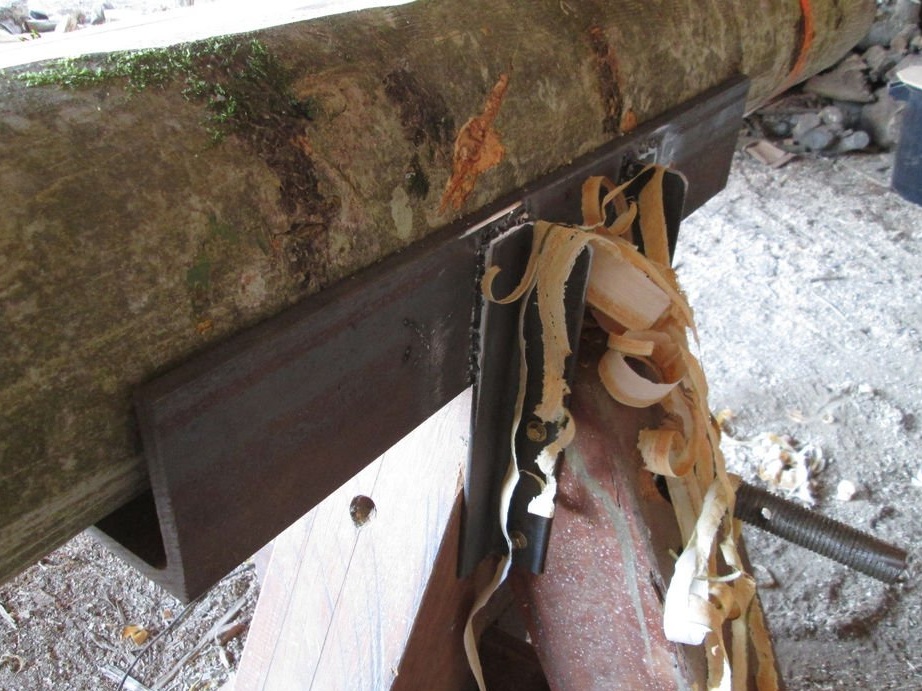

This update was necessary, as the master found that his vise was simply useless when processing large wooden beams and logs. There was not enough space for clamping, and the flywheel was useless.
A large and long corner was added at the top of the large support, the lever was made longer, and the flywheel was replaced with a long handle ...
More steel, more weight, more power, more stability, more features.
Despite everything, this vice is stable, like a rock. But it's a little hard to move them ...