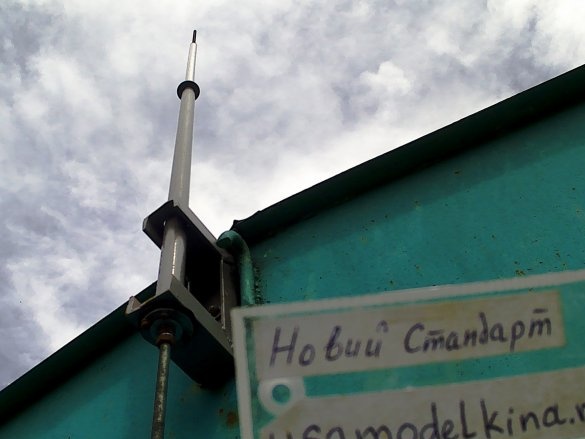
Hello people, as we do not deserve to bypass the topic of flagpoles, but in vain, flagpole knowledge and the theory of laying vertical reinforced pipes have many interesting points.
When installing such objects, you must adhere to certain rules, a pipe section cannot have cracks, bends, dents, cuts or holes. In power vertical installations, a high-quality anti-corrosion coating is also important, which is updated if necessary. The pipe must be earthed with a reliable electrical contact over its entire length.
As the height of the flagpole, the diameter of the pipe is not bad to reduce, like a telescopic antenna. This technology is due to a decrease in the weight of the structure, the displacement of the tipping center closer to the bottom, and the commonplace reduction in material costs, this is especially valuable when dealing with a high stand.
It is possible to weld into a continuous high pipe, but it is not practical when you have to disassemble, paint, or reinstall it later. It also becomes more complicated and impossible to repair damaged areas. Therefore, it is good to make it from separate collapsible elements.
If you do not want to wipe your pants in libraries or hang on the Internet in search of dissertations on the technology of high, massive, vertical pipe structure, you can always peek at nature. For example, what is the structure of the stem of the spikelet. An interesting structure can be traced into the stalks of the spikelet; the stalk itself is actually tubular, while the tube consists of perimeter with stretched separate elastic veins, the elasticity of which apart from the fabric is exerted by their water. Well, at the expense of great elasticity, we are not using it yet, but the very idea of pulling the tube is interesting. Last but not least, due to pulling, the stem has additional elasticity like a string. When you bend the string or touch it and then release it, it immediately returns to its previous position.
Let's get down to production.
Tools and devices:
-Bulgar with a cutting disc;
- files for metal flat and round;
Drill and drill;
- a set of keys and hexagons for tightening nuts;
M8 die with a clip;
M6 tap with clamp;
- welding machine, welding of ferrous metal (recommended for better strength);
- level alcohol construction;
-line;
-tiska;
-pliers.
Consumables:
- channel 6 * 45 * 60 * 600mm (the length depends on the length of the roof over the vertical wall of the structure);
- pipe D = 26 * 35, length 1000mm;
- pipe D = 20 * 25 length 1000mm;
-tube D = 25 * 26 length 150 mm (for sealing);
-pin M12 * 1000mm, 2 pcs.;
-percussion, tube with a hat D = 12 * 20.2pcs. (without undercut, suitable if there is a similar part for centering the studs);
- M12 bolts * 60-2 pcs. (length depends on wall thickness)
M12 nuts and washers;
-M12 nut long, 1 pc.;
-washer wide D = 12 * 55mm, thickness 3 mm, 2 pcs.;
M8 nuts and washers;
-Rubber 3 * 60 * 300mm (for lining);
- brass tube D = 5 * 8mm, the length depends on the wall thickness plus 30 mm (for cable);
-primer or paint, brush;
- engine oil.
We start the production of the flagpole from the following steps:
Stage 1. Bracket manufacture.
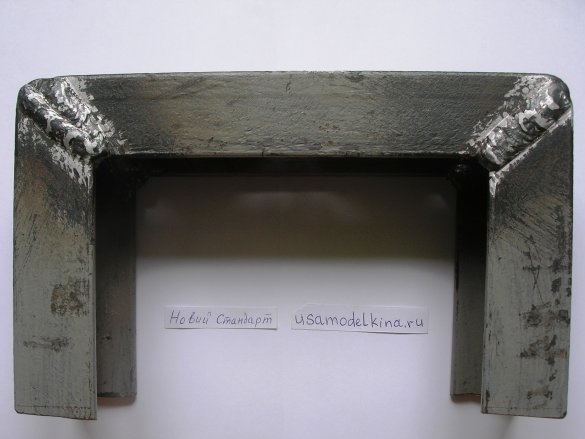
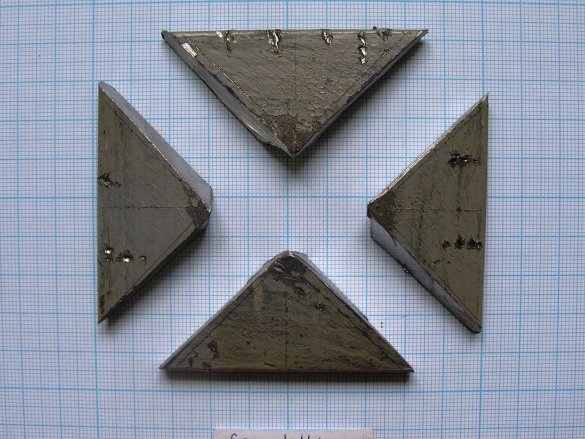
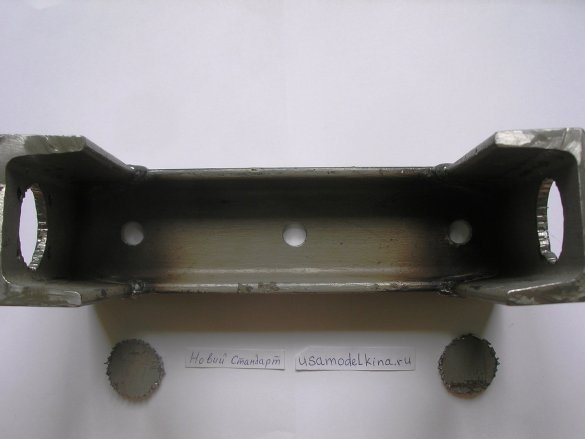
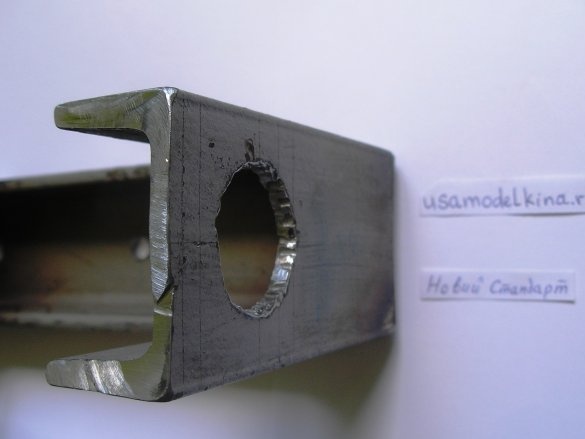
We take the channel 6 * 45 * 60 * 600mm, specifically 600mm long for me (the length depends on the protrusion of the roof) the central part will have a length of 300mm. At the junction of the conditional ends with a grinder, I cut 4 corners from the vertical side plates of the channel. In these places, in a vice I bend the channel to the middle (recommended after heating) at an angle of 90 degrees, and weld joints on both sides:
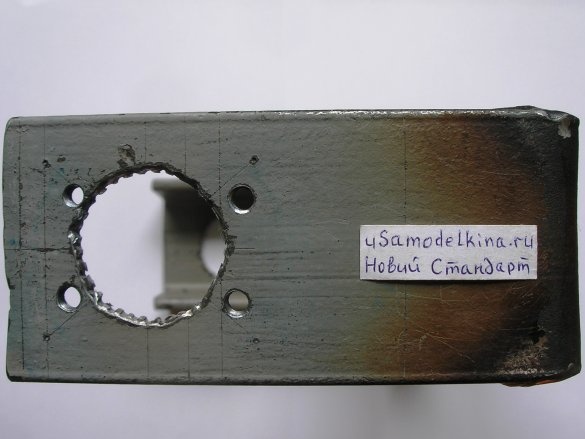
Stage 2.Marking bracket for holes.
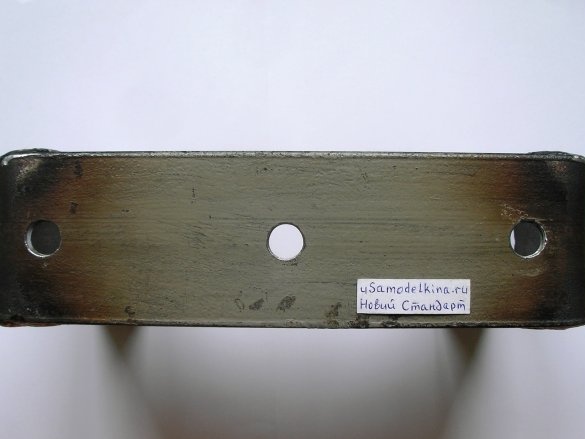
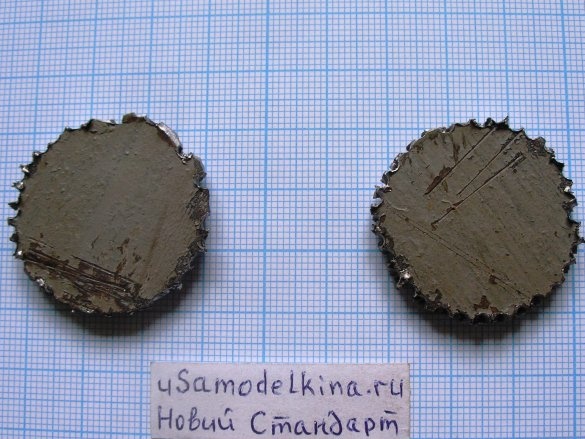
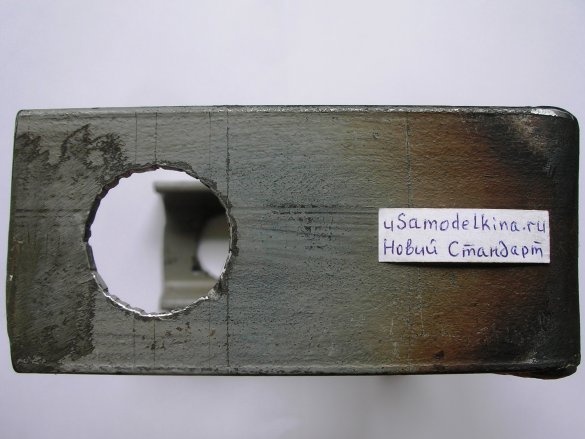
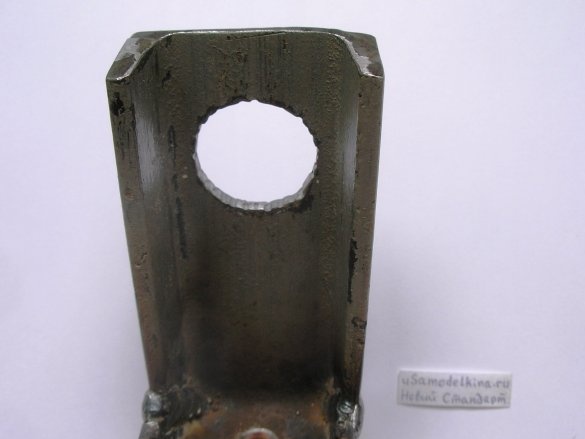
I mark holes on the channel for mounting and under the pipe, and drill them:
Stage 3.Small tube - seals between large pipes.
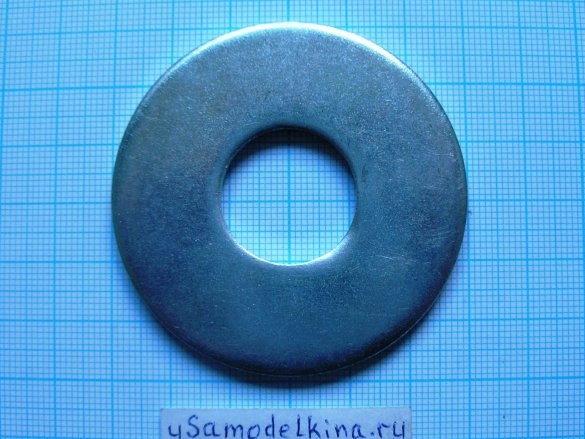
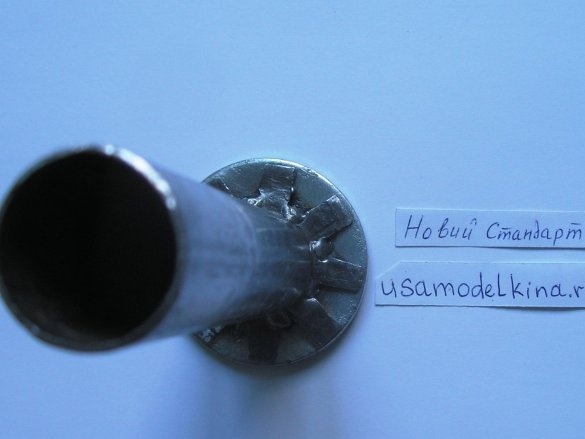
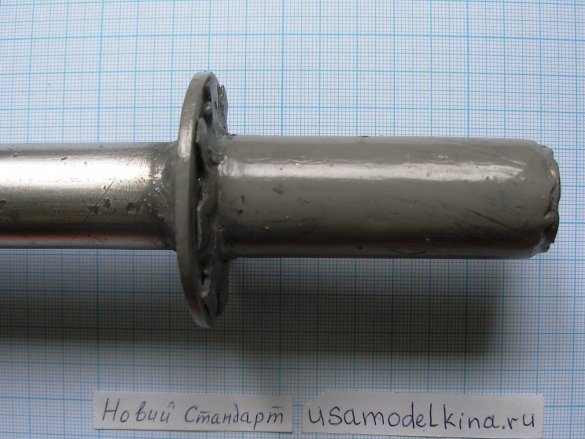
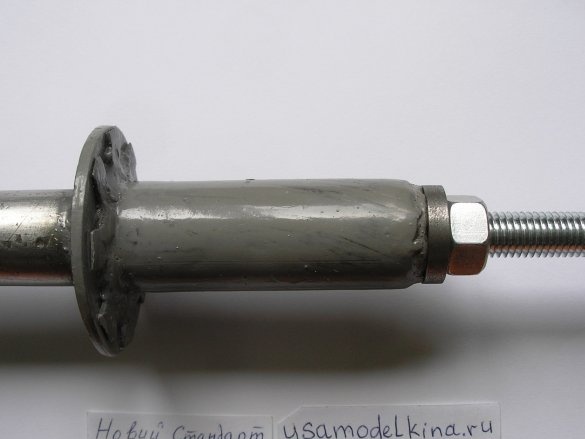
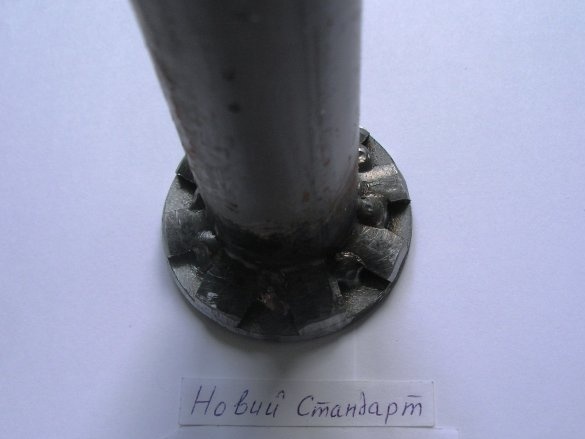
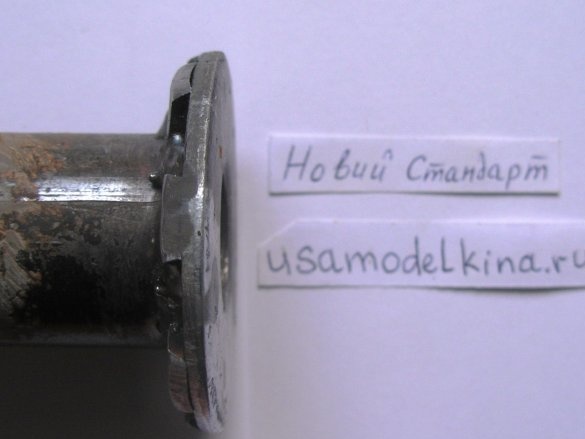
I use a tube D = 25 * 26 with a length of 150 mm and a wide washer D = 12 * 55 mm with a thickness of 3 mm. At one end of the tube, I make the grinder symmetrically 8 cuts along the tube about 25 mm long. After heating 8 petals, I bend at a right angle from the center of the tube. I put the petals on the puck and weld them together. I also weld the seal tube to the thin tube. Well, I paint so as not to rust:
Stage 4. Installing the center pin in a thin pipe.
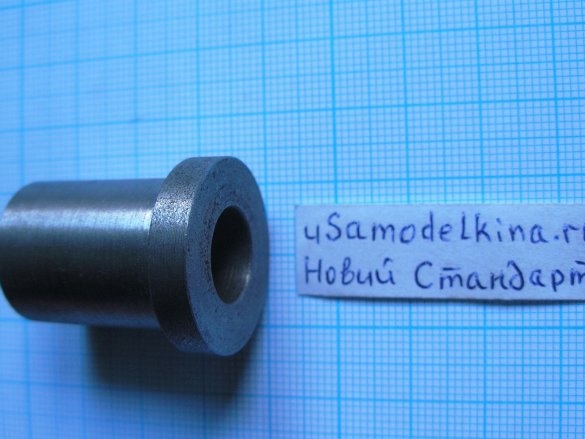
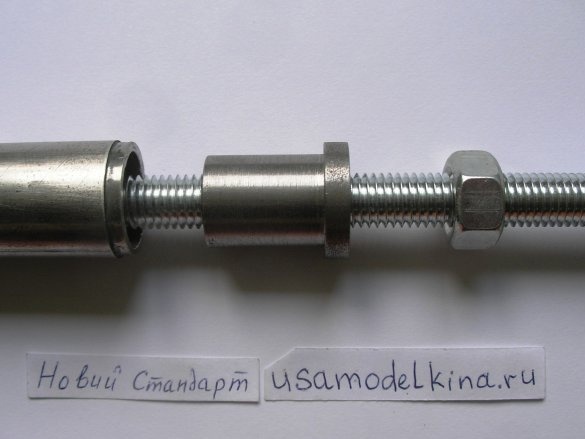
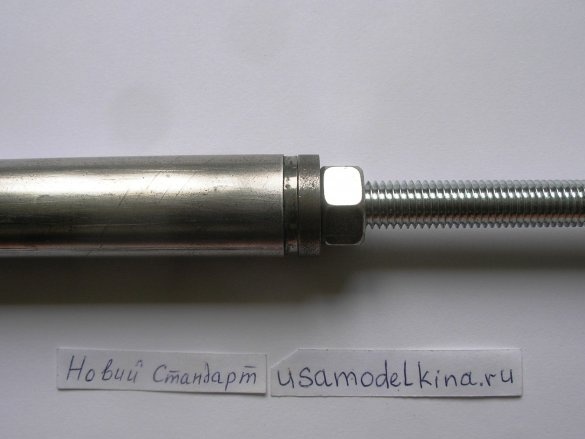
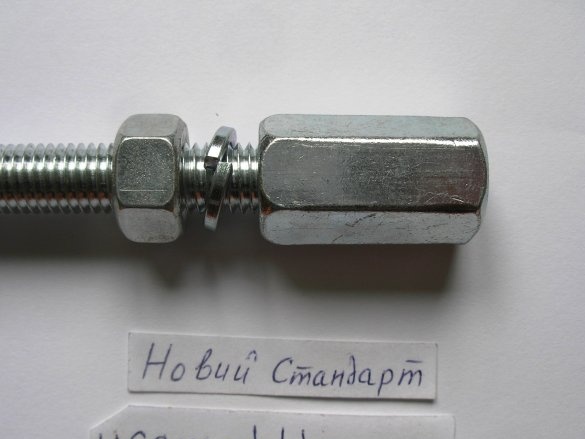
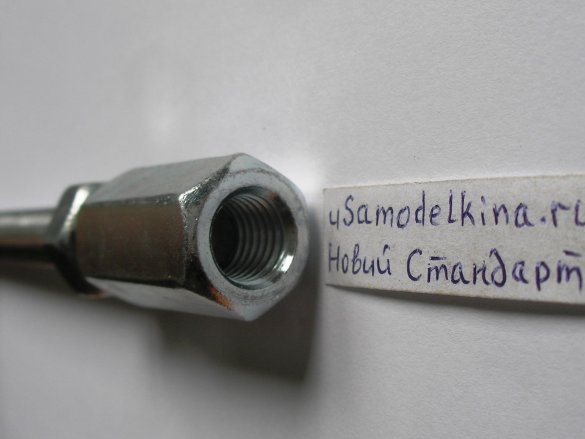
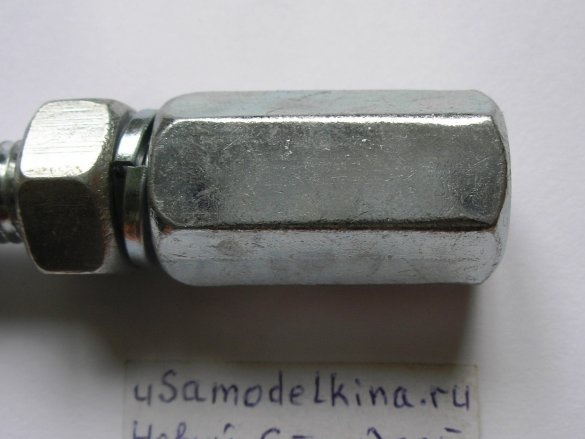
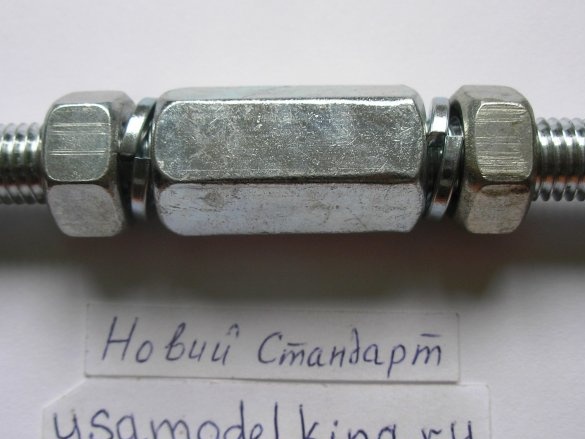
In a thin (upper, pipe D = 20 * 25, length 1000mm), I install a hairpin. To do this, I take a recess tube with hats D = 12 * 20 and a hairpin M12 * 1000mm. I also connect the lower end of the stud to the second stud using a long M12 nut:
Stage 5. Preparing the bottom of the rack.
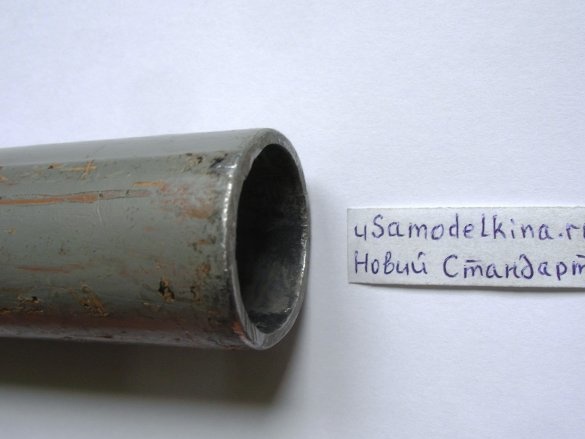
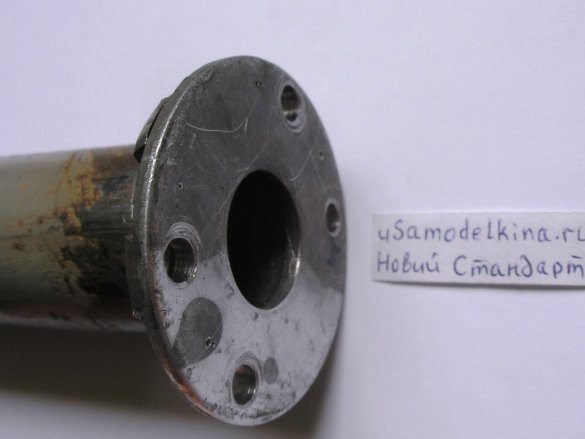
Like in a small pipe for sealing, I do in the lower part of a thick pipe (pipe D = 26 * 35, length 1000 mm) at the bottom of the pipe with a grinder, I cut 8 cuts symmetrically along a pipe about 25 mm long. After heating 8 petals, I bend at a right angle from the center:
Stage 6. Making a tubular screw (without a lathe).
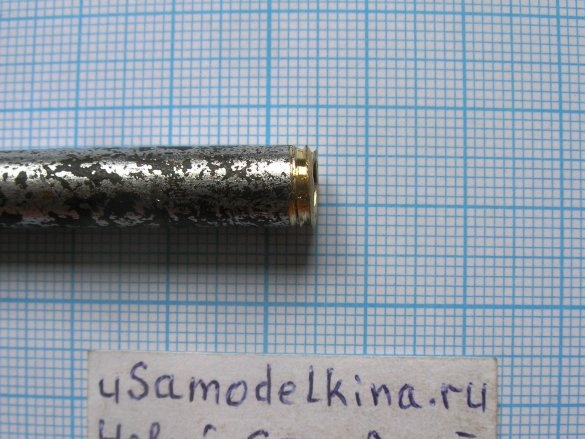
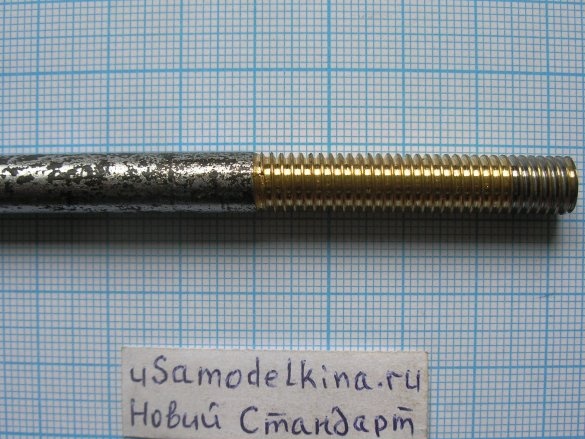
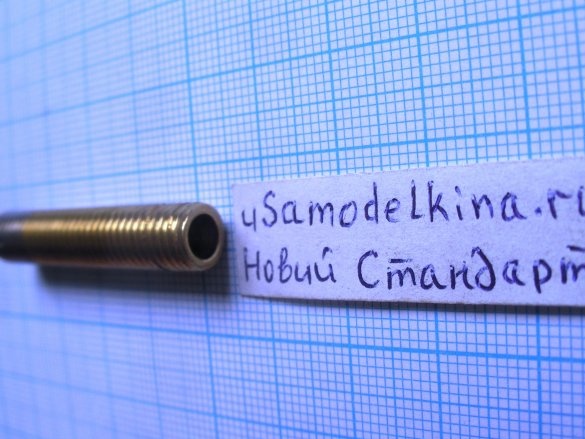
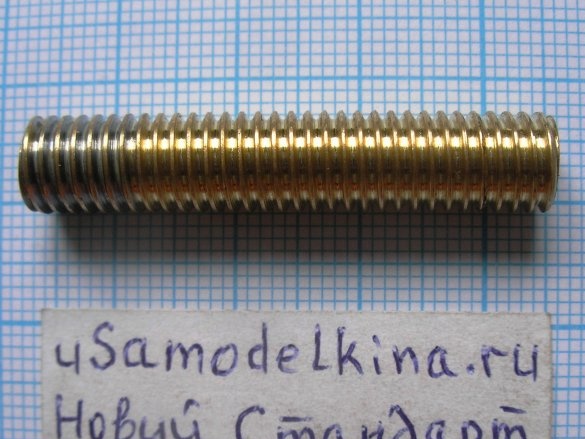
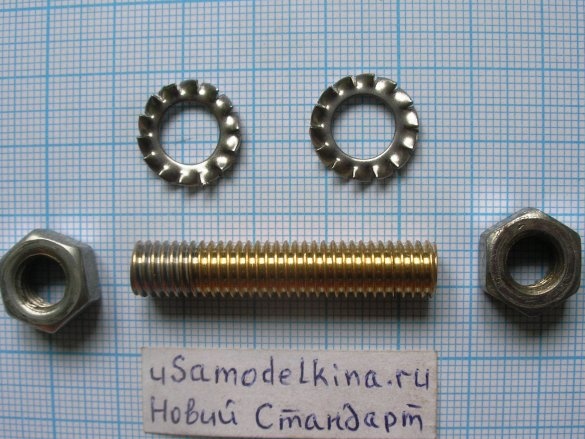
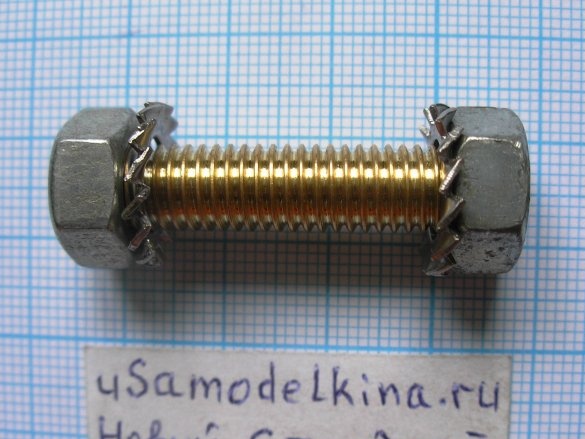
A tubular screw is needed for future laying of an antenna cable or a windmill in it. Since it almost does not perform a power function, I am making it from brass or copper. I take a tube of brass D = 5 * 8mm, the length depends on the thickness of your wall plus 30mm, and the inner diameter on the thickness of your cable, as a rule it is 5 or 6 mm. The pipe for threading should not be taken very long and a pin should be installed perpendicularly on its opposite end to clamp and counteract scrolling when cutting in a vice. I cut the M8 thread on the tube to the wall thickness, adding washers (contact, preferably stainless steel) and nuts for fixing:
Stage 7. Installation of rubber gaskets and installation.
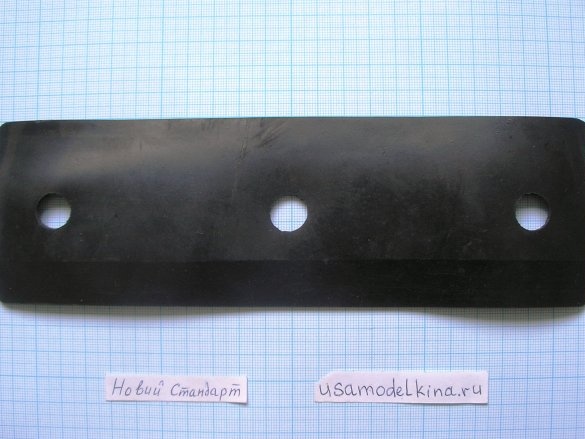
From rubber 3 * 60 * 300mm, I cut out gaskets that will be installed between the channel and the vertical wall of the building. It is also possible to install a gasket between the lower pipe (pipe D = 26 * 35, length 1000mm) and the bracket. In the channel (finished bracket) at the hole for the drill pipe there are 4 holes and I cut the M6 thread. In the pipe washer D = 26 * 35, I drill 4 holes. I attach the channel with 2 M12 bolts to the vertical wall. From below I fasten the pipe D = 26 * 35 with the help of M6 screws to the channel. On top of the installed thick pipe, load the pin with the upper thin pipe (pipe D = 20 * 25, length 1000mm) and tighten the lower end of the pin with an M12 nut, adding a 12mm washer.Until the upper pipe stops in its washer, it sits on the lower one:
The finished rack must also be checked for zero resistance along the entire length and grounded through a stud, after which it should be coated with a corrosion-resistant primer and paint. If someone doesn’t understand something on the topic, I will answer questions.


