
In this article, Neil, the author of the YouTube channel "Pask Makes" will tell you how to make a lehr and tap for cutting M32 wood.
The author made these M26 taps and lehrs a couple of years ago for the production of high-quality screw cutting on wood.

Materials
- Hairpin M32
- Bolt, nut M8,
- Hazel boards
- Old triangular file
-
- Self-tapping screws with a wide hat
- PVA glue.
Instruments, used by the author.
-
-
-
- Drilling and turning machines
- Orbital sander
-
-
- Vise,
- Screwdrivers, chisels, staples, ruler, square
- Files, files
- .
Manufacturing process.
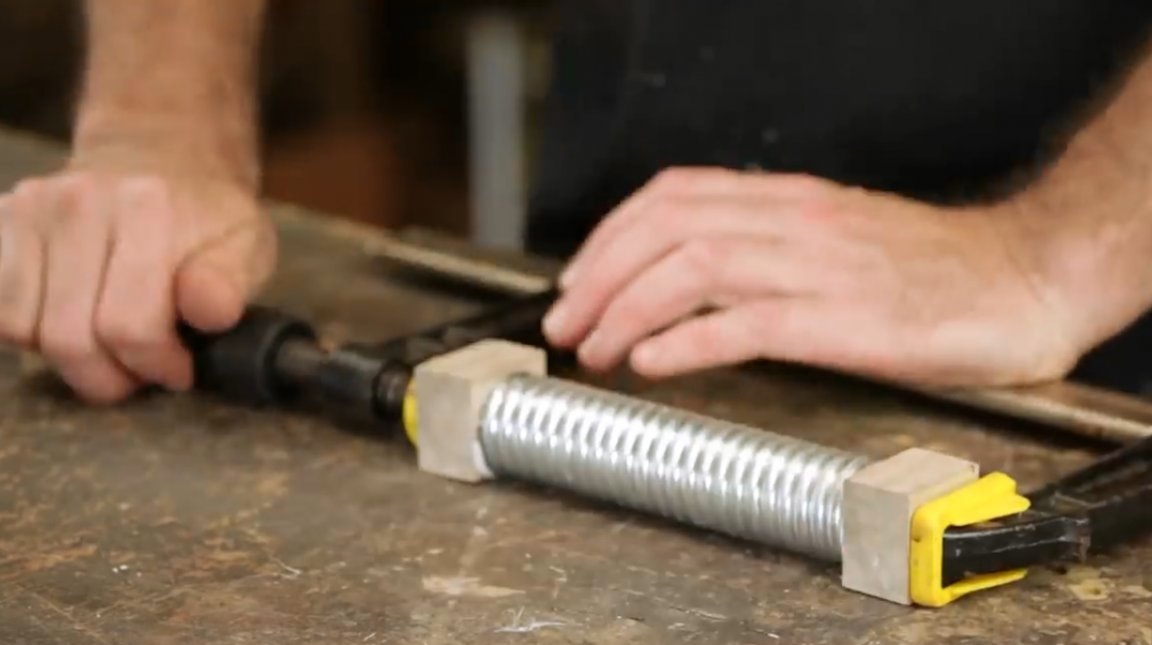
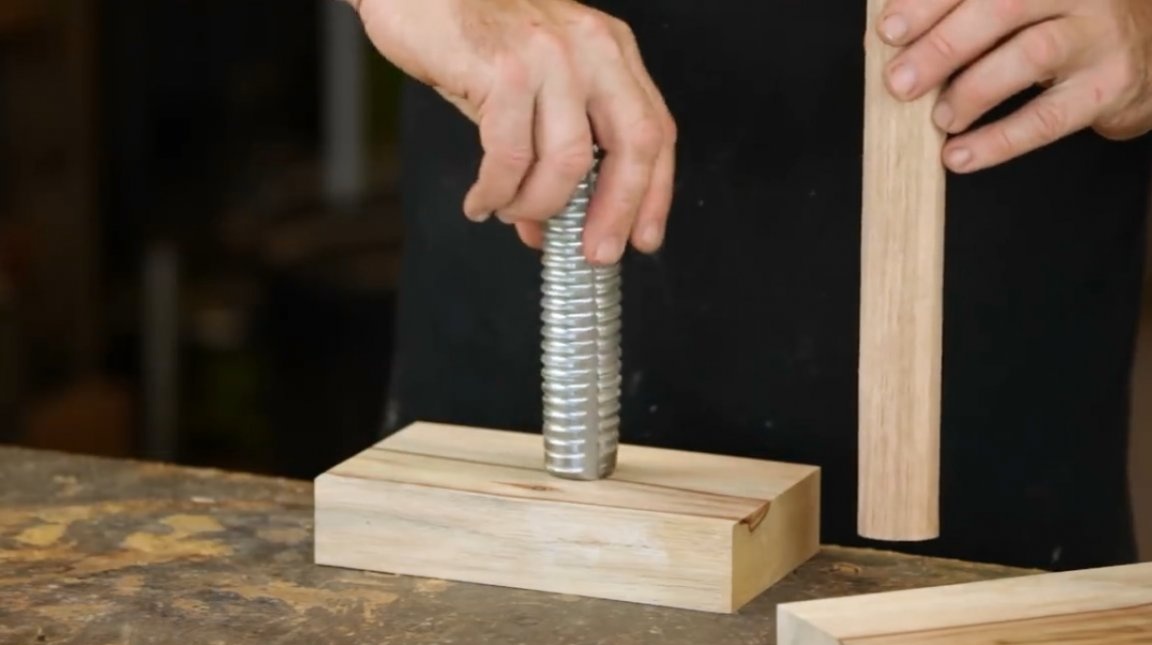
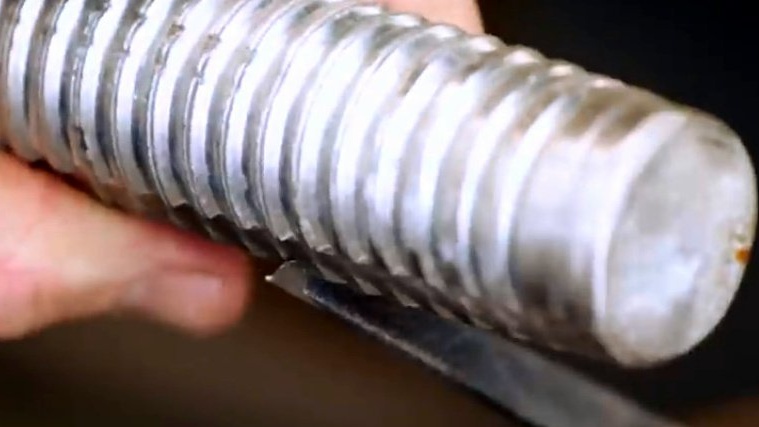
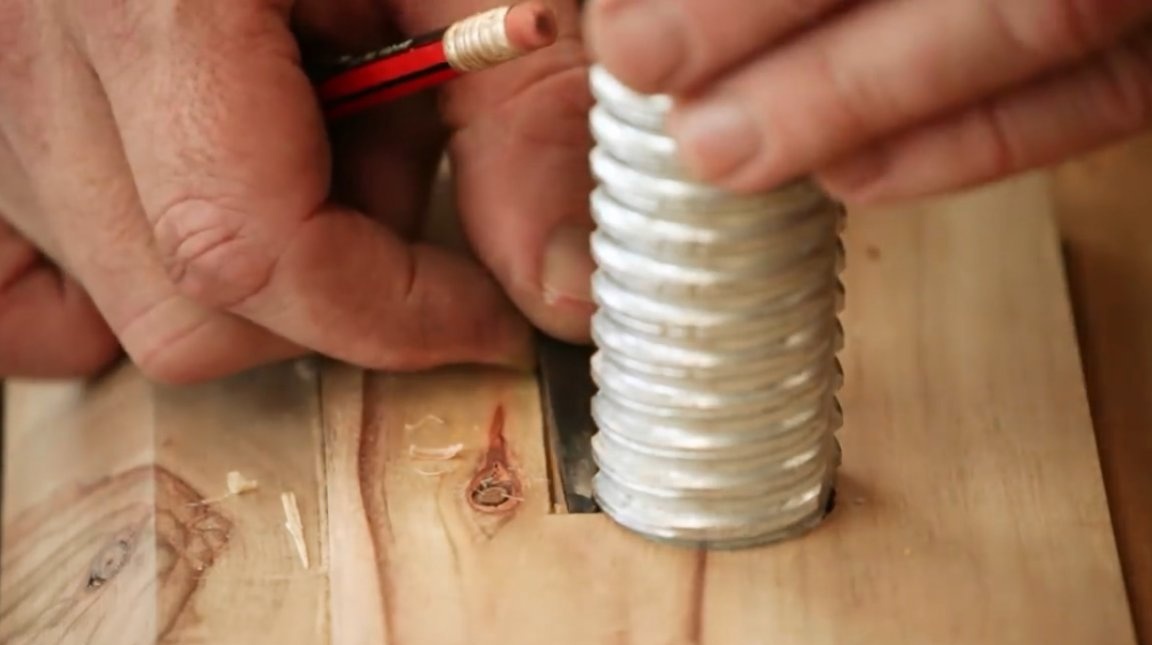
The master took the adjusting support for the scaffolding as the basis for the tap. Her M32 thread has a wavy, rounded profile. It is this form of thread that is best suited for wooden bolts and nuts.
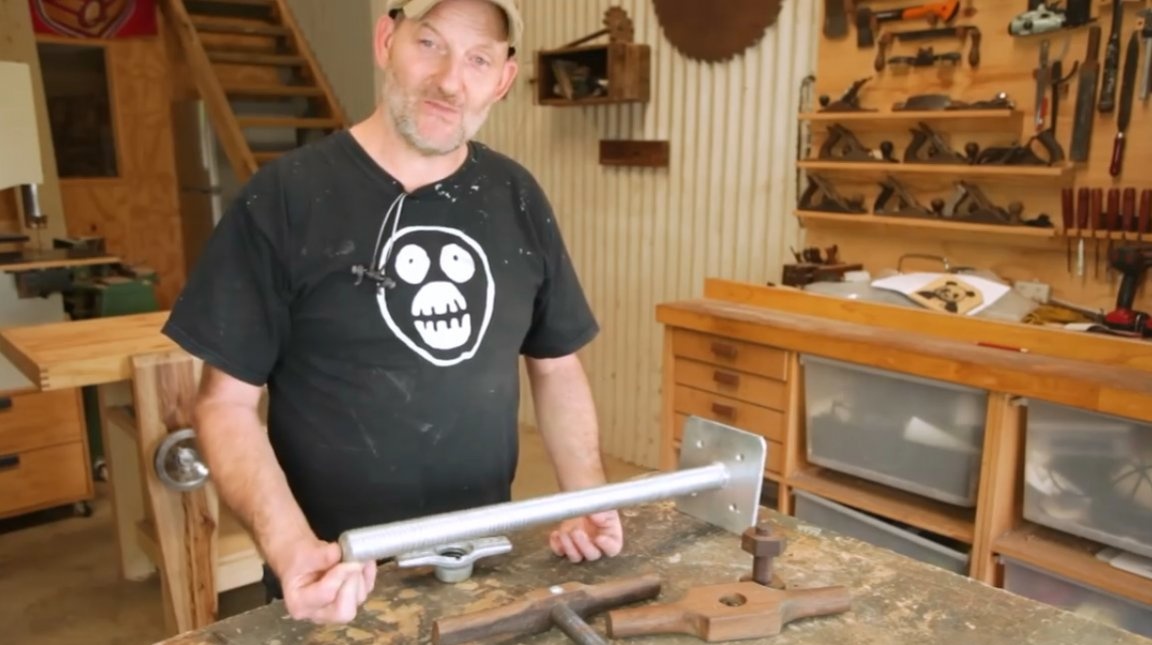
Cuts off the necessary part of the bolt.
Then glues a couple of wooden blocks to the ends of the workpiece. They will help to fix it in the lathe.
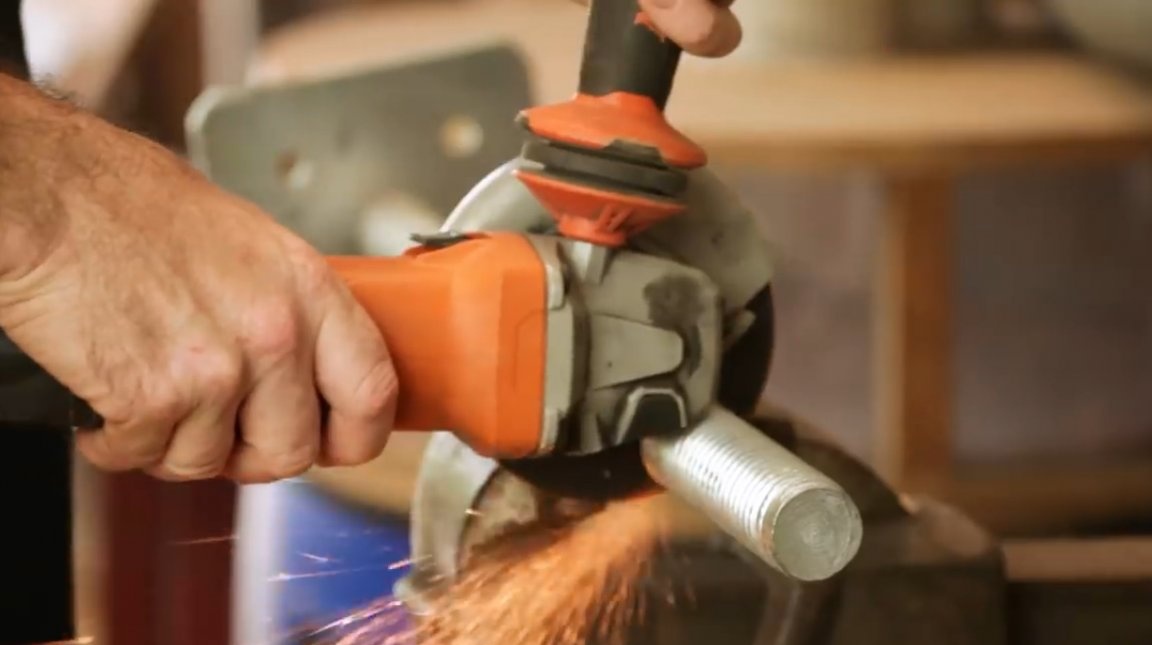
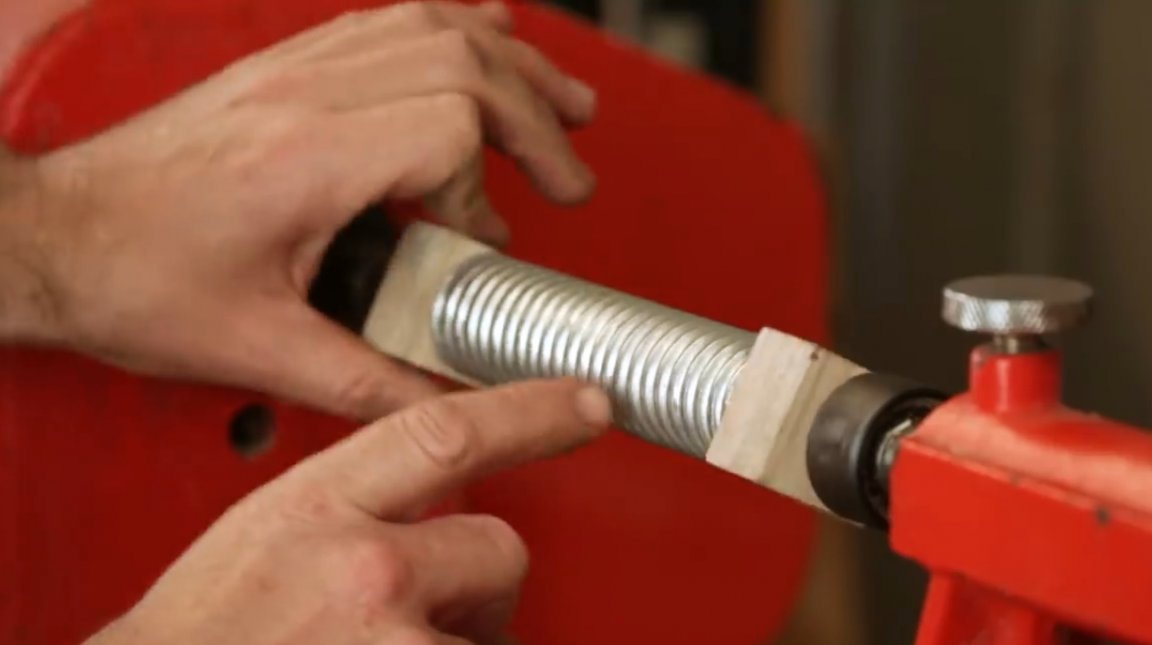
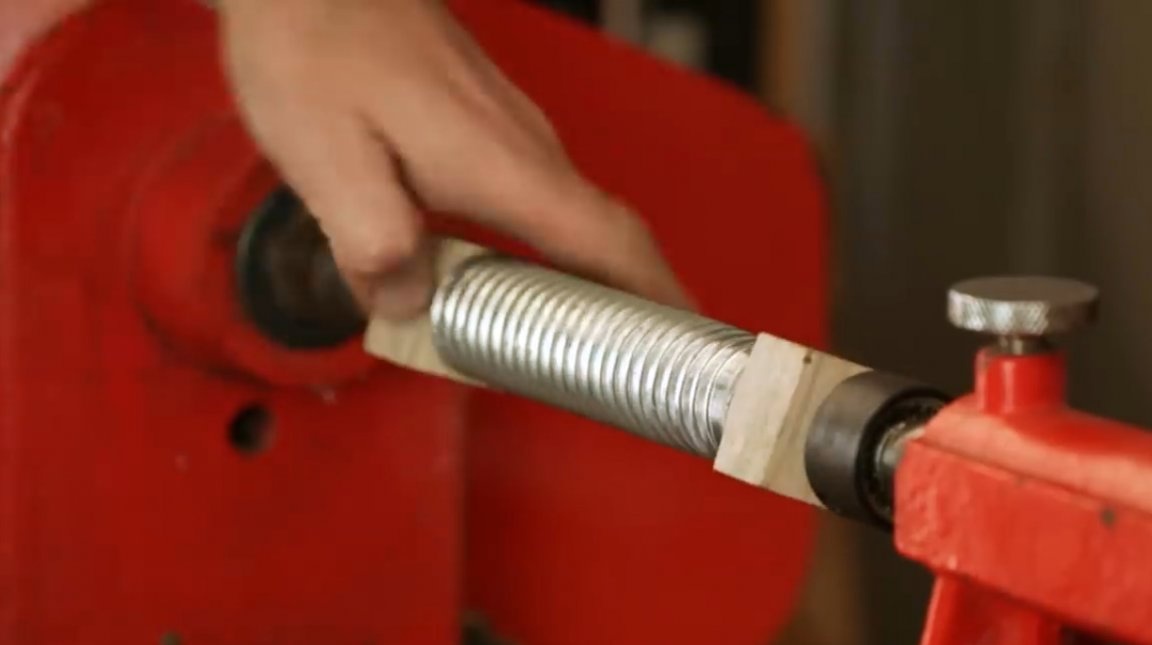
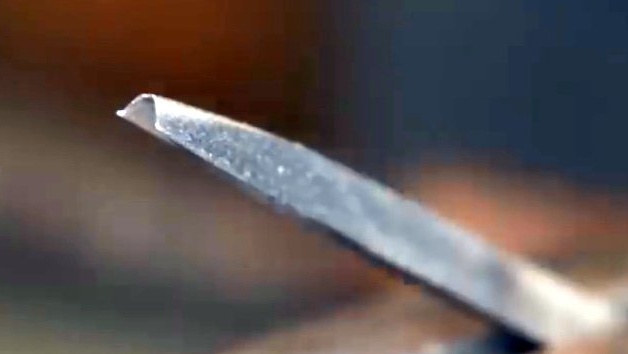
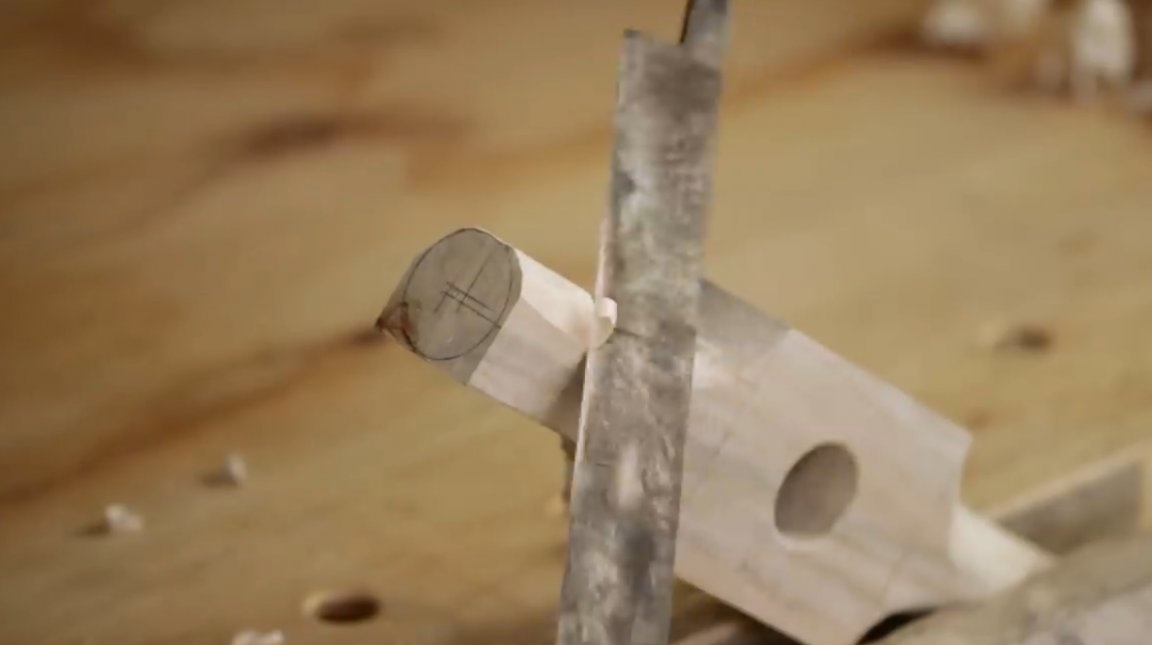
He centered the workpiece in the machine. Now, as on a regular tap, it is necessary to make a descent on the front cutting part.
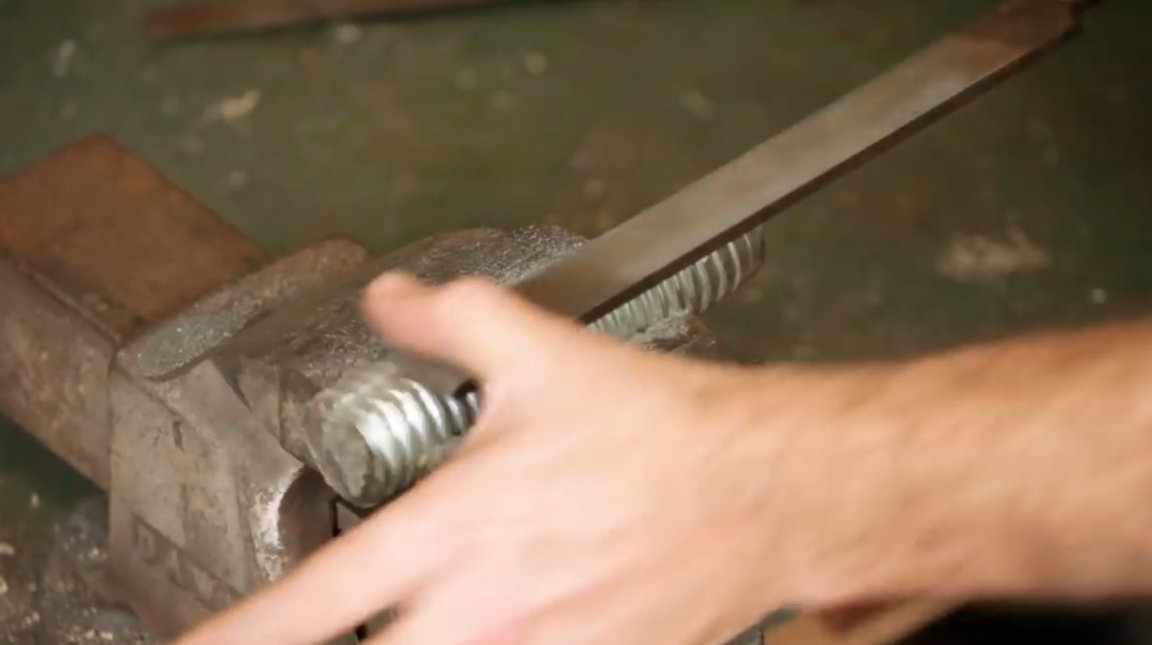
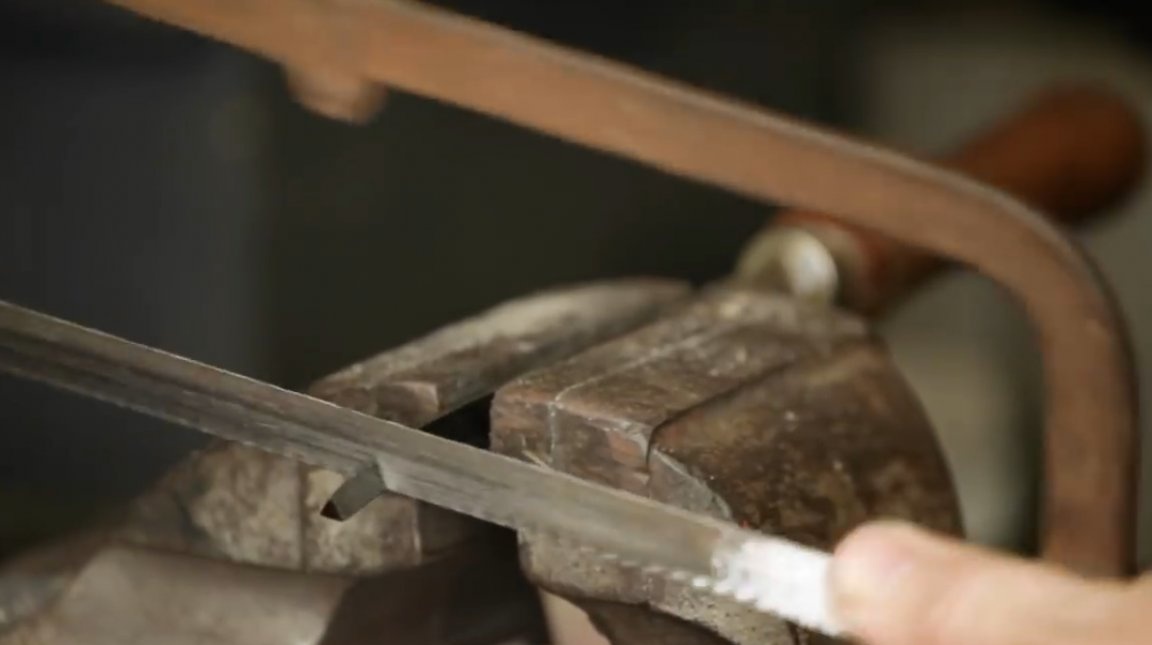
Next, he decides to continue the work manually. Tightens the screw in a vice and forms two flat cuts with a file.
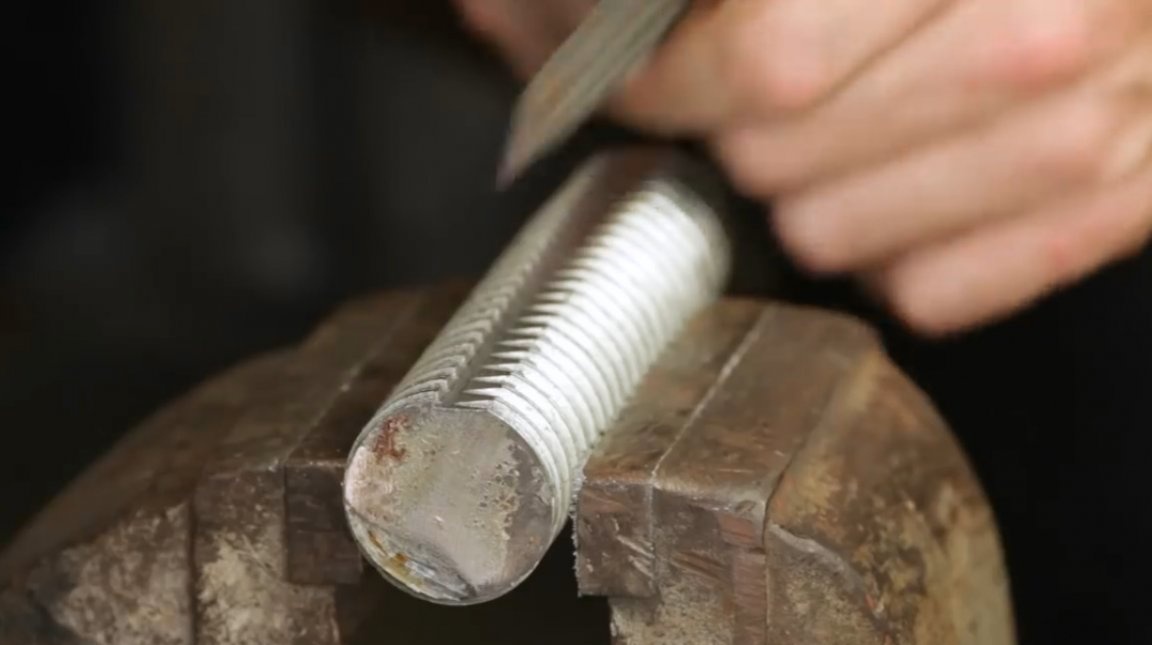
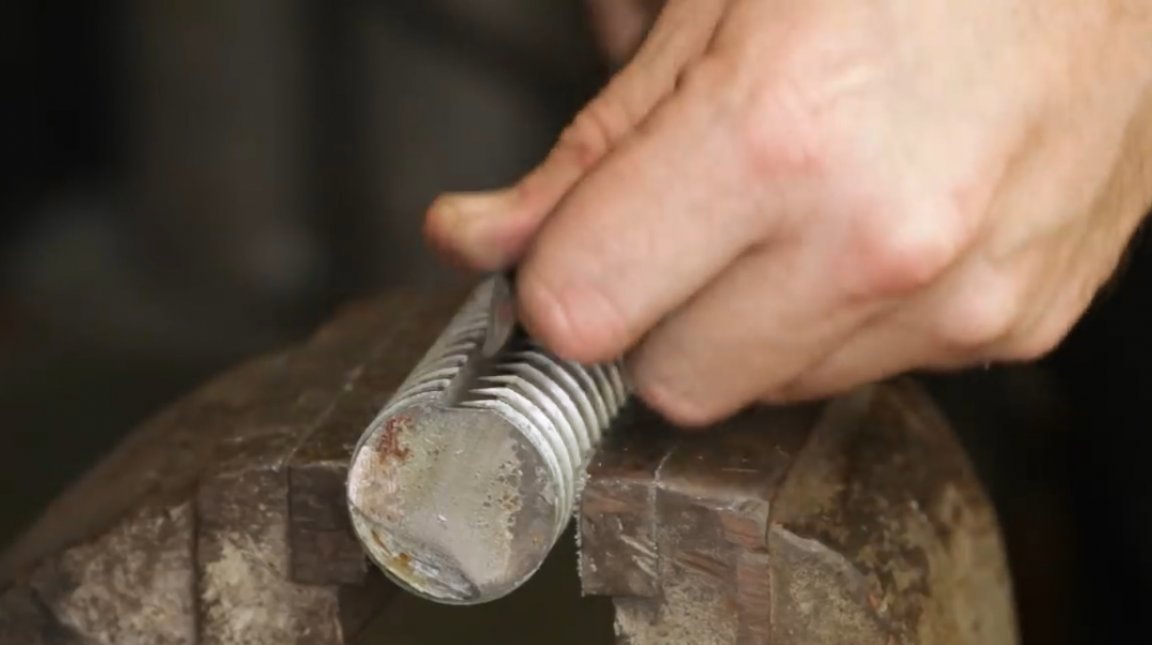
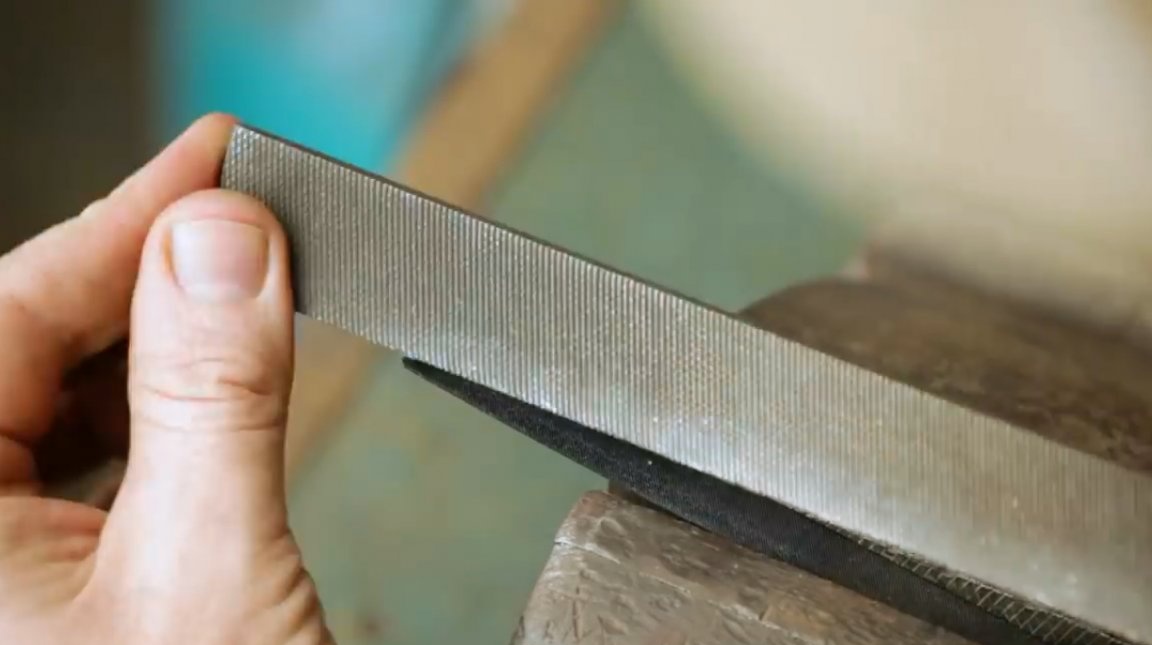
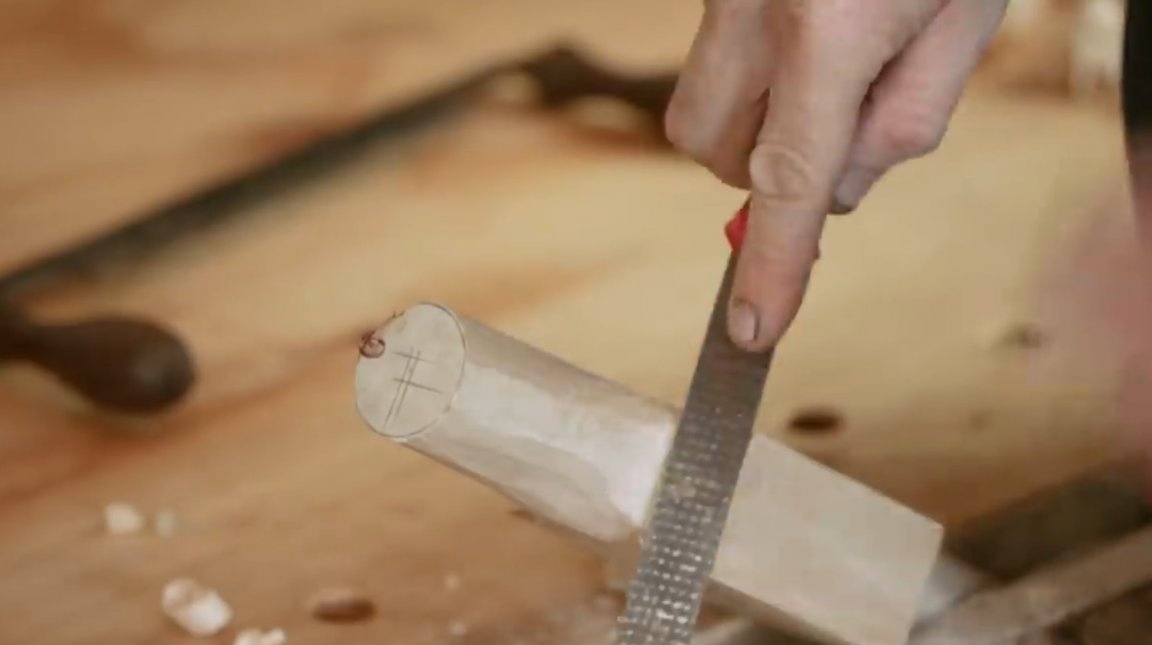
Now Neil uses a semicircular file with which he can achieve a slightly beveled surface on one side of the cut. The same cut is made symmetrically on the opposite side of the screw.

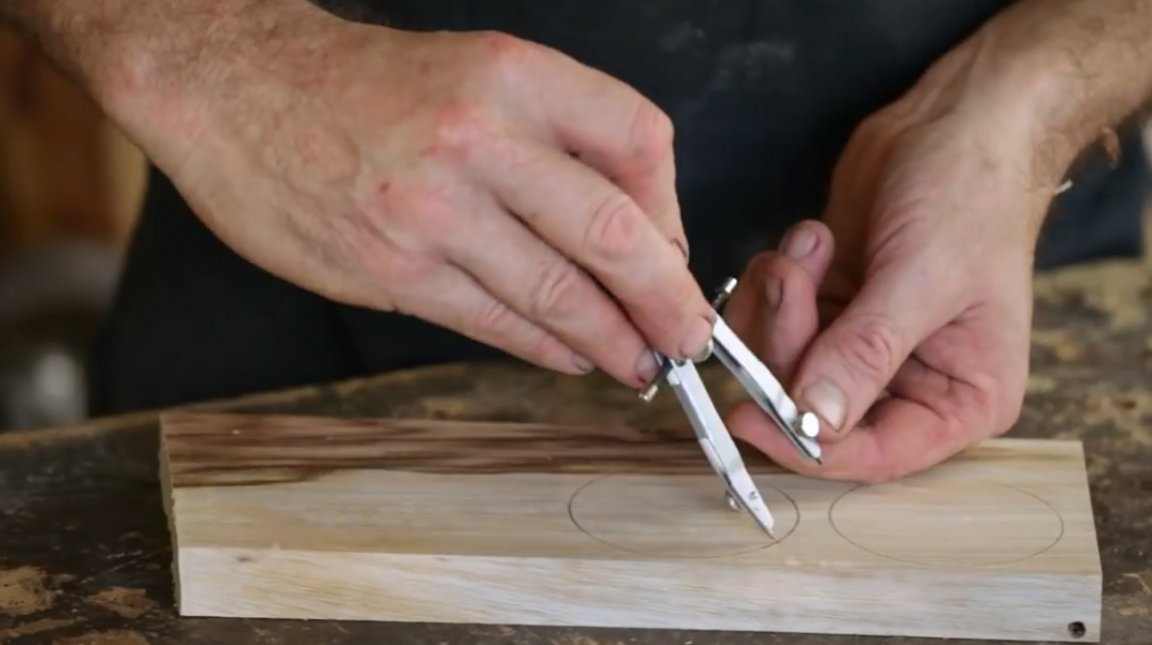
Then the author proceeds to manufacture the body of the lehr. To do this, you need a wooden block, cut in half, and a wooden round timber.
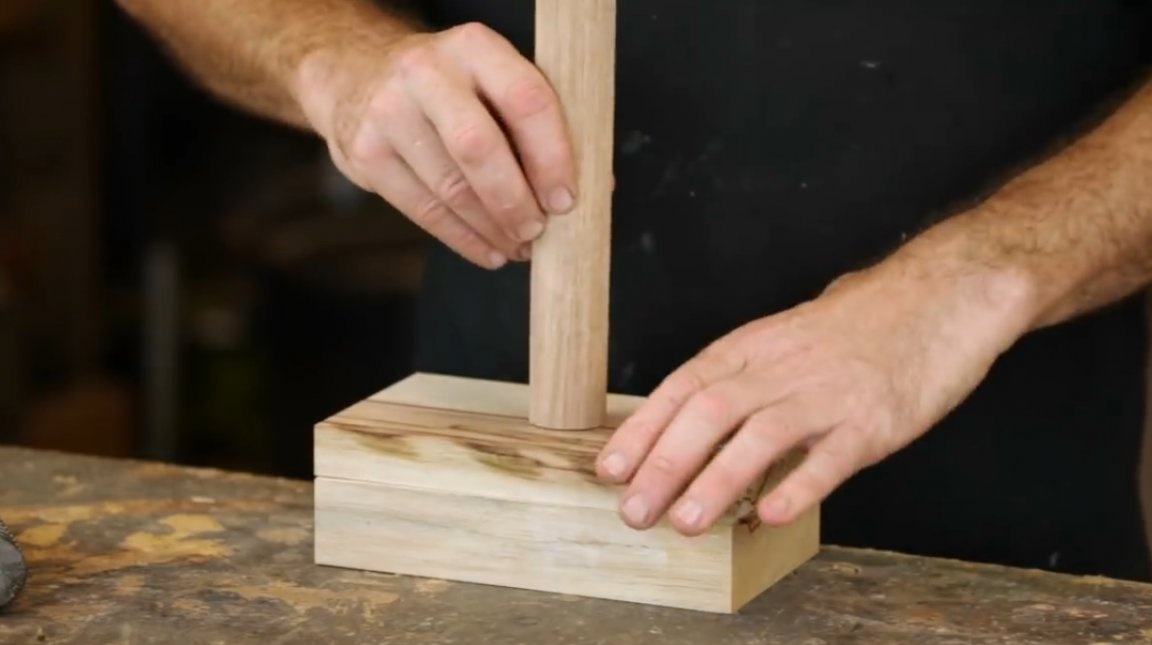
In the middle of the upper bar, the master will make a hole the size of a round log, while in the lower bar the hole will be slightly smaller, which is necessary for threading. Two beams are temporarily fastened with screws. The author tries to screw them at an equal distance from the edge.
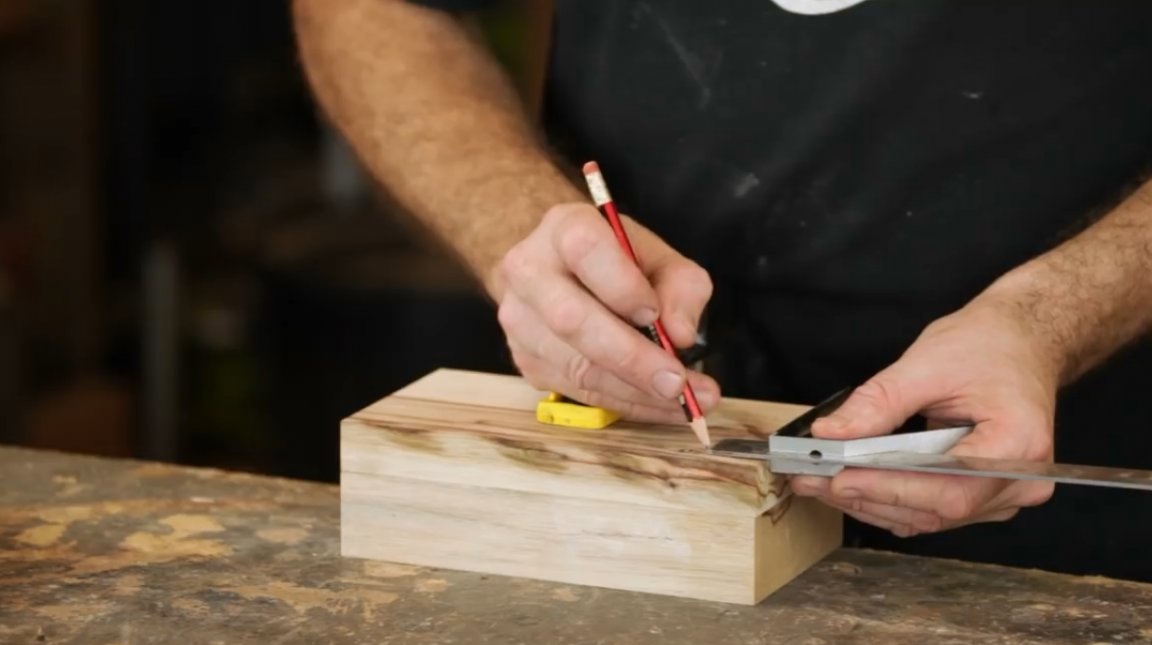
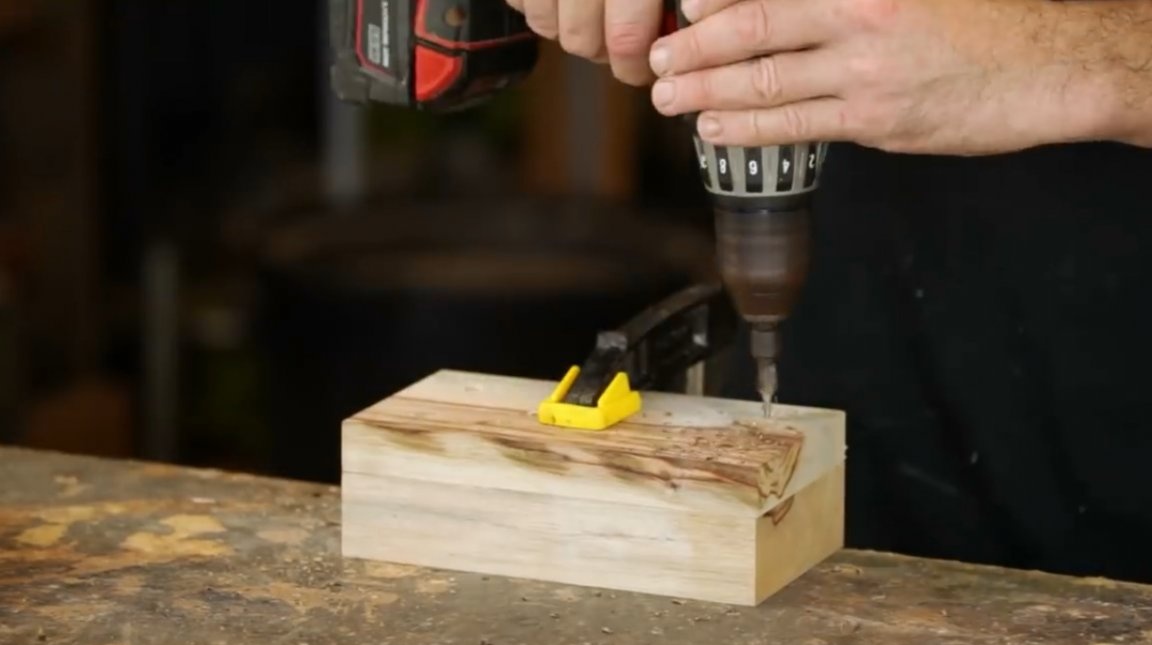
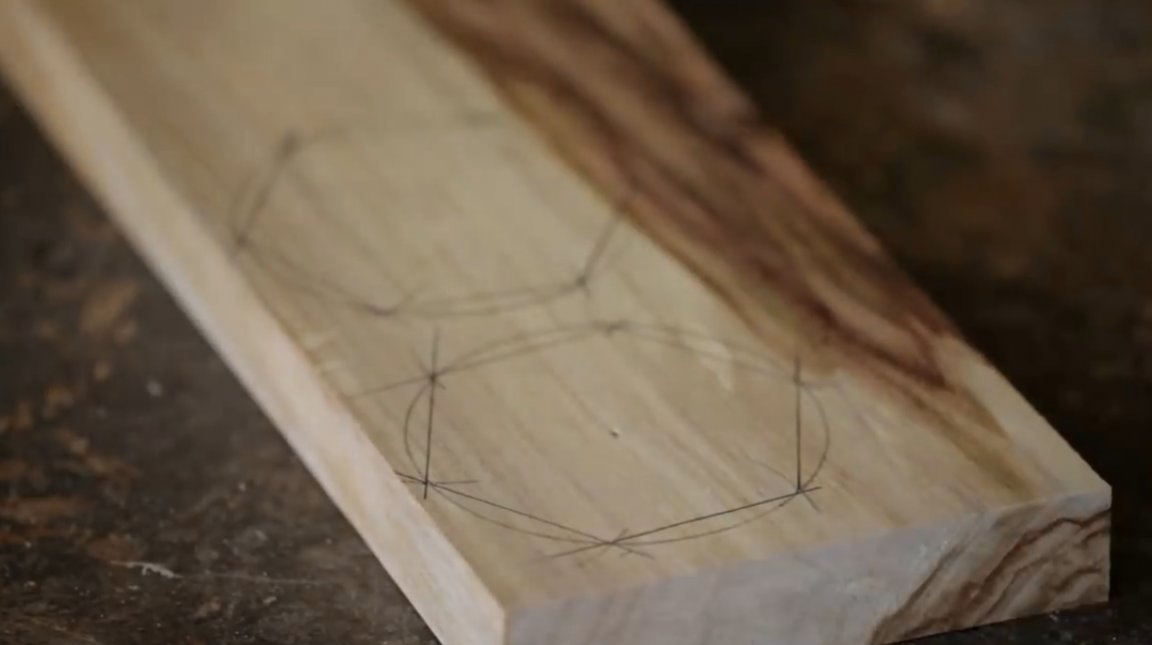
Now he marks the center, and drills a pilot hole, strictly in the center. Screws are no longer needed.
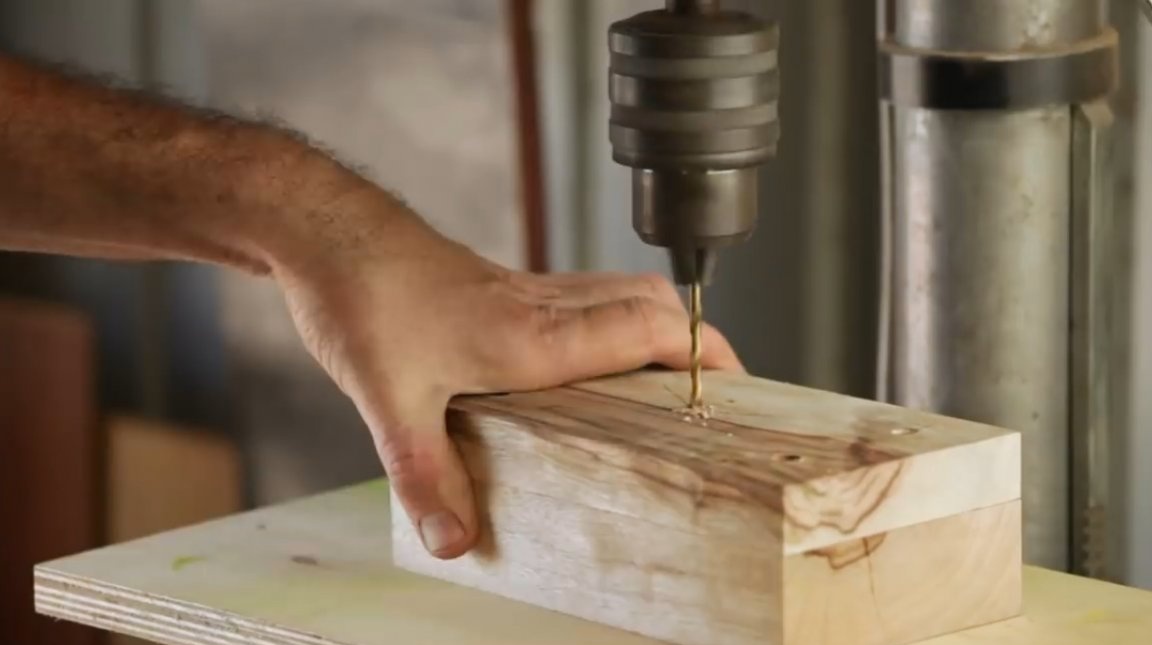
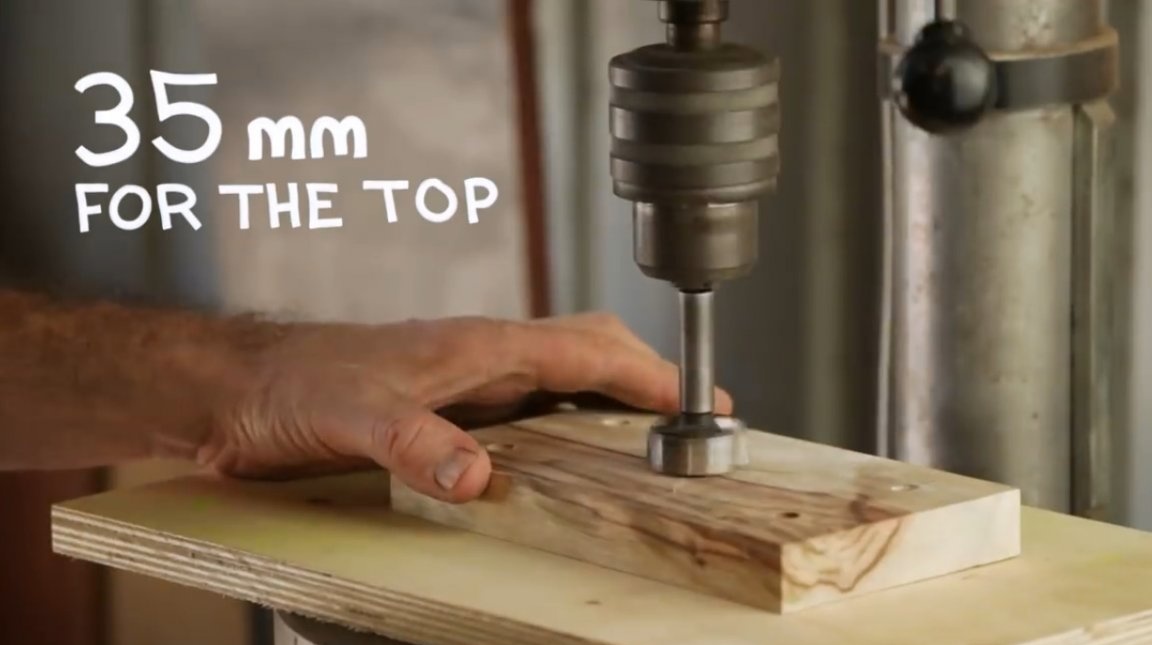
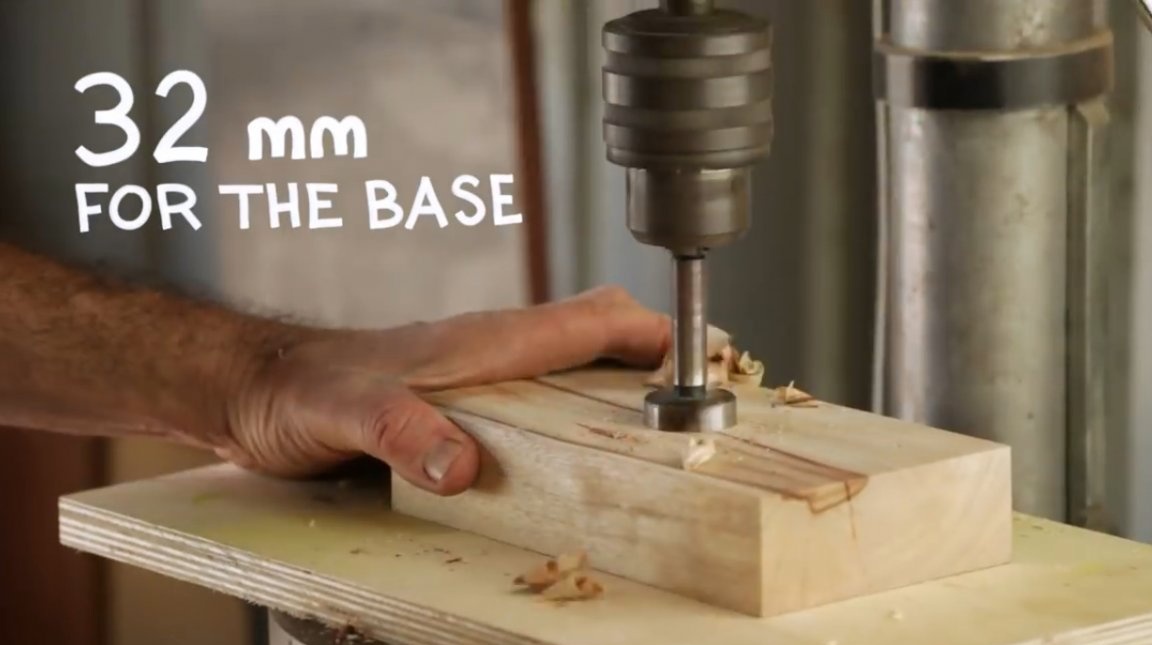
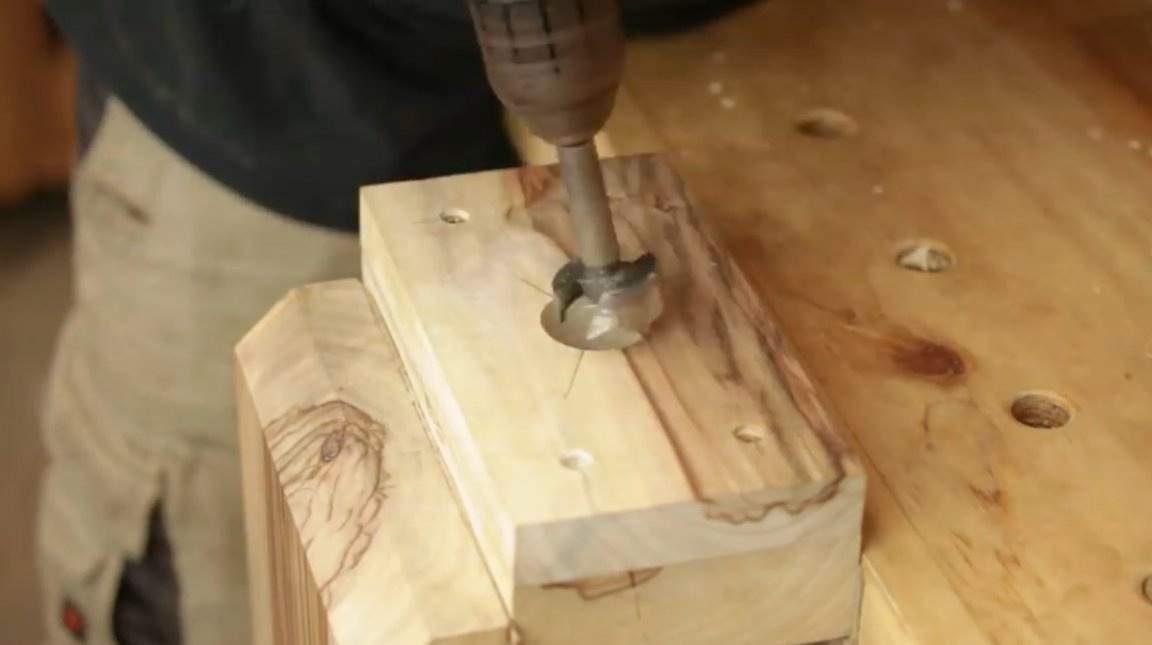
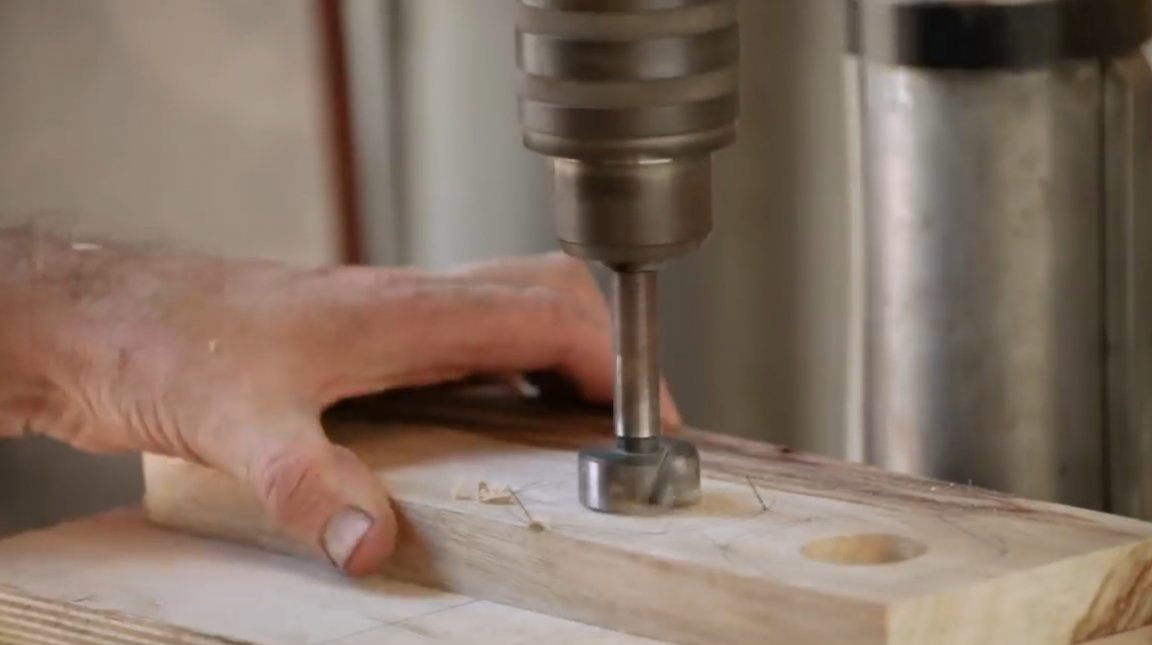
Next comes the Forstner drill with a diameter of 35 mm for the upper part of the body, and 32 mm for the base.
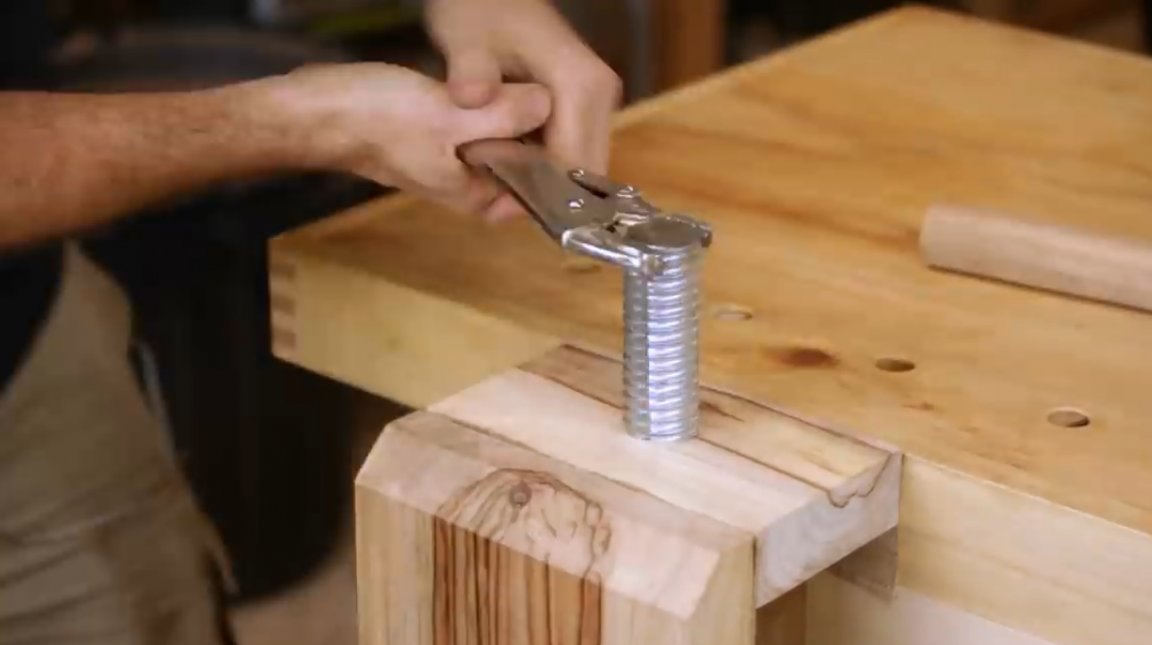
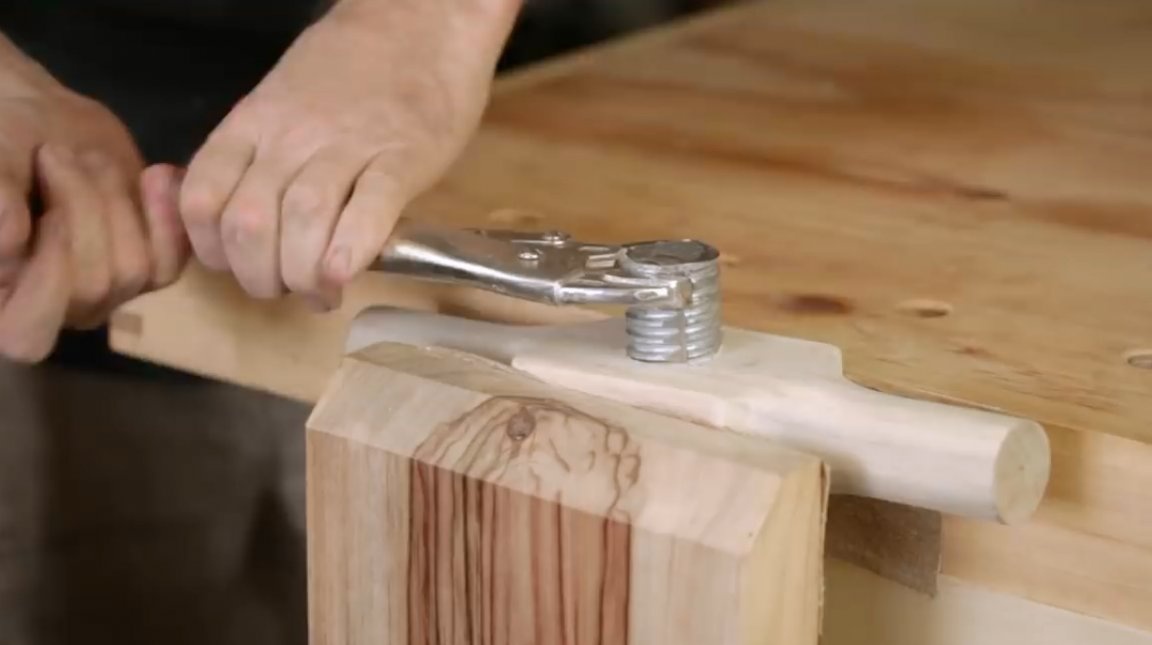
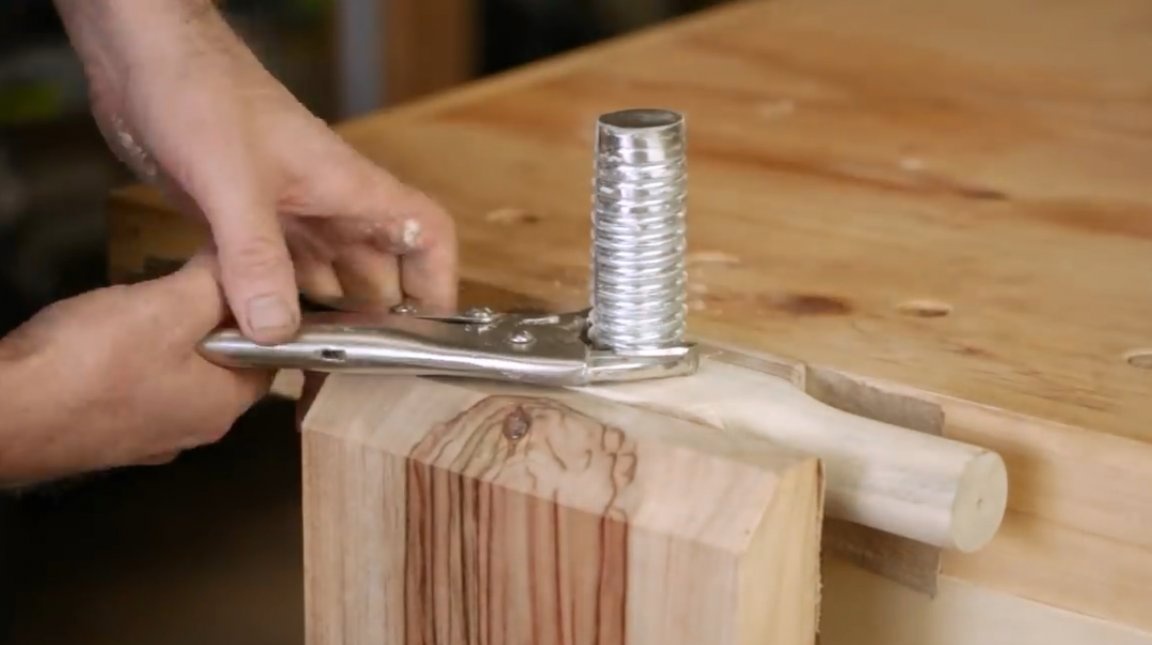
Then you have to cut the thread in the hole of the lower block. There is still no handle on the tap for screwing in the cutter. So far, he will do this job with a geyfer capture.
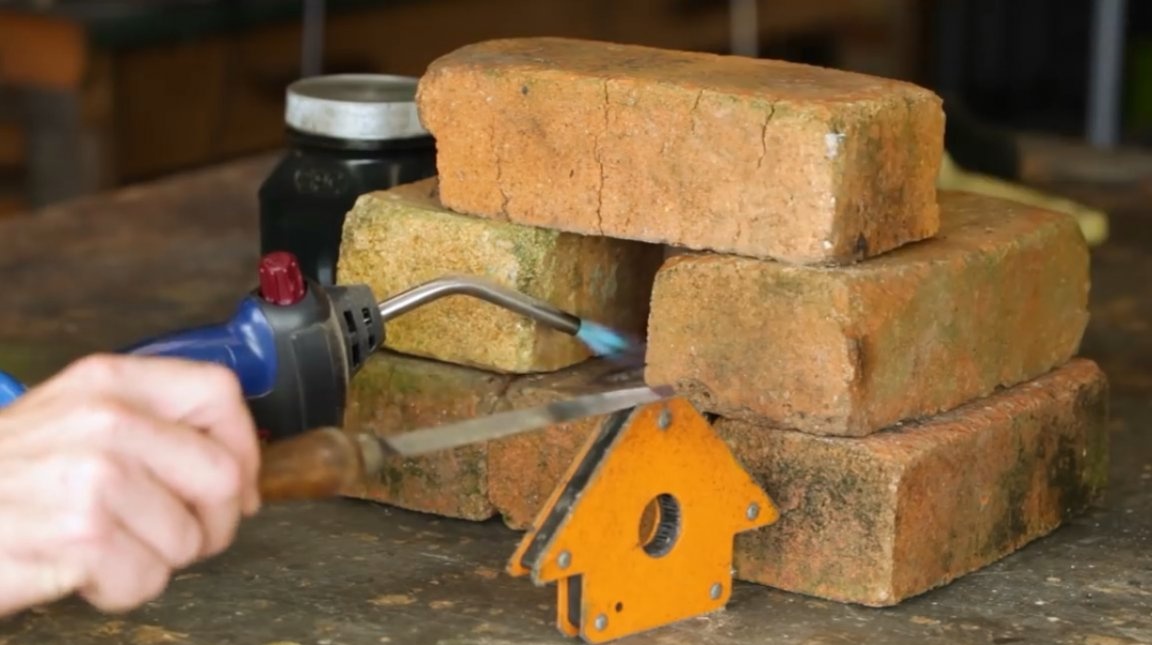
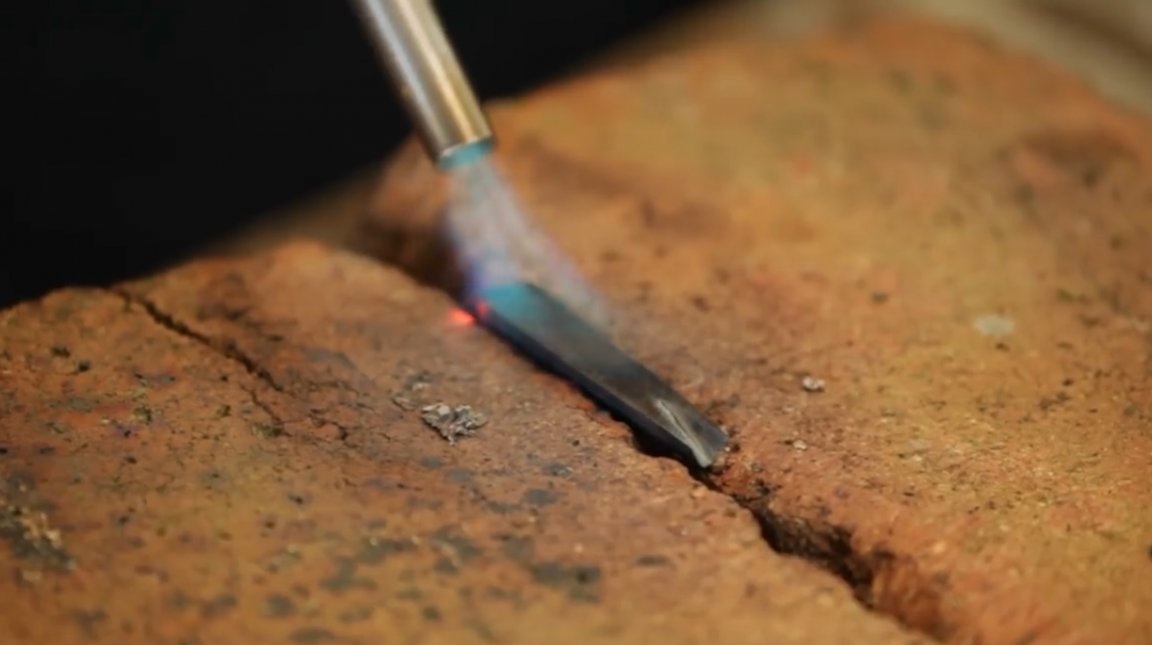
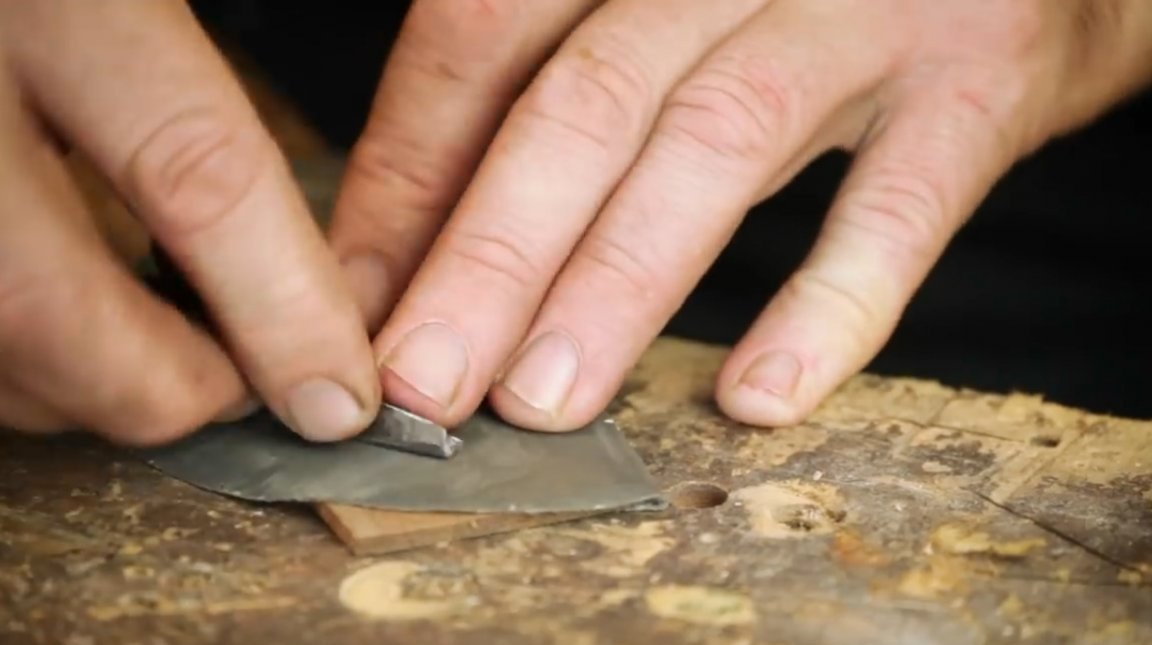
Further, a cutter for a screw box is made from an old triangular file.
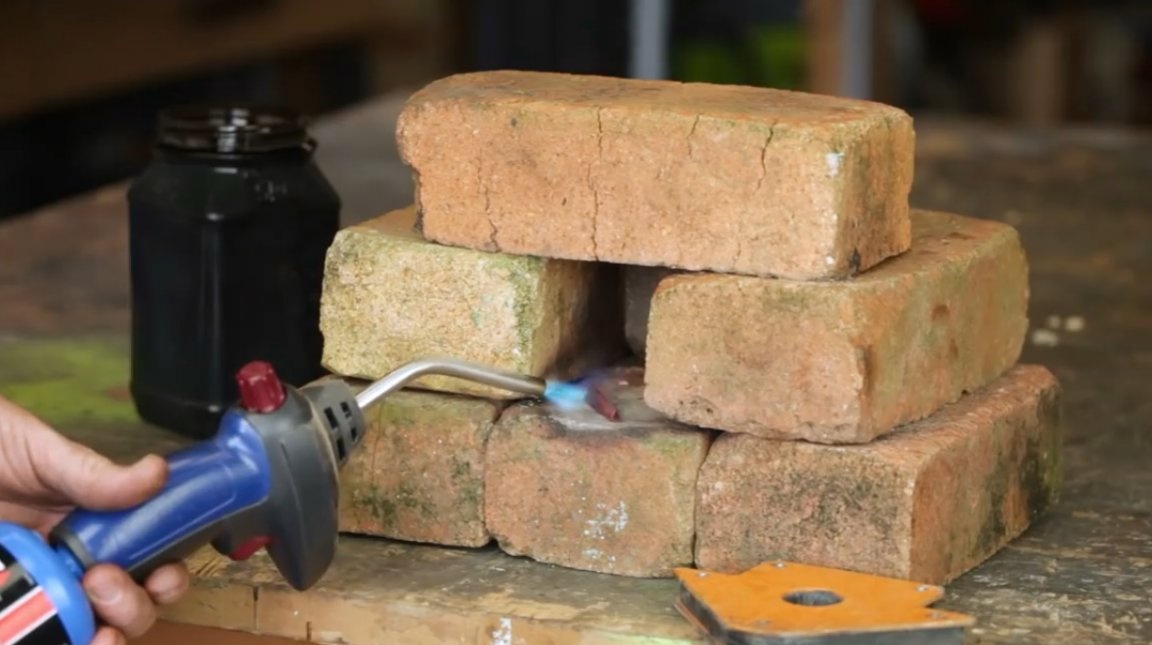
With the help of a gas burner, it slightly releases the steel, and leaves it to cool after it loses its magnetic properties. This is necessary for easier metal processing.
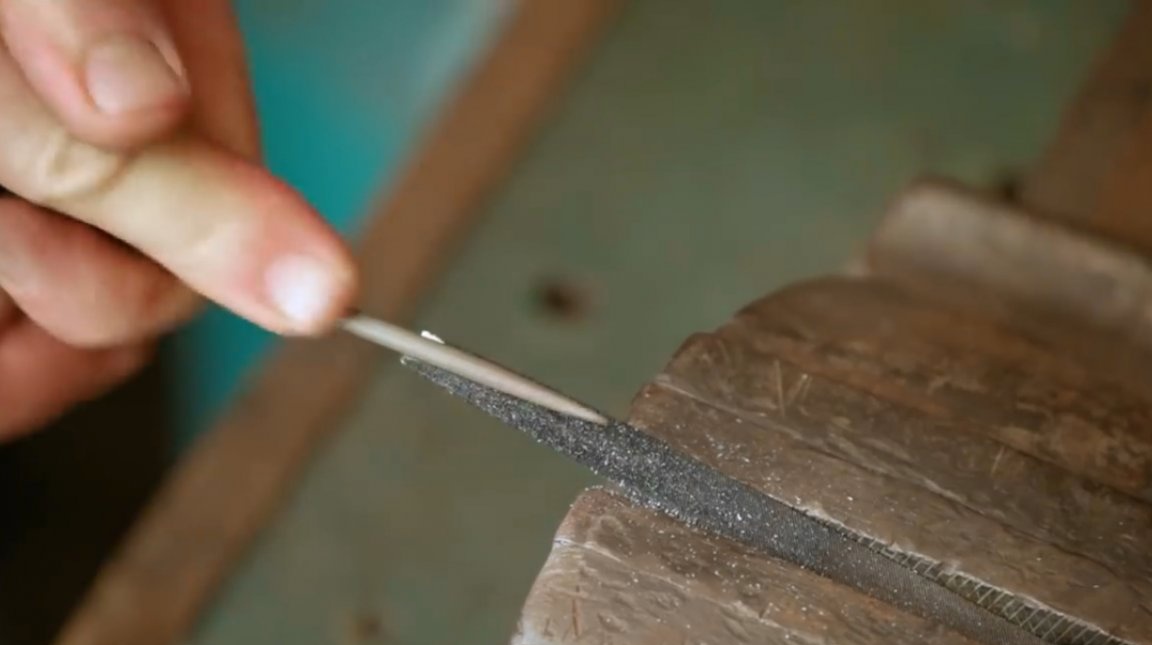
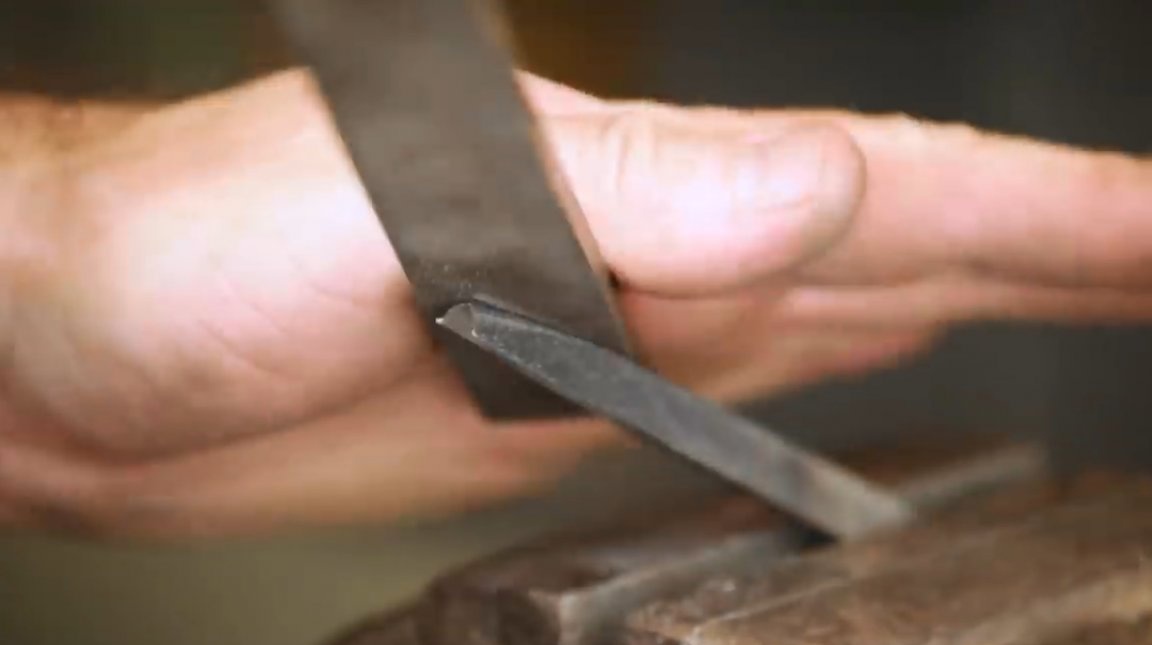
Cuts off the file nose to obtain the required cutter profile size.
The next step is the master forms the outer and inner cutting edges of the cutter. Moreover, the use of a grinder is extremely undesirable.

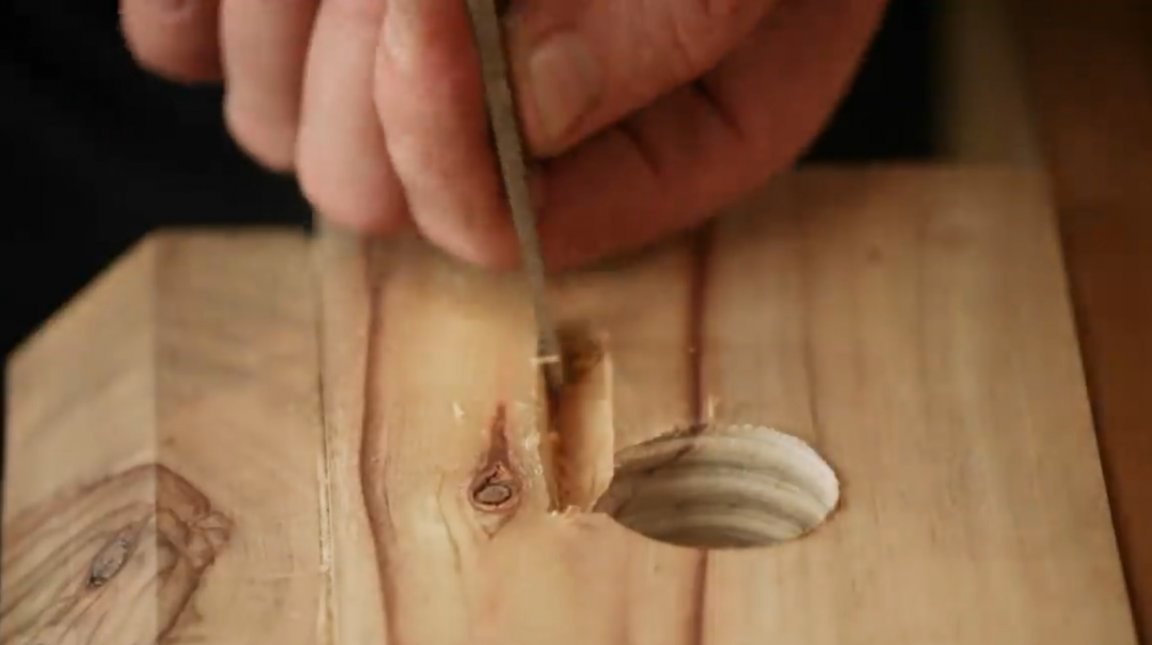
To edit the inner edge, Neil is armed with a round file.
If you look closely at the base of the thread, you will notice that it is not perfectly round. But the author managed to fit the cutter to such a profile.
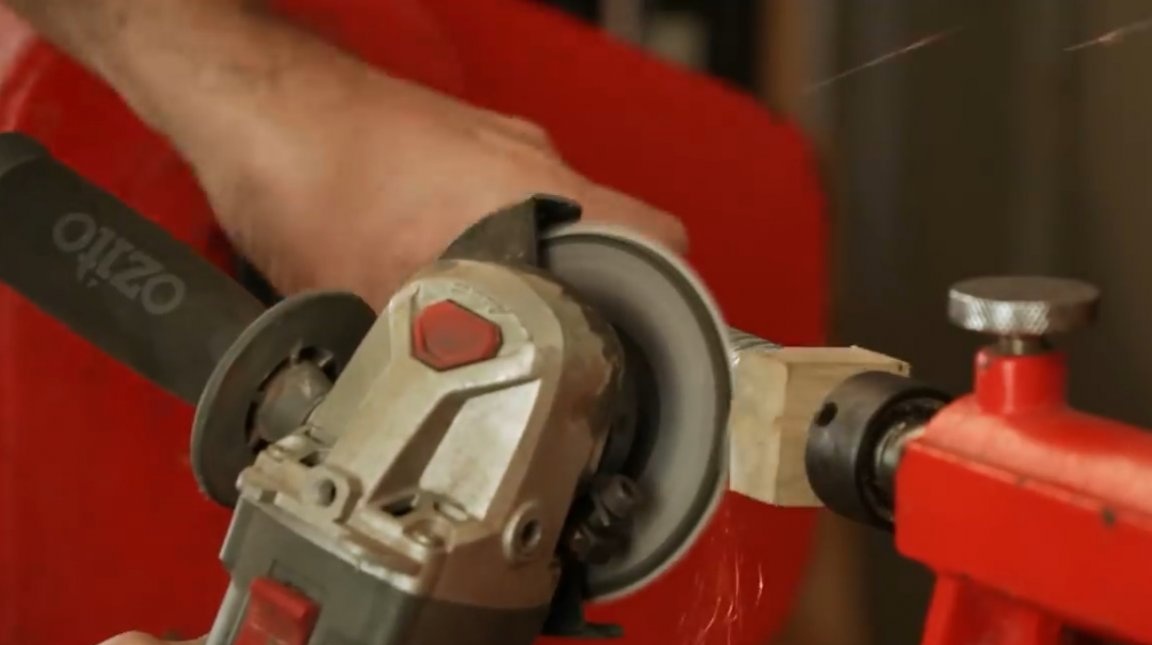
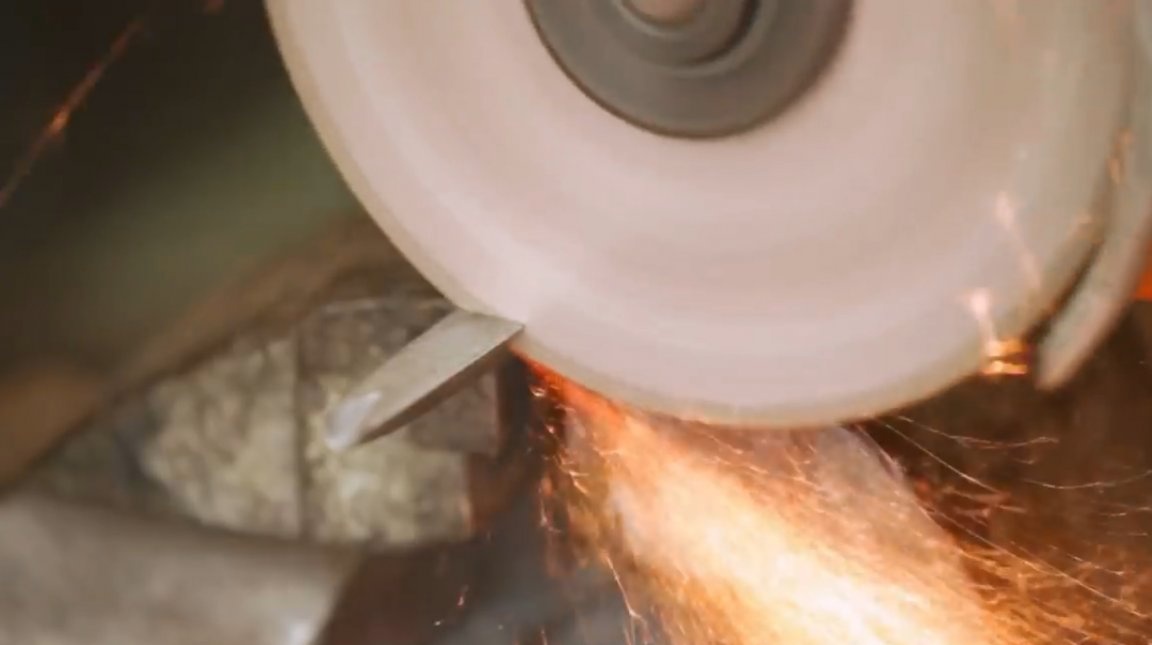
Unless you can cut the shank using a grinder. In this case, the cutter does not have time to heat up.
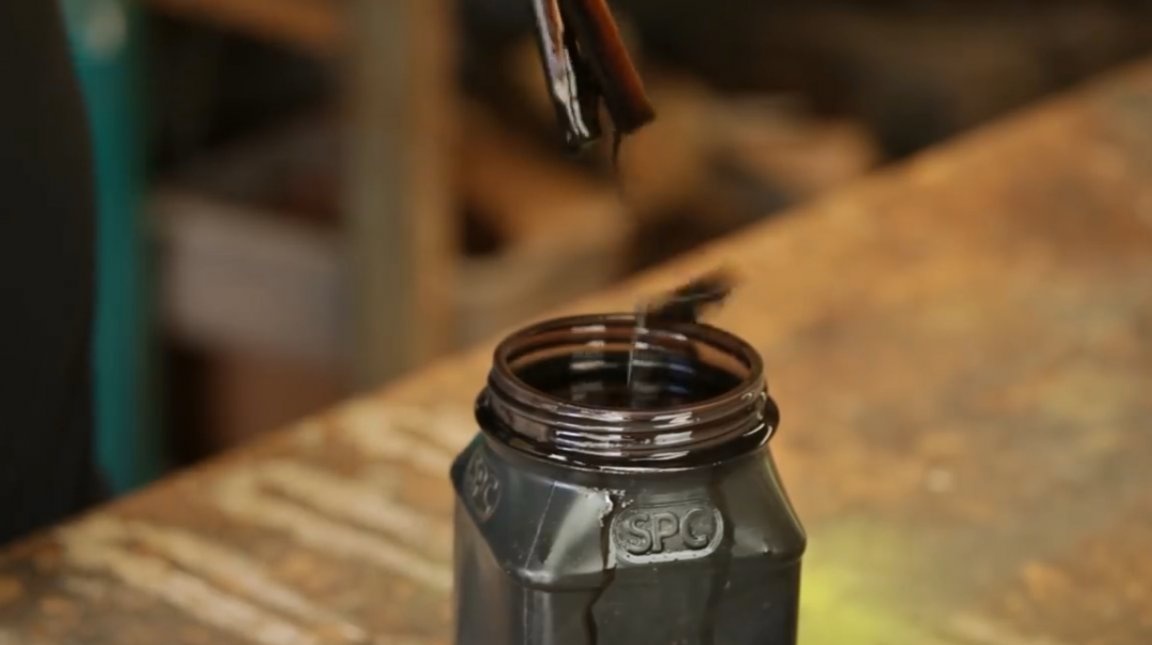
Next is the hardening of the cutter, and a sharp cooling in oil.

It was not the first time to get the blank.
Now a little sanding test sanding. The required hardness of the metal is achieved.
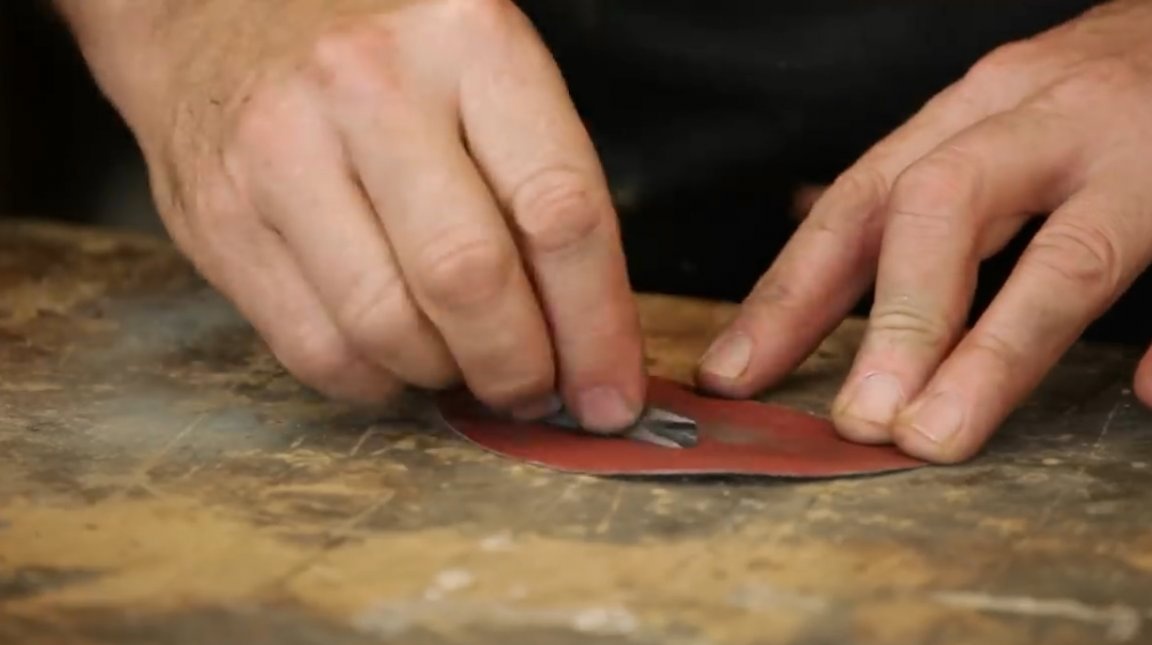
After quenching, the shank is heated and air cooled.
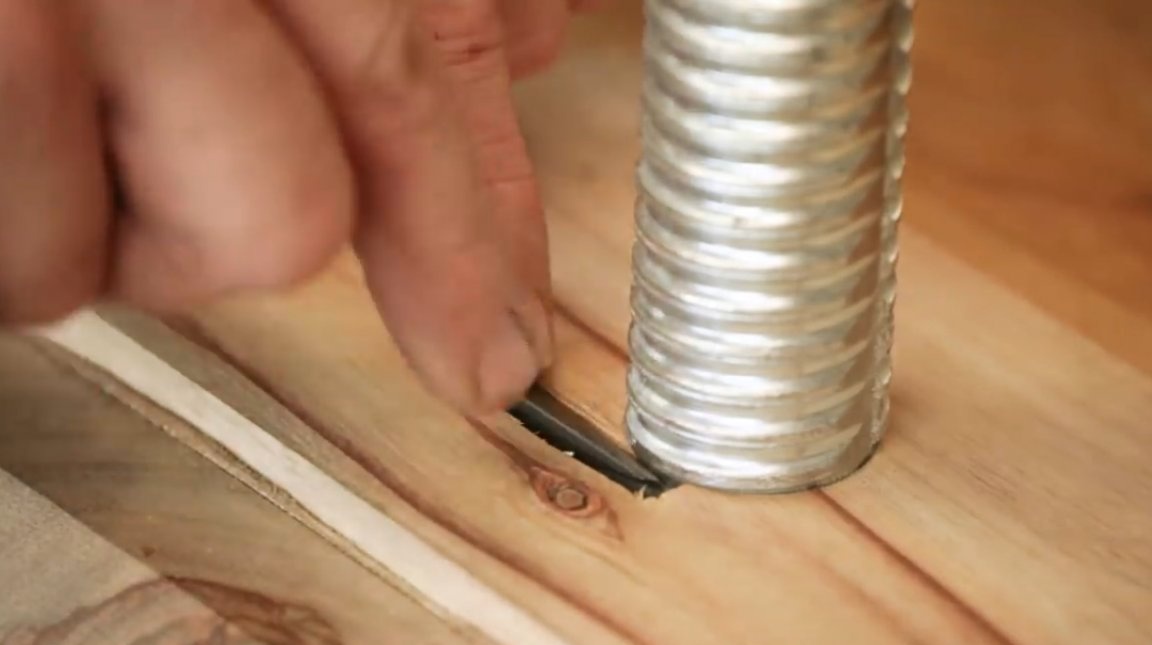
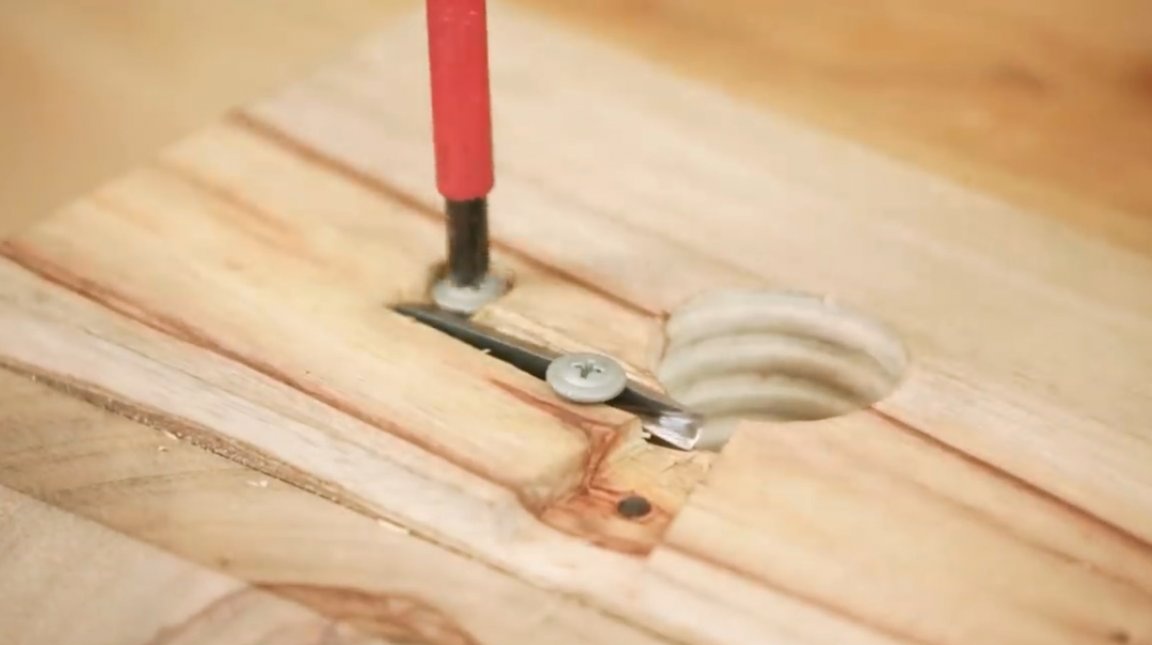
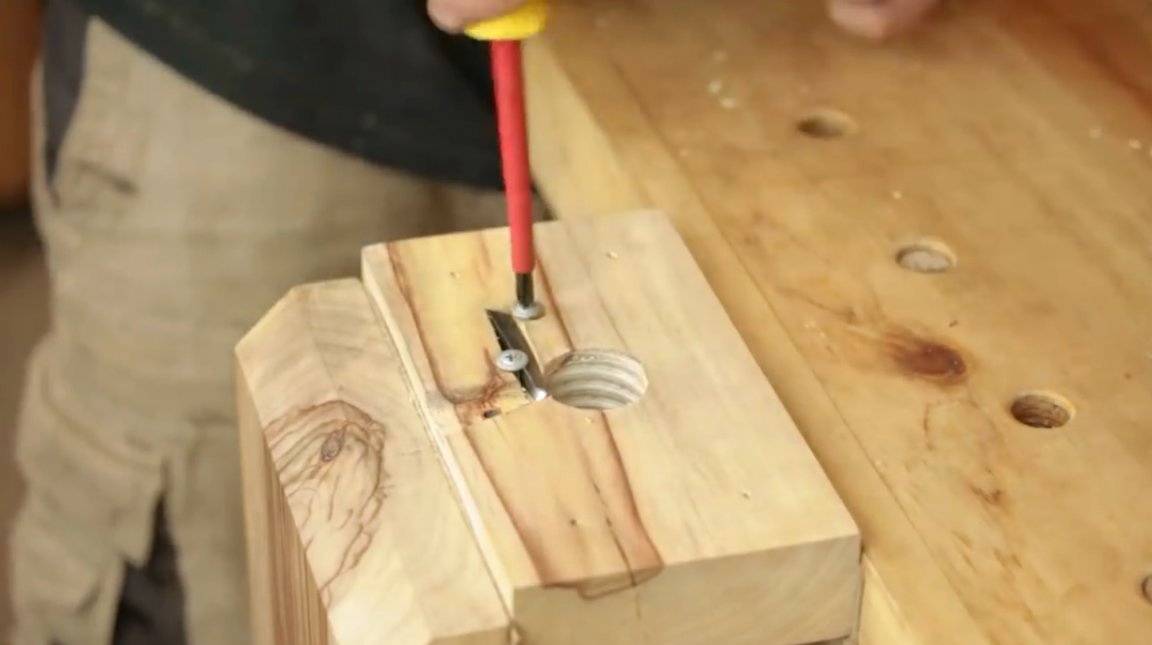
Then he makes a recess for the cutter. The cutter should be in line with the first groove of the thread.
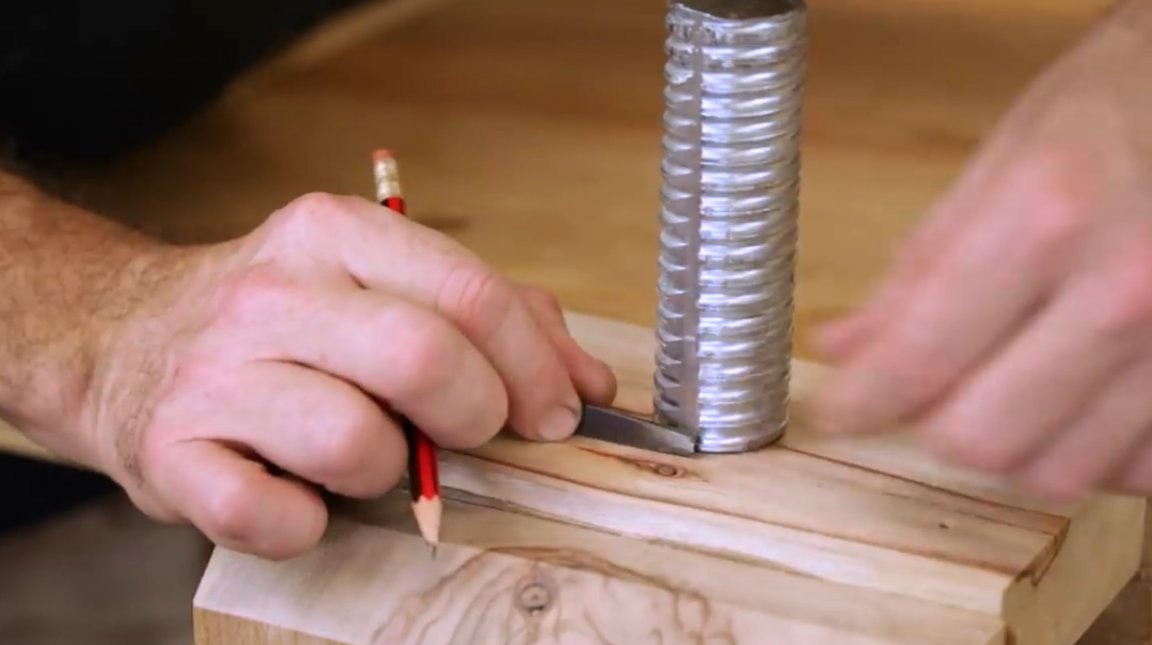

Unfortunately, the master leaned slightly down from the center of the thread. But this can be corrected, because the thickness of the material allows. It further deepens the cutter.
Screws in the tap again. Now its thread is located in close proximity to the center of the cutter blade. Here, the back is a bit loose, there is no support. The author decides to screw in a pair of screws to fix the blade.
Here he makes a small groove to remove chips.

Final sharpening of the cutter, the body is almost ready for assembly.
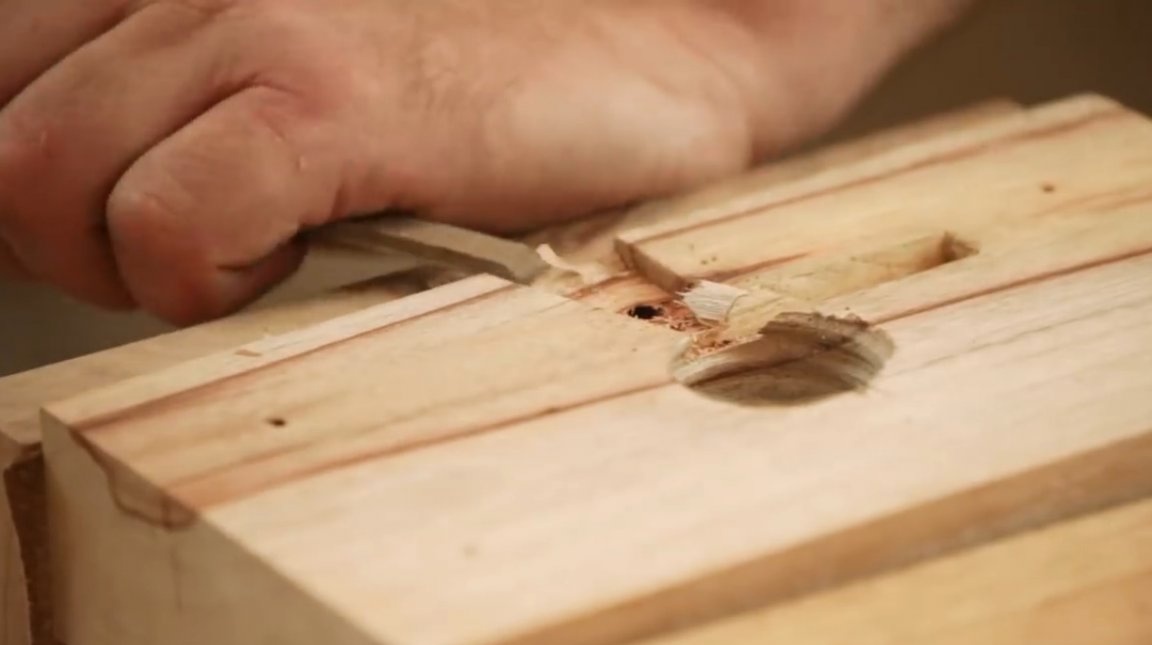
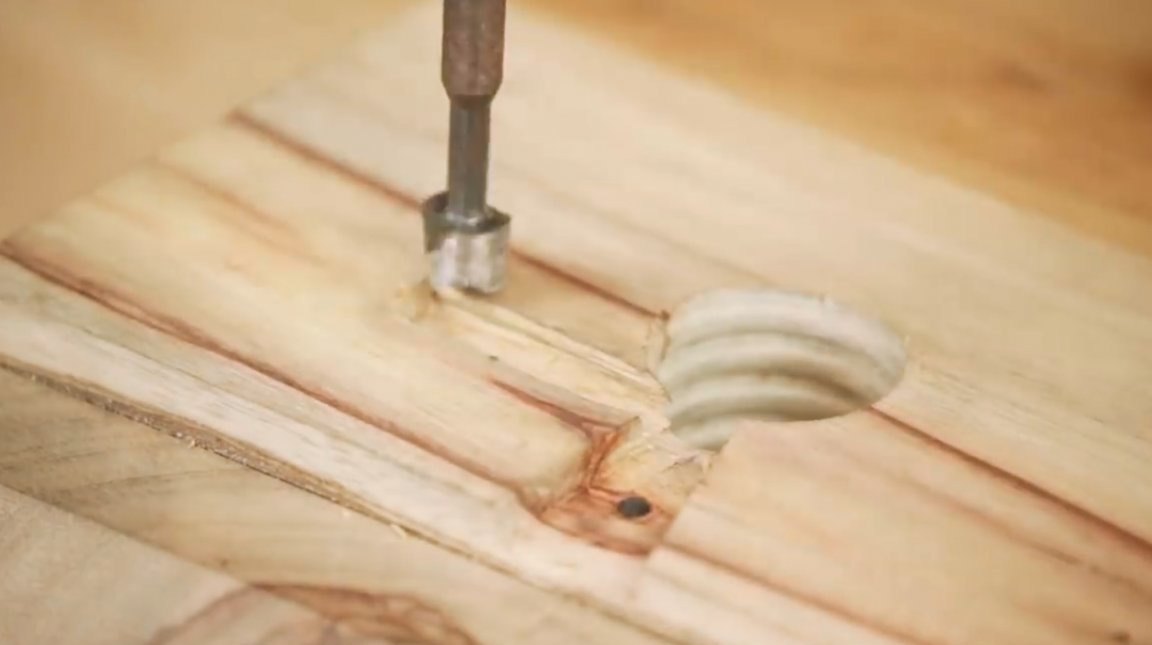
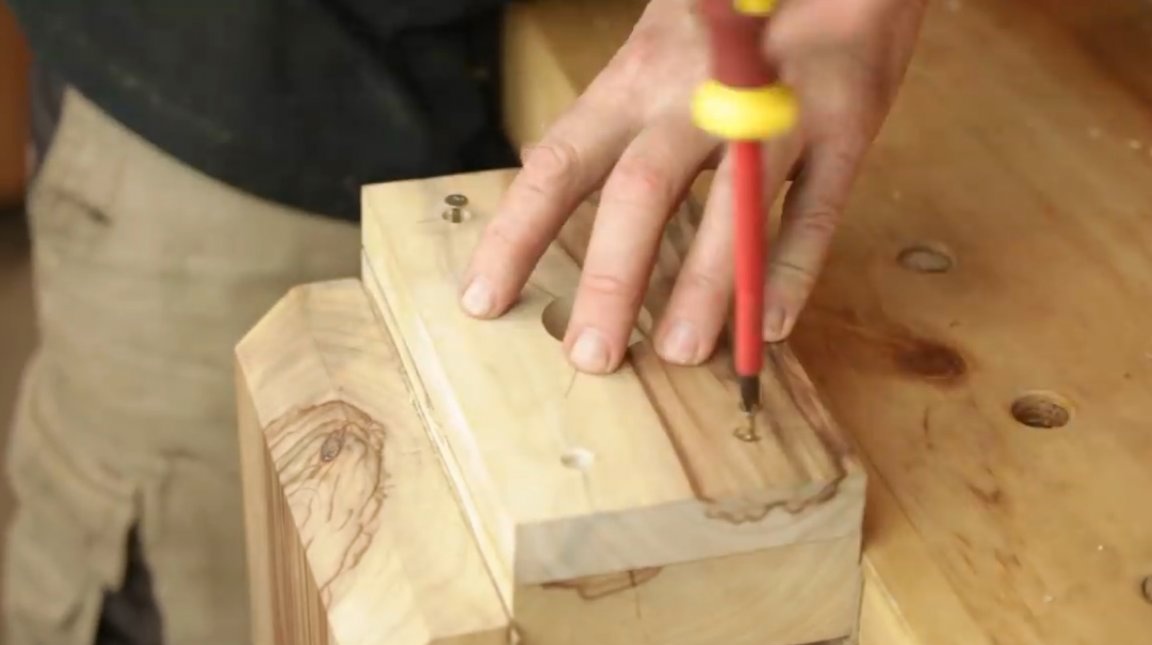
The cap of one of the two fixing screws should sink deeper than the surface of the tree. To do this, the master makes a small recess, countersinks the hole with a Forstner drill.
A small niche is also cut out on the reverse side of the upper block so that the protruding parts of the screws and the cutter itself can fit.

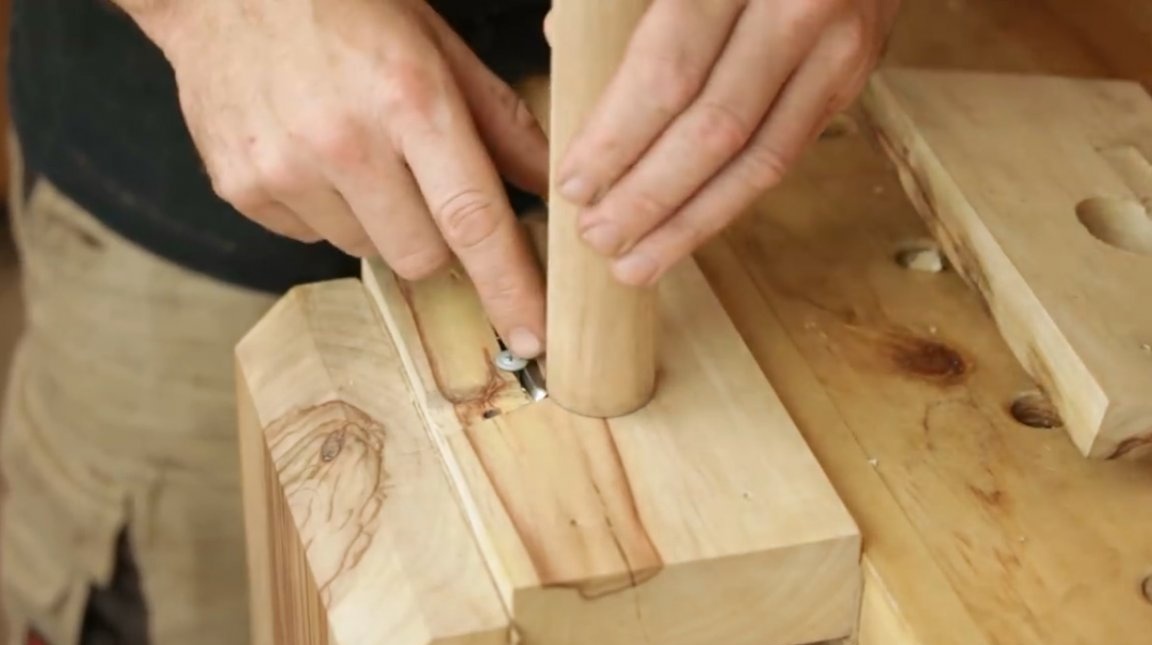
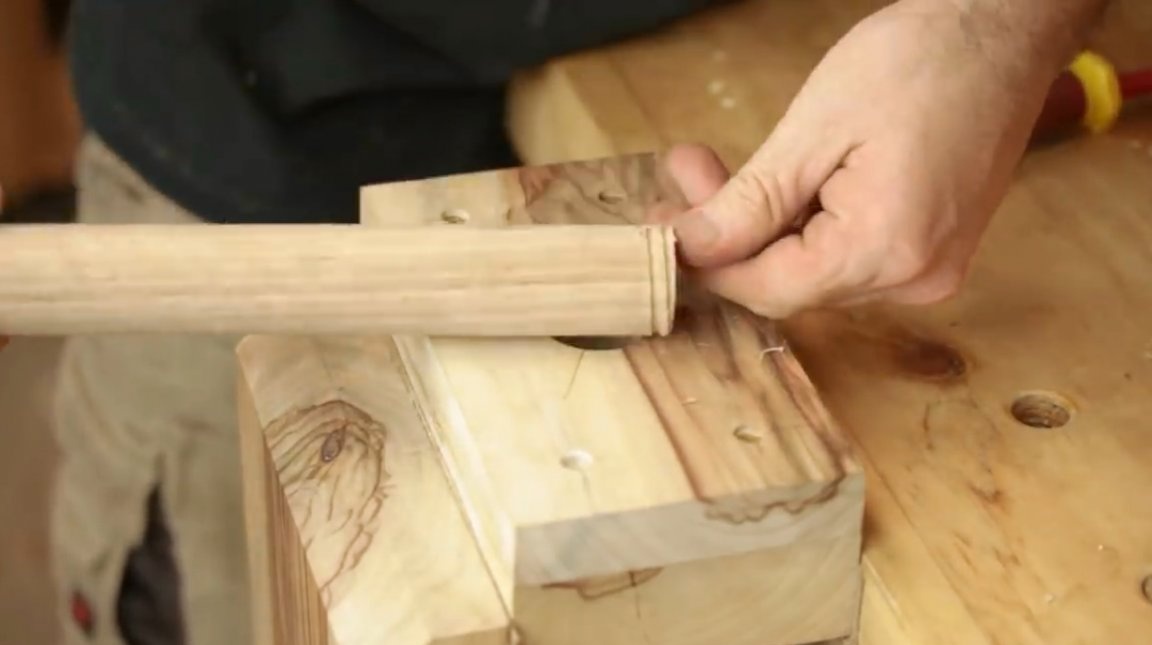
The author made a preliminary assembly of the body of the lehr, but when trying to thread the round, the round abuts against the upper part of the base, and does not reach the cutter.
So, the author will try to slightly expand the edge of the hole in the base of the case. To do this, he removes the cutter, again tightens both blocks with screws, and removes a couple of millimeters at the base with the 35th Forstner drill.
The cutter and screws are returned to the place, the case is assembled.
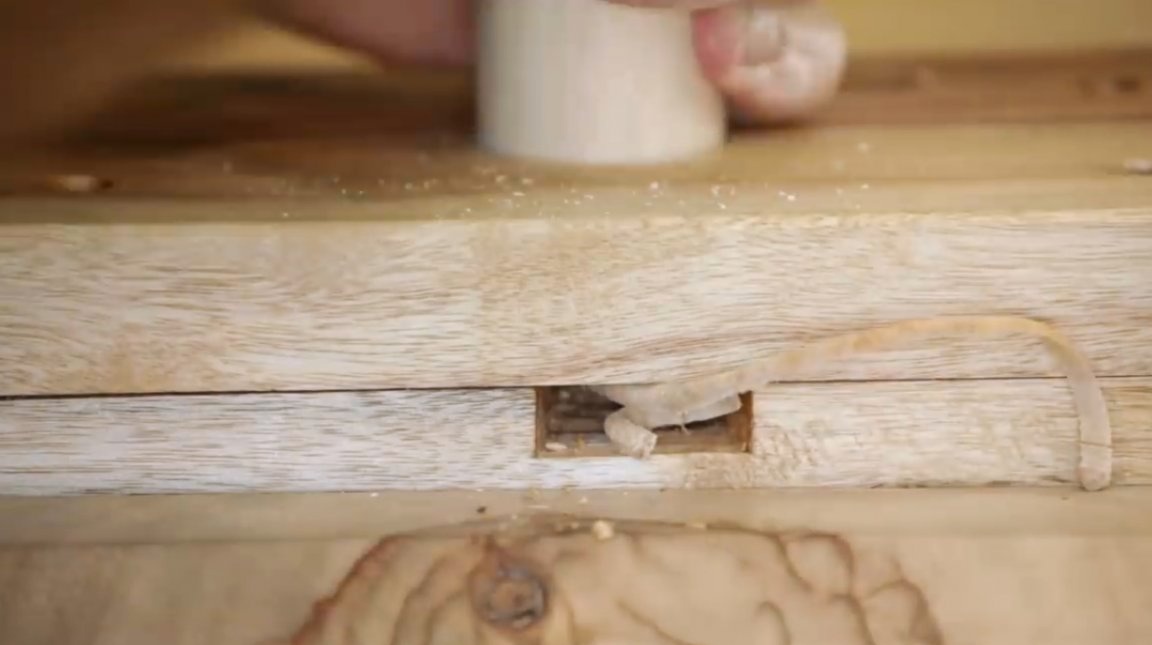
Now the round log fits perfectly into the hole and touches the cutter. The first threads are received.
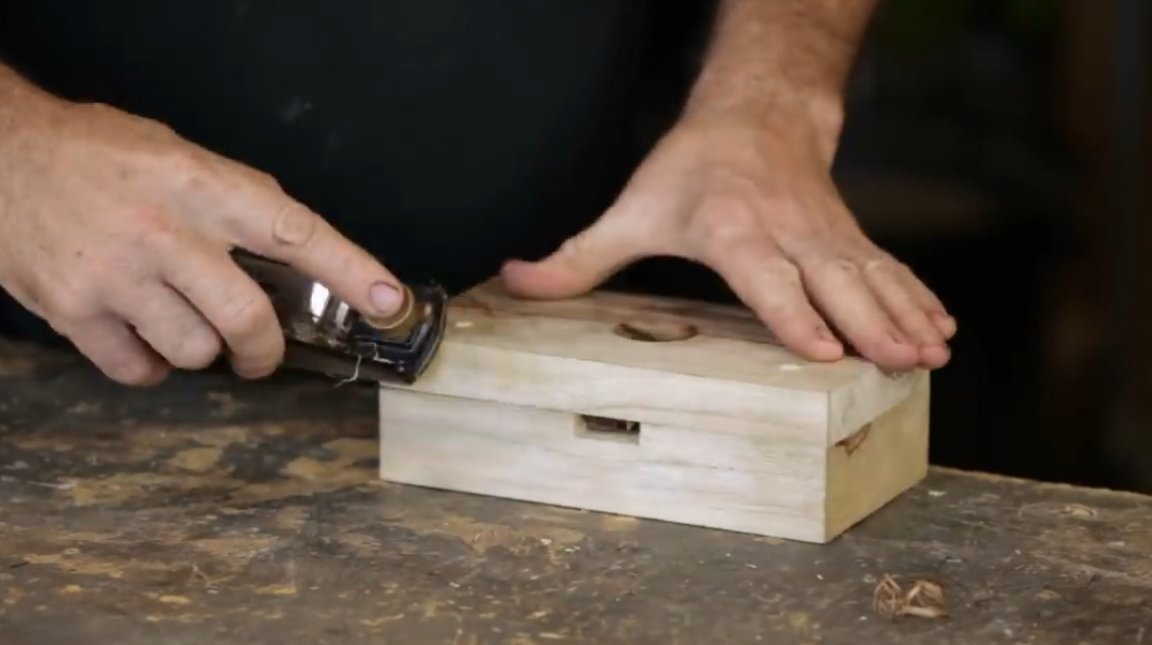
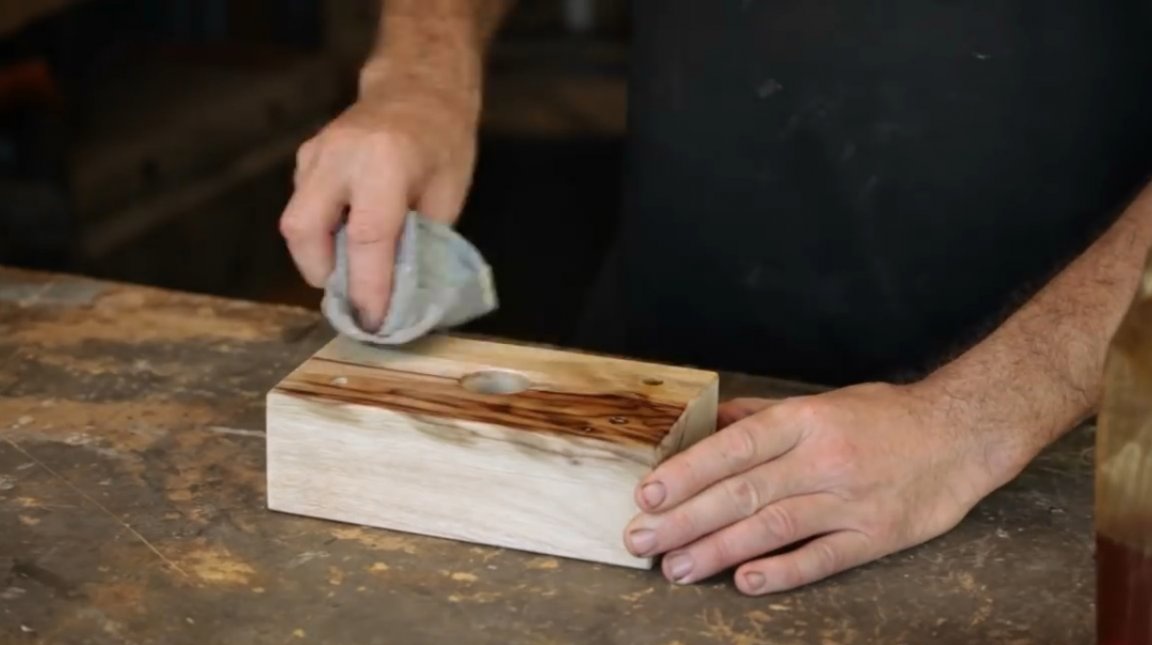
Sharp edges and corners are treated with a planer, and saturates the surface with linseed oil. With lerka over!
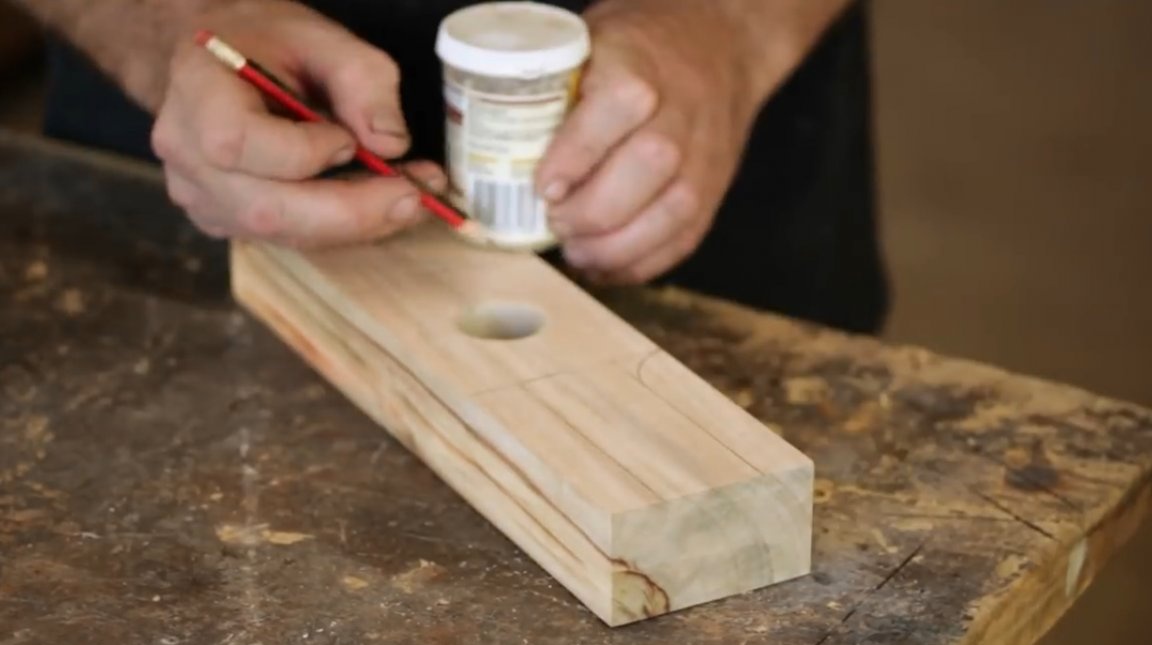
And now the master returns to the tap. There is a handle to be made for him. First, he needs to drill a hole in the center of the workpiece with the 32nd Forstner drill.

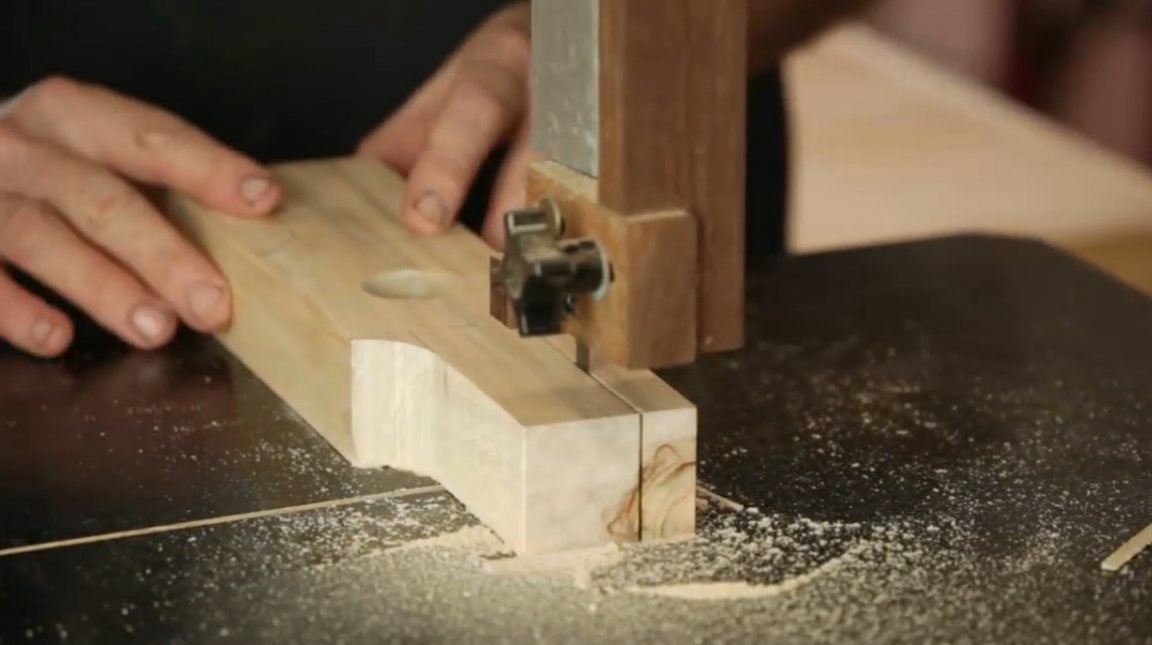
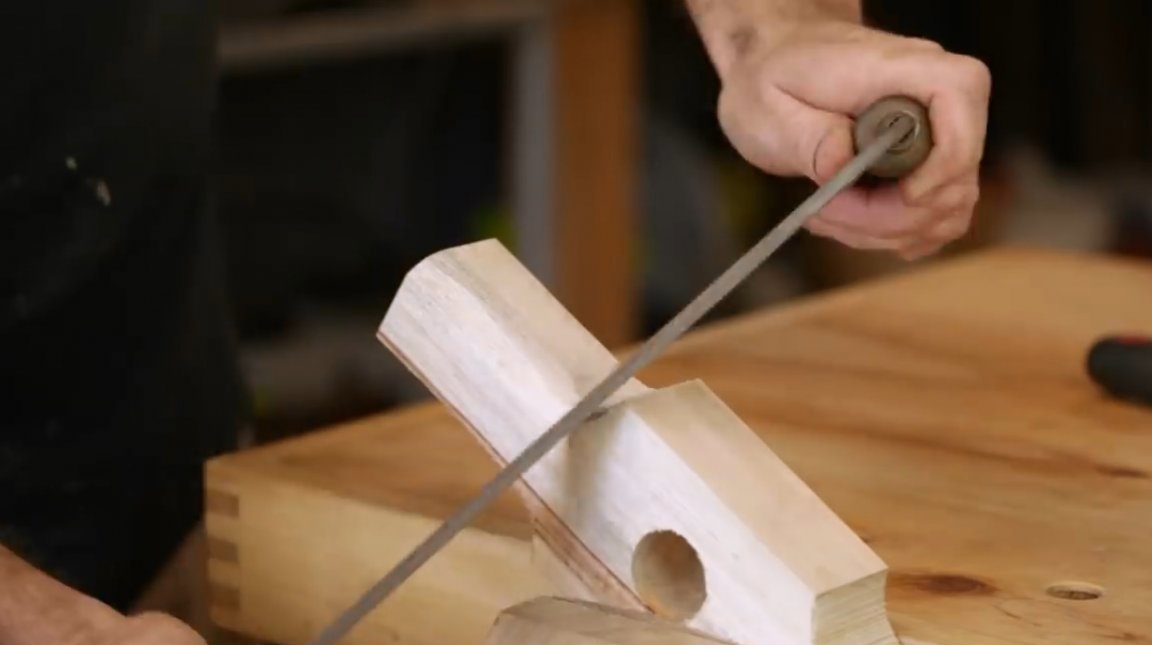
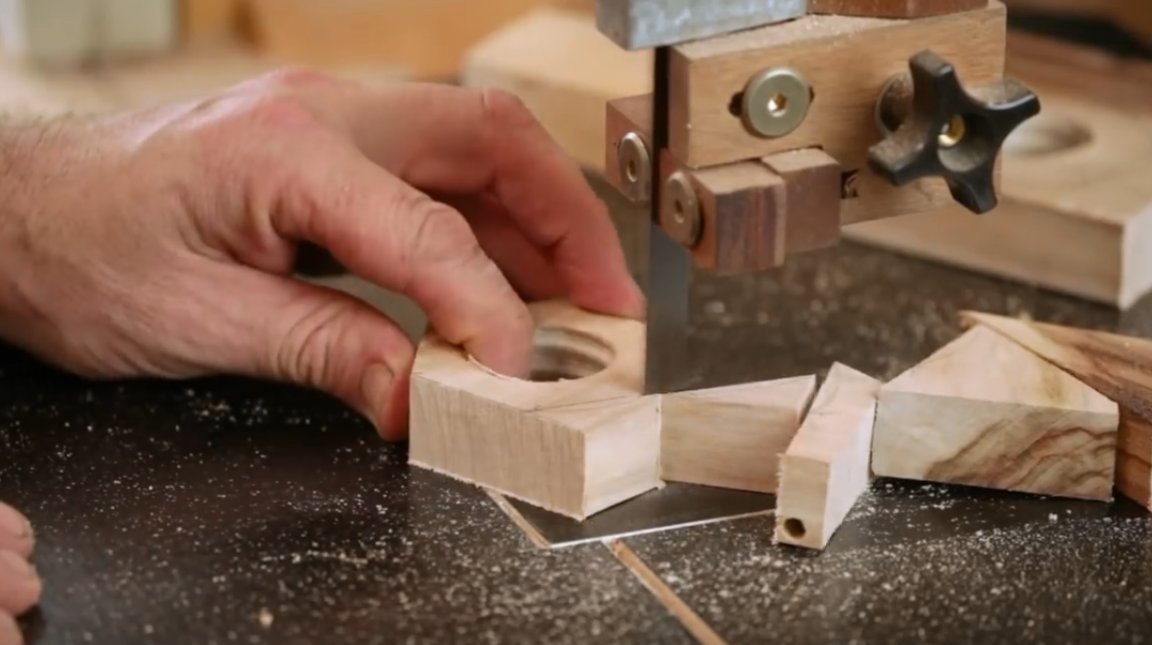
Then he draws a drawing of the future profile, and cuts the workpiece on a band saw.
The edges of the handle are very convenient to cut with a staple, and then file with a file.
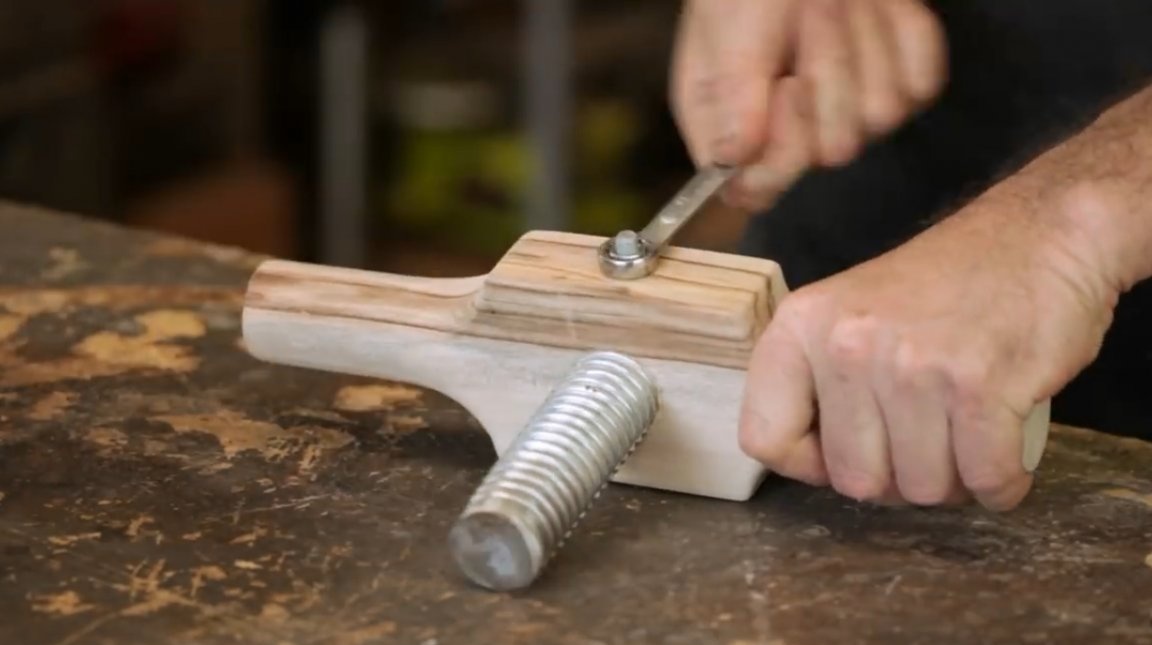
Now the tap cuts the thread in the handle to itself, then the author turns it over and pulls the cutter to the end.
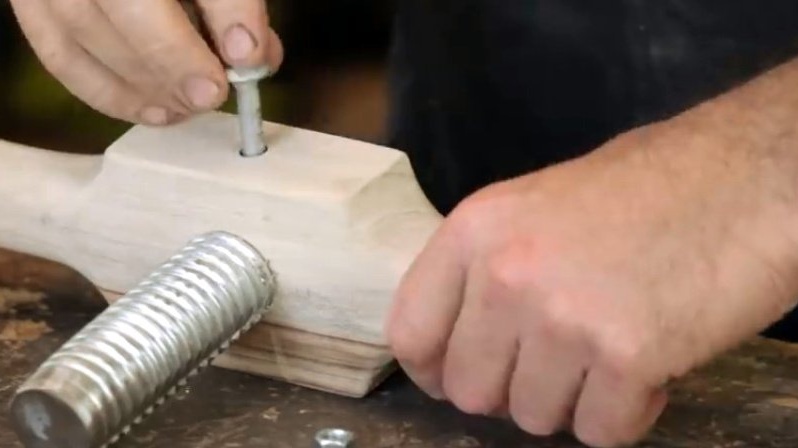
Drilling a through hole through the handle and top of the cutter, fix it with a bolt and nut ..
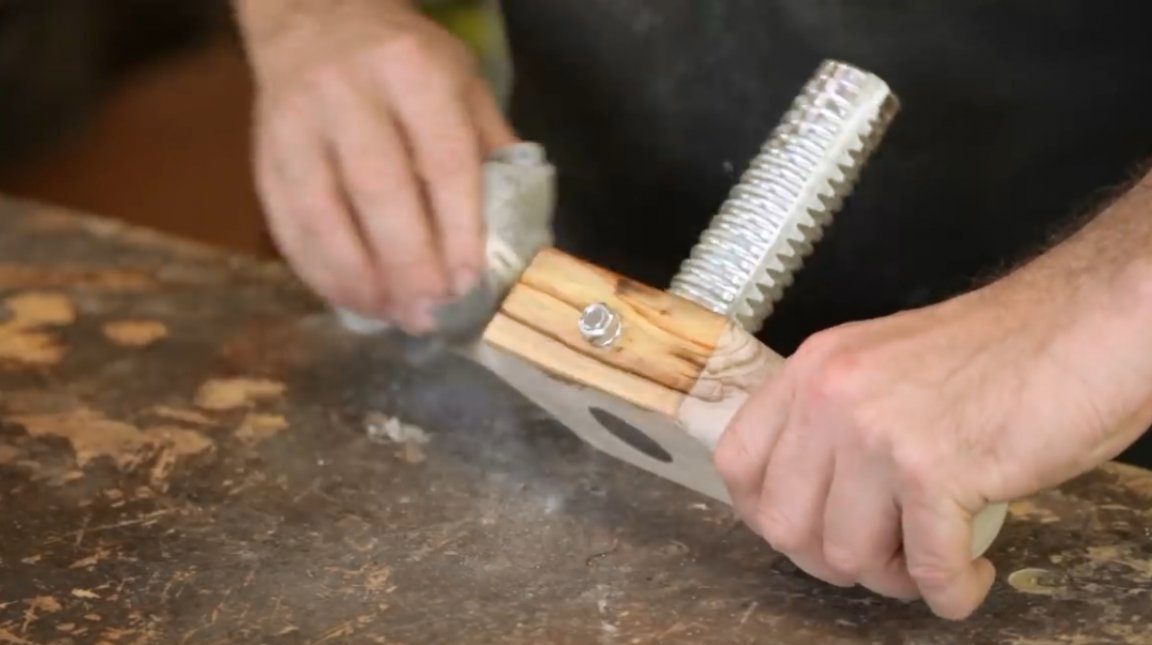
Finish with linseed oil, and the tap is also ready.
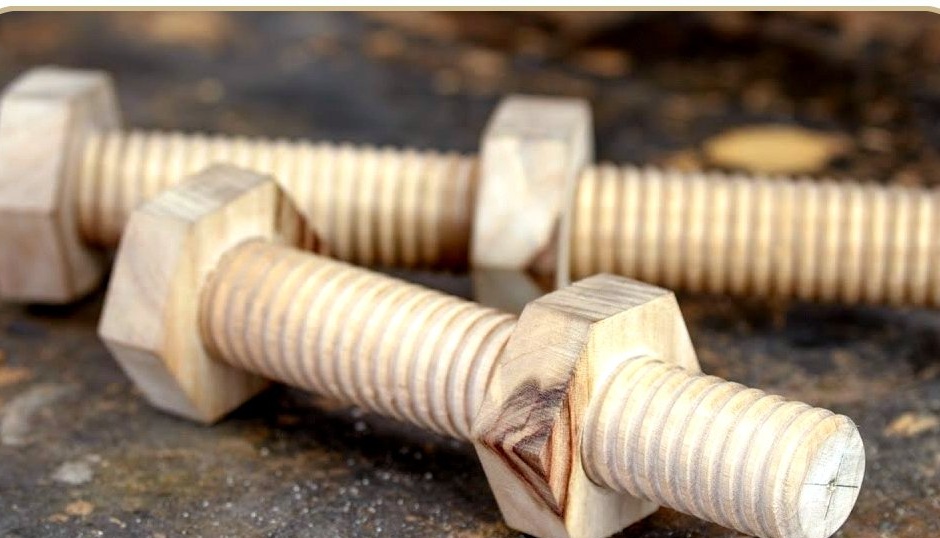
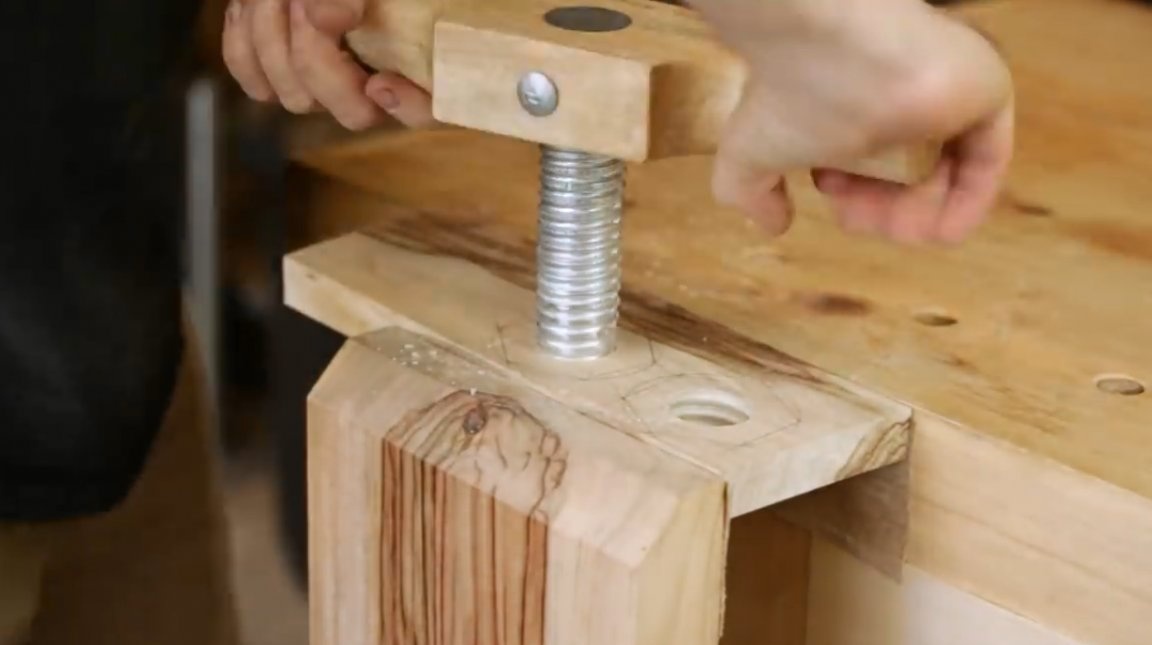
Well, it remains to experience fixtures, and make a bolt with a nut.
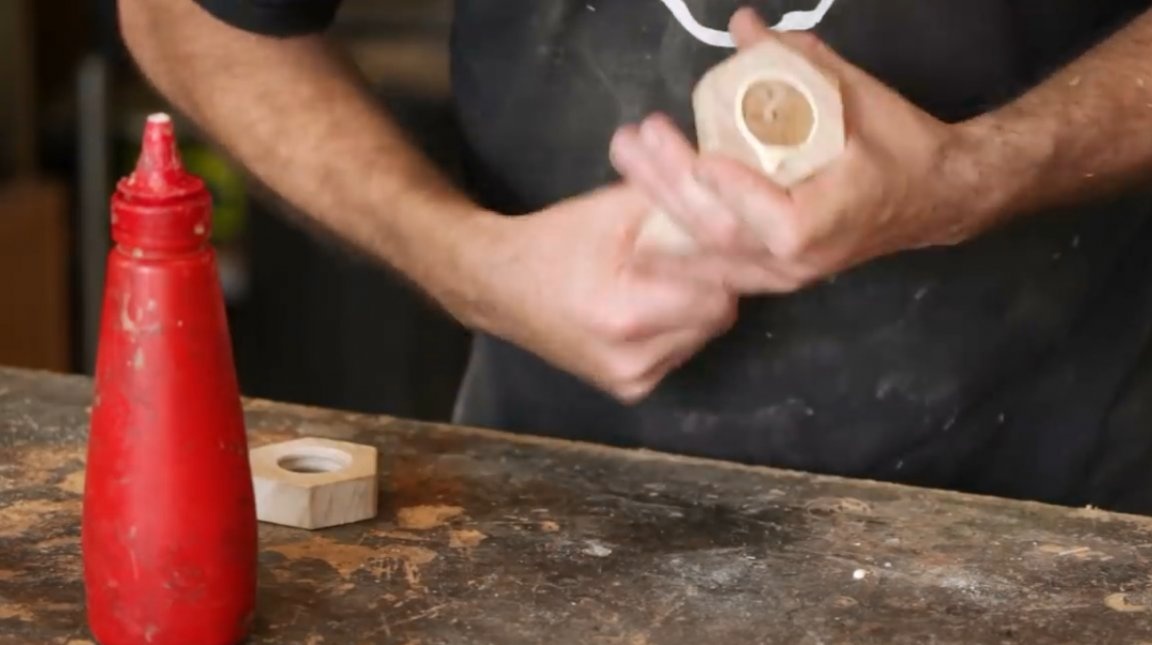
He drills 32 mm holes in the centers of the nuts and cuts the threads in them.
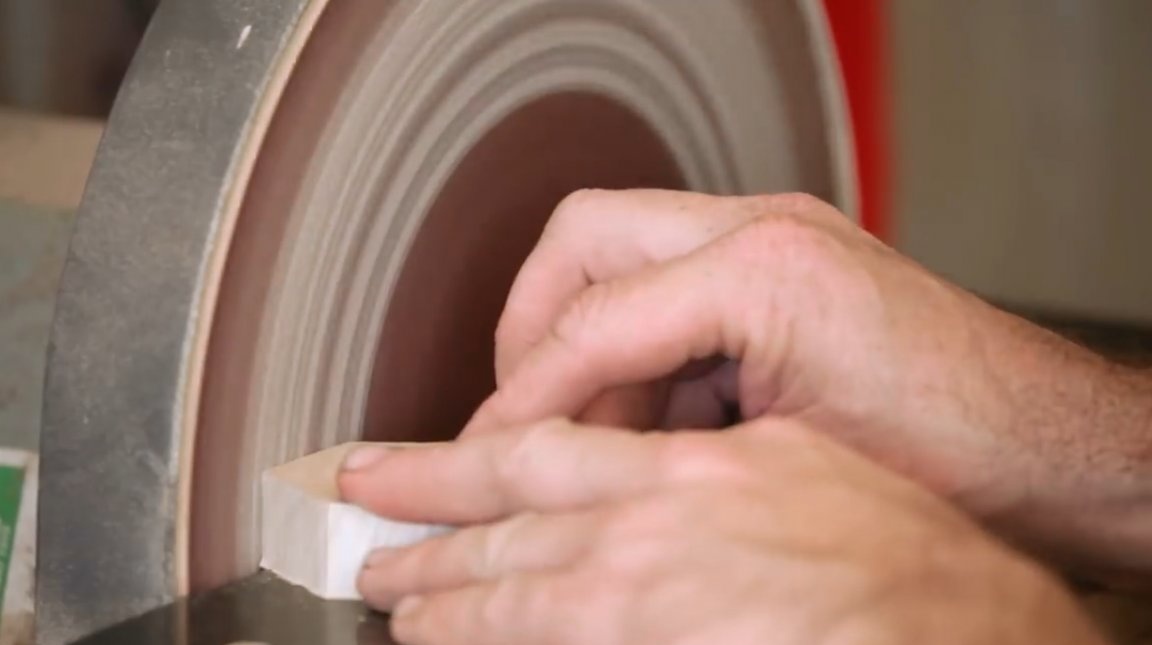
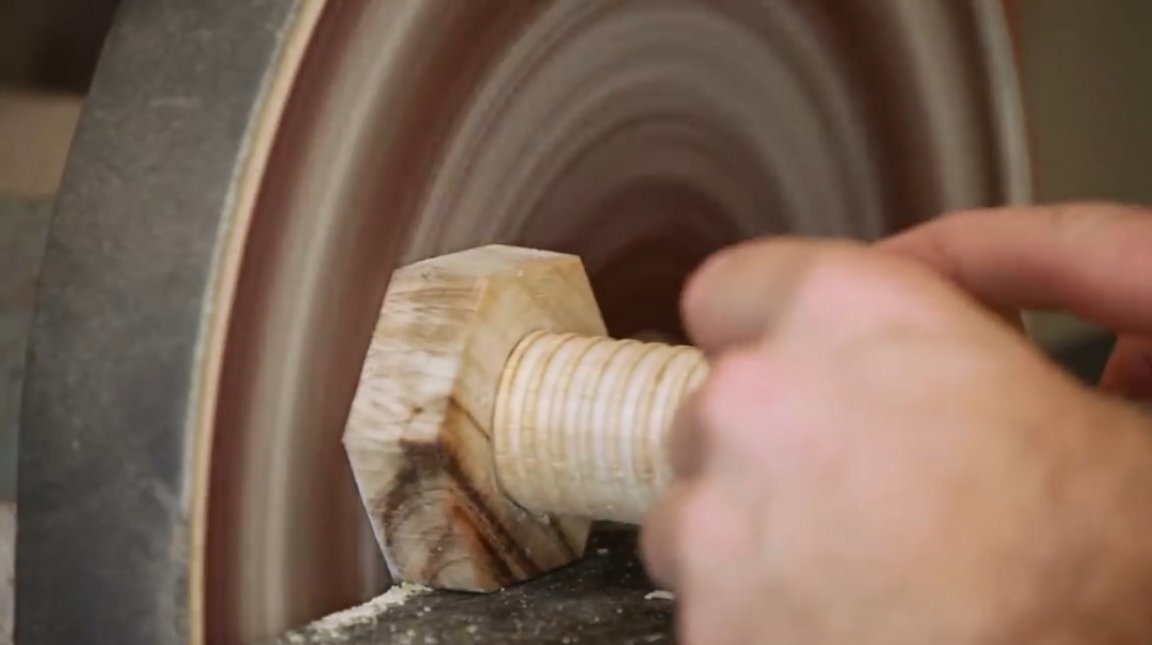
After this, the nut blanks are cut out and ground.
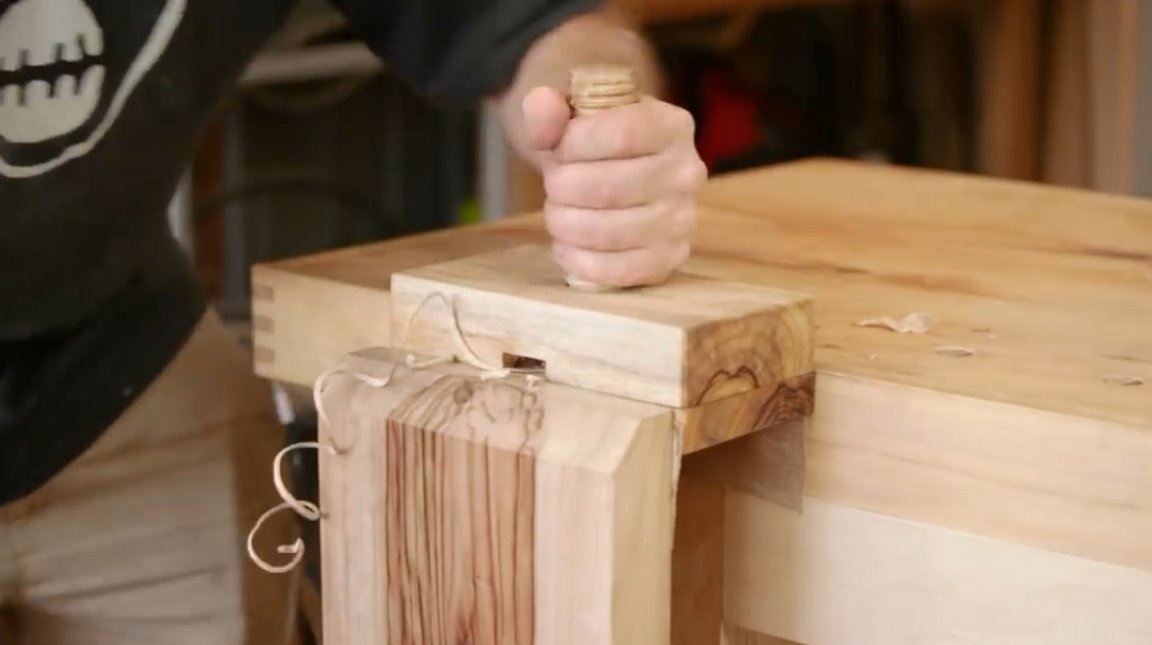
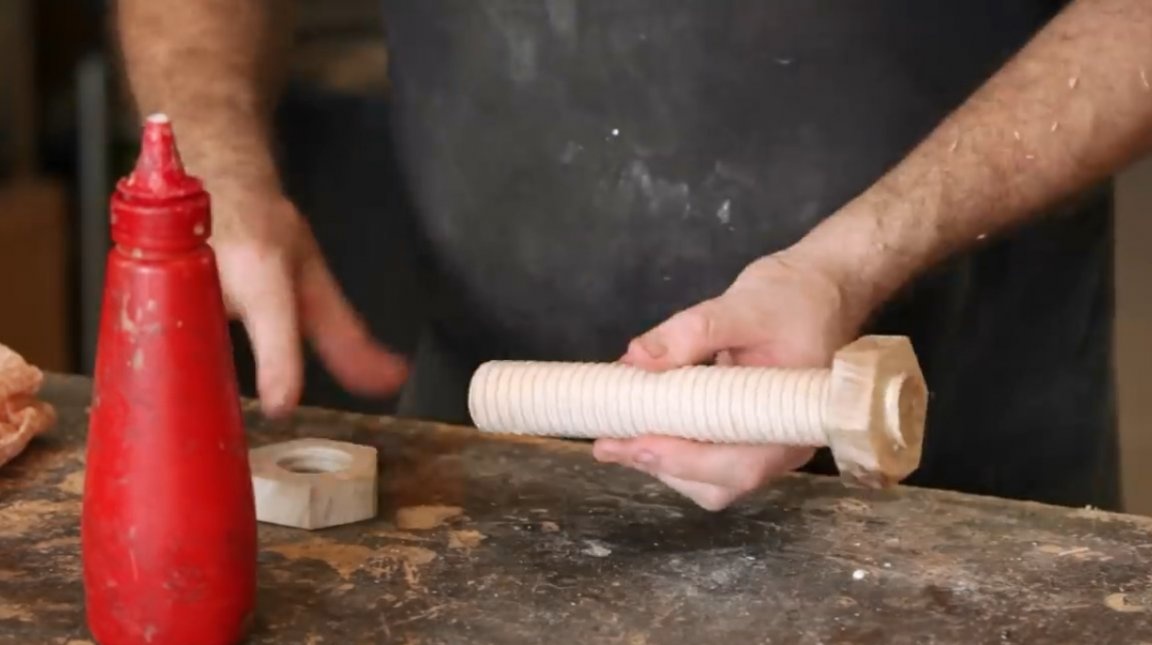
He grinds a workpiece from a wooden beam, checking the diameter according to the template.
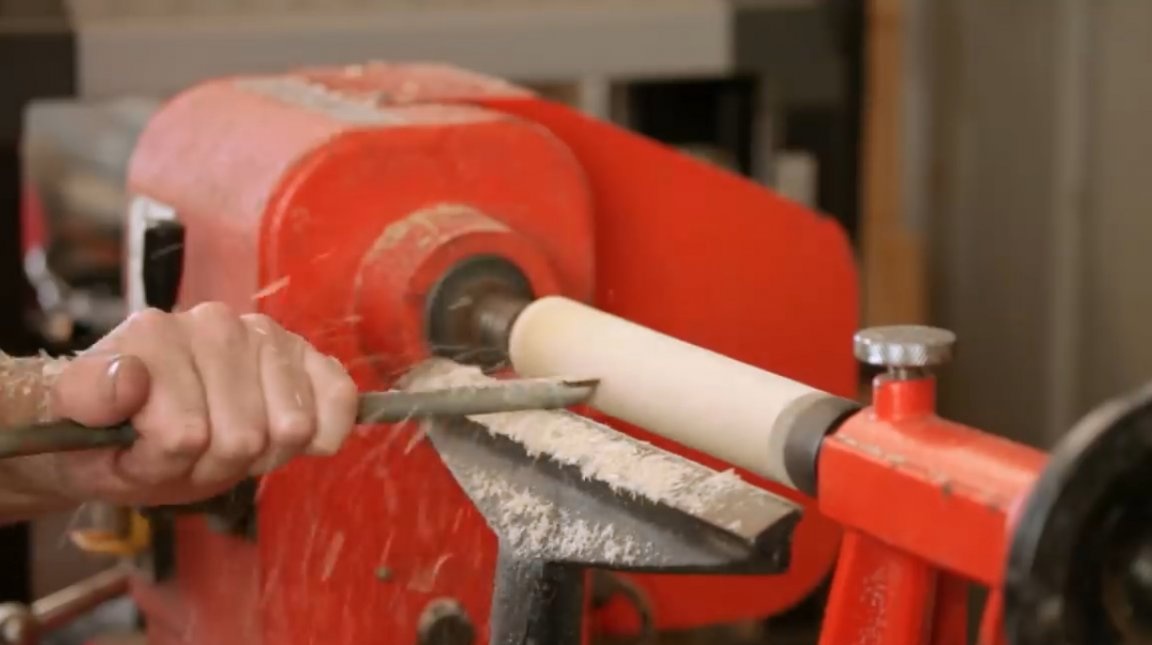

It cuts the first half of the thread, even the shavings hardly break.
Turning the handle over, cuts the second half of the thread.
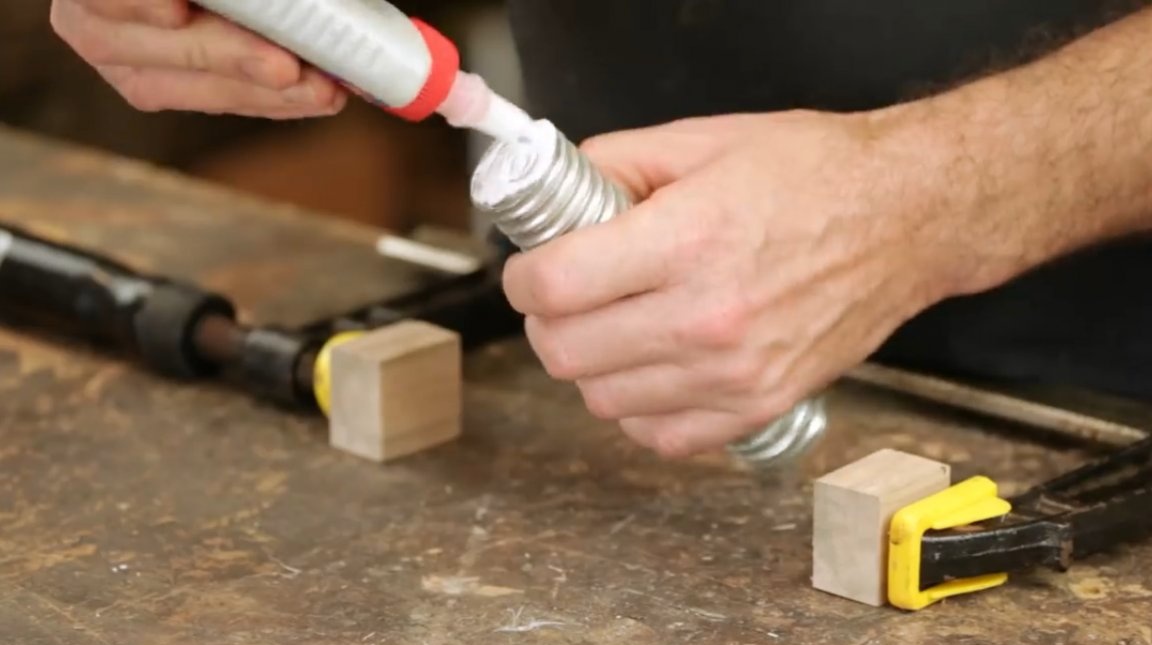
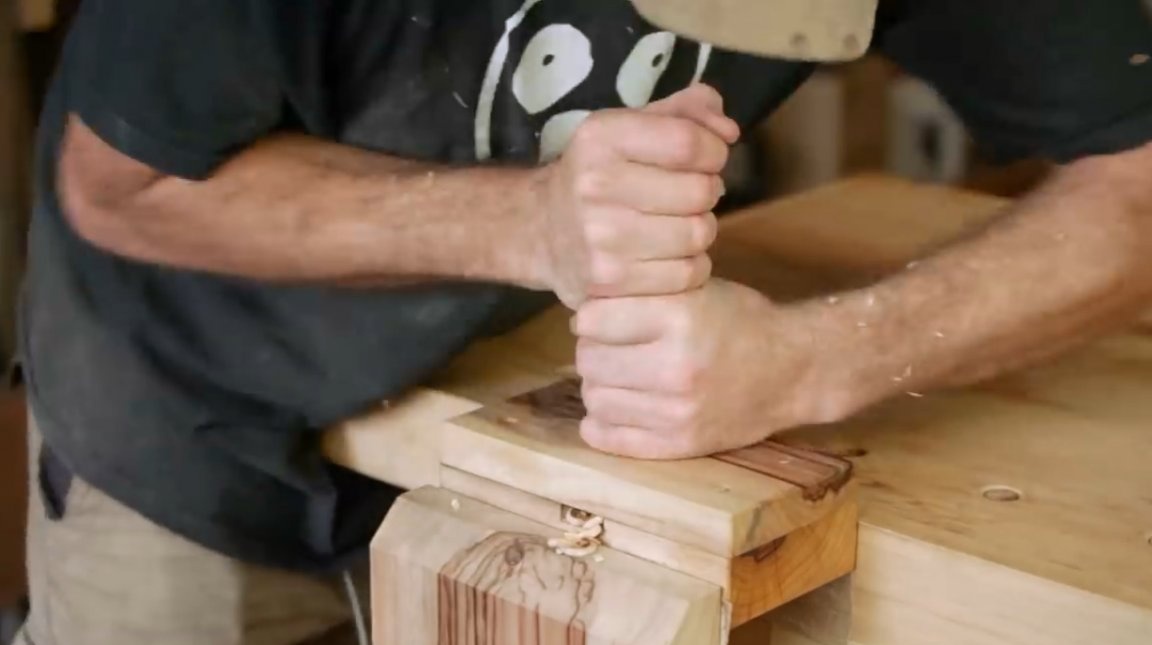
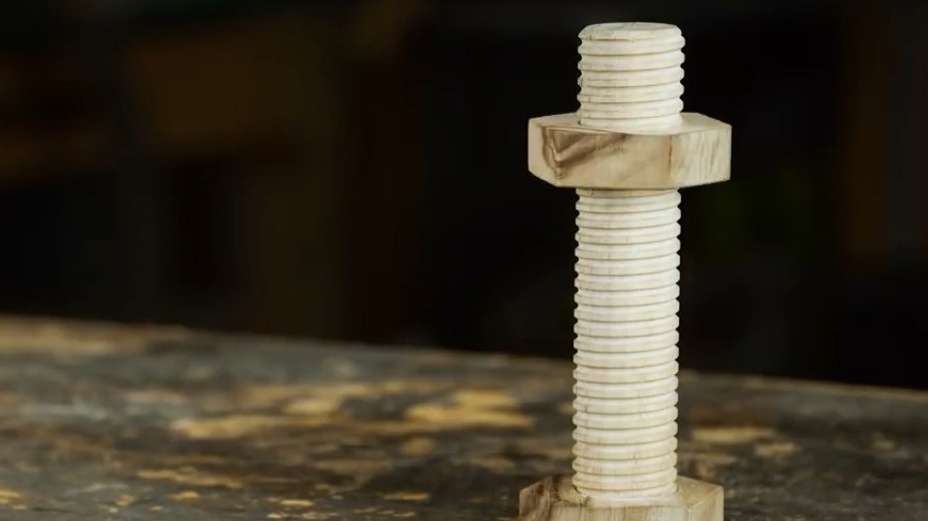
Then it gains a nut, lubricates the thread with glue, and twists it into place. So traces of glue will not get on the main thread.
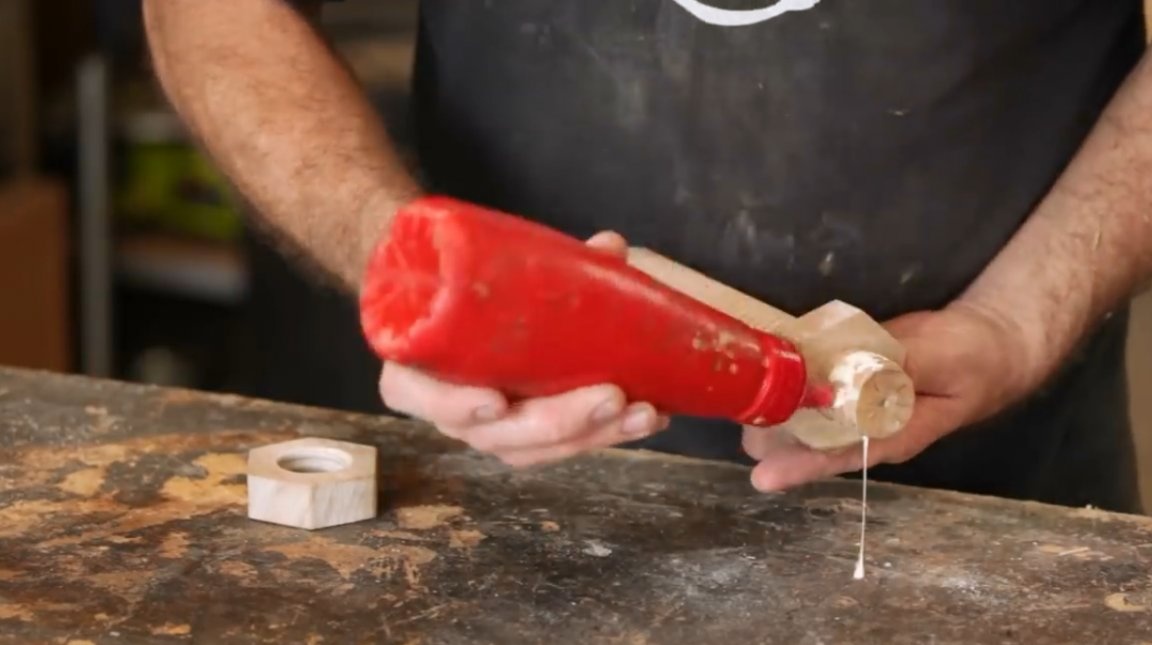
After the glue dries, it remains to grind the edges of the bolt.
On this project is completed. By the way, in the article about vise of moxon it will become clear in which the author uses such tools.
Thanks to the author for the simple but useful tools for the workshop!
All good mood, good luck, and interesting ideas!
Author video can be found here.