

Hundreds of thousands of people around the world build electric skateboards, so there are many companies that sell spare parts for craftsmen, as well as self-made boards, so to speak out of the box.
This homemade running and gaining 48 km / h.
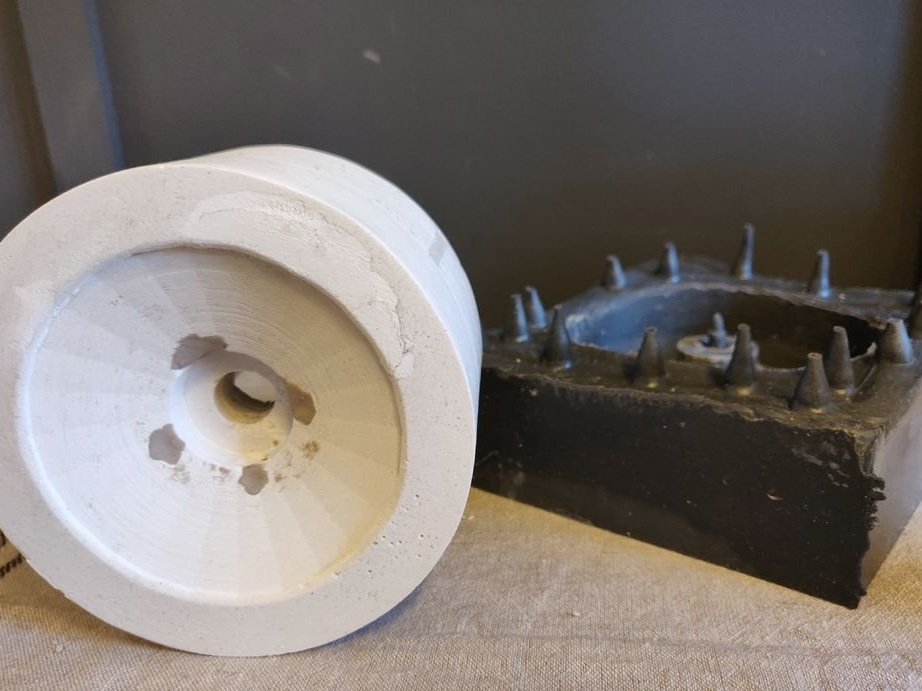
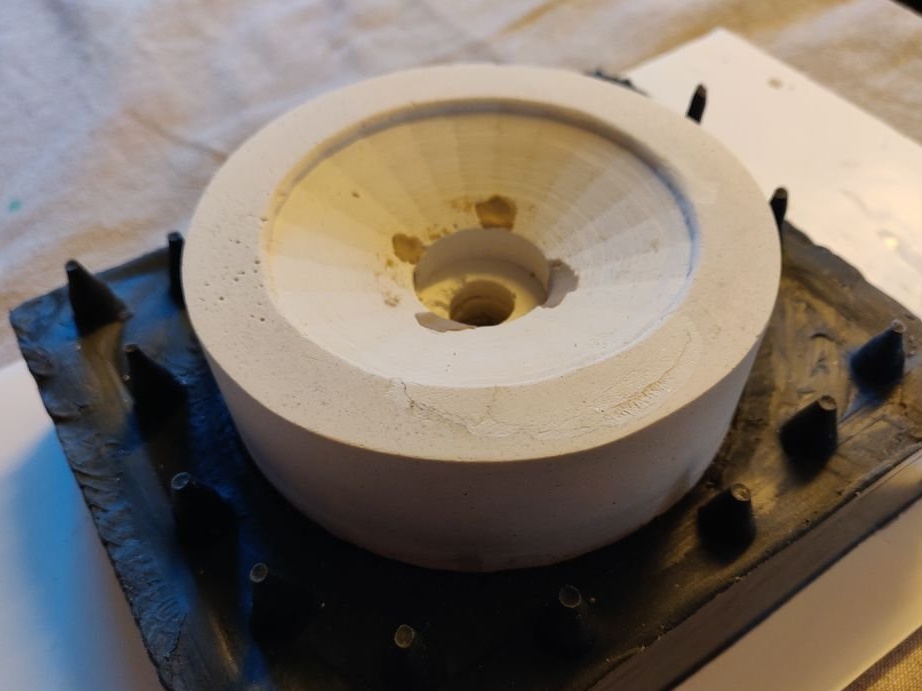
This assembly has several parts printed on a 3D printer, and since the author of this skateboard does not have a printer, he uses Google sketchup to create files and then uploads them to 3dhubs, where they are printed and sent.
Step 1: Board, wheels and chain
The author used the Kryptonics Cast off Drop end-to-end meter board.
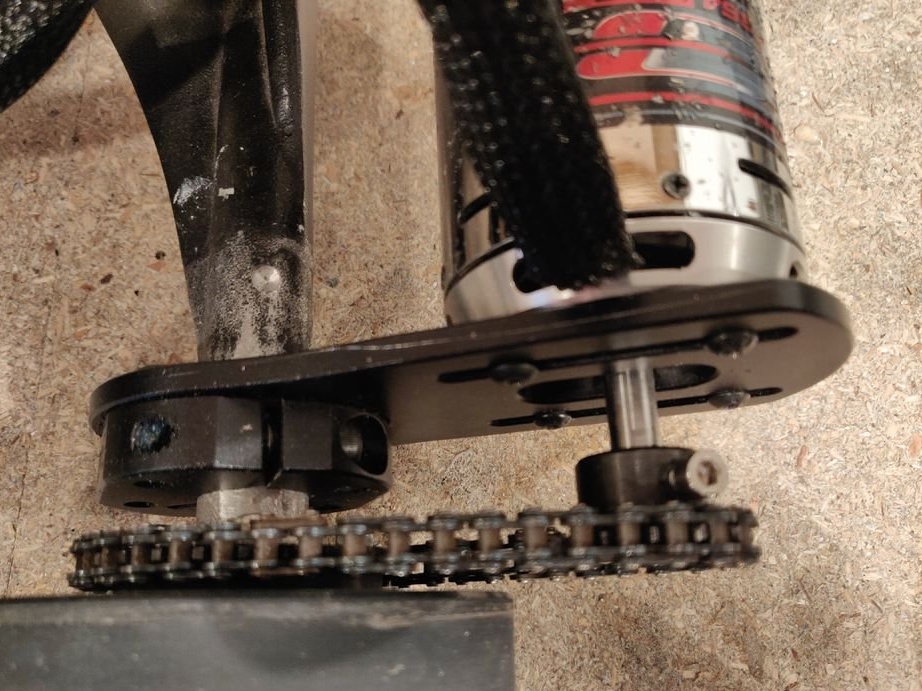
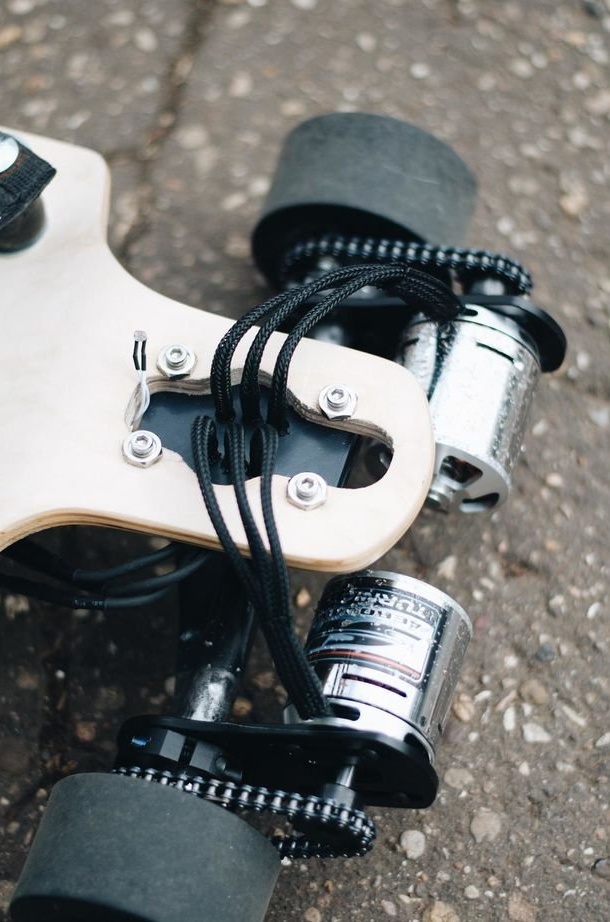
The fastened wheels that came with the board were good. The mount was not wide enough to fit the installation of two motors. Therefore, the author used a 38 cm chain with an onboard platform.
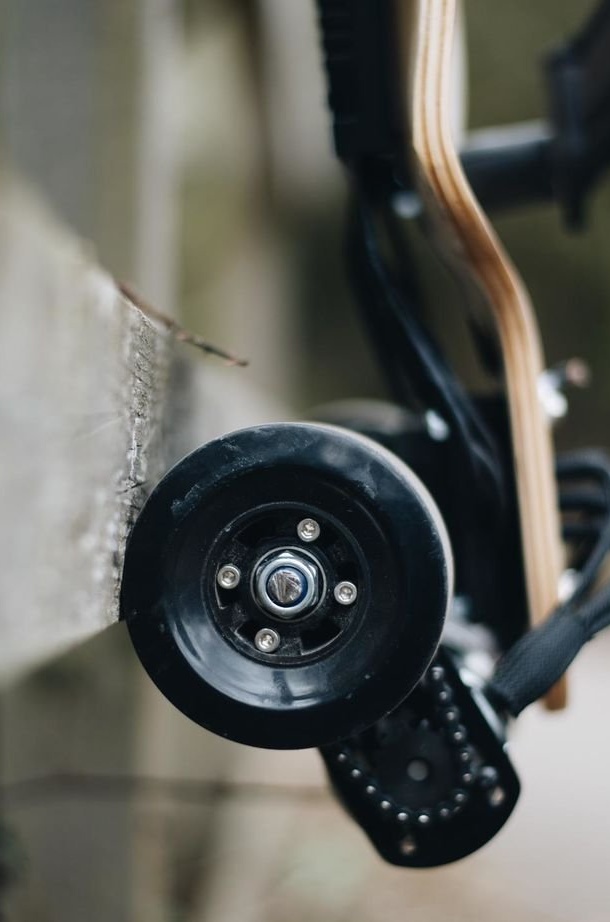
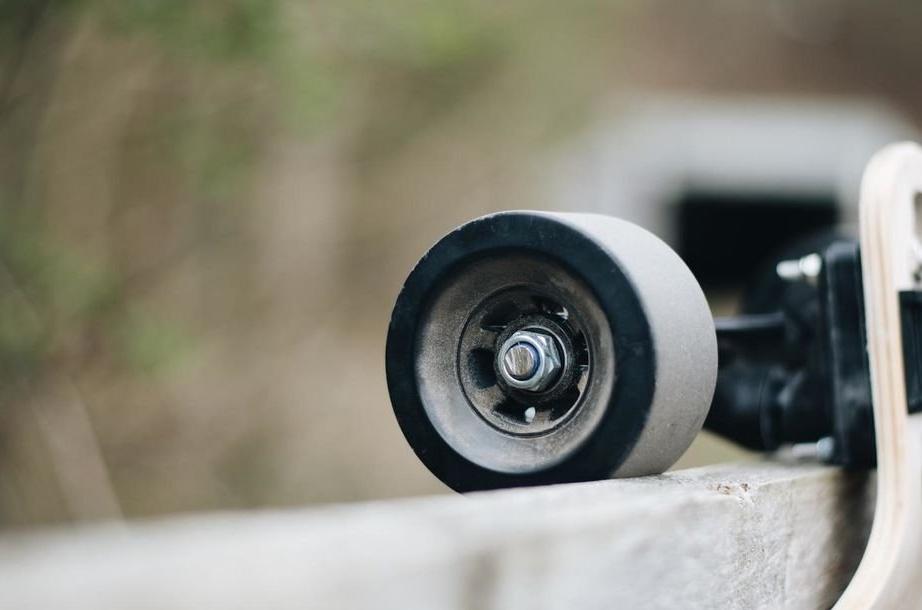
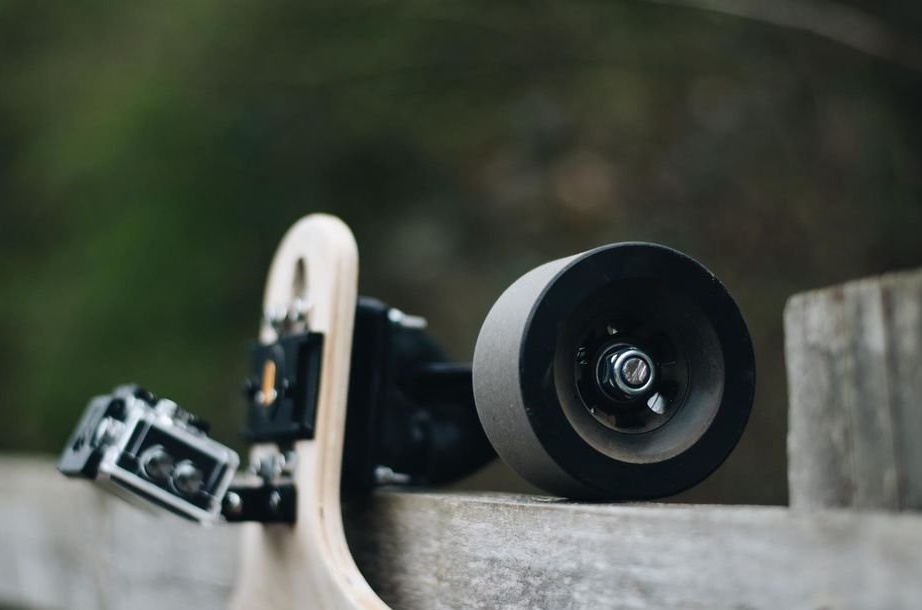
The wheels used by the author are the most common, 90mm black longboard wheels. There was a problem with the bearings, since the axis of the mountain board has a width of 10 mm, and the norm is 8 mm. This meant that you would have to buy 10x22x6 mm bearings.
Step 2: Motors, Mounts, VESC, Batteries
Platform specification:
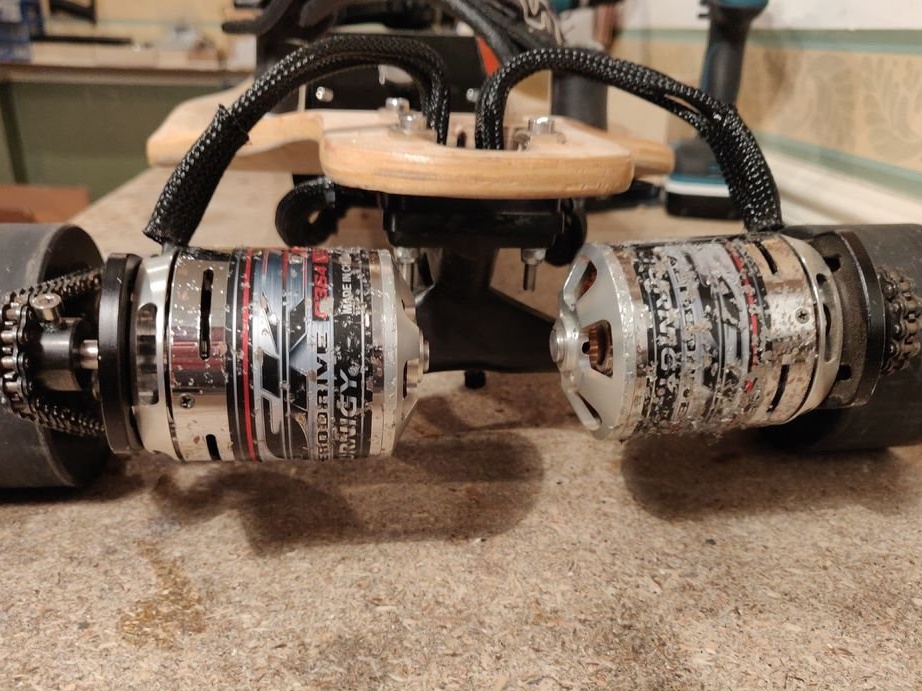
- Double brushless motors ahead of the curve
6364 190kv Turnigy Aerodrive SK3 2450W
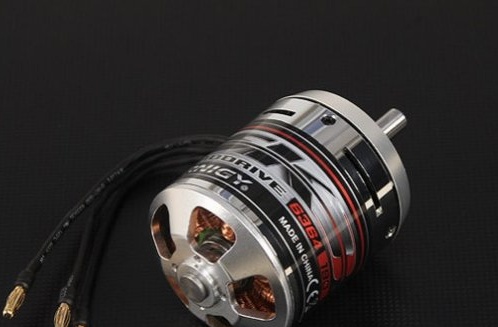
These engines are very powerful and provide enough torque to move quickly. They work well and accelerate to a maximum speed of 48 km / h.
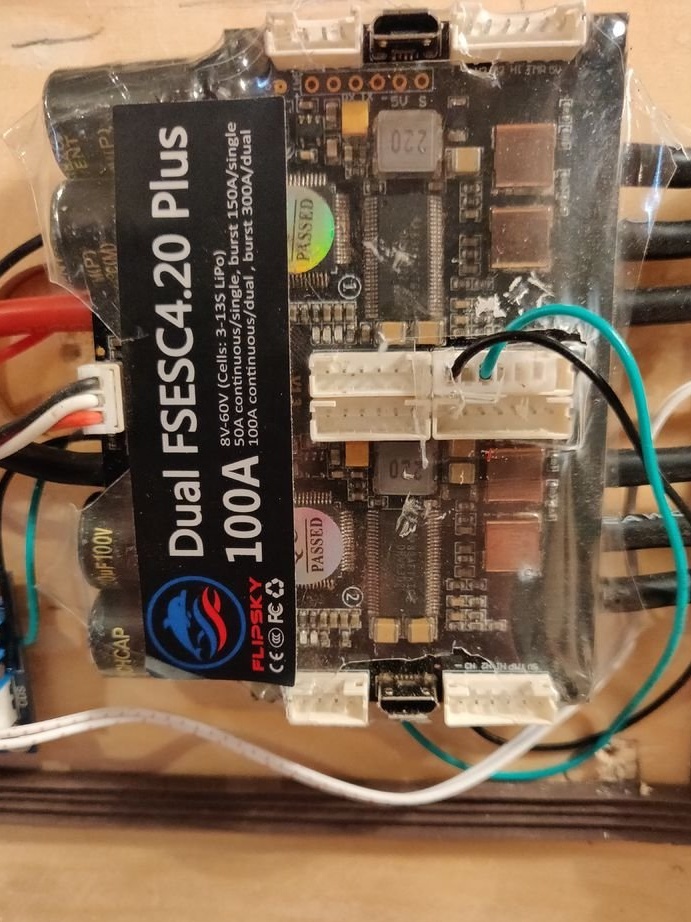
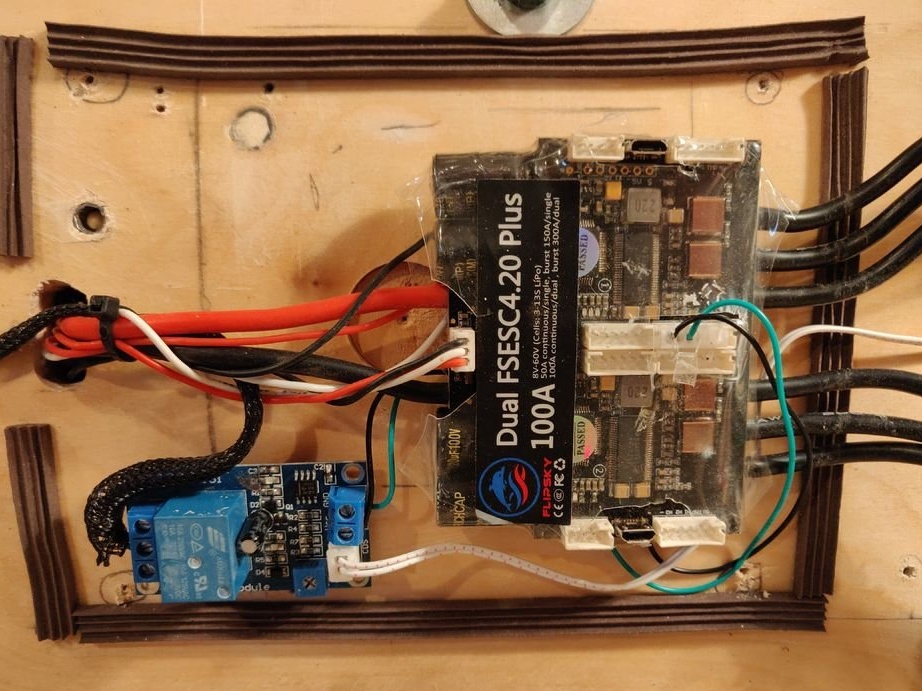
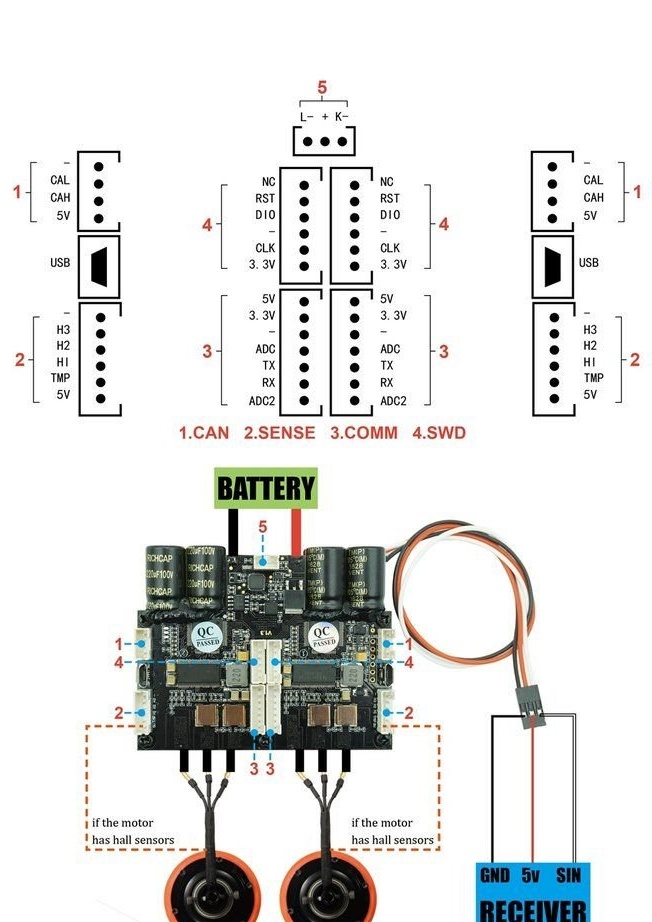
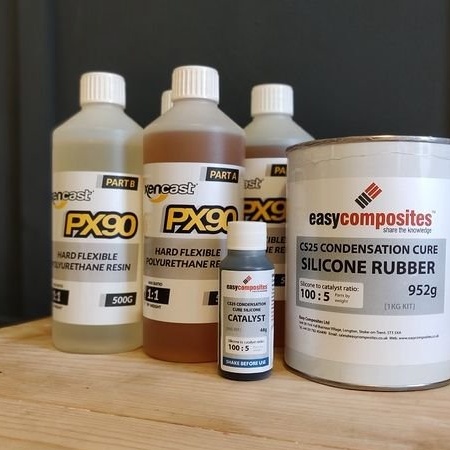
- Flipsky Dual FSECS 4.2 Plus Vesc

You can use several different types of motor controllers for these boards, but almost everyone will tell you that using VESC is much better. It will take a little longer, but it's worth it. The author uses Flipsky 4.2 Plus. The reaction is instant, with smooth acceleration, comes with a built-in power button. Therefore, you do not need to buy an external button or use the XT90 loop key setting.
In general, VESC has a good design, a very good size (only 15 mm in height), the build quality is excellent, everything looks reliable, and the connections are protected by silicone gel, which is very nice.
VESC can run up to 100A continuously for dual configuration, which is enough for most boards, especially for the first builds. All in all, getting this VESC was the best buy in this homemade product.
- 2 Turnigy 5000mAh Graphene Panther Lipo batteries for serial connection, to create an 8S installation
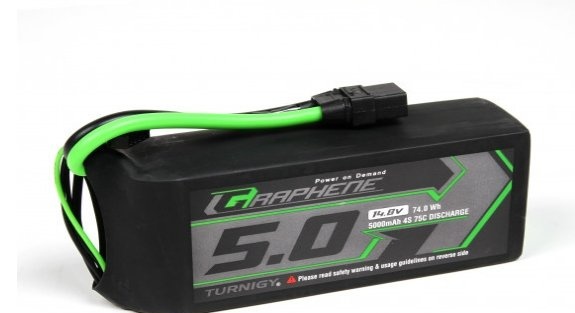
These batteries are great, but have a high discharge peak and a decent continuous continuous discharge (rating C).
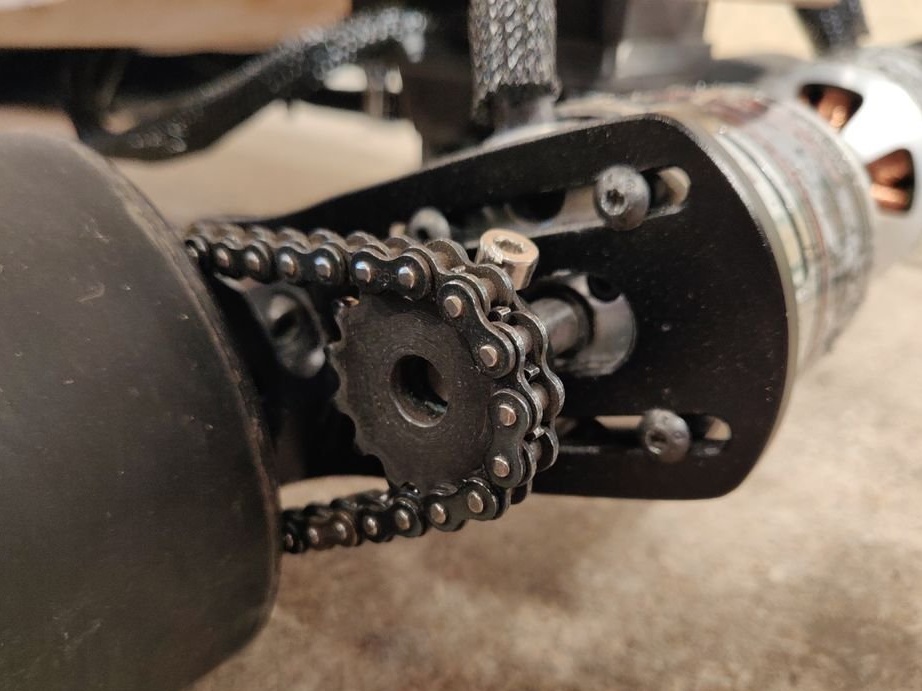
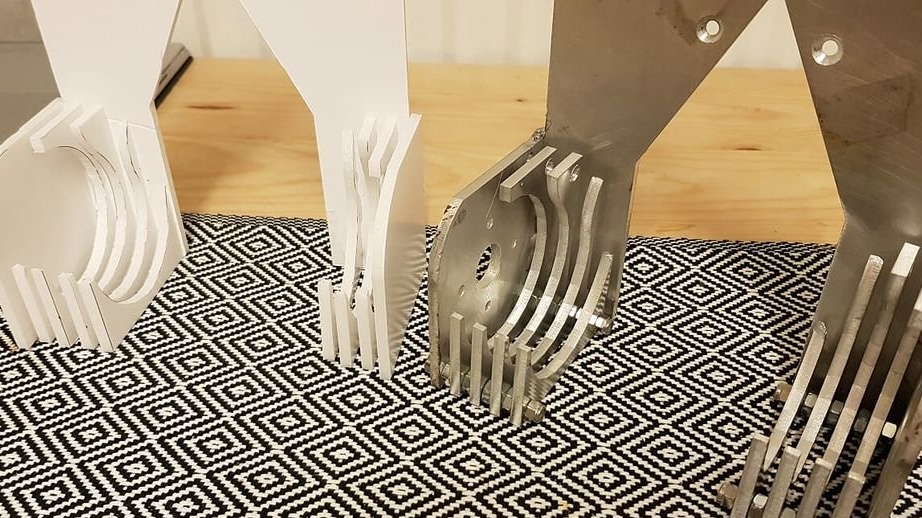
- Engine mount
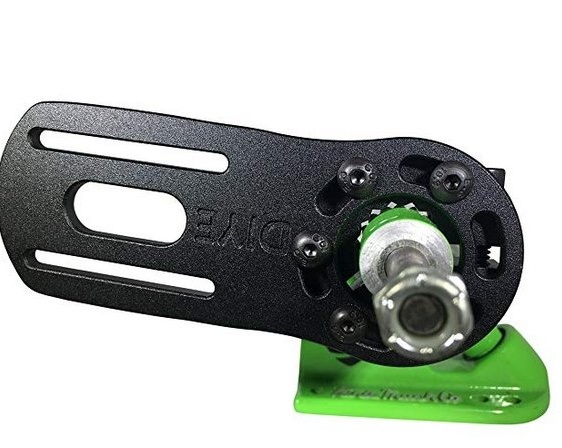
The motor mounts that the author used were made for other motors, but they were the only ones he could find, which were affordable and could do the job. They hold the engines really well.
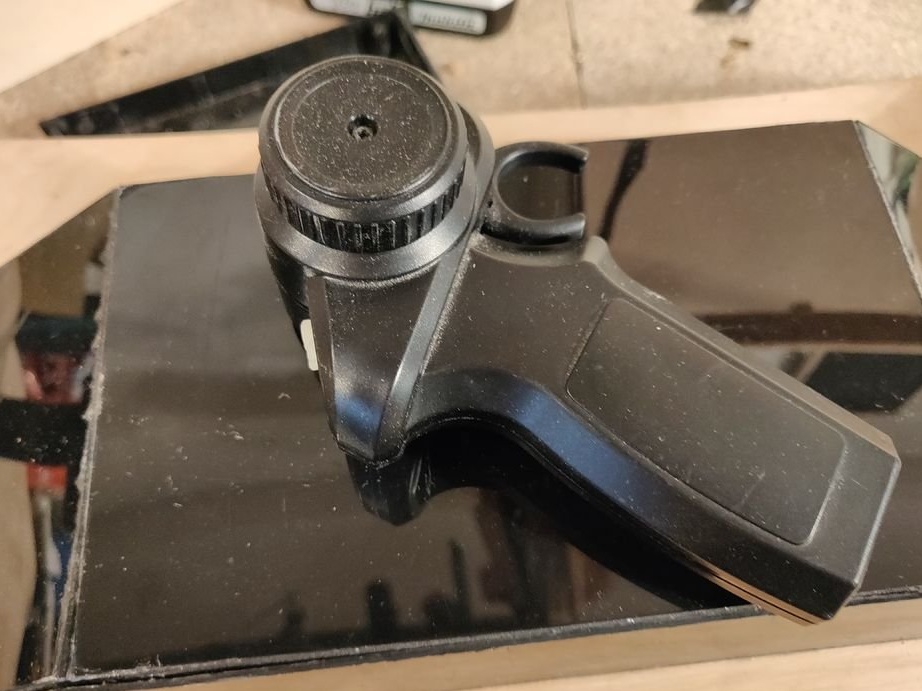
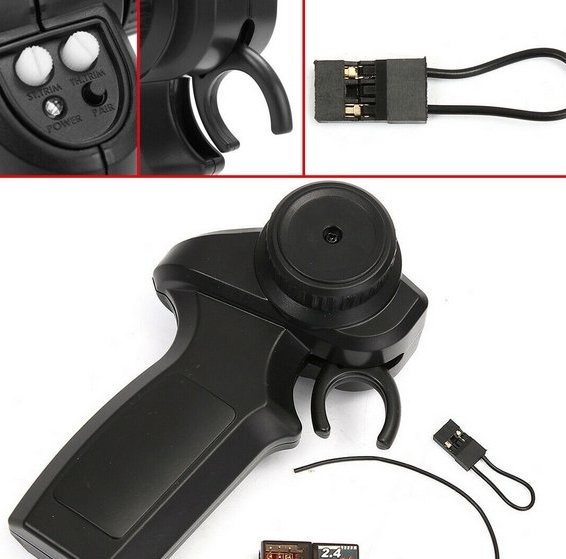
- General electric skateboard controller
Other accessories
- battery wiring harness
- standard 4 mm connectors
- A braided wire sheath that is not needed but gives a little more protection to external cables.
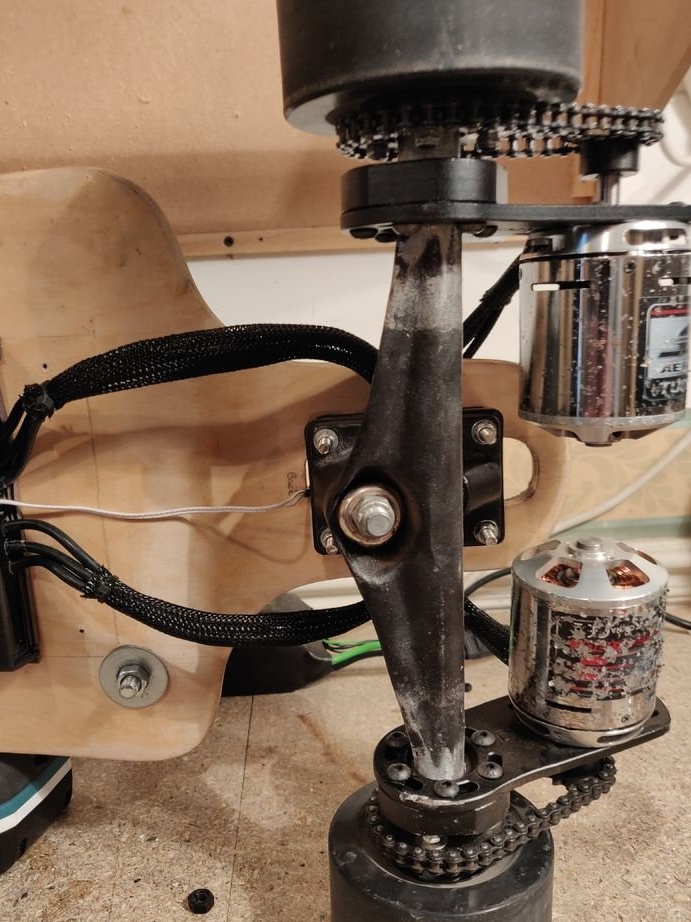
Step 3: Building part
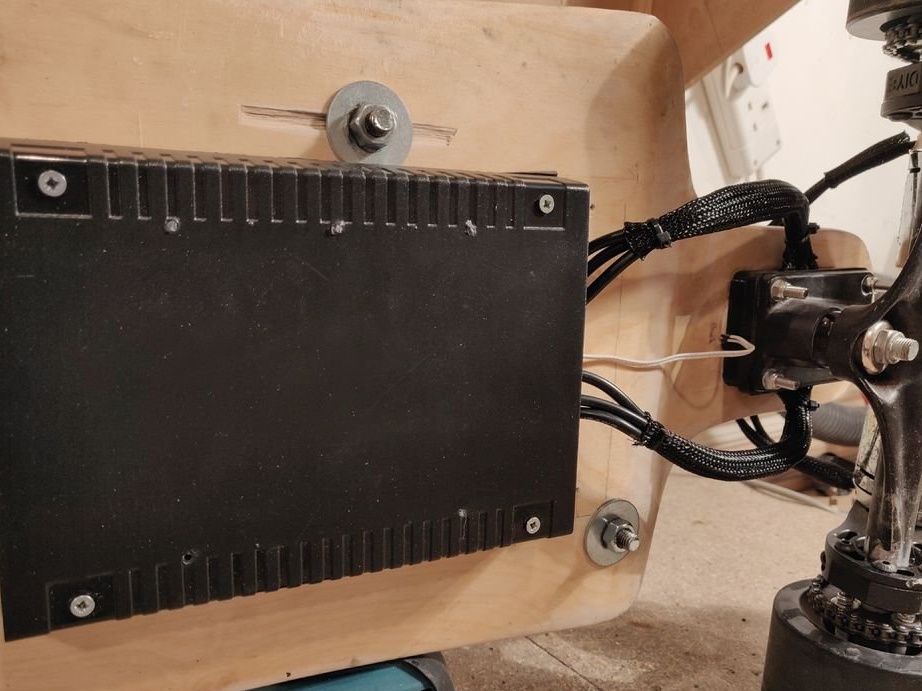
The main problem that the author encountered was that the board was a drop-down deck. This means that the space under it was very small. To solve this problem, the author printed a pair of 3d spacers to add an additional 10 mm. This meant that there would be enough space under the board to mount the VESC. On the other hand, the batteries had to be on top.
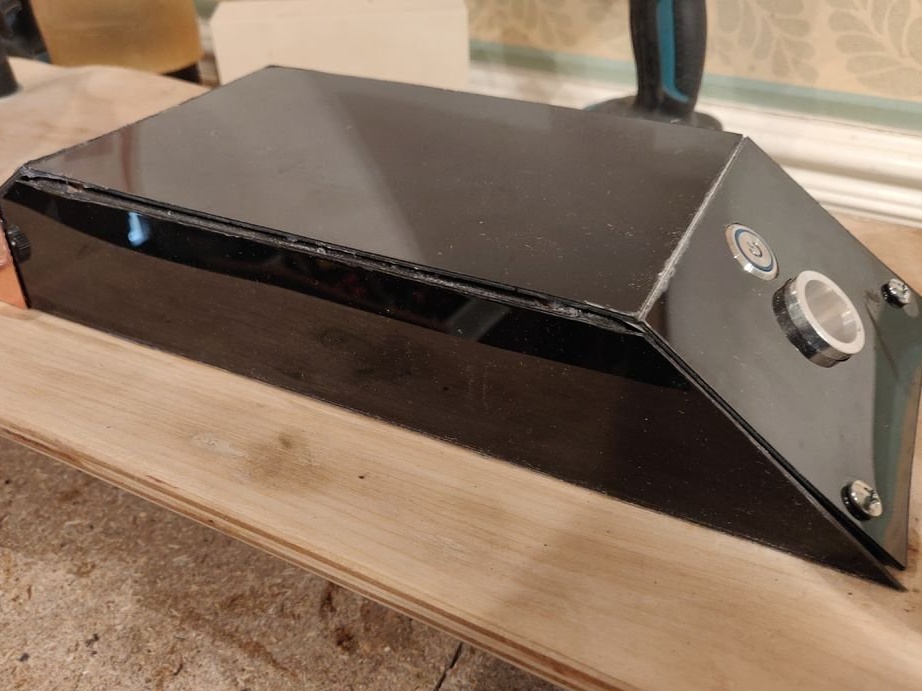
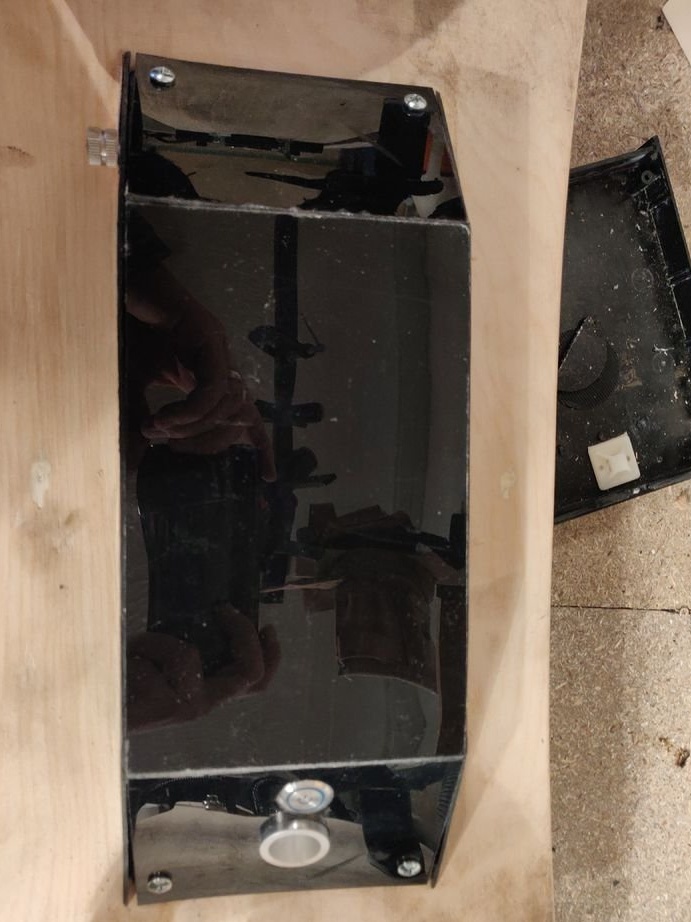
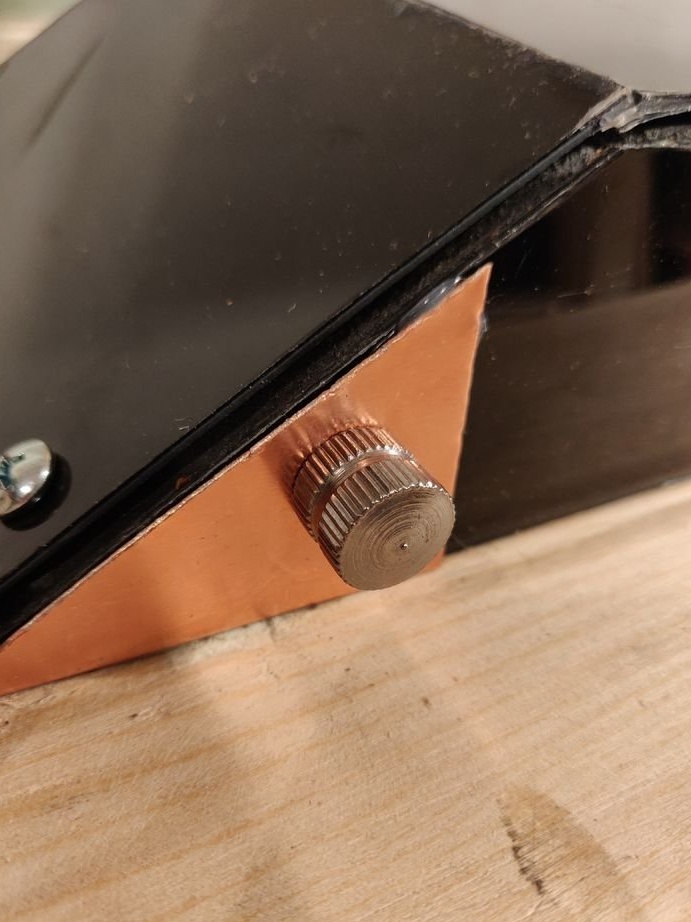
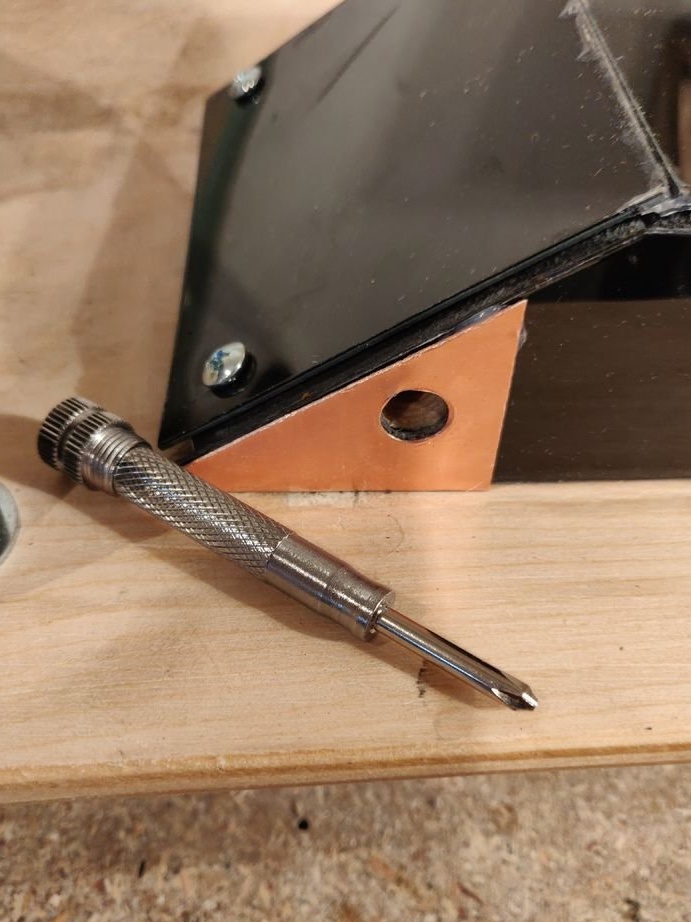
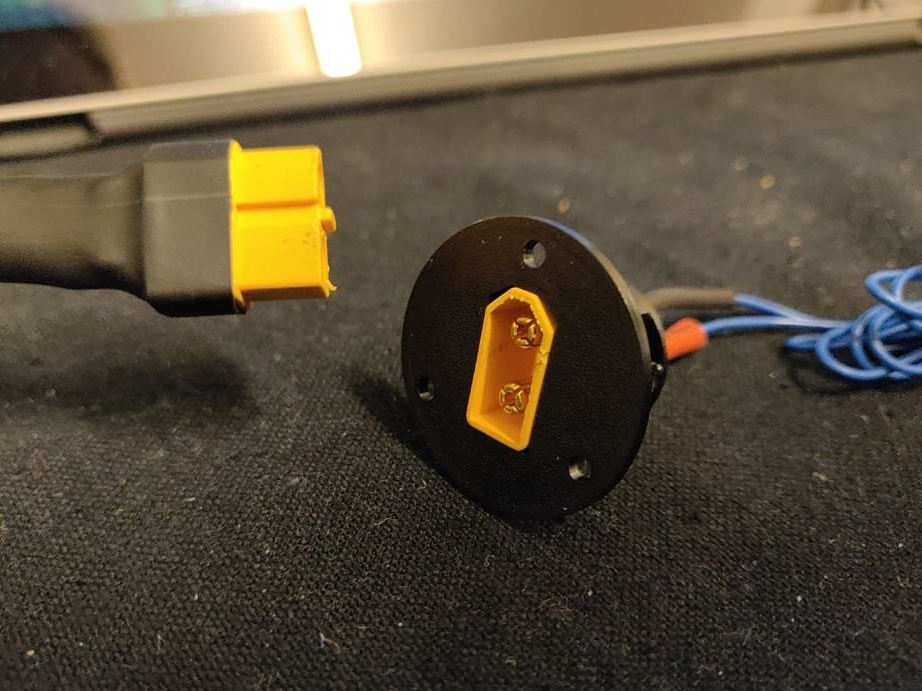
For batteries, the author made a box of ordinary thin mdf, painted and covered with black HIPS plastic. Then, on one side, I installed a power button with a hole in the middle to access the charging cable for the batteries, since the author does not use BMS. The plastic cover can be removed by unscrewing 4 bolts in the corners. The author had some free space and he added a screwdriver as a tool just in case, with a screw mounted on top.
VESC is mounted from below.
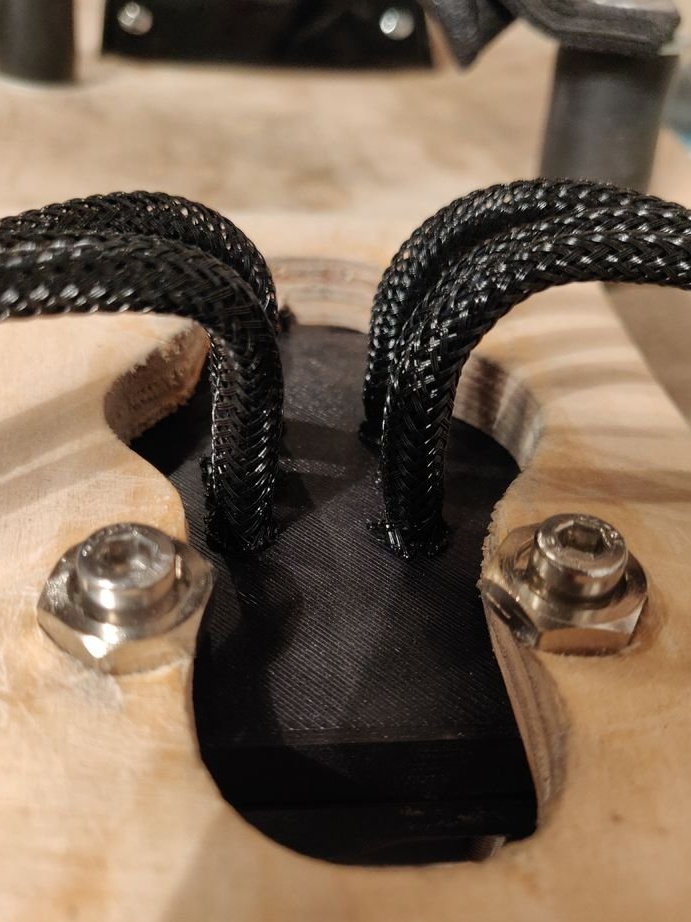
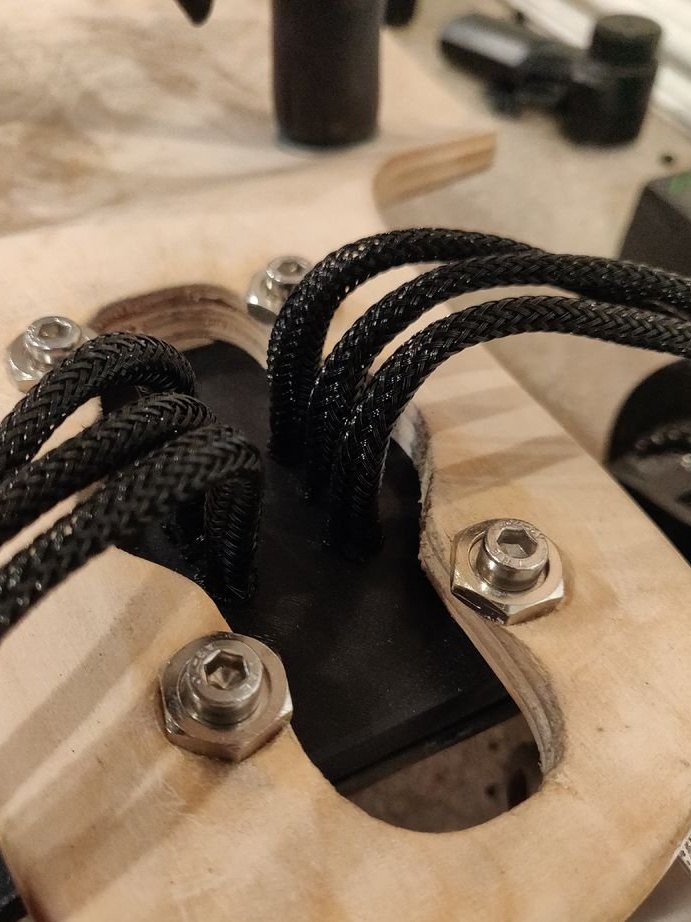
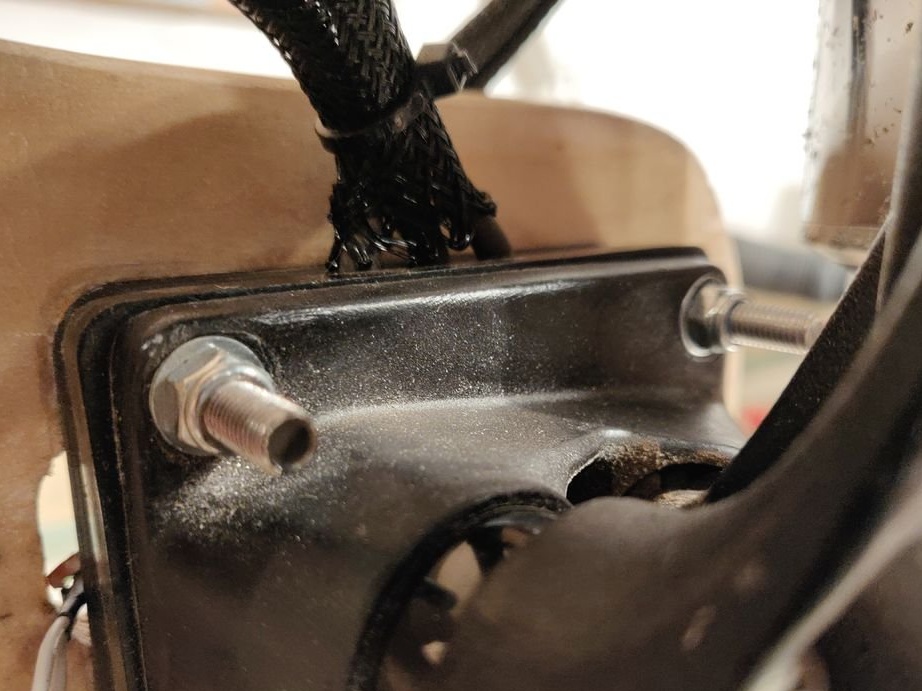
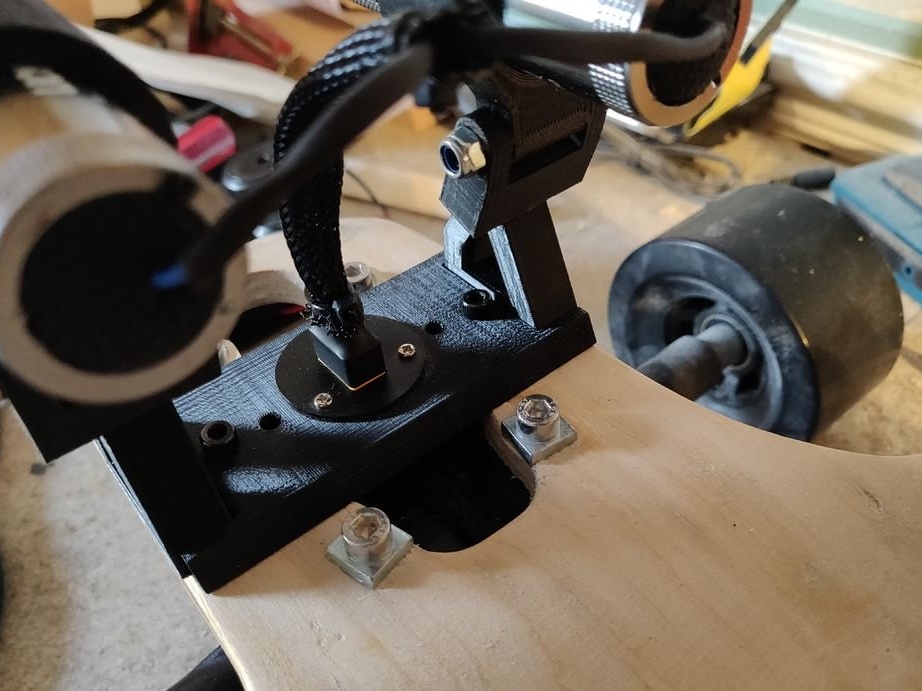
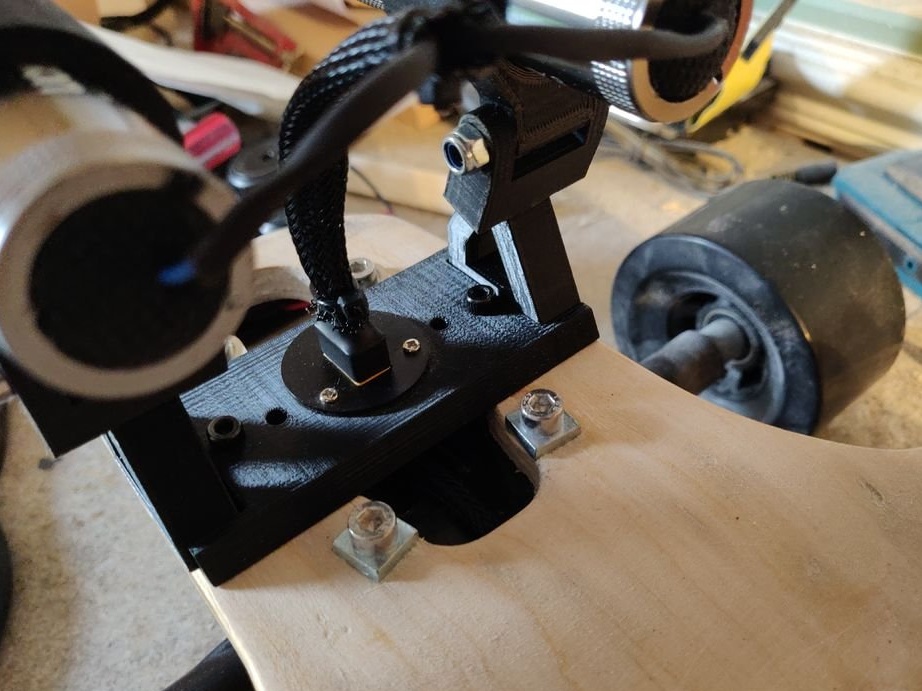
The motor wires exit the VESC housing to a small extension cable, for each motor individually, which passes through the motor mount printed on a 3D printer and allows the motors to connect directly to the upper part of the platform covered with a black woven sheath.
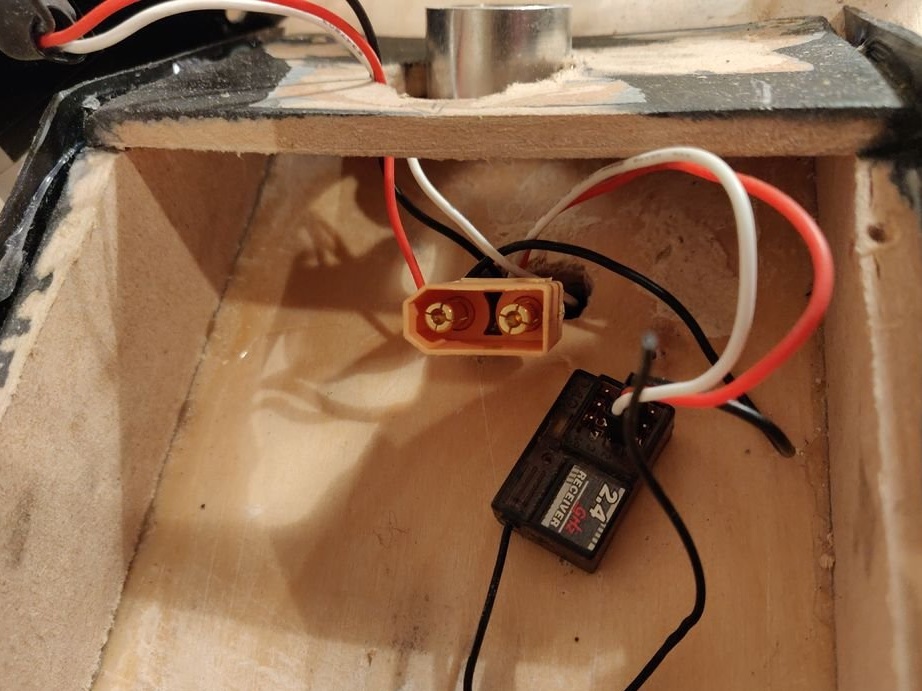
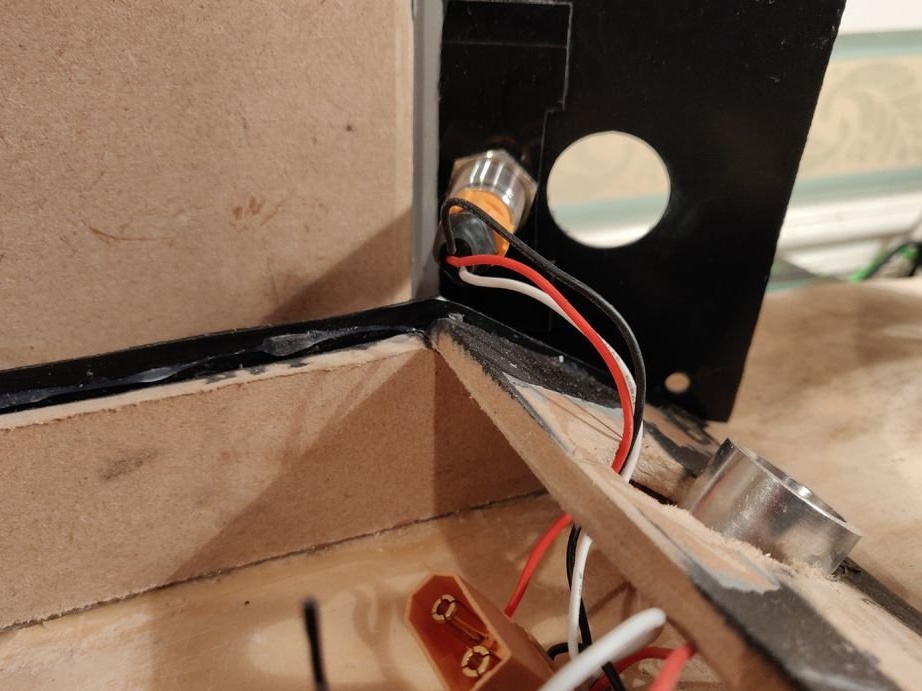
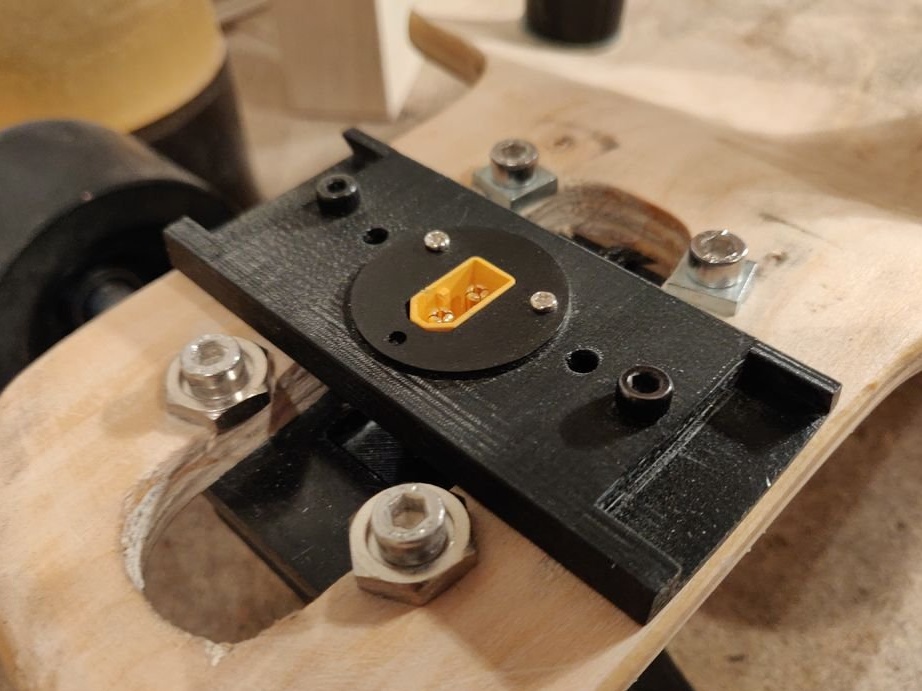
Power cables that come from the VESC lead to the XT90 connector, which passes through the platform directly to the battery compartment, which then connects directly to the serial battery harness. The author also passed the controller receiver through the hole and the power button, which both connect to the VESC.
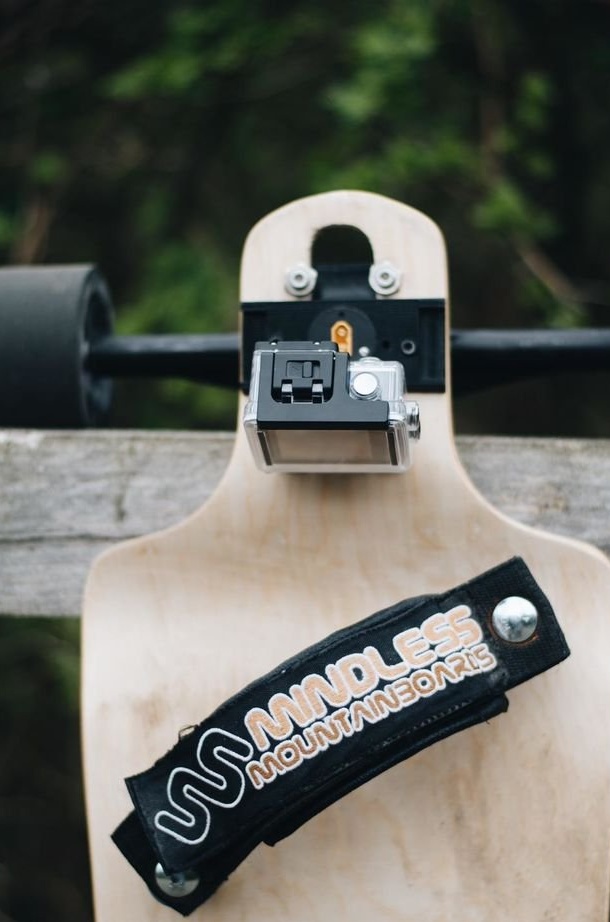
Due to the lack of tape, the author decided to add leg straps. To do this, he stood on the board, put his feet in a comfortable position, threw a strap on his legs and noted where the holes for the bolts are needed. Then he drilled and secured the bolts with nuts.
Step 4: Build
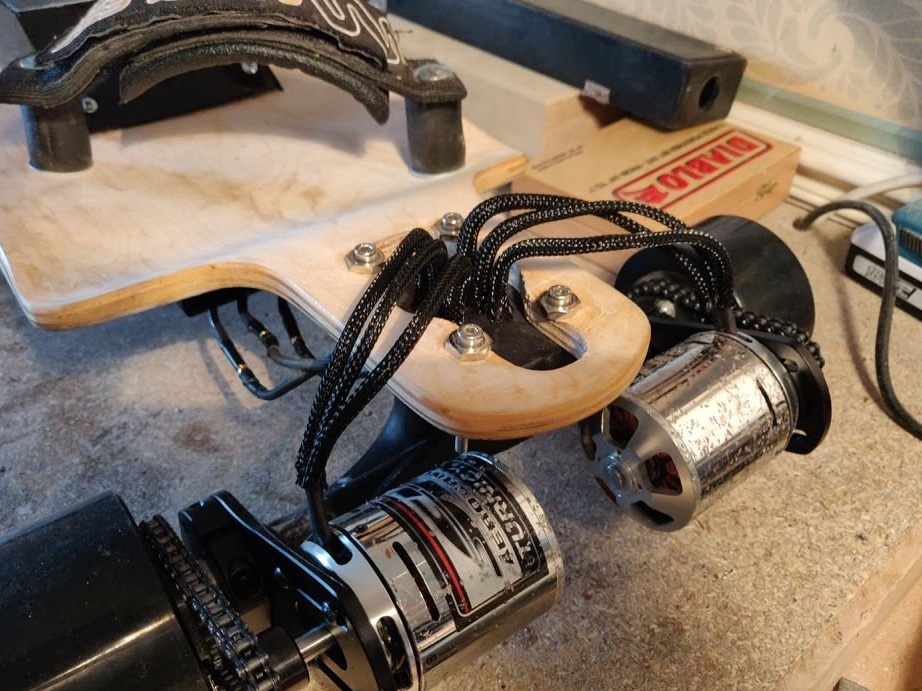
Adding motors was a challenge. I had to look for the right place, at the right angle.
Since the engine mounts were made for engines with a smaller suspension, the author had to lower the suspension and the inside of the engine mount so that they were far enough away. This made it possible to install the engine mount and wheel.
As soon as the fastening part was attached to the board, it remained to install the suspension, to which the motor will be attached, and adjust it using the available places on the mount. As soon as the author succeeded, he added engines, chain sprockets and wheels from the same angle.
Then the author added a black braid to each wire and connected them directly to the ports that now exited directly from the 3d spacers at the top of the platform.
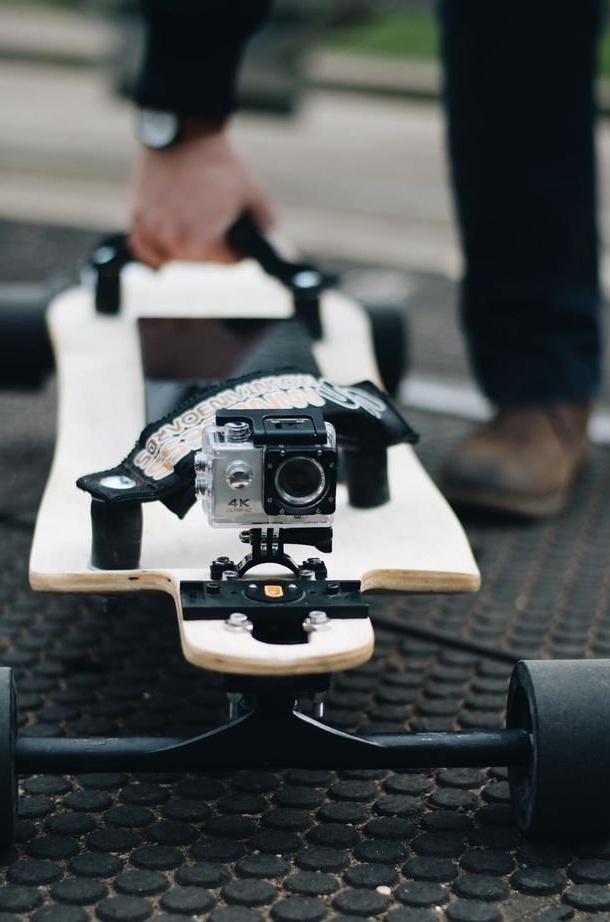
Step 5: a little addition
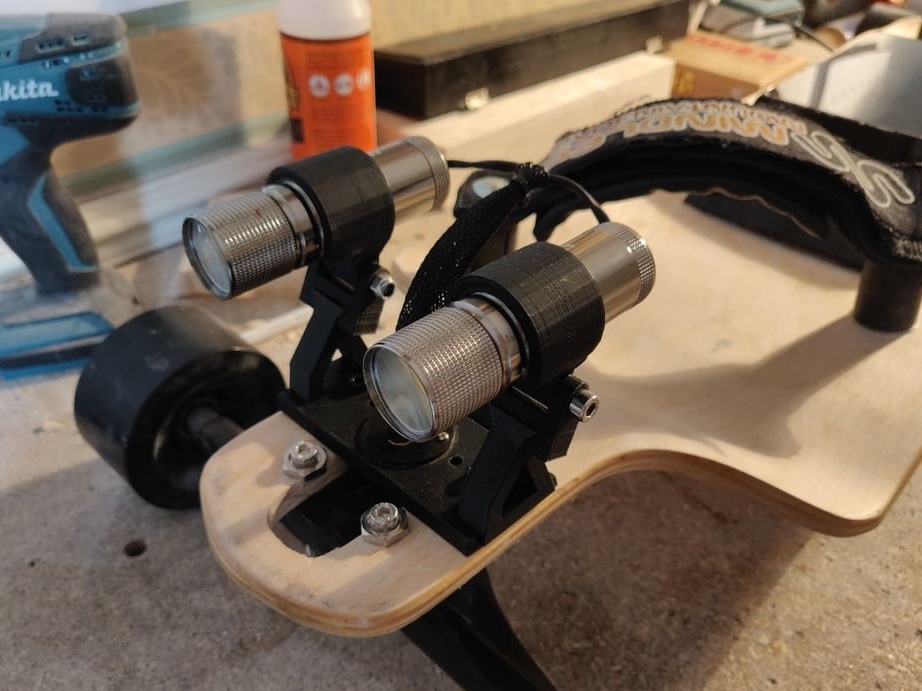
Lighting
The author printed a 3d fixture for fixtures, as well as some small parts for small but powerful lights.
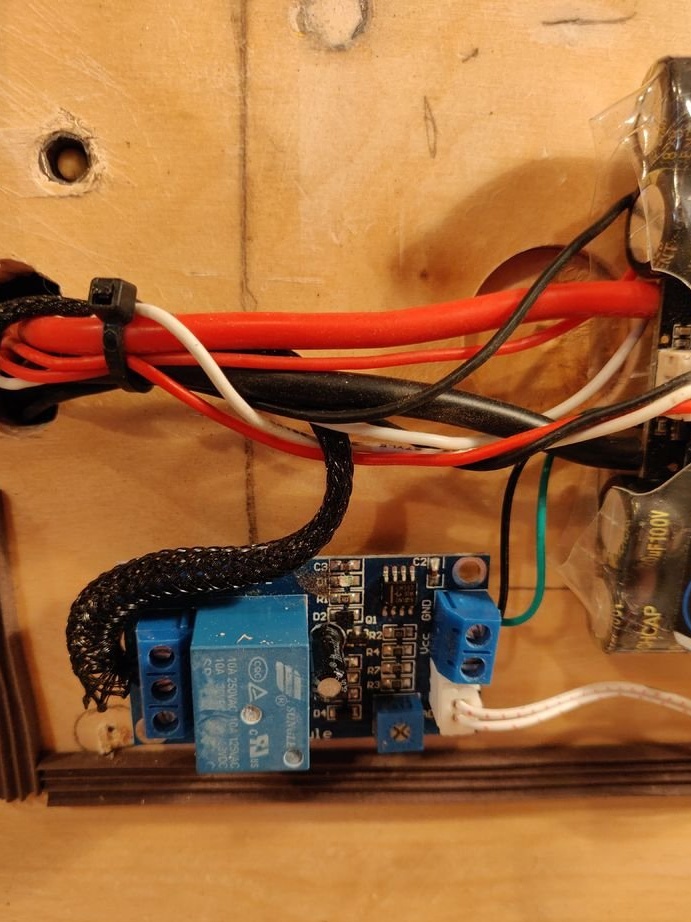
They are connected together in parallel, and then connected directly to the light sensor relay, which turns on when the set darkness level is reached, and turns off when the light reappears. This sensor is powered by a convenient 5V output on the Flipsky VESC, and the lights are powered by its own internal batteries.
Step 6: Finished Board
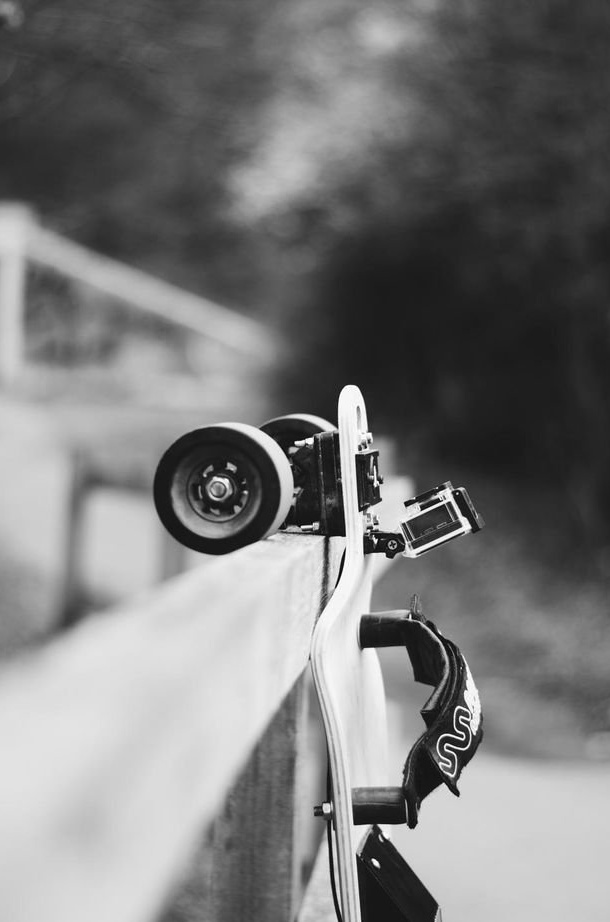
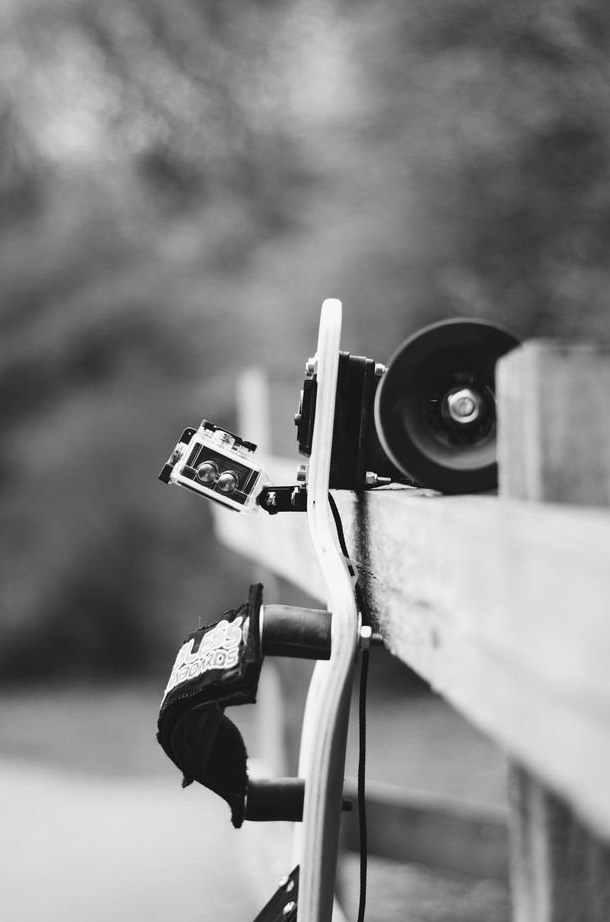
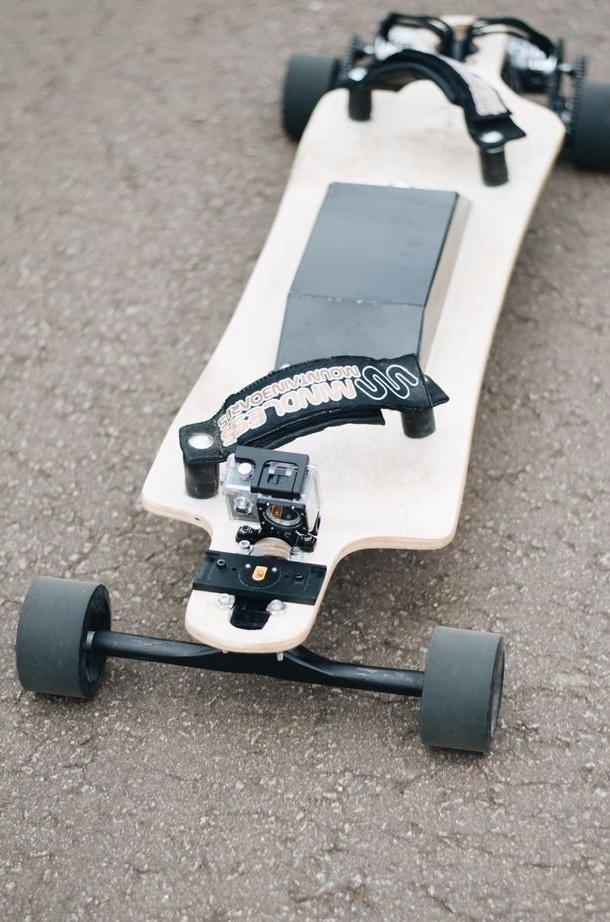

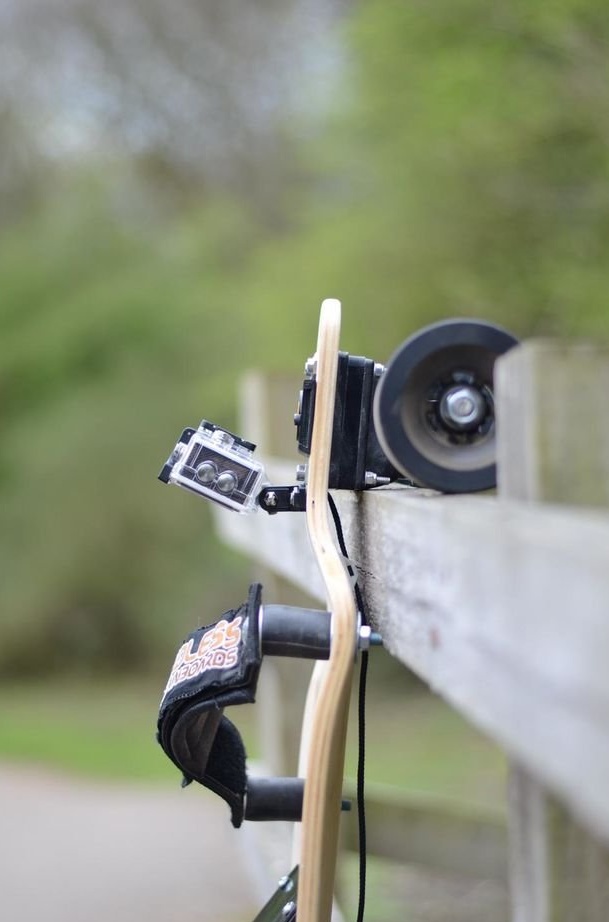

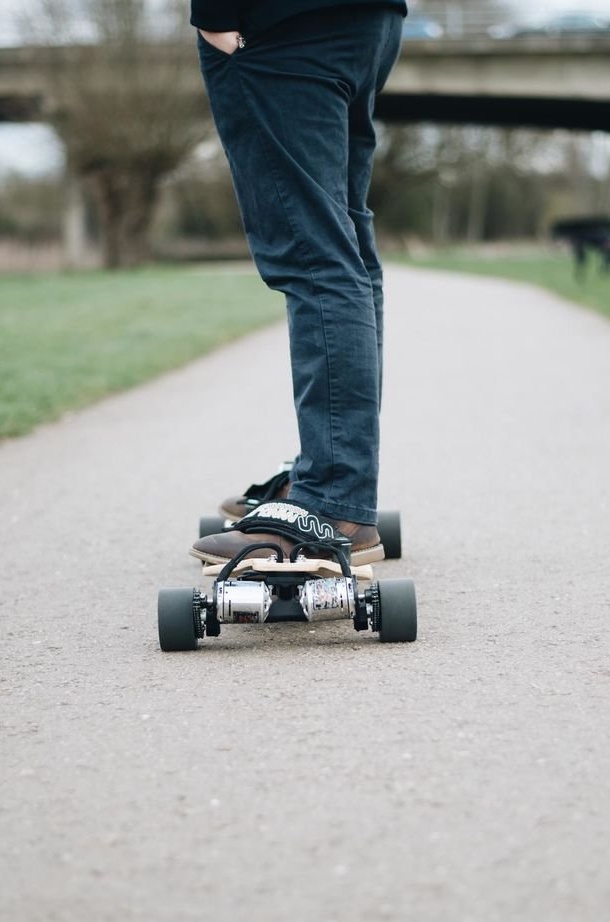


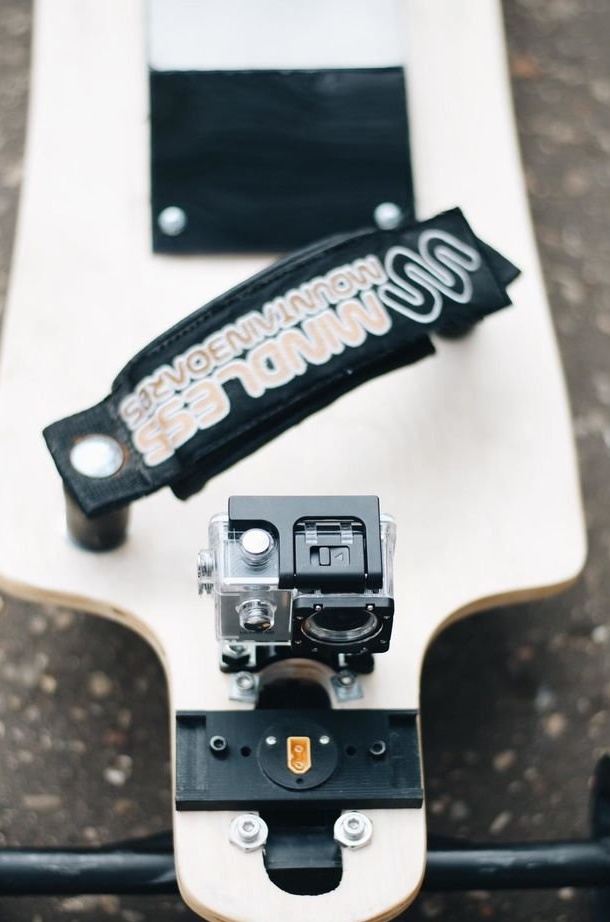
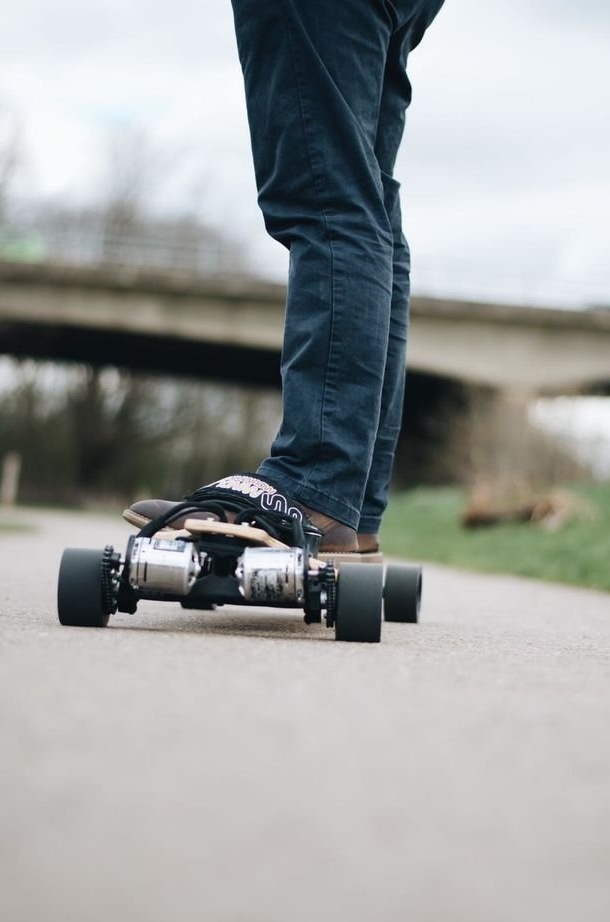
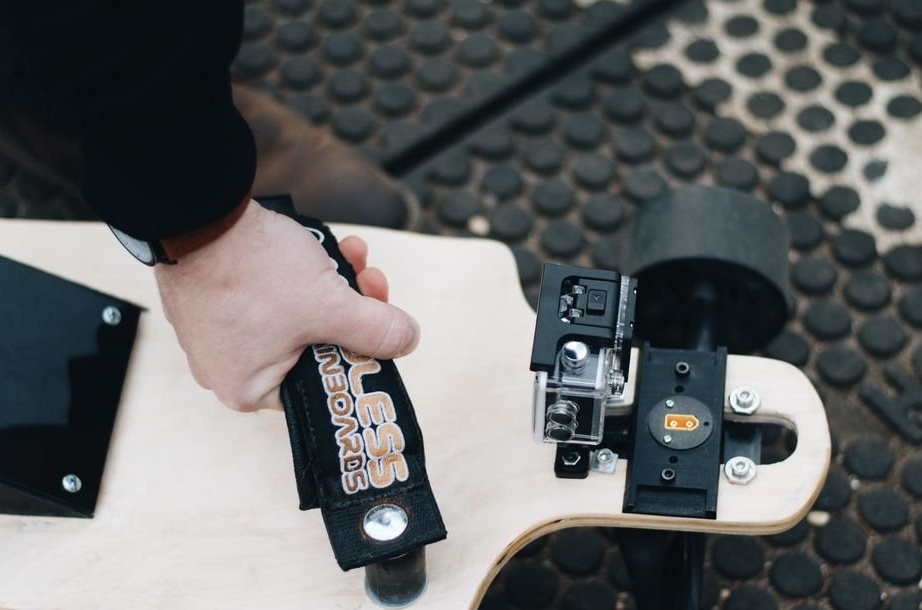
This is a photo of a finished board.
The board accelerates to 30 miles per hour (48 km / h), which is pretty fast and therefore scary. If you are accelerating to this speed, wear a helmet and full elbow and knee protection.