
There are many educational toys for children. Some of them are various constructors. In this article, Neil, the author of YouTube channel "Pask Makes" will continue the topic about the manufacture of wooden bolts and nuts. Namely, he will manufacture a children's socket wrench for such products - a ratchet.
Thus, he tried to introduce restless children to his projects, and give them creative freedom. In addition, his tool, wrenches and nuts will cease to disappear.
Materials
- Thick sheet plywood
- Boards
- Elastic
- Nails 1.5 mm in diameter
- Wood screws
- Sheet plexiglass 3 mm thick
- Second, and PVA glue
- Wax, or -
Instruments, used by the author.
- Grinding and drilling machines
- Vise, awl, screwdrivers
-
-
-
-
-
-
Manufacturing process.
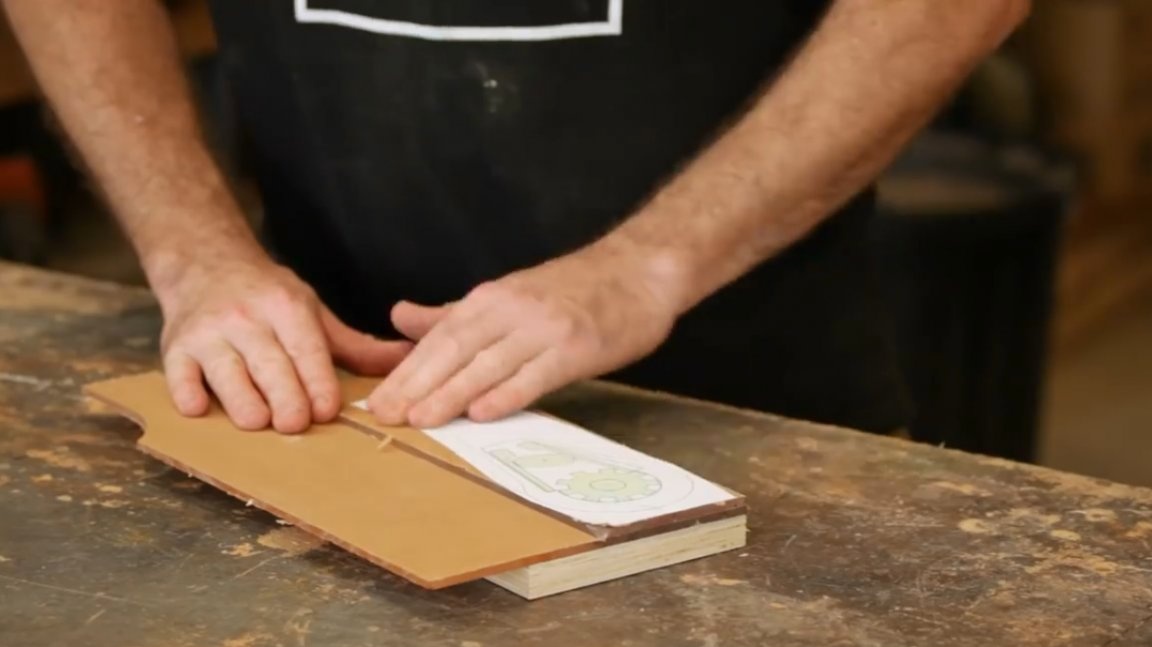
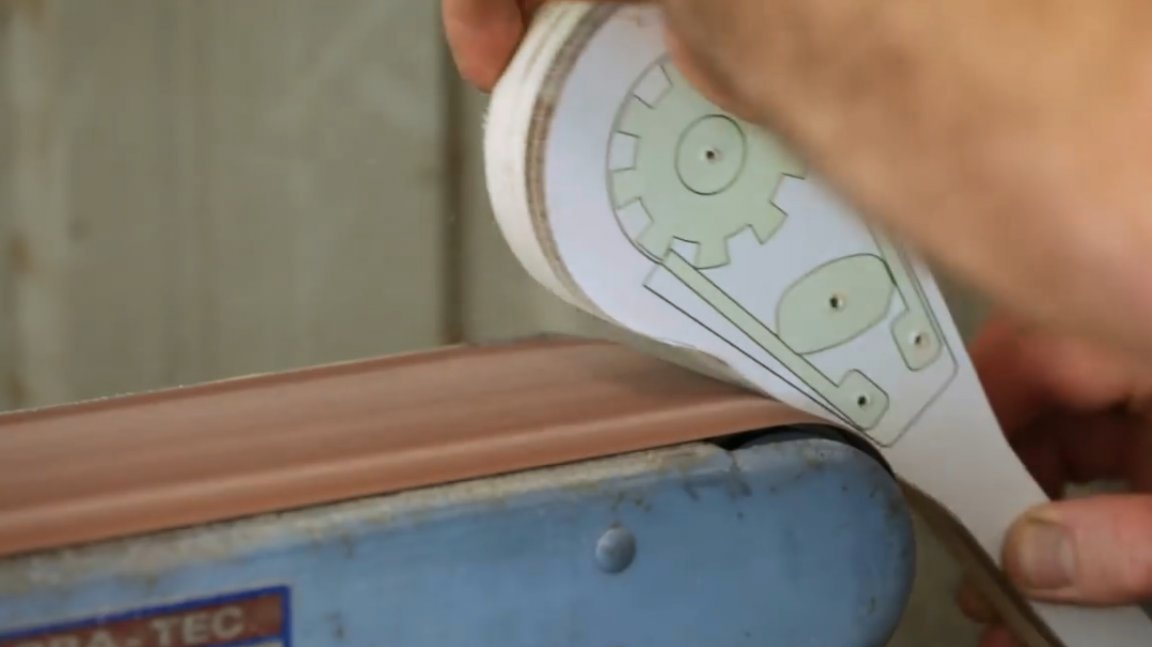
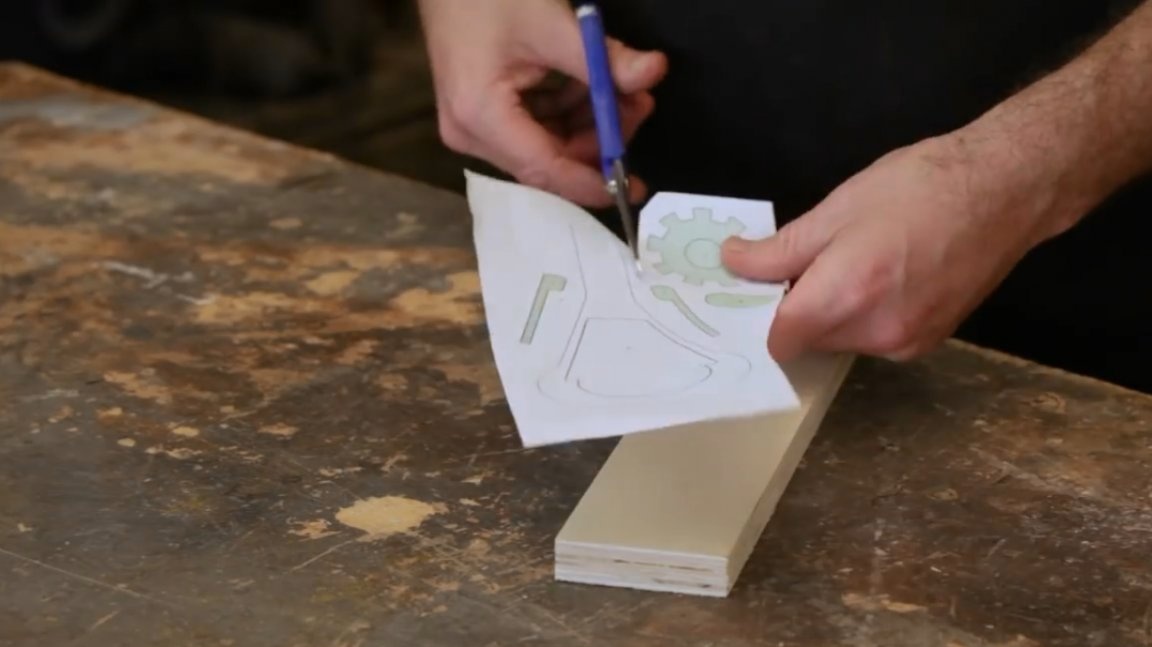
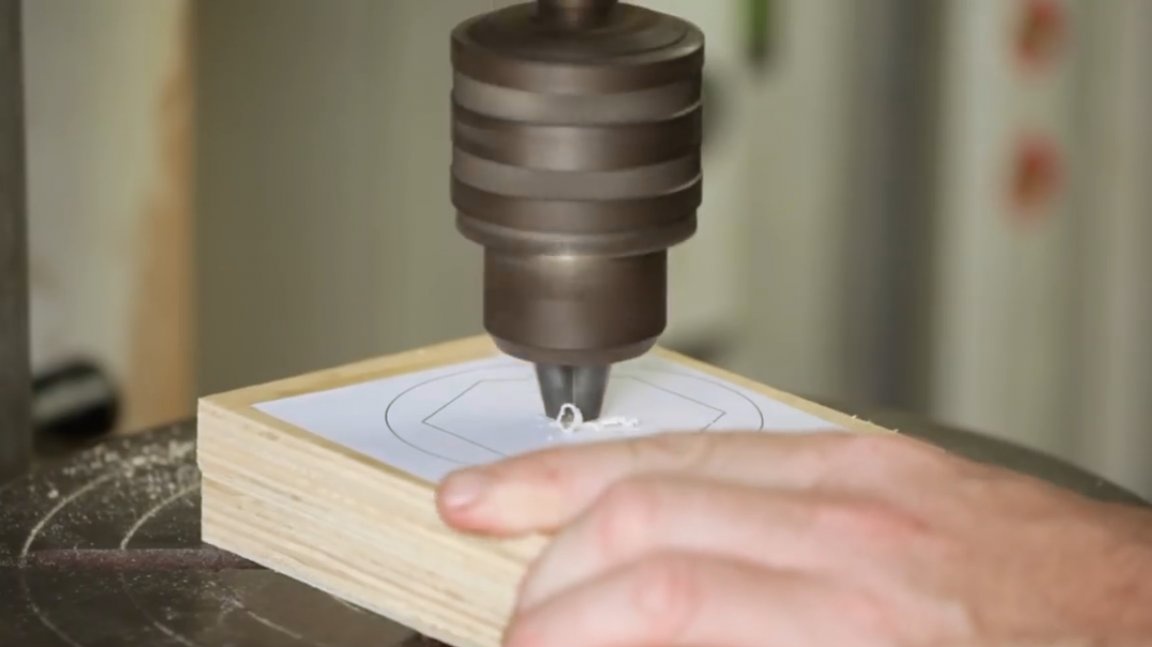
So, the author printed the template on sheet A4. For everyone who would be interested in this project, Neil also provided templates on this one, and you can download them absolutely free.
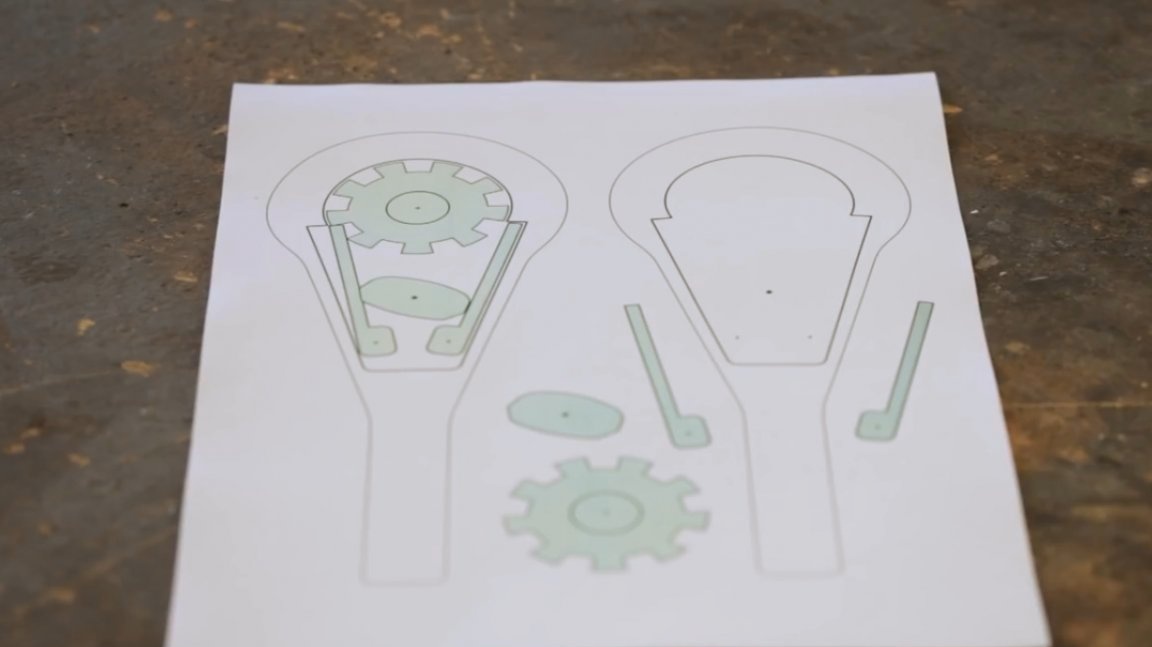
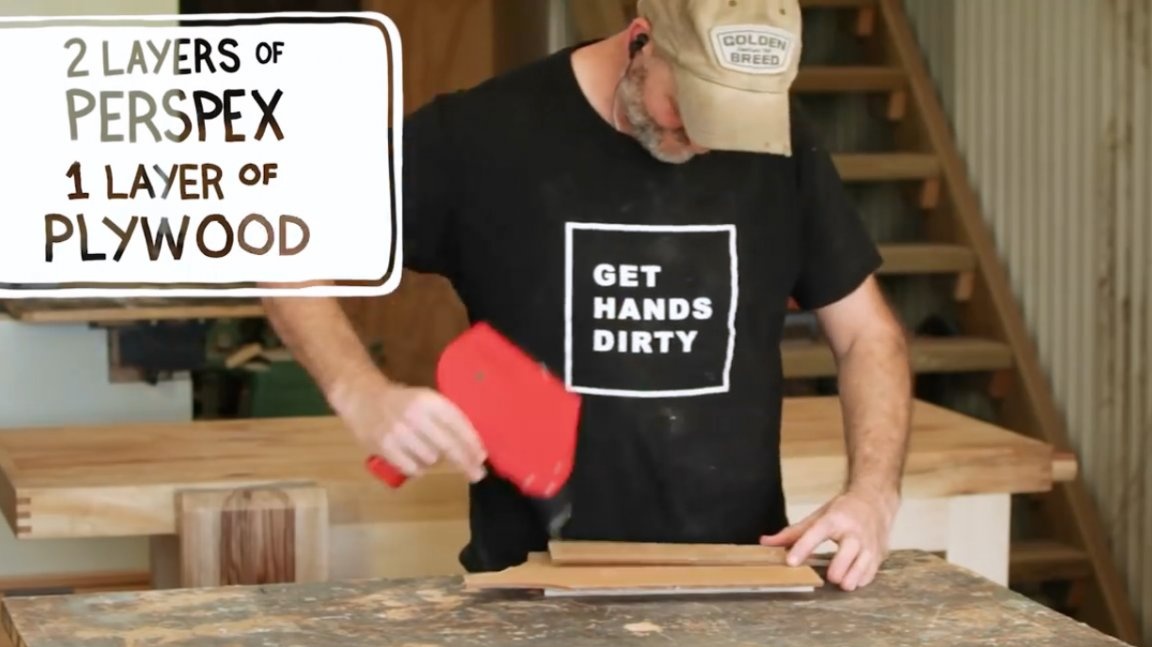
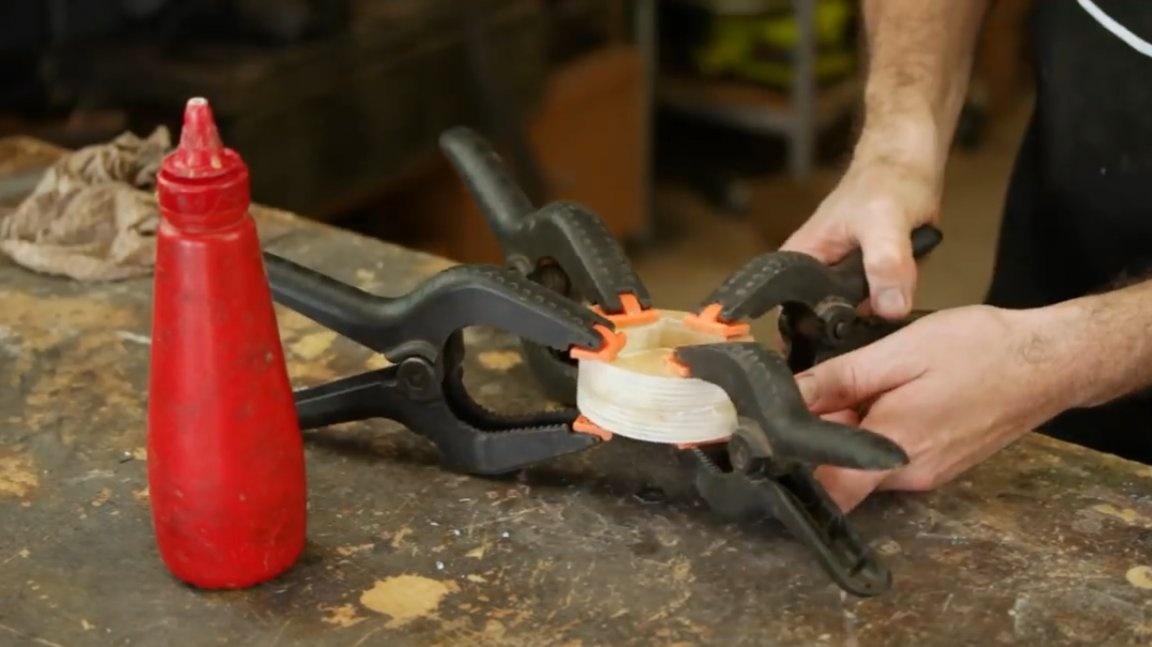
For the key case, two plexiglass caps and a plywood base are required. To simplify the processing of parts, the author glues together a piece of plywood, and two pieces of plexiglass with double-sided tape. Then glues the printed template.
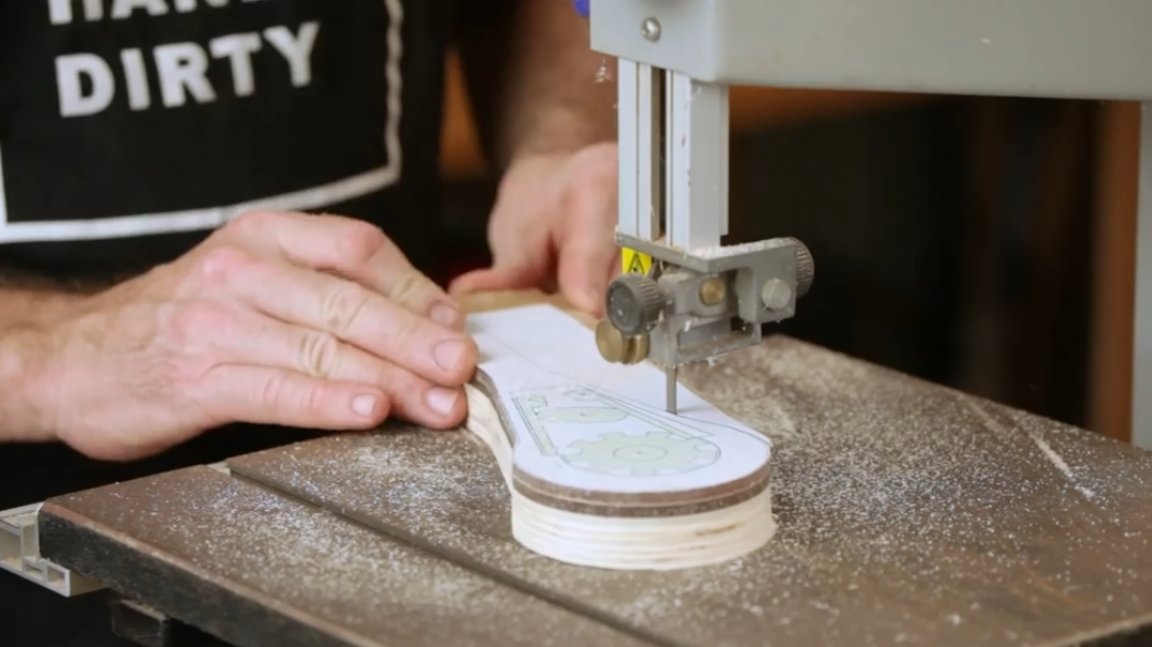
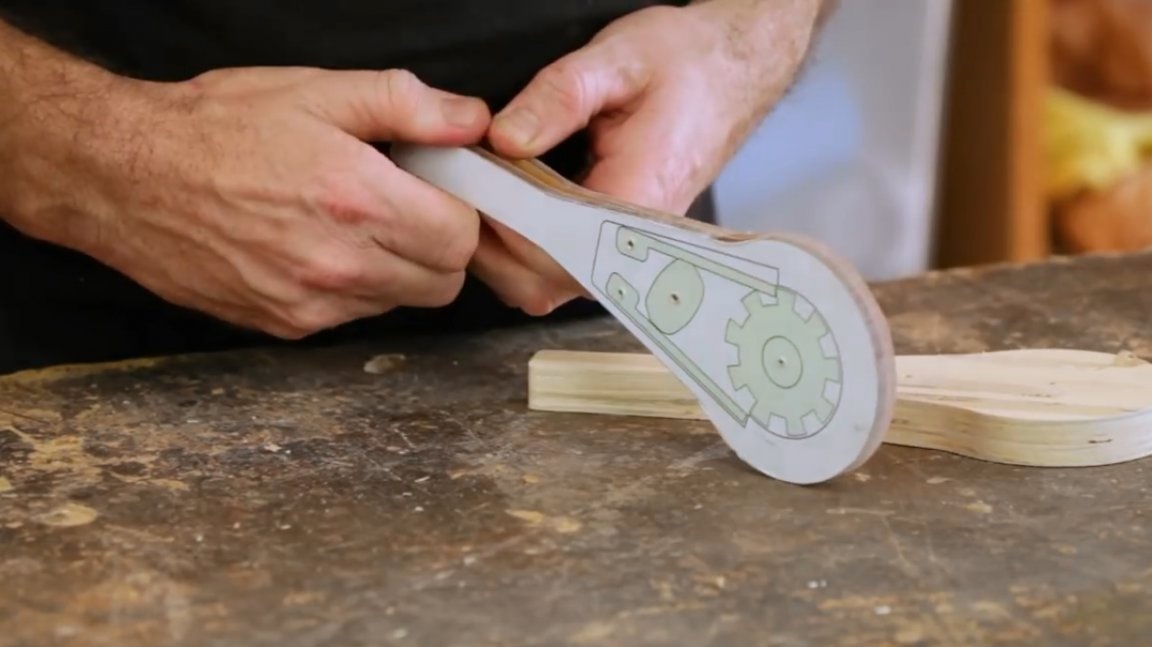
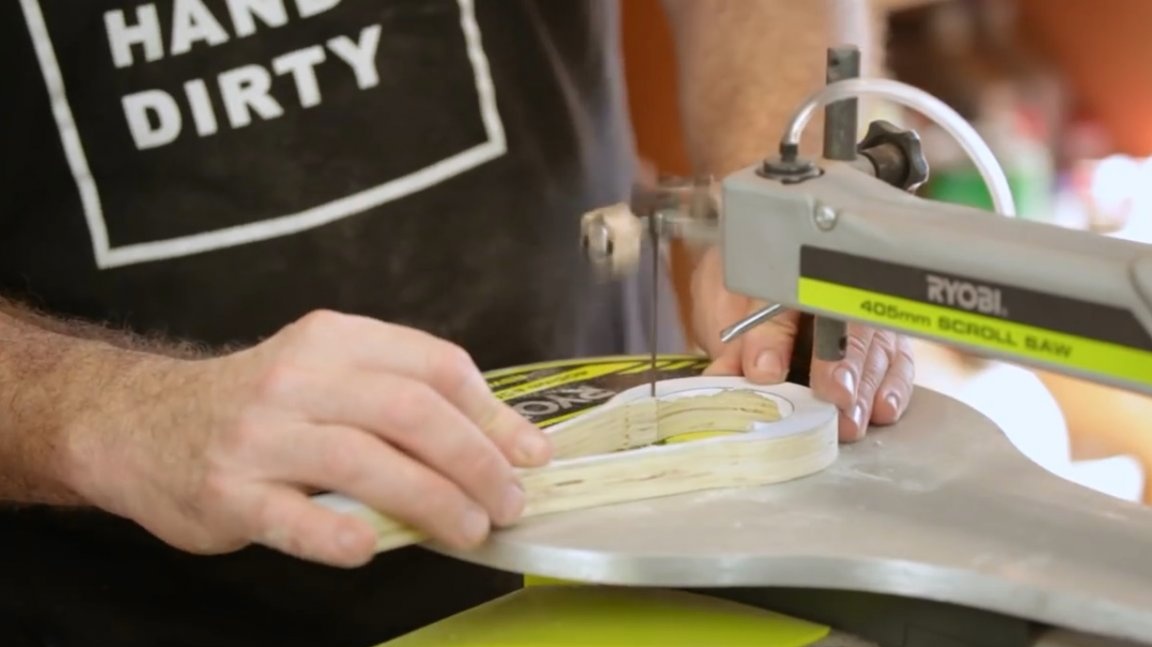
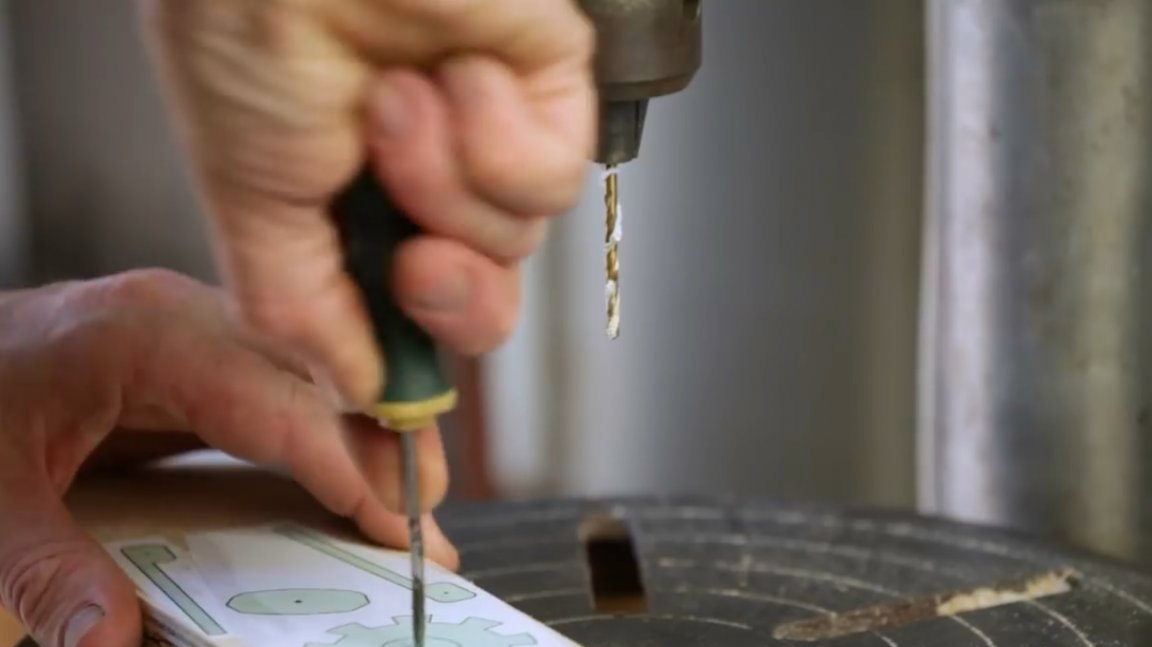
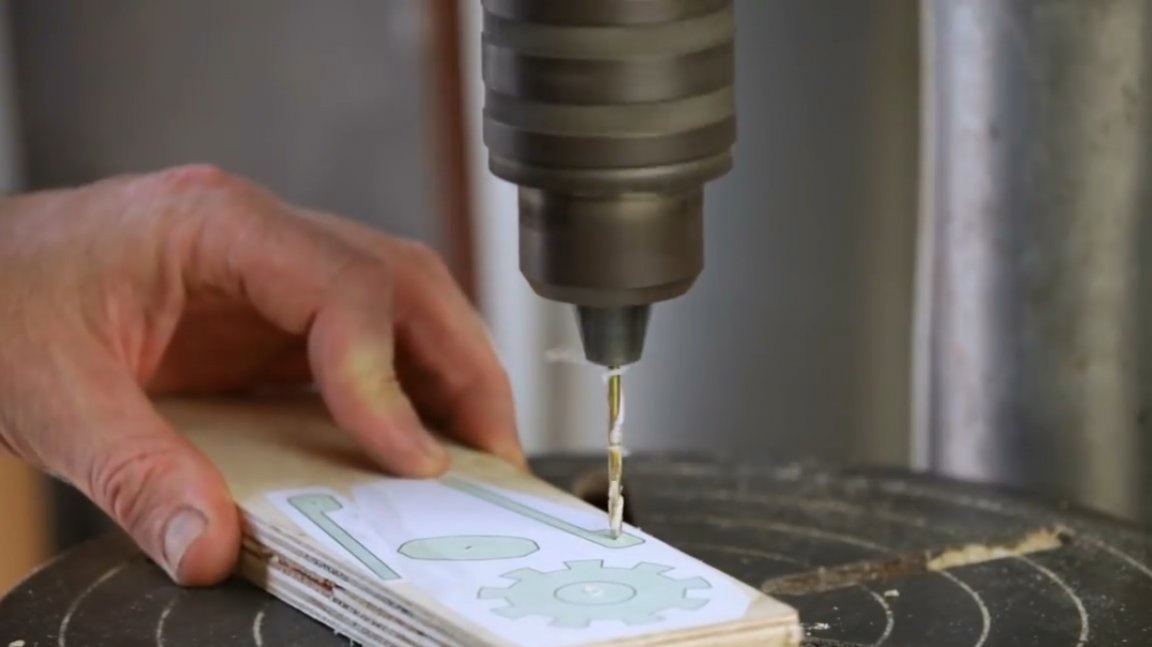
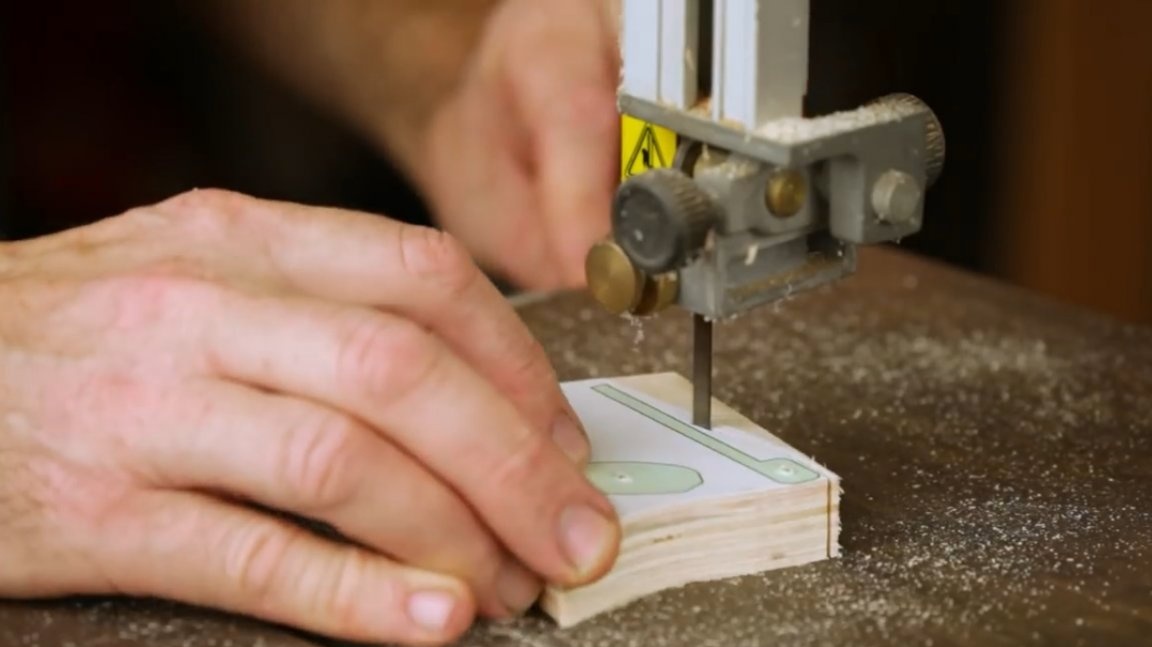
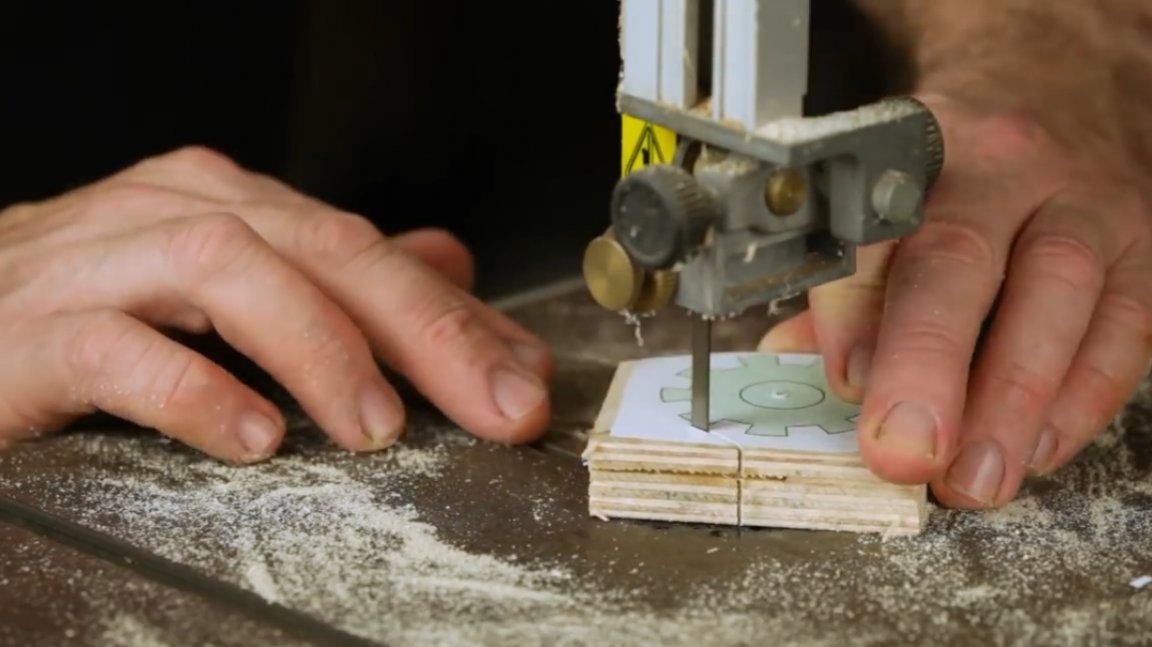
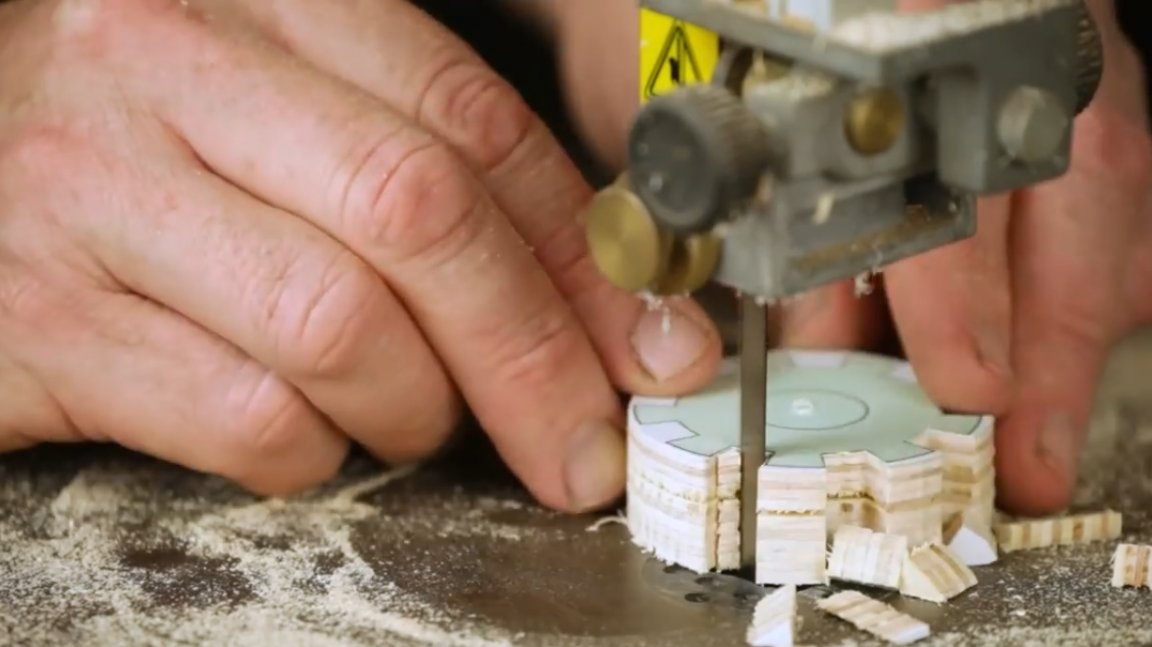
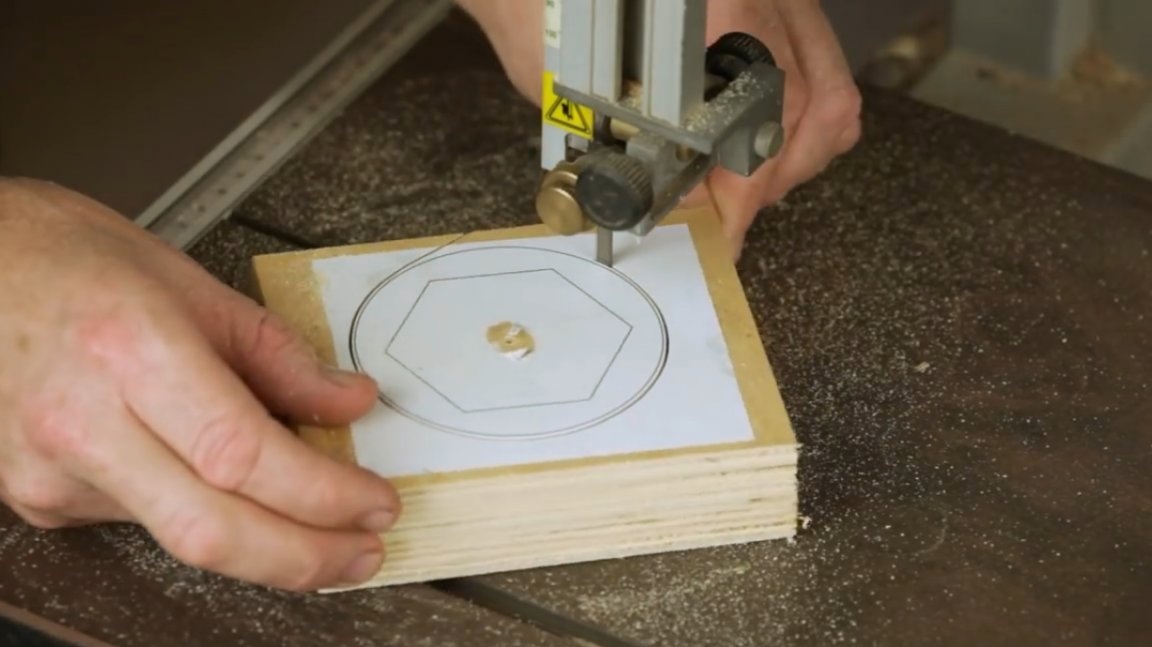
First of all, he drills the central holes of the movable elements, and two axes for dogs. Next, cuts the workpiece on a band saw.

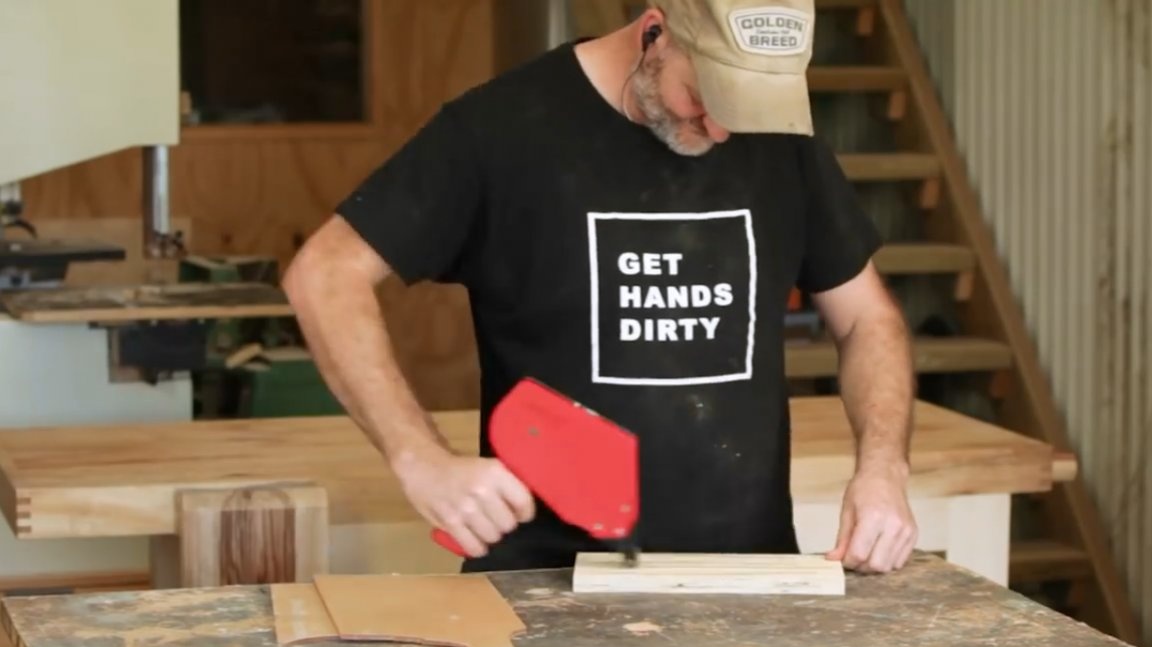
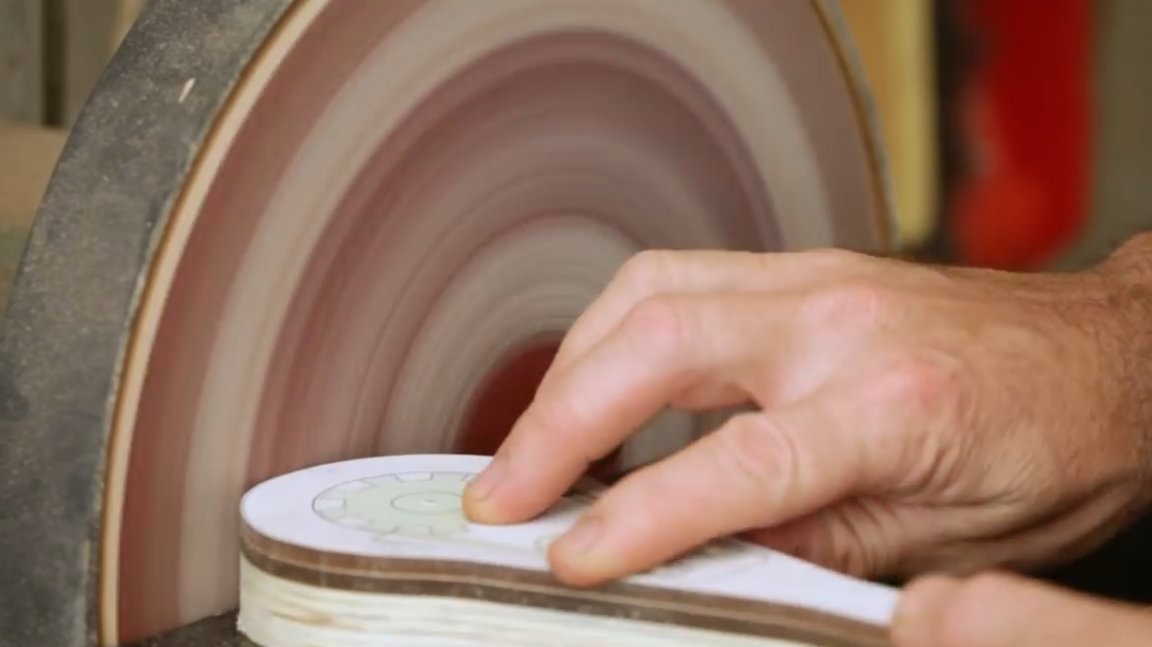
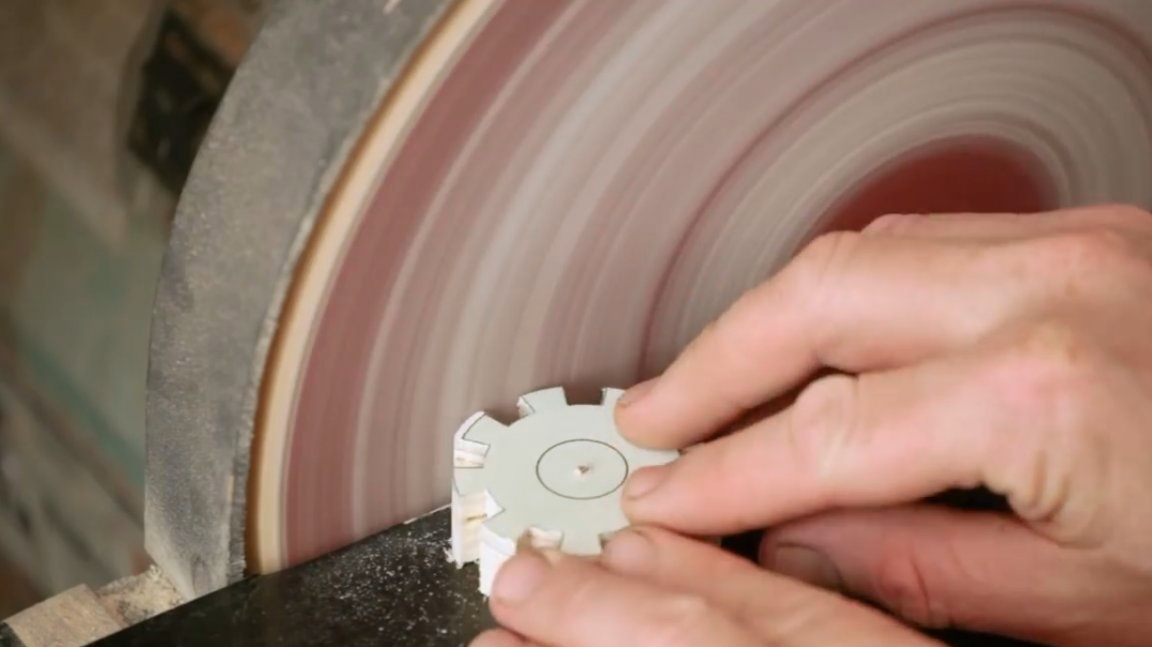
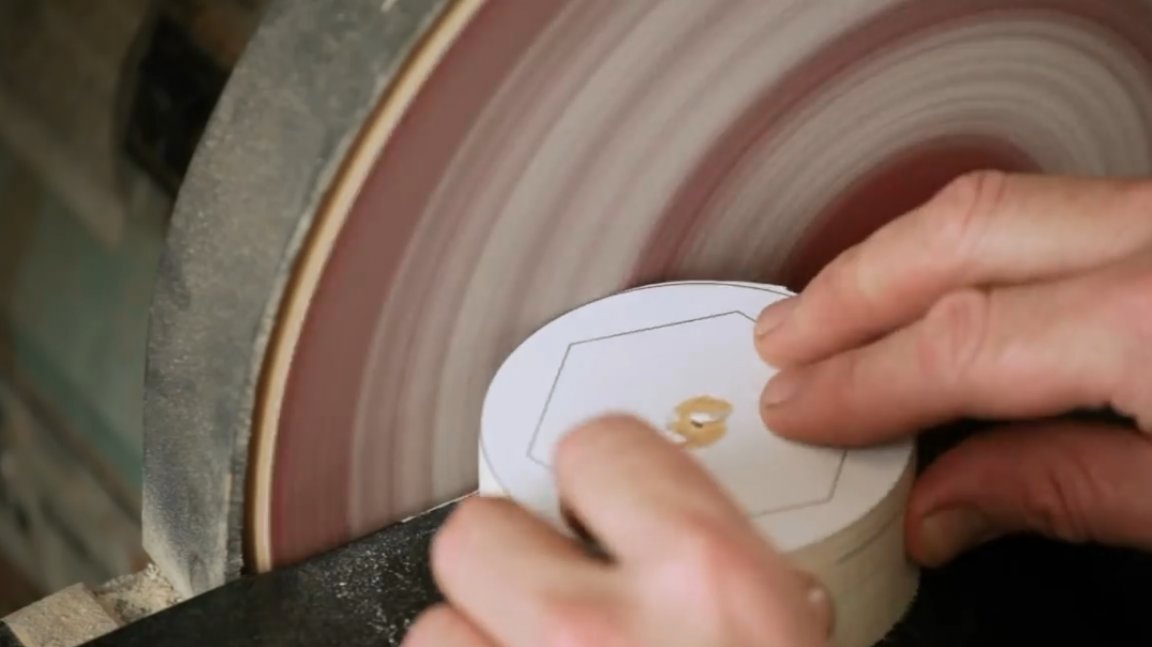
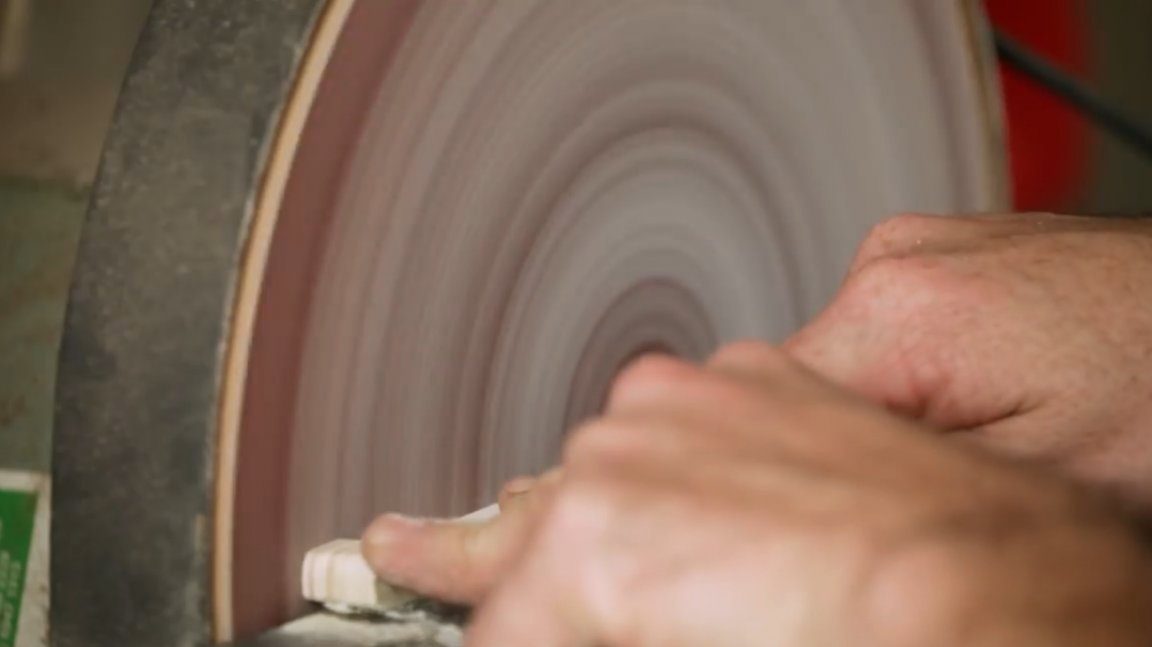
The ends of the workpieces are ground on a grinding machine to the marking line.
Then the author separates the workpiece from plywood, leaving the plexiglass covers interconnected.
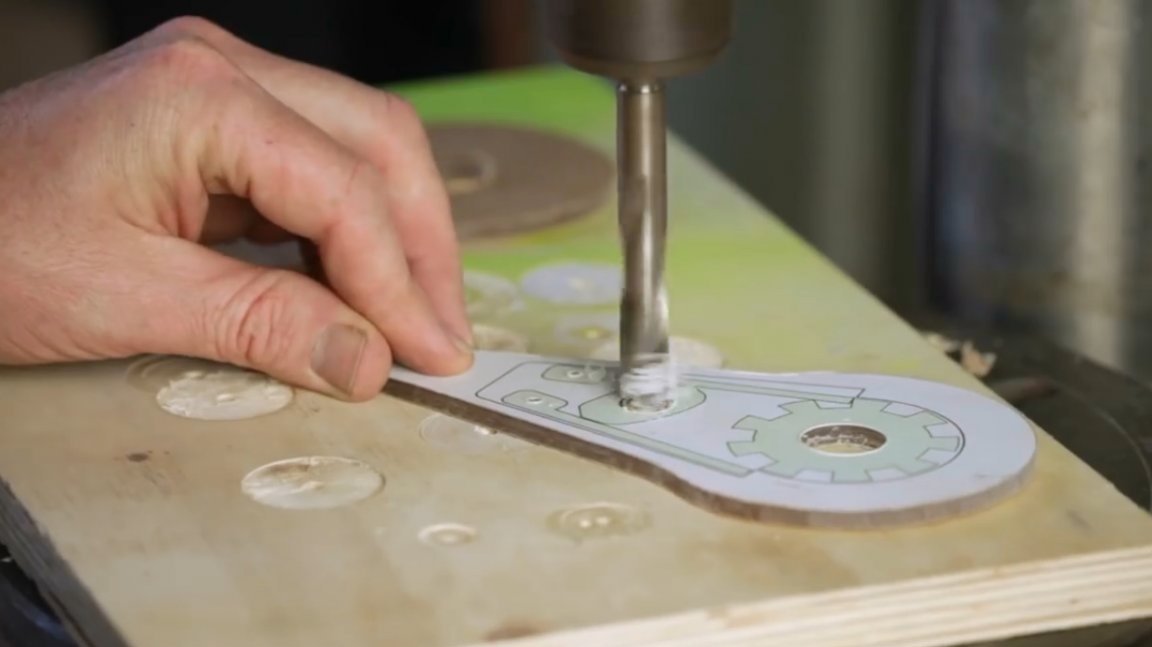
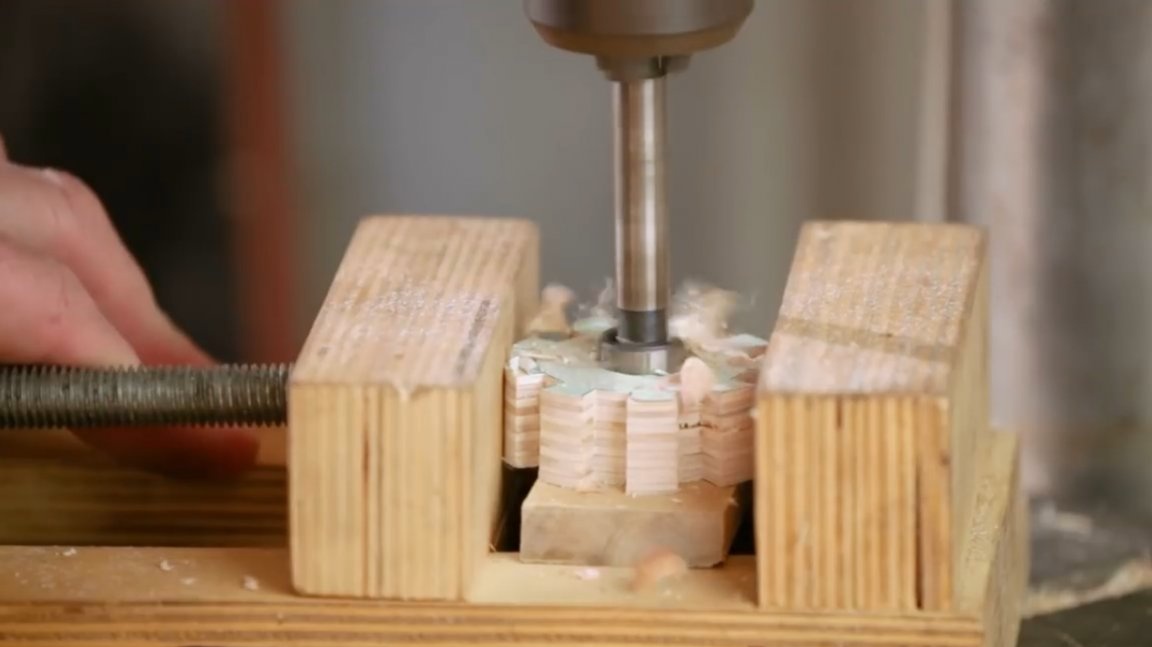
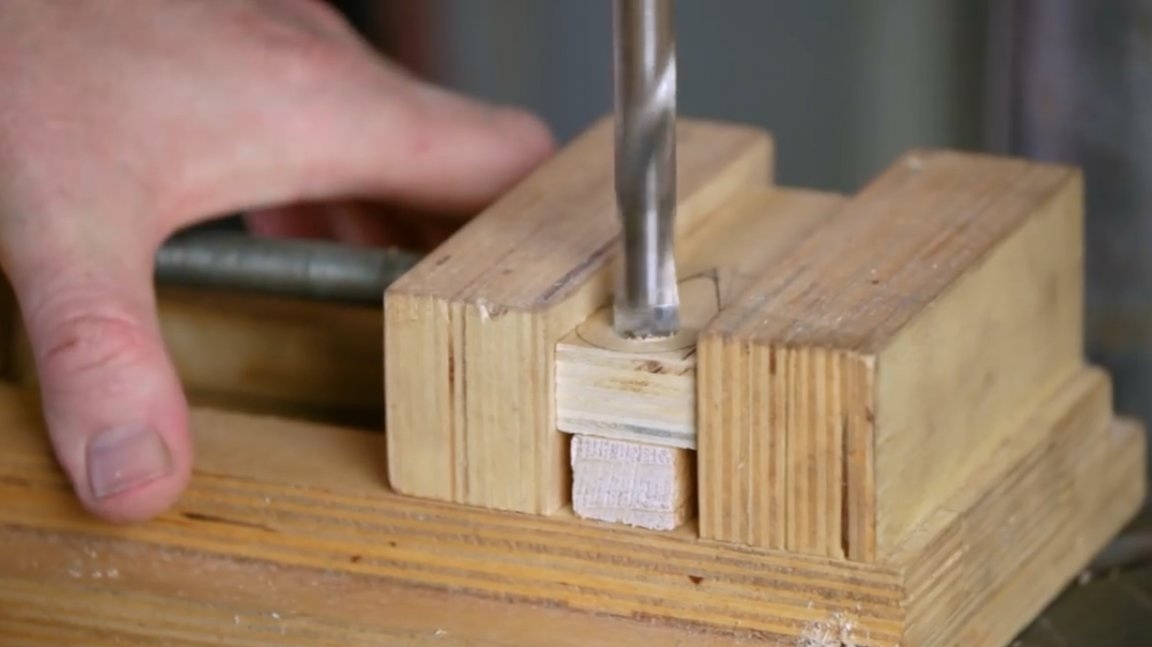
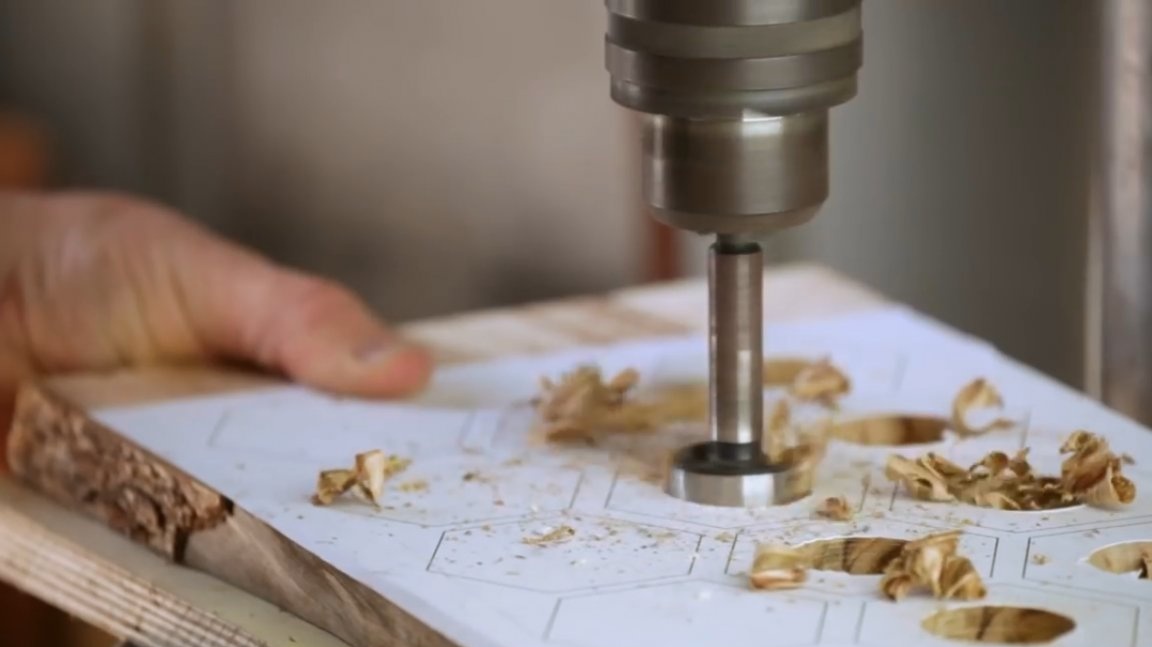
With the help of a drill, Forstner makes a central hole.
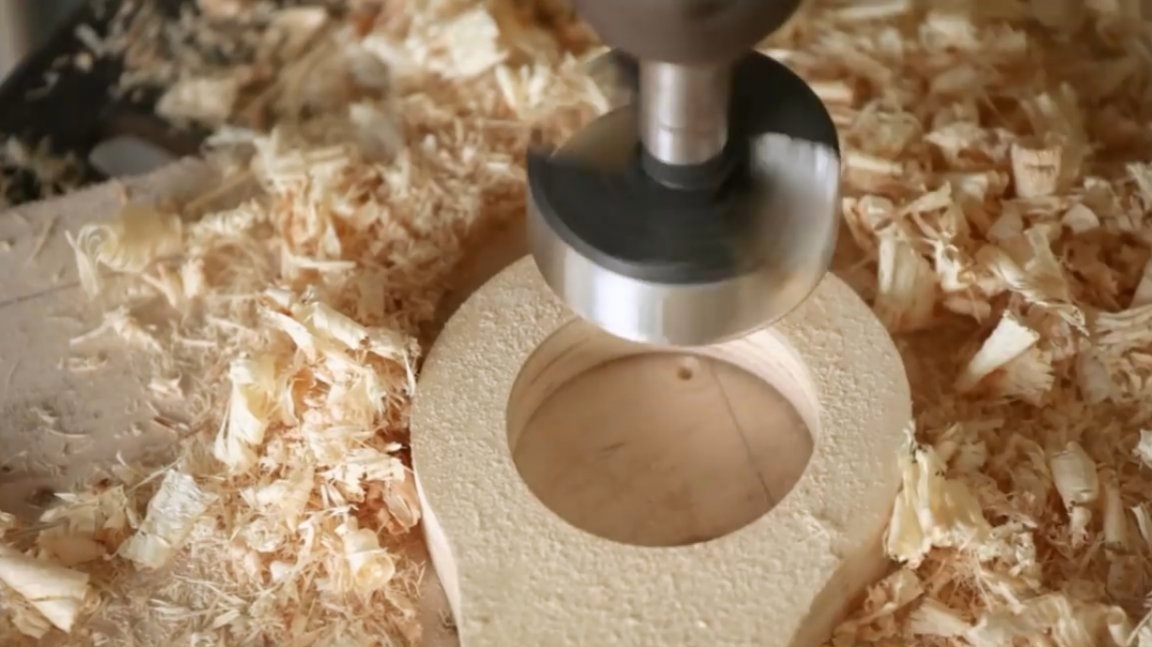
After gluing the template again, it cuts out the rest of the necessary cavity for the ratchet mechanism.
In the covers drills the central holes for the axles.
Next, you need to drill holes for mounting screws, and countersink them.
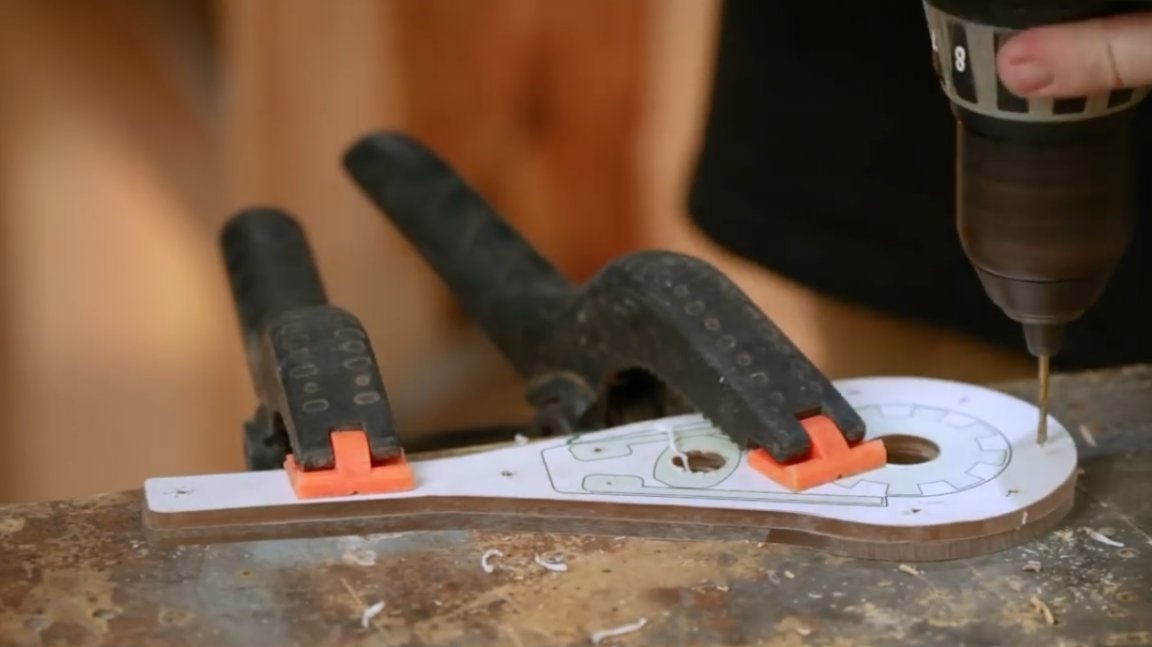

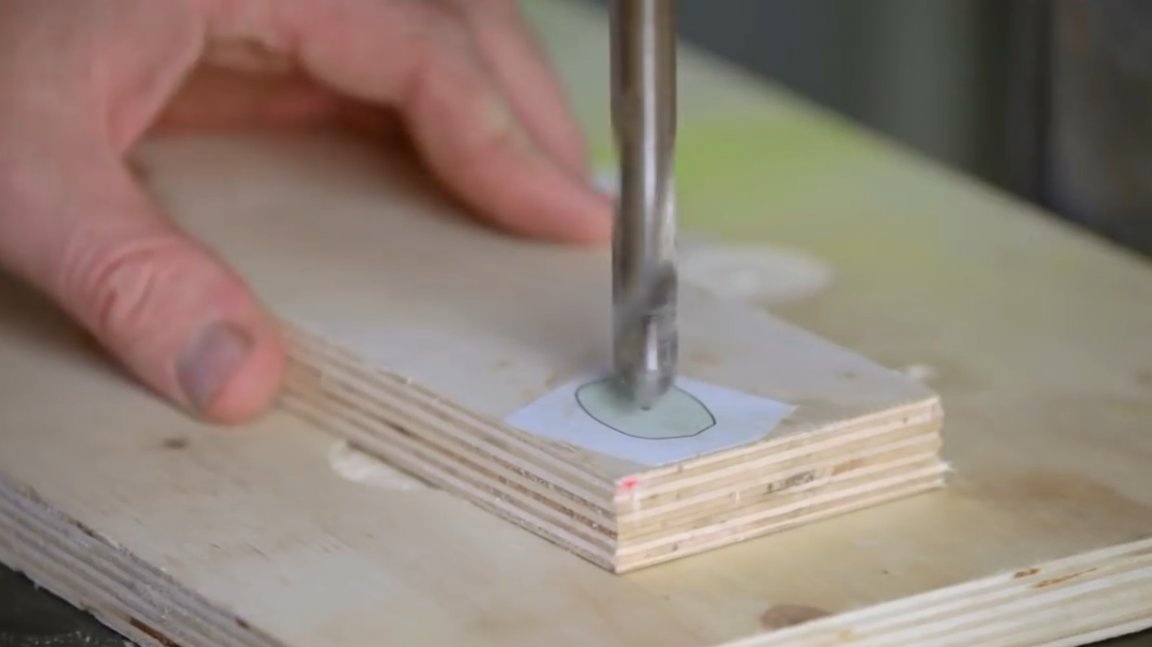
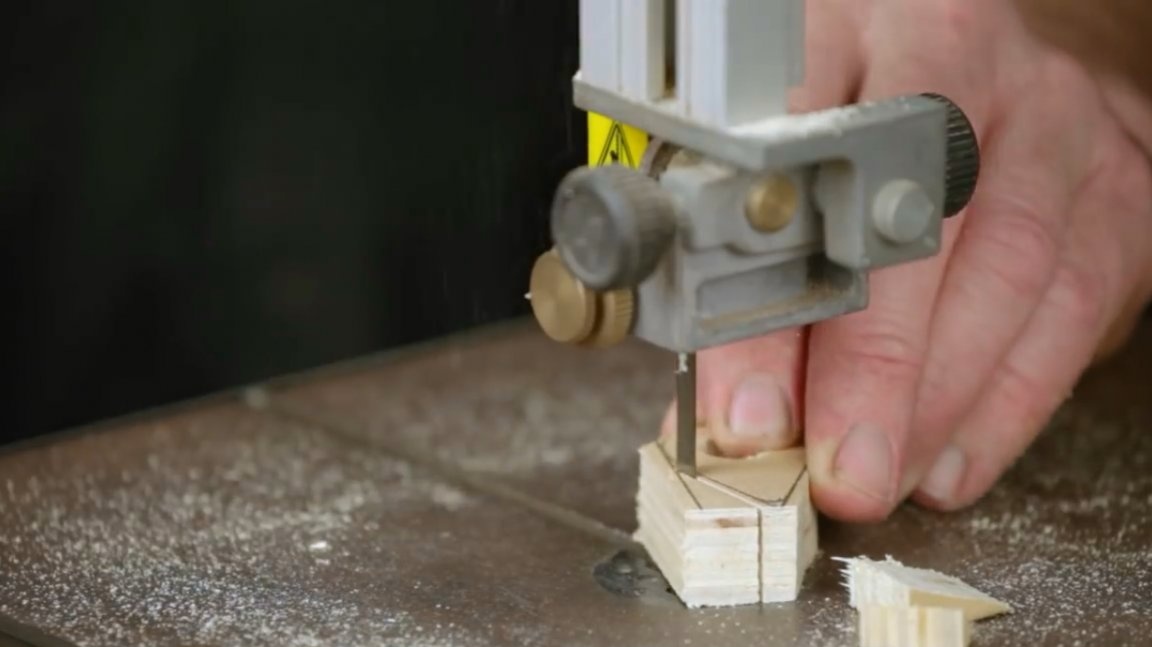
And now - one of the most laborious stages. Making small parts of the mechanism. Glues the template to a piece of plywood, drills the central holes in the gear, clip, and dogs.
The whole process of cutting small things should not be shown, it is a very long time.
Grinds the gear to the size required by the template.
And drills a hole for the axis in it.
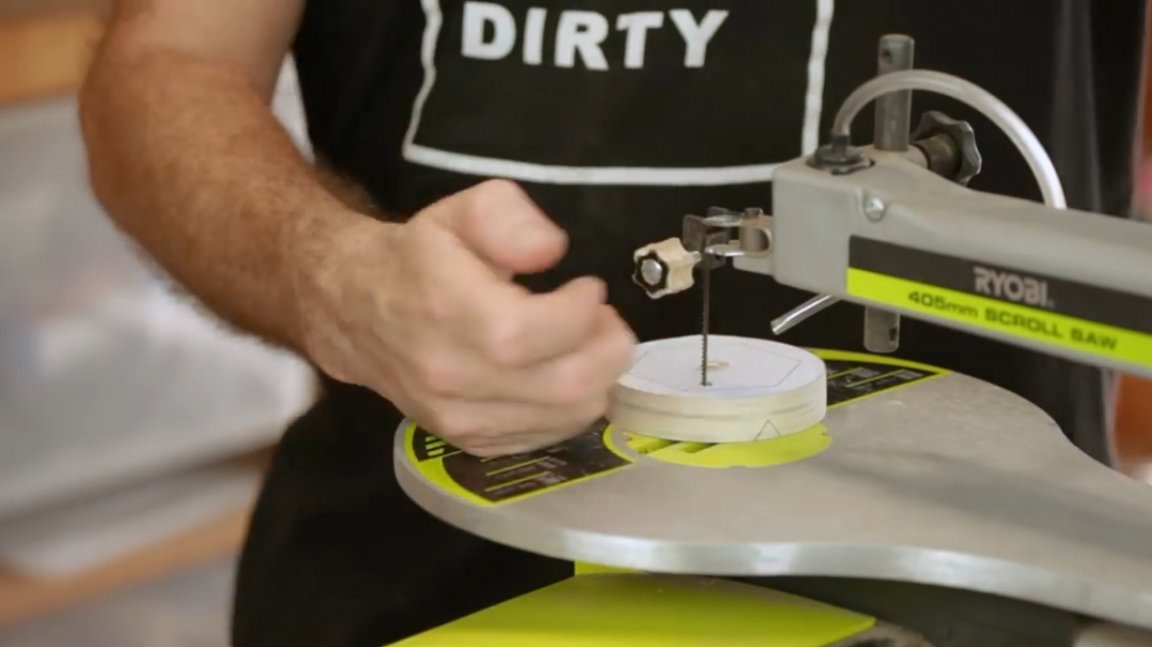
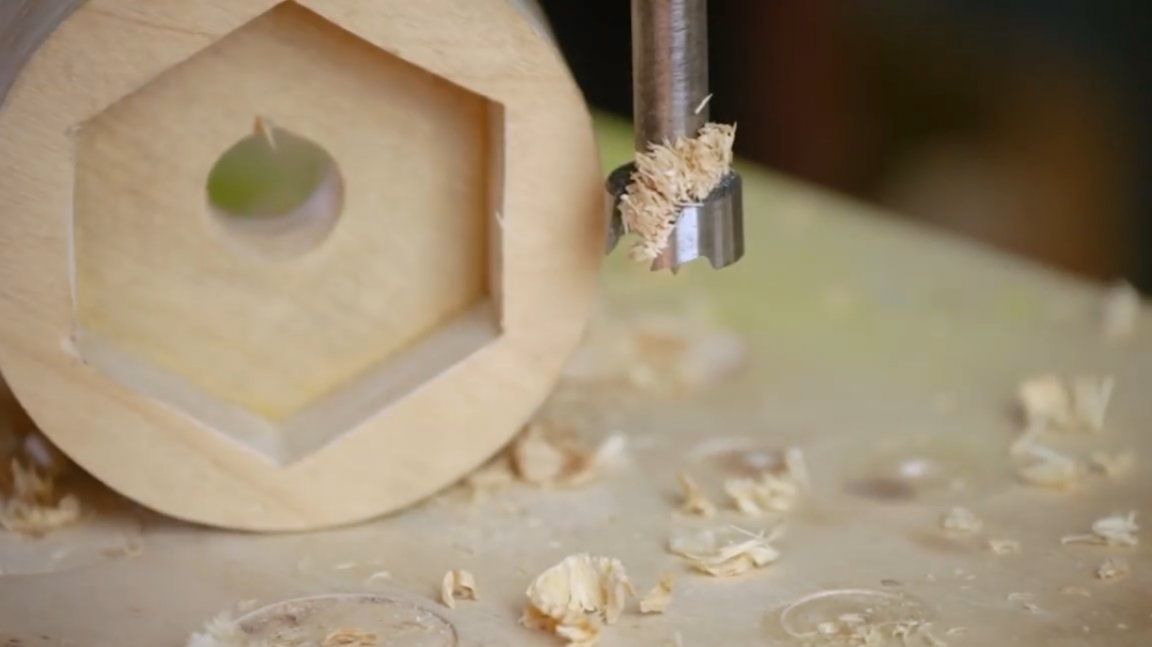
The step of creating a hex key head. With the help of double-sided tape connects two squares of plywood, sticks a template.Drills a central hole, cuts the workpiece on a band saw, polishes the edges.

It disconnects the workpieces, drills a hole for the jigsaw blade to enter, and cuts out the central part.

The resulting reverse hexagon sticks together with the disk. After the glue dries, it drills a hole for the axis.
In the manufacture of the clamping part, the master made a mistake. He first cut the workpiece, and when drilling it was torn apart due to its small size.
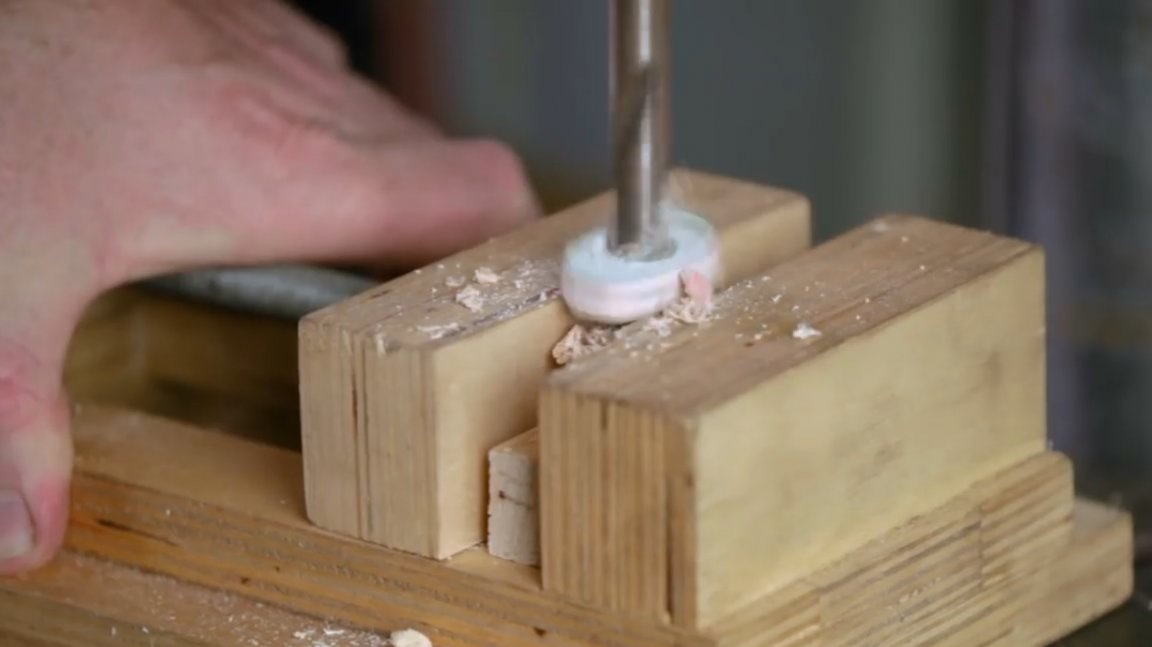
It should have done the opposite. First drill a hole for the axis, and then cut, and grind.
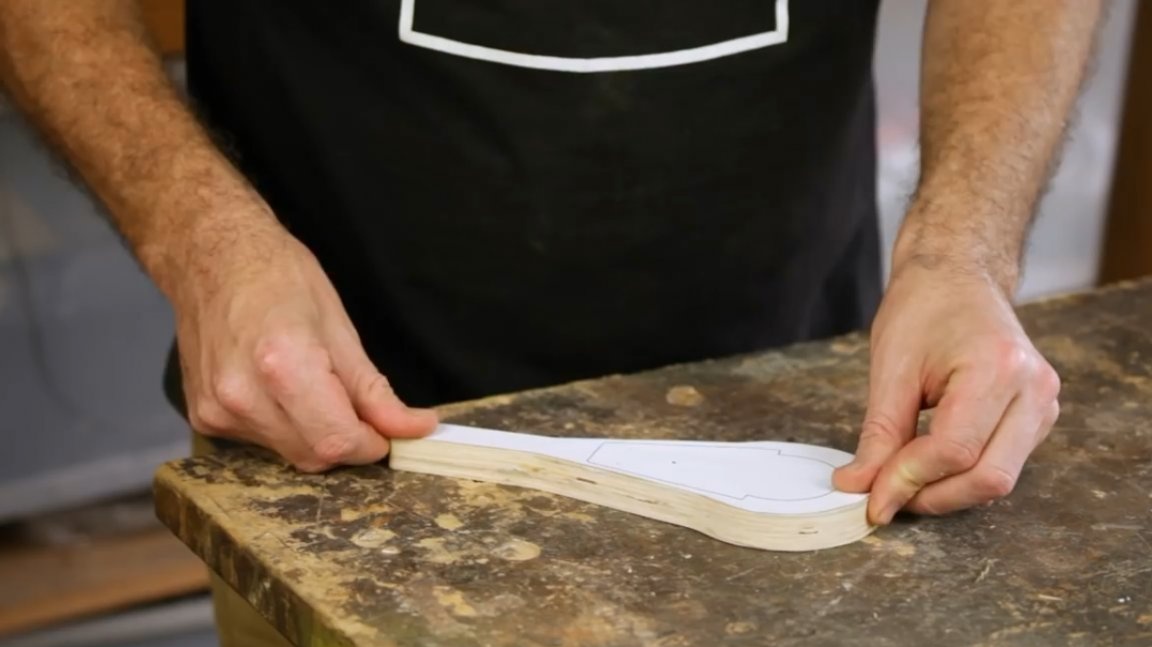
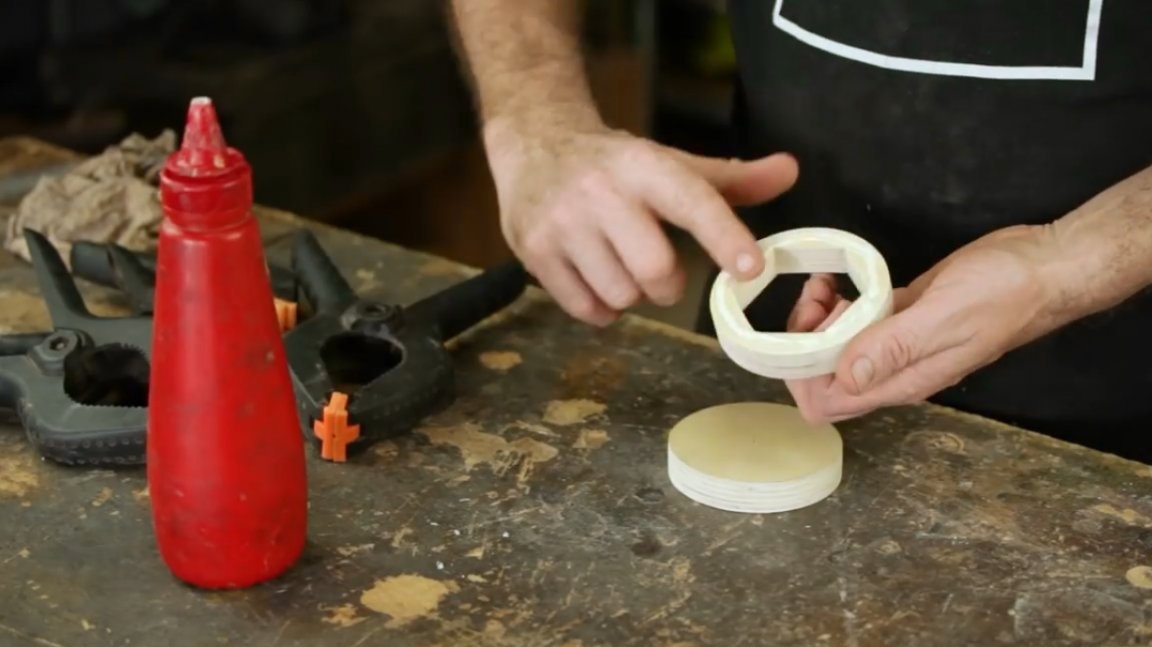
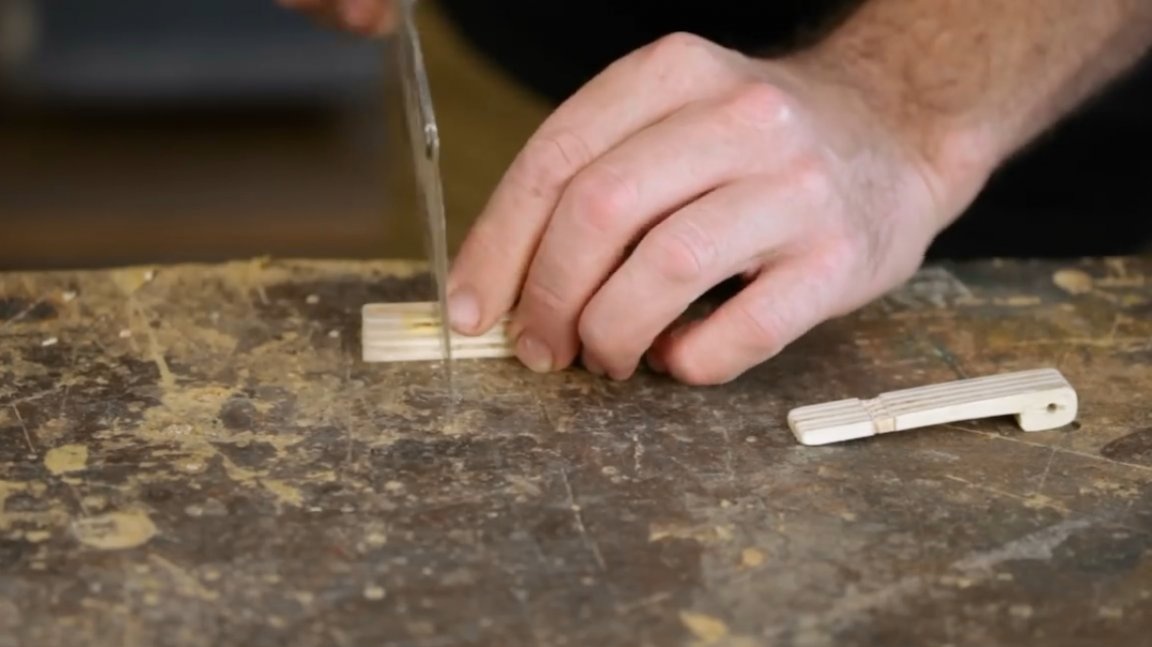
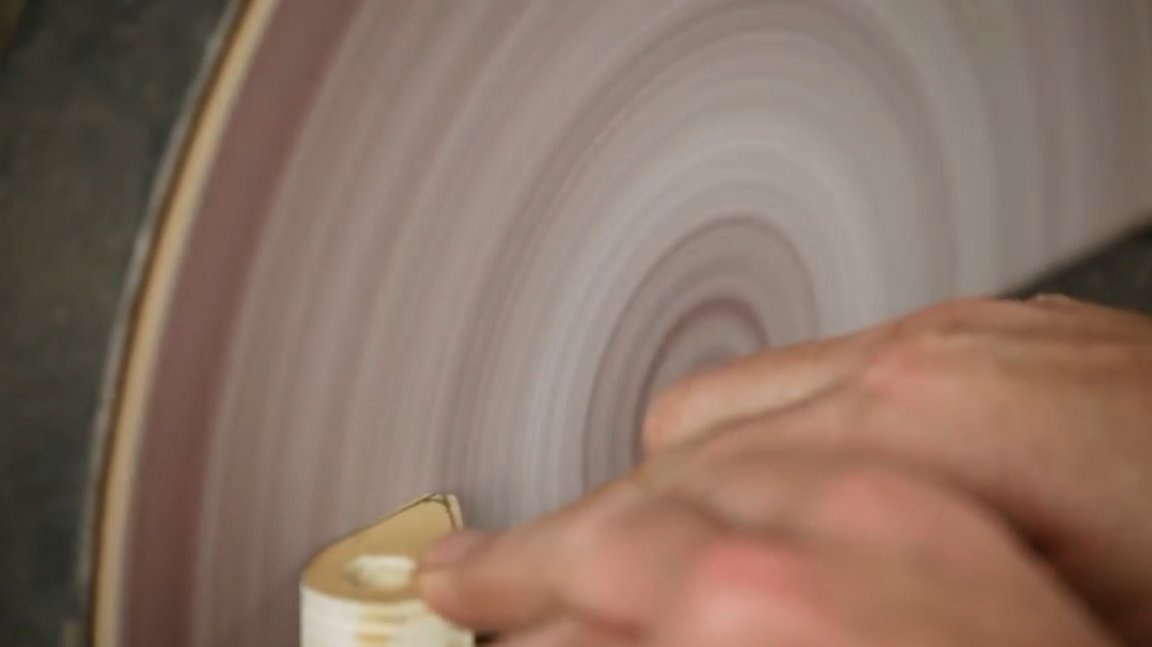
Now it remains to polish the edges of small parts, and eliminate the glued template.
The design of the dogs should be slightly modified with a saw and a chisel, making a groove for the gum.
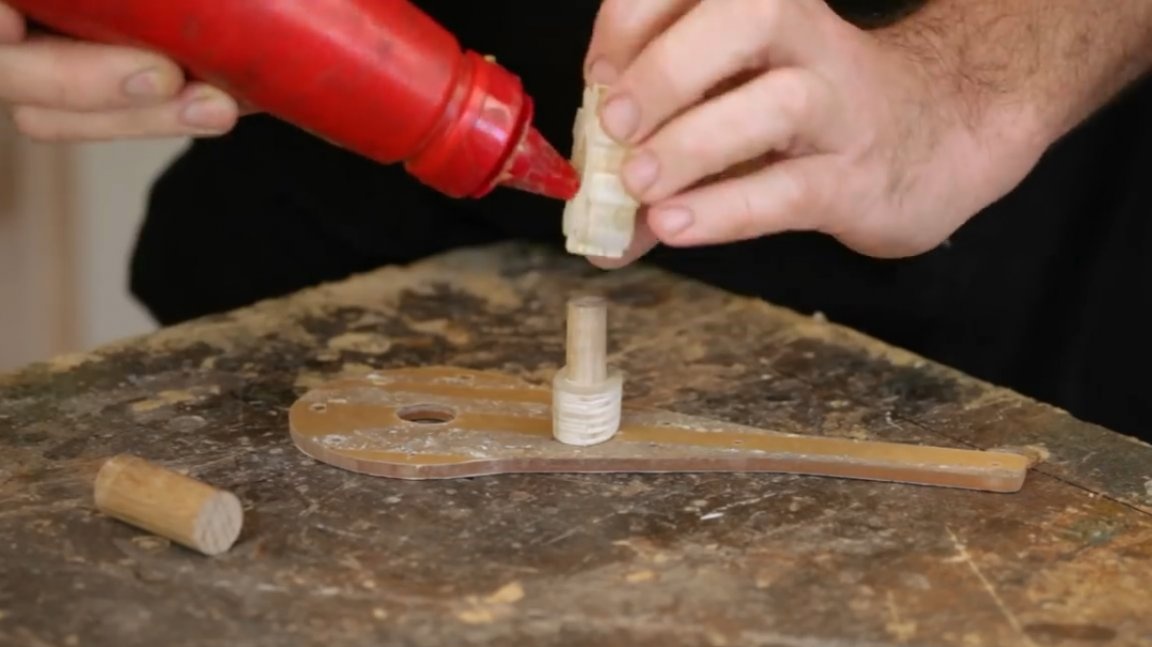
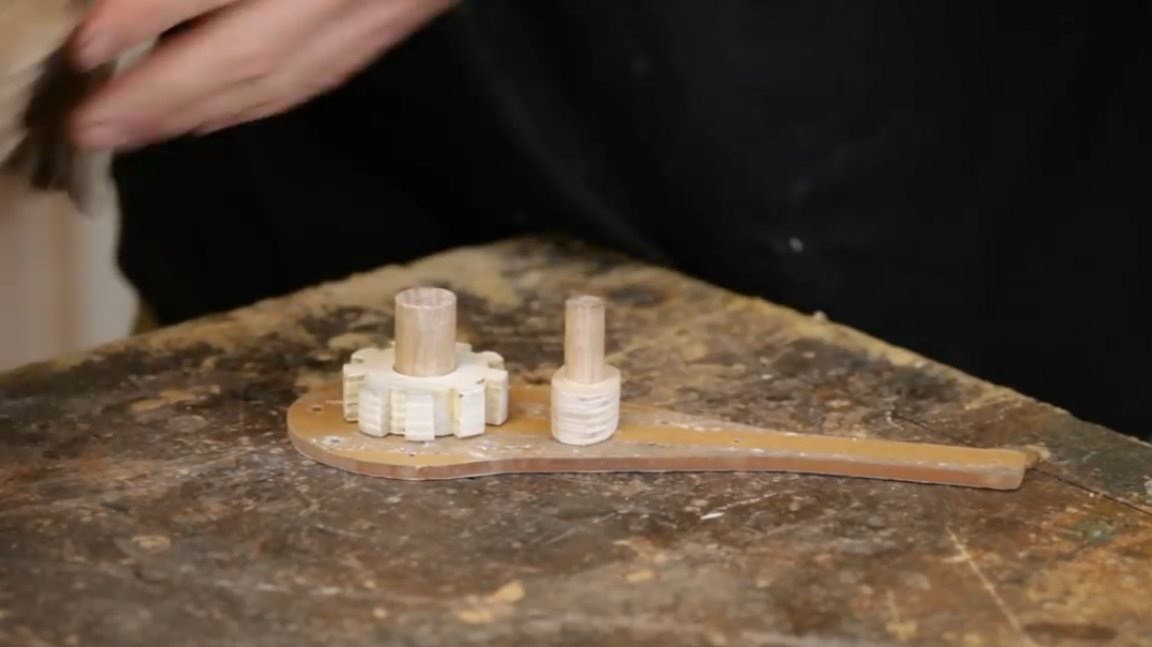
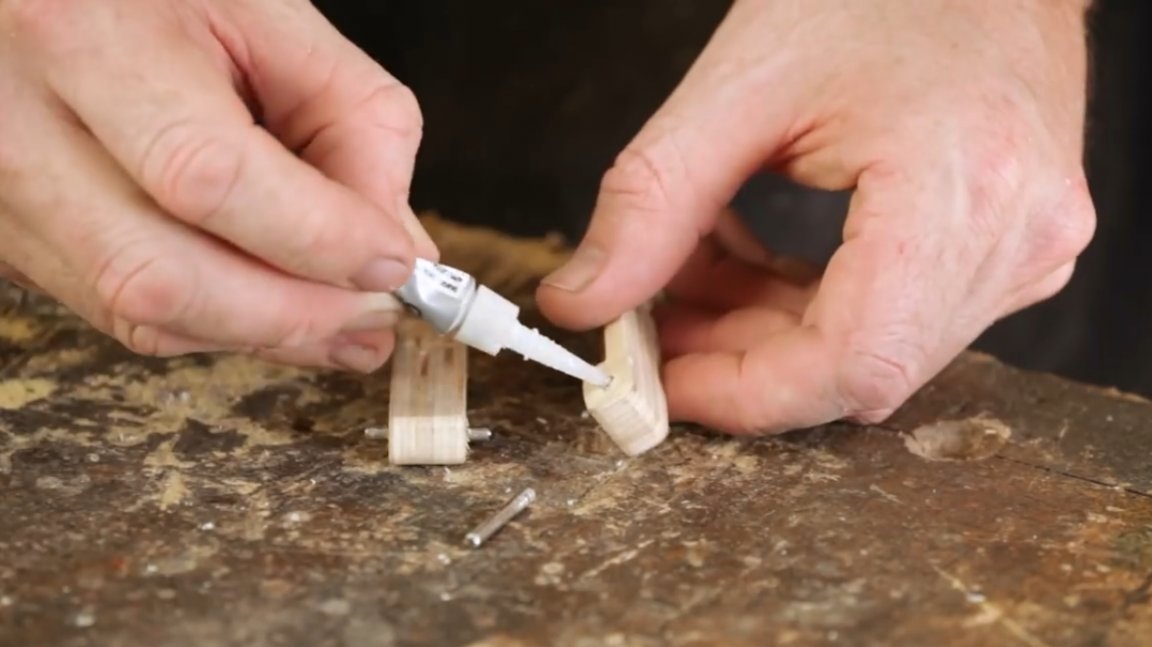
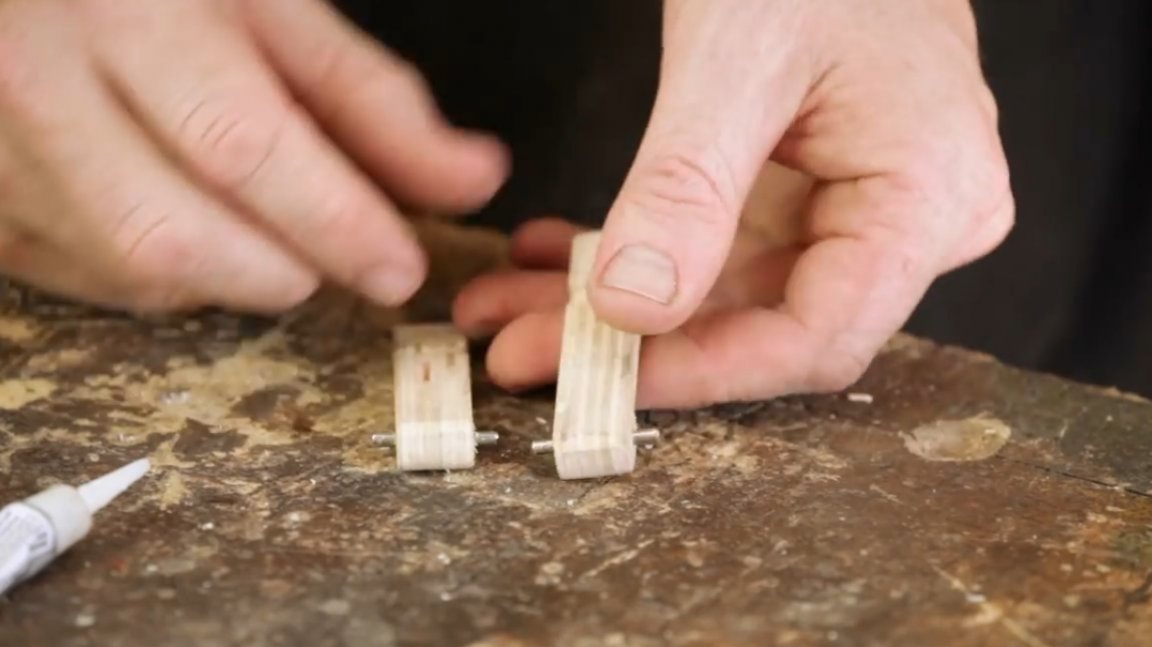
Two small axes are glued into the gear, and the clamping mechanism, they should protrude on the other side of the part exactly the thickness of the cover.
Now the master processes all wood details with wax.

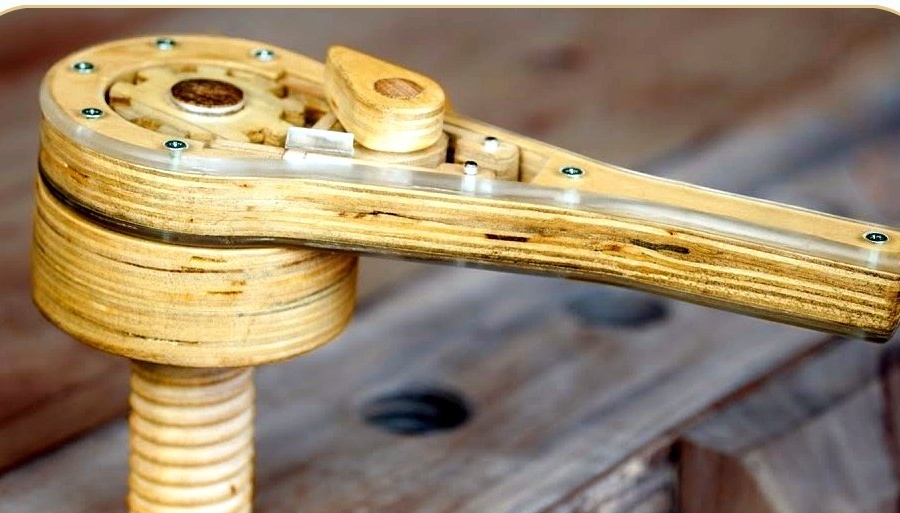
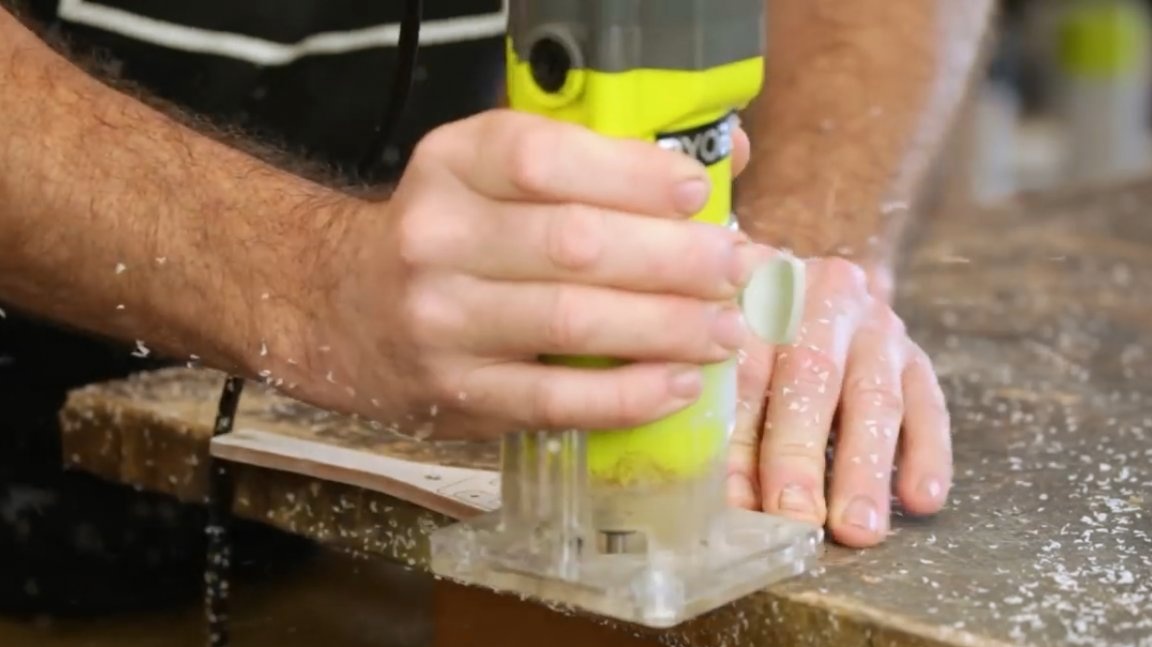
The outer edges of the plexiglass covers are milled and the protective film is removed.
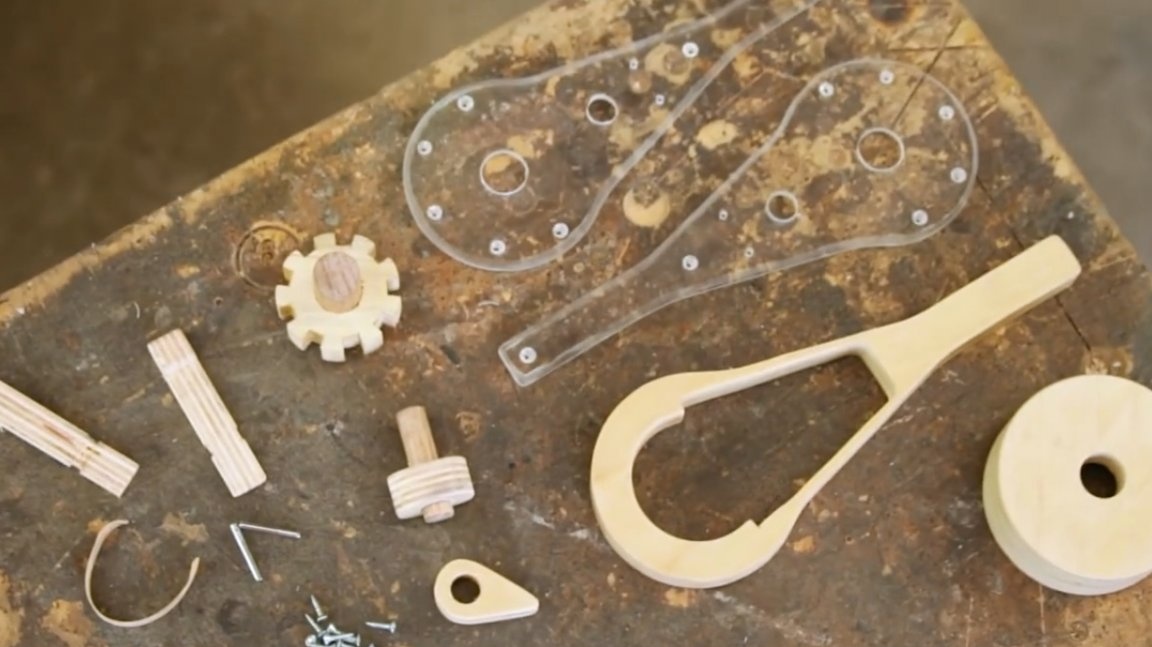
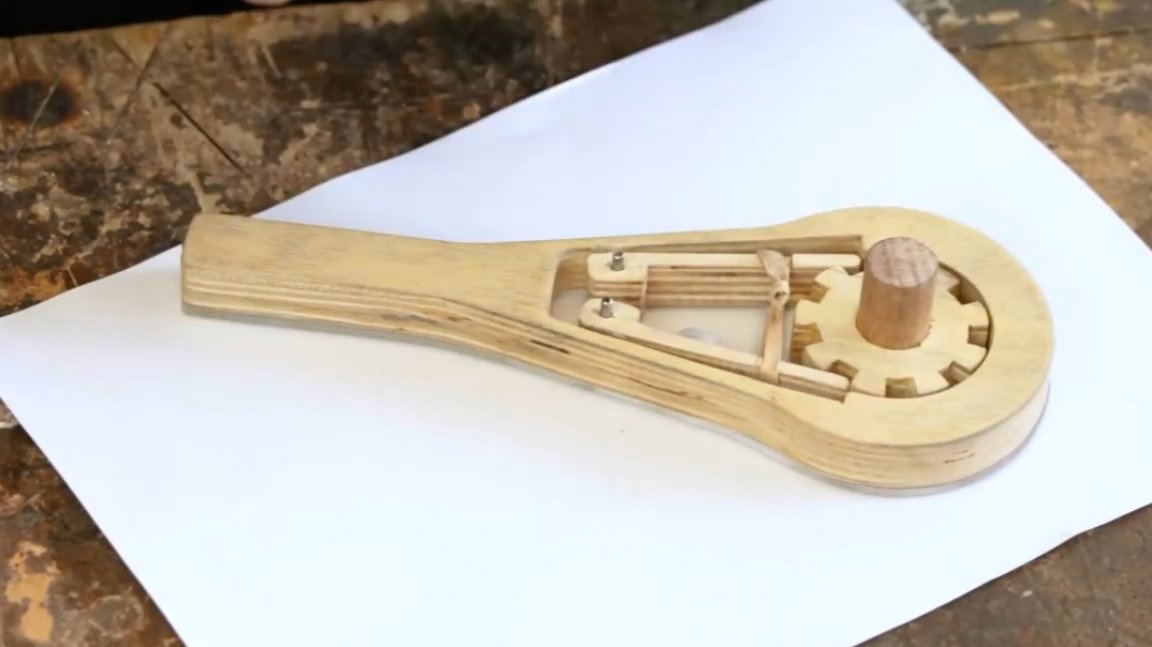
So, all the elements are prepared, you can start assembling!
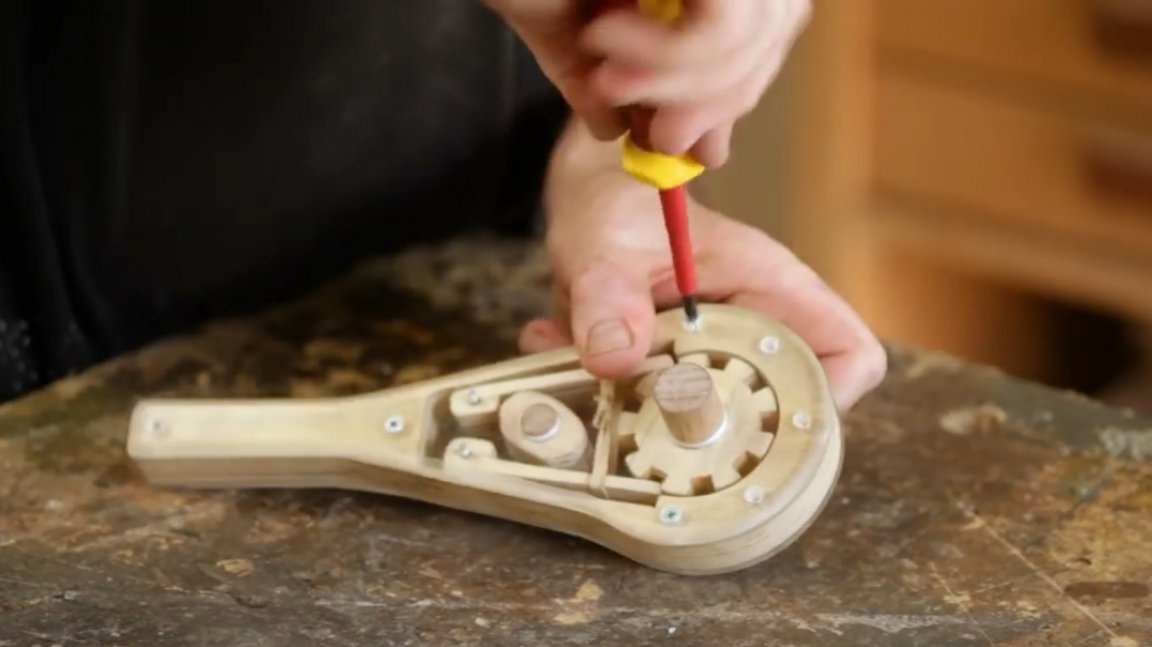
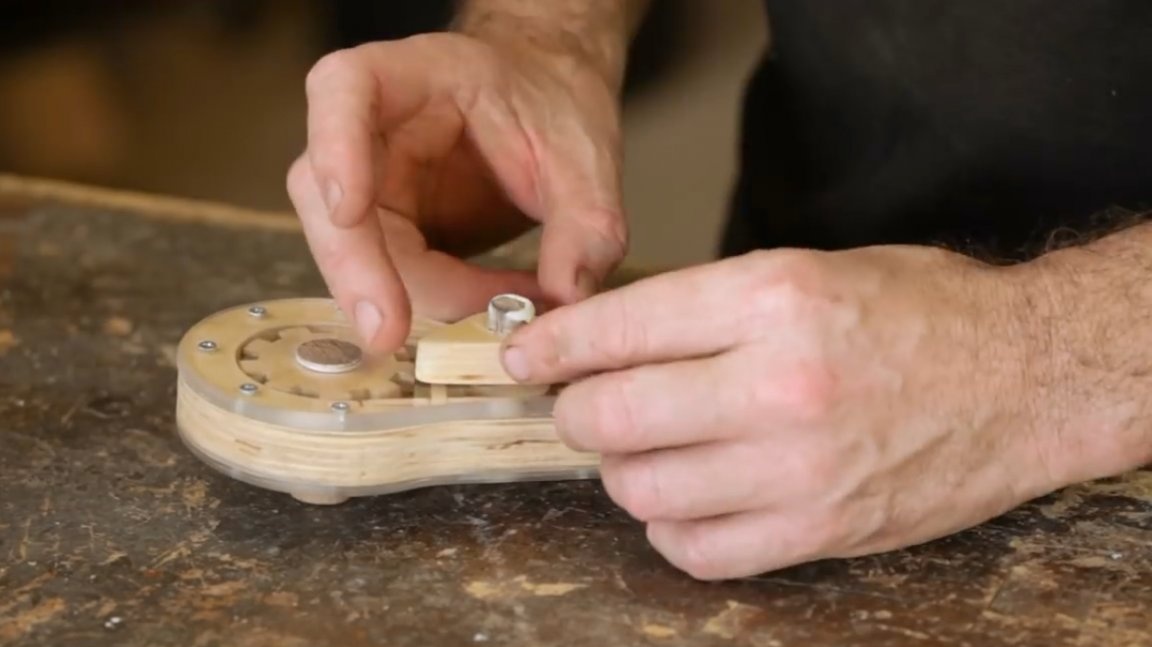
First, the master screws the bottom cover.

Then, having made two axes from a pair of nails, glues them into holes in the dogs.
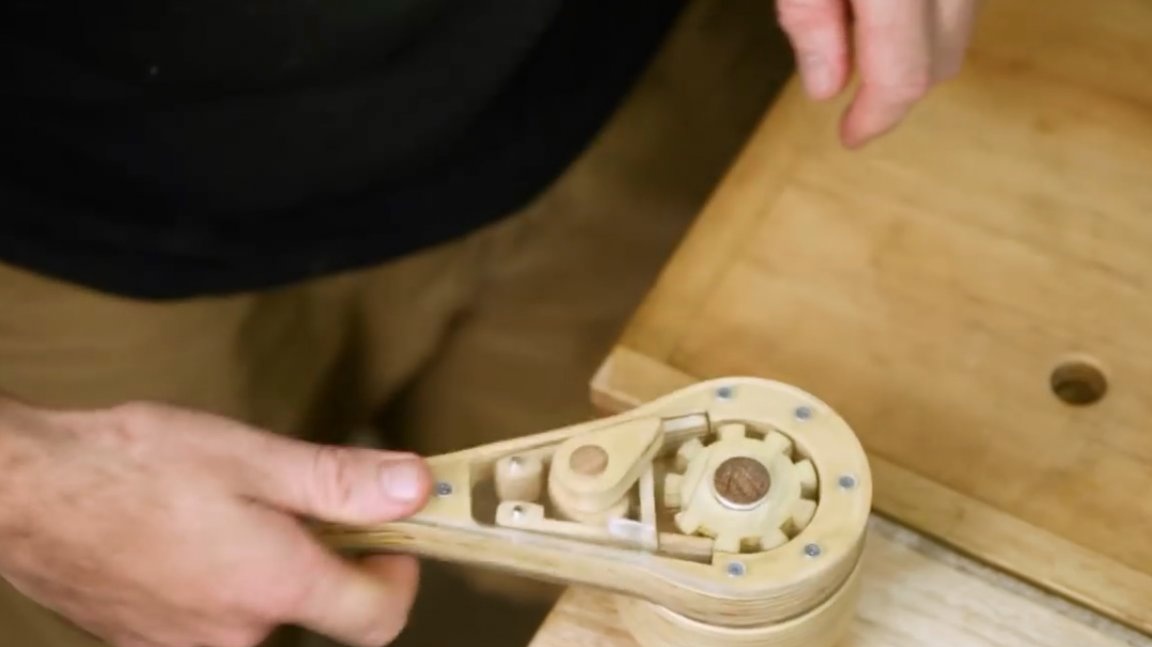
On the necks of the dogs pulls an elastic band, and sets the ratchet gear.
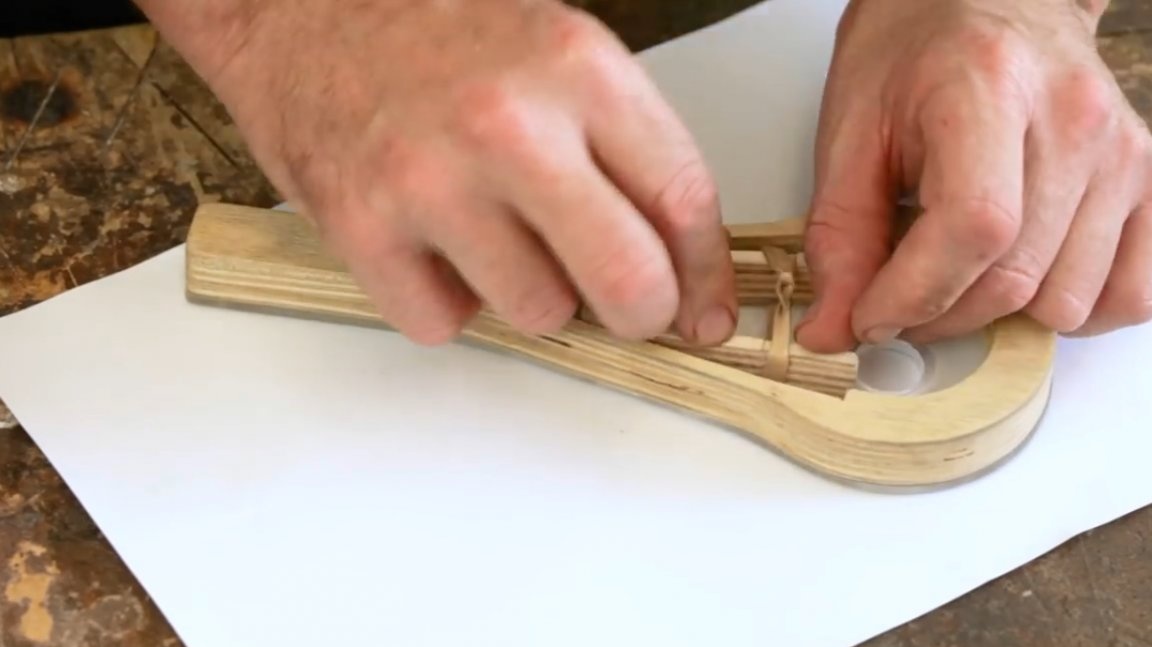
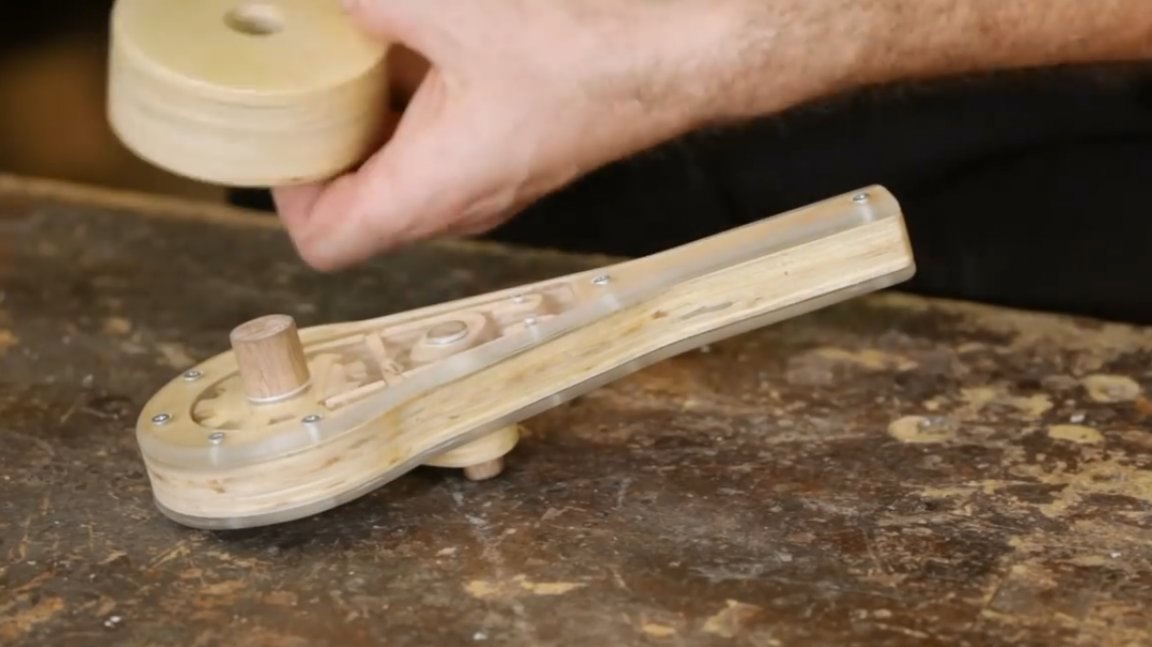
The last clamping mechanism is installed, and the top cover closes.
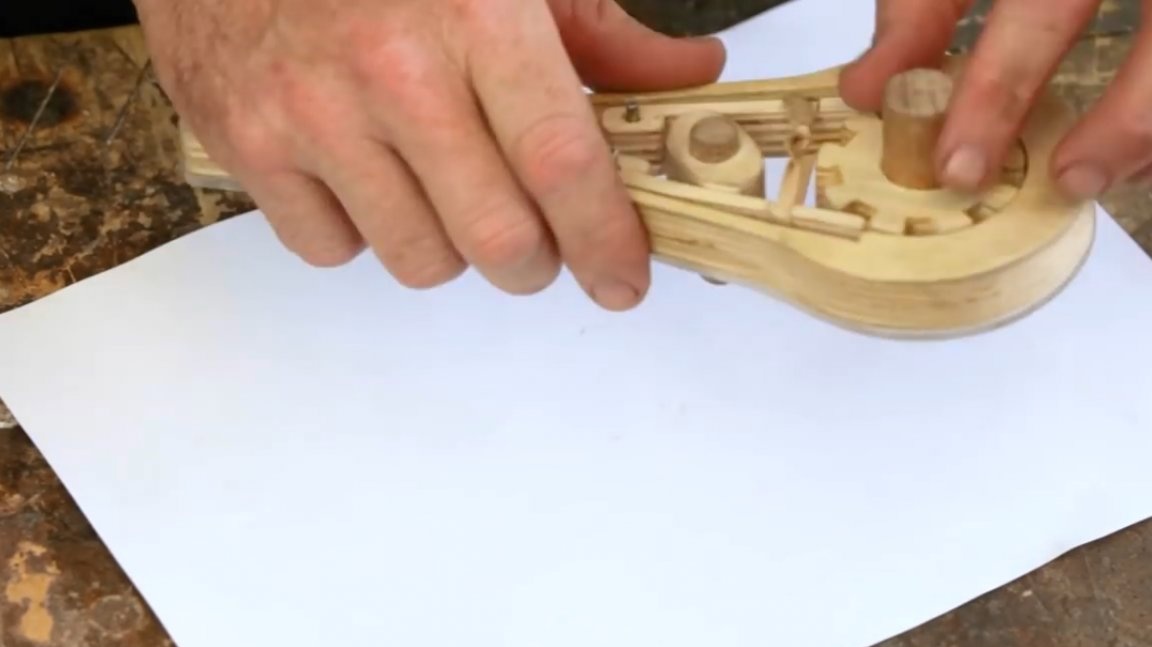
One small detail remains. Switch direction of rotation.
The wizard needs to glue the switch and key head to the axes. The excess shaft is cut off by a Japanese saw.


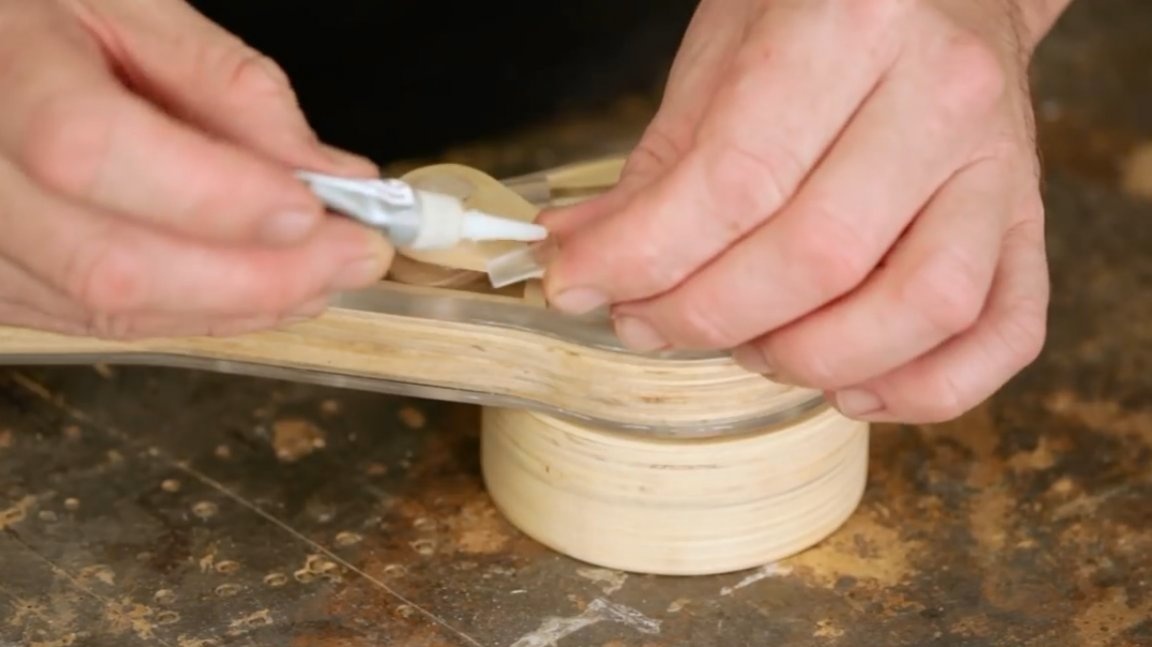
From small pieces of plexiglass, the master made limiters for the switch. Then I glued them to the lid with second glue.
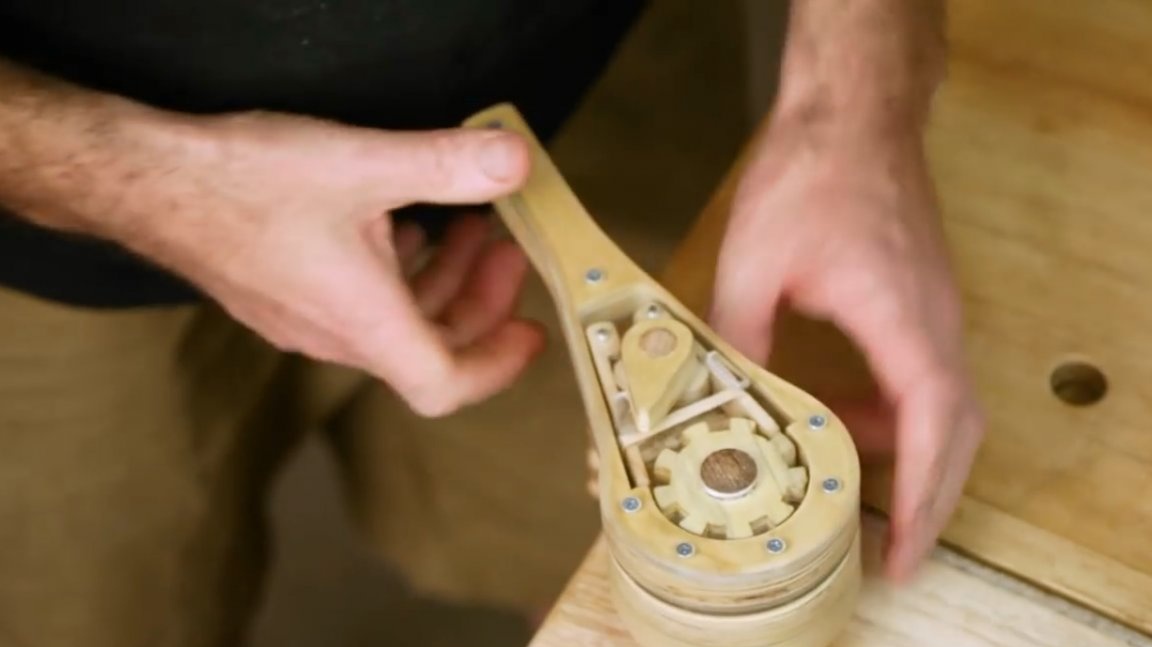
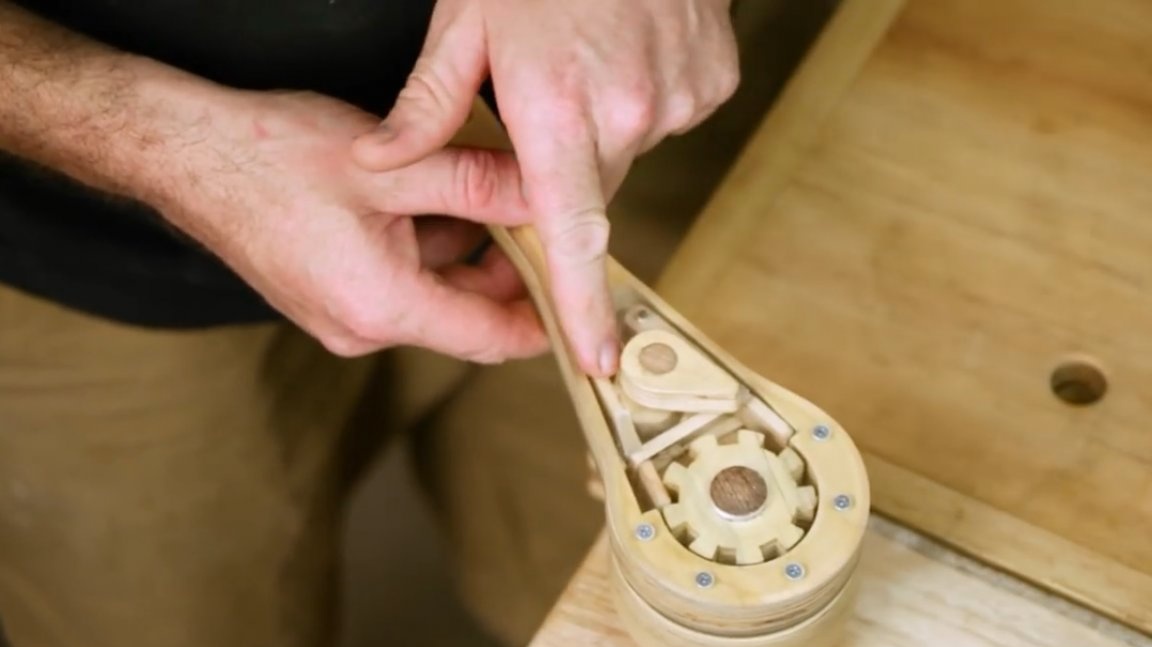
Here is the tool and ready. Now it’s clear why the covers are made transparent. Children will see the principle of his work. When turning the switch, only one dog locks the gear, allowing it to rotate only clockwise or counterclockwise.
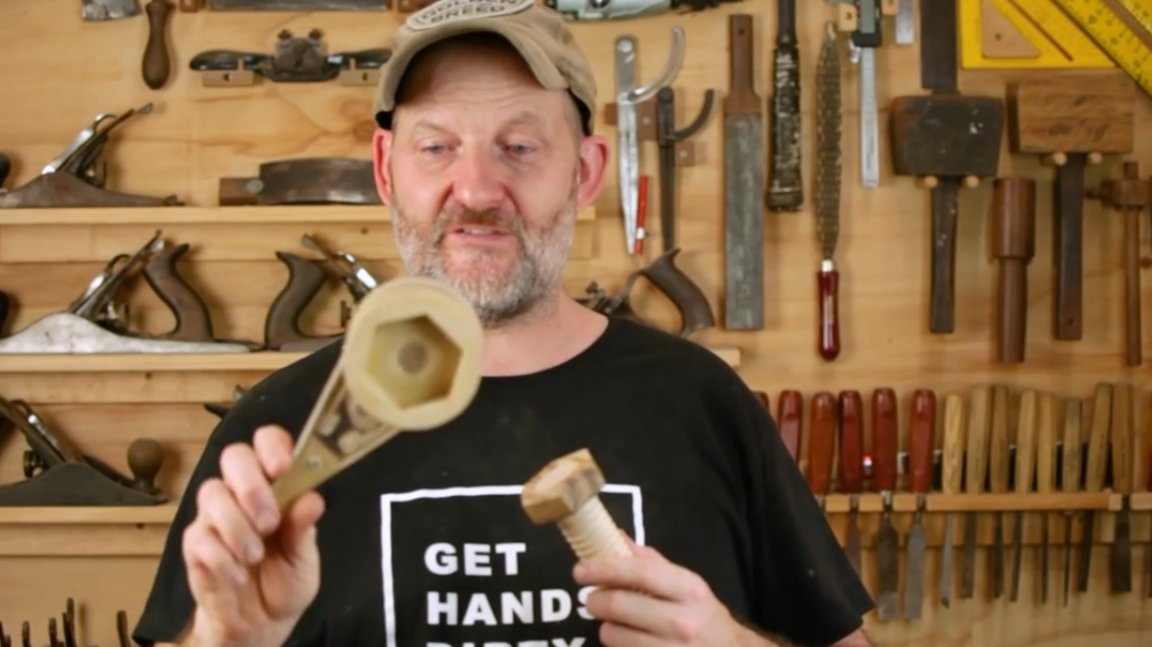
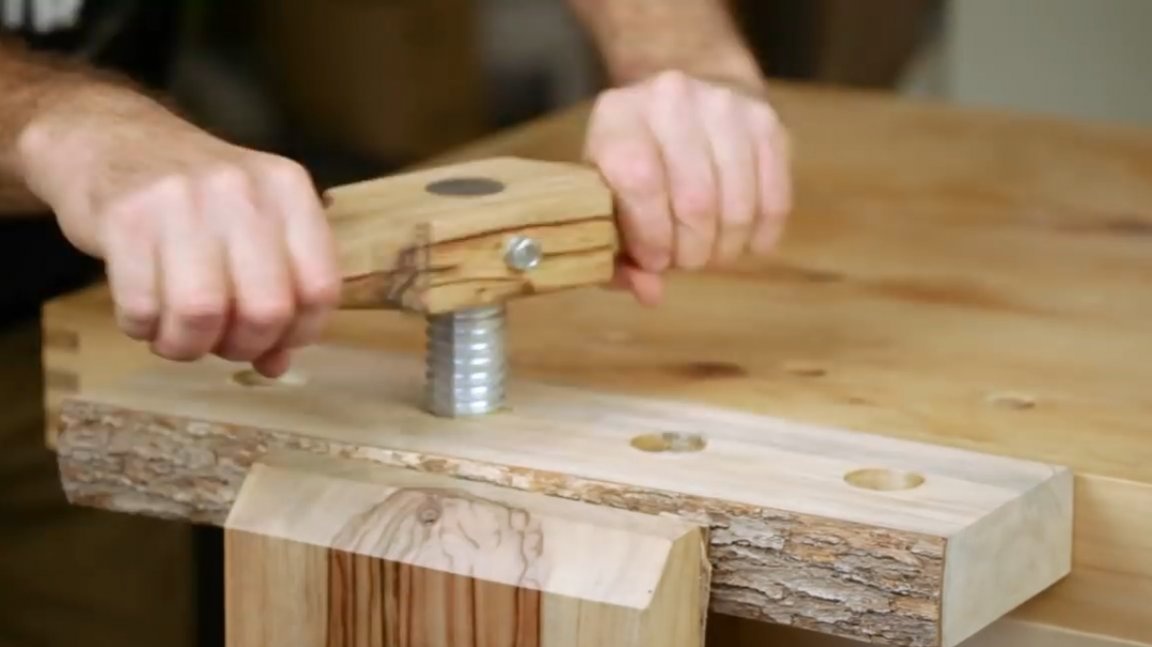
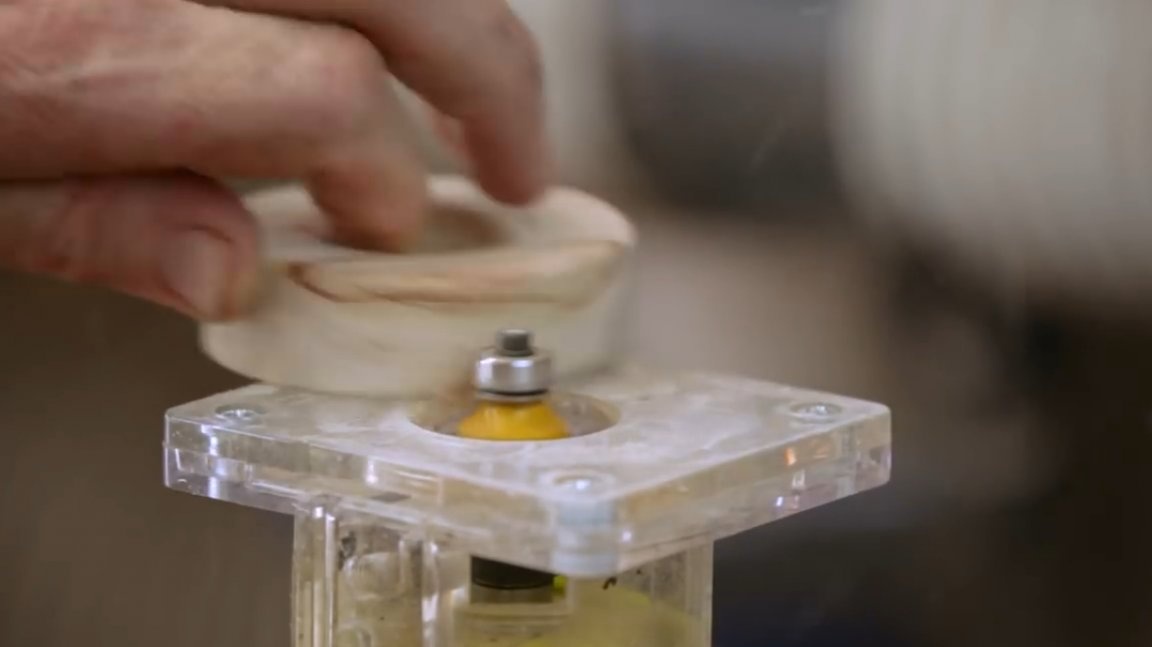
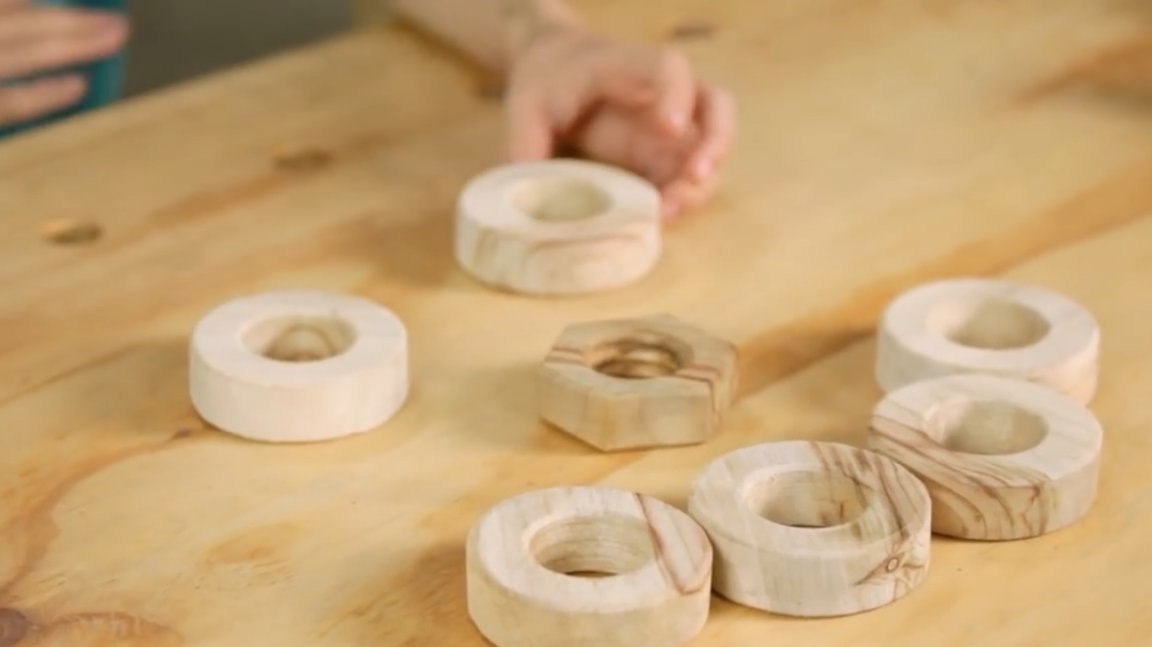
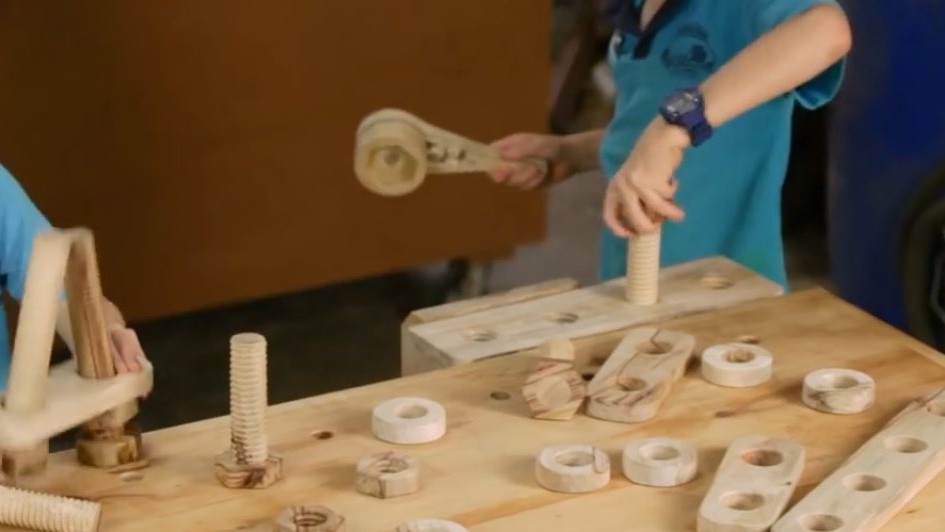
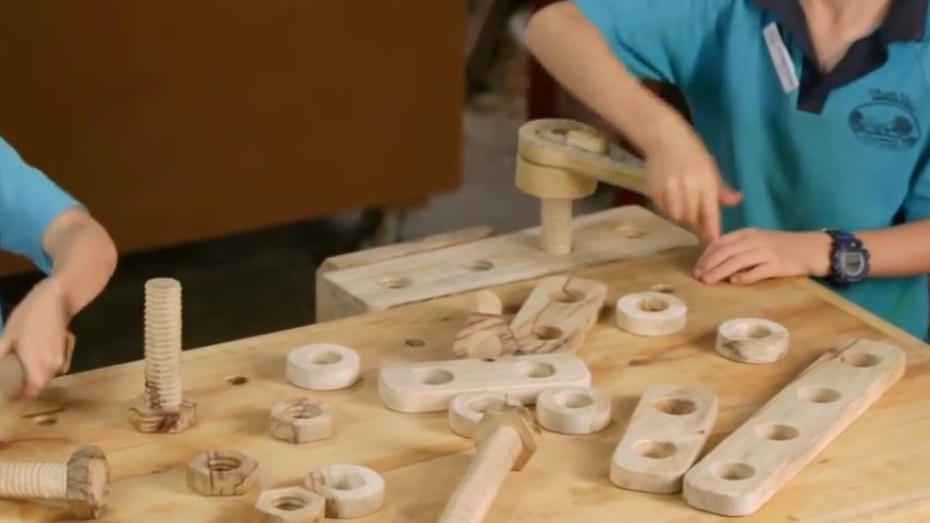
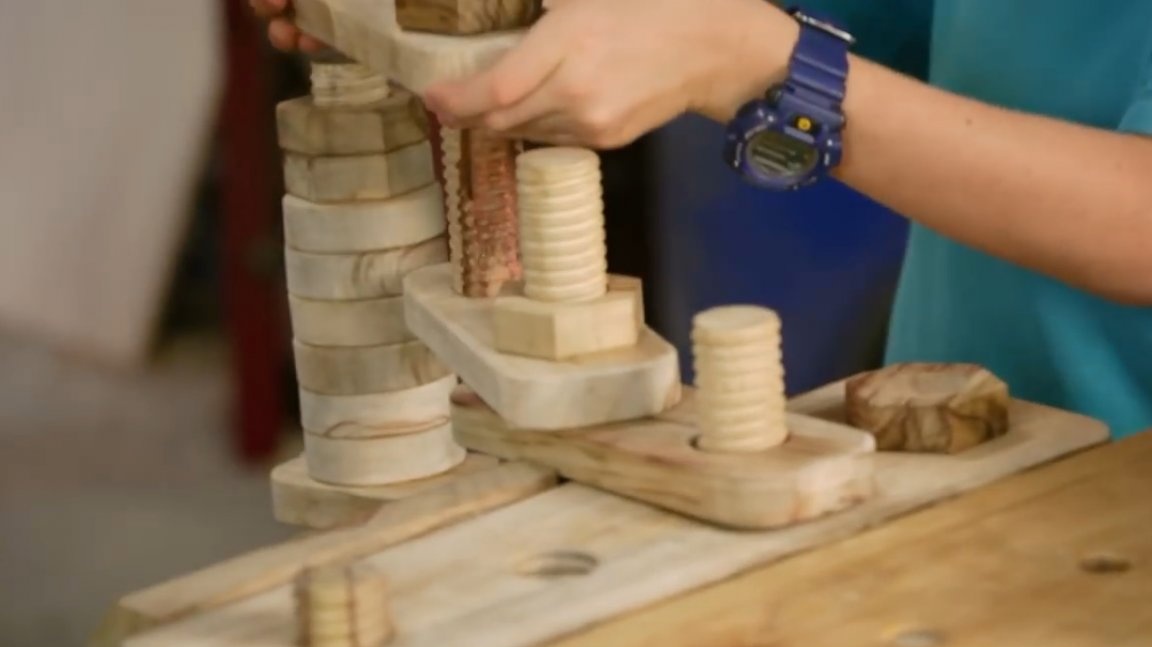
It remains only to make a lot of nuts for children. All tools and the sequence of actions are described in this article. Below I will just give the main points. You can find the template at the link indicated at the beginning of the article. The blank from the board is drilled with a 32 mm Forstner drill, then an M32 thread is cut into it using a tap. It is cut on a band saw and the resulting nuts are ground.


It will be a "work surface" with M32 holes, and a bunch of bolts.
Neil also decided to make washers. They have a central hole of 36 mm.
That's all and done, it's time to take the designer to the testers!
Thanks to the author for the interesting idea of developing toys for children!
All good mood, good luck, and interesting ideas!
Author video can be found here.