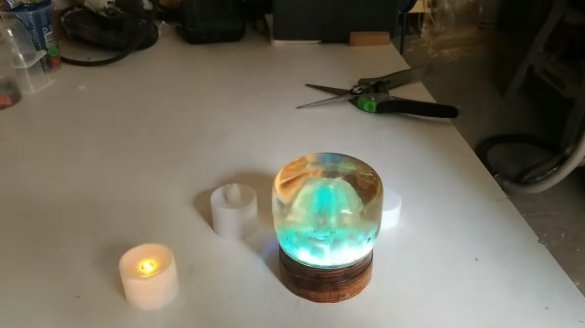
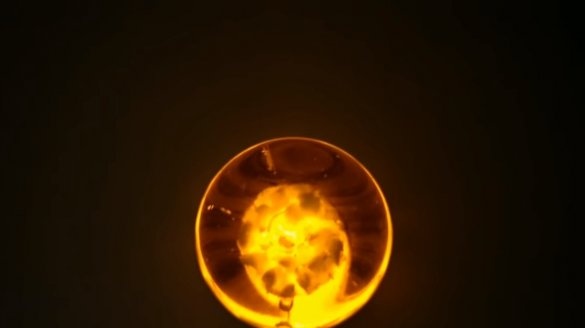
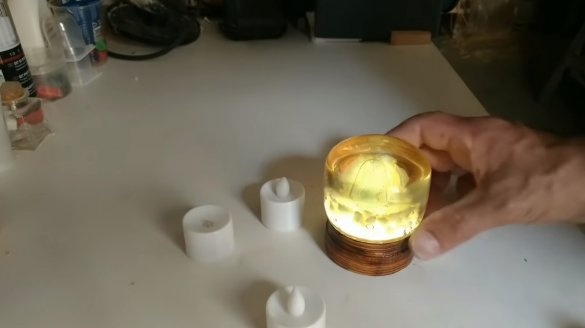
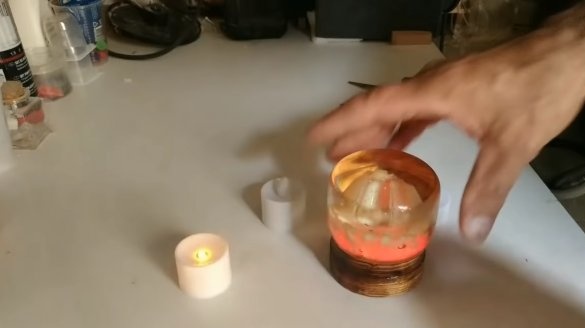
Hello fans to craft, I propose to consider homemadewhich make the house cozier. It's about a homemade epoxy nightlight. The idea of homemade is to imitate the sun. But homemade looks in the form of the sun only if you look at it from above. In principle, you can make the backlight any other color, when viewed from the side, the homemade product also looks quite interesting. If you are interested in the project, I propose to study it in more detail!
Materials and tools used by the author:
Material List:
- epoxy resin for pouring;
-
- wooden board for the base;
- thick plastic or similar material;
- glass ball to simulate the core;
- spray varnish;
- dye for resin.
Tool List:
- lathe;
- drilling machine;
- tape cutting machine;
- vernier caliper;
- belt grinding machine;
- nippers, etc.
The manufacturing process of the lamp:
Step one. Wood base
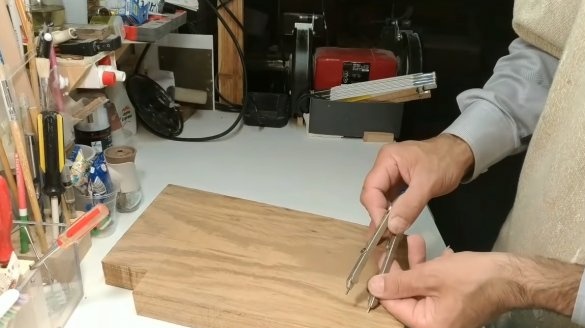
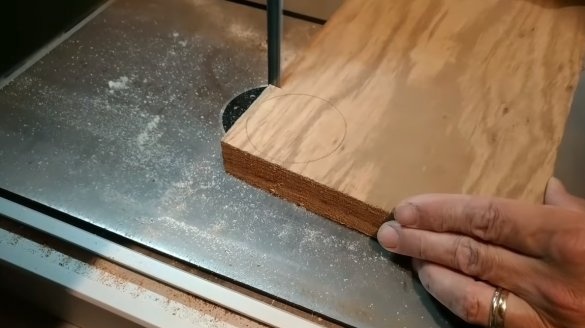
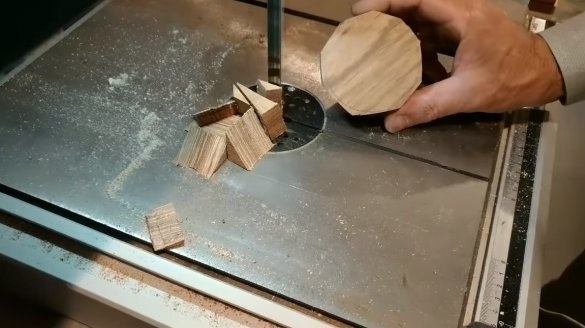
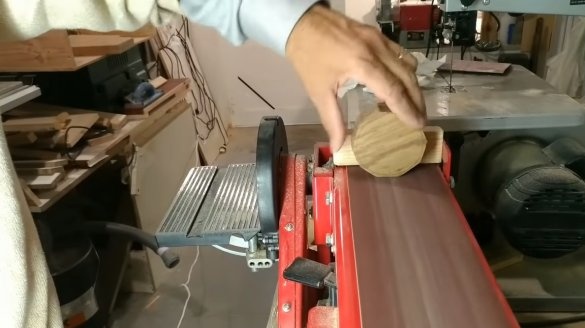
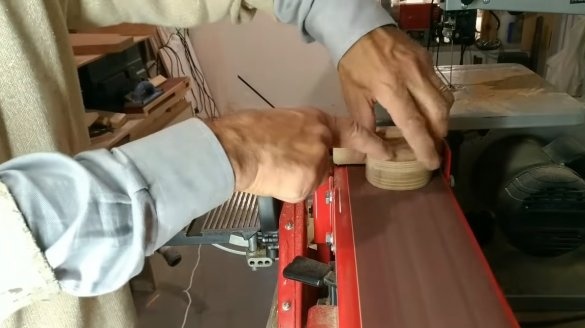
First of all, we will make a wooden base, for such purposes we will need a piece of a thick board. We draw a circle with a caliper, and then roughly cut it out with a tape cutting machine. To finalize the workpiece, the author uses a belt sander.
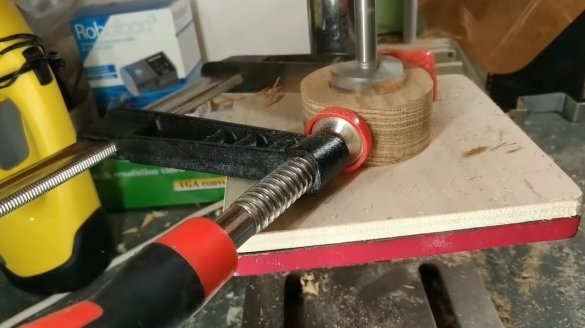
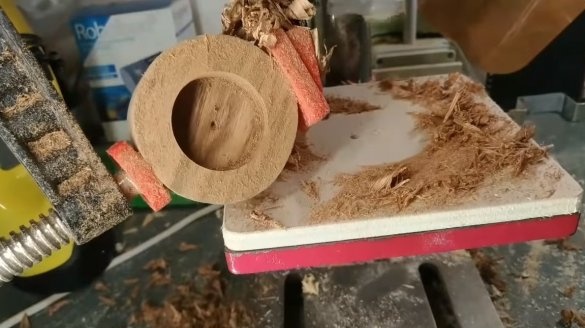
Now in the workpiece you need to make a blind hole of large diameter. To solve this problem, the author uses a drilling machine. We hold the workpiece with a clamp and drill a hole.
Step Two Core
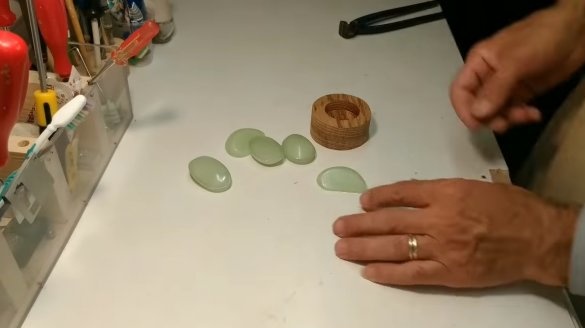
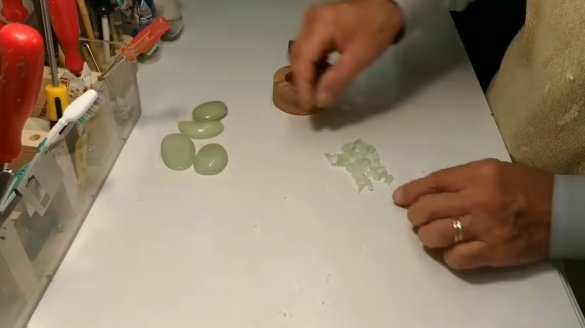
Next, we make the core of the lamp, it will imitate the core of the sun. We will need a thick transparent white plastic or similar material. Plastic needs to be cut into pieces, these pieces must transmit light.
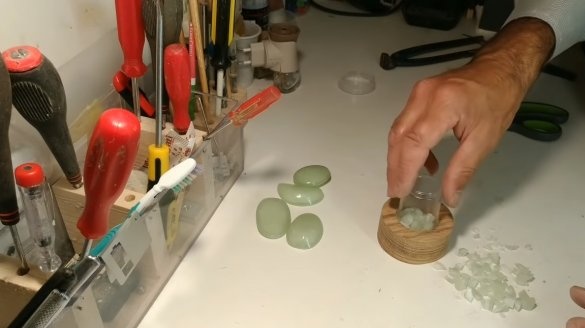
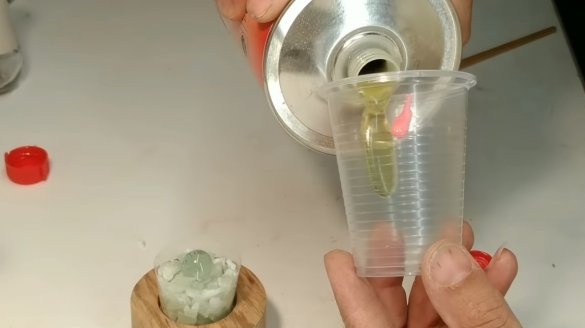
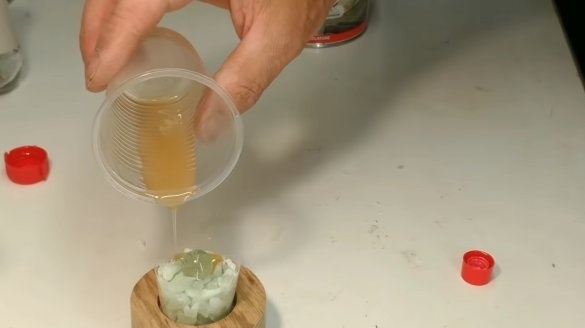
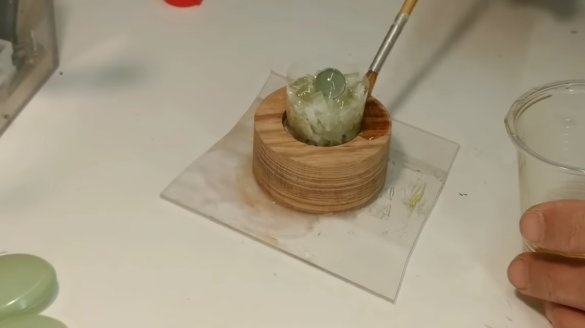
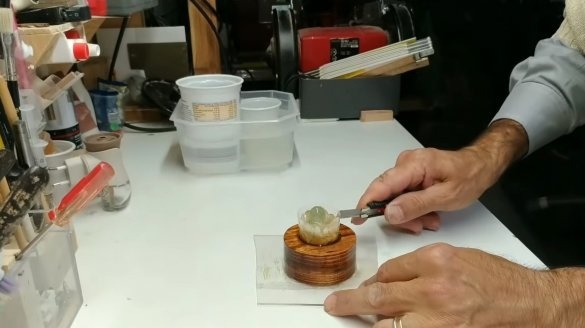
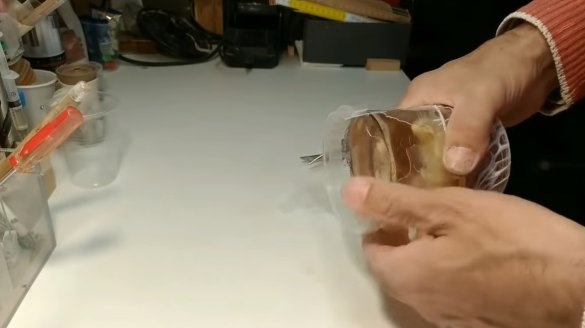
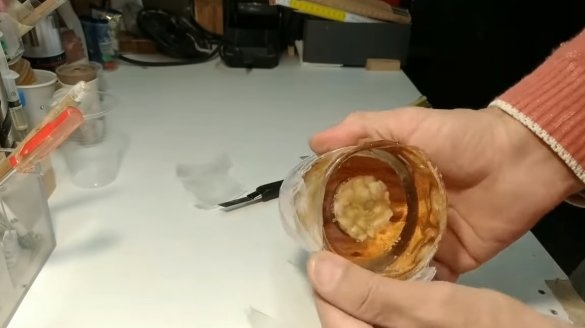
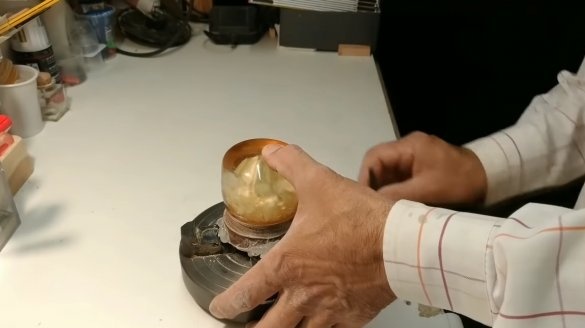
Next, we take a small plastic cup and install it in a wooden base, this cup will be a formwork for pouring resin. We put pieces of plastic in a glass, and in the center we set a glass ball. That's all, now this whole thing can be filled with epoxy. Add a little dye to the resin so that the central part differs from the main one.We also take a brush and well impregnate the wooden base with resin. We are waiting for everything to dry.
Step Three Pouring
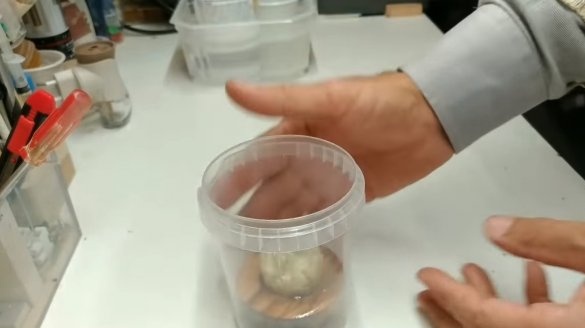
All the details are ready, now we need to cast the main part of the nightlight. For such purposes, we need a large plastic cup, it will be used as a formwork. We install the wooden part at the bottom of the cup, and so that the whole structure does not come up, it can be glued with hot glue.
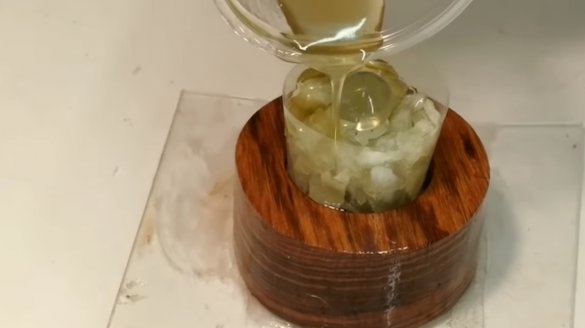
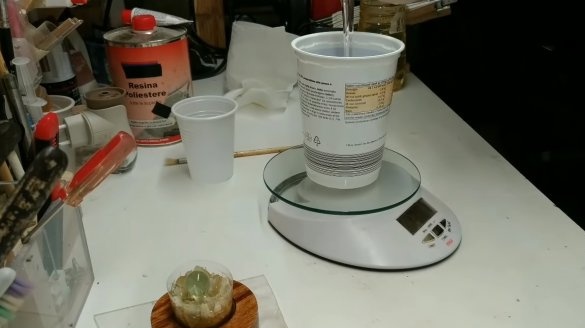
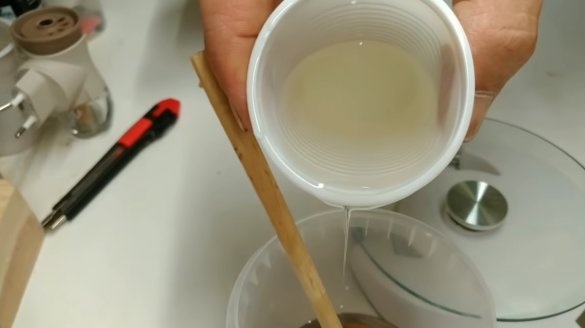
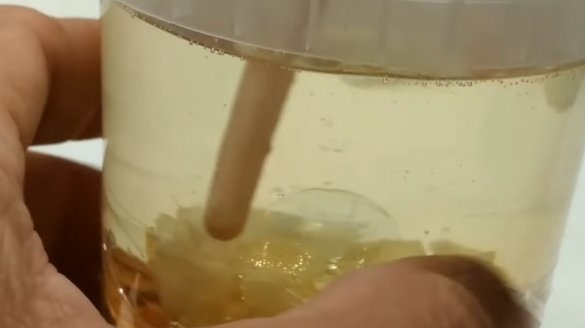
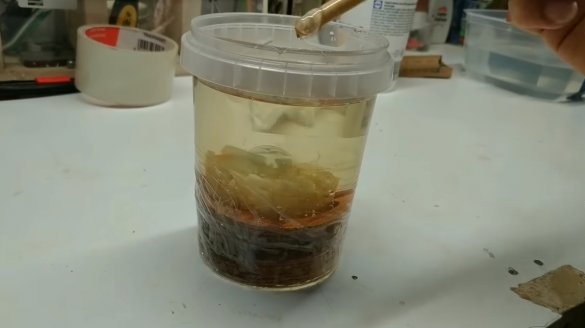
The pouring epoxy must be heated in hot water so that it becomes fluid and all air bubbles come out well. Pour the resin into the formwork and accelerate the exit process of the bubbles with a wooden clean stick.
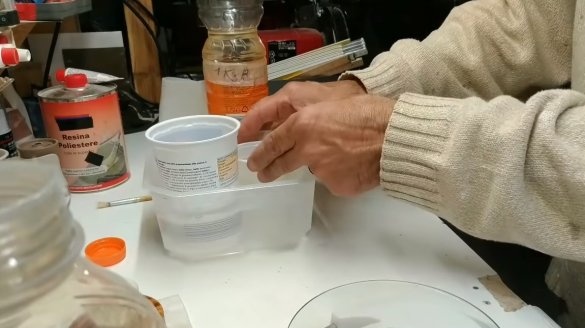
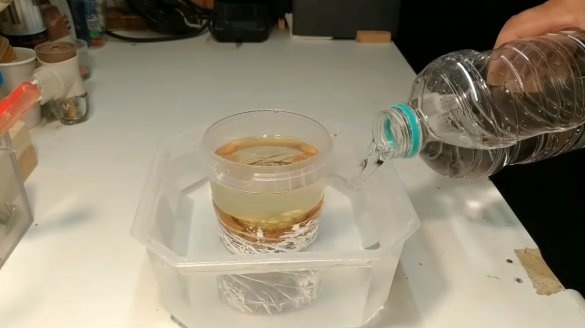
Further, it is better to put the poured resin into cold water, this is done so that the resin does not boil during the hardening process, since it is characterized by moderate heat. We leave this whole thing to dry for a day or more, depending on the type of resin.
Step Four Turning works
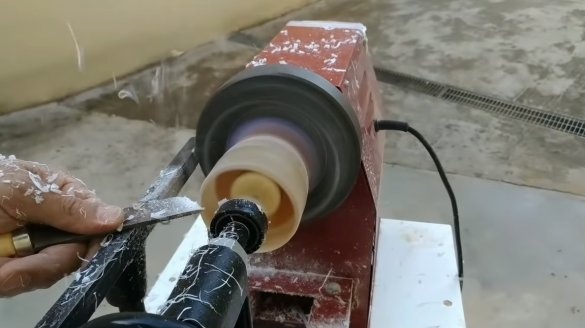
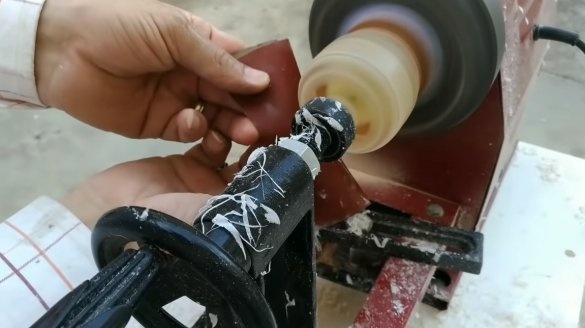
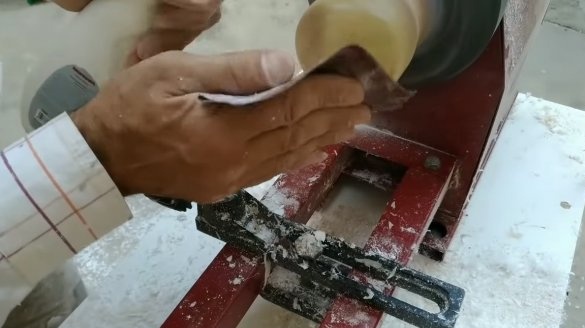
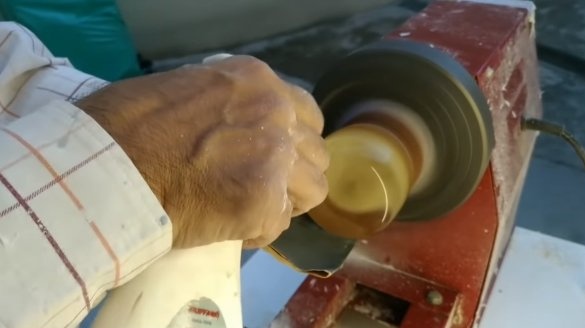
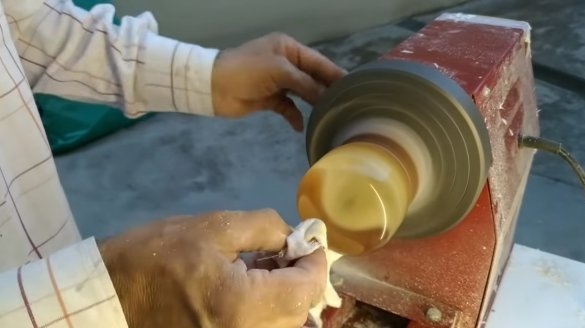
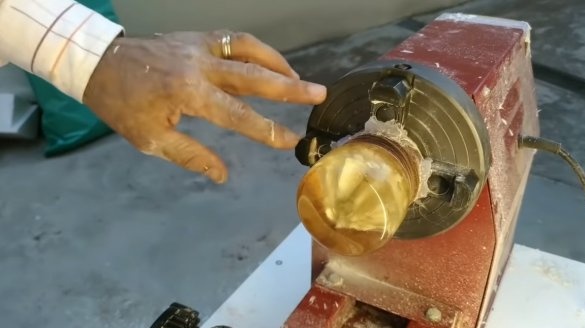
As planned, our lamp is round in shape, to give the workpiece such a shape, we clamp it in the lathe chuck. We give the desired shape to the lamp, and then grind it with sandpaper. To return the crystal clear to the resin, we use fine sandpaper, you can grind it with water. As a result, the resin will remain polished, and it will become transparent.
Step Five Final touches
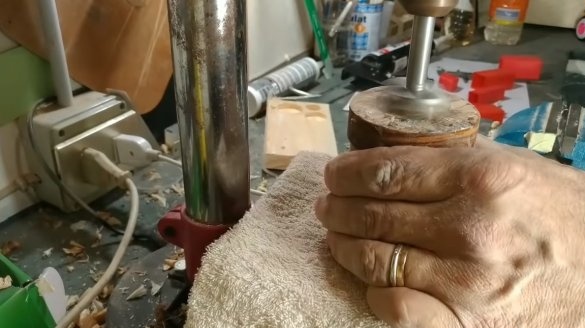
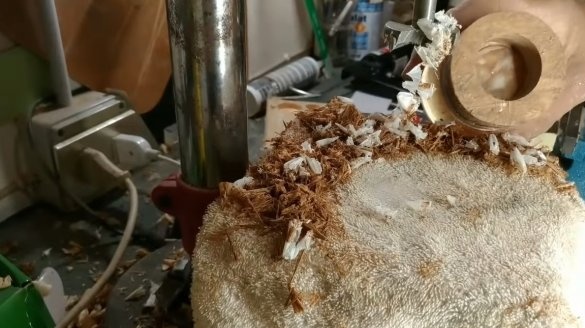
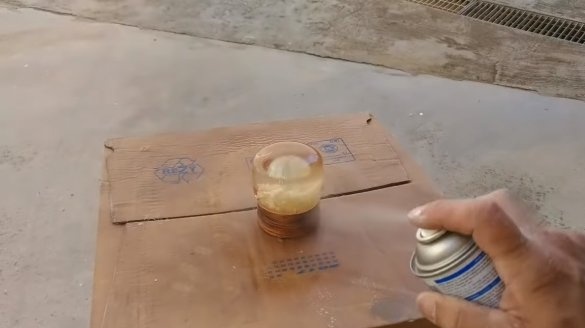
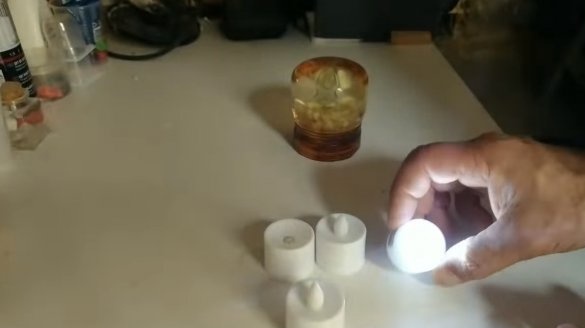
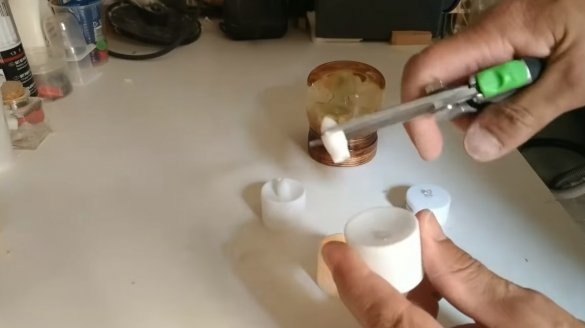
In conclusion, we need to install a light source, in our case it is small, which can be. Such candles come in different brightness, with different colors and modes. Under a candle in the bottom of the lamp you need to make a seat, we drill it on a drilling machine. We need to drill to the epoxy level. That's all, the homemade product is ready, cover it with a layer of varnish from a spray can and proceed to the tests.
The homemade product looks great, you yourself can choose for yourself the glow color, brightness, modes and so on, choosing the right candle.
On this project is over, I hope you liked the homemade. Good luck and creative inspiration, if you decide to repeat this. Do not forget to share your ideas and homemade products with us.

