1st step. Background.
In that arid summer, there was not enough water for irrigation. In the gardens, water was supplied on schedule and then not regularly. Well, of course, firms that could carry out drilling work and design a well intensified their work. Swatya, also realizing that the well is simply necessary, decided to drill. Moreover, the company provided its services on credit.
She asked me for advice. I told her - if there will be a well, then after me the arrangement of the well and the layout in the house and in the bathhouse, and of course in the garden. Of course, I did not intend to use the well pump control station sold in stores. I had my own decision, which I intended to use if that. Yes, and at a much lower cost.
2nd step. Well arrangement.
Well, as you already understood, Swatya has drilled. It is time for me to keep my promises. Naturally, it was first necessary to somehow equip the protruding pipe.
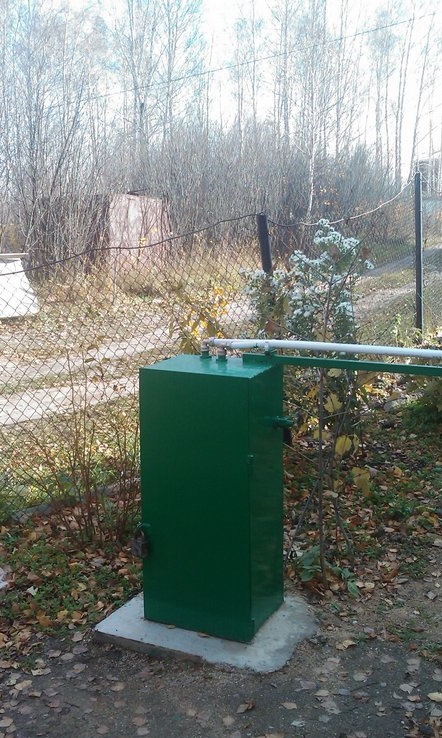
I didn’t want to get in touch with the brick, and it turned out that a whole booth had to be done. A little unprofitable for the garden, I decided to go to the market to see how much metal and corners to weld some kind of pencil case. The question rested on cutting a sheet at the place of purchase, so that I could bring a cut into the garden on a passenger car. Wandering around the market, I came across a ready-made metal-made cabinet, or rather a safe for storing hunting weapons. Bargained, bought. Stuck in the car, brought to the garden.
The bottom had to be cut out, and the head of the protruding casing was dug up a bit. He made a square pit, a little more than the size of the cabinet, with a depth of about 100 mm. He tried on a cabinet, putting it on the casing neck. The fitting showed that it needs to be trimmed. Which he did, since the pipe was plastic. Before trimming, he plugged the pipe with a rag so that the chips did not get into the pipe. I installed a cupboard and concreted everything. Outside, a kind of blind area turned out.
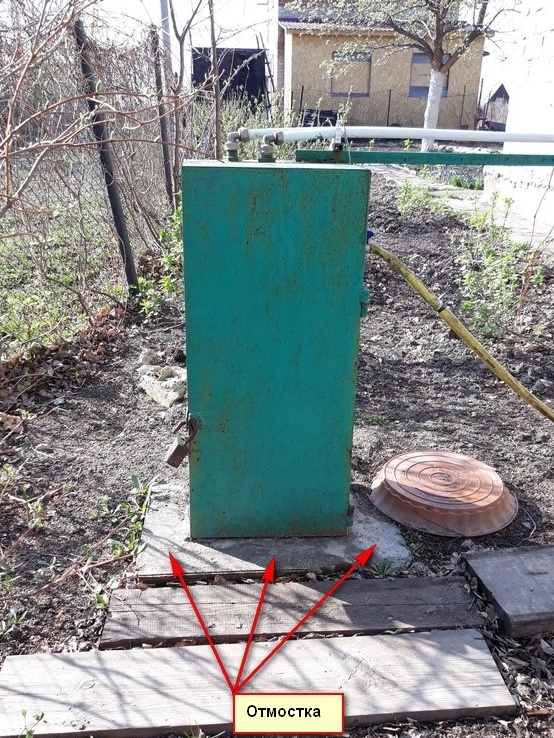
I also redid the insides a bit. On your own. Made two shelves for keys and wires.
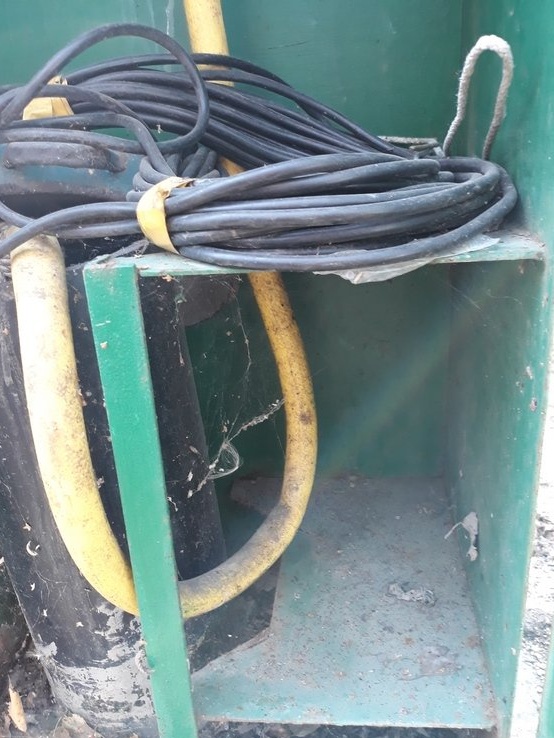
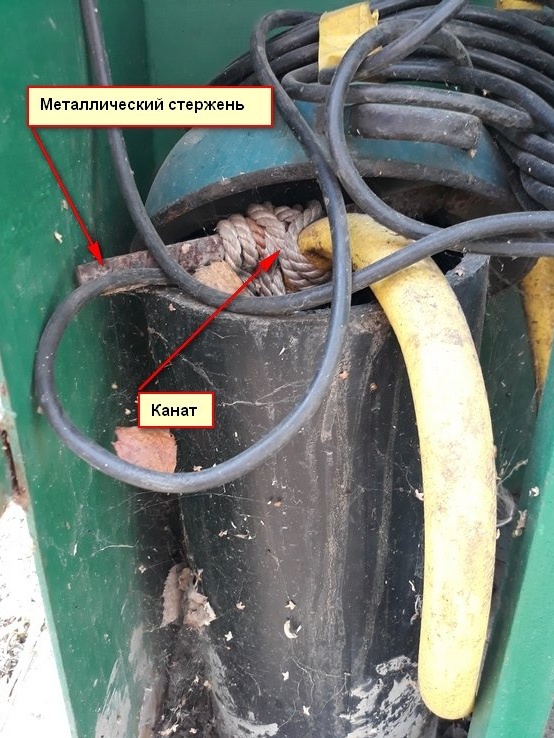
The pump hangs on a rope, which is simply tied to a metal rod located across the pipe. Please do not think that the well is operated in such an open state. The hostess opened the neck at my request.
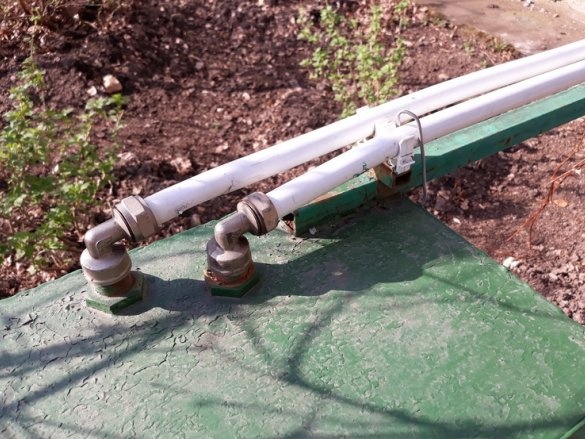
In the upper part (roof) of the cabinet, I cut openings for ½ ’water pipe fittings, 2 pieces. One on the idea - for the supply of electricity, the second - the supply of water to the house.
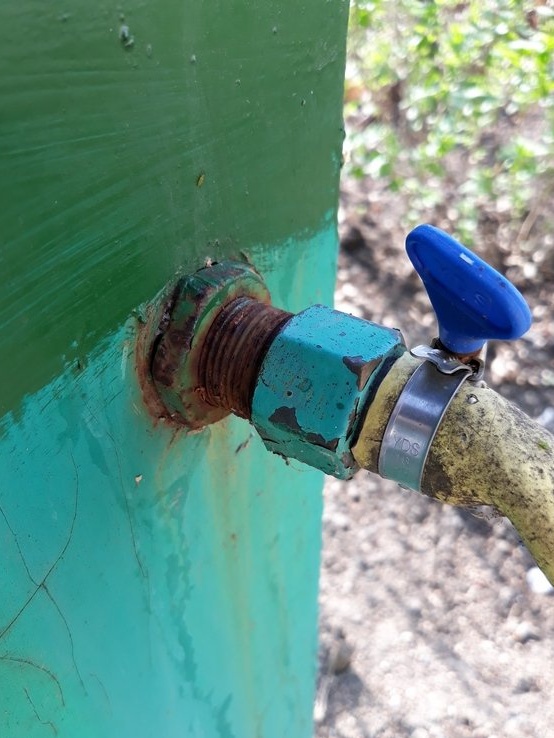
The third pipe brought to the right side of the cabinet. This is so to speak for gardening needs. While a hose is connected to it to supply water through the garden, into barrels and into the tank. It is supposed to make piping from the pipes throughout the site.
The internal piping in the cabinet looks like this.
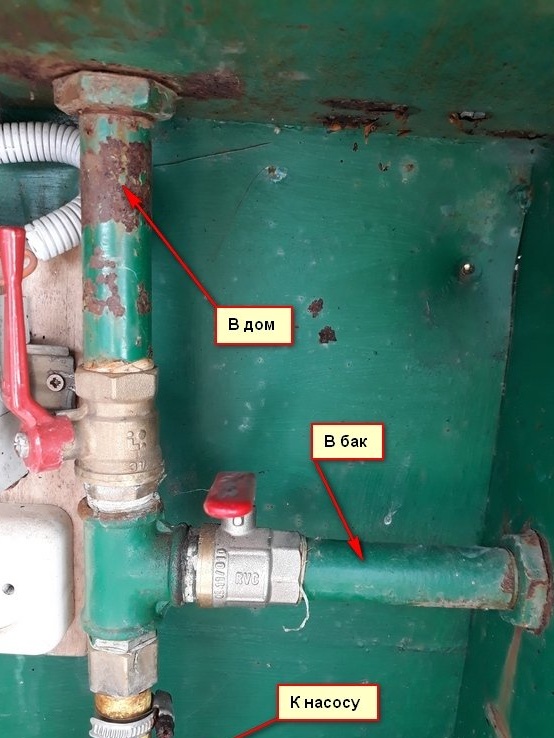
Before the pipes exit to the outlet pipes, I installed ball valves (water control valves).
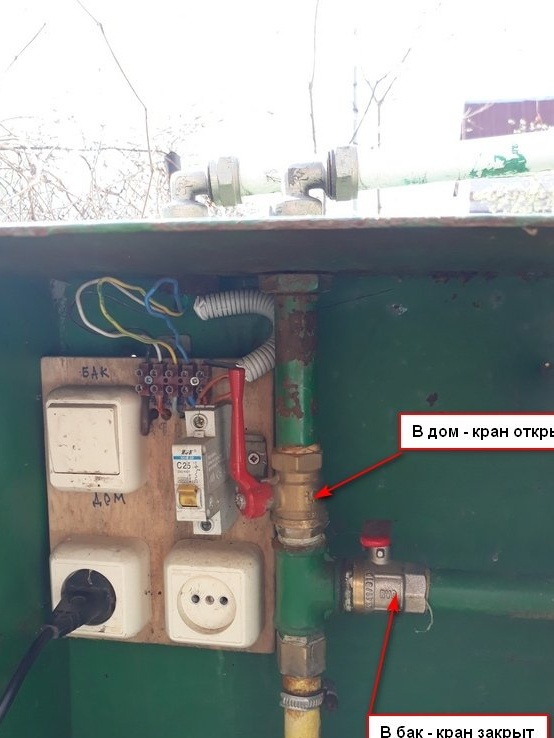
Water is supplied from the pump via a yellow hose. It is clearly visible in the photo. To the left of the wiring is an electric board on which the electrical components of the system are installed.
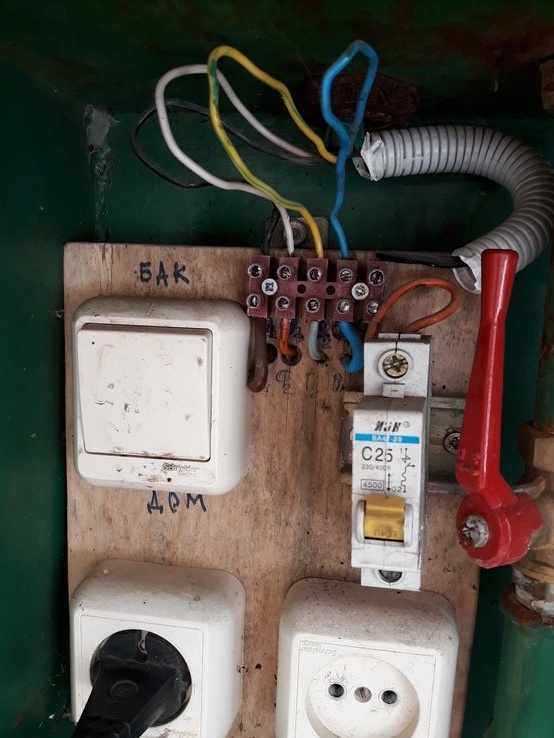
Installed on it:
- receiving block,
- switch "House - Tank",
- power switch, for an additional outlet,
- socket "Pump" for connecting the pump,
- An additional 220 volt outlet.
In order to direct water to where it is needed, it is enough to close one highway with the control valves and open the other. Then put the switch in the “Home” or “Tank” position. And plug the pump plug into the outlet labeled "pump" (the photo does not show the inscription, since the pump plug is turned on and closes the inscription). In the "Tank" position, it is necessary to control the filling of the tank with water and turn off the pump at the right time, or switch to the "Home" position. In the "Home" position, it is not necessary to control the flow of water into the house. It happens automatically; I’ll talk about this a bit later.
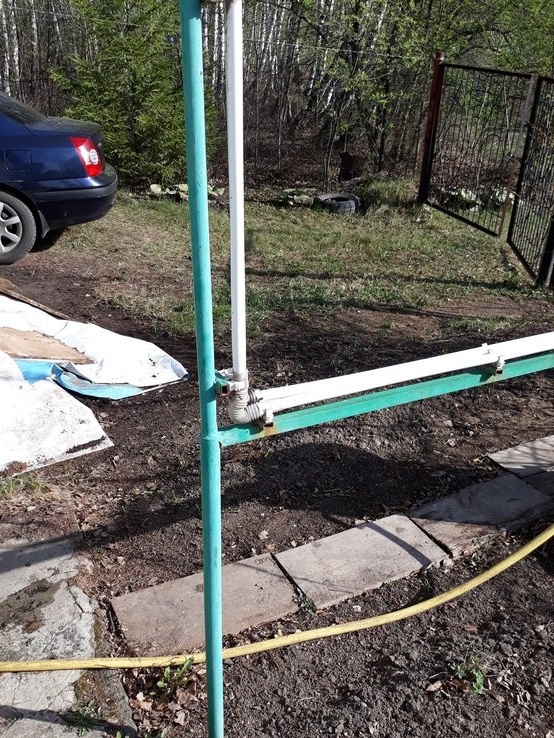
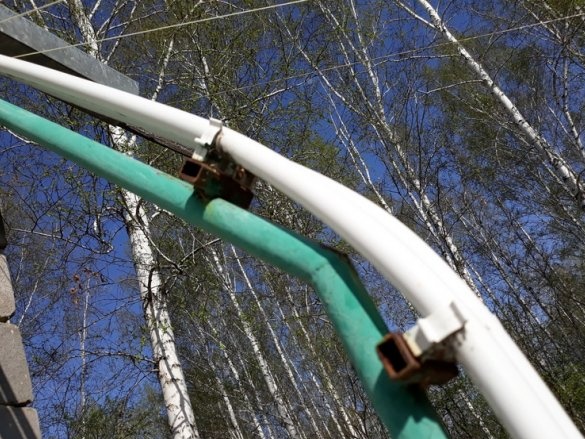
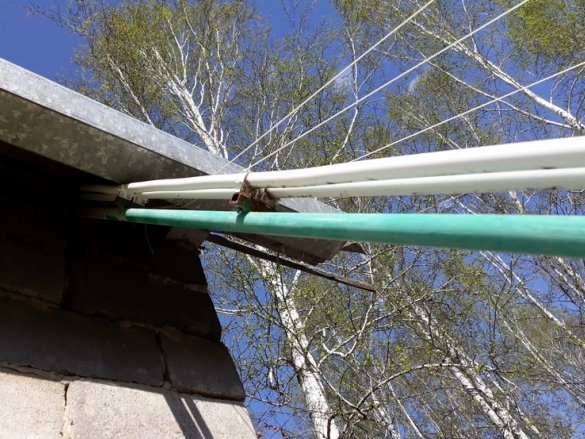
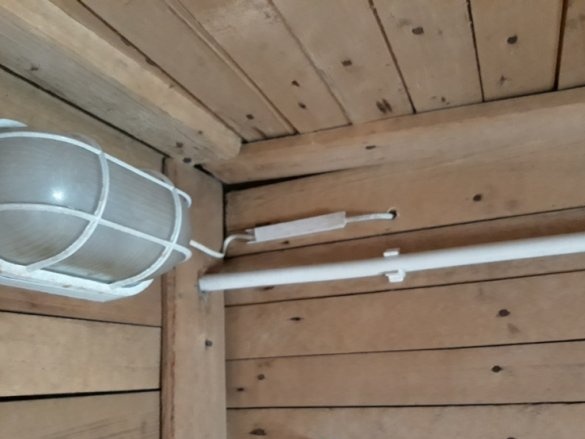
When water is supplied to the house, water rises to the upper wiring nipple and enters the tank on the second floor of the house along the highway. The water supply line to the house is a metal-plastic pipe passing through a specially welded flyover. In parallel with the water pipe, the same pipe goes into which an eclectic cable is placed to supply power to the pump and an additional outlet.
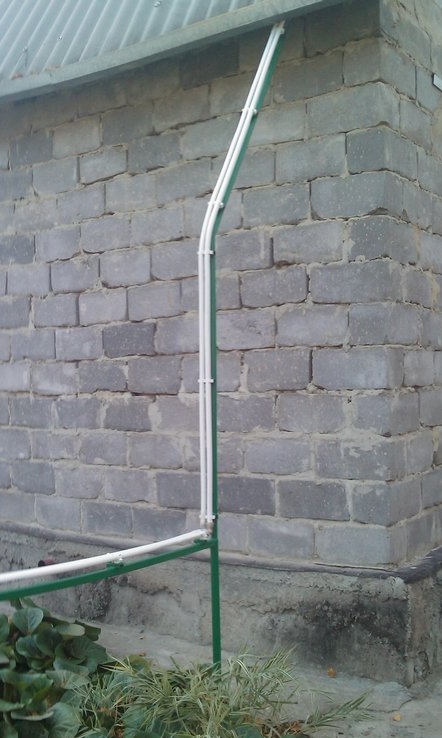
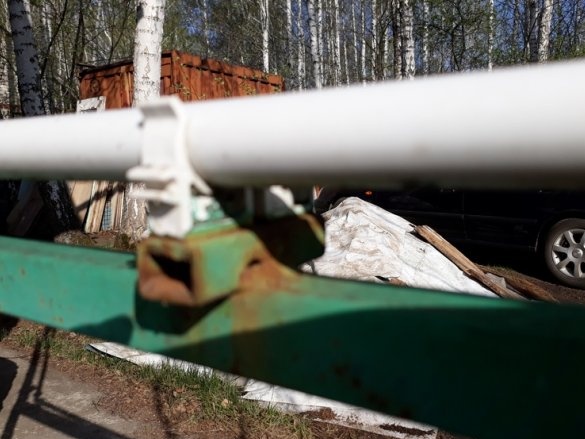
On the overpass, pipes are fixed in ordinary clips.
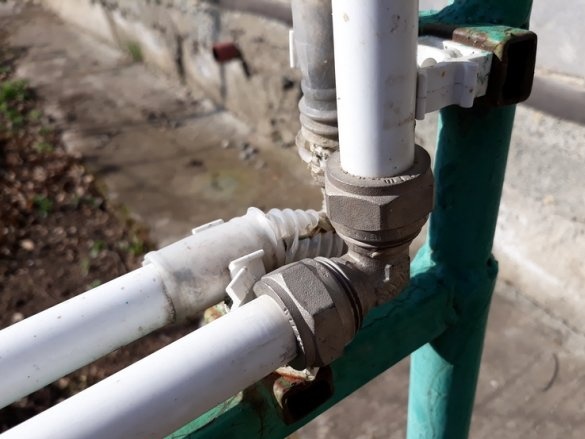
A 90-degree rotation takes place through a corner.
The upper inclination of the pipes is due to the bending of the pipes themselves.
Then the pipes, under the cornice, fall on the second floor of the house.
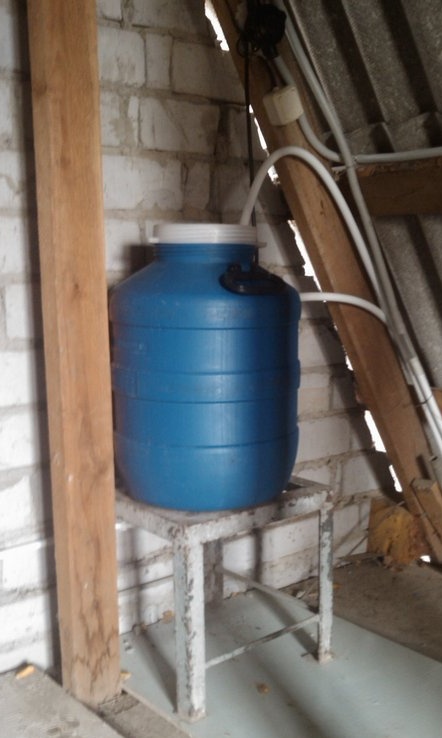
3rd step. The device of the tank and automation.
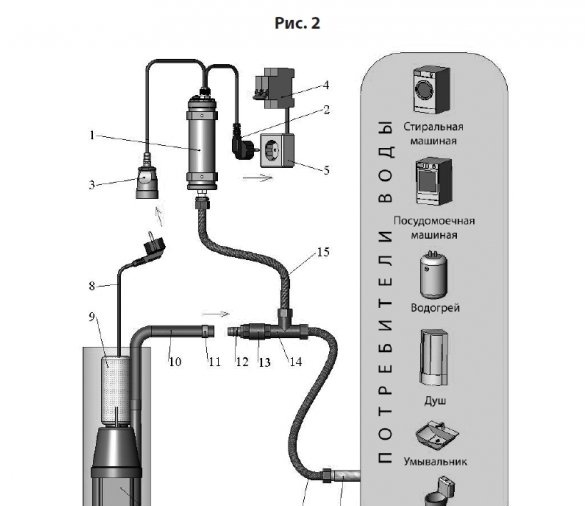
In the classical water supply scheme of a house from a well pump, the so-called well pump control station is used. Here is her outline.
It shows that the entire water supply system is constantly under pressure. In my opinion, this is not very convenient, especially in a garden house.
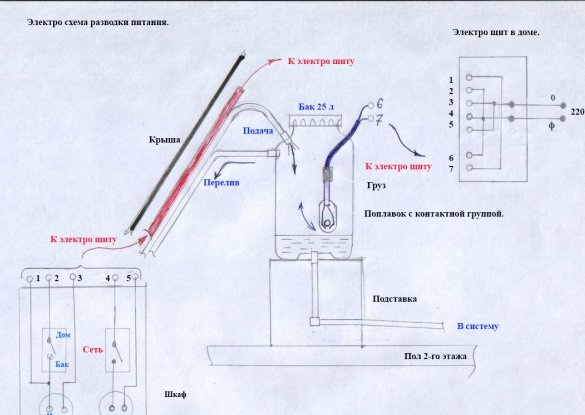
I implemented a simpler system, and of course a cheaper one. Now I will describe the operation of this system, and at the end of this section I will give a diagram.
Let's go back to our pipes "entered" under the roof of the house.
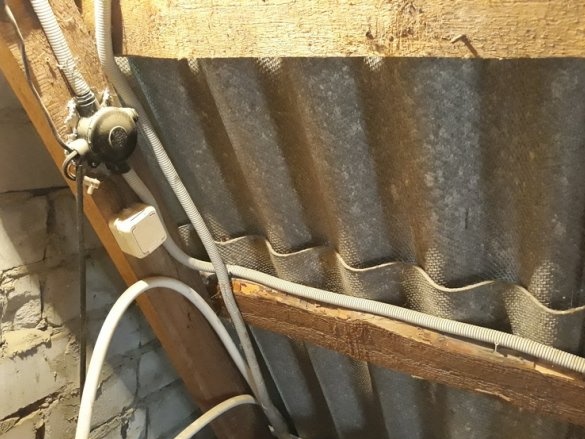
The pipe with electric wires enters the junction box.
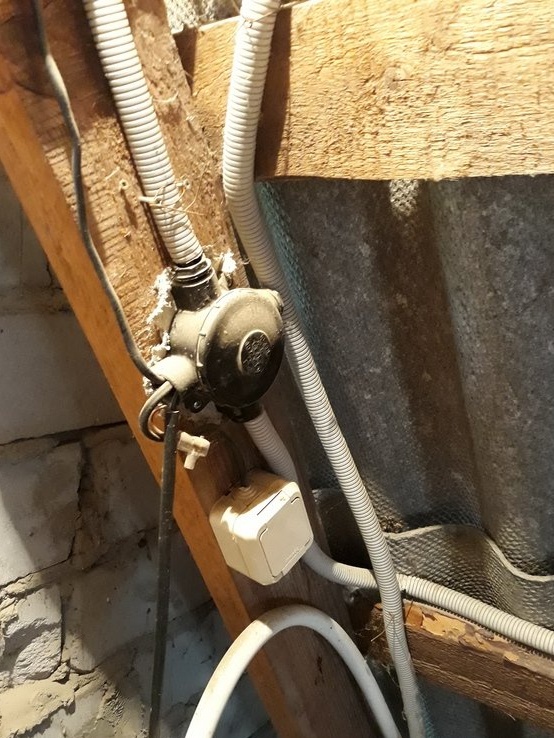
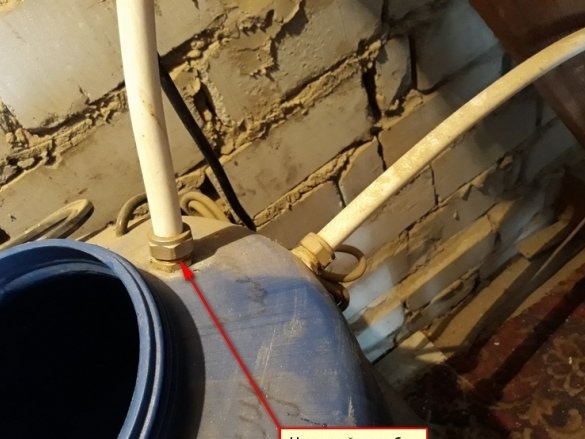
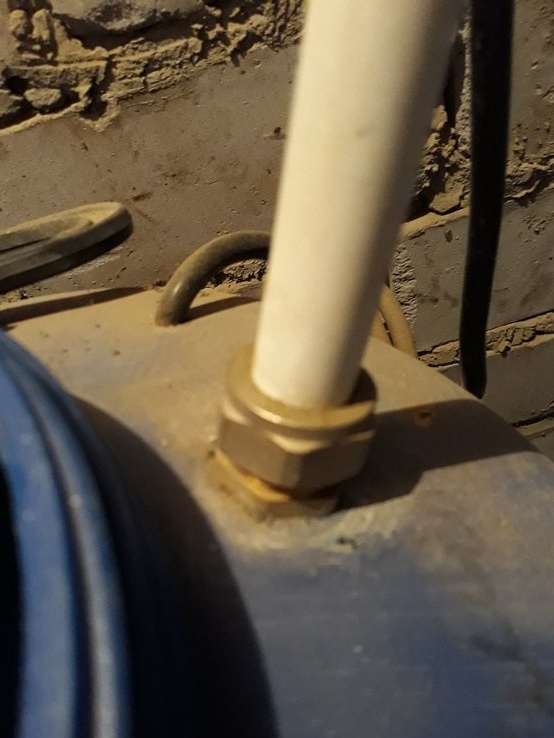
And, a water pipe in a 25 liter tank, through the inlet pipe.
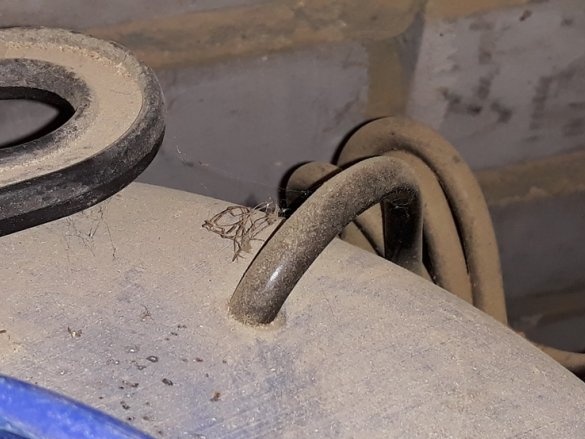
At the fracture of the tank is the second pipe. This is an overflow pipe. In the case of non-automatic operation, excess water through it and a pipe connected to it merges into a cornice on the roof of the house. Thus preventing flooding of the first floor.
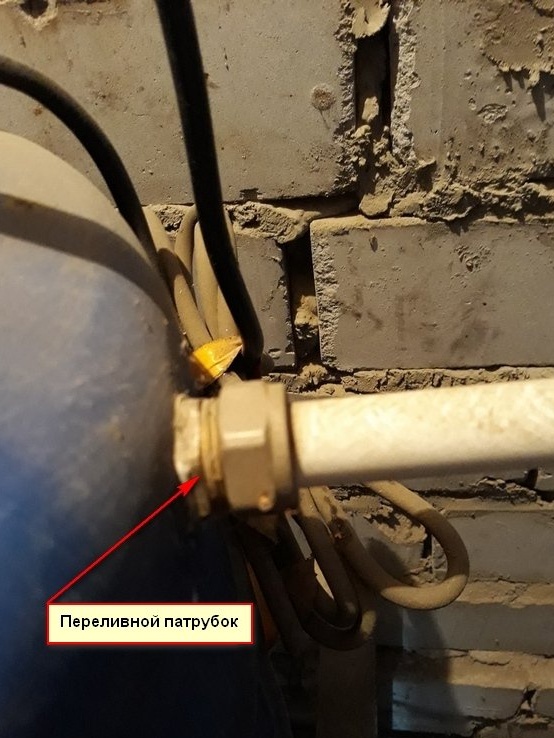
The tank itself is mounted on a metal stand.
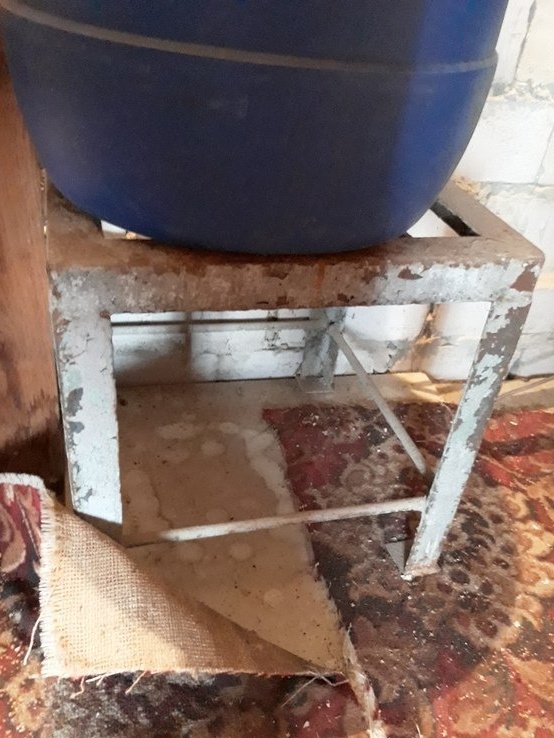
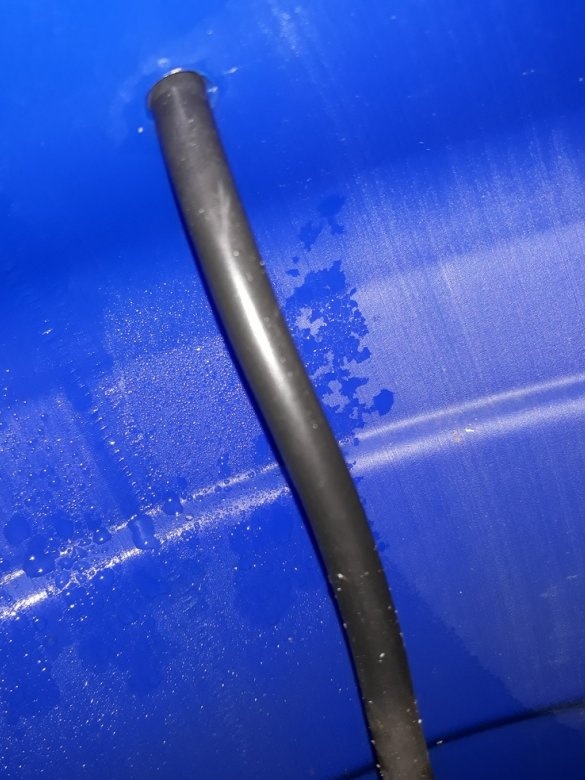
A drain pipe is inserted at the bottom of the tank. Together with the metal-plastic pipe connected to it, through the fitting, in fact, it makes up the home water distribution line.
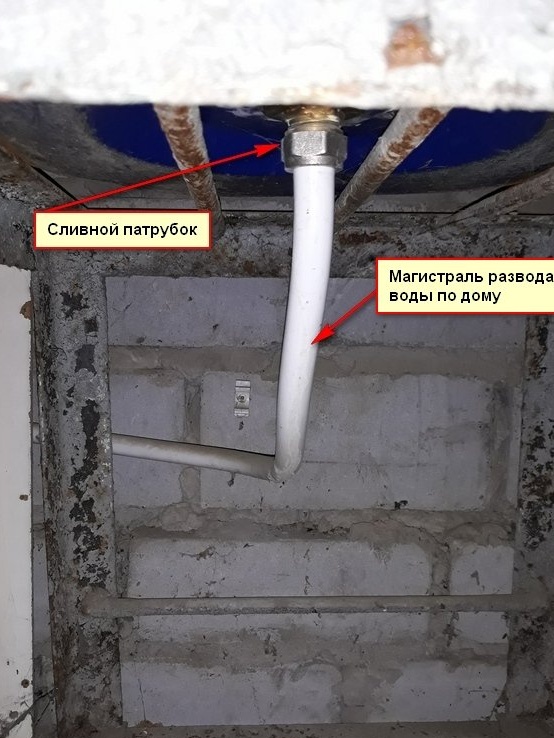
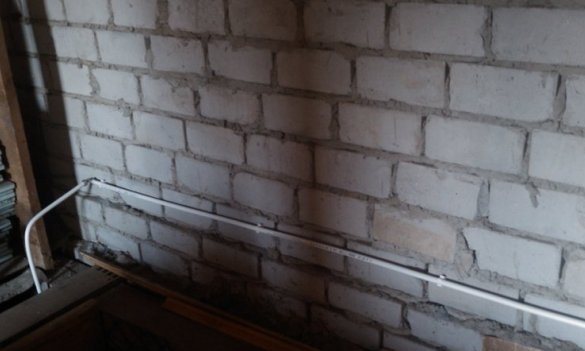
The highway itself has a slight bias towards draining water (parsing water in the house). Water flows from the tank by gravity, so this point is important.
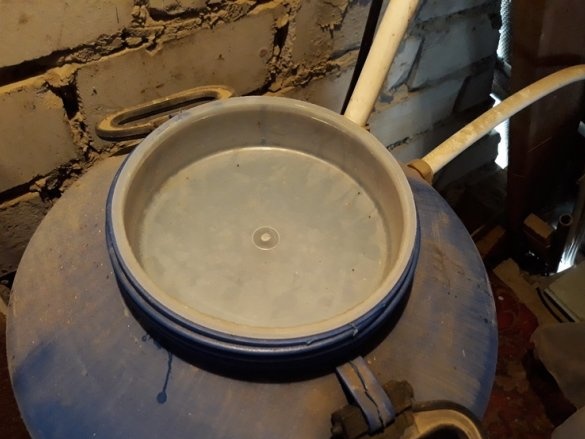
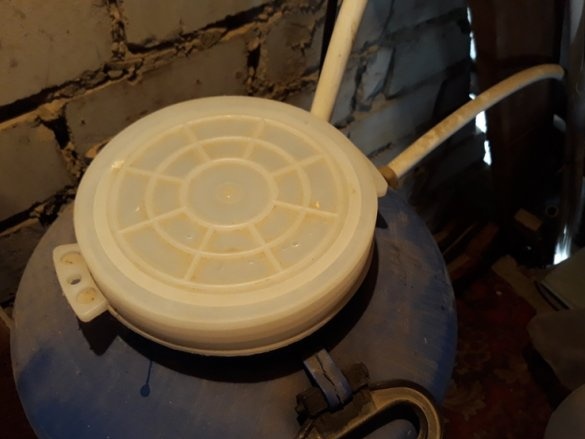
Let's go back to the tank. It has a fairly large neck with two plug-in and press-fit (twist) covers.
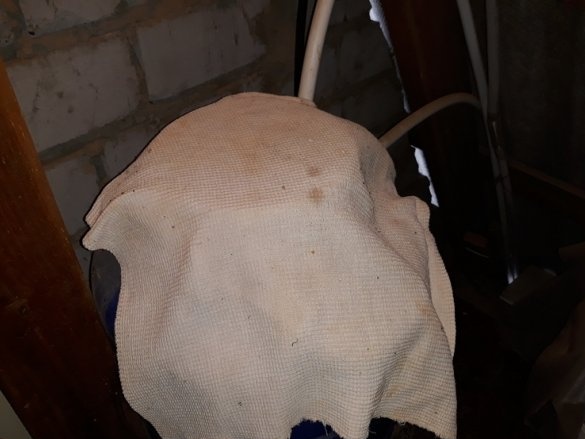
The hostess still covers her with a rag.
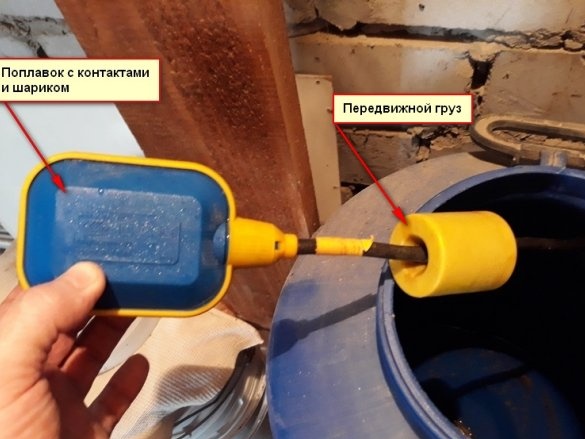
The whole secret of automation is that a sealed movable contact is mounted in the tank.
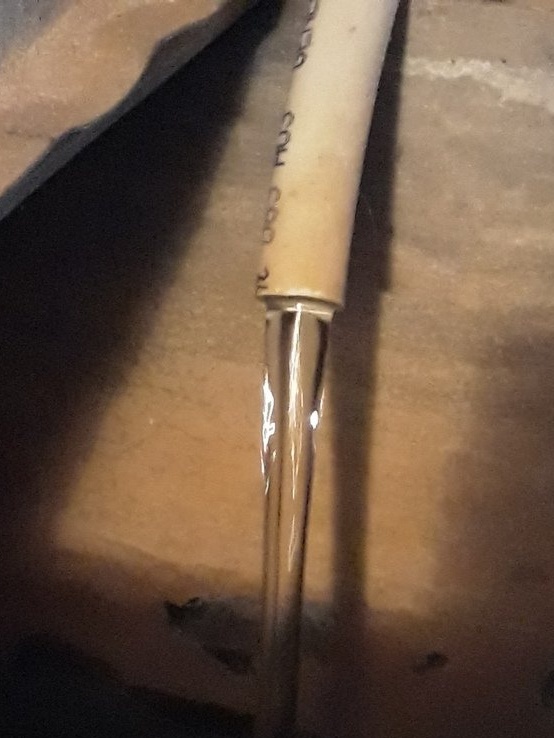
It was purchased by me in the Smart Pumps store, but in principle, you can make it homemade. It is a sealed float at the end of an electrical wire.
Inside the float are two contacts and a metal ball closing them.
Further, a mobile load is located on the electric wire, which controls the level of filling the tank with water and turning off the pump. In the position of the float to the bottom, as shown in the photo - the contact is closed, power is supplied to the pump.And if (in the cabinet near the well) the plug for connecting the pump is inserted into the “Pump” outlet. And, the switch is in the "Home" position and the tap is open, the pump will turn on and supply water to the tank.
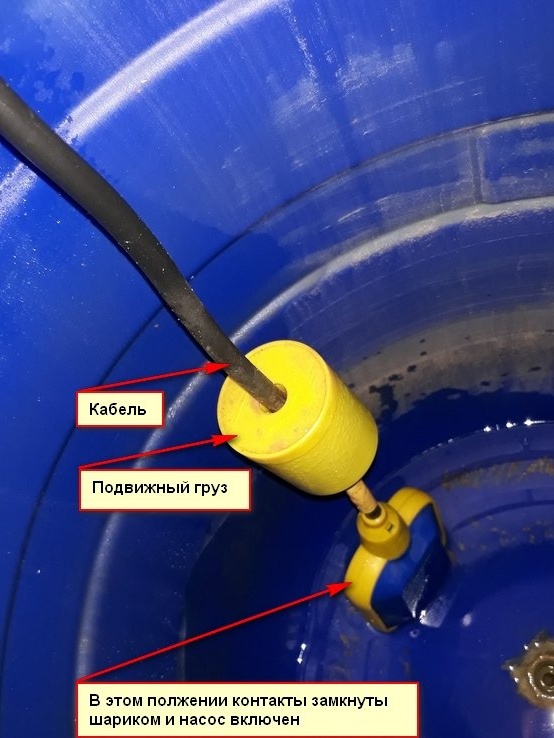
As the tank is filled, the float floats up and almost at the overflow level, turns off the pump. The cable from the float fits into the junction box. And its contacts are included in the general electrical circuit of the power supply and pump control system.
The scheme that I promised is given below
4-step. Water distribution around the house.
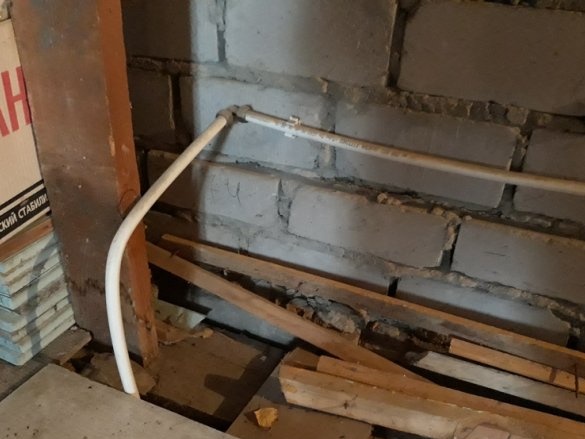
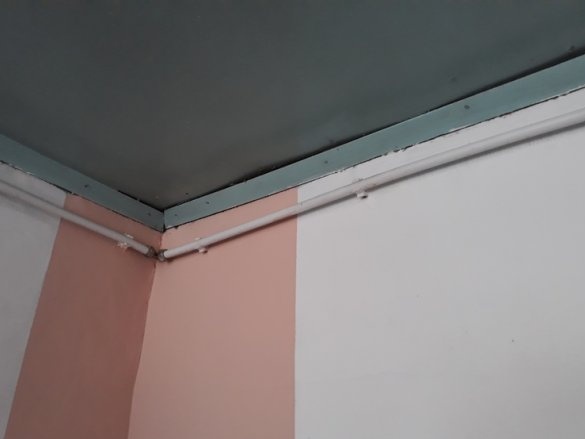
At the end of the straight and inclined section, the pipe turns down and passes through the ceiling.
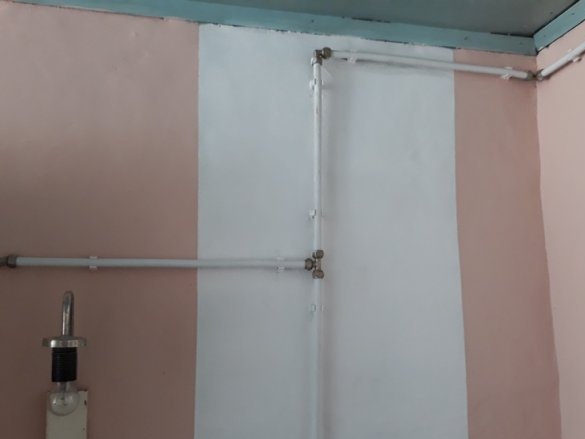
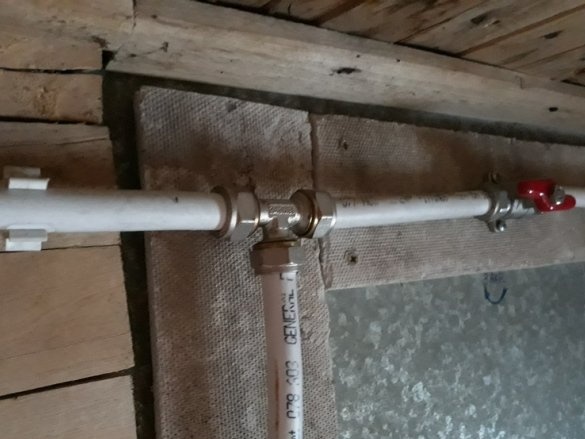
And gets into the kitchen. Next, the wiring of pipes goes under the ceiling to maintain that maximum pressure of water from the tank.
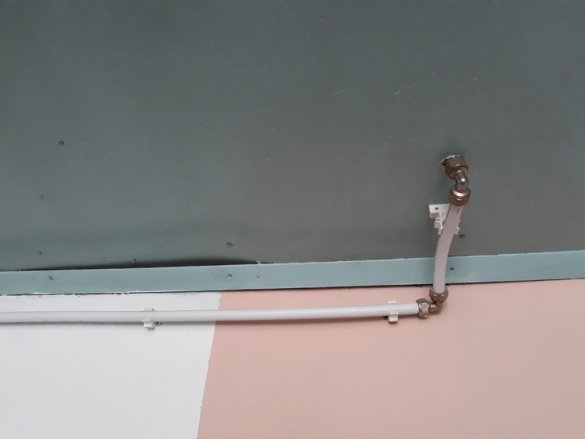
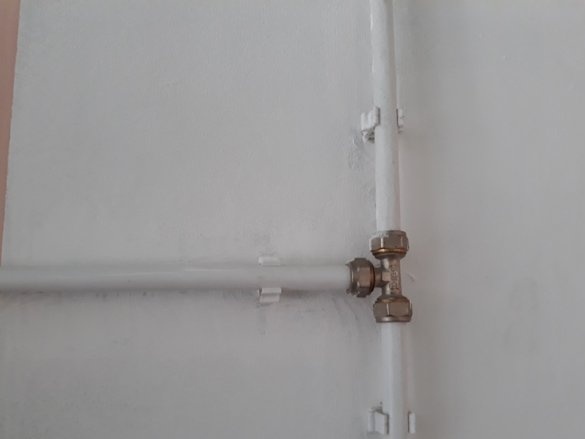
Below this tee, the pipe comes to the sink.
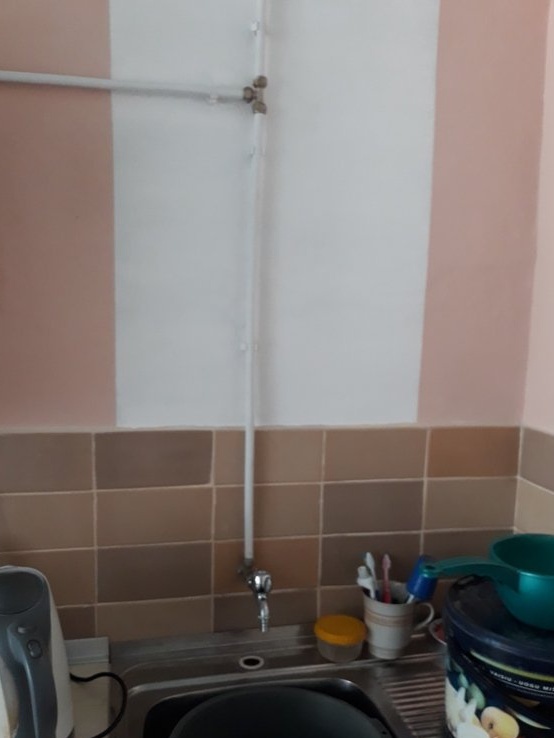
On the last tee, branch off to the left. The pipe through the wall goes into the bath.
Remember the article “Small spool, yes dear”? That's where the water comes from in the bathhouse.
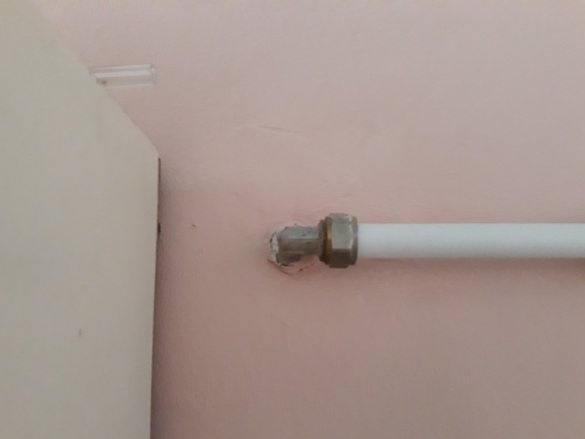
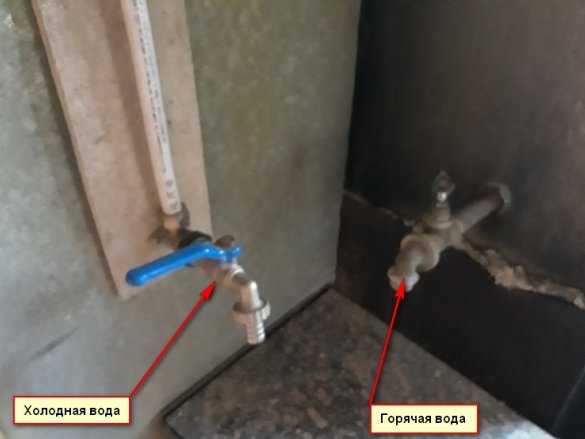
Here she (the pipe) also has a tap to the cold water intake tap, located above the basin for basins.
And, just the crane on the last section of the highway. Which opens if necessary to fill the hot water tank on the stove.
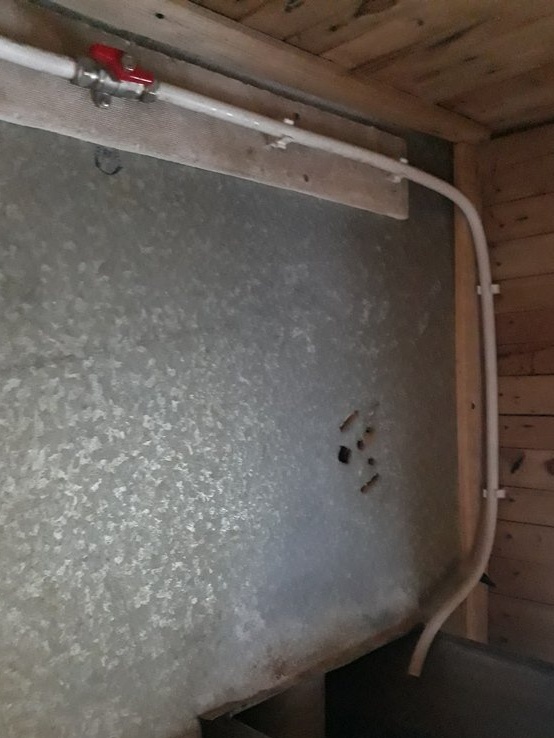
Here is a system, such as an alternative to a well pump control station, I came up with and made into life.
I want to add that for the winter the system is freed from water by draining water from it. And in the spring begins to work again as the tank is full.
The system has proven to be operational for six years. No complaints.
That's it.
I hope that this article will be useful to many.
Watch, criticize, advise.
If you have questions or something, do not ask clearly.
Regards, Starp.


