
Hi friends, in today's article we will look at how to make a very interesting homemade, namely, we will consider how to make a safe with an application key with the so-called RFID recognition system. Which will be assembled from our favorite arduino modules. The article itself is written in the most “understandable” language, so that everyone can assemble this homemade product. It should also be noted that homemade can be used for other purposes, for example from this e fillings you can make yourself a “intercom” to a country house or a private house, you can also use it at the gate the garage. And in general the ways of its use of the mass, everything is limited by your imagination, and what exactly you want to lock. It should also be noted that at the end of the article you can find links to the main components of the homemade product. Well, well, I think you should not delay with a long introduction, we drove.
And so, for this safe (lock) we need:
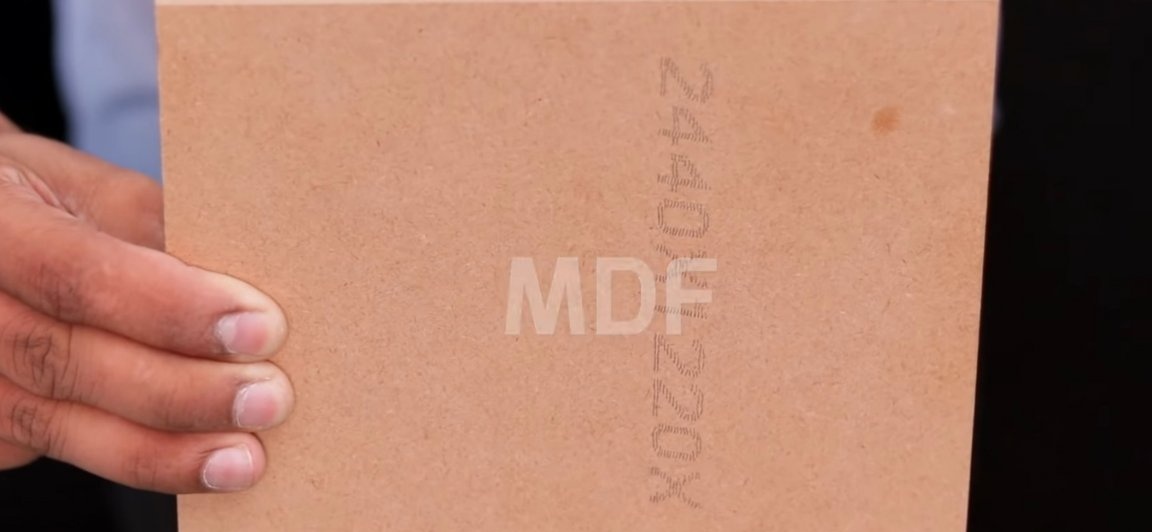
- A small sheet of MDF panel.
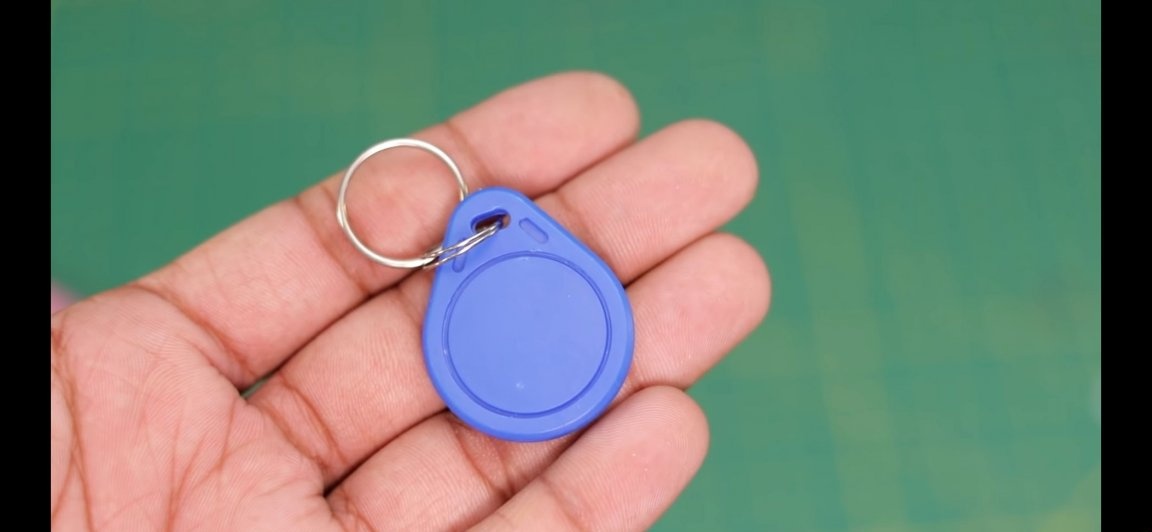
- Module for arduino RFID MFRC-522 COMBO
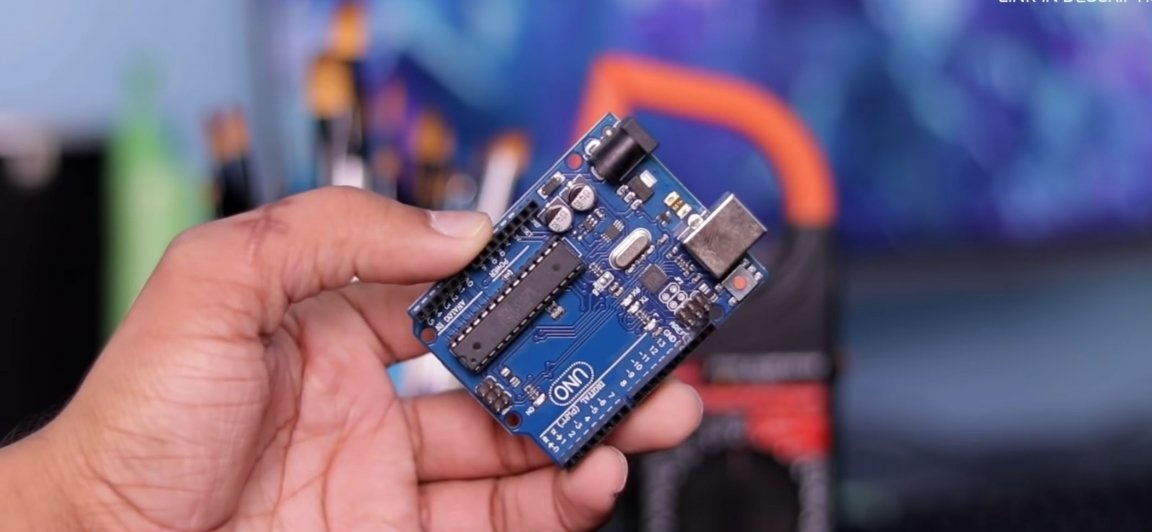
- Arduino Uno
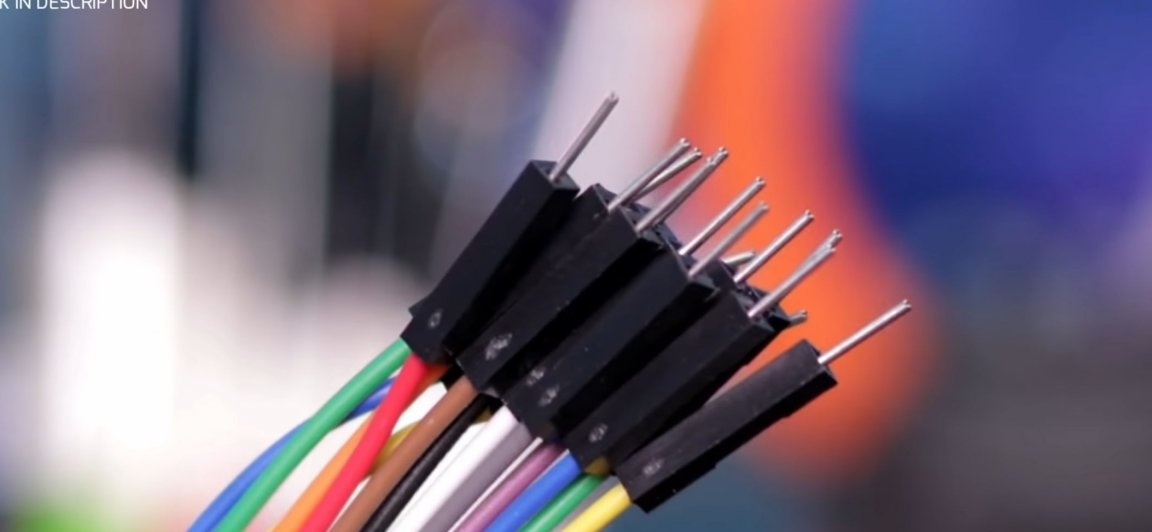
- connecting wires
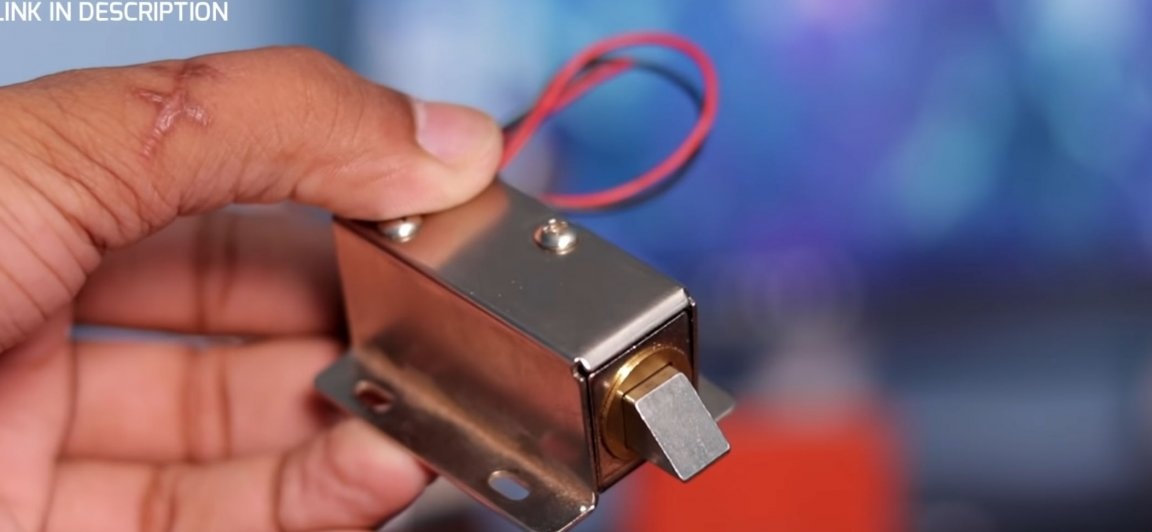
- Solenoidal (magnetic) lock on 12V
- Transistor IRFZ44N
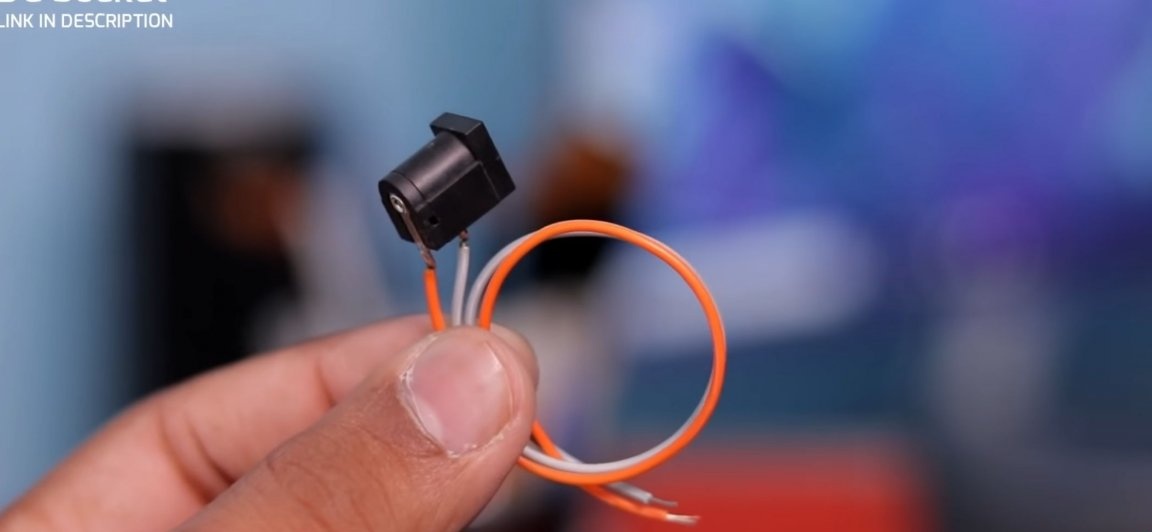
- Power connector
- Computer (in order to fill in the firmware)
- Small hinges
From the tools you will also need:
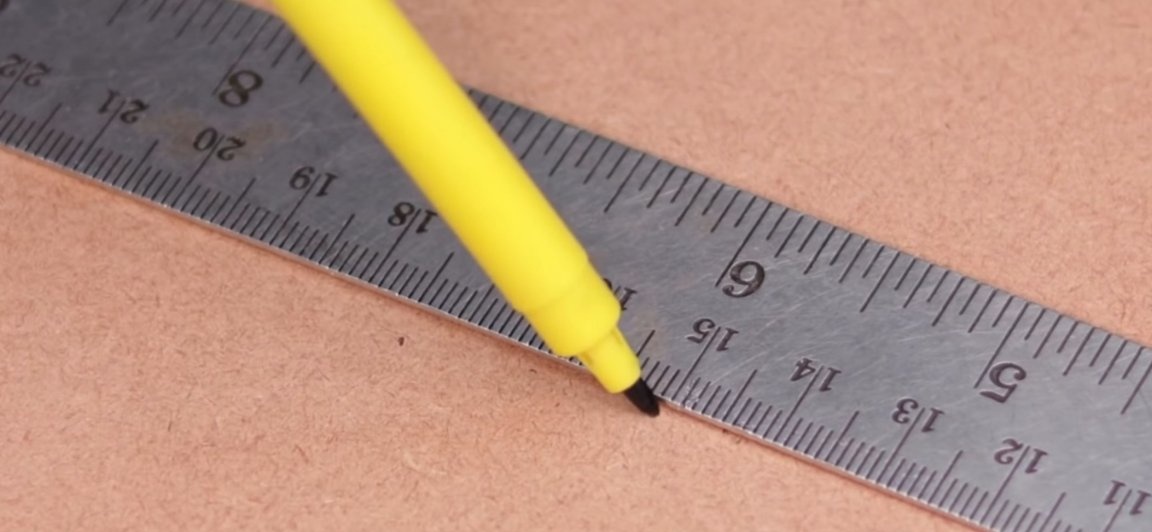
- Ruler
- marker
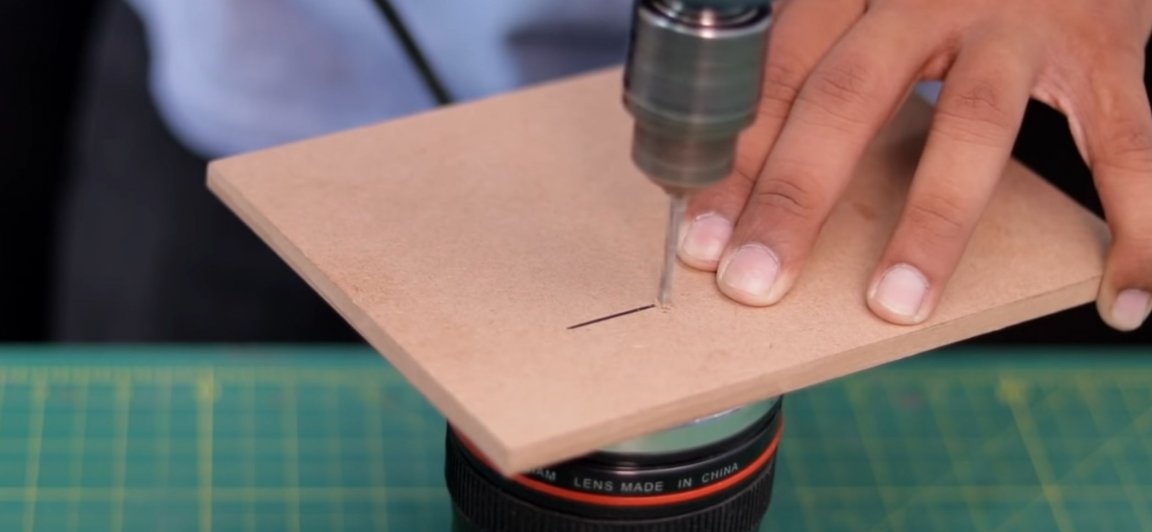
- Drill and drill
- glue
- screwdriver
- Self-tapping screws
- Soldering iron and all other soldering accessories.
Well, let's get started. To begin with, we should take a small sheet of MDF panel from which a rectangle of arbitrary size should be cut out, since this will be the door of a poor safe, the final size of your safe will depend on the size of the panel you cut. On this panel, we will just collect all the electronic homemade stuffing.
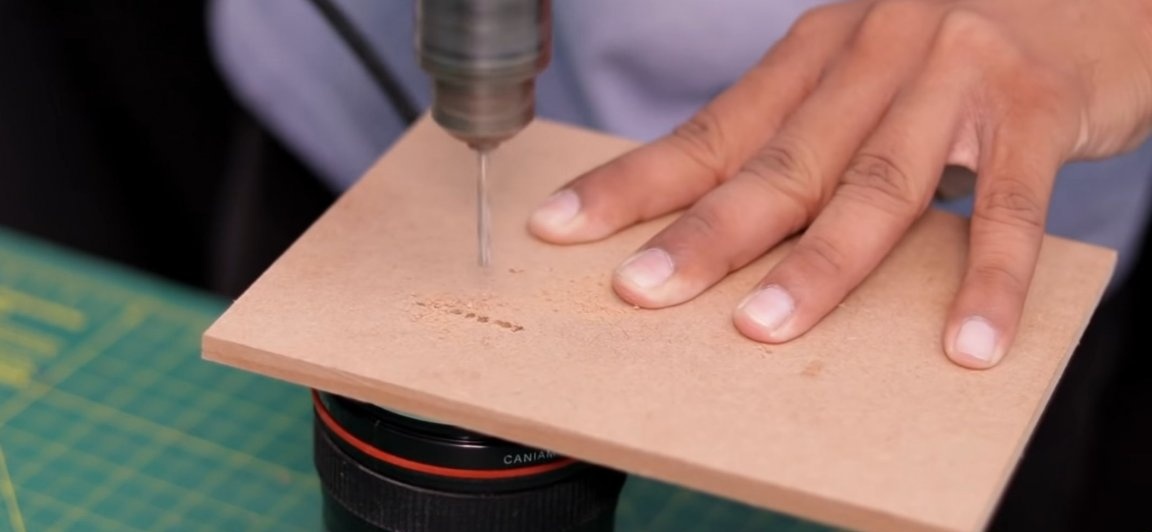
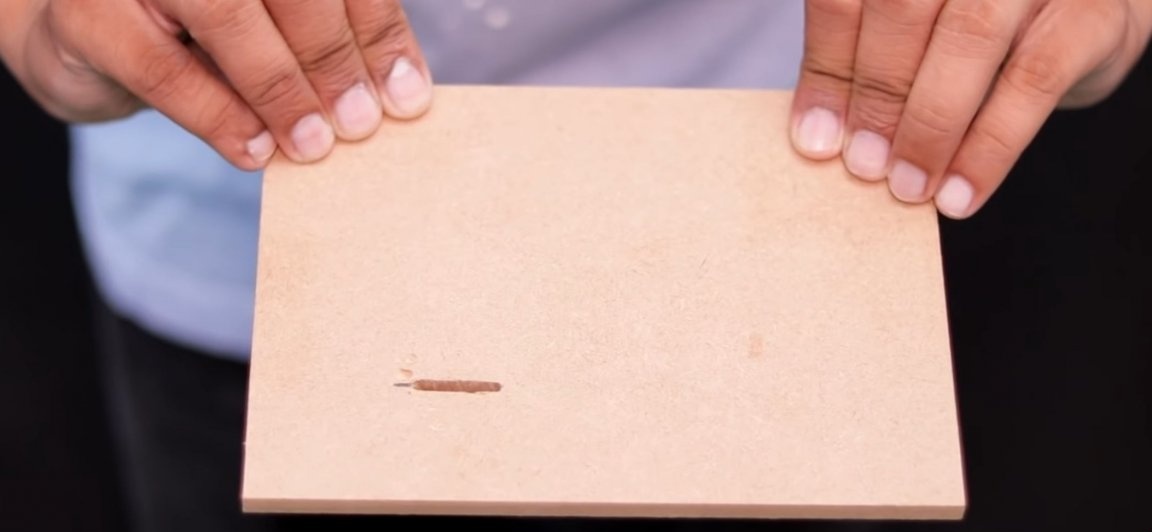
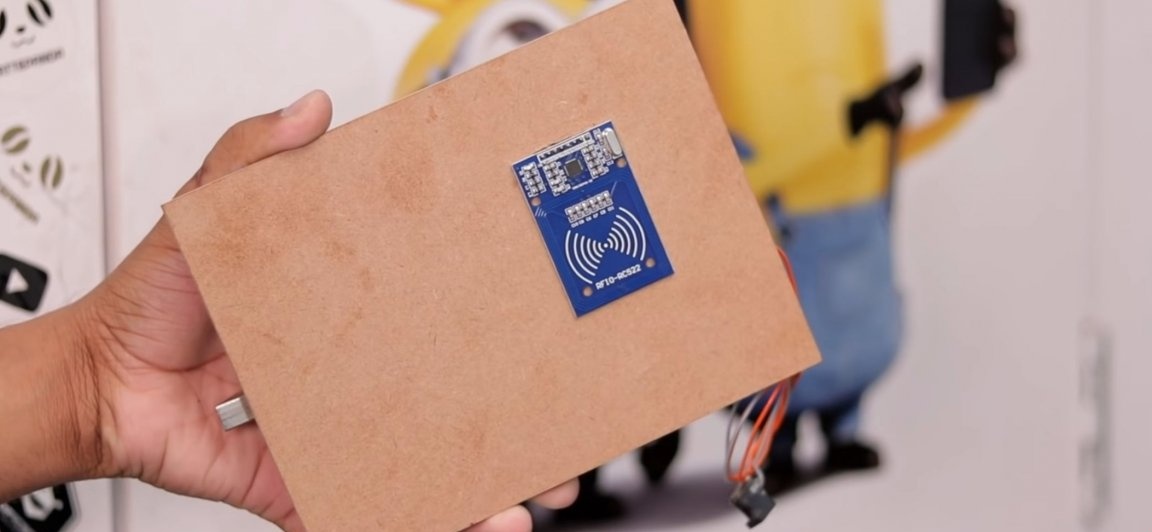
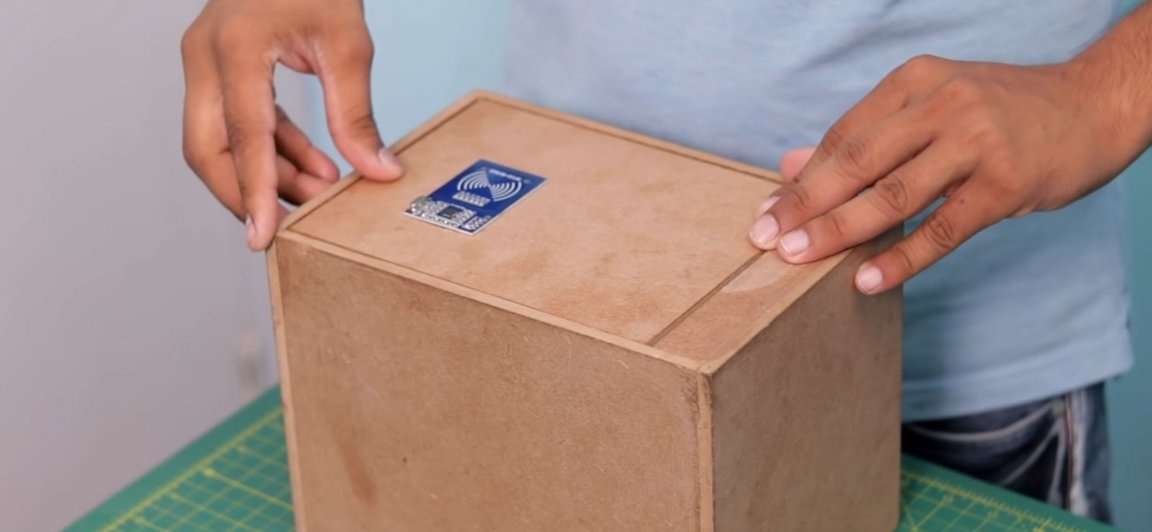
Cut out from the MDF sheet the panel you need in size, proceed to the assembly itself. To begin with, on the just cut MDF sheet, we should fix the RFID MFRC-522 module. Since the reading range of this module is a couple of millimeters, there is no possibility of installing it inside the structure. Therefore, we will mount it from the outside. To do this, take a ruler and marker, measure the length of the contact track on the module, and make the same through hole. You can make such a hole using a drill, drilling a series of holes close to each other, then using a knife we finish the hole so that it works out like in the photo below.

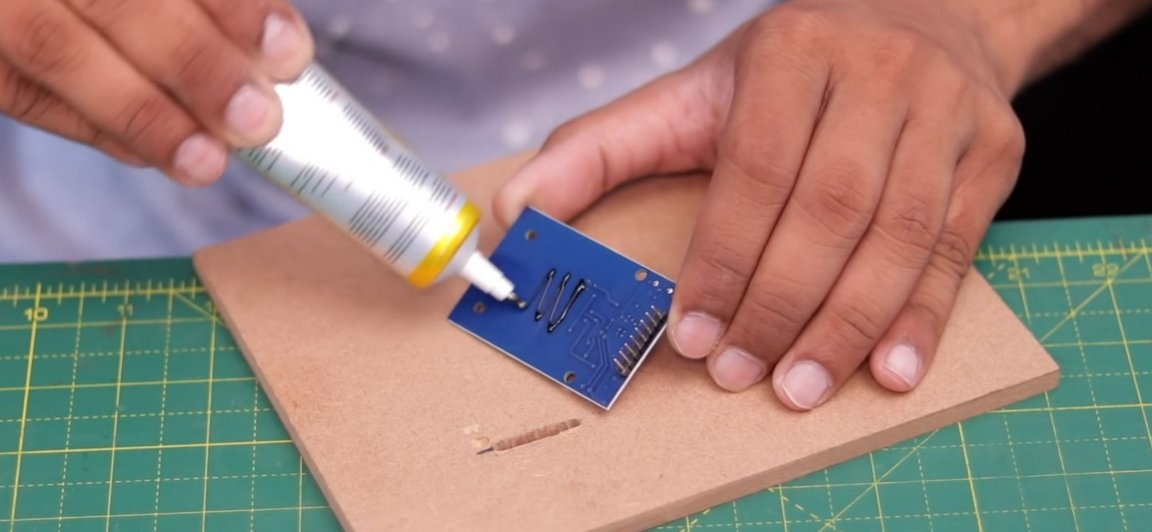
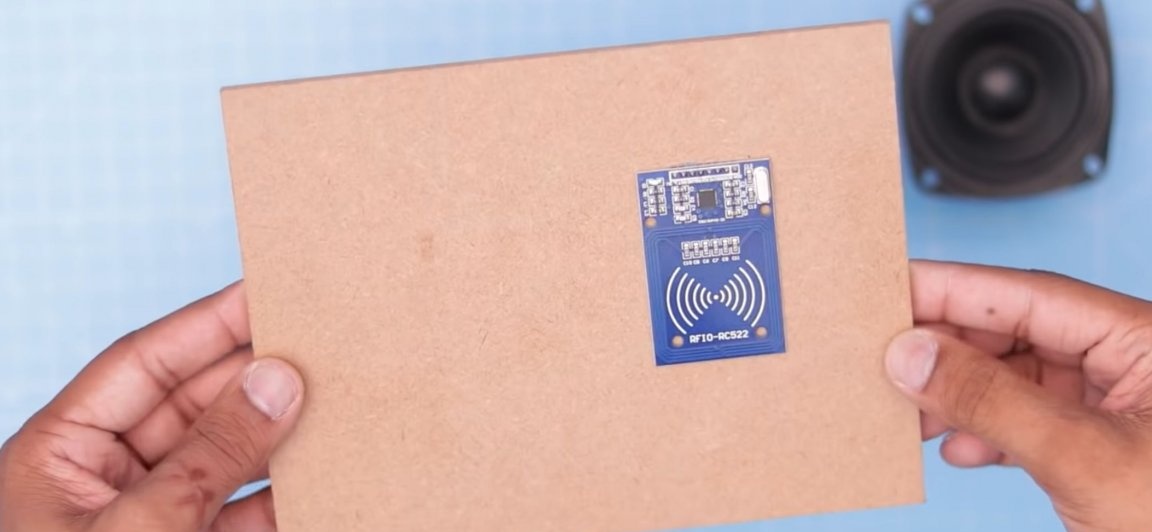
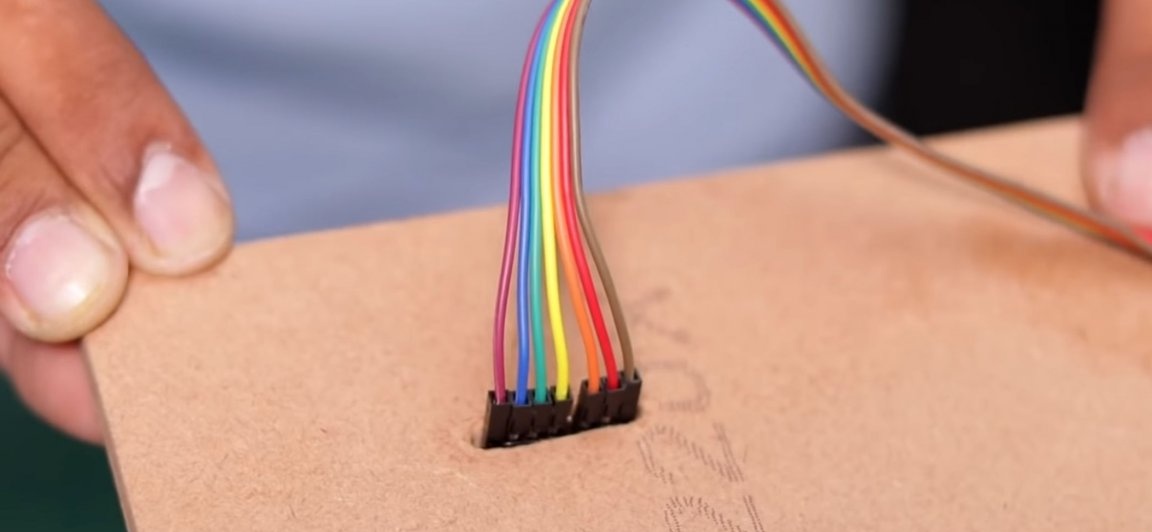
After making a hole in the MDF panel, glue the RFID MFRC-522 module using epoxy-based adhesive (or hot-melt adhesive) so that its contacts enter the hole (see photo below).After that, we need connecting wires for the Arduino, which in turn should be connected to the RFID MFRC-522 module.

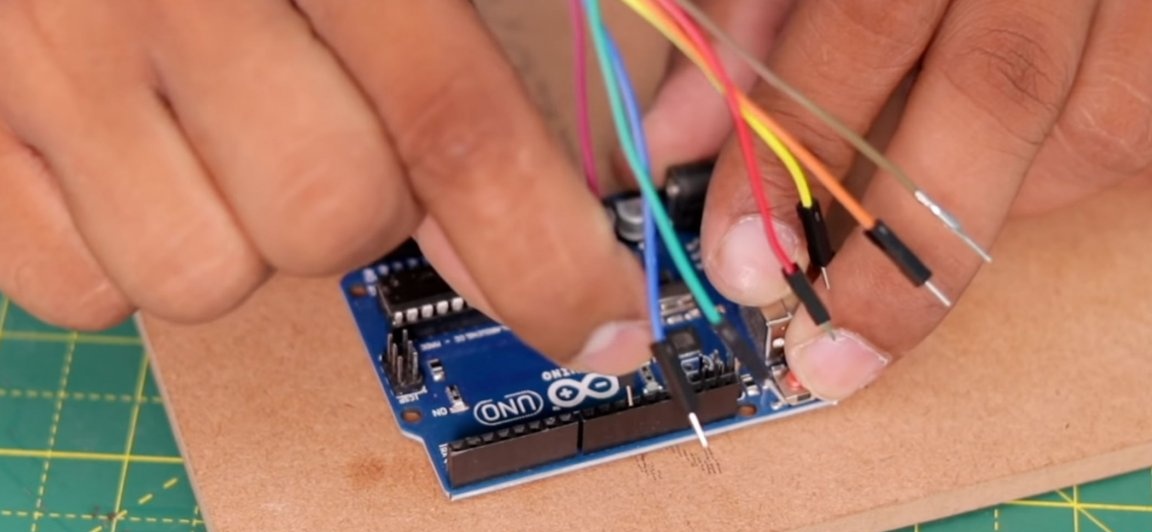
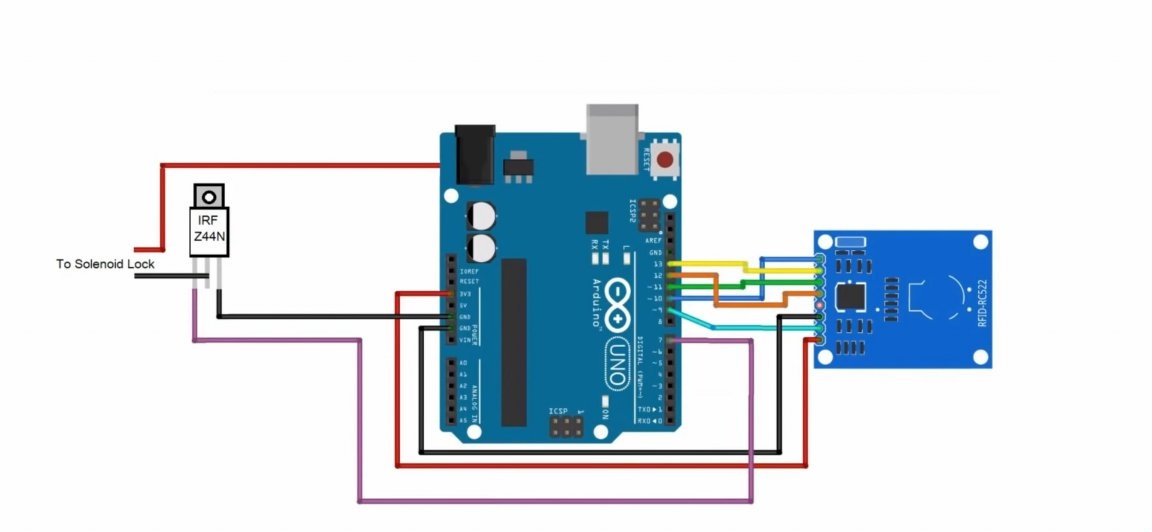
Next, the wires coming from the RFID MFRC-522 module should be connected to the Arduino UNO board. Namely, the blue wire to the “-10” connector, yellow to “13”, green to “-11”, orange to “12”, black to “GND”, and red to “3V3”. And an even more accurate connection, but only for the entire electronic filling, you can observe according to the scheme given to you below.
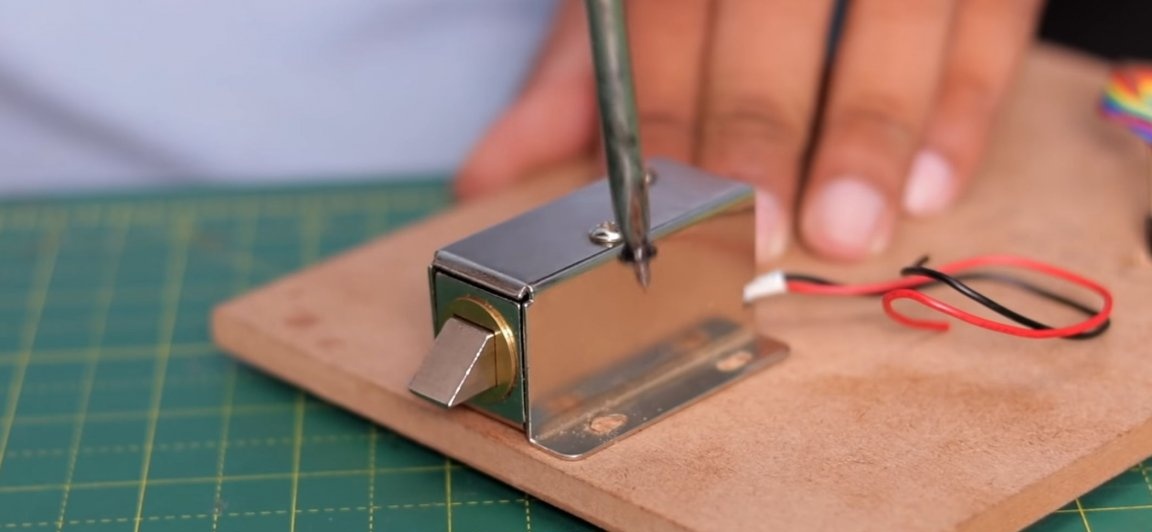
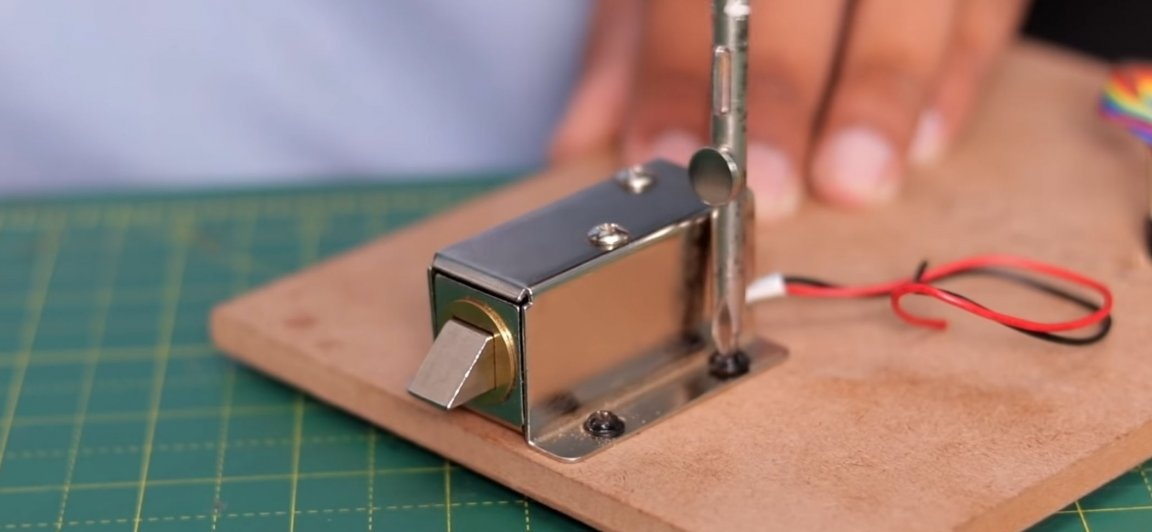
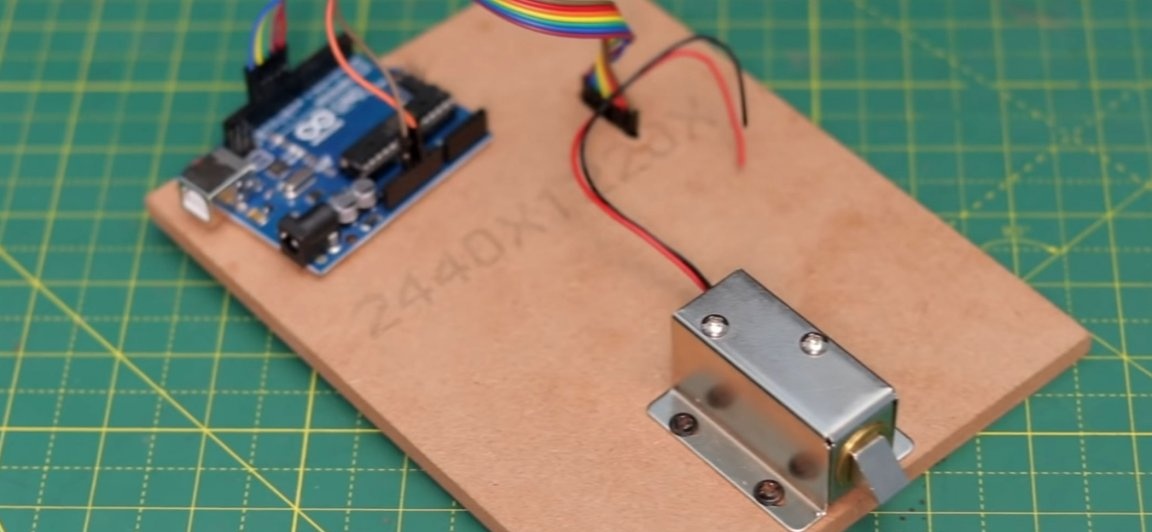
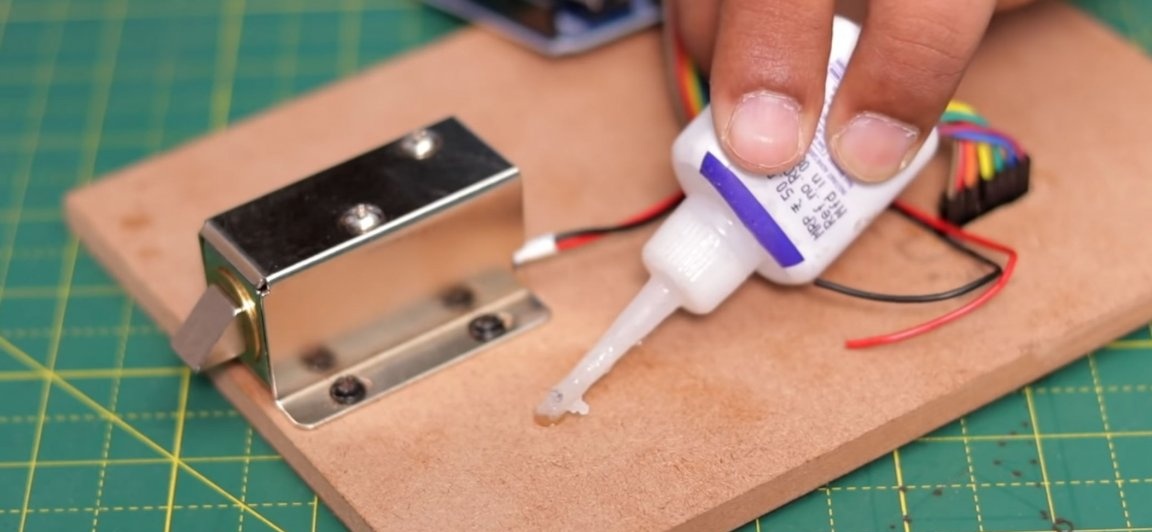
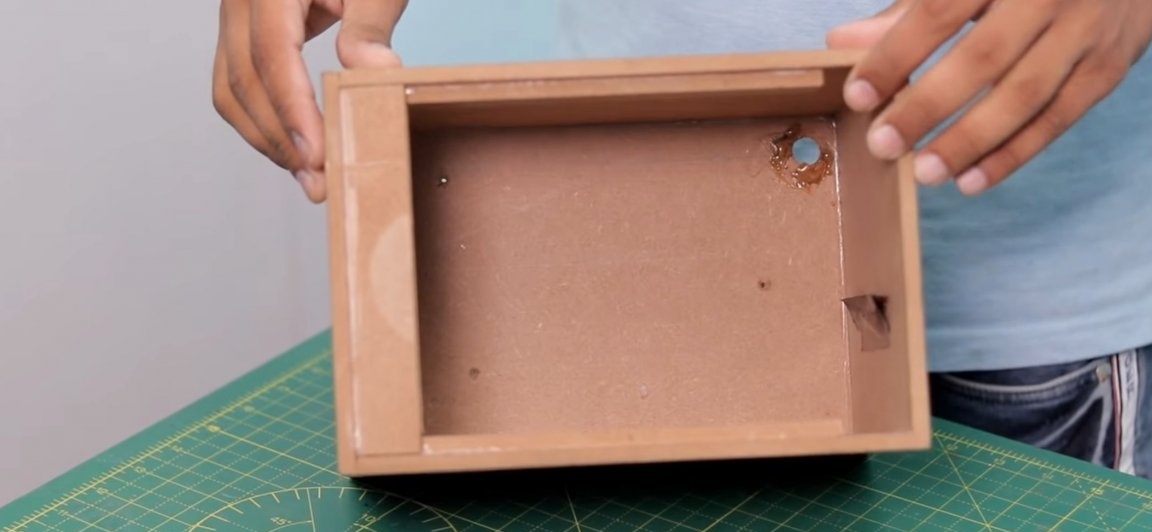
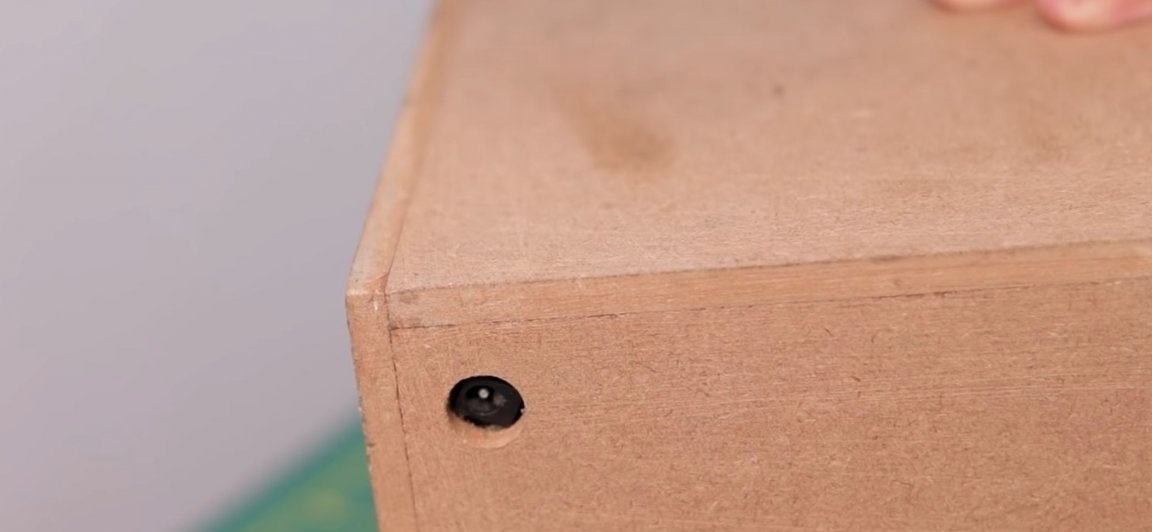
After which we need a solenoidal (magnetic) lock on 12V. This is such a lock, when voltage is applied to it, it turns on the electromagnet and the latch opens the door, and in the absence of current, the spring installed in it prevents it from opening. We should install the lock on our MDF panel, as it was not difficult to guess that it should be installed from the edge, on the opposite side of the hinges (which will need to be installed in the future). Well, it should be fixed on the structure using self-tapping screws, since due to the fact that it will be loaded when trying to open the safe, glue will not be enough!
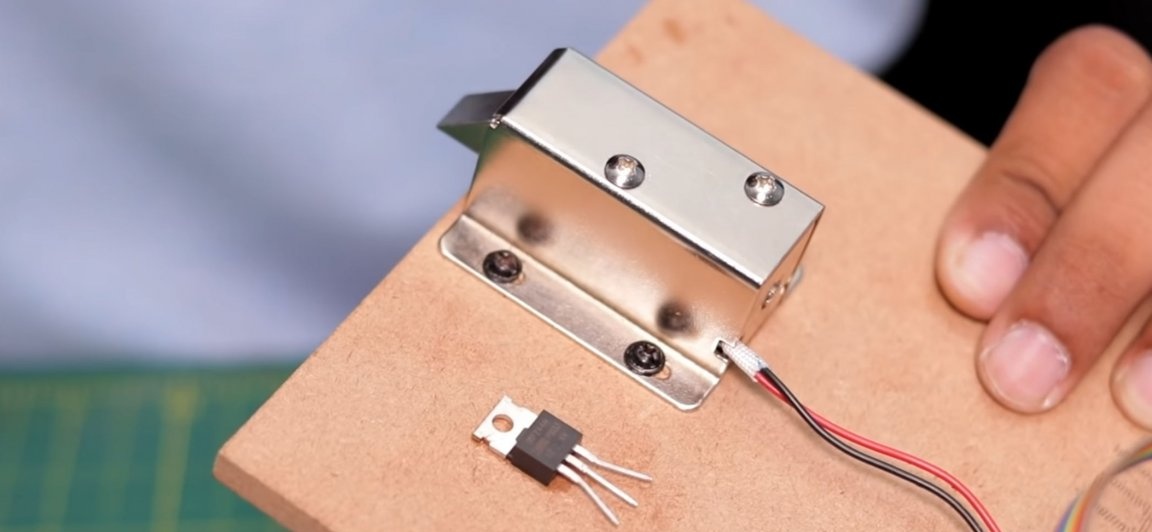
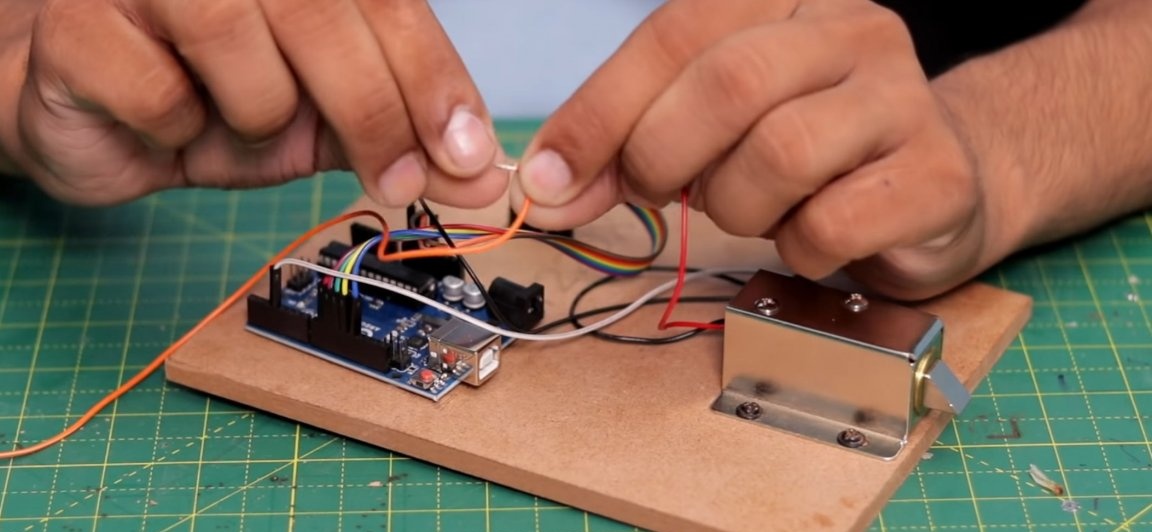
The next step is to add our electronic circuit transistor IRFZ44N. Take the IRFZ44N transistor itself and use superglue to fix it on our MDF panel. After the glue has completely dried, we will connect the wires to it, according to the electronic circuit that has already been indicated above. Namely, the extreme right leg of the transistor will be connected to the “GND” pin, the left leg with “7”, and the middle leg will go to power.
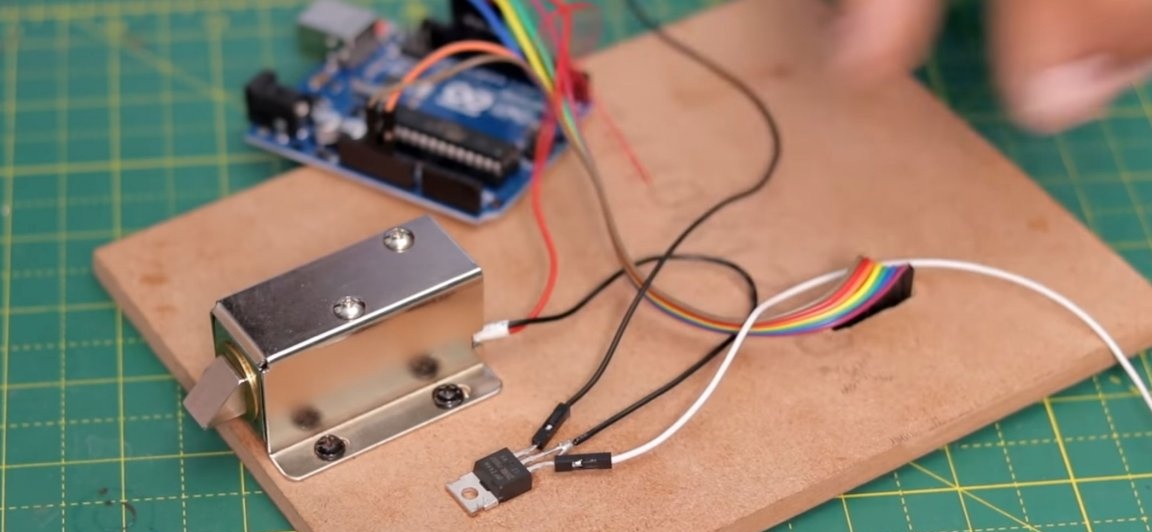

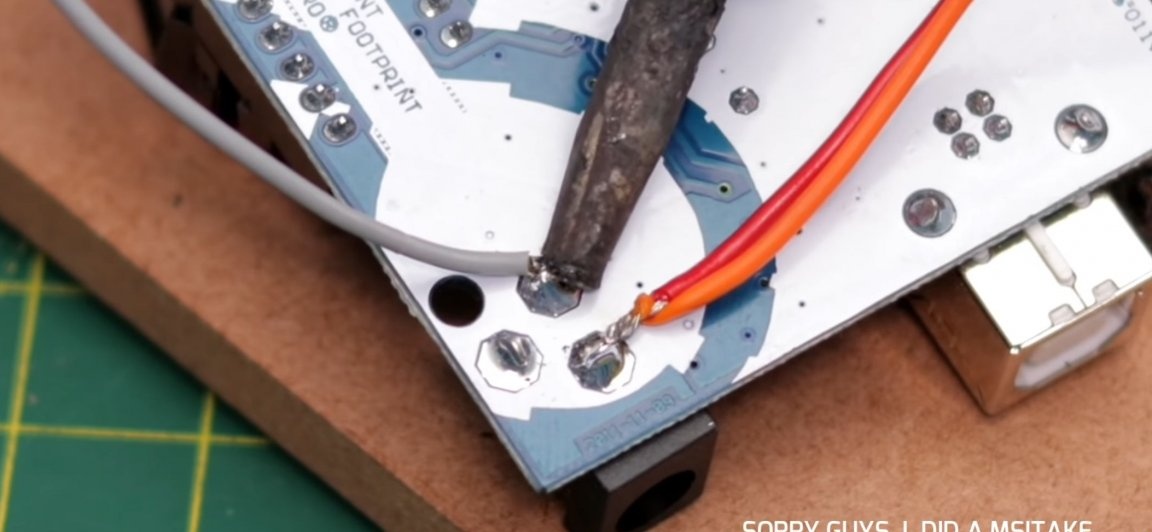
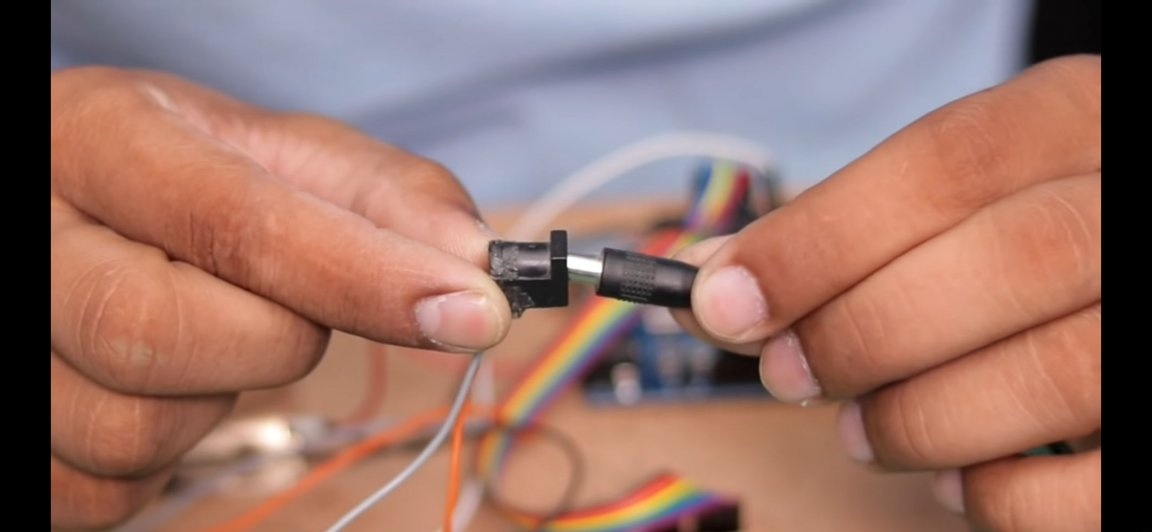
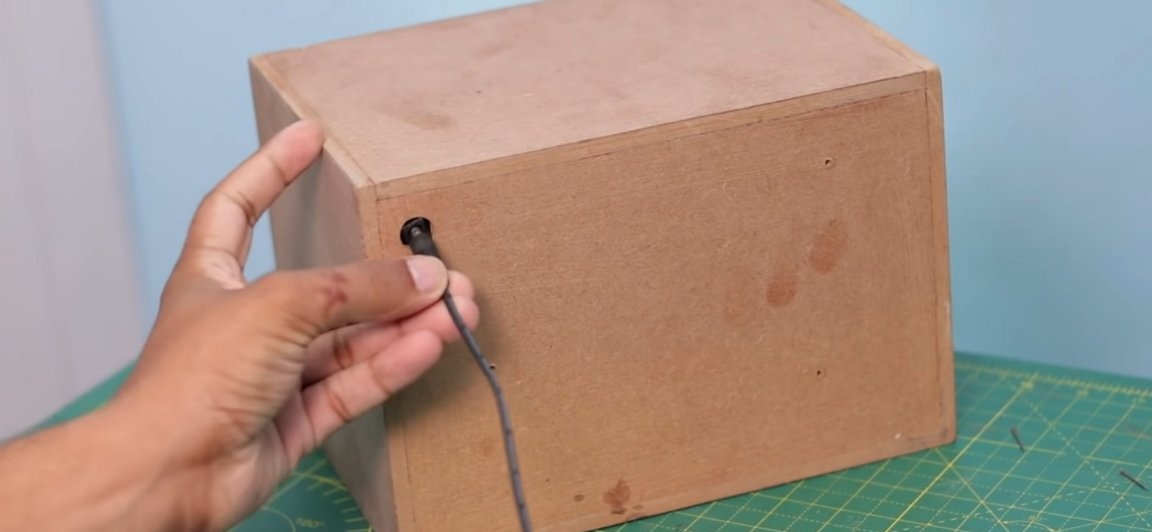
Then we need to take the power connector. Wires from the power connector should be connected to our electronic filling. Namely, the "negative" wire is soldered to the middle leg of the IRFZ44N transistor, and the "positive" wire to the positive pin of the Arduino UNO (see photo below).
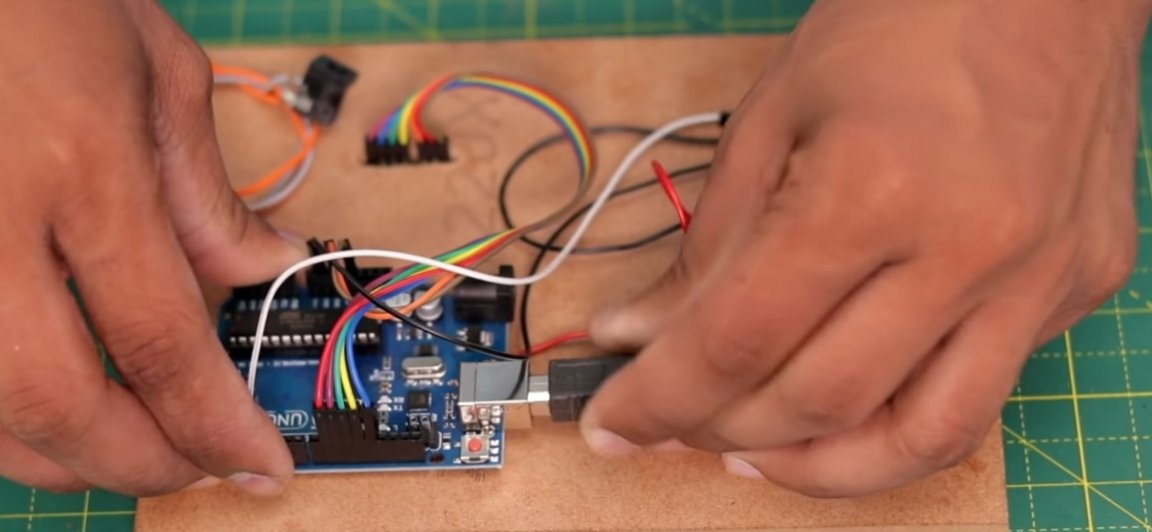
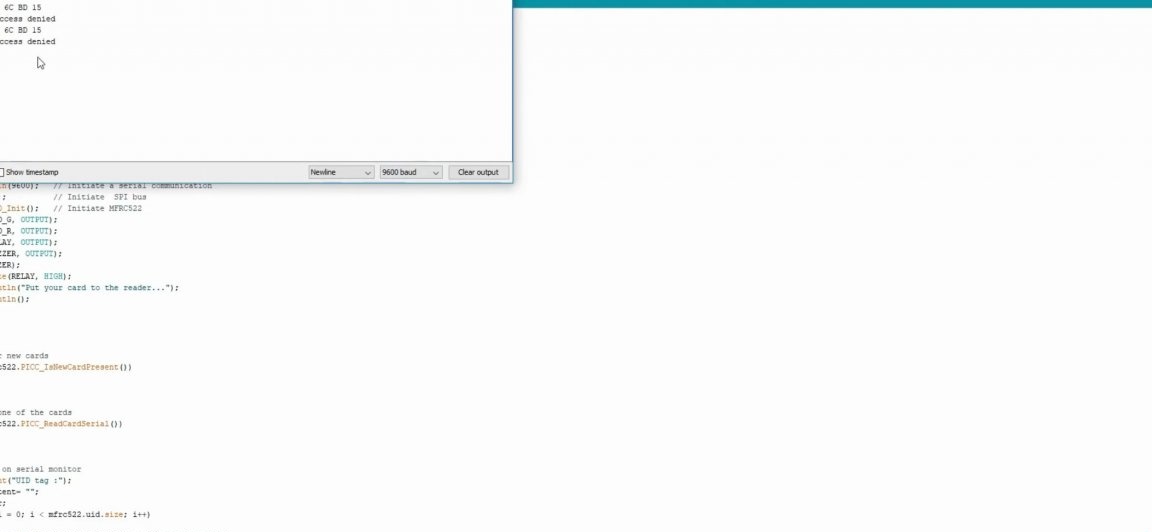
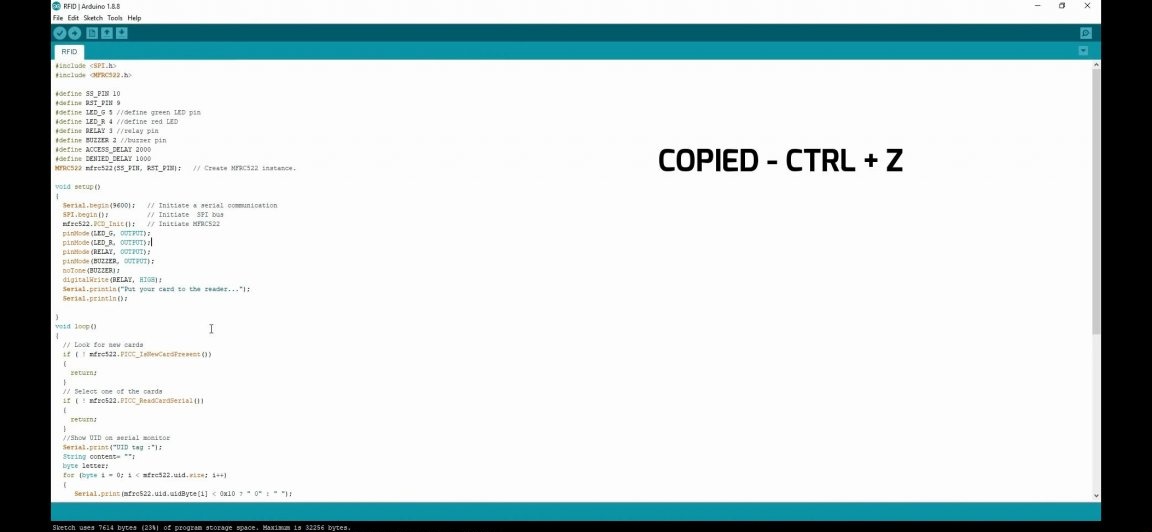
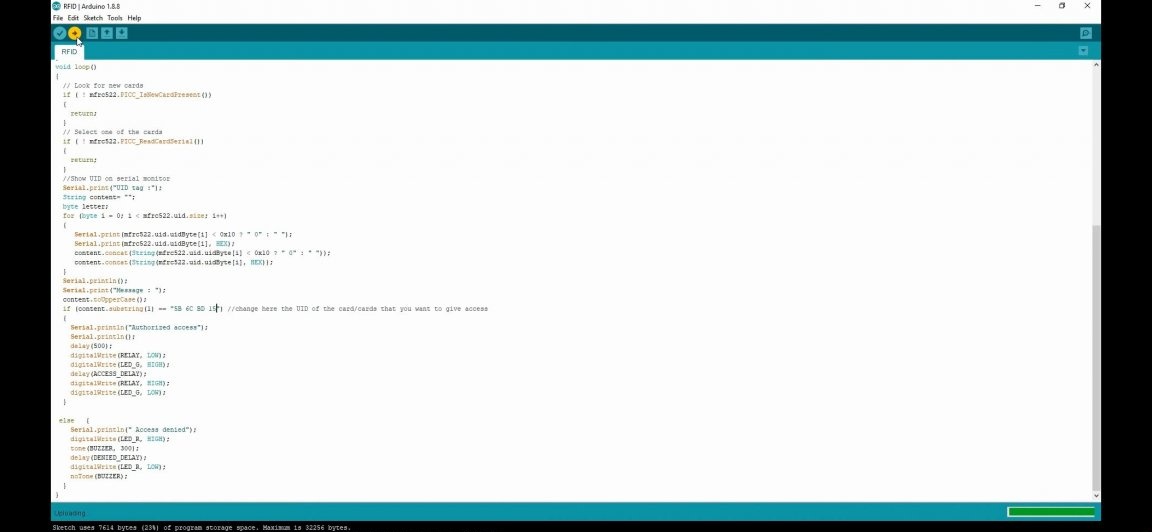
Electronic filling (layout) is ready. Now we should proceed to the firmware of our assembly, for this we need a computer and a special cable (usually it comes with the Arduino itself). We connect Arduino UNO to the computer and fill in the firmware from this site. It also contains step-by-step instructions on how to download firmware and add keys.
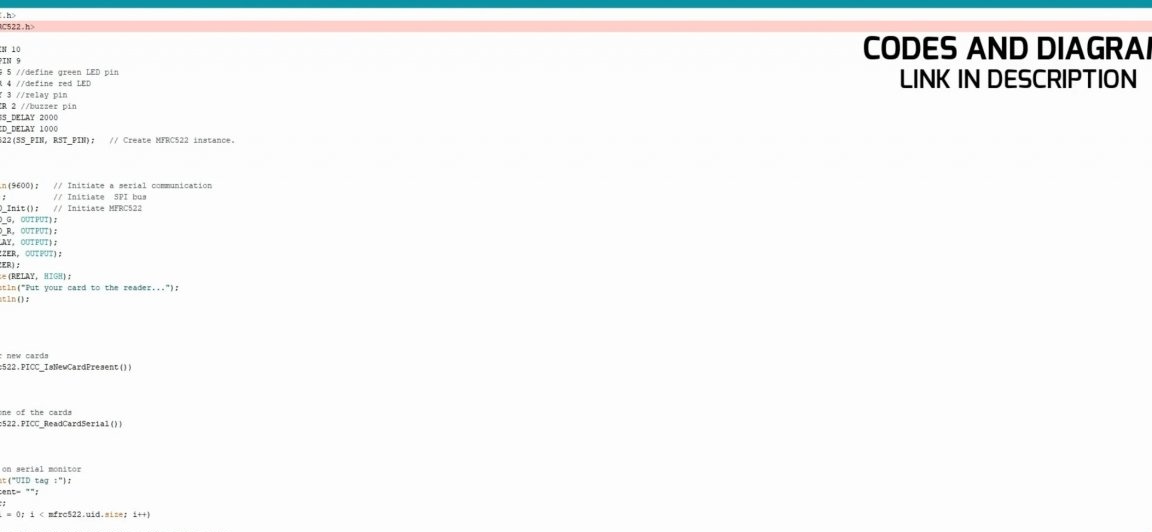
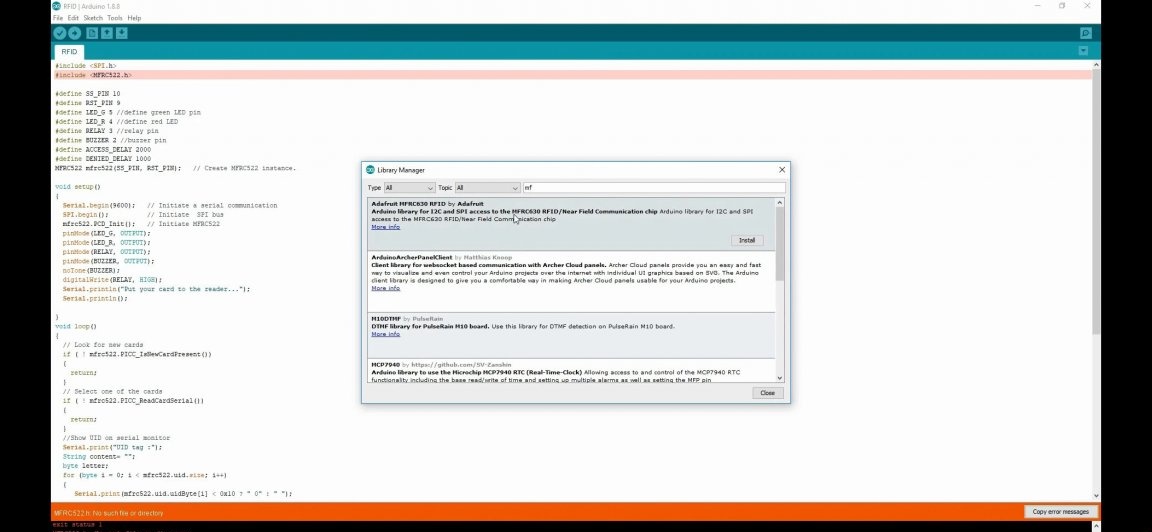
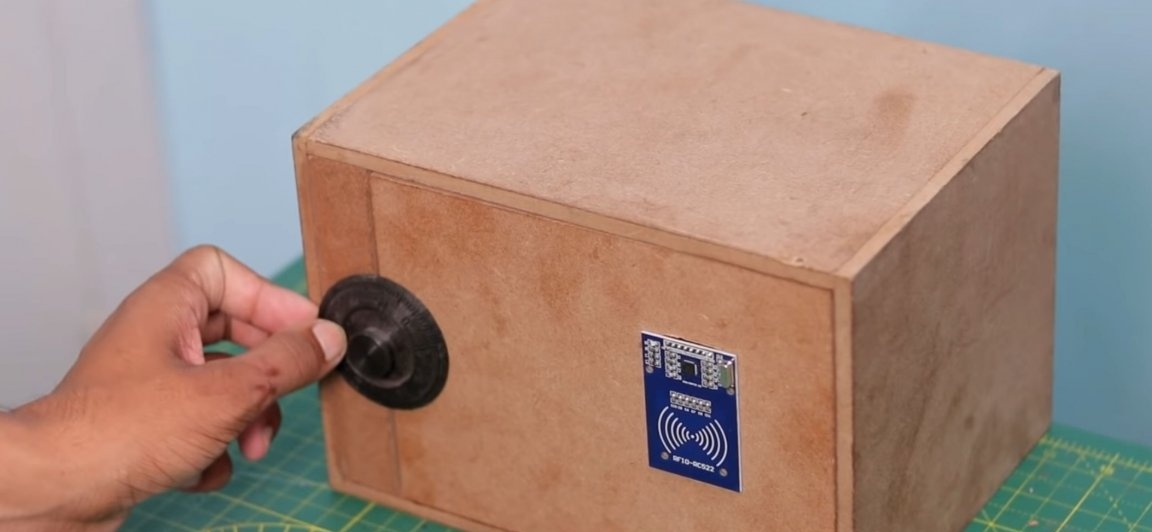
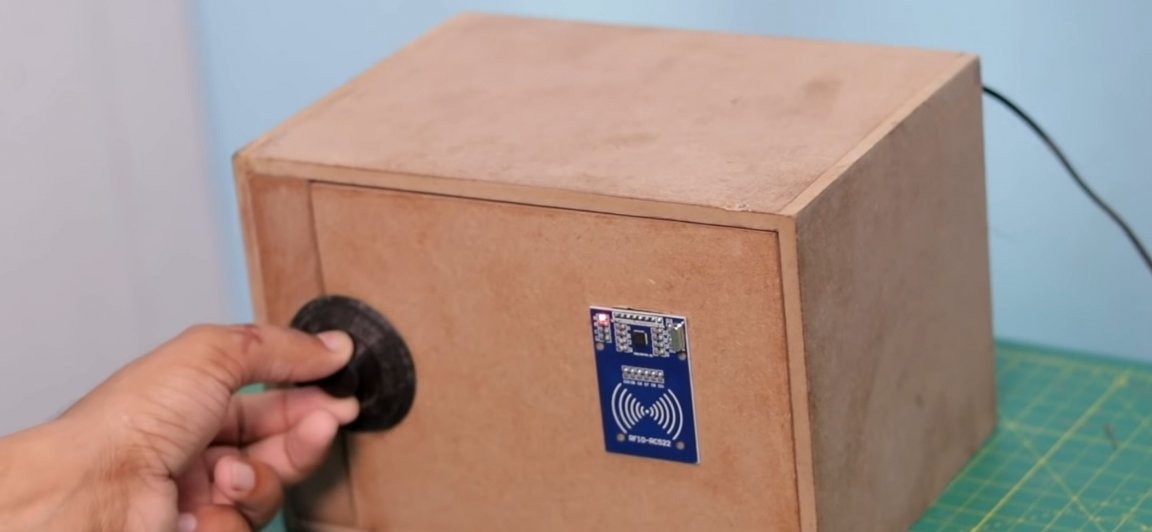
It is important to mention once again that your key works; you need to make friends with the board. This is done as simple as possible, click in the places indicated in the instructions, bring your key to the reader, it remembers the key code, you save and you're done!
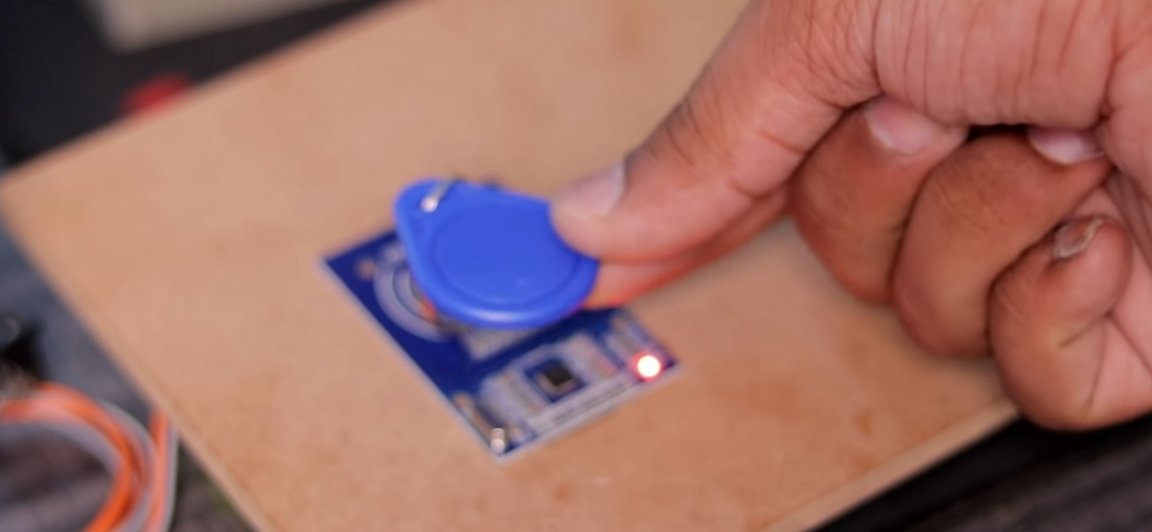
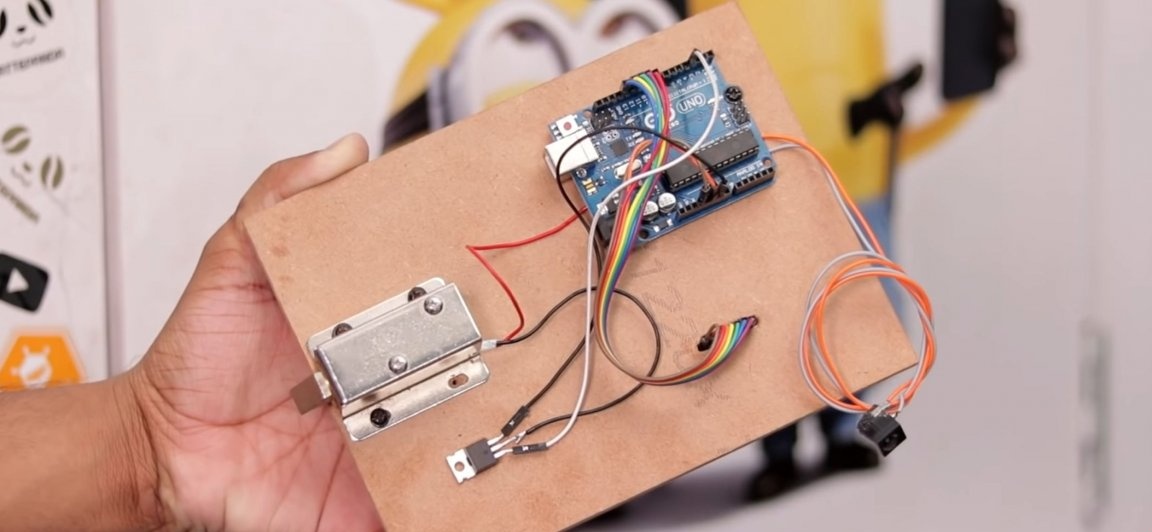
After uploading the firmware to the Arduino UNO, we connect it to the power via the power connector that we soldered. And we check the performance of the design. If everything works as it should, namely, when you bring the key to the reader module, power is supplied to the lock and it opens, and when you remove the key, it closes.
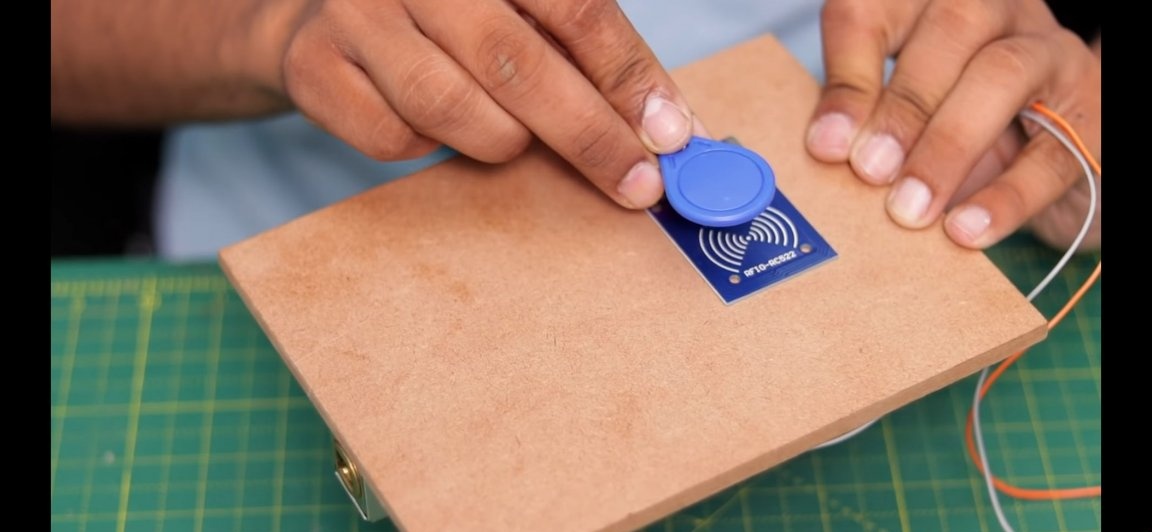
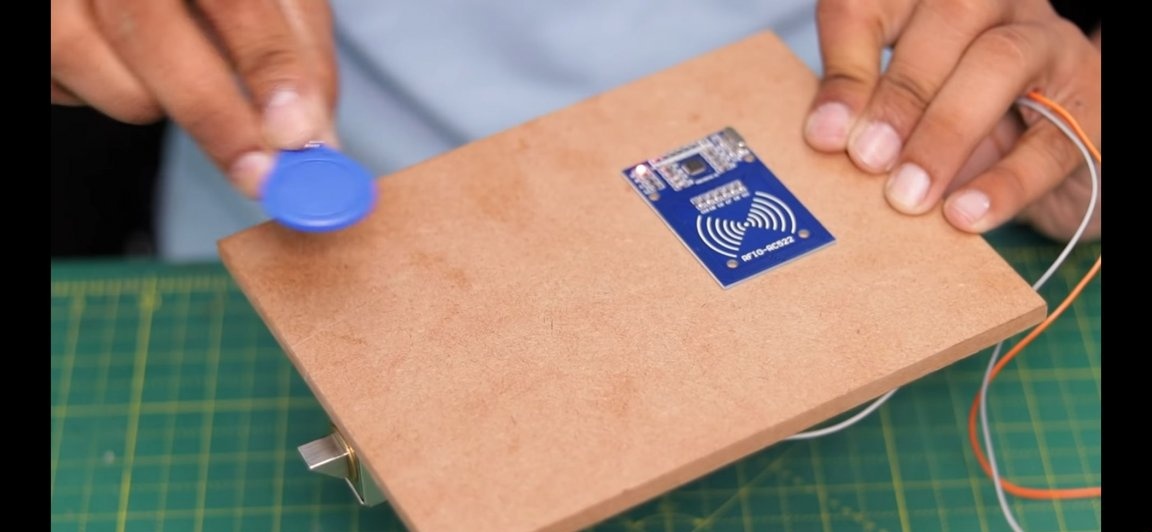
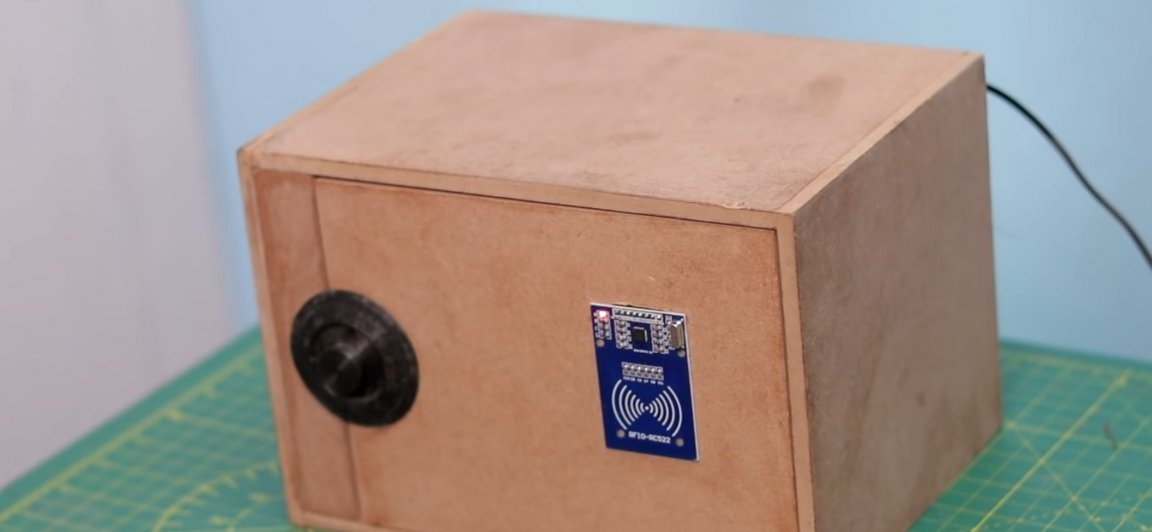
Next, from the MDF panel we assemble the safe itself, this is absolutely nothing complicated. Therefore, you can do without unnecessary comments, and see the finished version of the safe on the data images below.
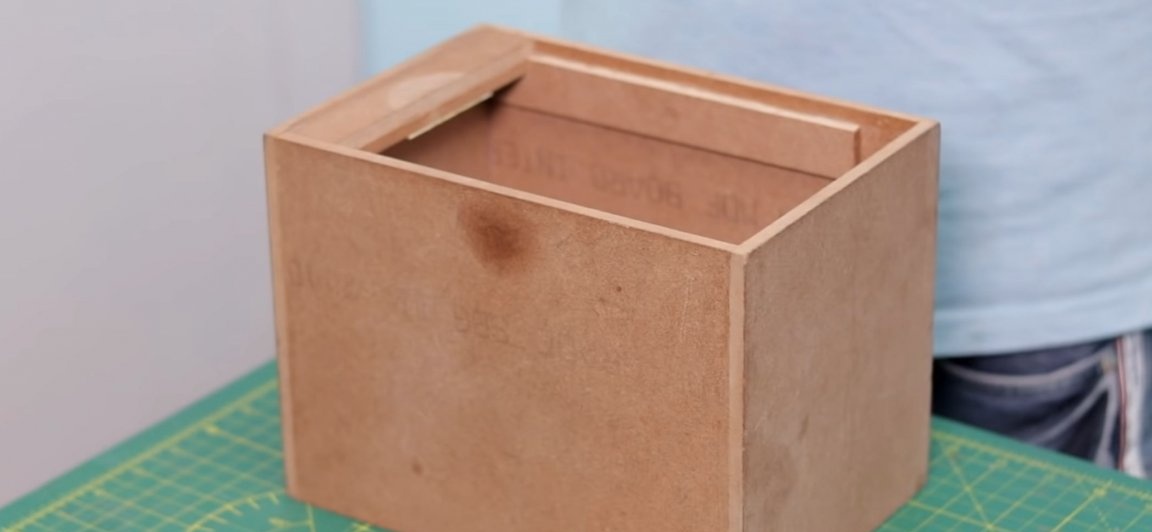
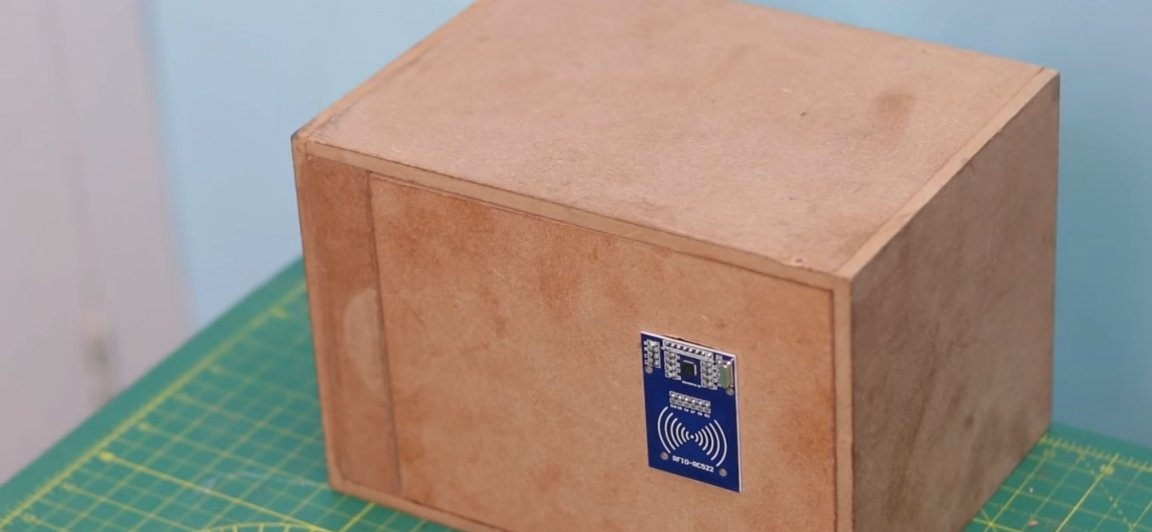
As a result, we got a very cool safe, in which no one will get into without your knowledge. It should be noted that the electronic filling itself is very versatile, and you can integrate it into everything that opens and closes. And you can also change the algorithm of its operation, for example, so that the lock does not close immediately as the key is removed, but for example after 30 seconds, as for example it is arranged in the intercoms of apartment buildings. And in this design, you can add more than one key, which will allow you to distribute the keys to those you trust and who need it. For example, if you put this system in your private house and want to distribute keys to all residents of this house. Such a homemade product will cost less than any intercom. But unlike a simple intercom, you can connect a bunch of other modules to Arduino thereby expanding its functionality.
You can purchase accessories that can be useful for assembling this homemade product here:
-
-
-
-
Here is a video of the author of the homemade:
Well, thank you all for your attention and good luck in future projects, friends!