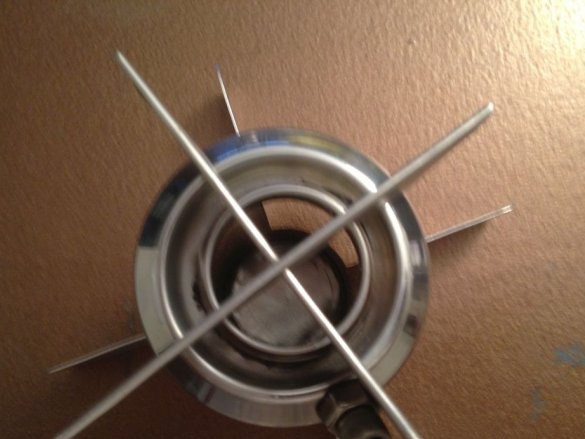
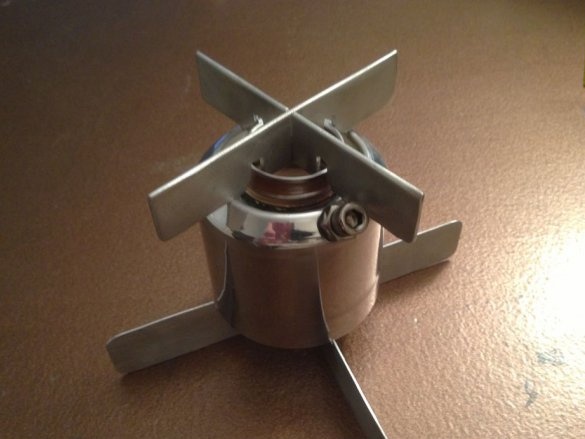
In this article, the Wizard will show and tell us how to make a small camping burner that runs on alcohol. With the help of such a burner, you can boil a mug of water or warm frozen hands.
Let's watch a video with an example of a burner.
To make such a burner, the master used the following
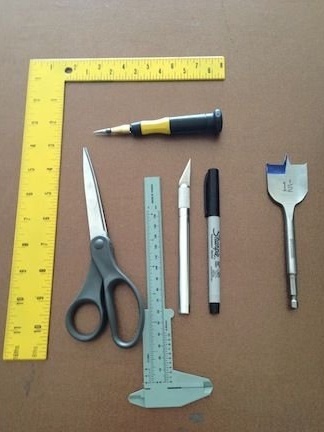
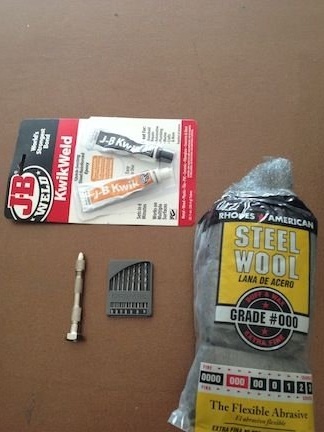
Tools and materials:
-Aluminum bottle;
-Scissors;
-Knife with a sharp end;
-Marker;
- Feather drill;
-Thin drill;
-Dremel;
- Iron wool;
- Two-component glue;
-Aluminum sheet;
-Rule;
-Pliers;
Step One: Preparing the Bottle
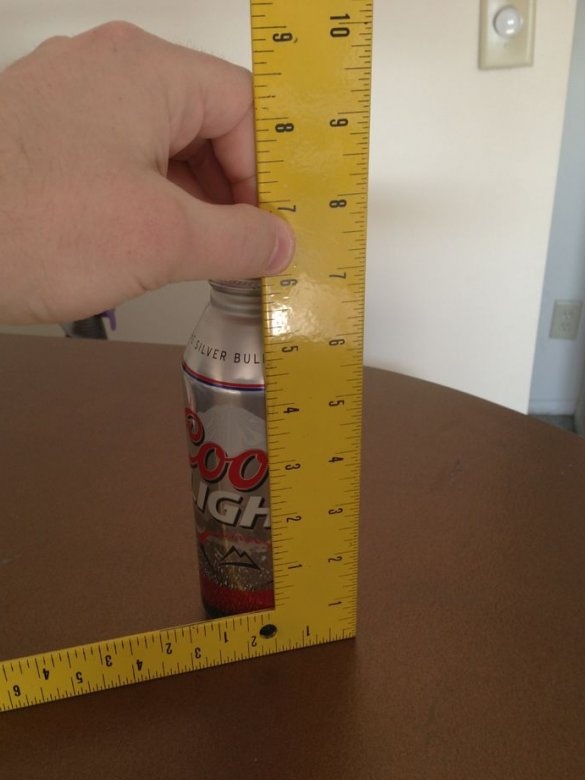
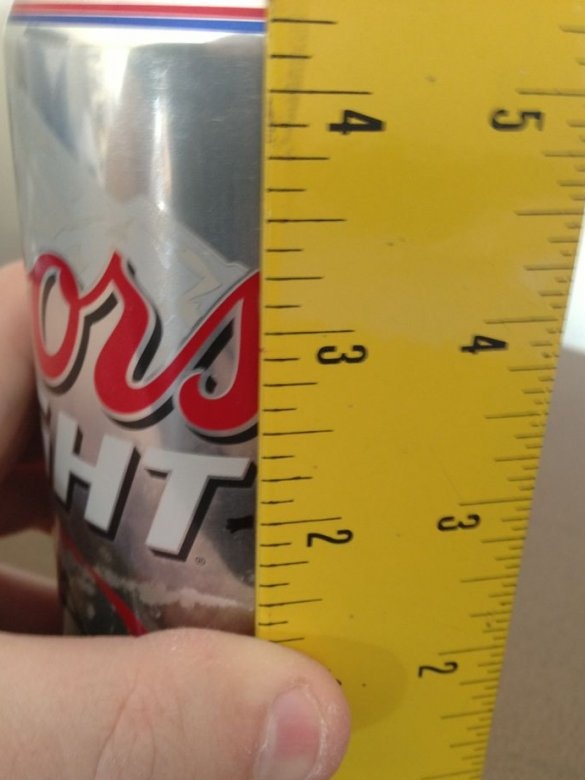
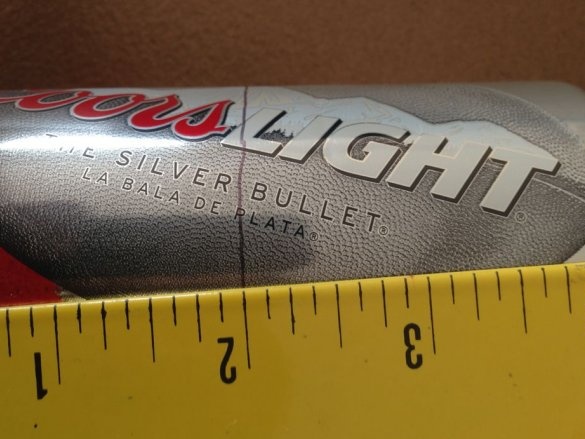
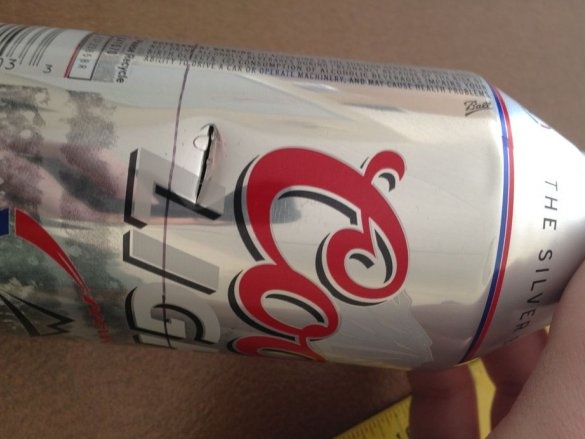
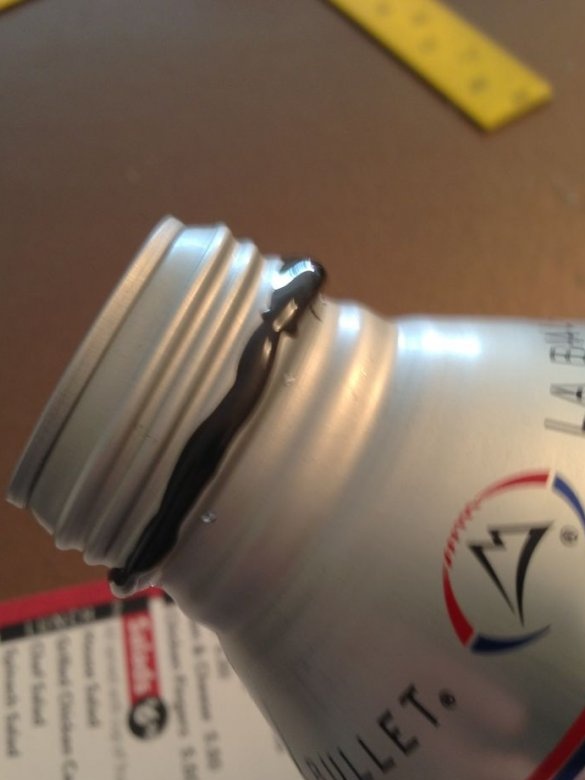
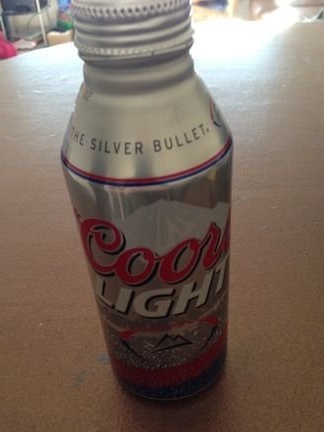
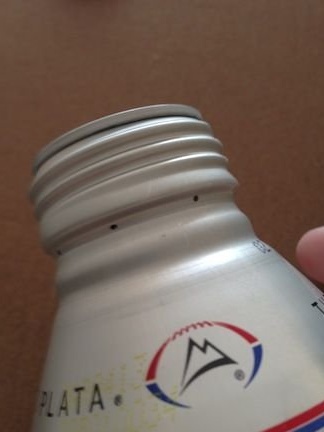
The master makes the burner out of an empty Coors Light beer bottle. Unscrews the cap from the bottle. Removes a metal ring from the neck. Washes a bottle of leftover beer. Using the template makes eight marks on the neck of the bottle.
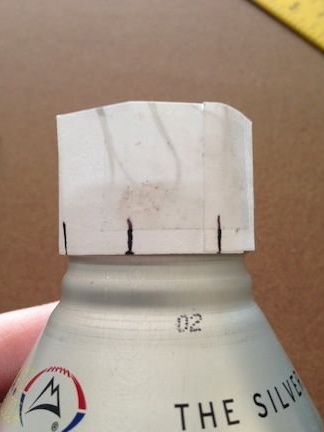
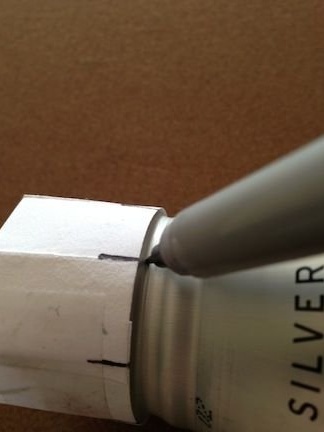
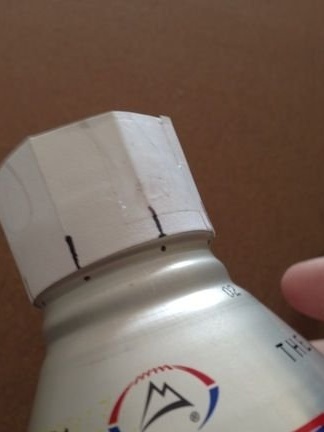
Step Two: Drilling Holes
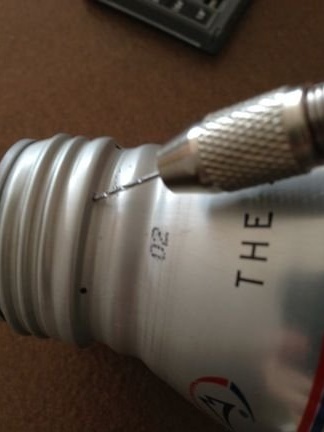
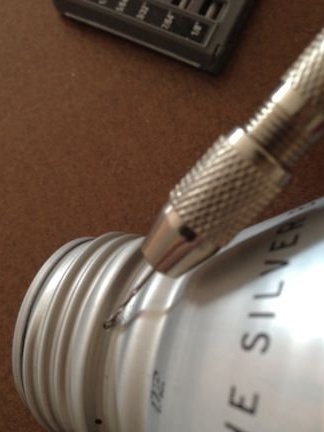
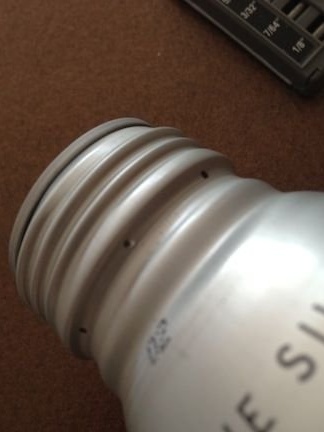
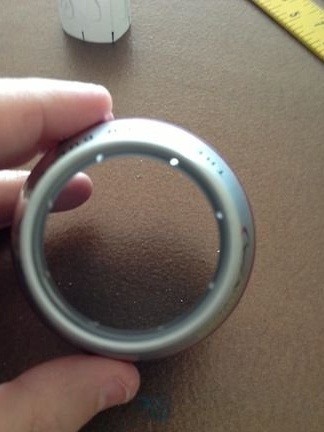
Now you need to drill holes. You need to drill by tilting the drill along the bottle up, and not directly. The holes are drilled and now you need to direct all the holes to the side at a slight angle. This will create a spiral flame and make the burner flame more resistant to wind.
Step Three: Bottom Hole
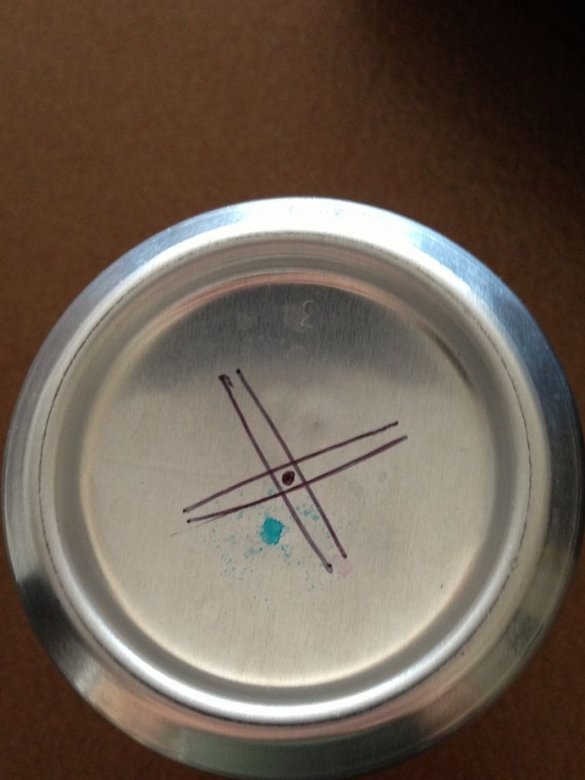
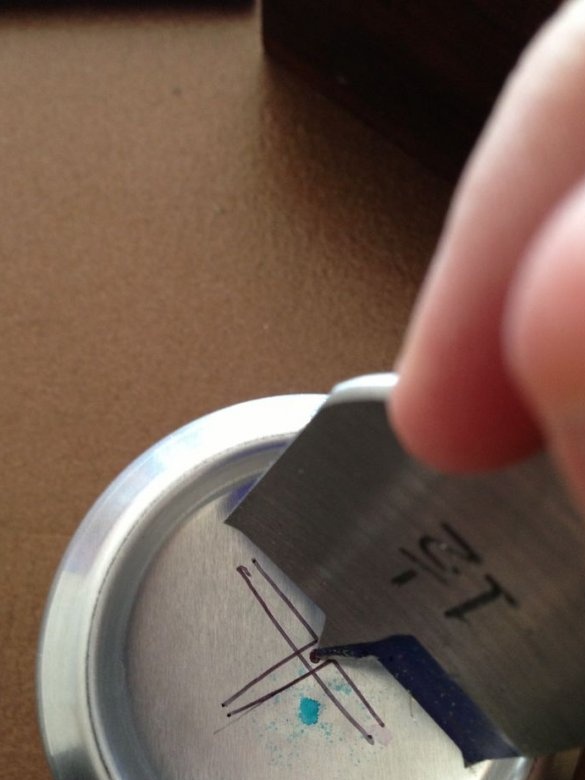
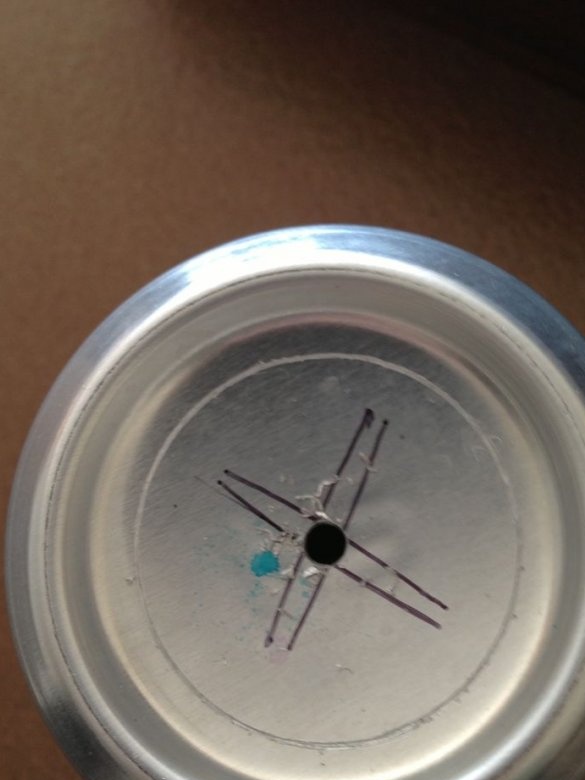
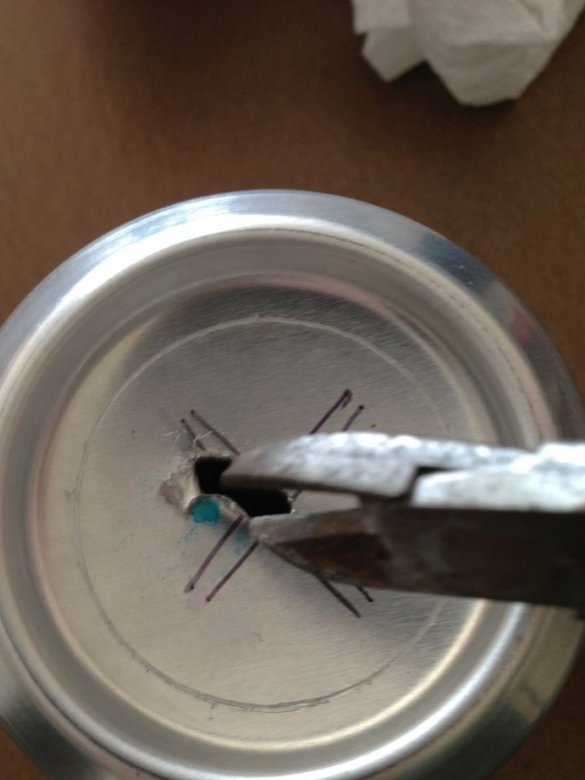
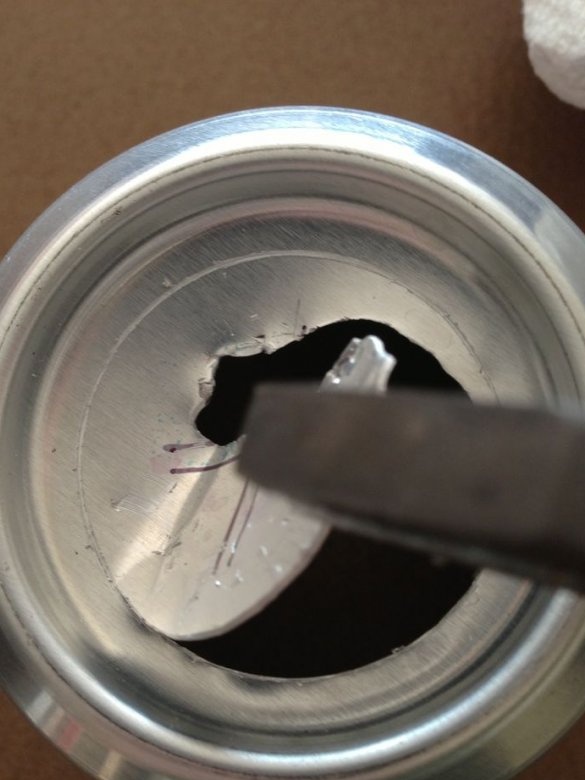
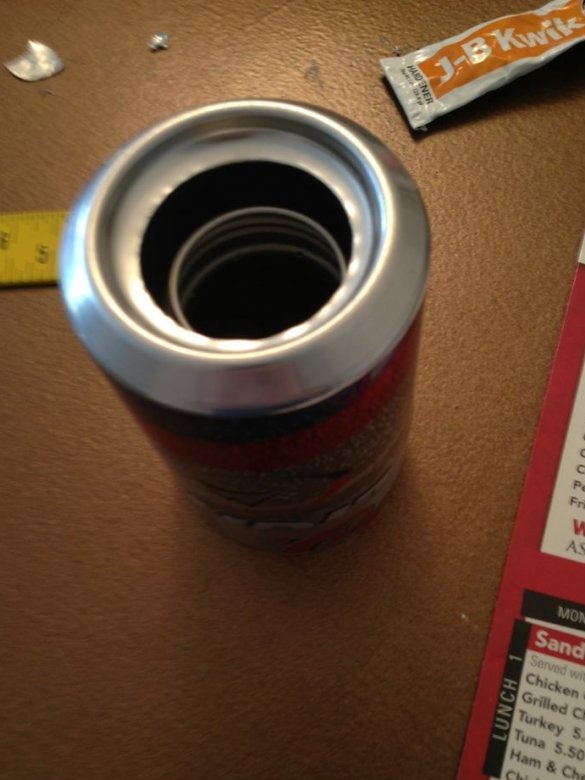
In the bottom of the can, you need to cut a hole. In the future, the upper part of the can will be installed in it.
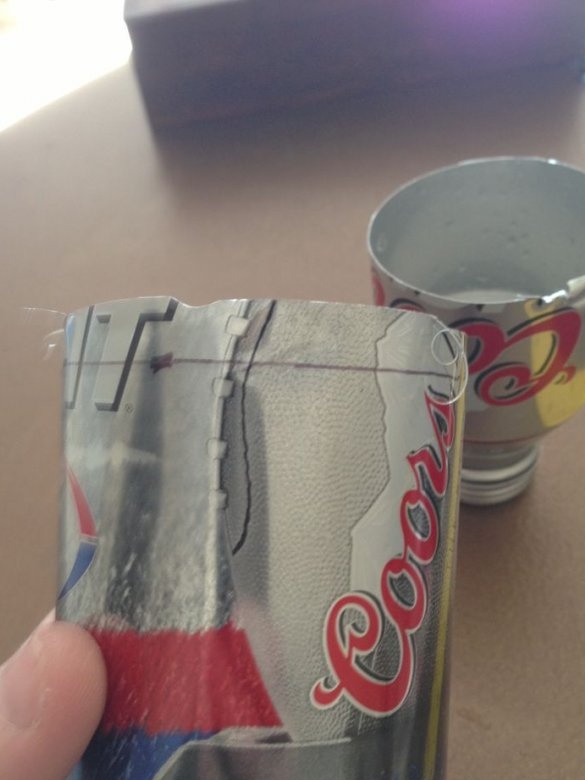
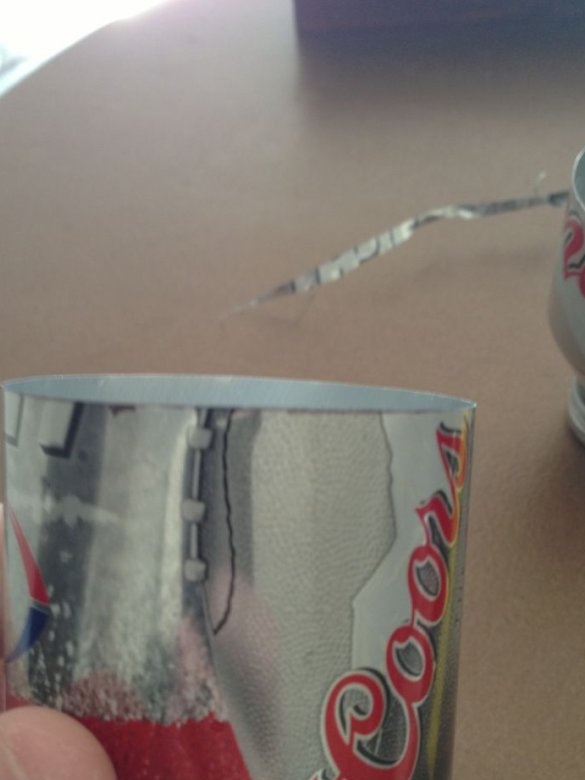
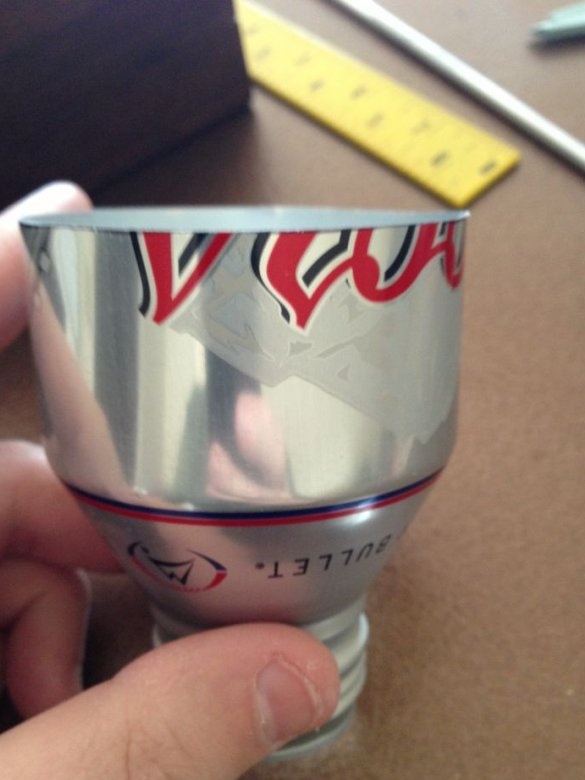
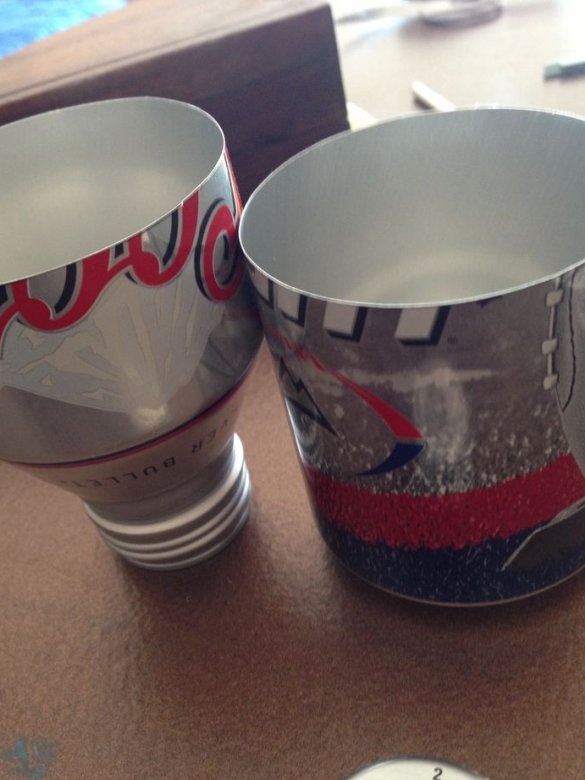
Step Four: Cutting the Jar
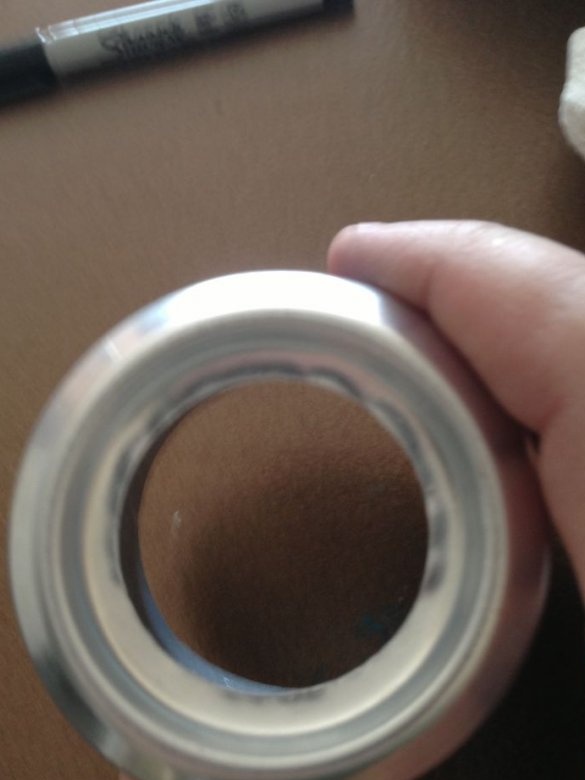
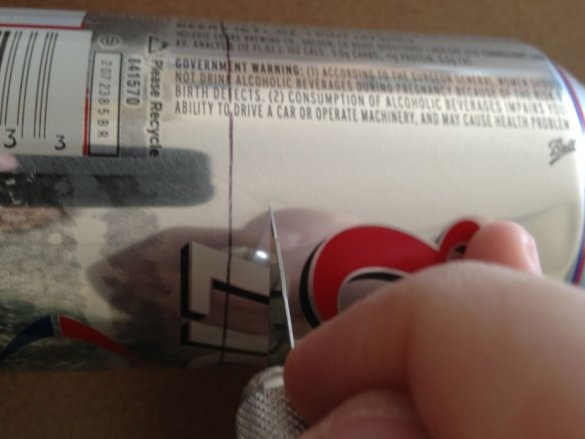
Now you need to cut the jar. The top should be 12 mm larger than the bottom.
Step Five: Gluing
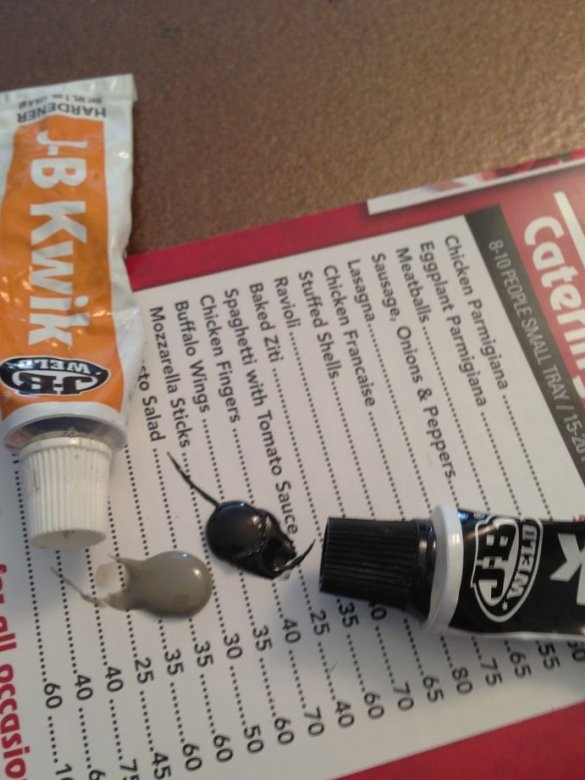
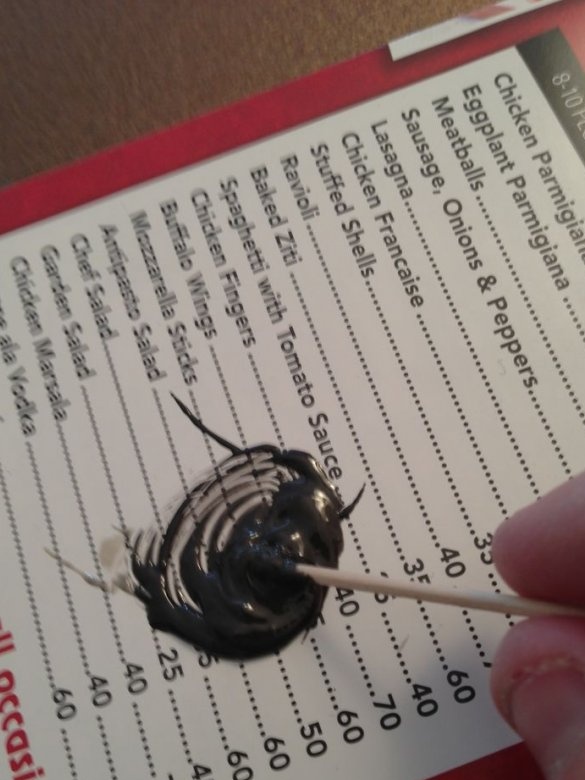
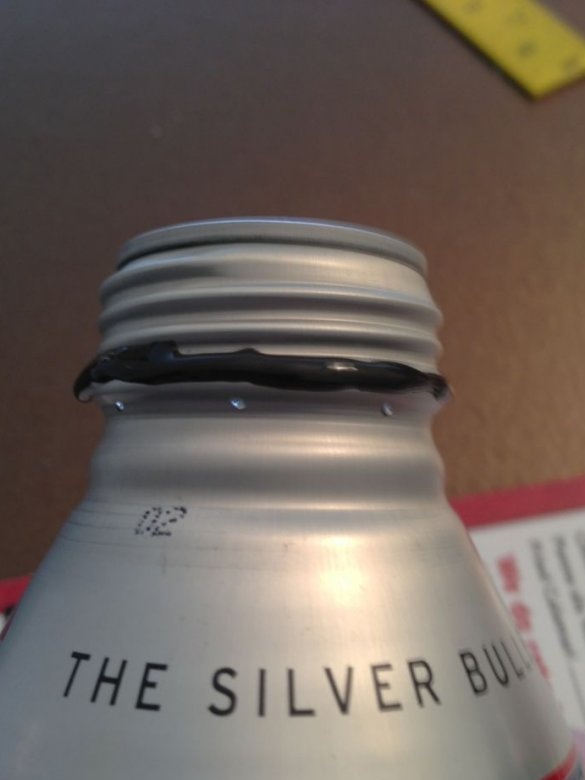
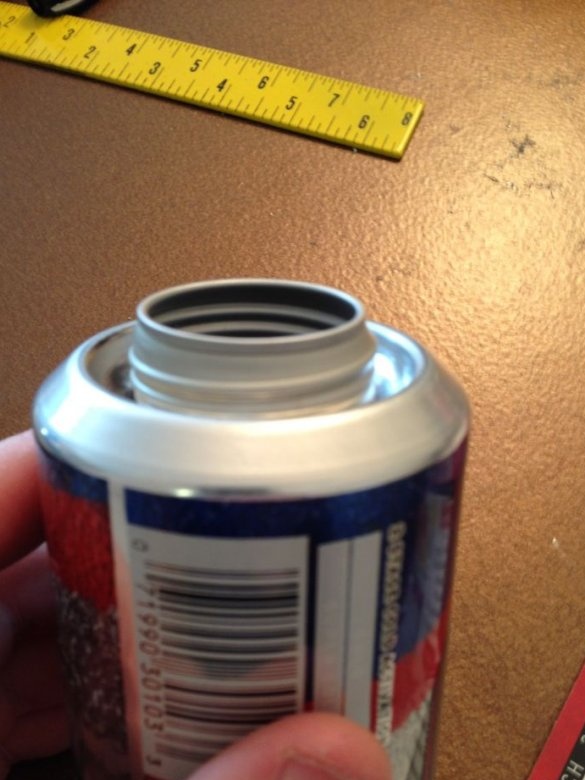
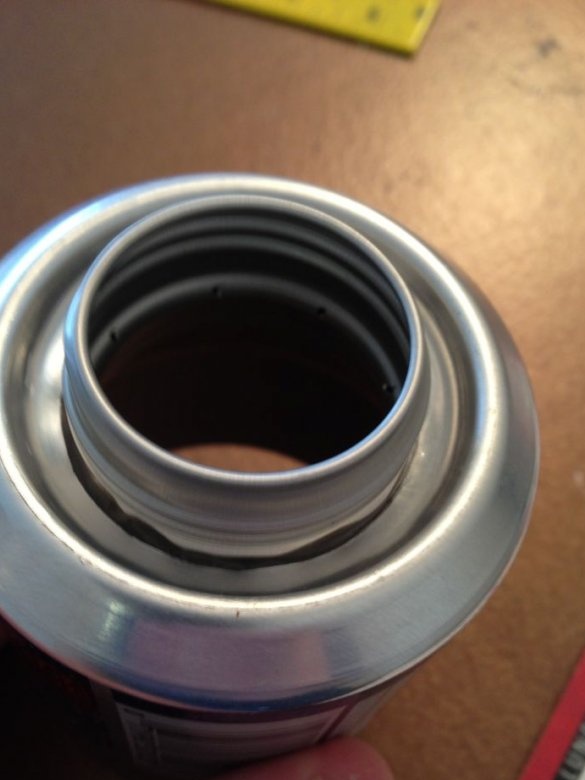
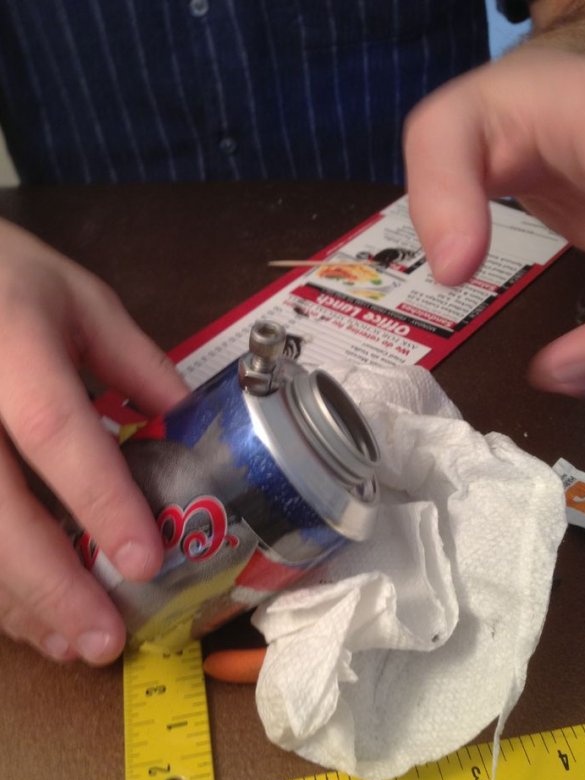
Now you need to connect the lower and upper parts. The master stirs two-component glue. Apply it to the neck of the upper part, and insert it into the hole in the lower part of the bottle. After gluing, you need to wrap the edge of the inner part over the edge of the outer part and squeeze. It turns out, as it were, a double wall and a cavity inside.
Step Six: Fuel Hole
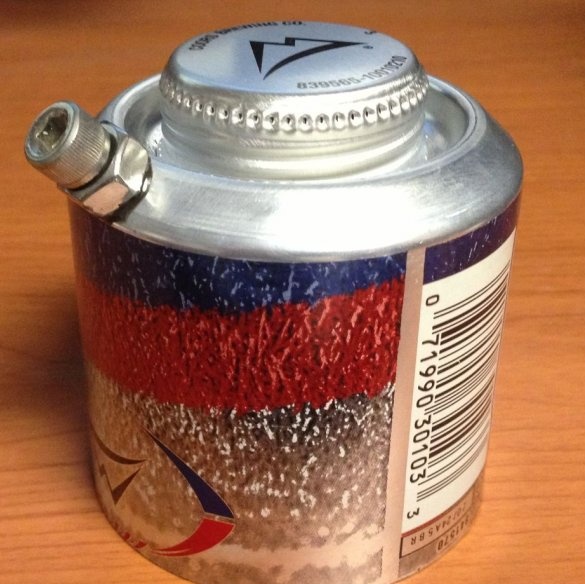
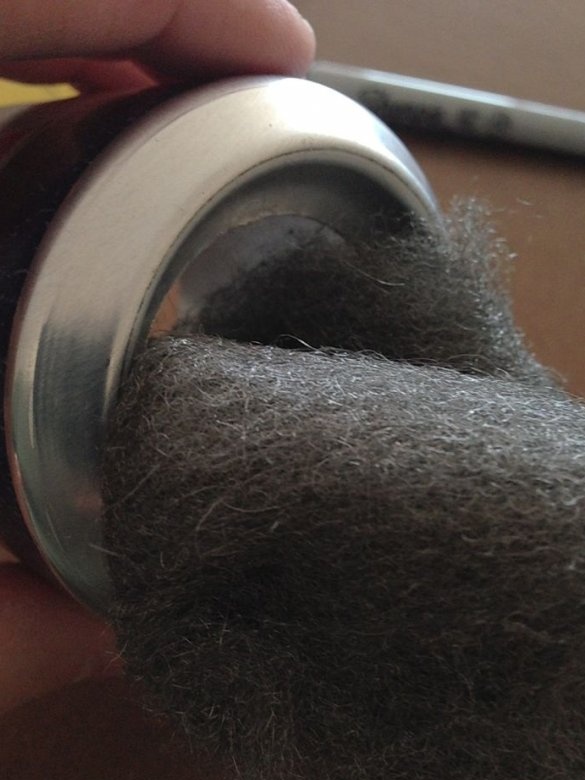
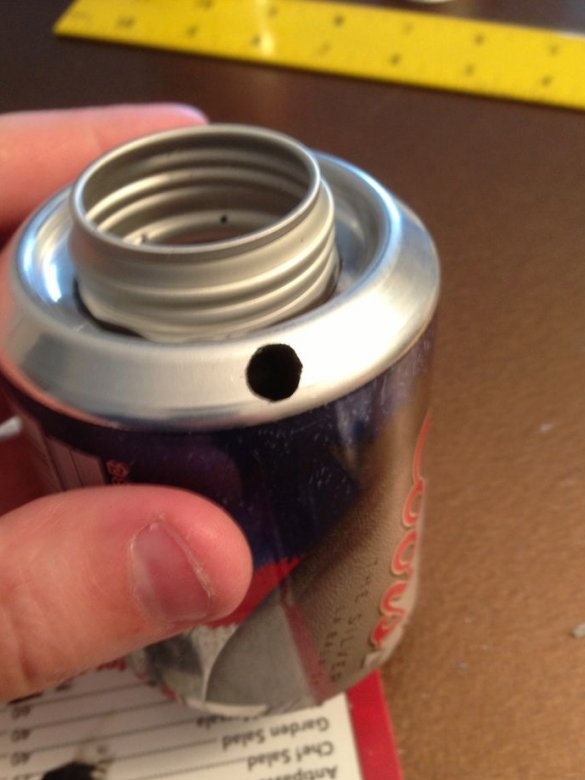
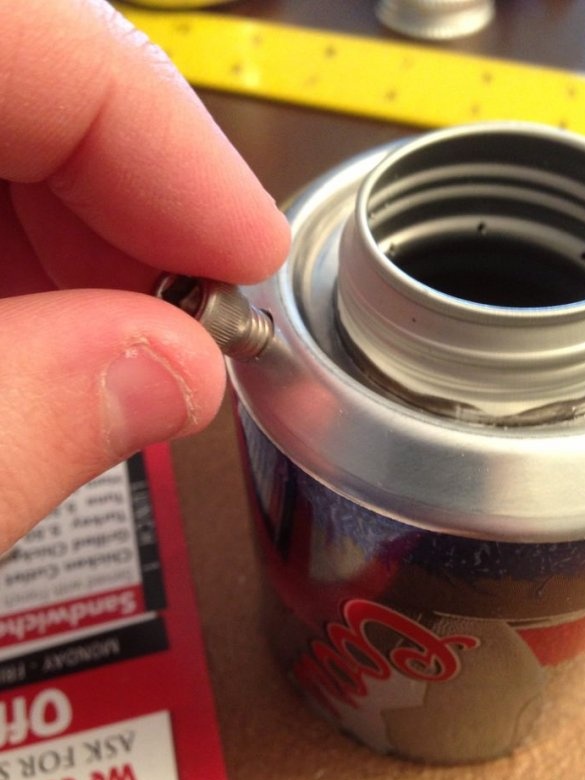
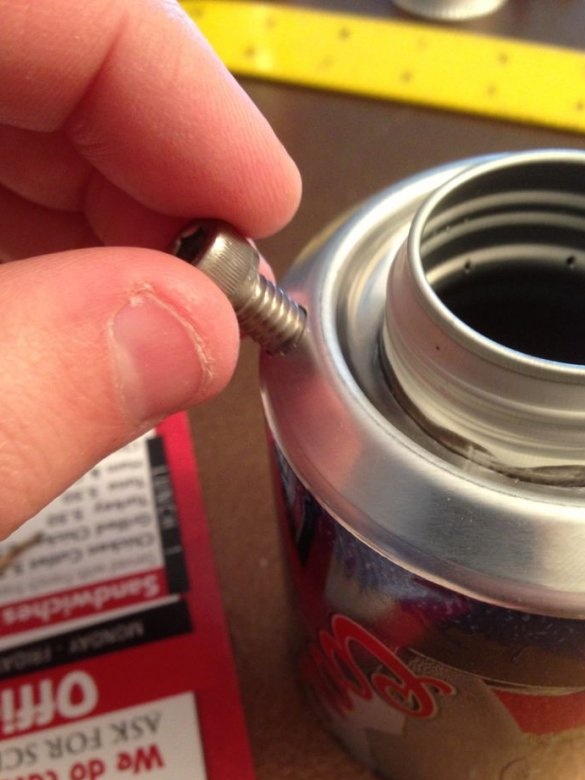
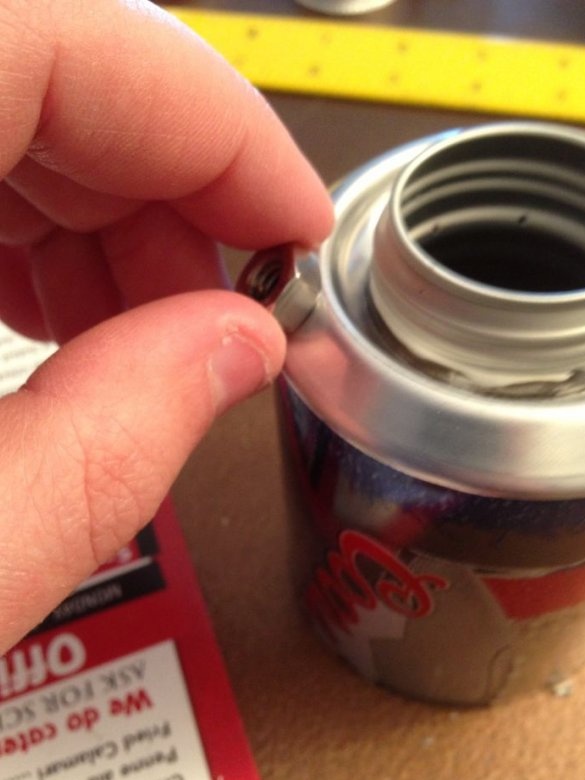
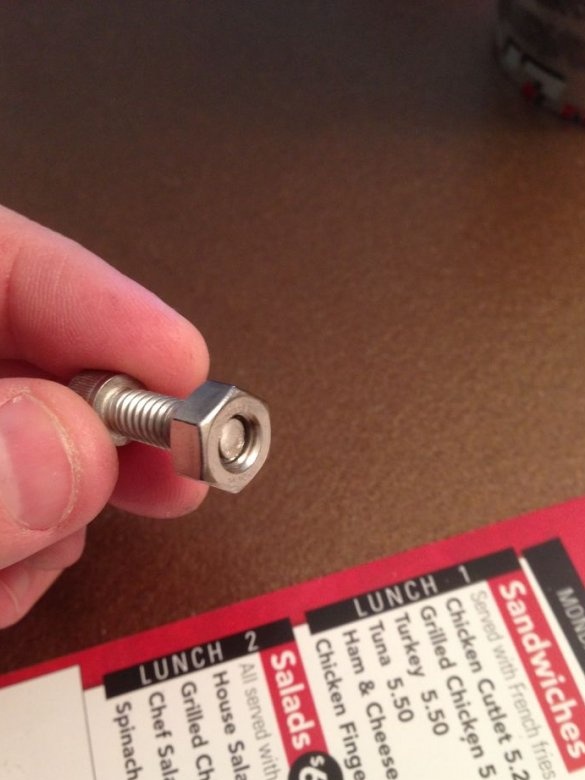
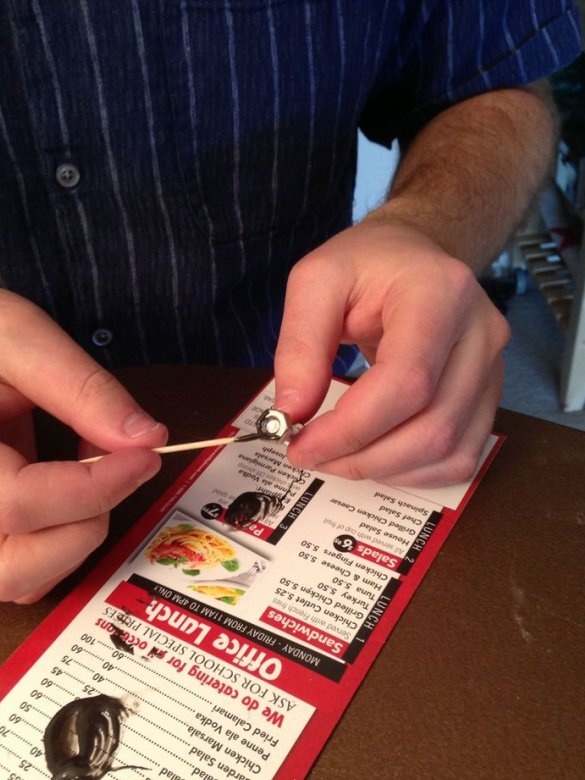
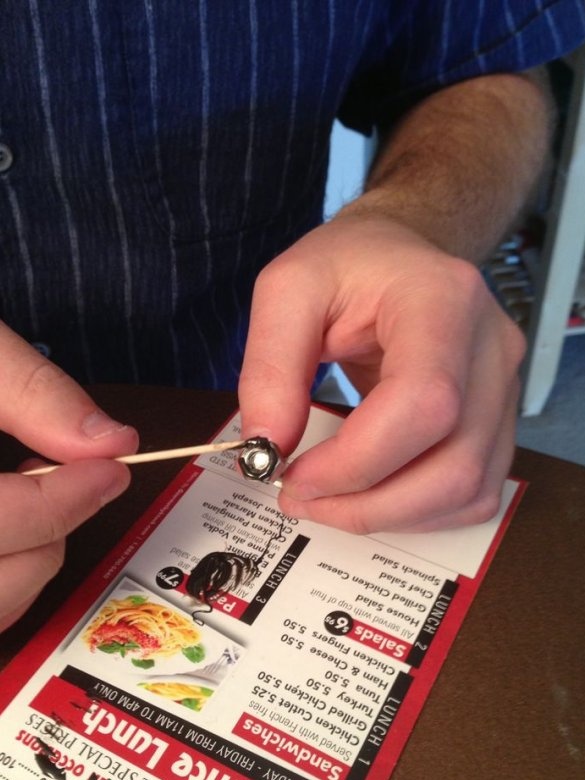
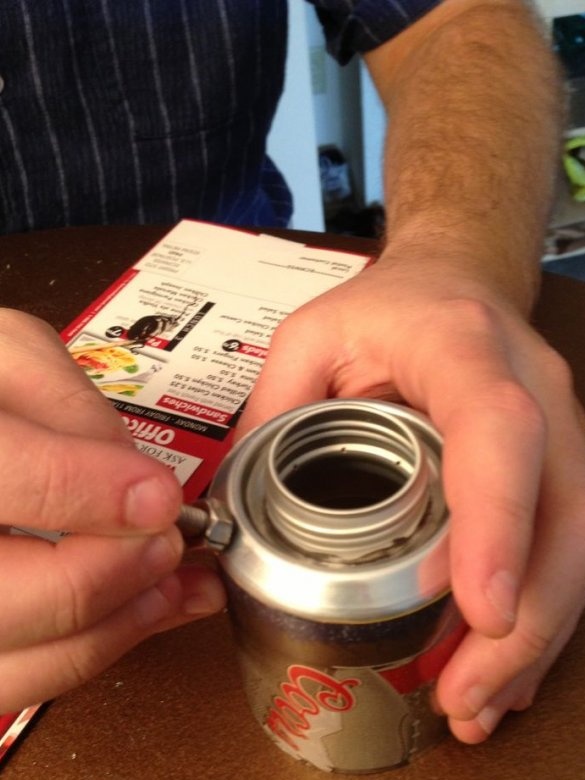
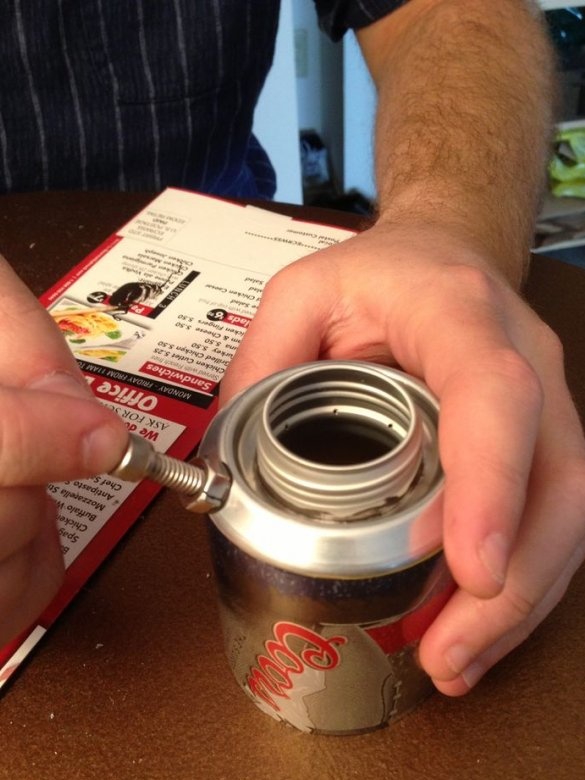
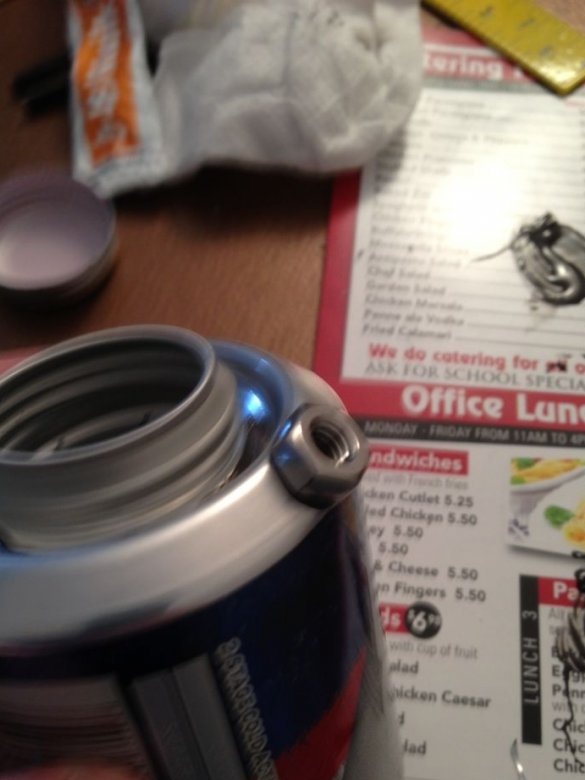
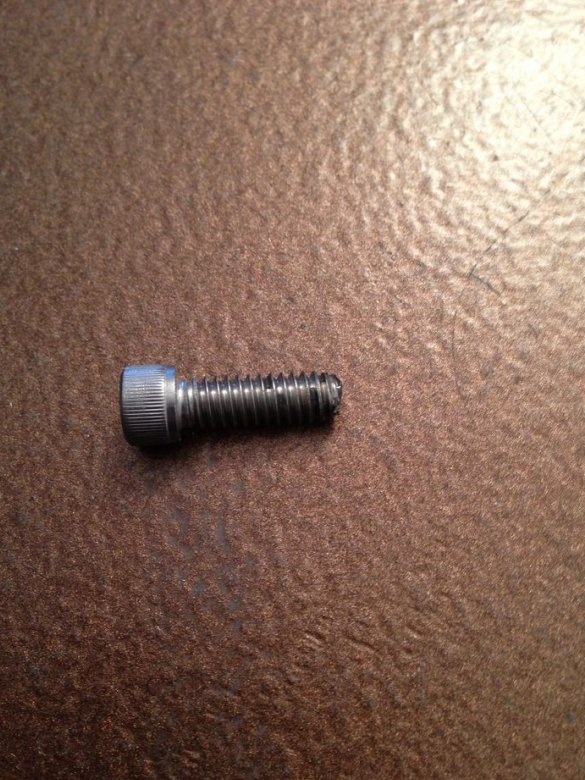
Fuel is poured not only into the lower part of the burner (in the next step), but also between the walls. As you remember, the main part of the burner is made of two parts, one in the other. To fill the fuel between the walls, you need to make a hole. The master makes a hole in the top of the outer wall. To close the hole, glue the nut into which the bolt will then be screwed.
Seventh step: crosses
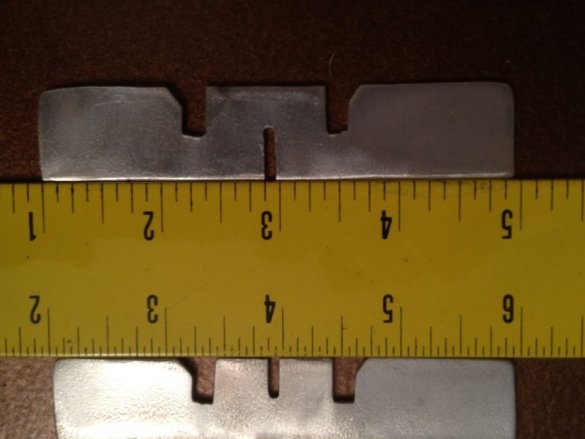
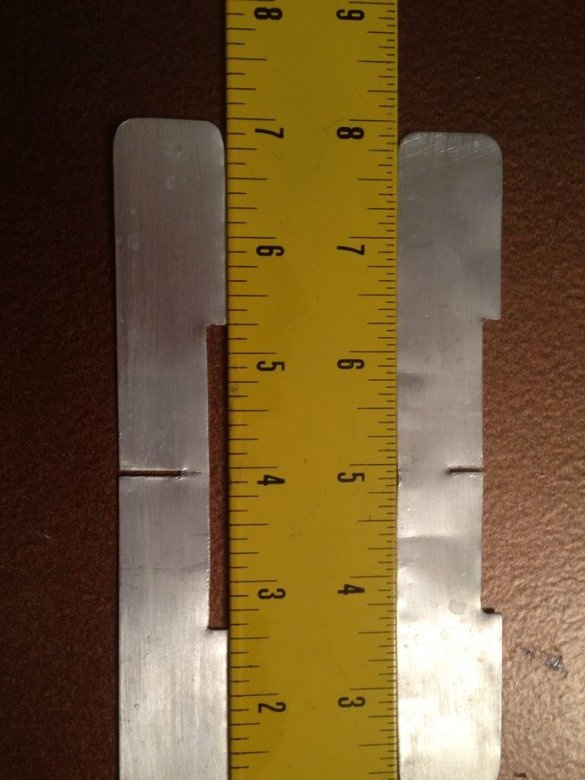
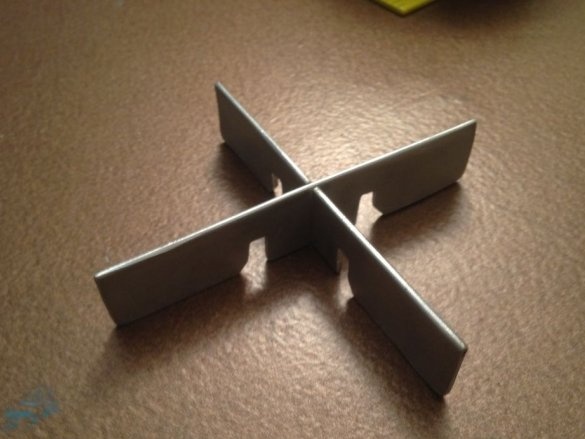
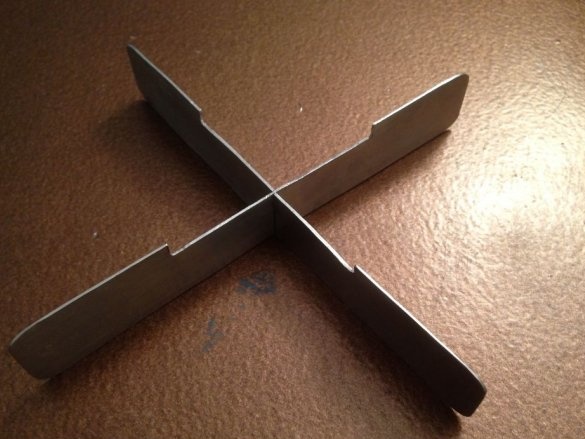
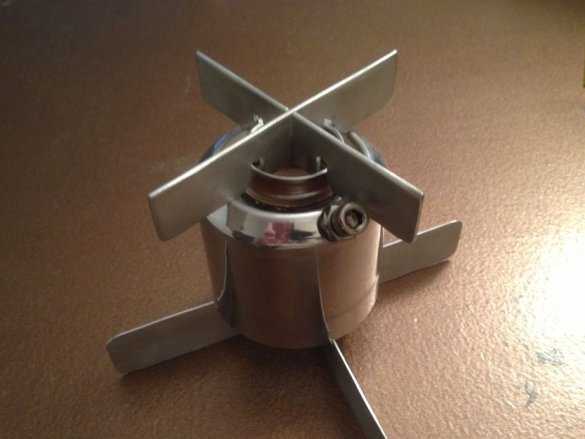
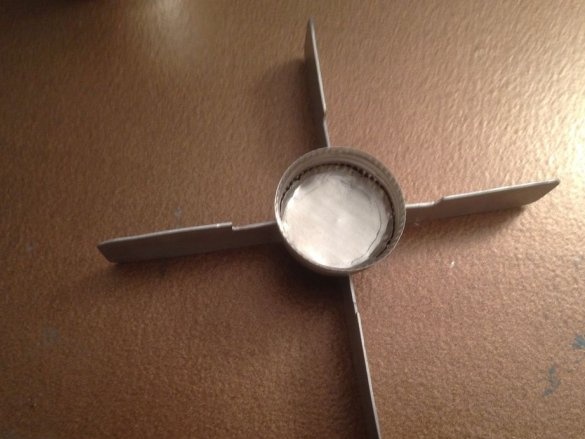
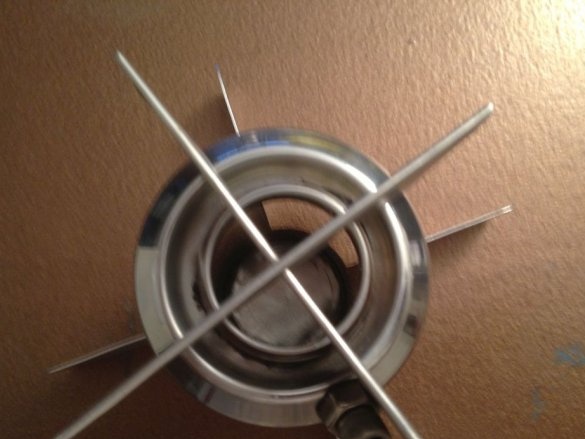
Next, you need to make two crosses.One for mounting the fuel cap and the burner on it, and a second for mounting on top of the burner.
The burner is ready. The master unscrews the bolt and fills between the walls 20-25 ml of denatured alcohol. Pours alcohol into the cap. Now you need to set fire to the alcohol in the lid and wait until the inner wall of the burner and the alcohol between the walls heat up. Alcohol will begin to evaporate and the vapors exit through the holes where they light up and the flame intensifies.

