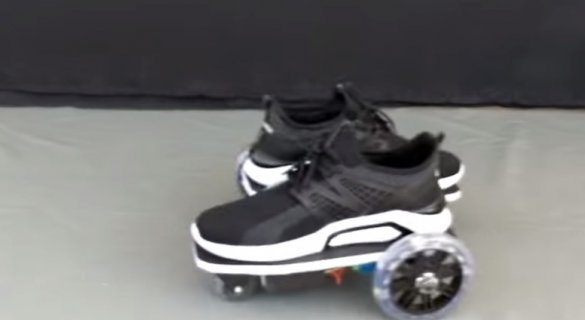
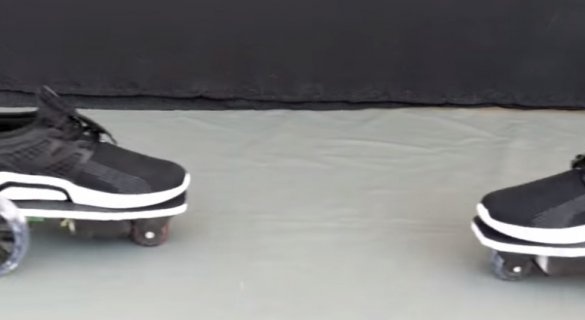
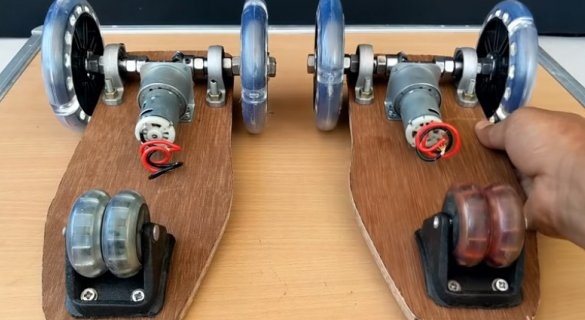
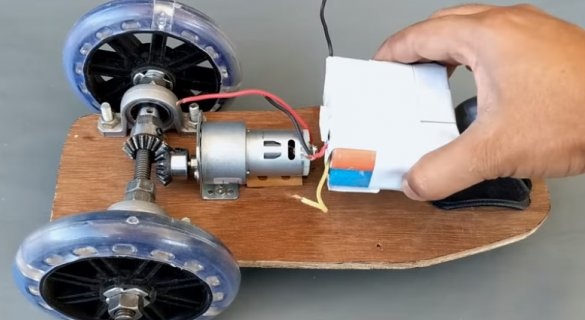
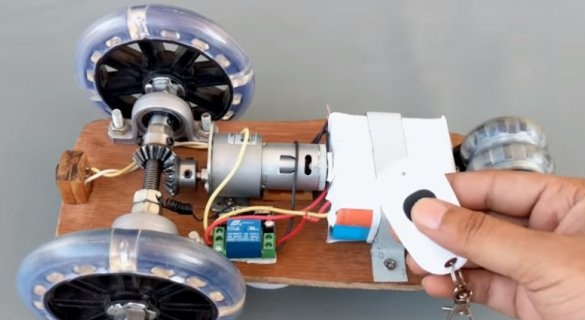
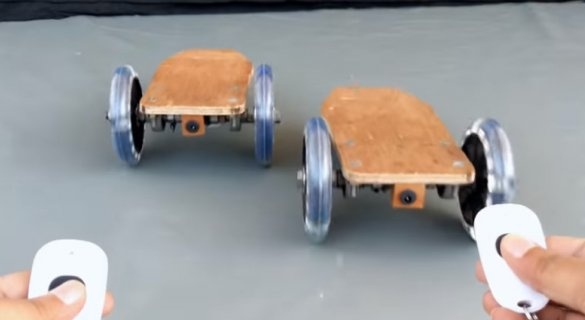
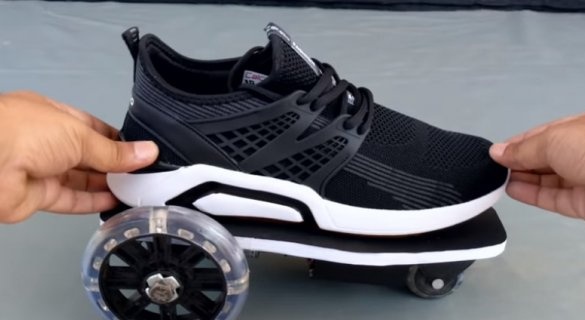
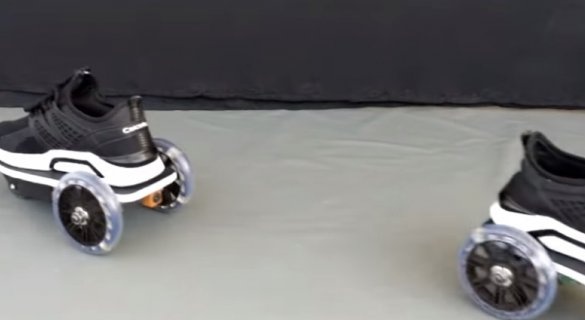
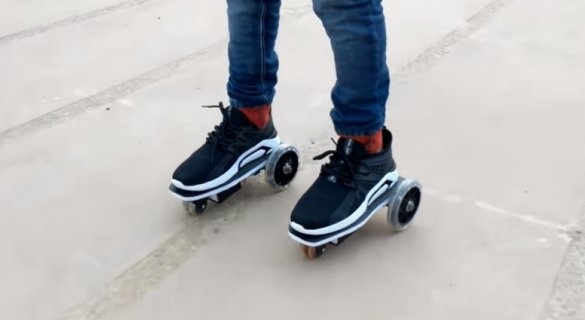
In this article, we will look at how the Master made a motorized platform on which any shoes can be mounted. Using the platform, you can move around without using muscle strength. The platform is driven by a motor with a gearbox, is powered by Li-ion batteries, and is controlled by a control panel.
Let's read what the master writes about his invention.
It’s hard to walk. You must use all these lousy leg muscles, not to mention overloading your brain with orders to move every single leg in a tedious, synchronized movement. Fortunately, you can now easily ride around with these electric powered boots.
As they say: laziness is the engine of progress-)))
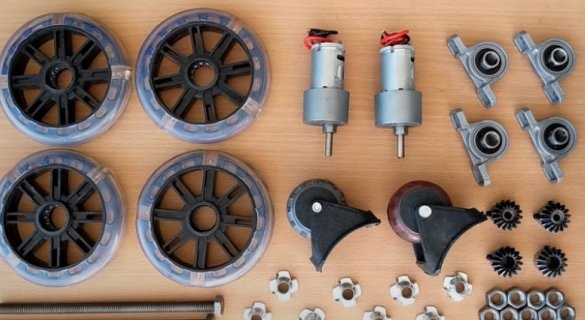
Tools and materials:
-Wheels - 4 pcs;
- 12 V engine, 200 rpm, with a force of 30 kg / cm - 2 pcs;
-Bolts - 2 pcs;
- Rollers with fastening - 2 pcs;
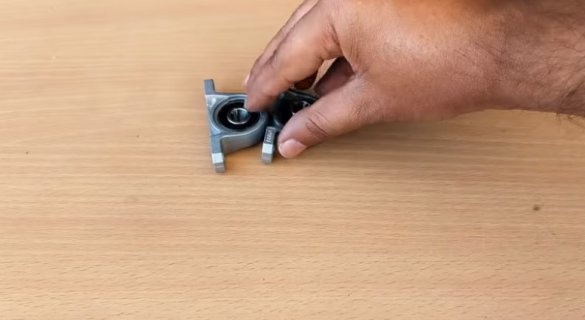
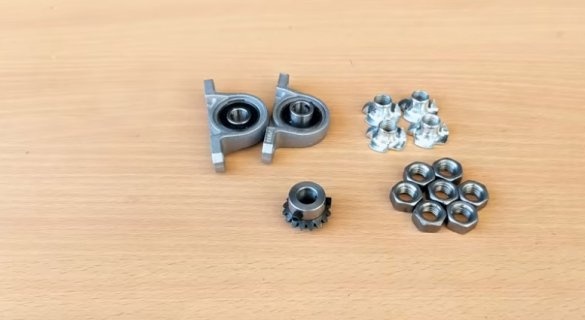
- Bearings with support - 4 pcs;
-Gears - 4 pcs;
-Fasteners;
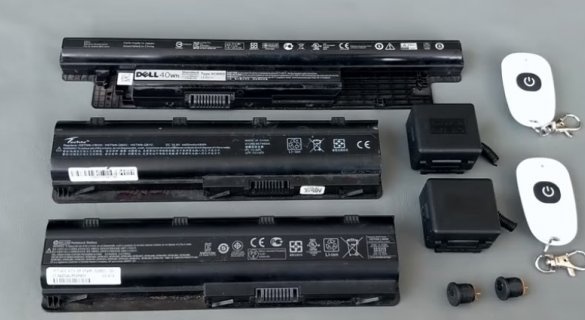
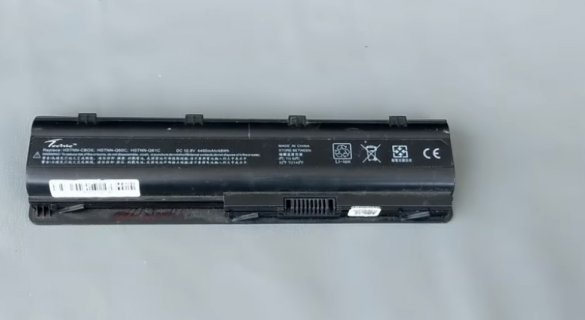
- laptop batteries;
-Charger;
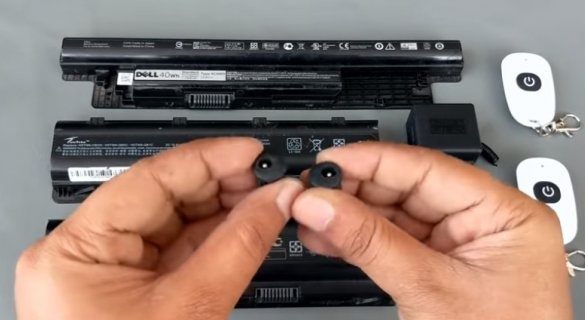
-Connector - 2 pcs;
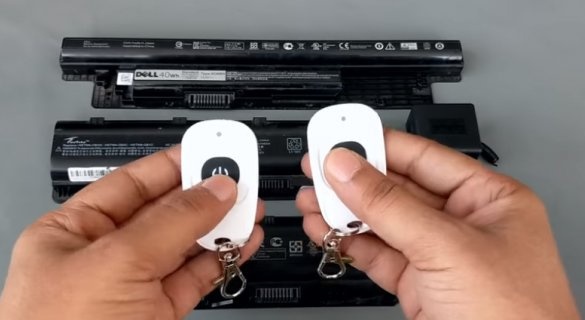
- The control panel - 2 pieces;
-Relay remote -2 pcs;
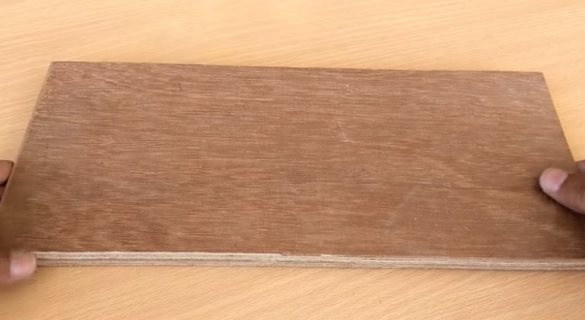
-Plywood;
-Rule;
-Paper;
-Marker;
-Scissors;
- Electric jigsaw;
-Drill;
- Spanner;
-Screwdriver;
-Glue;
-A pair of shoes;
Step One: Foundation
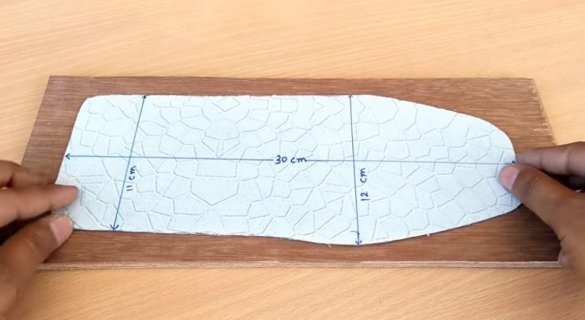
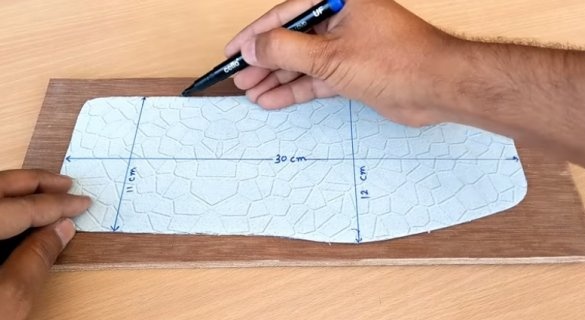
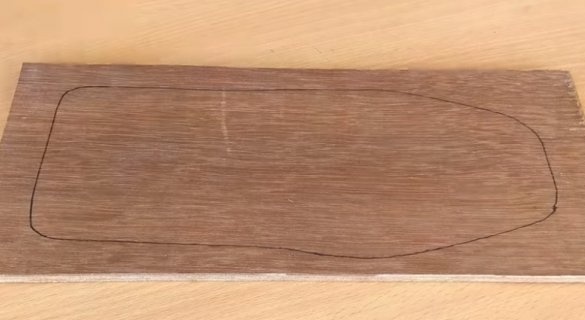
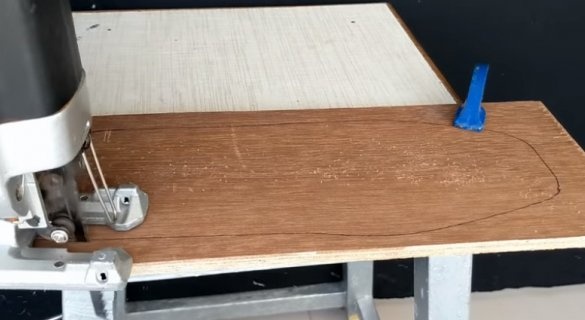
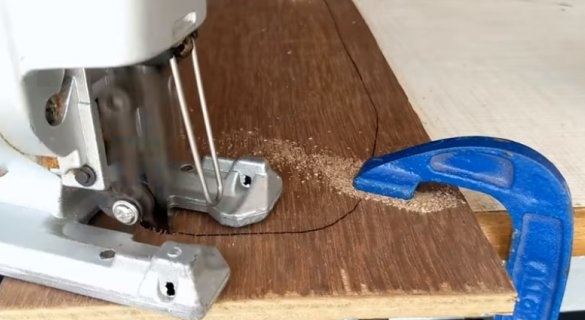
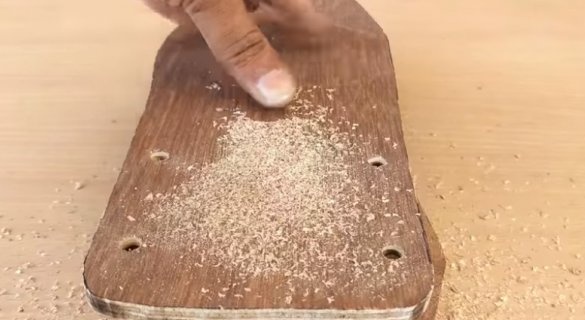
The base of the device is made of 8 mm plywood. The wizard, first, marks and cuts out a template from paper.
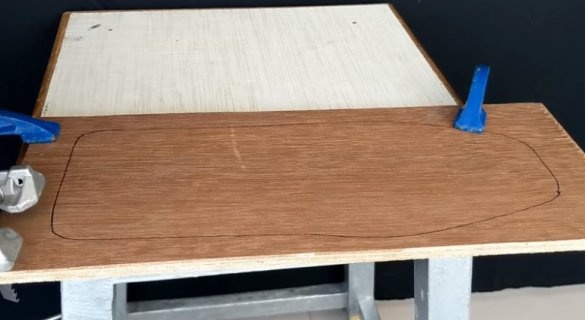
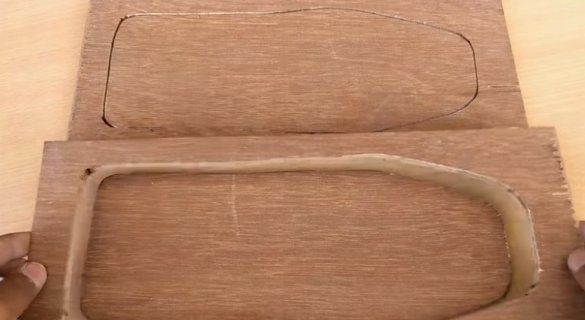
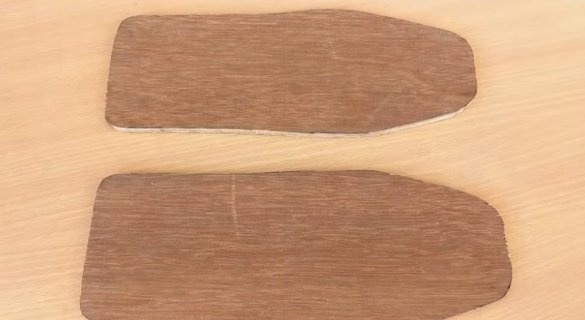
According to the template cuts two blanks.
Step Two: Build the Drive Wheel Pair
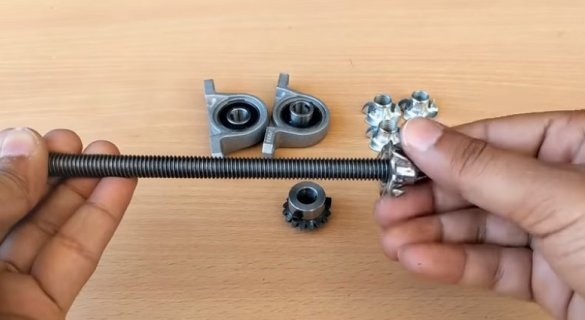
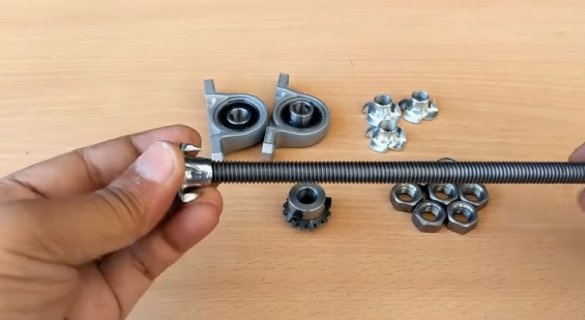
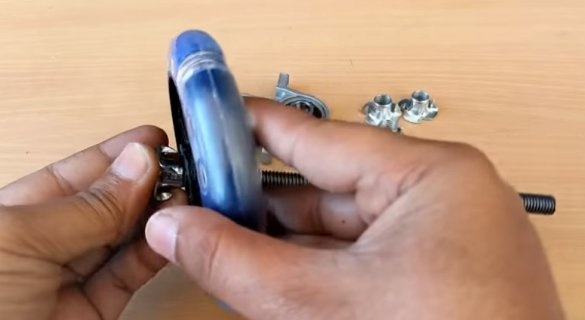
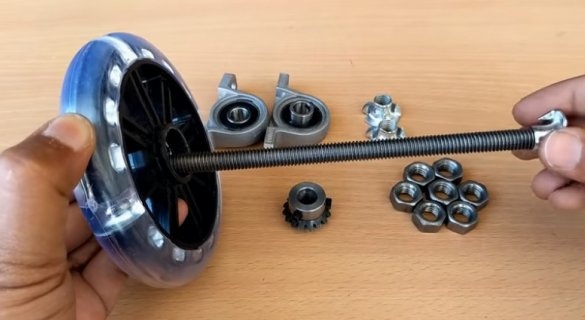
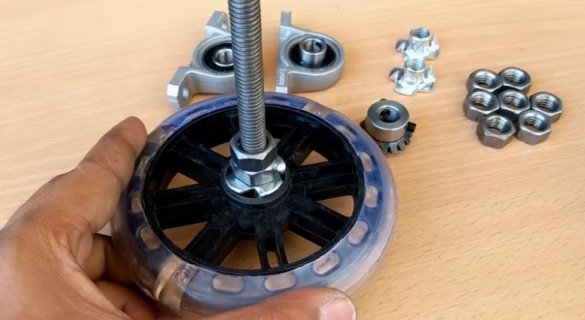
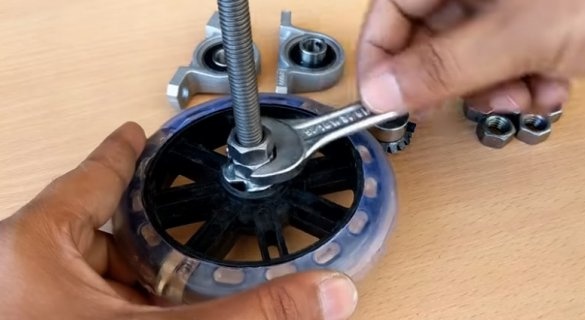
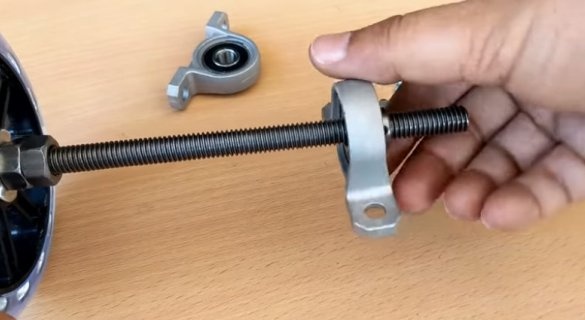
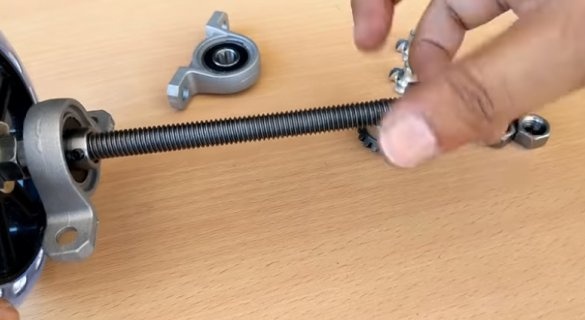
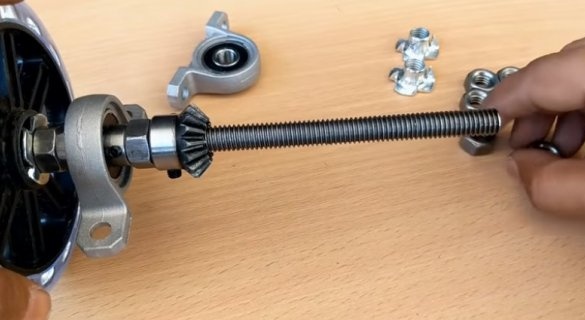
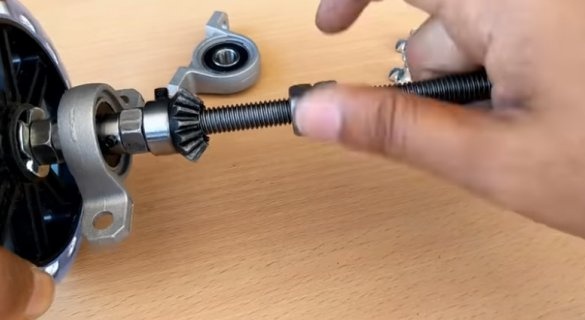
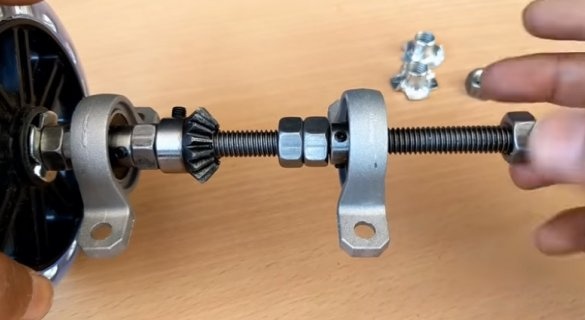
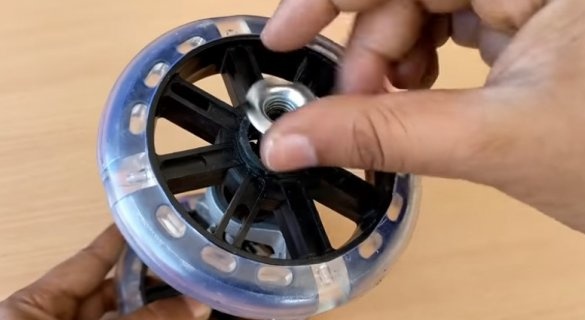
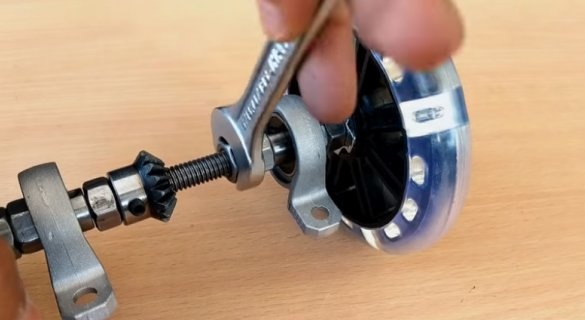
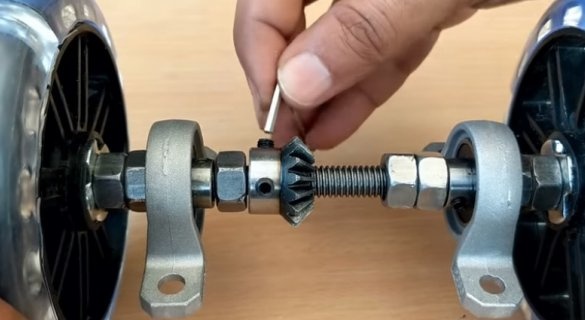
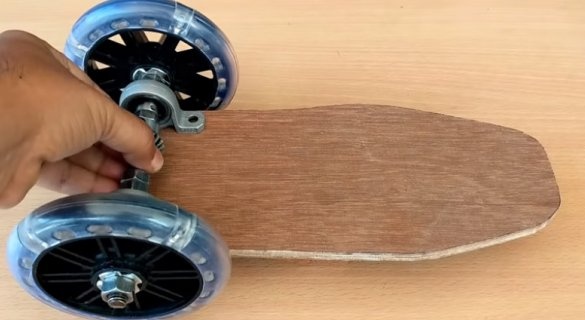
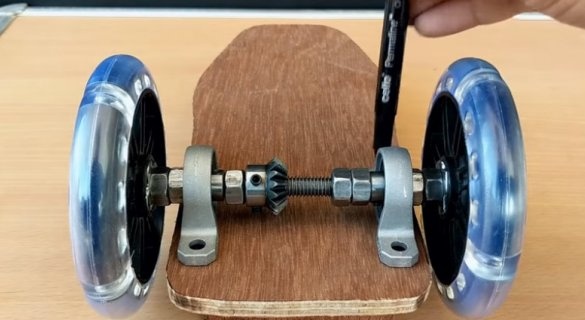
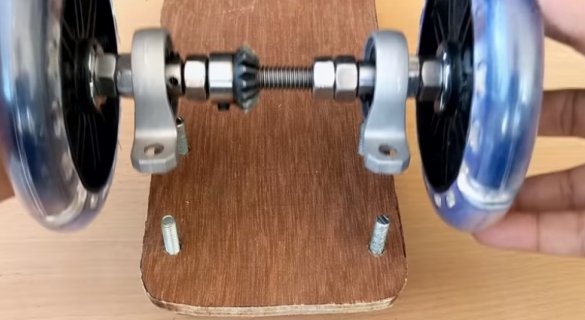
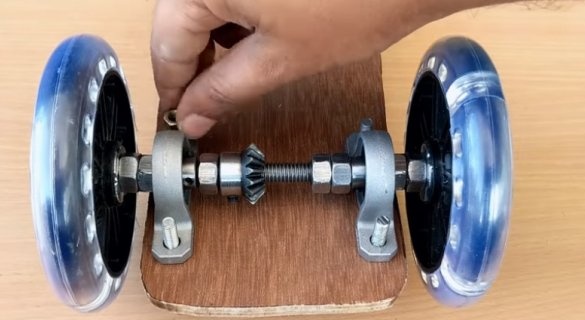
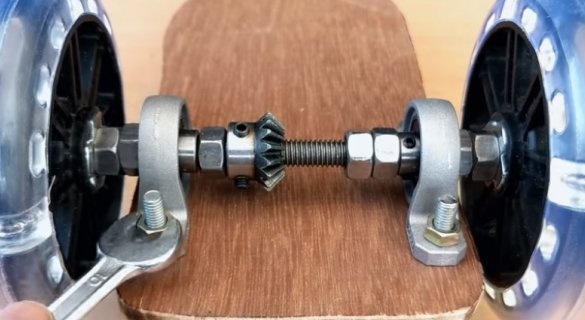
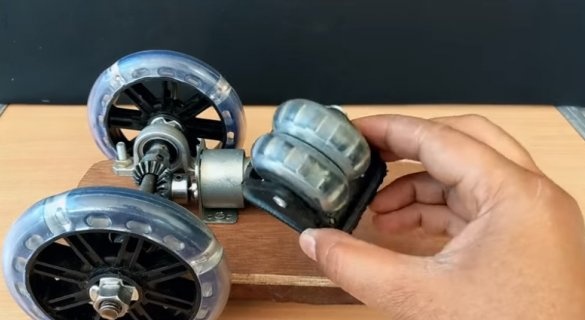
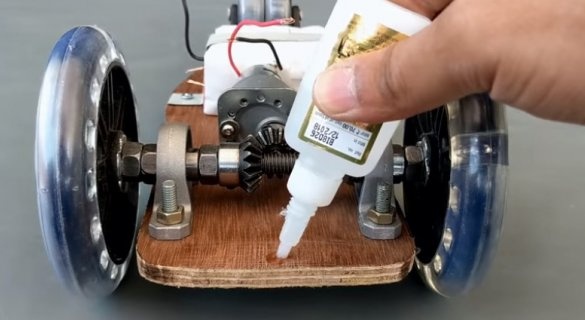
Then it installs wheels, bearings with bearings, and gear wheel on the bolt-axis.
Step Three: Install the wheelset
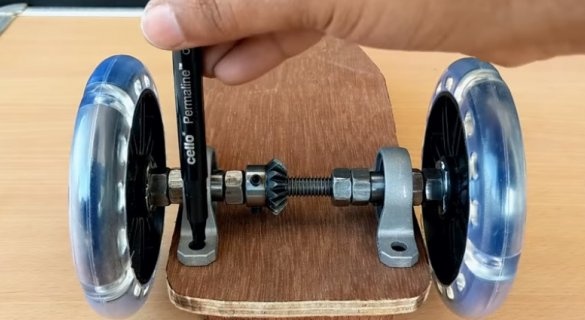
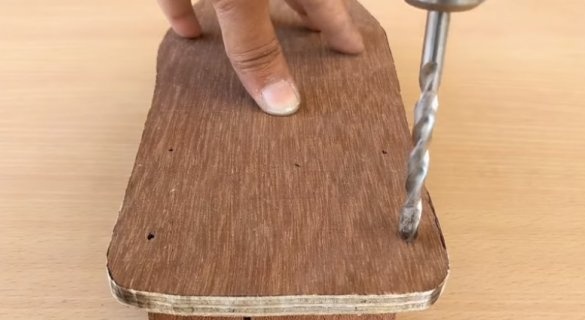
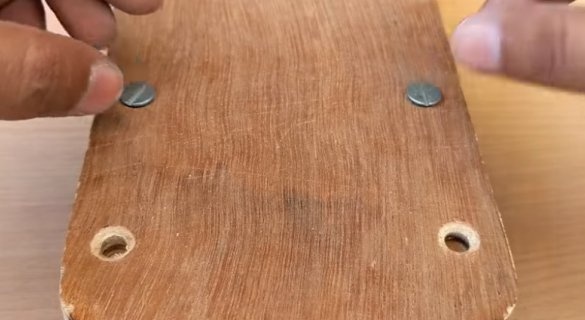
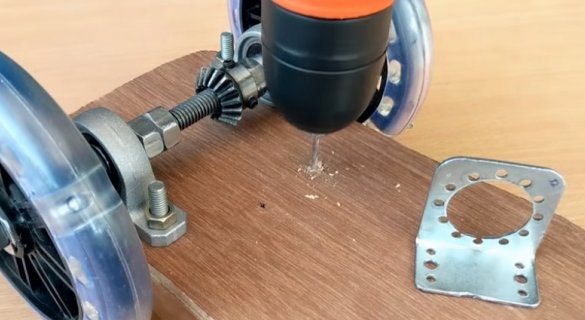
The assembled wheelset will be mounted at the rear of the platform. The master marks the installation site, drills a hole.
Screws the wheelset to the platform.
Step Four: Engine Installation
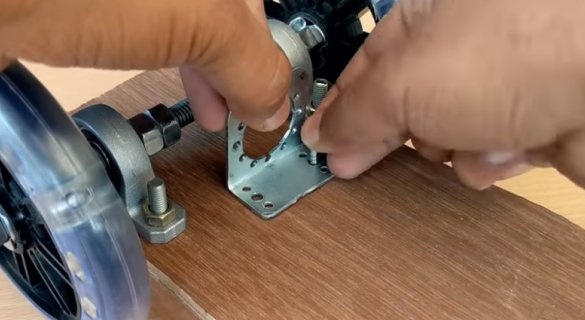
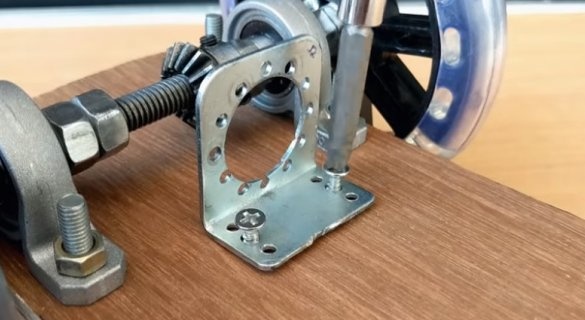
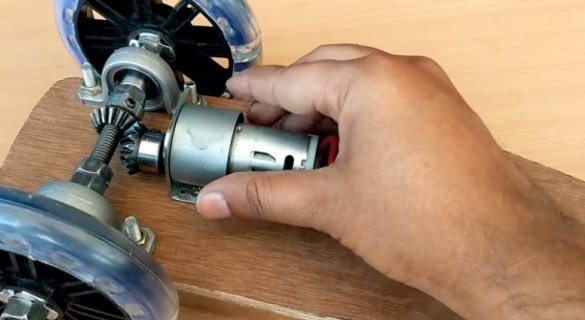
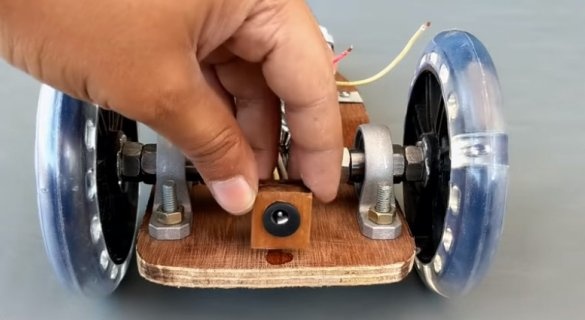
Secures the engine mount to the platform.
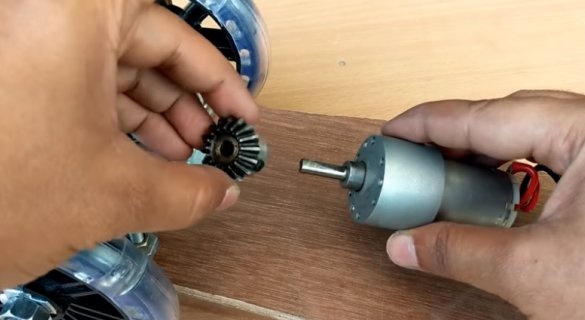
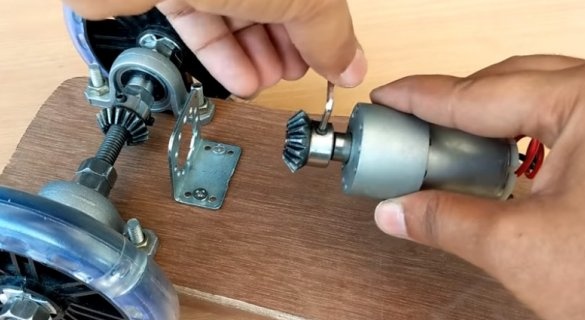
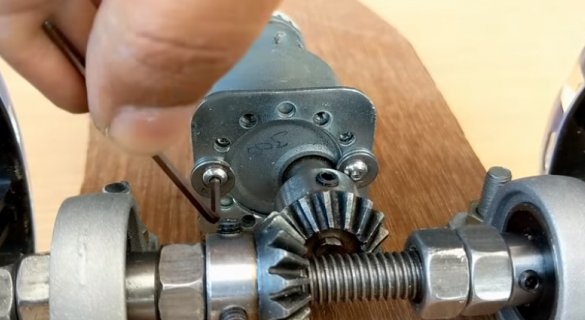
It installs a gear on the axis of the engine and fastens the engine to the mount.
Step Five: Front Rollers
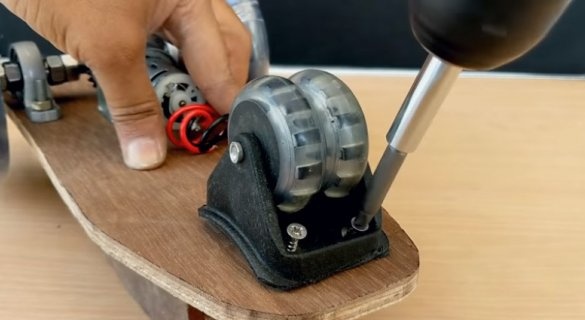
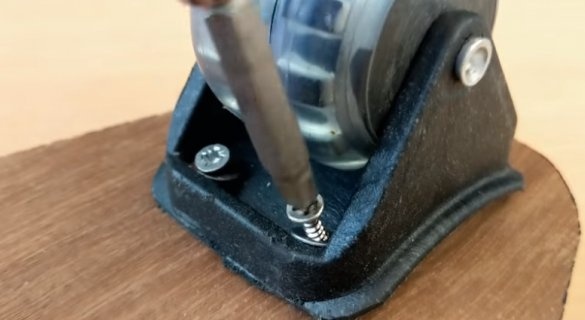
Screws the front roller.
Step six: electrical part
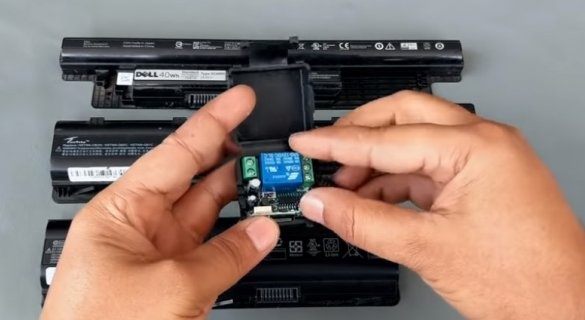
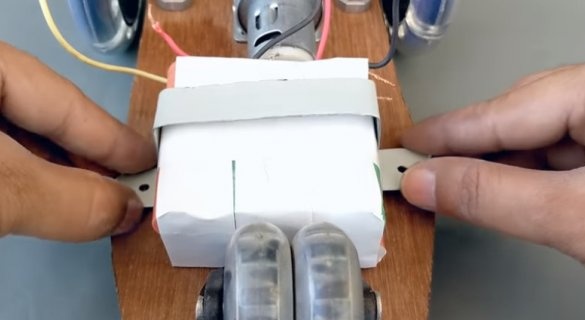
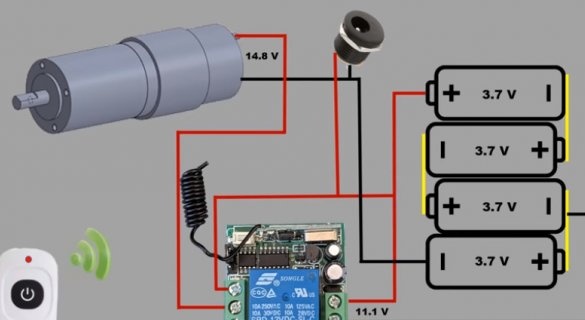
For installation, you will need batteries, a wireless relay with a remote control, a connector, and the actual motor.
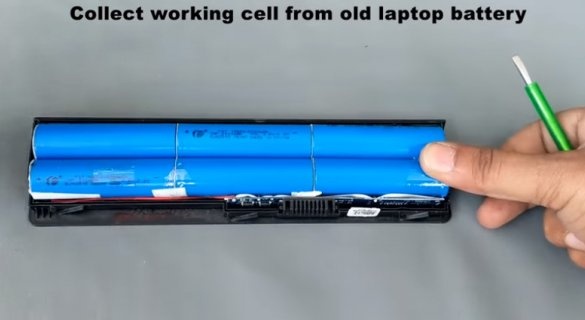
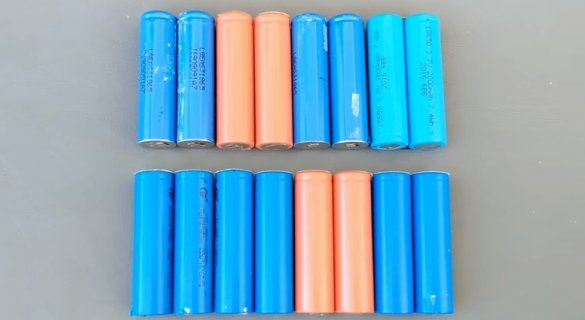
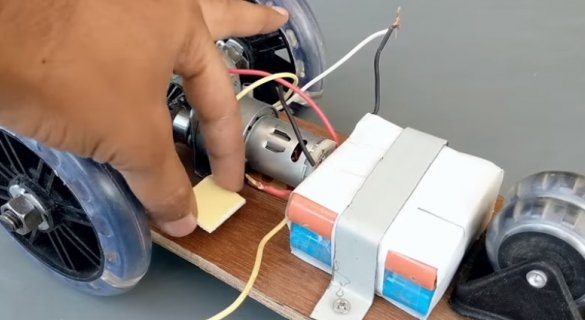
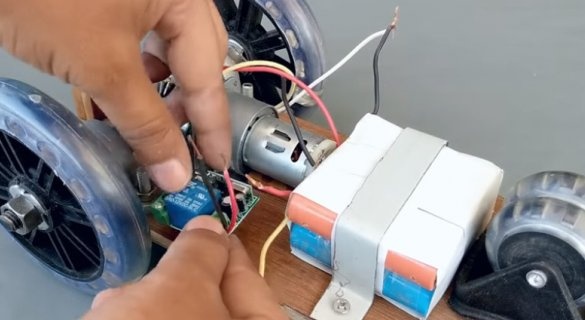
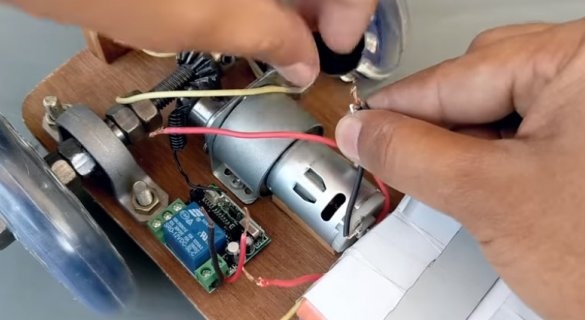
Disassembles the battery and extracts elements from it.Takes working batteries and assembles two blocks. Secures the batteries to the platform. Secures connector and wireless relay.
Connects wires according to the circuit.
After installation, checks the platform in operation.
Everything works and you can proceed to the final step.
Seventh step: attaching shoes
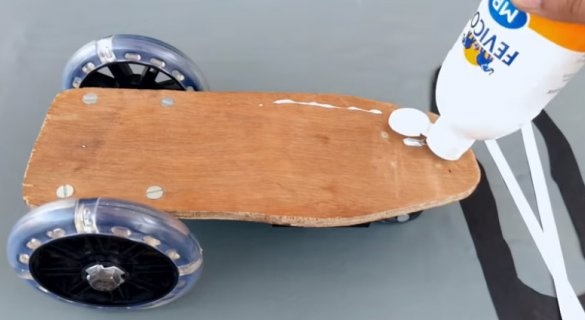
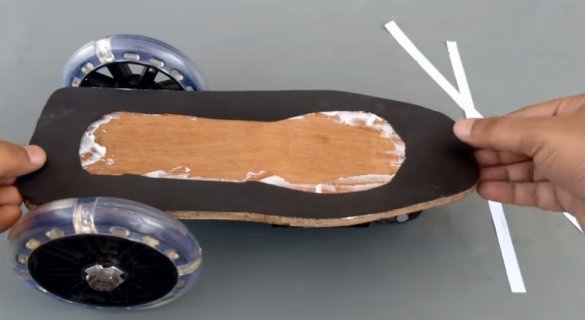
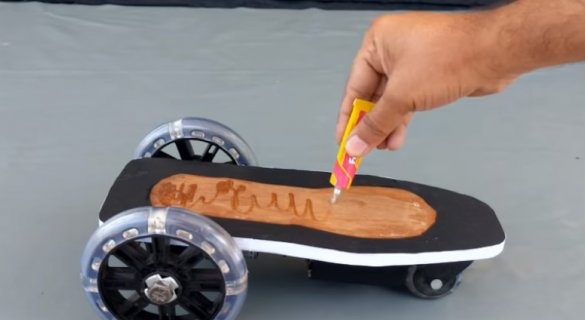
The master glues a black backing to the top of the board. Glue sneakers on top.
Everything is ready and you can begin to test. The master shoes sneakers and presses the buttons on the remote controls.
From myself: it’s not clear why the master didn’t “tied” both remote relays to one console
The whole process of manufacturing such a device can be seen in the video.

