
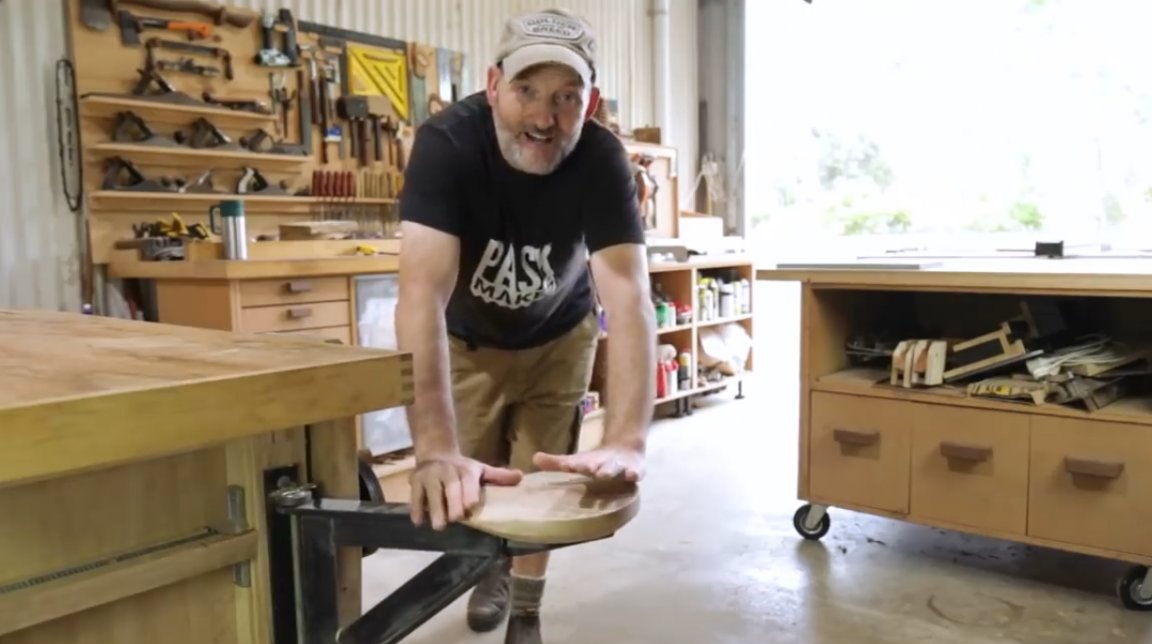
In this article, Neil, the author of YouTube channel "Pask Makes" will tell you about how in conditions home workshop to make a folding seat for a workbench, without welding.
How? - you ask. It's simple, its frame will be made of thick plywood, while the loops will have a significant load. Previously, the author had already made a similar seat with a steel frame.
Materials
- sheet plywood
- Board
- Steel tube, bolts, nuts
- PVA glue
- Sandpaper
-, wax.
Instruments, used by the author.
-
-
- Grinding machine
-
- A circular saw
- Skobel, chisels
-
-
-
-
-
-
- A plane, a vise, a ruler, a square, a pencil, a compass.
Manufacturing process.
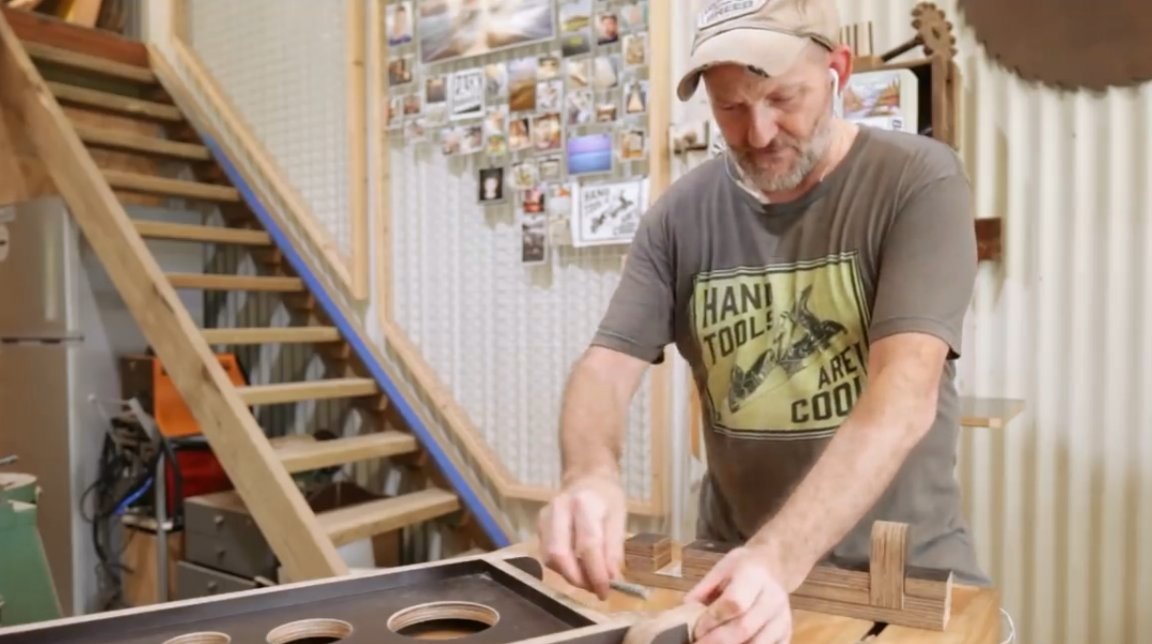
So, the author begins with the manufacture of a frame for the seat.
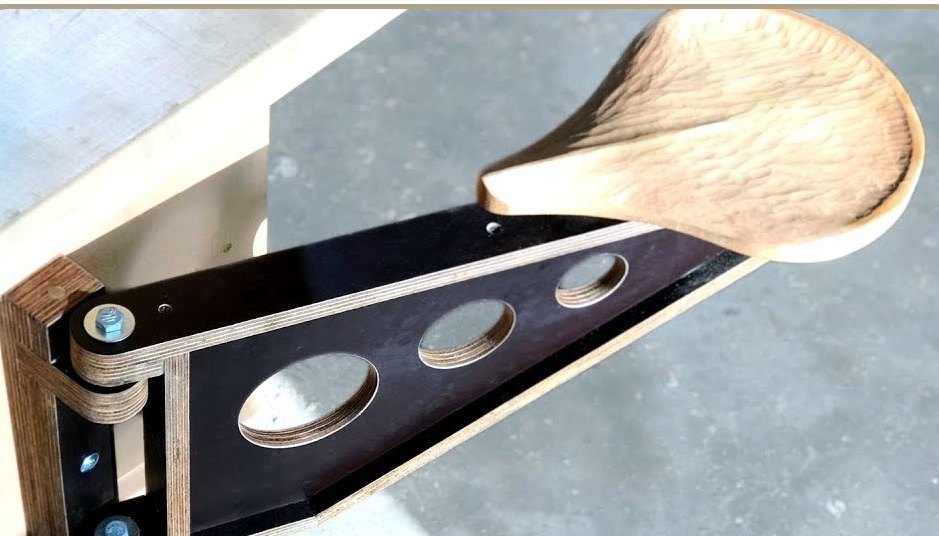
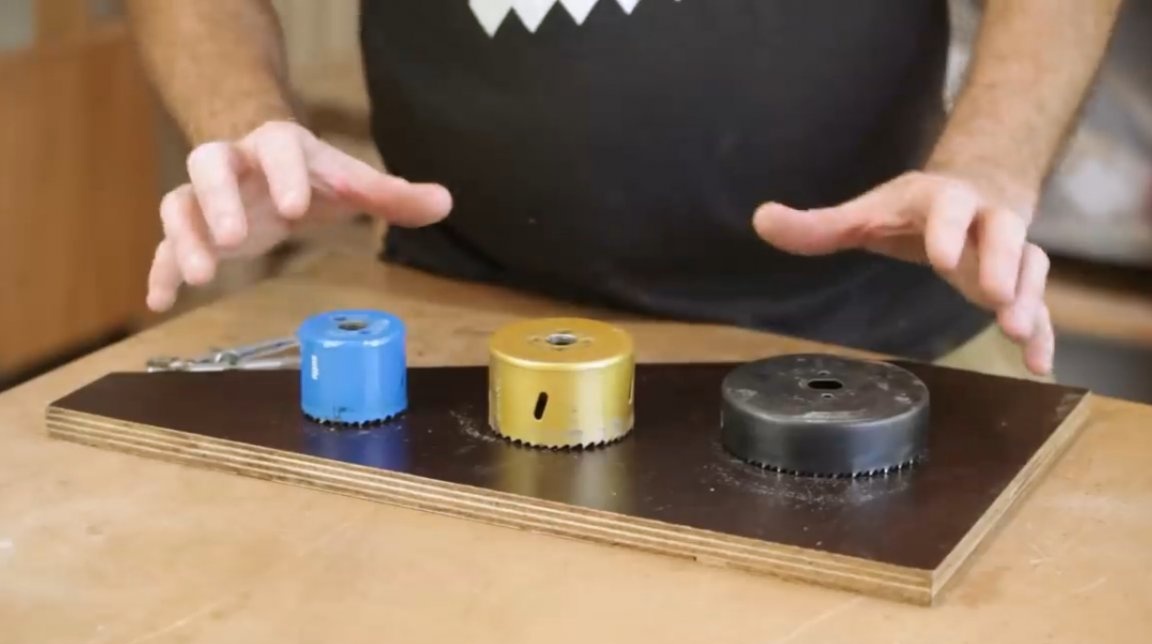
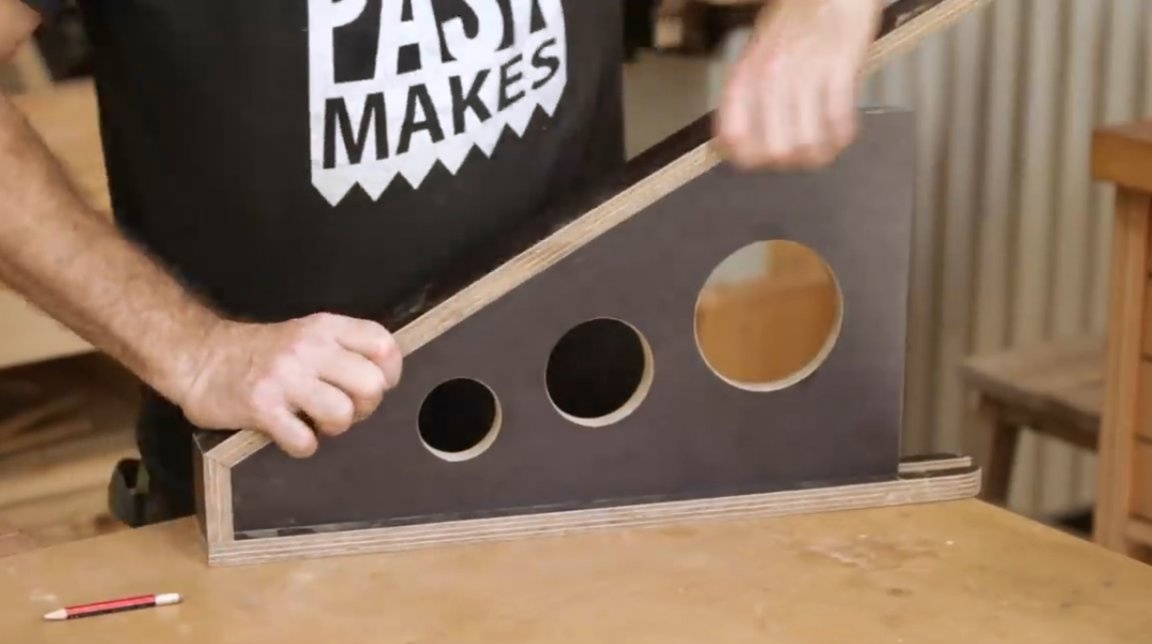
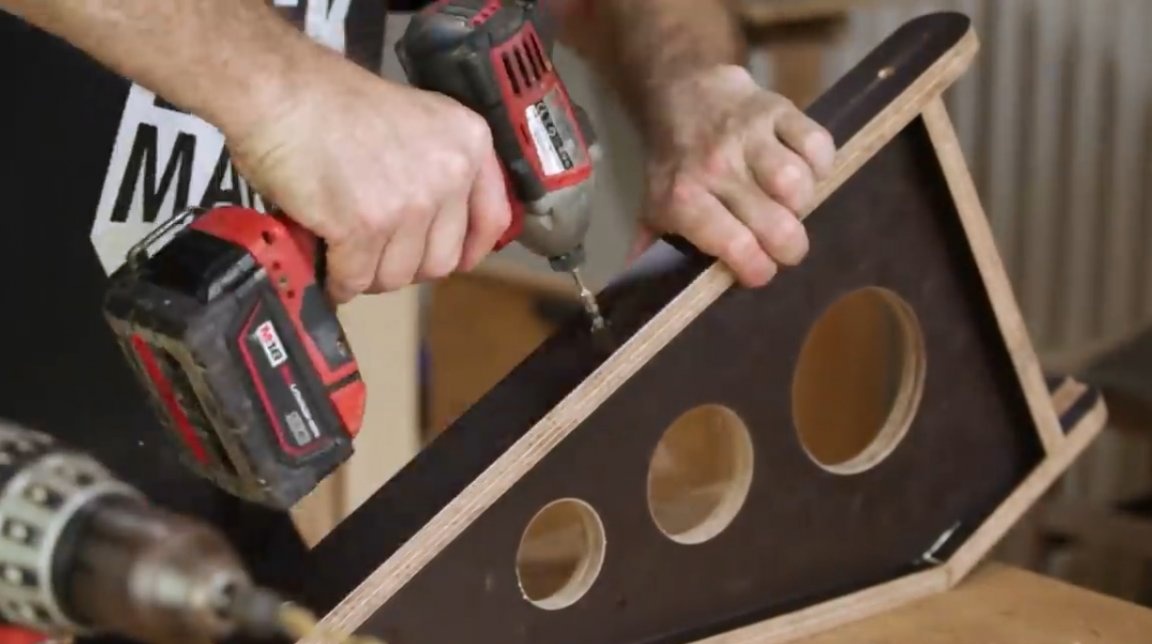
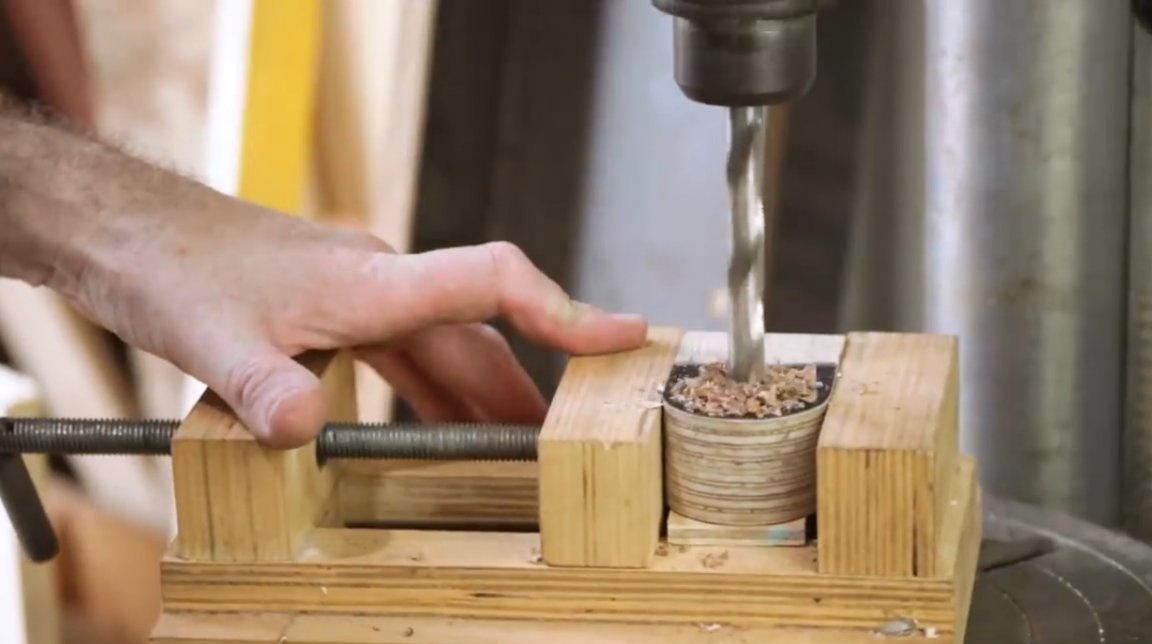
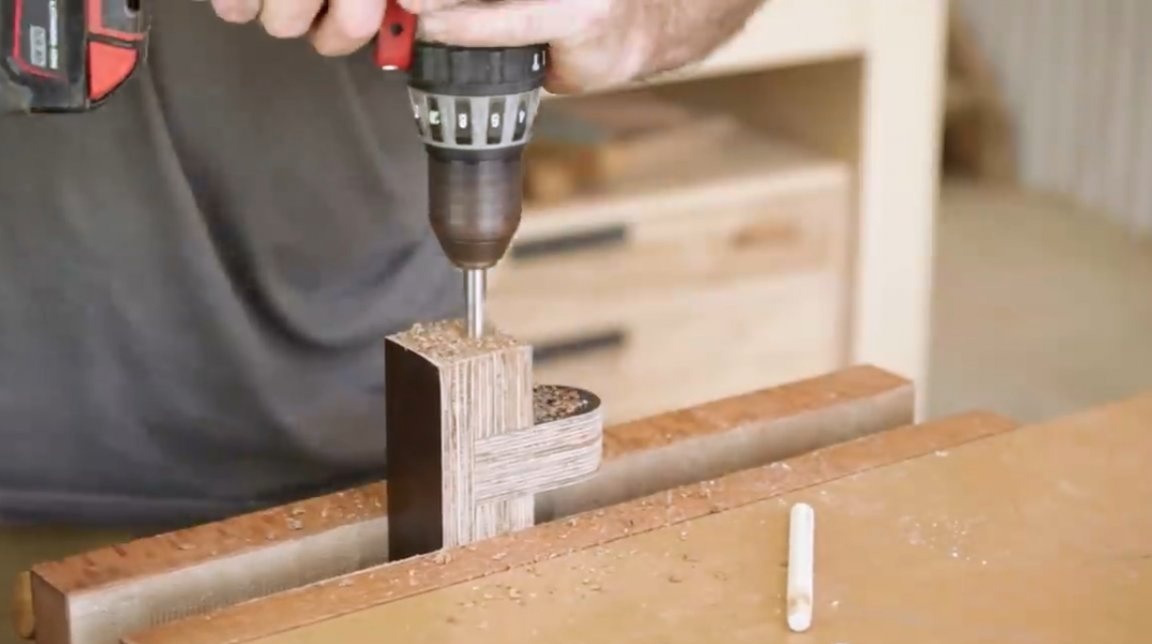
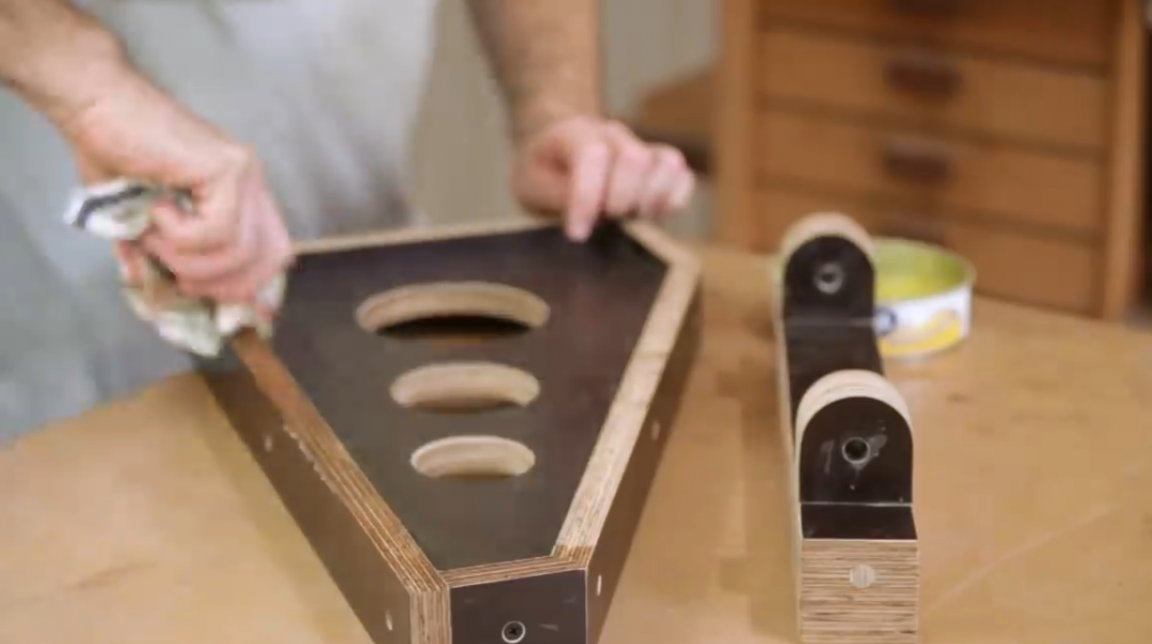
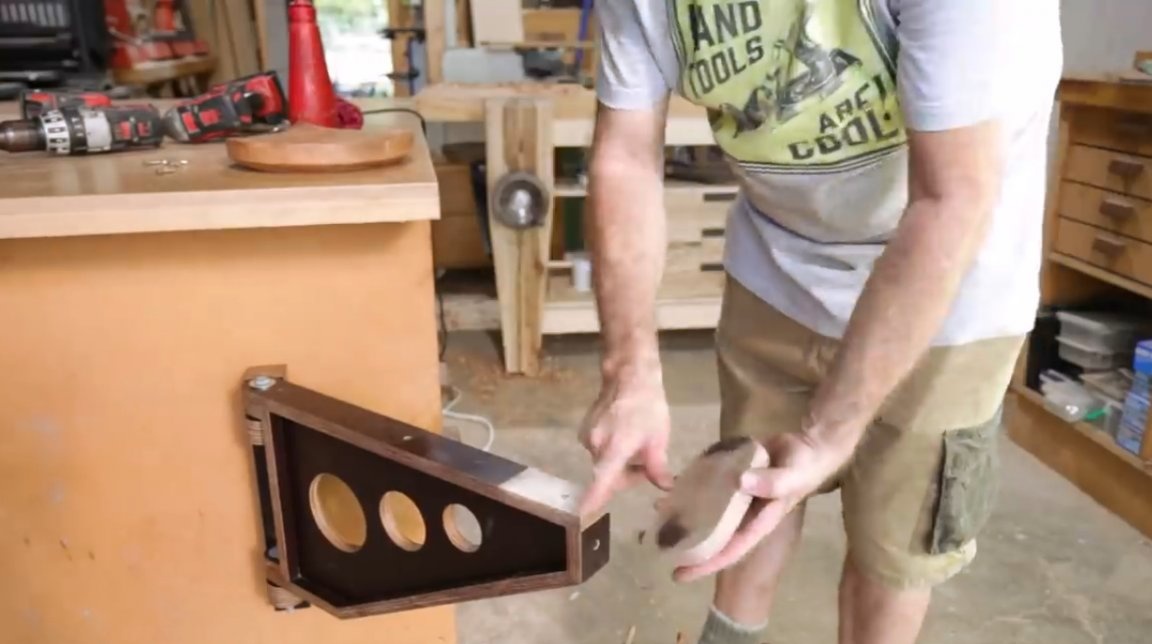
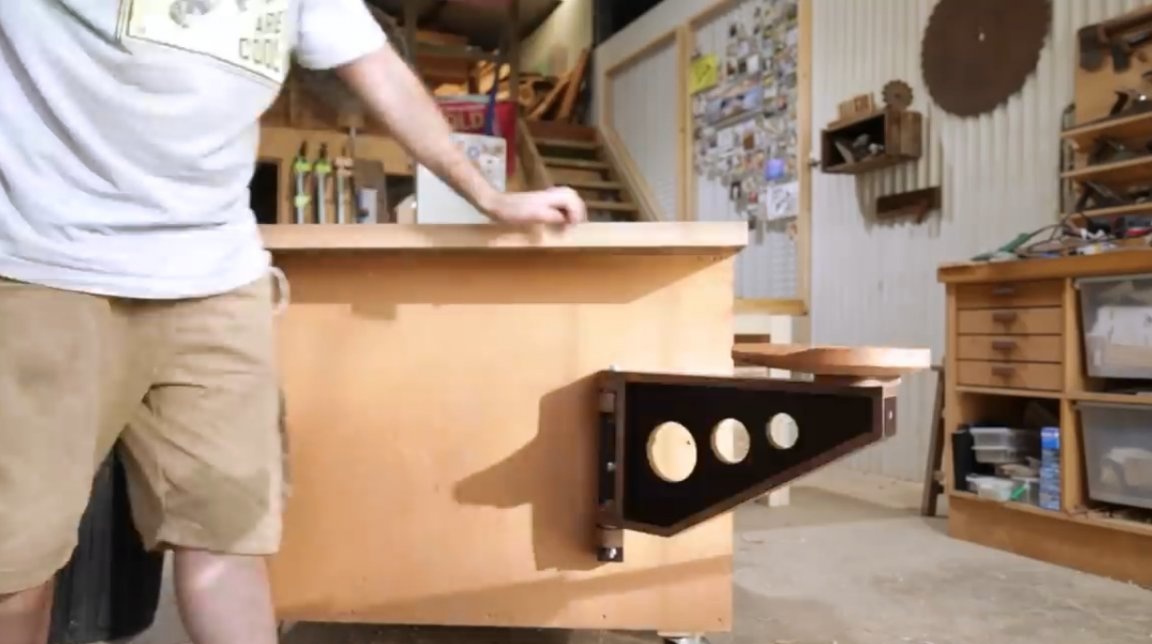
This step is optional - the author is going to drill three holes in the bottom of the stand of the future seat, simply for reasons of aesthetics, as well as to facilitate the design. This will be done with core drills. Neil sets them in diameter from small to large. This work could also be done with a Forstner drill, but with crowns it will be easier and faster.
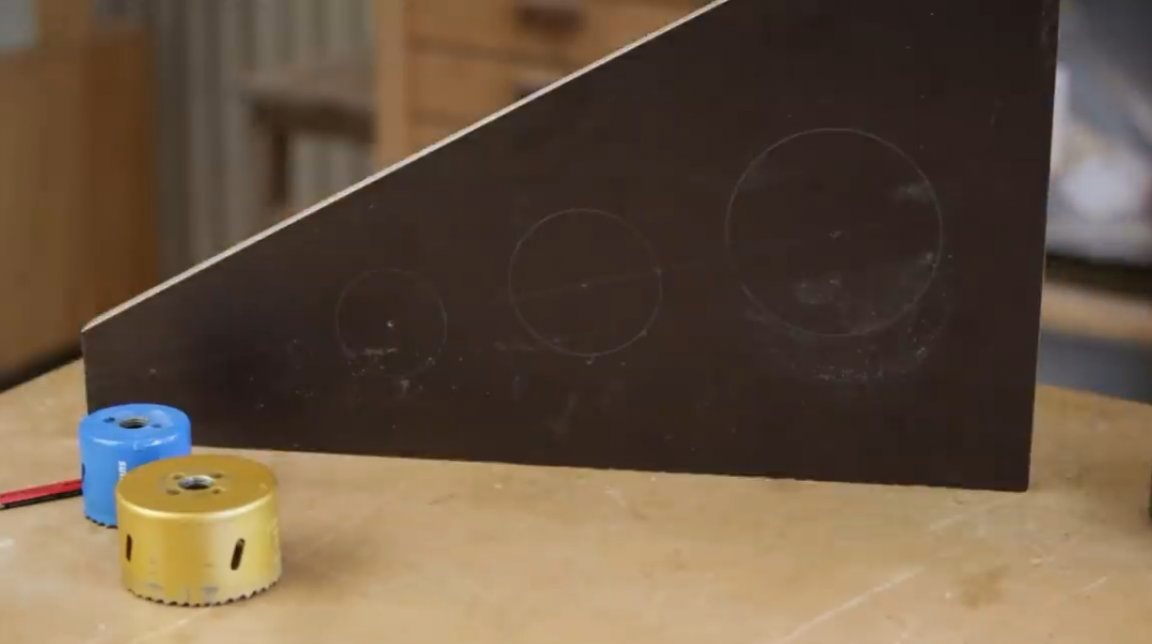
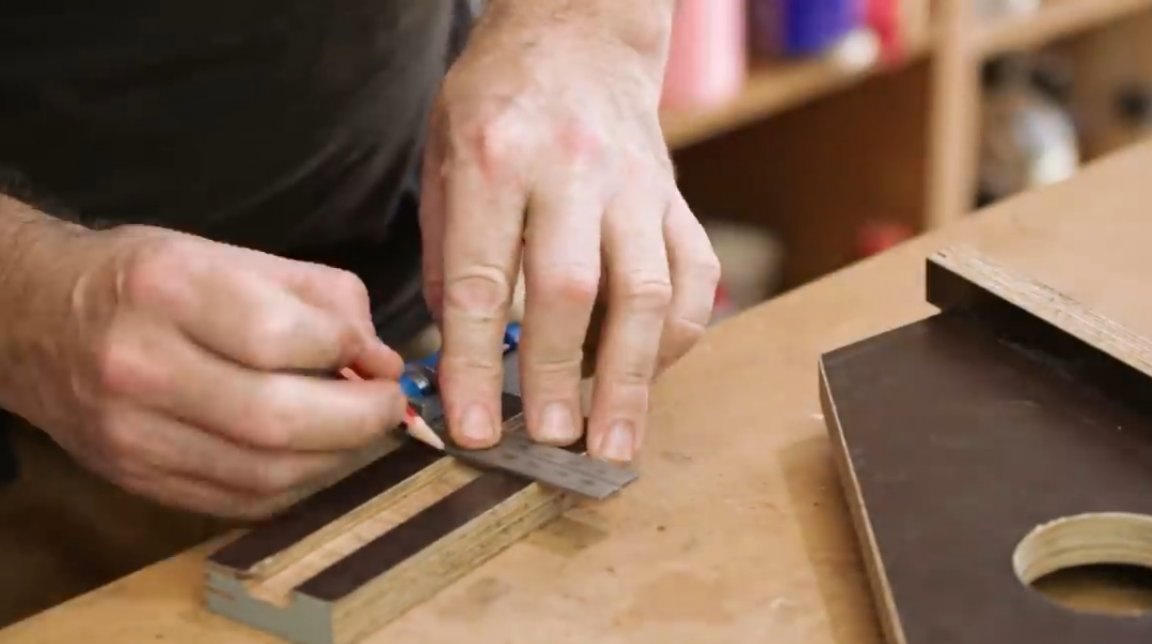
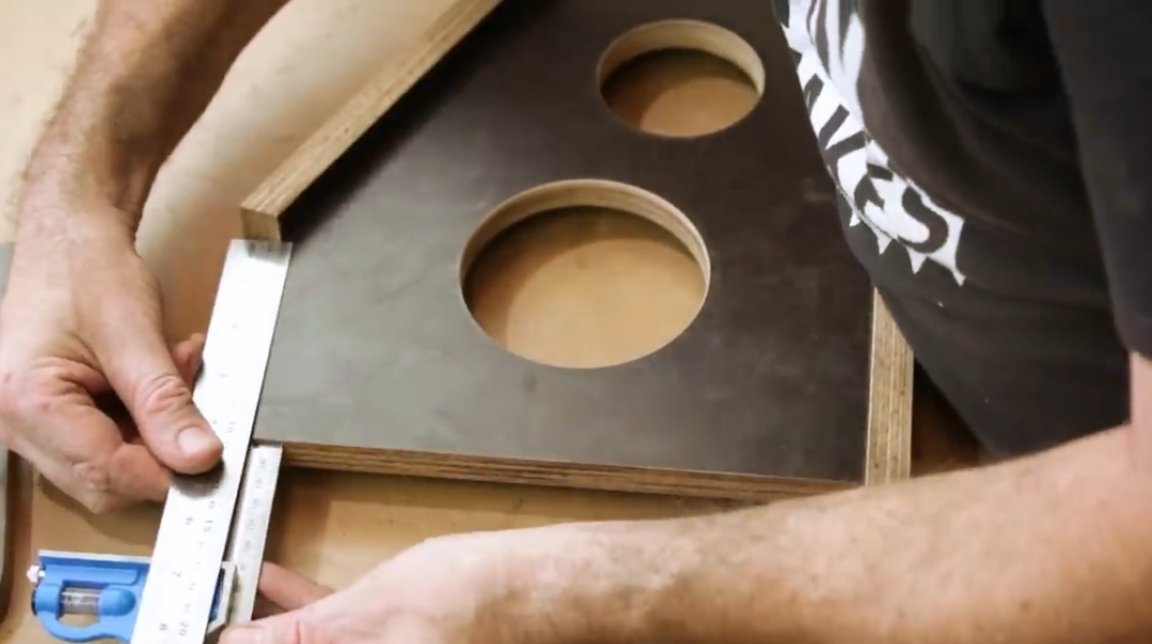
The master marks the circles, putting their centers in one line, and at an equal distance. Then he drills the holes with a screwdriver.
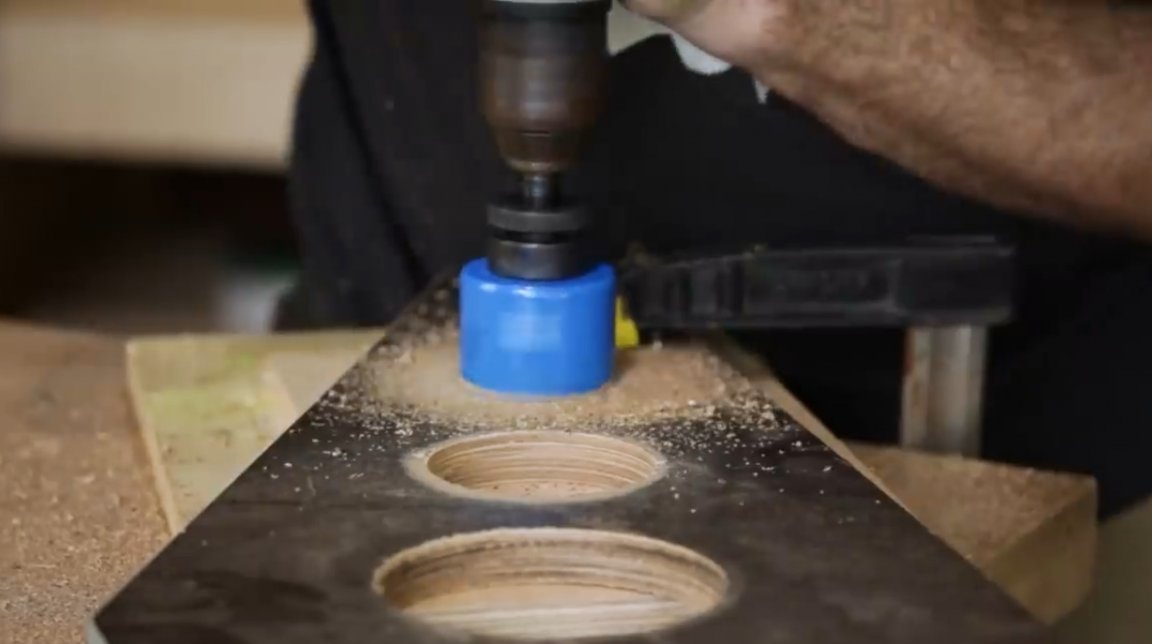
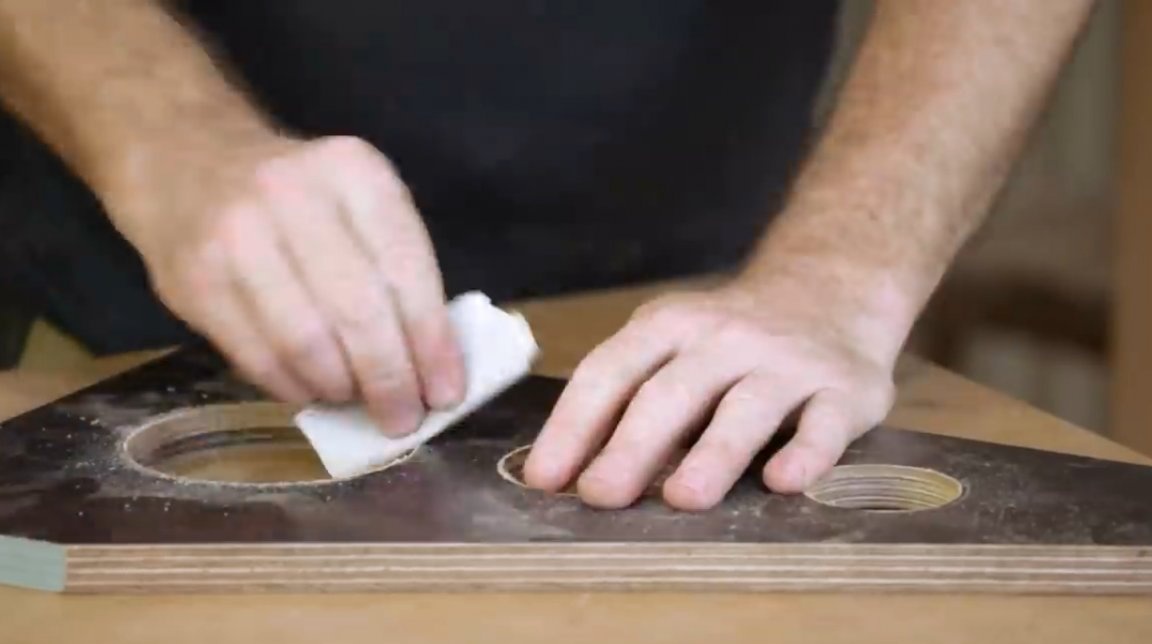
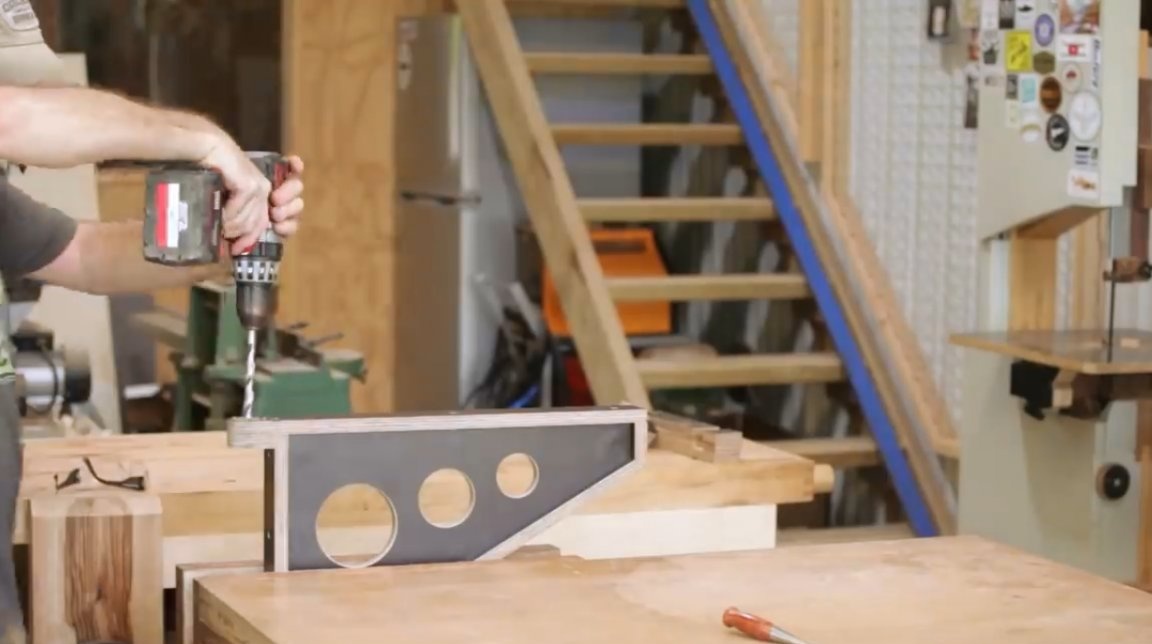
Finished holes are cleaned with emery.
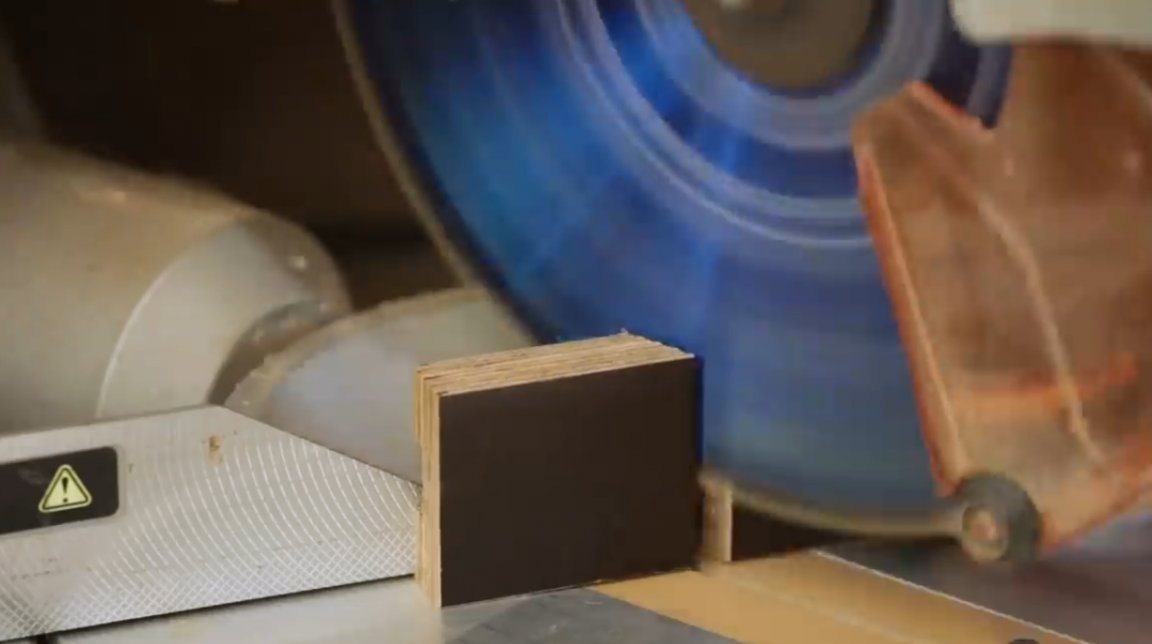
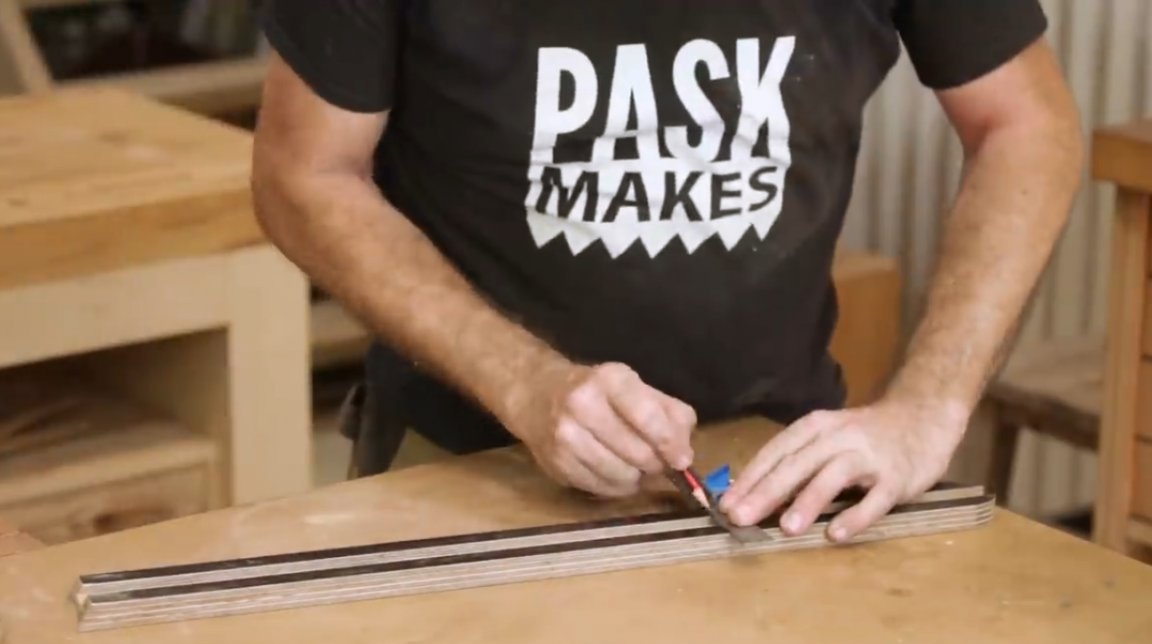
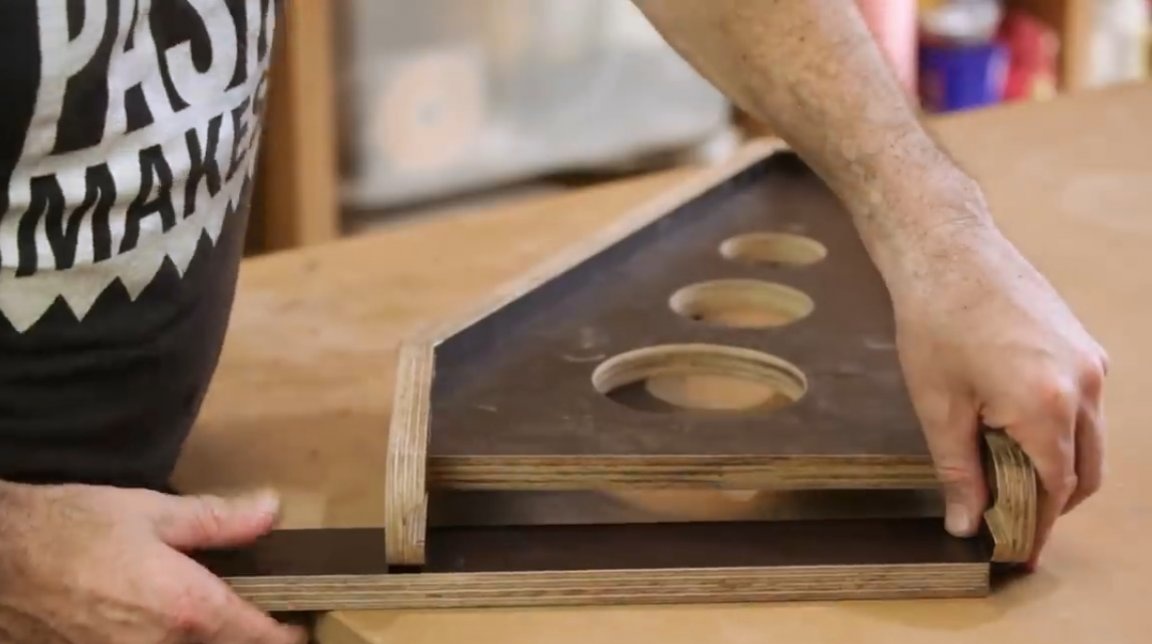
Using a circular saw, he cut two slats with grooves along the thickness of the main part of the frame.
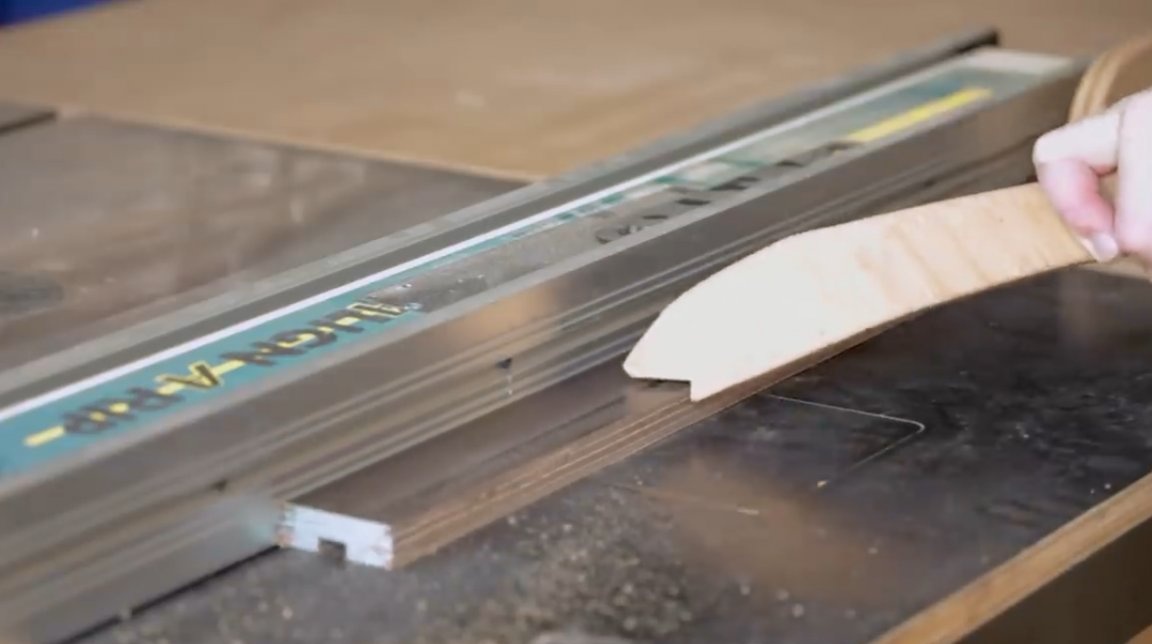
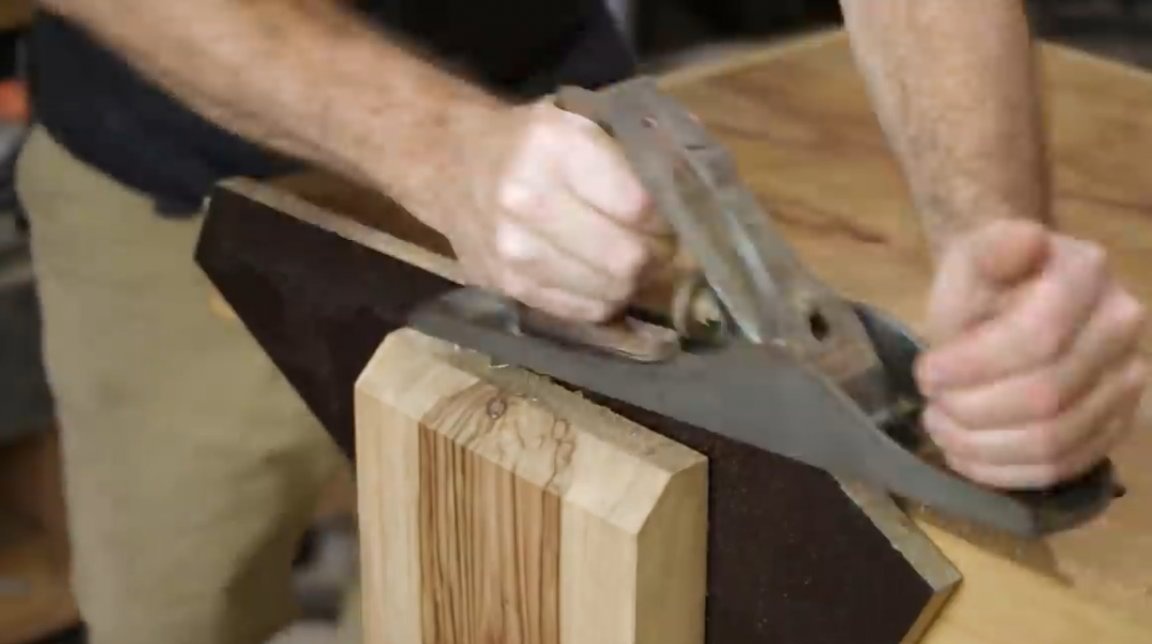
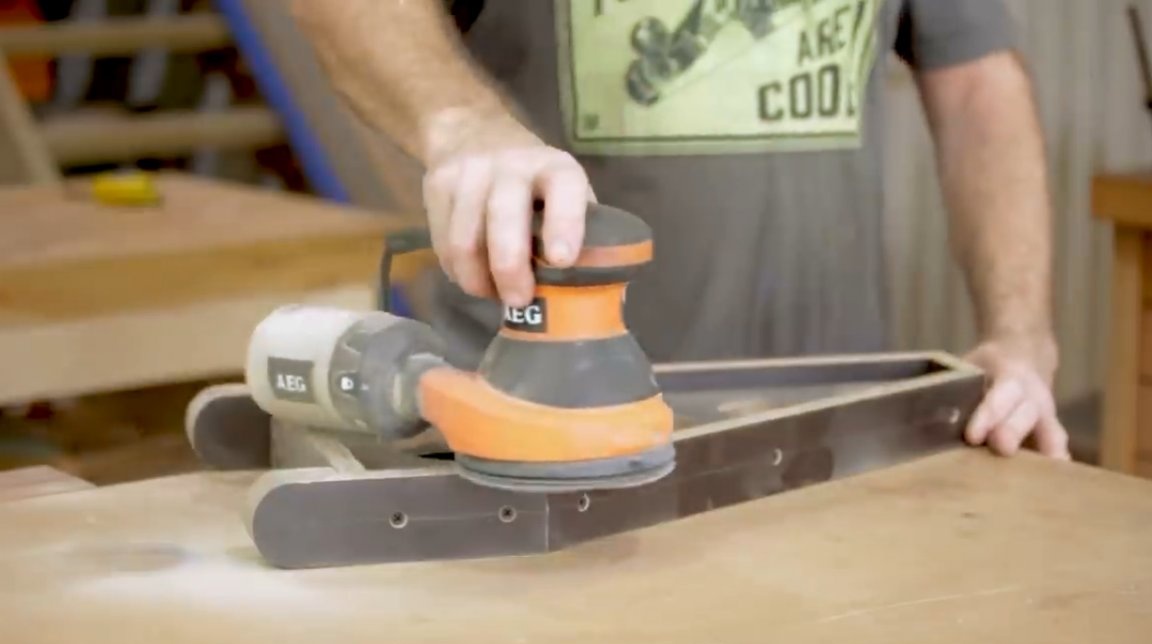
He rounds the ends of the planks and polishes.
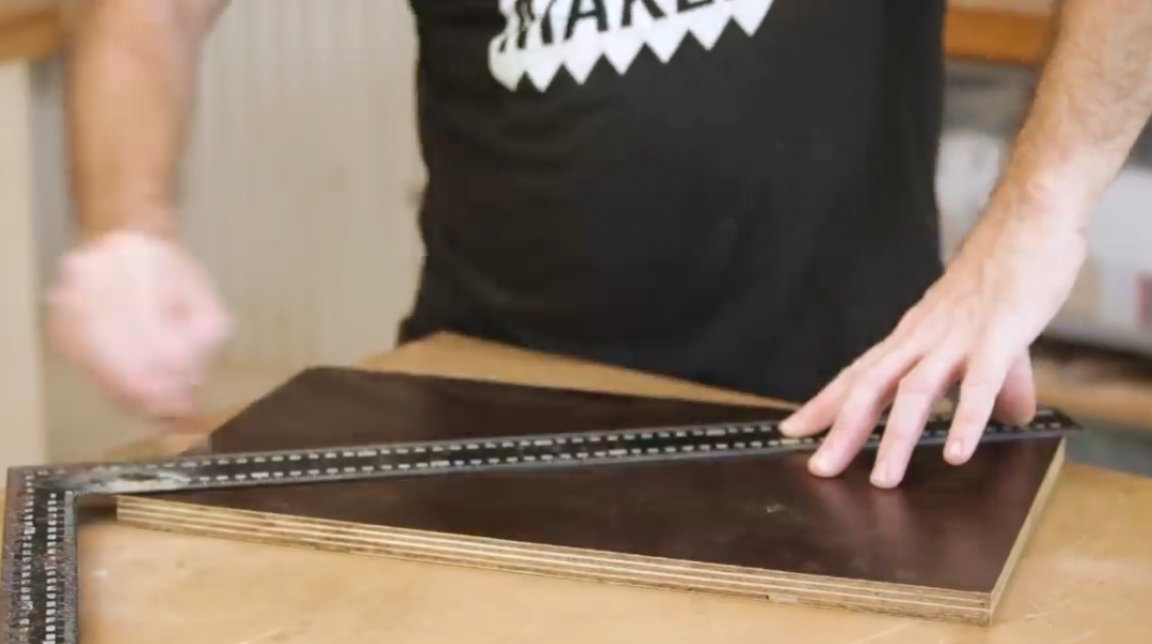
Now you need to adjust the frame to size, cutting the ends of the parts at an angle to connect them.

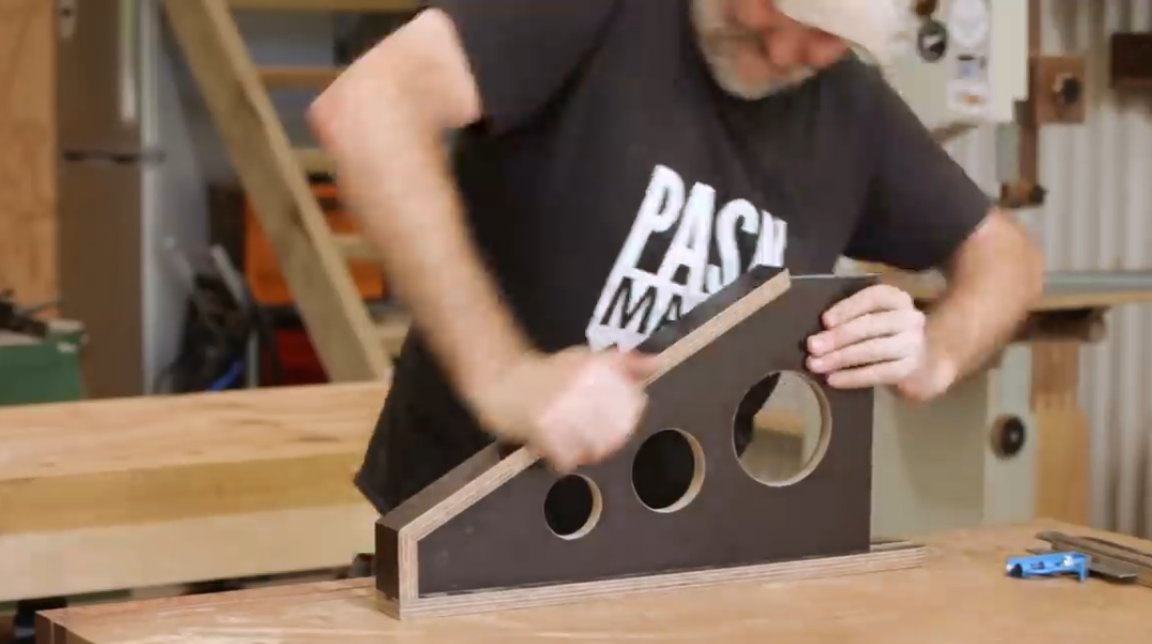
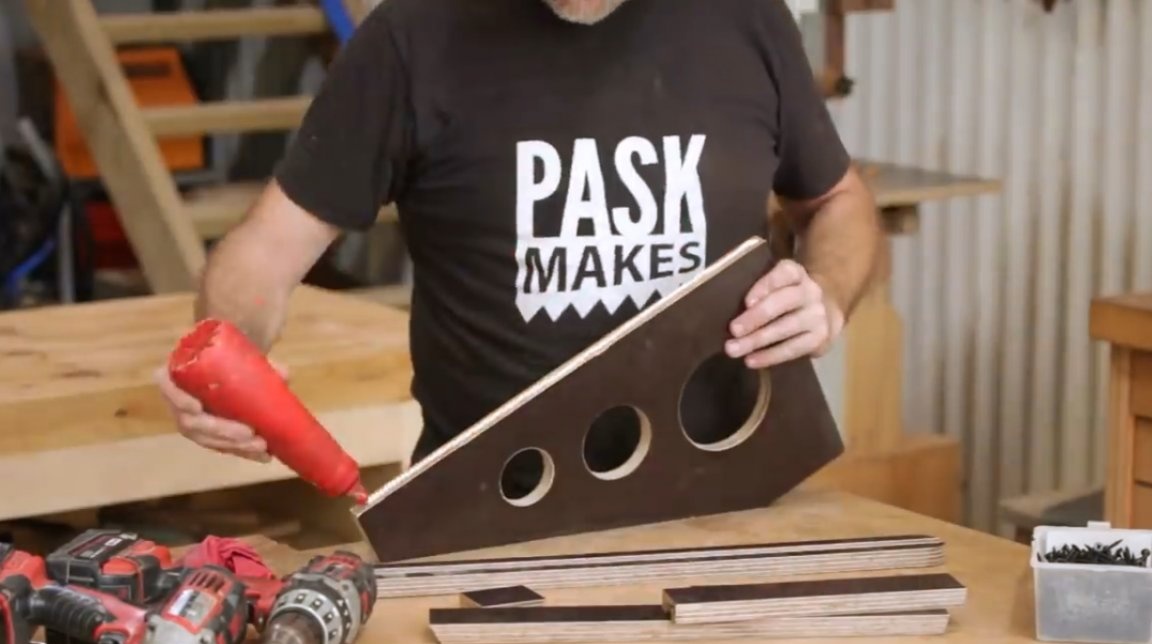
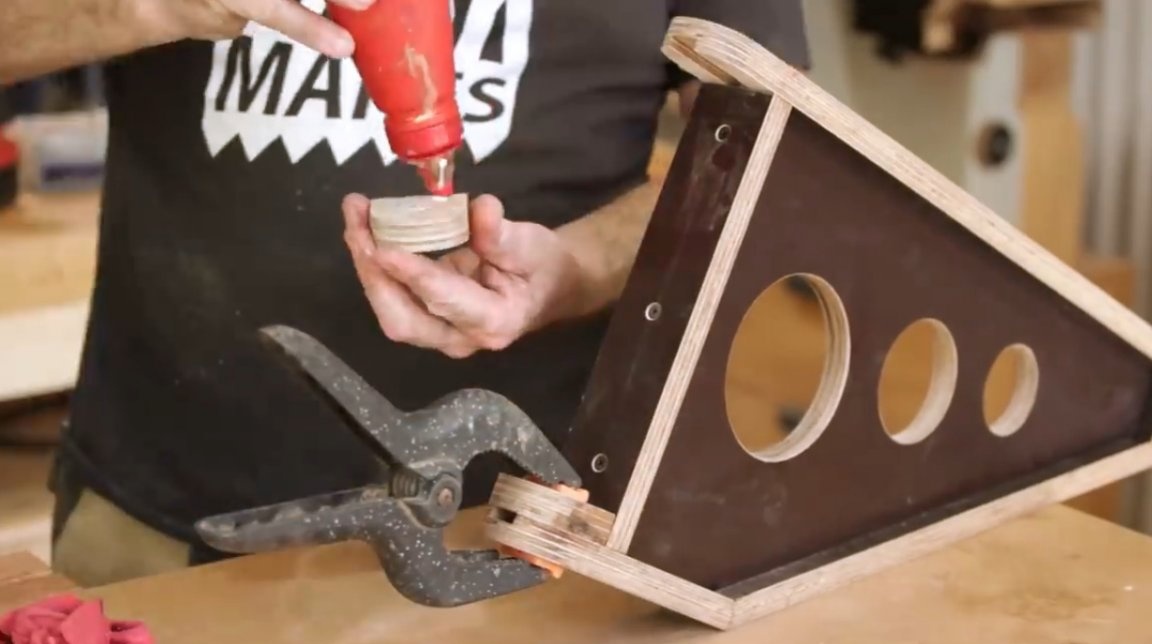
All ribs of the structure are abundantly lubricated with glue, and tightly seated in their places. The author even had to use a mallet.
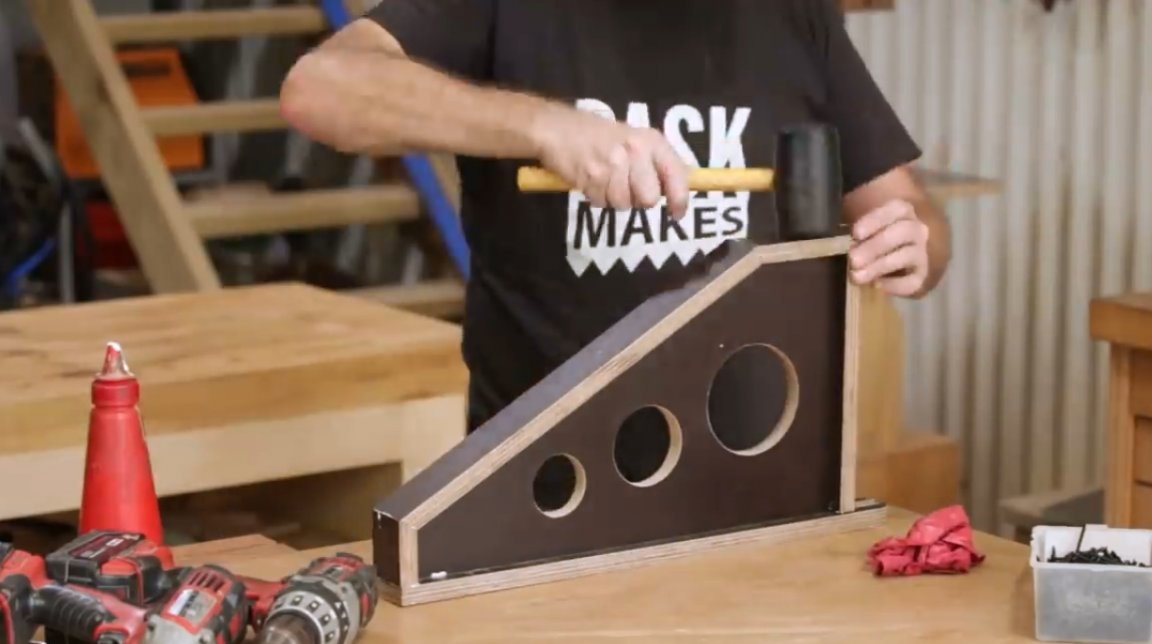
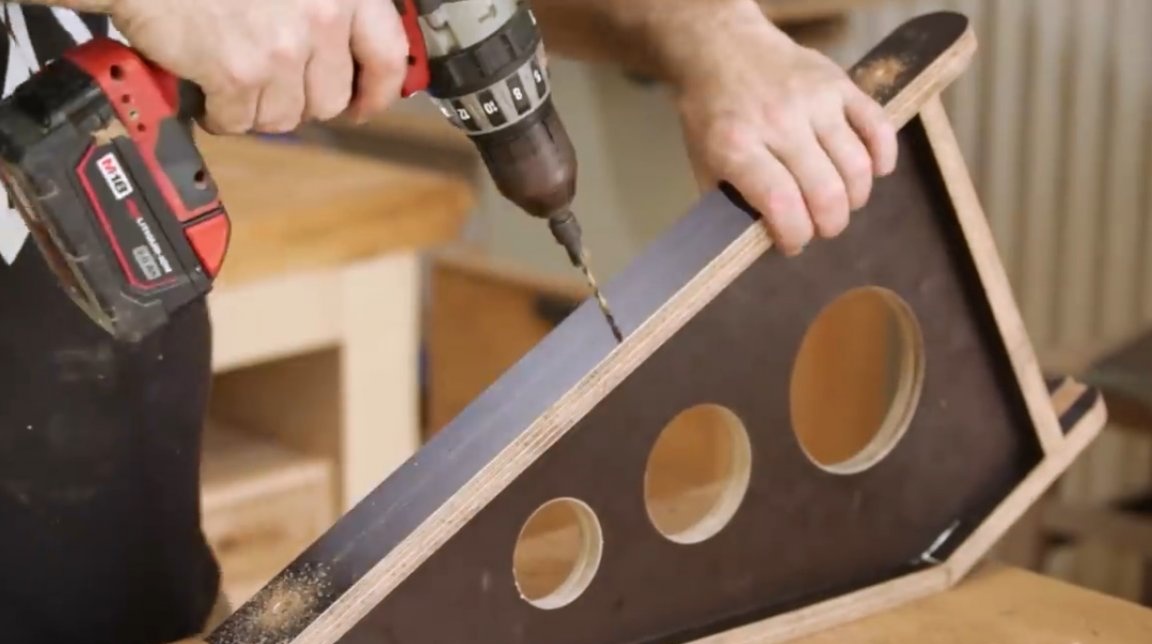
The end plates are drilled, countersinked, and additionally fixed with screws.
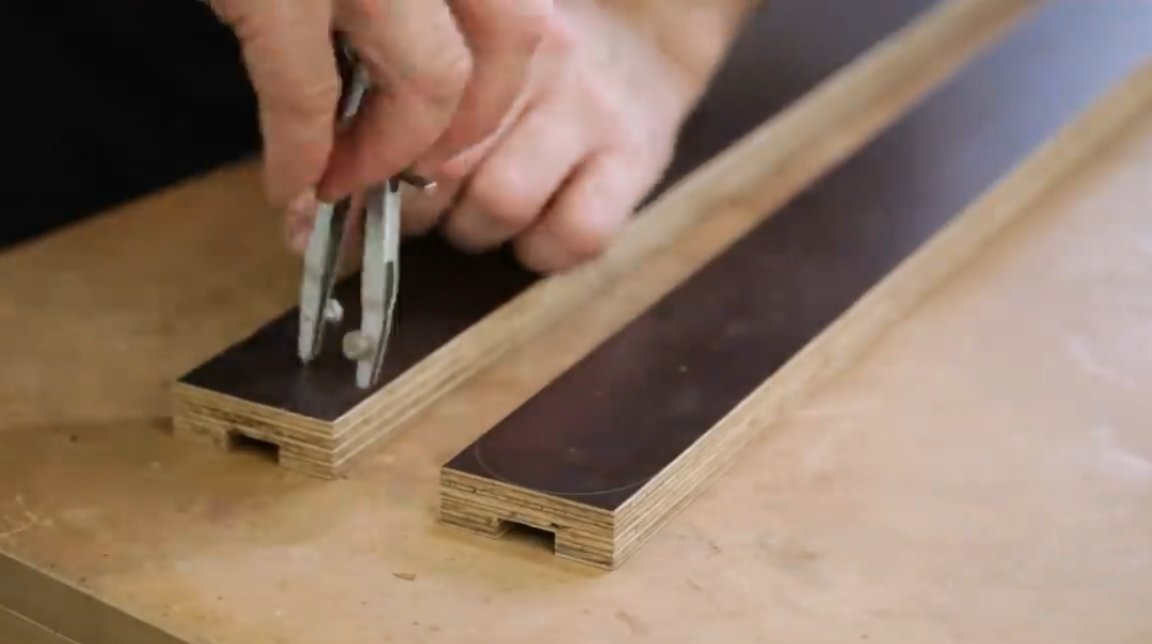
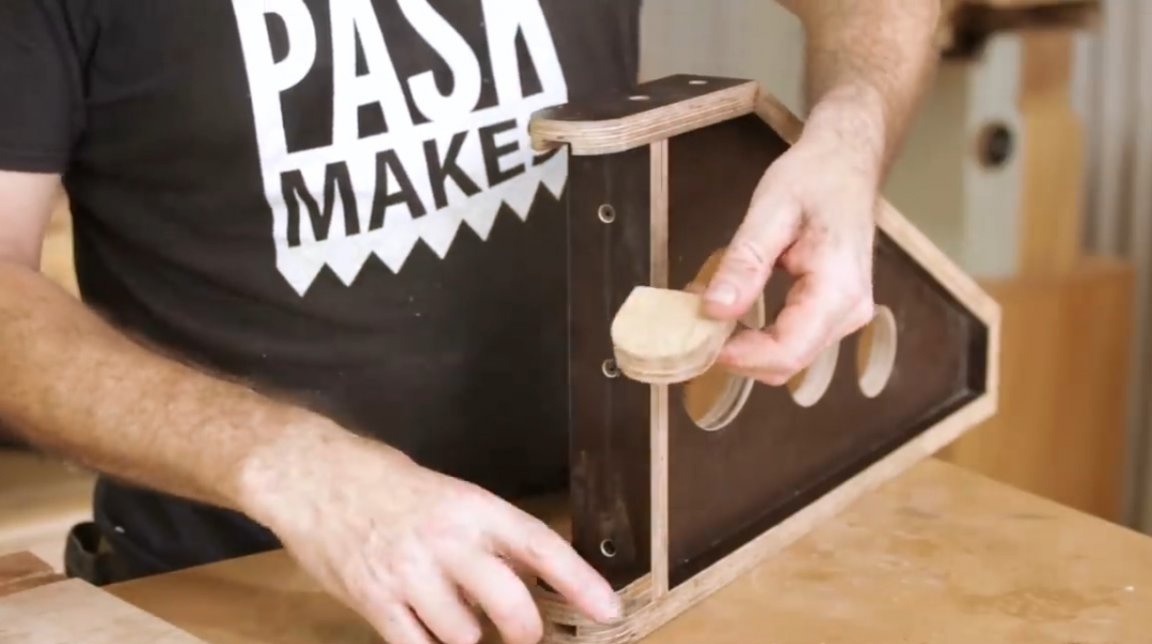
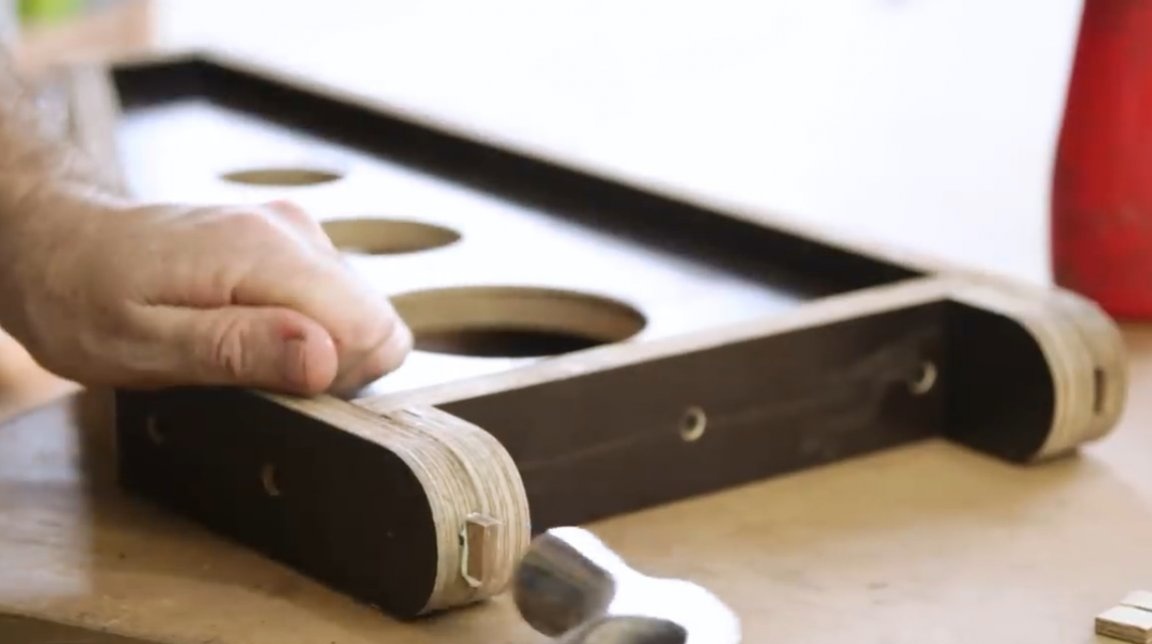
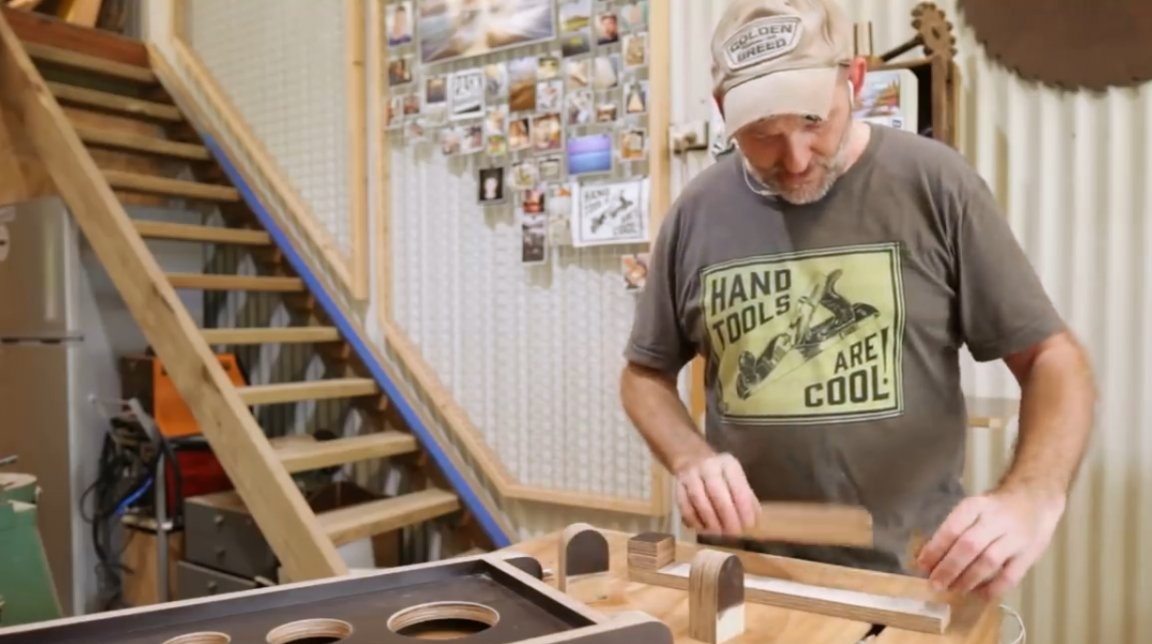
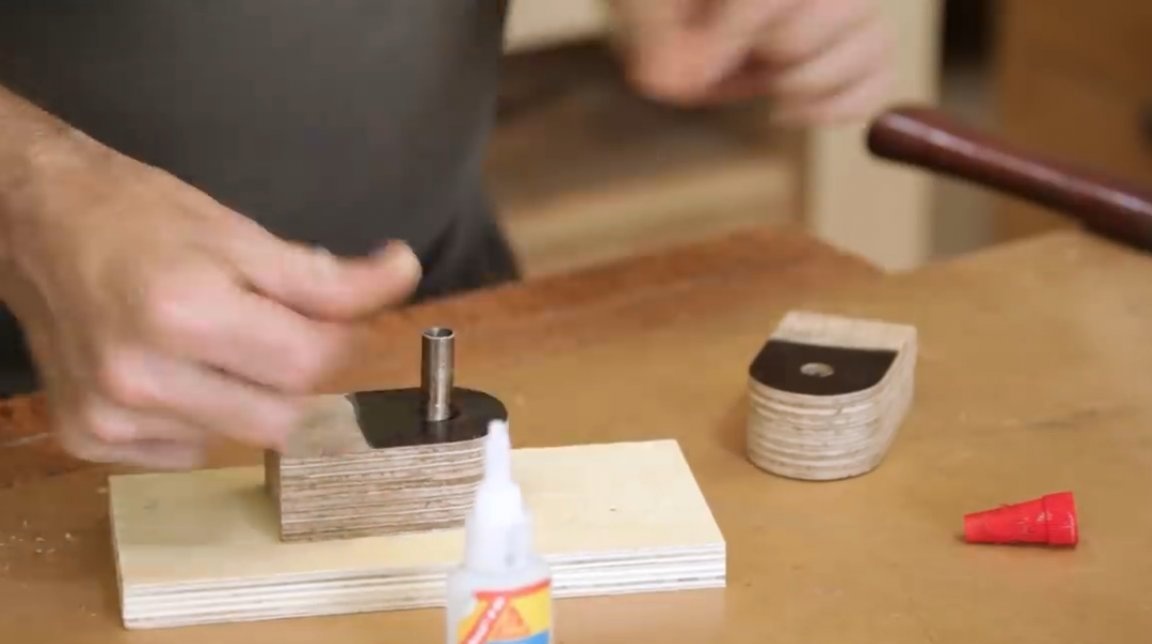
The author made these two rounded elements with which he will strengthen the loops. These are just the areas through which the hinges will pass.
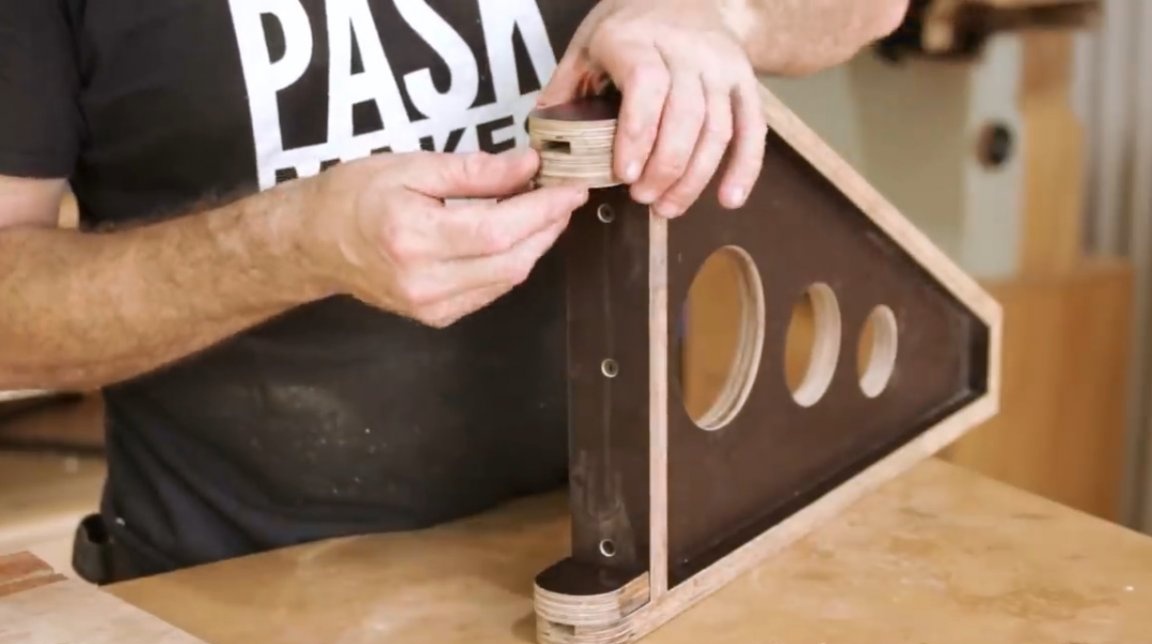
Previously, he had to clean the brown plastic film on both sides, otherwise the elements would not stick together properly.
The master damps the remainder of the groove with a dowel.
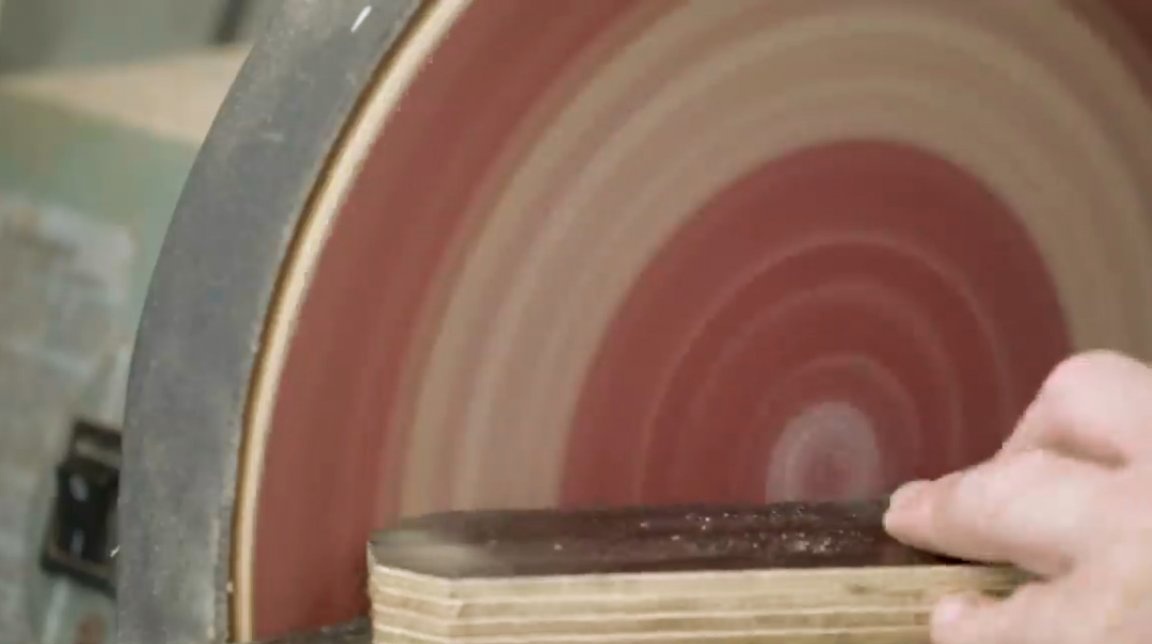
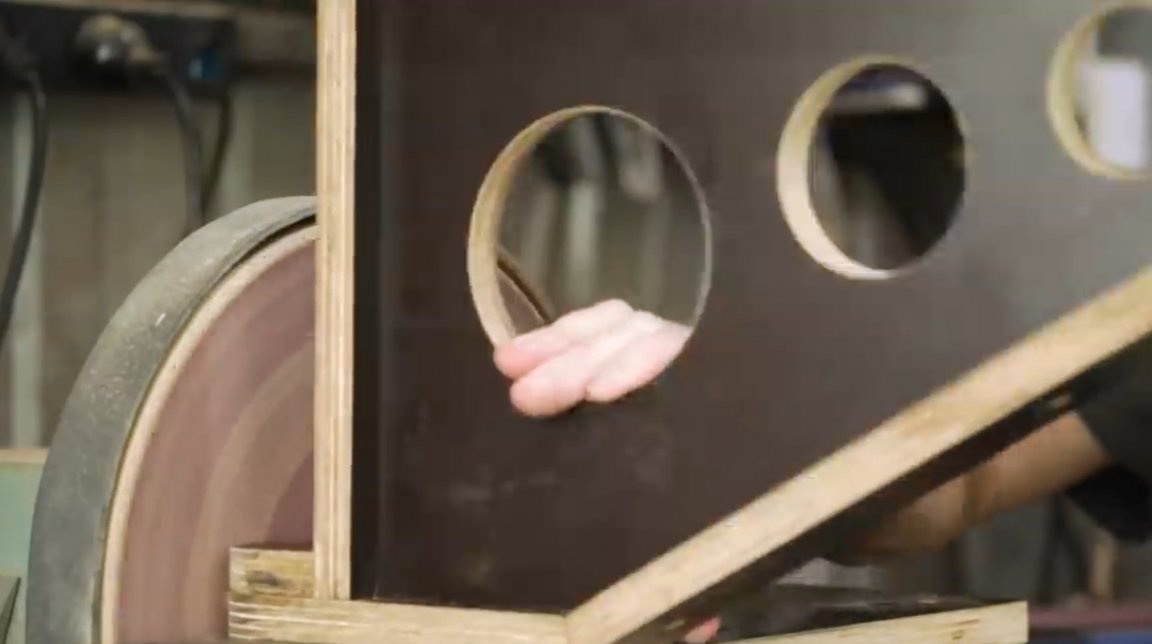
All end parts are carefully smoothed on a grinding machine and manually.
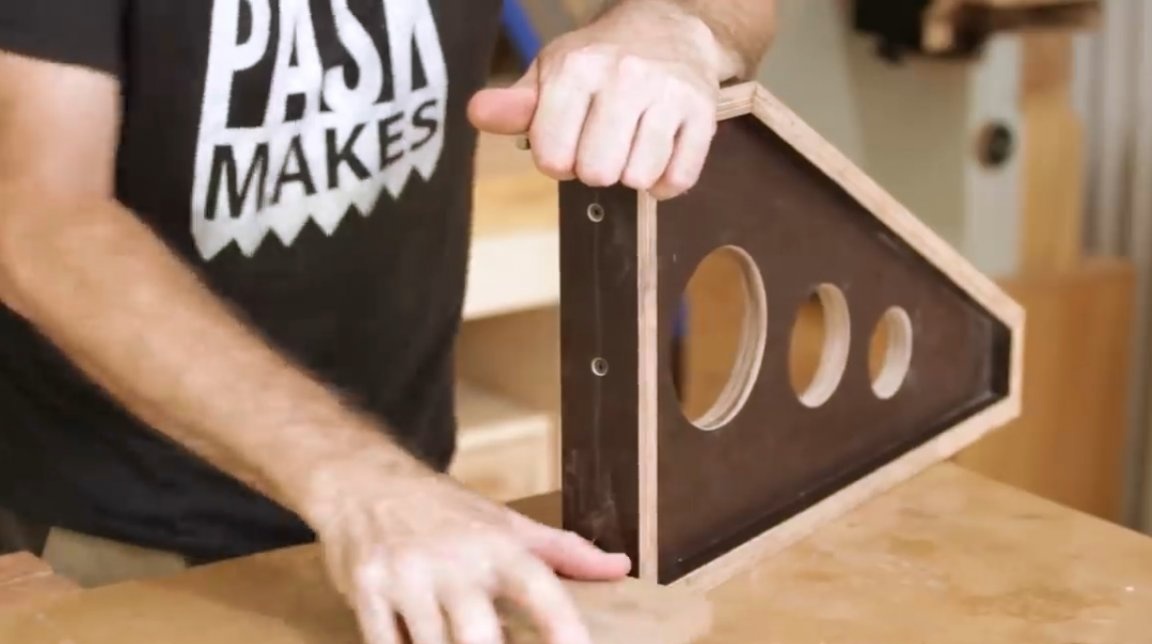
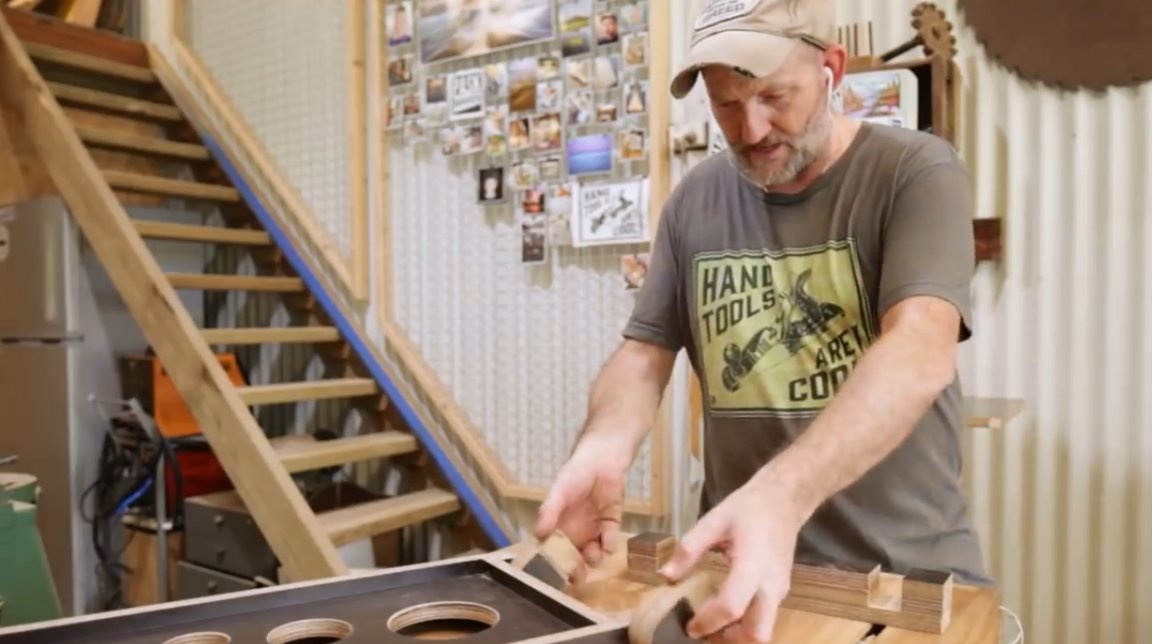
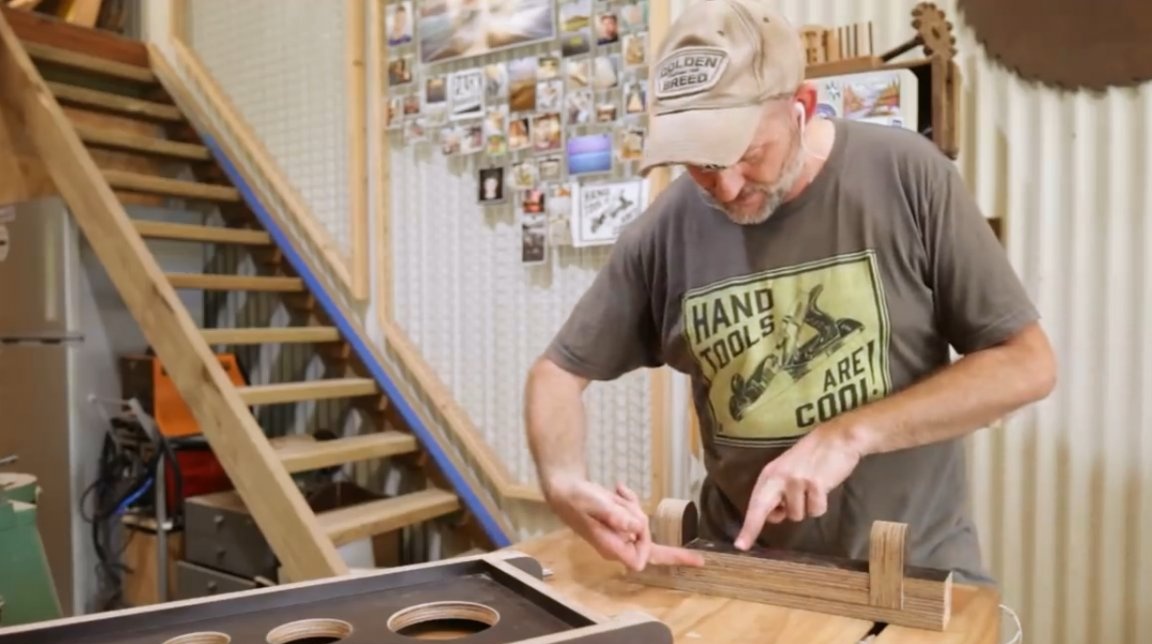
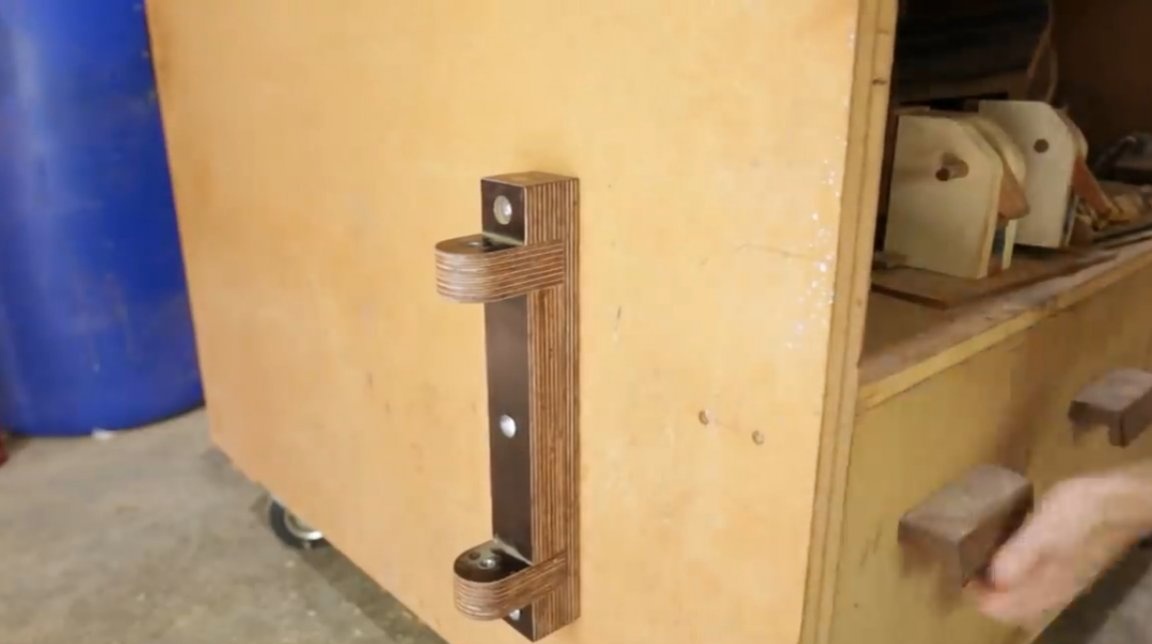
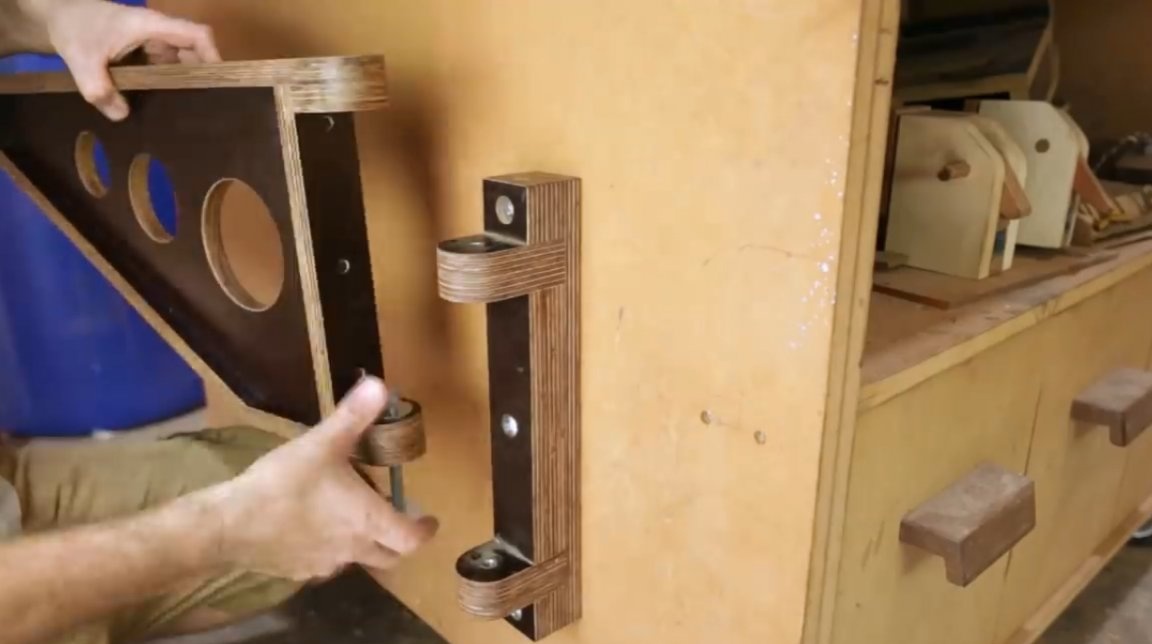
The master sawed off this part of the design behind the scenes. She forms a suspension, which will be screwed to the workbench. So far, the master has not pasted these elements, you can consider them in more detail.Here are the two main blocks that form the hinge. And the foundation on which they will be attached. Those areas on which glue will be applied, are surely cleared.
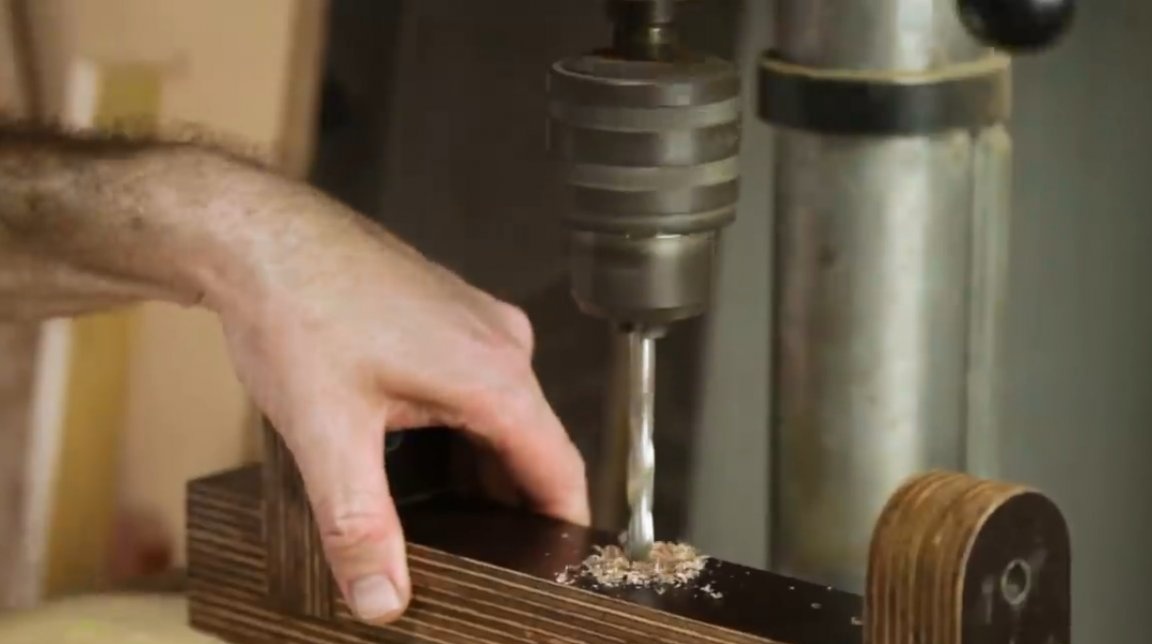
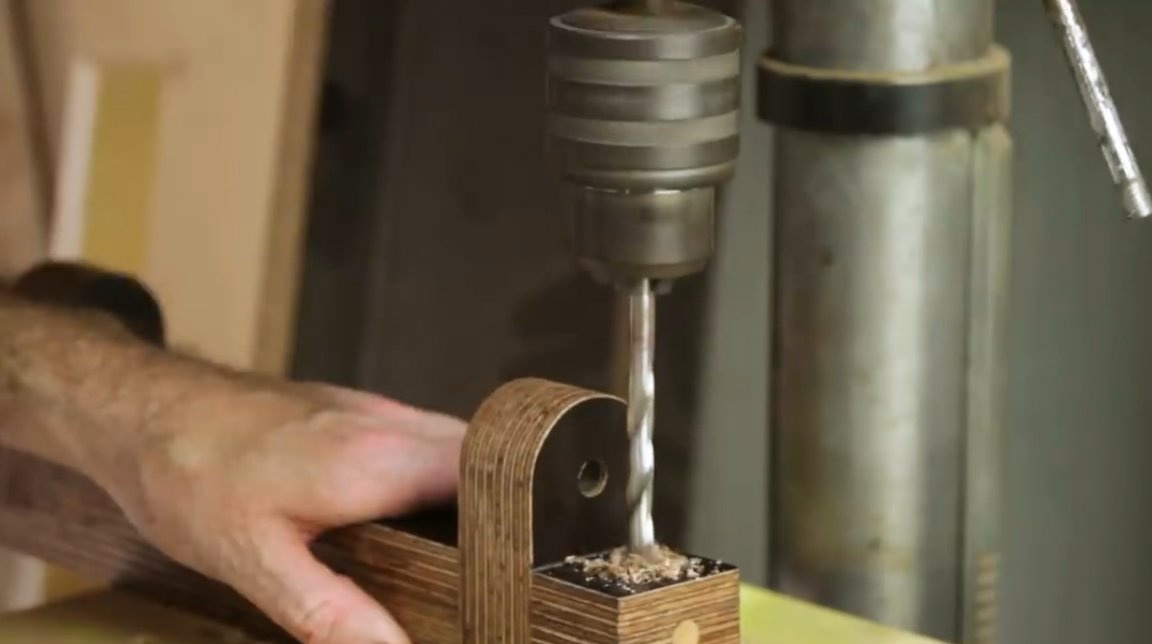
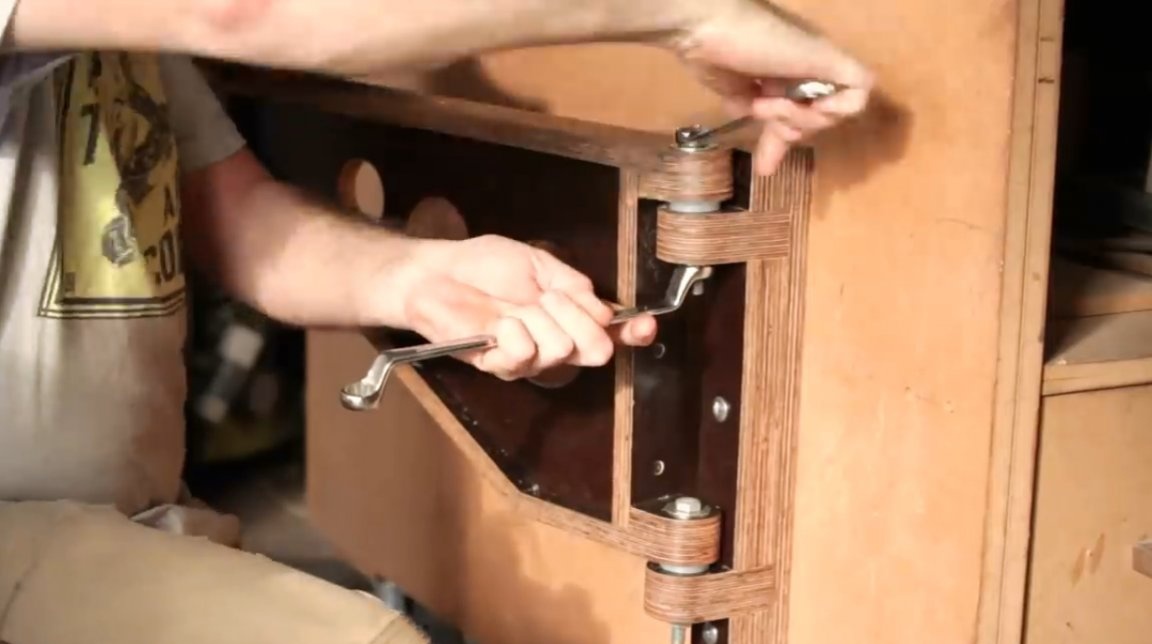
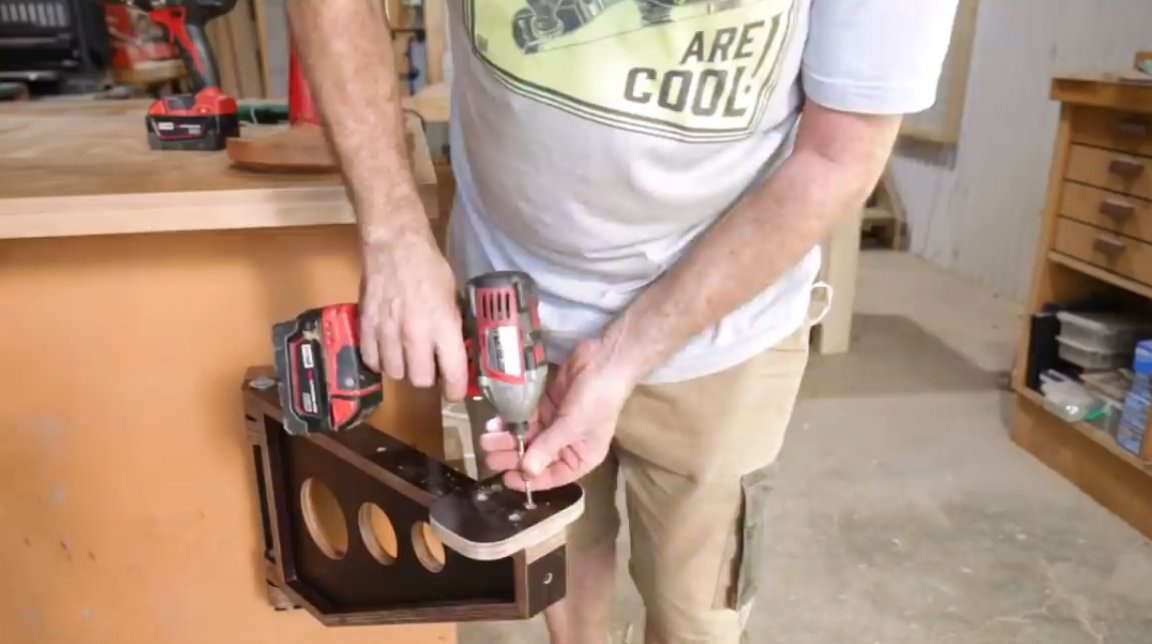
To make the design even more reliable, Neil drills holes in both bolt joint heads.
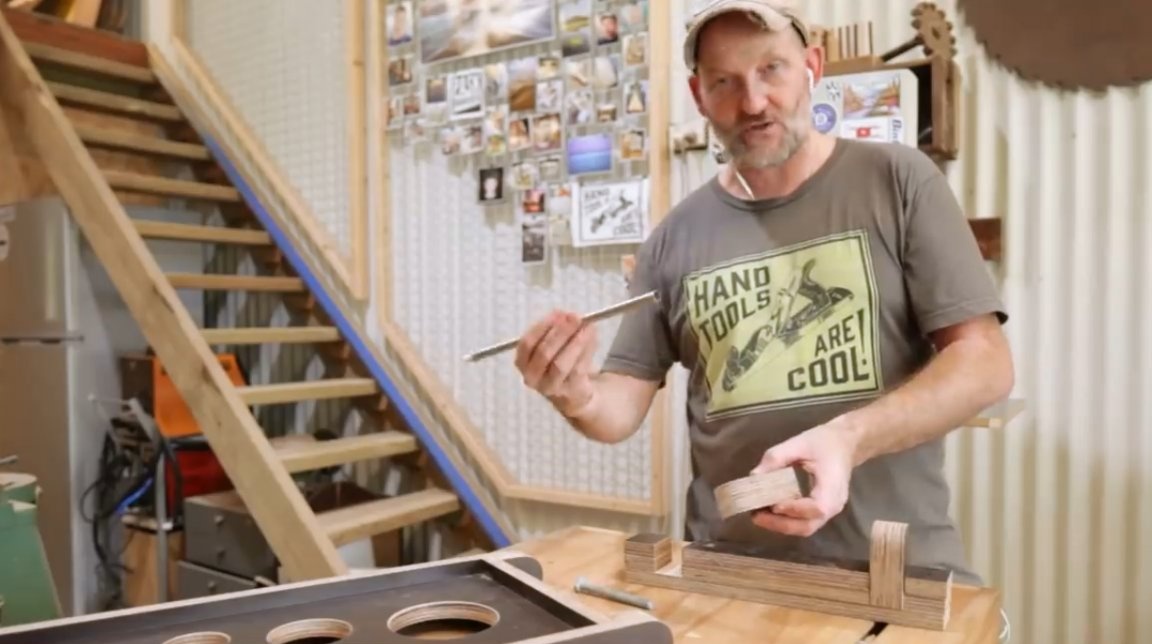
Given the load that plywood will have in the area of hinge fasteners, the author decides to reinforce the holes in the hinges and in the frame with a steel tube.
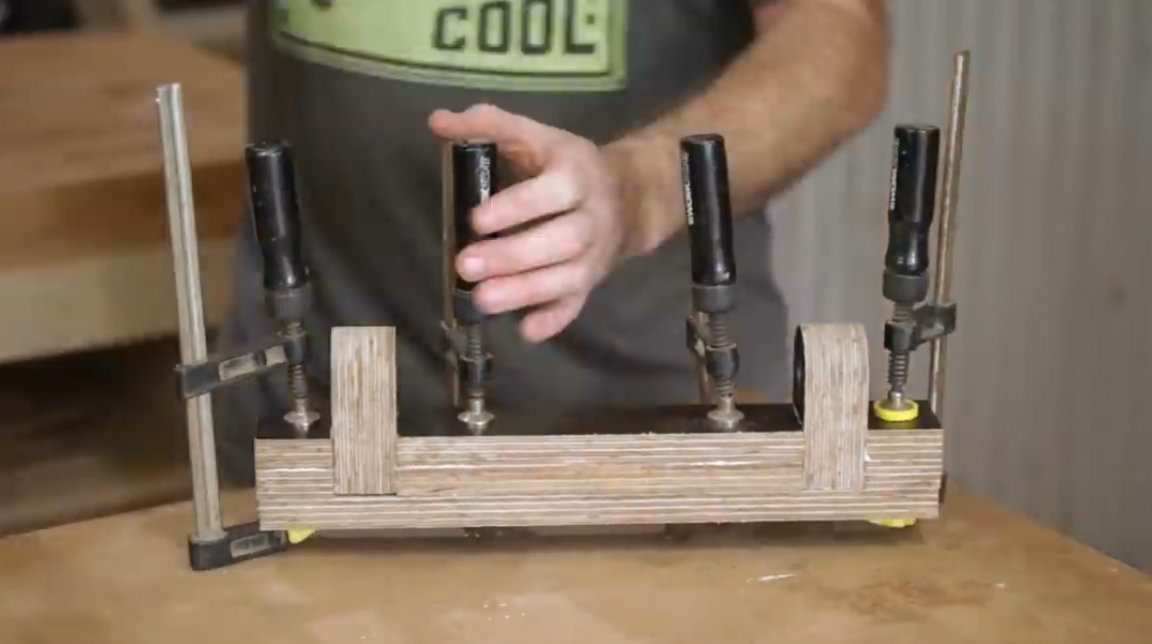
Now all fasteners can be glued, it is advisable to immediately remove any excess glue.

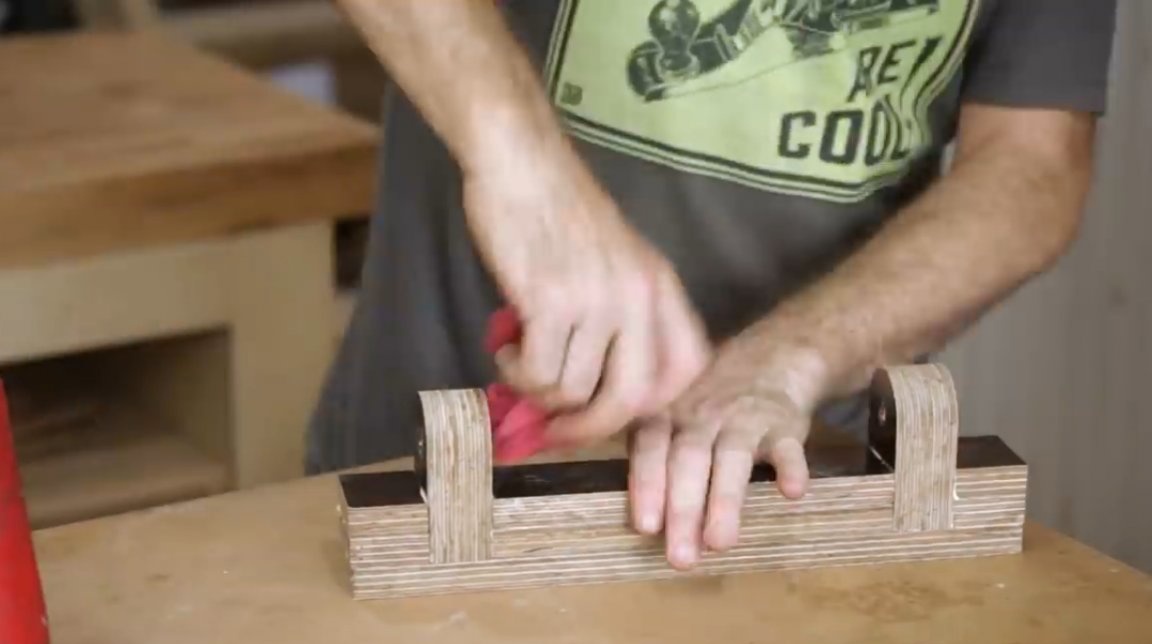
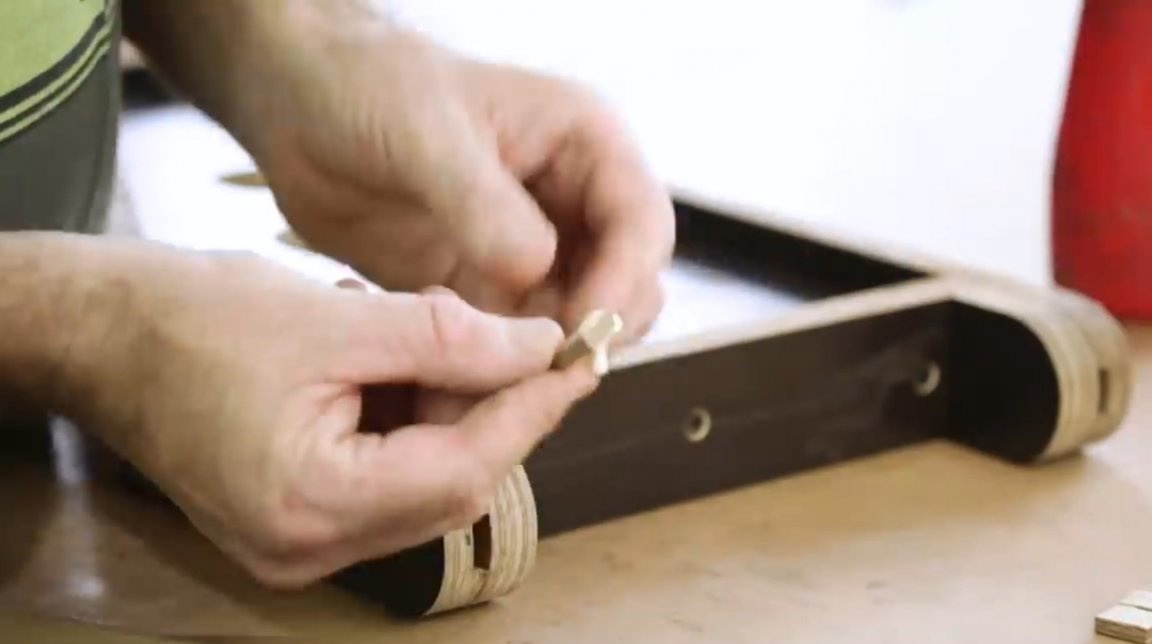
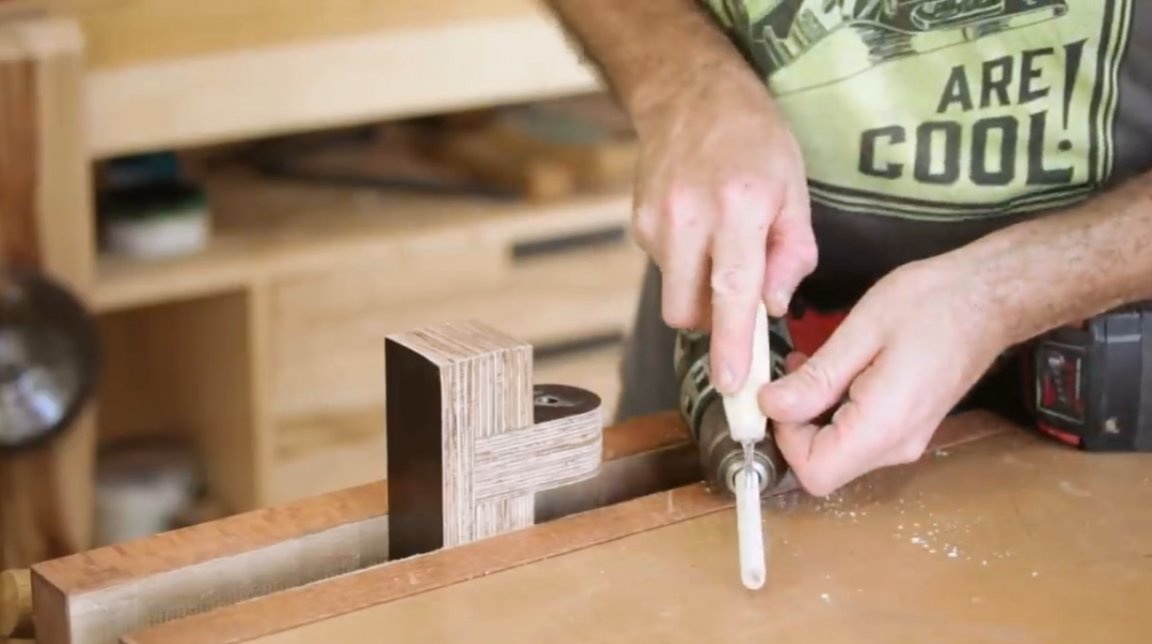
With the help of this fixtures the master easily and quickly makes wooden dowels of the right size.
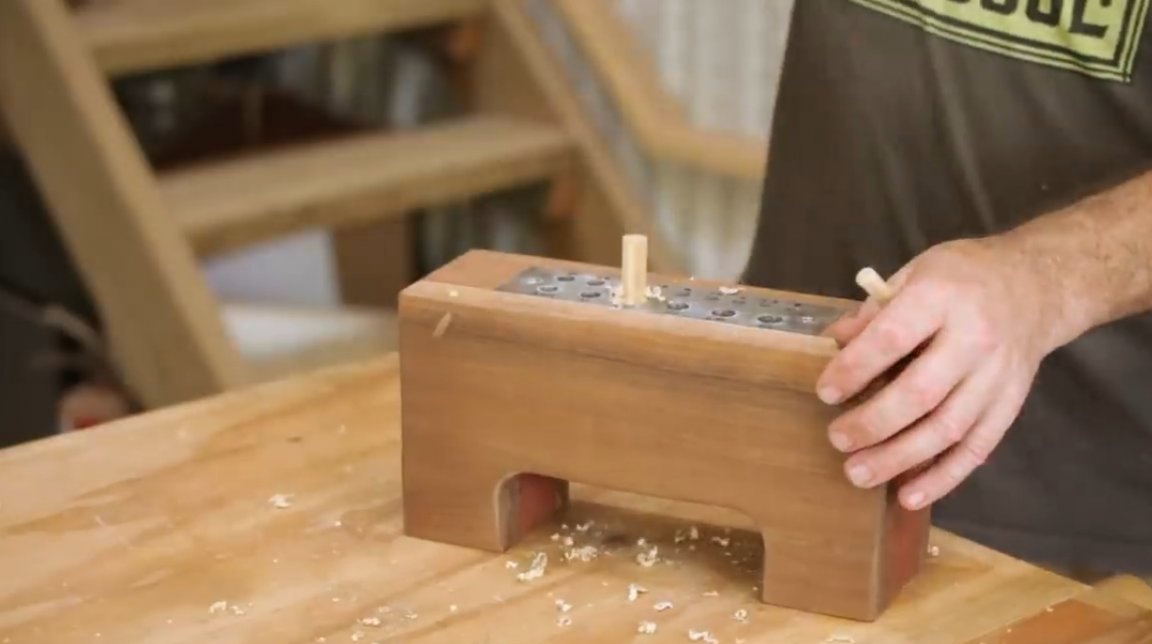
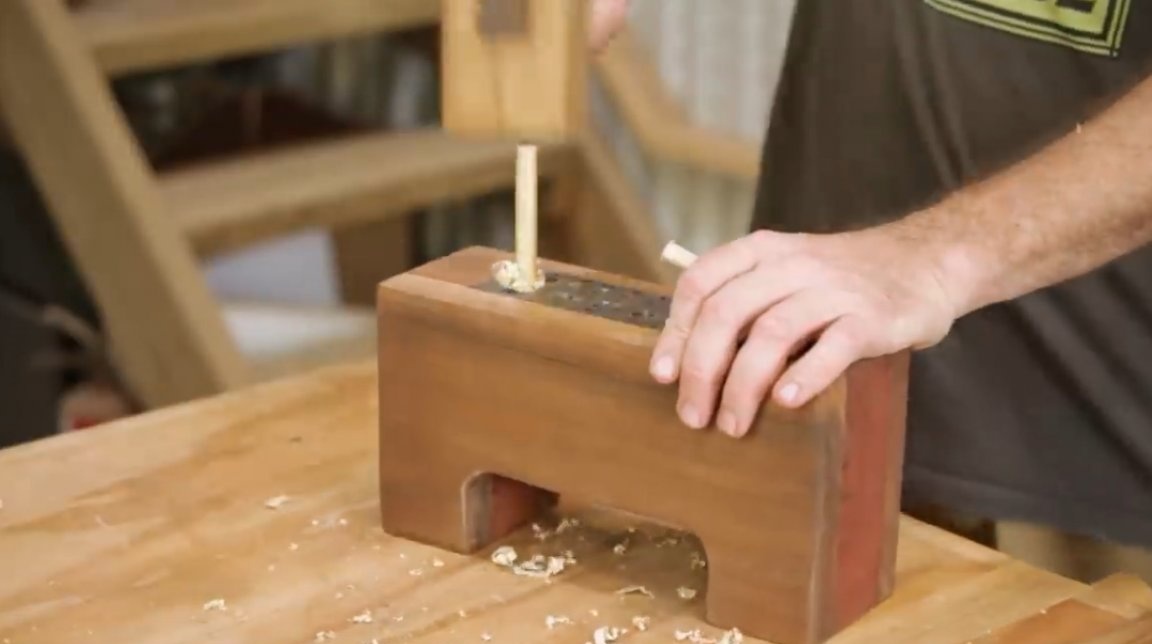
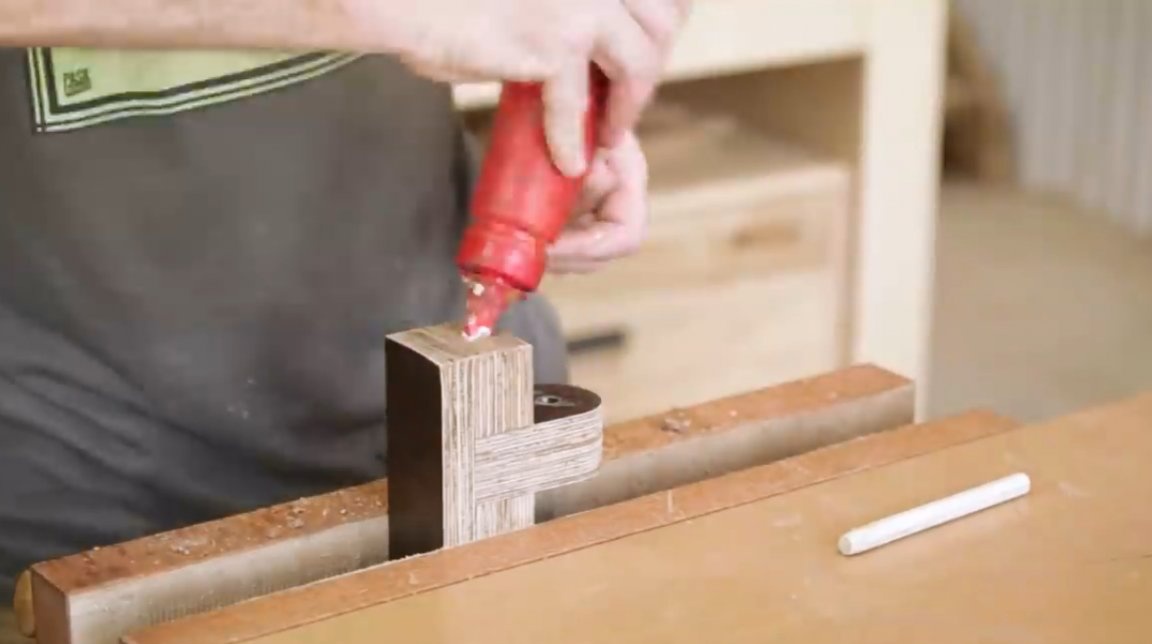
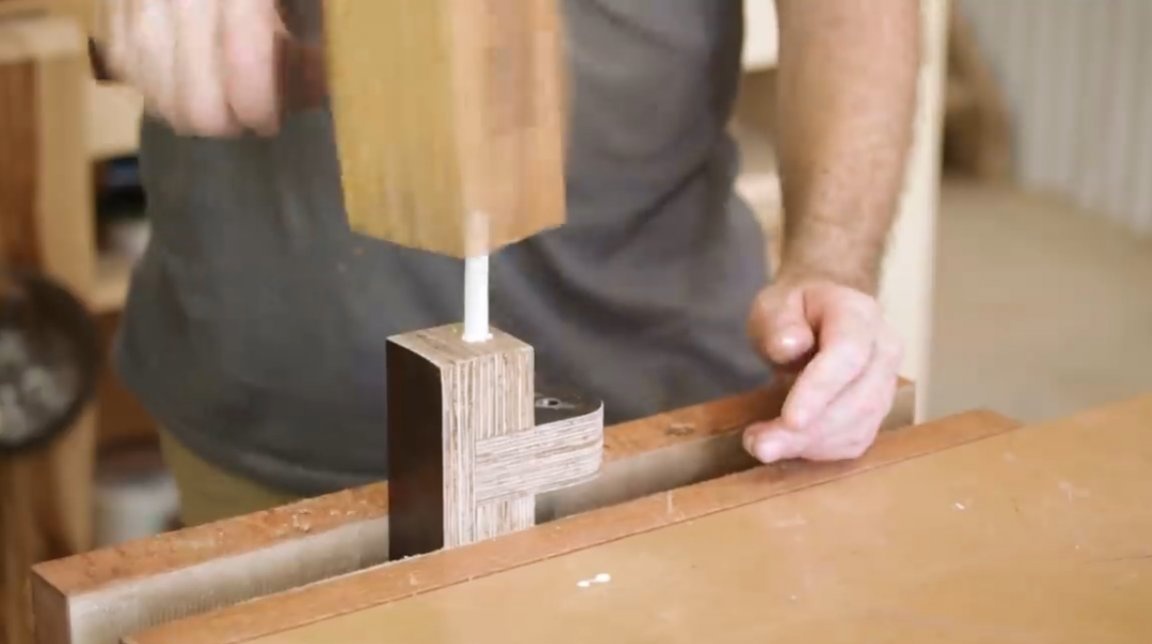
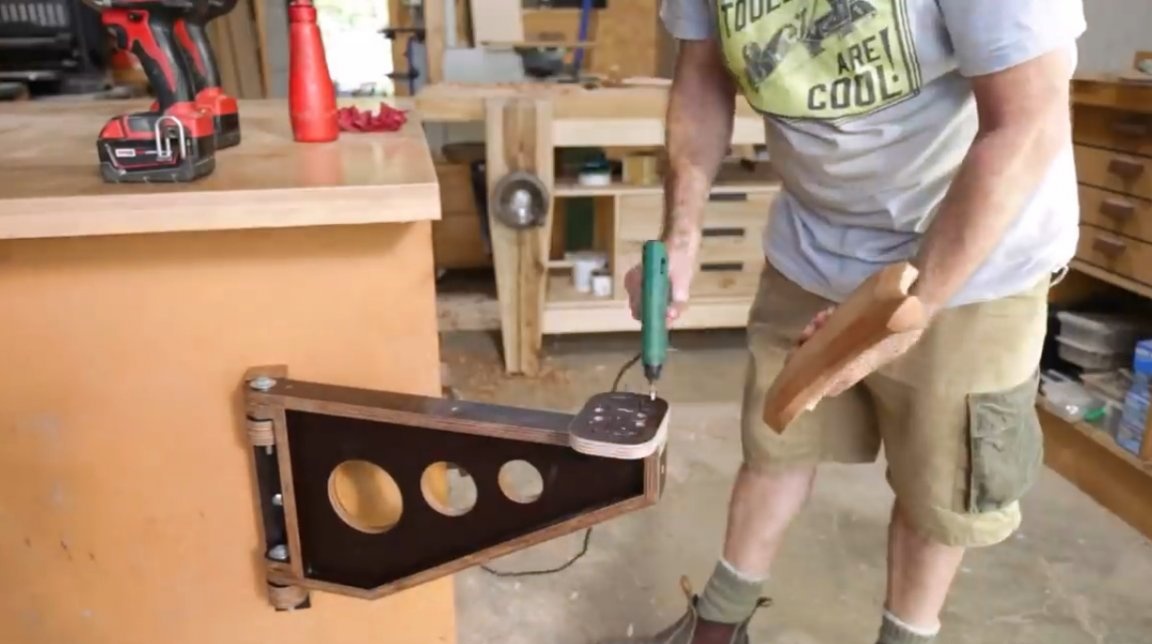
Having drilled holes in the sides of the structure, Neil inserts wooden dowels inside them, previously lubricated with glue.
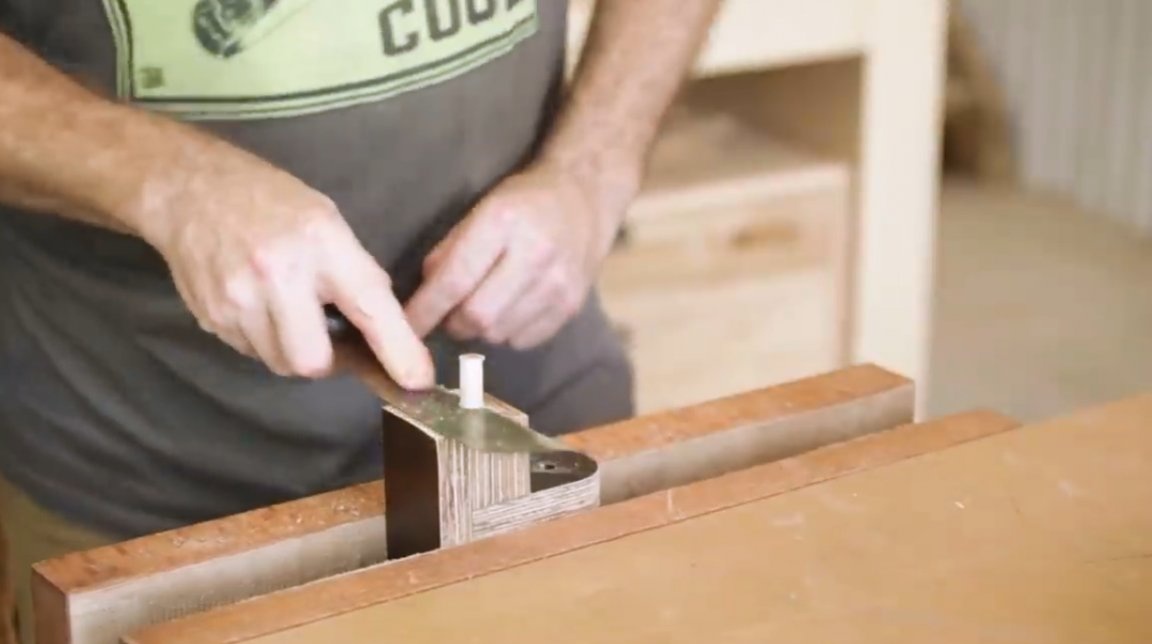
The excess is cut off by a Japanese saw.
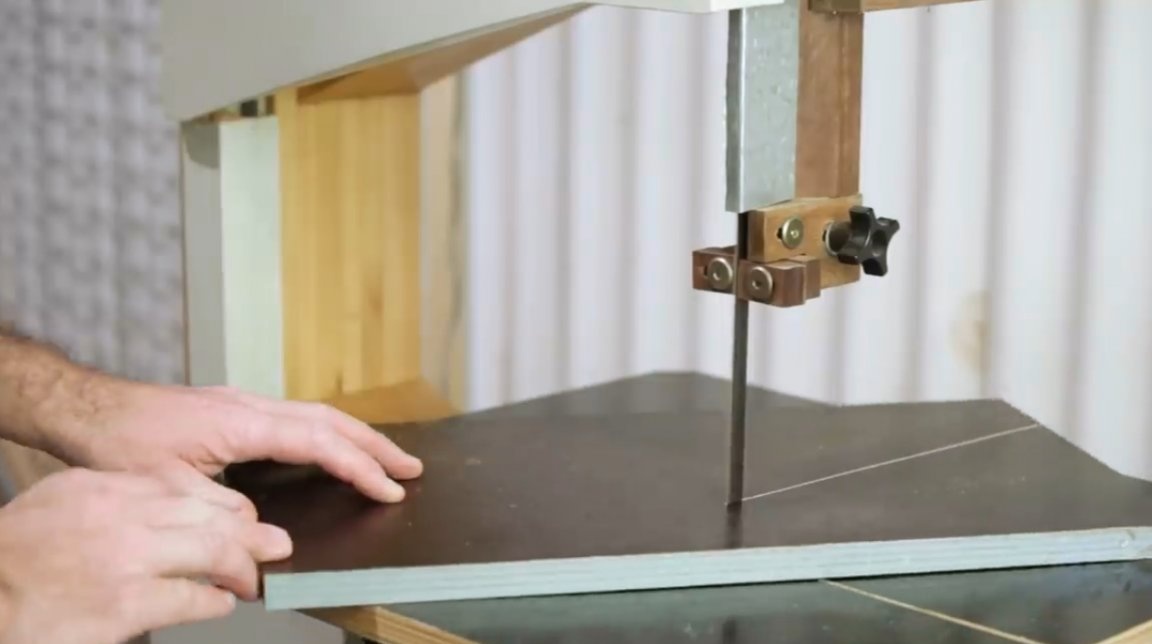
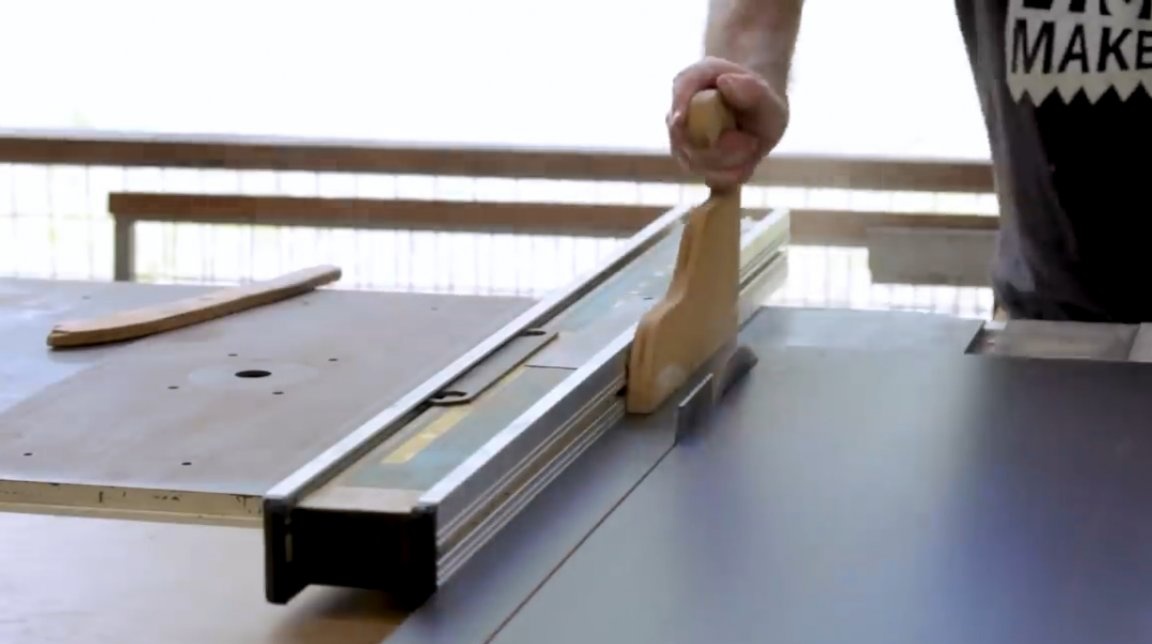
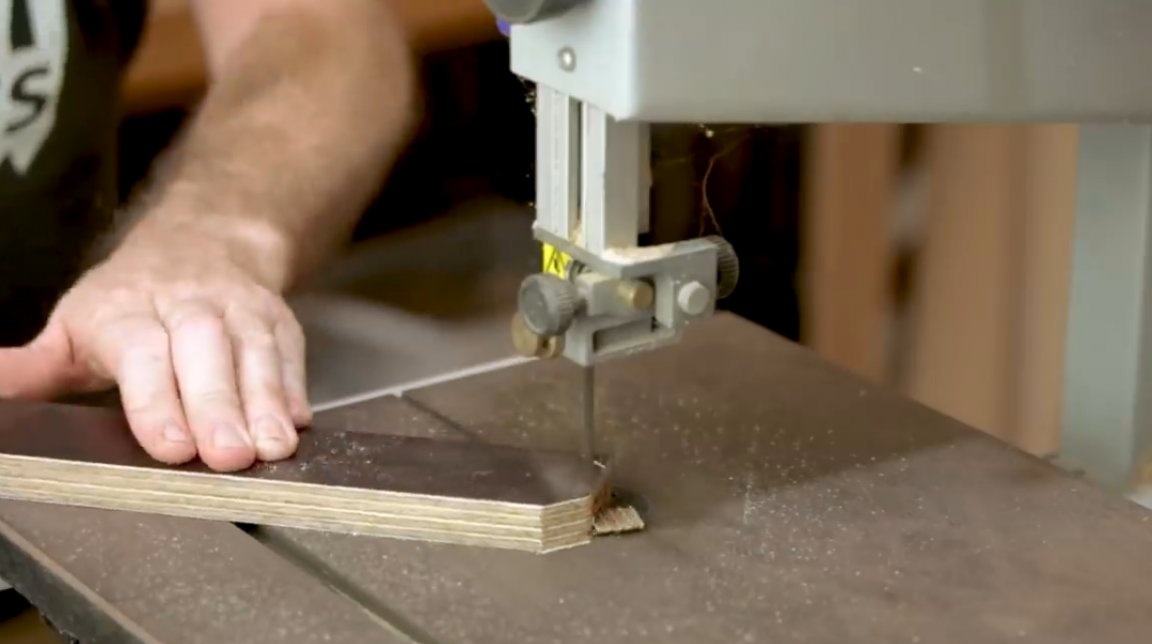
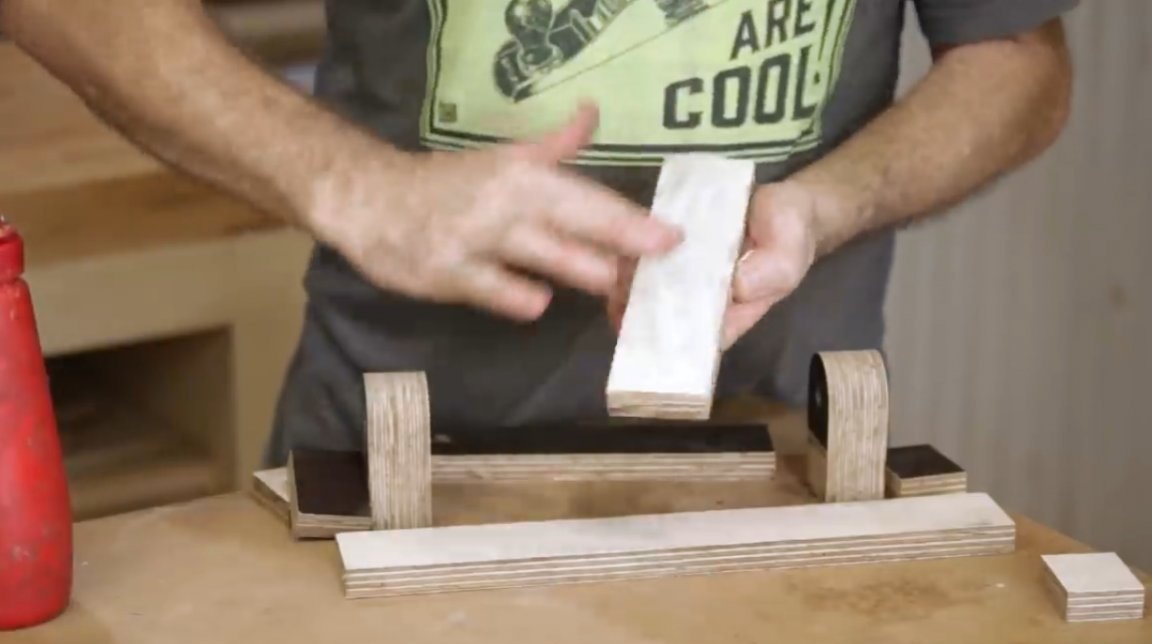
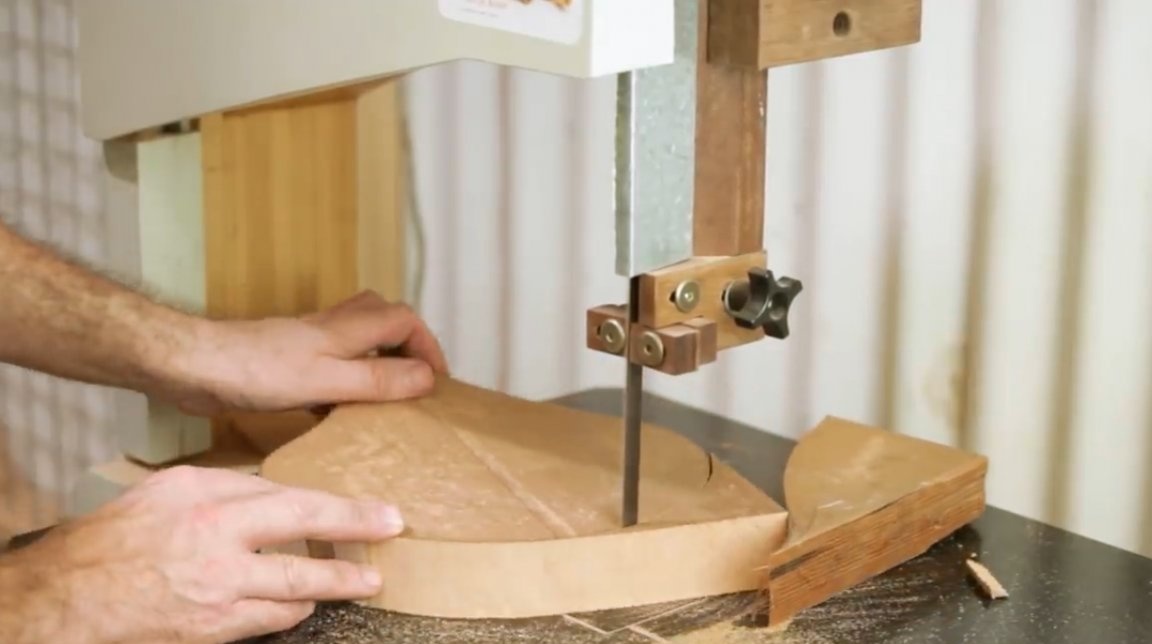
The next step is the manufacture of the seat itself. First, a workpiece is cut on a band saw.
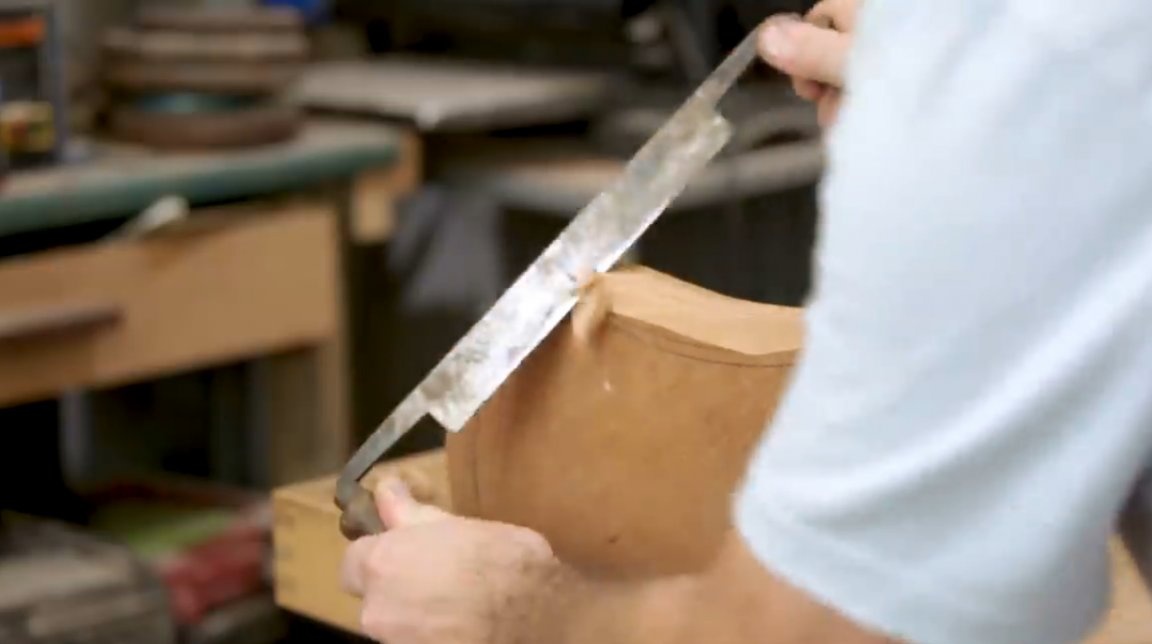
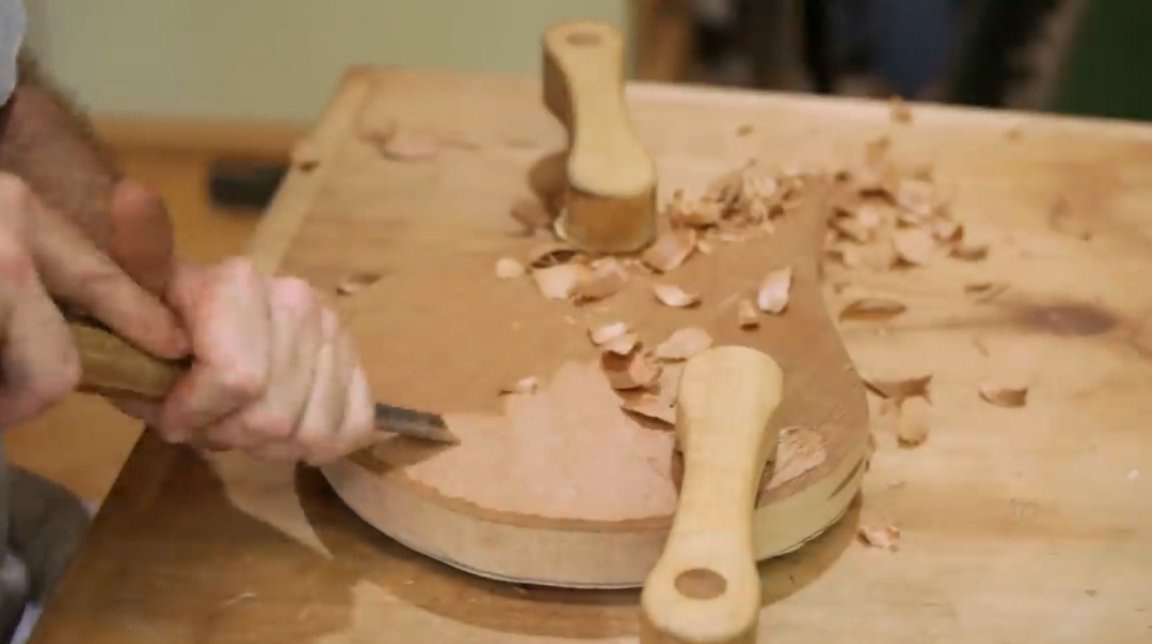
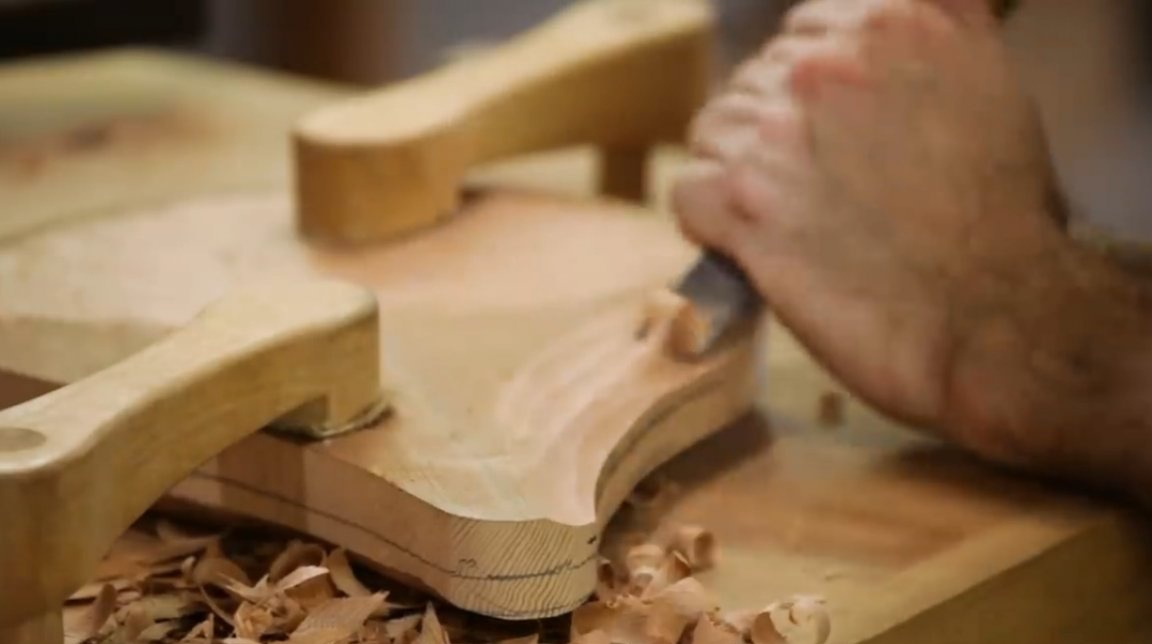
Then there is its processing with a brace and a chisel.
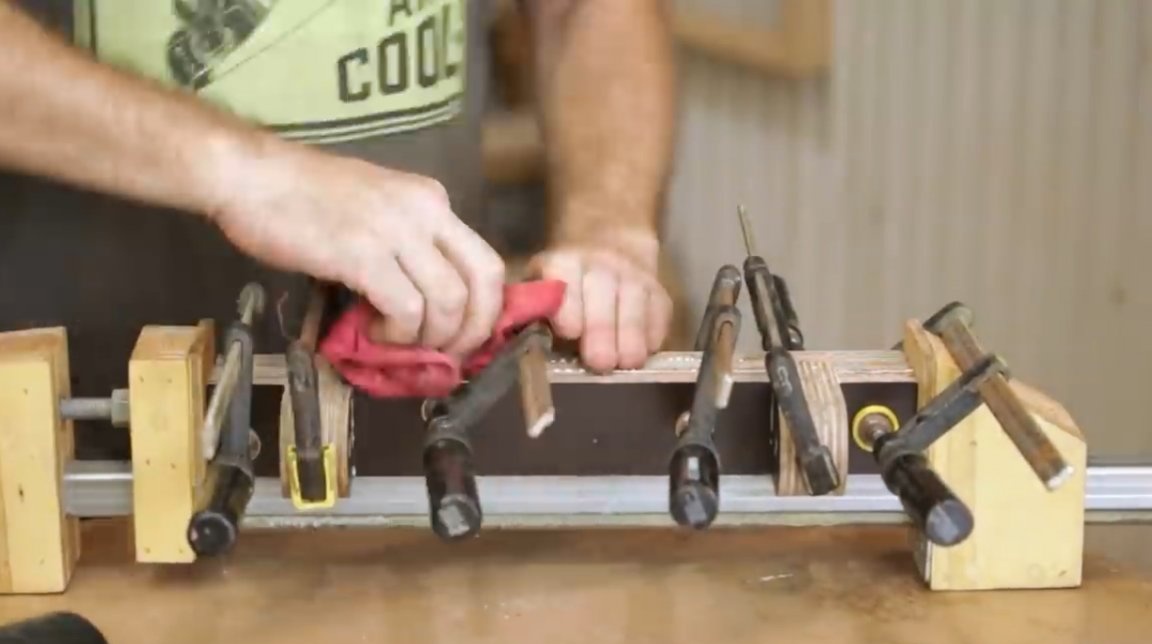
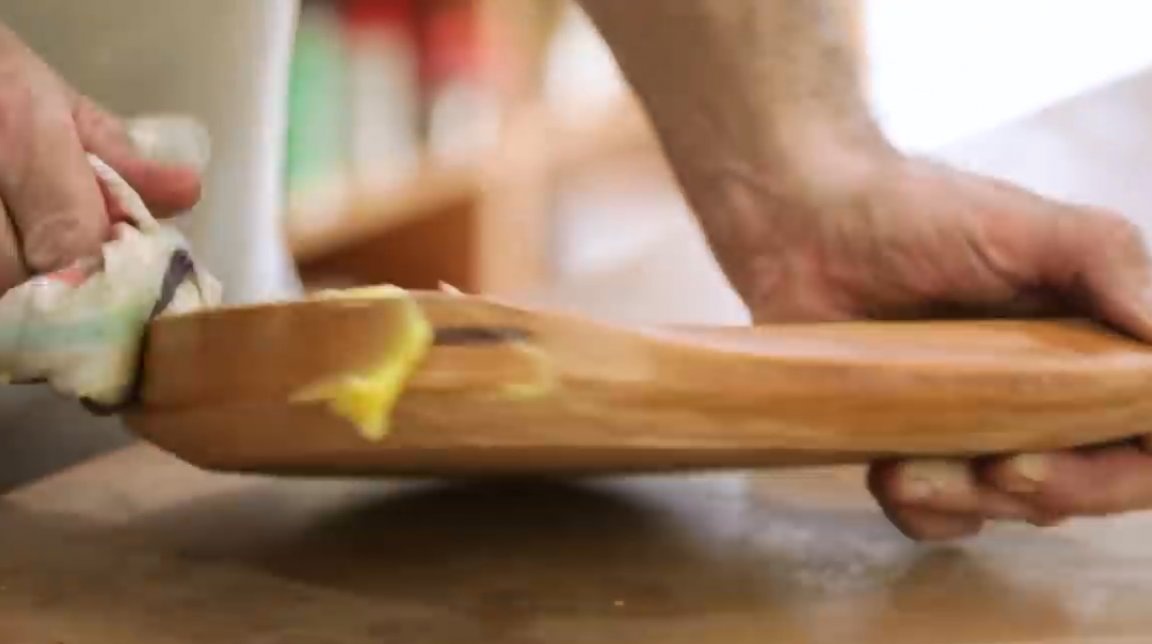
Now open areas of plywood and the seat are waxed.
In the suspension, drills holes for mounting bolts, countersinks with a Forstner drill.

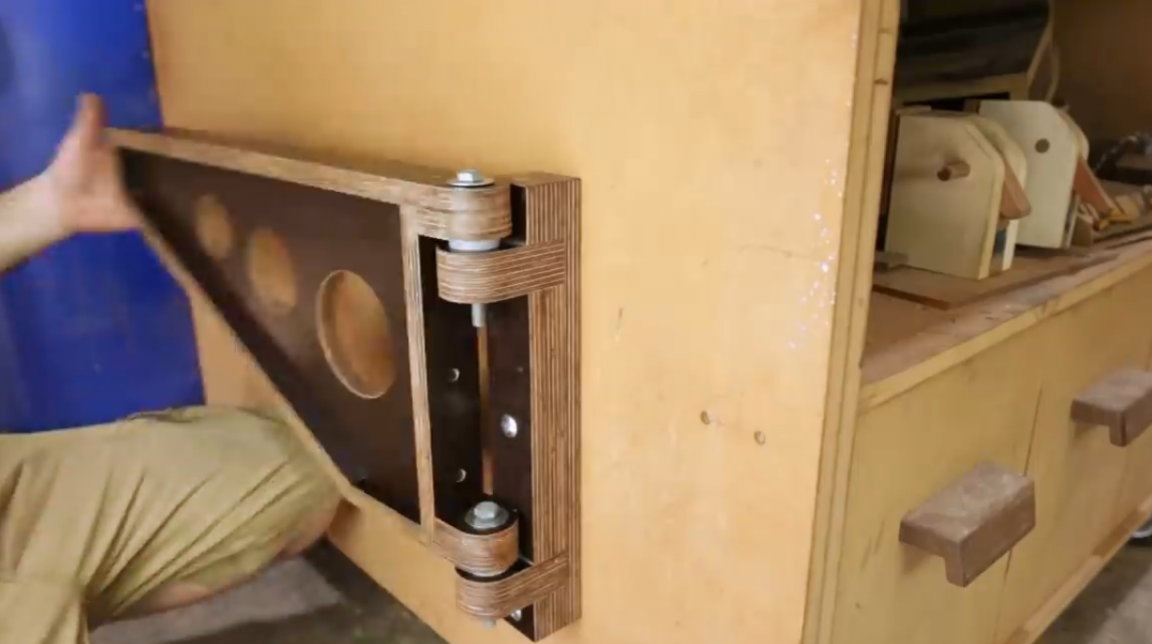
The mount itself is screwed to the side wall of the workbench.
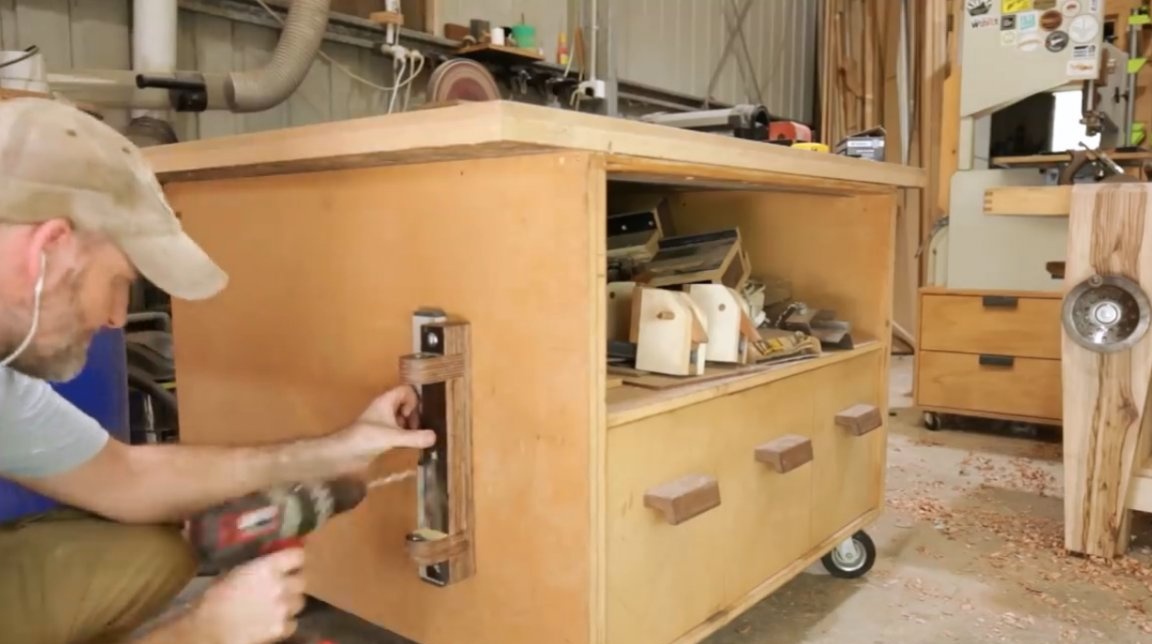

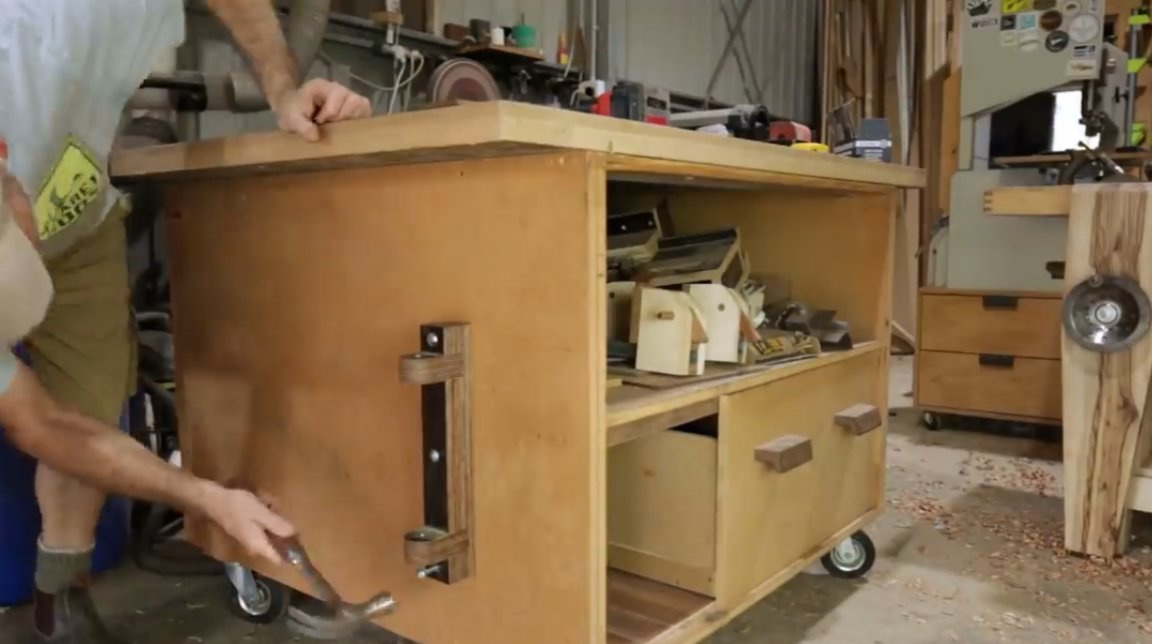
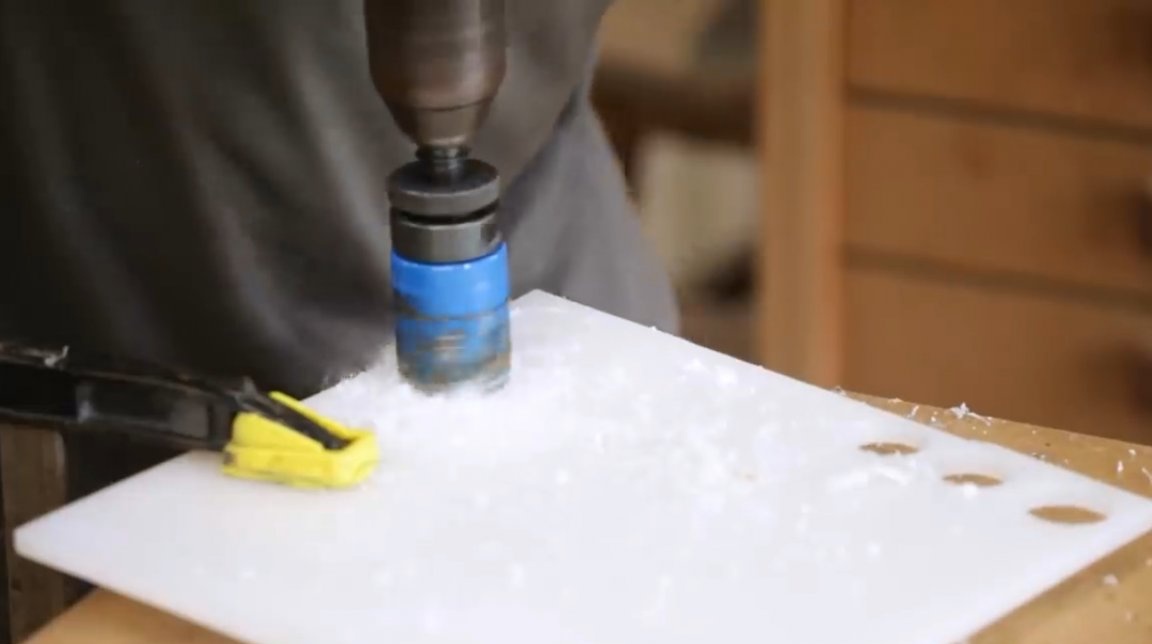
Then he cuts out plastic washers with a crown, and assembles the whole structure.
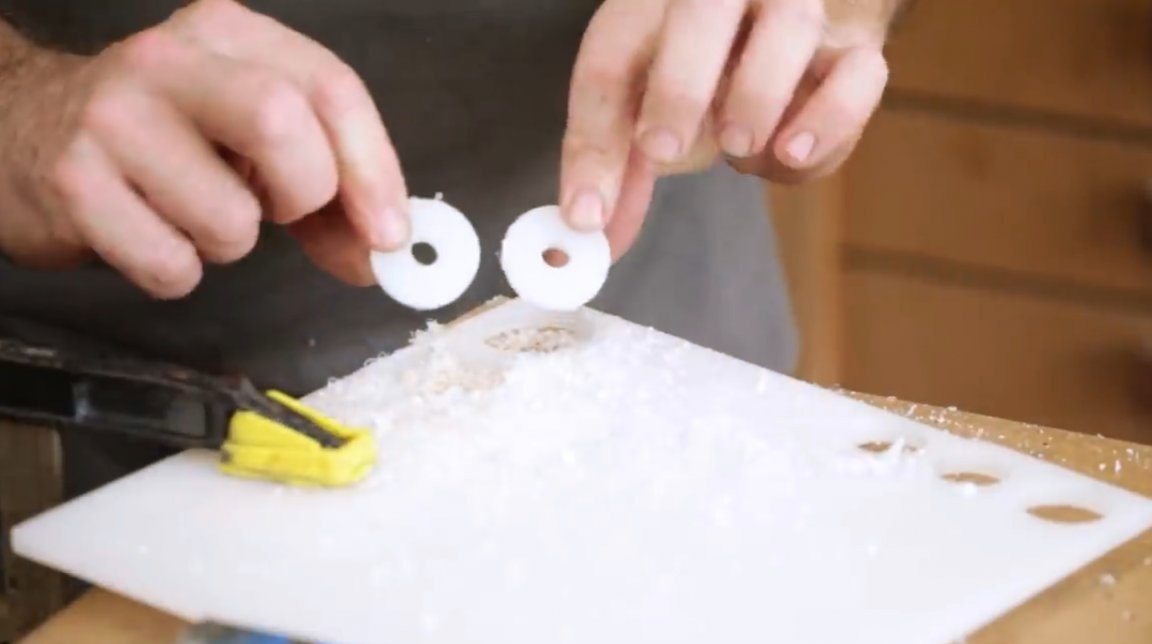
The board from which the seat is made will be attached here to such a platform.
The seat itself is fastened with screws from the bottom.
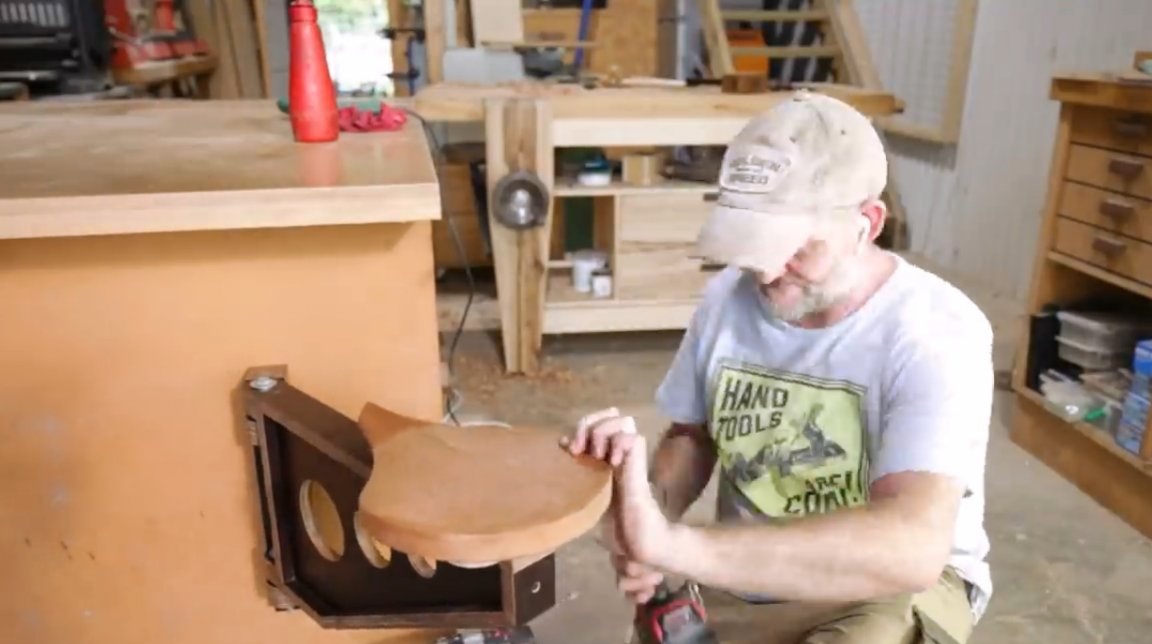
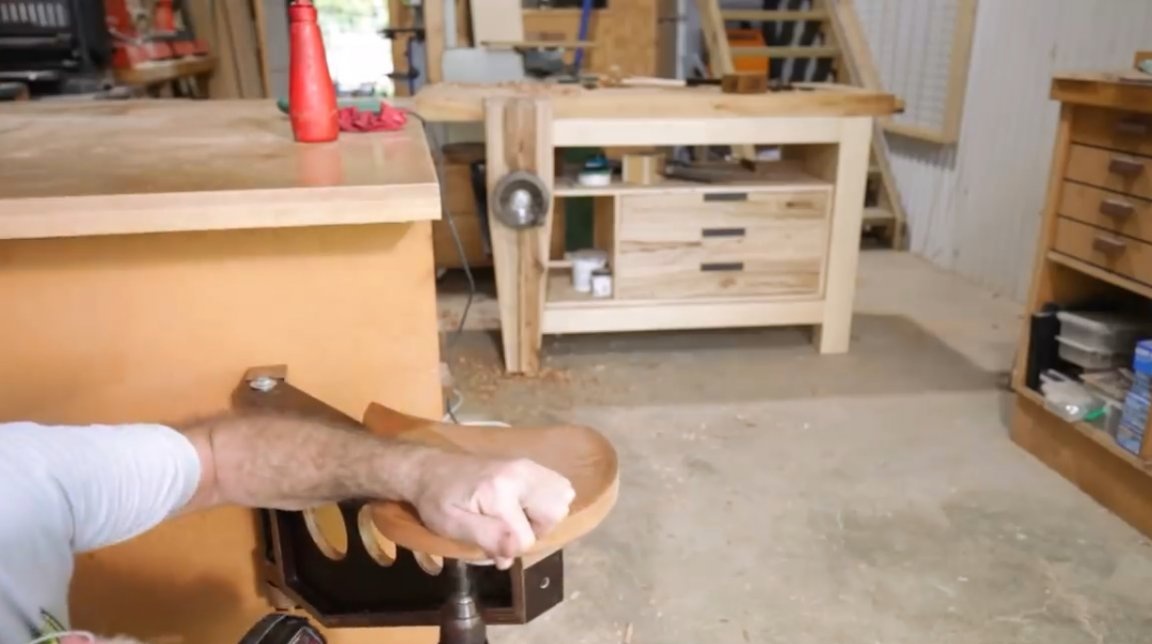
How comfortable it is to sit down like this when you stood at the workbench all day and continue your work right away!
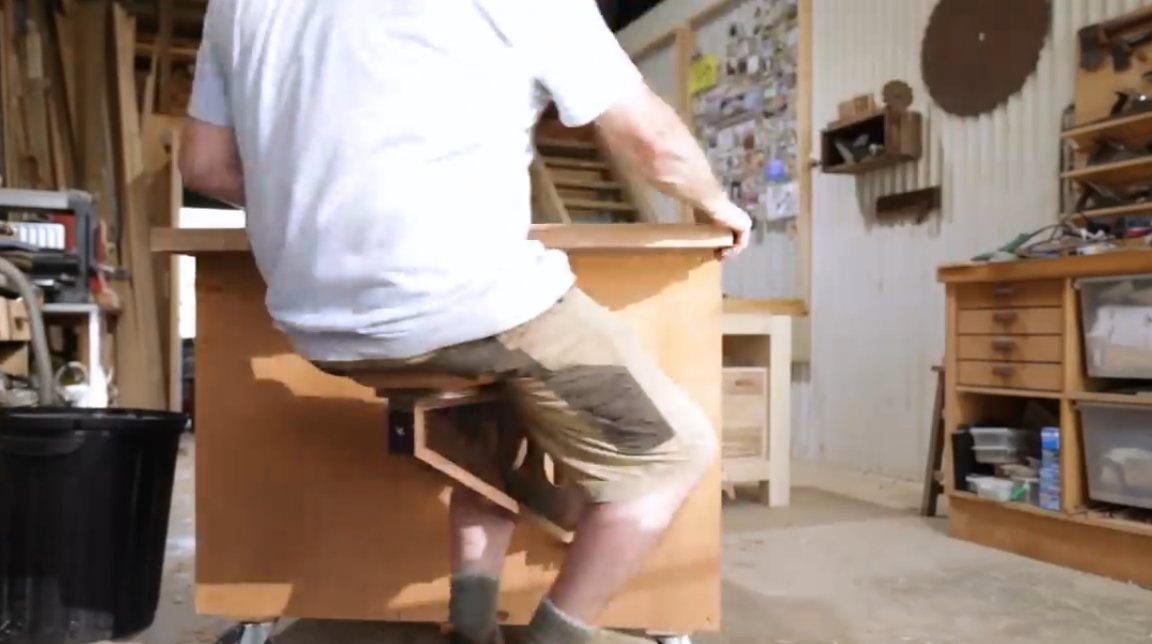
Now Neil has two seats of different designs, but surprisingly, both turned out to be very strong.

Thanks to the author for a simple but useful tool for the workshop!
All good mood, good luck, and interesting ideas!
Author video can be found here.