

This dust collection trolley has an area of less than 60 square meters. see and rollers with a diameter of 7.5 cm, which makes it easy to use.
The only thing that you really need to consider when creating your own trolley is the size of the workshop. There are two key points to know.
1) The total width of the workshop, which will tell you how big the bottom and sides should be.
2) Height to know where to place the platform that holds the cyclone bucket.
• Plans for this assembly can be obtained
Used materials and tools:
- Rollers 7.5 cm
- clamps
- gum
- cyclone type vacuum cleaner
- PVC corner 90 degrees with a diameter of 50 mm
- PVC rubber sleeve 50 mm - 2 pcs.
- clamps
- plywood
- flooring
- magnetic conductor / travel limiter
- Hole saw 70 mm.
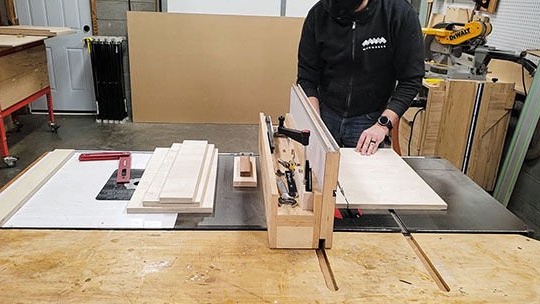
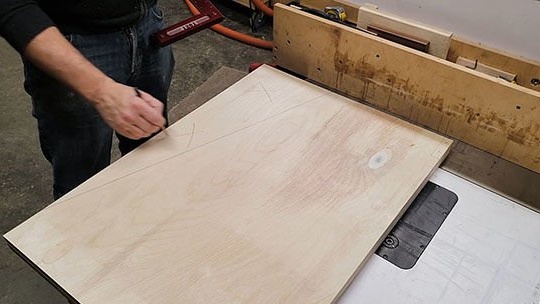
Step One: Sizing
To find out the length and width of the bottom of the future trolley, the master made a temporary “box” around the vacuum cleaner.
To calculate the height, the master used a direct rule and a piece of wood.
The final measurement needed is the bottom width of the cyclone dust collector. This will give the depth measurements of the upper platform so that the bucket fits snugly.
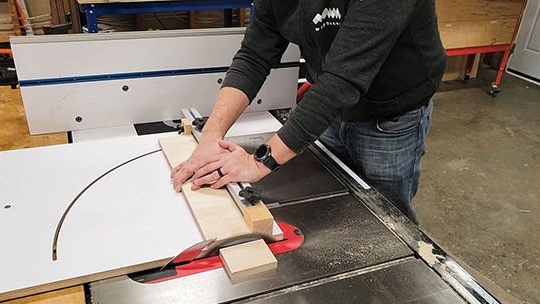
Step Two: Cutting Parts
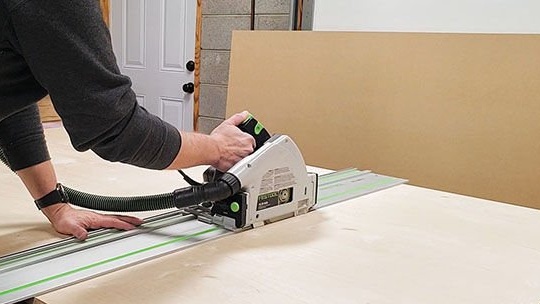
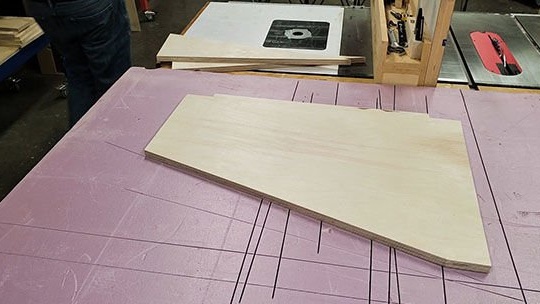
The master began by cutting the plywood into smaller, easier-to-handle pieces from which necessary details can already be cut.
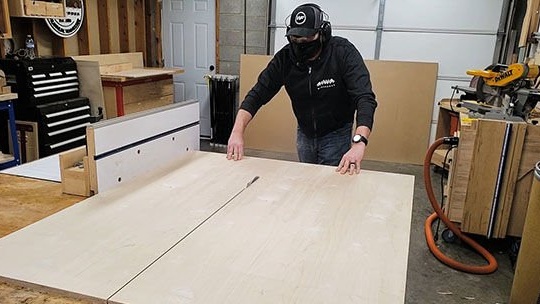
After the plywood was sawn into smaller parts, the master cut out blanks for the sidewalls and the bottom, as well as a blank, for subframes and all parts of the platform.
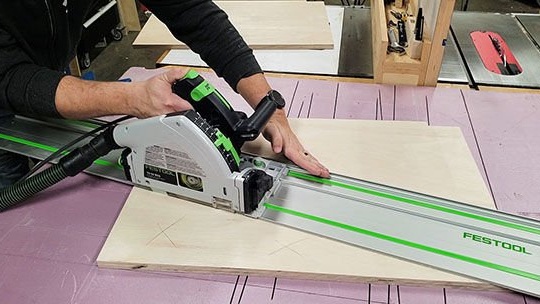
Then the master cut the side and bottom panels to the final length using the transverse slide.
Then the rest of the platform was sawn ...
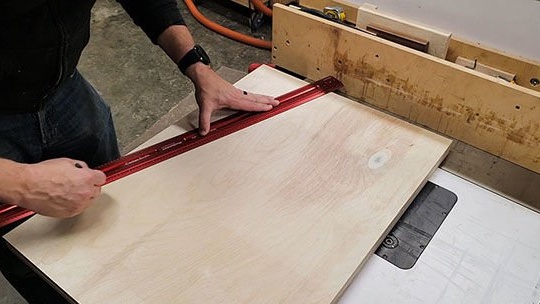
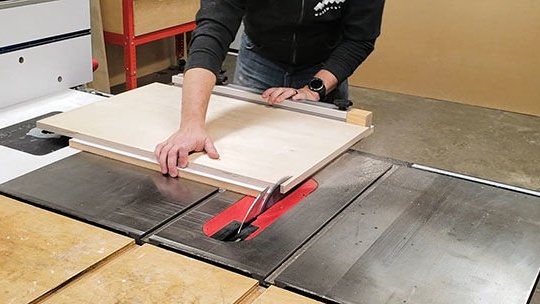
The next steps include creating the tapered sides of the cart. The master marked the beginning and end of the cone (these measurements will depend on the height of the ceilings in the workshop) and drew a straight line.
Then, the places of the recesses were marked, in which the upper and lower subframes will be placed.
Then the master noted the excess parts.
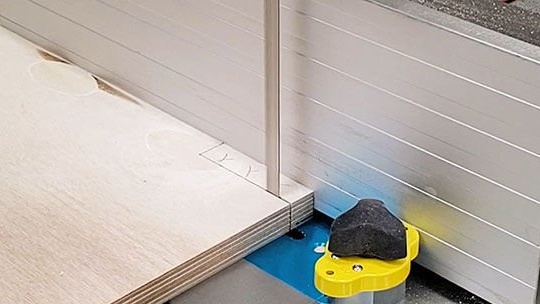
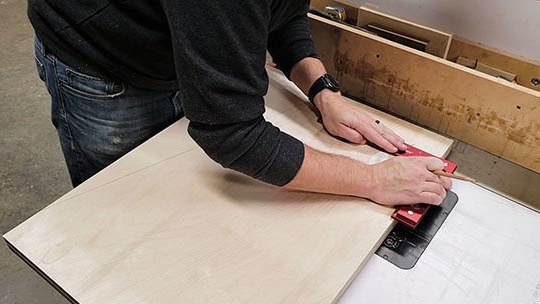
To cut the notches, the master used a magnetic stop as a stop.

Finally he cut out the cones.
Once the cones and notches are cut, each side should look like this.
The last step before starting assembly is to drill 7 mm holes. in every corner of the bottom panel. They will be used to secure the rollers.
Step Three: Recycle Bin
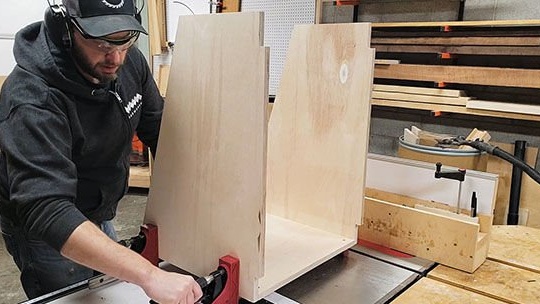
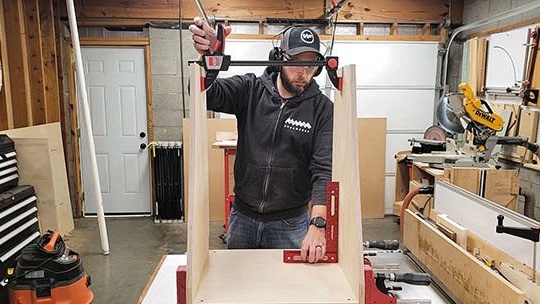
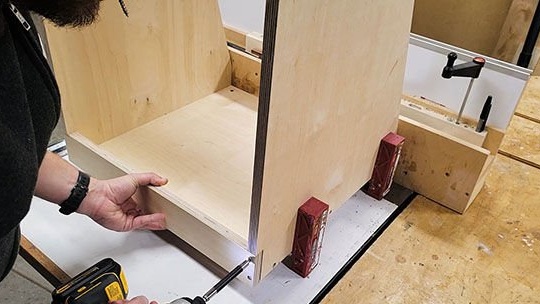
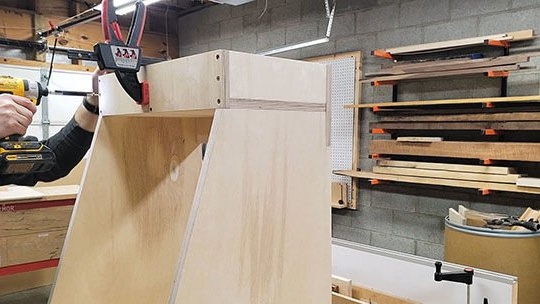
To begin the assembly, the master secured the two sides of the cart with the bottom panel with clamps.

To make sure that everything was assembled directly, the master used another clamp at the top of the trolley and checking the corner with a right angle.
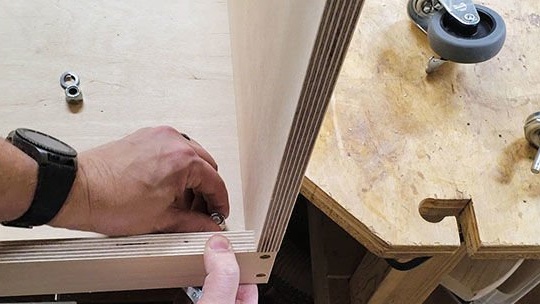
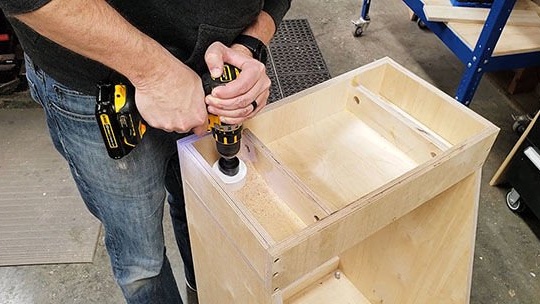
As soon as all the details were aligned, the master screwed the sides to the bottom. Holes were previously drilled and countersinked to prevent cracking of plywood.
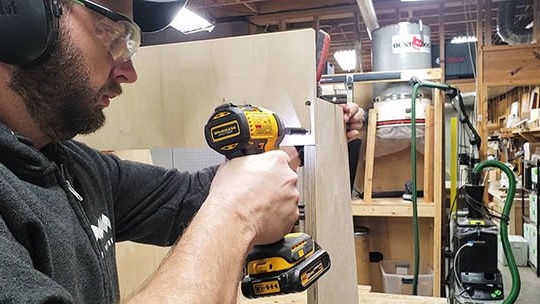
Then the master attached the upper subframe, placing it in the upper pair of recesses. Again, the countersink of the holes was previously made.
The same actions were done for the lower subframe. It was installed in a second pair of recesses at the bottom.
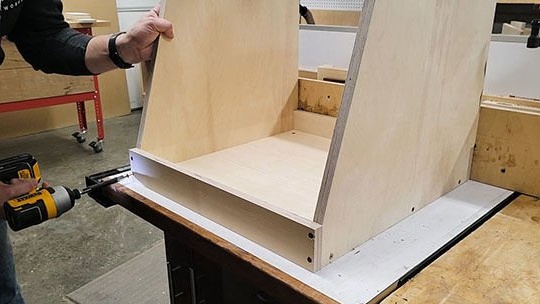
Then the master attached the front lower stop in exactly the same way. It is necessary so that the vacuum cleaner does not fall out of the cart.
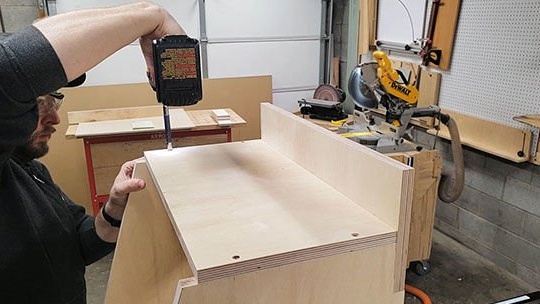
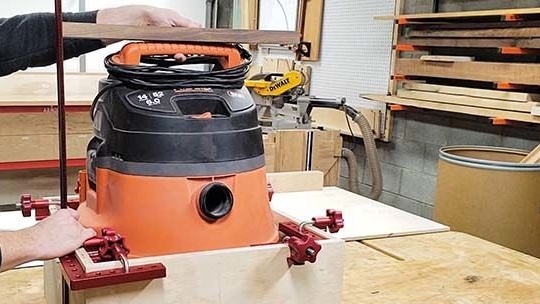
After that, the master switched to the upper platform. He attached the upper platform, pressing it to the upper subframe and securing it with four screws on the sides.
Then the master attached the front of the stop to the bottom of the platform with three screws.
After that, the master installed side stops between the front and rear panels and secured them with two screws on the front and back of the cart.
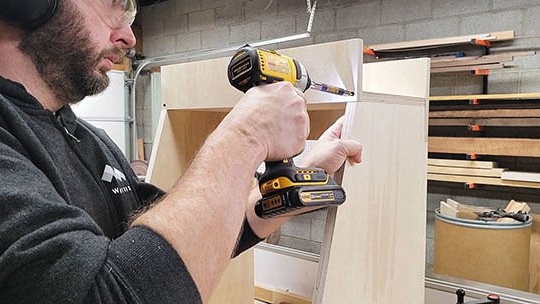
In conclusion, the rollers were installed.
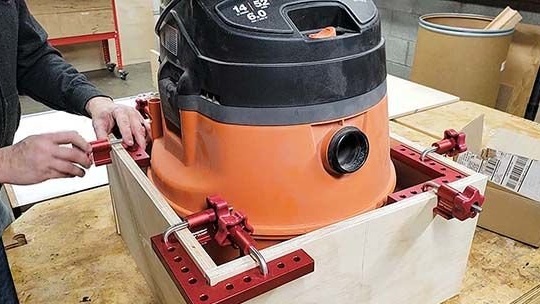
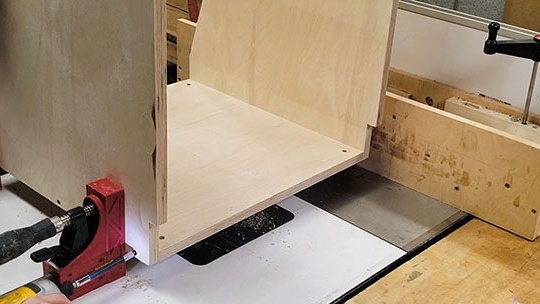
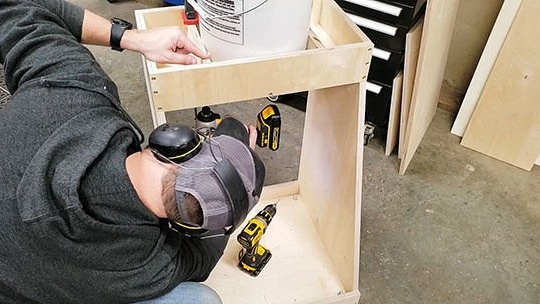
Step Four: Check Fit
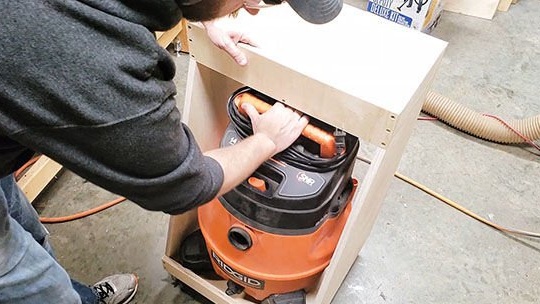
The bottom of the trolley was fully assembled, and so the master decided to make a test landing to make sure that the vacuum cleaner fits tightly in place.
Step Five: Assembling the Basket (continued)

The final steps for assembling the upper platform were to create two spacers that would be located on either side of the cyclone bucket to hold it in place. The master drilled two holes with a diameter of 20 mm. on each side of each spacer for attaching rubber bands.
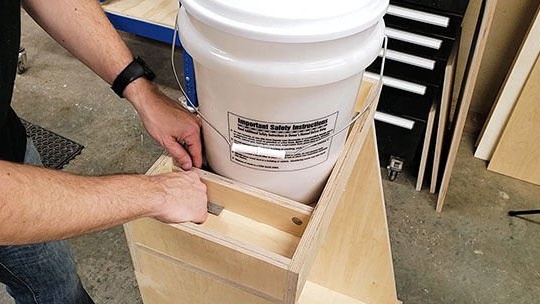
Then he greased a small amount of glue, spacers and inserted them, making sure that they have a right angle in front and behind the platform.
The master screwed each spacer on the underside of the platform with two screws each.
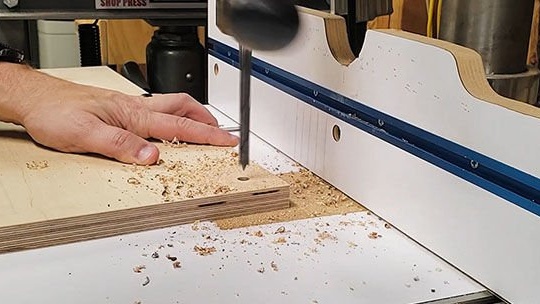
Then the master drilled holes for the vacuum cleaner hose with a brush. To do this, he used a hole saw.
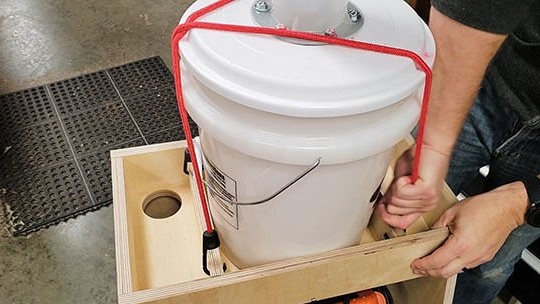
The master attached a cyclone bucket to the cart with rubber bands.
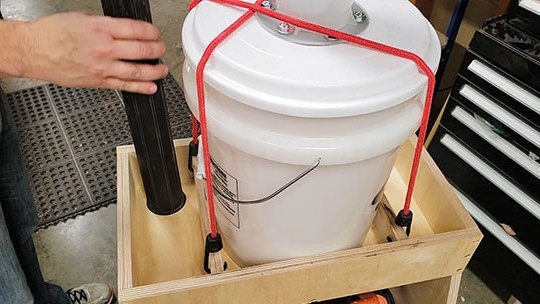
Finally, the hose with the brush was installed in its place and it was time to tackle the last stage of the assembly process.
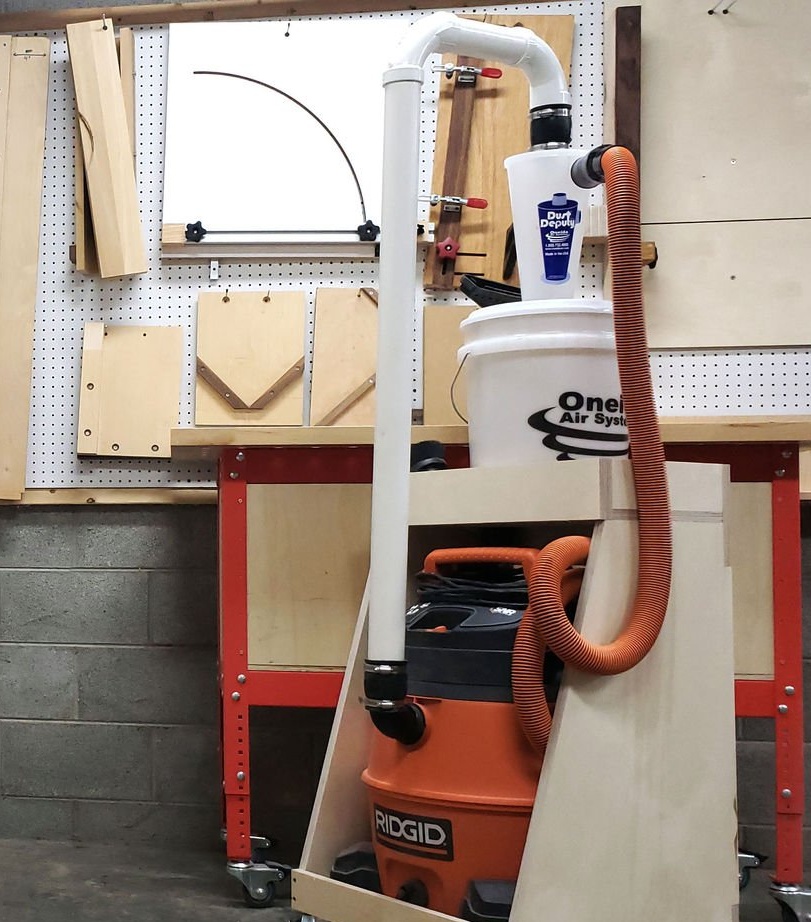
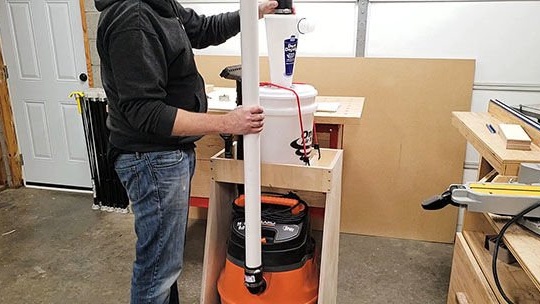
Step Six: Connect Cyclone to Vacuum
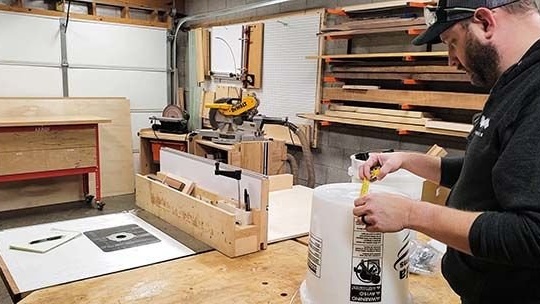
To attach the vacuum cleaner to the cyclone, the master decided to use a 50 mm PVC pipe. He did this for two reasons. Firstly, he did not have an extra hose, and secondly, he assumed that it would be cleaner. Therefore, the pipe was cut into pieces of suitable length, focusing on the location of the inlet in the vacuum cleaner and the location of the cyclone top. The pipe connects to two 90 degree angles and short straight pipe sections. In between, the master glued all sections of the PVC pipe using epoxy to maintain good absorption.
A master vacuum cleaner comes with this 90 degree hose adapter.
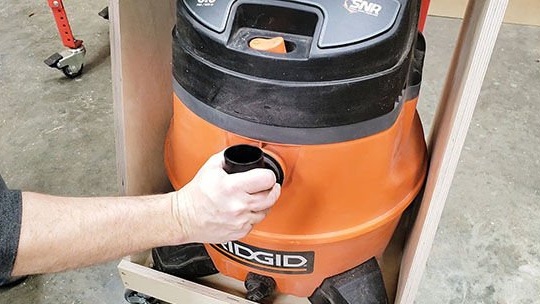
Then the master secured the entire assembly to the cart using two 50 mm rubber couplings.
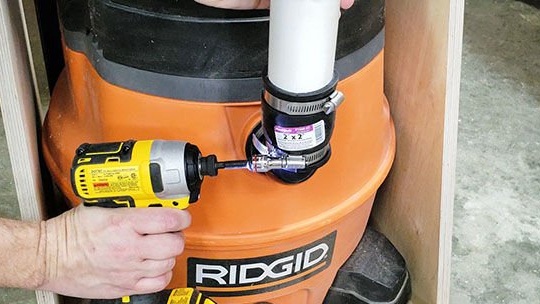
After that, the supplied clamps were dressed and tightened to attach the bottom to the hose adapter.
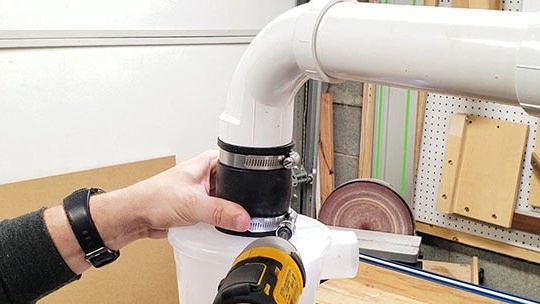
Then the same thing was repeated at the top of the cyclone.
Step Seven: Finished Dust Basket
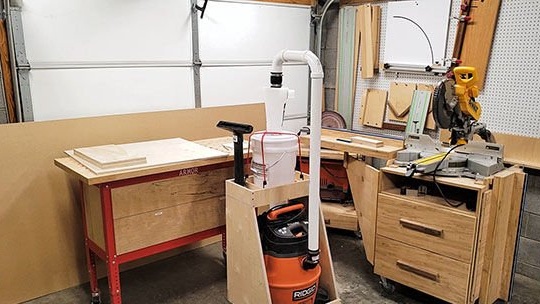
The dust collection trolley is ready for use. It remains to connect the hose to the inlet on the side of the cyclone.
You can also watch a video on the assembly of this trolley and the operation of the cyclone: