
Hello everyone, today I will tell you how the master did do it yourself laptop table.
This table can be used both for working on a laptop and for games.
Tools and materials:
1. Plywood
2. Laser cutter
3. Wood glue
4. Band Saw


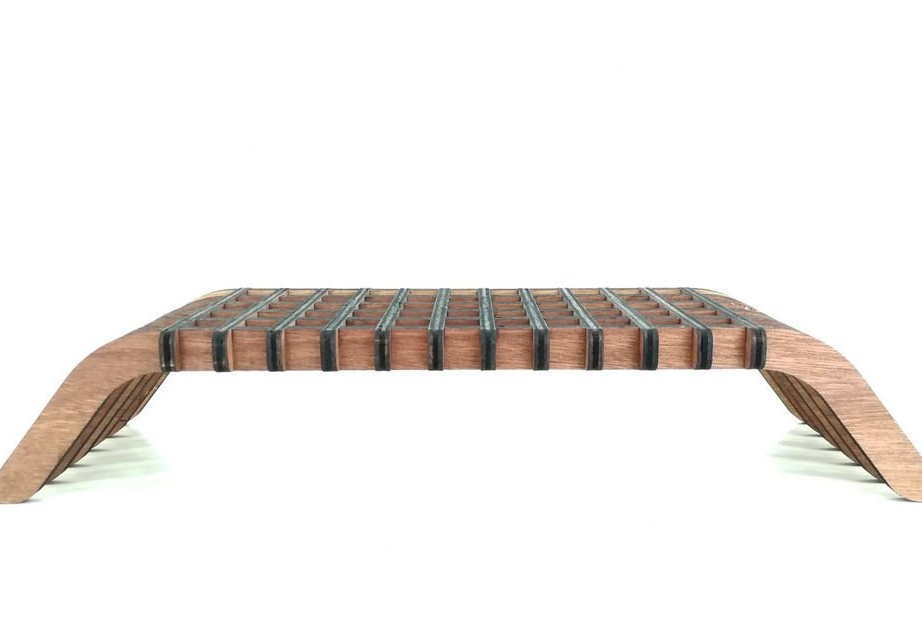
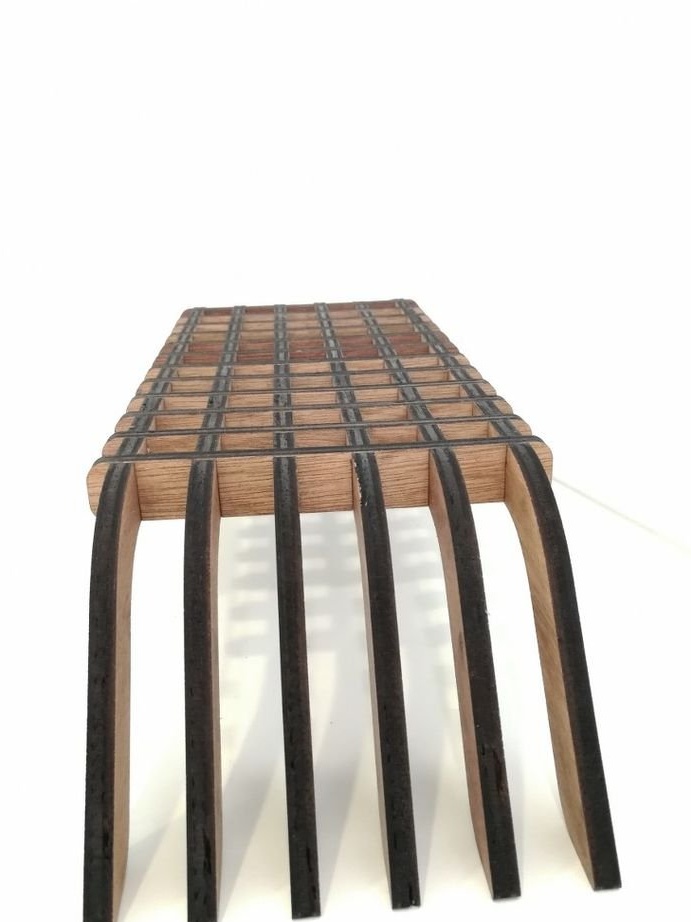
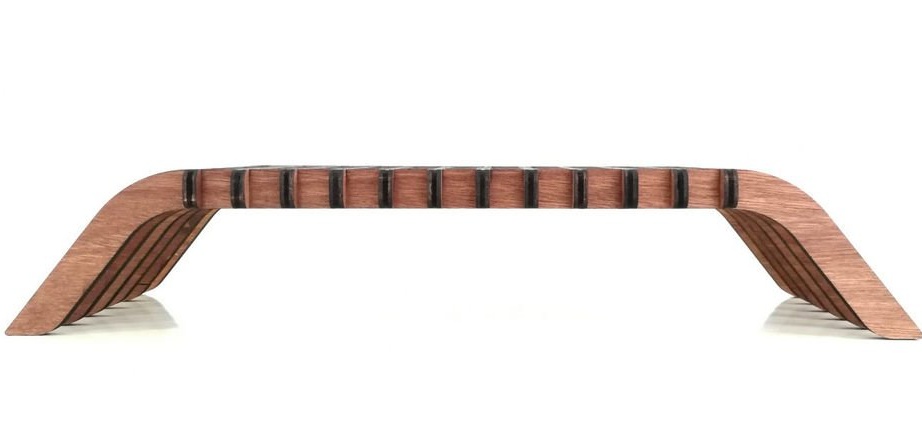
1. The author measured the dimensions of the stand for the laptop and keyboard, and found out that the upper part of the stand may already be lower. Therefore, the author developed it in AutoCAD as a stand with spread legs.
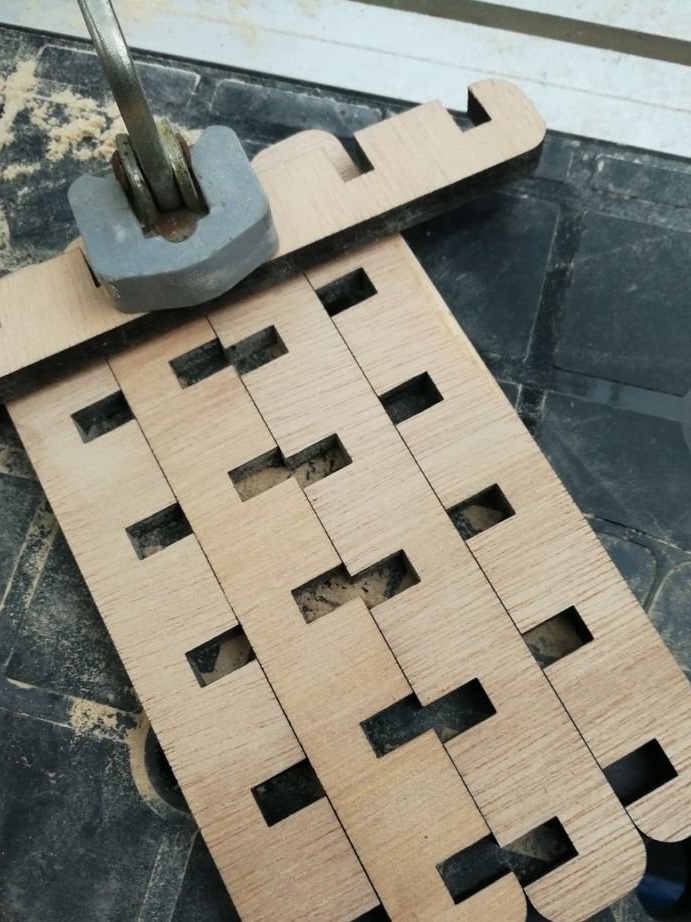
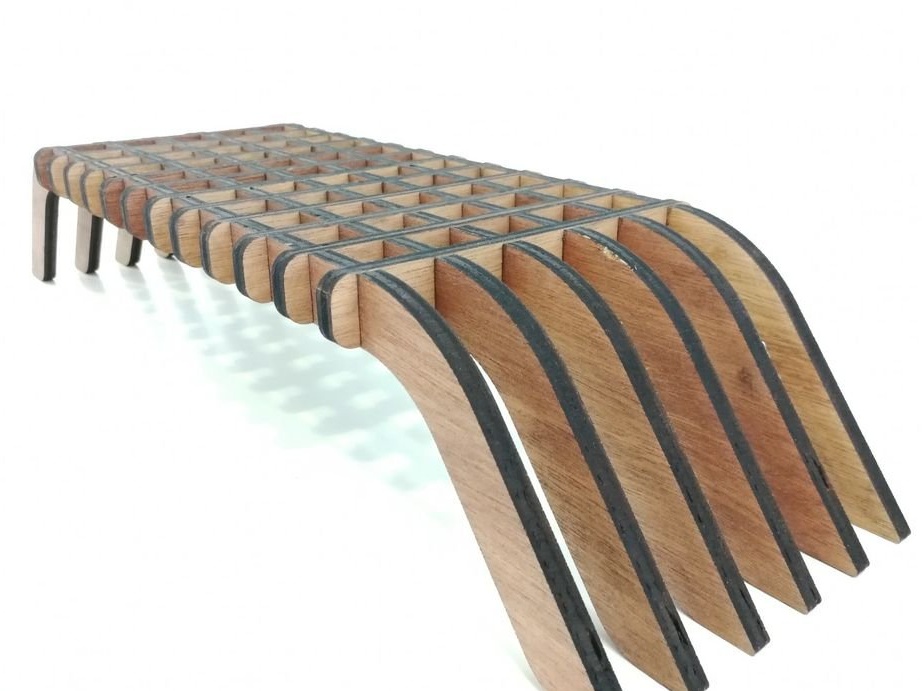
Then he cut out pieces on a laser cutter from 9 mm plywood with slots for semicircles. Note that half the circle is exactly half the depth of the pieces, i.e. 12.5 mm out of 25 mm.
When laser cutting, you must consider the width of the slot or the width of the laser beam when designing. This is to ensure that the parts fit snugly together.
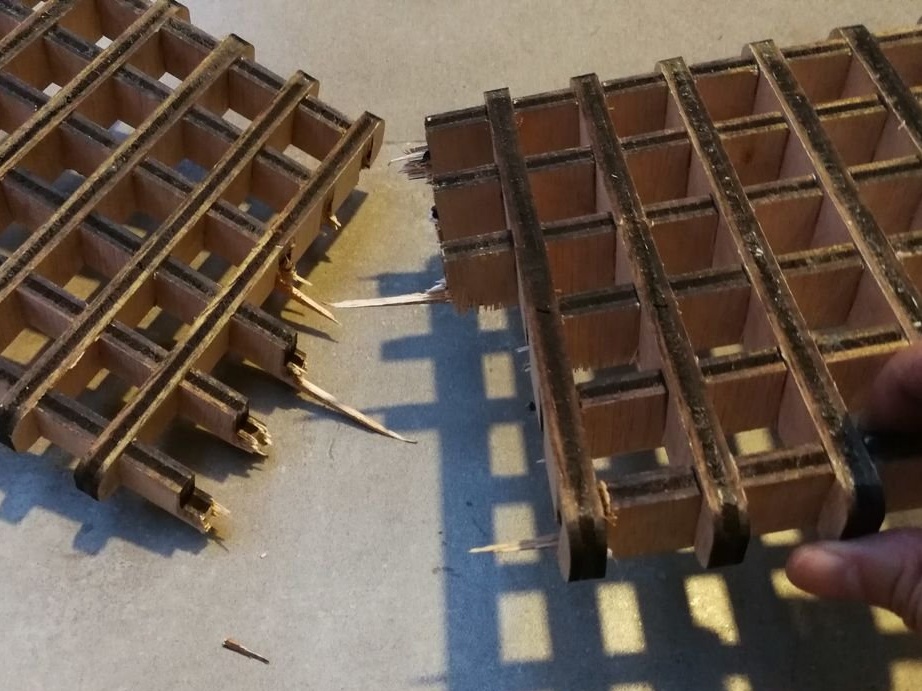
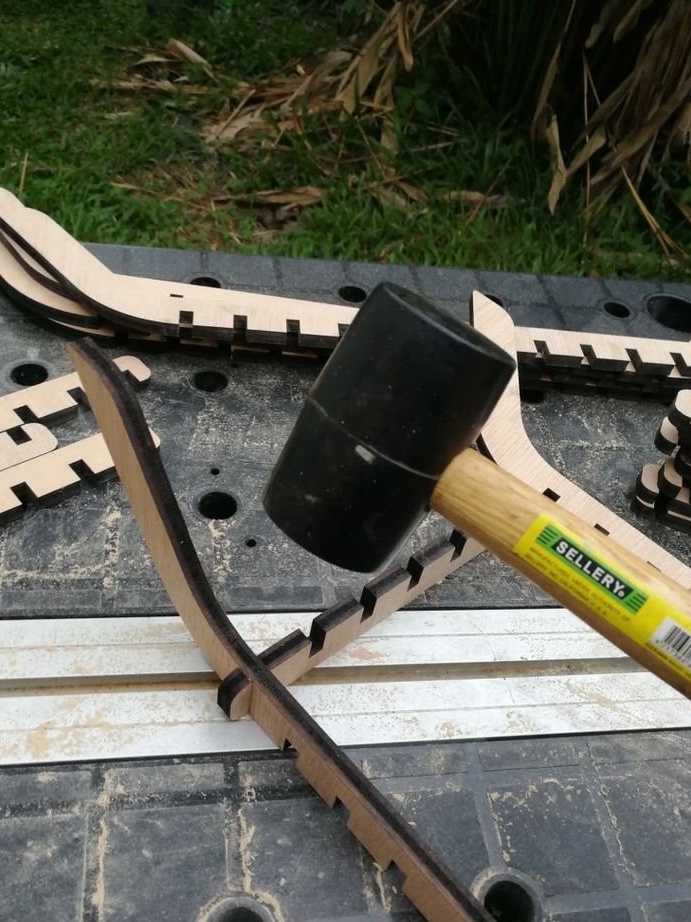
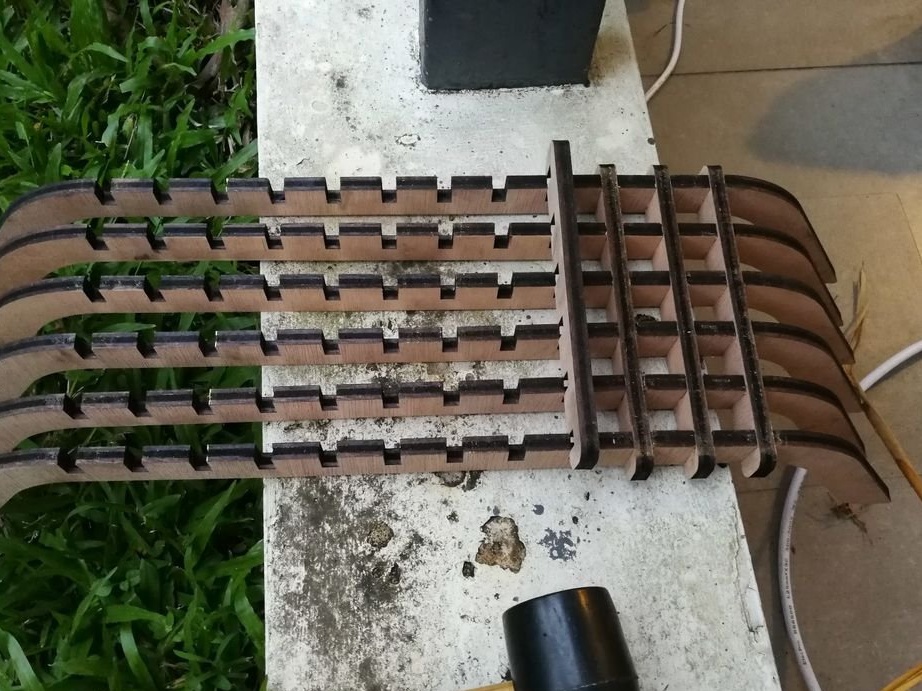
2. The gaps turned out to be small and the author had to drive all the parts with a rubber hammer in the end, this happened, and the first version broke down in several places.
Therefore, the author decided to check the design for strength. It was a pretty hardy design and didn't break at all home items. In the end, the author simply stepped in to break it in half.
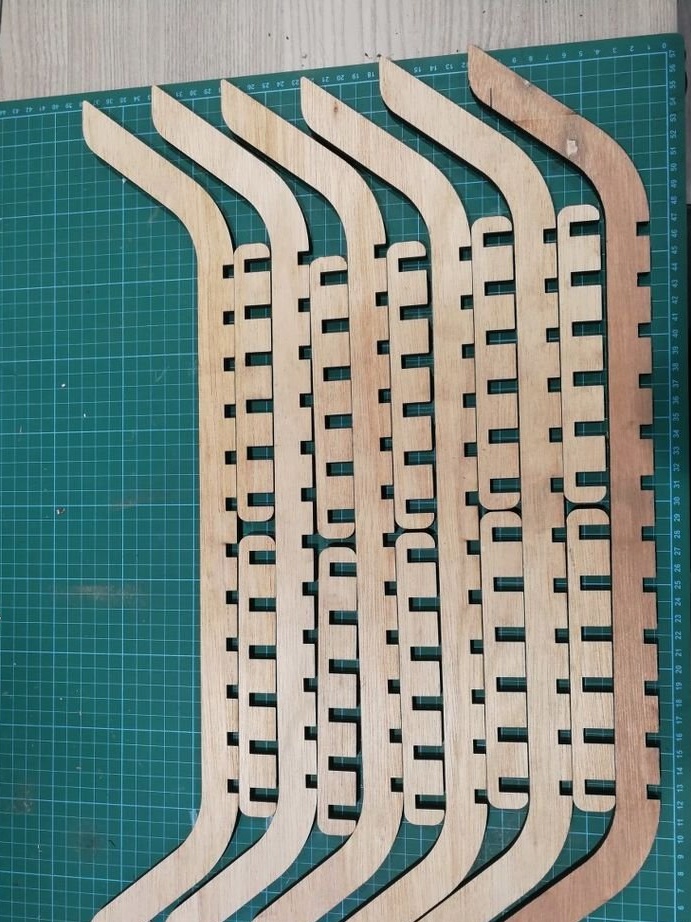
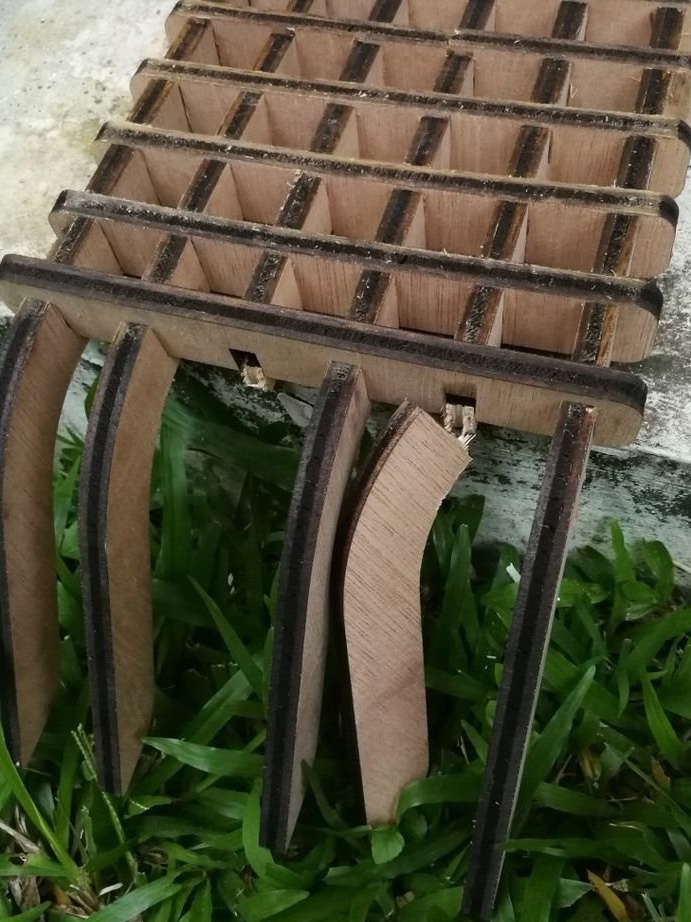
3. Therefore, the author returned to AutoCAD and changed the depth of the joints in a semicircle. You can see that the slots are now much smaller in long “legs” compared to short “crosses”. This is because the long parts of the legs must do all the hard work, covering 480 mm from end to end, while the short transverse parts should only cover 20 mm (less than an inch) between the legs.
The author also adjusted the width of the slots to give a little more room for maneuver.
Then I cut it out again on a laser cutter, although you could probably print the plans and cut it out on a band or spiral saw.
The author added plans in DXF and PDF formats. Plans are in A1 format, dimensions are in mm. The slots are designed with a diameter of 8.2 mm, which is ideal for 9 mm plywood (laser cutting ends closer to 9 mm due to the cut of the cut.) You may need to play with your own laser cutter offset settings to work according to your requirements. machine tolerances.
Dxf- download
PDF download
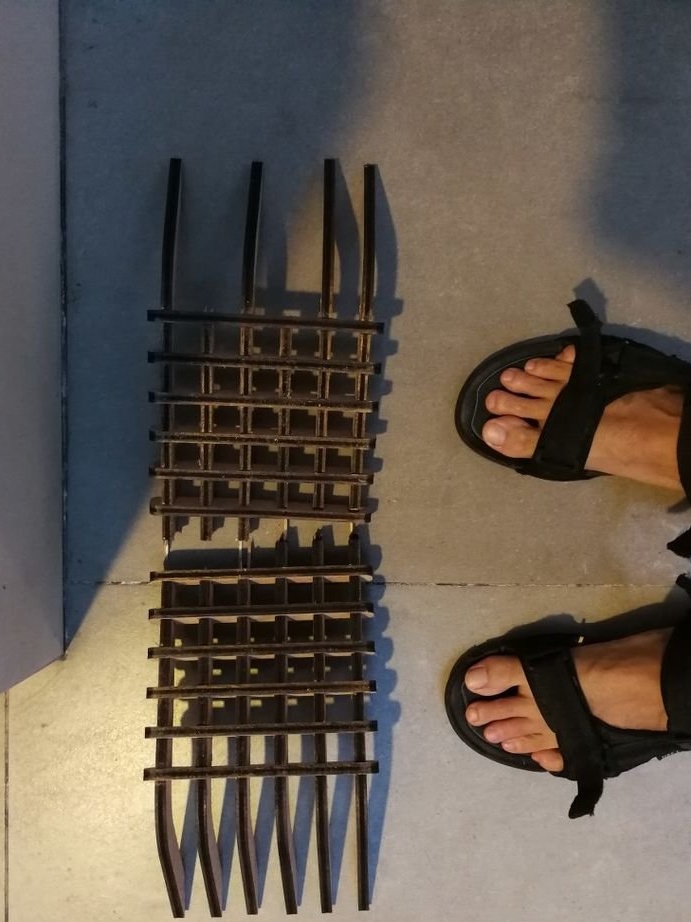
4. This time all the parts assembled much easier, without much abuse by the hammer.
Then the author left him on the street for several days so that the charred smell would disappear. At first, the smell of laser cut plywood can be quite harsh.
Then the author wiped it with mineral oil, just wiped it with a rag.
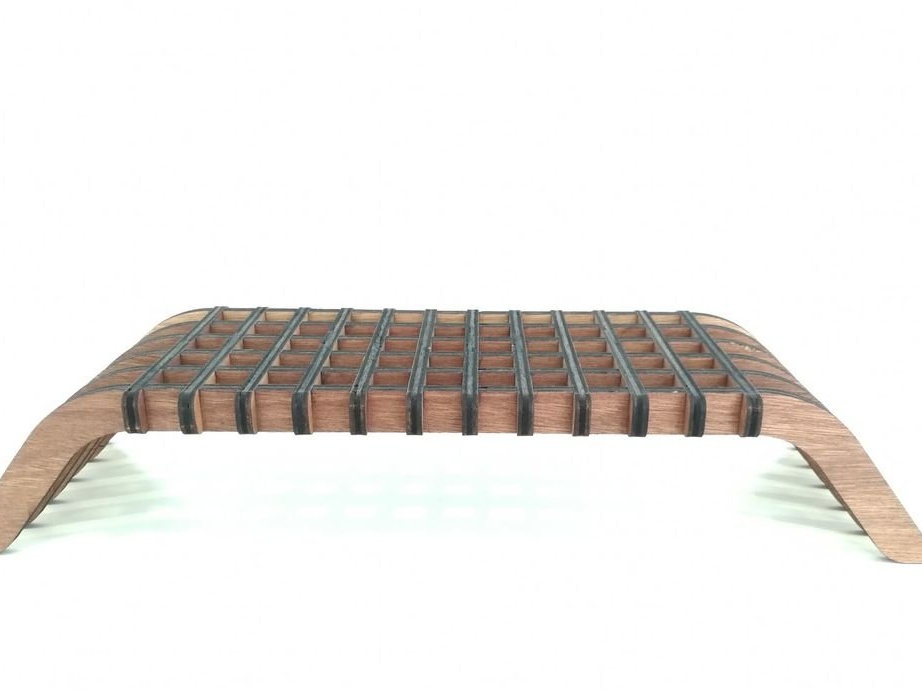

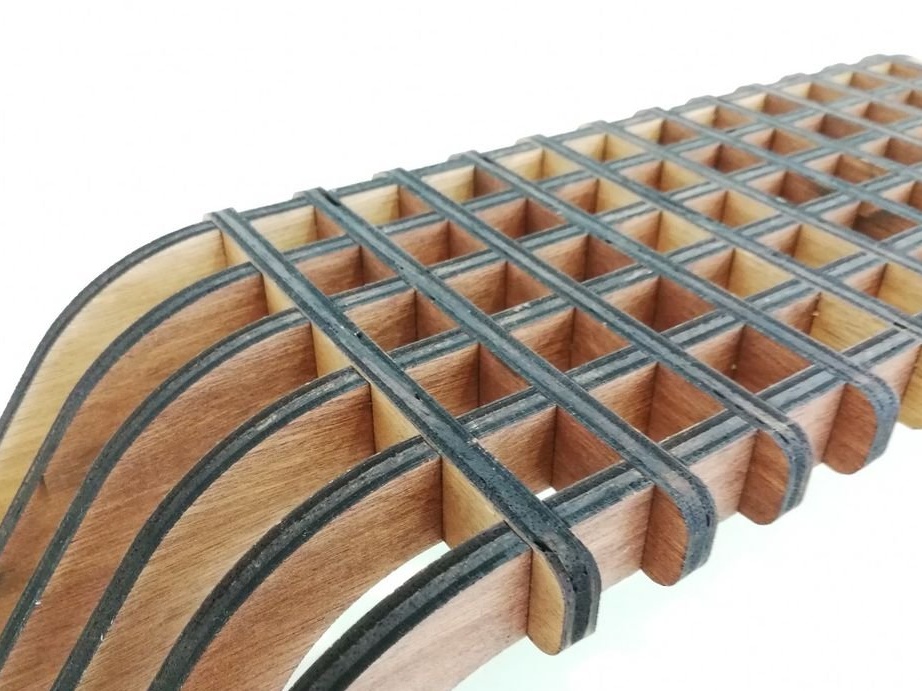
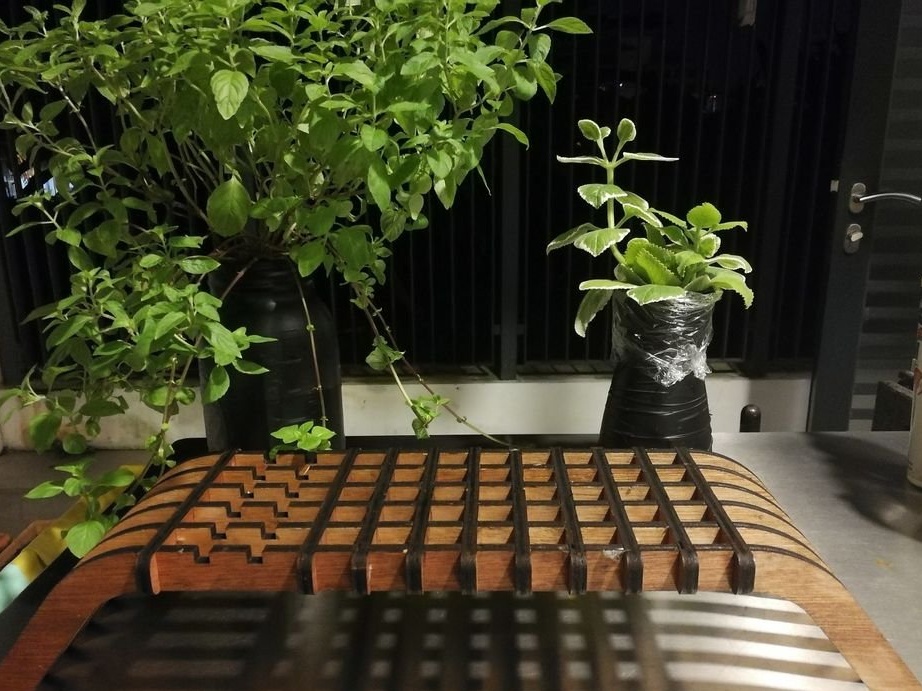
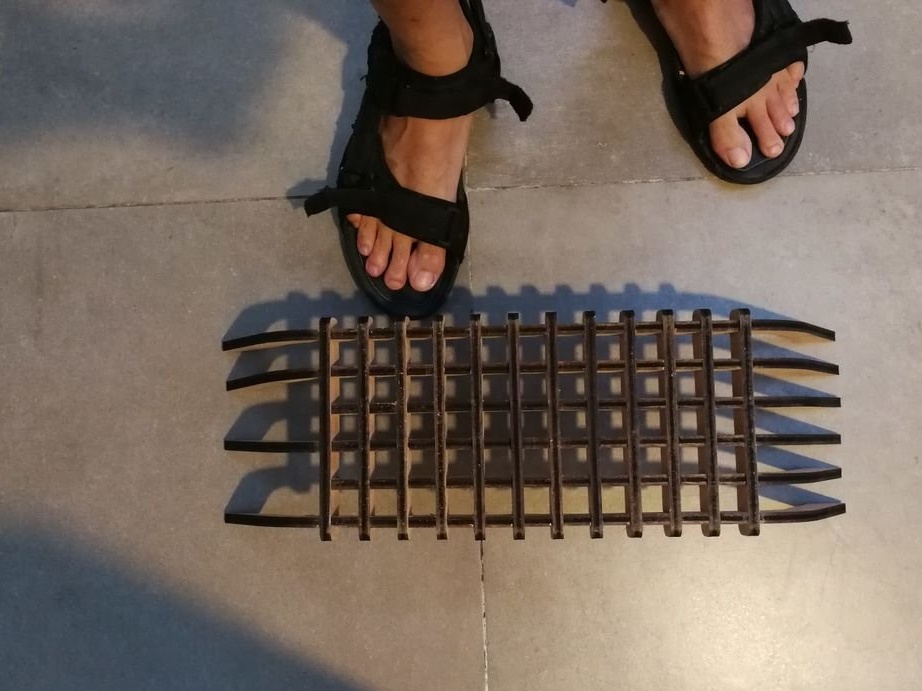
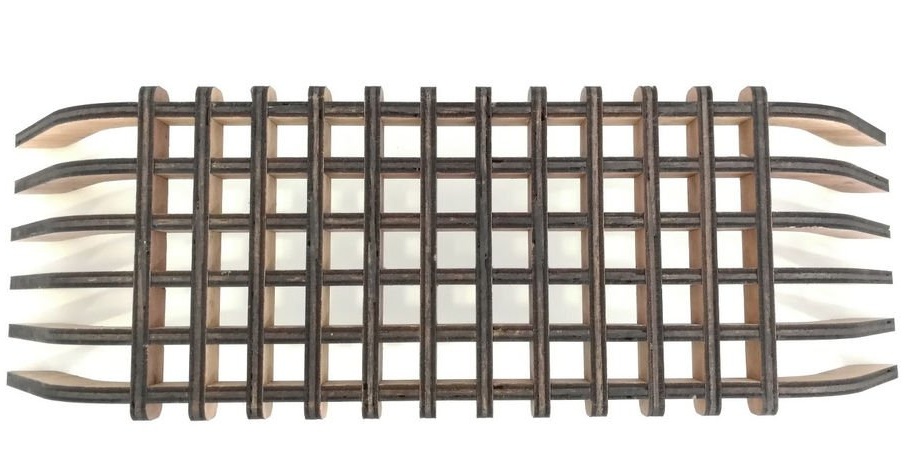
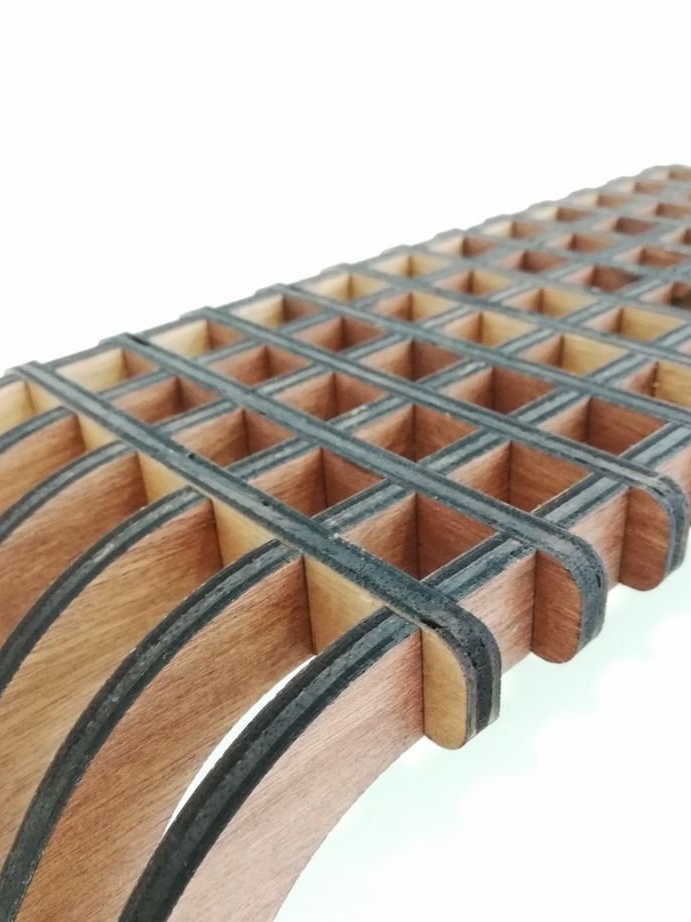
5.This is what the oil-painted project looks like. The author likes the contrast between the charred edges and the light wooden edges.
The waffle top is also quite interesting, but most of the time it is hidden under a laptop.
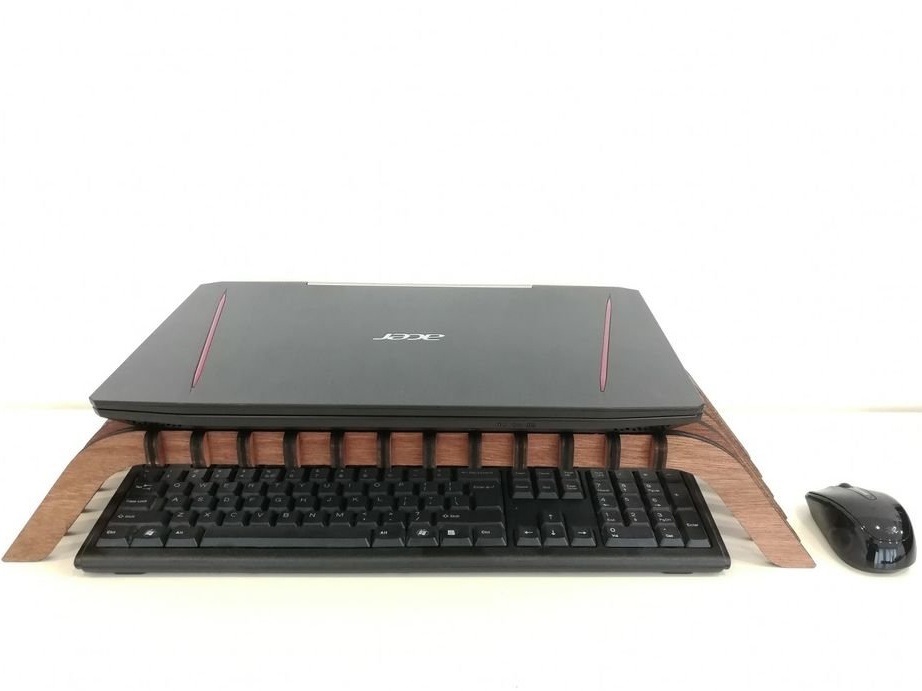
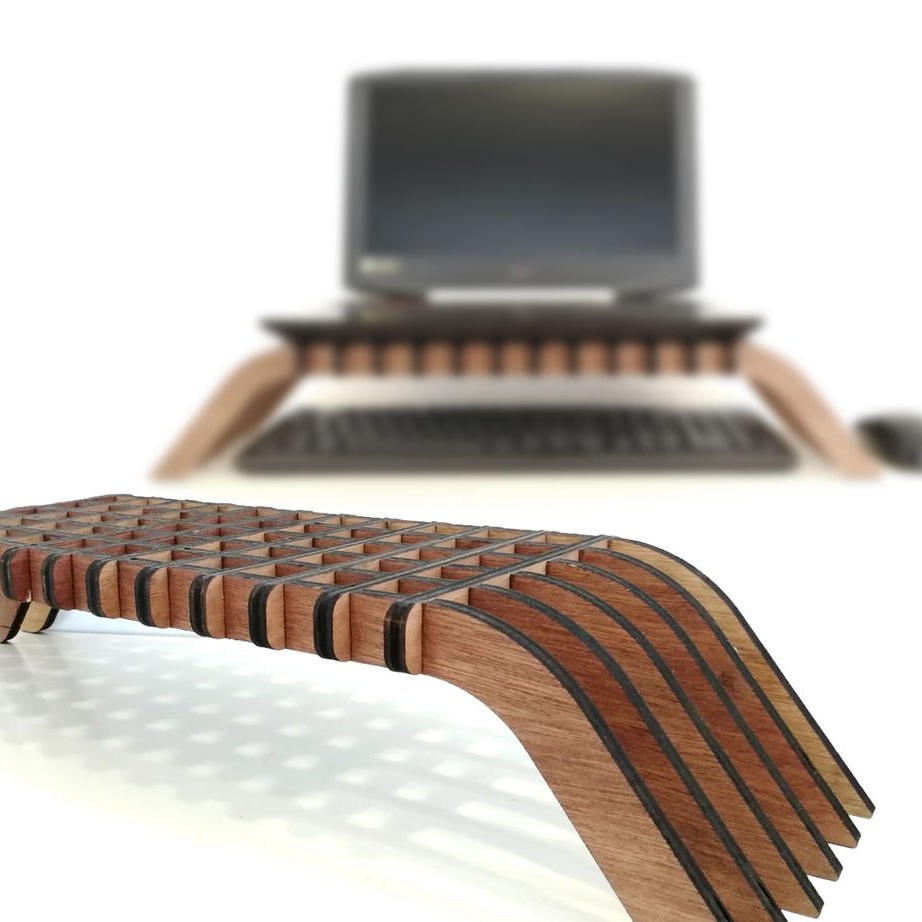
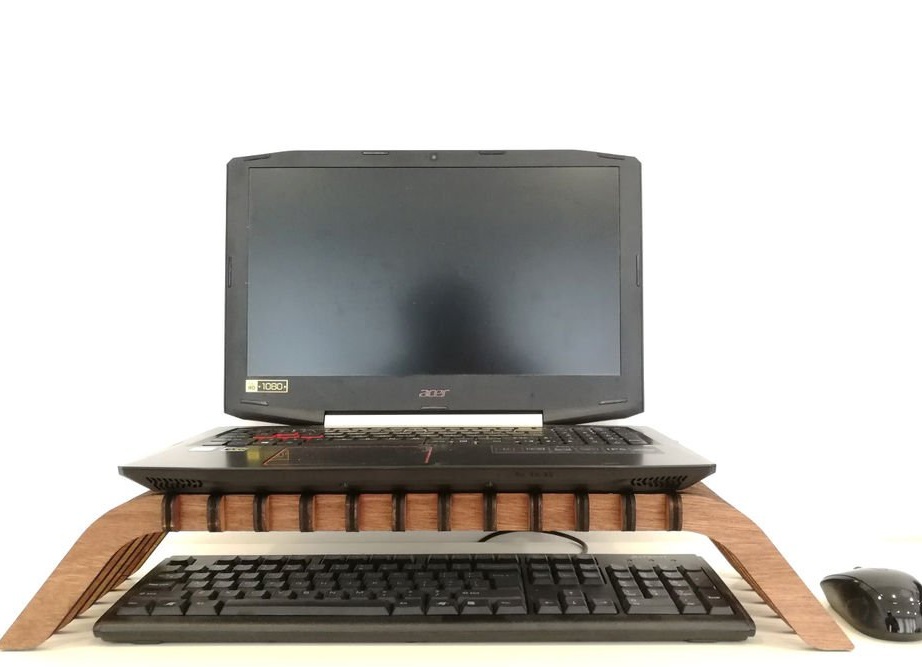
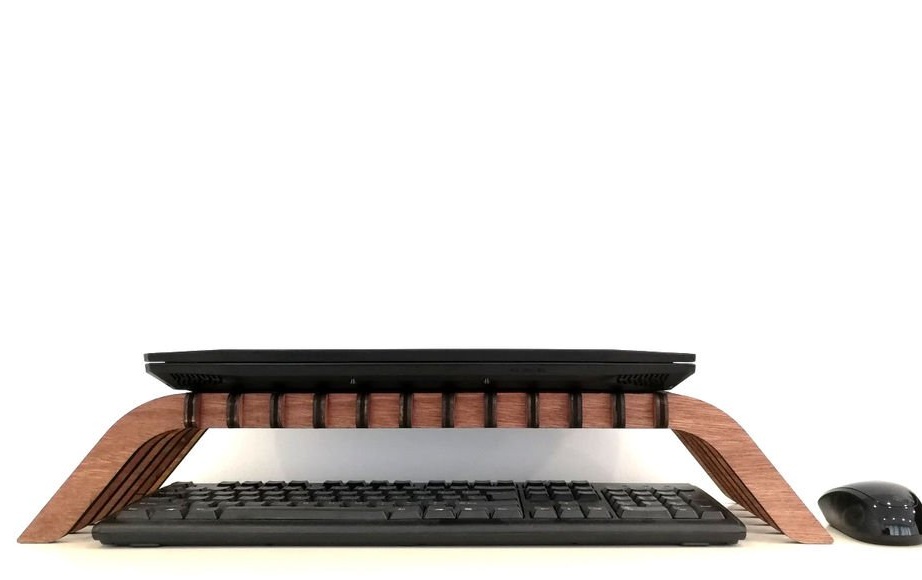
6. I think the use of this is pretty obvious. You can use it only with a laptop or with a laptop dock. All cords are located on the back.
This is what the author’s 17 "laptop looks like. It works great!