
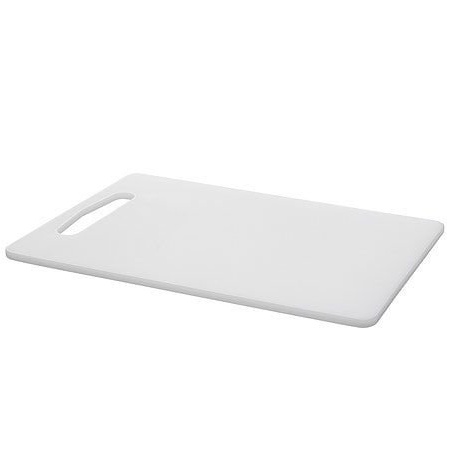
It all started with the fact that the master restored the old vise and wanted to make some soft nozzles on his lips so as not to be afraid to do delicate work. In search of plastic for sponges, he stumbled upon an old chopping board that came up to fulfill his plan. In the process of attaching plastic to the vice lips, the master decided that it would be useful to make the vice entirely from plastic using pieces of plastic cut from a pair of IKEA cutting boards and glued together using hot glue.
Step 1: Materials and Tools
Material:
- Cutting boards IKEA LEGITM 340 mm.x240 mm.x6 mm. - 2 pcs.;
- Glue sticks with a diameter of 250 mm. x 12 mm. - 4 things.;
- carriage bolt 7 mm. x 150 mm .;
- carriage bolt 7 mm. x 76 mm .;
- nuts 7 mm. - 2 pcs.;
- Contact adhesive in the form of a spray;
- Sandpaper with a grain size of 60 units;
- scissors;
Instruments:
- Printer (for making copies of the attached template);
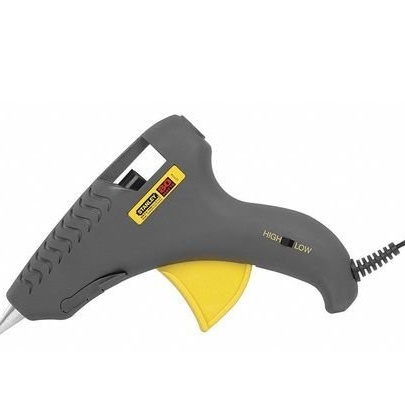
- High temperature glue gun;
- Band-saw;
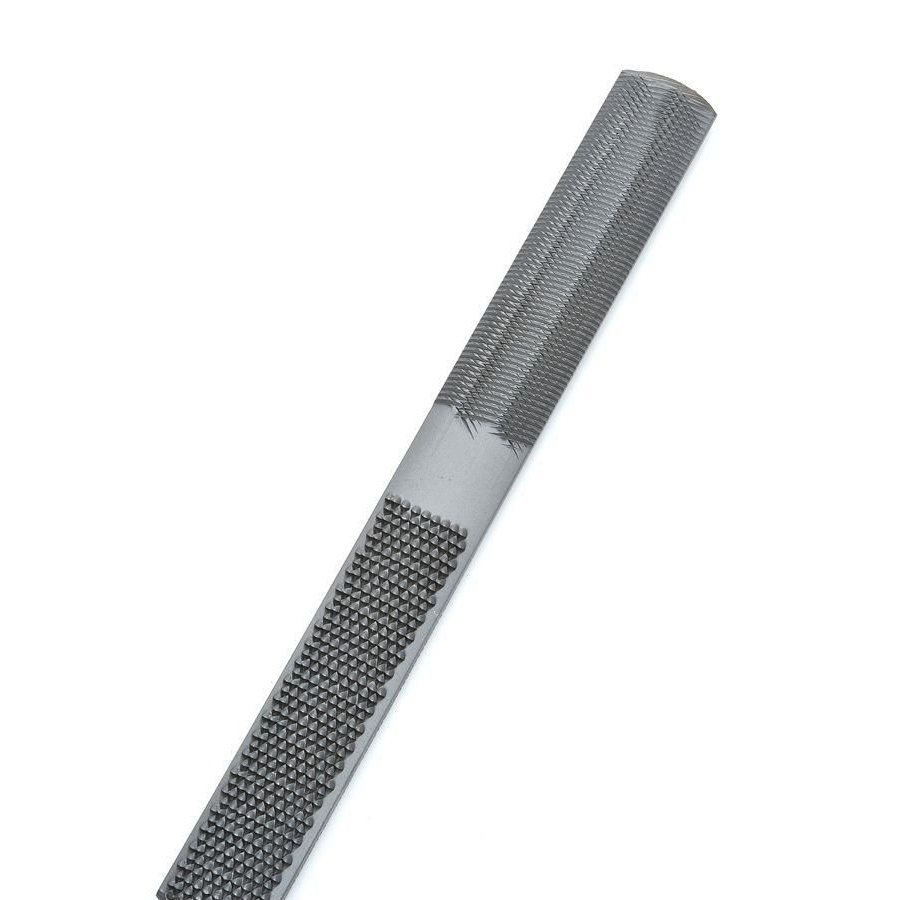
- Rasp;
- drill;
- Drill for 7 mm .;
- Universal knife and additional blades;
- Chisel;
- Propane burner;
Attachments
Packet Template
Step 2: Template
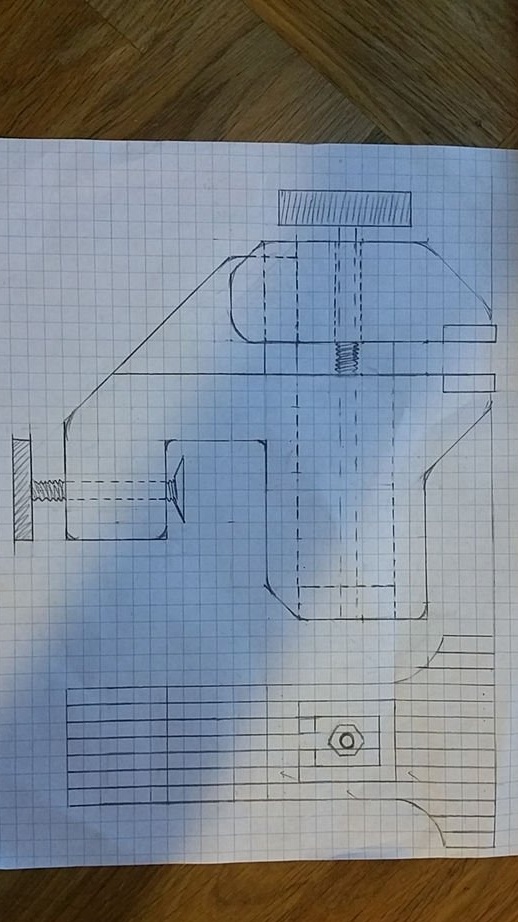

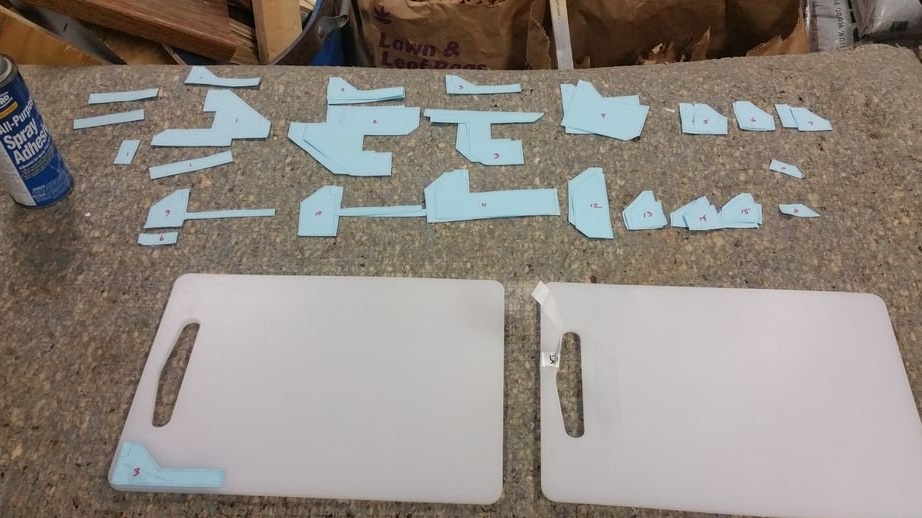
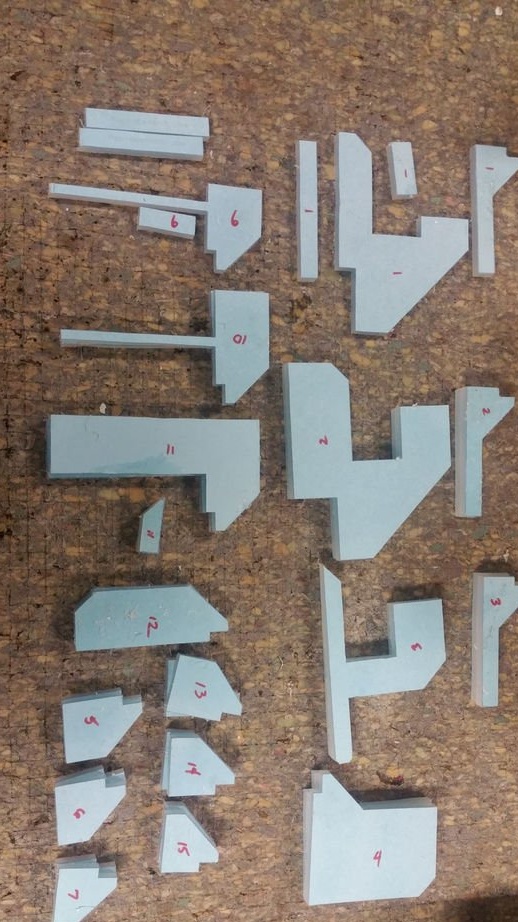
Start by printing (2) a copy of the attached PDF file, which is a template for the various parts that make up the vise. One copy will be used as a reference to the assembly, and another copy will be cut out as a template.
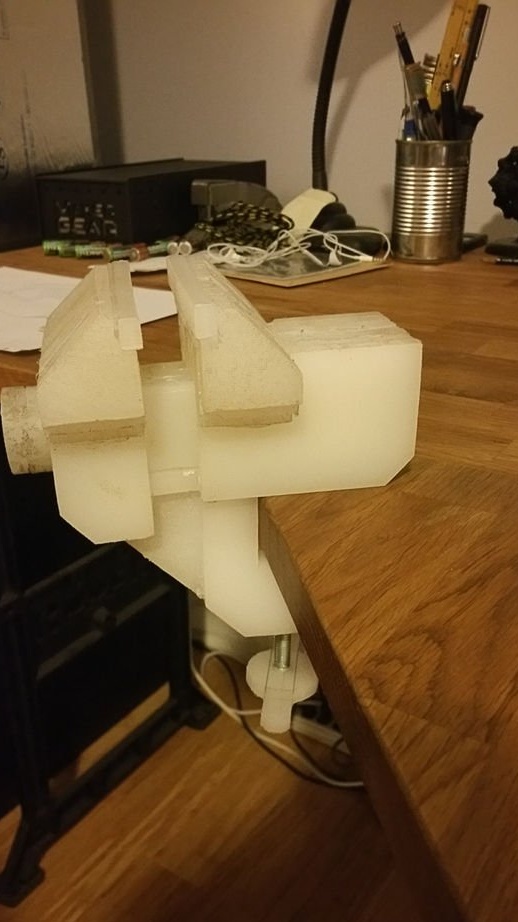
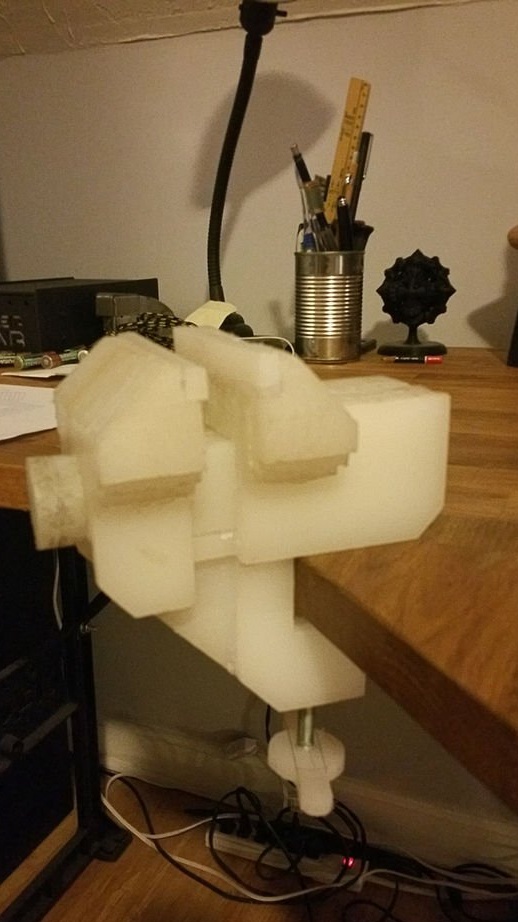
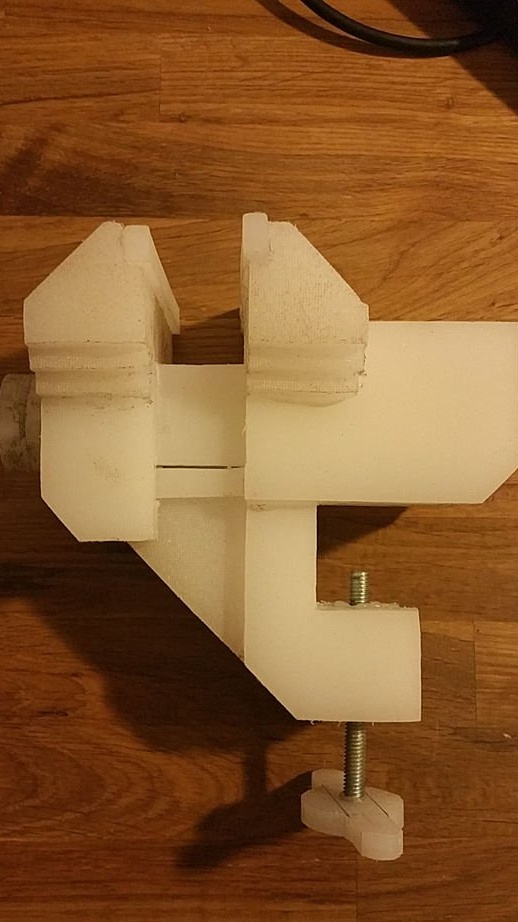
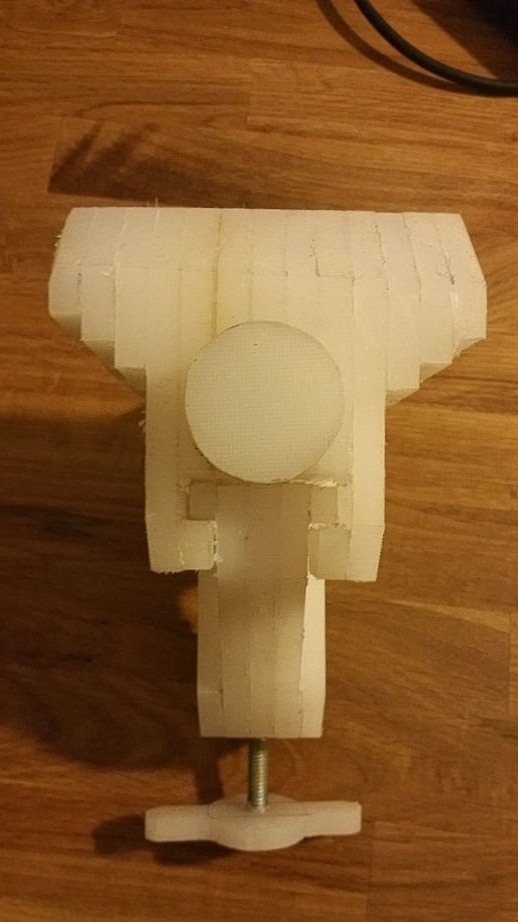
On the 1st and 2nd pages are images of a fully assembled laminated vise, with the exception of two screws, which are used to fix the vise to the table and for clamping action.
Continue to cut the pieces and arrange them in the numbering order. There is a set of templates for FIXED JAW (fixed sponge) (# 1 to # 7) and for MOVING JAW (movable sponge) (# 9 to # 15), as well as a view showing how the layers should be assembled. Ignore number 8; the author was absent from school that day.
Step 3: Layout
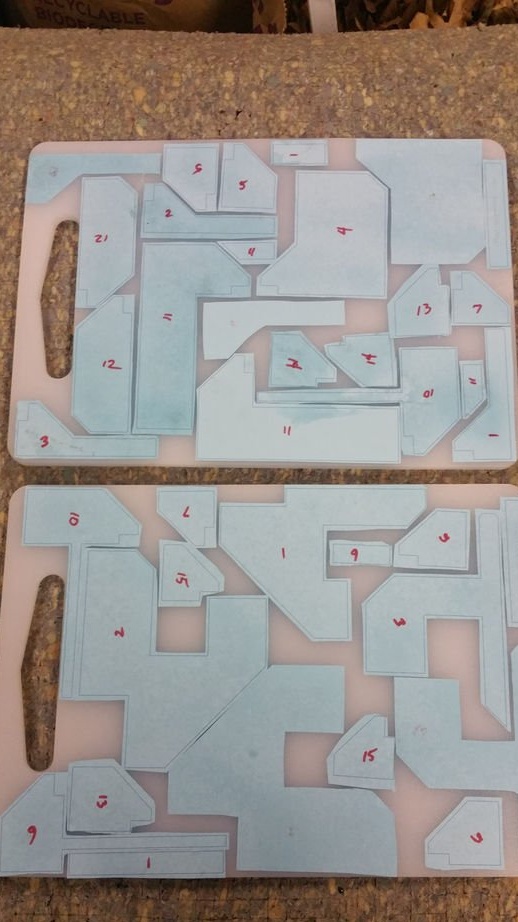
The entire volume of parts is designed for two cutting boards. It is highly recommended that you use the layout image on two boards to orient patterns.
To maximize the layout on the boards, some templates will need to be flipped. In particular, according to one of the templates No. 2, No. 3, No. 4 and No. 10.
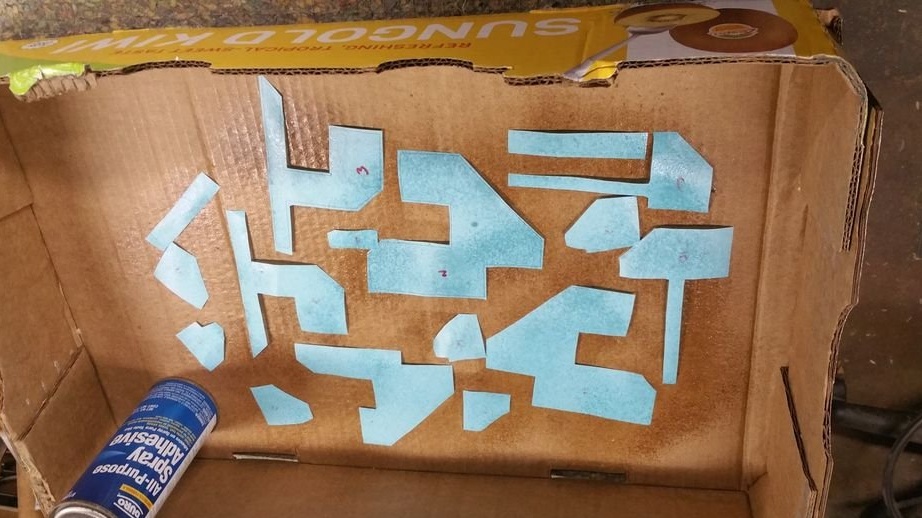
Spray contact adhesive on one surface of each of the two chopping boards.
Apply a light coating of contact adhesive to the back of each template.
Wait 5 minutes before applying the templates to the board in the order shown.
Step 4: Cutting the shapes from the board
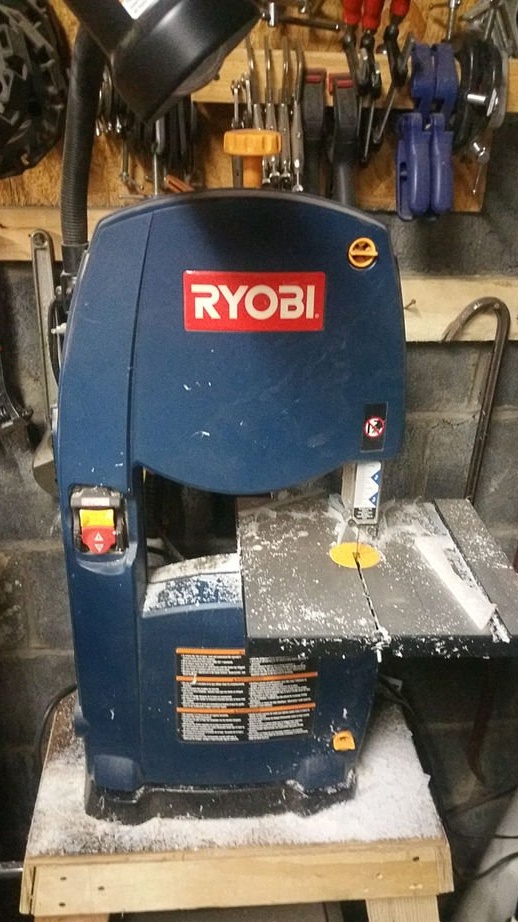
This step is pretty simple. Using a saw, preferably a band saw, it is necessary to cut various parts from the board as close to the line as possible. You can use a jigsaw, but it will be extremely tiring even with a jigsaw.
Tip:
It is advisable to have a construction vacuum cleaner on hand, as this activity creates a lot of plastic filings.
Step 5: Bonding Pieces
Now the fun begins.
Connect the glue gun and set it to a high temperature. Let it heat until the glue flows freely.
Remove all paper backing from cut plastic parts. Have a 2nd printout on hand or use a permanent marker to number parts after removing paper.
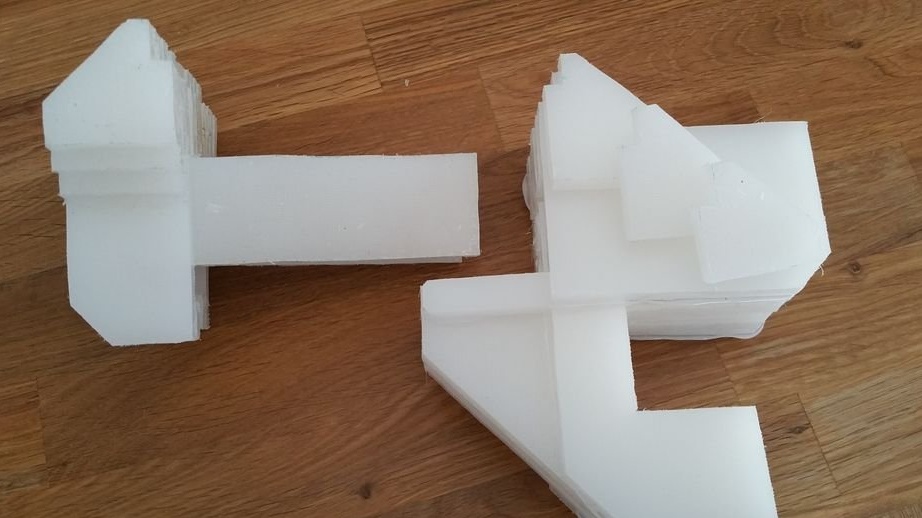
It is best to complete each layer on either side of the center layer before moving on to the next layer.
Some layers have several parts with the same number. Use the 2nd copy of the printout to understand how the parts are oriented towards each other and the distance between the parts.
Start with the center layer (No. 1 for the fixed sponge and No. 9 for the movable sponge).
Dry the next layer to ensure proper alignment.
Apply hot glue to one surface of the contact surface. Quickly press it against the mating surface of the next part, align and press for a few seconds.
The connection between the two parts is very fast and it is very strong. There should be no errors. If you see that the connection does not satisfy you, immediately separate the parts and allow the glue to cool. The universal knife can be used to clean parts and reuse them.
Continue creating layers until the parts are ready.
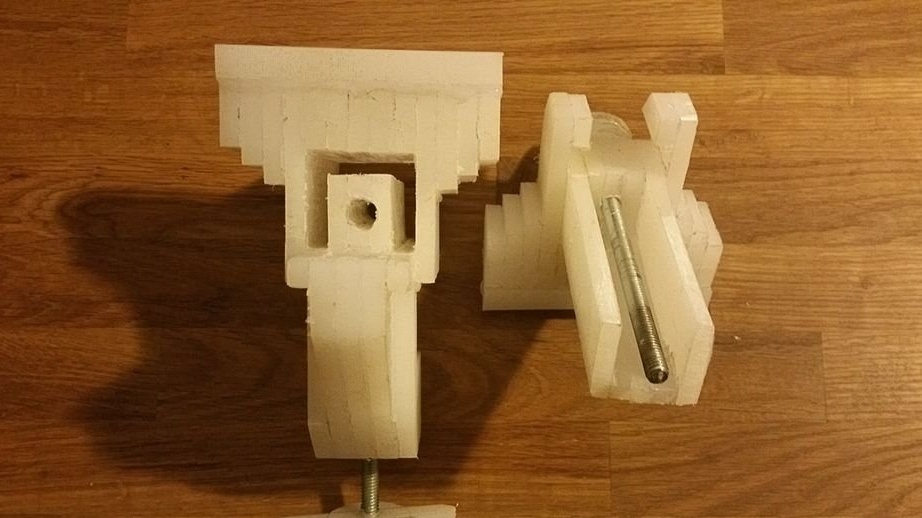
Step 6: Trying
Initially, the parts will not fit due to tight fit to each other.
Using a universal knife, remove excess glue from the edges that form a tight contact between the fixed and movable jaws.
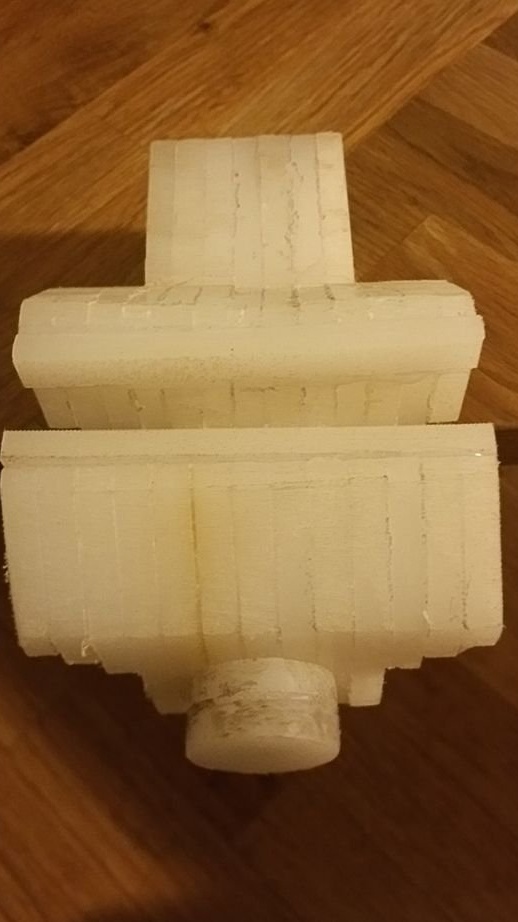
On a flat surface (grater), attach a piece of sandpaper with a grain size of 60 units. Begin sanding surfaces to remove any displacement of layers due to glue. Feel free to shape the details of the sponges to your liking.
The author found that the chisel and rasp are effective in forming a U-shaped channel of a fixed vice of a vice.
Process the two parts with sandpaper, a chisel and a rasp until they begin to slide freely.
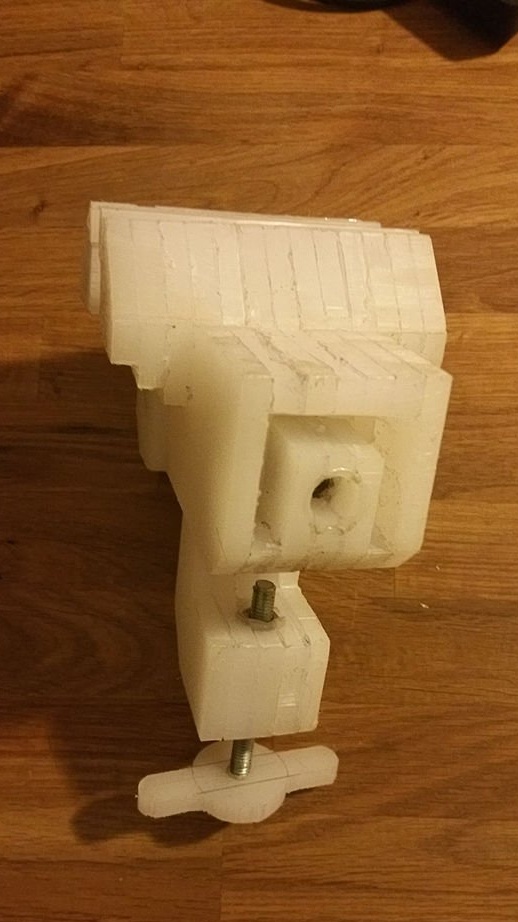
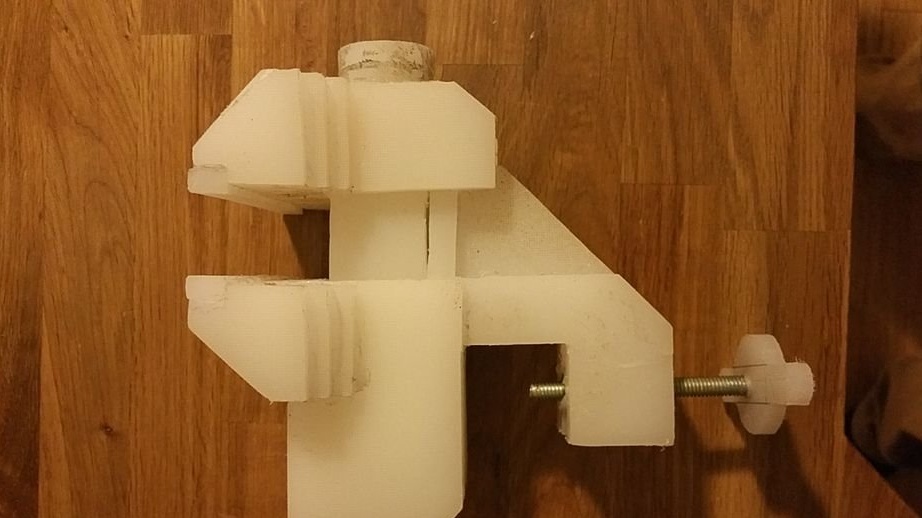
Step 7: Screw the Jaws
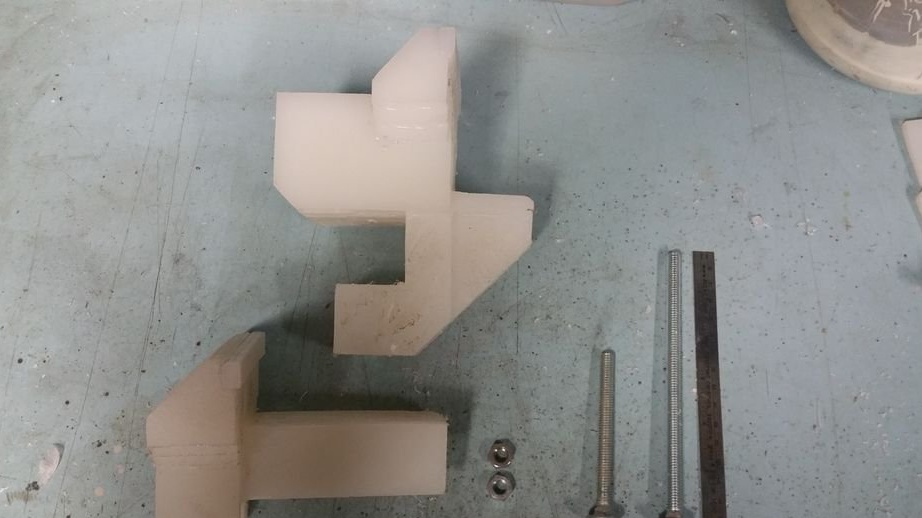
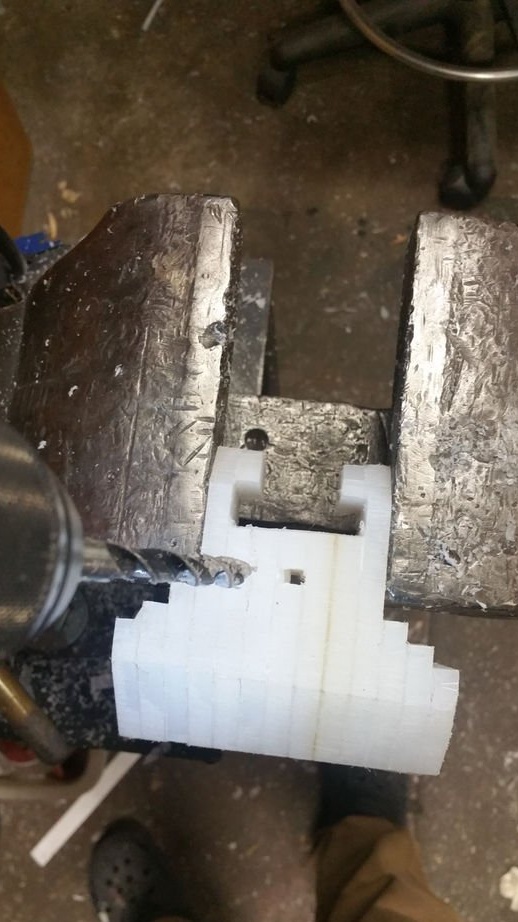
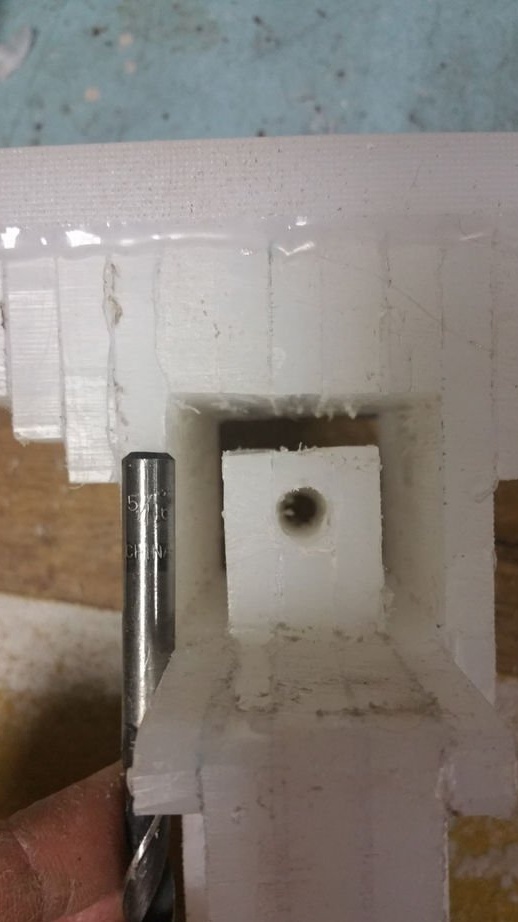
Using 7 mm. drill, increase the hole that runs along the length of the fixed and movable jaws.
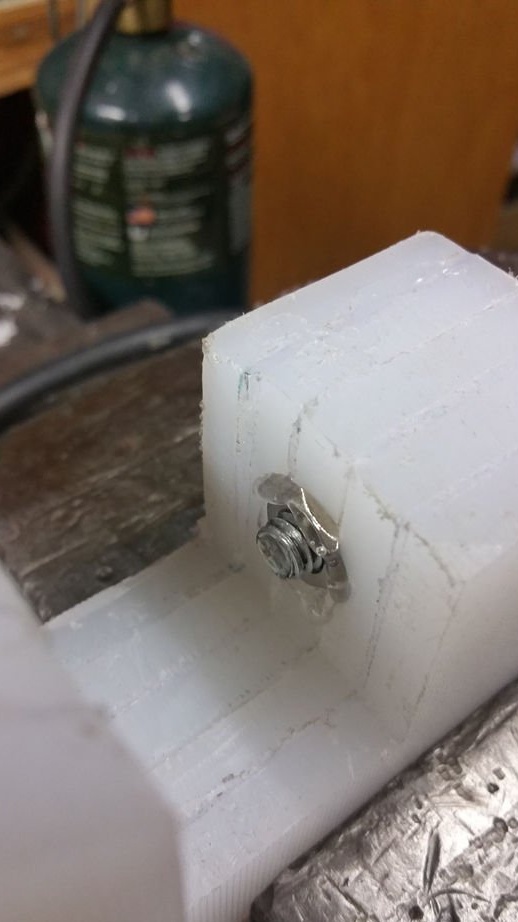
7 mm. the nut will be fixed in the fixed sponge by heating with a burner and pressing it to the back of the fixed sponge.
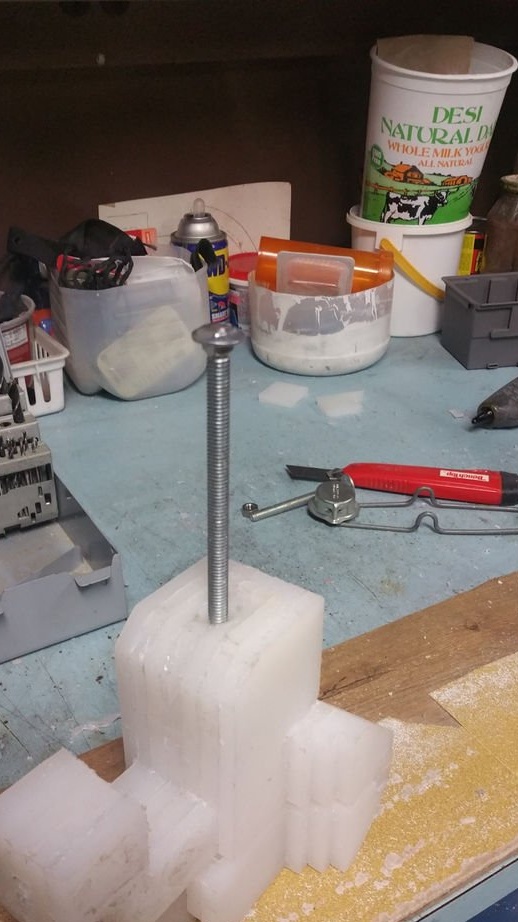
Fit the nut 150 mm. the bolt is half down.
While holding the bolt in a vice or pliers, heat the nut with a burner. Try to keep heat localized to the nut.
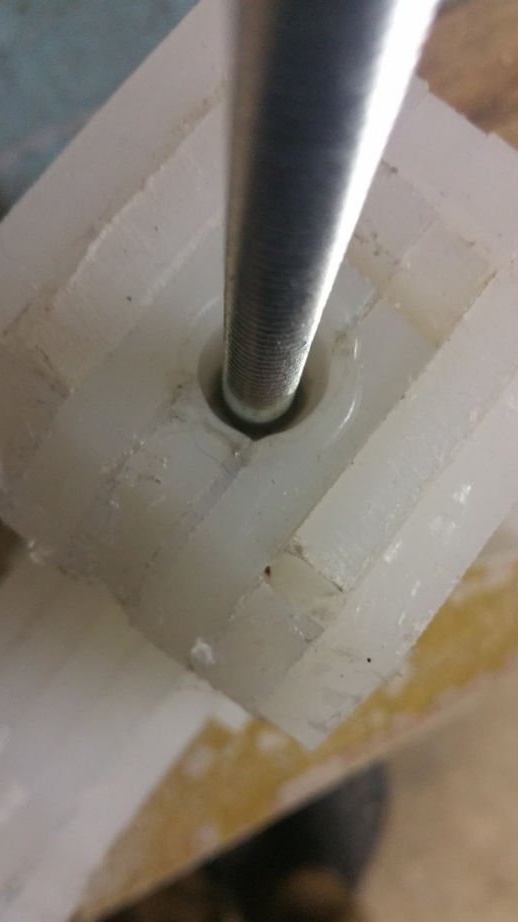
When the nut is sufficiently heated, insert a 7 mm bolt. fixed sponge hole. The nut will begin to melt the plastic. Tighten the nut by 50 mm. into the body of a fixed sponge. Make sure the bolt is at right angles in the housing while the nut cools.
Turn off the bolt.
Step 8: Threaded Table Mount
Using a 7 mm drill, enlarge the hole in the fixed part on an element that will allow you to fix the vice on a table or bench.
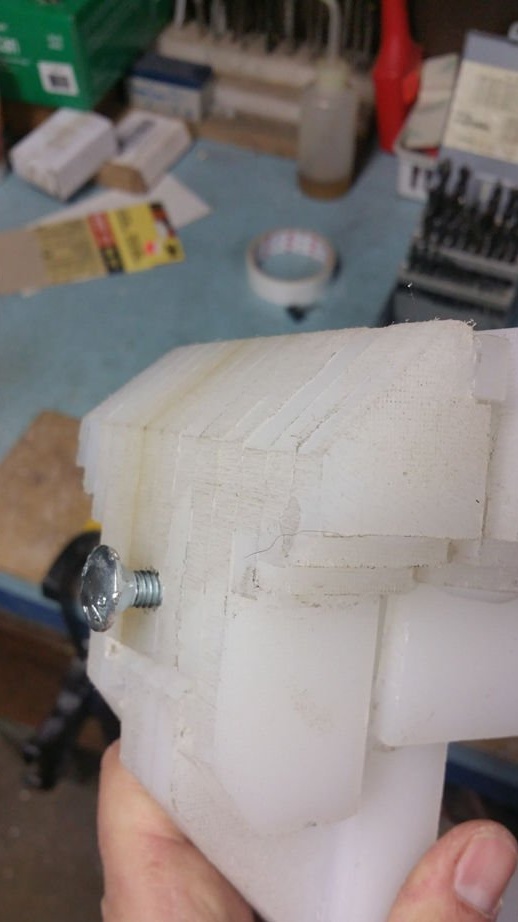
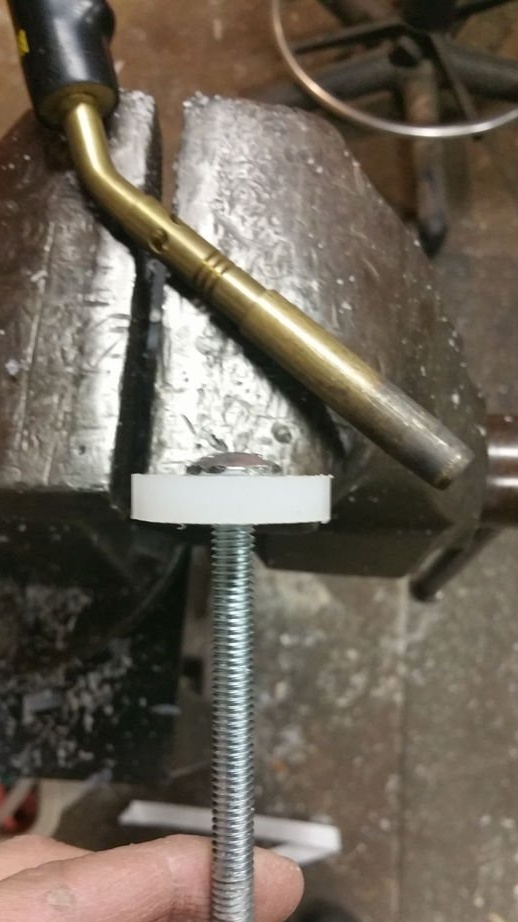
Insert 76 mm. carriage bolt in hole.
Put the nut on the bolt.
Using a burner, carefully heat a locally heated nut.
With sufficient heat, pull the end of the bolt to drive the heated nut into the housing of the fixed part. The nut will begin to melt the plastic. Continue to pull the nut until it is flush with the front of the C-channel, which allows it to be attached to the bench.
Step 9: Final Touch
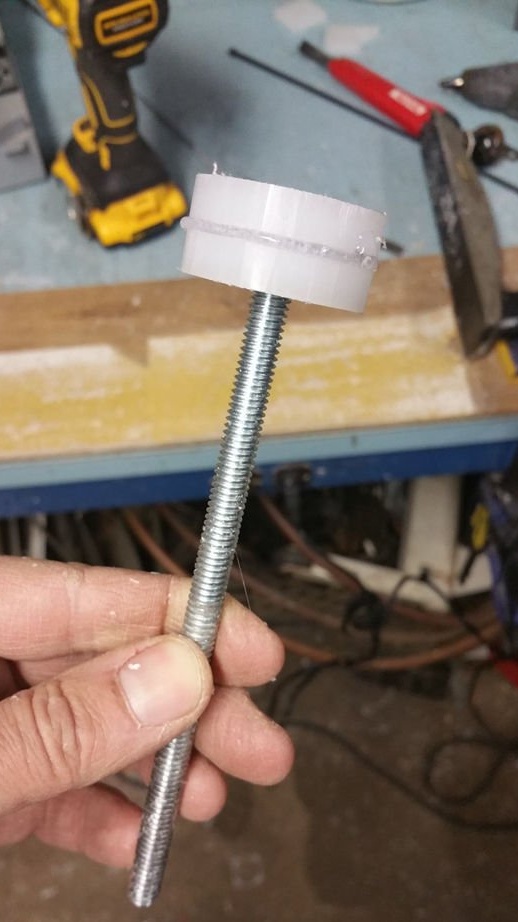
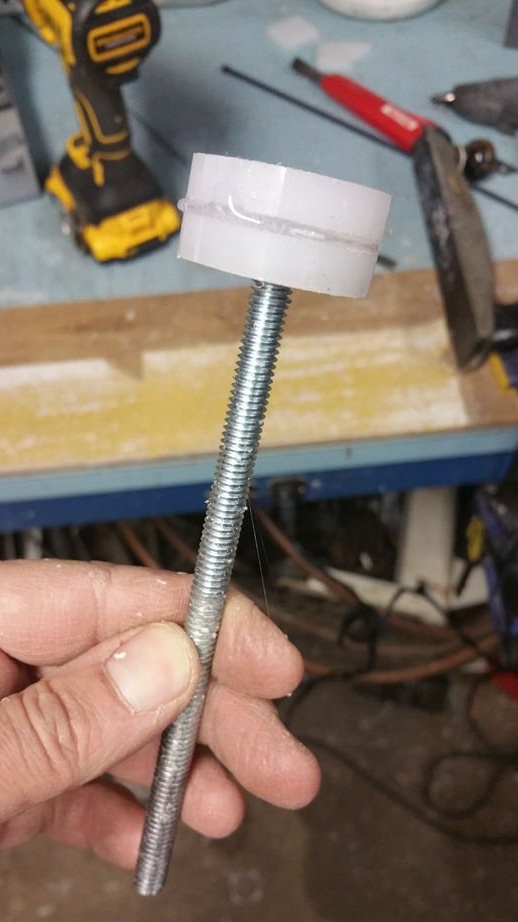
From the remnants of the material, the author made a pair of plastic washers that were not included in the templates. Their fastening to the ends of the bolt carriage was carried out in a similar manner using a burner.